Autonomous Robot Part 2 – Acrobot
|
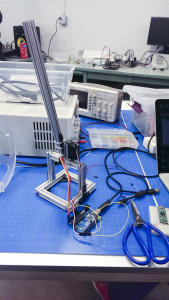
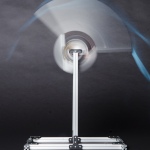
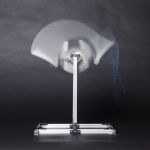
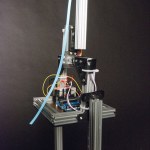
Group Members: Brian Yang and Luke Hottinger IntroductionThe power of robotics is in creating autonomous robots that exhibit a behavior and responds to its environment. This is a study on creating an autonomous behavior. The Acrobot is a robot that understands it’s own position and responds accordingly by waving its arm back and forth. The Acrobot is also human-like as it does get tired and requires breaks once in a while. The Acrobot will continues to exhibit the same behavior in various environments autonomously or with human interactions. VideoTechnical NotesThe Acrobot uses a variety of sensors to attain its behavior. An accelerometer mounted on the center beam of the device keeps track of the pitch of the robot, which is fed to a servo that controls the pivoting arm. The pivoting arm creates additive motion, allowing the robot’s spin to accelerate. As the Acrobot flips, a hall-effect sensor tracks the number of rotations as the sensor passes over a neodymium magnet mounted on the stand. The Arduino program sets a random number of rotations and once the rotations have completed, the robot rests. The amount of rest is proportional to the number of rotations it just completed. First Iterations
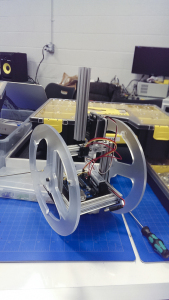
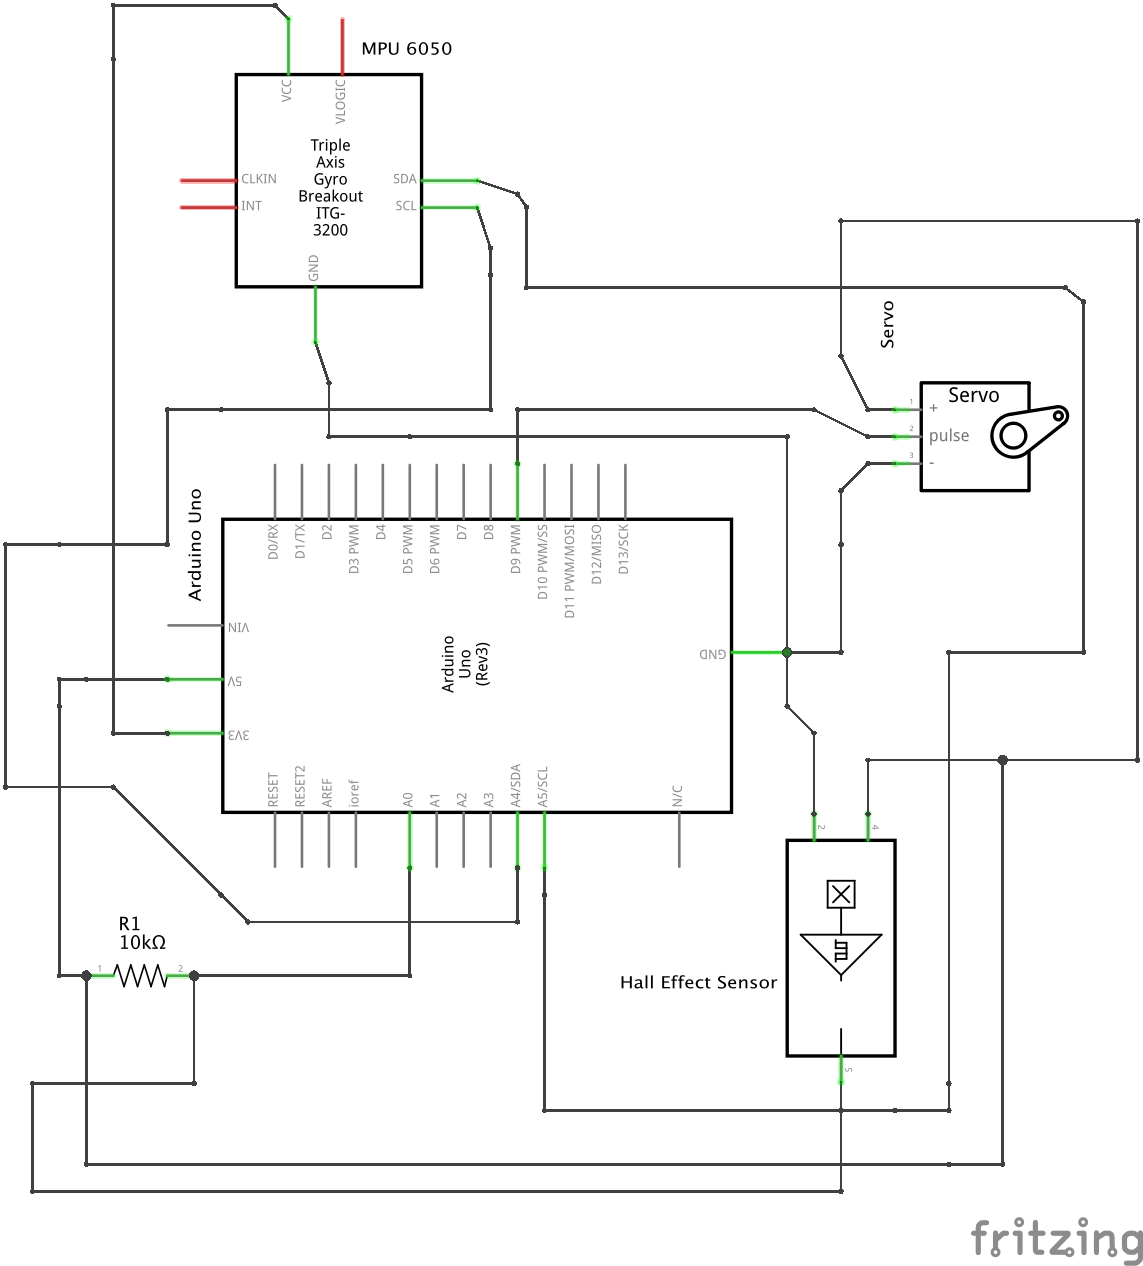
Completed Second Iteration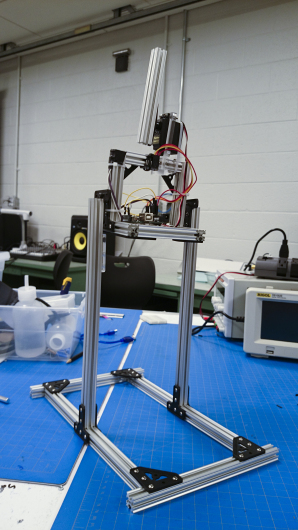 The Completed Second Iteration 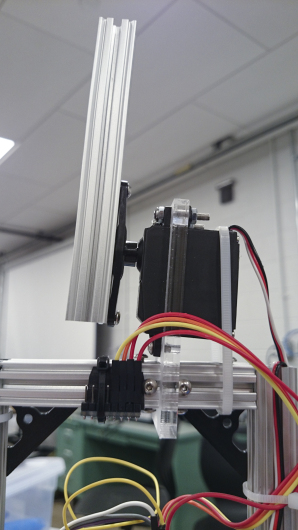 The Servo Mount 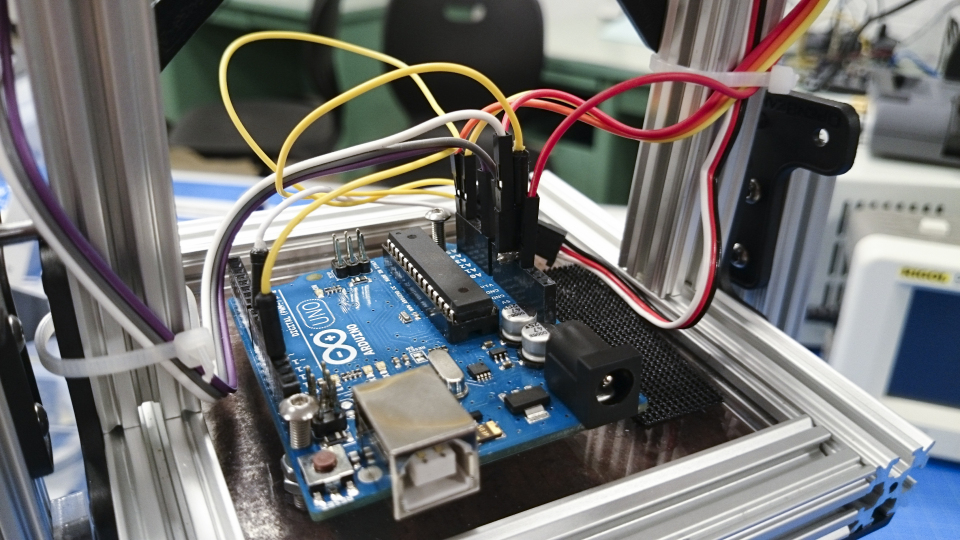 The Arduino Mount 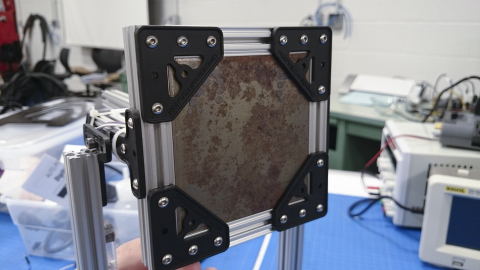 The Acrobot is weighted by a steel plate 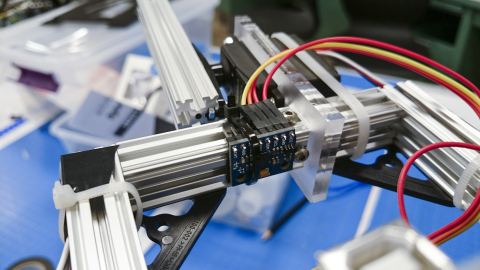 The Accelerometer/Gyro The arduino gets its power from a 9V battery and supplies the power for all of the sensors and the servo. The structure is made entirely out of OpenBeam providing a very rigid and sturdy structure, allowing the Acrobot to spin freely without worrying about the structural integrity of the base. Schematic and CodeLink to the Full Arduino Source Code
Flipping Algorithm Code Snippet
|