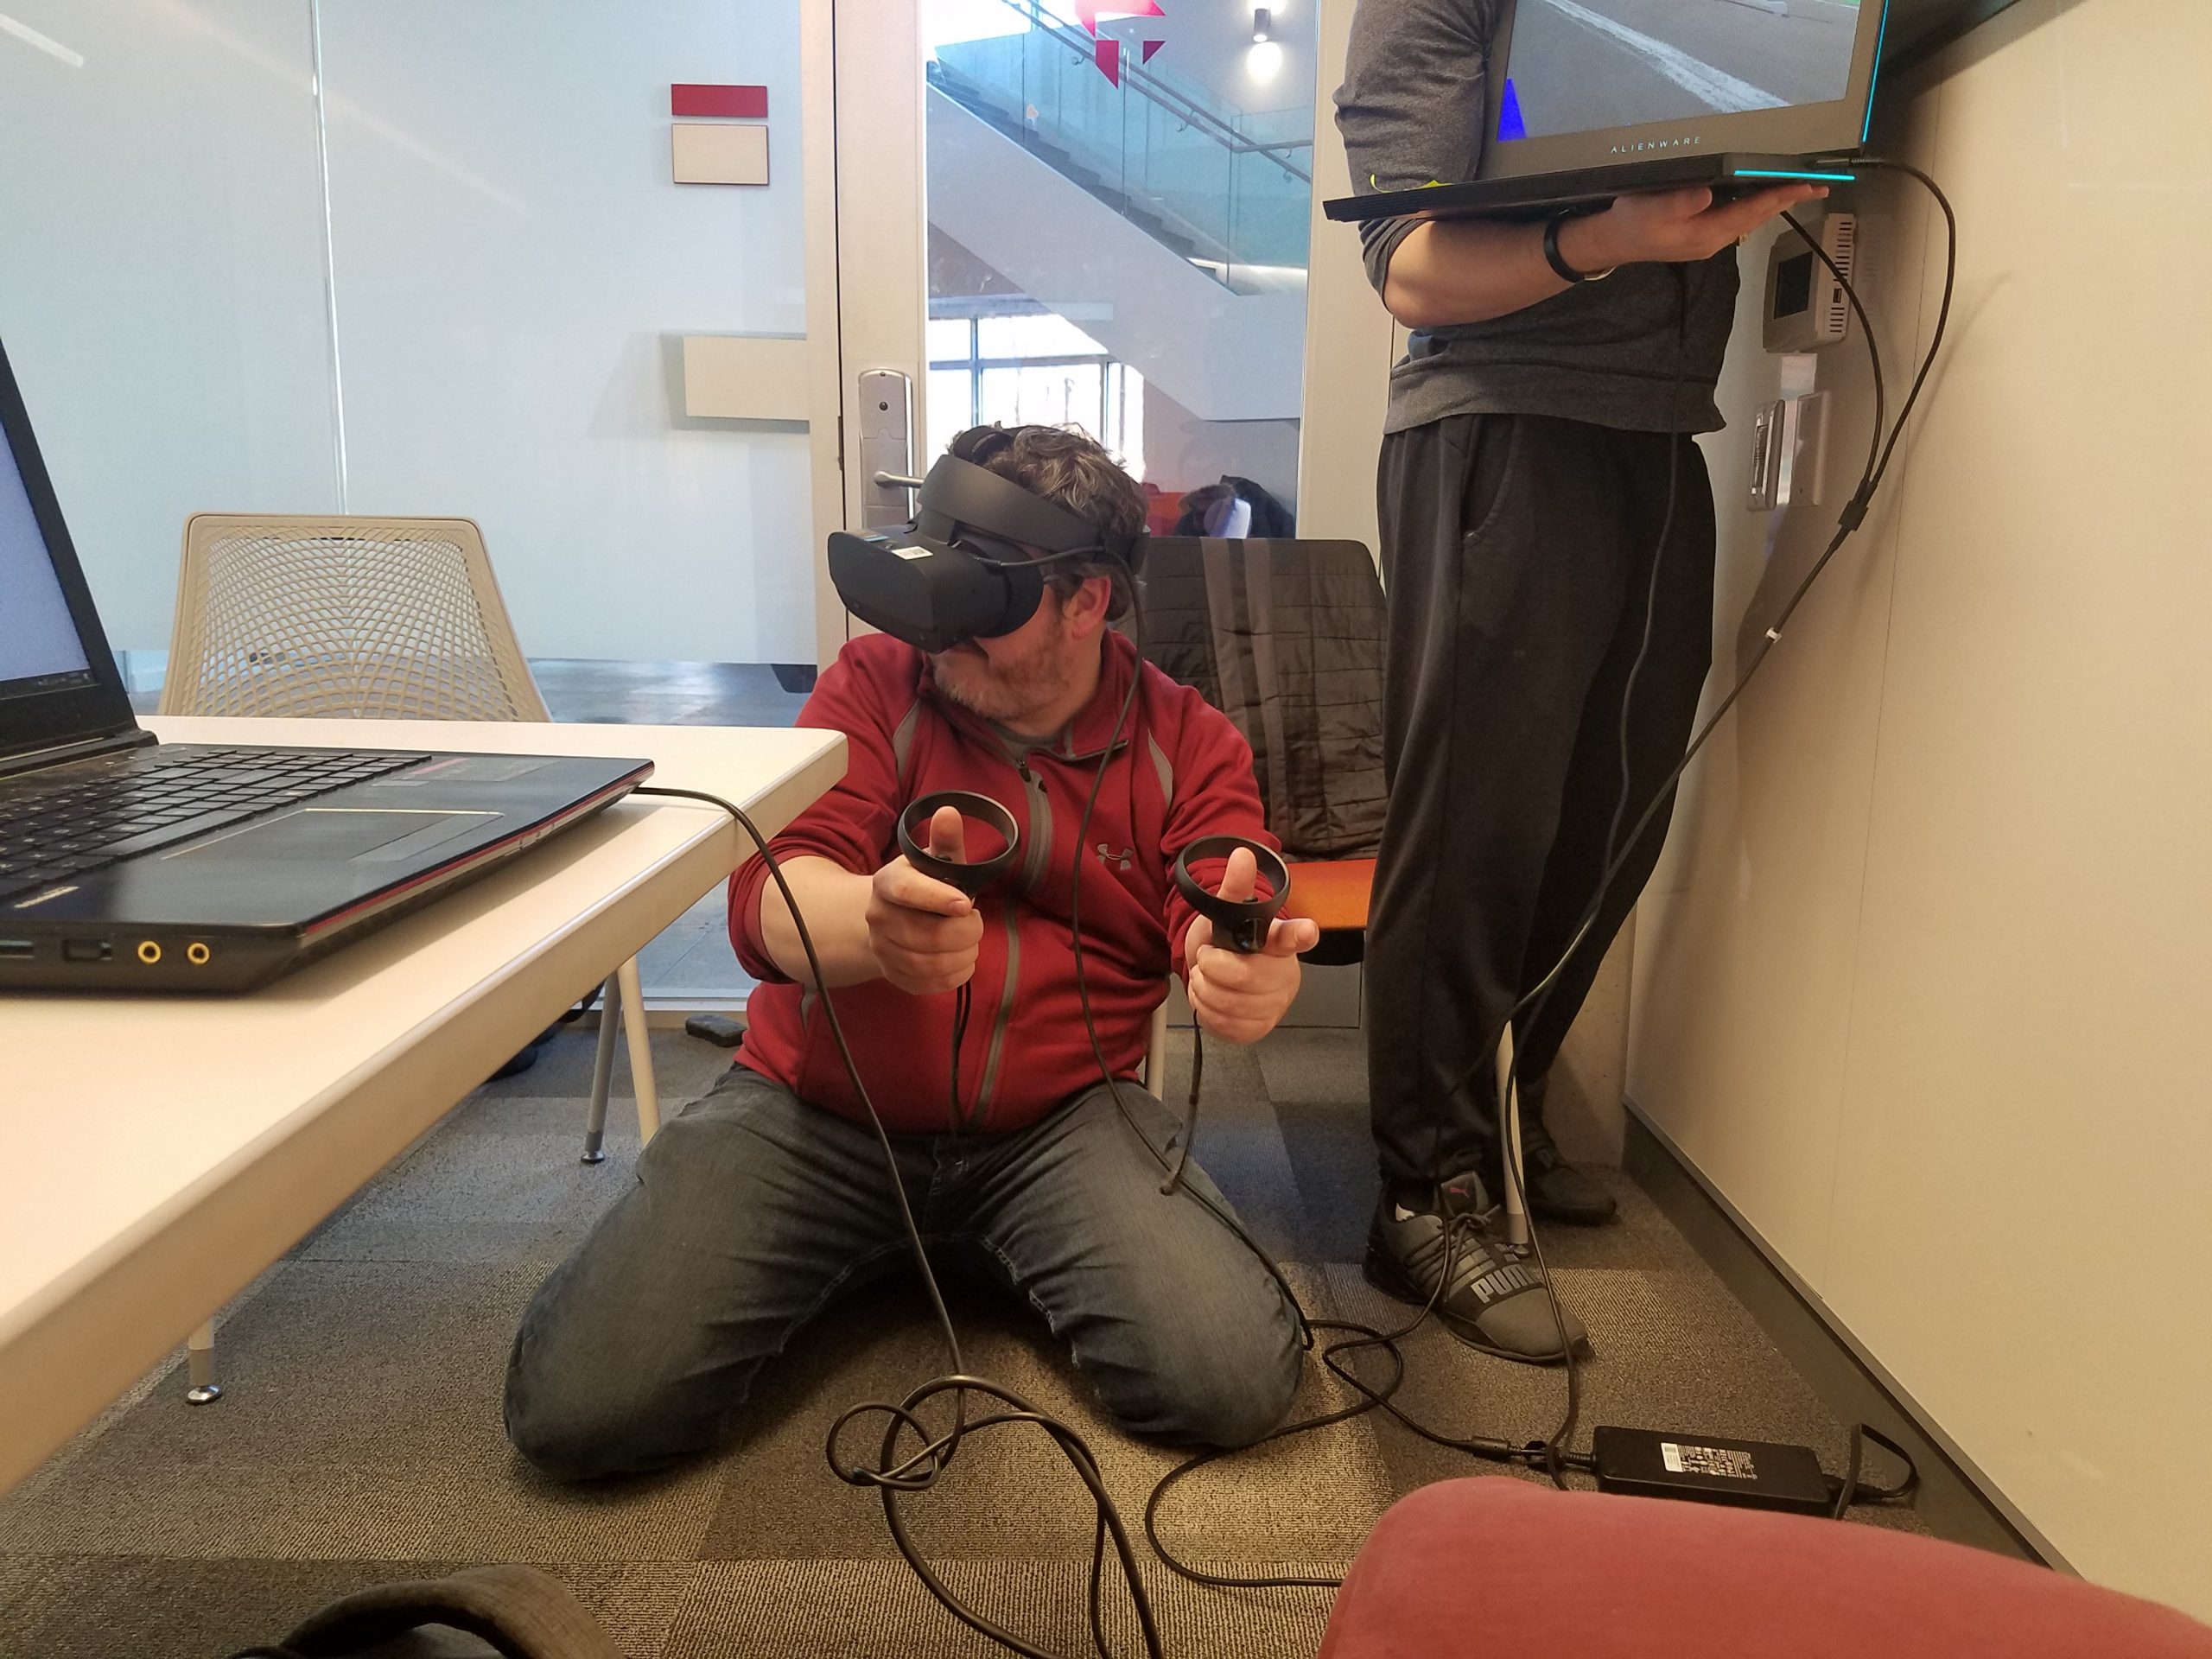
“Playtesting” is something that has come up quite a bit in a number of the latest posts, and for good reason: it’s a crucial part of any design process, and game design is no different! Today, we’ll take a look at what Playtesting is, and what the Buggy100 team has been doing lately at their playtests.
In this post:
- The Importance of Playtesting
- What is Playtesting?
- Goals for Buggy100
- How do we Playtest?
- Our Protocol
- Equipment
- Results so Far
The Importance of Playtesting
You are cordially invited
– Jesse Schell on Playtesting, from The Art of Game Design
To tell me why I suck
Bring a friend — Refreshments served
In many cases, playtesting is a vulnerable experience for game designers. You’re taking something you’ve worked hard on and love, and asking people to tell you why it isn’t fun. But hard as it may be, playtesting is part of the design loop and the more you do it, the better your game will be!
But what exactly is “playtesting,” and what does it do for us?
What is “Playtesting?”
Playtesting, as defined by Jesse Schell, is the act of “getting people to come play your game to see if it engenders the experience for which it was designed.” In other words, it is how we test our game to see if expectations and assumptions hold.
In its simplest form, Playtesting just involves putting a player down in front of your game, and asking them to play it for you. They tell you what they think, maybe reveal a bug or two, and you walk away knowing a little bit more about how your intended audience feels about your work.
But playtests take a variety of shapes over the course of a development cycle (according to this talk from the ETC):
In the beginning, playtests are a form of exploration — you don’t know what questions you need to ask yet, so you playtest your own game to find out what you’re missing. It’s the process of building expectations.
Once you have a prototype, you start to refine your game — you can “tune” mechanics to make the game feel better, or smoother, and start to see if your expectations from before hold up. This is also when you can start asking more pointed feedback from your players.
Finally, when you’re out of prototyping and continue to test your game in its Alpha, Beta, or even Final stages, you start to “prove” your work to others — the playtests become an affirmation that what you’ve worked and iterated on reaches your goals in the intended way.
Benefits of Playtesting
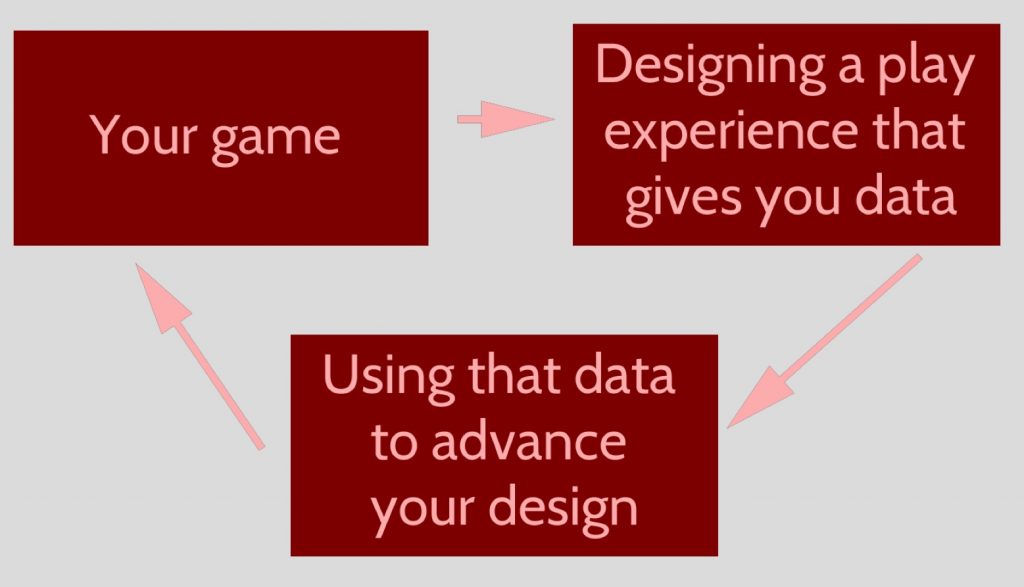
We’ve said a lot about how playtesting is a valuable part of the game design experience, but we haven’t covered why that is yet. Here are just a few benefits that come with playtesting (again, from this talk at the ETC):
Playtesting helps you…
- Make a better game by identifying flaws and problems you didn’t know you had. This can include bugs, accessibility issues, or design problems.
- Test your assumptions about aesthetics, mechanics, and your audience.
- Make decisions — sometimes, you’ll hit a wall in designing some theoretical feature. In those cases, it’s often faster to just slap together a quick prototype and actually test it with your users.
- Save time by identifying features that players aren’t interested in. One of the worst things you can do to your pipeline is spend months developing a feature, just to find out that players dislike it on release.
- Build an audience of people who are interested in seeing your game at completion.
- Build a valuable skill set that is used across this industry (and many others)!
How do we Playtest?
At all playtests, we require there to be at least three people from the class attending — this is considered the minimum ideal staffing.
Why three, you ask? Well, each person is given a defined role that helps the session go smoothly, which are as follows:
The Technician
The Technician is responsible for running the computer at each playtesting session — sometimes, that might just mean hitting “Play”, or changing a value for The Designer. Other times, though, that means fixing any game-breaking bugs that are revealed during playtesting.
The Wrangler
All manner of players can show up at a playtesting session: from VR experts to “naive guests” that have never touched a game console before. In either case, a person in VR is very vulnerable to what is happening in the real world: they could trip on the cable connecting them to the computer, or run straight into a wall. The Wrangler’s job is to keep the player safe, and monitor their surroundings at all times
The Designer
Sometimes, playtesting sessions have to run a little bit like a game of Dungeons and Dragons, where one person has to guide the player through the game with their words. The Designer is responsible for giving the player context that might not yet exist in-game, and interview the player as the session progresses.
As you can tell, each of these roles is incredibly important, and while it is possible for one person to do each thing, it is much better to have one person handling each task (for the sake of the player and the quality of the feedback).
Playtesting in Practice
When we hold our playtests, we’re looking to answer a variety of questions centered around our design decisions: How does the game feel? How does it look? Do things do what the player expects them to do?
Of course, we can get these answers by asking the player questions directly (and that questionnaire is covered in the next section below), but sometimes the best thing a playtester can do is just be quiet and observe.
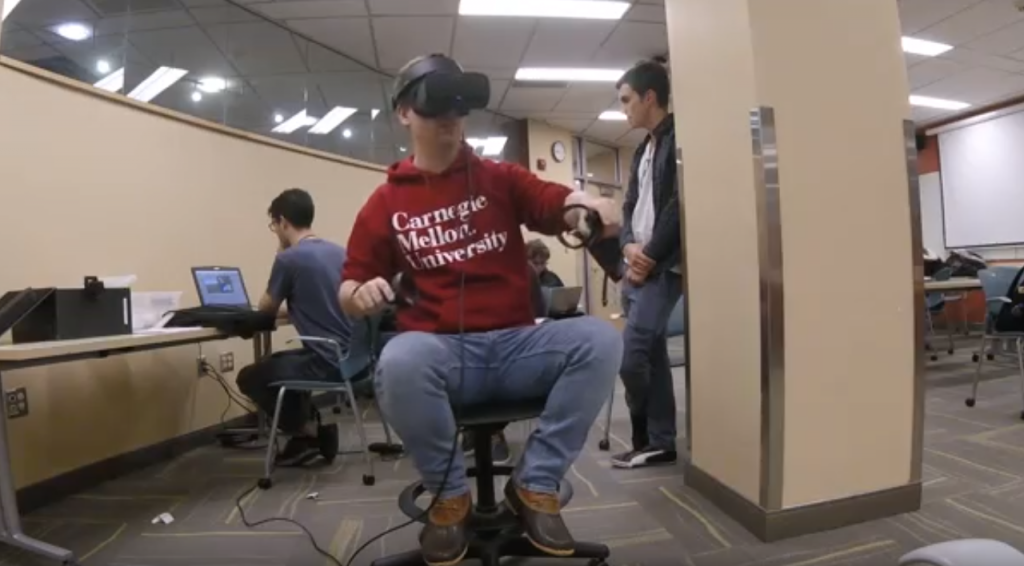
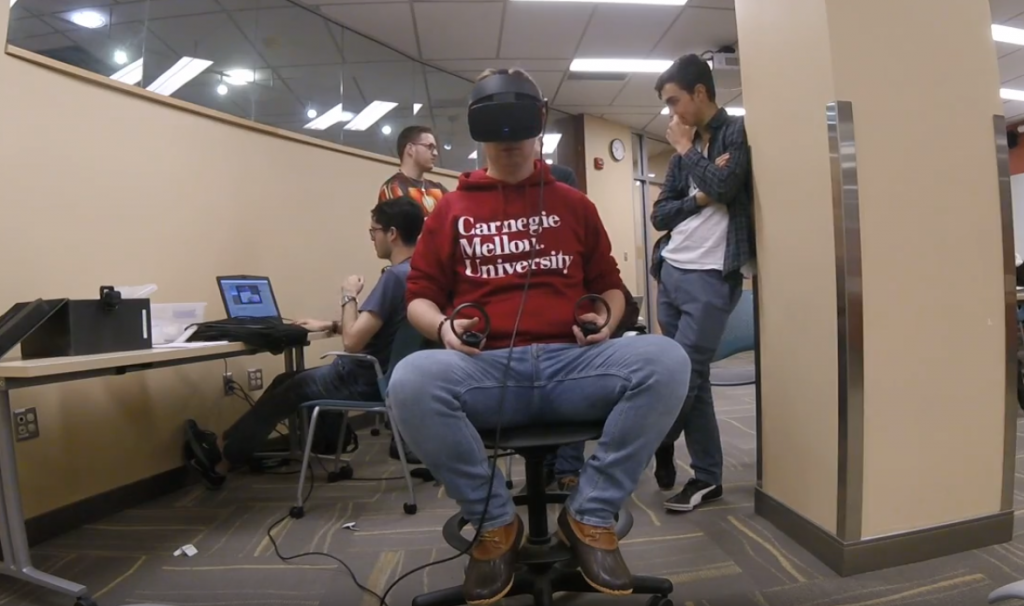
For example, sometimes a player won’t know exactly how to answer certain questions, especially regarding how things feel. In those cases, body language is your best sign. If the player is engaged and actively interacting with the world (like in the above image), then that’s a good sign!
In other cases, you’ll often find that playtesters ask a lot of questions when they’re playing, especially in early stages. A good Designer/Playtester knows when to answer these questions, and when to stay silent and observe; if you answer too many of their questions, after all, you won’t get to see how they figure out the problem!
Goals and Big Questions for Buggy100
You can read the detailed questionnaire that the Playtesting Team drafted here (Updated 2/7/2020)
Now that we’ve covered everything to do with how playtesting works, let’s talk a bit about what we’ve been asking our players these last few weeks. Since the prototype is all about testing your core mechanics, we focused on the following topics:
- Of the three available control schemes, which controls feel the best? Which are most intuitive?
- Of the two existing map types, which feels the most fluid? Does either one take too long or get boring?
The specifics of each feature have been covered in previous posts — See Weeks 03 and 04 — but here’s a short recap:
Control Schemes


- Handlebars: Player grabs both handles with the controllers, and turns it like a bike to control the buggy.
- Levers: Each lever functions as a “brake” for that side, so pulling back on the left causes the buggy to drift left, and pulling on the right causes the buggy to drift right. Pulling both causes it to brake.
- Steering Wheel: Functions like a normal car steering wheel — rotating counter-clockwise turns left, clockwise turns right.
Map Types
A major question for the design and art team has to do with the relative size of the map: do we keep everything at a 1:1 scale, or is does that make the uphill too long? If we stretch out the freeroll portion of the track to smooth out the curves, how does that affect the shape of the buildings? Do players feel like the race is too long, or is it not long enough?
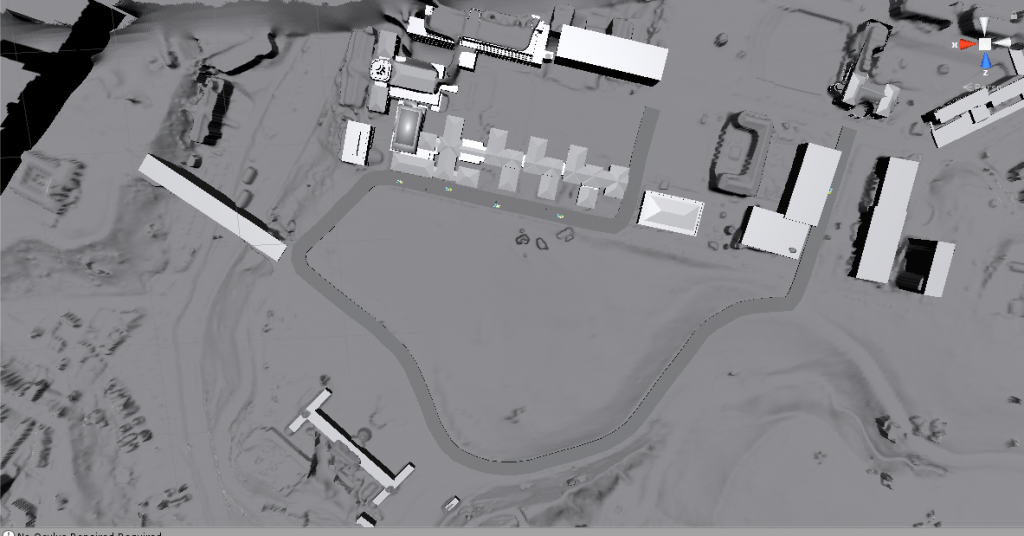
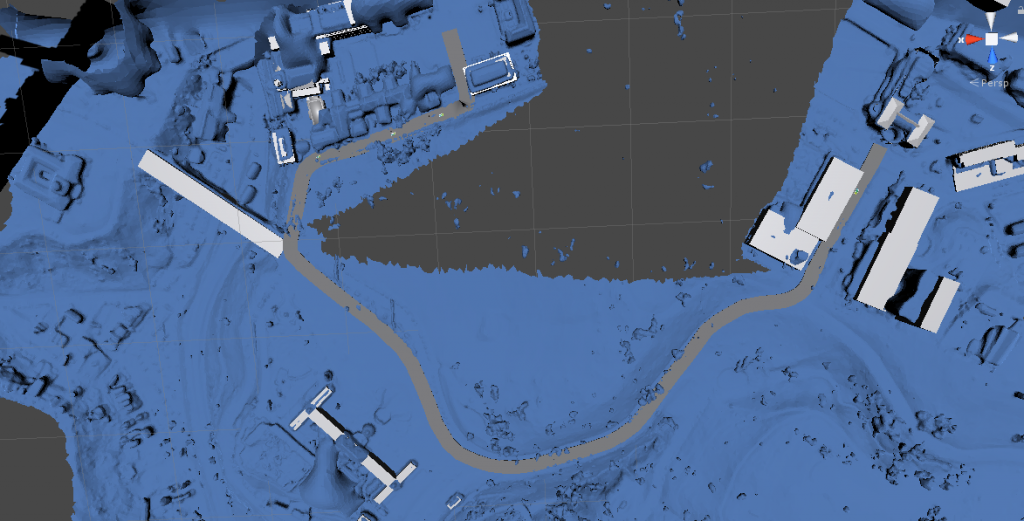
To answer those questions, we generated the two map types above. On the left is the 1:1 scale map, and on the right is a “U-Shaped” map. We ran each player through each of these, and their responses gave us the information we needed to know.
Results so Far
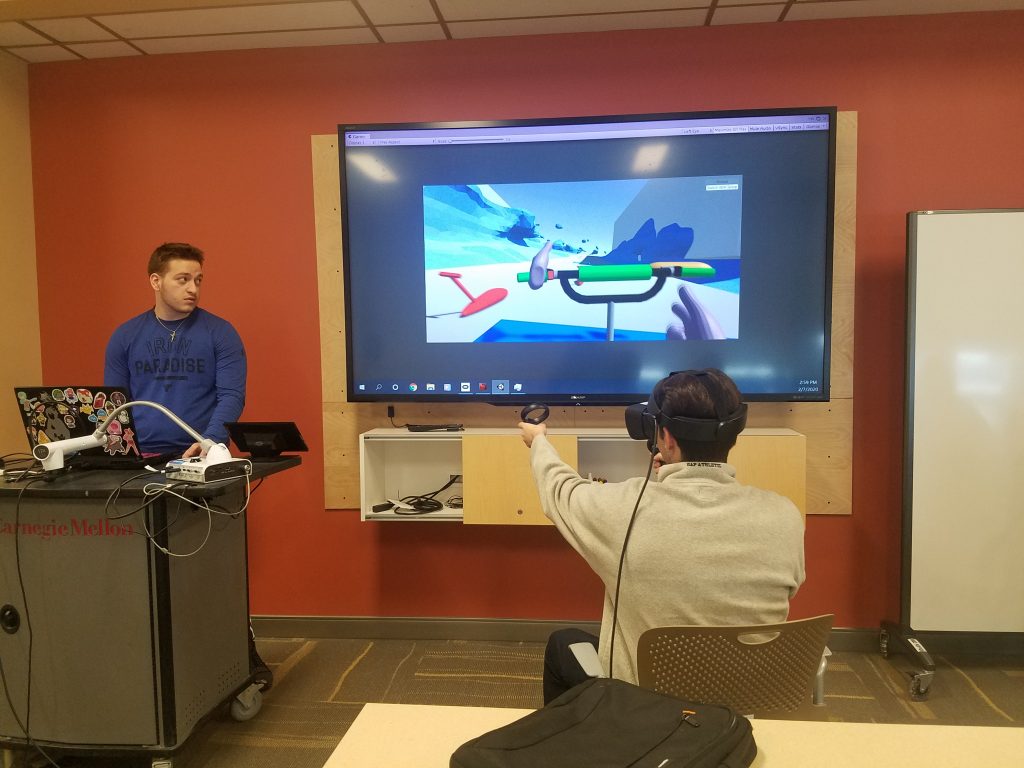
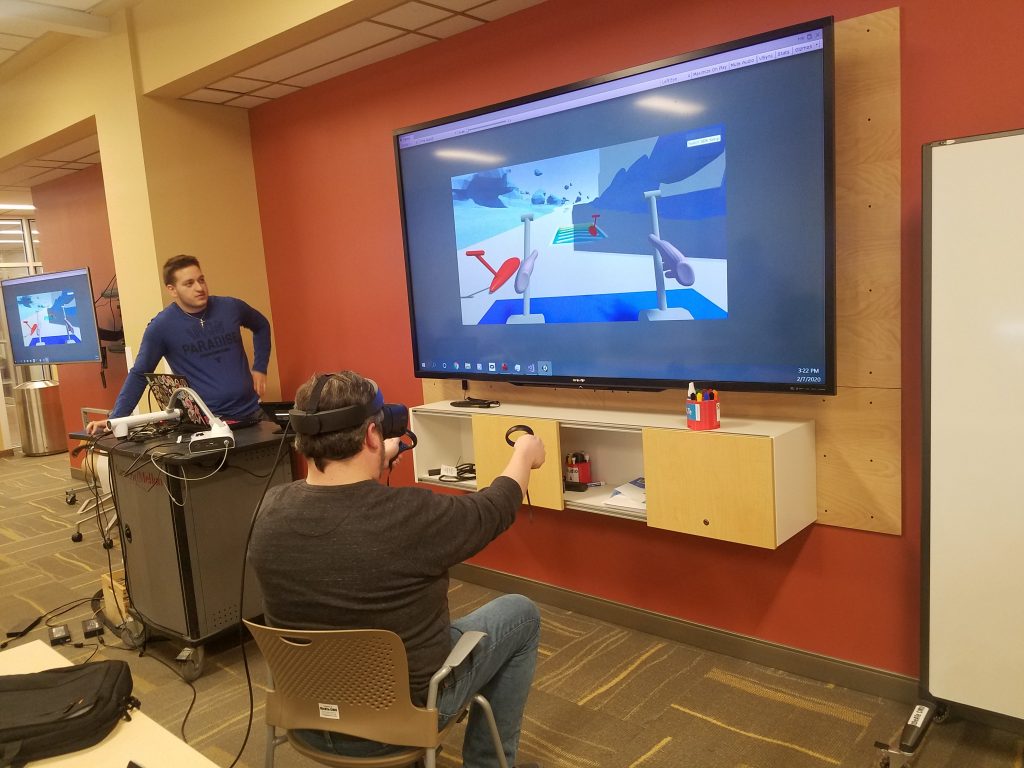
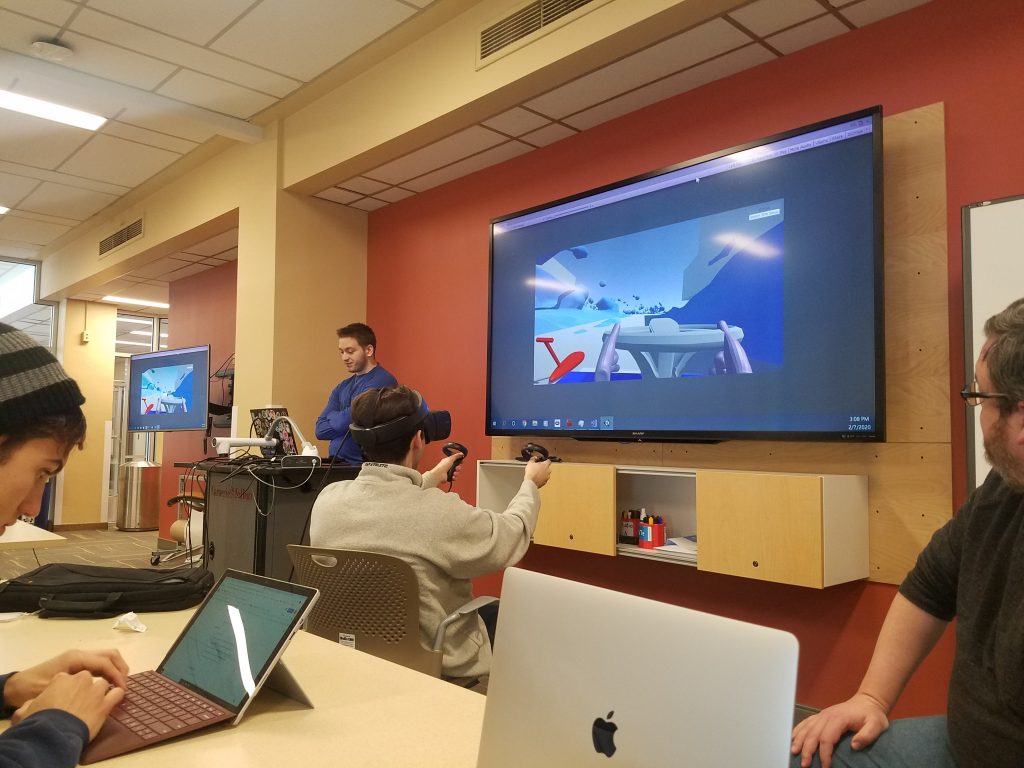
- On-the-rails motion does not feel good — Players expected to have freedom and control when they drive, and the realization that they didn’t have that control quickly broke their immersion.
- Different players had different control preferences, but the steering wheel was the most intuitive from the start.
- There was no preference between either the U-Shaped or “Regular” 1:1 Scale Map — In fact, most players didn’t notice the difference.
- No one reported feeling any nausea during normal gameplay — “Normal,” in this case, referring to a bug-free playthrough.
Although playtesting sessions will often answer the questions you had originally set out to solve, they also have a funny way of bringing out unexpected feedback that make you rethink your original assumptions.
Take the first bullet above, for example. From the start of the development, we had been planning on implementing a form of “on-the-rails” driving system. Turning the handlebars, levers, or steering wheels wouldn’t actually turn the buggy — it would just make the player “strafe” from side to side on a track.
We designed the prototype that way believing that staying “on-rails” would reduce the chance for nausea and discomfort, with an added bonus: if the player doesn’t have complete control, we wouldn’t have to worry about what would happen if they turn around and drive backwards!
But across the board, our players kept saying that the strafing motion just “didn’t feel right.” In fact, one player effectively stopped playing once he realized he was on-rails — that realization took the fun out of the game for him!
When your players have such a strong reaction to a feature in your game, that’s a good sign that it’s time to pivot. Which brings us to the last stage of any playtesting session:
Responding to Feedback
After collecting the data and responses from your players, it’s important to really dissect what their answers mean, and think about how you’ll integrate their feedback into your design.
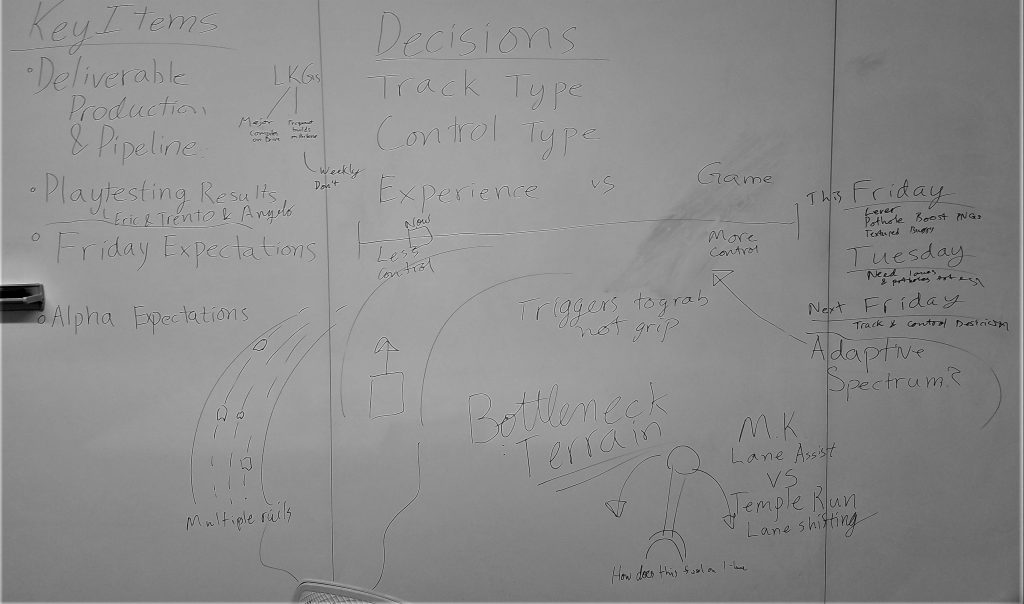
Since players had such a strong response to being on-rails, the Leadership Team had to revisit the decision to limit the player’s freedom-of-movement. At the moment, Buggy100 is much more of an “experience with game elements” rather than a full on game, a distinction that was causing frustrations.
So, we decided to pivot and implement a new driving system: “Free Drive”. In this system, the rails for the player are (almost completely) removed, and now serve more as a guidance system rather than a rule. The player can now turn as they wish on the track, and the rail system only kicks in when they approach the boundary of the track — gently guiding them back towards the center to prevent a crash.
Future Testing
Although we still don’t want to give the player full control, or else we’d have to figure out what to do if the player went backwards on the track, so far this new system felt much better to our players and will be a subject of much future testing
And sometimes, there’s more to playtesting than testing the gameplay itself. Playtests are a great time to get feedback on stuff like branding, aesthetic style, and even slogans. So, the Playtesting Team will be polling players for their thoughts on those aspects, as well as testing the new mechanics.
