
This project is about creating an assisstive device for somebody with a disability. In this class, we collaborated with disabled people to gain an understanding of not just “what” to design for them, but “how” to design for them. We were broken up into groups of three and each given a client to work with. Our client was Kyle Glozier, a content creator who was looking for some way to improve his YouTube videos. For more information about our process, look at our interview documentation.
What We Built
A video of our device when plugged in.
Our device is a kinetic art sculpture. It functions as a decorative piece meant to add beauty to its surroundings. When plugged in, it spins two mirrored designs in opposite directions to create visual effect.
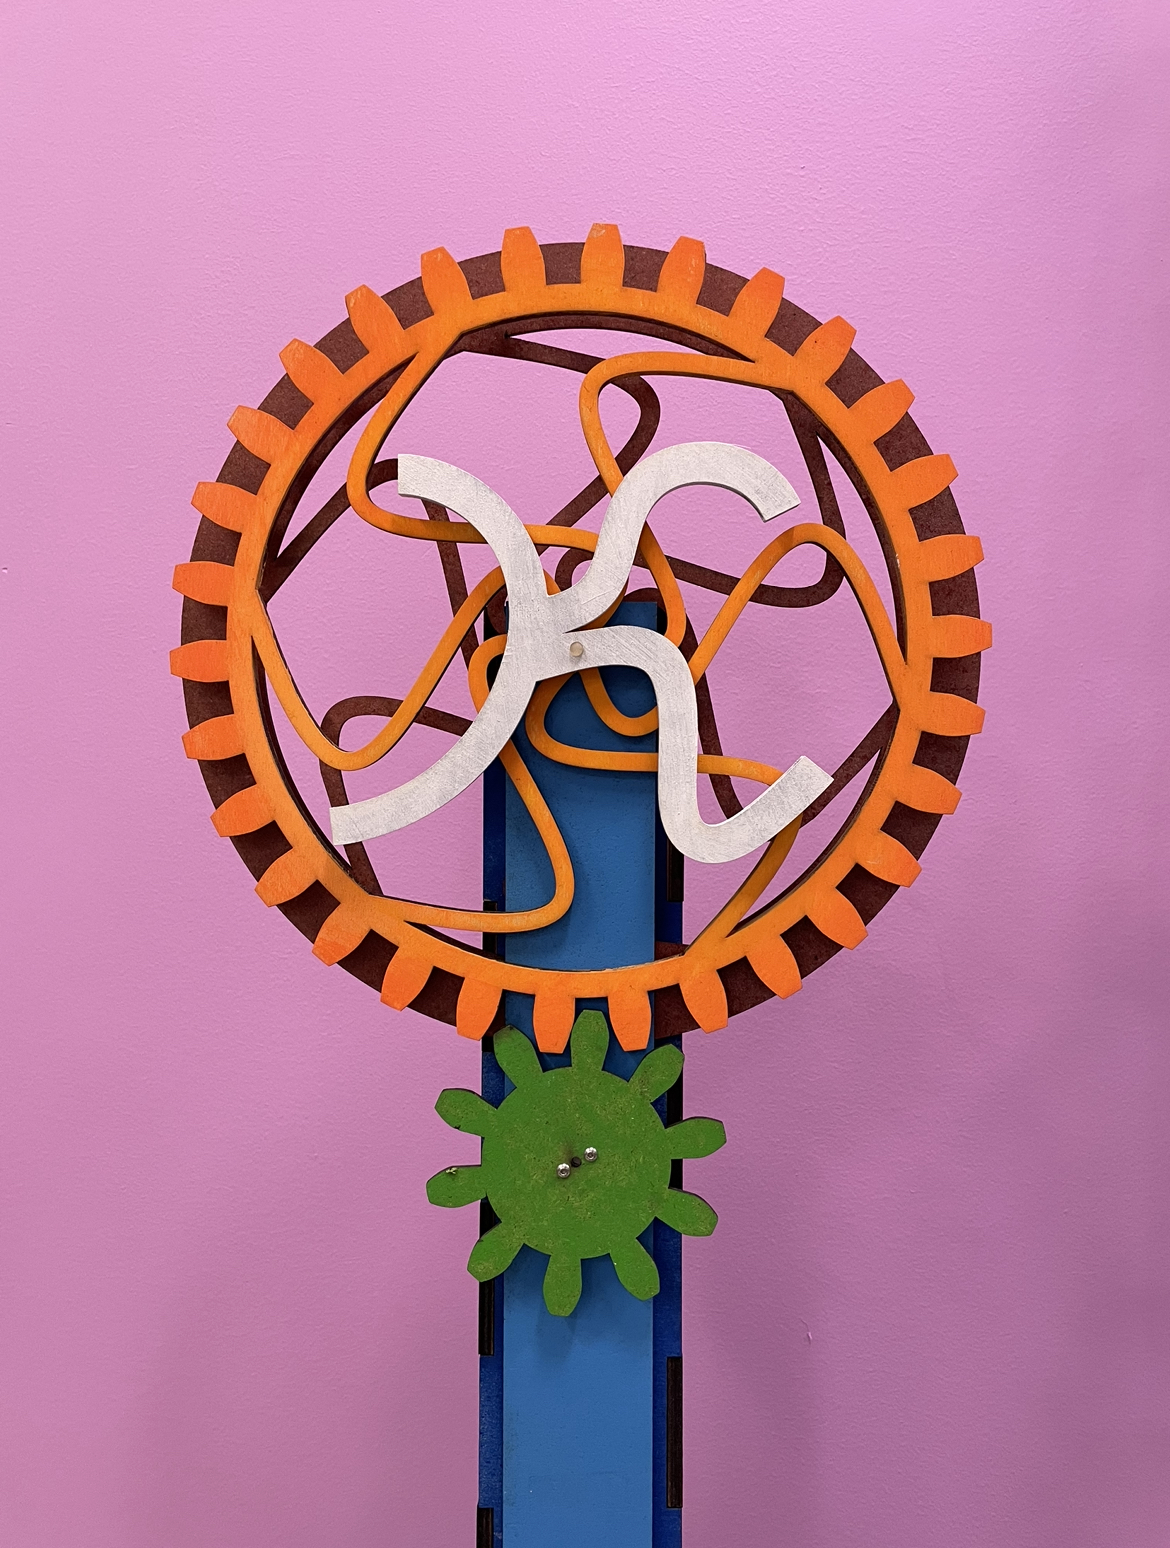
An overall view of the main aspect of our project.
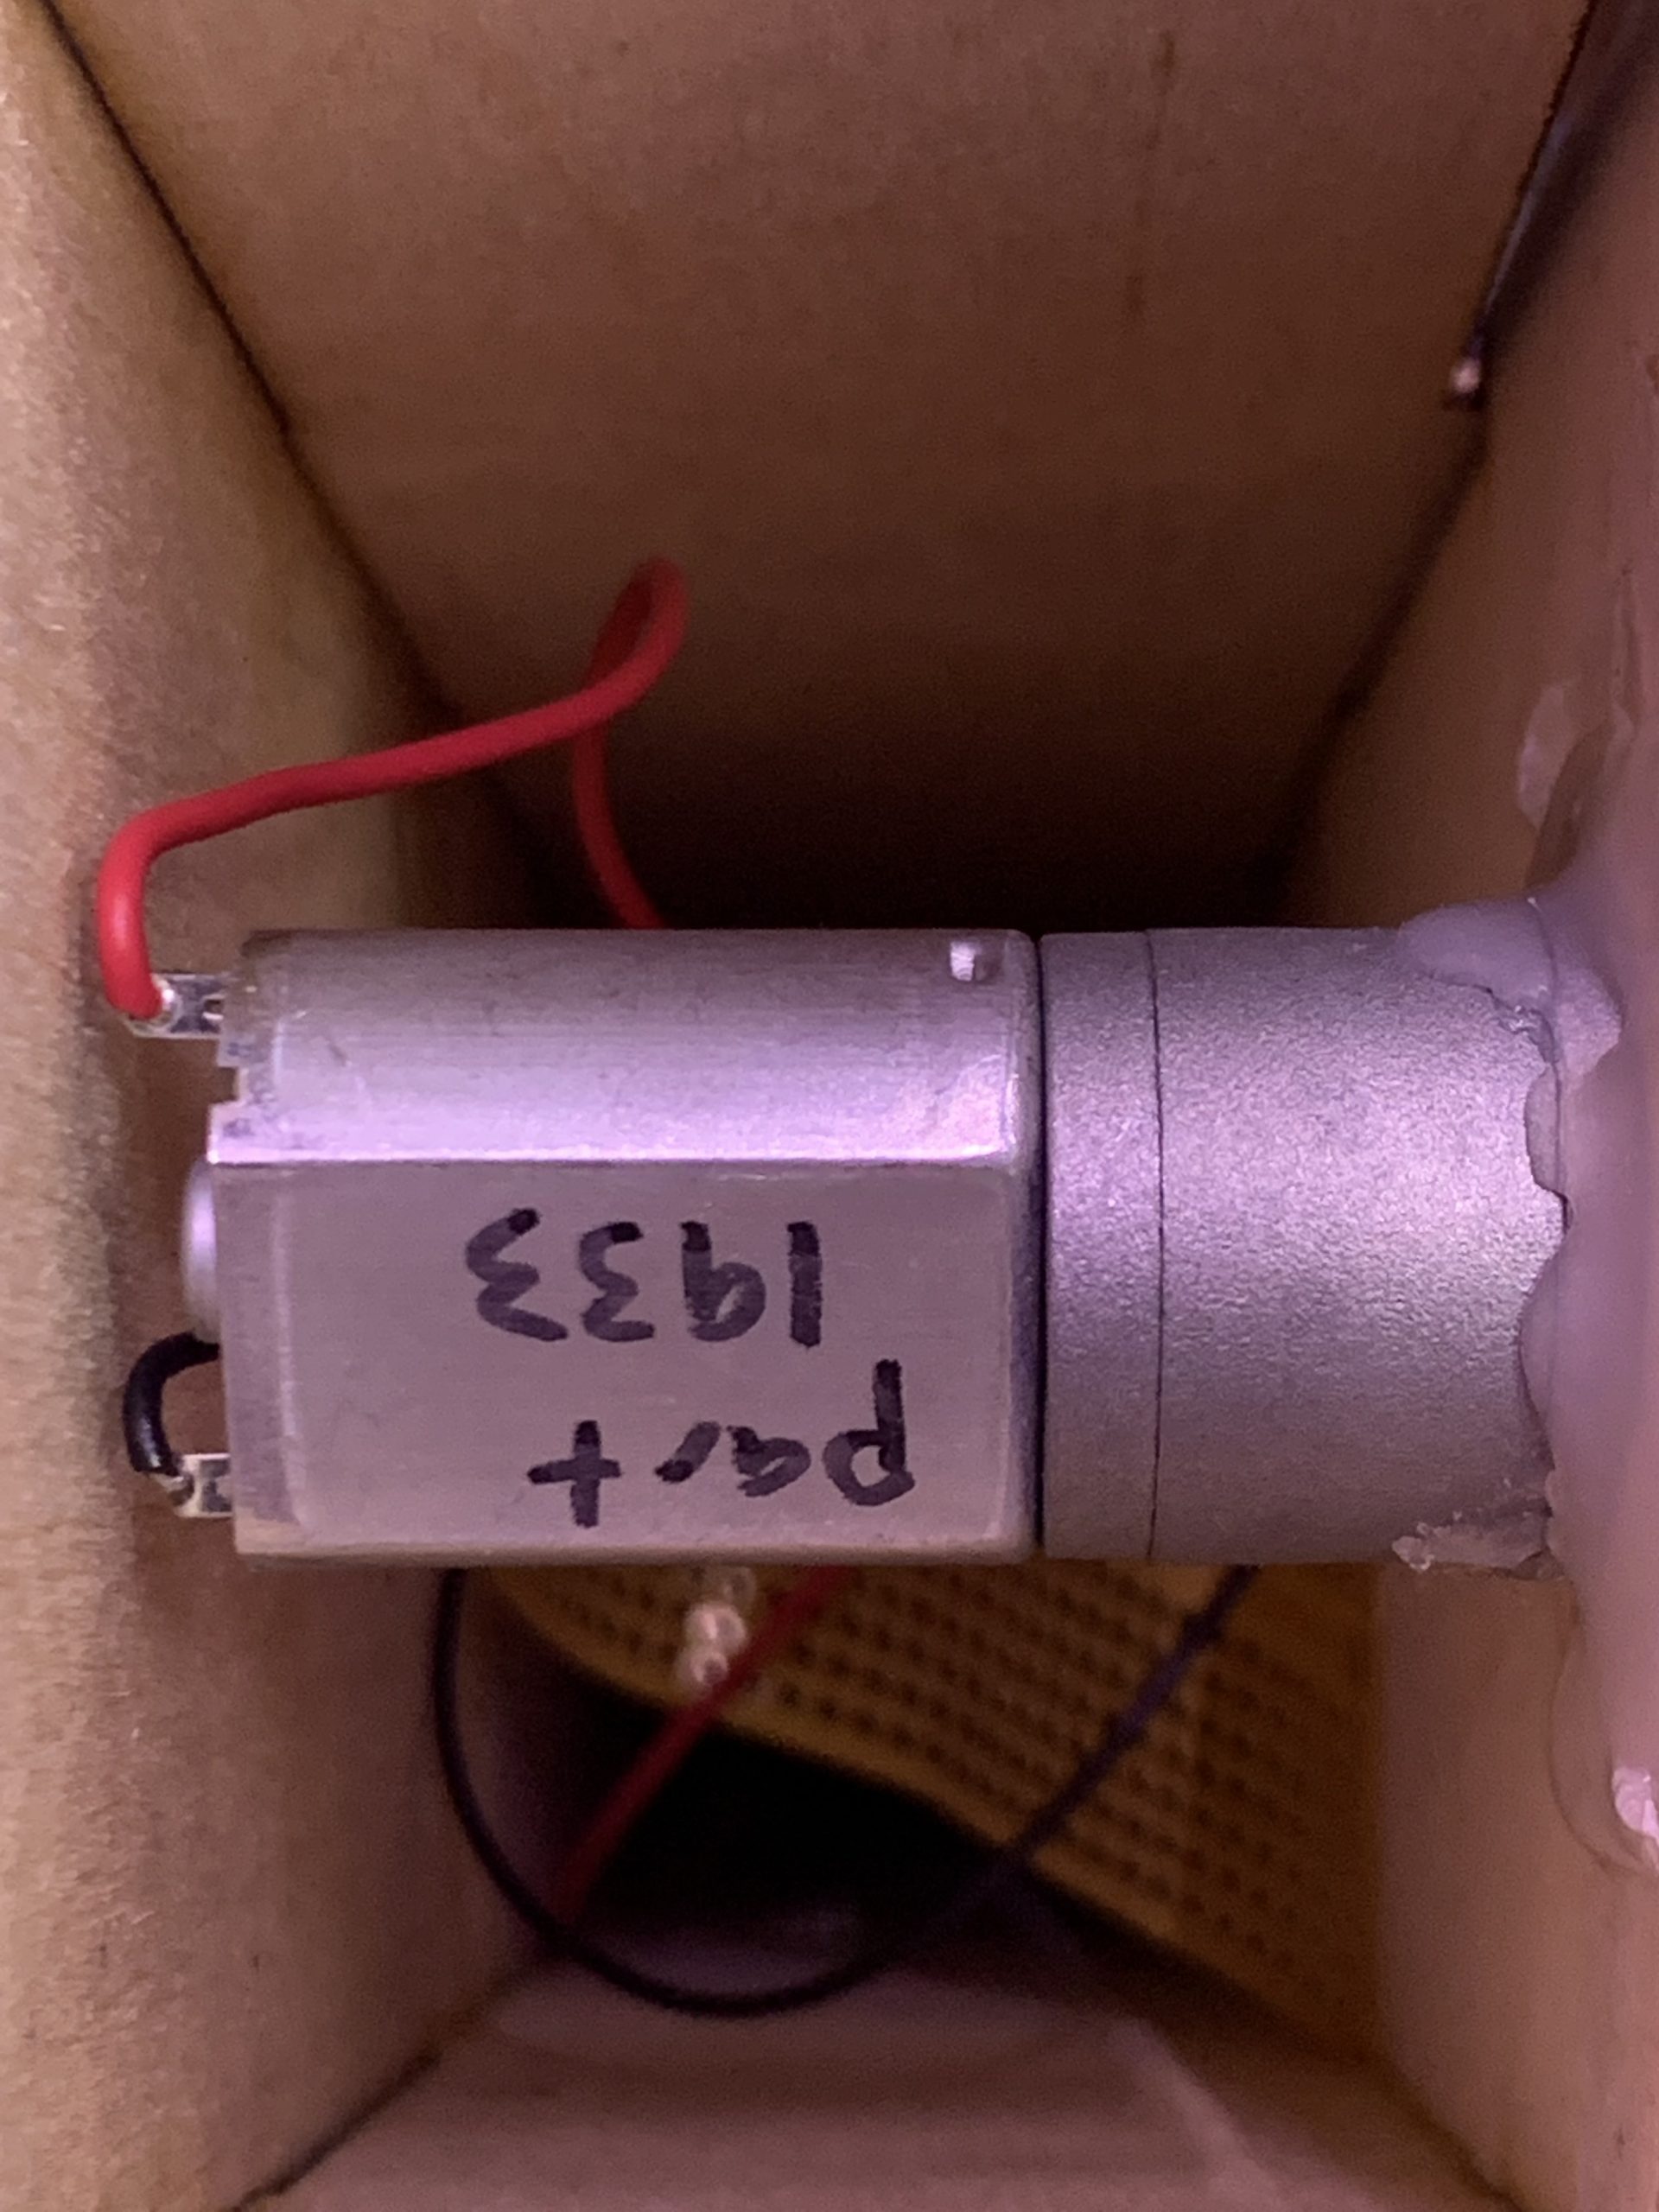
The motor that drives the top wheel as well as some other electronics on the inside of our device.
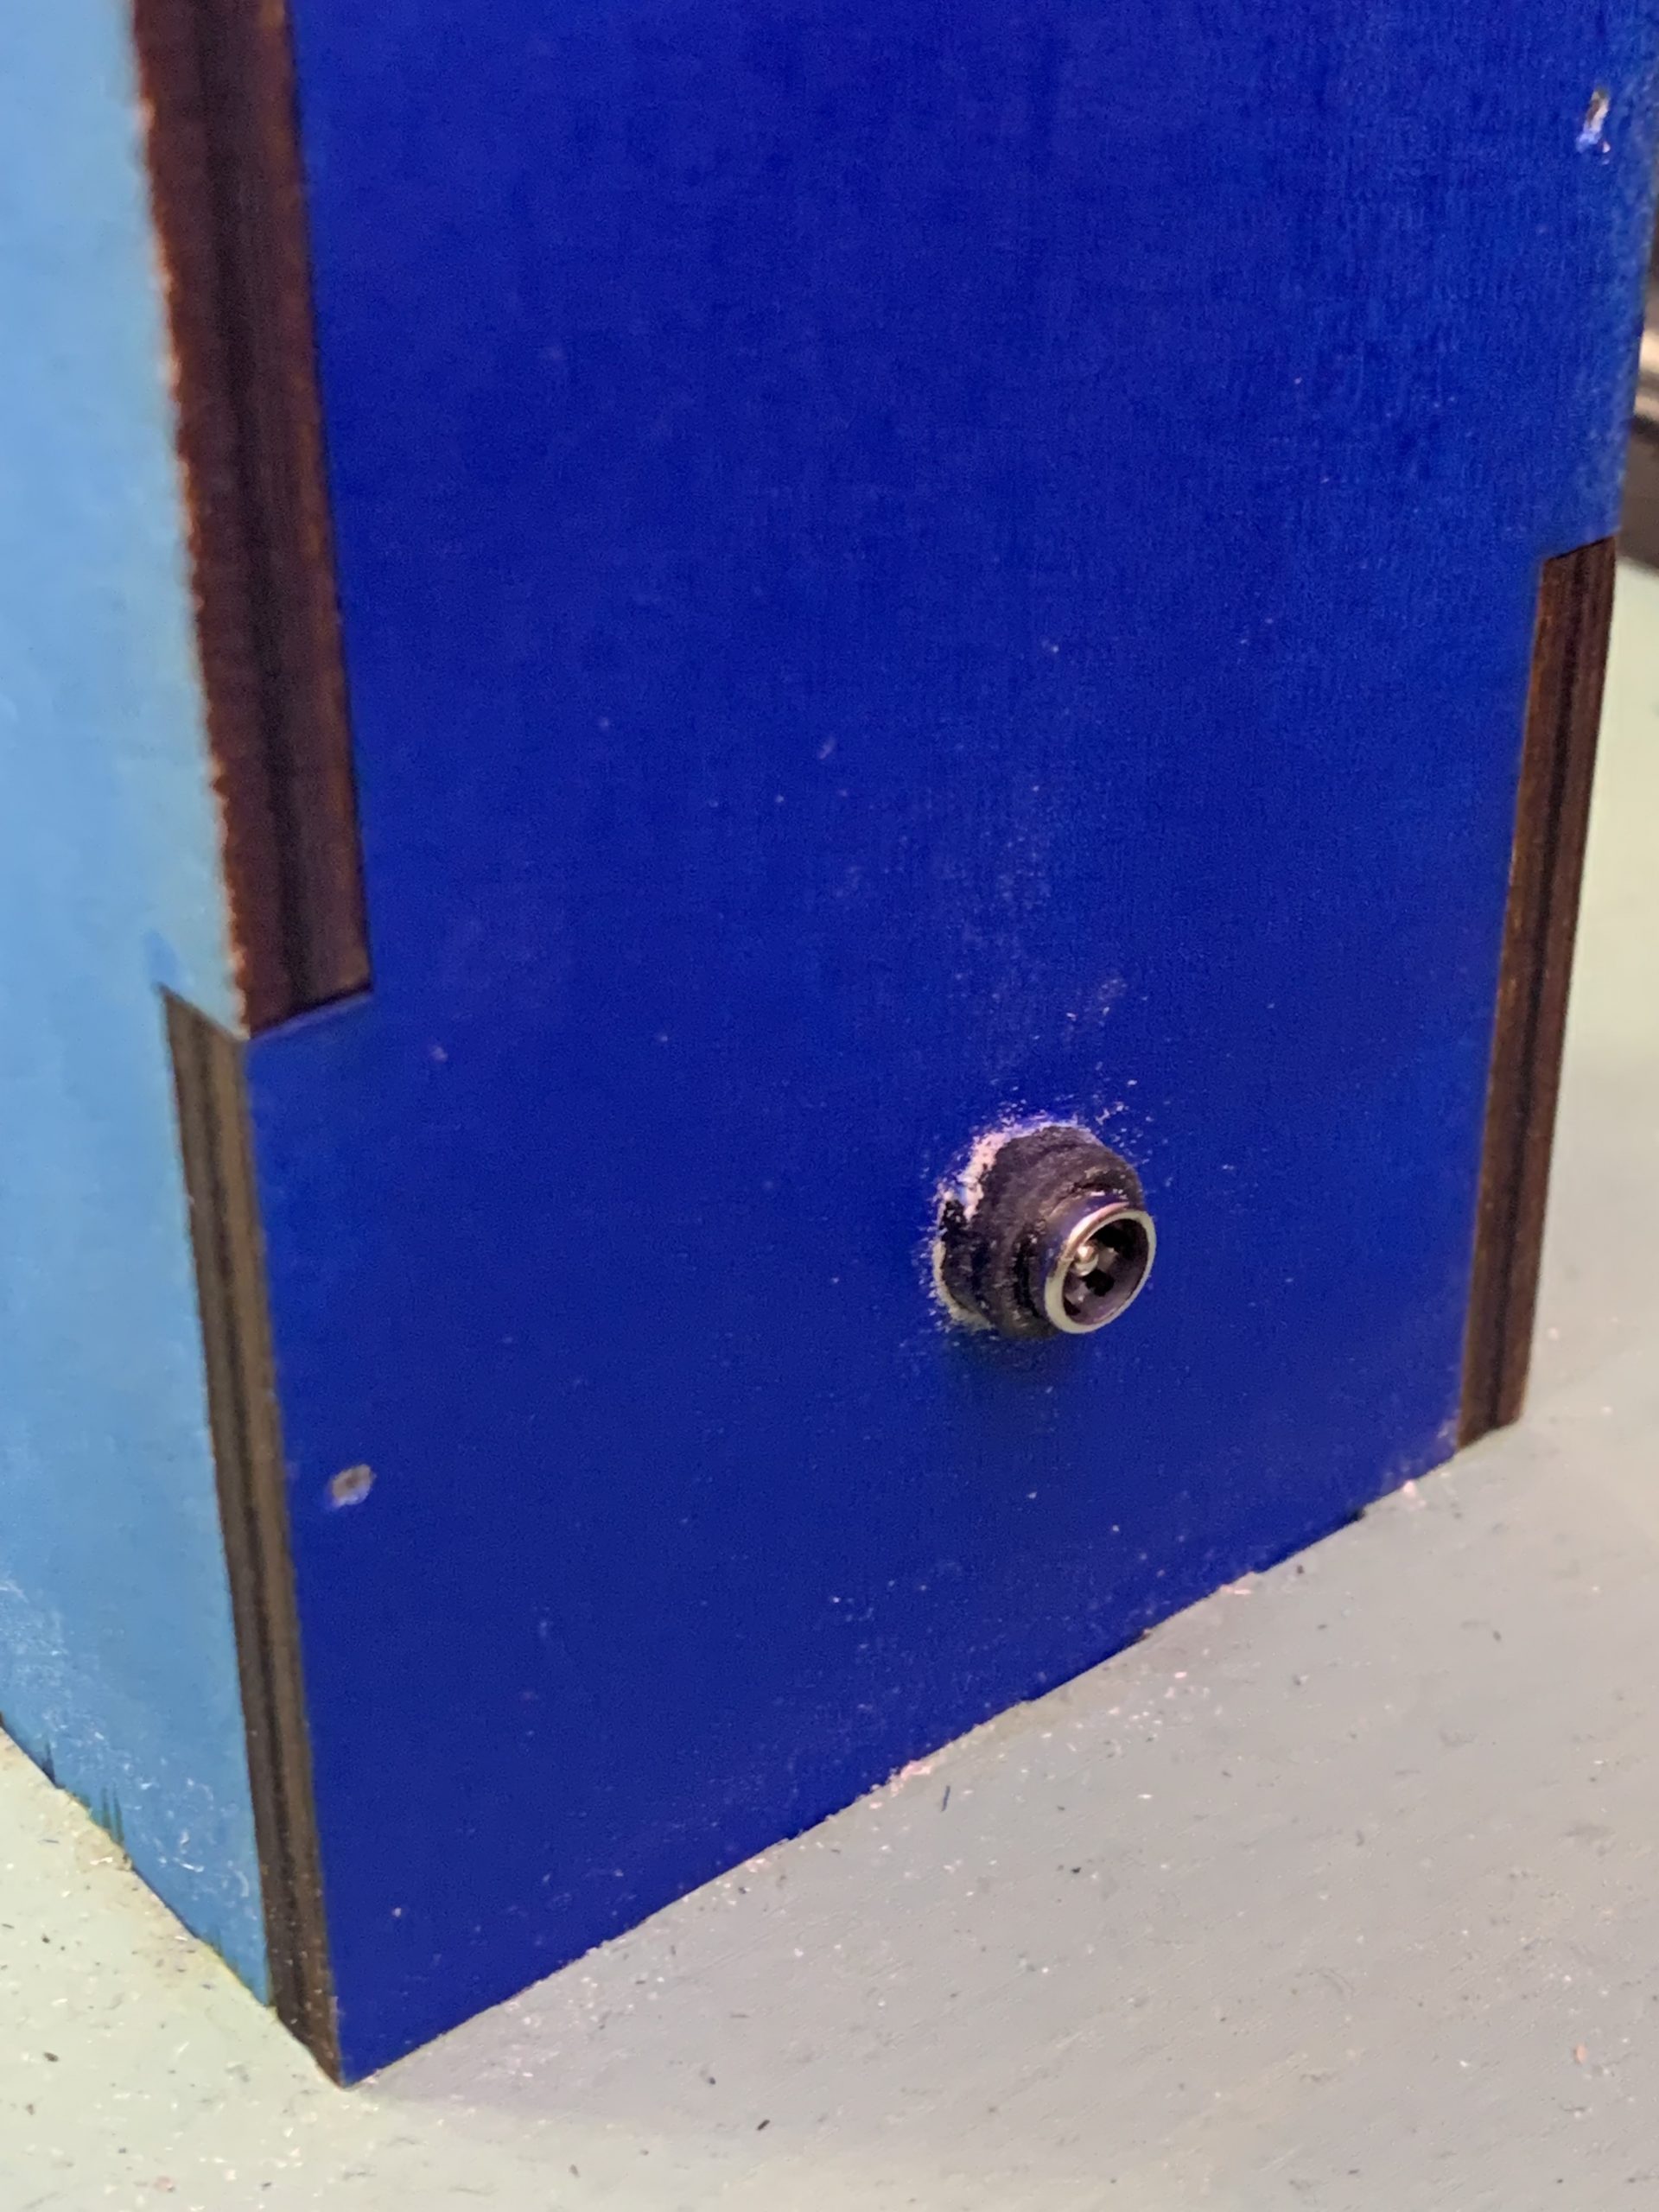
The 5v barrel jack located at the back of the device.
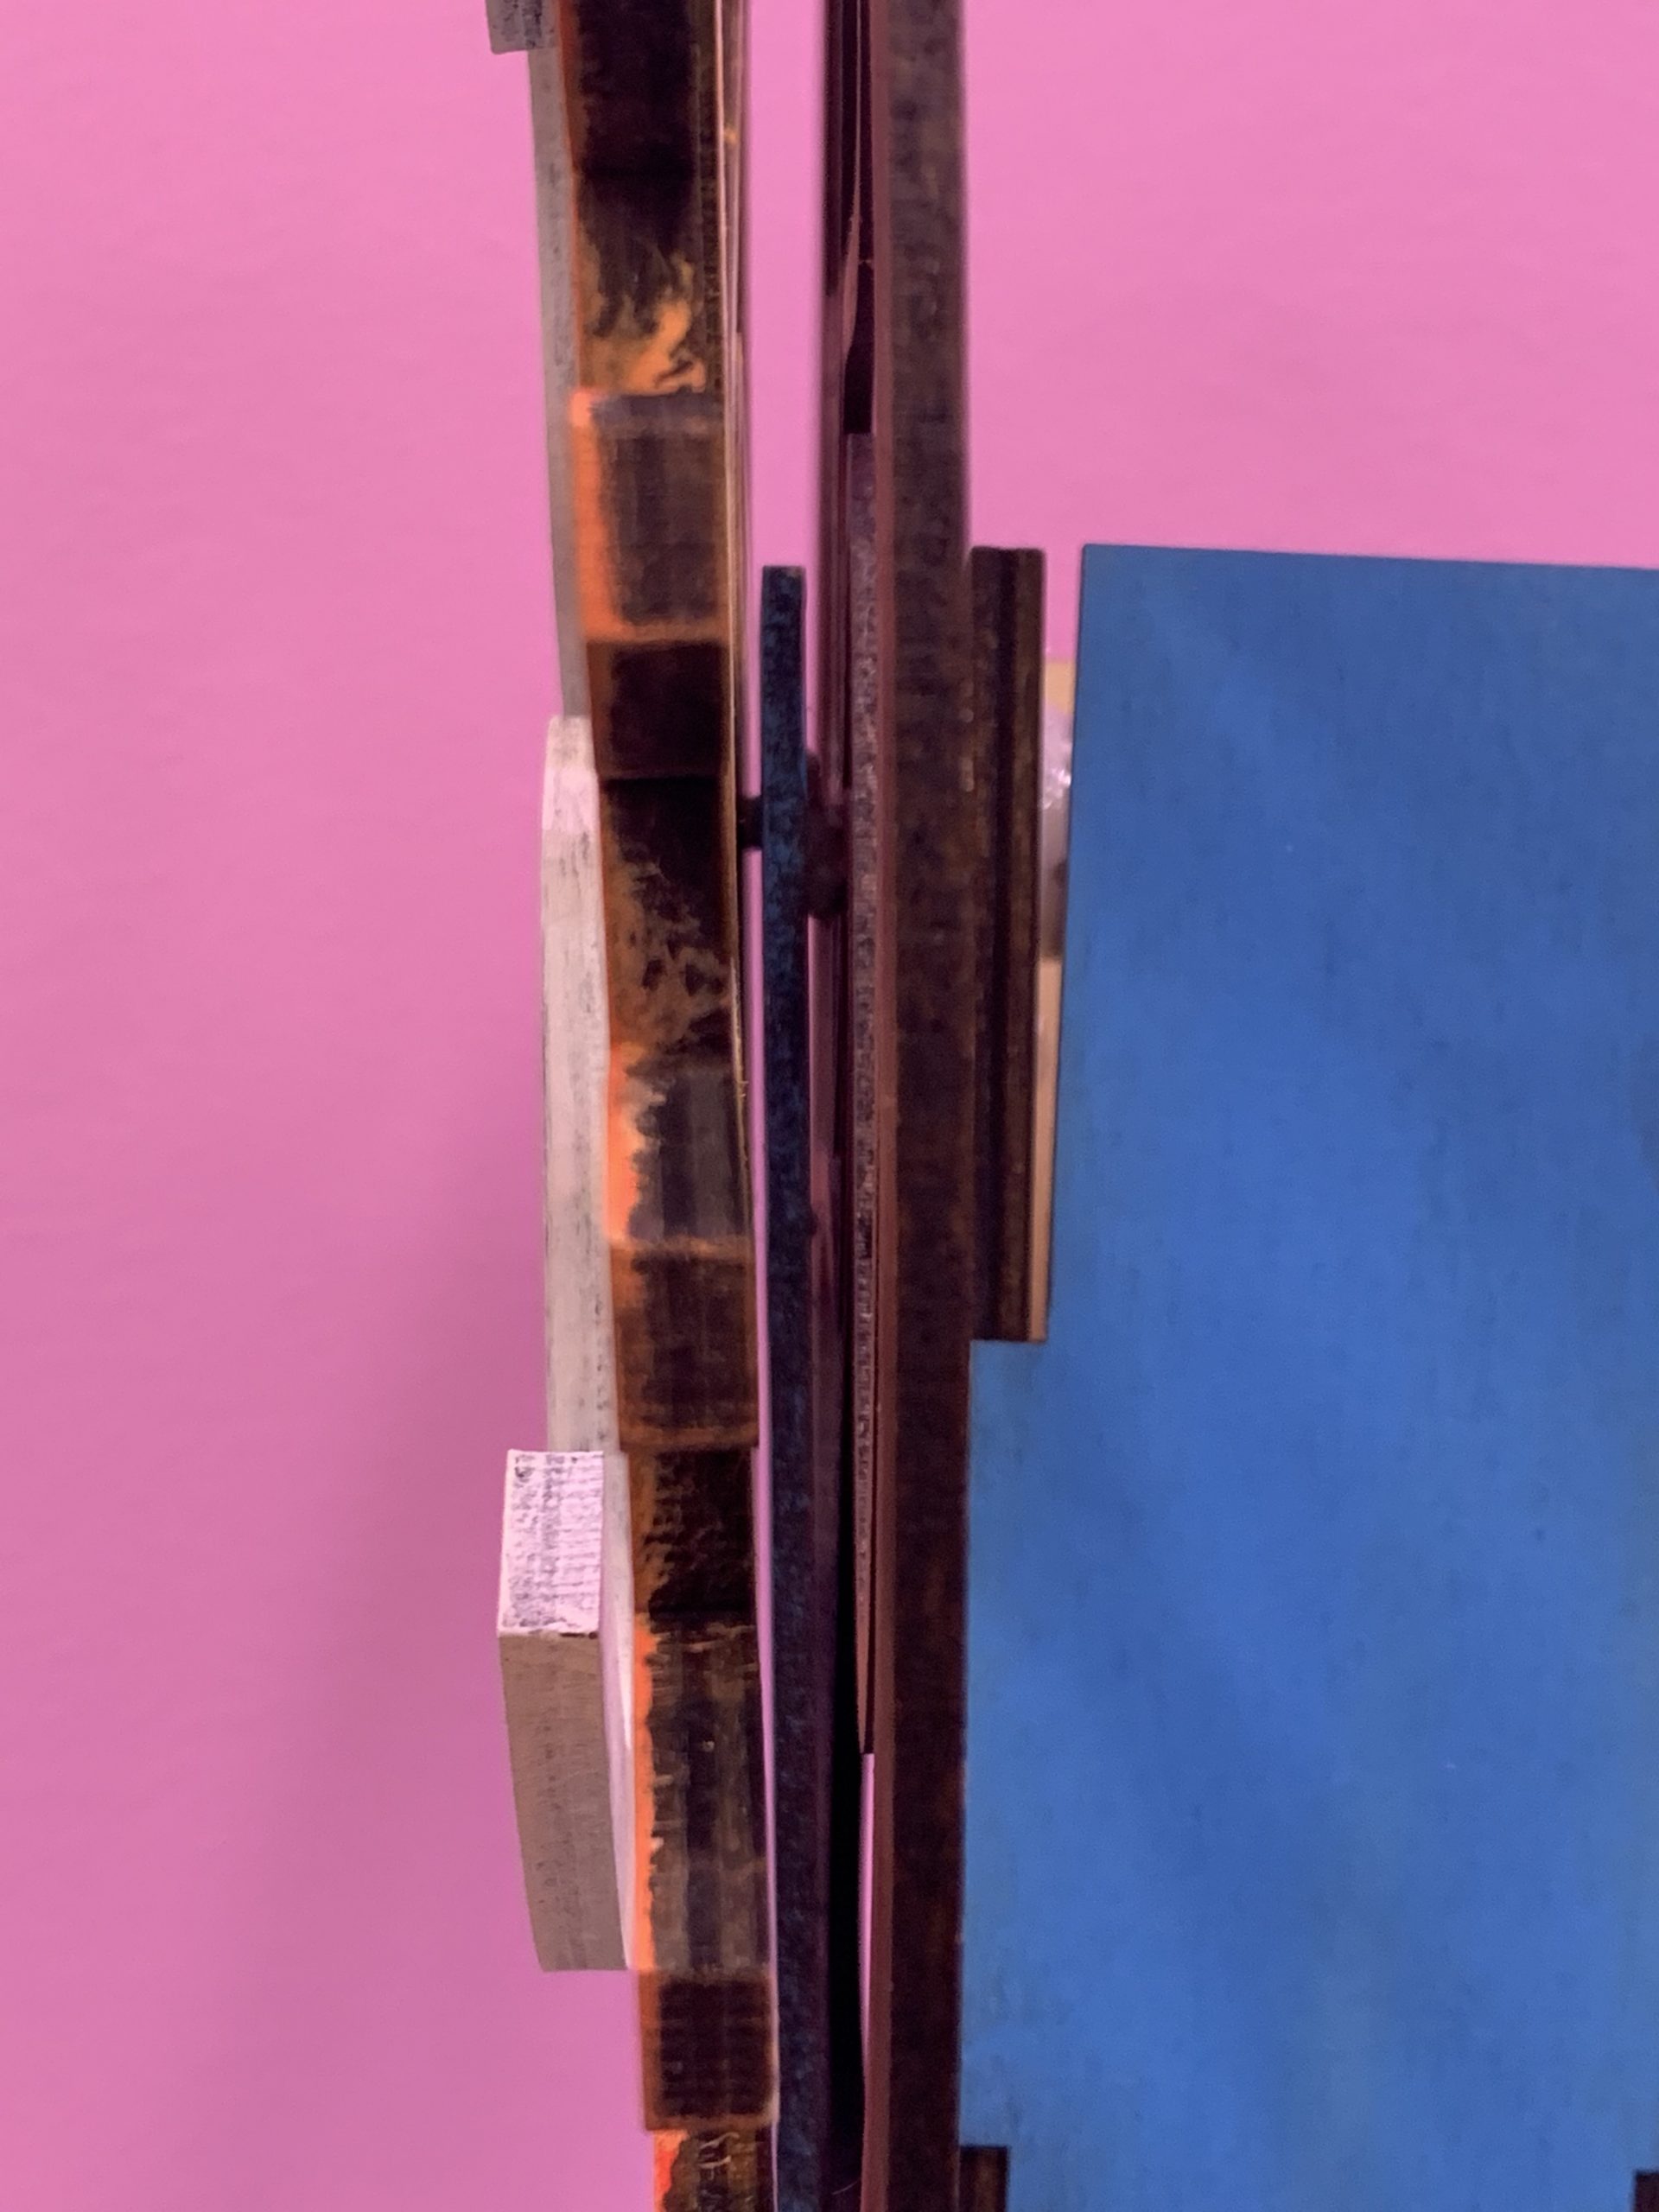
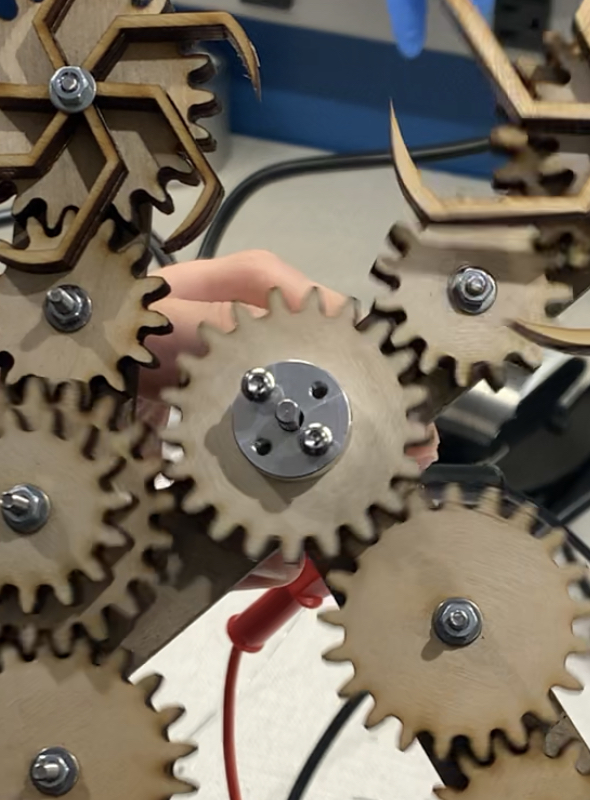
A picture of how the parts overlap. First (starting from the right), there is a motor. The motor drives the wheel in the back. A piece of wood separates that piece from the other wheel (which is driven by a gear). Then the K is in the front.
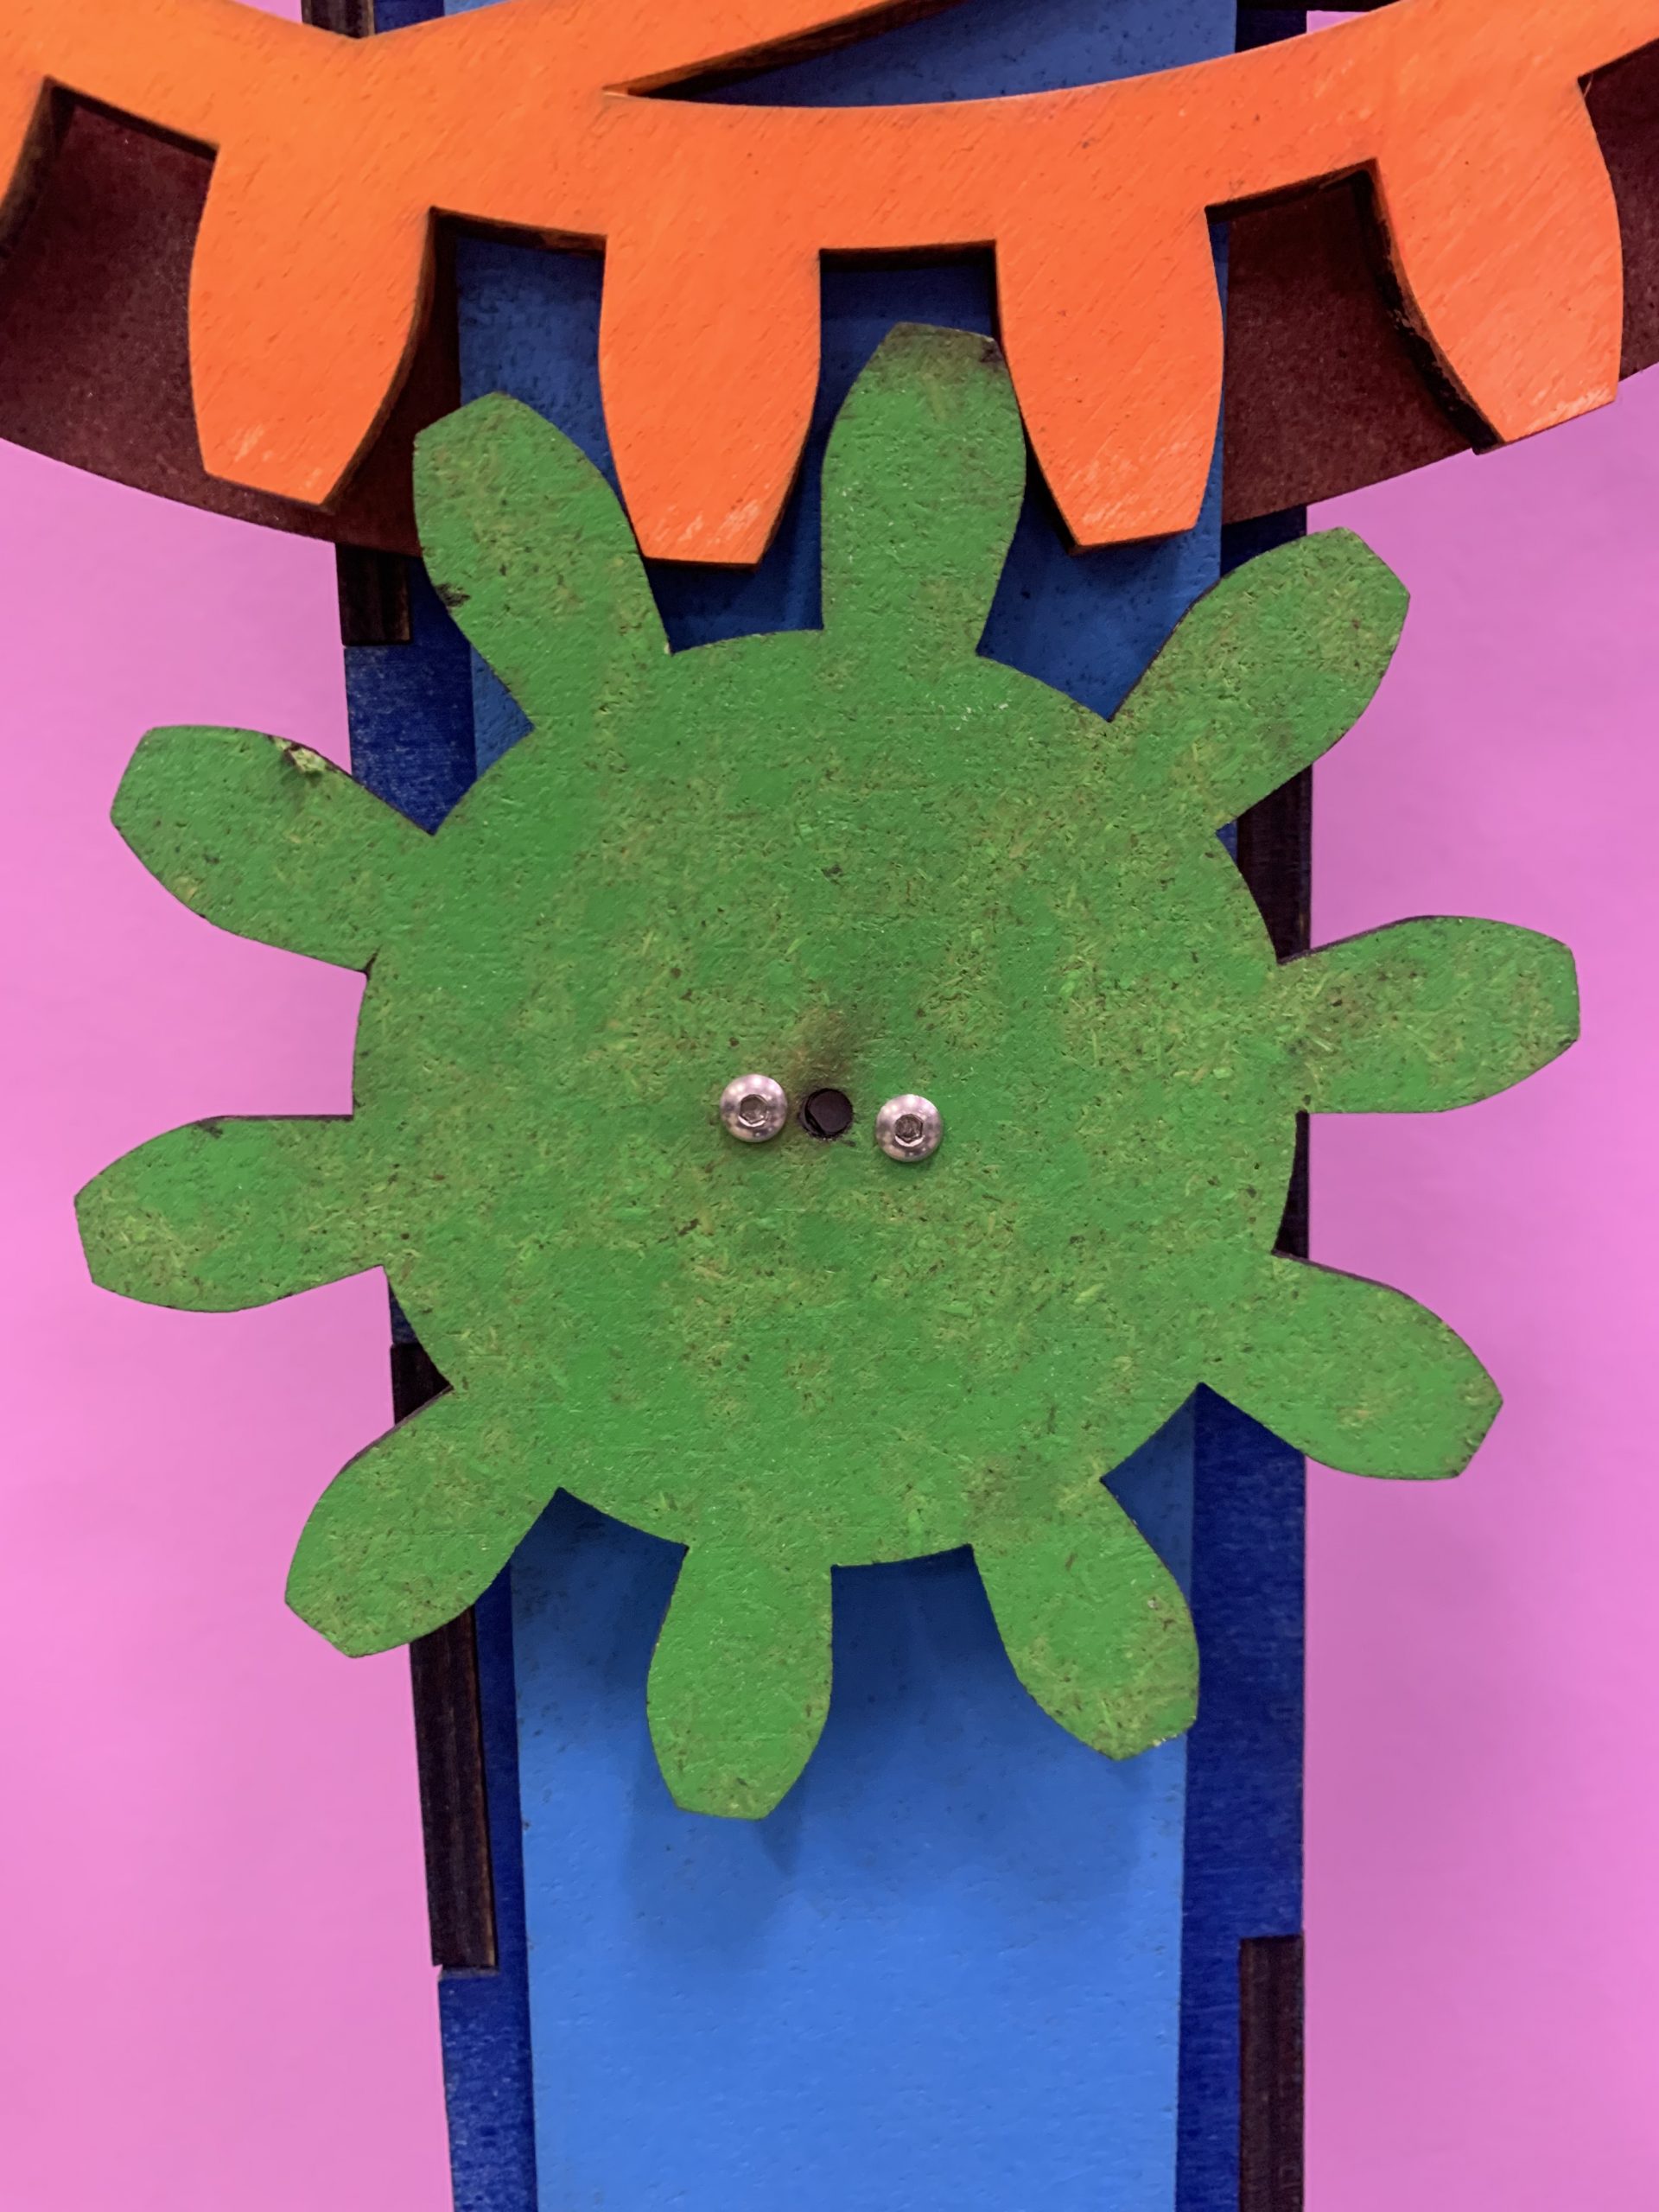
A picture of the gear that drives the front wheel. This gear is driven by a motor.
“When Kyle is about to start recording a video, he places the device somewhere behind him. He plugs in the device and it begins to move, adding life to its surroundings. The device stands in his audience’s peripheral, so Kyle remains the focus of the video while the device enhances the backdrop. Once Kyle is done shooting his video, he unplugs the device and it stops running.”
Prototype
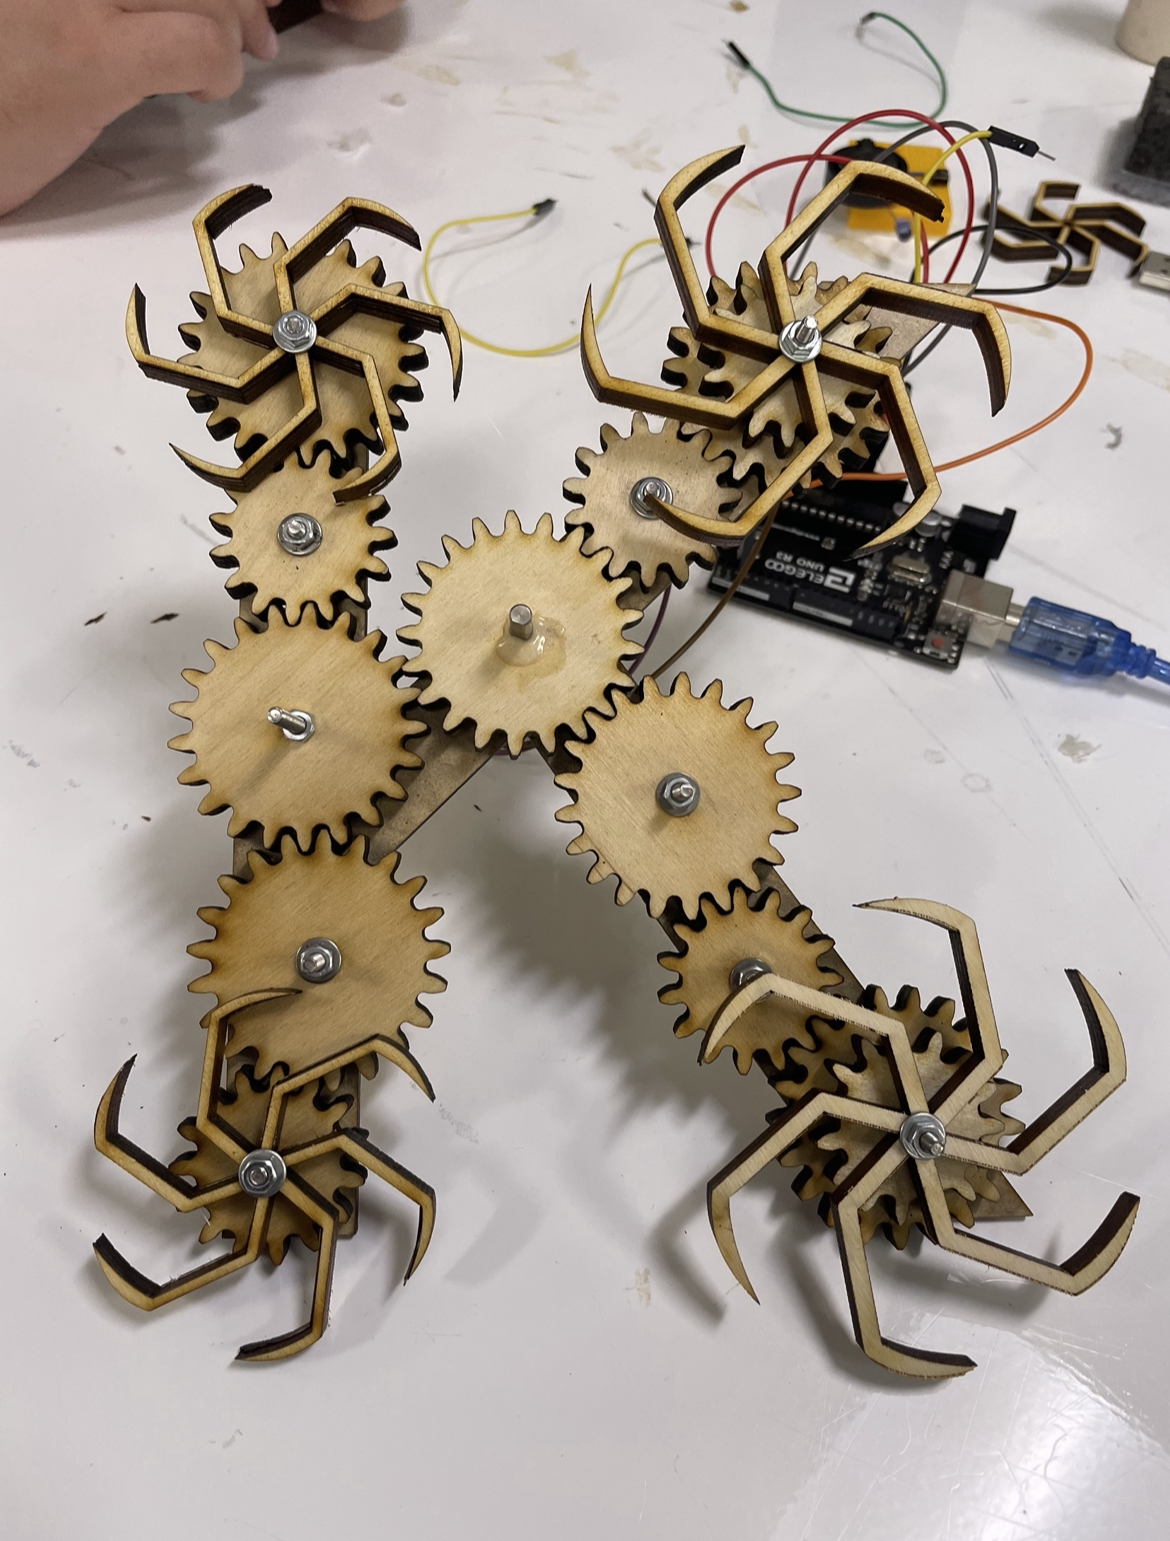
First prototype of our kinetic art sculpture for our design client.
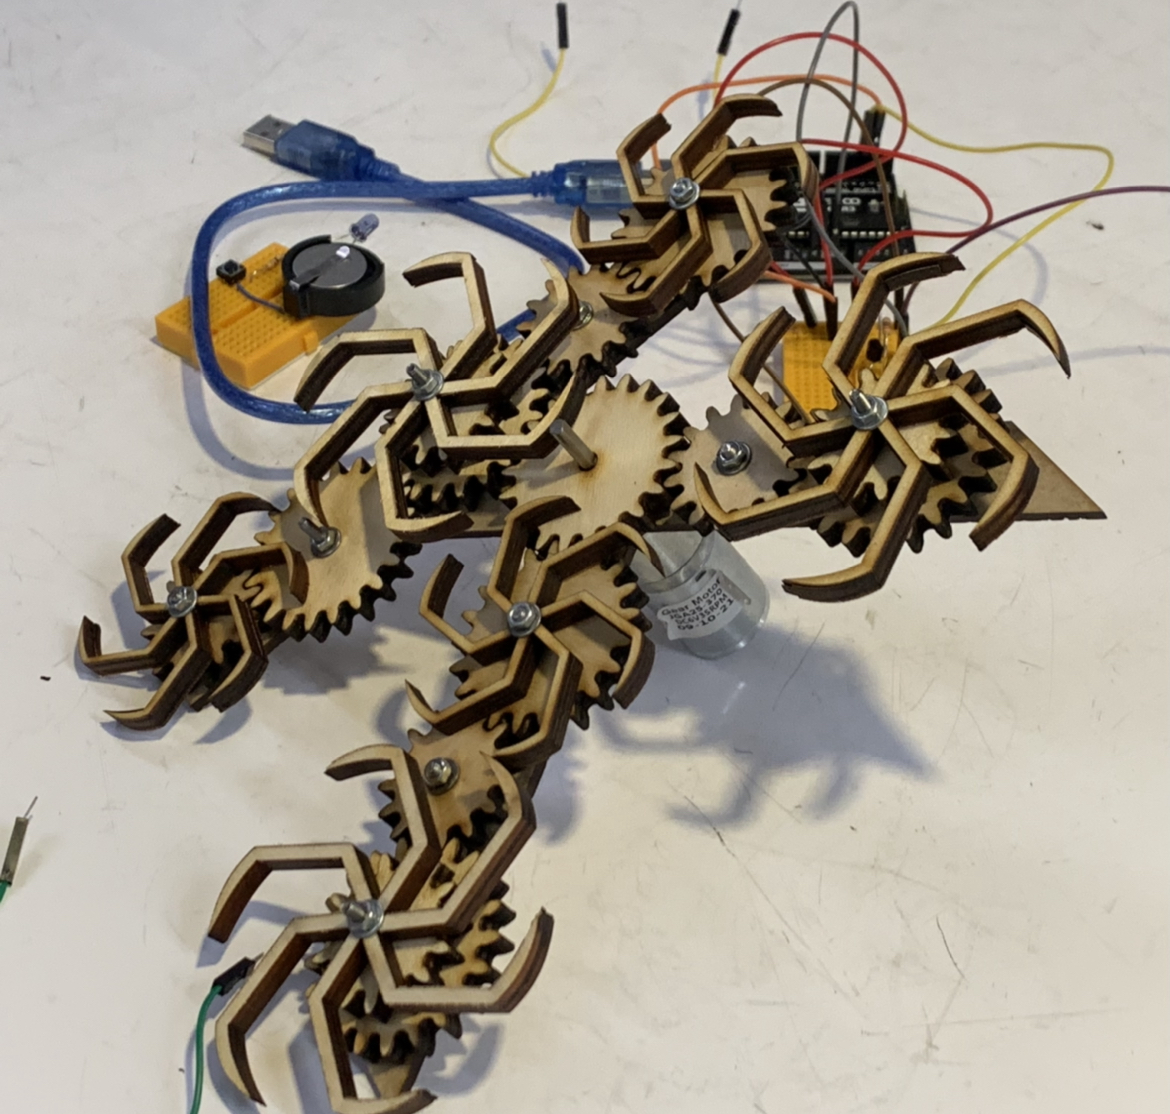
On/off controlled with the infrared light remote control.
We struggled to attach the motor and our laser cut designs together. Our solution was to use a shaft hub to hold them together.
A video of our “finished” prototype.
Prototype Development
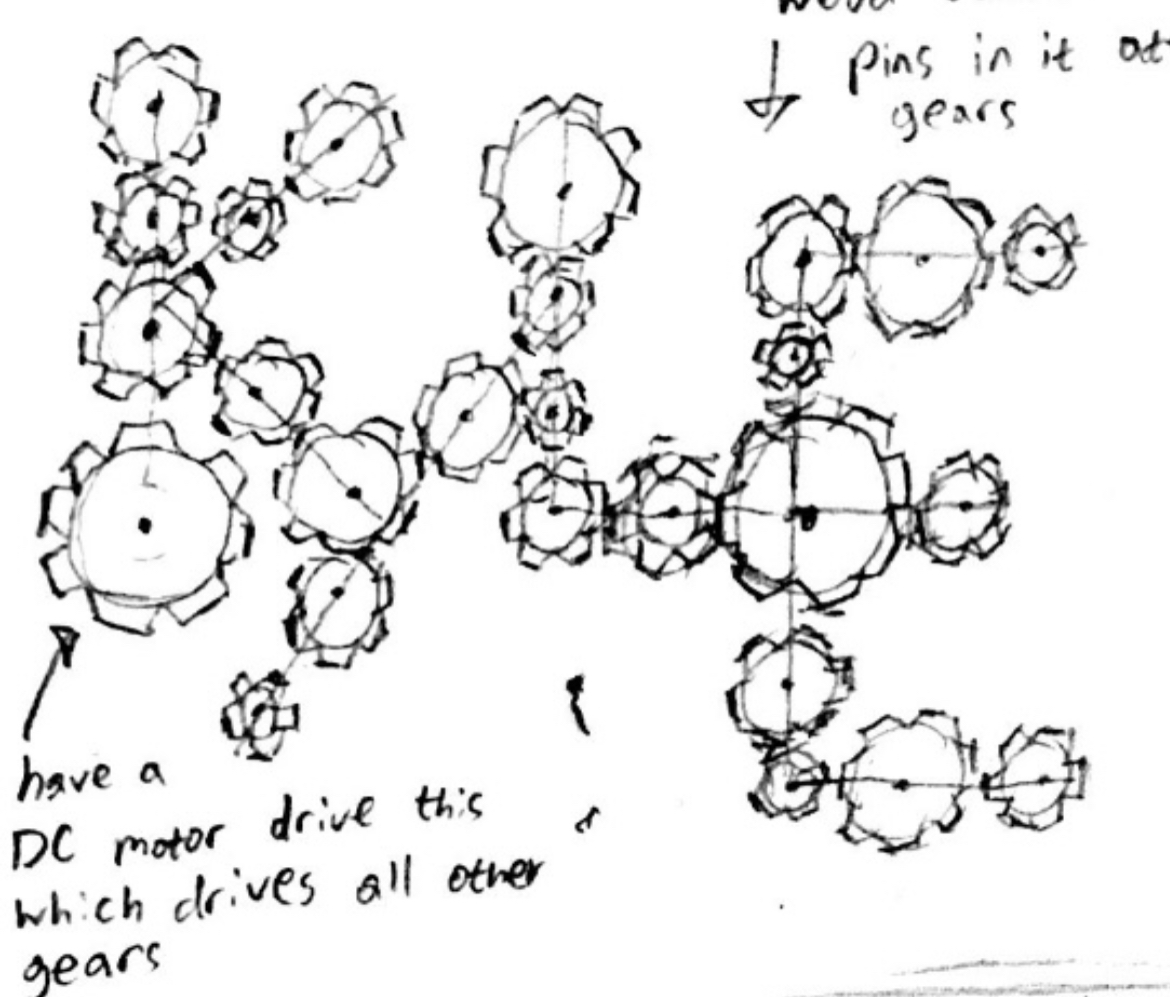
Our first sketch of how we imagined our kinetic art sculpture to look like.
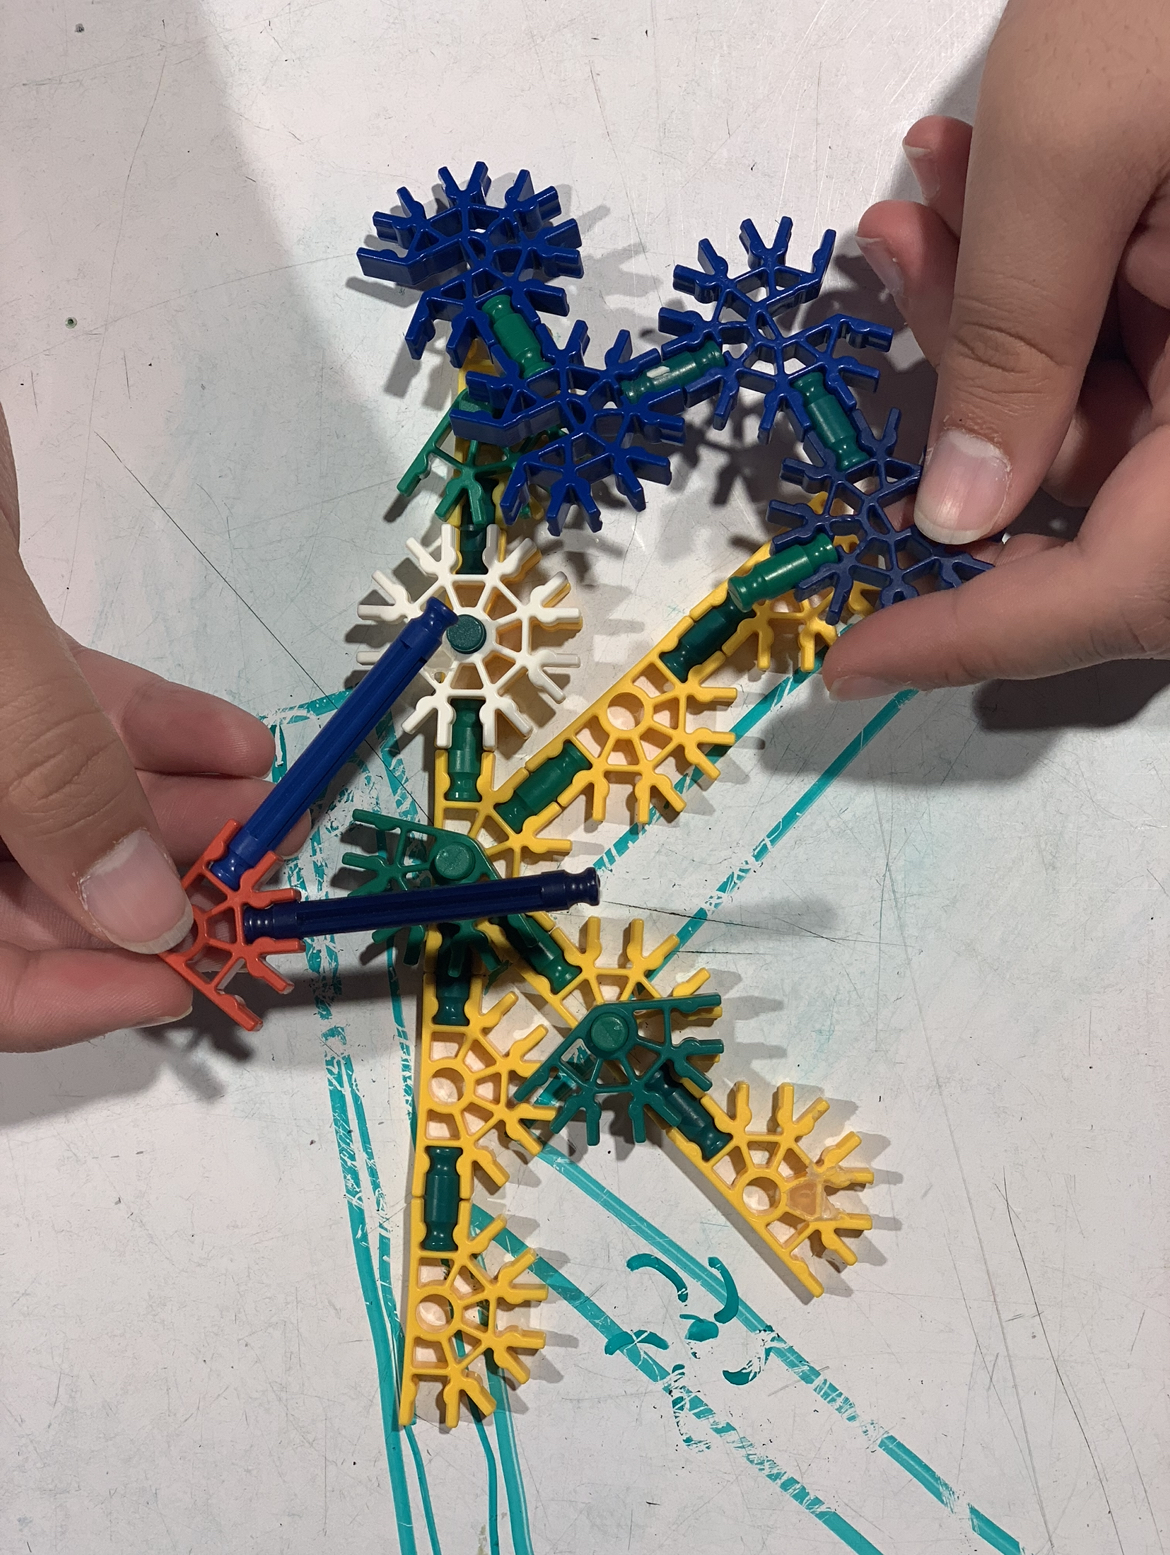
Played with these parts we found in the classroom.

An animation of the design that our prototype would make.
Our design client is a content creator and for our project we wanted to create a kinetic art sculpture that our client can put in the background of his videos for entertainment. Our goal was to make something expressive and unique to our client. For our first prototype we came up with a design that uses many gears that spell out his name and is driven by a motor. We also wanted to add cool effects on top of that to make it look more creative and fun, which was what our client wanted. Therefore, for our prototype we decided to try it out with just the first letter of our client’s name, the alphabet K. First we found some existing gear models on the internet and cut multiple pieces out in different sizes. Then we assembled them together and attached it to the K we laser cut. One mistake we made was we put the gears too close together causing too much friction making it difficult to rotate. We also laser cut more sophisticated designs to put on top of the gears but we realized we would not be able to get the effect that we originally wanted because they did not overlap and rotated in the same direction. But since we were going to upscale the project we considered that that would be our next step to figure out after getting our client’s feedback.
Our group was pretty satisfied with where we were at with our project for the prototype critique. We got some great feedback from our classmates and guests. However, our design client, Kyle, did not seem to enjoy it as much as others. Our client wanted a more fun and exciting design and our prototype seemed too mechanical and was not expressive of his character which we totally understood and agreed with. After talking with our client, we decided to make some changes and come up with a more creative design that Kyle wanted. Even though we knew that this change required us to kind of start over, we were determined to create something that our client was satisfied with. That is how we came up with our final design.
Process
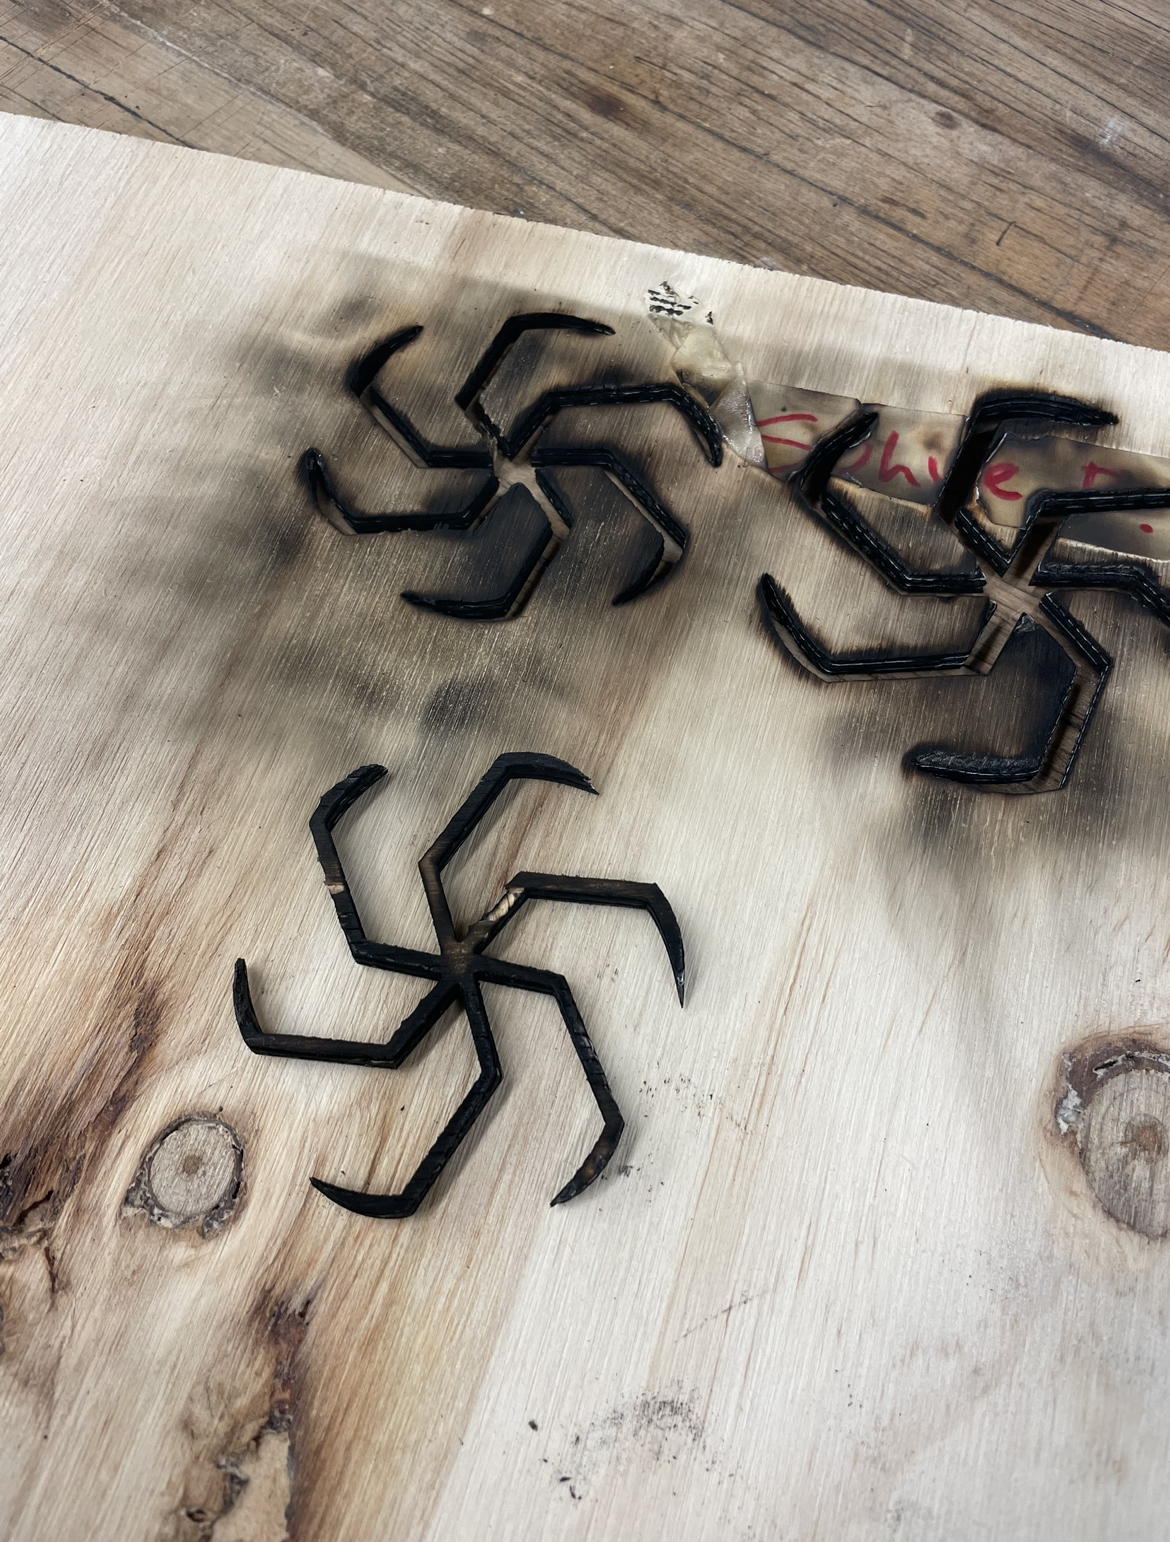
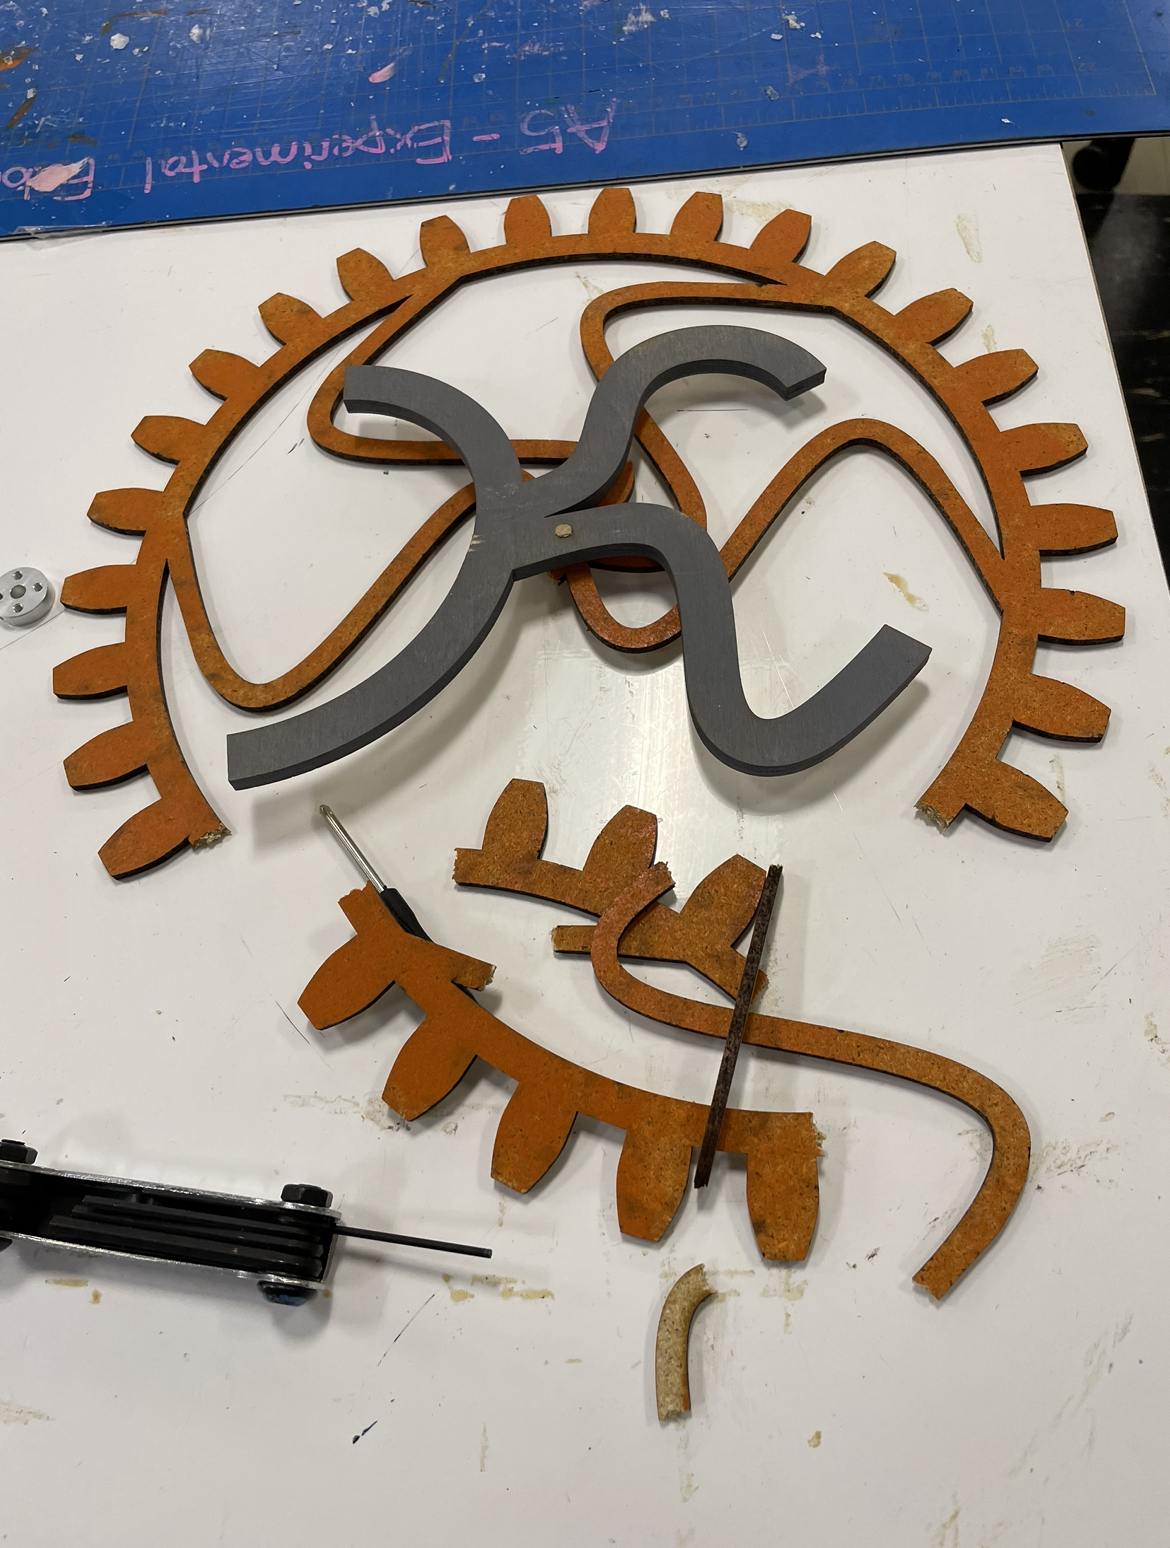
Tried to laser cut our first design however the model was too small and thin that it burned.
An animation of what our final project would look like.
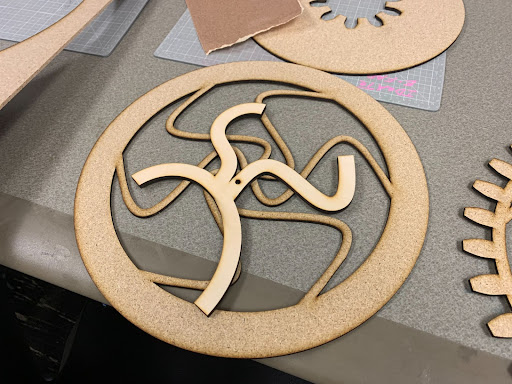
Our new design test cut. We used the MDF material this time and we broke one of the parts we cut because it was too thin.
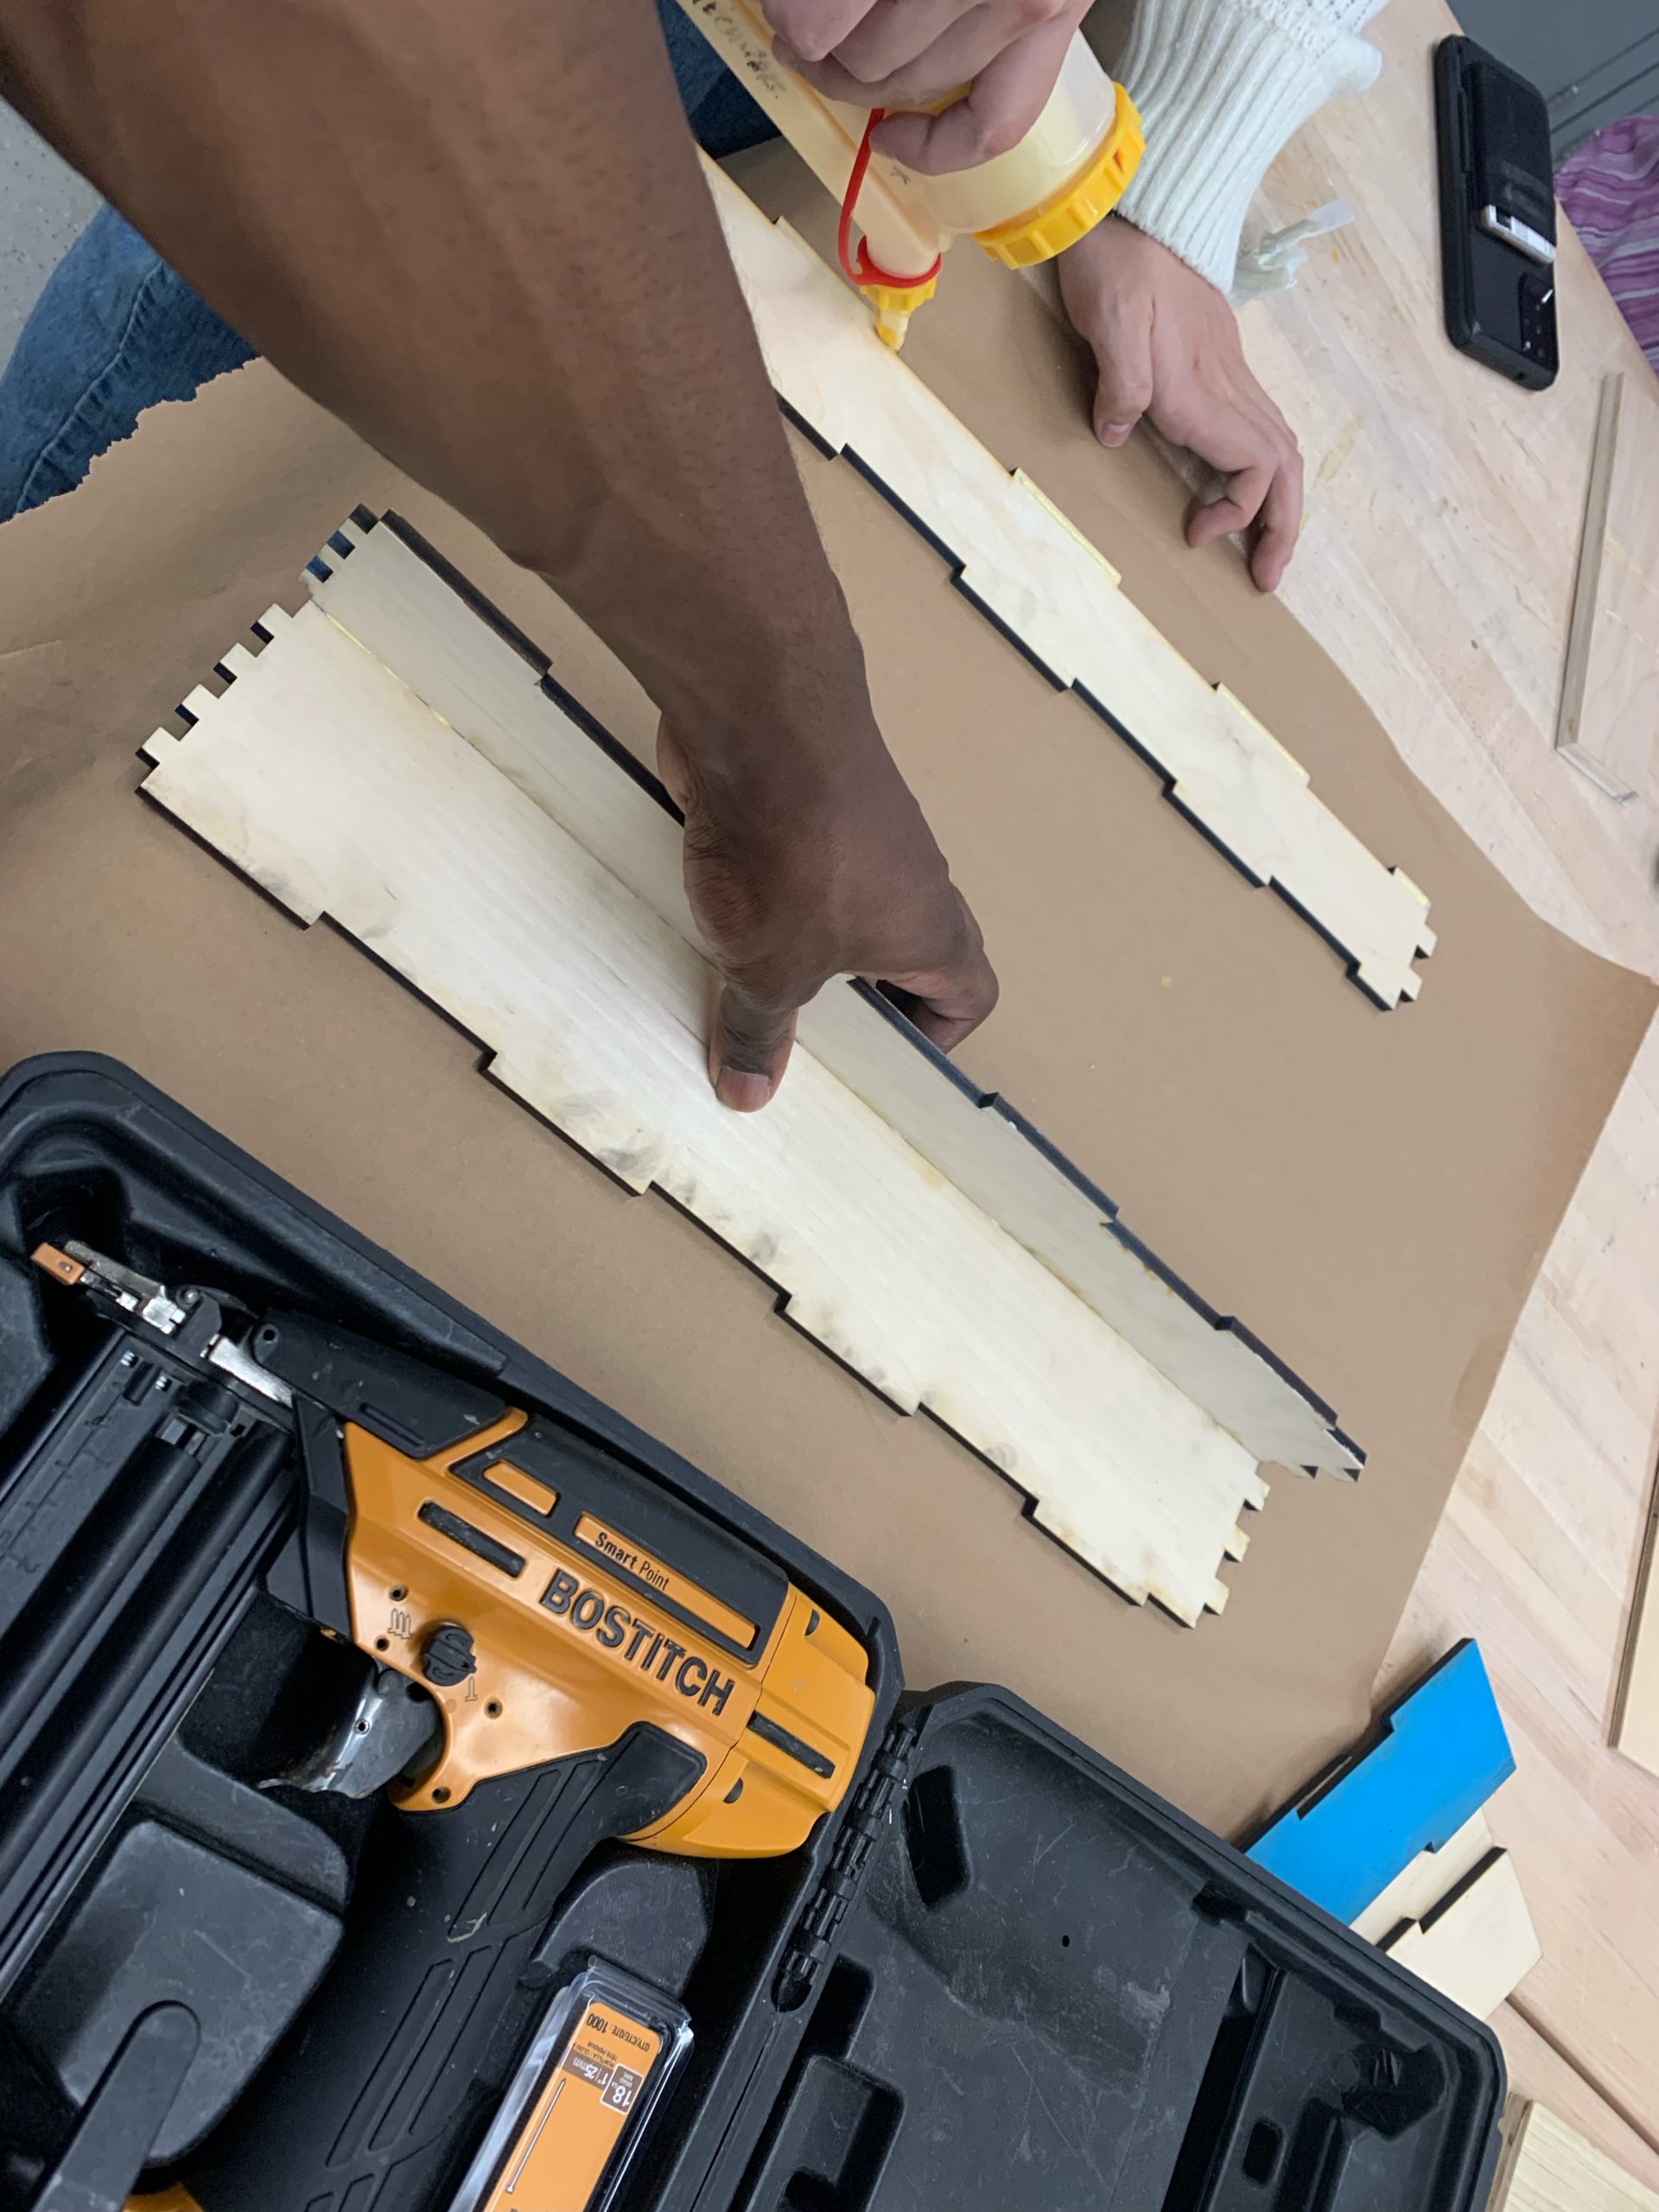
After cutting out the parts with the laser cutter, we made sure to glue it and use a nail gun for stability.
We tried connecting it to the motor for the first time without safely attaching it and because of the fast motor speed, the piece fell and broke, again. We quickly cut another piece but this time with a thicker material, 6mm plywood.
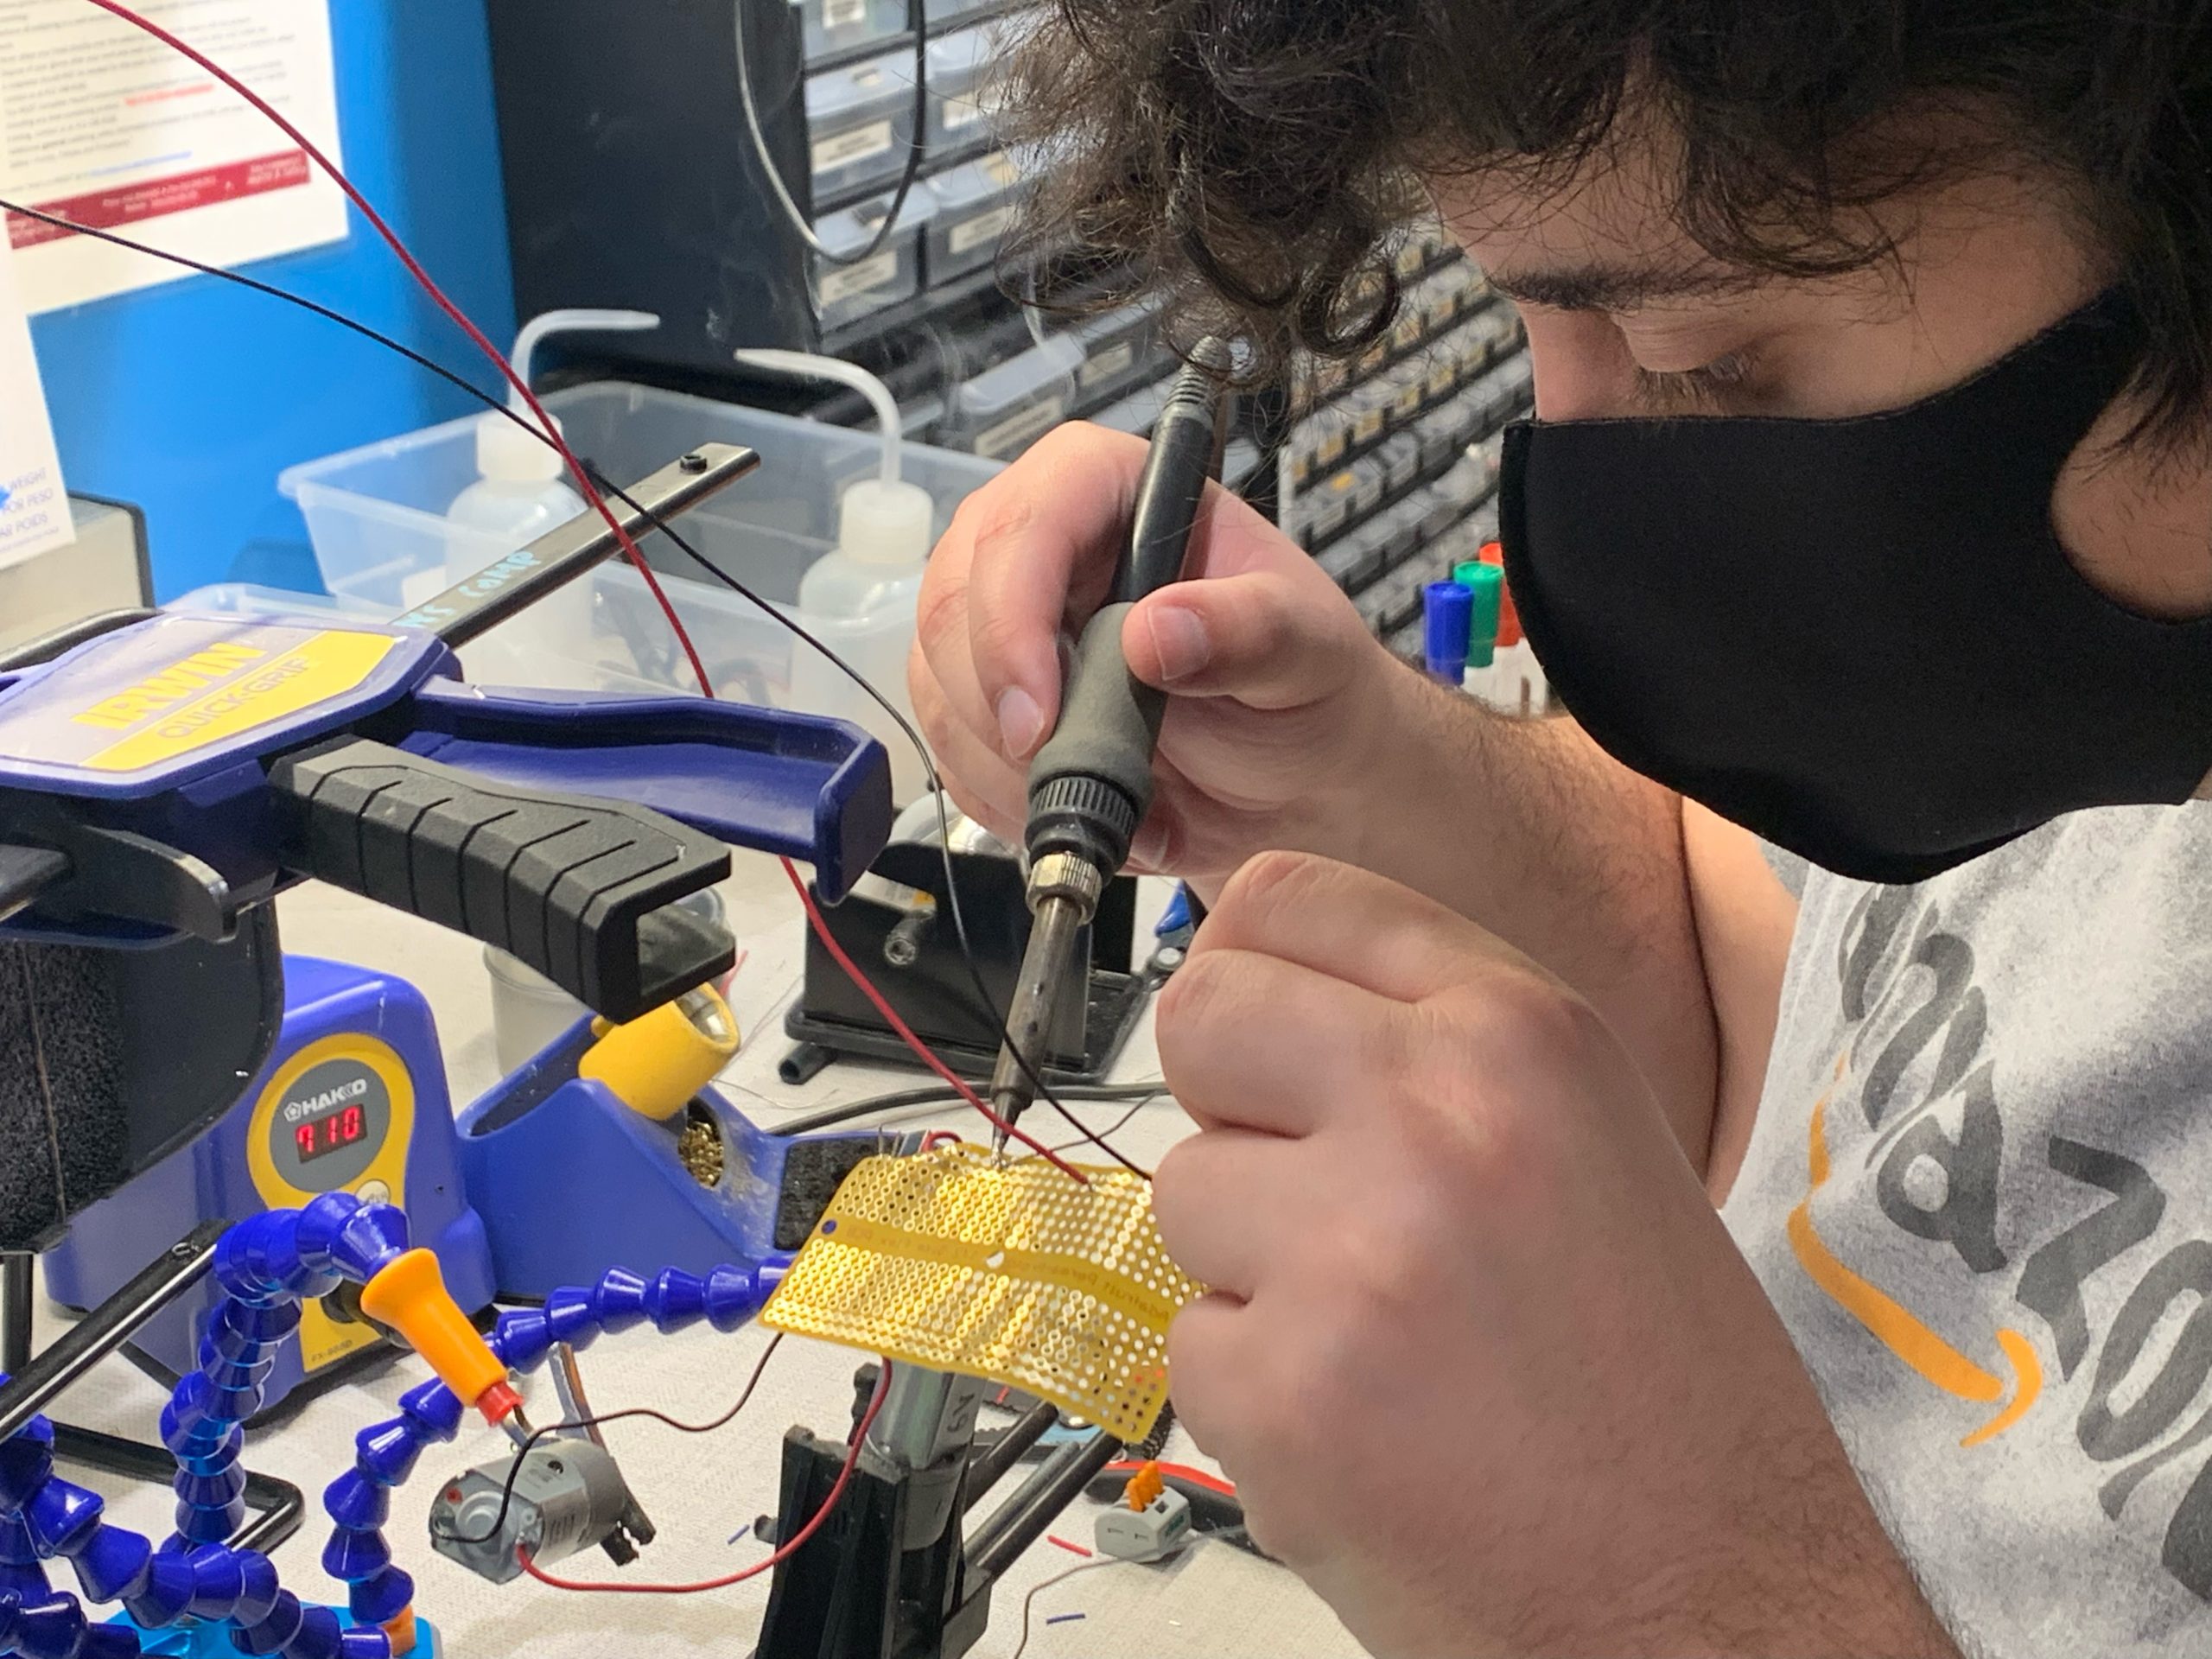
Soldering wires connected to the motors for organization inside the kinetic art sculpture stand.
Our group definitely had many ups and downs in the process of making our kinetic art sculpture for our client. Some things we struggled with was laser cutting our design models. One time we tried cutting out a few pieces of our design for our first prototype using a different type of laser cutter on campus and this laser cutter did not do a great job and pretty much burned most of our material. Also for our final design, we had multiple accidents of our parts breaking due to a very fragile material we used. This happened when we were assembling them together and trying to connect it with our motor for the first time. We had to recut the piece and paint it again but we made sure to use a stronger and thicker material. We also paid attention to stability. Since this is a standing sculpture, we were worried that it might not be strong enough to hold together and balance itself without falling. We used different types of glue, shaft hub, and nail gun to make sure they are supported and well held together Schedule was very tight since we were not really able to follow our planned schedule over thanksgiving break. Our group members were not able to meet up during break however we managed to get together everyday after break and work together to get things done.
Conclusion & Lessons Learned
Overall, we learned so much from this project. We were able to accomplish a lot, but we know that there was a lot more we could have done and that there is room for improvement.
One thing that was problematic about our device was the noise it made. After listening to the feedback provided by our guests, we realized that there were plenty of measures we could have taken in order to reduce its volume. Almost half of our feedback sounded exactly like, “it was really loud.” We honestly didn’t know that it would be a problem until after we had finished constructing everything. Once we did hear how loud it was, we didn’t know how to solve the issue. However, our critics provided a plethora of ideas that we could have implemented in order to reduce the magnitude of the issue. One person suggested that we, “experiment with other drive options,” and another that we, “[try a] belt system for rotation coordination. [Or a] spring… system… to eliminate noise.” There were so many other great ideas that were bounced around, but we hadn’t thought of any of them while we were constructing the device.
Another huge takeaway we got was the importance of prototyping. When we constructed our first prototype, we got the sense that our client wasn’t very excited about it. We thought for a while about how we could improve it, but in the end we decided to scrap everything and start again from scratch. This felt somewhat like we had just wasted time, but it prepared us for what we were going to attempt next. One person commented, “It takes someone strong of mind to look at their designs and realize that it is ‘too busy’… and start again from scratch. This team showed that skill.” In the end, it was much better that we be comfortable with the idea of starting over rather than trying to improve upon something that wasn’t working.
Working with our clients remotely caused fewer problems than expected. We were able to communicate with our client through zoom, but it wasn’t as effective as it could have been if we had met in person. At first, Kyle wanted some sort of assistive device that would help him hold a camera without dropping it. We were excited to do this for him, but later dropped the idea since we couldn’t get a clear idea of what his motor capabilities were or get the necessary measurements needed to fabricate the device. It was also difficult to make our design process as inclusive to Kyle as possible since we had to show him everything using a camera.
Overall, this project was an incredible learning experience. We are so grateful that we had the opportunity to work directly with someone who is disabled. When we were designing the camera holder, we were challenged to think differently about how we approached the design since we had to keep Kyle’s disability in consideration. When we moved to creating kinetic art, it helped us to see the humanity in Kyle because we got to work with him on something that was completely unrelated to his disability. We took away many lessons that were specific to this, but we also learned so much that we can apply to future projects.
Technical Details

On the left is the block diagram and on the right is the circuit.
Underneath you can find all of the .dxf files used to create the actual piece.