


For this project we had a client with a physical disability with whom we had to work with to come up with a solution to a problem they were facing. Our client uses a wheelchair and has little strength in her hands. As a result, she has a really hard time using an umbrella. After meeting with the client, we decided to come up with a solution that would allow for easy control of a product to protect her from the rain while also still being able to control her wheelchair.
WHAT WE BUILT
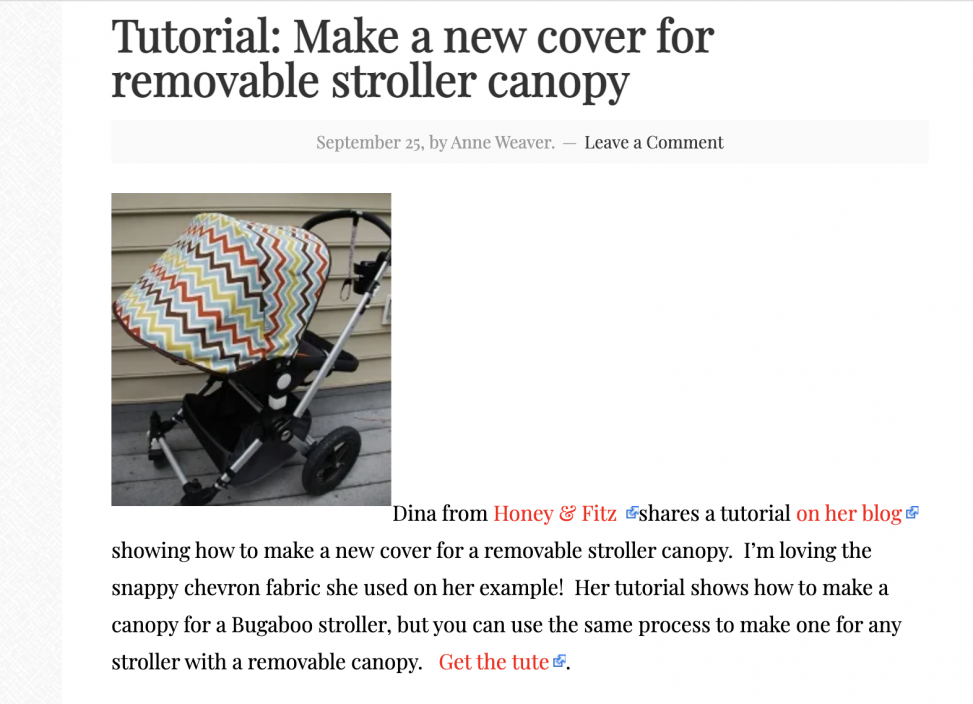
For the solution we designed a hood, inspired by a stroller hood, that is motorized and controlled by the user with two buttons. At least, that was the initial plan. Due to unforeseen circumstances and given our time constraint, we were only able to build the hood, and could not motorize it. The hood goes from the back of the wheelchair and then moves to a position above the client that protects her from the rain.


Narrative Sketch
As Cam is about to leave her house it starts to rain. She realizes this and as she is about to leave through the door presses the open button, which is located just below the joystick on her armrest. The hood then opens up covering her body and protecting her from the rain. Once in the vehicle, she then presses the close button to close the hood, moving back to the back of her wheelchair.
PROTOTYPE & PROCESS
*confused i think cuz i was writing about the final design instead of the prototype so gonna have to rewrite statements below
This prototype was designed to help answer the design question: “How can [client] keep themselves protected from the rain while still being able to control their wheelchair?”
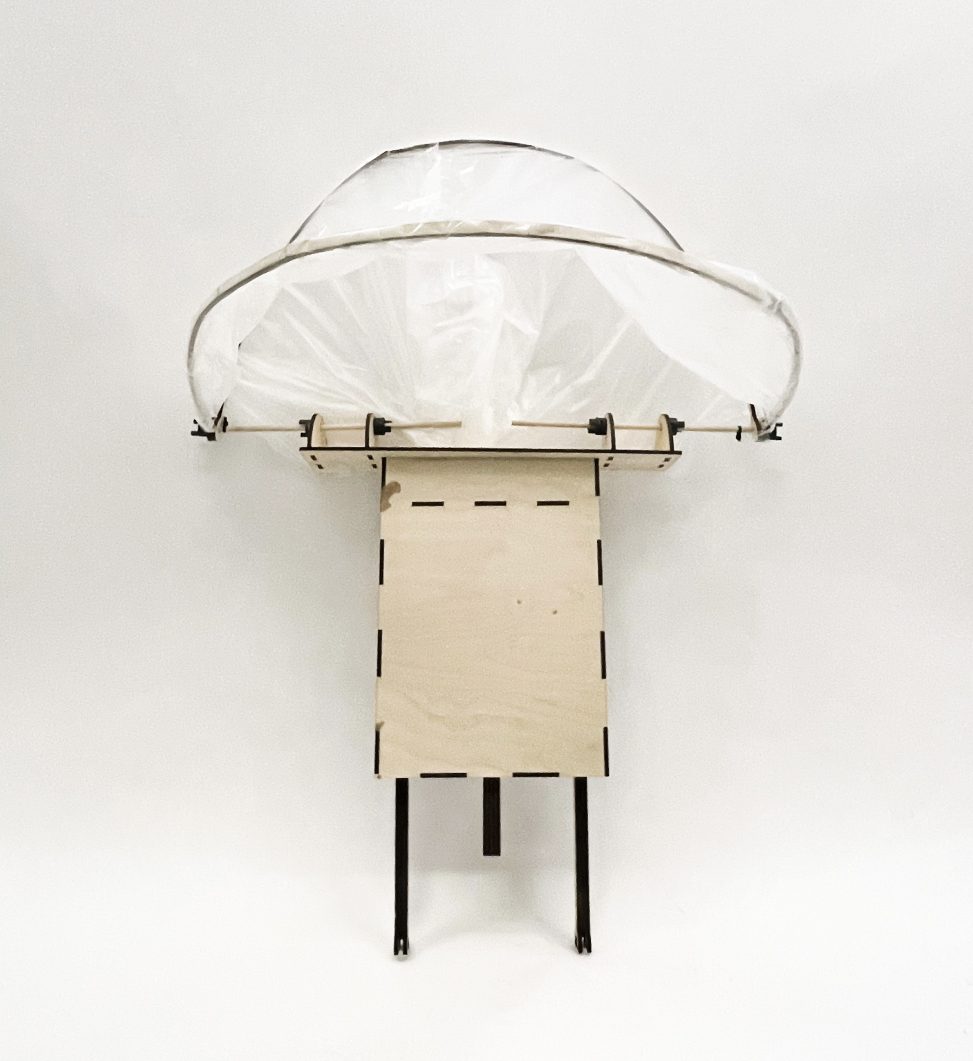
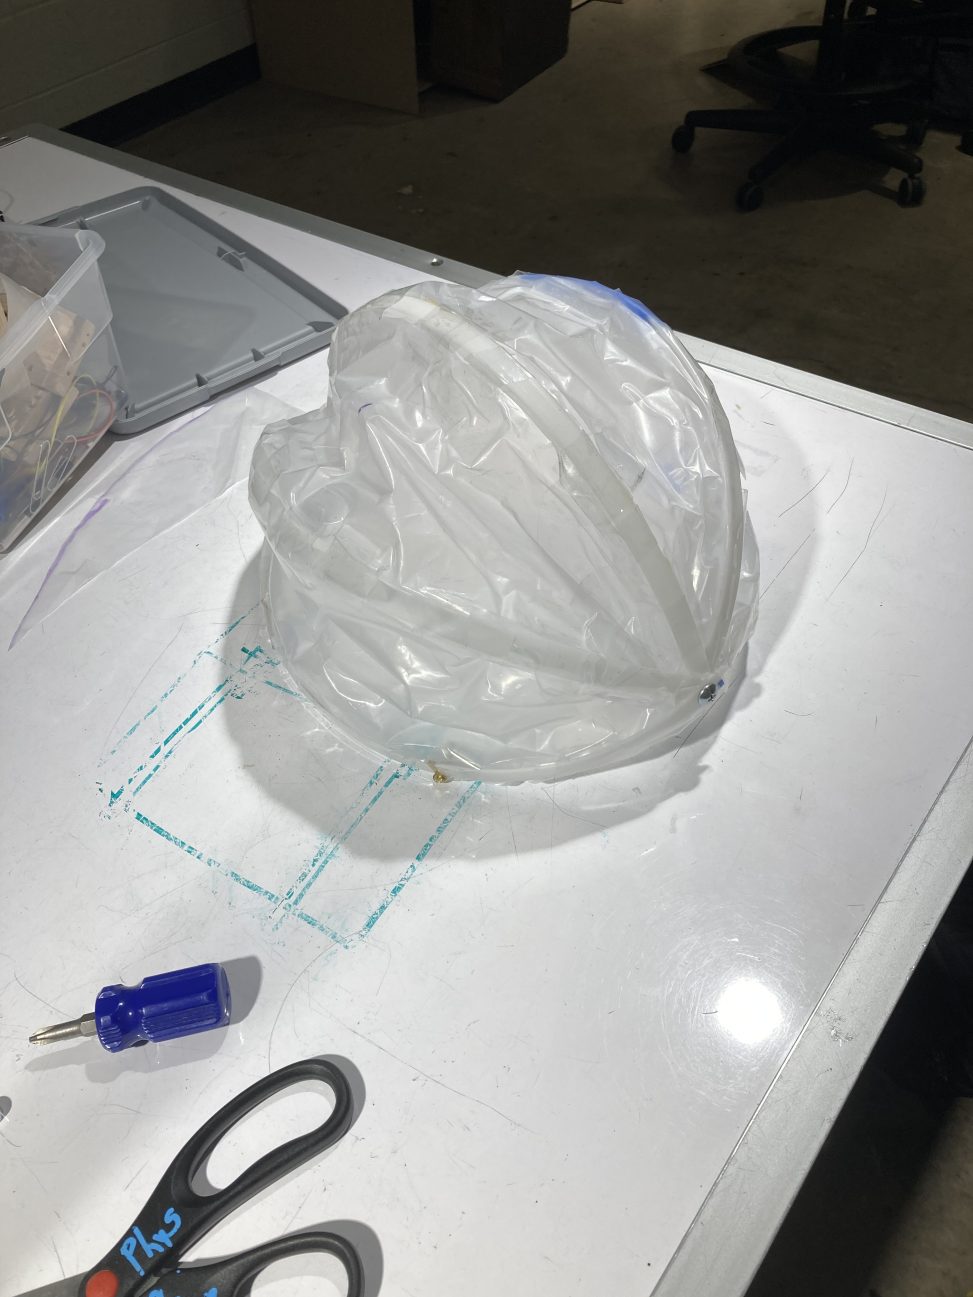
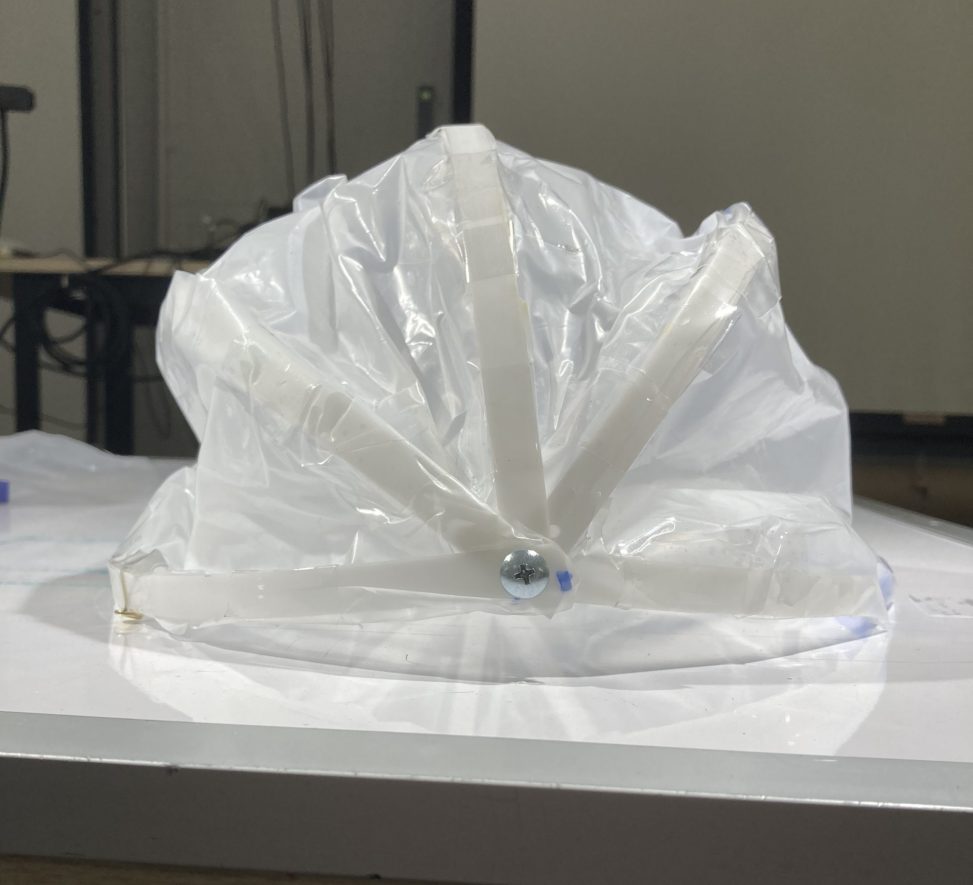
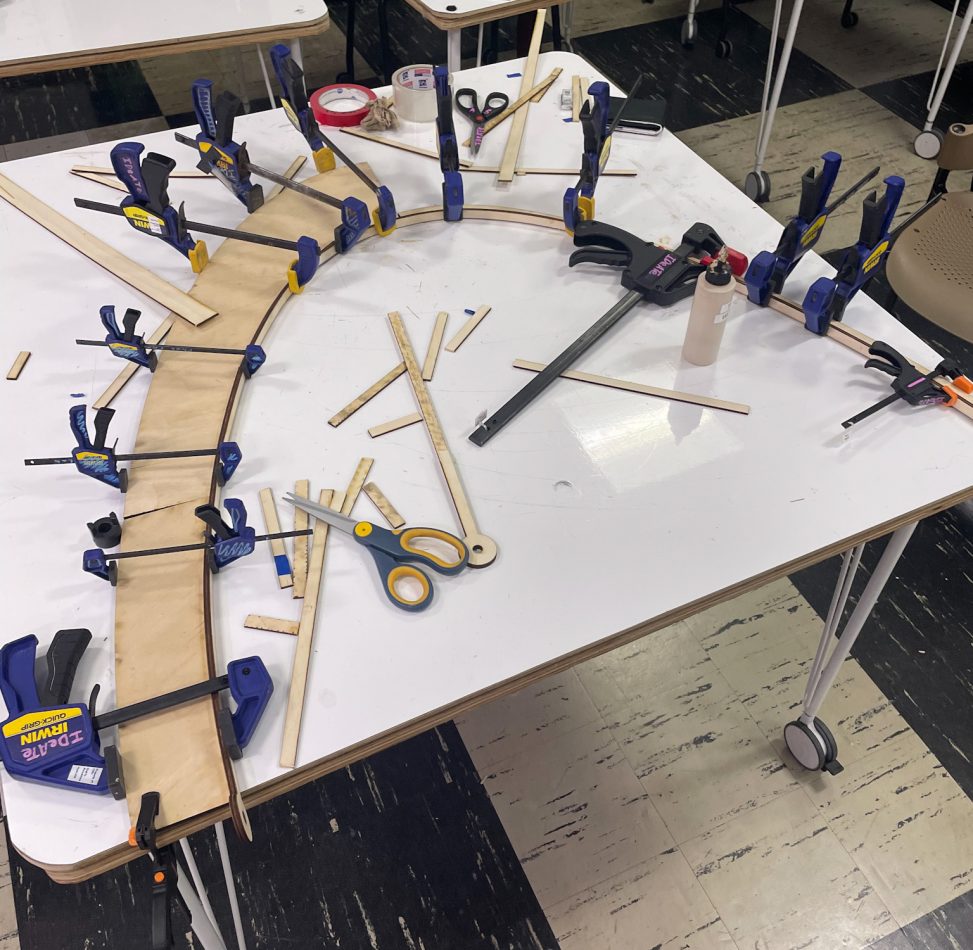
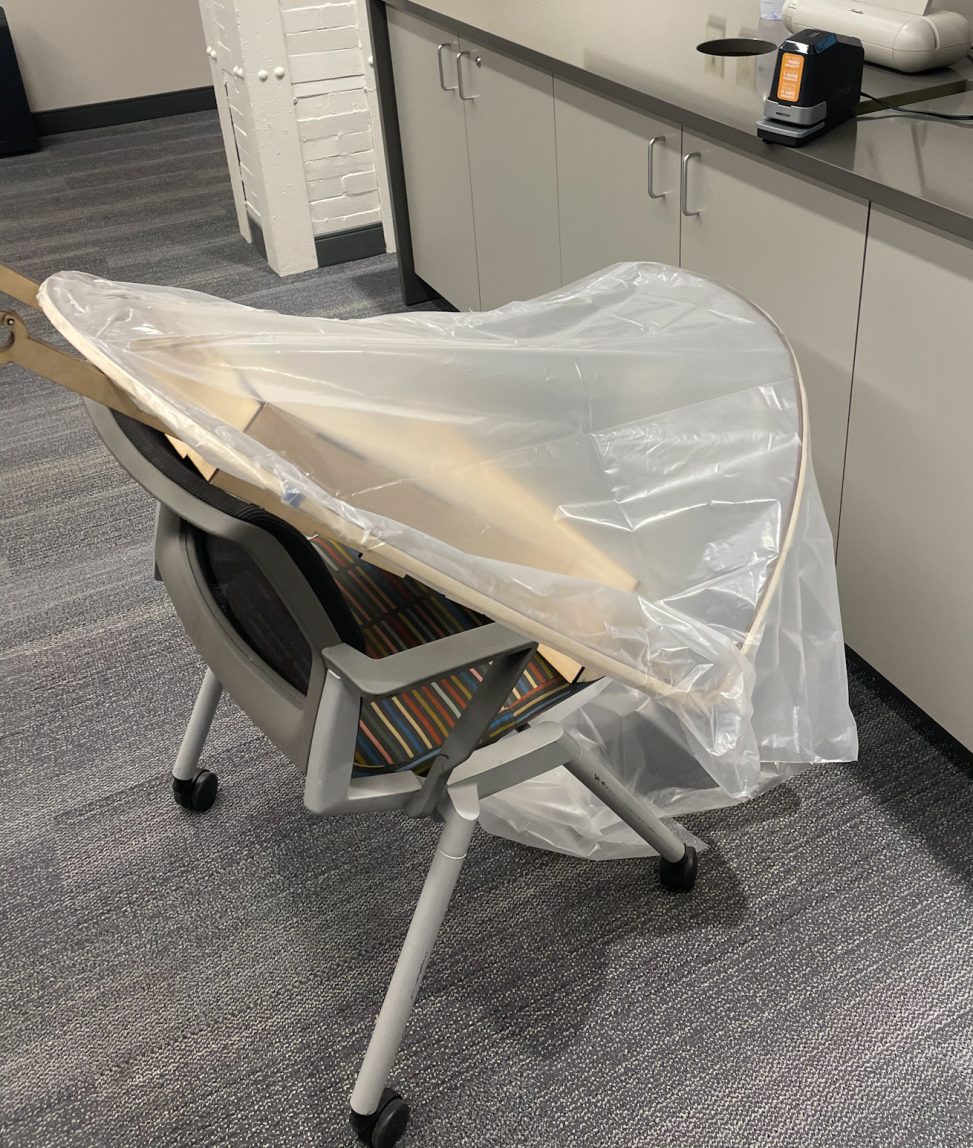
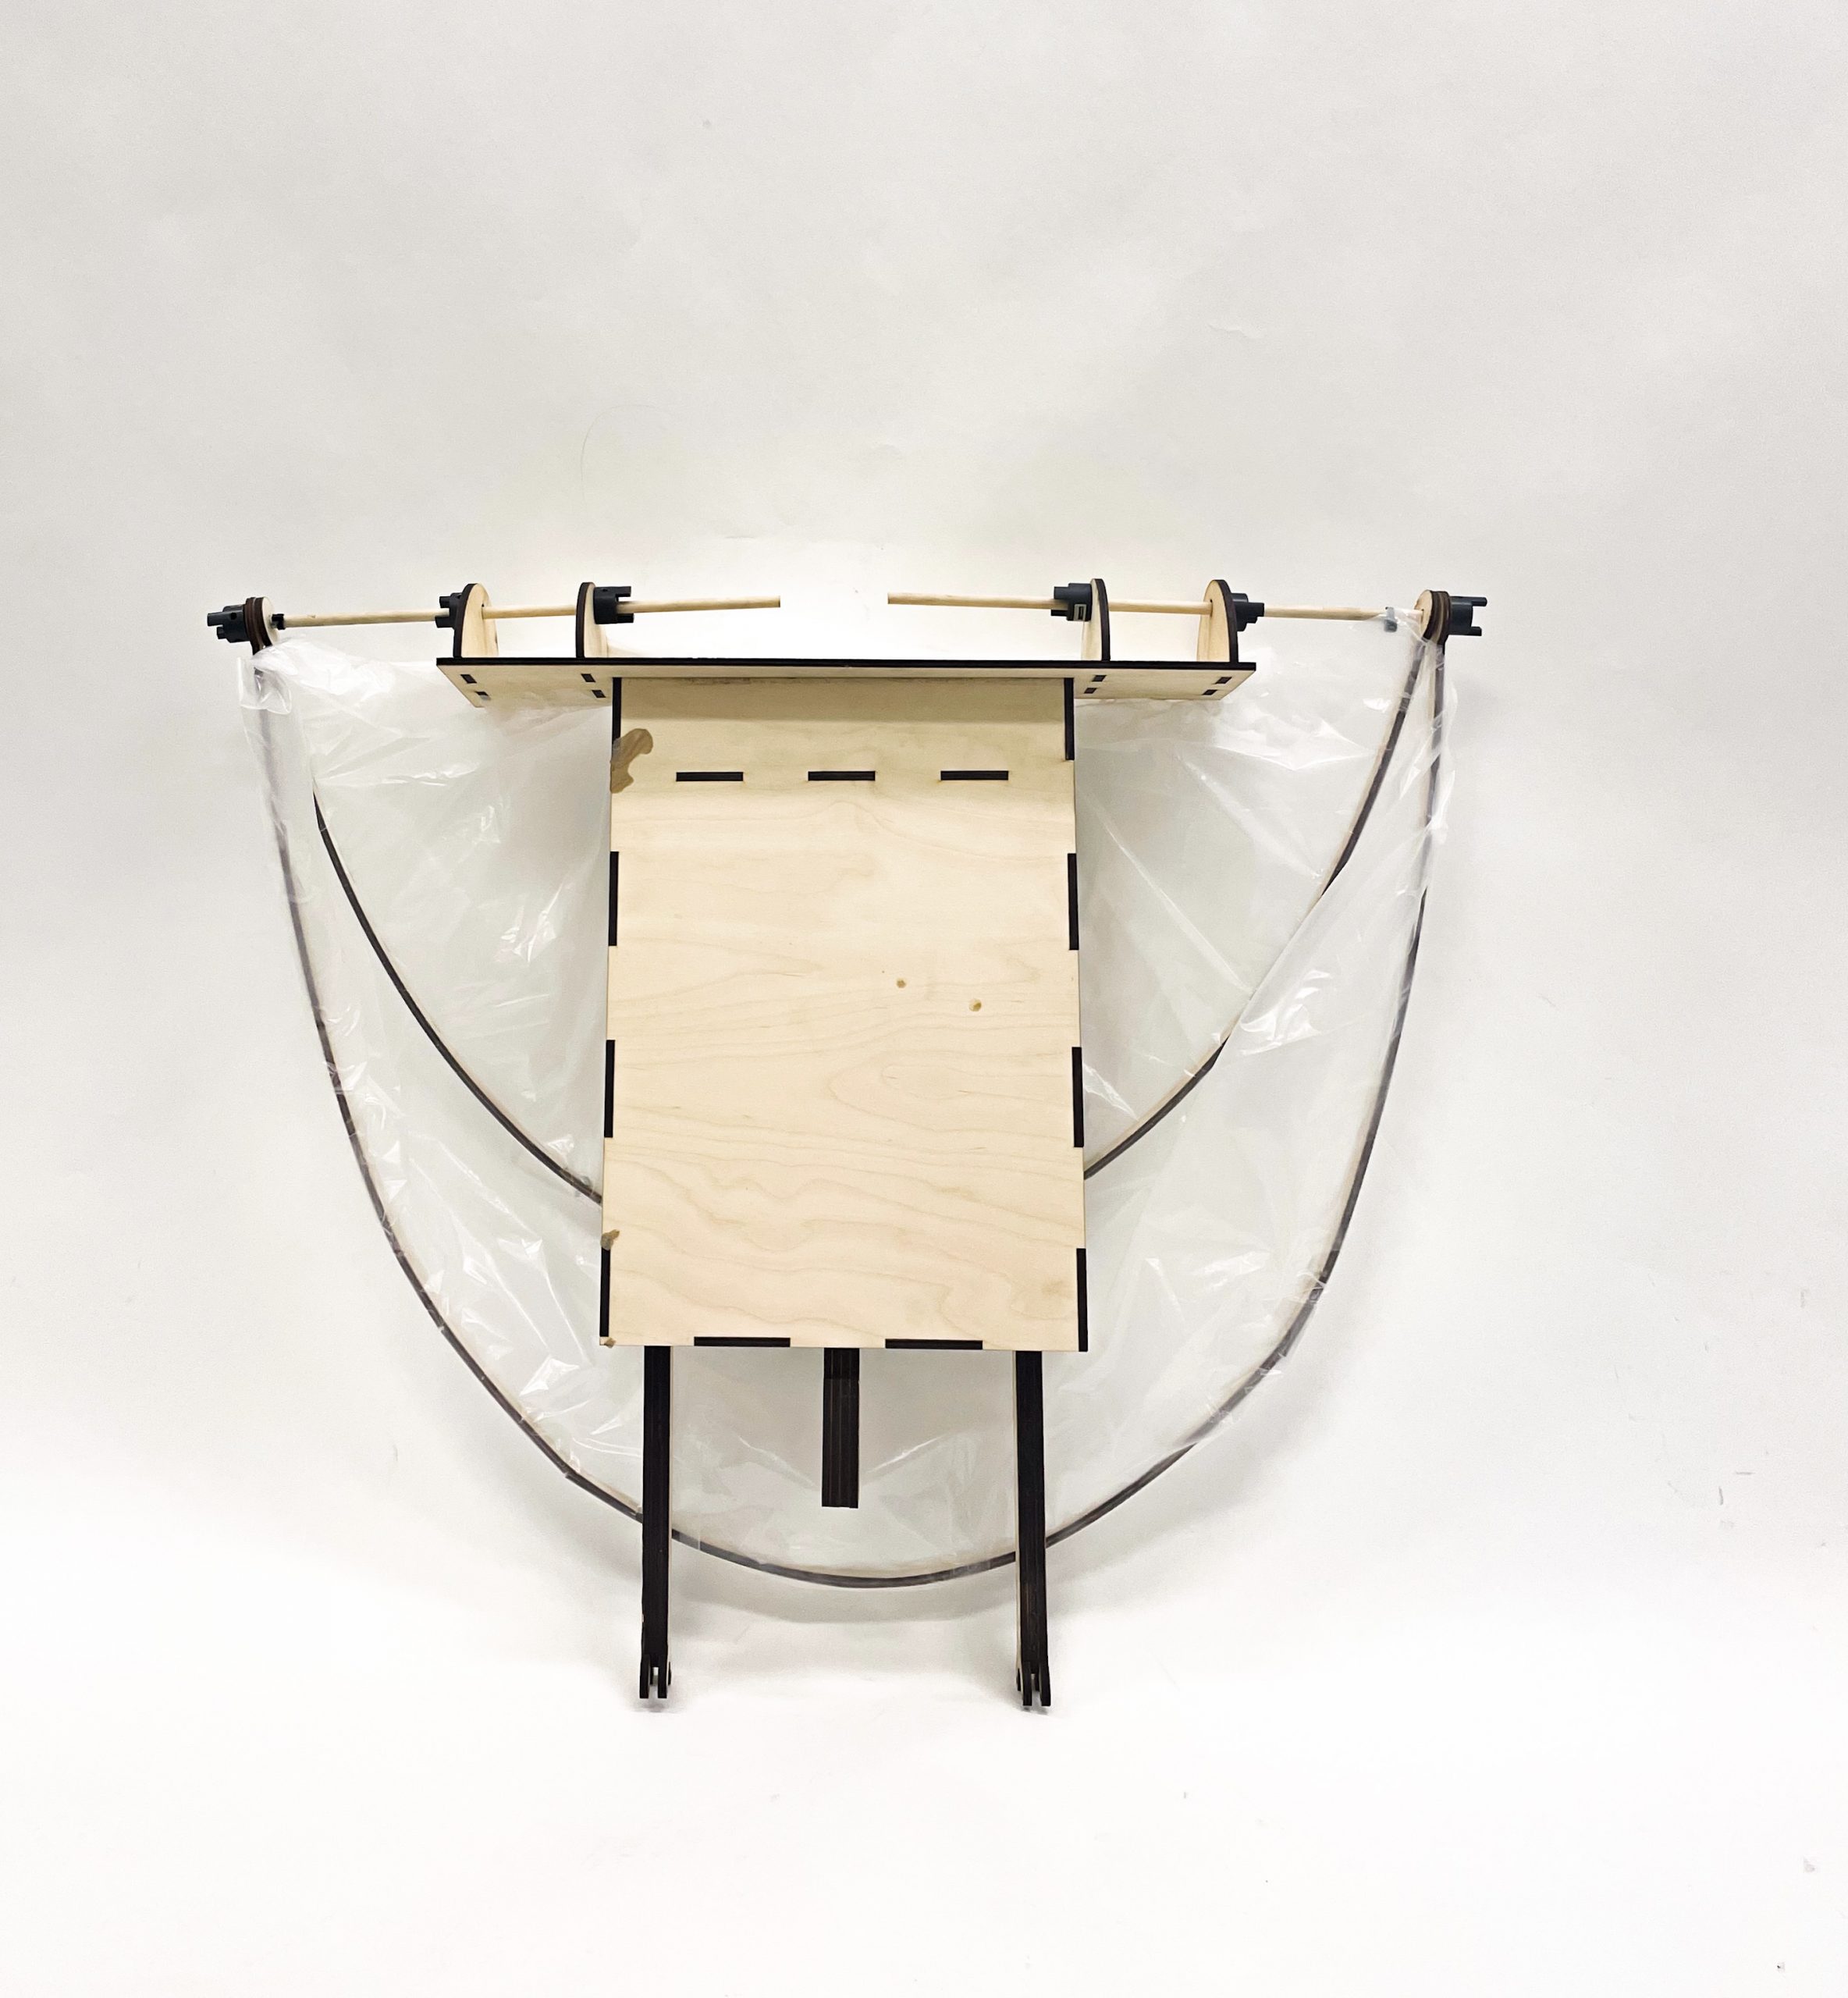
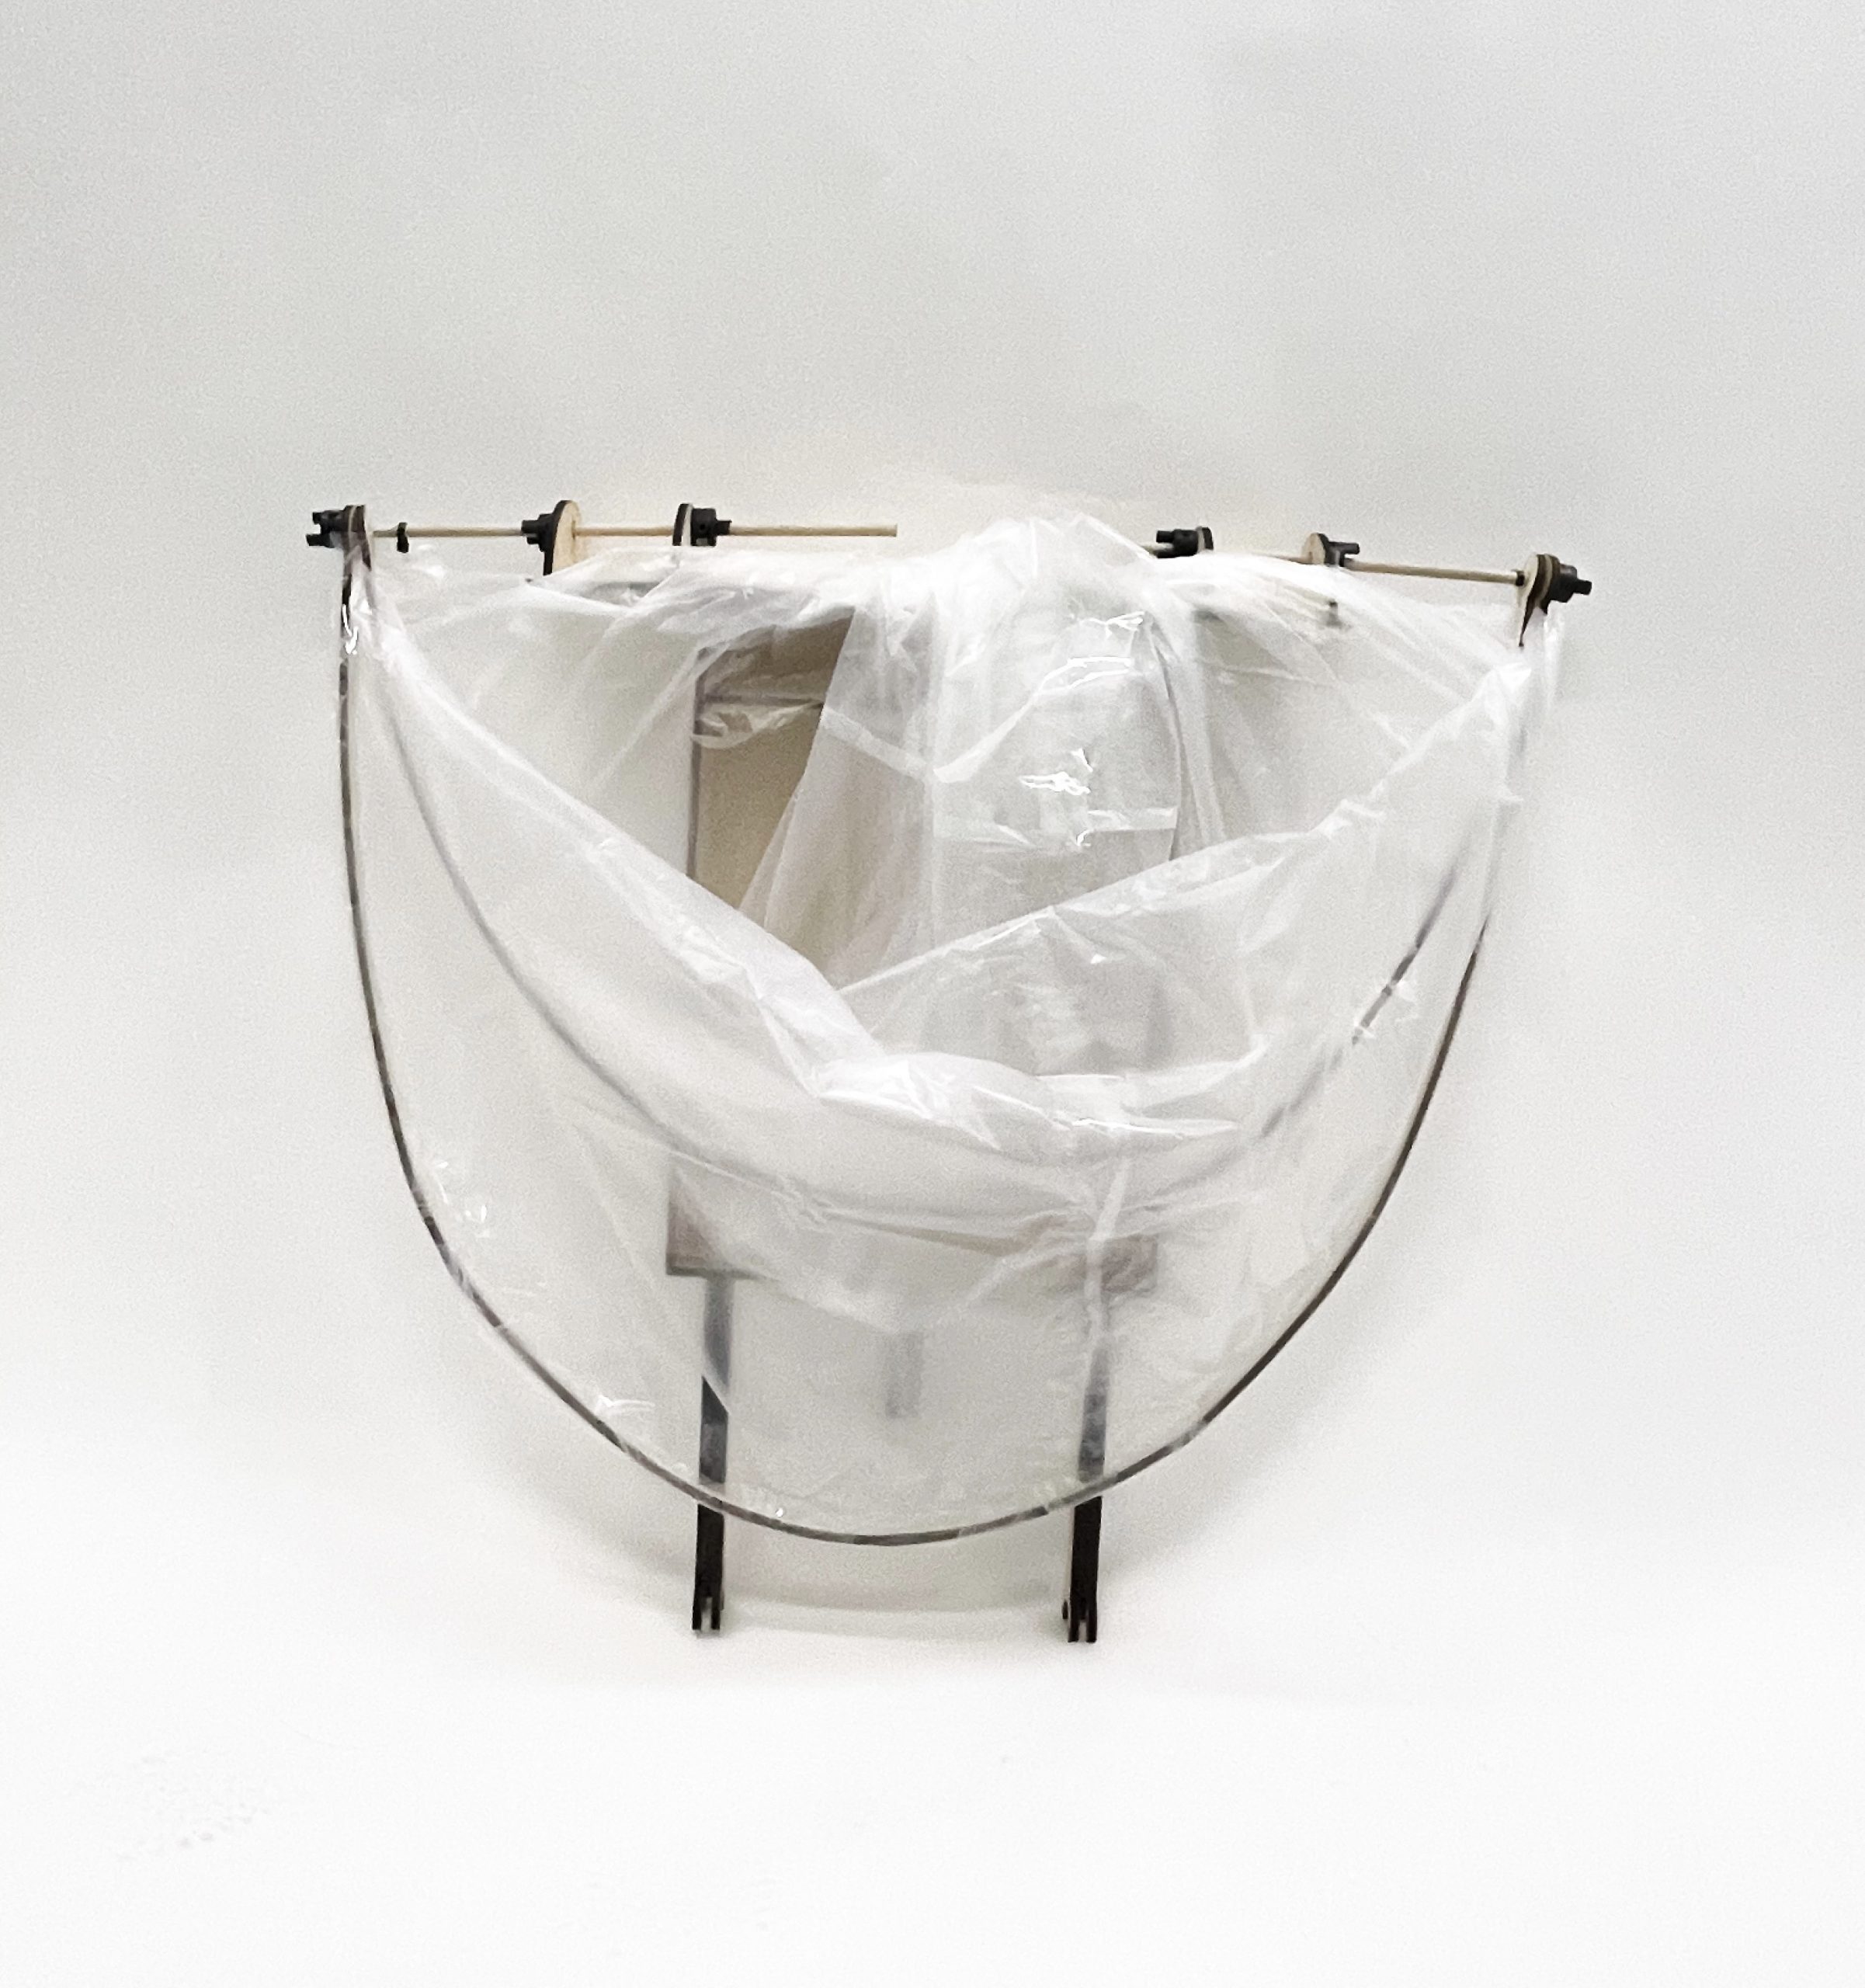
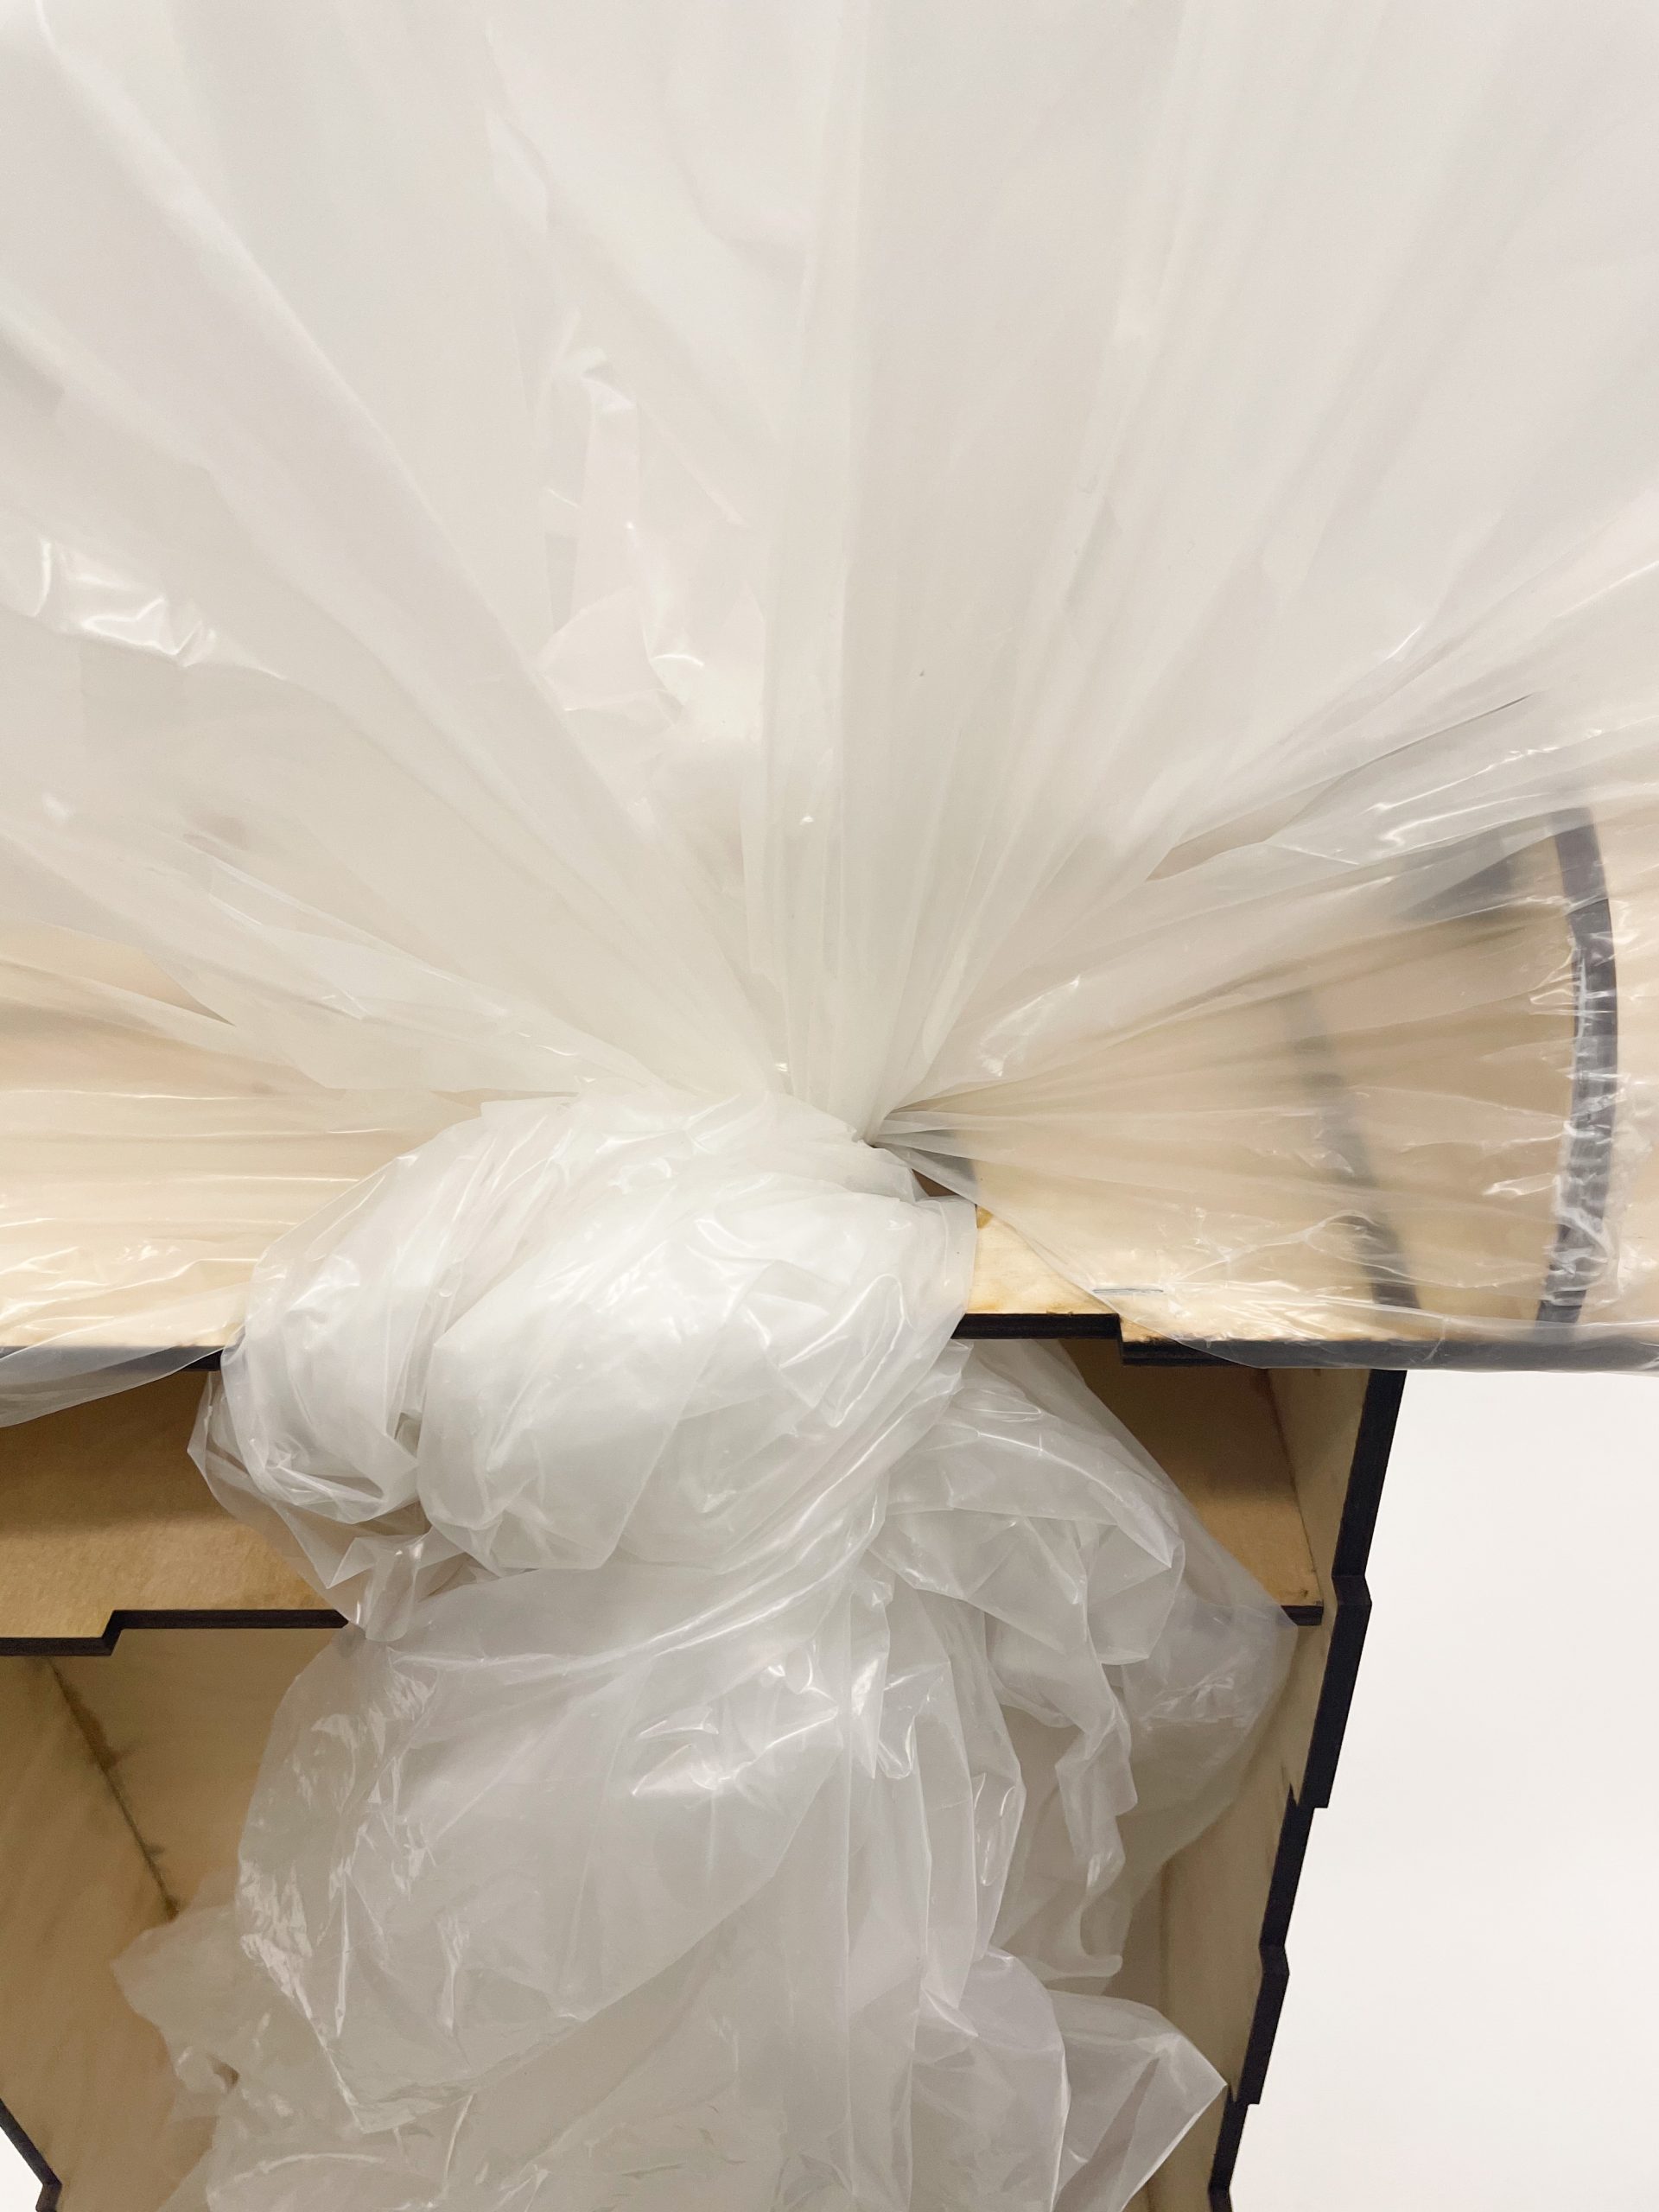
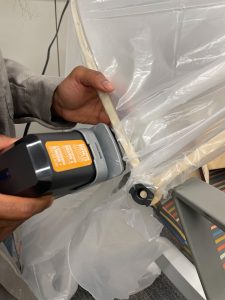
The prototype shown below is a smaller version of the hood made using plastic ribbing and trash bag material.

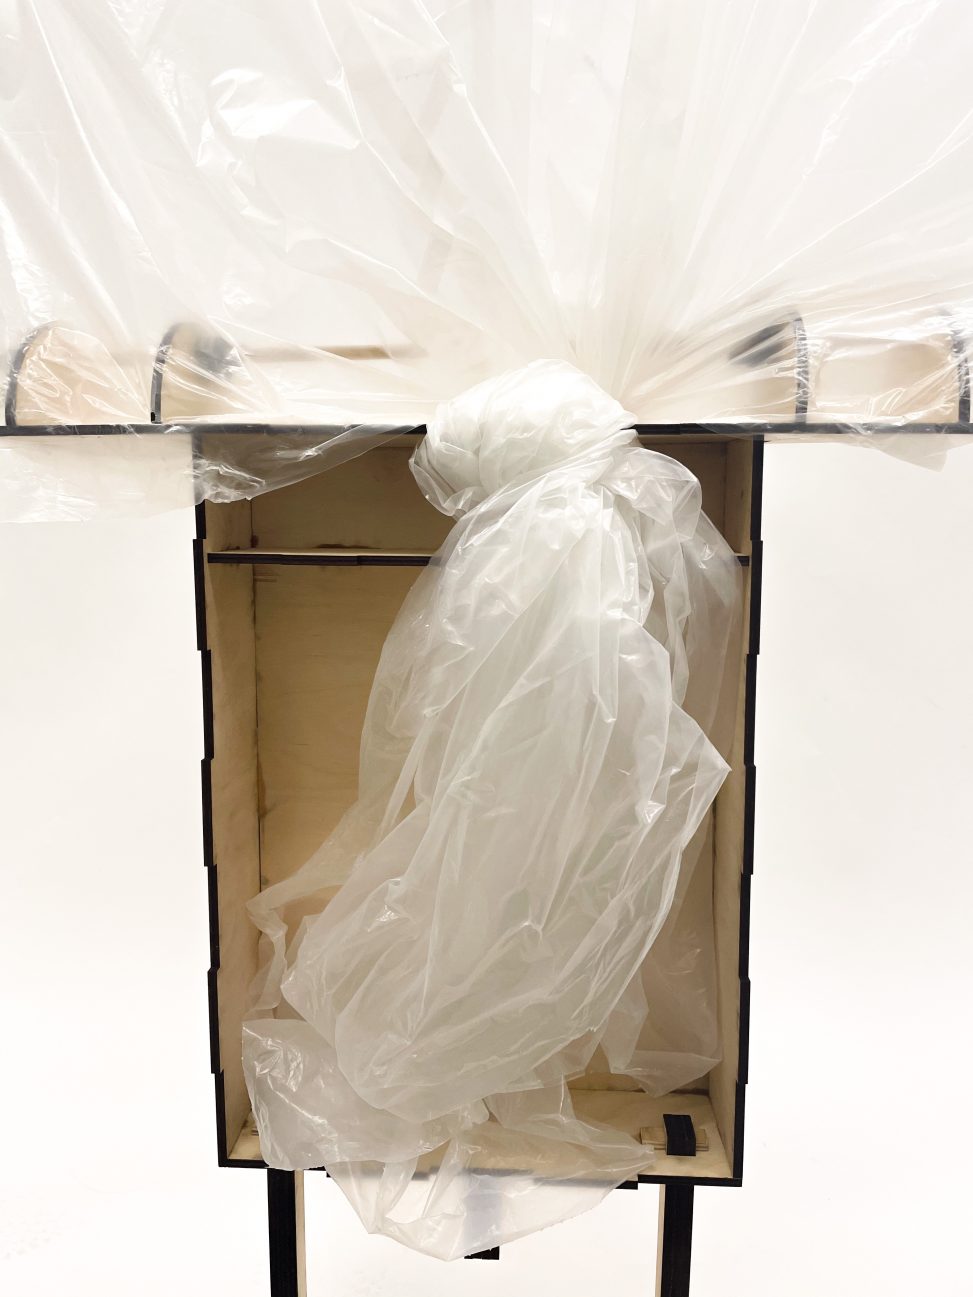
Top view of the prototype fully opened.

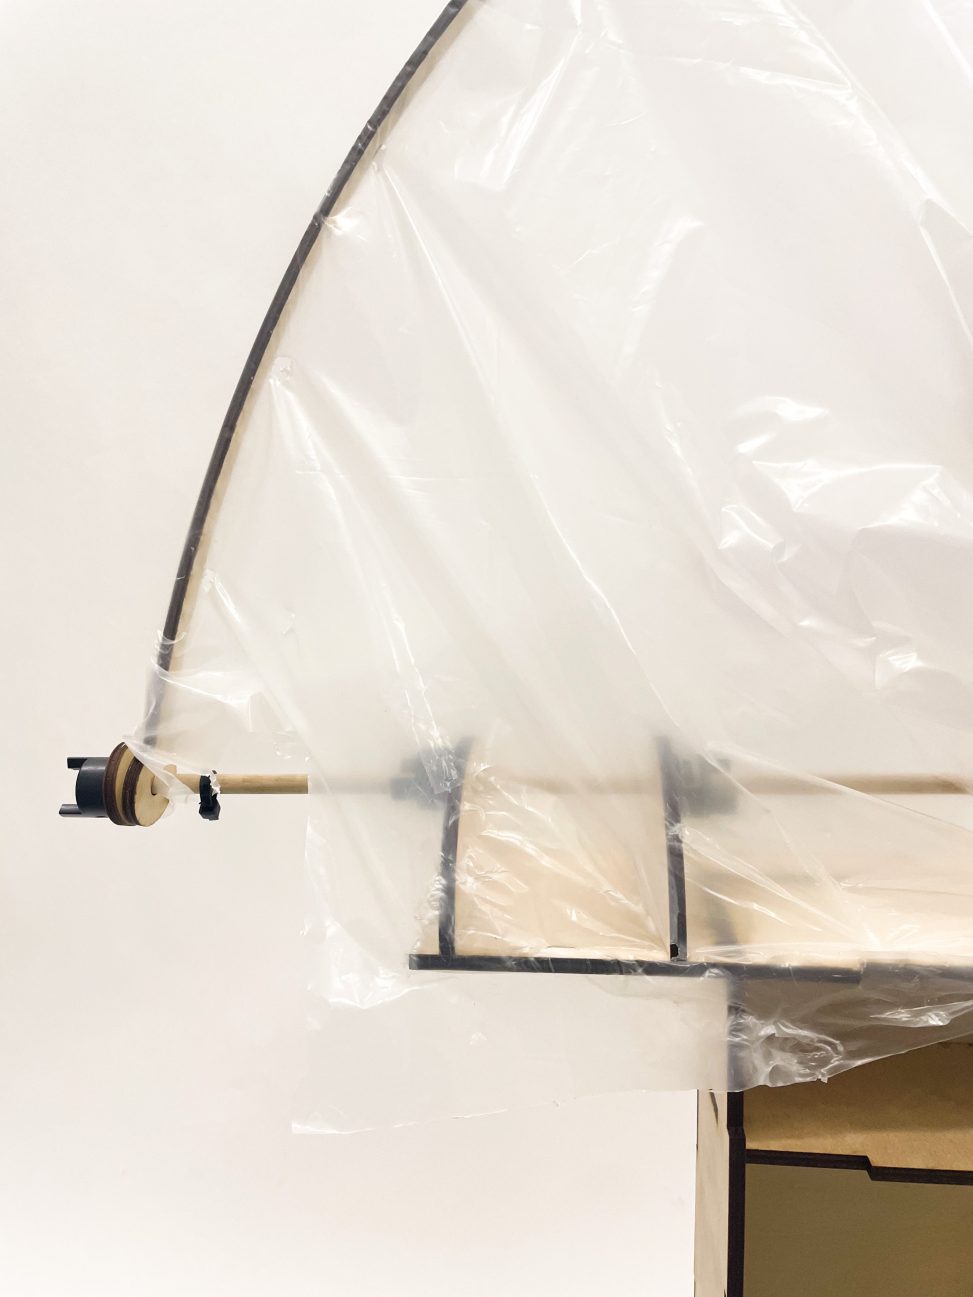
Side view of opened hood.
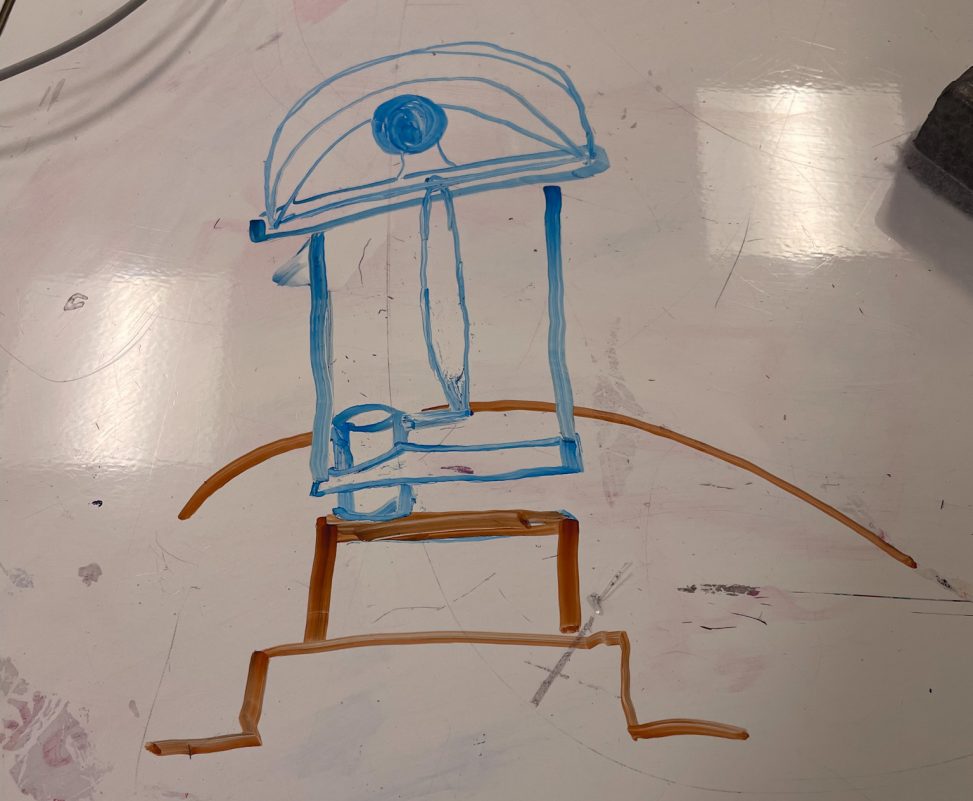
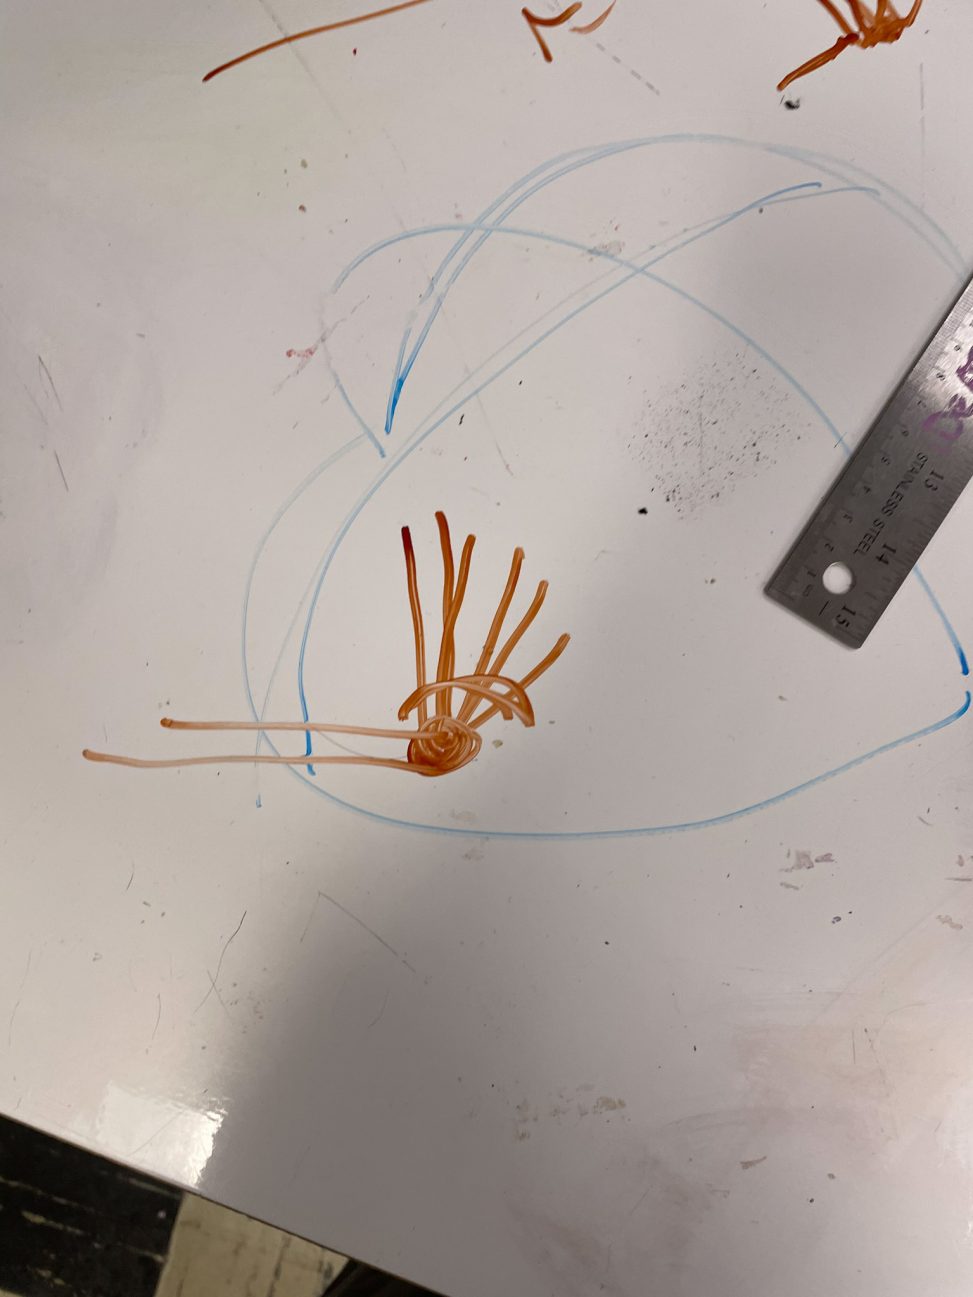
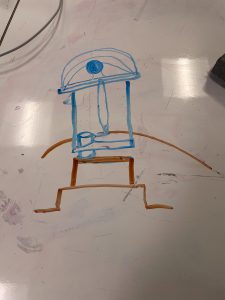
Design sketch.
Sketch of hood.
Initial version of prototype
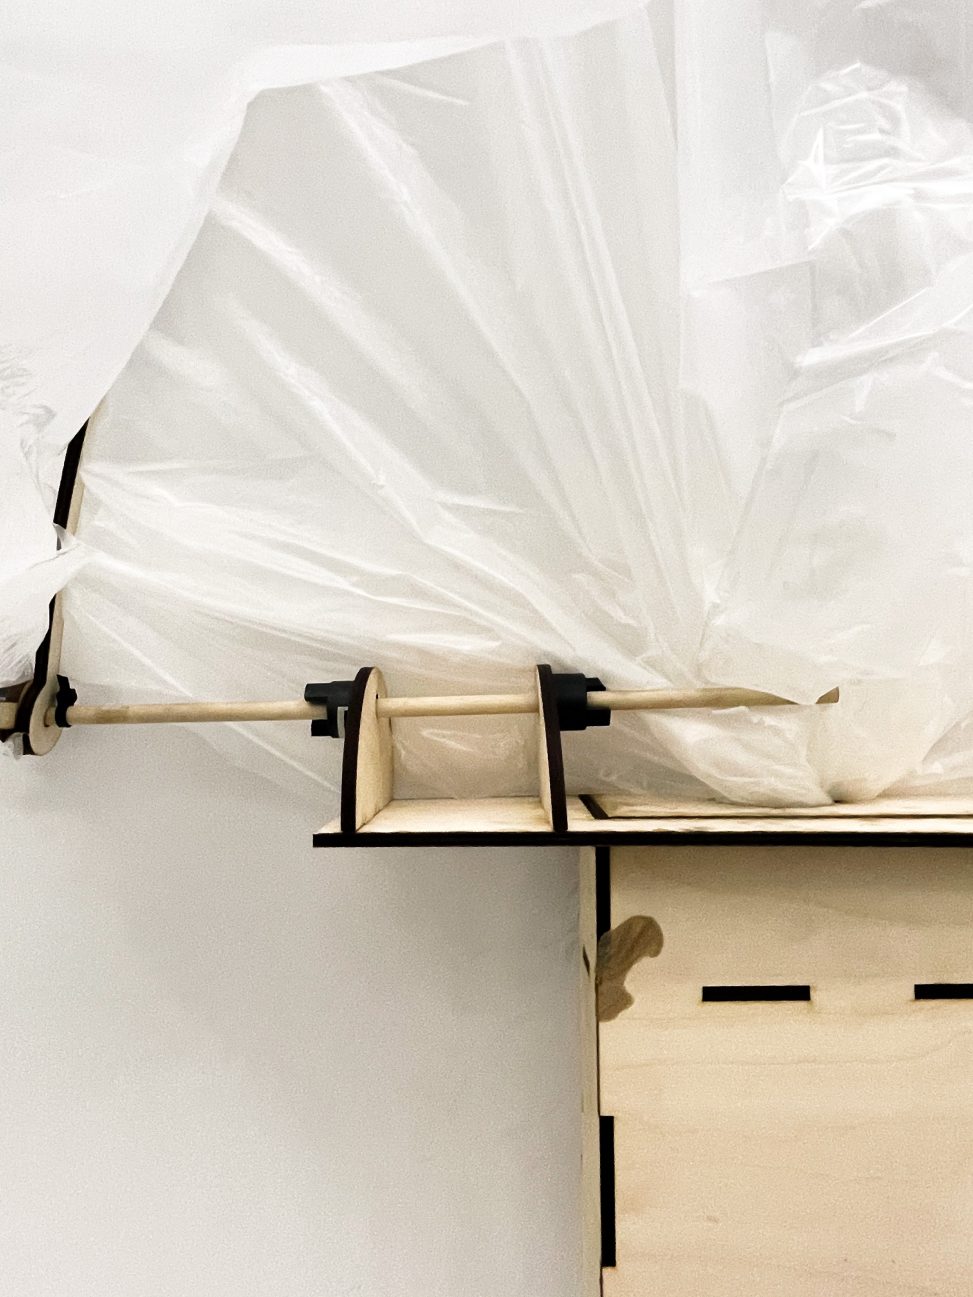
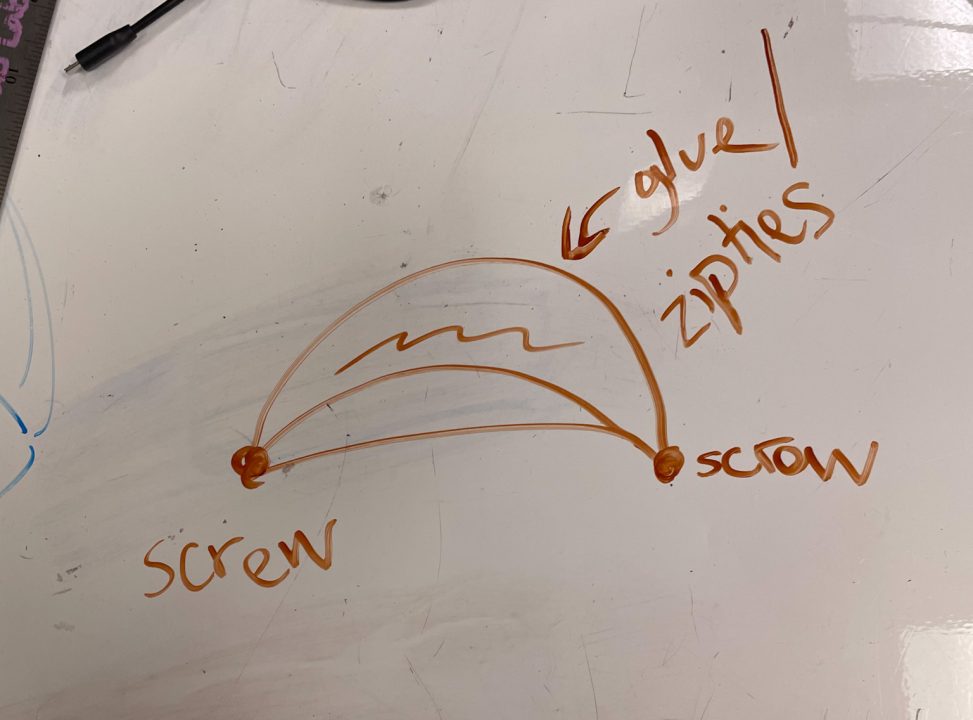
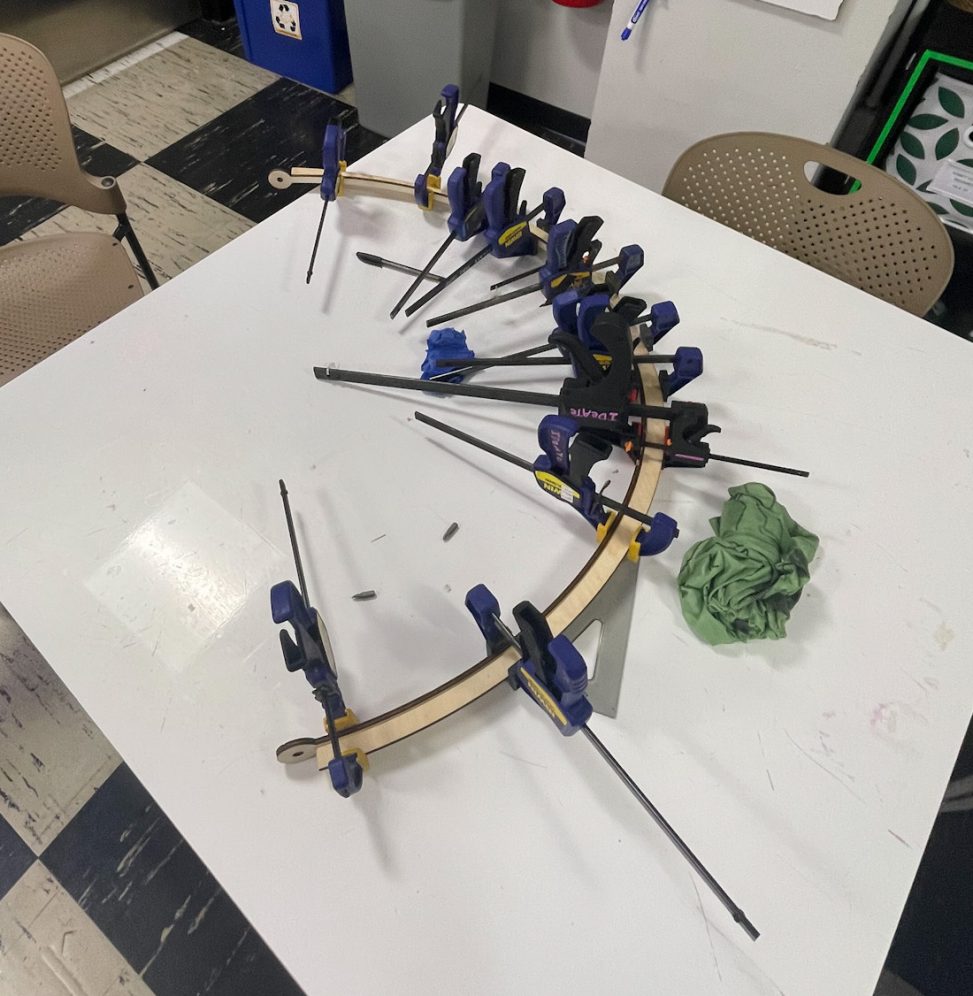
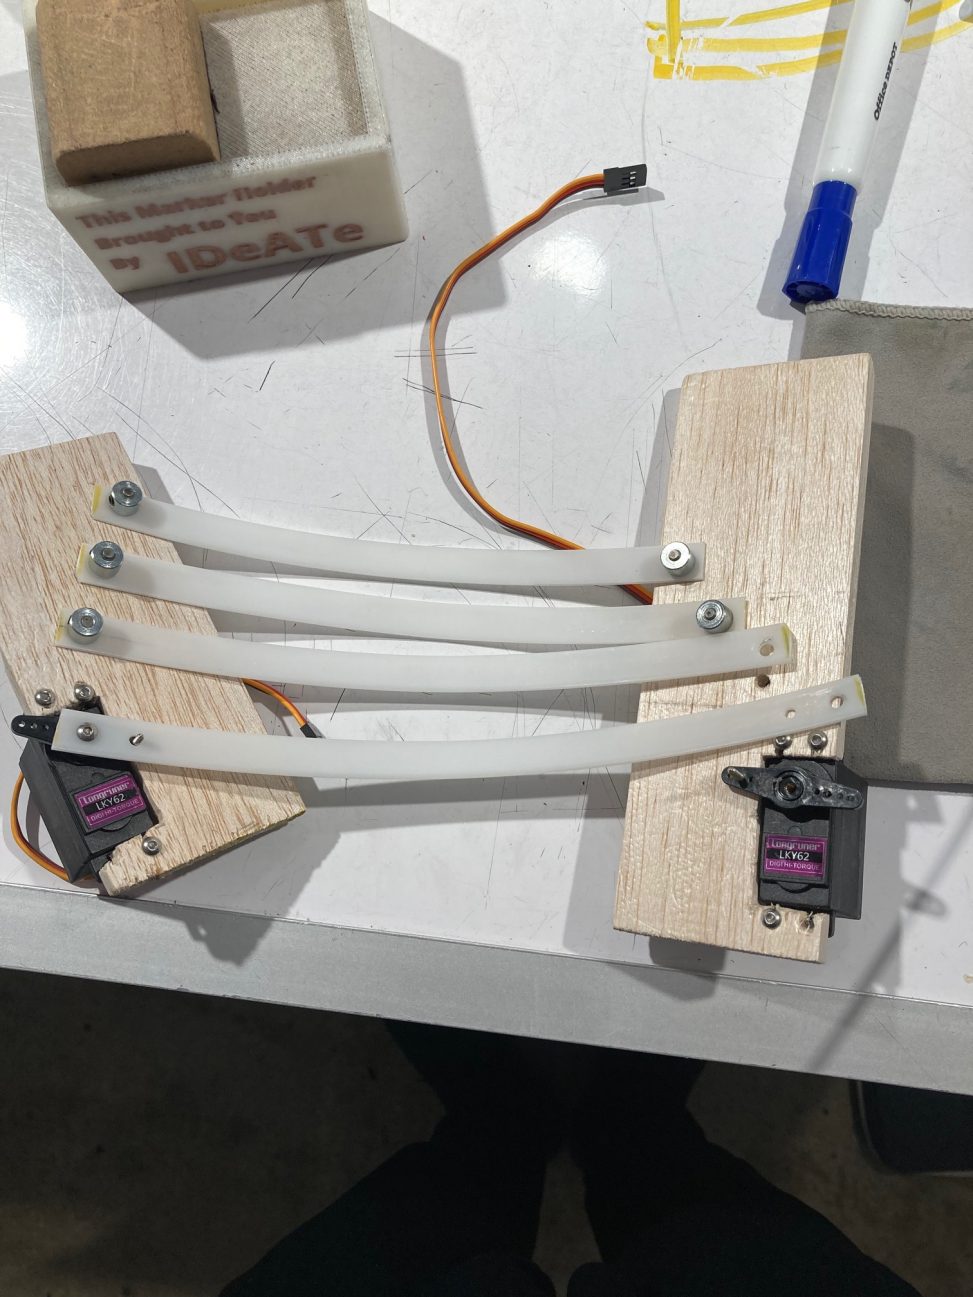
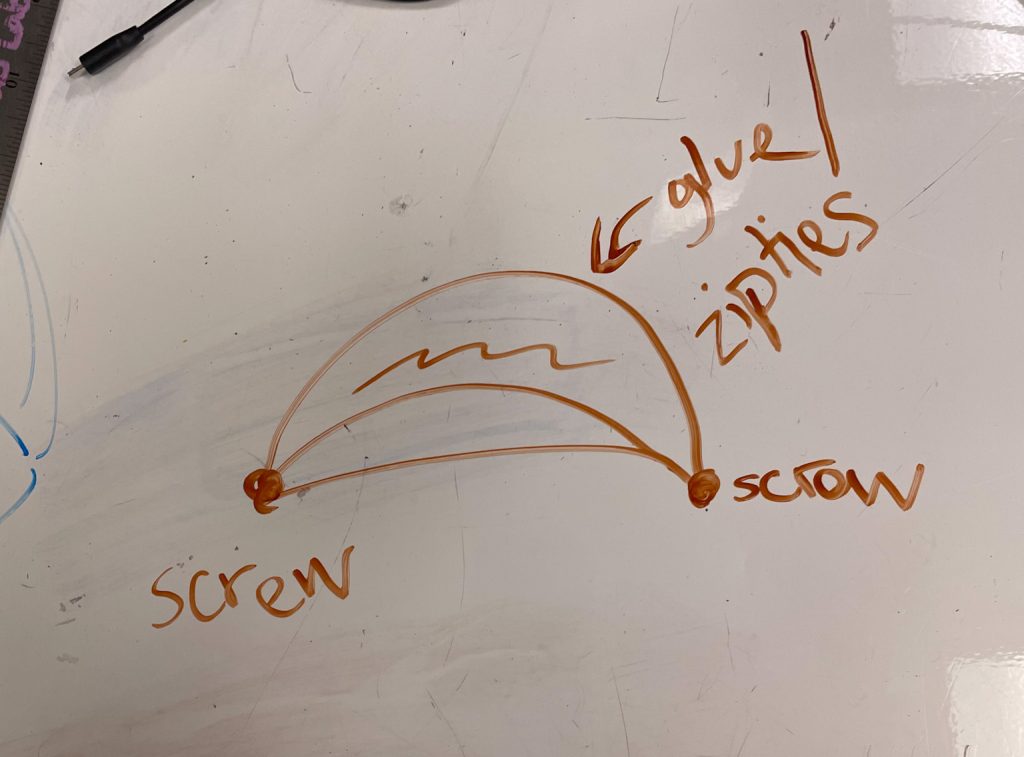
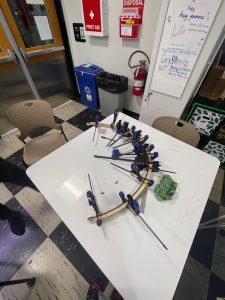
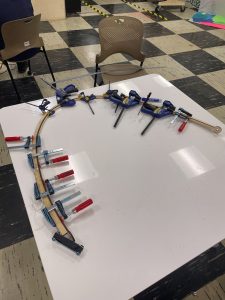
At first, we wanted to create the hood as shown below, with each rib of the hood on their own separate axis. However, we realized that this overcomplicating the device, and that the ribbings could all be placed on the same point of access, so the prototype was simplified in this manner.
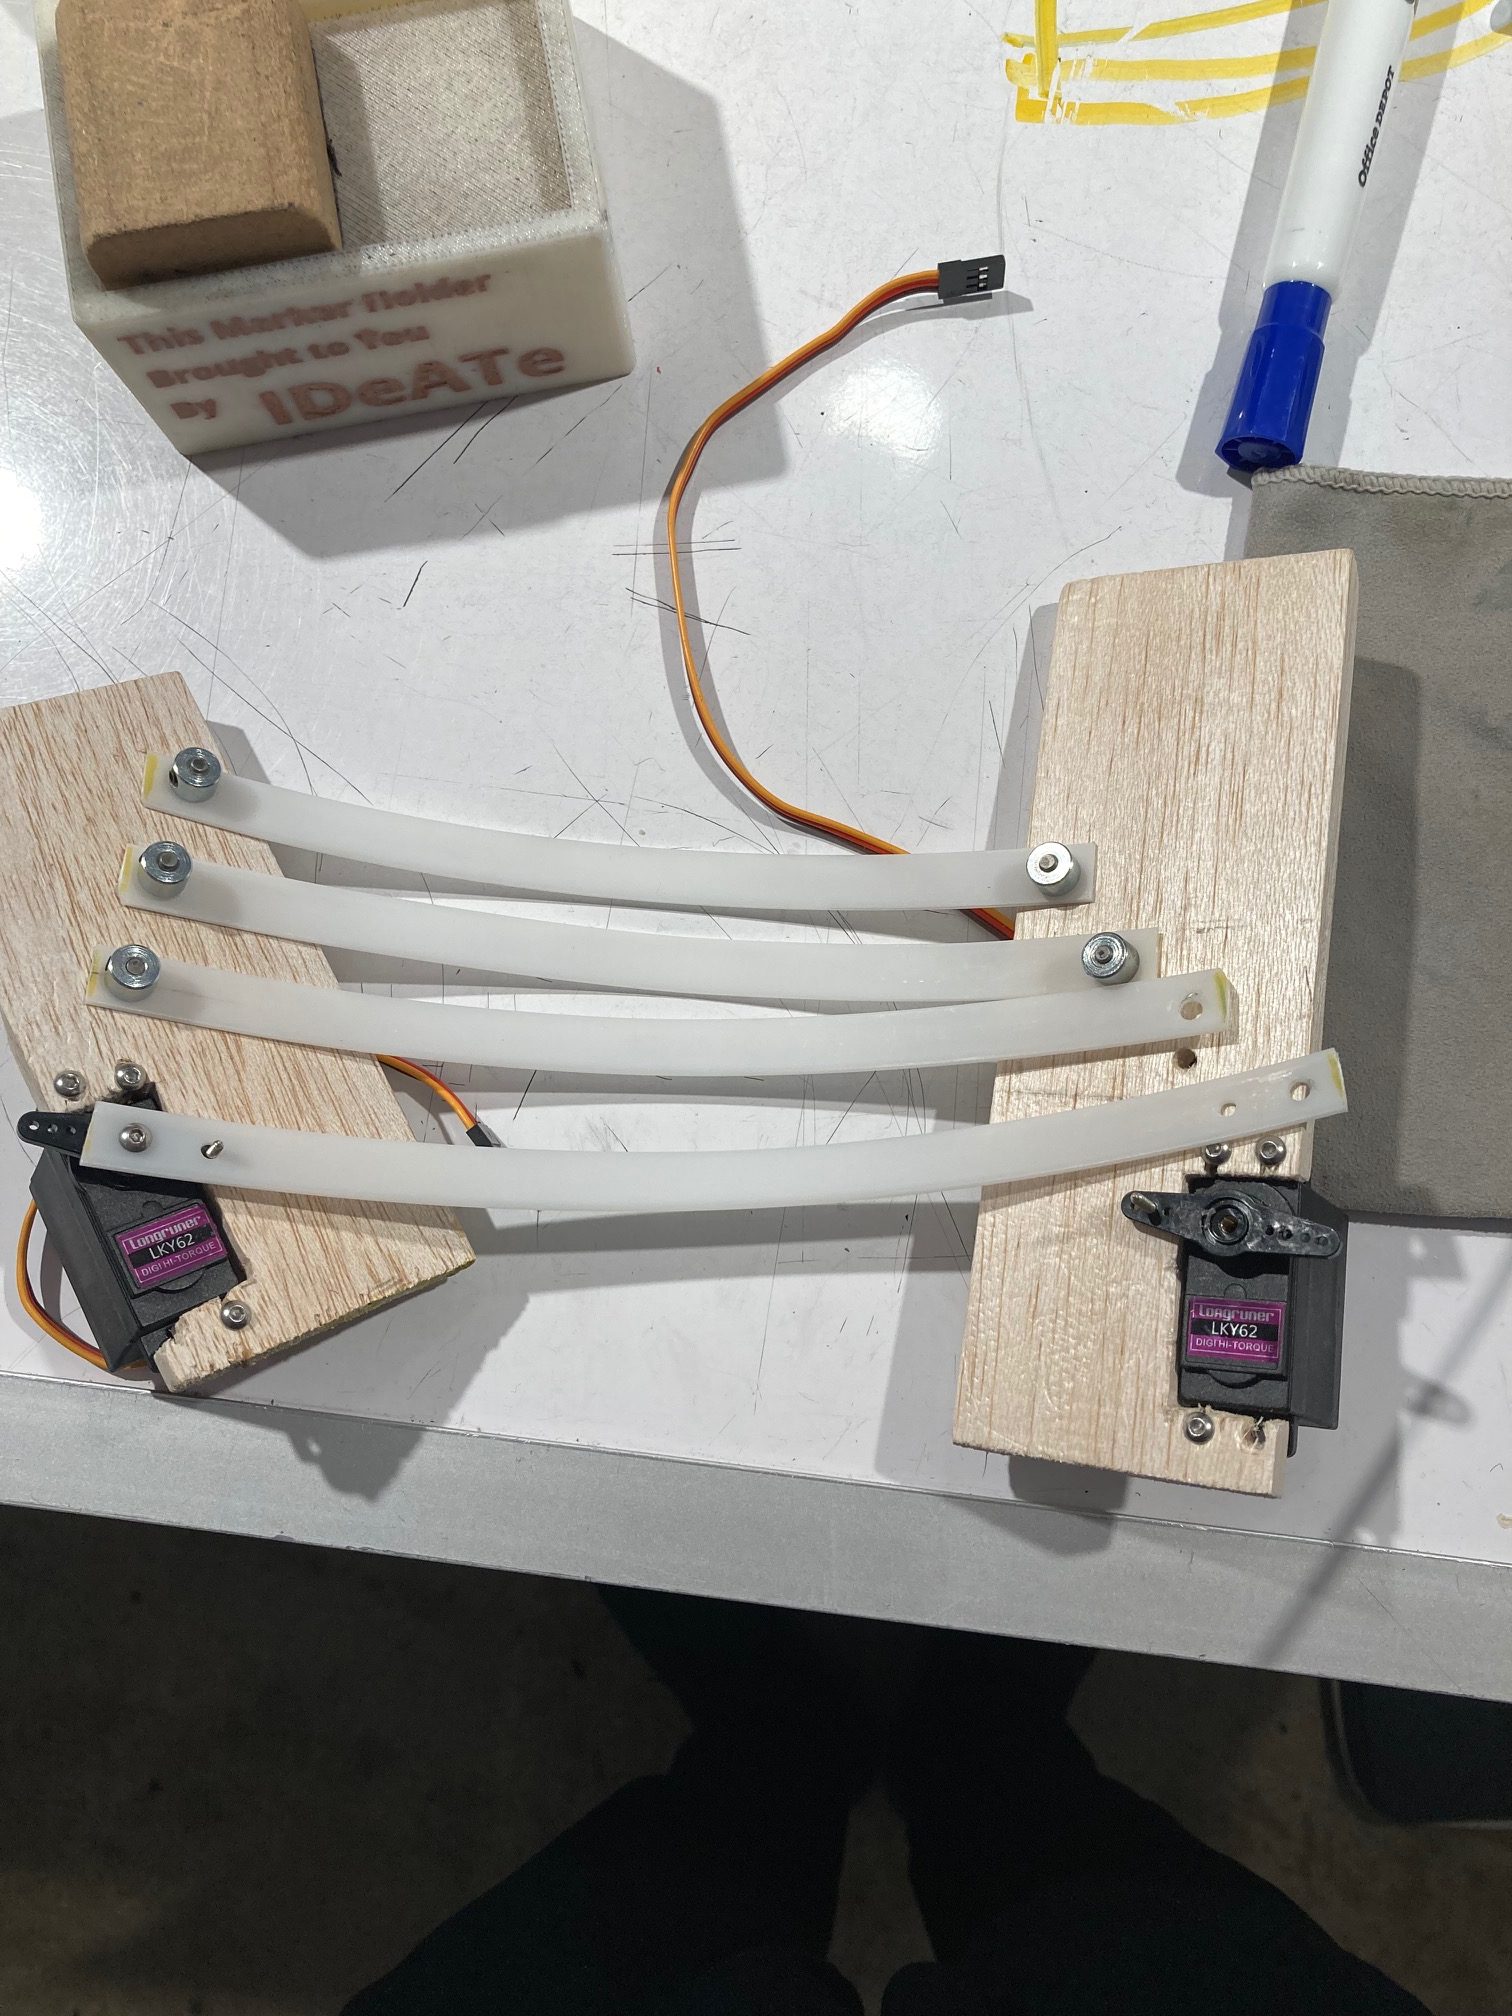
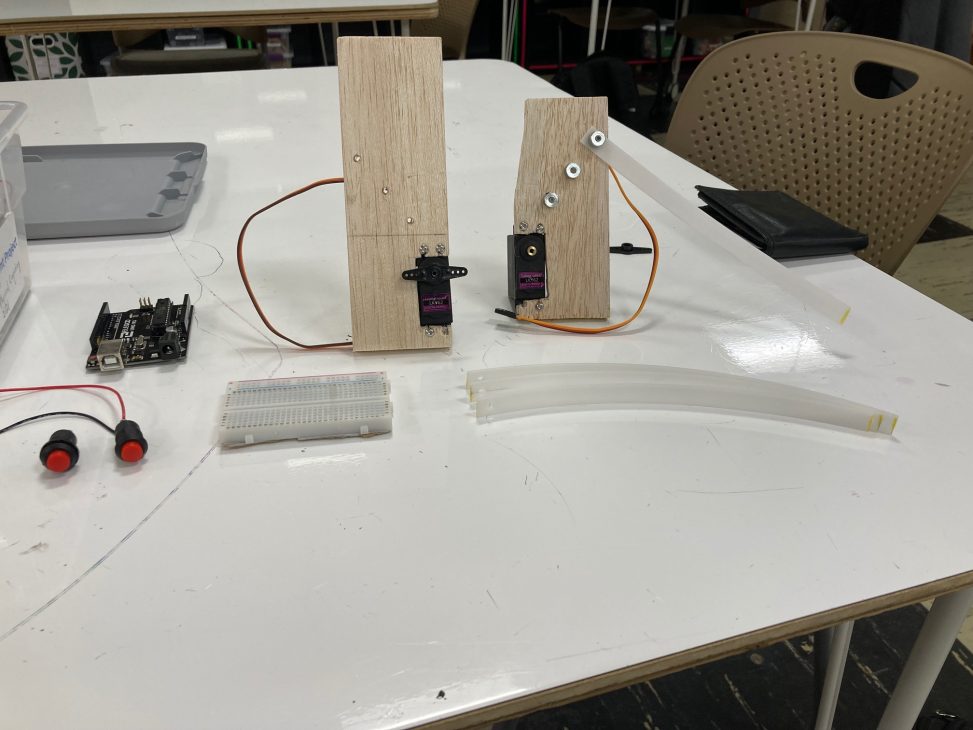
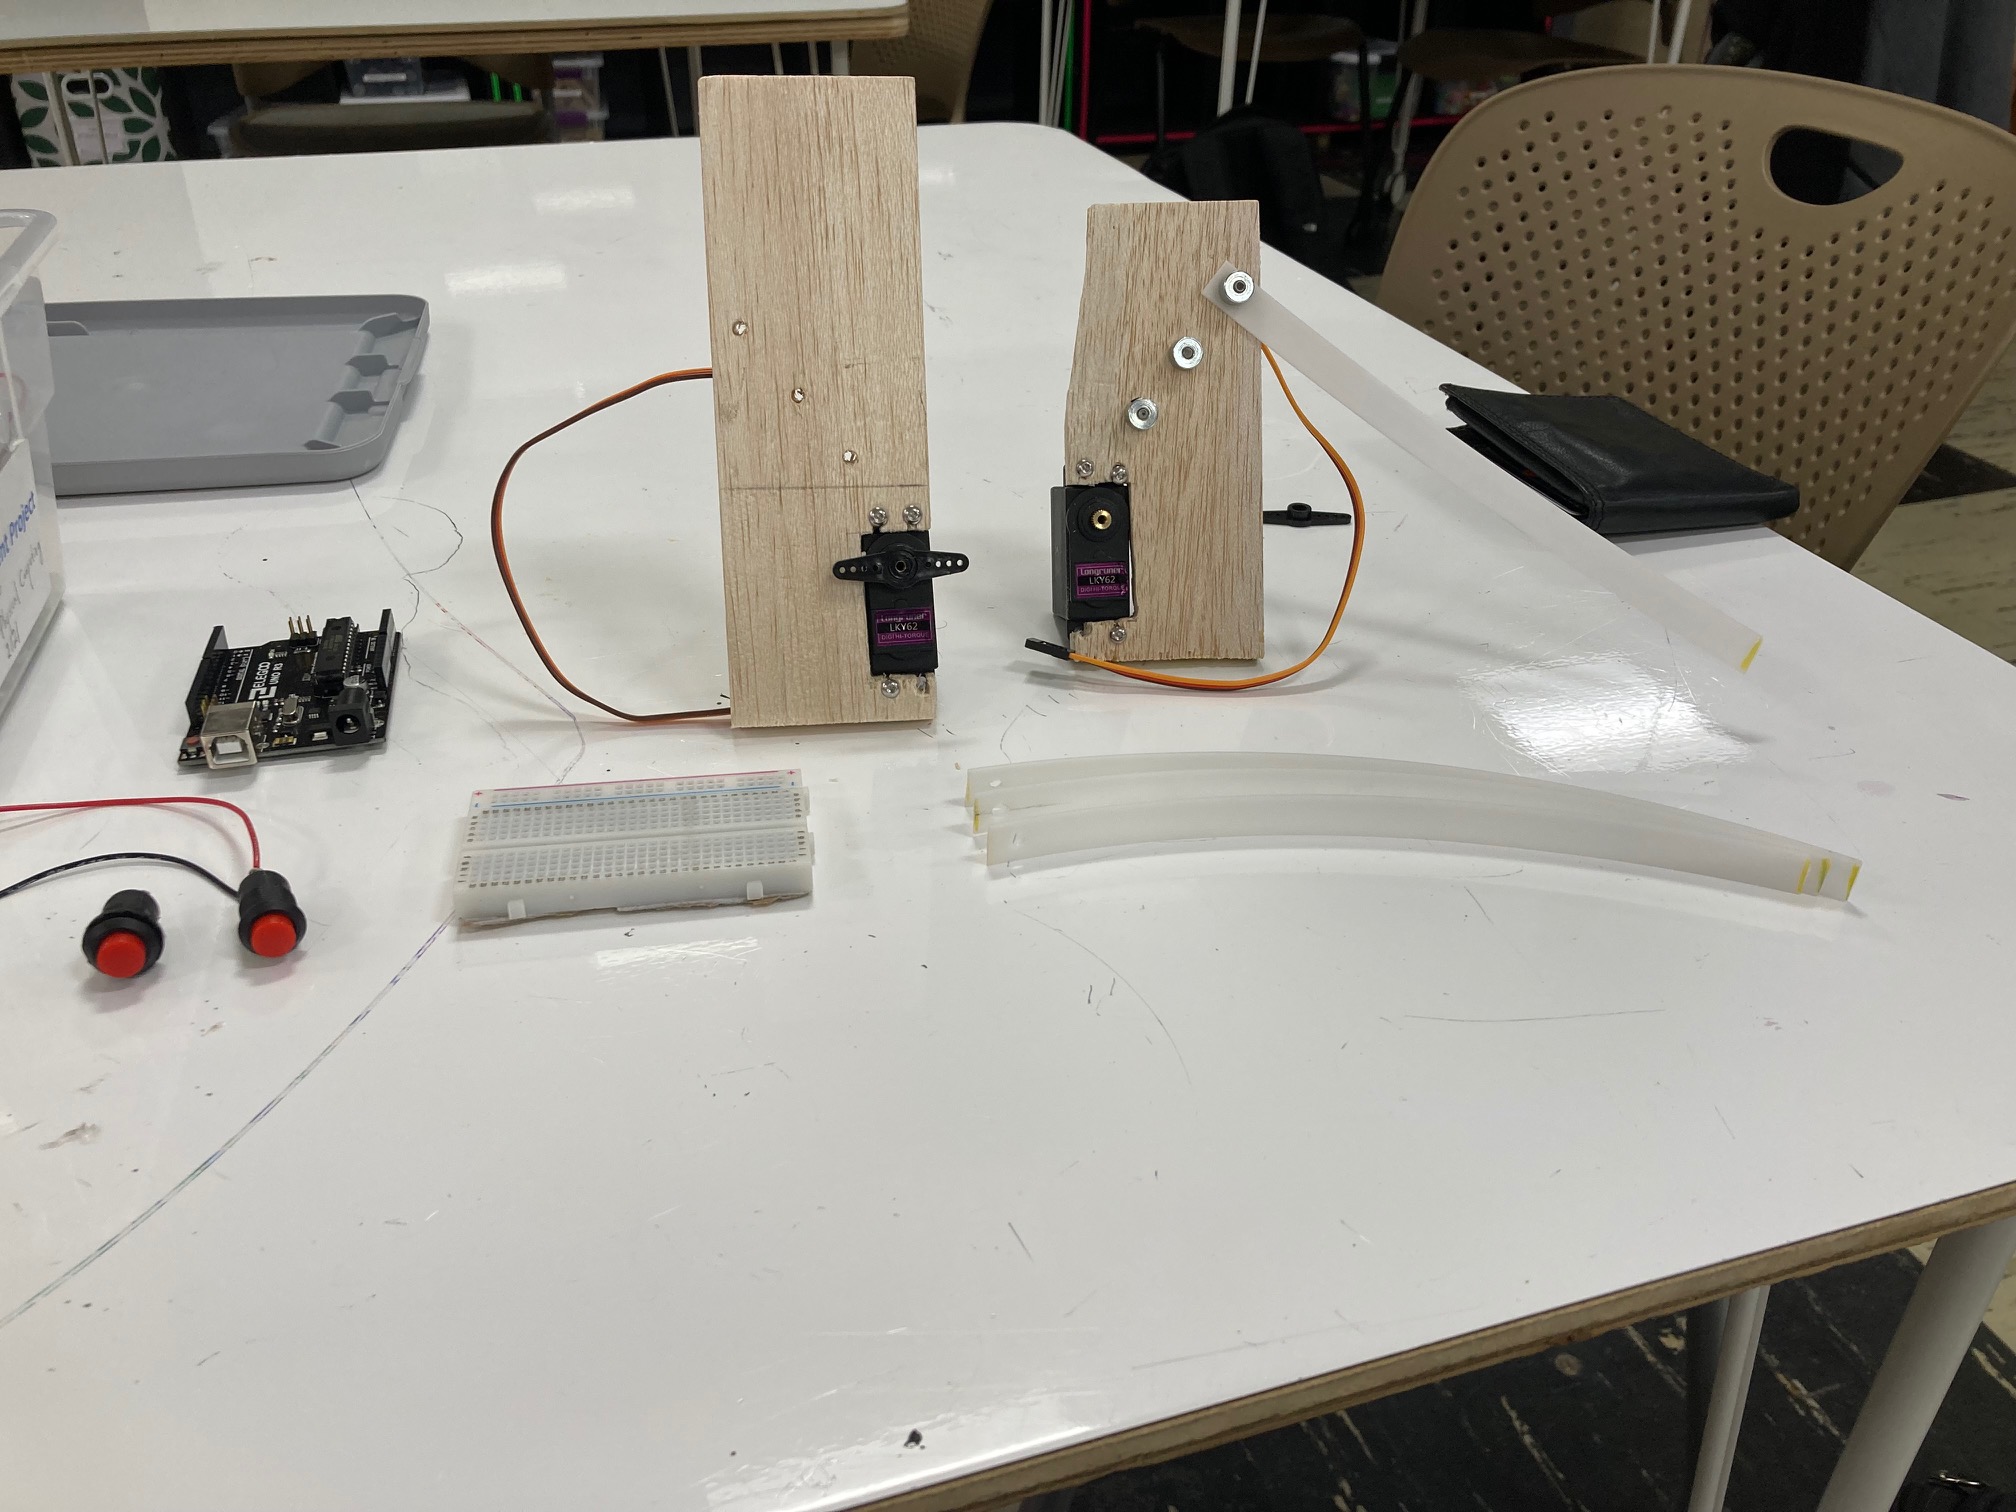
Initial prototype laid out with ribbings attached
Initial prototype with ribbings and other components laid out
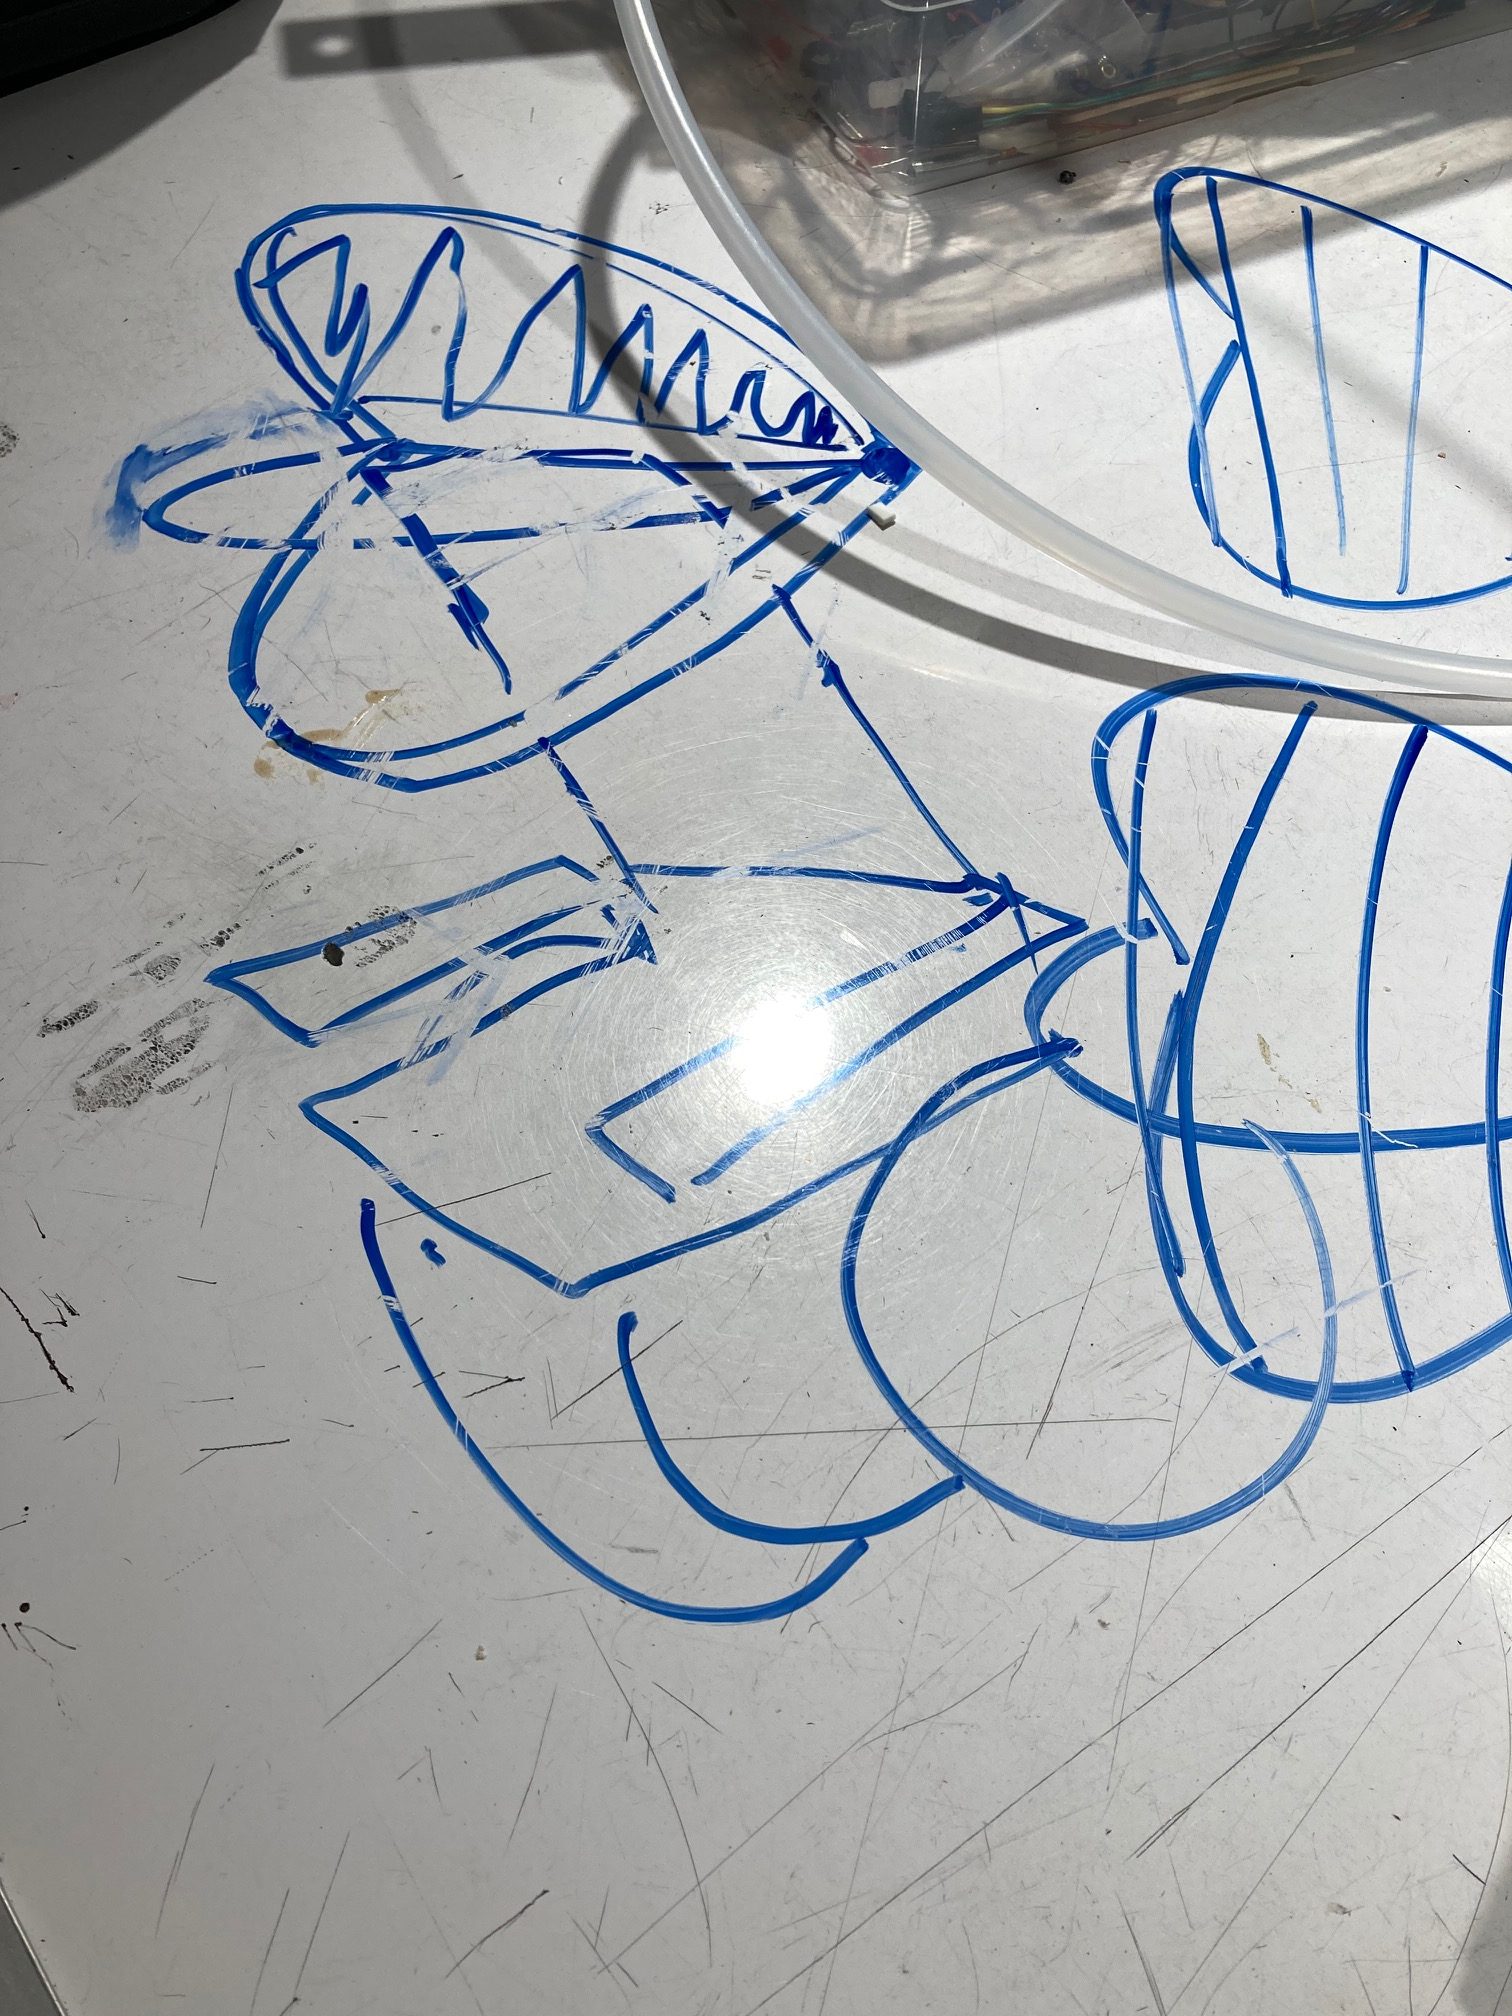
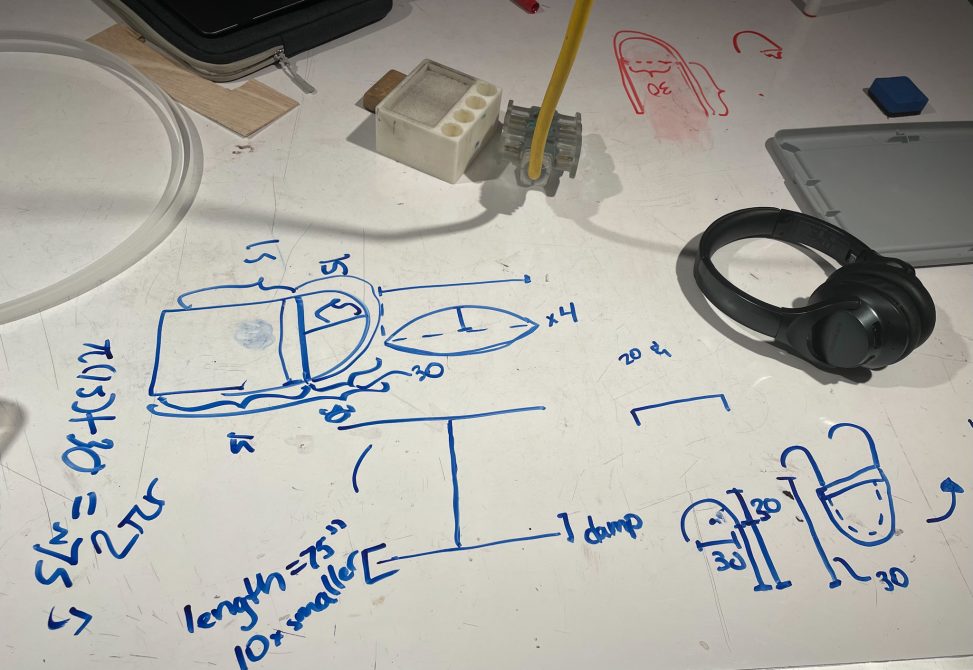
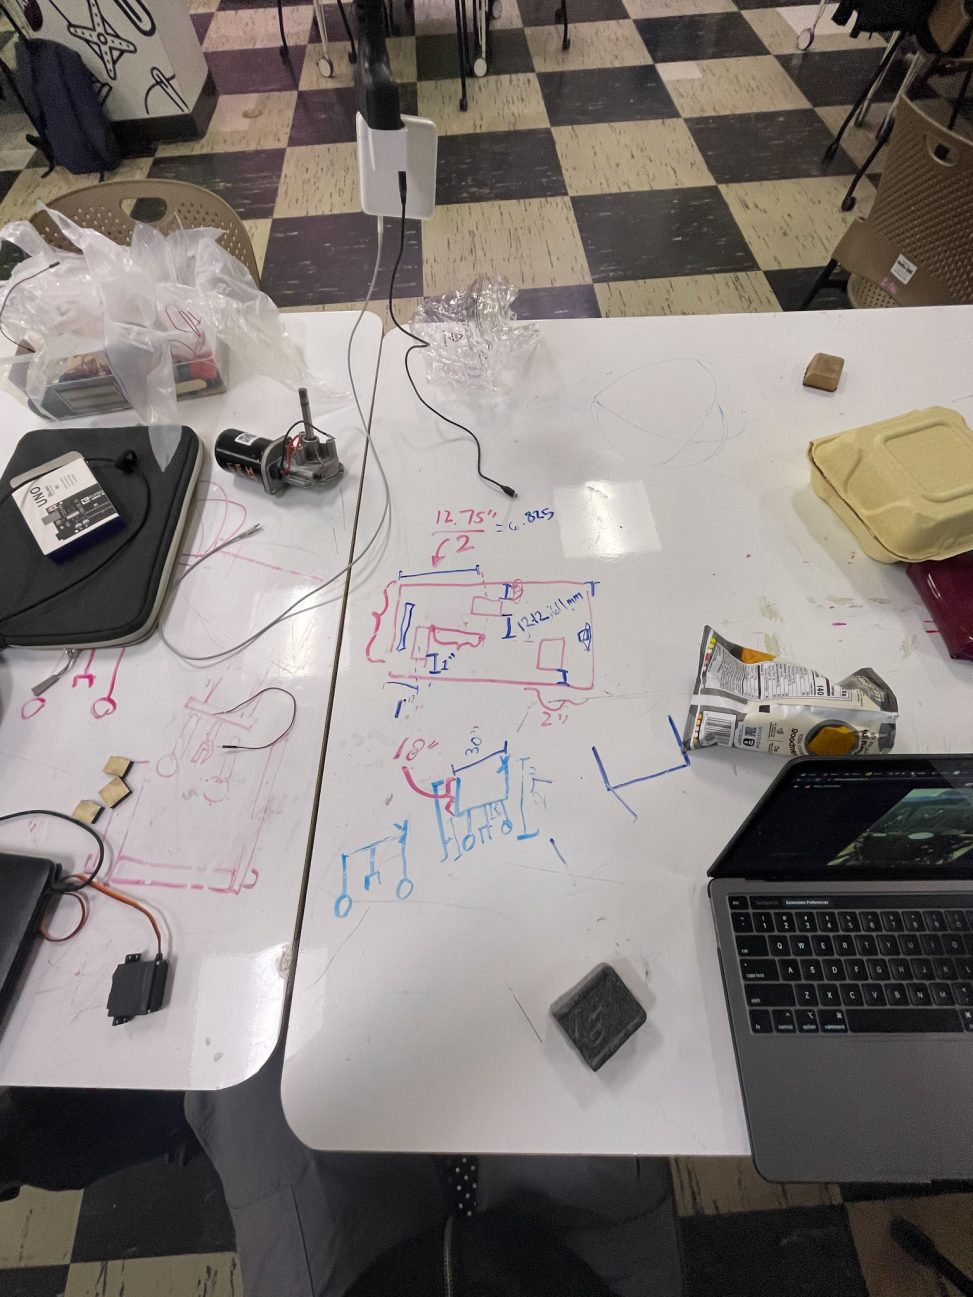
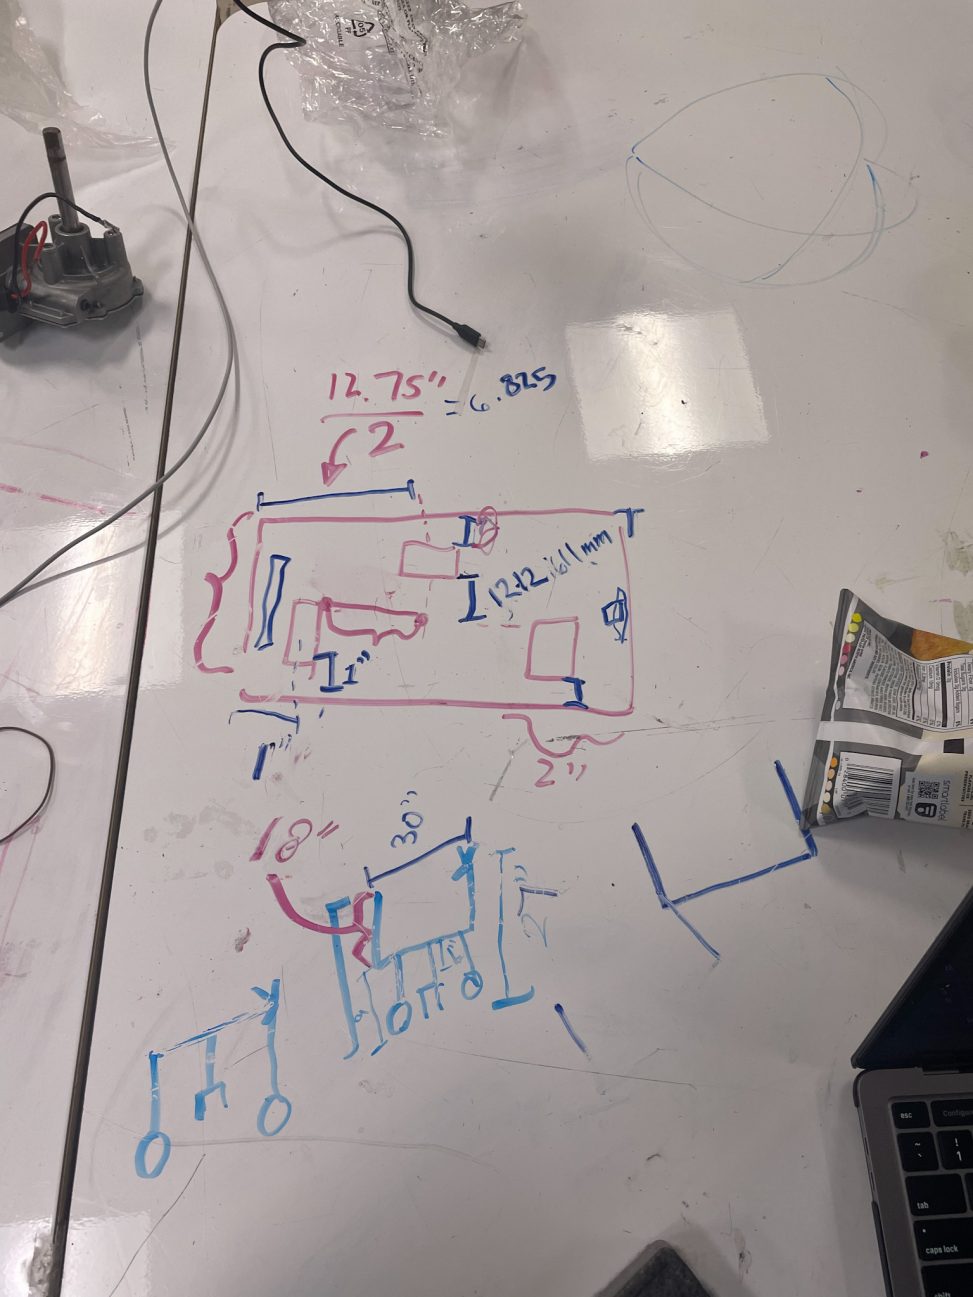
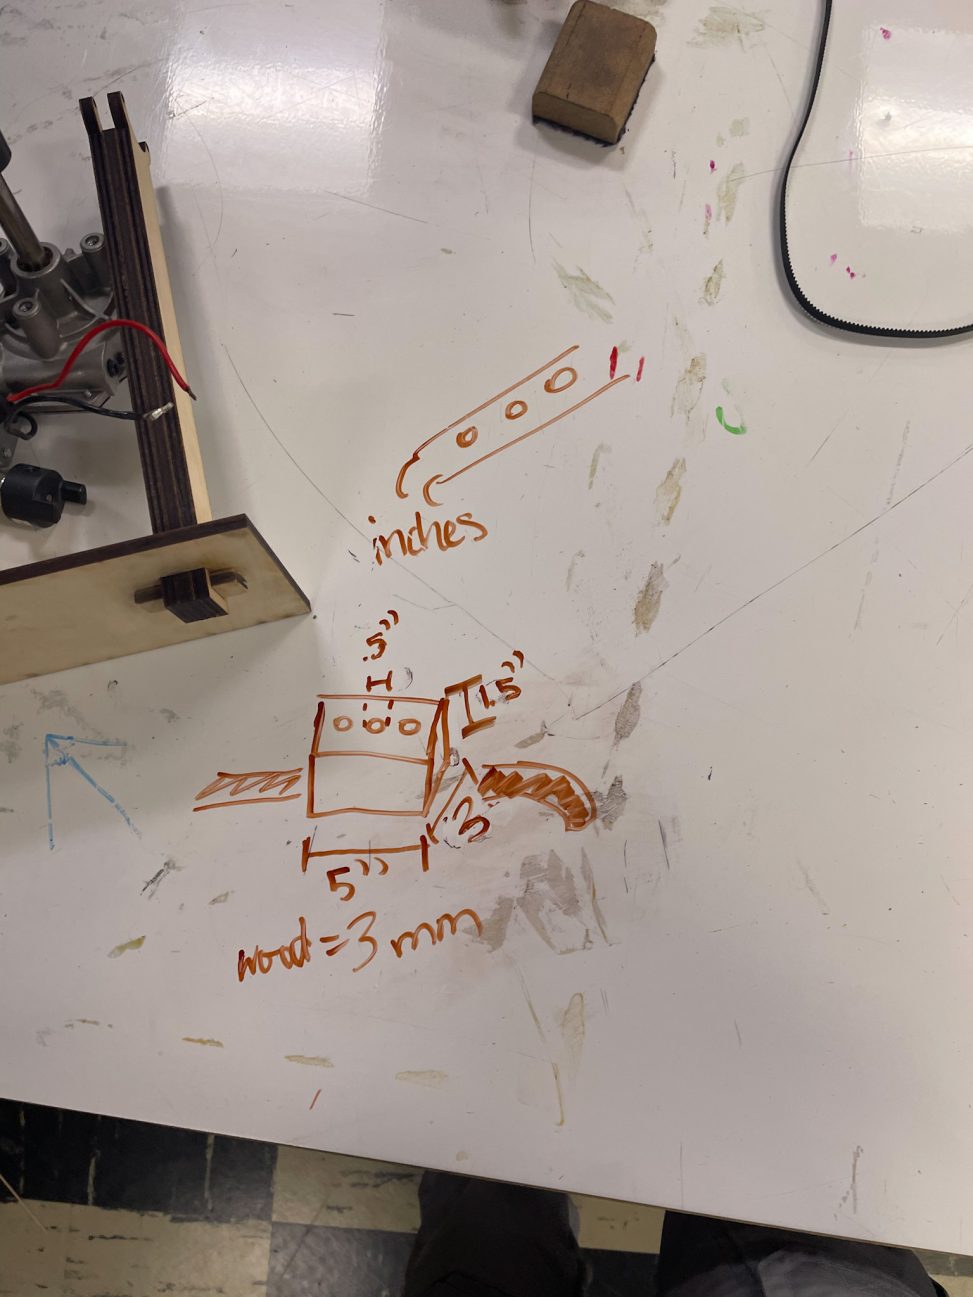
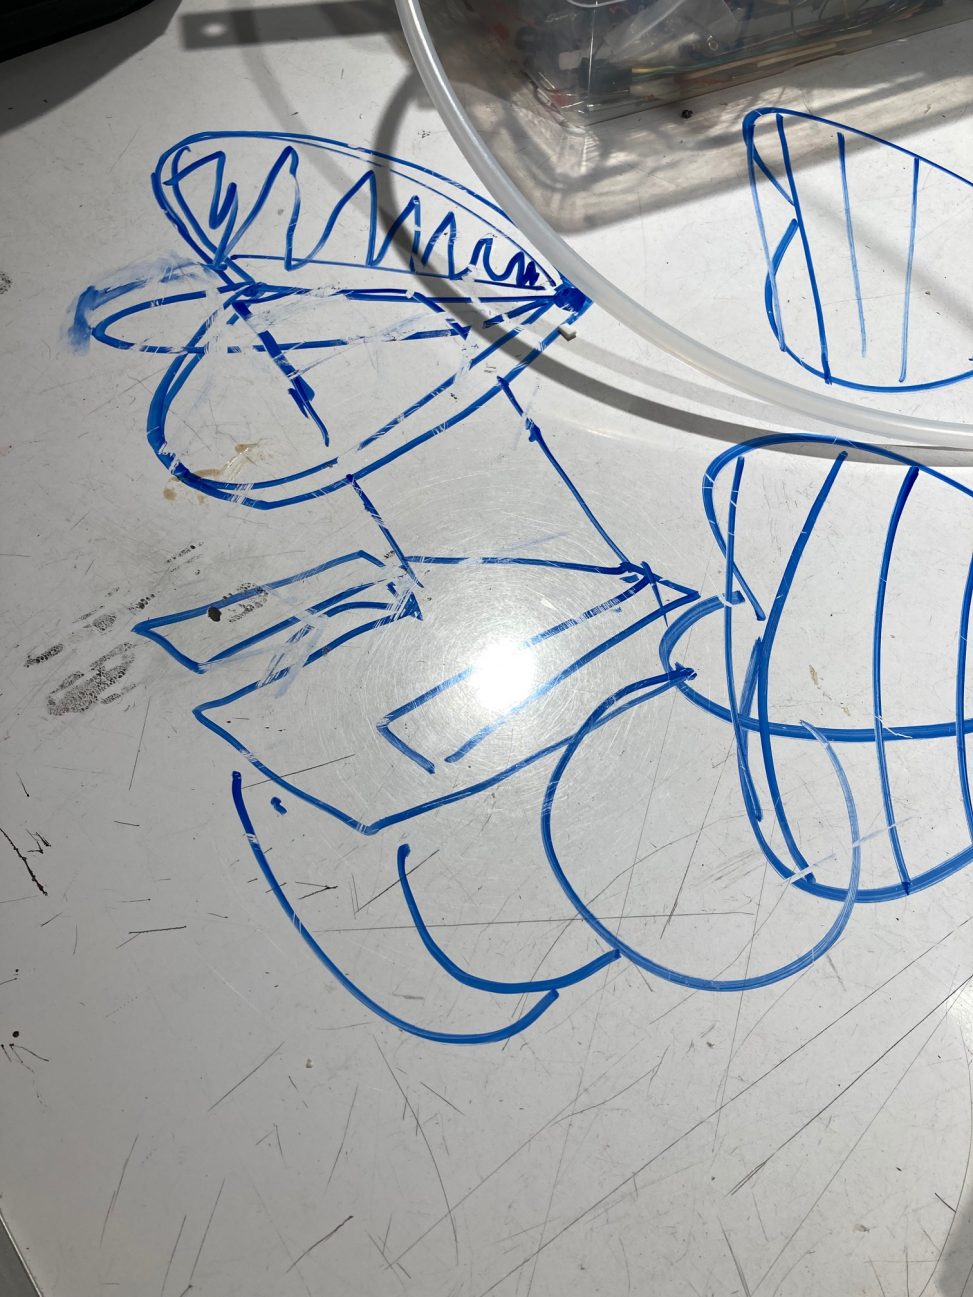
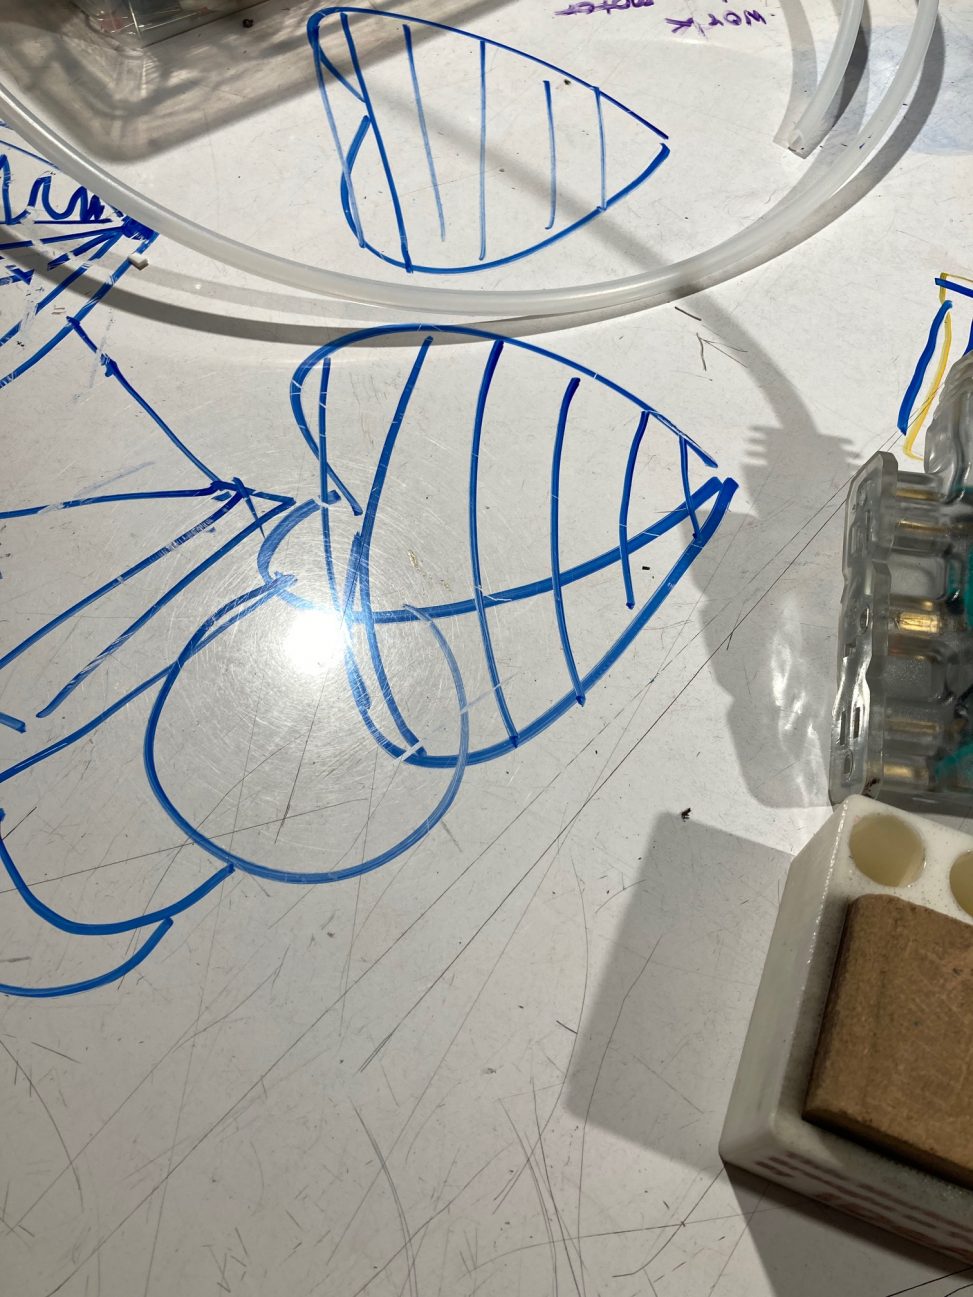
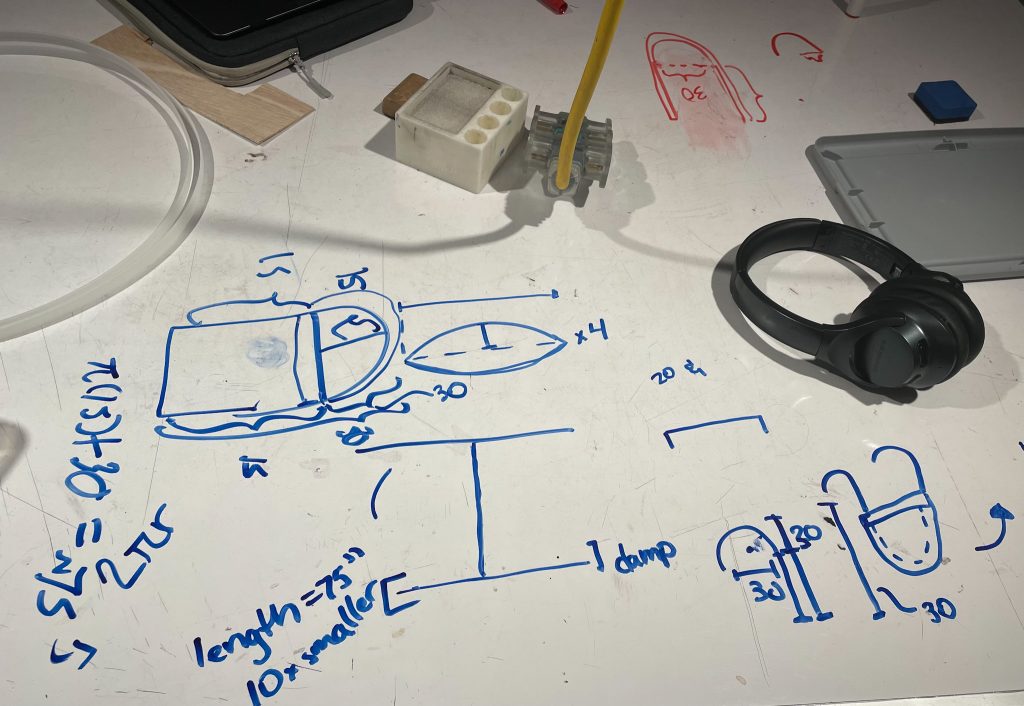
Whiteboard sketches made during prototype process
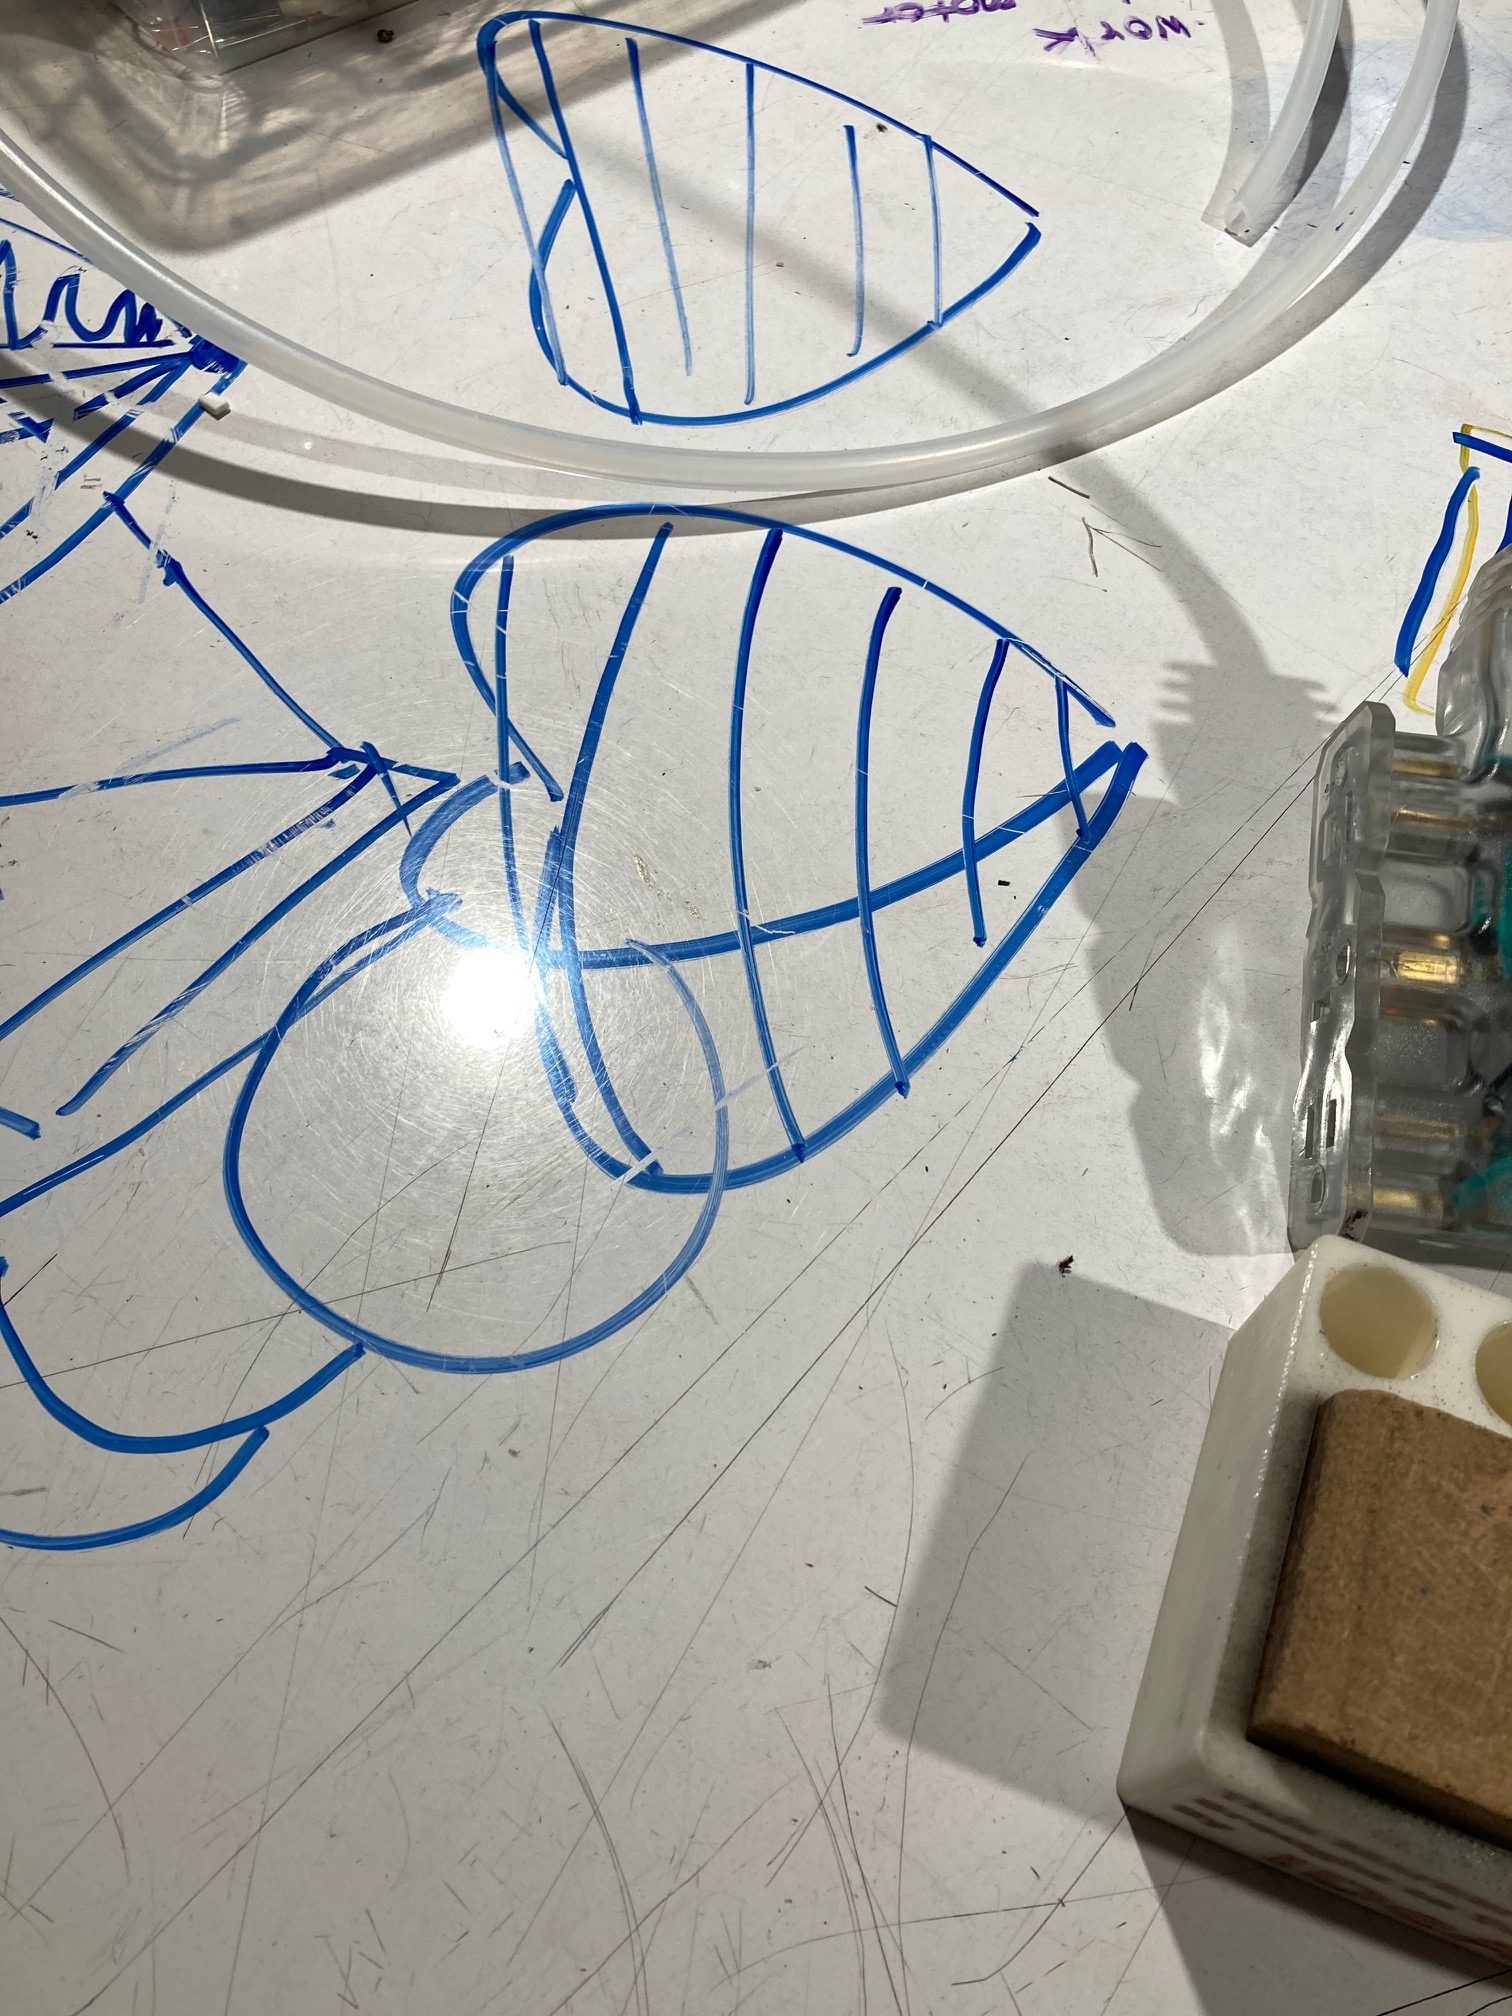
Whiteboard sketches made during prototype process(continued)
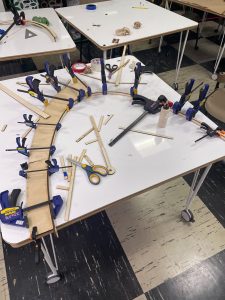
From prototyping the hood portion of the assembly, we were able to figure out how we wanted to construct the moving parts of the device. At first, we unsure on how we wanted the ribbings of the hood to be attached to the device: Did we want them all separate or on one rod? But by prototyping, we were able to come to the conclusion that using one rod mount is simpler. During prototyping, what sort of materials to use was another question we began to address, but never really answered until later in the project, post-prototype. We also wanted to create a motorized version of the prototype, as seen by the servo motors in the pictures above, but due to time constraints, we were unable to make this a reality. In hindsight, this was a good choice, as a motorized version would have been difficult when moving around the hood with the client when making measurements. During prototyping, we were also unable to come up with a solid construction or plan on how to attach the hood onto the wheelchair, a major concern that would be addressed later in the project after we met with the client in person and made measurements.
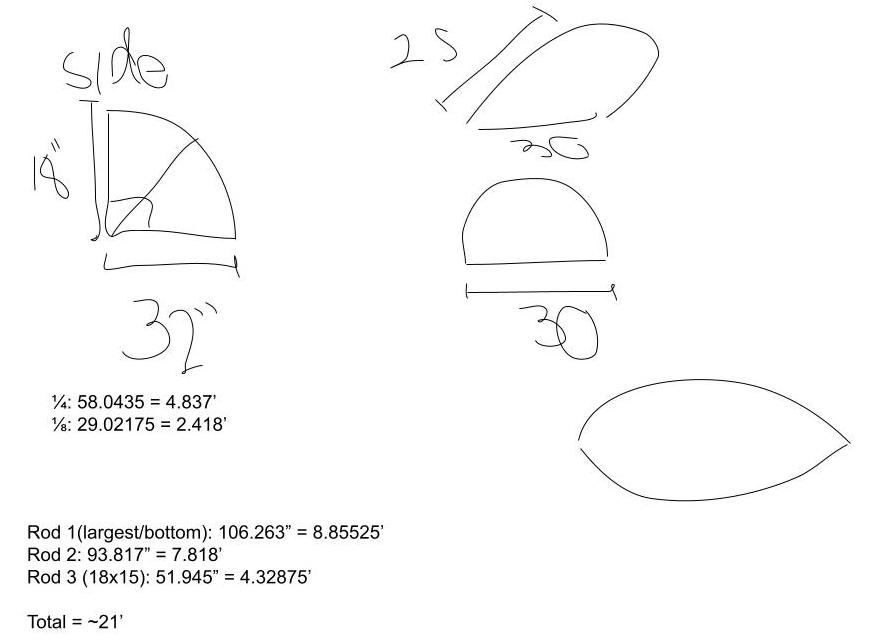
Overall we received positive feedback on our first prototype, no recommendations were given for us to consider and incorporate into our final design. However, the client did specify, when asked, whether or not she wanted a button-operated device or a joystick-operated device, as well as saying that she wanted the hood to be a large enough size to not make her feel constricted. When it comes to critiques of the prototype, we had thought that a full-shell version of the hood, with a full-180 degree range, would be the final design of the hood. However, after feedback from the client, we moved to a quarter-shell design, with a 90-degree range of protection. What surprised us as well was how large the actual hood would need to be after taking measurements, as the hood’s width alone would be about 32 inches.
PROCESS


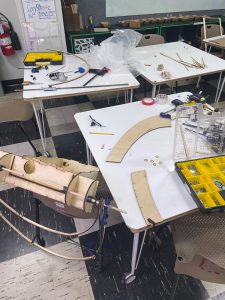

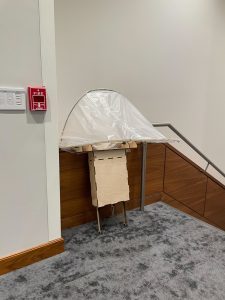
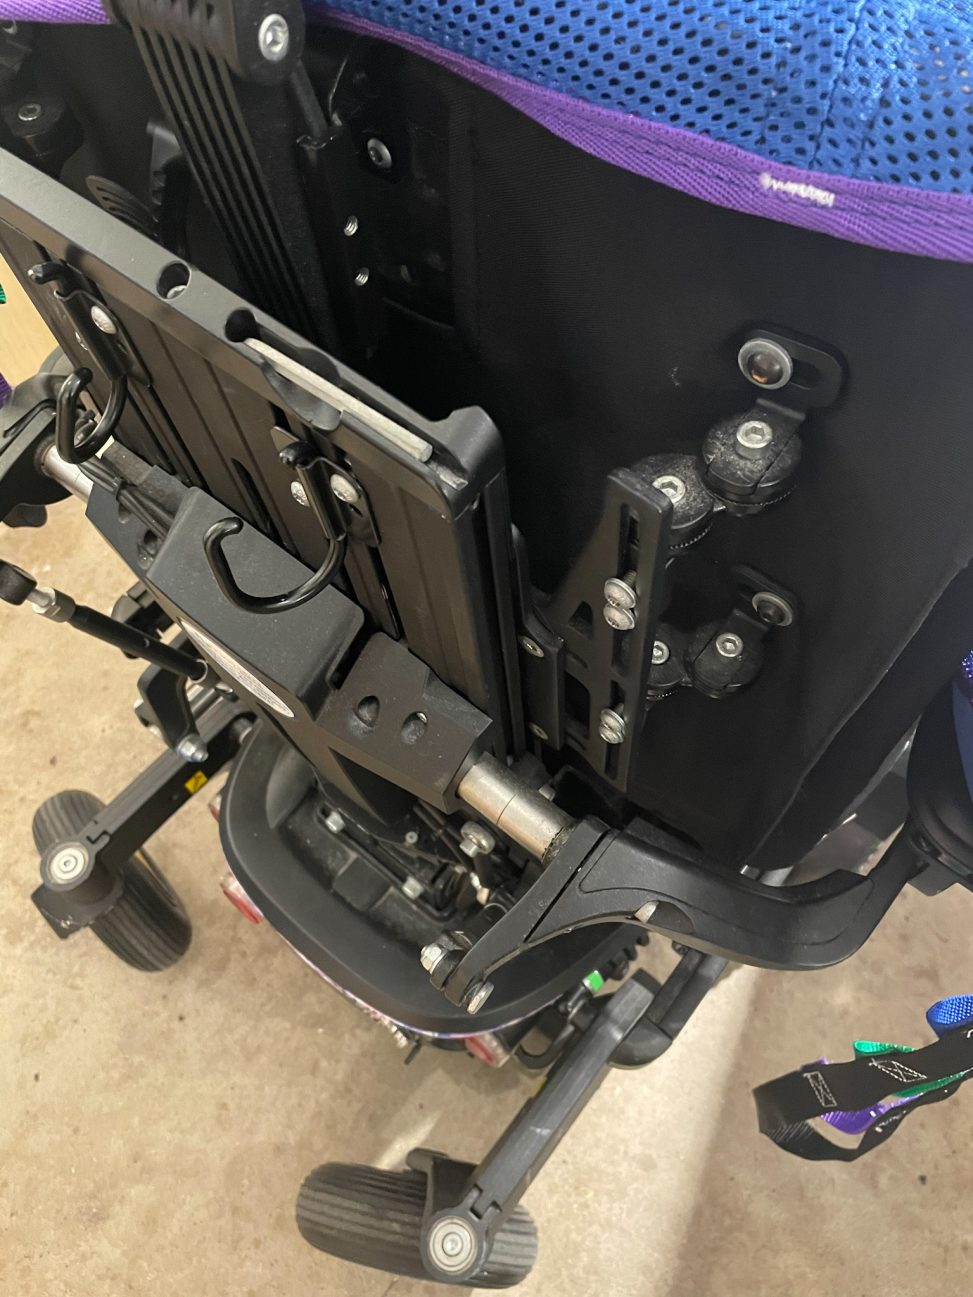
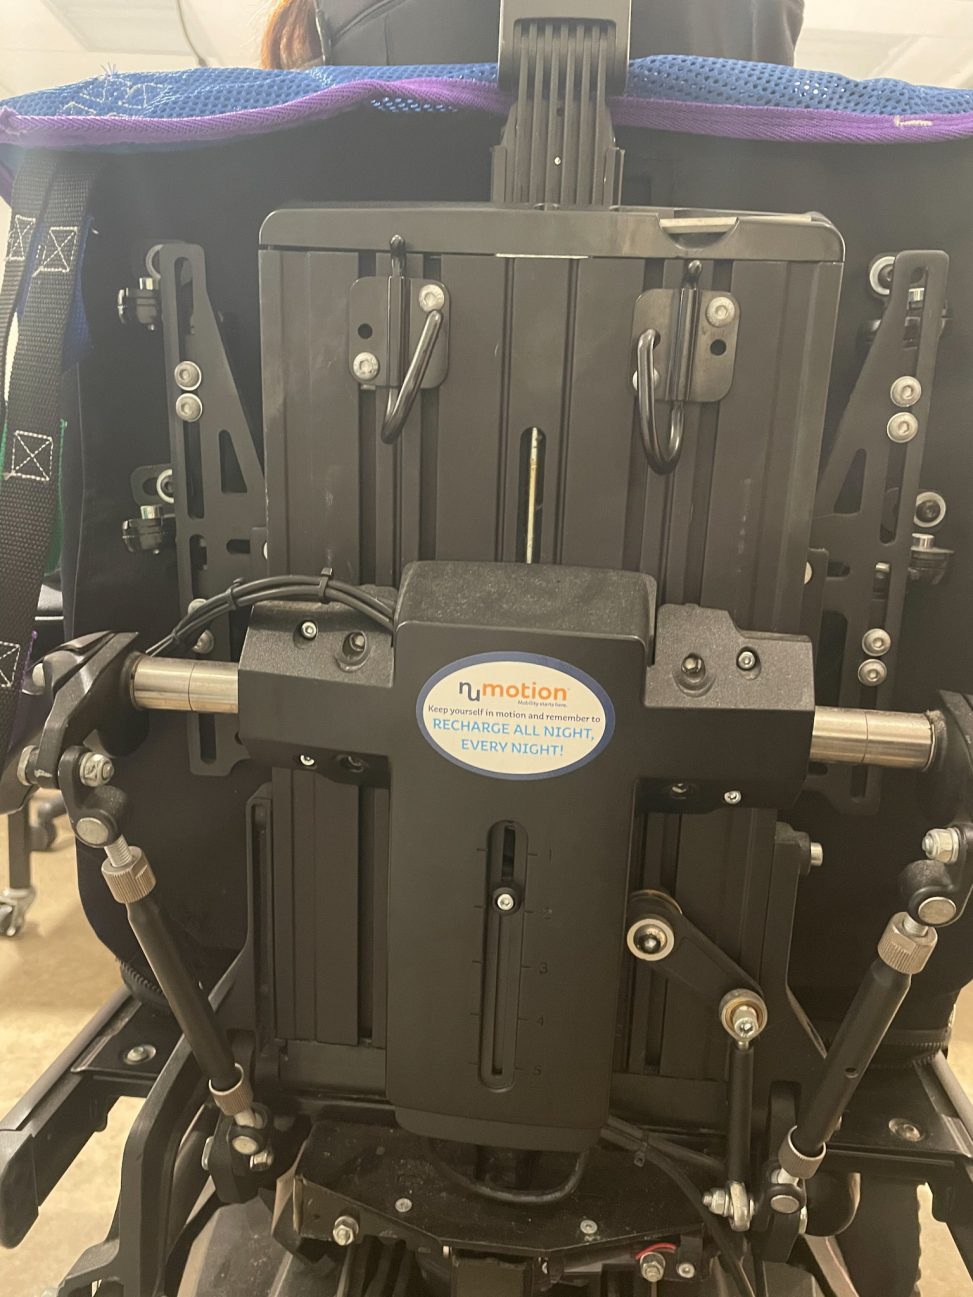
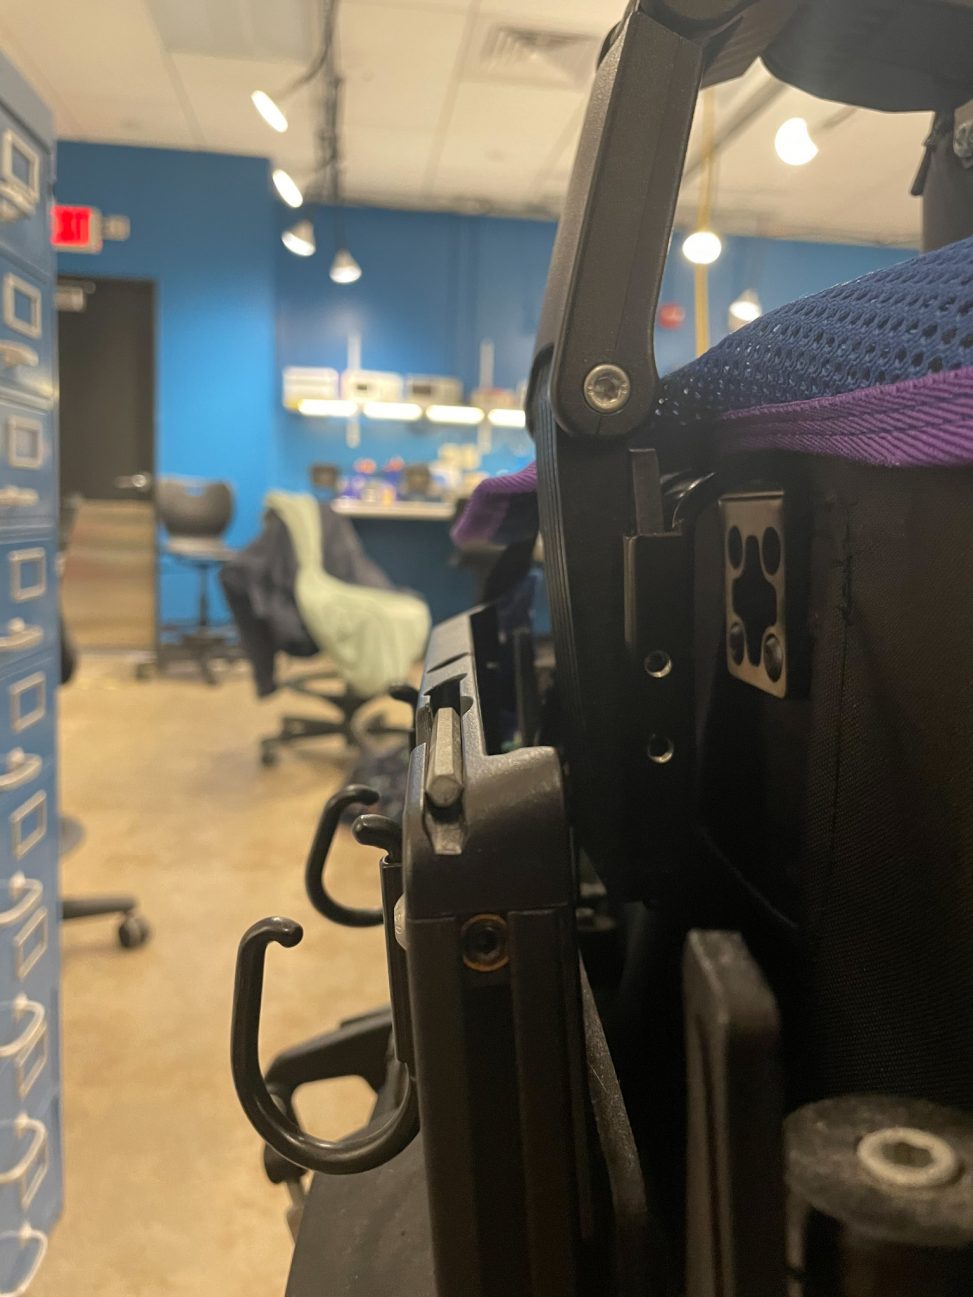
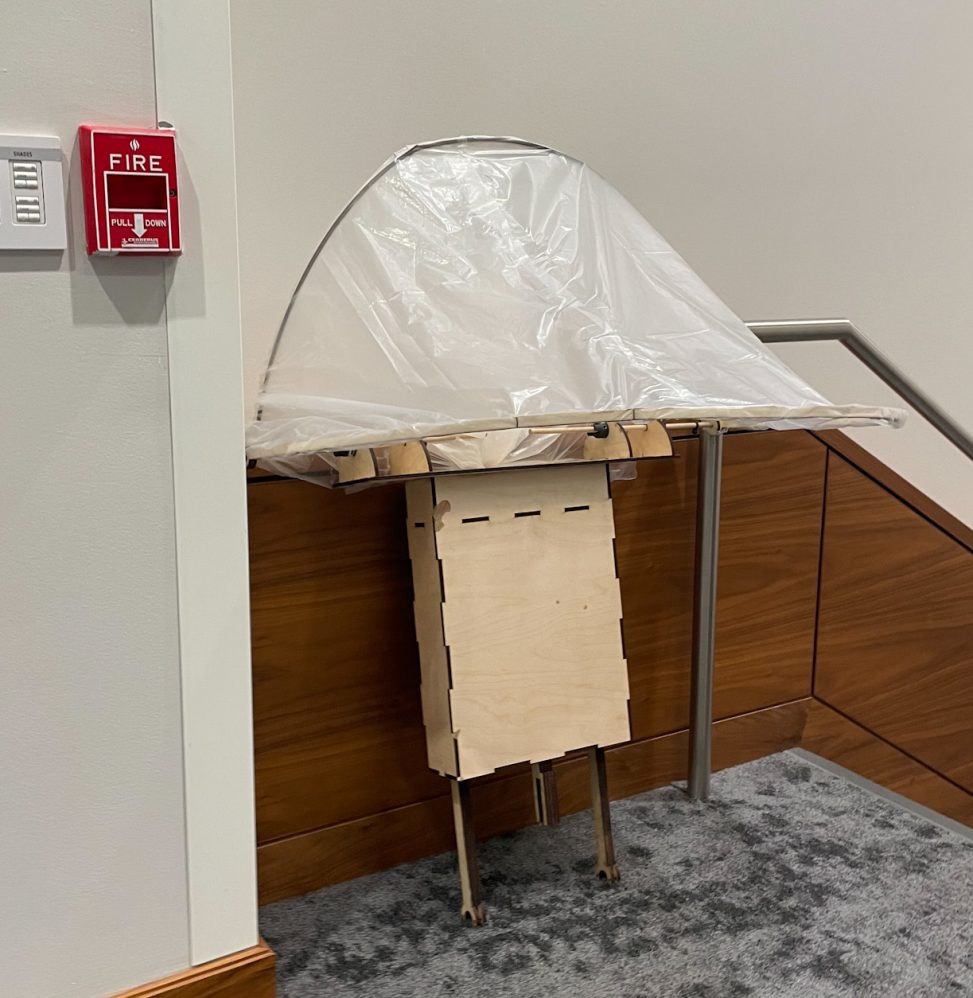
The Retractable Rain Hood attaches to the back of the wheelchair at three places with clamps. These three clamps connect to a box, and at the top of the box is the system that attaches to the hood. The hood is designed to be a quarter of an ellipsoid and so the two wooden strips (reinforcements) in the hood are different lengths. The entire piece is made from wood and then a clear trash bag is what the hood is made from.
At the beginning of this project we were both very concerned and stressed about how and where we would complete this project. One of the things we were worried about was how we would connect the Retractable Rain Hood to the wheelchair in a place that would support the piece and also not cover up anything important on the wheelchair. After meeting with our client and getting to see the wheelchair in person we were able to come up with a solution to our main concern, and this was to clamp the Retractable Rain Hood at three points in the back of the wheelchair. At the end we were able to come up with a design that properly addressed our problem, apart from it being motorized though of course.
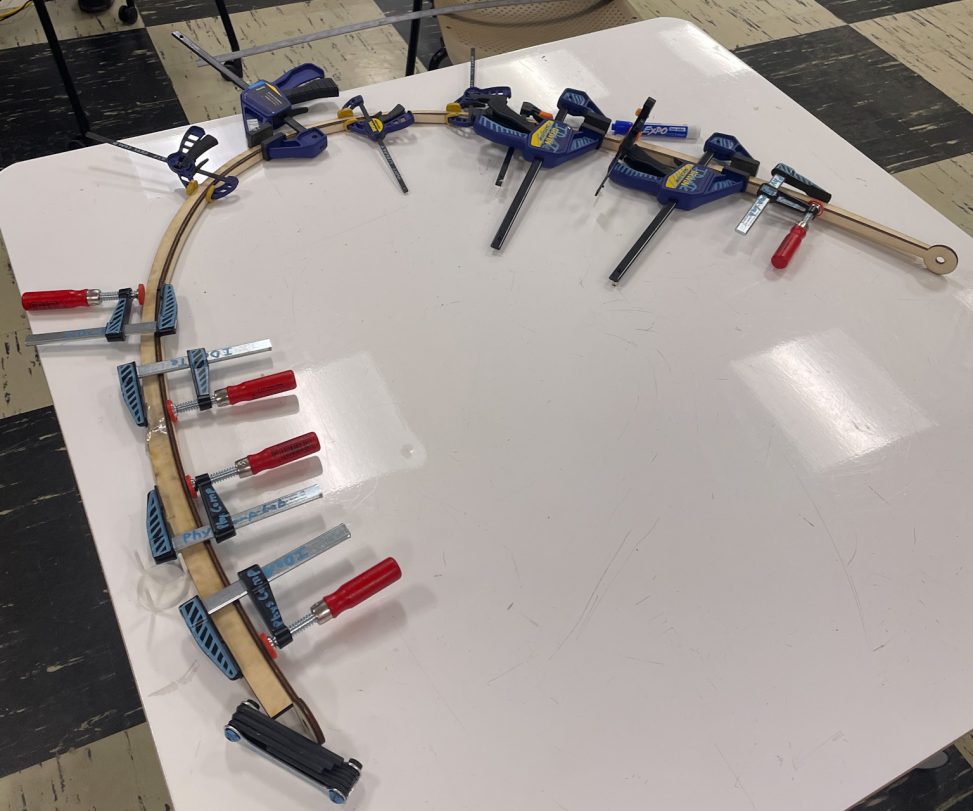
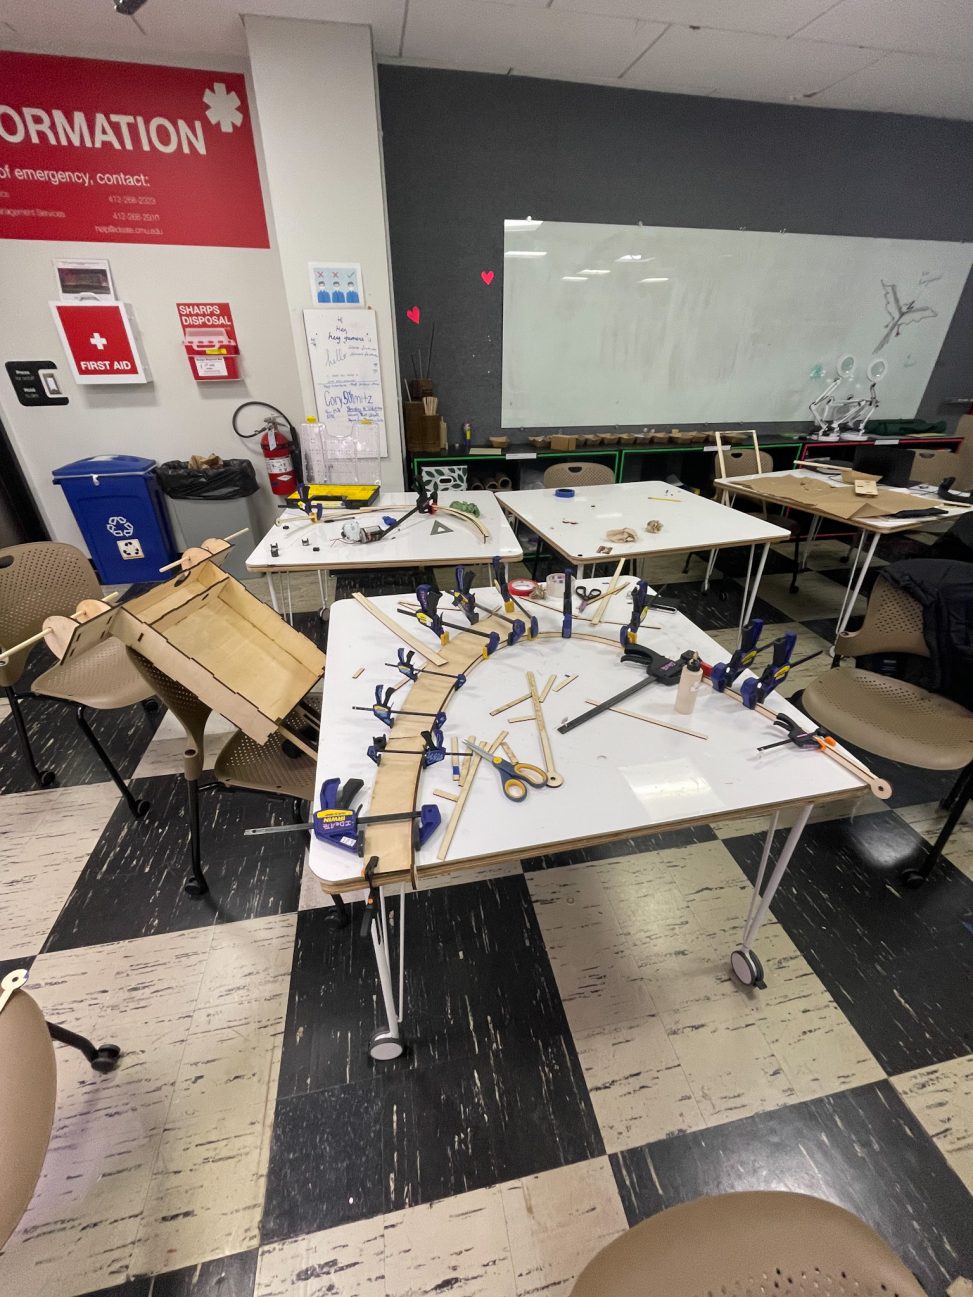
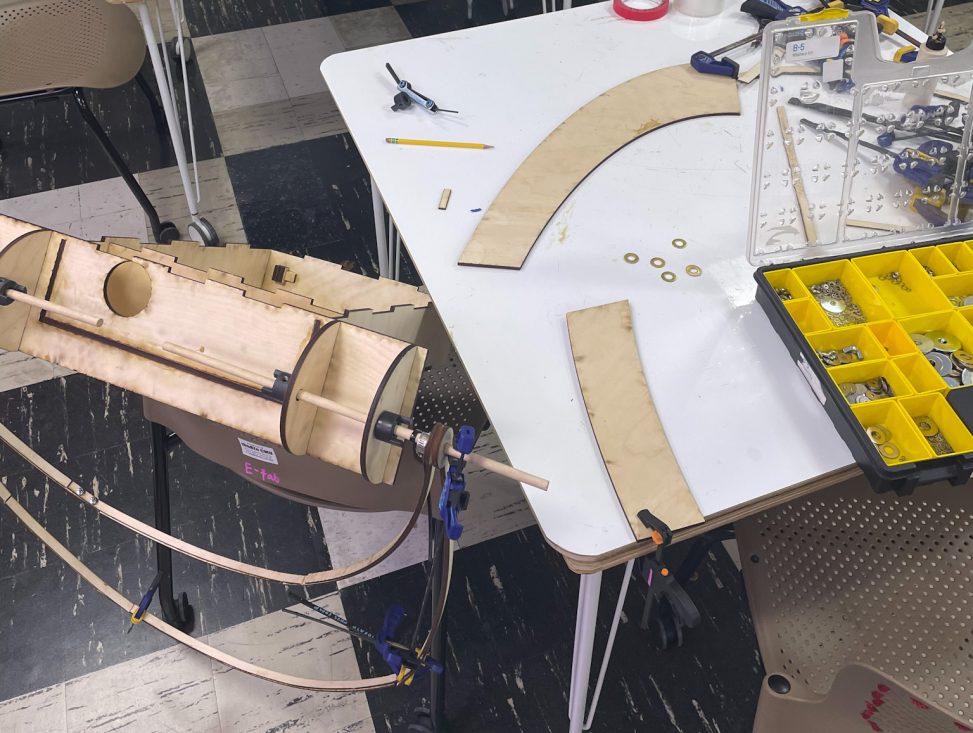
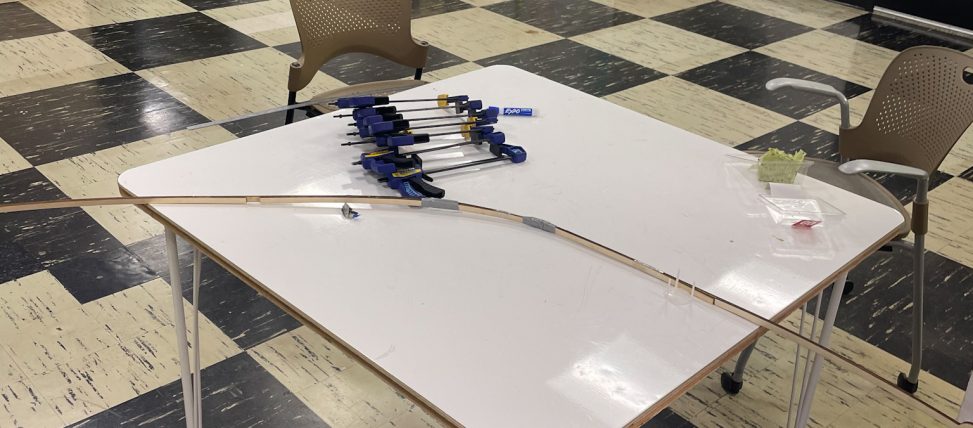
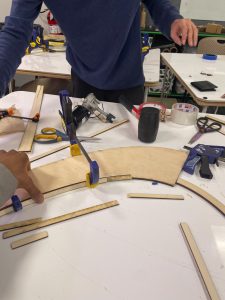
When it came to creating the wooden strips in the hood, first we laser cut 3 panels to curve the strips against. Since two of the curved panels were too large for the wooden sheets we had to cut them into four pieces. We also laser cut thin rectangles to turn into the wooden strips. After this, we glued two rectangle pieces together with different lengths and clamped them to the panels, we continued this, while fitting the rectangles into each other, until the wooden strips were complete. The hardest part during this process was the whole thing, but especially so when we got to the part of the panel that was curved. We had a hard time fitting the rectangle pieces together at the right lengths and keeping them flush with the panels. At times the rectangle pieces would pop out or broke from the tension of the curve. Another difficulty we faced was a result of two of the panels being being made from four pieces because it made it harder to keep the rectangle pieces at the right position. However, after creating the first wooden strip we were able to speed up the process for the other two.
One of the things that took longer than expected was deciding on the materials. That along unforeseen circumstances caused our planned materials to not get here on time as expected. Something that we forgot to properly take into consideration is that we had planned to do things during Thanksgiving break and so that definitely did not work out. Also, because of this and other things we changed the project to just focus on building the piece and removed the part that would make it motorized. So our schedule completely changed and we did not refer to it much after a certain point.
CONCLUSION

During our final critique, we really enjoyed hearing feedback and critique from others. To start off one of the feedback we received was, “When first hearing of the project, I worried it would make the wheelchair user look like a baby in a stroller. However, the design you came up with showed me that my opinion was unfounded, and it actually looks good.” This was really interesting to hear as this was not something that we thought much of during the design process. This is also probably because we thought that our material choice would take away from that. But overall we were happy with our final design choice. The next feedback that we received was to “Lean in” on boxiness–>provide storage. Use lay-up technique for “bending” wood. Tinted canopy.” We really appreciated this feedback because it makes the most out of our design giving our client another place to store things on her wheelchair. We also love the idea of using a tinted canopy which would still give our client the chance to look out of the hood while maintaining some sort of privacy. Next, someone stated “consider when the rain hood is down, there might be rain on it and get the person in the chair wet when extended.” This is a really good point and something we had not considered much surprisingly, we were hoping that the water would all fall out once the hood was completely closed again. But that is something that we would have to think through more to ensure that the water did not pool up in the hood. Lastly, someone said “Manufacturing limitations severely affected design decisions.” This was definitely the case, and during a conversation with one of the visitors it was really interesting to hear about the other processes to consider.
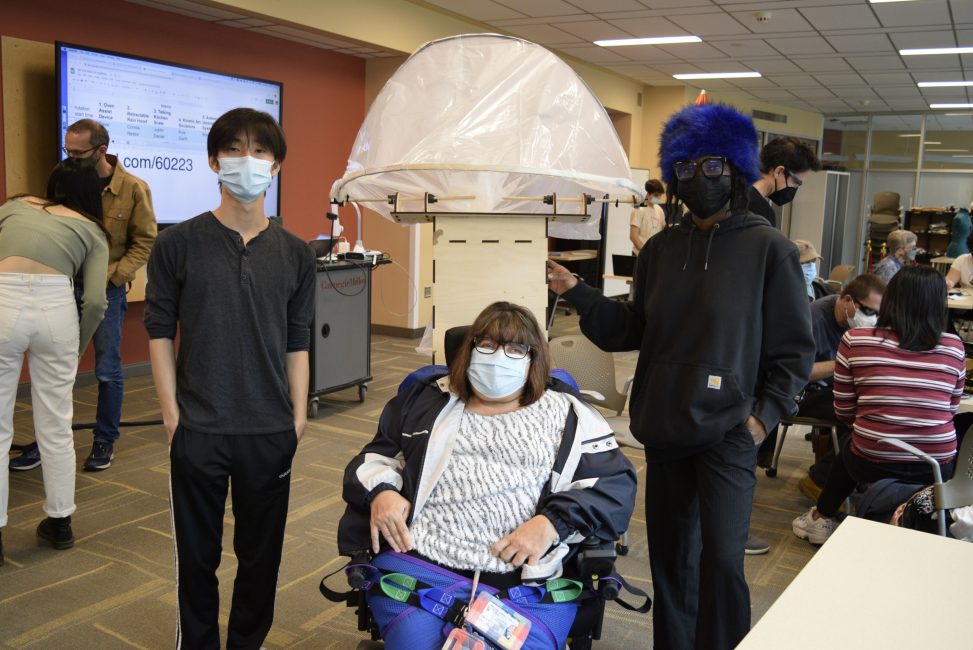
Working remotely with our client was a bit difficult mainly because our product heavily depended on being able to see the wheelchair in person. This delayed part of our design process as we did not know how we would fit it to her wheelchair until later on. In retrospect, something that we would have done differently is have more meetings with our client to properly update her on the changes made in our project. We also could have sent her more pictures of our process. Working with our client was great for both parties though and we all enjoyed the process.
After working with a person with a disability, we were just really surprised at how many things don’t already exist. We also learned that you can not make direct modifications to a wheelchair as that would void any warranty that came with it. It would have been really great to see the wheelchair in person one more time to make sure the clamps fit properly.
Looking back at our process some things that we would have done differently include doing better research on the materials and better time management in general. Overall, despite the many mechanical problems and our concerns, we successfully designed and built a product that both us and more importantly our client were happy with.
TECHNICAL PARTS:
We unfortunately did not have any code to supplement our device, as it created as a non-motorized version. However, attached below are the .dxf files, compressed as a .zip file, for the mounting attachments, clasps, riser box, and rod mounts that could be use to laser cut.