“Back It Up, Boy!” is an assistive device to help users backup from their laptop screens when they unknowingly become too close after leaning in for a period of time.

Overview of hat

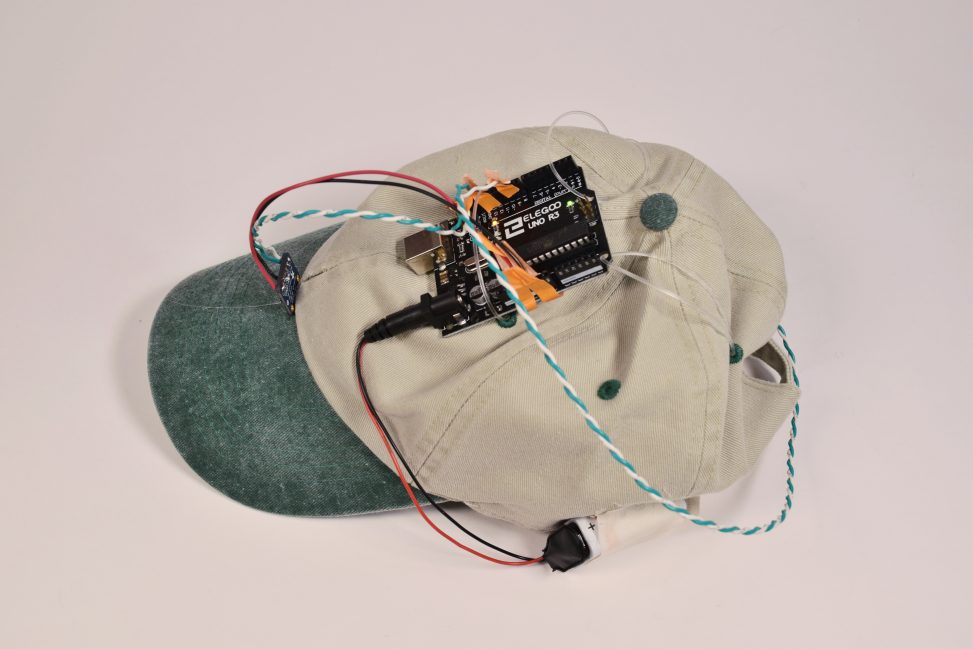
Front View
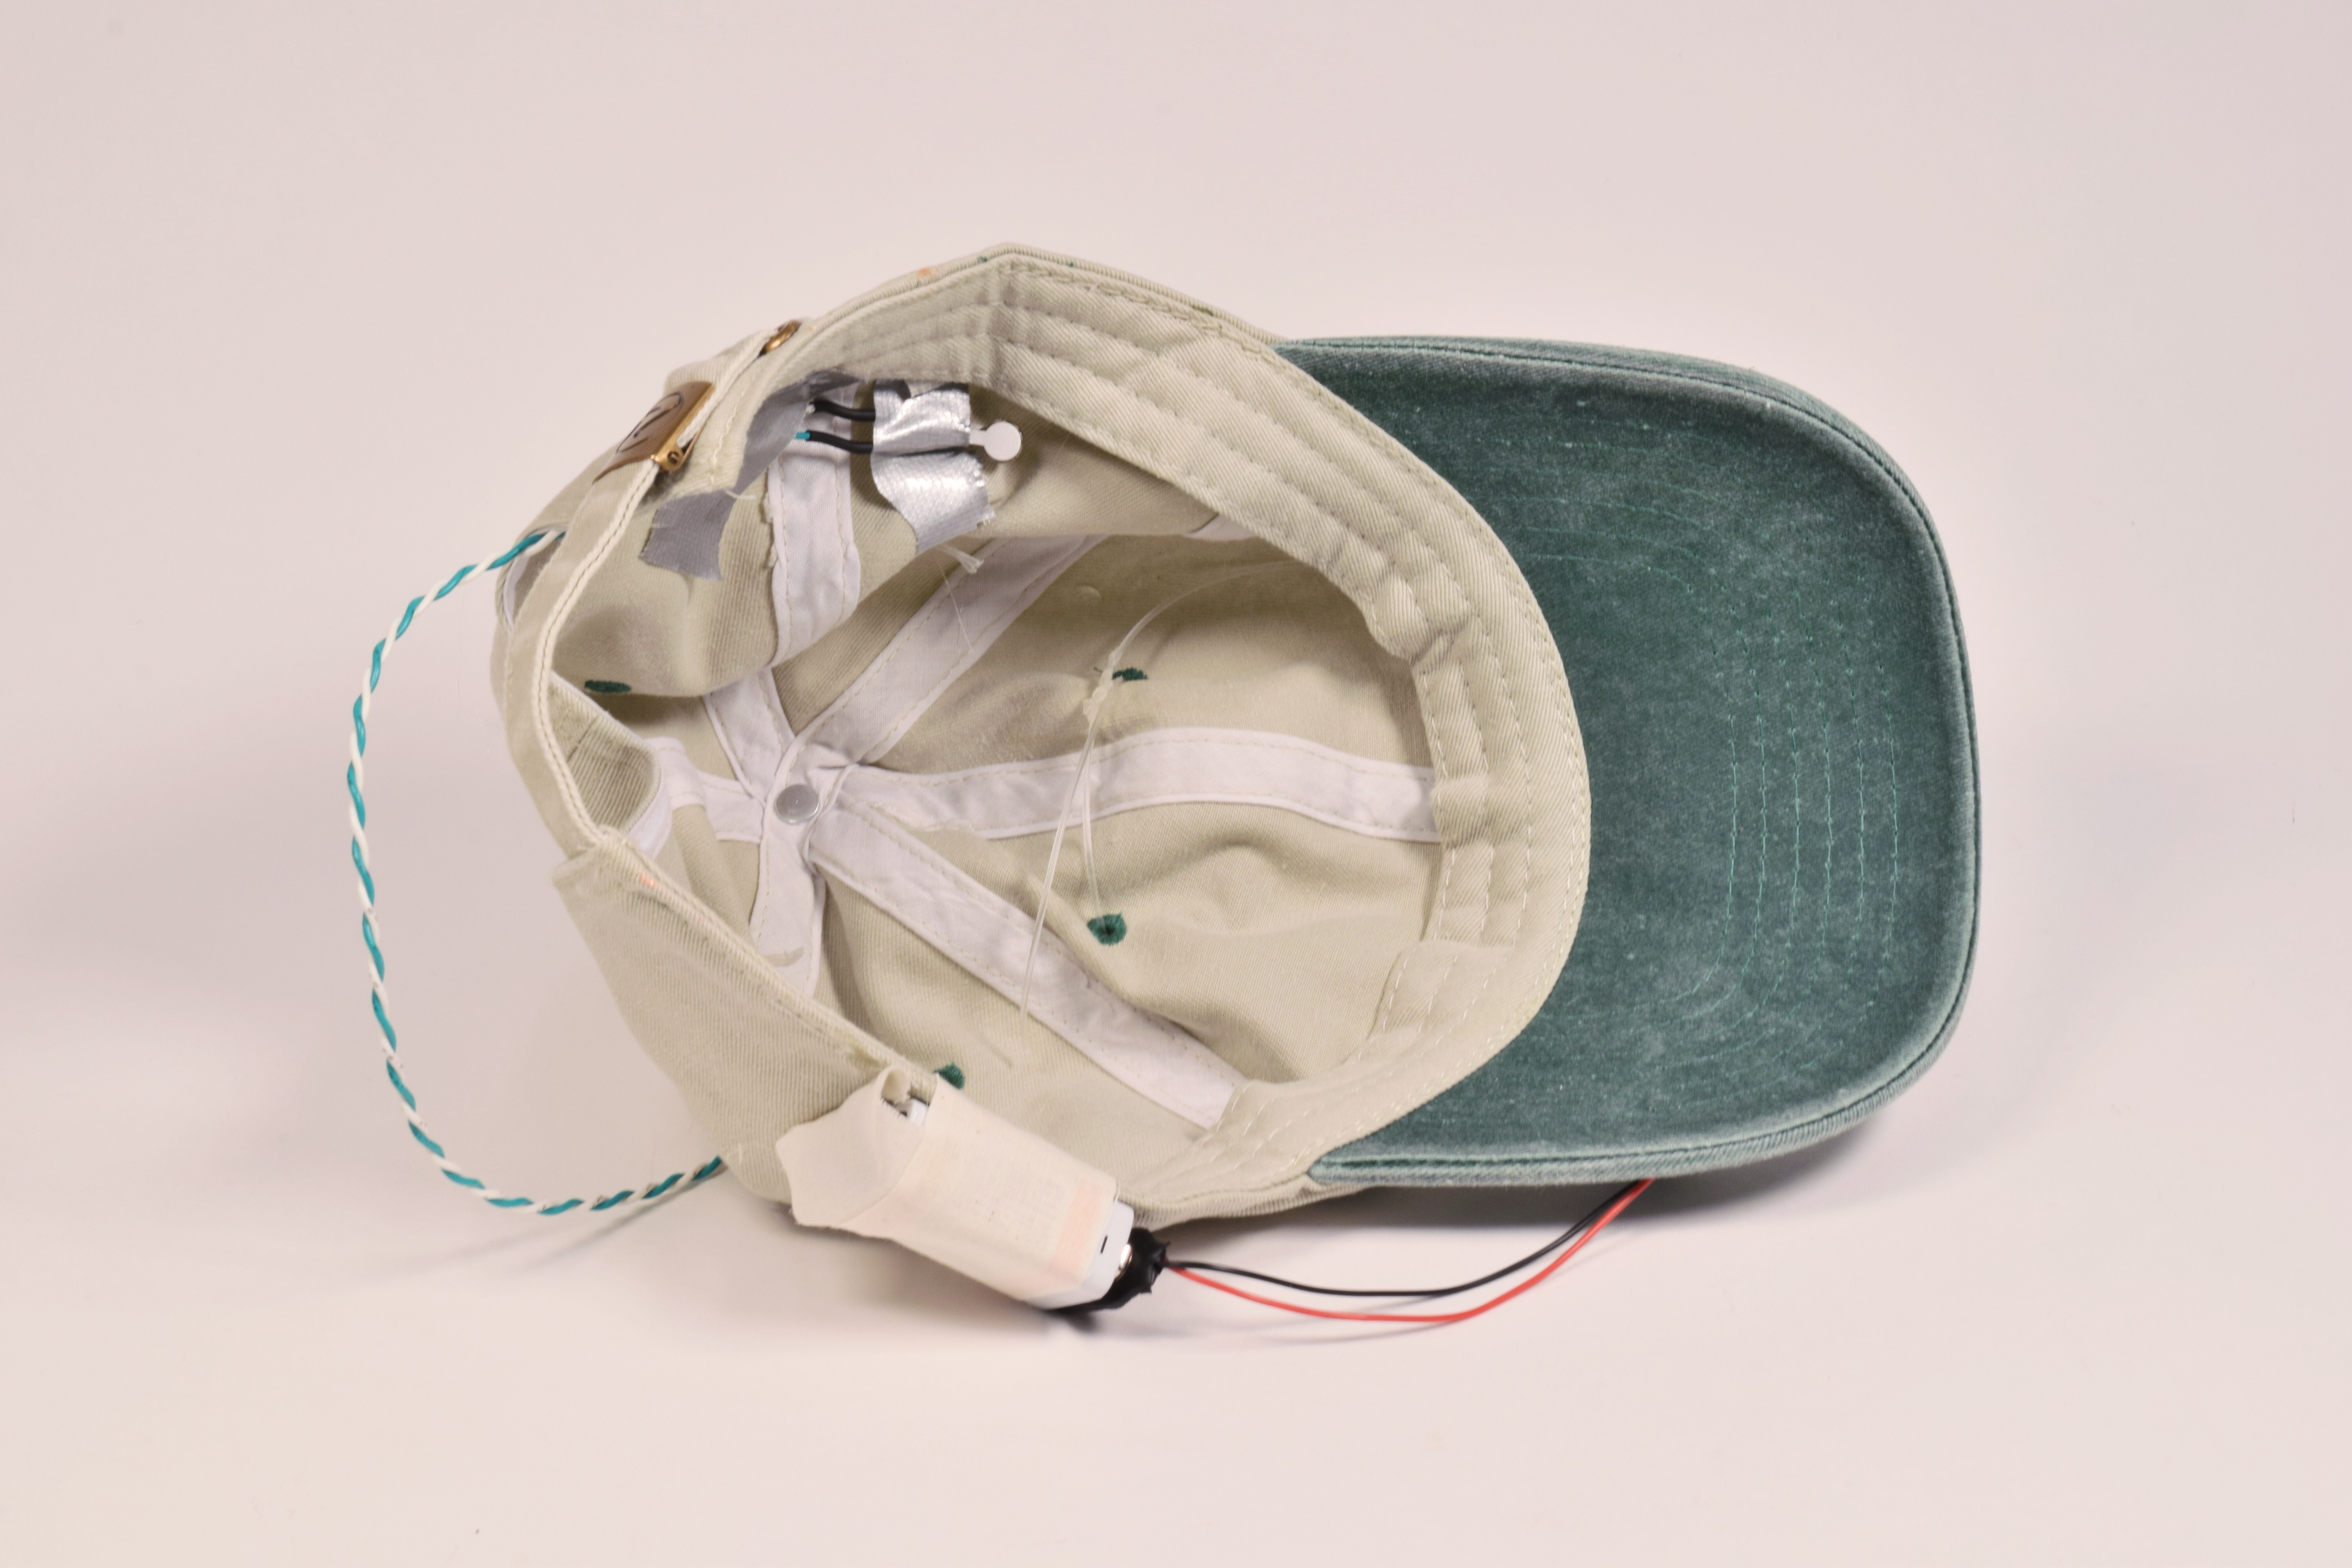
Inside of hat
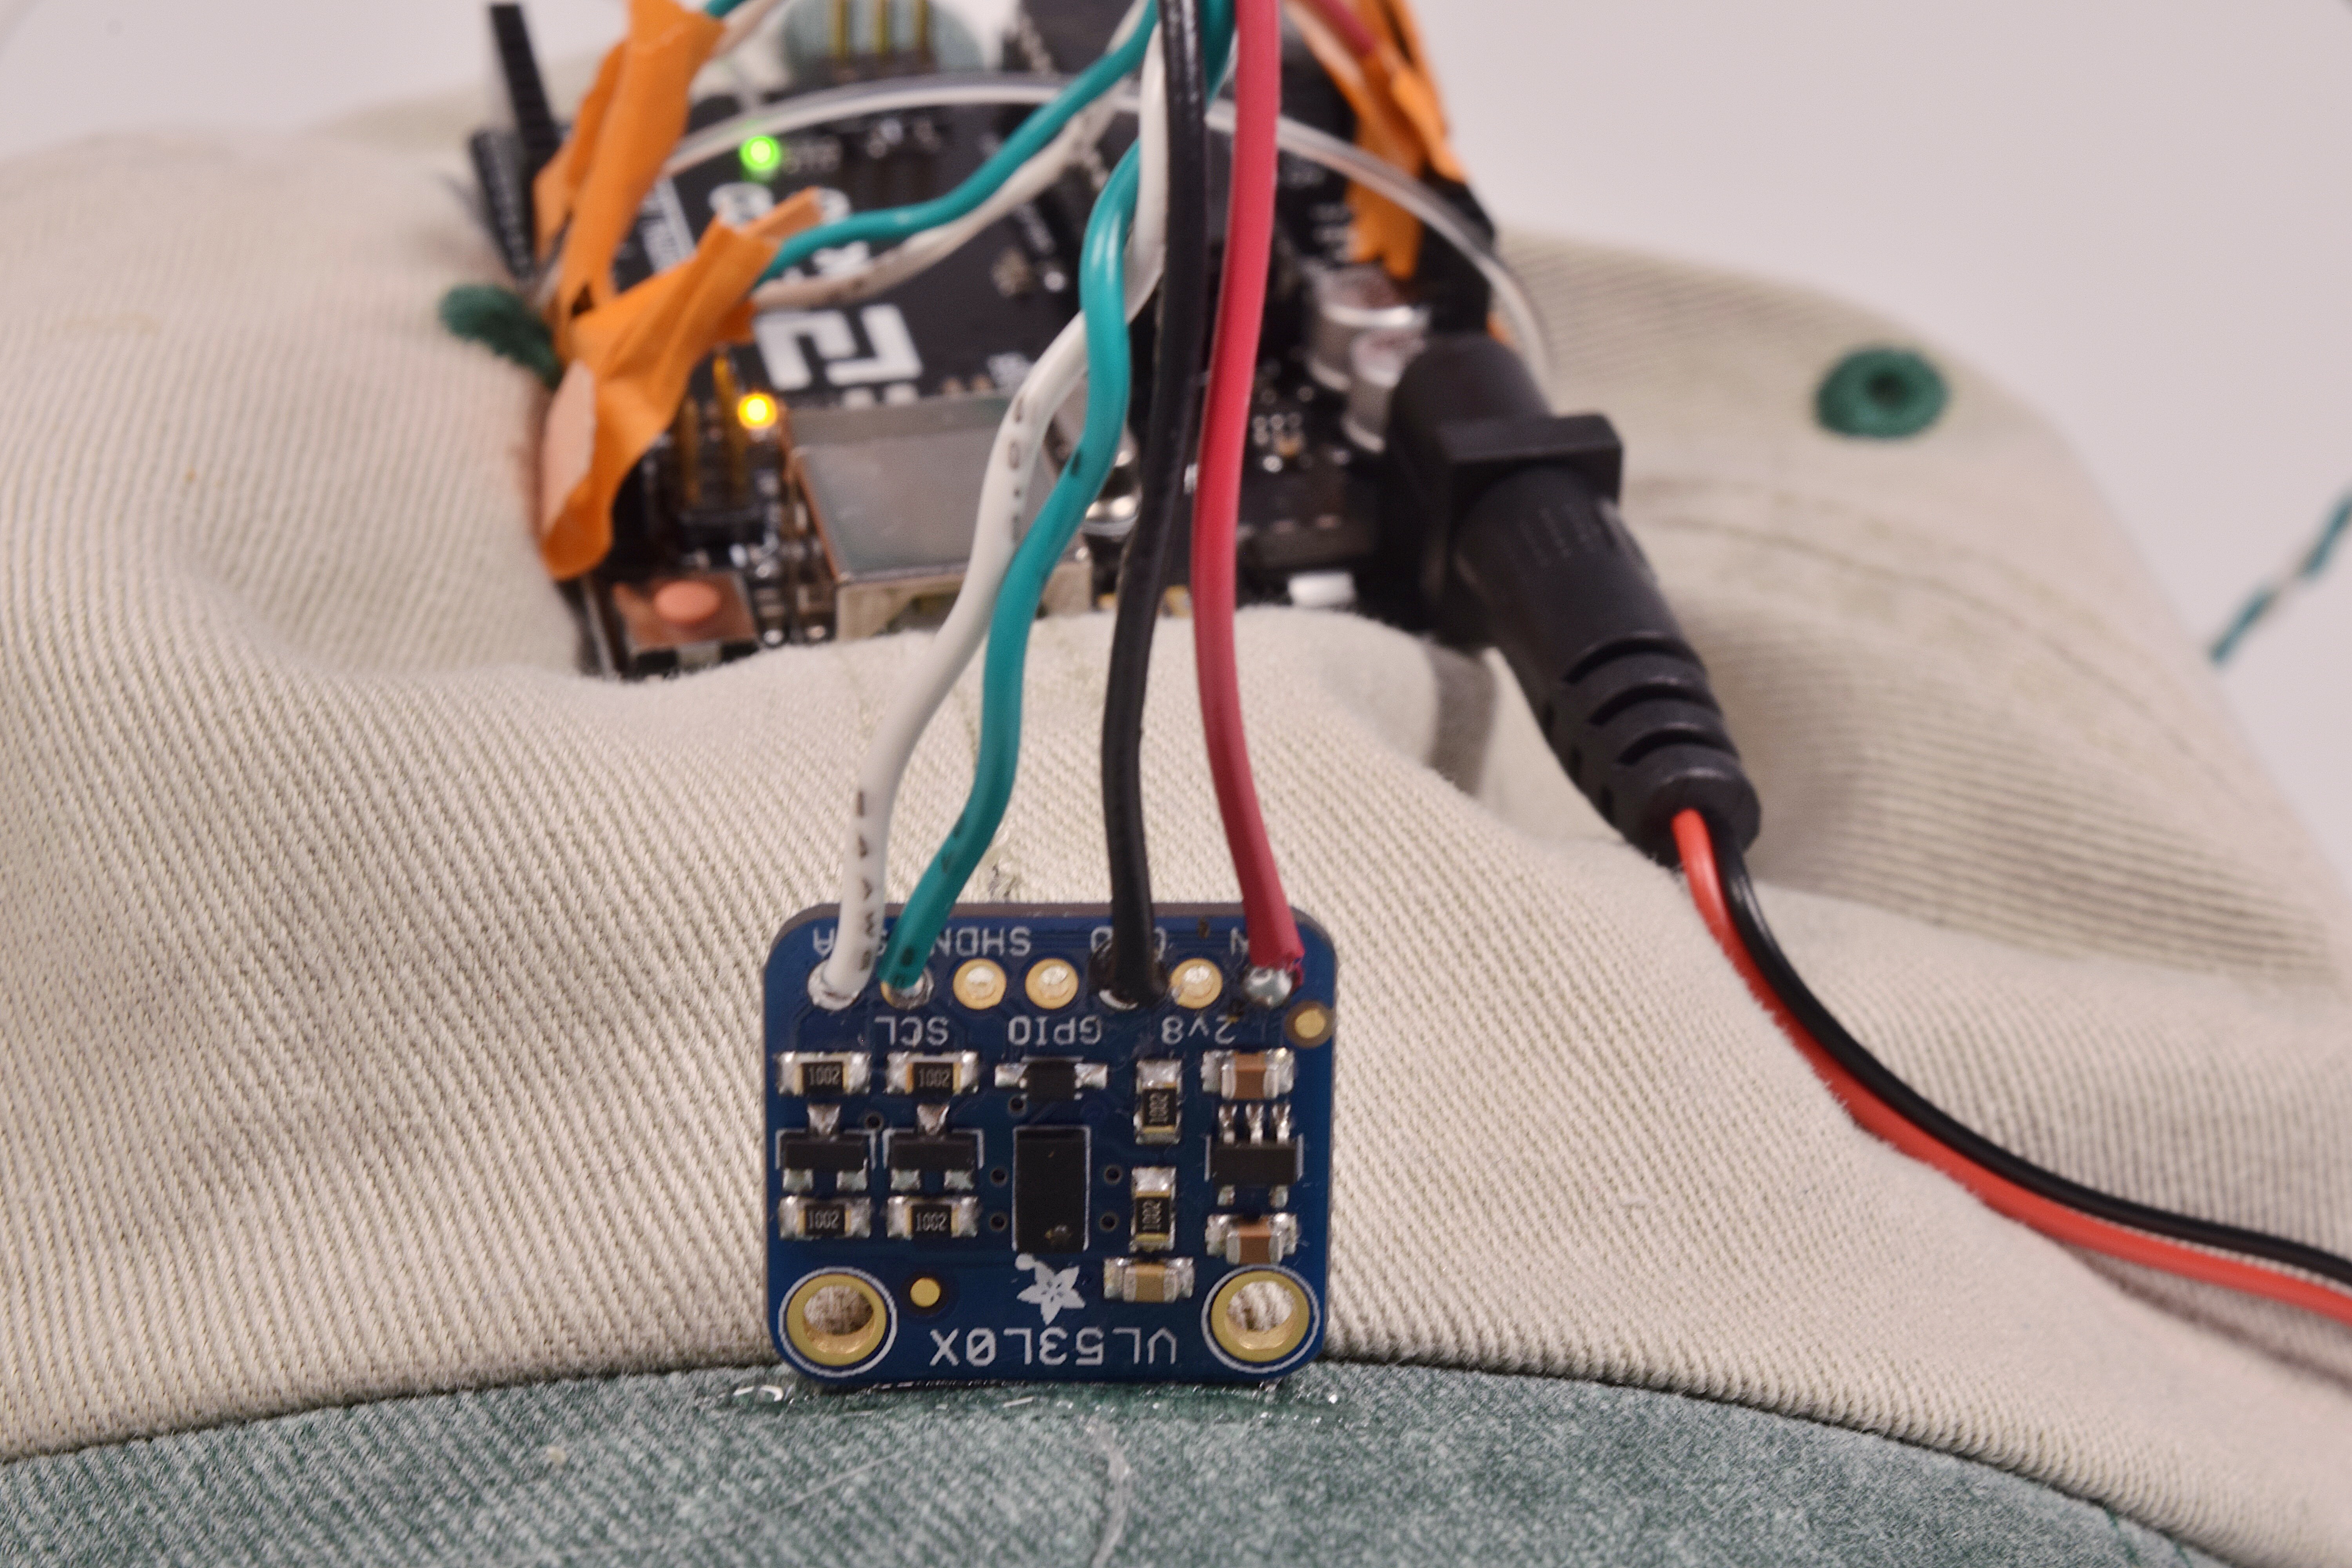
Sensor Detail Shot
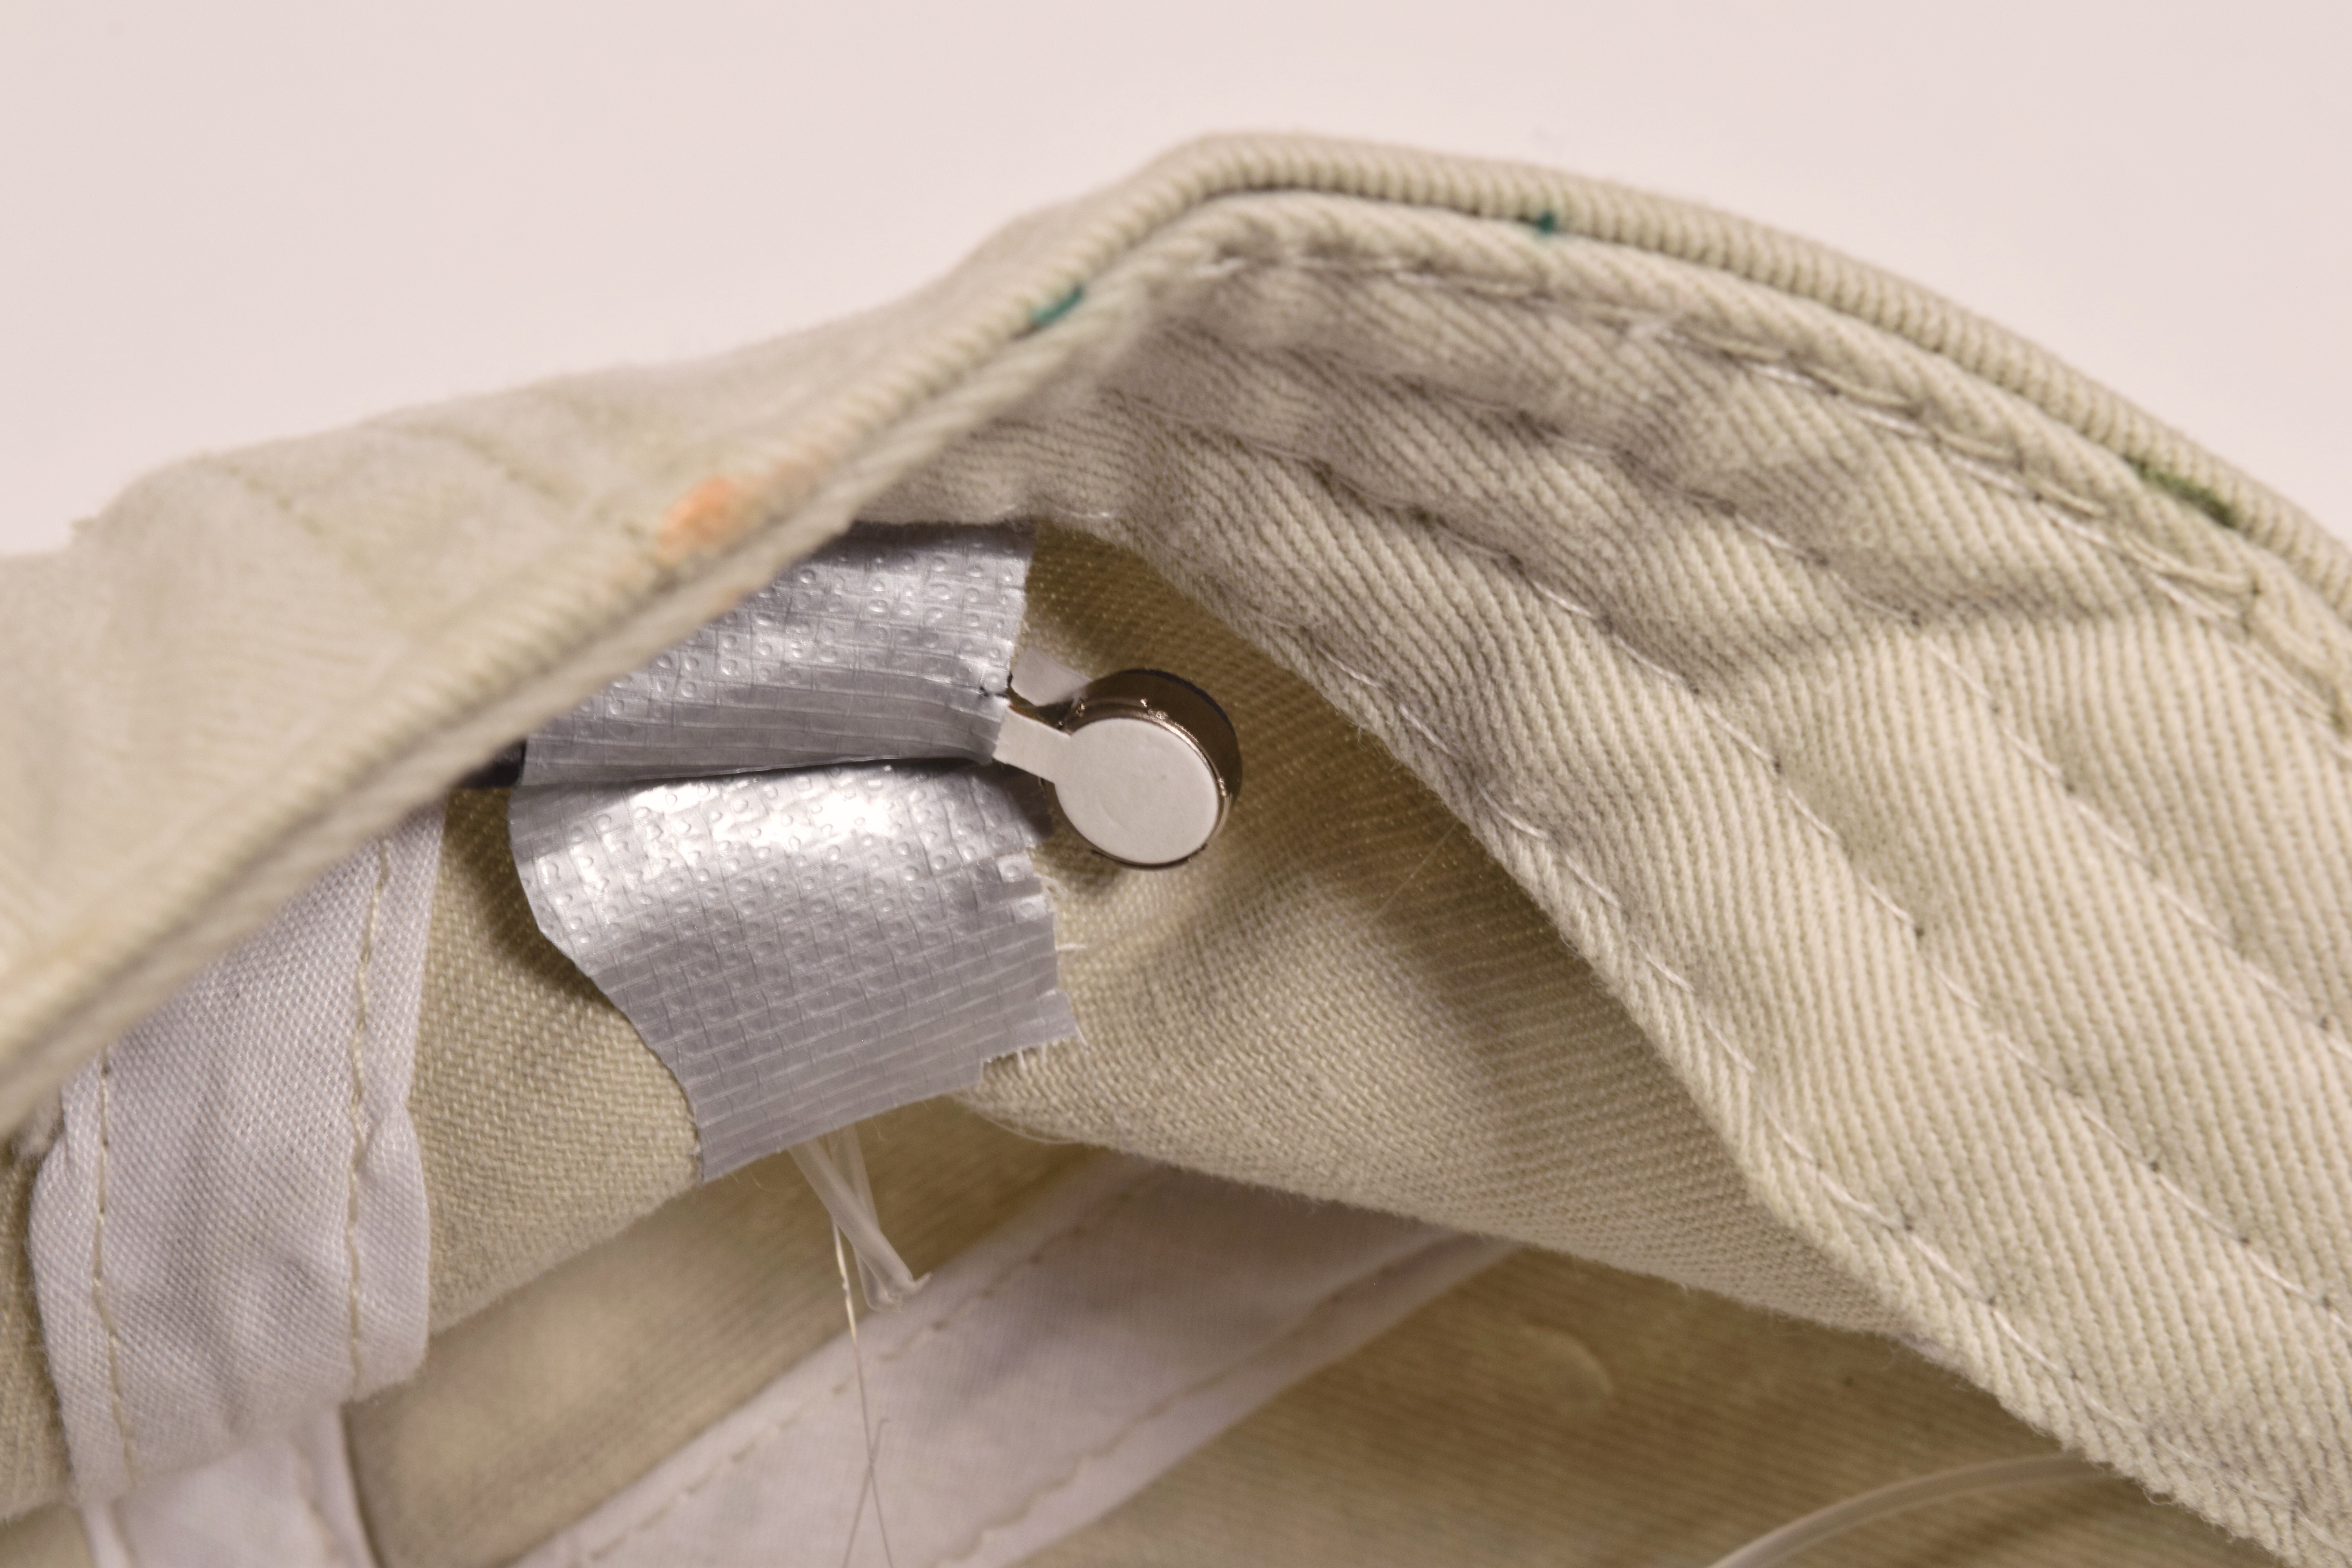
Motor attached inside
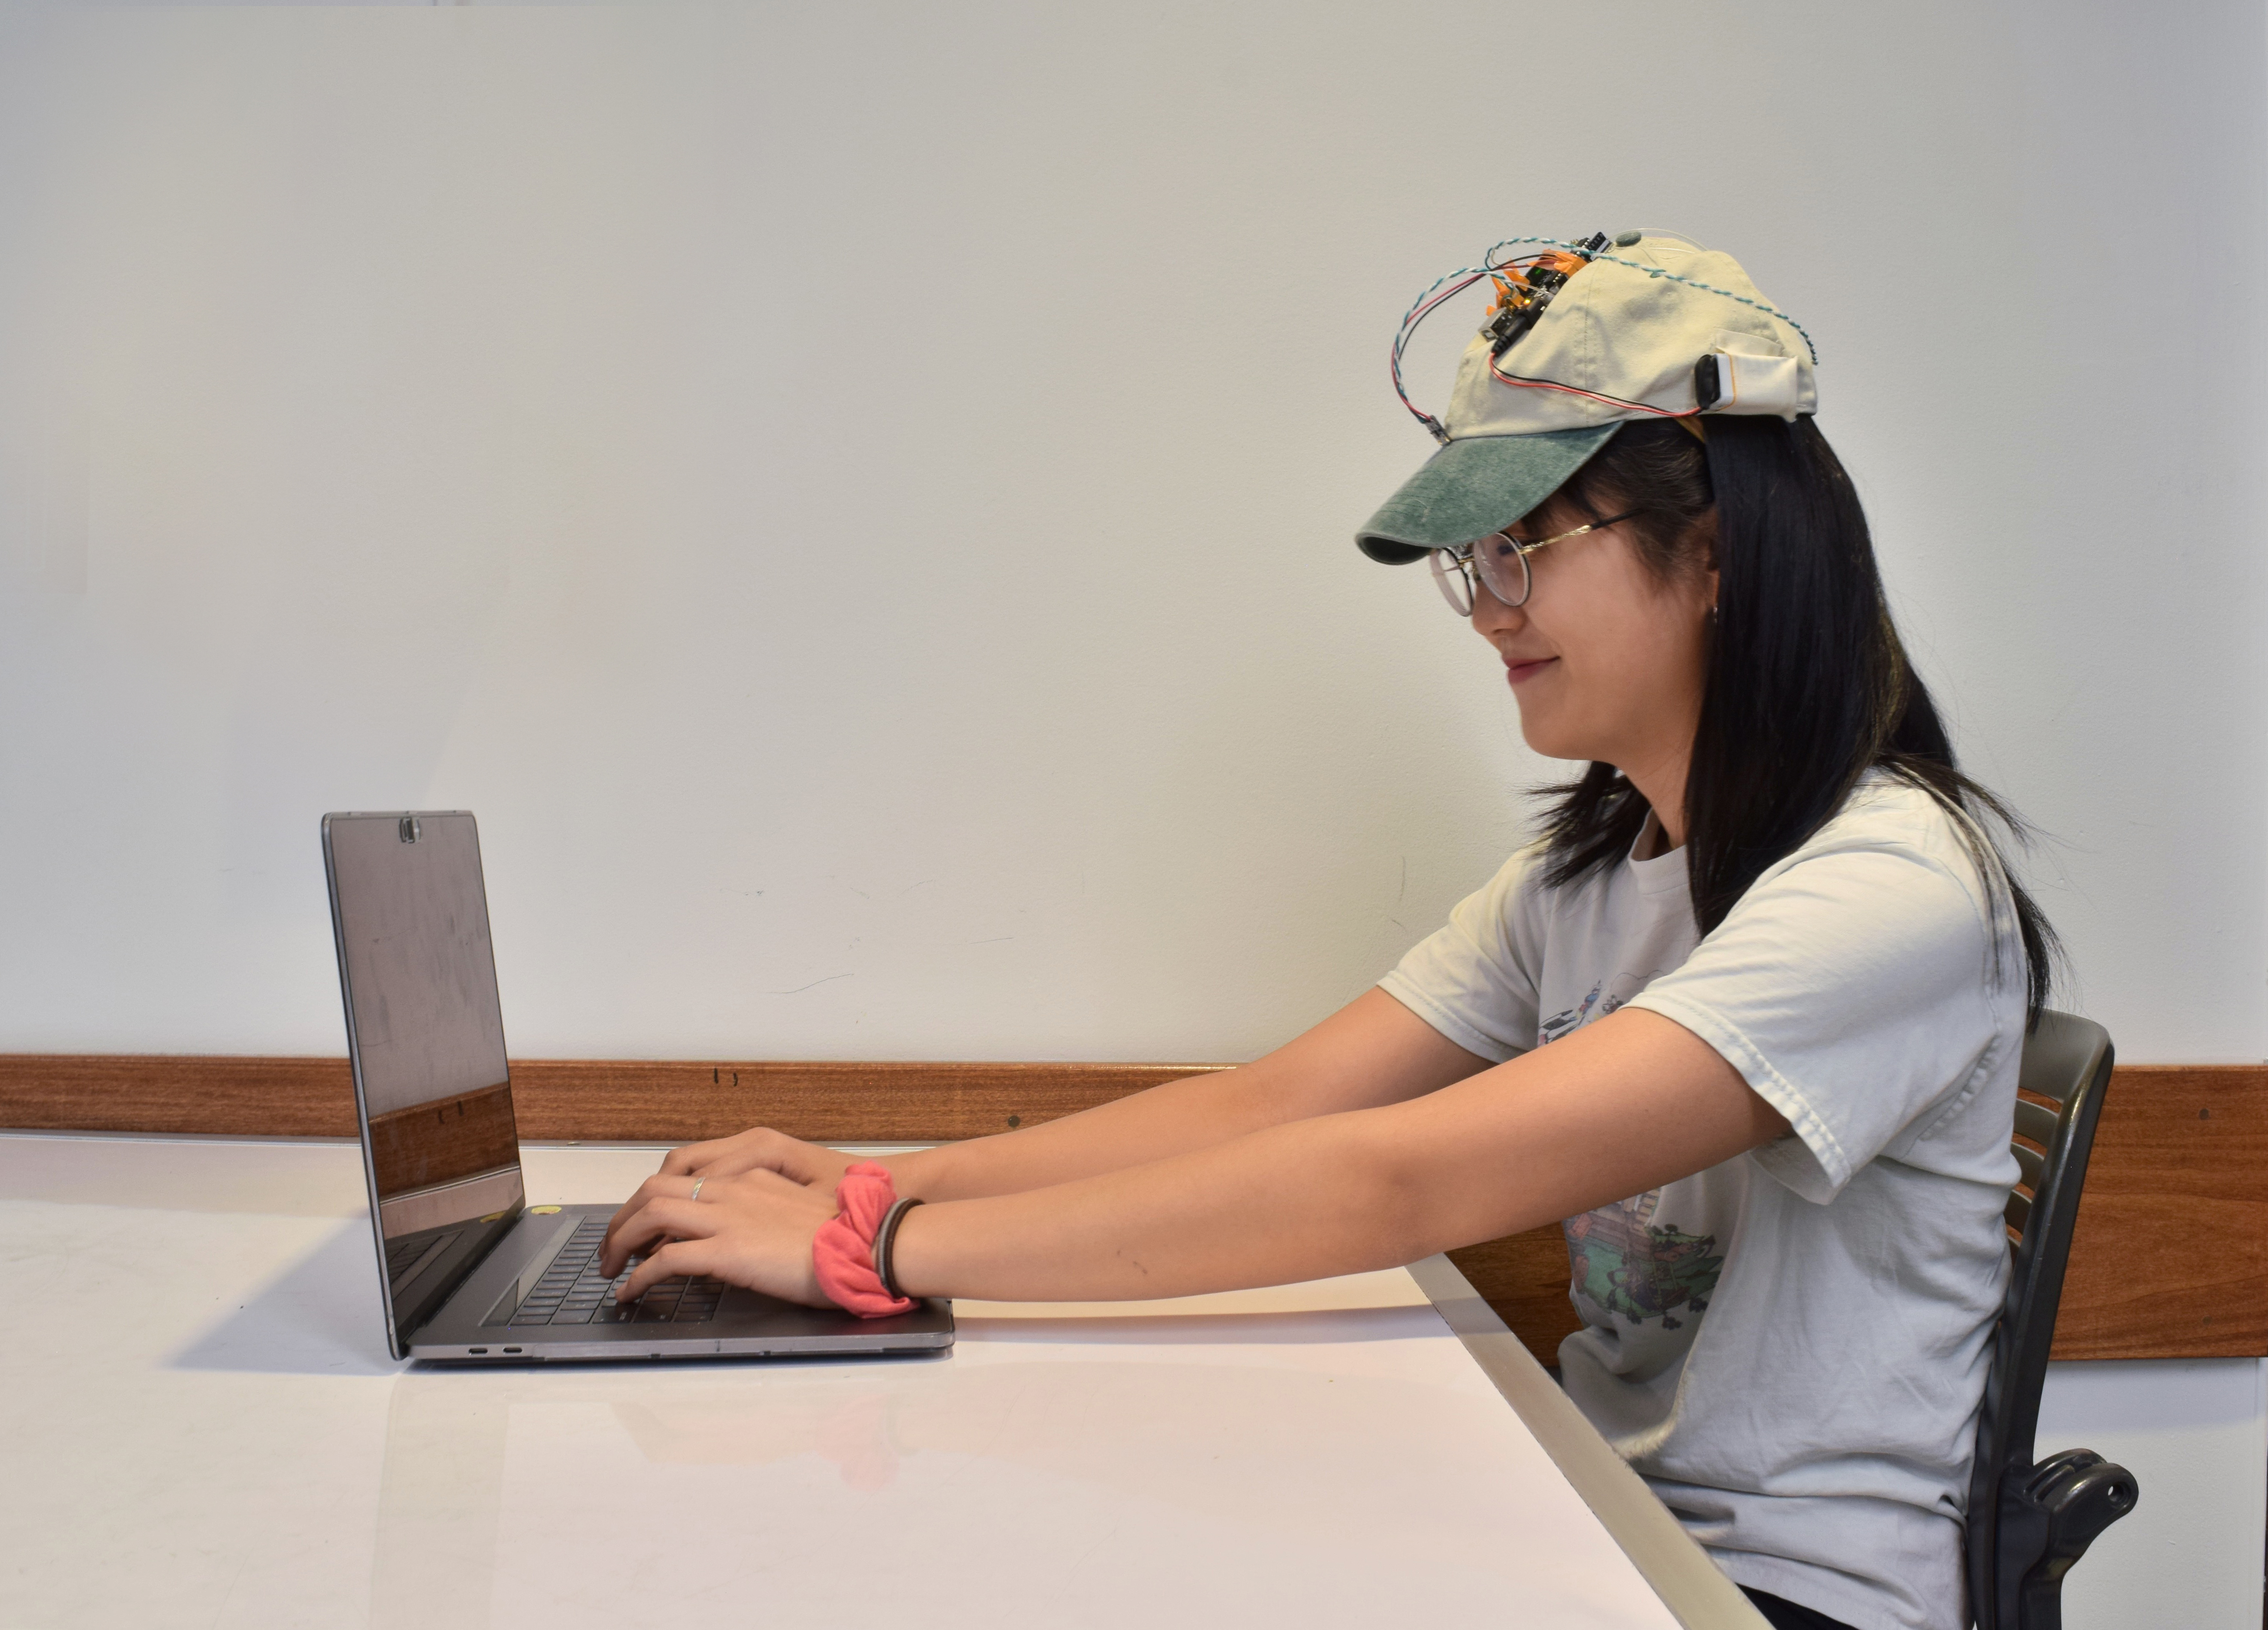
Seated – Good Form
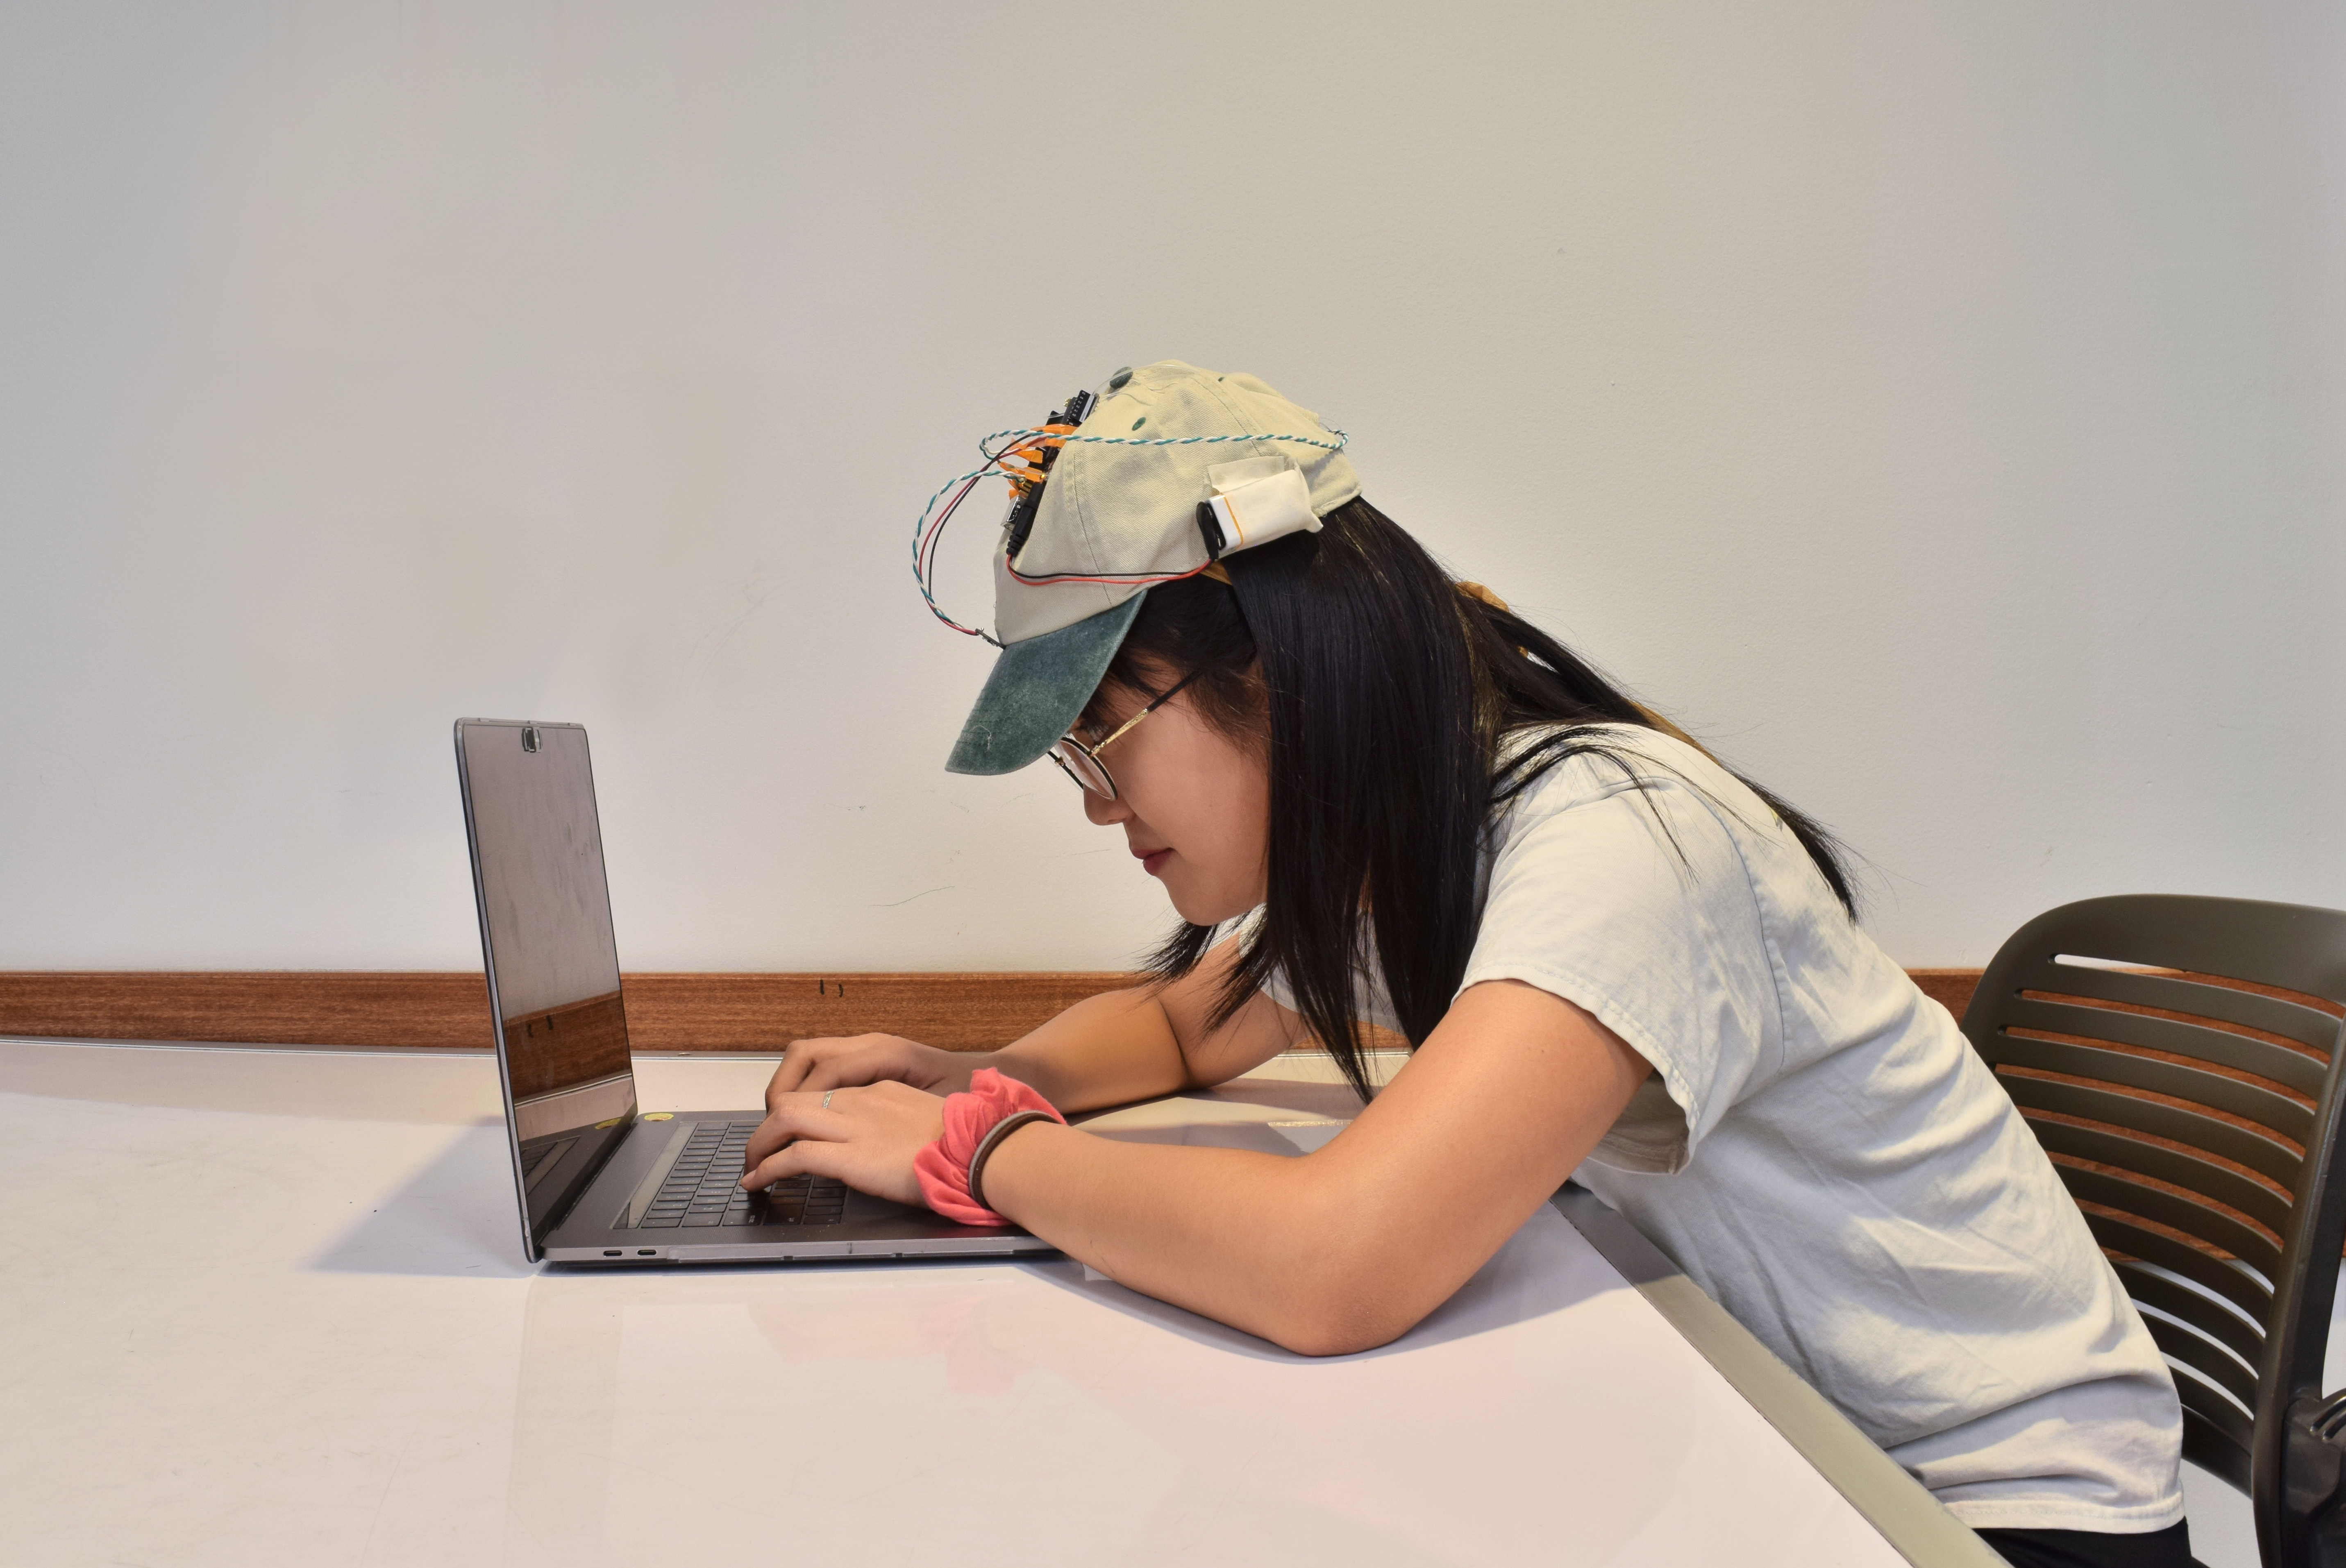
Seated — Not optimal, but tolerable form

Seated — Awful form
Process
Playing around with the both the Haptic Motor Driver and Distance Sensor. During this process, I spent about an hour or so trying to figure out why my sensor was not working, only to realize I had downloaded the wrong library.
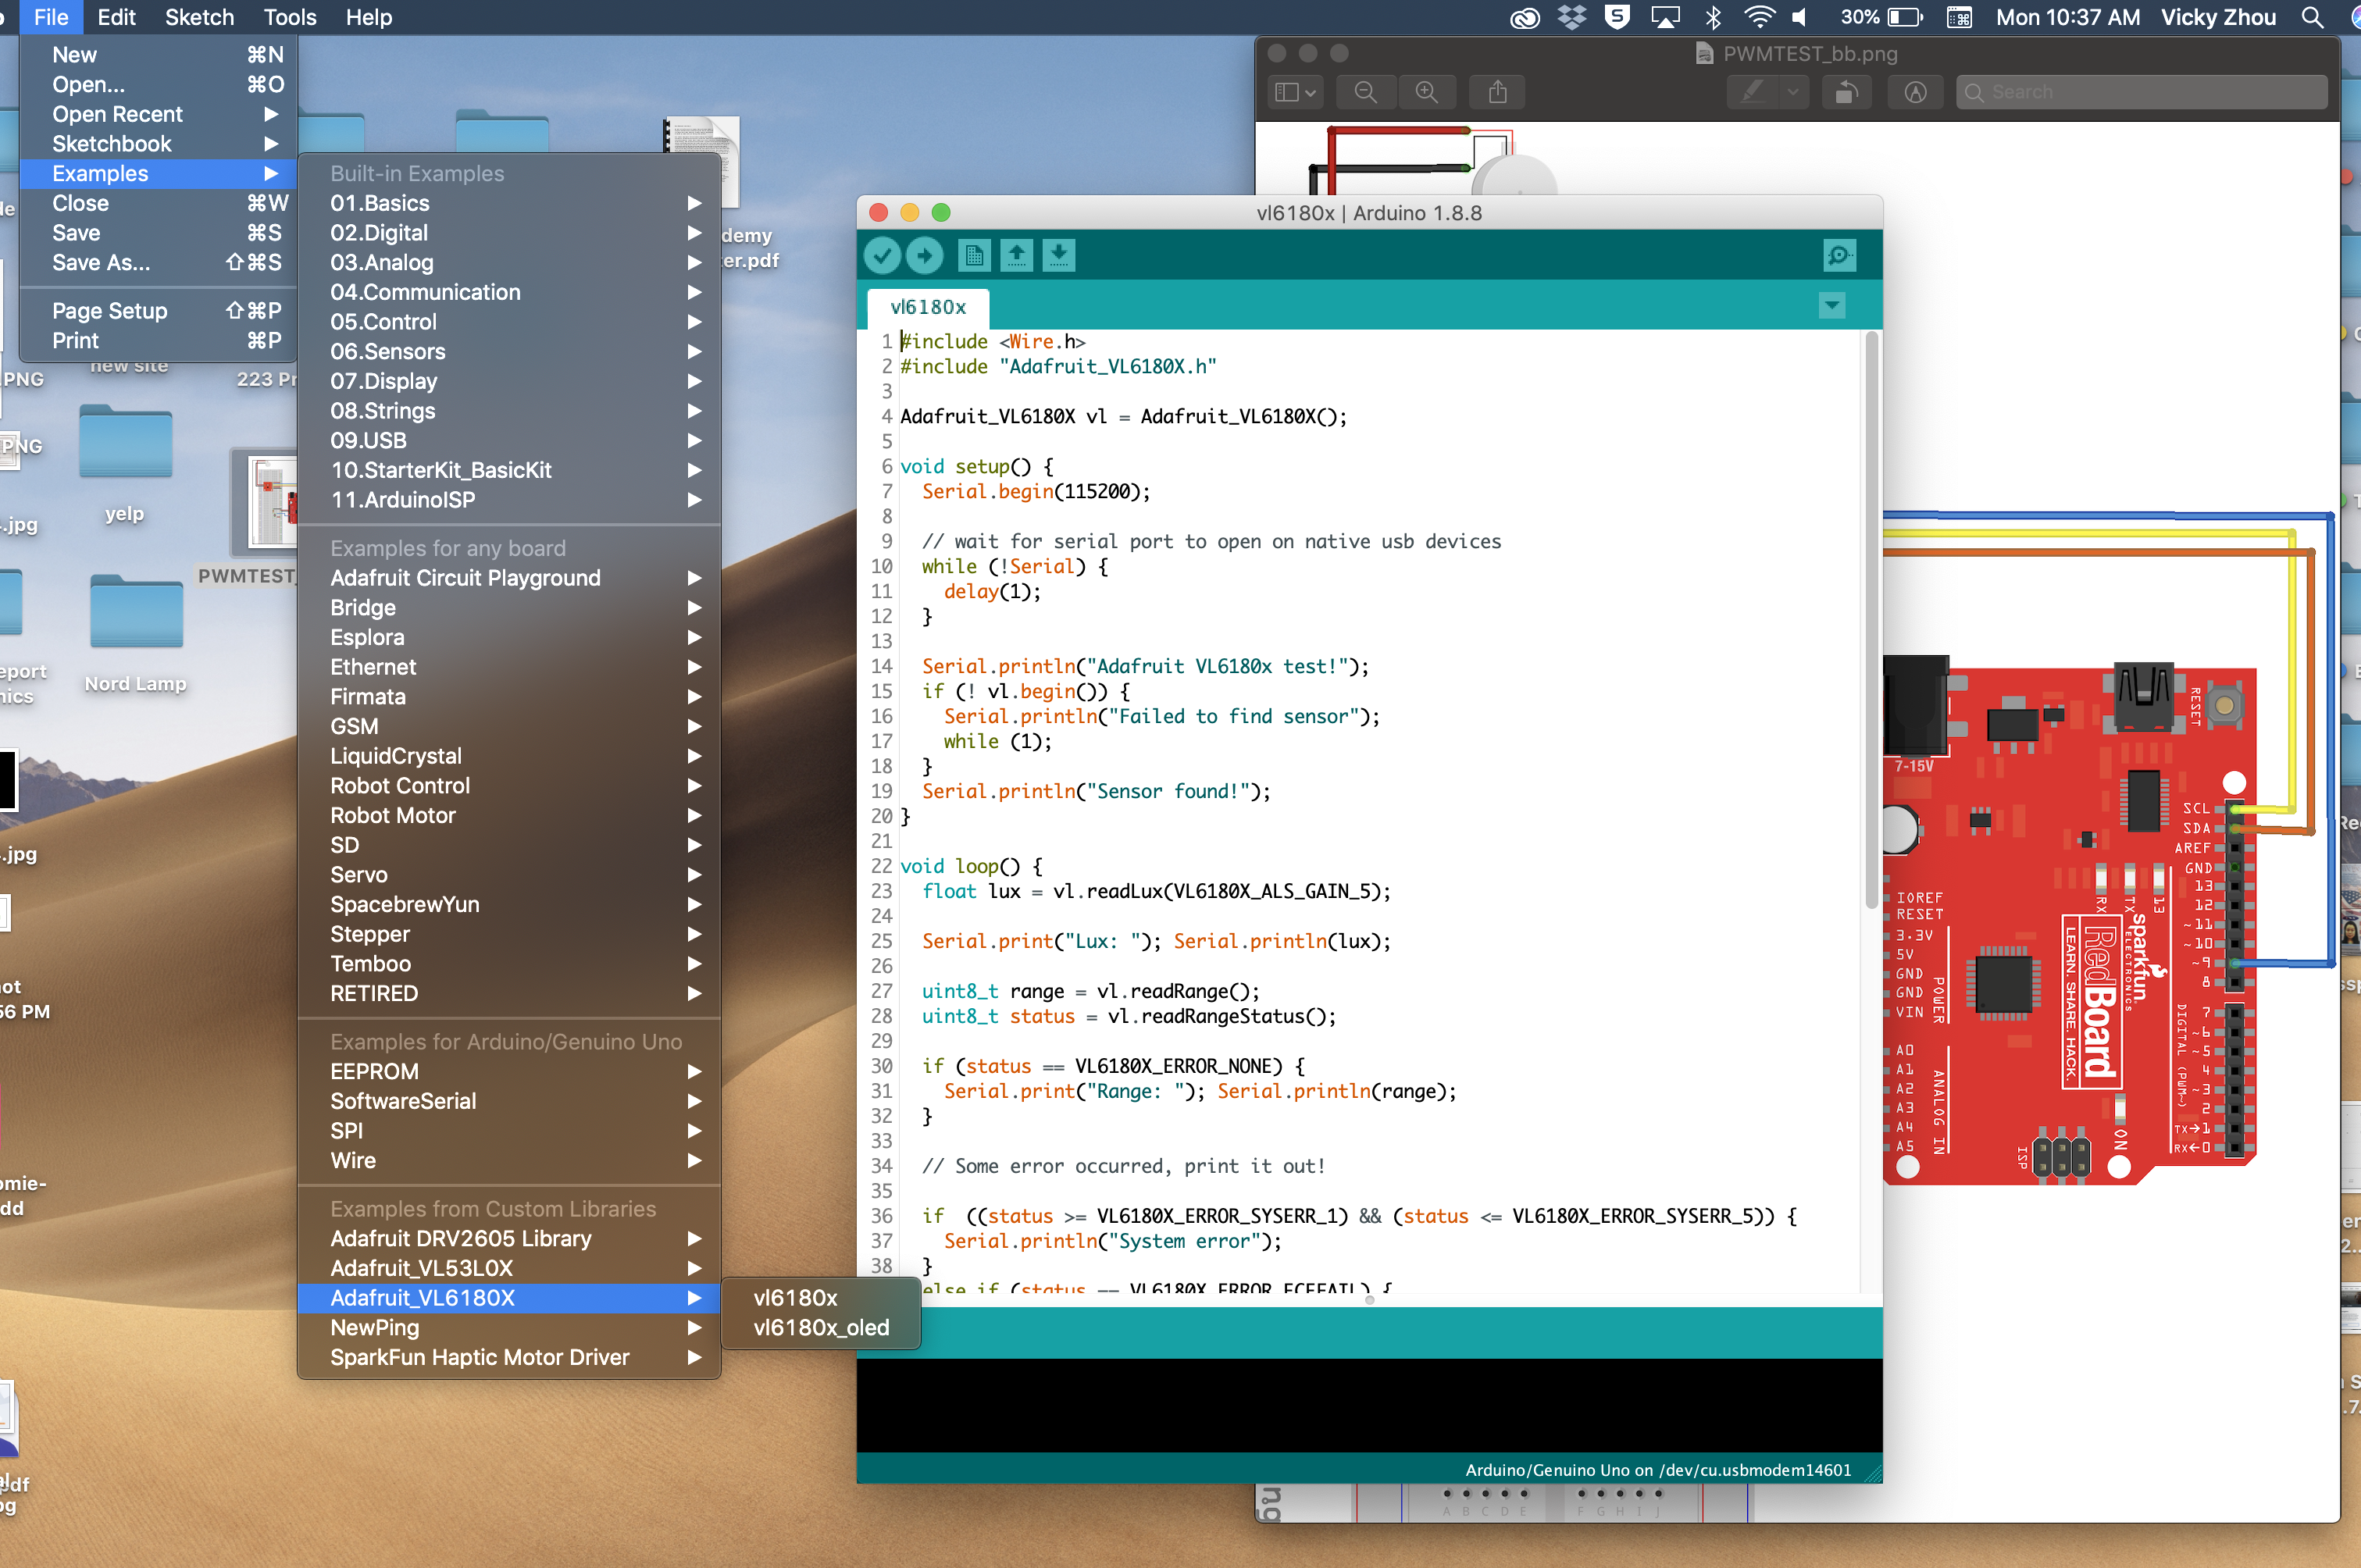
Using wrong libraries
Once I got my libraries sorted, and all my components (haptic motor, sensor, motor, and code) up and running, I moved onto soldering my parts together.

Soldering Haptic Driver
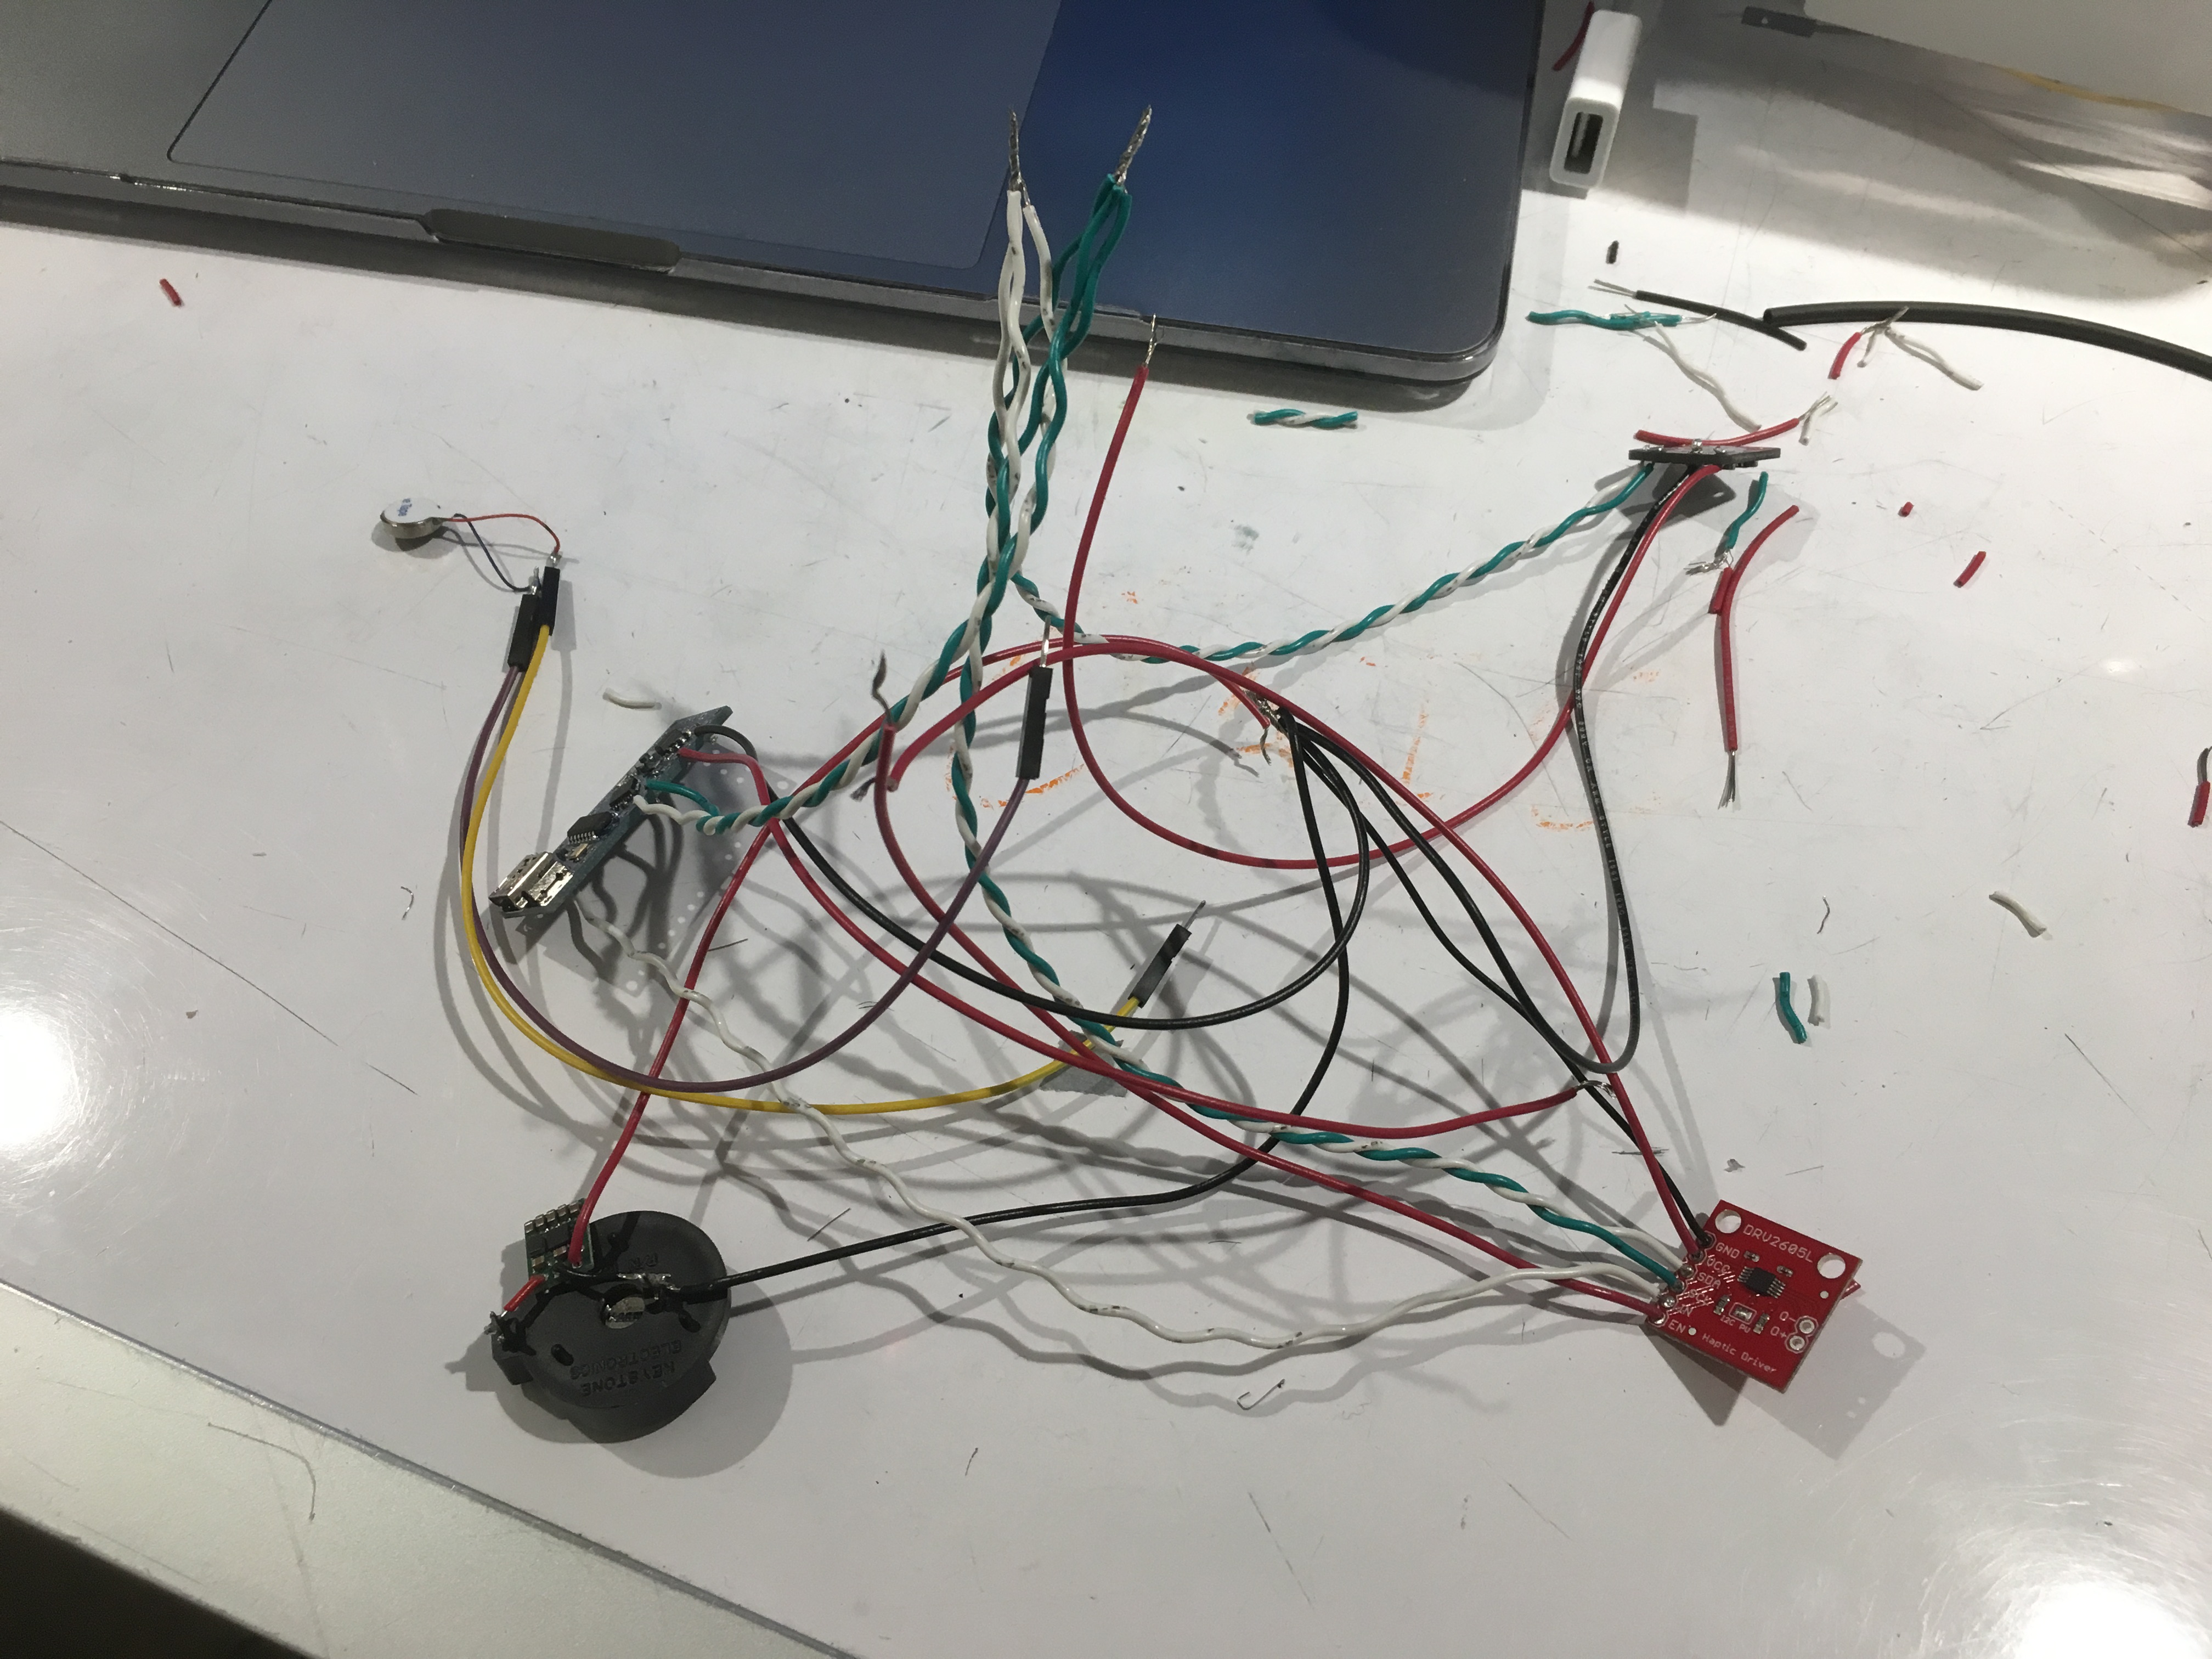
The aftermath of soldering components. In this picture, solidcore wires were used, however, I went back and resoldered each of the components using stranded wires.
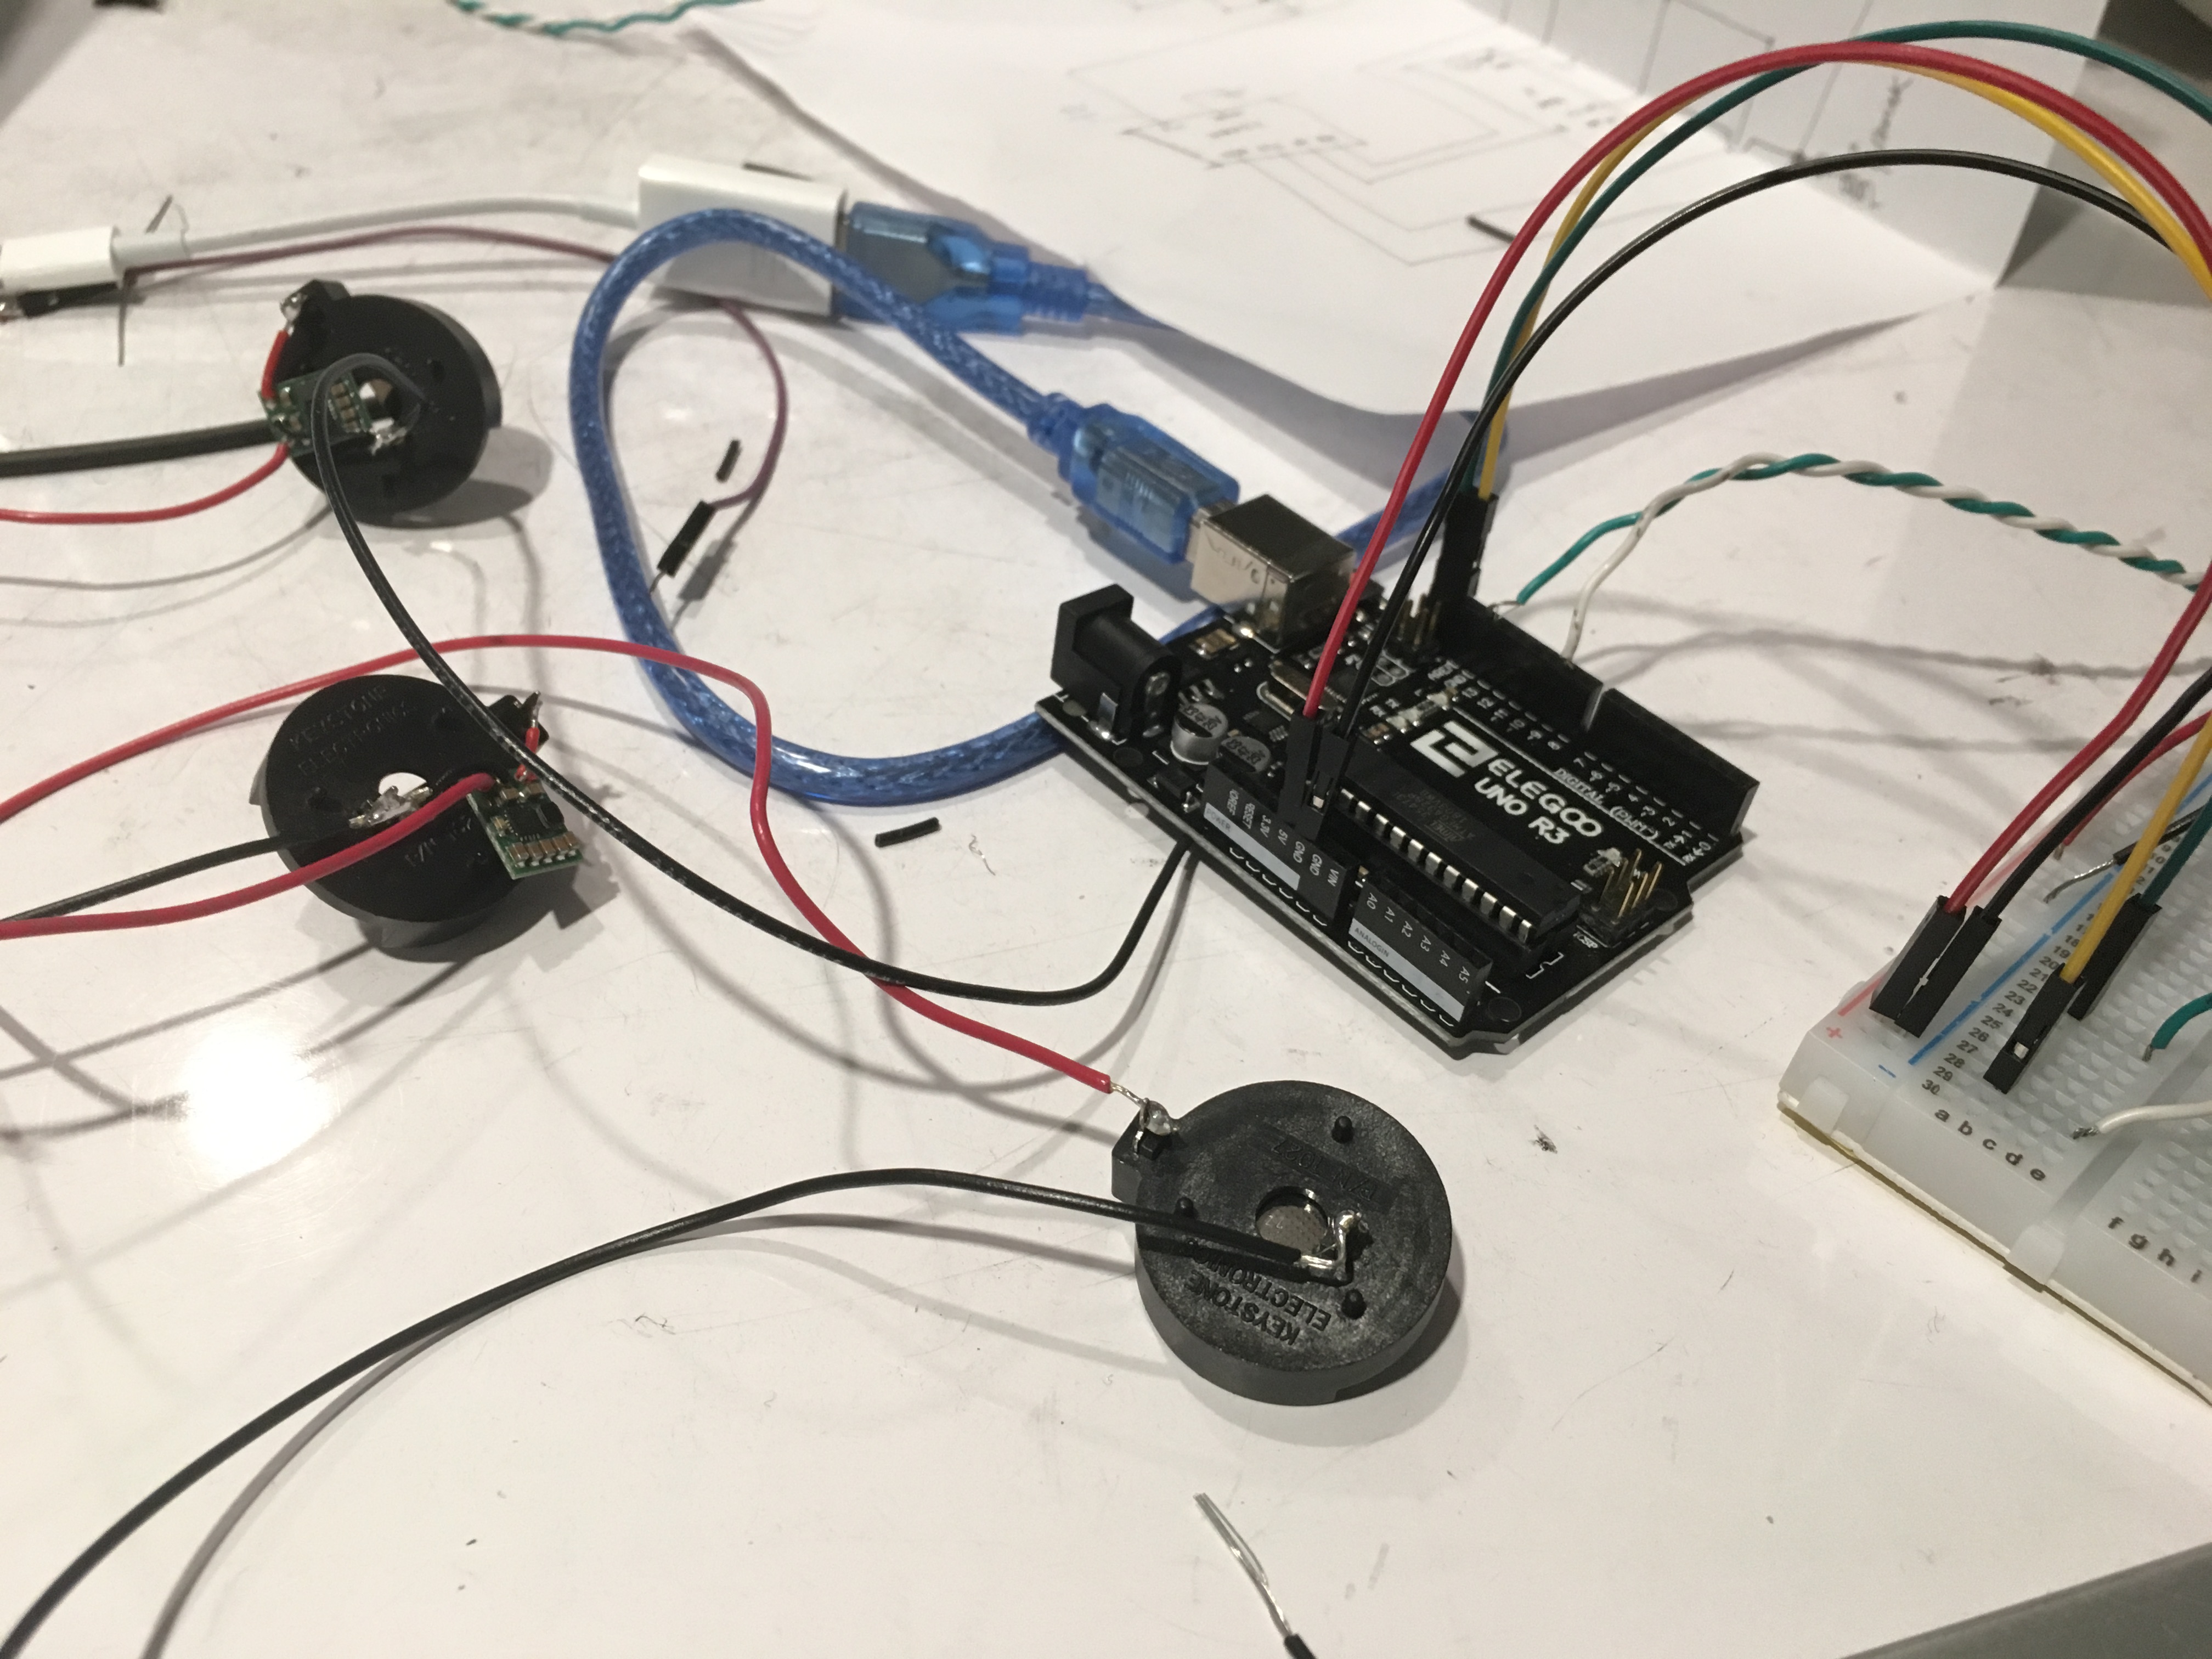
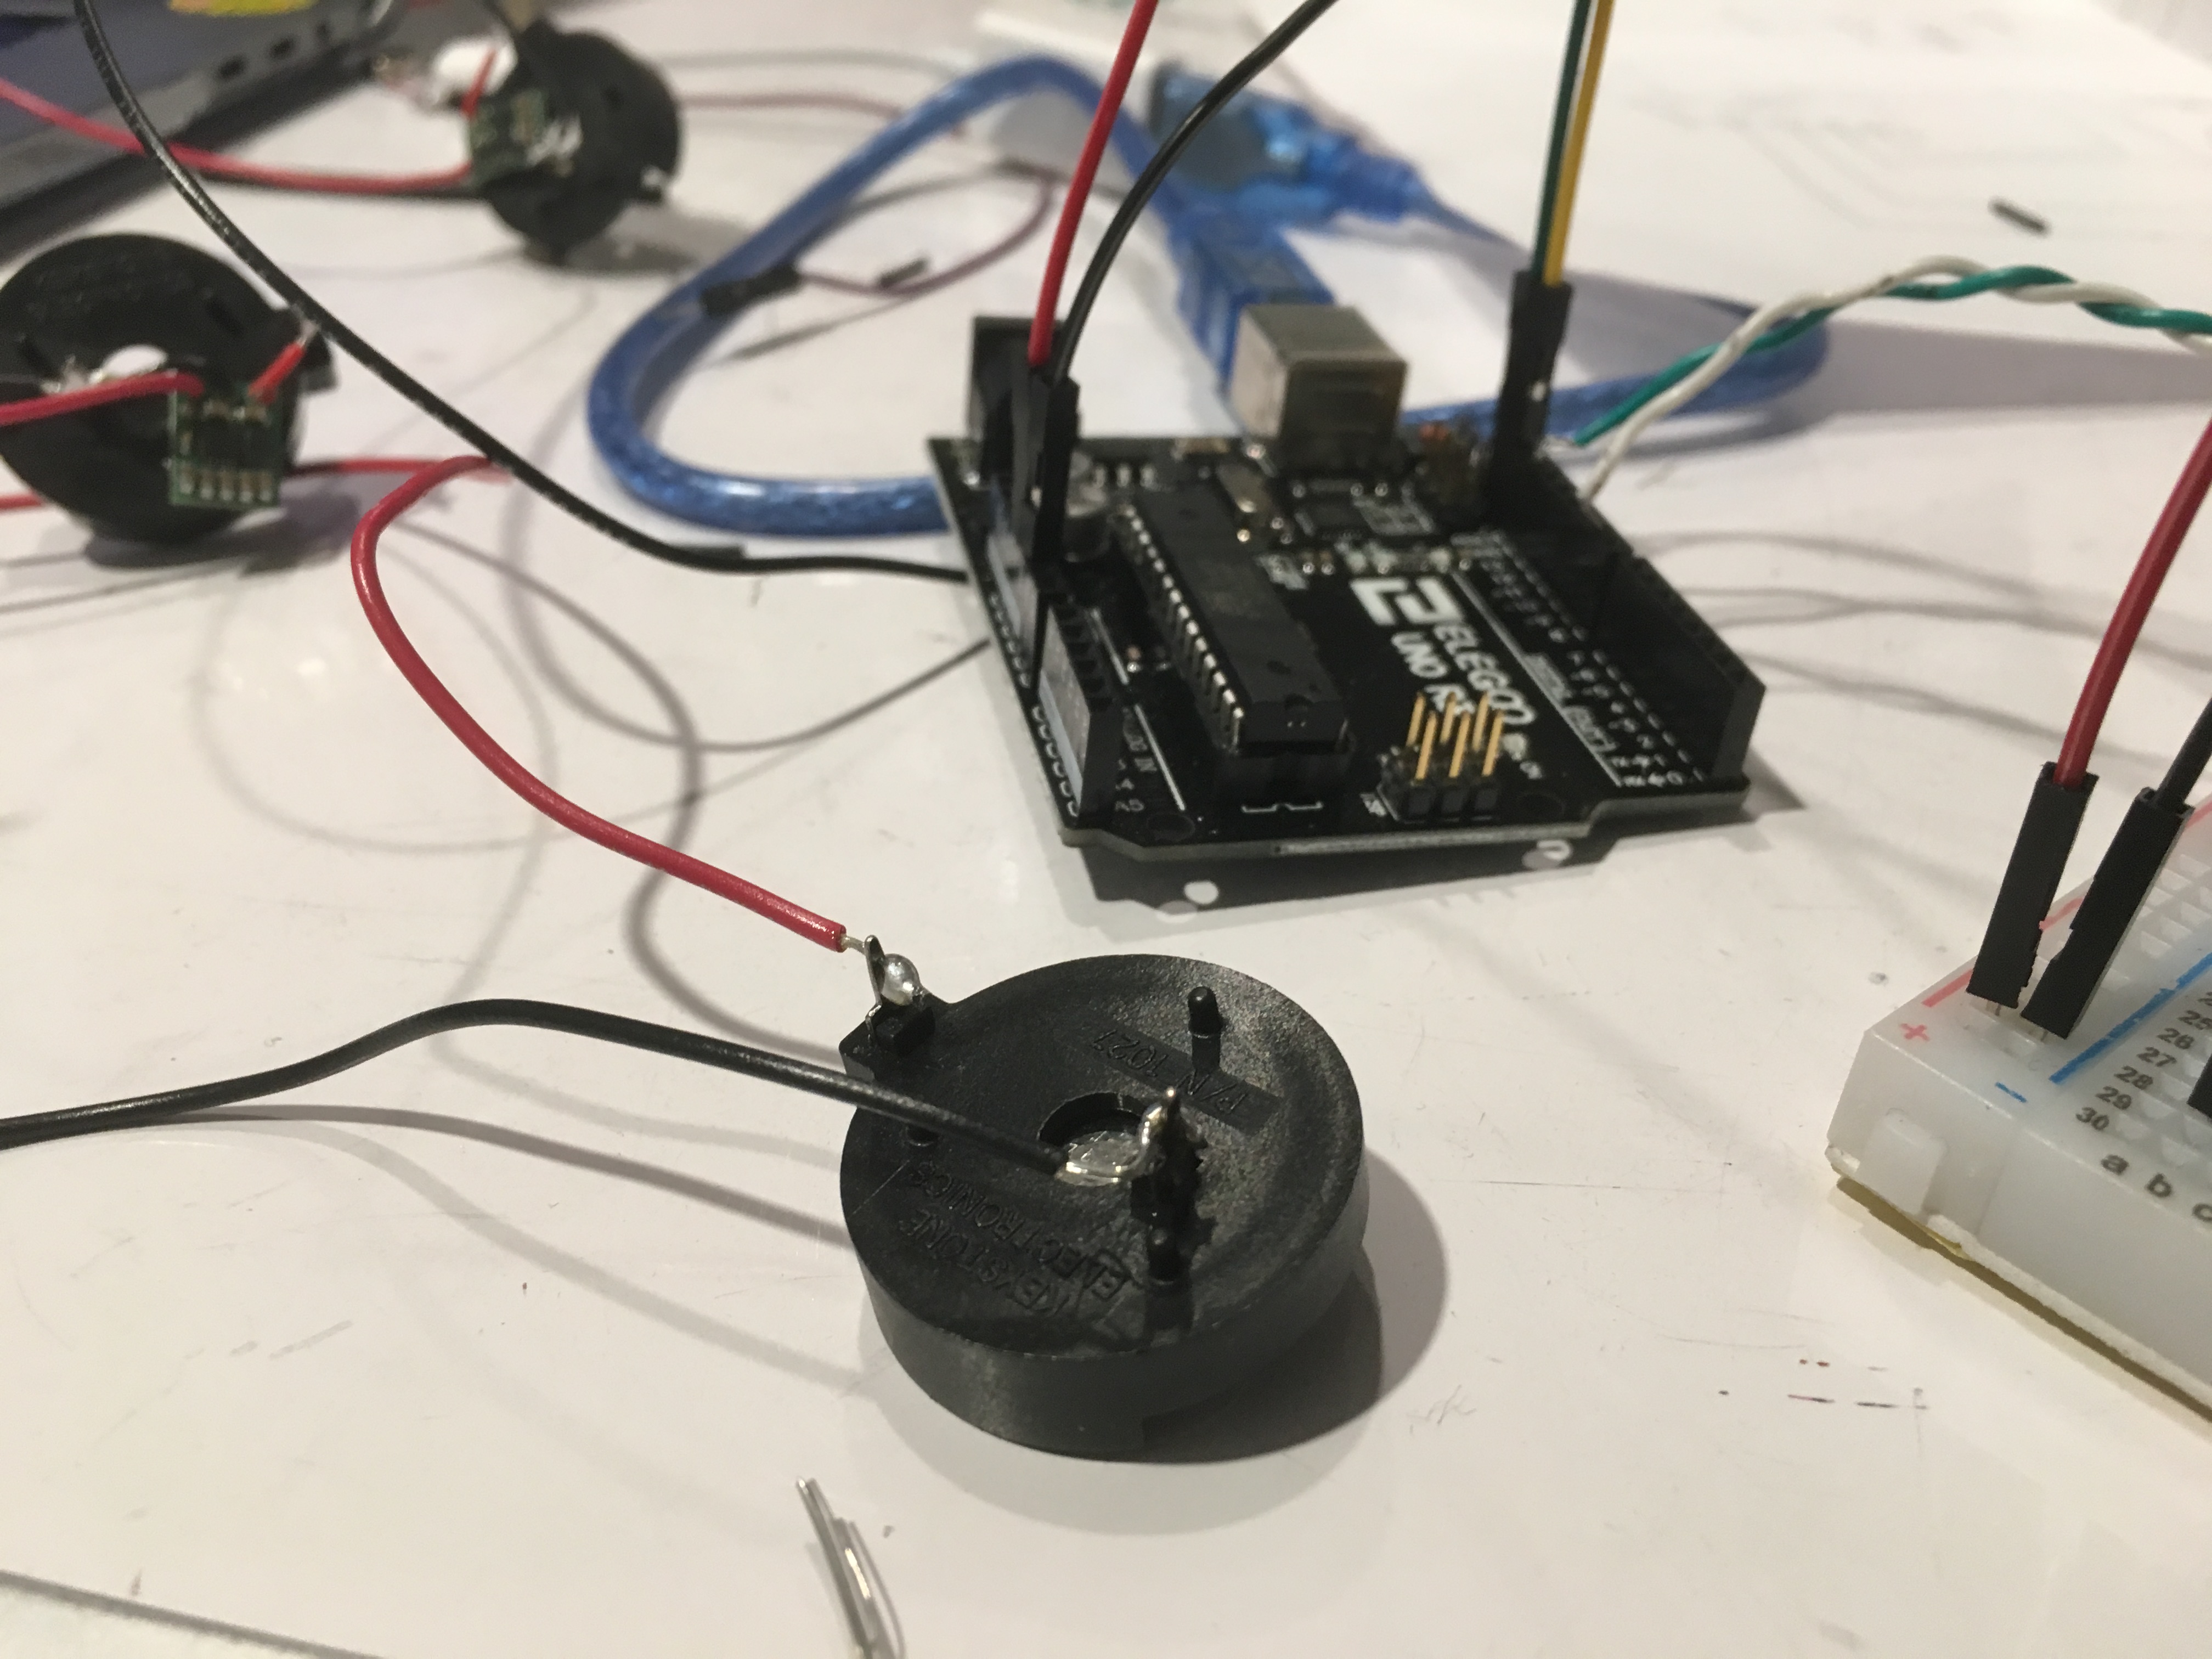
After running into issues with my prototype after uploading it onto the Arduino Nano, I had to run, what seemed like a billion tests, with a Voltmeter to see voltage among other points of contact within the circuit to see if it was a matter of issue with the rest of the components.
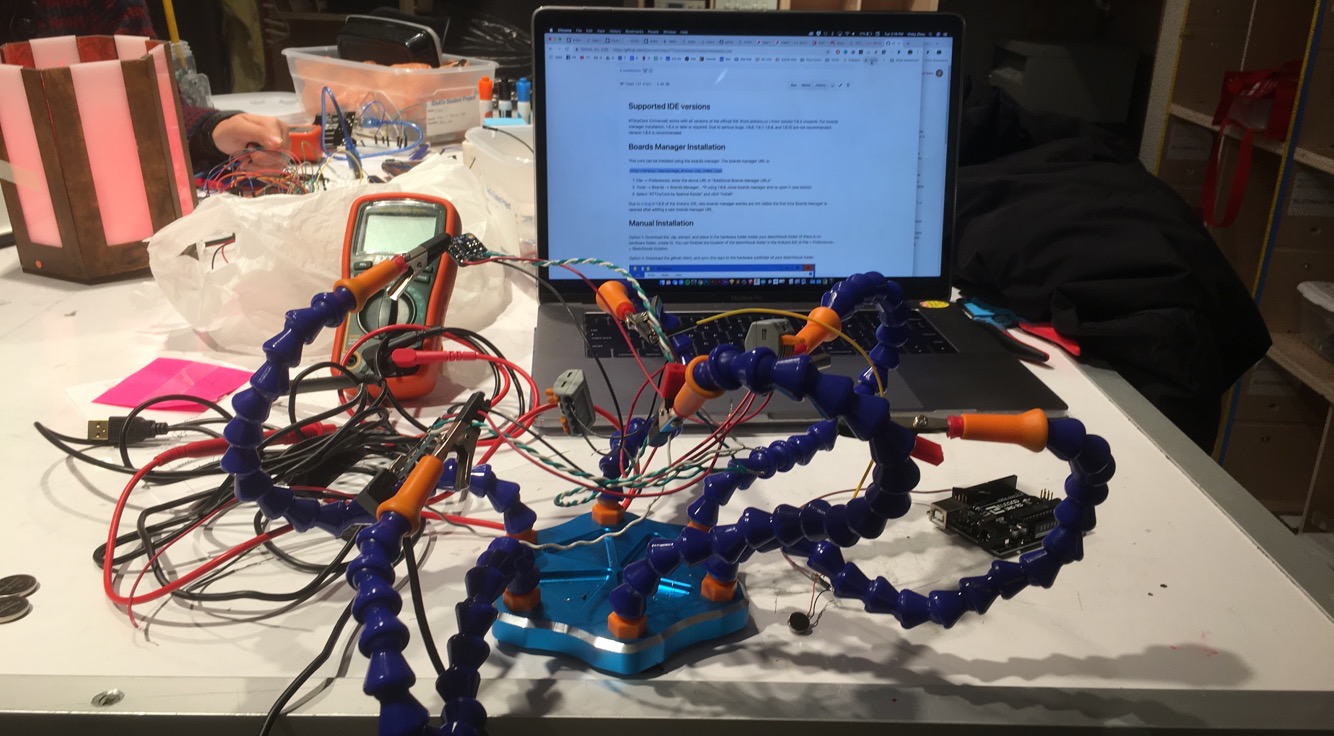
I do not have eight arms to hold up all components and wires of my project, but luckily this contraption did.
I found that at certain points, the step down resistor created an undesired Voltage output, and a Voltage different than what was actually received at other components as well. So, to test out if it was a matter of poor soldering and/or faulty parts, I resoldered new step downs to new battery cases three times.
Soldering step downs, battery cases, and wires three times
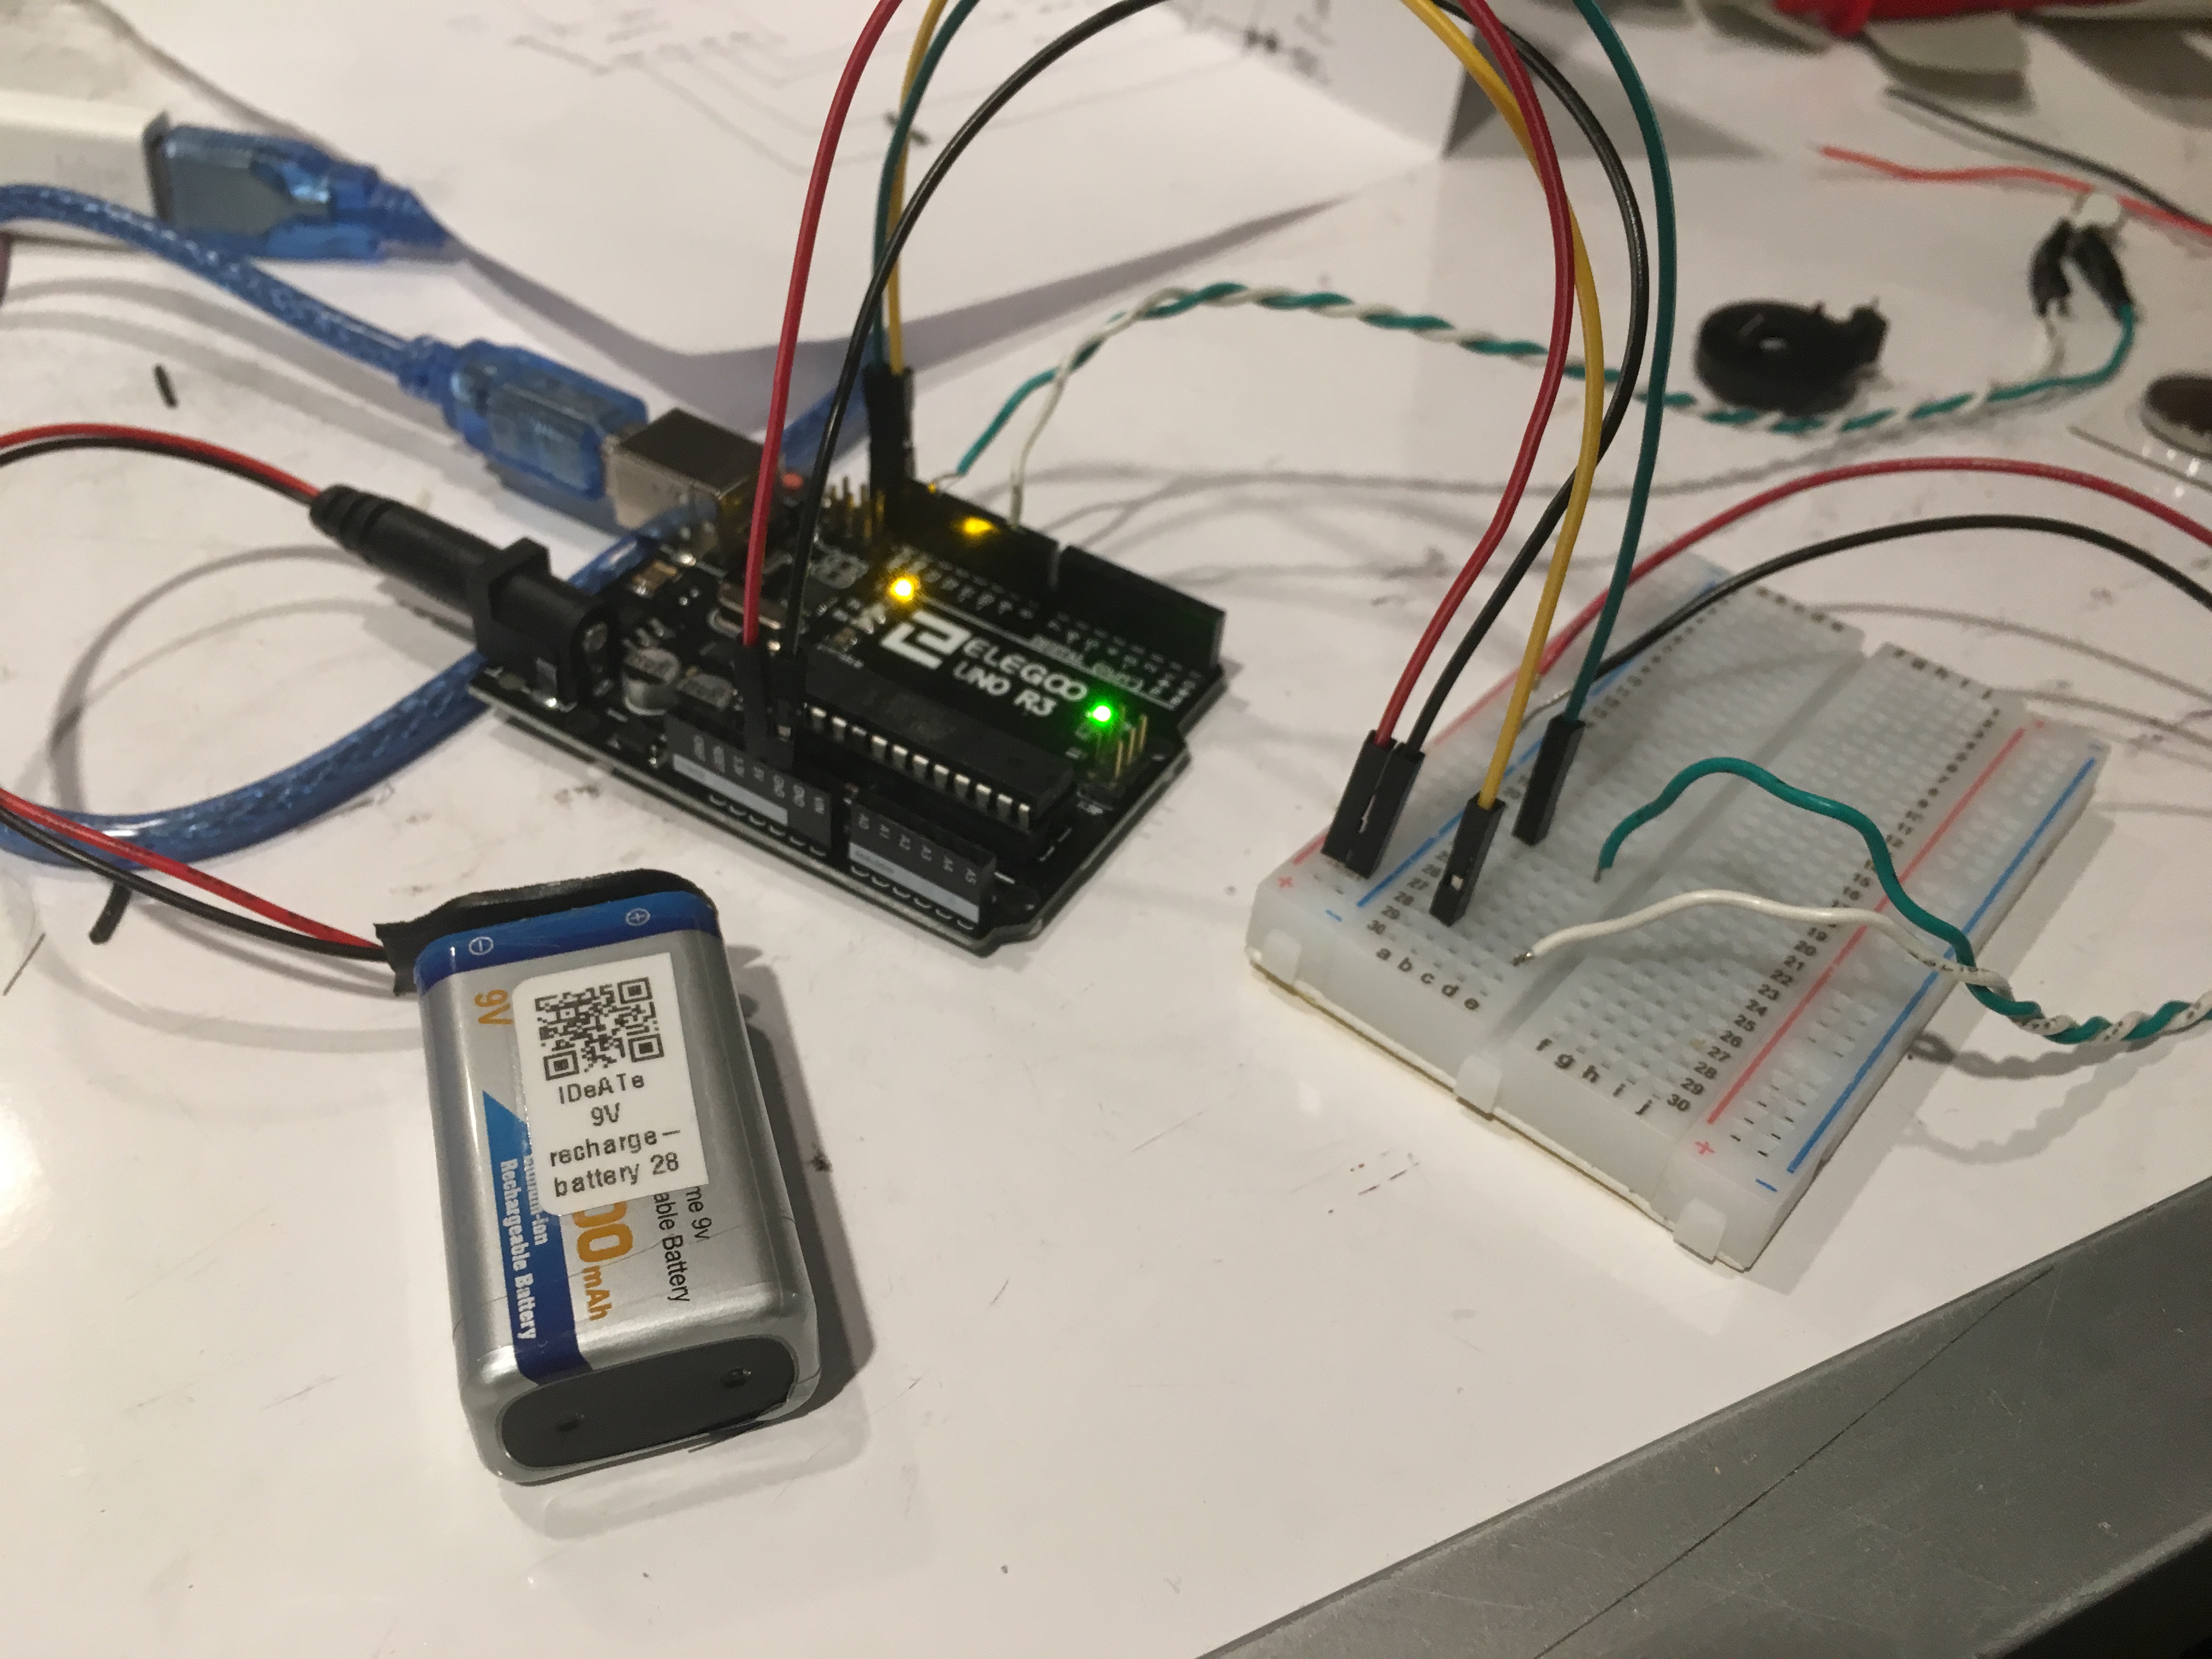
Concluding that there was a matter with the Arduino Nano (and later, the Haptic Motor Driver) I had to shift over gears to using an Arduino Uno again. As a result, I also had to shift over my battery sources, from a two 3V battery disks, to a 9V battery pack, in order to properly charge the Arduino.
Switching out the batteries.
As a result of this, I had to take a 180 degree turn from my initial idea with the project, fully embracing all the bulky components and wires of my parts.
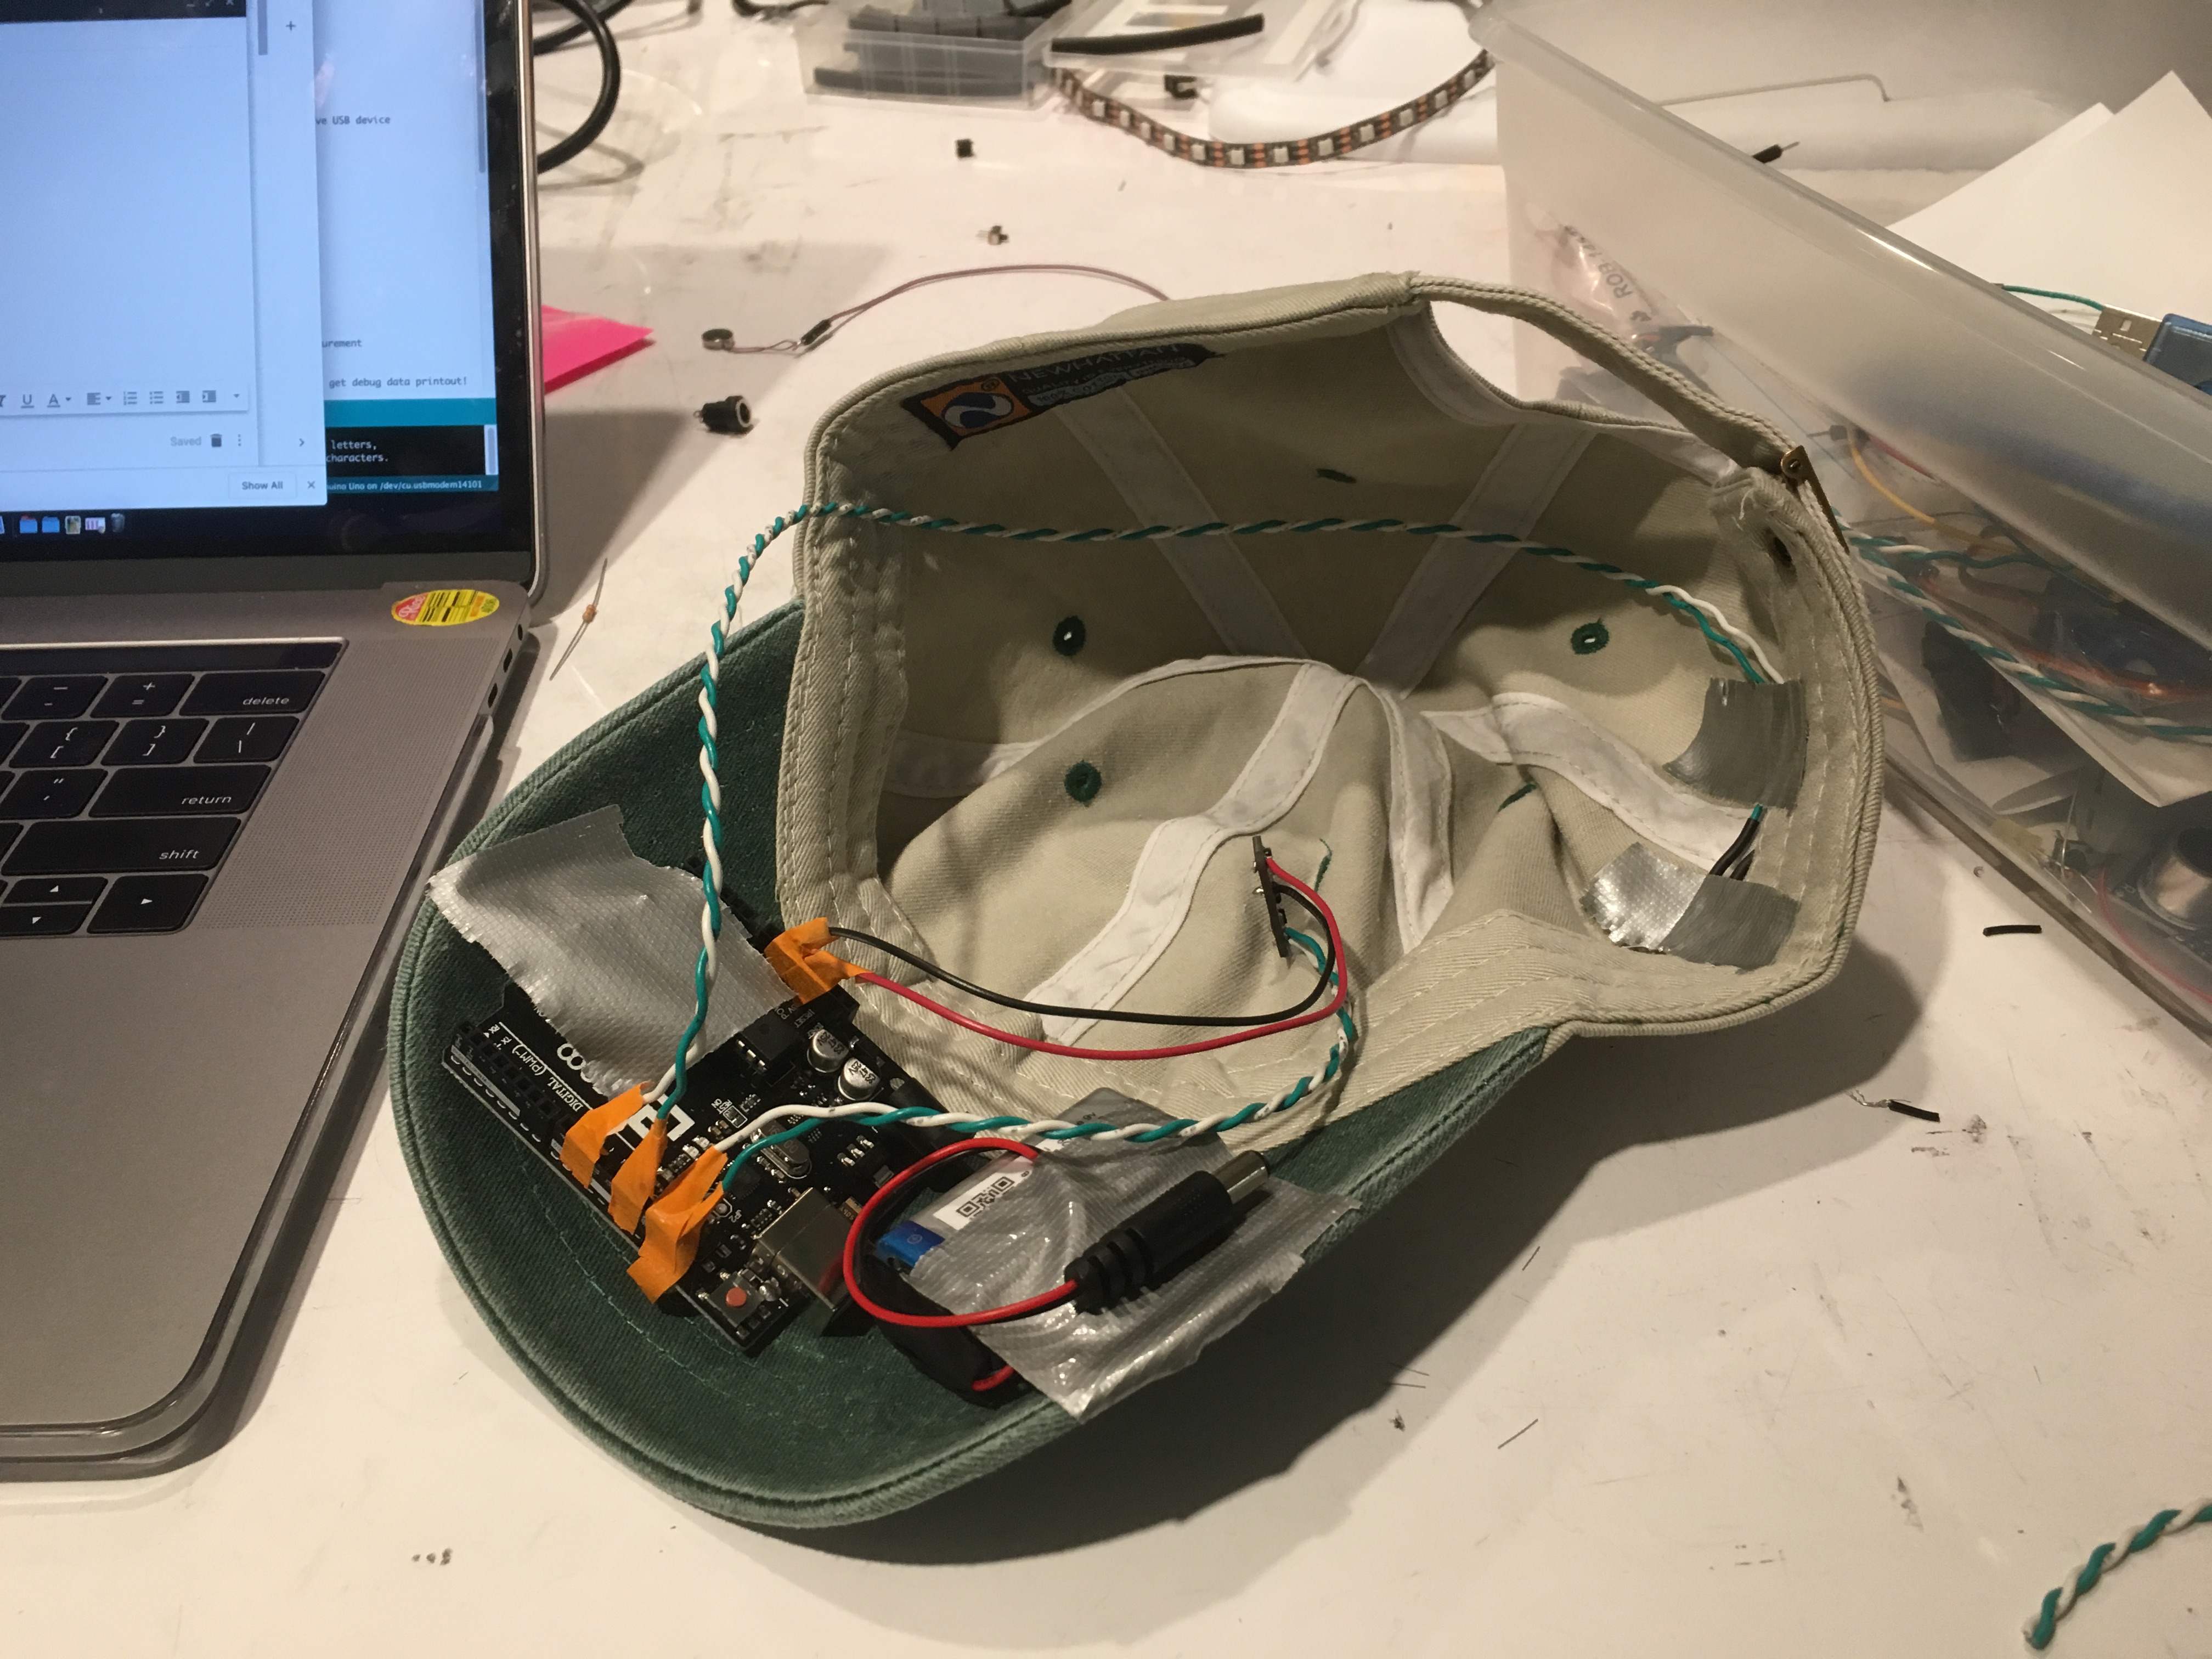
Initial run: Attaching the sad, bulky prototype onto a hat. Not what I envisioned at all for my final product, as most of the parts that I had intended to use broke on me, and had to be exchanged out for larger parts.
Discussion
responses:
- Adding more sensors to the project.
- “I think that adding sensors will definitely help make it more helpful in most scenarios”
- “I wonder if a baseball cap is the best choice because of how the brim might cause you to orient the sensor”
I agree with these responses from my classmates in that having one sensor orientated in one direction would limit the user’s ability to be alerted when learning in too close to their work. It would be an interesting exploring the different types of sensors / alerts that could arise when a user, say, is leaning too much over to one side (for ex. Having their head on their hand and thus slumping).
- Adding different types of feedback.
- “Did you consider indicators other than vibration?”
- “Maybe a dim light would improve the project to give some extra notice to the person. Of course, a light could also be more distracting than vibration, so it would need some experimentation”
I considered the multitude of other possible indicators that one could receive, the second most popular option namely being a visual (ie. light). However, I found that this would possibly be easier to ignore, as light source from a computer screen can already take up the visual stimulation we receive. Touch, on the other hand, is a sense that is not usually taken note of and/or being utilized when we work at a desk. After researching the different types of sensors, I concluded that haptic feedback was the best in terms of allowing a user to obtain a sense of spatial awareness.
self-Critique
Personally, I am not satisfied with the end product of this project, mainly because of how everything seemed to perfectly fall apart one after the other once I began soldering things onto the final Arduino hardware. Due to these struggles, not only was I unable to execute my envisioned final project, I was not able to explore how I could further refine the interactions (such as vibrations), and or other nuances and details that could further enhance my product, because I was instead too focused on how to actually get my components to work together again.
Main Takeaways + Lessons
Nonetheless, I am grateful for how much I was able to learn throughout the process of this project, as I had not been able to be the sole designer and creator of a physical computing project before. I became a lot more comfortable with physically manipulating parts and wires through soldering, stripping wires, and other rapid prototyping. In addition, I was able to expose myself to and learn about a whole new library of parts and their libraries, and was able to discover the multitude of capabilities each had, as well as the differences between the types of communications they were able to conduct (namely, the concept of I2C sensors, or, Inter-Integrated Circuits, and how they are able to communicate across the Arduino using similar pins, because of the different addresses each part is assigned)
NEXT Steps
Moving forwards, I would be really interested in possibly exploring the idea of creating a seamless wearable device again. Although this would require better parts and components, I think it would be a useful application in the future.
Technical Information
Schematic
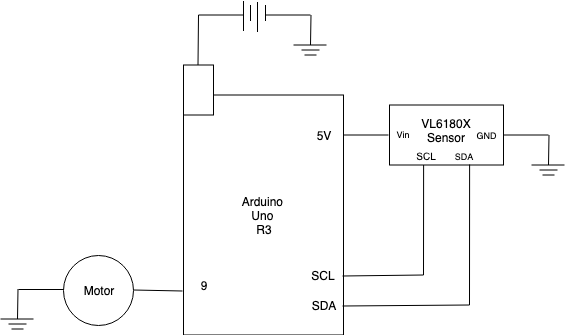
Schematic
Code
/*Vicky Zhou
 * This code uses an I2C Sensor to detect distance
 * which then instigates vibration sequence
 * that change pattern depending on relative distance
 */

#include <Wire.h>
#include "Adafruit_VL53L0X.h"

const int MOTOR = 9; //analog output pin for HMD

Adafruit_VL53L0X lox = Adafruit_VL53L0X(); //I2C sensor

void setup() {
  Serial.begin(115200);
//  drv.begin();

  //give a slight delay for serial port to open for native USB device
  while (! Serial) {
    delay(5);
  }

  //Serial print to see if VL53L0X is working
  Serial.println("Adafruit VL53L0X test");
  if (!lox.begin()) {
    Serial.println(F("Failed to boot VL53L0X"));
    while(1);
  }

  pinMode(MOTOR, OUTPUT);
  digitalWrite(MOTOR, LOW);
}

void loop() {
  VL53L0X_RangingMeasurementData_t measure; //range measurement

  Serial.print("Reading a measurement... ");
  lox.rangingTest(&measure, false); // pass in 'true' to get debug data printout!

  if (measure.RangeStatus != 4) { //phase failures have incorrect data
    Serial.print("Distance (mm): ");
    Serial.println(measure.RangeMilliMeter);
  } else {
    Serial.println(" out of range ");
  }

  //if distance from sensor is greater than 250 (far)
  //turn motor off
  if (measure.RangeMilliMeter >= 250){
    Serial.println("Off");
    analogWrite(MOTOR, 0); //off sequence
    delay(50);
  }
  //if distance from sensor is between 150 and 250 (mid range)
  //turn motor on to sequence B
  else if (measure.RangeMilliMeter >= 150 && measure.RangeMilliMeter < 250){
    Serial.println("Sequence B");
    analogWrite(MOTOR, 130); //medium sequence
    delay(50);
  }
  //if distance from sensor is less than 150 (close)
  //turn motor on to sequence C
  else {
    Serial.println("Sequence C");
    analogWrite(MOTOR, 255); //fast sequence
    delay(50);
  }
}
Comments are closed.