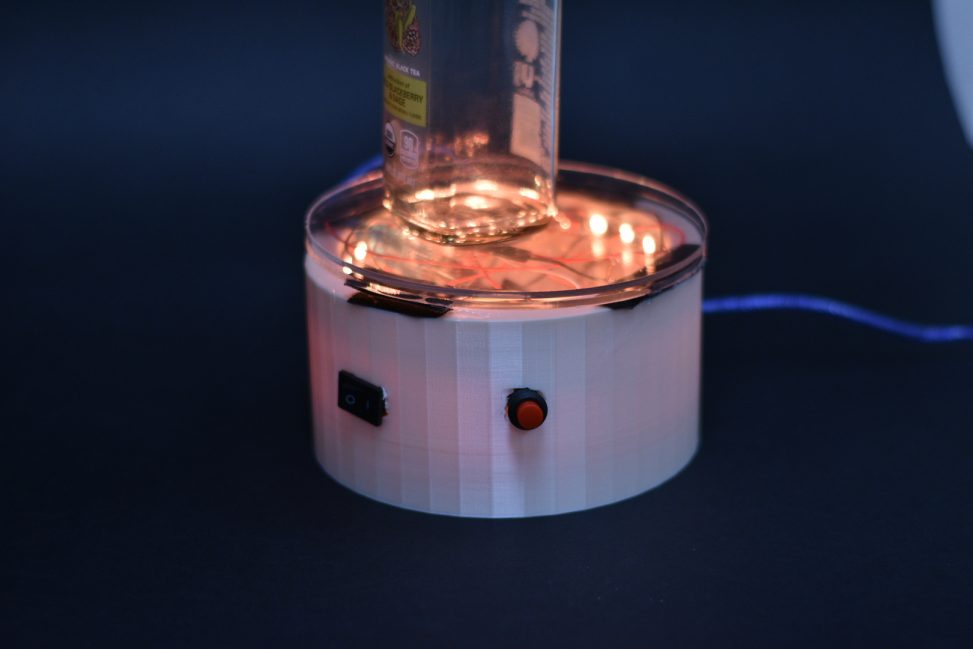
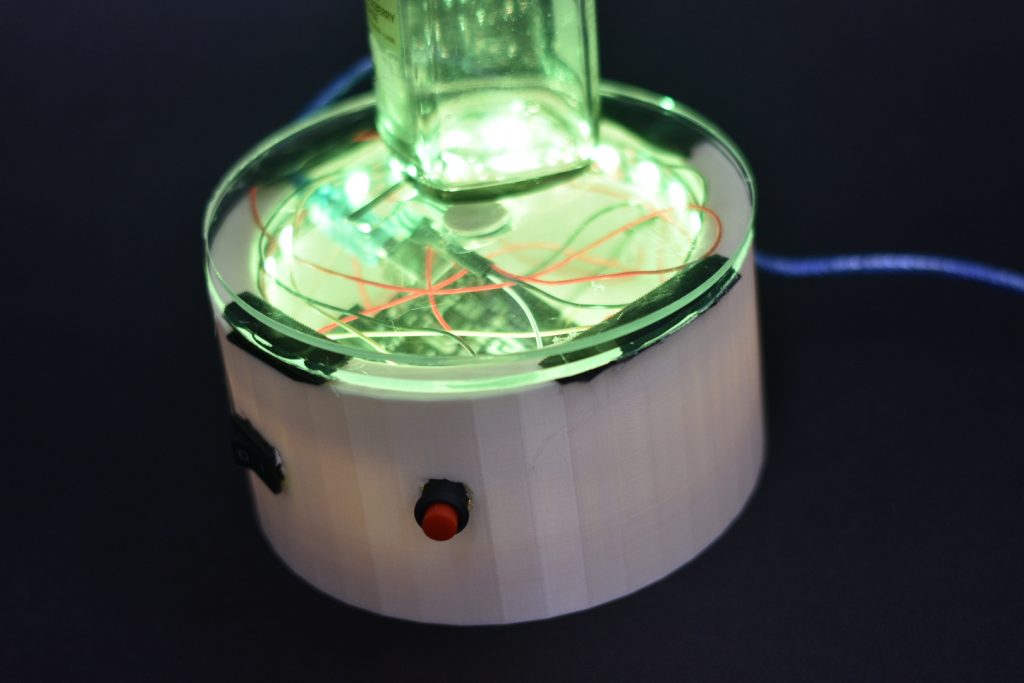
An apparatus for bottles to be stored on, so that different colors are displayed to detect the amount of liquid remaining in the bottle.
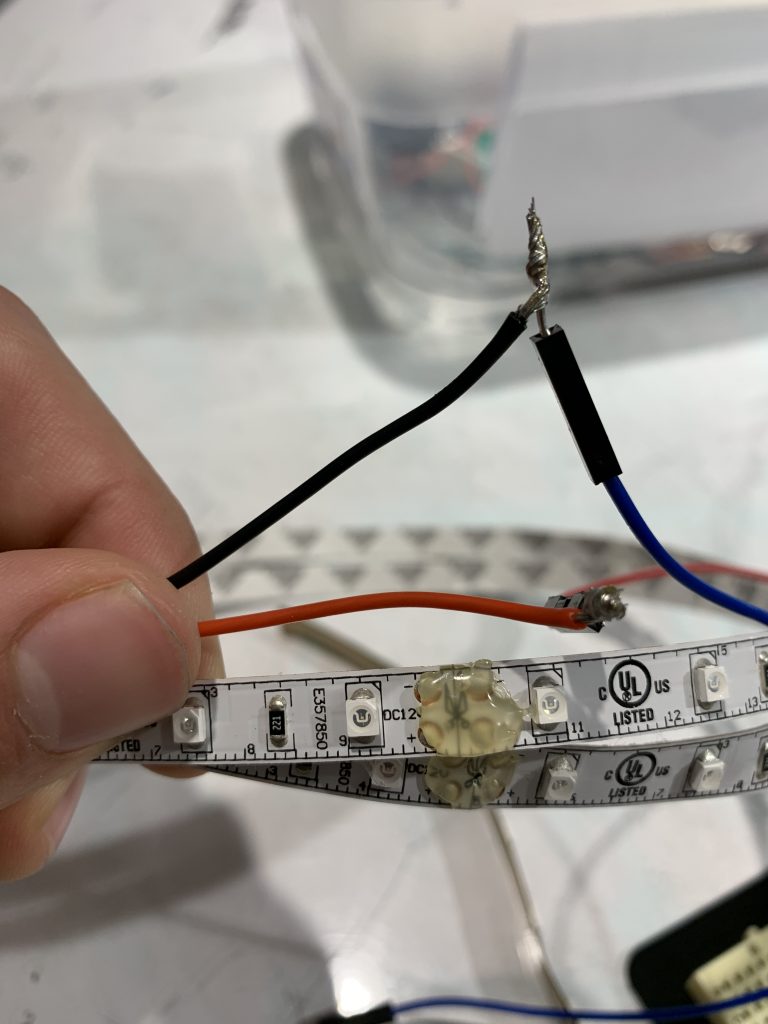
Final LED strip I ended up using
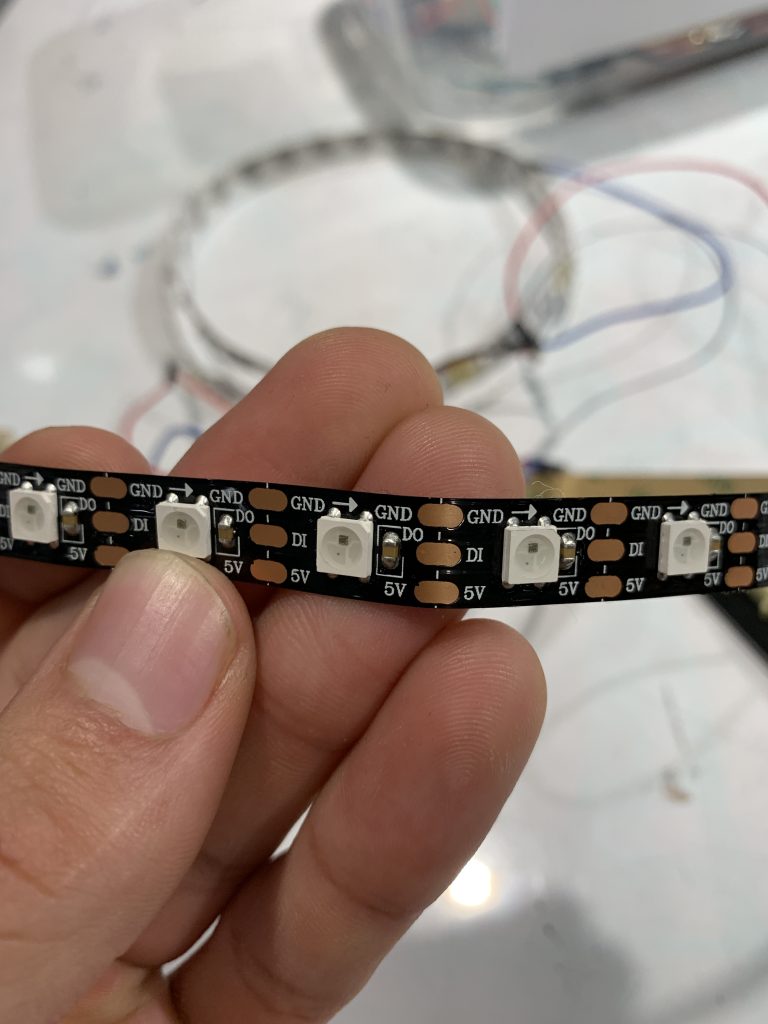
Second LED strip that ultimately was not used
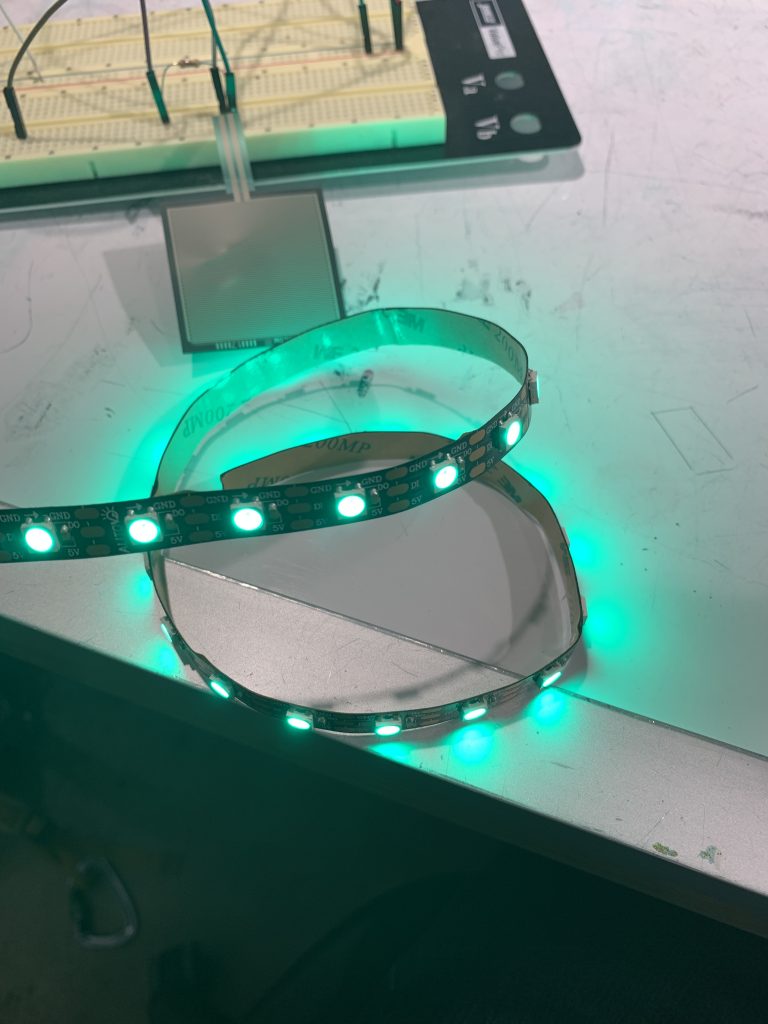
Working LED stip with FSR and breadboard in the background
After getting the LEDs working, I transitioned into making the wires portable in order to eventually stick them inside.
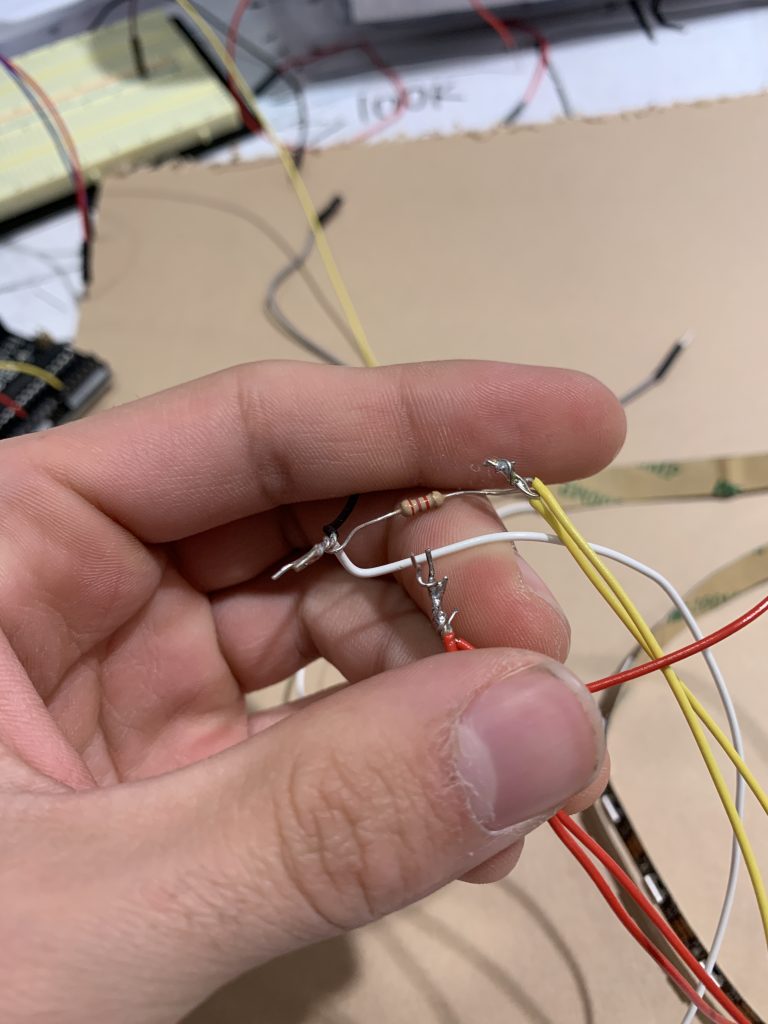
Transitioning from bread board to soldering
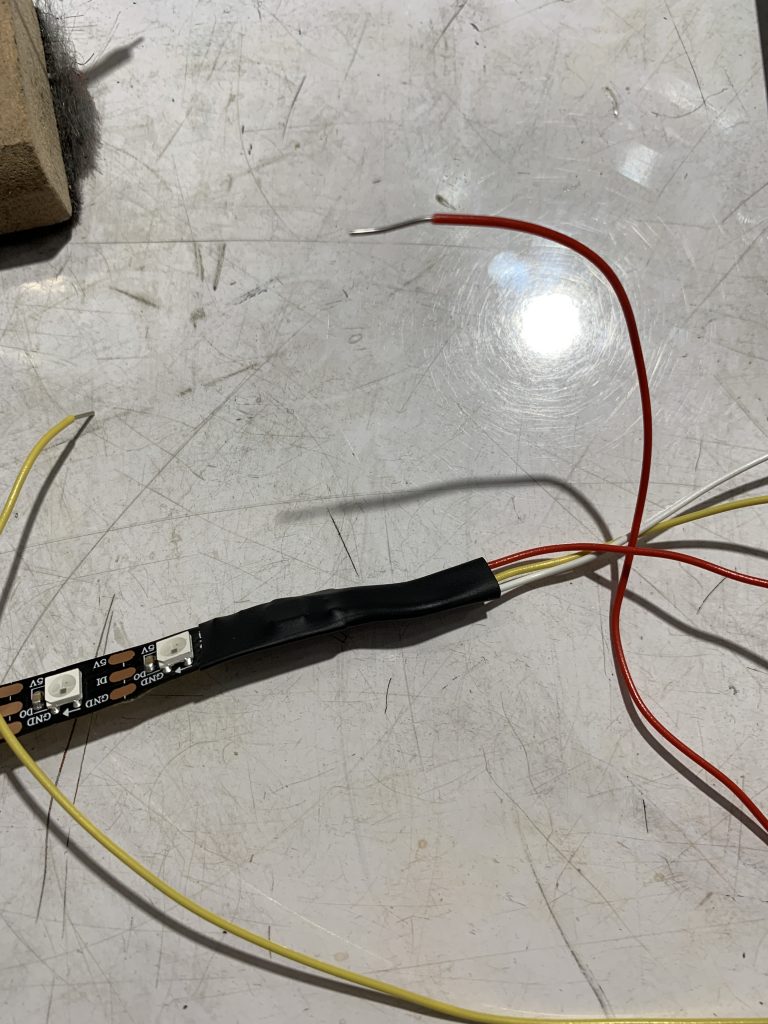
The wires kept yanking off of the end of the LED strip, so I put a cover on to keep them in place
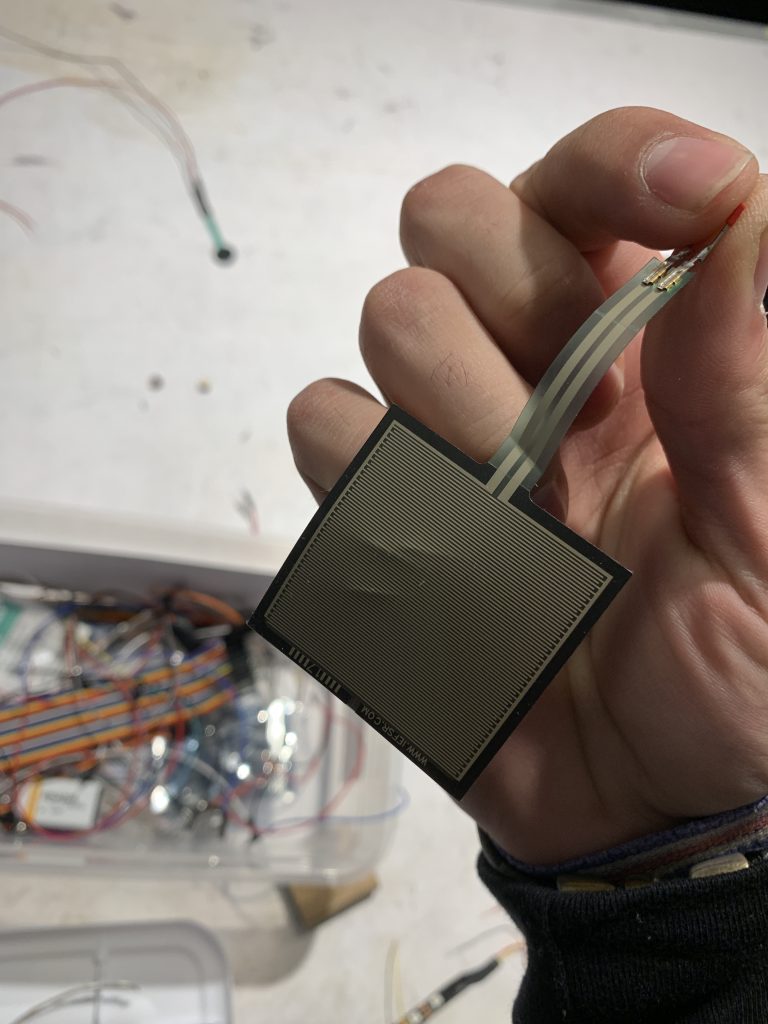
Square FSR broke the night before final crib
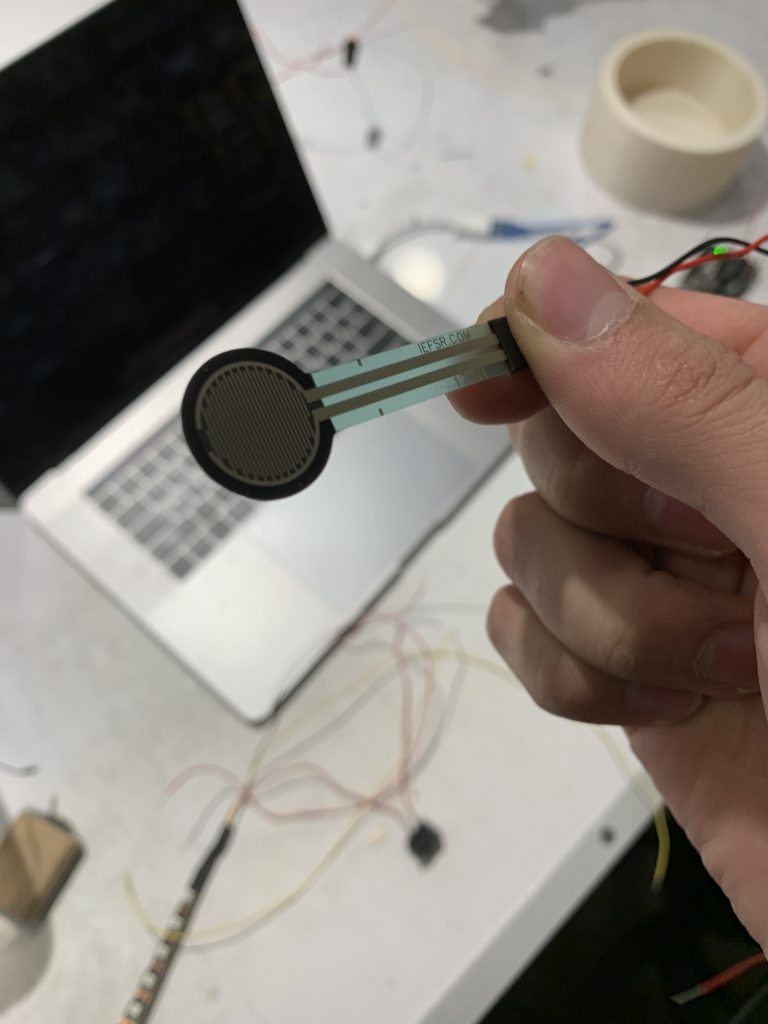
Replaced it with the only thing available a significantly smaller FSR
I discovered that the new FSR I had to use didn’t have a very big threshold for weight into resistance. Therefore I used a popsicle stick and plexiglass to make a sandwich for the FSR to better control the readings it was getting.
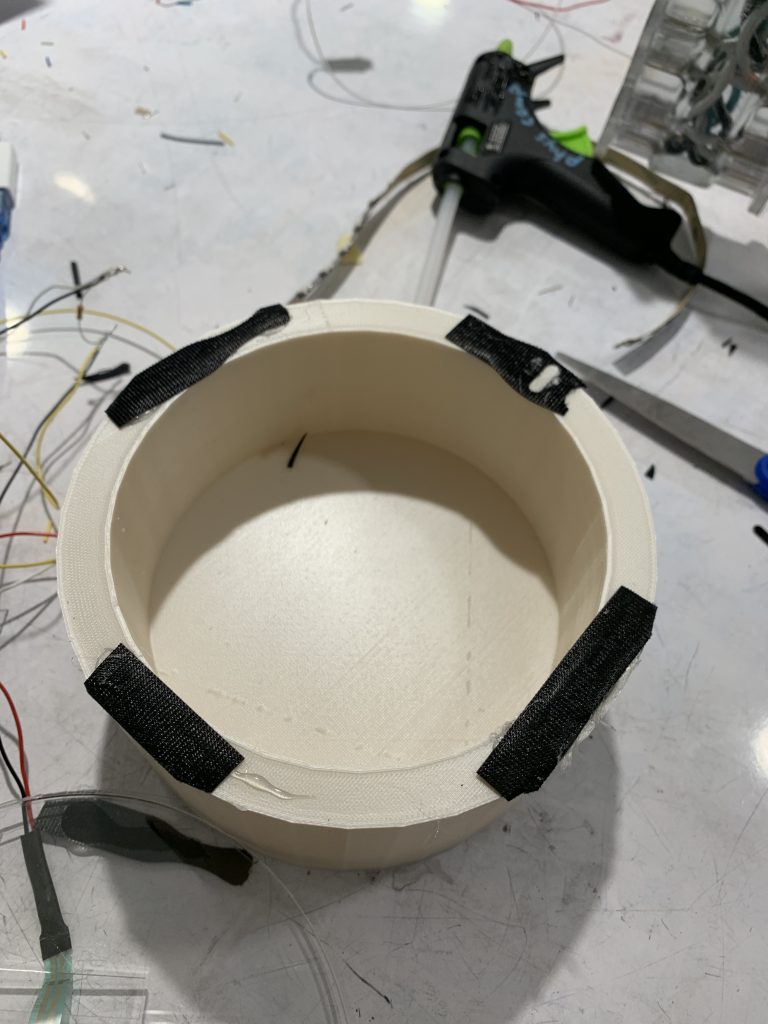
Result of 3D printing the enclosure
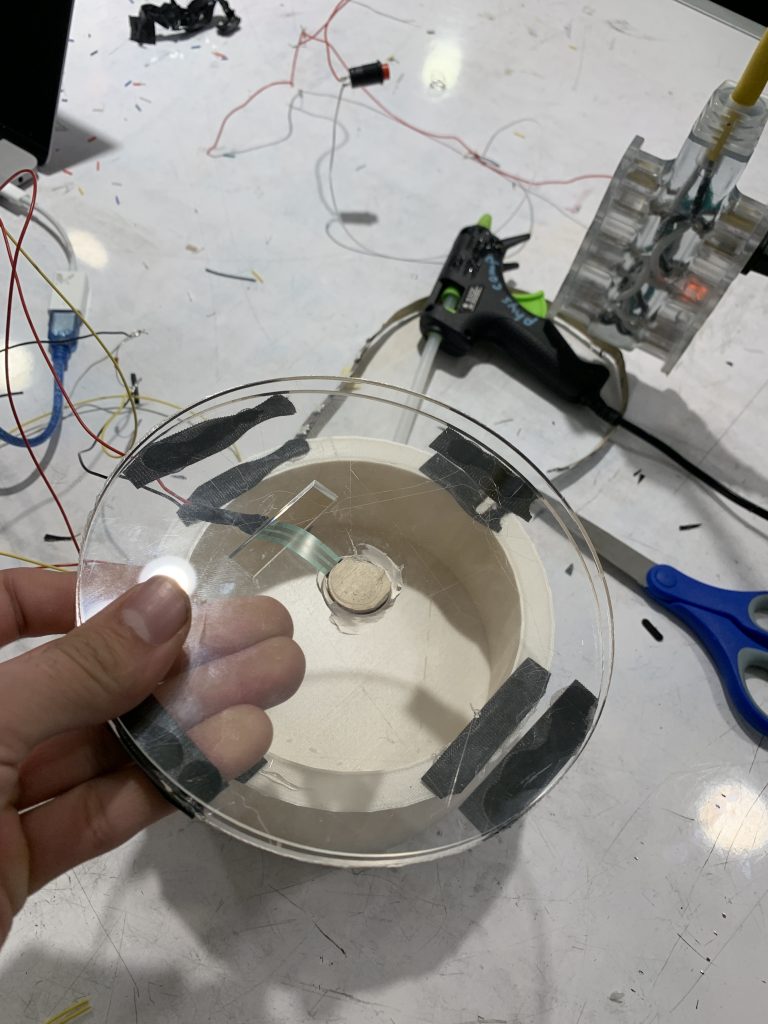
Laser cut two sheets of plexiglass to create a sort of “sandwich” for the FSR
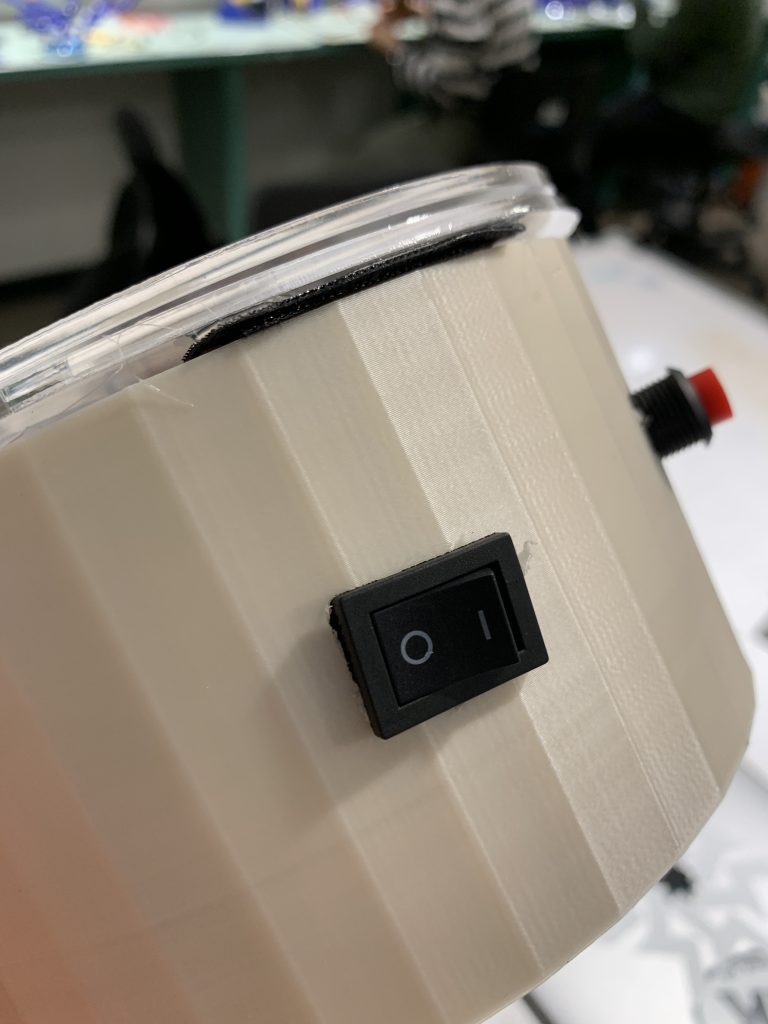
Finally installed the switch to turn on and off the LEDs
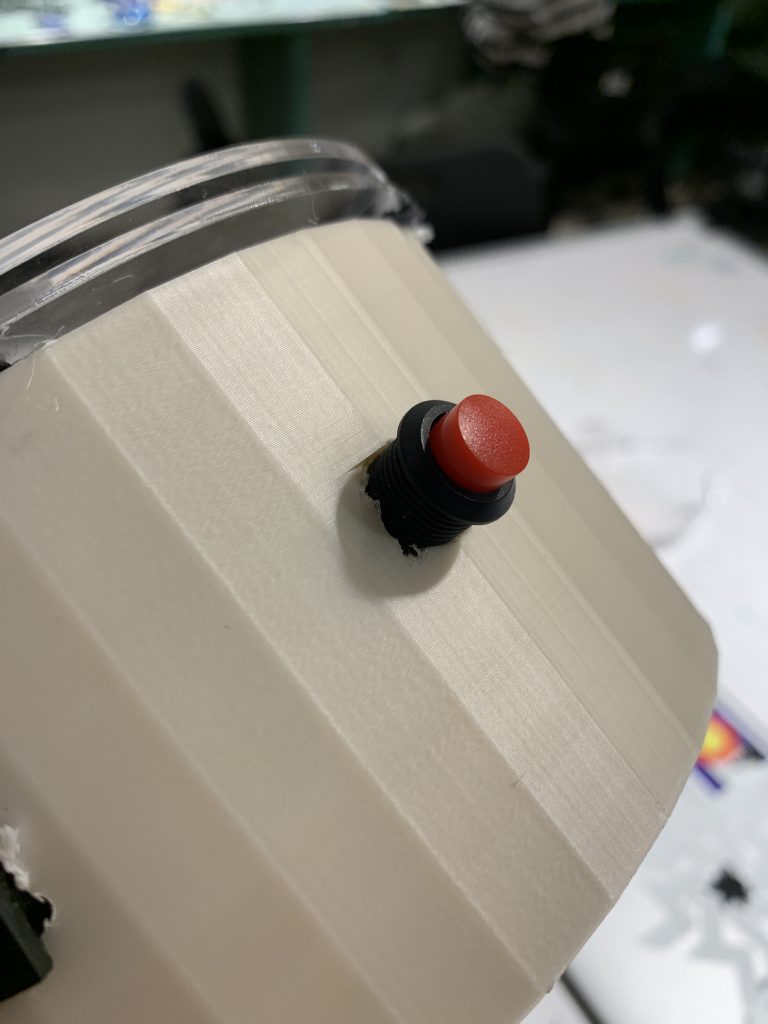
As well as the button to set the threshold pressure.
Wiring of the button and the switch were pretty straight forward. Had a couple problems with soldering angles inside the shell but ultimately figured it out.

Final photo of everything put inside the enclosure
Discussion
“Have you considered methods of smoothing the data or refining output?”
This is something that I spent a fair bit of time considering. The issue that I’m having is that the FSR is so small that it only will detect different pressure changes within a fairly minute range. With that in mind, I could have done more to maybe exponentially scale the mapping of the FSR to color.
“I am wondering if there is a way so that the transitions between colors is more smooth”
I agree that the color transitions can be a little bit harsh at times, but ideally the color display would be constant. Meaning that the changing of the colors would happen very gradually and slowly (as one uses the liquid in the bottle).
Self-Critique
The final project that I came away with satisfied most of my expectations. In the original stages of the project, I had a smaller base in mind. When I was designing the container for the electronics, it became apartment that I needed more space than I originally allocated. However, I do believe that the way I utilized the FSR could not have been done better with the resources I had. Additionally, one thing that was missed in the final project was facing the LEDs upwards instead of on the sides. This is a small design change but probably would have added some aesthetic to the final product.
Lessons Learned
I found that the actual manufacturing of products is unpredictably difficult. The amount of time I put into laser cutting and 3D printing the design well outweighed the time I put into coding. I would put some emphasis on prototyping the design instead of the electrical wiring in the future. Of course the electronics are important, but, for me, the time needed to be devoted to creating the physical product. The night before the project was finished my previous square FSR stopped working. The way I cut a popsicle stick and used the coin sized one instead was something that I didn’t anticipate working as well as it did.
Next Steps
A better iteration of this project would be using stronger LEDs and/or a smaller base. With this in mind, obviously using a smaller Arduino would be beneficial to both the aesthetic and the practicality of the device. Overall, the prototyping of the device was a great learning experience with especially product design.
Schematic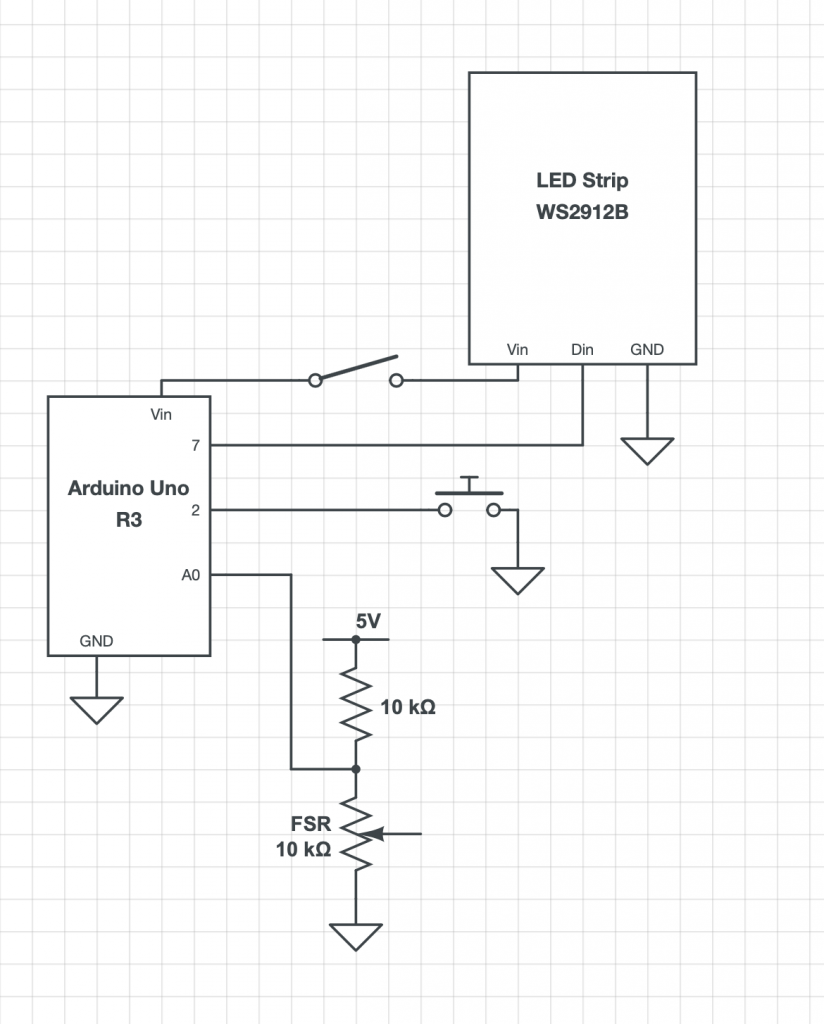
Code
/*   BottleLight project 2
 *   Stefan Orton-Urbina (sortonur)
 *
 *   This code reads input from an FSR and transforms
 *   it into different colors based on the pressure
 *   it reads. Uses the FastLED library to set each LED
 *   on the strip.
 */

#include <FastLED.h>


#define NUM_LEDS 30
#define FSR A0
#define BUTTON 2
#define DATA_PIN 7

// Define the array of leds
CRGB leds[NUM_LEDS];
int pressure;
int thresh = 0;
int val = 0;
void setup() {

  //Set up all our I/O devices
  pinMode(FSR,INPUT);
  pinMode(BUTTON,INPUT);
  FastLED.addLeds<WS2812B, DATA_PIN>(leds, NUM_LEDS);
  Serial.begin(9600);
}

void loop() {

  //Get our FSR
  pressure = analogRead(FSR);
  Serial.println(pressure);

  //This resets threshhold if button is pushed
  if (digitalRead(BUTTON) == LOW){
    thresh = pressure;
  }

  //These too are for filtering out of bounds
  if (pressure <= thresh){
    val = 175;
  }
  else if (pressure > 1000){
    val = 0;
  }

  //This maps our pressure to an LED color
  else val = map(pressure,thresh,1000,175,5);

  //Puts the color on all LEDs and shows them
  for (size_t i = 0; i < NUM_LEDS; i++){
      leds[i] = CHSV(val/2,255,255);
  }
  FastLED.show();

}
Comments are closed.