By Alton Olson and Eliza Pratt
Description
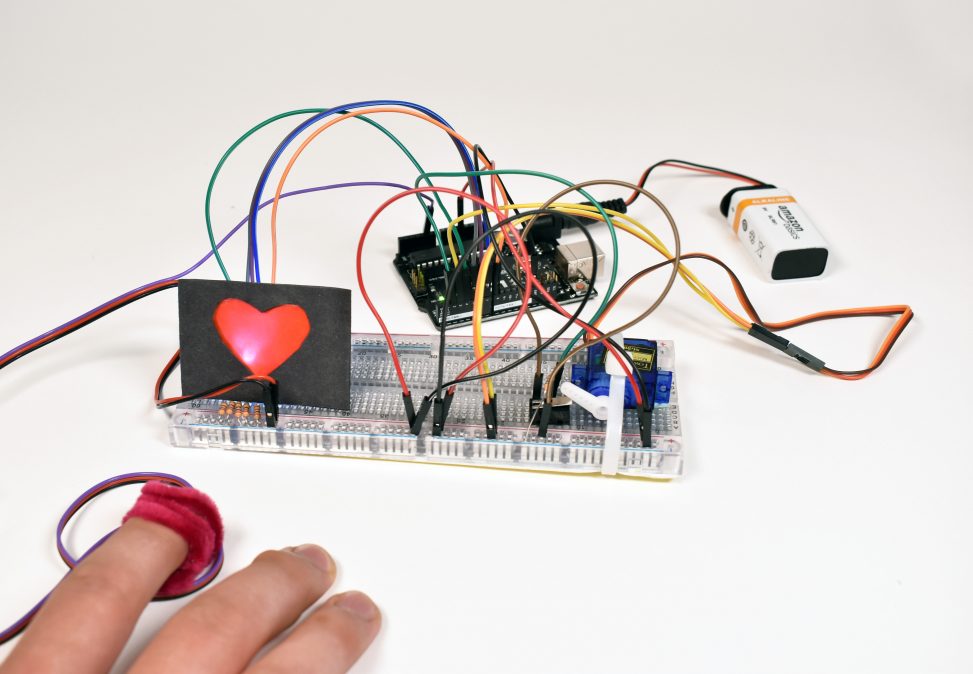
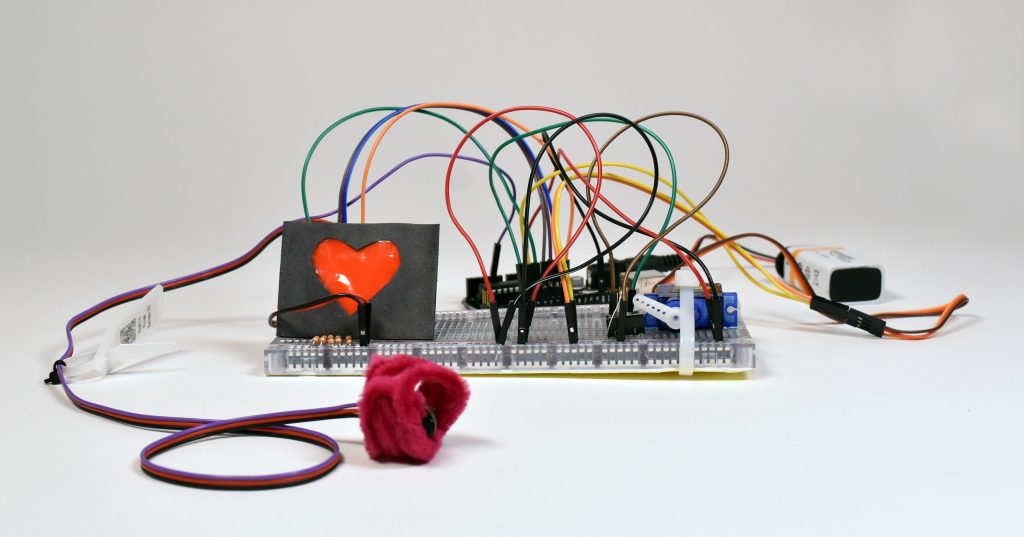
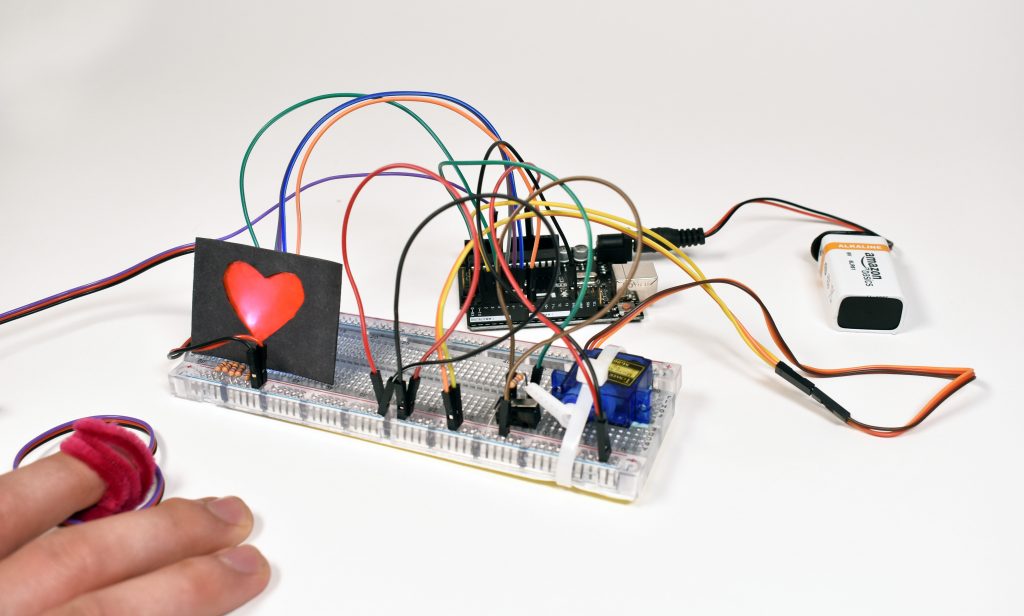
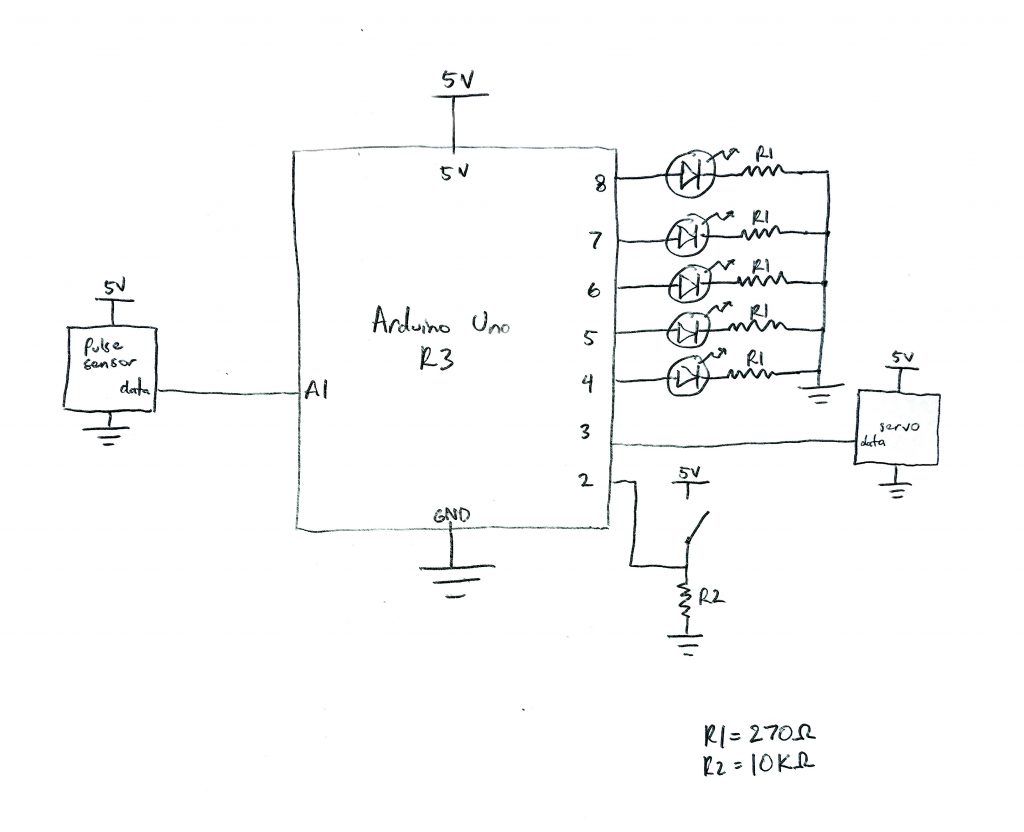
This project detects a user’s pulse and triggers a servo motor to move in sync. When a heartbeat is detected, the servo pushes a micro switch, which in turn lights up a configuration of LEDs.
Project Images
Process Images

Schematic
Code
/*
 * Heartbeat Visualizer
 * By Alton Olson and Eliza Pratt
 *
 * Description: This program reads input data from a pulse
 * sensor and tracks the maxes and mins to determine heart rate.
 * When a heartbeat is detected, it triggers a servo to push
 * a switch that turns on a configuration of LEDs.
 *
 * Credit: Code for measuring heart rate was adapted from
 * user VE7JRO's contribution to the StackExchange Arduino forum.
 * View discussion: https://tinyurl.com/y3vuvgpp

 */

#include <Servo.h>

// Pin constants
const int BUTTONPIN = 2;
const int SERVOPIN = 3;
const int LED1PIN = 4;
const int LED2PIN = 5;
const int LED3PIN = 6;
const int LED4PIN = 7;
const int LED5PIN = 8;
const int PULSEPIN = A1;

// Servo position constants
const int SERVO_DOWN_POSITION = 155;
const int SERVO_UP_POSITION = 135;

// We have two thresholds to detect a pulse
const int RISING_THRESHOLD = 520;
const int FALLING_THRESHOLD = 510;
// Ignore reading keeps track of the state of the pulse
bool ignoreReading = false;
// Time in ms of the last beat
long lastBeatTime = 0;

Servo servo;

void setup(){
  Serial.begin(9600);
  servo.attach(SERVOPIN);
  pinMode(BUTTONPIN, INPUT);
  pinMode(LED1PIN, OUTPUT);
  pinMode(LED2PIN, OUTPUT);
  pinMode(LED3PIN, OUTPUT);
  pinMode(LED4PIN, OUTPUT);
  pinMode(LED5PIN, OUTPUT);
  pinMode(PULSEPIN, INPUT);
}

void loop(){
  int reading = analogRead(PULSEPIN);

  Serial.println(reading);

  // Heart beat leading edge detected.
  if(reading > RISING_THRESHOLD && !ignoreReading
    && millis() - lastBeatTime > 500){
    // Trigger servo if <120 bpm
    servo.write(SERVO_DOWN_POSITION);
    ignoreReading = true;
    lastBeatTime = millis();
  }

  // Heart beat trailing edge detected.
  if(reading < FALLING_THRESHOLD && ignoreReading){
    servo.write(SERVO_UP_POSITION);
    ignoreReading = false;
  }

  // Turn on LEDs if the switch is pressed
  digitalWrite(LED1PIN, digitalRead(BUTTONPIN));
  digitalWrite(LED2PIN, digitalRead(BUTTONPIN));
  digitalWrite(LED3PIN, digitalRead(BUTTONPIN));
  digitalWrite(LED4PIN, digitalRead(BUTTONPIN));
  digitalWrite(LED5PIN, digitalRead(BUTTONPIN));

  delay(150);
}
Discussion
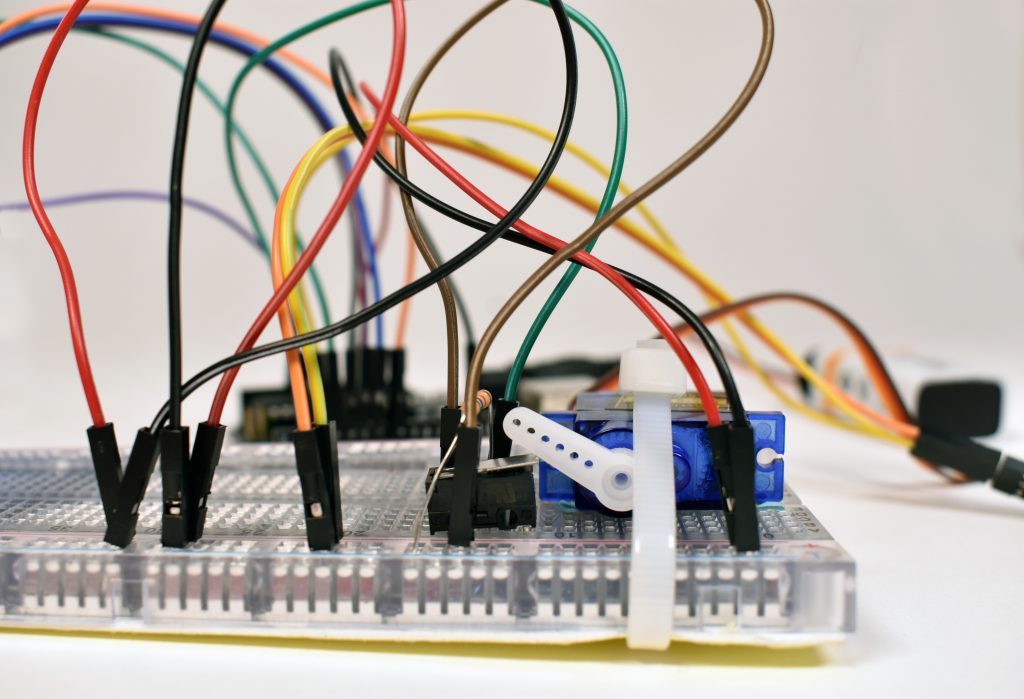
Decision Making: Throughout this project, one of our biggest realizations was that we can’t rely on physical components to behave exactly as we expect. While we knew we wanted a servo to be our initial output, finding the proper device to respond to it proved to be harder than we expected. We ended up testing buttons, force sensors, and a variety of switches in order to find the right fit. Large buttons presented a problem as they were too springy and would require a stronger servo to actuate. FSRs solved the recoil issue, but we weren’t able to get a solid reading from the small servo arm. We ended up opting for the micro switch as it required very little force to actuate but provided a reliable binary input.
One design decision we had to make early on was whether to have the transduced signal be continuous or discrete. Originally we were going to transduce the user’s heartrate, having the servo move to different positions based on the frequency of the user’s pulse. It was difficult to get a reliable heartrate reading, though, and we thought that reading individual pulses would be a simpler problem and easier to tune.
Challenges: Getting reliable input from the pulse sensor was by far our biggest challenge. The raw data was noisy and unreliable, and it was difficult to pinpoint the source of the noise. We discovered that where the sensor is on your finger, how hard you press on the sensor, and the amount of oil and sweat on your skin all affect the data. Our first algorithm used a simple threshold, where we’d count a heartbeat if the pulse sensor data crossed from below to above the threshold. The noise in the signal generated lots of false positives. So we added a second “falling” threshold, below the first, such that the signal had to drop below the falling threshold before the rising threshold would count again. This helped isolate only the bigger spikes in the waveform and filter out some of the noise. Lastly, to try and throw out more false positives, we added a max heartrate, so that the algorithm would ignore pulses that were within a certain time of other pulses.
Three small fixes we could have made:
- A better filtering algorithm. We still had issues with noise fooling our algorithm, and maybe an additional filter could have helped. Perhaps a low pass filter could eliminate some of the higher frequency noise while keeping the pulses intact.
- Adjustable thresholds. We hardcoded the rising and falling thresholds, but allowing the user to adjust these with a potentiometer could allow the device to perform better under different conditions.
- Taking pulse readings from somewhere else. The documentation for the pulse sensor recommends to try using an ear clip attachment to take readings from a user’s ear. We didn’t have the ear clip attachment, but this could have provided better data than the finger.
Comments are closed.