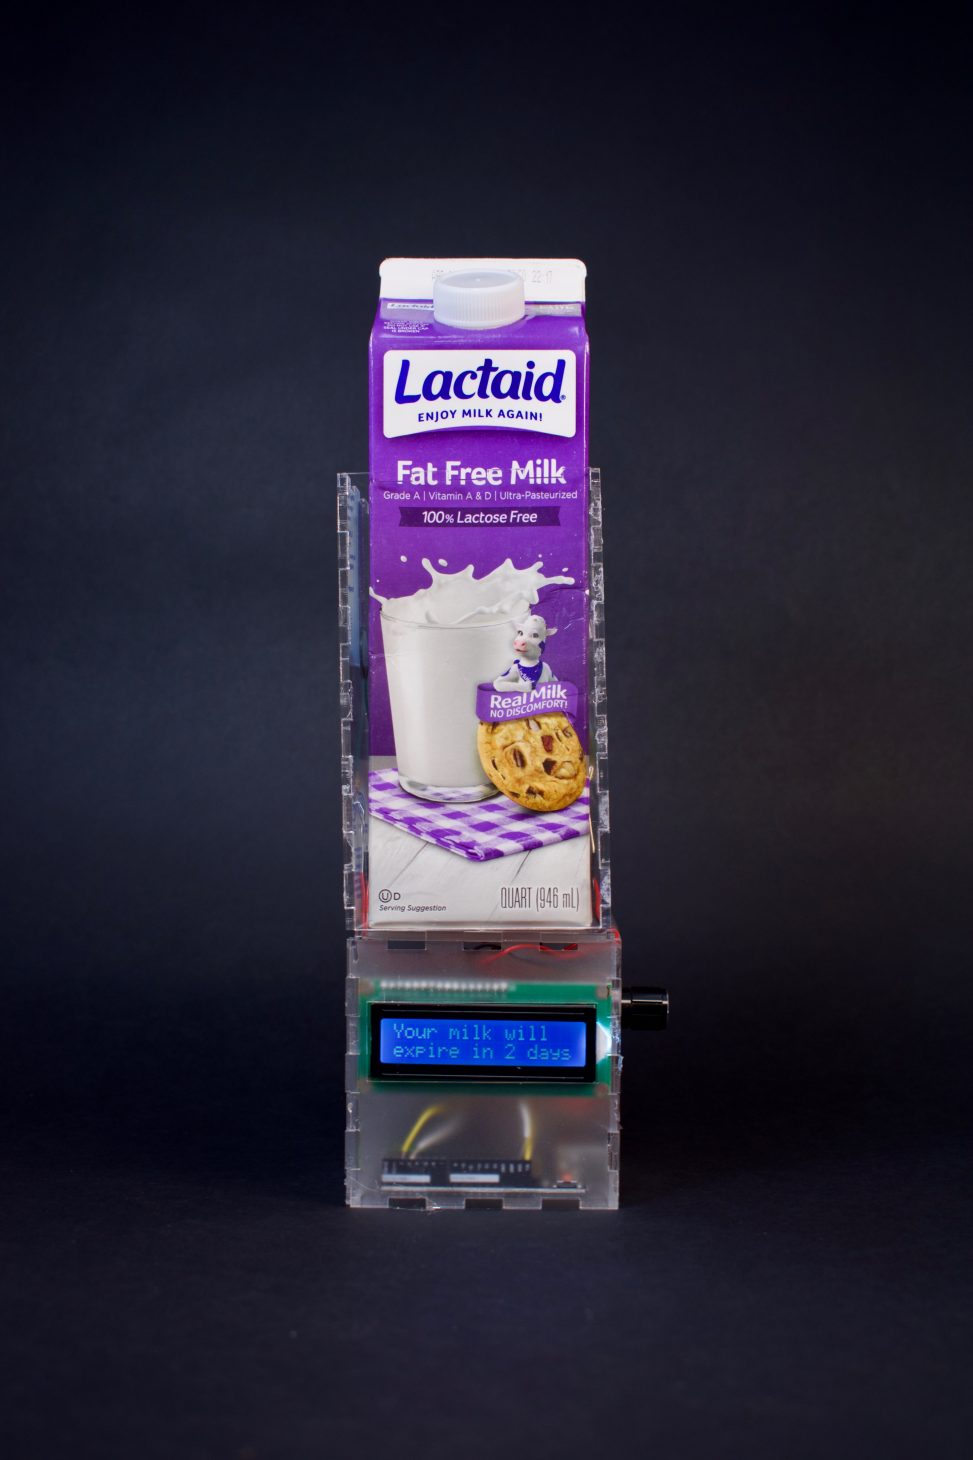
Milk Stat, is a device that tells you the expiration status of your milk.
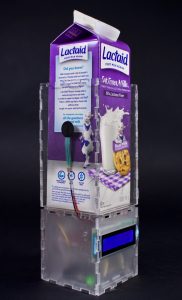
Side View of Milk Stat
When the user puts the milk carton into the case, they can use the rotary encoder to input the number of days until it expires.
If this time elapses or the milk bloats because it has gone bad, a message is that the milk has expired displays on the LCD screen.
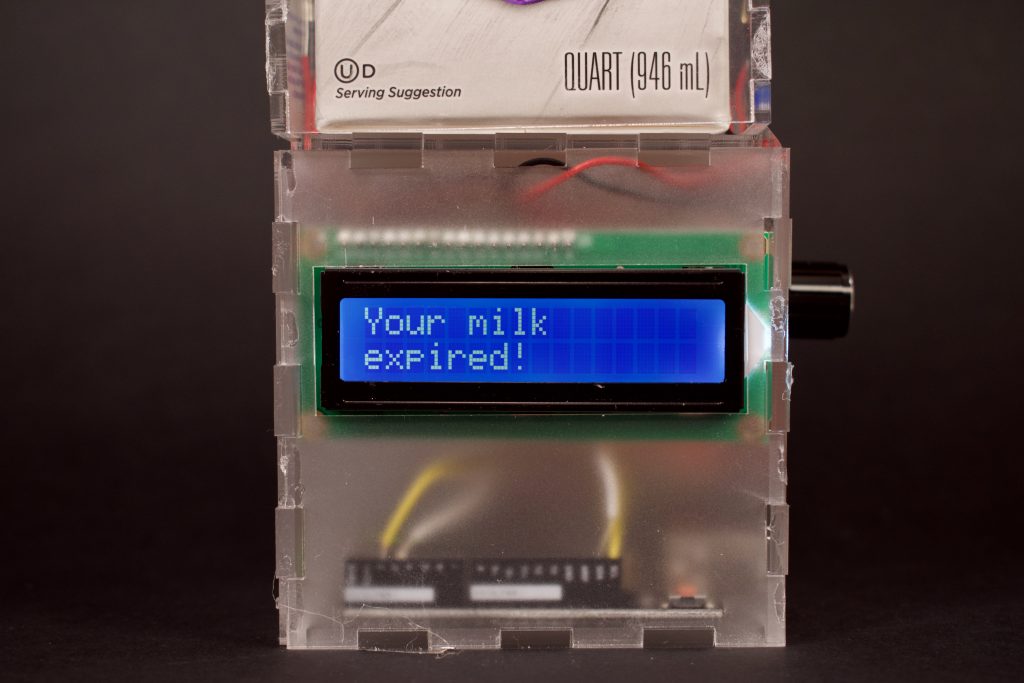
The message displayed if milk has expired
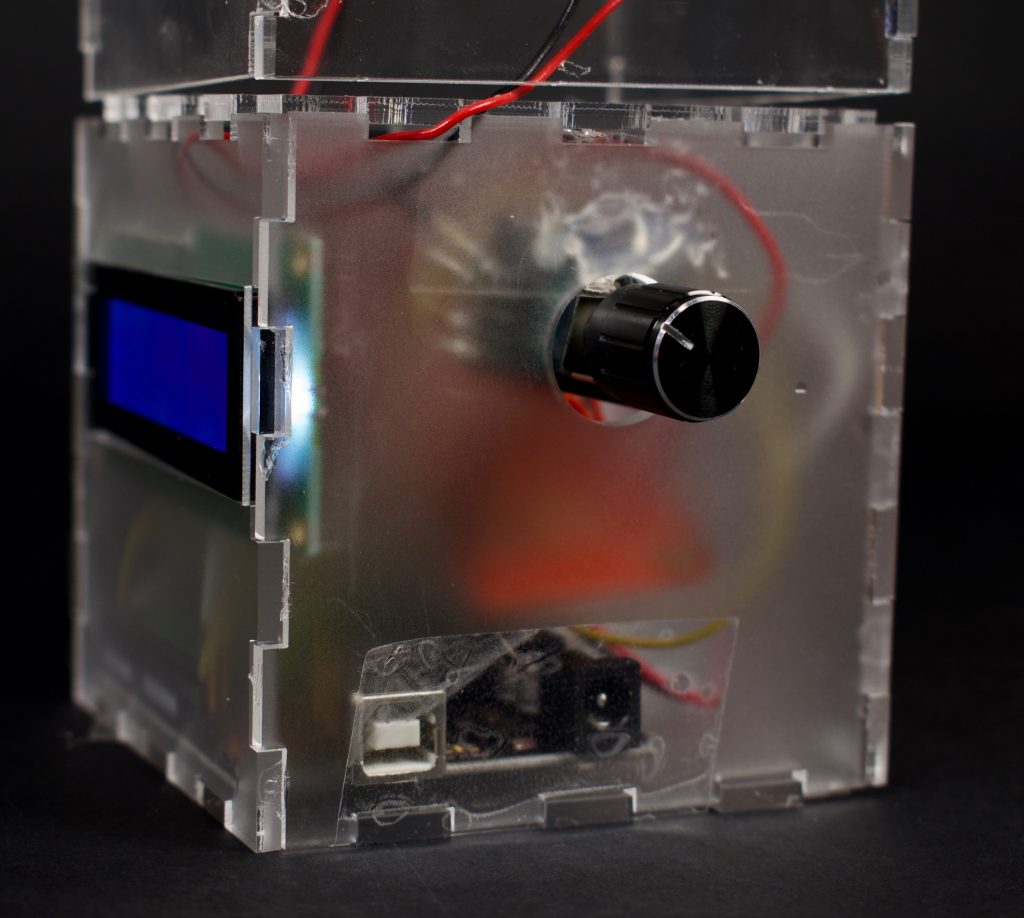
Rotary Encoder up close
Process
Originally, I wanted to incorporate a sensor to detect changes in acidity as it is a much more accurate indicator of spoilt milk, compared to a bloat/bulge detector, and can tell you that your milk is beginning to spoil earlier on in the process. When I was looking into acidity as an indicator of spoilt milk found that there was no good option to measure acidity/pH. Most pH probes I found online were $50+, and the cheaper alternative could not be left in the liquid for prolonged period of time. Another issue, which Zach brought to my attention, is the issue of milk being exposed to air, and therefore bacteria. I also looked into measuring CO2 and methane concentrations in milk as they increase when the bacteria spoiling the milk releases gases. Unfortunately, this is not a feasible option either because different bacteria release different gases and all available sensors are not sensitive enough to measure the difference in gas in particles per million before and after spoilage.
In light of these numerous issues with using a pH sensor, I decided to use force sensitive resistors with a very low threshold so that even if the milk carton is slightly touching it recognizes bloating and indicates that the milk is spoilt!
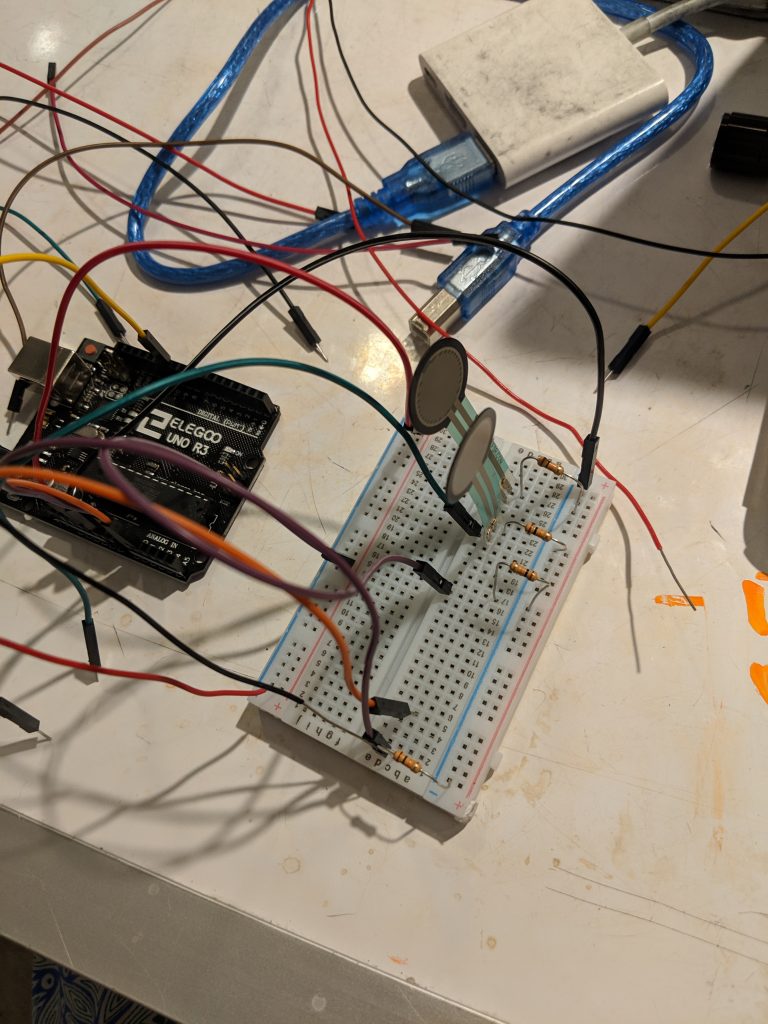
Initial wiring of force sensitive resistors on breadboard
For me, the design was the most difficult part. I tried using different mediums to understand what were the various ways I could approach the problem. I knew I wanted to contain all of the electronics in a box below the carton of milk, the real challenge was how I was going to identify when the milk carton was bloating.
In my first design, I tried to hug the edges of the carton and leave a small gap between the face of the milk carton and the piece of card I was prototyping with. This proved not only difficult but also not feasible as I could not make my enclosure out of a flexible material.
Prototype 1 made from card
In my second prototype, I tried to create a tent that would rest on the top of the carton to accommodate for cartons of different sizes. Unfortunately, after making the prototype, I concluded that it was too unstable and would move too much – accidentally triggering the force sensitive resistors .
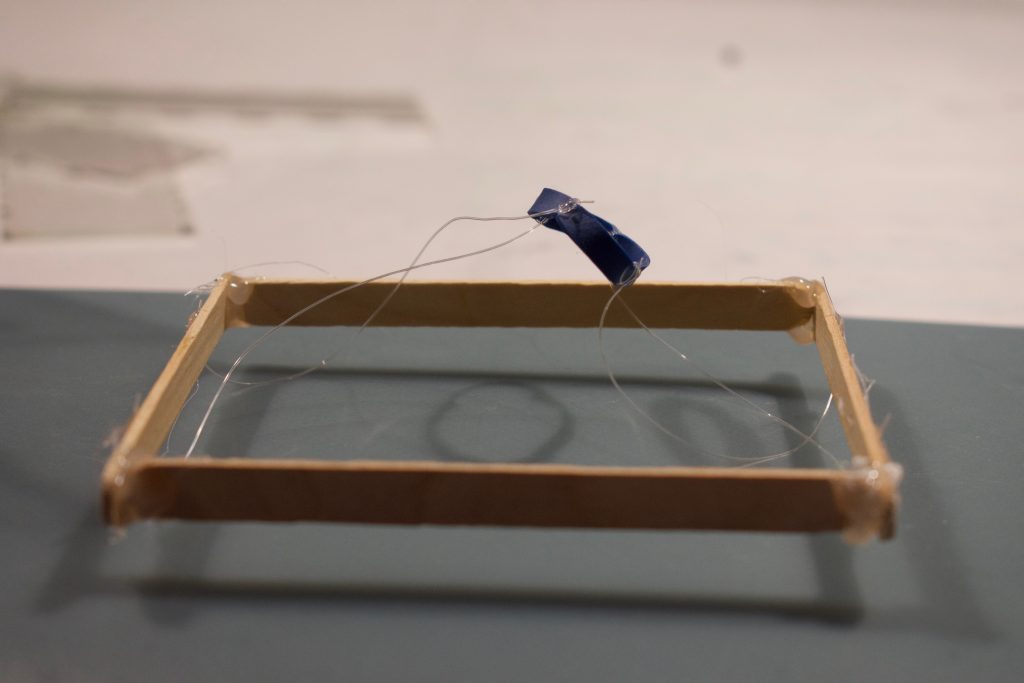
Prototype 2 made from popsicle sticks, strings and rubber bands
I finally decided on making a case that was specific to the milk I drink. To fit the odd dimensions of a milk carton I decided it was best for me to laser cut my box. My lack of knowledge in laser cutting led to a few fumbles, including a box of incorrect dimensions and bad gluing, but I was able to make a case that I was satisfied with.
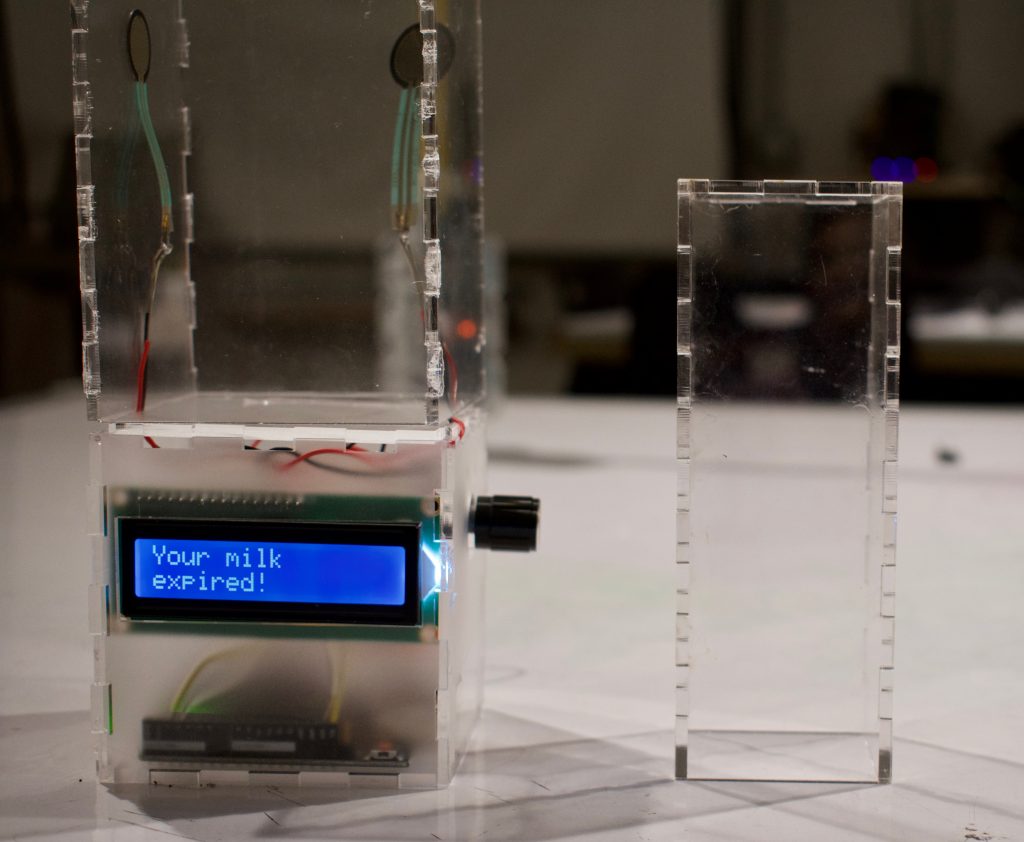
Box of incorrect dimensions next to final product
Discussion
Overall, I was satisfied with the way my project turned out. On the technical side everything worked as I wanted it to but, I definitely struggled with some of the hardware aspects. There was electrical noise in my signal to my LCD screen, which caused it to display computer garble for a few seconds during start up. Luckily, the solution was simply to solder all the wires connected to the LCD and make sure they were connected securely in the Arduino Uno.1
In terms of design, I was quite content with what I made as it was my first time both designing and laser cutting. I used frosted clear acrylic to hide the wiring and to stick to the simple design. Someone mentioned that they liked the ‘totally vertical design and how it doesn’t take up too much more space than the carton itself’. I am also a fan of this design, and I chose it as I wanted it to be able to fit it into the side slot of a fridge. However, since this project is compact, I found that accommodating all the wires was quite difficult. The limited space meant I had to decide, beforehand, the length of my wires and angle of soldering. If I was to remake the enclosure, I would also make holes on the bottom and top of the smaller box so that I can easily place my force sensitive resistor in the milk holder.
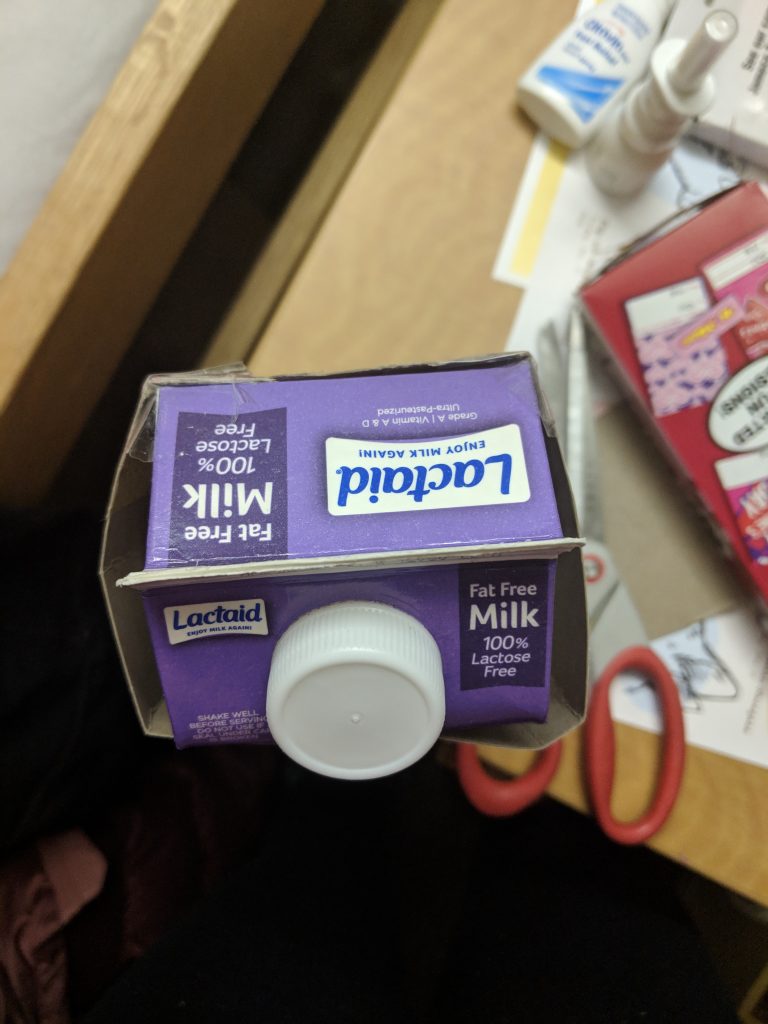
A question I was asked was ‘Could this be modified to be adjustable for different sized milk cartons?’. With my current design, this wouldn’t be possible. I thought about incorporating this while designing the enclosure for my project but I decided against it for two reasons. Since this was my first time designing, I thought I should keep my design simple so that I could make a working product in the given timeframe. Secondly, keeping in mind that the prompt says to make a device for yourself, I decided that this design would be apt for me as I only drink one specific type of milk as I’m lactose intolerant.
If I had to redo my project I would definitely start on the physical design earlier on. I think I was avoiding it out of intimidation and my lack of knowledge. I really struggled to think about how it would physically look, and was also very unsure on how to even start. I think I’ve learnt that the best way to approach design is through trial and error as you often cannot anticipate what the drawbacks of your design until you out everything together. Additionally, I would also place a strip of LED lights inside the frosted acrylic box, which would be red or green so that the user can quickly glance and understand whether their milk is drinkable or not.
1https://arduino.stackexchange.com/questions/19150/i2c-lcd-displaying-weird-characters
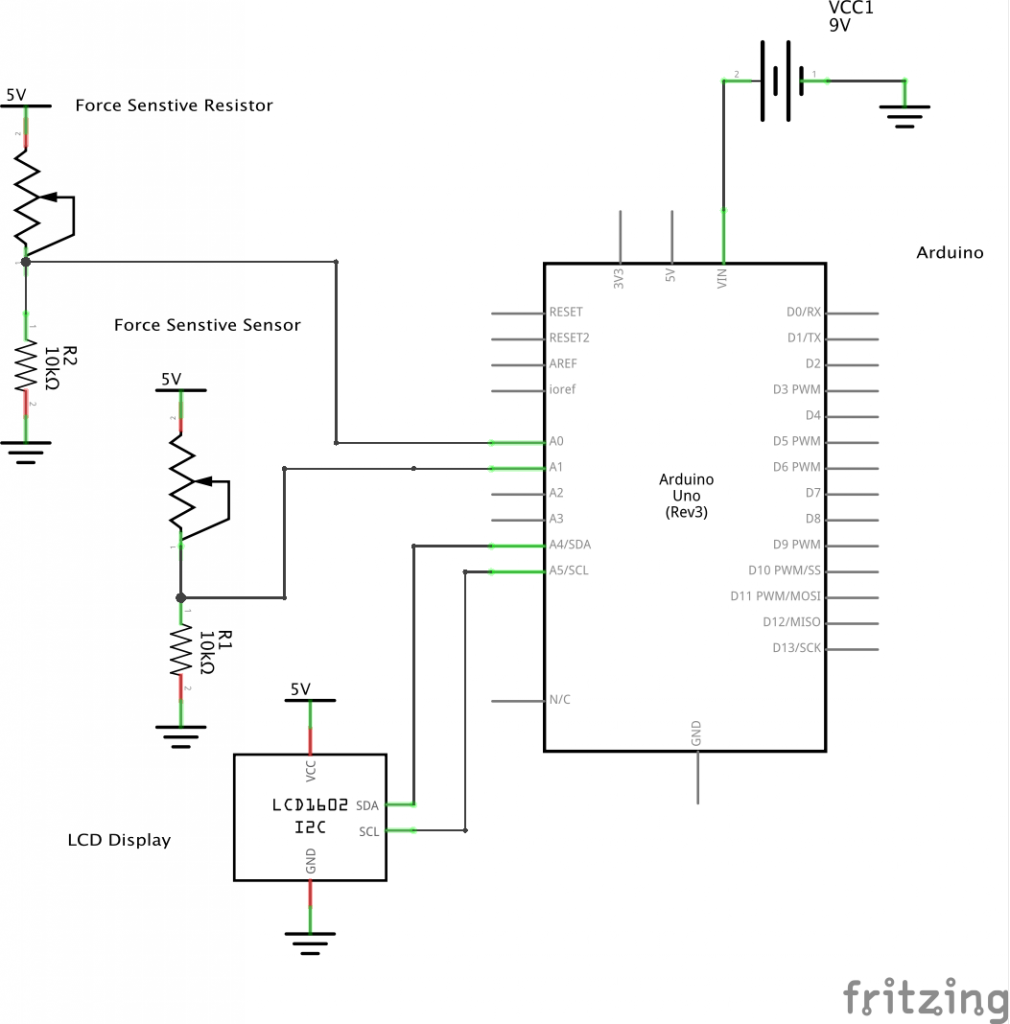
Schematic
Code
/*
   Milk Checker
   Aditi Raghavan
   Displays the number of days left before milk expires. If it it expires it displays
   a different message on the screen. If the milk carton bloats and the FSR values go above
   the set FSR threshold, milk is also considered to be expired.


   Rotary Encoder should use pins 2 and 3 as they are interrupt pins on the Arduino Nano

  Requires: 2 Force Sensitive Resistors, 1 16x2 LCD Display with I2C, 1 Rotary Encoder, optional: 2 10k resistors
  Copyright <2019> <Aditi Raghavan>

Permission is hereby granted, free of charge, to any person obtaining a copy of this software
and associated documentation files (the "Software"), to deal in the Software without restriction,
including without limitation the rights to use, copy, modify, merge, publish, distribute, sublicense,
and/or sell copies of the Software, and to permit persons to whom the Software is furnished to do so,
subject to the following conditions:

The above copyright notice and this permission notice shall be included in all copies or substantial portions of the Software.

THE SOFTWARE IS PROVIDED "AS IS", WITHOUT WARRANTY OF ANY KIND, EXPRESS OR IMPLIED, INCLUDING BUT NOT LIMITED TO THE
WARRANTIES OF MERCHANTABILITY, FITNESS FOR A PARTICULAR PURPOSE AND NONINFRINGEMENT. IN NO EVENT SHALL THE AUTHORS
OR COPYRIGHT HOLDERS BE LIABLE FOR ANY CLAIM, DAMAGES OR OTHER LIABILITY, WHETHER IN AN ACTION OF CONTRACT, TORT OR
OTHERWISE, ARISING FROM, OUT OF OR IN CONNECTION WITH THE SOFTWARE OR THE USE OR OTHER DEALINGS IN THE SOFTWARE.
*/
#include <Encoder.h>
#include <Wire.h>
#include <LiquidCrystal_I2C.h>
#include <TimeLib.h>
const int FSRR = A0;
const int FSRL = A1;

int fsrLRead, fsrRRead, fsrTreshold, numDays;

/* Create an LCD display object called "screen" with I2C address 0x27
   which is 16 columns wide and 2 rows tall. */
LiquidCrystal_I2C screen(0x27, 16, 2);
Encoder knob(2, 3);

void setup() {
  Serial.begin(9600);
  fsrTreshold = 100;
  screen.init();
  screen.backlight();
}

long positionKnob  = 0;
int milkDays;
int currentDay;
// Calls a function which tells you the time since starting up the Ardunio
int prevDay = minute(now());


void loop() {
  currentDay = minute(now());
  if (currentDay != prevDay) {
    prevDay = currentDay;
    if (milkDays > 0) {
      milkDays = milkDays - 1;
    }
  }
  long newKnob;
  newKnob = knob.read();
  // Allows user to change the number of days before expiration using rotary encoder
  if (newKnob != positionKnob) {
    positionKnob = newKnob;
    milkDays = positionKnob / 4;
  }

  FSRRRead = analogRead(FSRR);
  fsrLRead = analogRead(FSRL);

  // Display expiry message if milk has  gone bad or if milk has bloated
  if (milkDays < 0 or FSRRRead > fsrTreshold or fsrLRead > fsrTreshold  ) {
    screen.clear();
    screen.home();
    screen.print("Your milk ");
    screen.setCursor(0, 1);
    screen.print("expired!");
    delay(10000);
  }
  // Displays number of days until expiry
  else if (milkDays > 0) {
    screen.clear();
    screen.home();
    screen.print("Your milk will");
    screen.setCursor(0, 1);
    screen.print("expire in ");
    screen.print(milkDays);
    screen.print(" days!");
    delay(1000);
  }

}
Comments are closed.