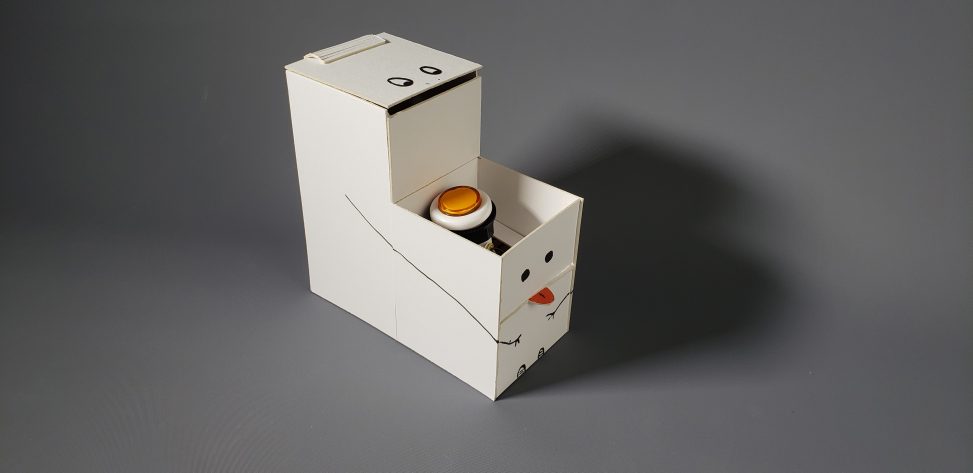
A pencil holder that sounds an alarm if opened without turning off the alarm
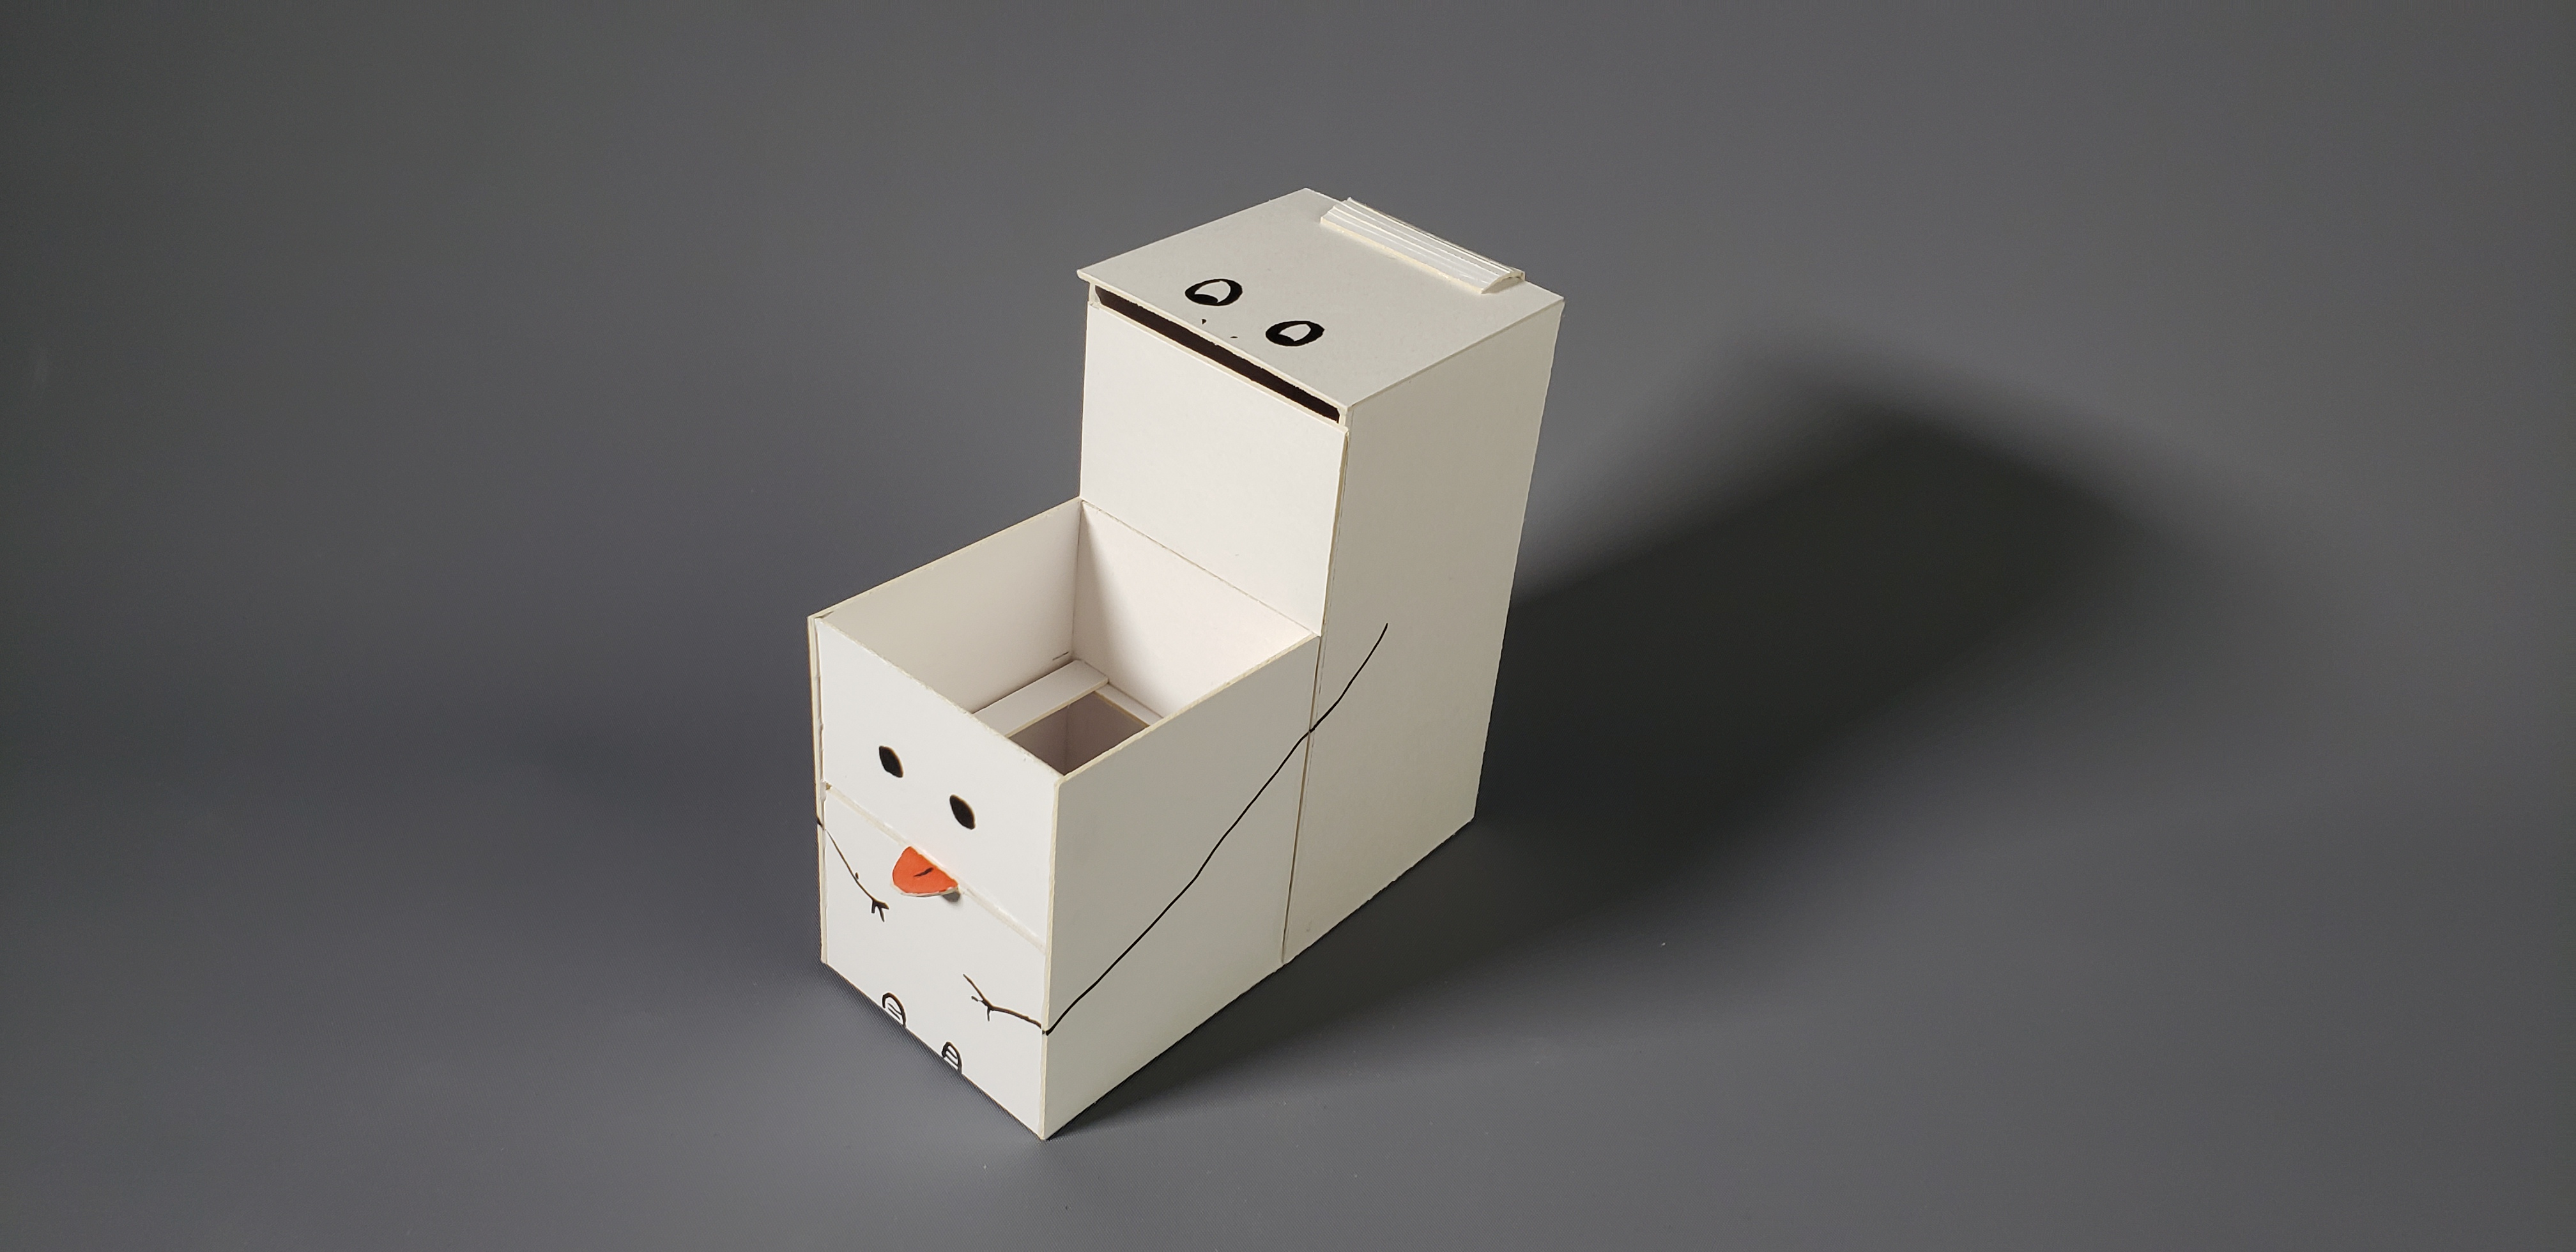
The pencil holder without the Arduino
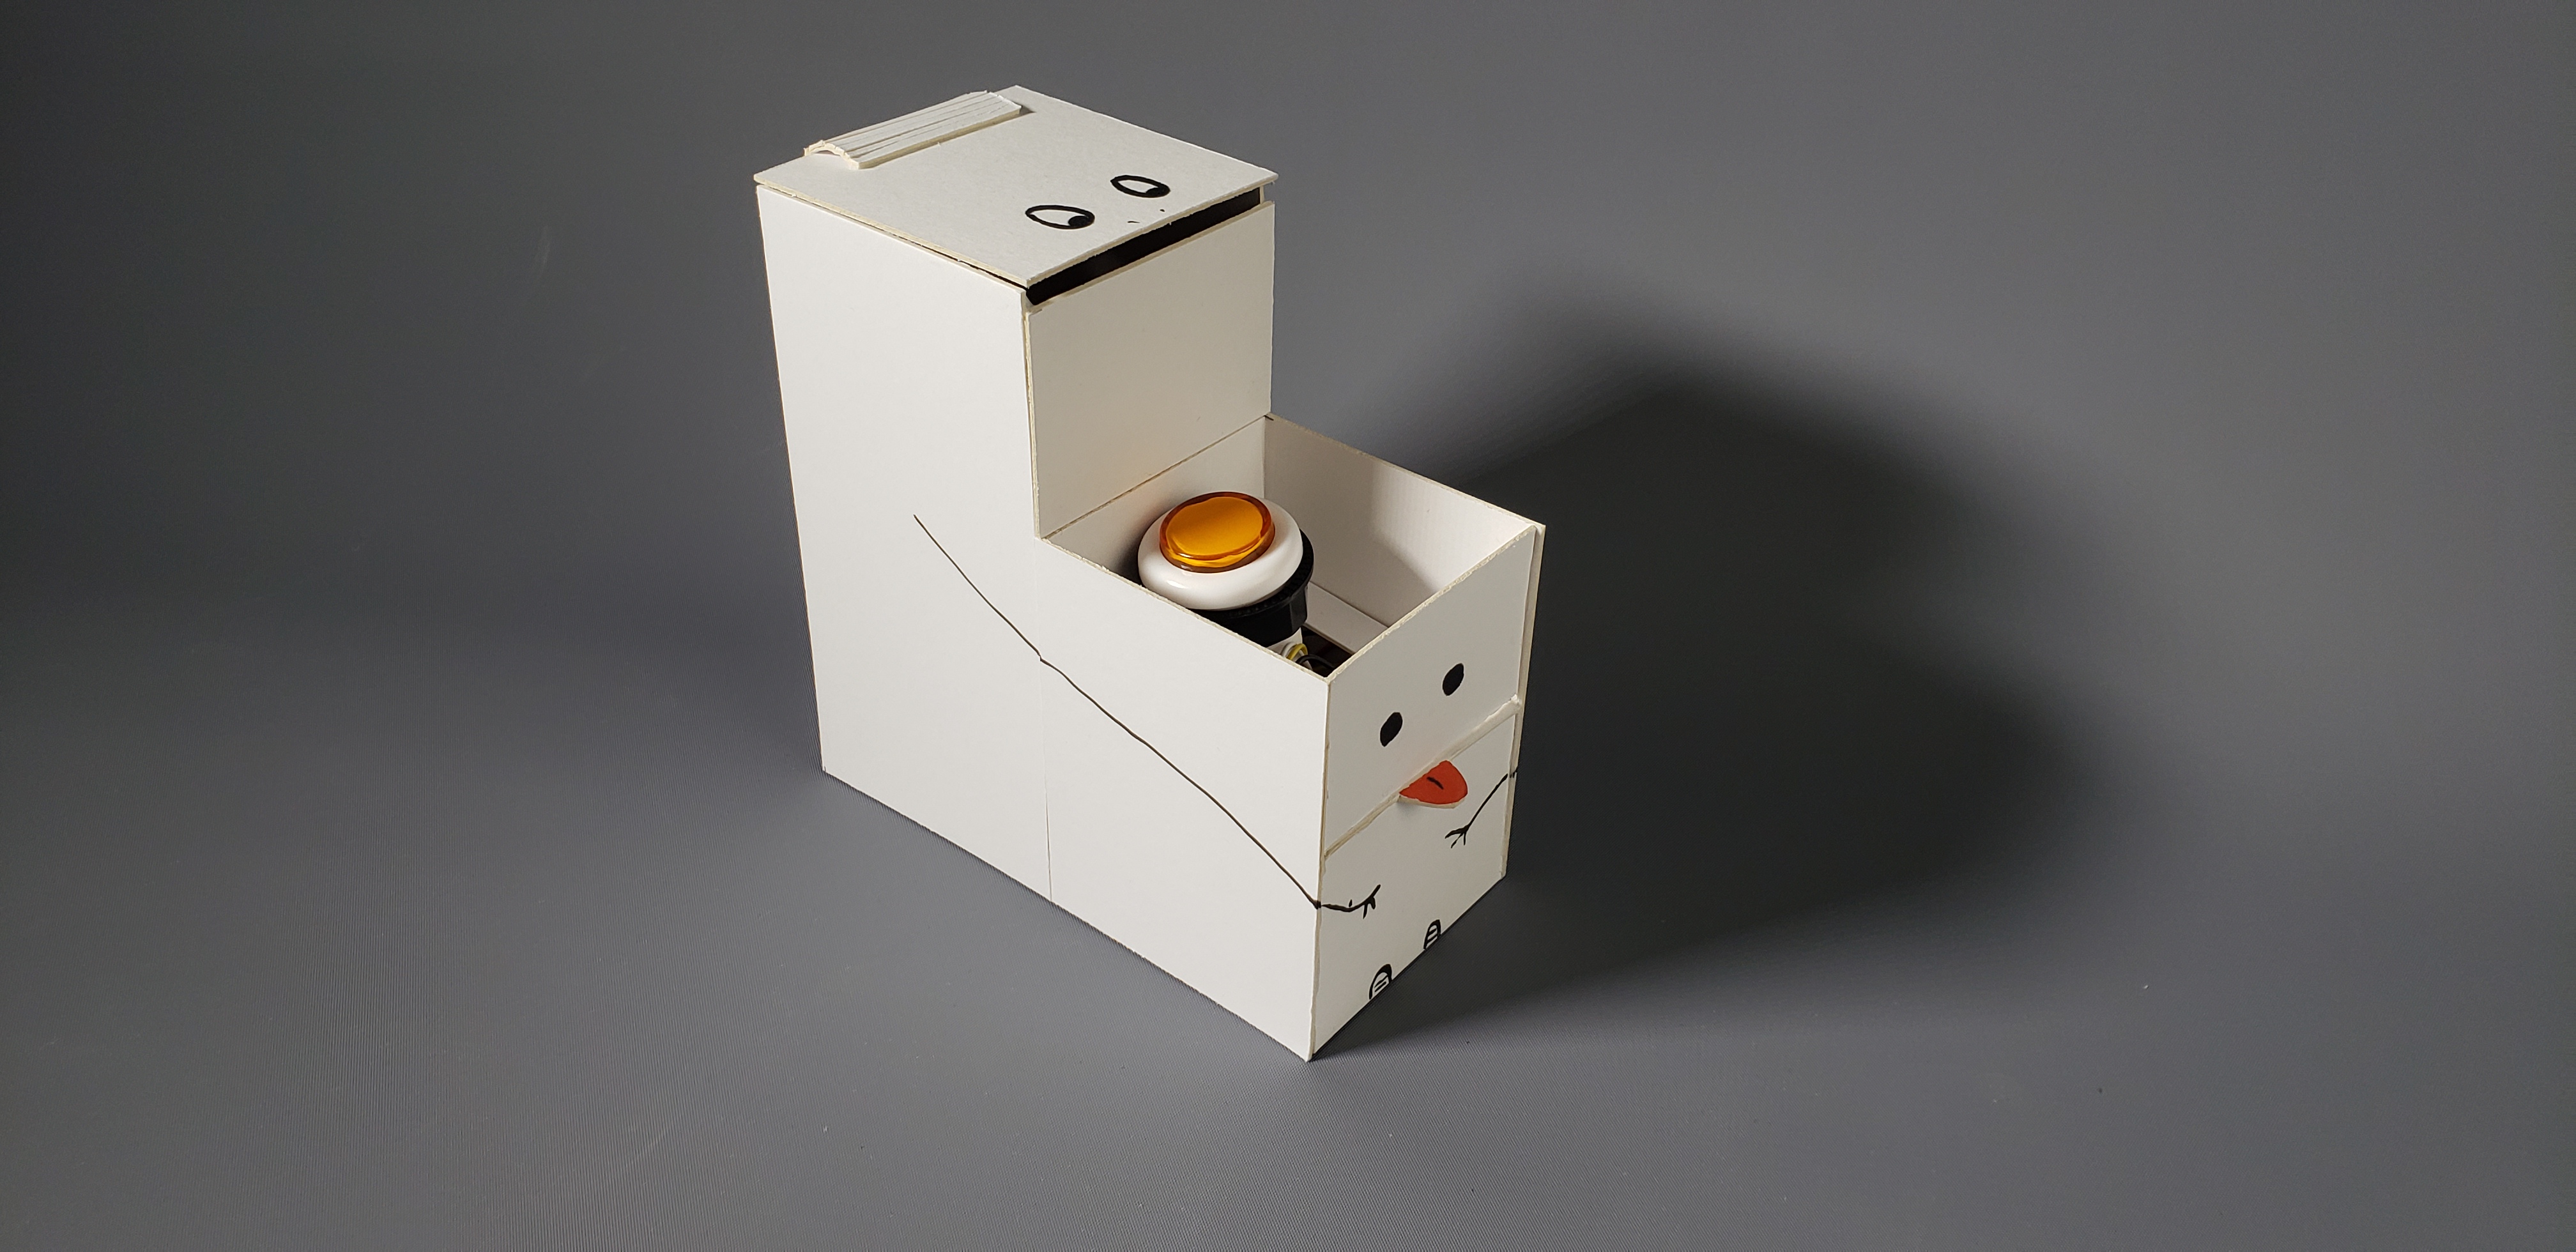
The pencil holder with all the hardware inside
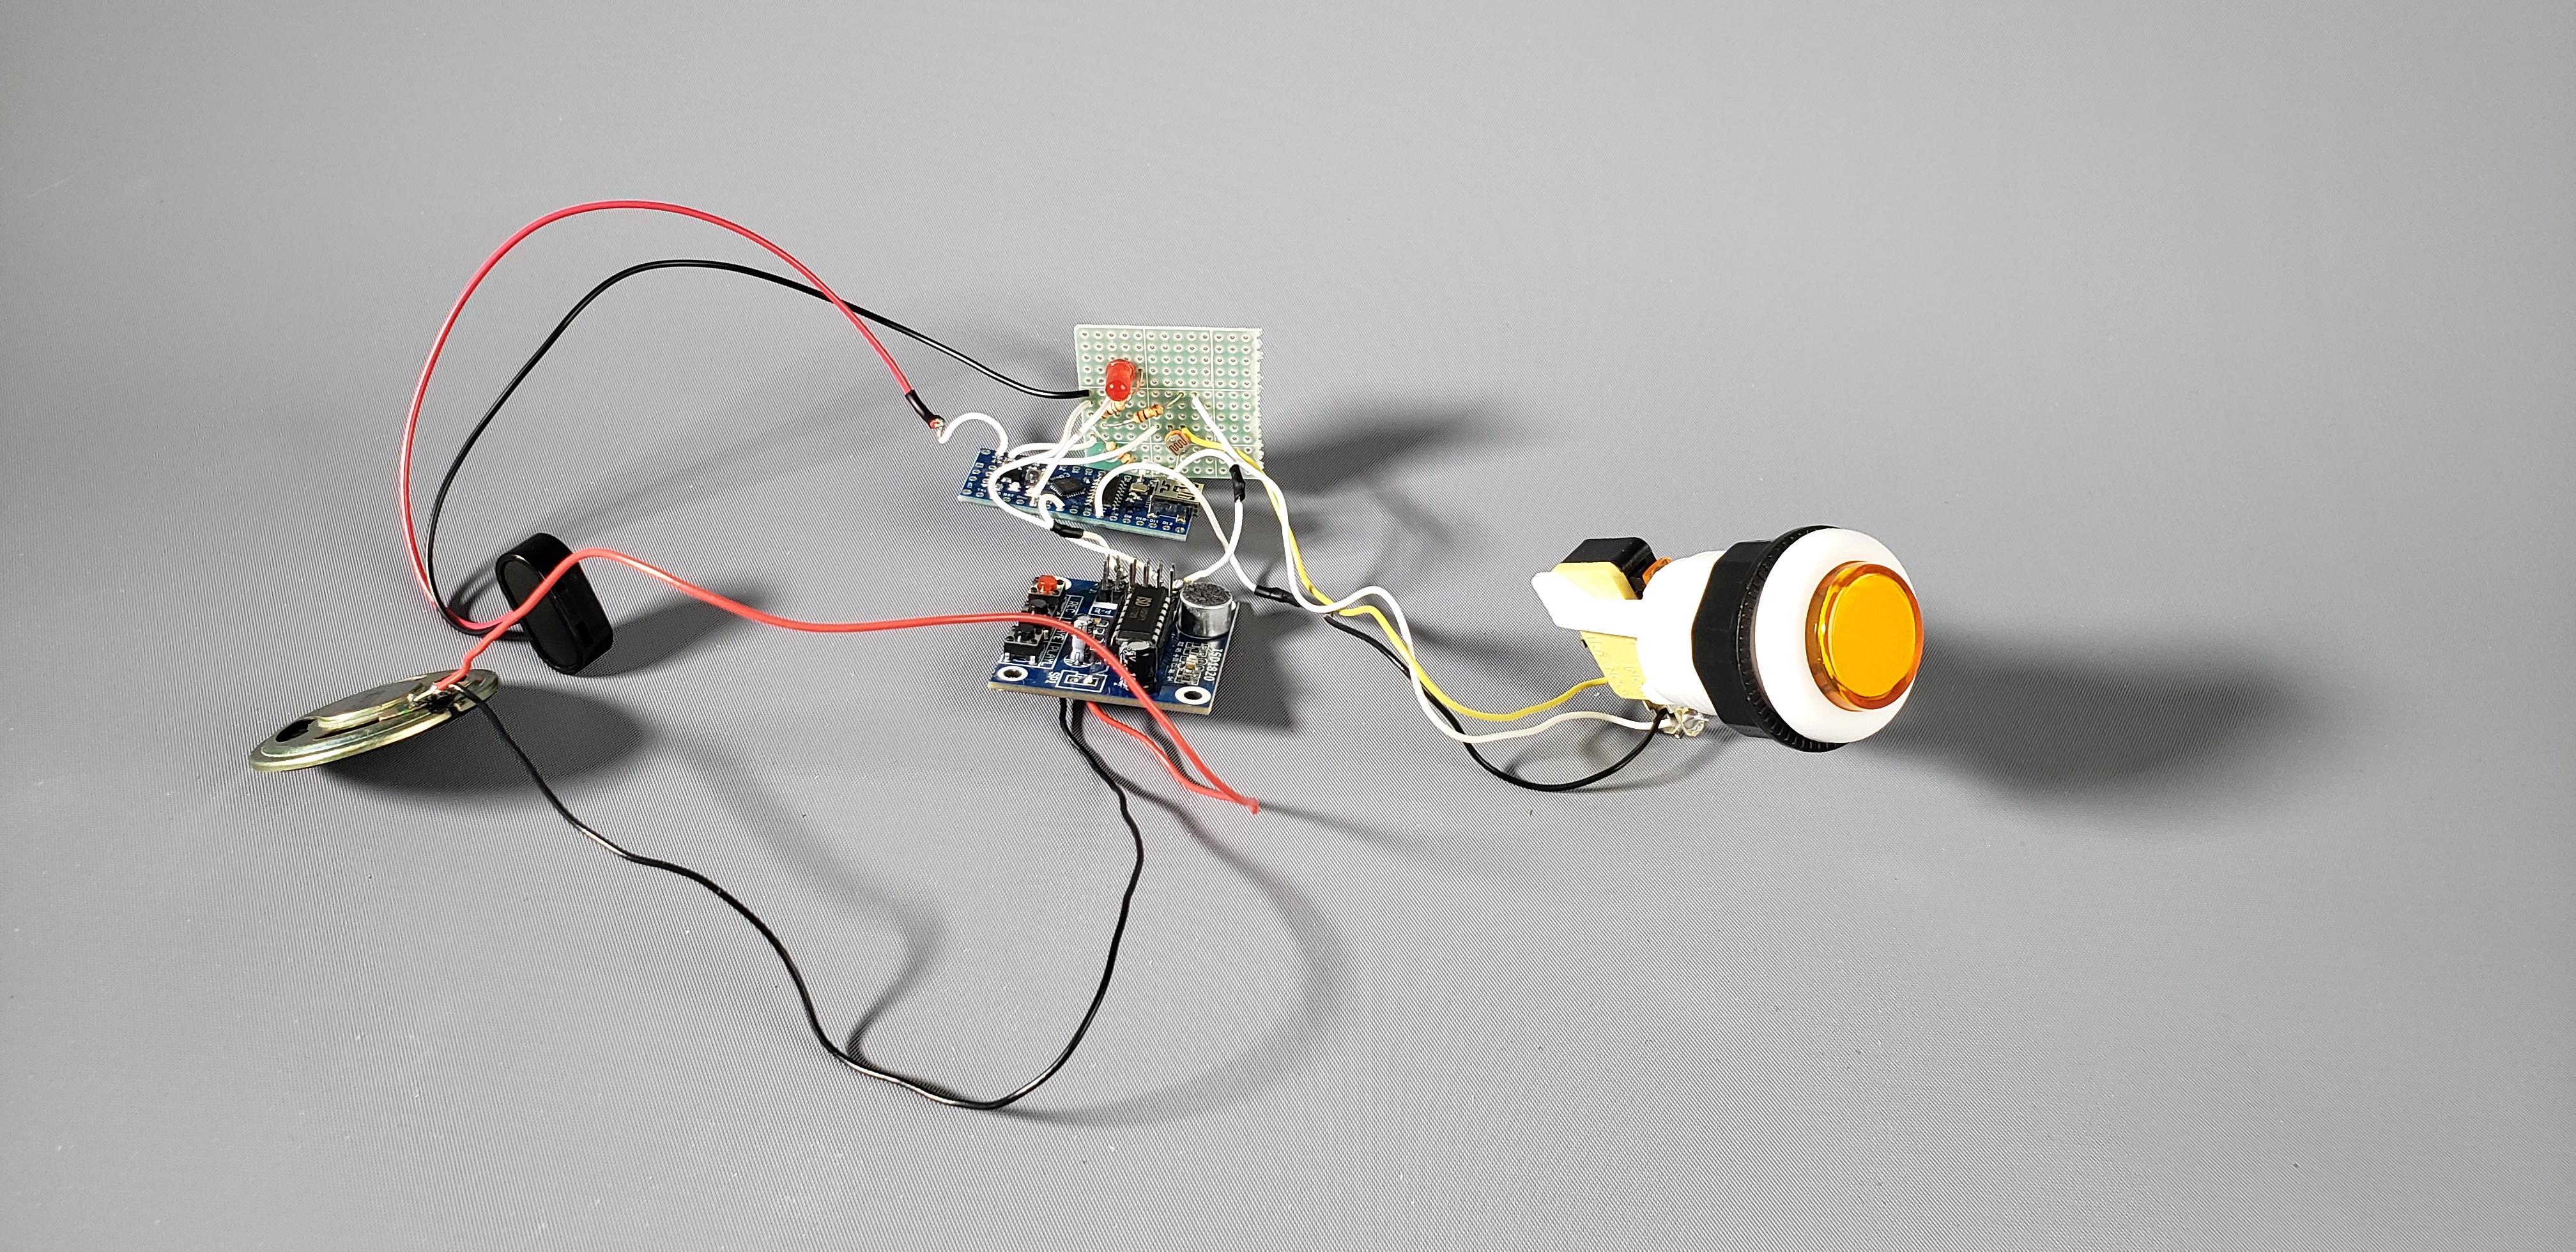
The exposed hardware of the project
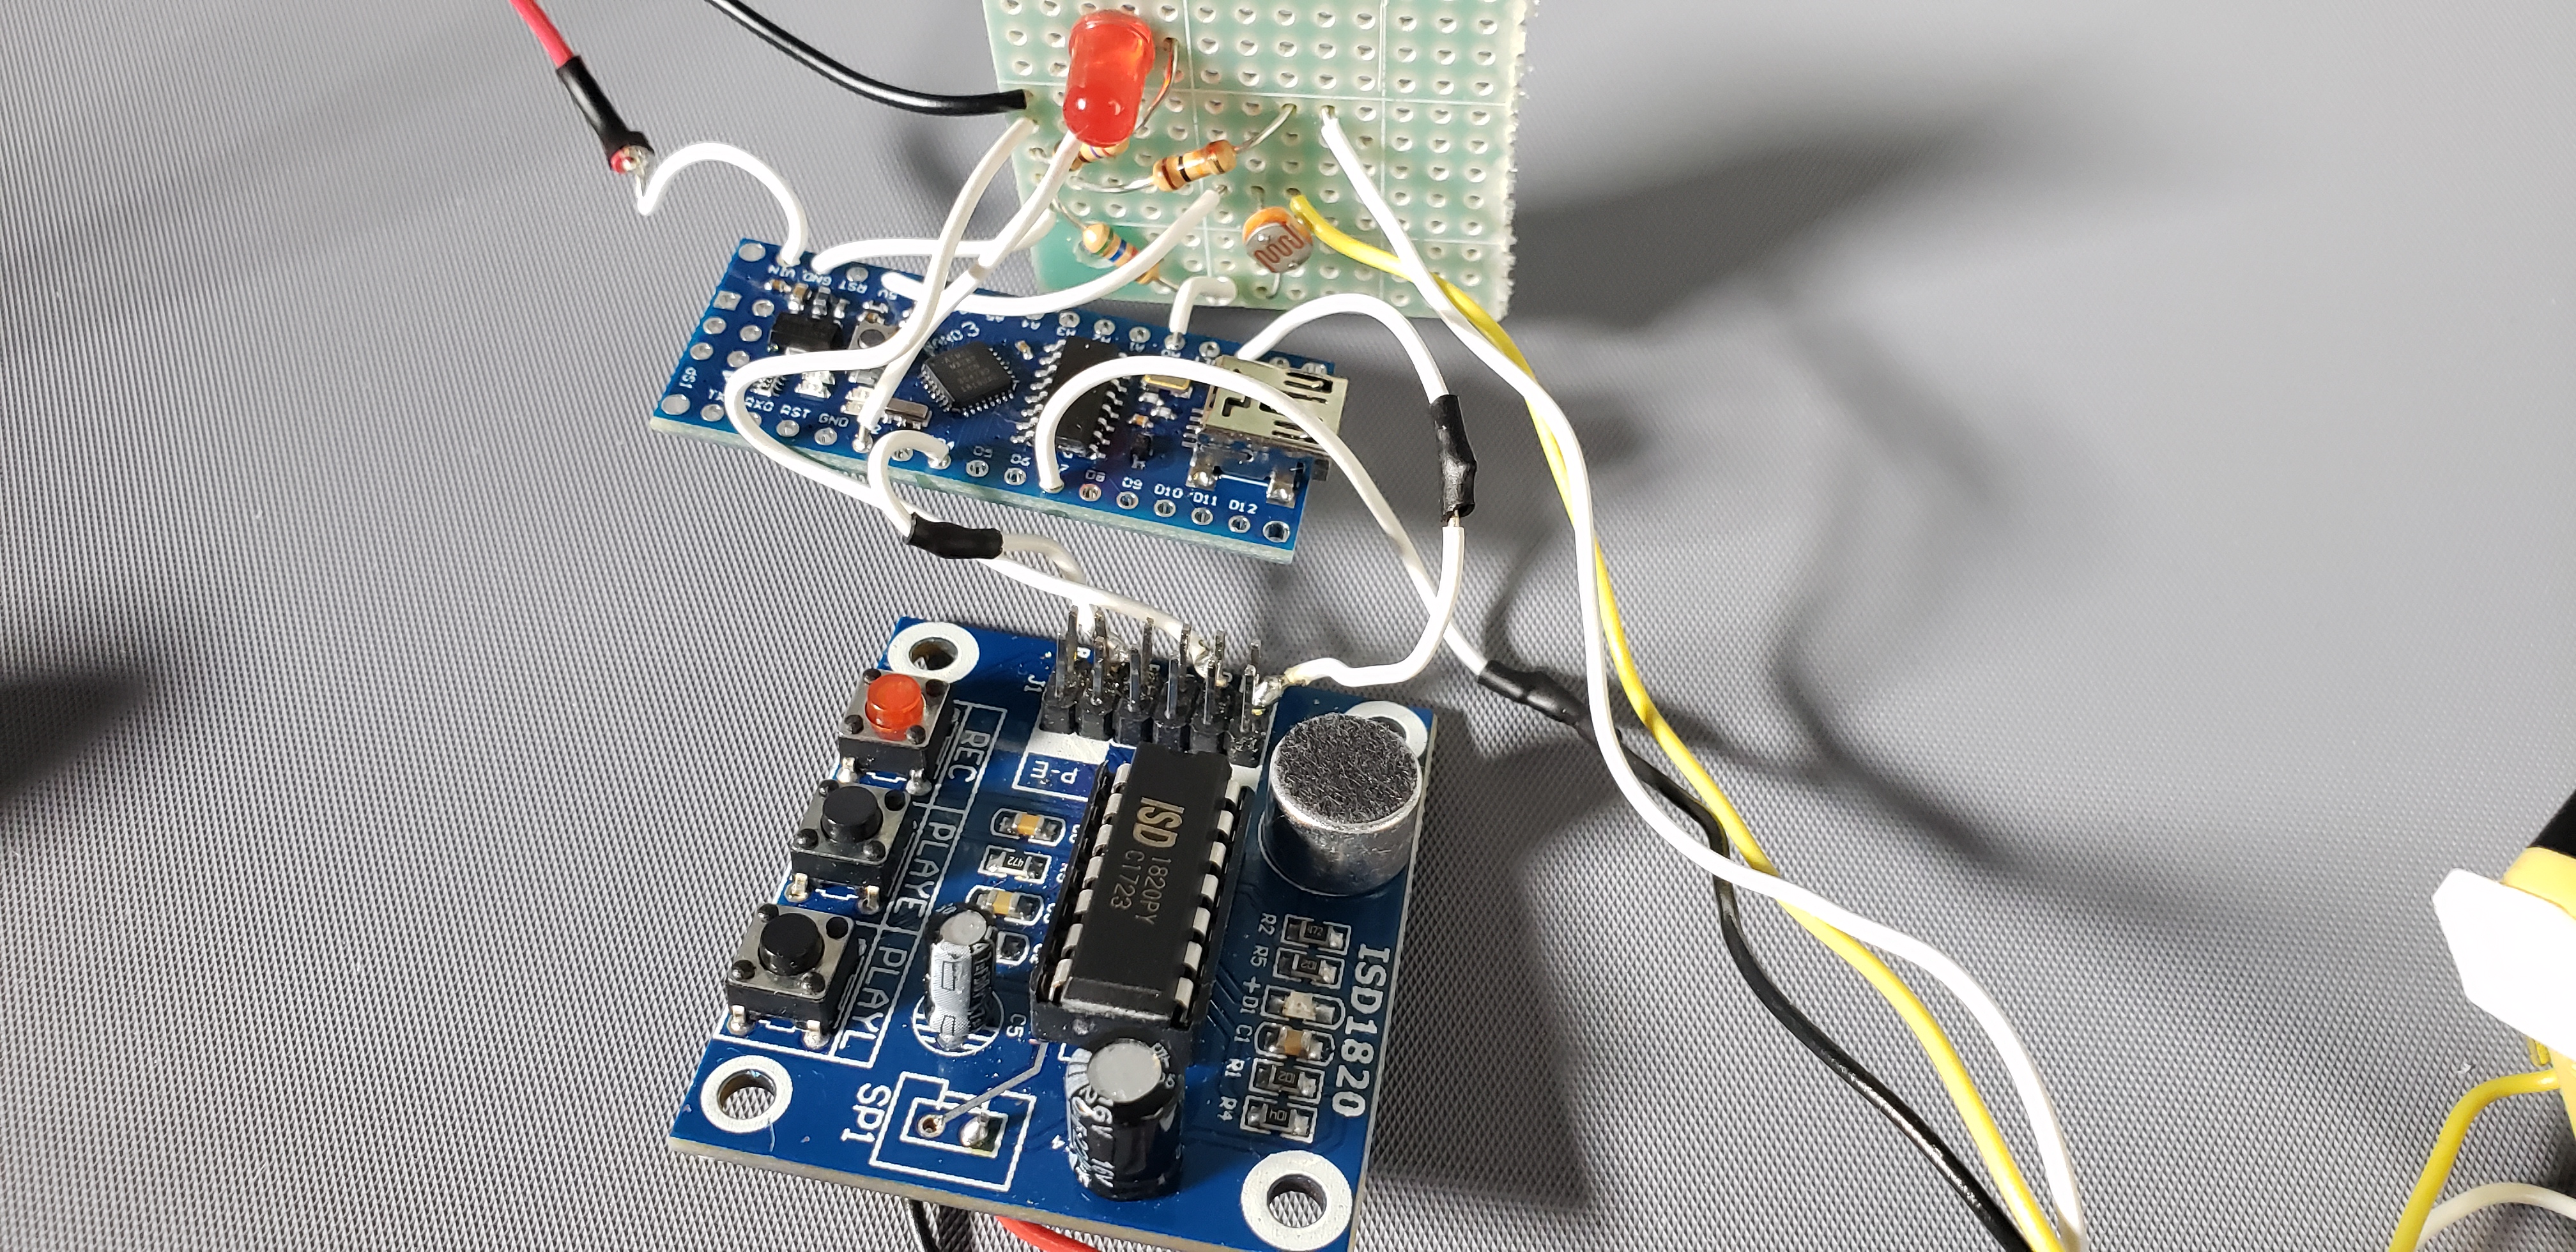
A close up of the ISD1820 Voice Recorder and the Arduino Nano
Process images and review
This project required a lot of work and iteration. Initially, I planned to make my project small enough to fit inside the blue recycling bin pencil holder (visible on the right side of the first image). The project ended up being too large to fit in a single sized pencil holder and required a half-size pencil holder to contain it.
This change in plans required me to spend more time on the design than I intended to. It also limited the amount of time I had to work on software.
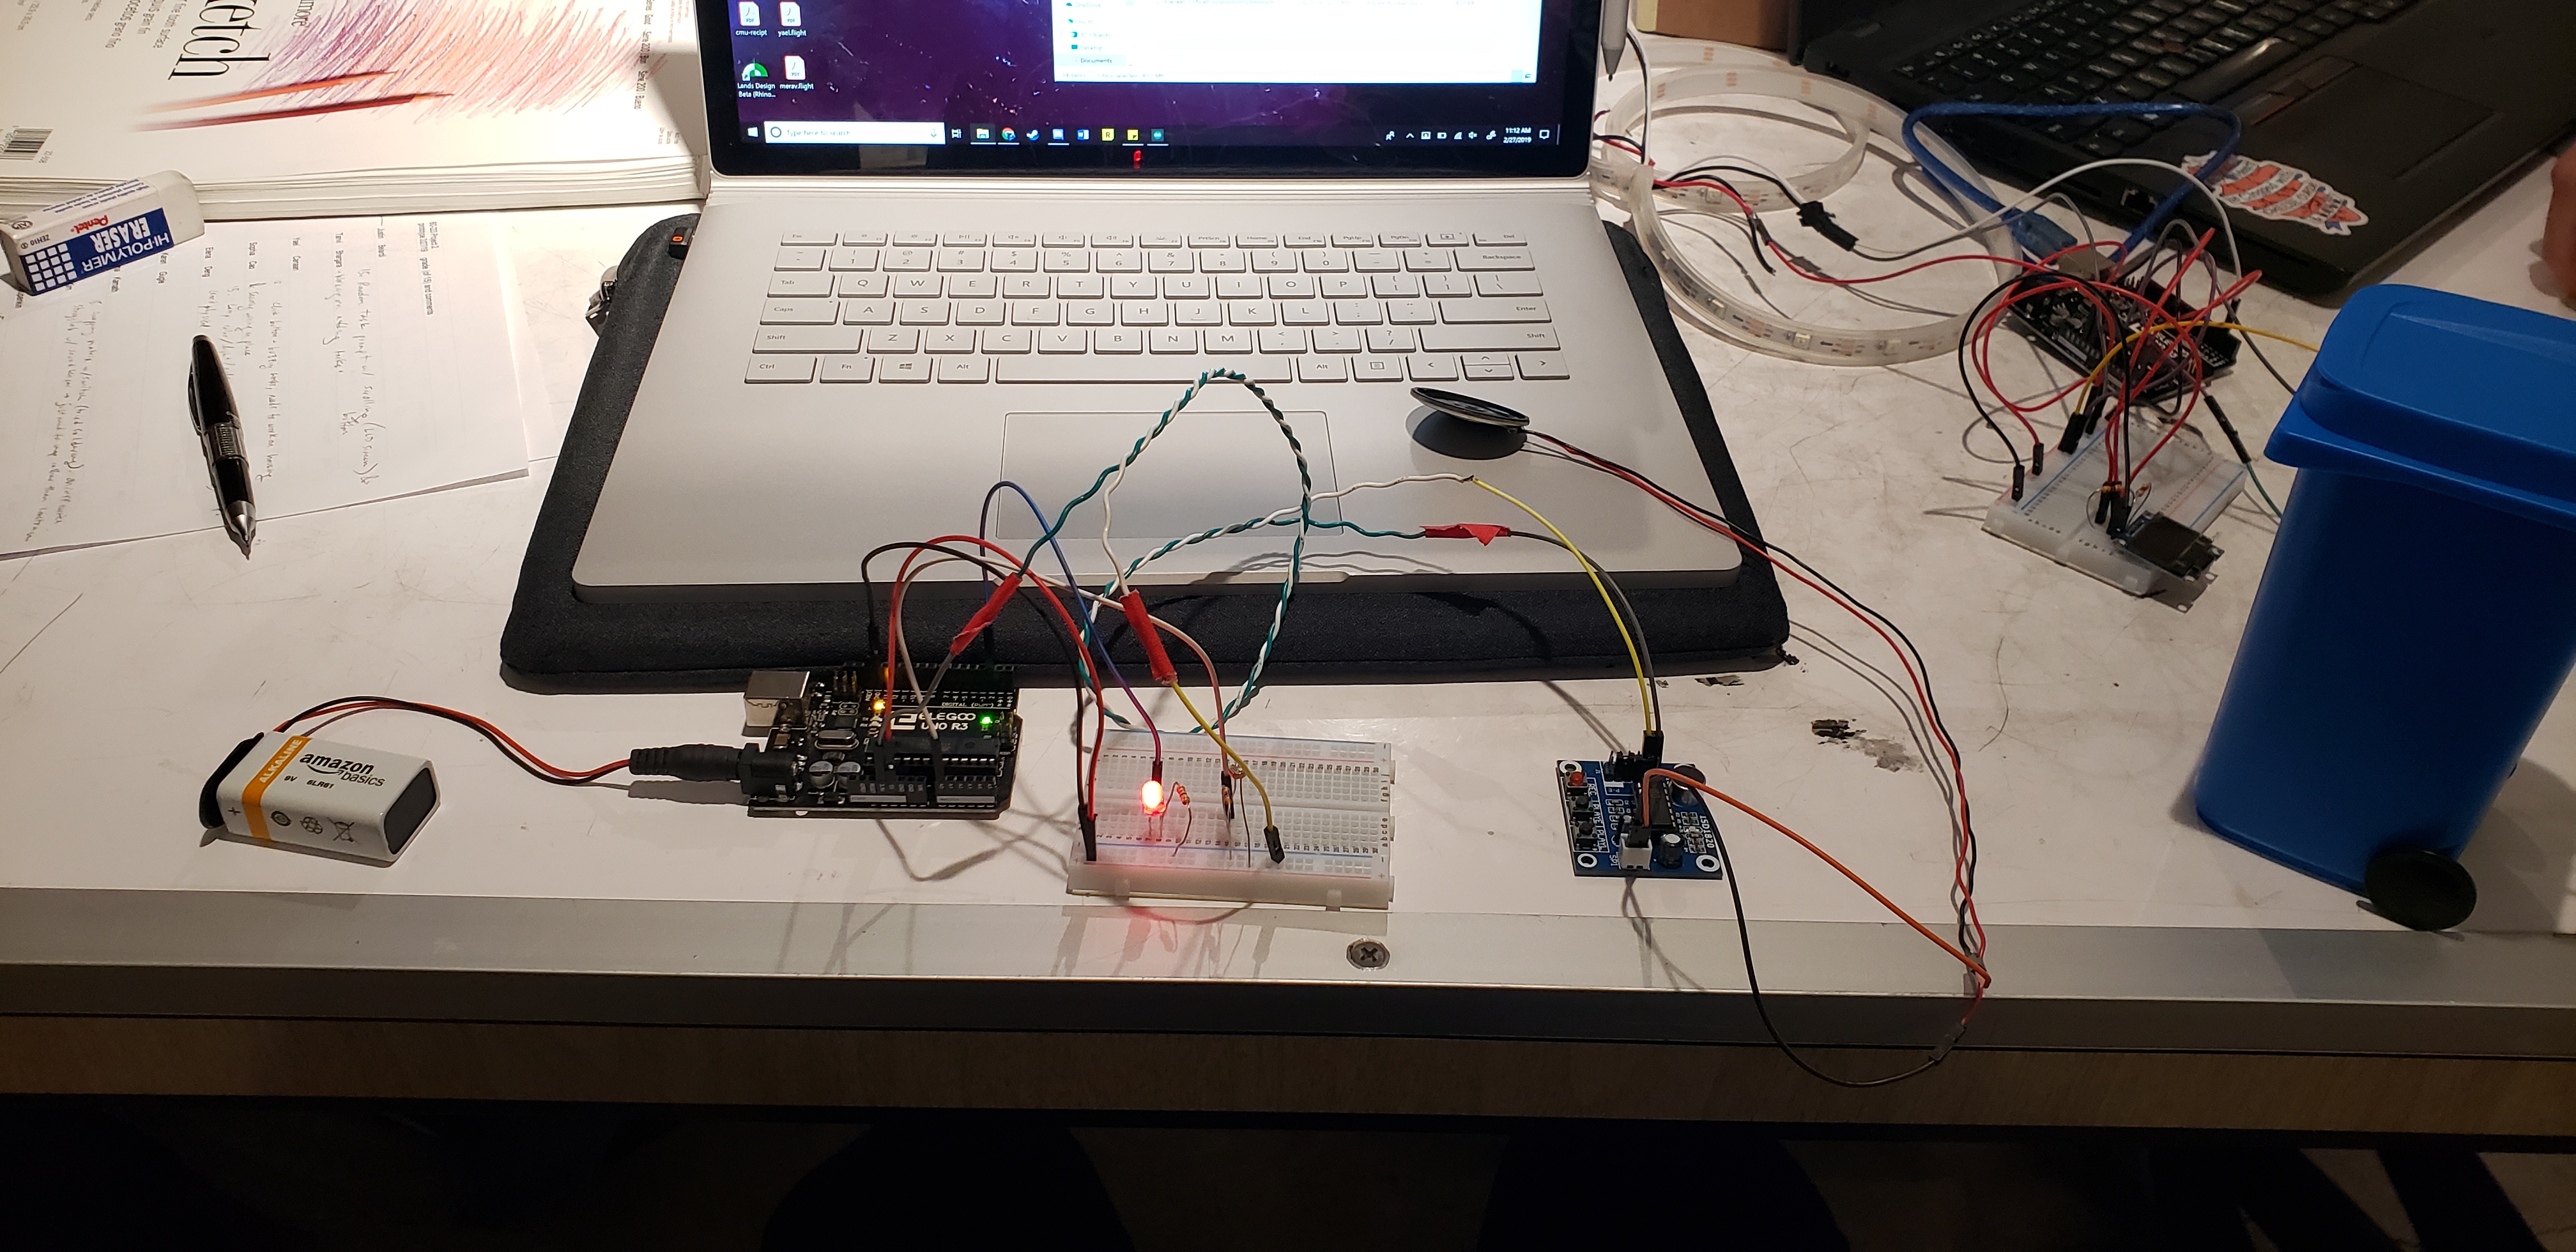
Captured after getting the ISD1820 Voice Recorder and LED to work together
I had planned to use a number pad or some type of hardware that can allow me to program a password, but the challenge with coding it was too great in relation to the amount of time left for the project. I also felt that when in use, most people would not try pressing the button before taking a pen, so I settled on using a button.
An image of the working project without the button attached and before transferring to an Arduino Nano
Before my code was fully functioning, I tested a few different ways to call the program. One of the failed attempts is the code below. I found that the ‘break’ tended to actually break the program.
void intruderAlert(int photoVal) {
while (true) {
  digitalWrite(LED, HIGH);
  digitalWrite(SPEAKER, HIGH);
  Serial.println(photoVal);
  if (digitalRead(BUTTON)) {
    break;
  }
}
}
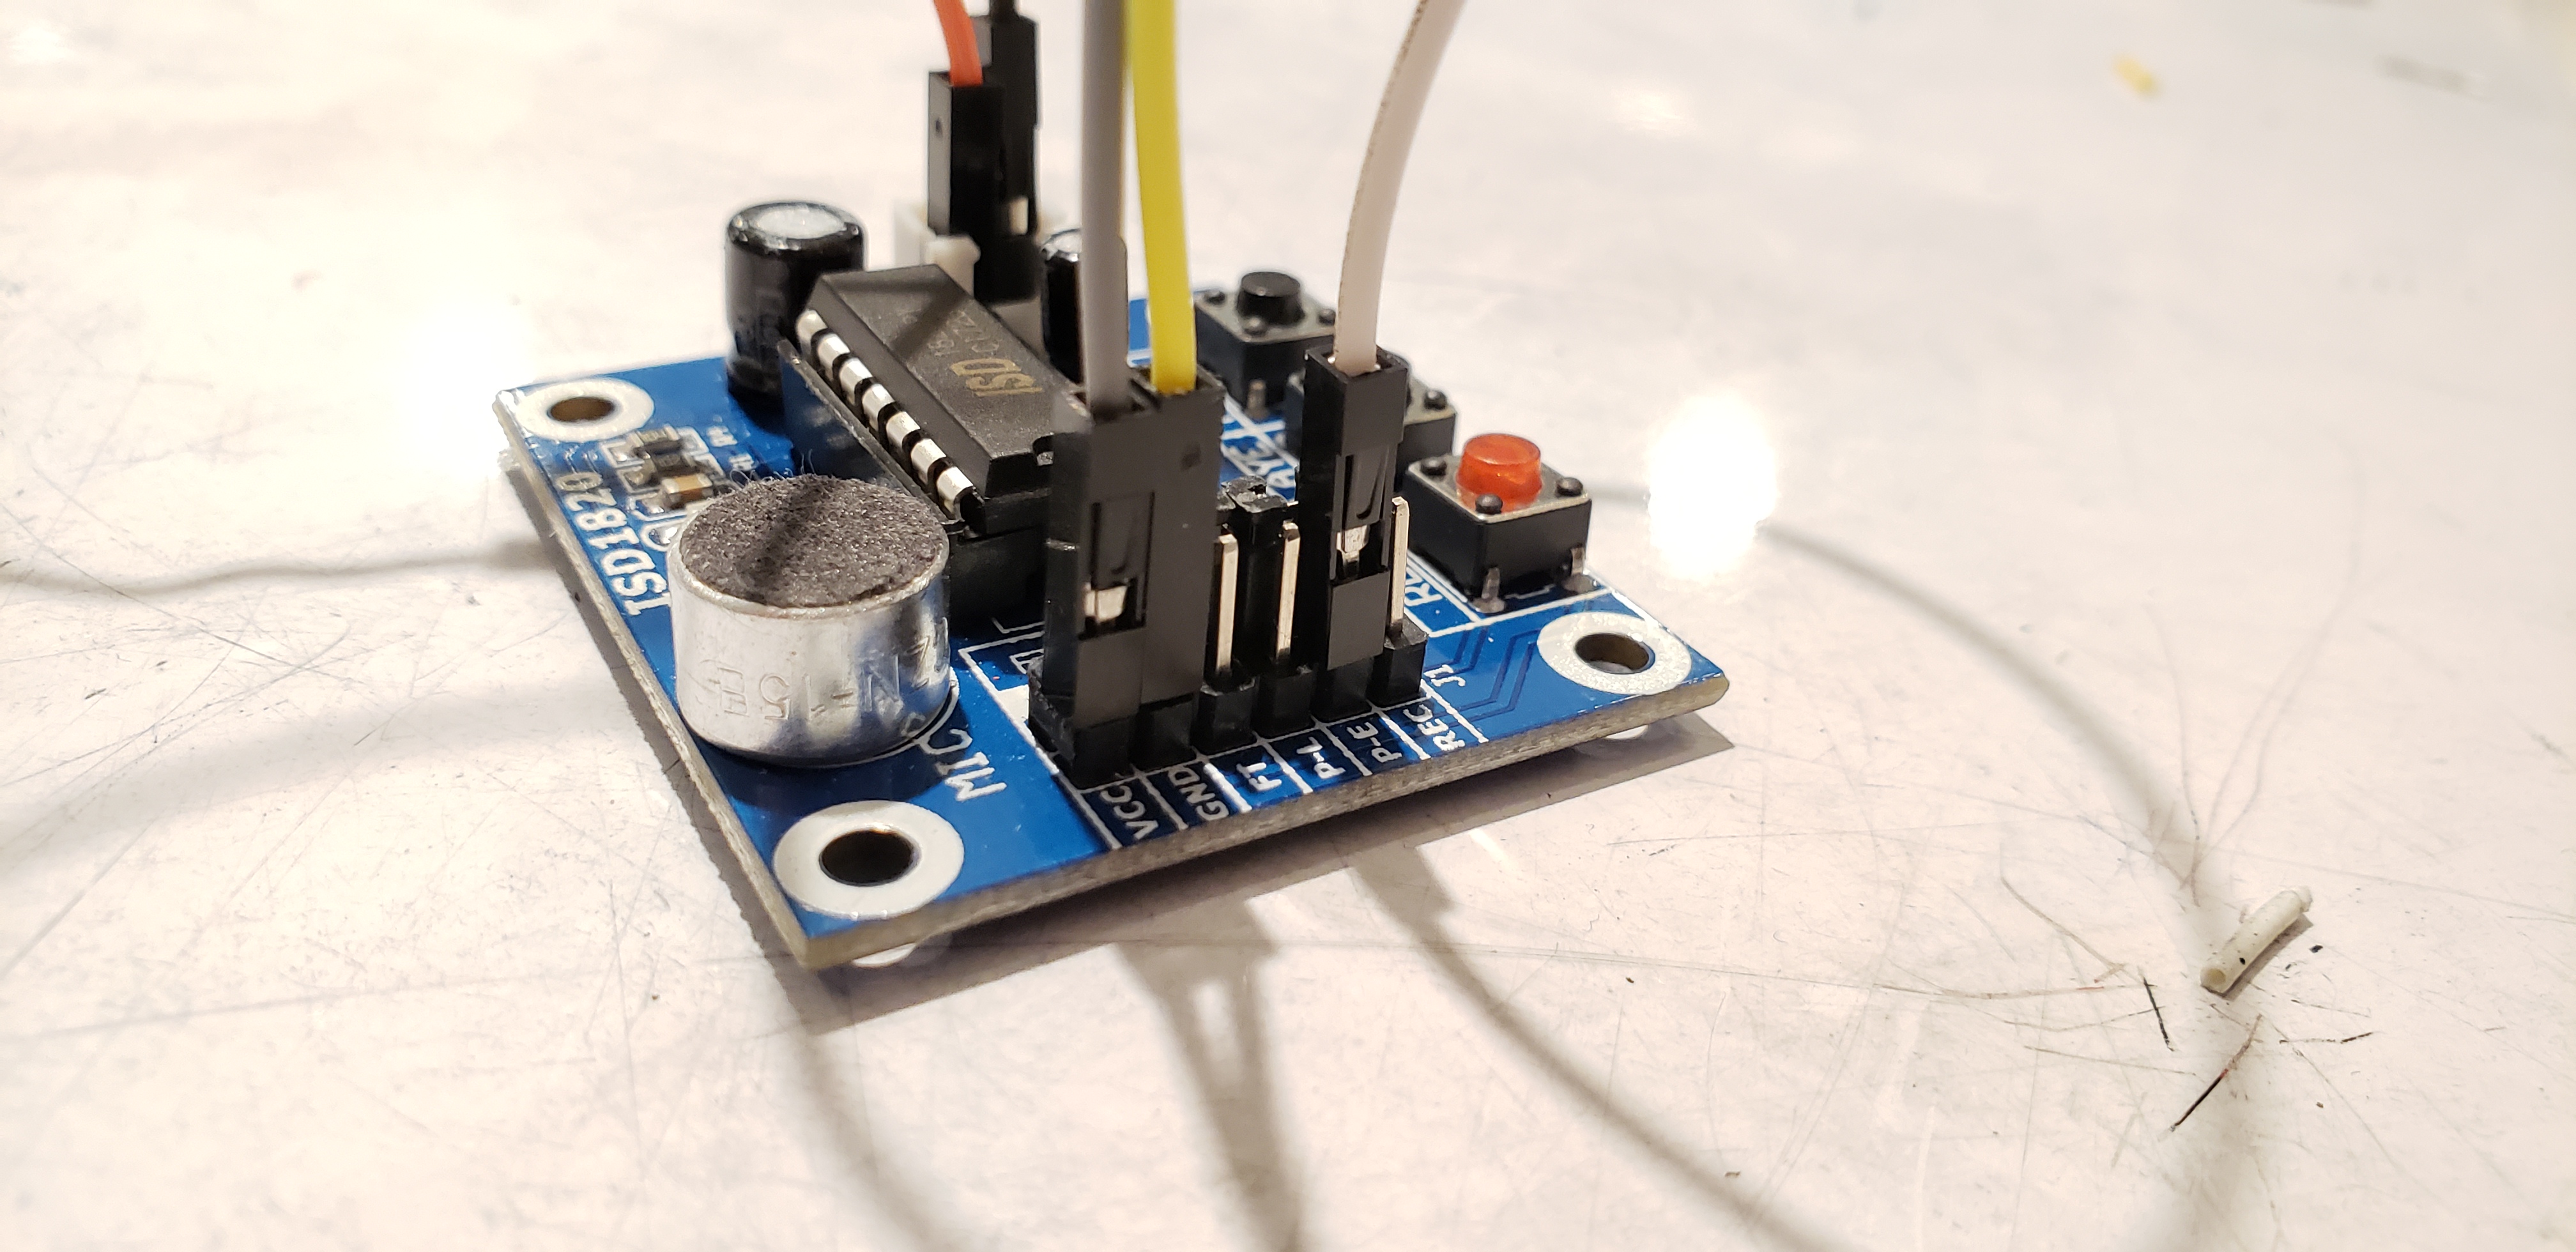
A close up of the ISD1820 Voice Recorder module

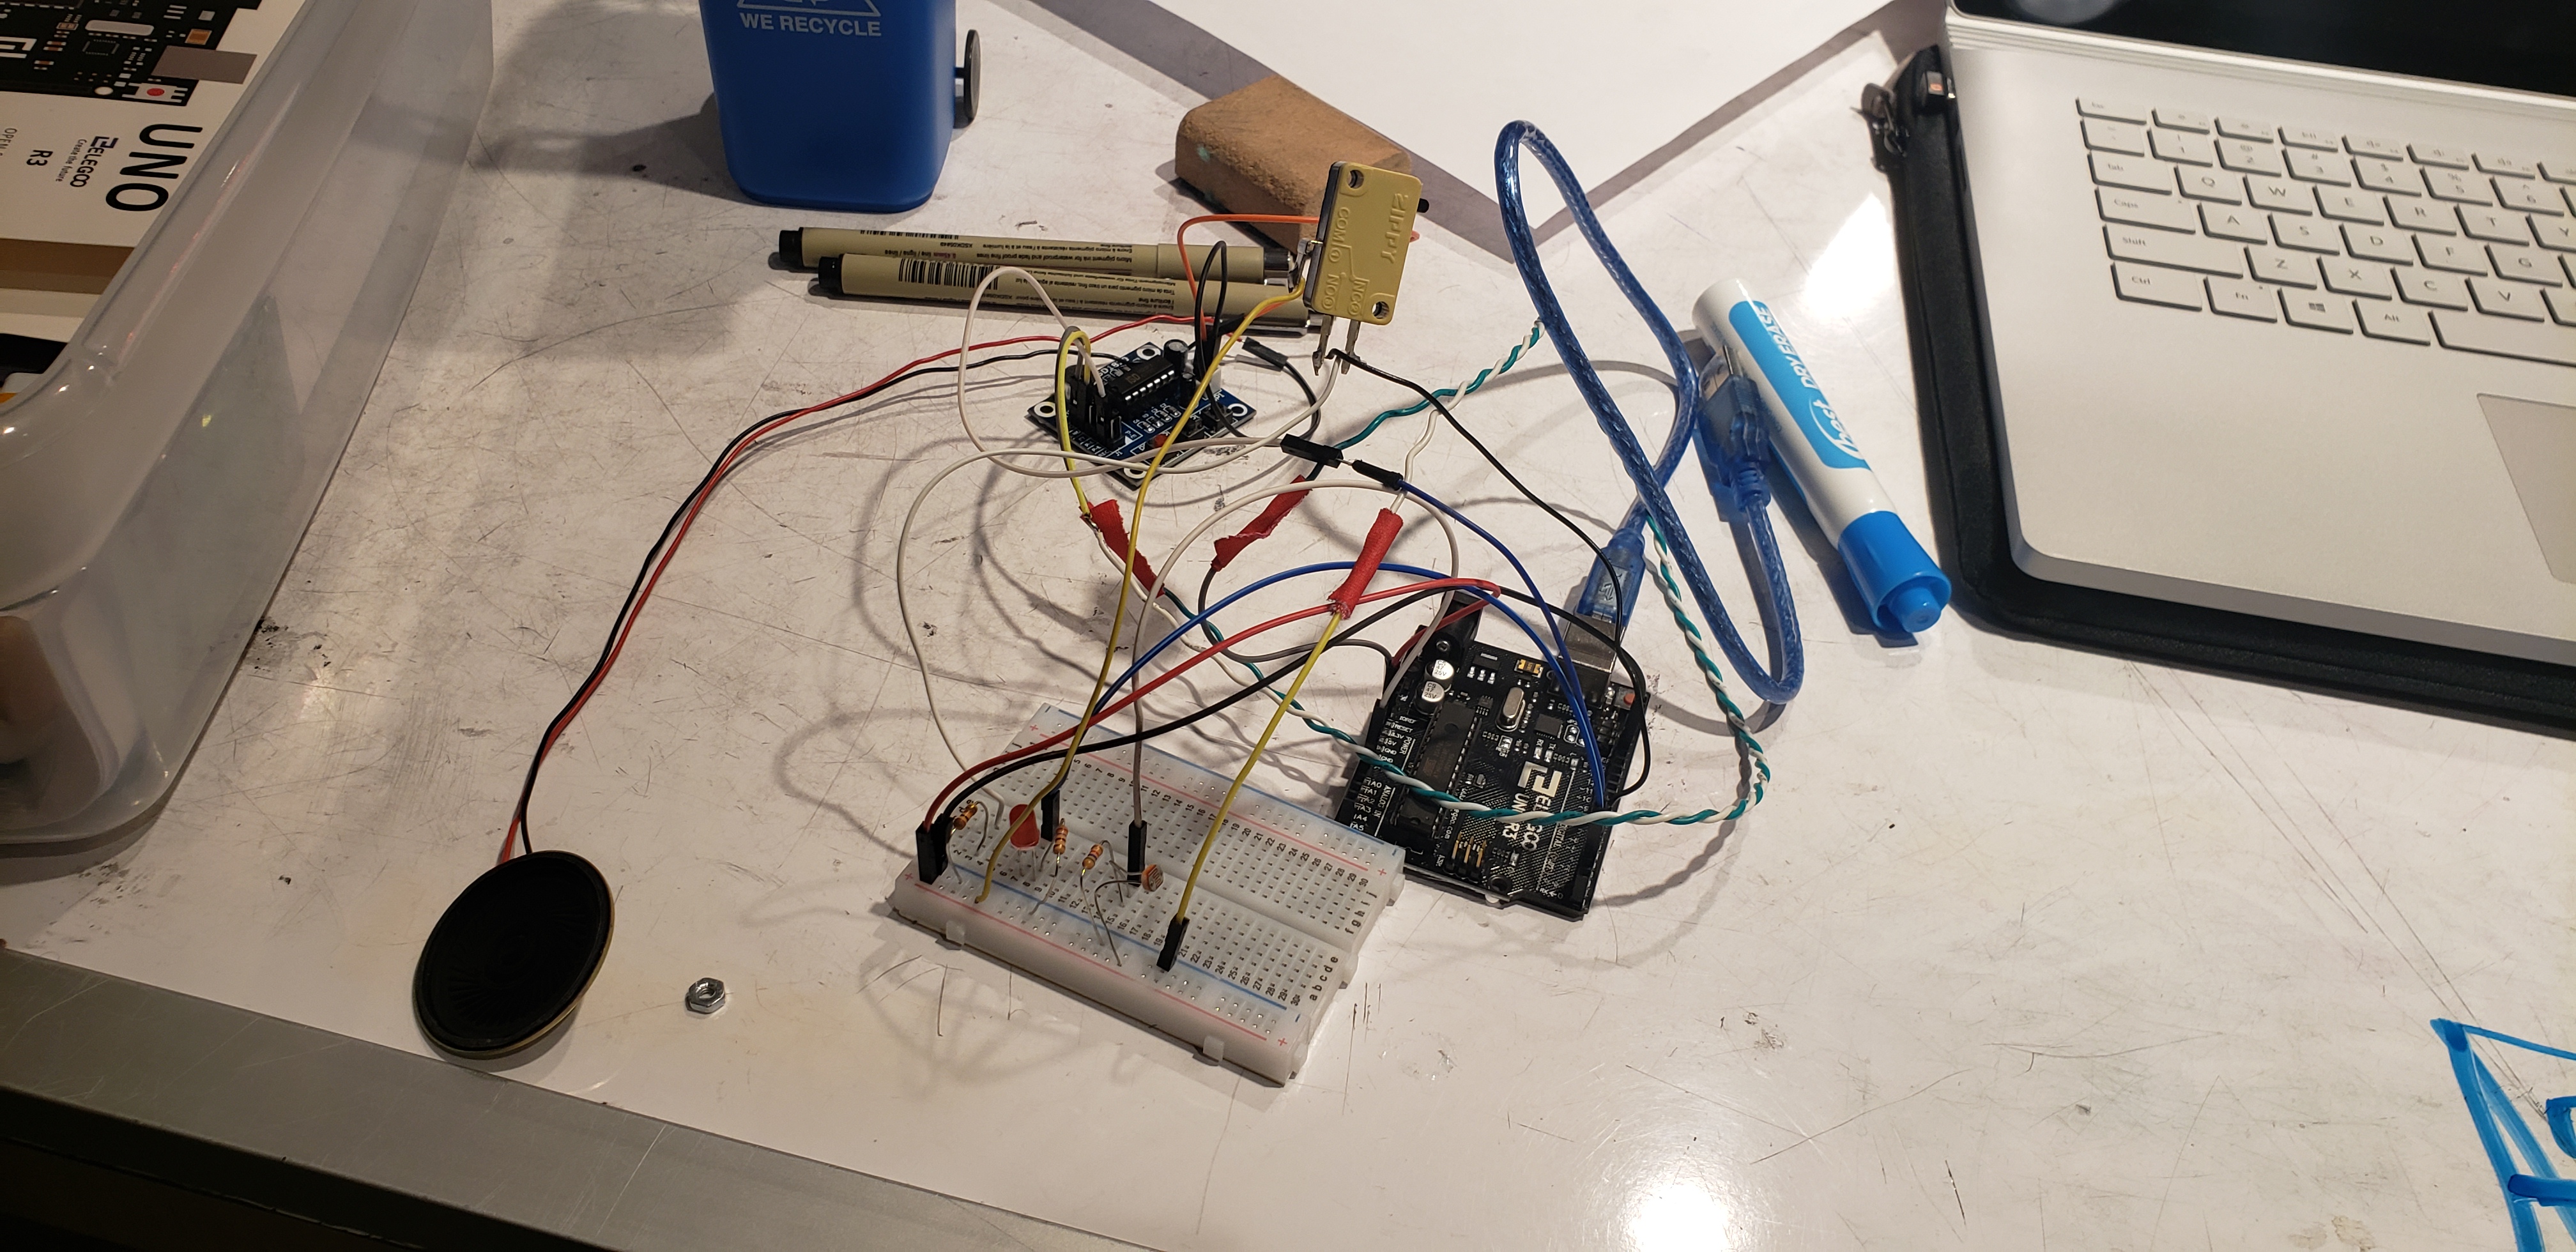
Process of soldering wires onto the Arduino Nano
Discussion
During my critique, a few ideas and questions were brought up.
One critic asked how I can make the project more secure, if I could add a password or keypad?
Yes of course, the project could include a keypad or password type in rather than a simple button. However, studio always has people present and I felt that a button would be enough. There are too many people around for someone to feel comfortable enough to linger and search for a way to open the box, they would probably also open the box before even trying to search for a button. The alarm would momentarily frighten them and disappointment from peers and social pressure would prevent them from making a second attempt.
Justin asked “Any way you can adapt it to items in a refrigerator for those of us with roommates who don’t like to buy their own food?“
This was a very relevant issue to me, as I have a roommate who does the same thing. Perhaps splitting a fridge in half using cardboard or a similar material and using the same project(photo-resistor in each divided part of the fridge) as well as implementing the idea of a password. Each roommate will have their own password and if a photo-resistor senses light in an unlocked part of the fridge, an alarm will go off. This can also get more complicated as the idea develops. How long should each person be allowed to access their fridge before the alarm goes off again? Should it be time based or light based, as in a 5 minute cool-down time or until the photo-resistor doesn’t sense light anymore? I love this question because a lot of these ideas can translate back into my project.
George said “Cool idea! It’s a cool approach to a really important problem. One idea that might be cool to do as well is to have a electric zapper to zap potential thieves when they steal items as an additional deterrent.”
While I do enjoy the thought of this idea, I think using it in studio would be dangerous and would probably get me in trouble. I’m not sure how to create an ‘electric zapper’ but I assume that it would probably be an open end that could possibly be dangerous if it fell on the ground and came in contact with a piece of paper. Studio is very flammable. It could also be that my idea of this is entirely wrong and the ‘zapper’ is only harmful to humans. This is an idea I want to explore, but perhaps in a setting outside of studio.
After the critique I felt both relieved that the project was done and disappointed that it didn’t turn out perfectly.
After I completed my project using the Arduino UNO and was happy with the state of it, I transferred everything to an Arduino Nano. This created a problem. The Nano didn’t like being powered, by anything. The battery didn’t power it and it didn’t quite like my computer either, it would disconnect and reset the program after each loop. Without a battery, the project can’t be completely hidden inside the custom made pencil box. I would also need to leave my computer there to constantly be powering the Arduino, but then theft of my pens is the least of my concerns. I would need to build a new project to make sure no one steals my laptop.
I didn’t have time to transfer everything back to the Arduino UNO, especially because that would require me to remove the soldering from the entire project and build a new pencil box that can contain the size of the Arduino UNO. I considered making this switch after the project deadline so that I can still have this project for myself, however any larger of a pencil box would take up too much real-estate on my desk.
I was met with disappointments and challenges throughout the project timeline as well. I often felt frustrated because of my lack of coding knowledge. I felt at a disadvantage because I didn’t enter the class knowing how to code. I chose to counter this difficulty by making my project more hardware heavy rather than software heavy. Though this was a difficult process, I feel like I learned a lot about myself and my approach to challenges. I gained new skills such as soldering and learned a bit more about coding. I also got to grapple with problems that ended up having no solution, teaching me patience and acceptance.
In the future I hope to balance my time between studio and physical computing in a more organized way. I prioritized studio to the extent that I completed most of this project in the few days before the deadline. If I had the time to build another iteration of this project, I would like to request to order a higher quality Arduino Nano and solder the project onto the better Nano. This would make my entire project functioning and I would place it on my desk in studio for it to yell in Dan’s voice at my peers who want to borrow my pens.
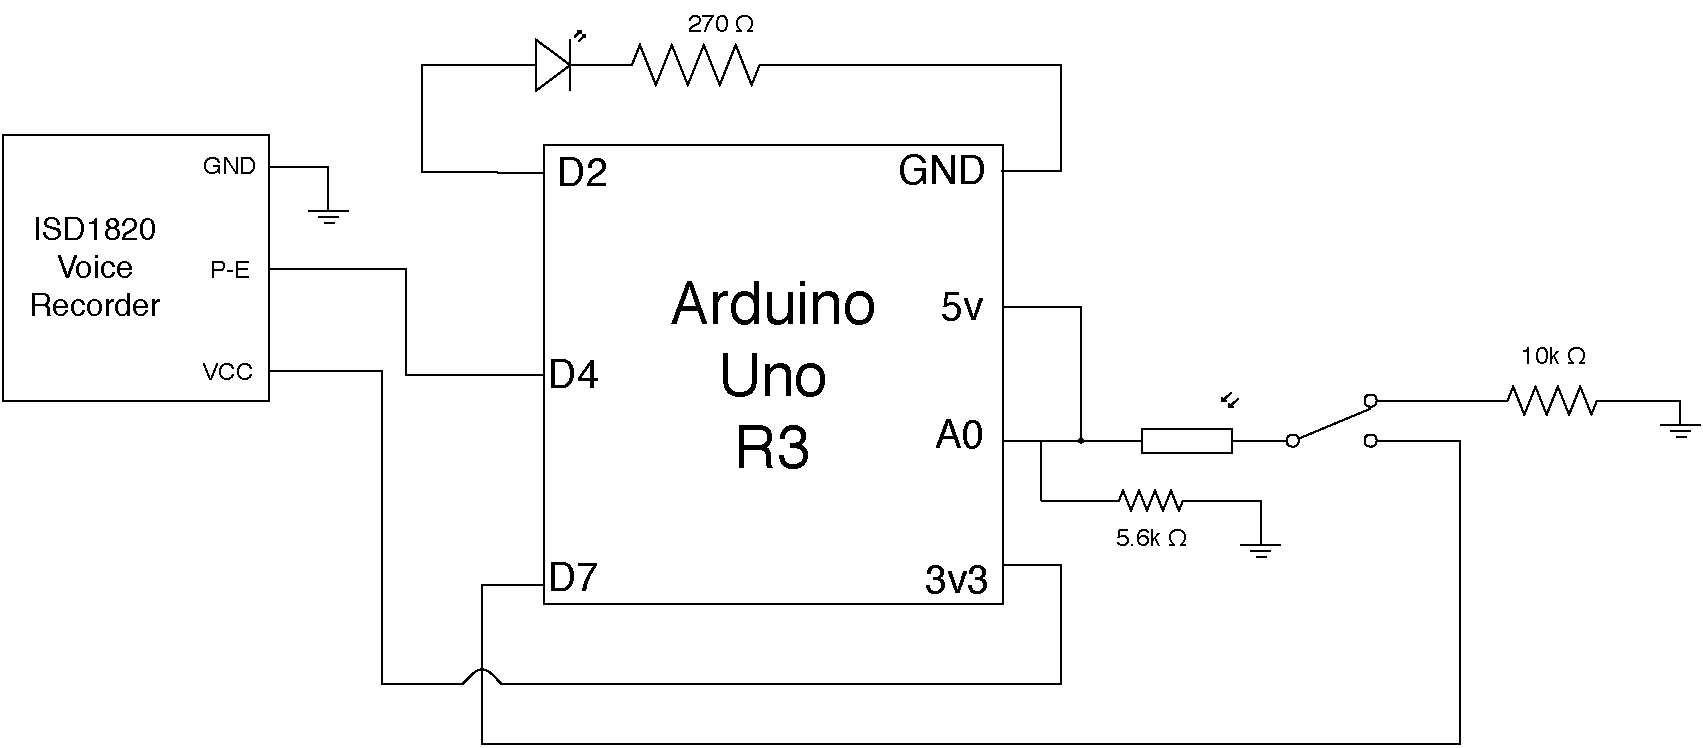
Pencil Holder Alarm Schematic
// Pencil Holder Alarm by Yael Canaan
// This code uses a photo-resistor to check for light.
// If light is detected, the speaker sounds and an LED
// turns on. This continues to happen until the button is
// pressed or the photo-resistor stops detecting light.
// In order for this code to work properly, an ISD1820 Voice
// recorder must be used and a sound must be recorded.

// The ISD1820 Voice Recorder should be plugged into a digital
// read and 3v3(NOT 5v). Use P-E, not P-L. P-L will play only
// a small part of the recorded message.


const int PHOTOPIN = A0; // Photo-resistor
const int LED = 2; // LED
const int SPEAKER = 4; // The speaker attached to ISD1820 Voice Recorder
const int BUTTON = 7; // Button

void setup() {
  pinMode(PHOTOPIN, INPUT);
  pinMode(LED, OUTPUT);
  pinMode(SPEAKER, OUTPUT);
  Serial.begin(9600);
}
void loop() {
  int photoVal;

  photoVal = analogRead(PHOTOPIN);
  if (digitalRead(BUTTON)) { // if the button is pressed
    delay(60000); // one minute delay
  }
 else if (photoVal > 500) { // the alarm if the button is not pressed
    digitalWrite(LED, HIGH);
    digitalWrite(SPEAKER, HIGH);
    Serial.println(photoVal);
  }else
  digitalWrite (LED, LOW); // to allow a flowing loop
  digitalWrite (SPEAKER, LOW);
  Serial.println(photoVal);
}
Comments are closed.