Overview:
This device is intended to be strapped around a belt or around the elbow in order to track ones form using the distance from the body part to the ground.
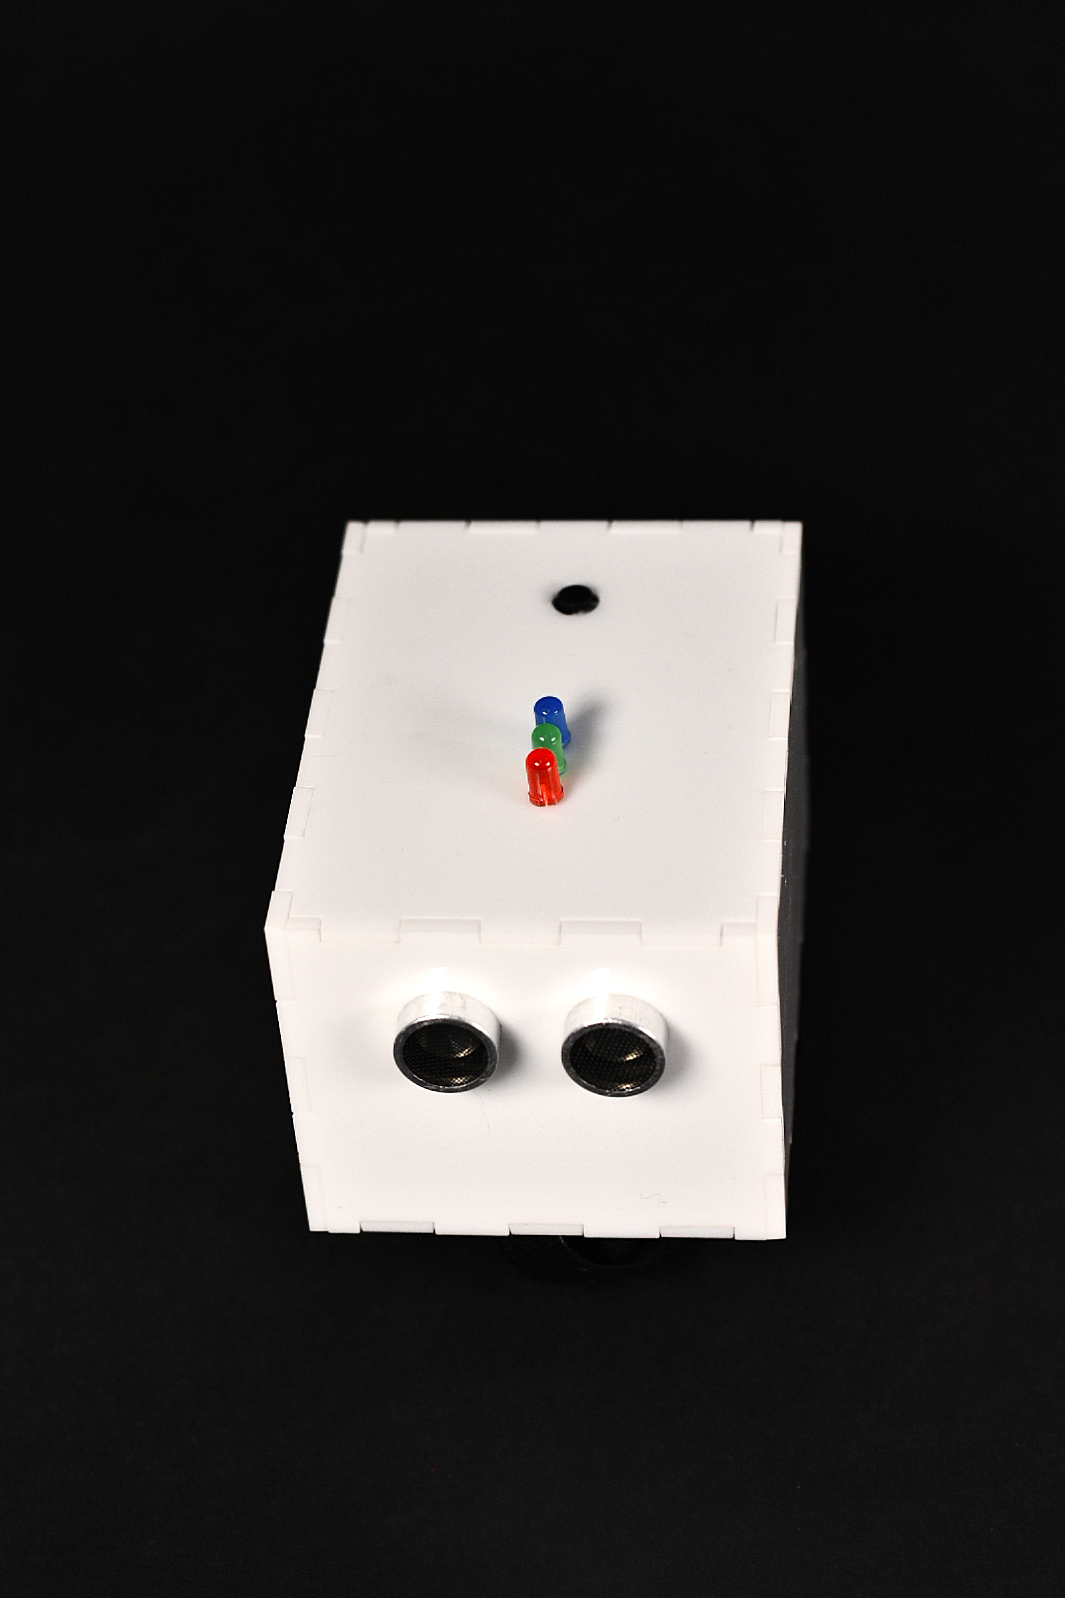
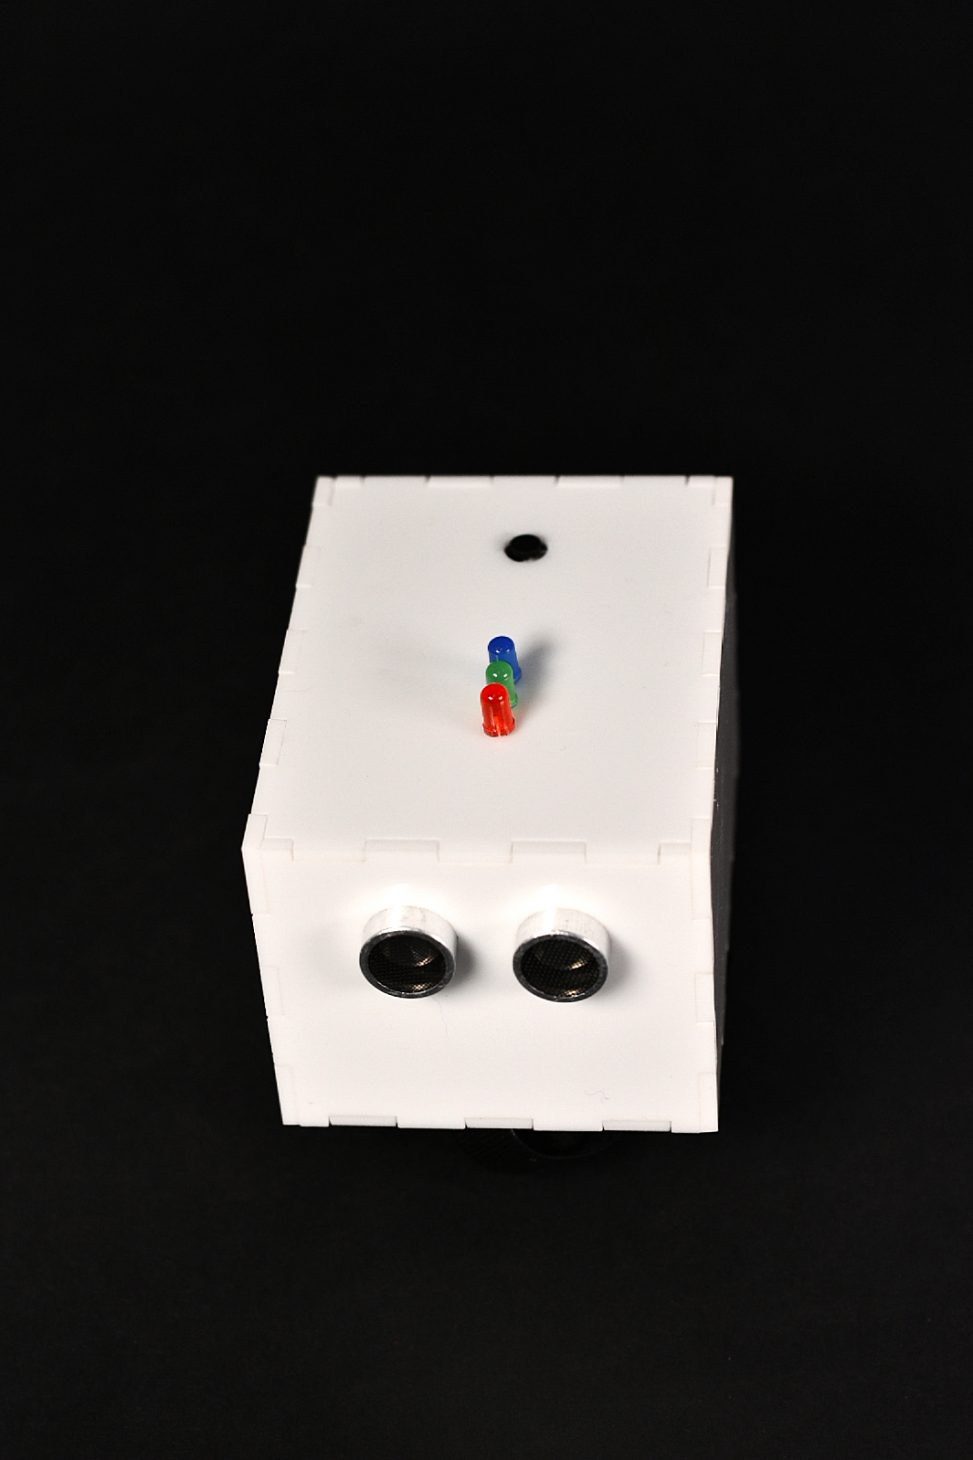
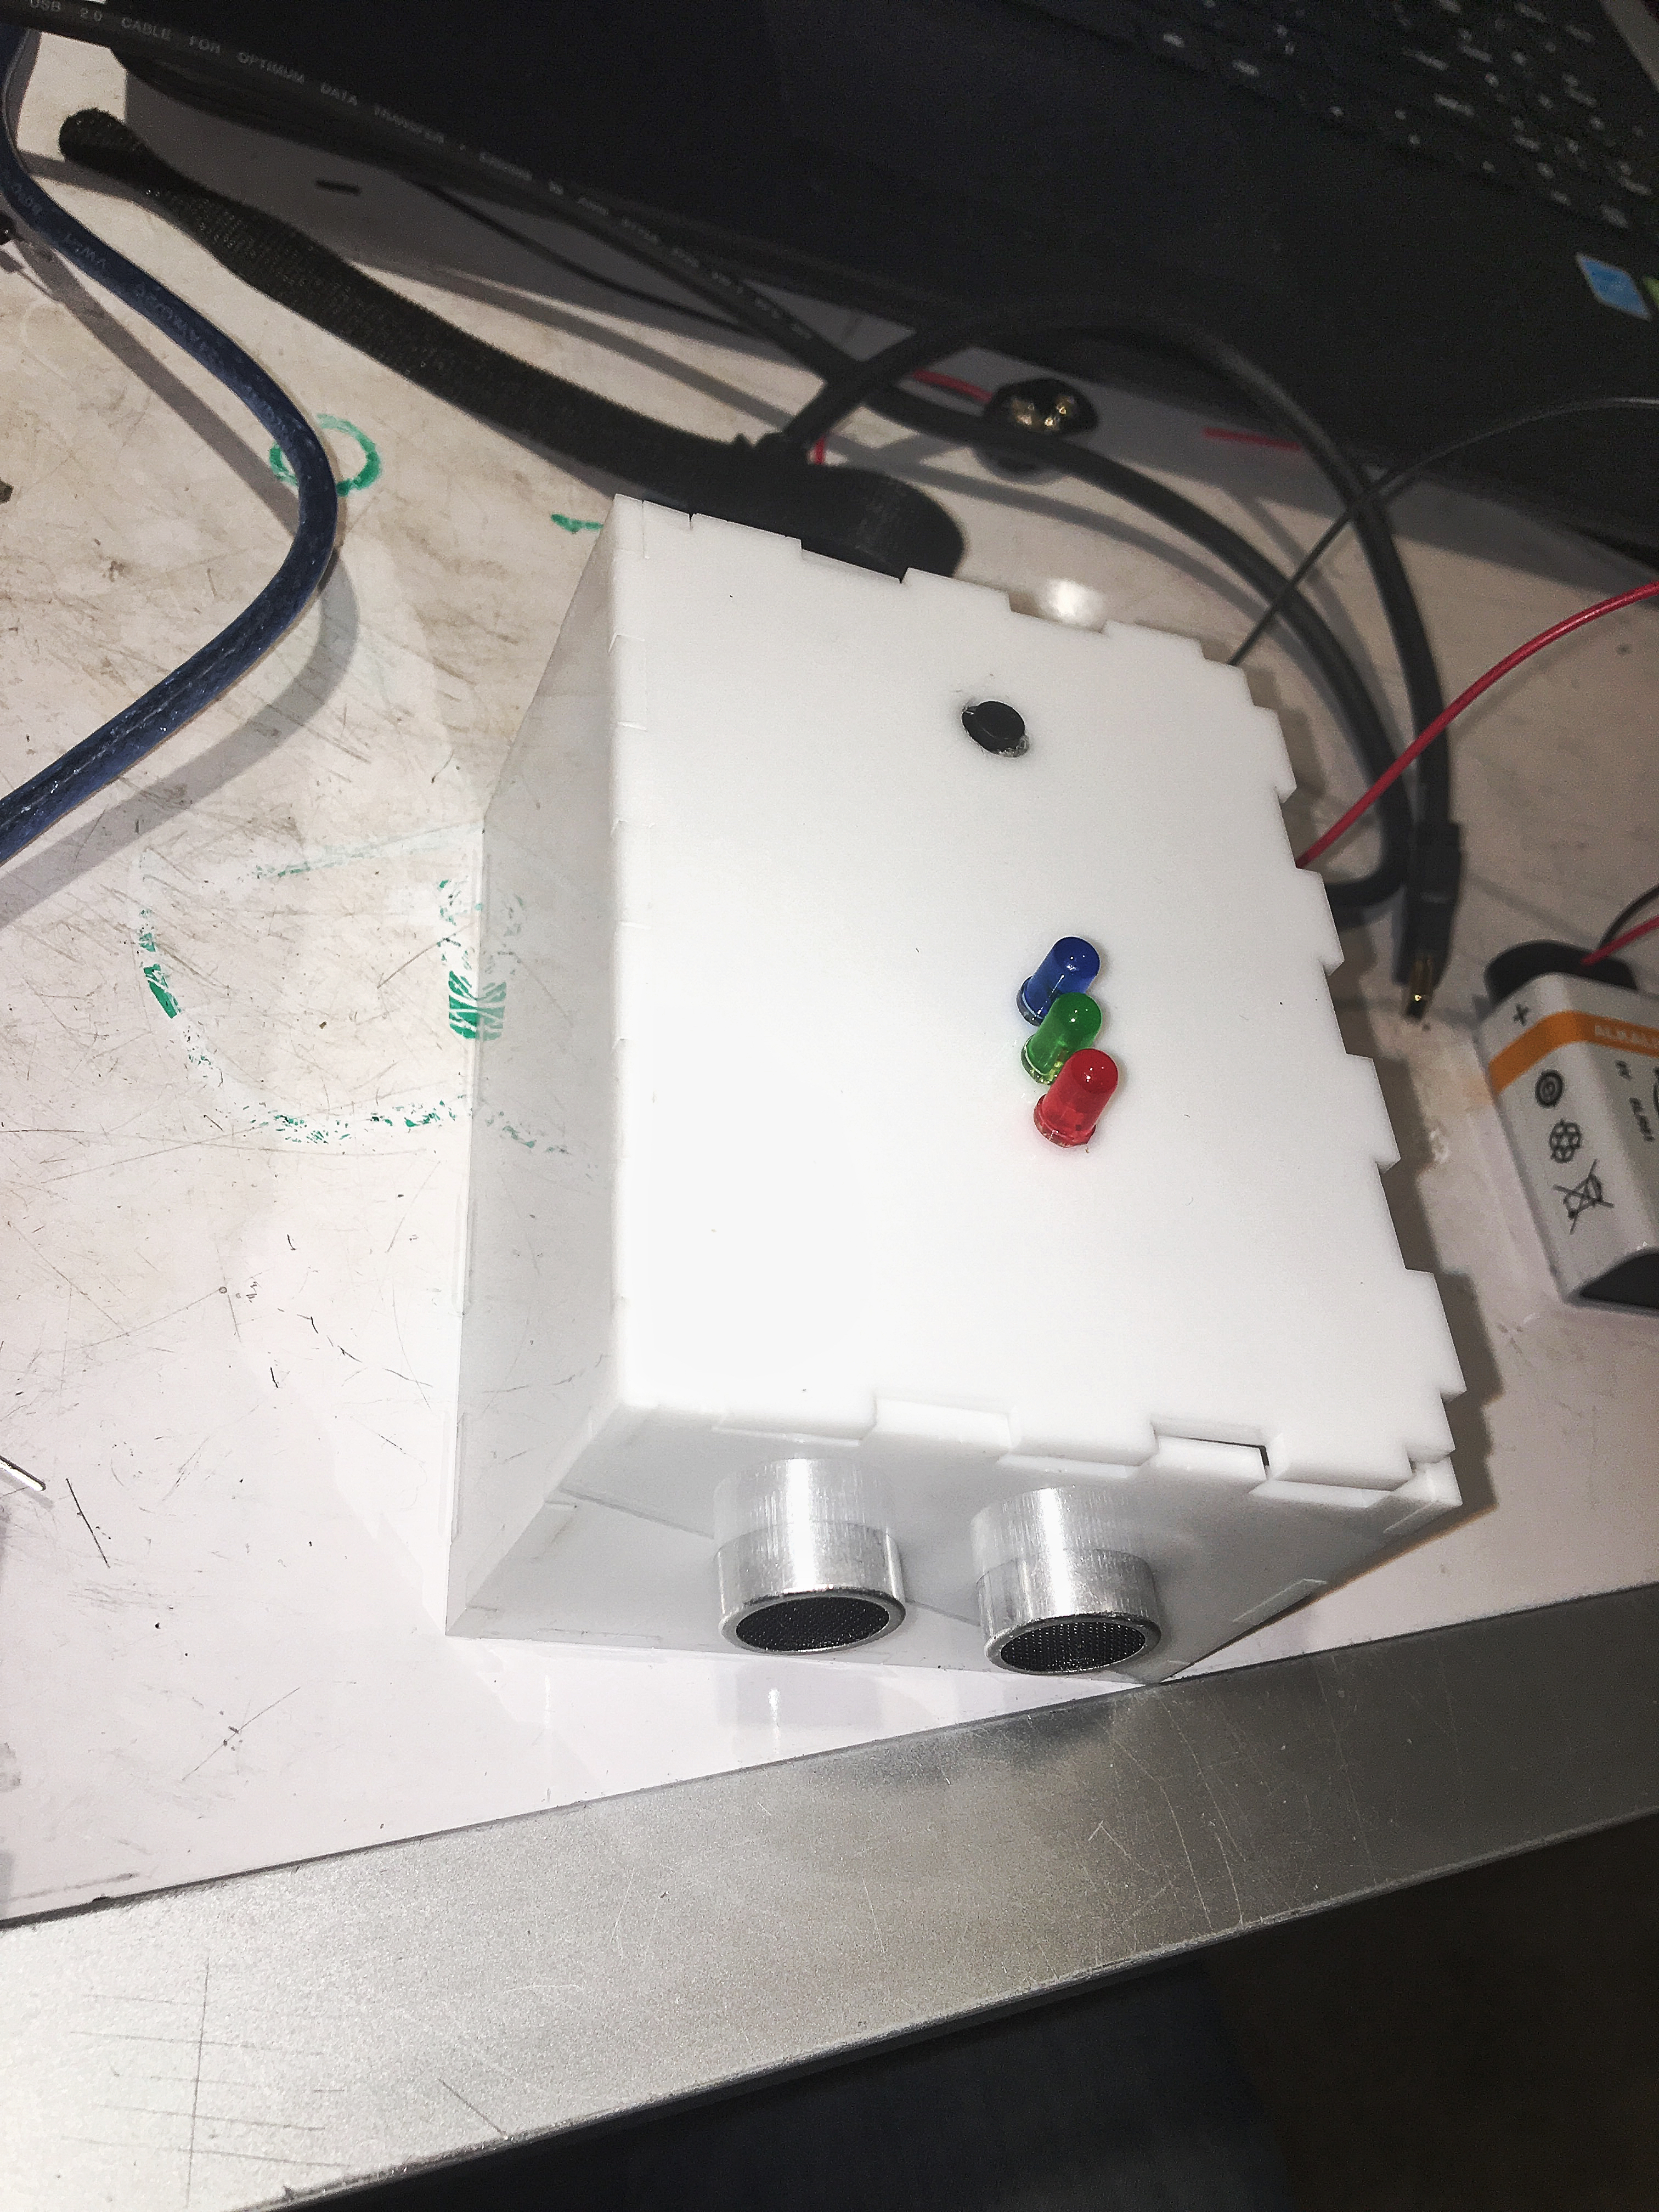
Overhead shot
Detail Images:
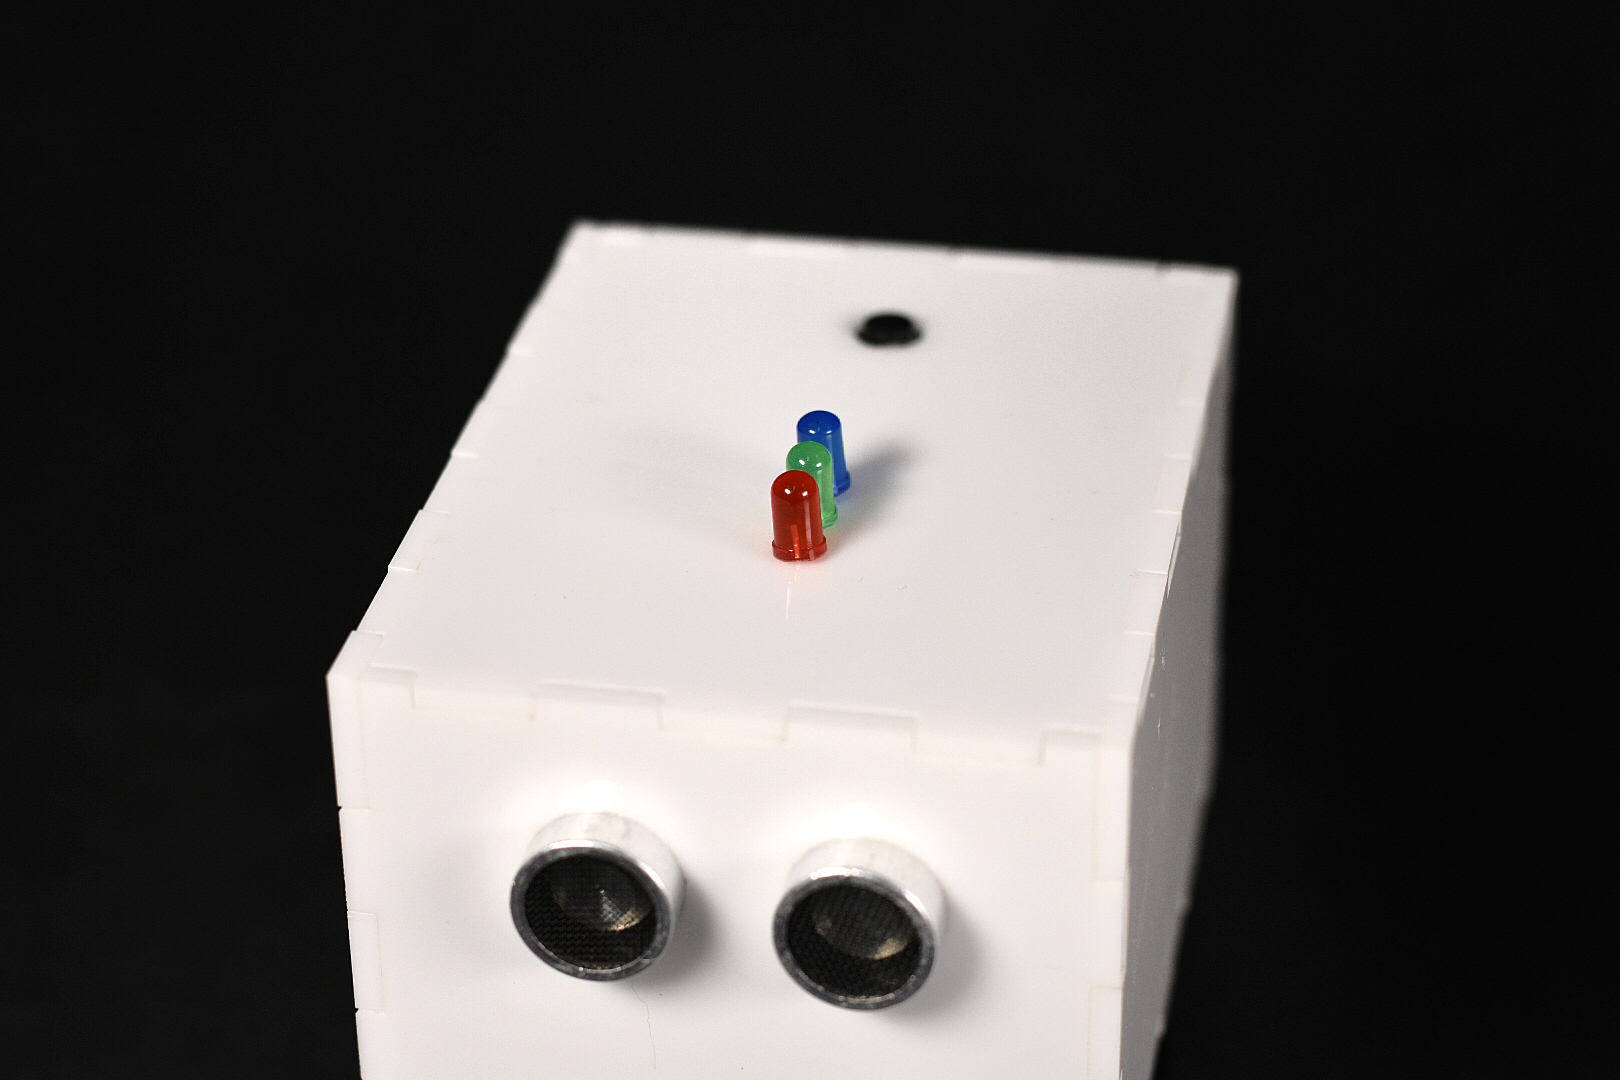
Close up view of the device
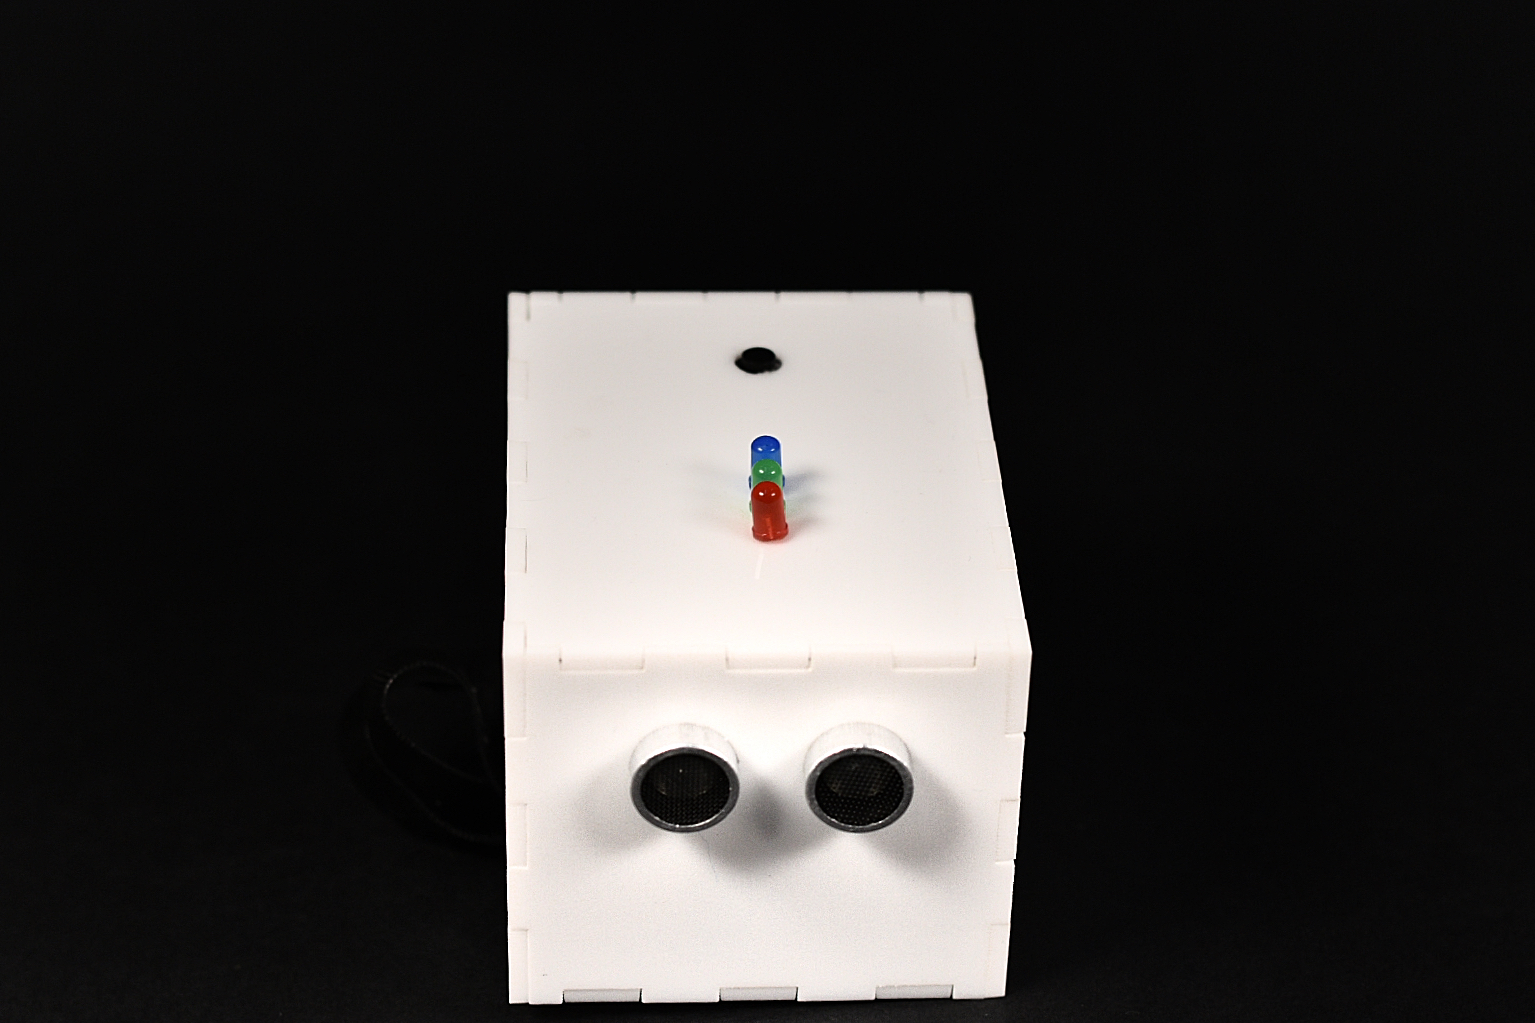
Front view shot of the box detailing the Proximity Sensor and the three LED’s and the button.
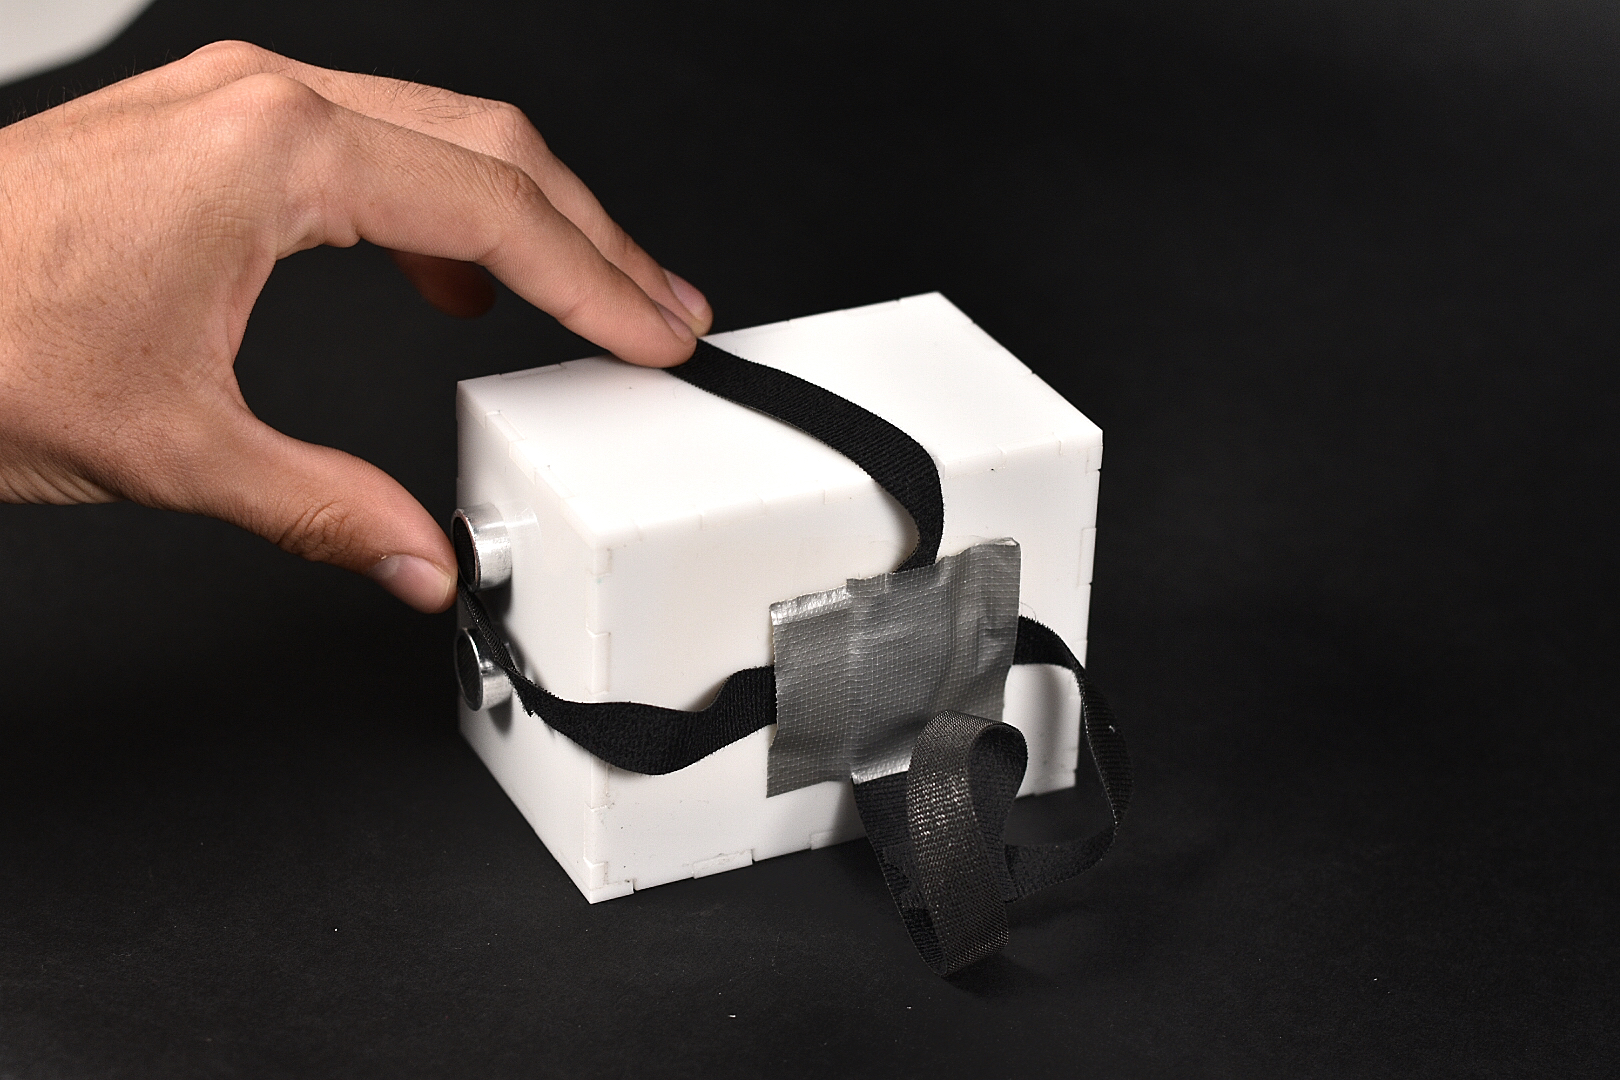
The back of the device showing the four-way velcro strap that can attach to an elbow sleeve or loops around a belt.
Process:
During the process I easily created the prototype shown below that attempted to use a speaker and the proximity sensor without any housing. This also did not use a battery and therefore this iteration had no ergonomic appeal. In order to test it I had to move the whole unit to test distances and I could not attach it to my body. This was before I learned how to use AutoCAD and laser printing.
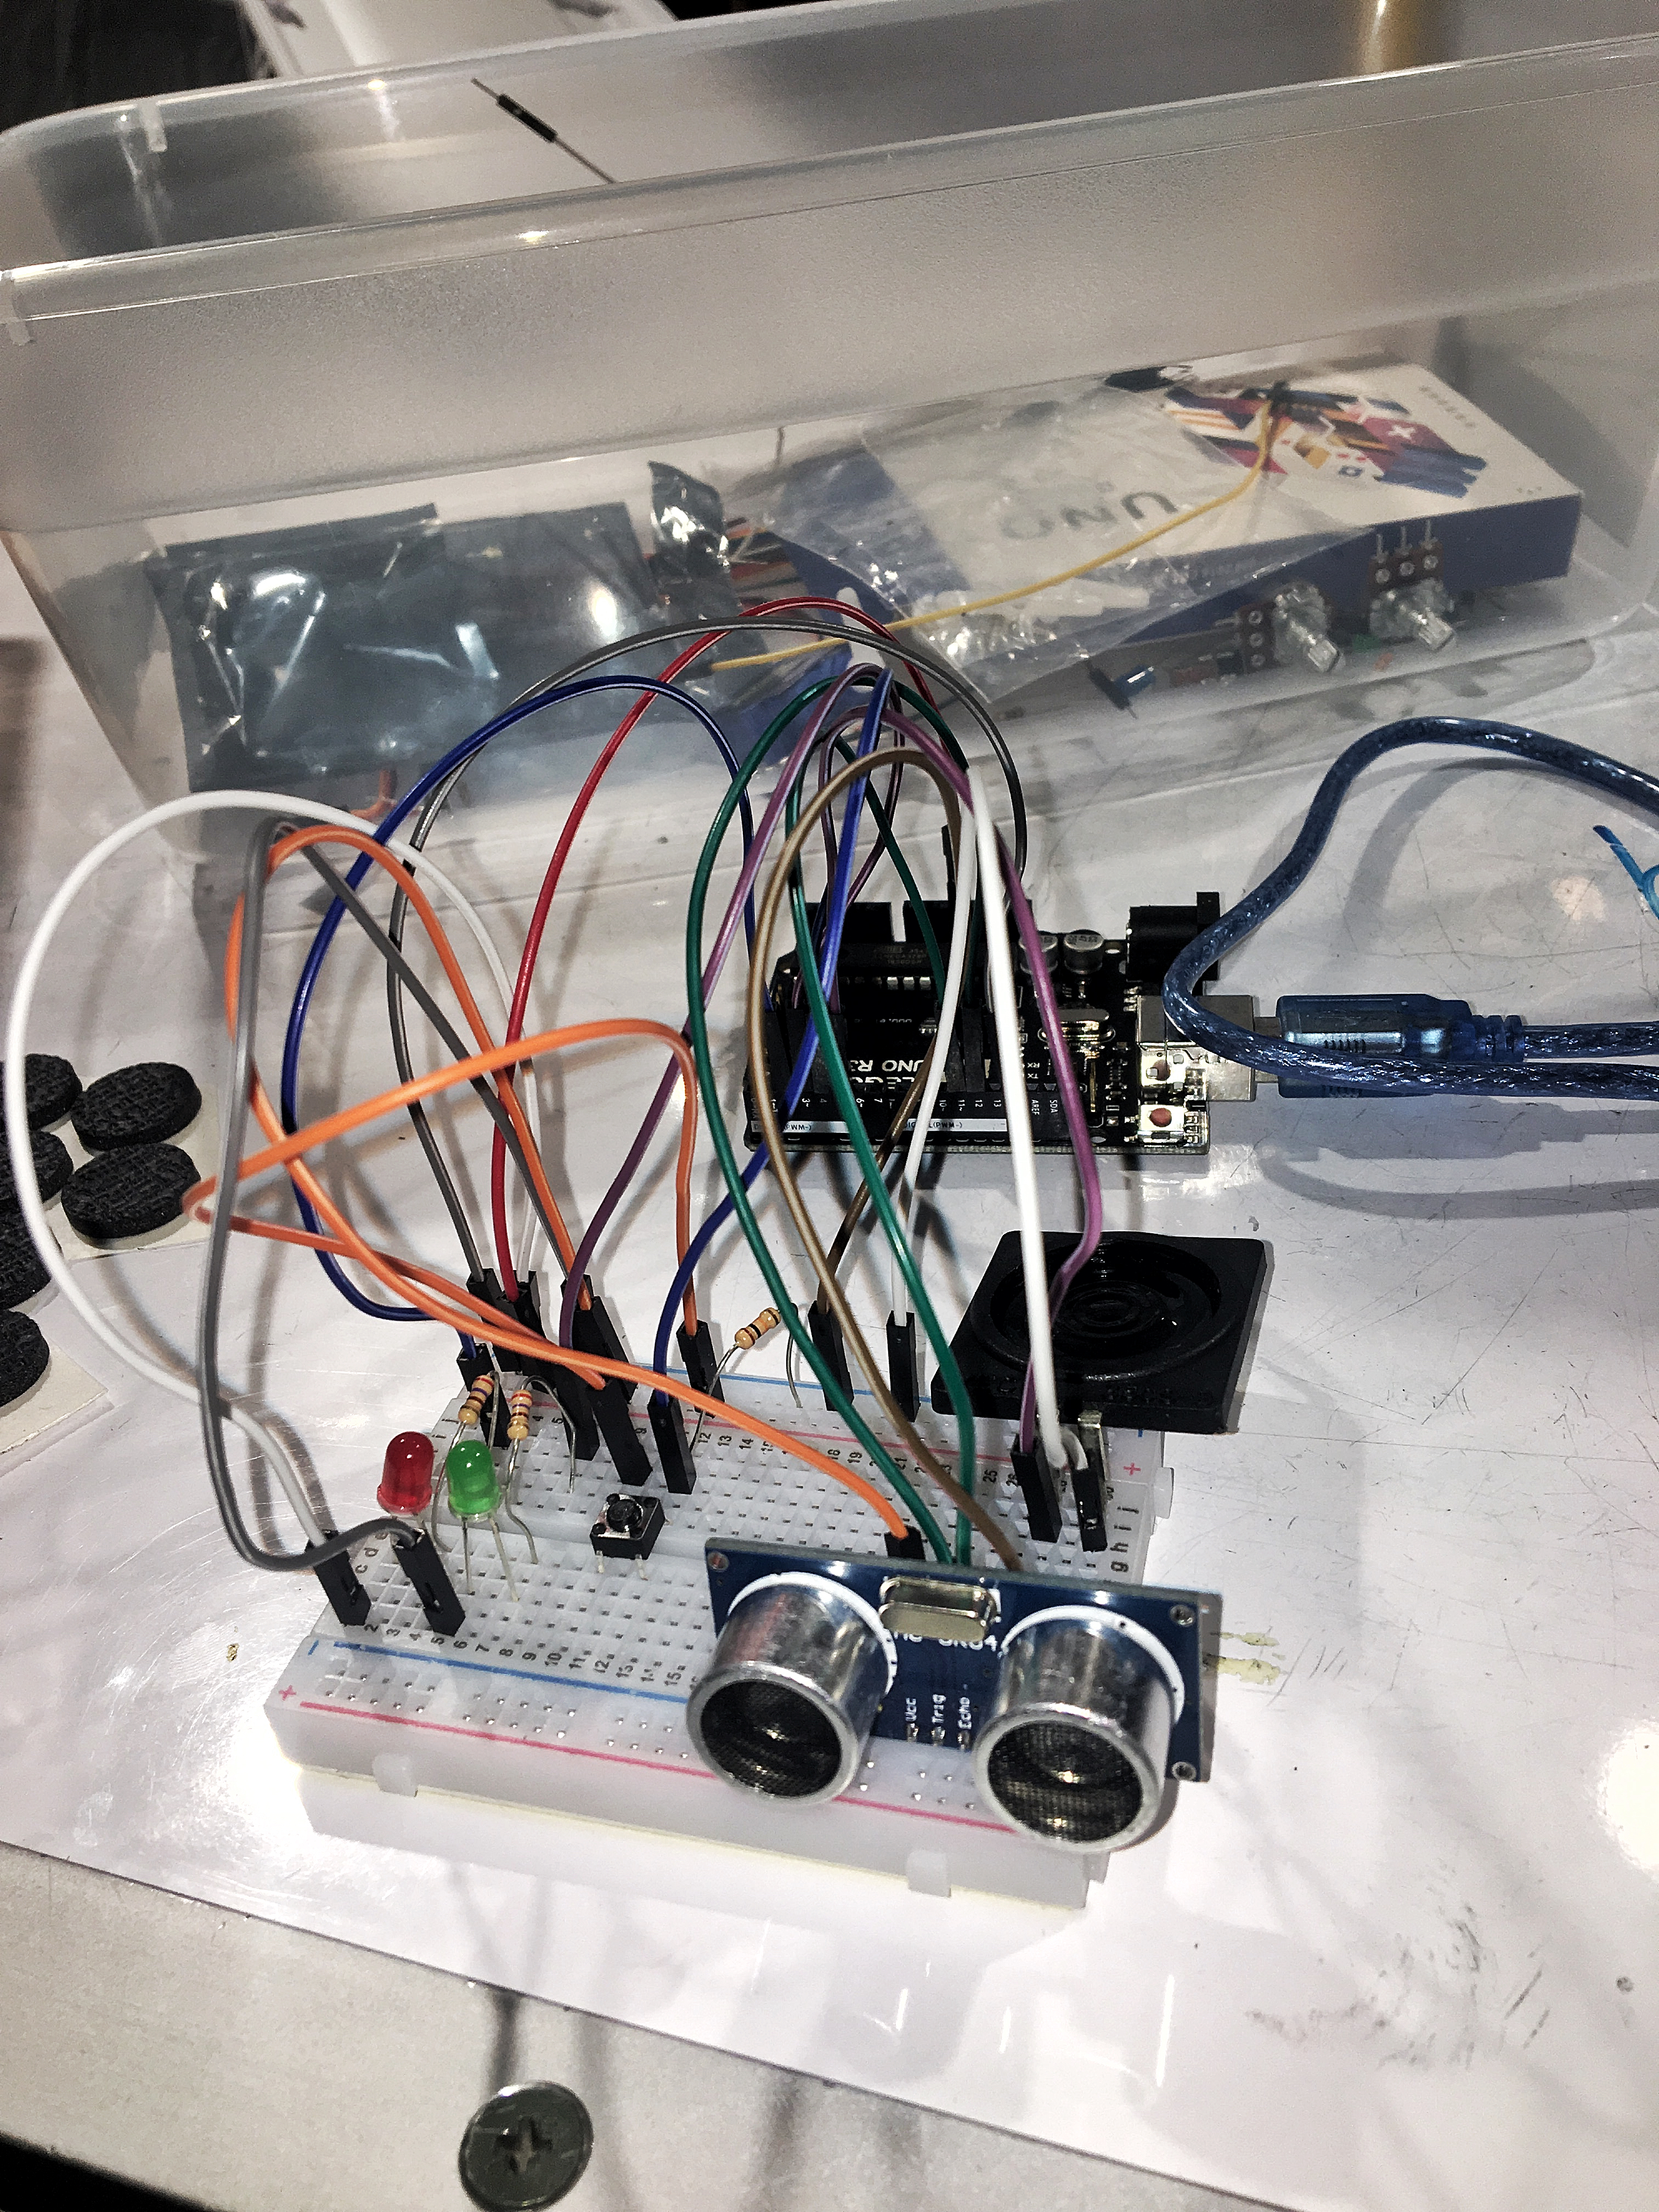
The prototype design which featured a speaker, small button, and computer powered
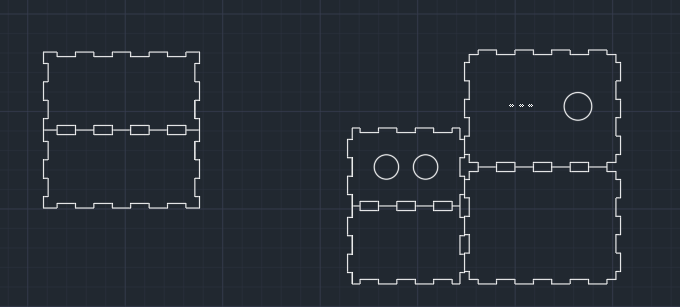
Here I learned how to use AutoCAD to create the box which was tiled so that they could fit together easily. I was able to laser cut the box but I had an issue fitting all the non-soldered wires into the box which made it difficult, if not impossible to completely close the already big box.
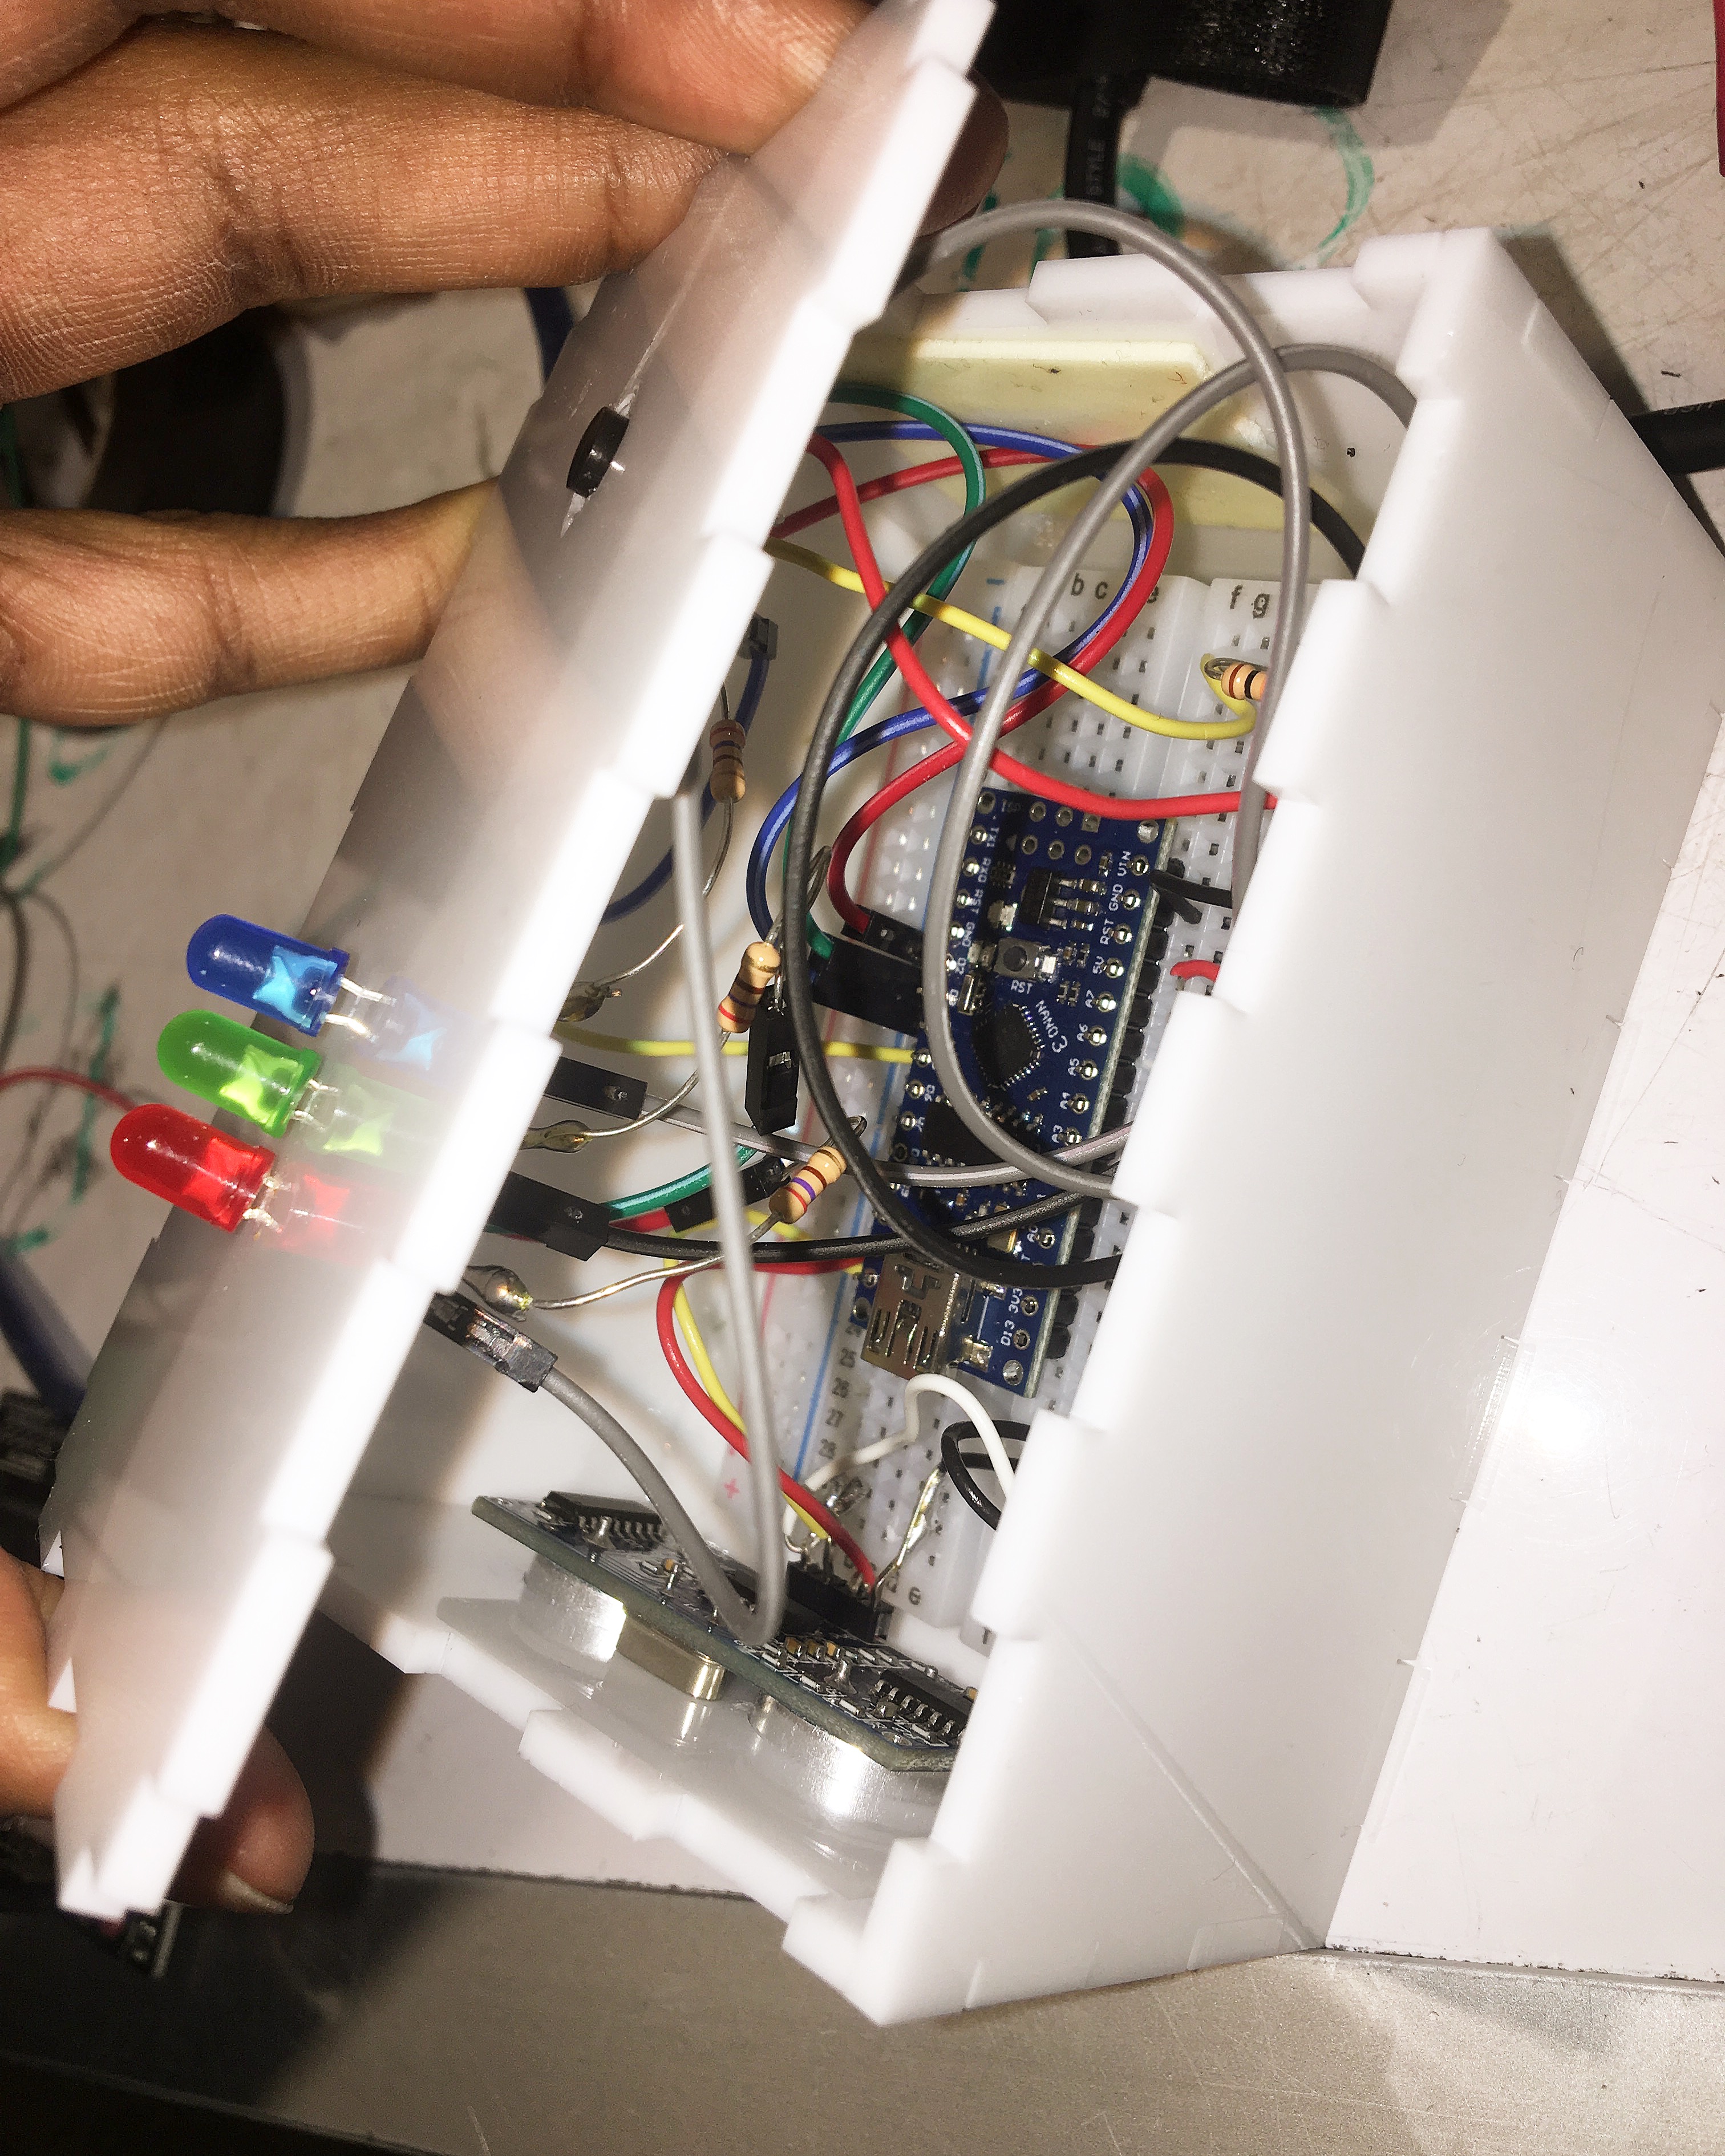
The interior with many mixed and exposed wires, not space efficient, and with the arduino nano.
Without taking into account the mess of wires, the box was not able to be closed properly and therefore was too small
Discussion:
During the critique of this project I was given feedback by my classmates and a professor that helped me see the shortcomings of my project and would definitely help me in the future for other projects that include feedback. One of the comments that was left for me stated:
“Cool idea, especially with the inspiration from injury. Nice box too. Sound or vibration or something would be helpful.”
This addressed the issue of having haptic feedback rather than just a visual cue of light which is unable to be seen when you are benching, curling, etc. any exercises that position the device on the side of your arm. In my first iteration I did try to address this issue by using the speaker so that when doing those exercises involving the side of the arm a tone would play from the speaker when good form was used. The problem with using a speaker and the proximity sensor is that they use the same interruption function and therefore the libraries conflict with each other and I wasn’t able to fix this problem so I got rid of the noise feedback.
Another issue that I faced was size and the ergonomic design around the arm which was addressed in another comment:
“…but maybe next iteration could be more compact.”
Since I had to fit the wires and the arduino uno since the arduino mini was causing a lot of problems when connected to a 9V battery instead of the computer, the size of the box had to increase to compensate. Therefore making the device bulky and oddly shaped. This was more uncomfortable and in the way when attaching the device to the arm which was unavoidable since I had to work with both a breadboard and arduino which already took a lot of space.
Regardless of this helpful feedback I was happy with the project since I did the best I could with the limited knowledge I had of 2D Design and laser cutting. It is indeed something that will help me at the gym especially as I still have issues with form when I squat. I really did wish I was able to use the nano instead of the uno as well as be able to solder the wires instead of using the long jumper wires but it was too difficult to try and enclose the box and solder the wires. I wish the box could’ve been a different design, more ergonomic, but with a little fiddling to the arm it was doable and fine.
Through this project the code was really simple since I was just sensing distance from the ground. But I learned a lot about how to use AutoCAD and 2D design and how to dimension things. I was able to use the digital caliper to measure and AutoCAD to dimension. I was also able to learn how to use the Rabbit Laser Cutter and how different materials are to be handled in the machine, acrylic, cardboard, etc. I ended up using acrylic since it was sturdy and gave a very clean look. It was very frustrating working soldering and wires inside the box but I was able to learn how to solder wires together and buttons, etc so I didn’t have to attach it directly to the breadboard.
I do not plan on working on a new iteration since I am fine with this project. But if I were to create a new iteration I would use the new arduino mini’s that have been ordered and solder shorter wires into the breadboard so I could make the box much smaller. If possible I would try to make one of the faces of the box curved so that it would fit better on your arm.
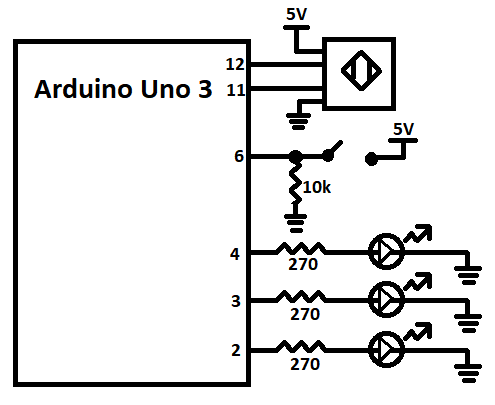
Schematic:
Code:
/*  Weightlifting Form Tracker
 *  Enock Maburi
 *
 *  This code has preset distances from the ground and uses
 *  an ultrasonic sensor (proximity sensor) to sense the distance
 *  and will light an LED when the distance to the ground is less
 *  than the threshold value.
 *
 */
#include <NewPing.h>

#define TRIGGER_PIN  12  // Arduino pin tied to trigger pin on the ultrasonic sensor.
#define ECHO_PIN     11  // Arduino pin tied to echo pin on the ultrasonic sensor.
#define MAX_DISTANCE 200 // Maximum distance we want to ping for (in centimeters). Maximum sensor distance is rated at 400-500cm.
#define REDLED 2
#define GREENLED 3
#define BUTTONPIN 6
#define BLUELED 4

NewPing sonar(TRIGGER_PIN, ECHO_PIN, MAX_DISTANCE); // NewPing setup of pins and maximum distance.


void setup() {
  Serial.begin(115200); // Open serial monitor at 115200 baud to see ping results.
  pinMode(REDLED, OUTPUT);
  pinMode(GREENLED, OUTPUT);
  pinMode(BUTTONPIN, INPUT);
  pinMode(BLUELED, OUTPUT);
  digitalWrite(GREENLED, LOW);
  digitalWrite(REDLED, LOW);
}

int status = 0;
int distCM;

void loop() {
  int buttonState = digitalRead(BUTTONPIN);
  distCM = sonar.ping_cm();
  if (buttonState == HIGH) {
    if (status) status = 0;
    else status = 1;
    delay(100);
  }

  if (status) {
    //digitalWrite(GREENLED, HIGH); // Squatting
    //digitalWrite(REDLED, LOW); // Benching
    if (distCM < 56) {
      digitalWrite(GREENLED, HIGH);
      digitalWrite(REDLED, LOW);
    }
    else
    {
      digitalWrite(GREENLED, LOW);
      digitalWrite(REDLED, LOW);
    }
  }
  else {
    //digitalWrite(REDLED, HIGH);
    //digitalWrite(GREENLED, LOW);
    if (distCM < 53) {
      digitalWrite(REDLED, HIGH);
      digitalWrite(GREENLED, LOW);

    }
    else
    {
      digitalWrite(REDLED, LOW);
      digitalWrite(GREENLED, LOW);
    }
  }
  delay(50);                     // Wait 50ms between pings (about 20 pings/sec). 29ms should be the shortest delay between pings.
  Serial.print("Ping: ");
  Serial.print(distCM); // Send ping, get distance in cm and print result (0 = outside set distance range)
  Serial.println("cm");
}
Comments are closed.