A lamp that integrates with my room set-up and nighttime routine to initiate a period of mindful breathing through a series of brightening and dimming light cycles before sleep.
A video of the project working!
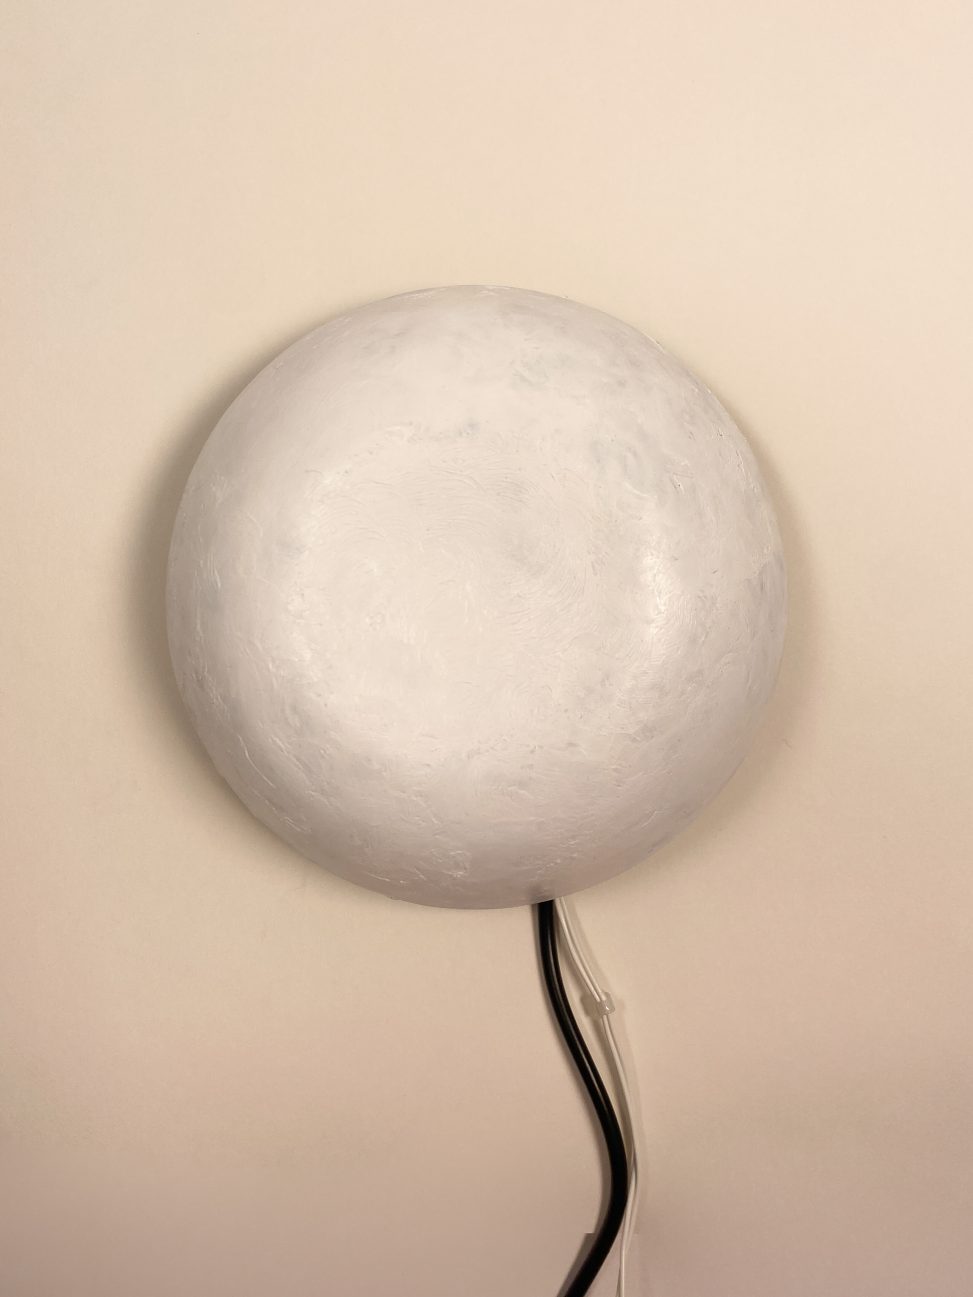
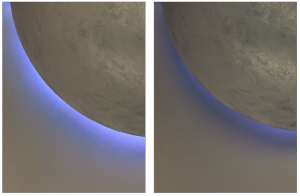
Scale and proportional context photo!
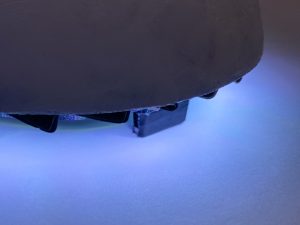
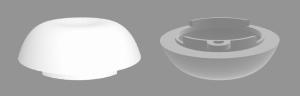
Detail Photos

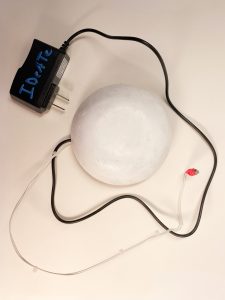
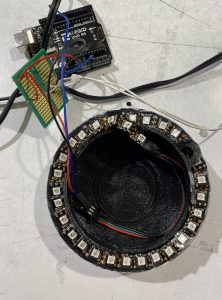
The inner workings of the lamp! Slightly tight wiring, but otherwise, fit everything quite well inside the shell. Hook for hanging as well!
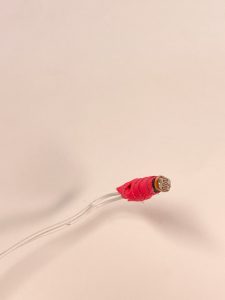
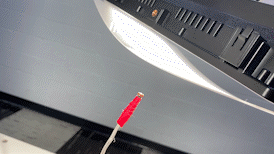
Photoresistor that extends out of the lamp to face the main source of light before sleeping.
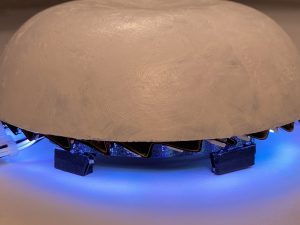
Little legs that prop the lamp off the wall to achieve the backlight effect from the LEDs
In-use photos
Cool glowing effect when dark!
Brightening and dimming of the lamp!
Process
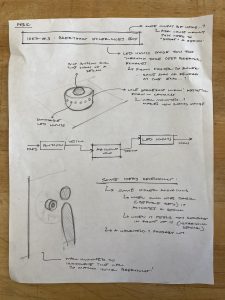
First brainstorming of the concept!
My idea is to create a lamp that is seamlessly integrated into my bedtime routine to encourage a period of reflection and pause before sleep. I felt a need for this because I found myself coming back home from long busy days, with no time to truly just be with myself and reflect— it would always be a shower, brush, scroll on phone, often with no step between looking at a screen and actually sleeping. I wanted to create a tangible object that would integrate with this existing rough routine I had, not forcing me to stop going on my phone or texting my parents but instead just creating a natural buffer between all of that and sleep.
I felt like a lamp, as a big fan of ambient lighting, would be an appropriate object in my room, and a nice physical representation of calming down and taking a break. I considered adding a bunch of fancy functionalities like programming the amount of time I wanted to spend with the lamp with a dial, or being able to change light color settings, but decided against these for both keeping it simpler for myself to realistically make, but also allowing a more effortless use of the lamp. Sensing the presence of someone with an ultrasonic ranger was also something I considered (as shown in the drawing above), but I decided against, because it would also add an extra step to initiate the routine that I wanted to avoid. Instead, I opted for a photoresistor that would point to a night light that I already use, and have the breathing lamp be triggered by switching off of the light to indicate I was ready to go to sleep and start my brief time of breathing and reflection before sleeping!
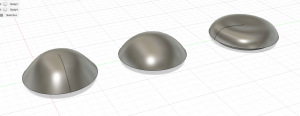
I started by thinking about some of the form considerations for the lamp, especially since having a nice shell that looked clean, and contained all the electronic components well would be important.
The final lamp shell design! It fit the Ideate 3D printers well and had ample room for the LEDs, and Arduino to fit inside. Theres also little legs to prop it off the wall, and a hook for hanging.
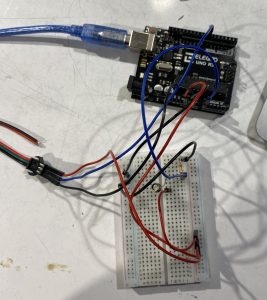
Wiring of the LED strip, photoresistor, and arduino
Getting the LED’s to work with the photoresistor
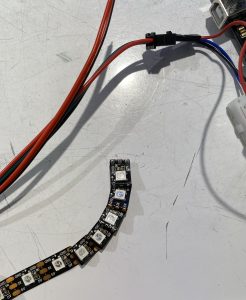
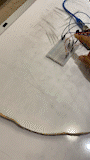
Folding the led strip to make it more flexible and be able to fold around the lamp.
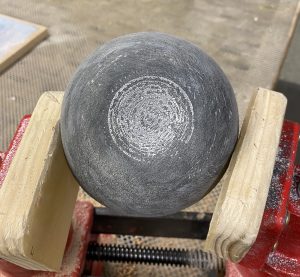
Sanding the 3D print
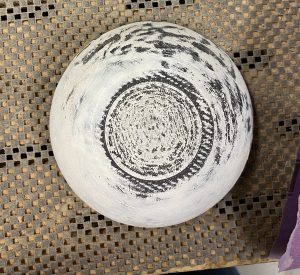
Working back and forth between paint and sanding
The surface of the 3D print was a struggle to work with. To save on plastic and time, I had done a lower-quality print, but this meant I had a lot more imperfections in the surface of the shell. The only way that really made sense to counter this was to sand it— so I did! But sanding also wasn’t really enough to get the “perfect” soft surface I had originally intended. During the sanding process, I had noticed how the sanded black PLA looked a bit like the moon, so I decided to lean into that idea and added more texture through paint.
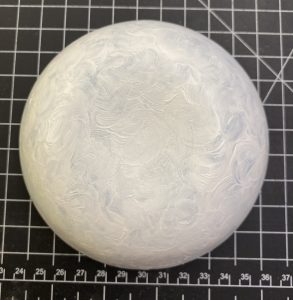
final finishing of paint with my fingers to create more texture
The assembly of the lamp
Discussion
Some of the comments I got: “Simple and effective”, “Great impact can’t wait to see it on a wall”, “Could consider Bluetooth module for the photoresistor” and “Would love to see different casings with quality materials, wood glass ect, the simplicity would make that possible”. I think I approached my project from quite a product perspective, and with those considerations, it would make a lot of sense to have pushed the materiality and form of the project.
The wires and open back are definitely a concern too, but given the scope of the project, and my experience, I am quite satisfied with the overall project. I think I satisfied my own goals but had also set the goals quite conservative to begin with. However, there are a lot of the features that I could build on, such as a better solution to the photoresistor sticking out the way it does, and having a self clock on the lamp that only allows it to work at certain hours of the day, but given the time constraint, I’m happy with what I presented and that at its core it does what it’s supposed to!
Now, feeling better about coding for the Ardunio and being resourceful about libraries, I also think I can push the intervals of breathing times as I had originally planned— with the lamp guiding you from expected breaths times to slowly slower breaths during the course of the cycle. I would also like to turn some nice wood on a lathe and try creating a more organic feeling shell in the near future too!
I think I really enjoyed thinking about and designing the interaction and storyboarding how the object could be used, and be useful to me but struggled a bit more with the technical side of coding. I think the syntax and learning how to communicate with the Arduino was hard for me, especially because I knew what I wanted it to do, and would put it down in a similar way as you would in javascript (which is something I’m a bit more familiar with), but then it just wouldn’t work. It helped to ask for help though, and some of my classmates were really nice to share their knowledge on how to efficiently write code and create the loops I wanted.
Technical information

Block diagram showing the photoresistor input, and LED output.

Electrical schematic diagram. Only showing 3 LEDs for simplicity, but there are 30 in the strip.
// Breathing Lamp
// Sapna Tayal

// This code communicates the turning off of a light source (lamp before sleeping)that is measured by a photoresistor, and communicates, via an Arduino, to start a LED strip brightening and dimming cycle.
// I used the Pololu LedStripGradient example code as a jumping off point.

#include <PololuLedStrip.h>

// Create an ledStrip object and specify the pin it will use.
PololuLedStrip<12> ledStrip;

const int pResistor = A0;

// Create a buffer for holding the colors (3 bytes per color).
#define LED_COUNT 30
rgb_color colors[LED_COUNT];
int Brightness = 0;

int cycleCount = 1;
bool up = true;
int lightVal = 0;
bool lightOn = false;
int cycles = 0;

void setup() {
  pinMode(pResistor, INPUT);
  Serial.begin(9600);
}

void loop() {

  lightVal = analogRead(pResistor);
  Serial.println(lightVal);

  // setting the LED strip to plain white, and having the brightness be the driving variable
  for (uint16_t i = 0; i < LED_COUNT; i++) {
    colors[i] = rgb_color(Brightness, Brightness, Brightness);
  }

  // Write the colors to the LED strip.
  ledStrip.write(colors, LED_COUNT);

  // mapping the photoresistor to notice the change of a bright lamp light.
  // variable LightOn to start the lamp
  if (lightVal < 900) {
    lightOn = true;
  }

  //
  if (lightOn == true && cycles < 15) {
    if (cycleCount == 235) {
      up = !up;
      cycleCount = 1;
      cycles = cycles + 1;
    }

    // slowly increasing brightness
    if (up) {
      Brightness++;
      delay(20);
      cycleCount++;
    }

    // slowly decreasing brightness
    else {
      Brightness--;
      delay(20);
      cycleCount++;
    }
  }

  // turn of when done with 15 cycles
  else {
    digitalWrite(7, LOW);
  }
}