By Olivia Werner
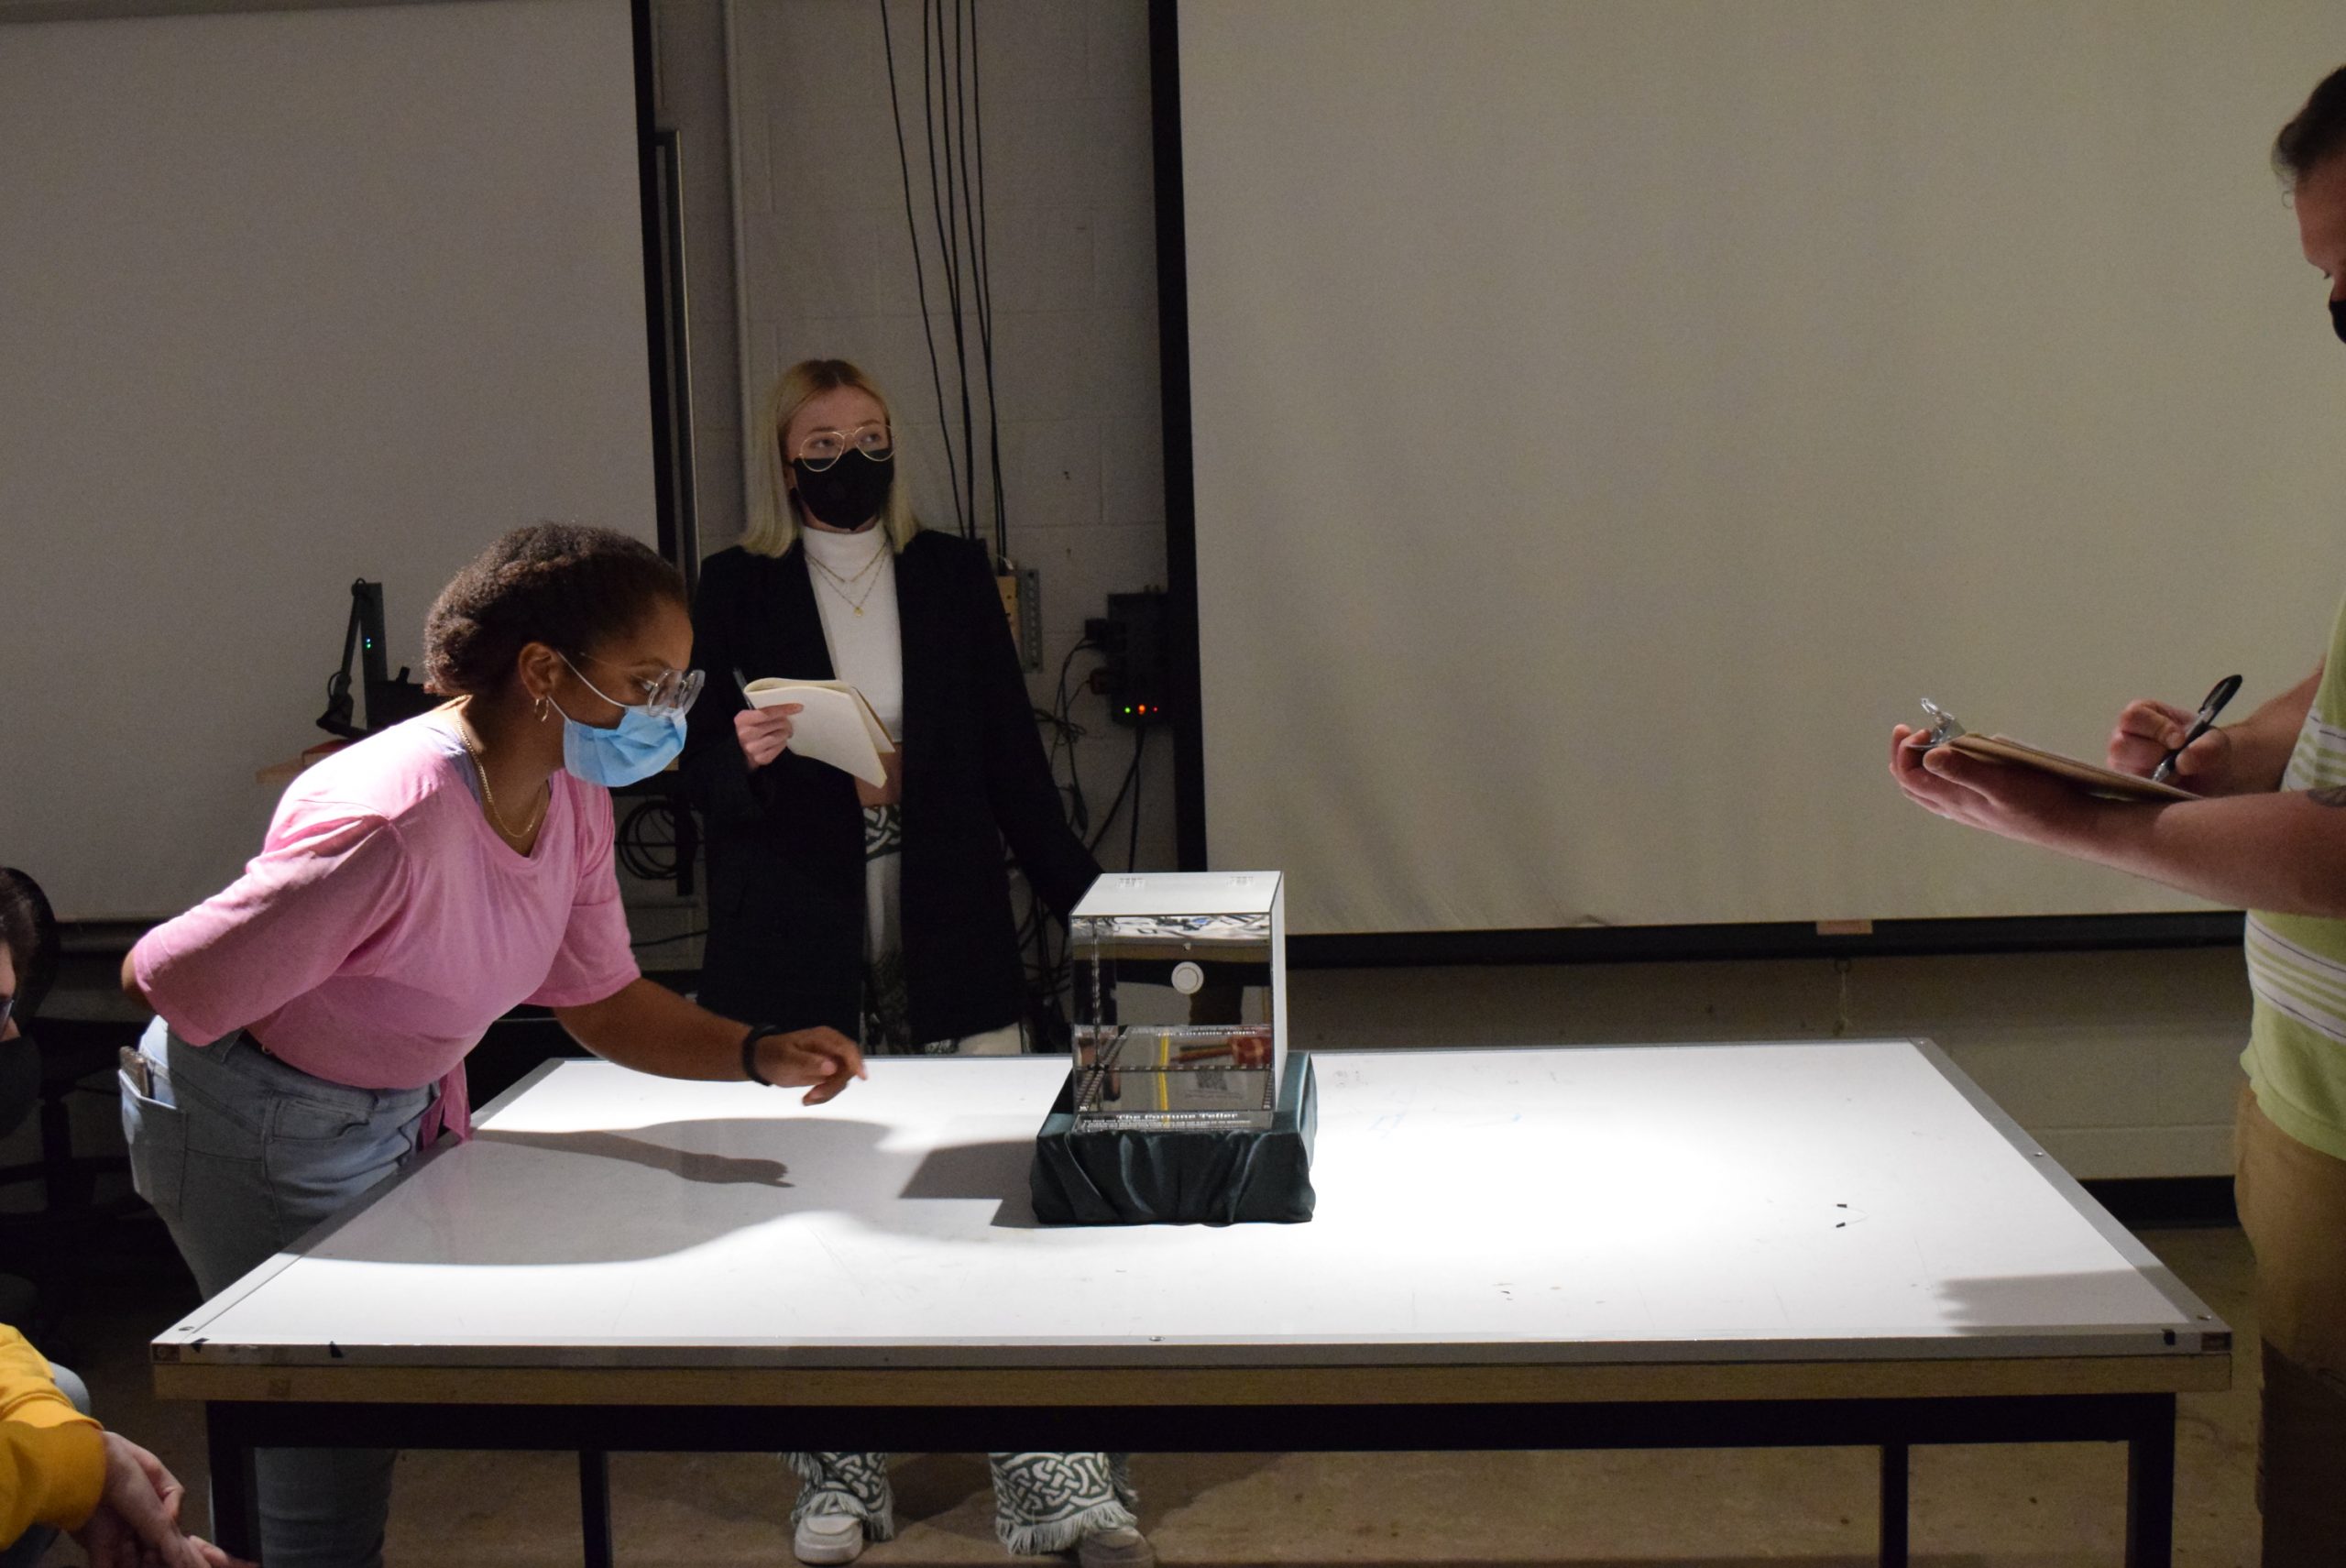
Presentation Photos:
Detail Photos:
Videos Demonstrating User Interaction and Outputs:
Narrative Description:
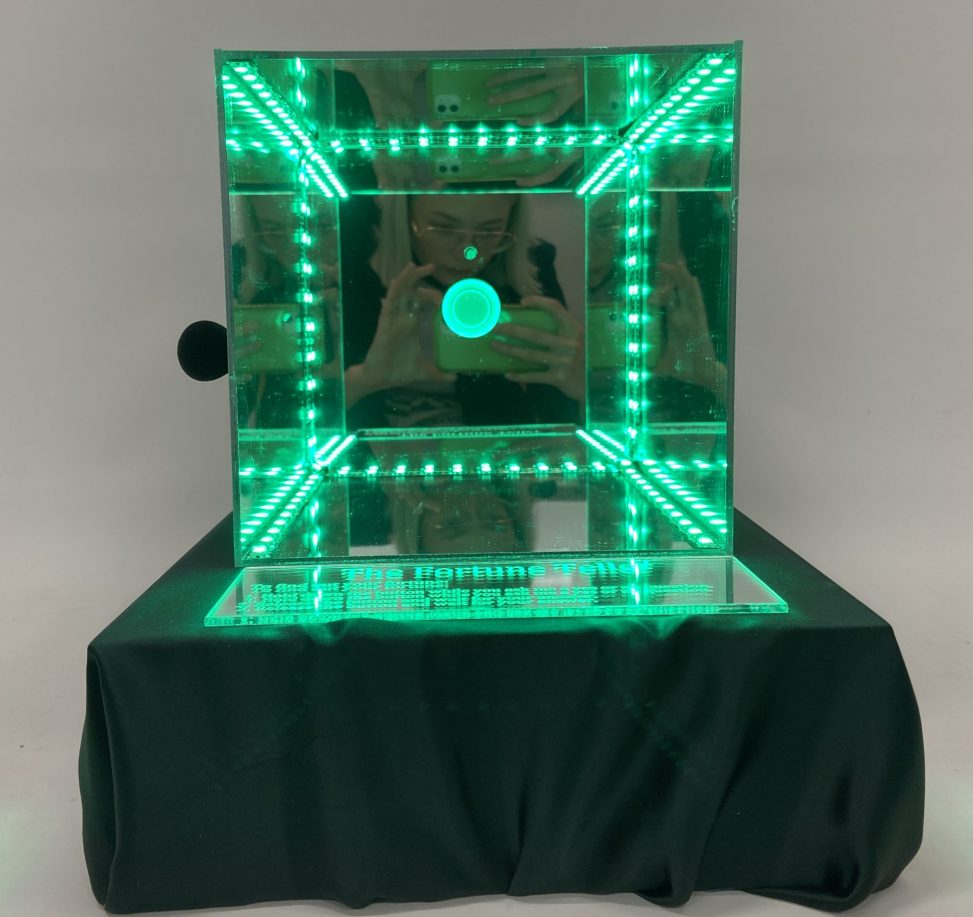
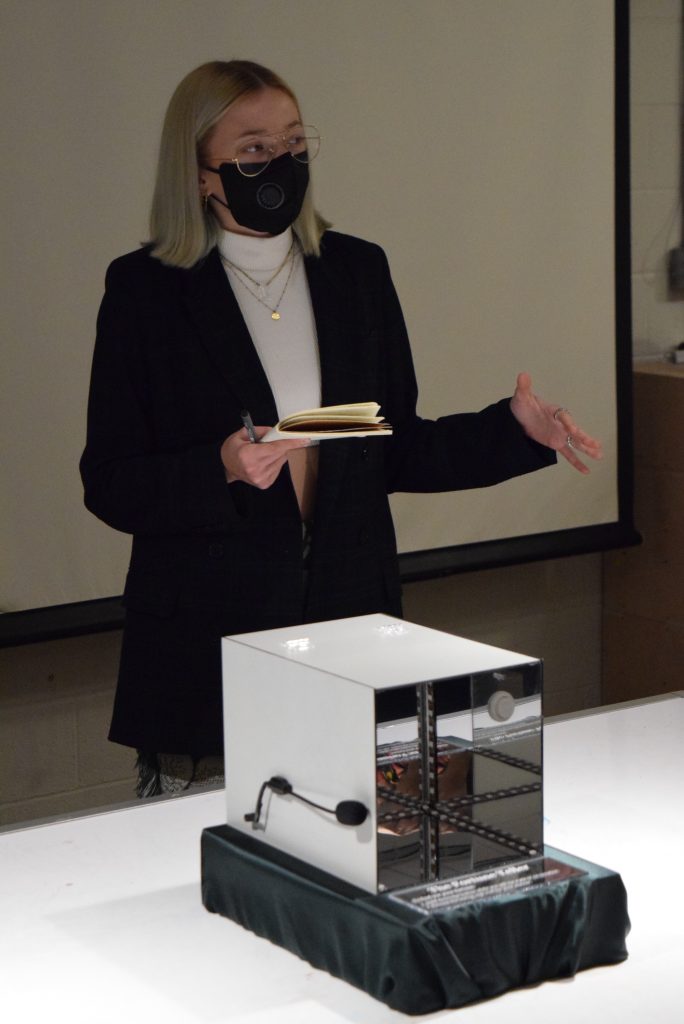
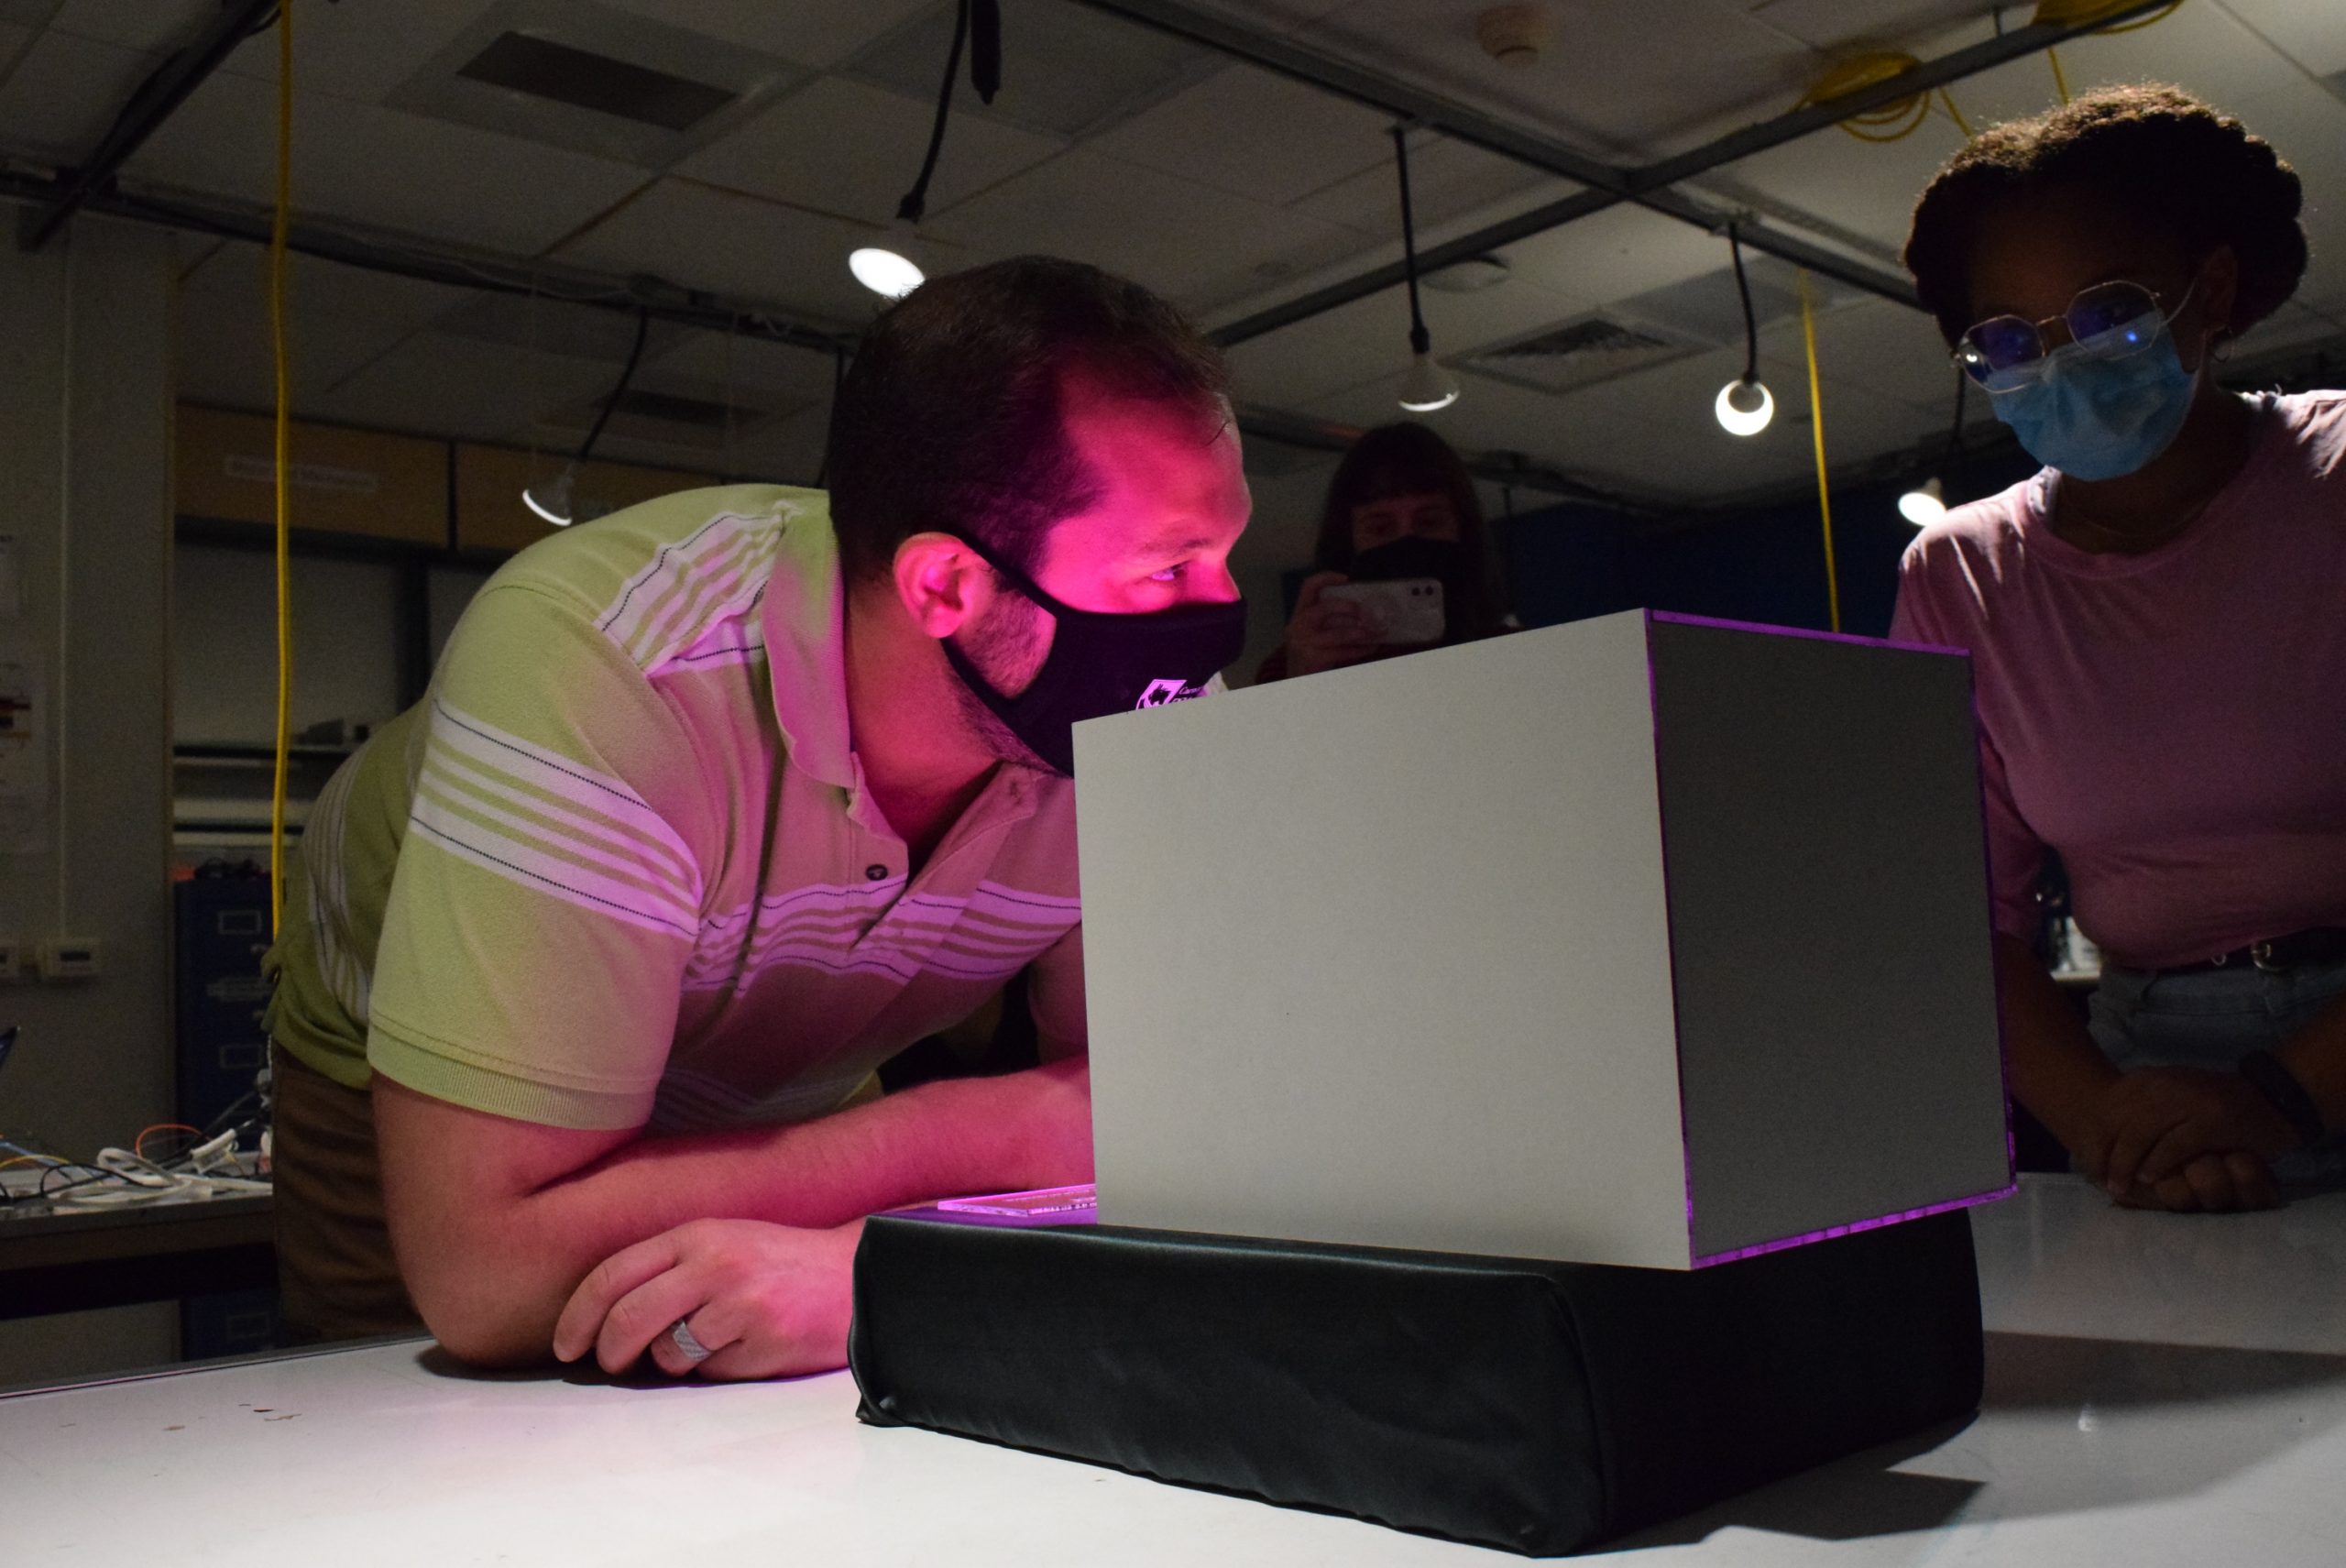
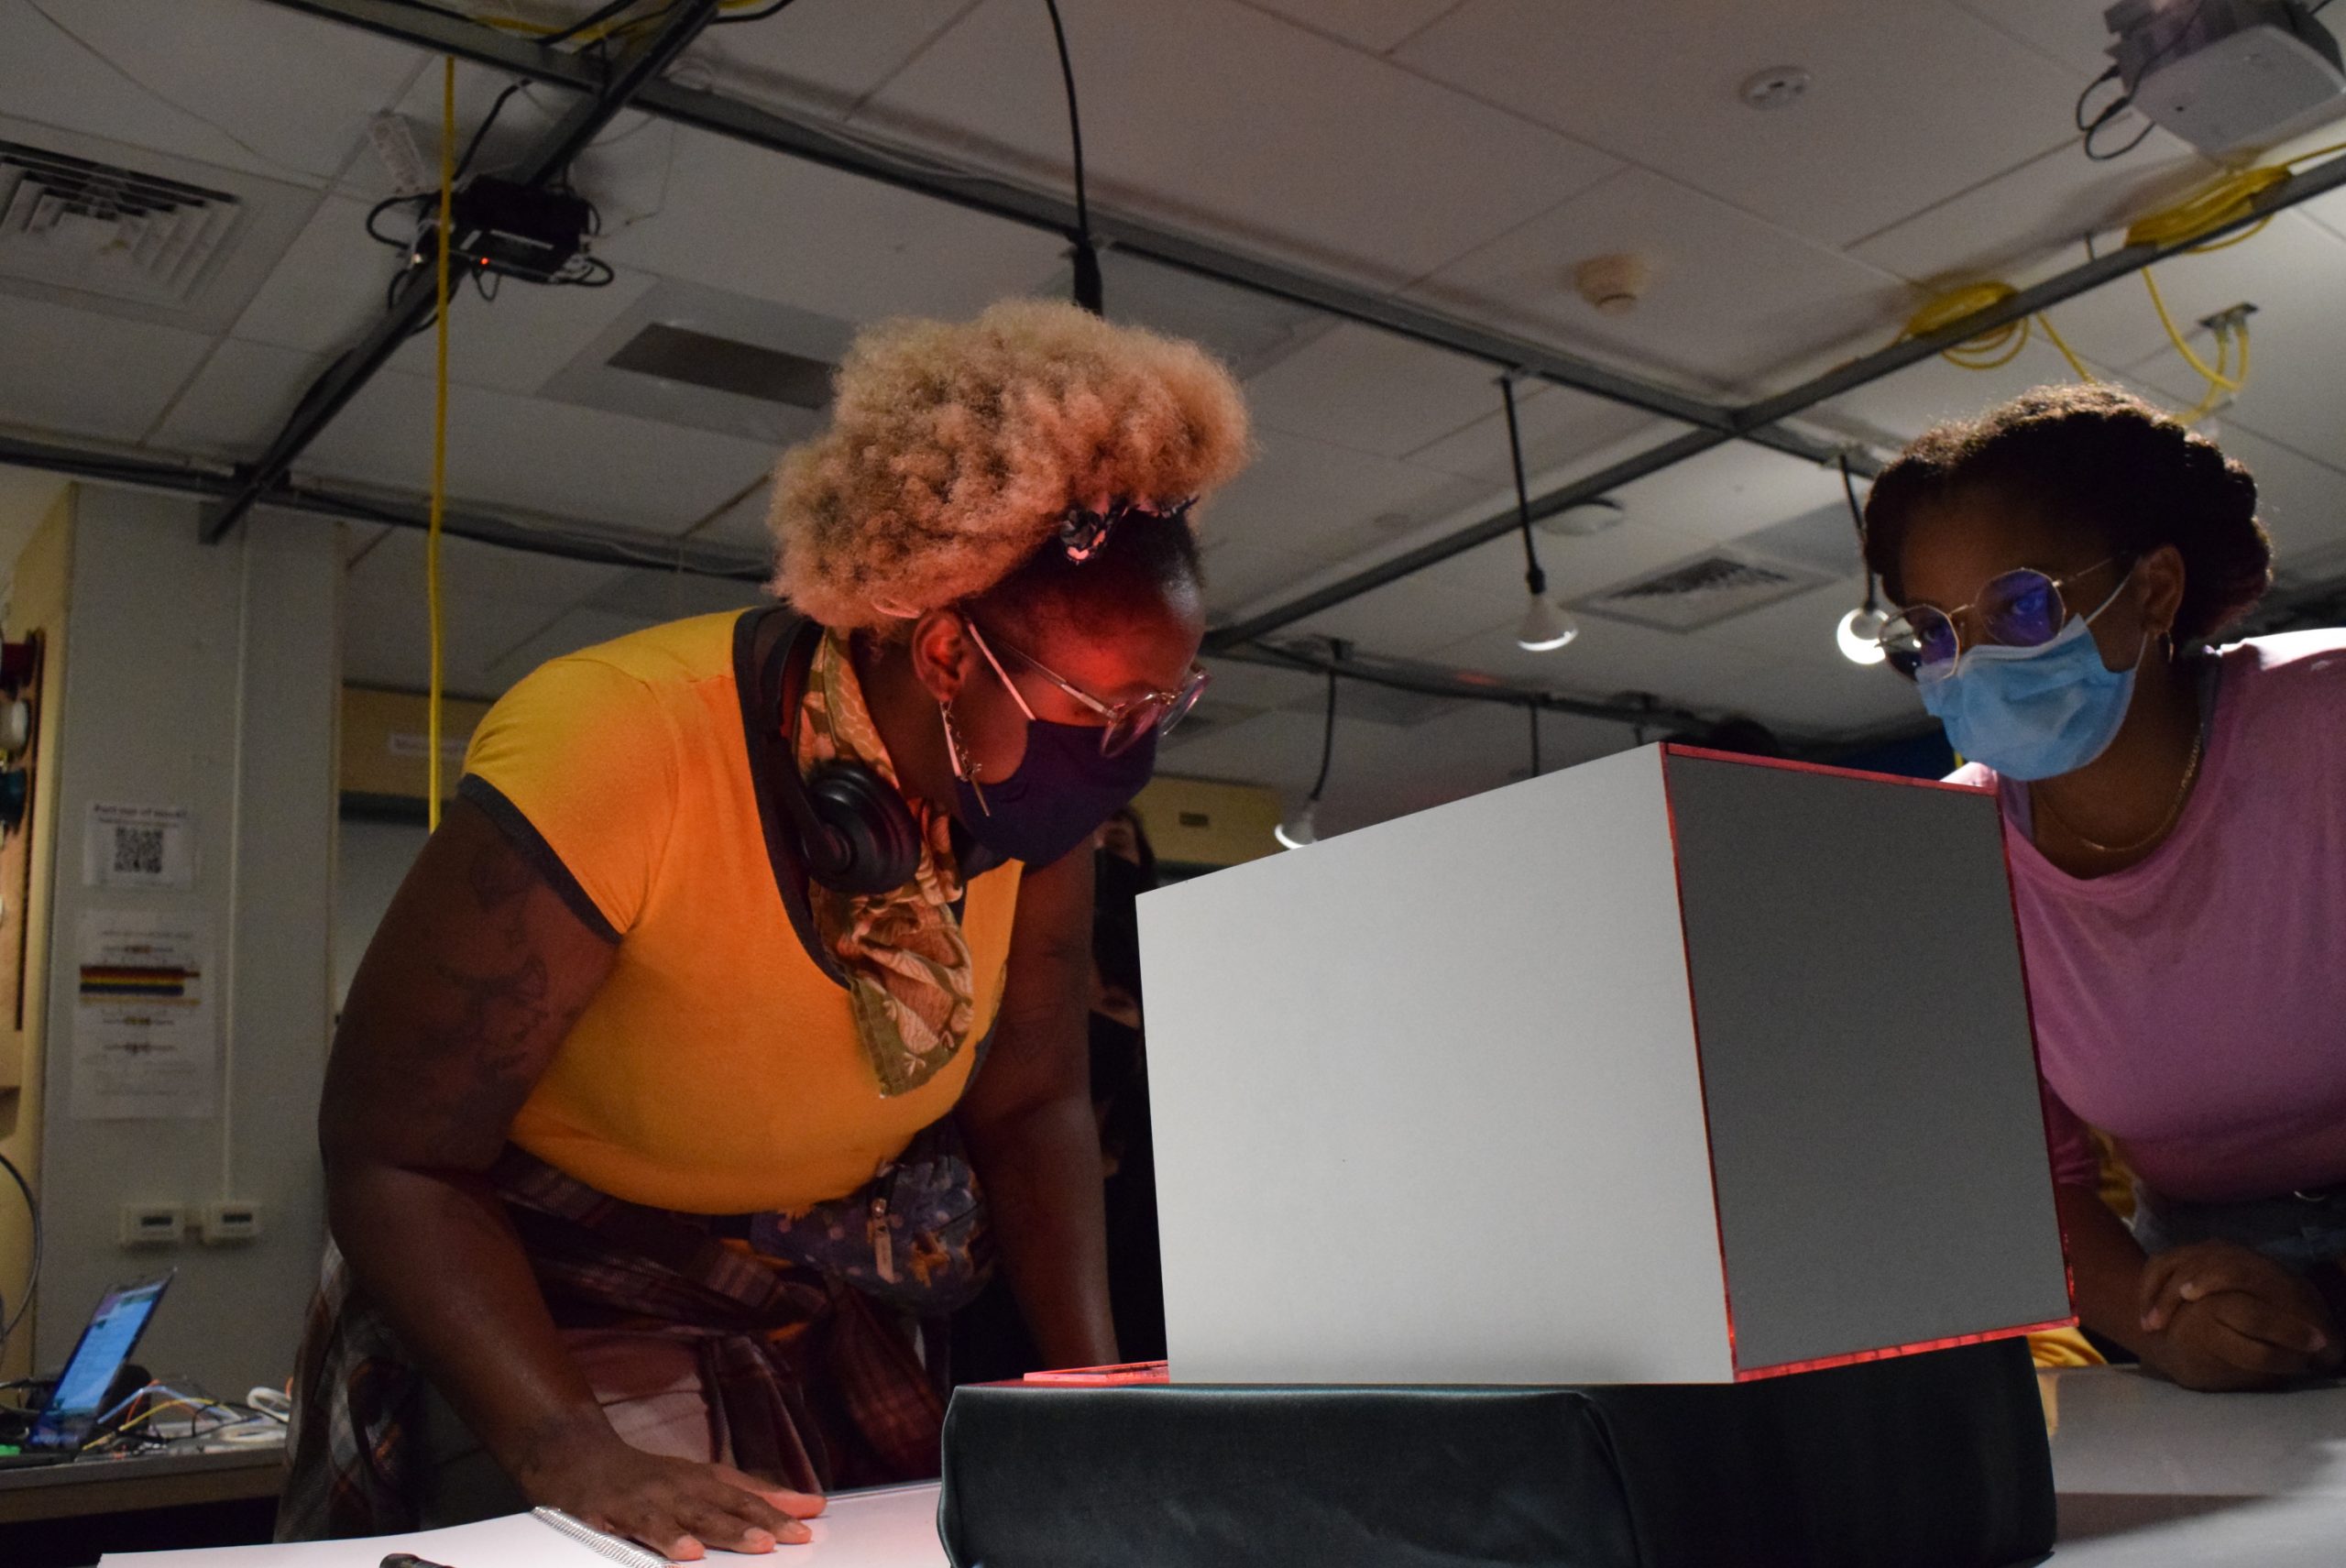
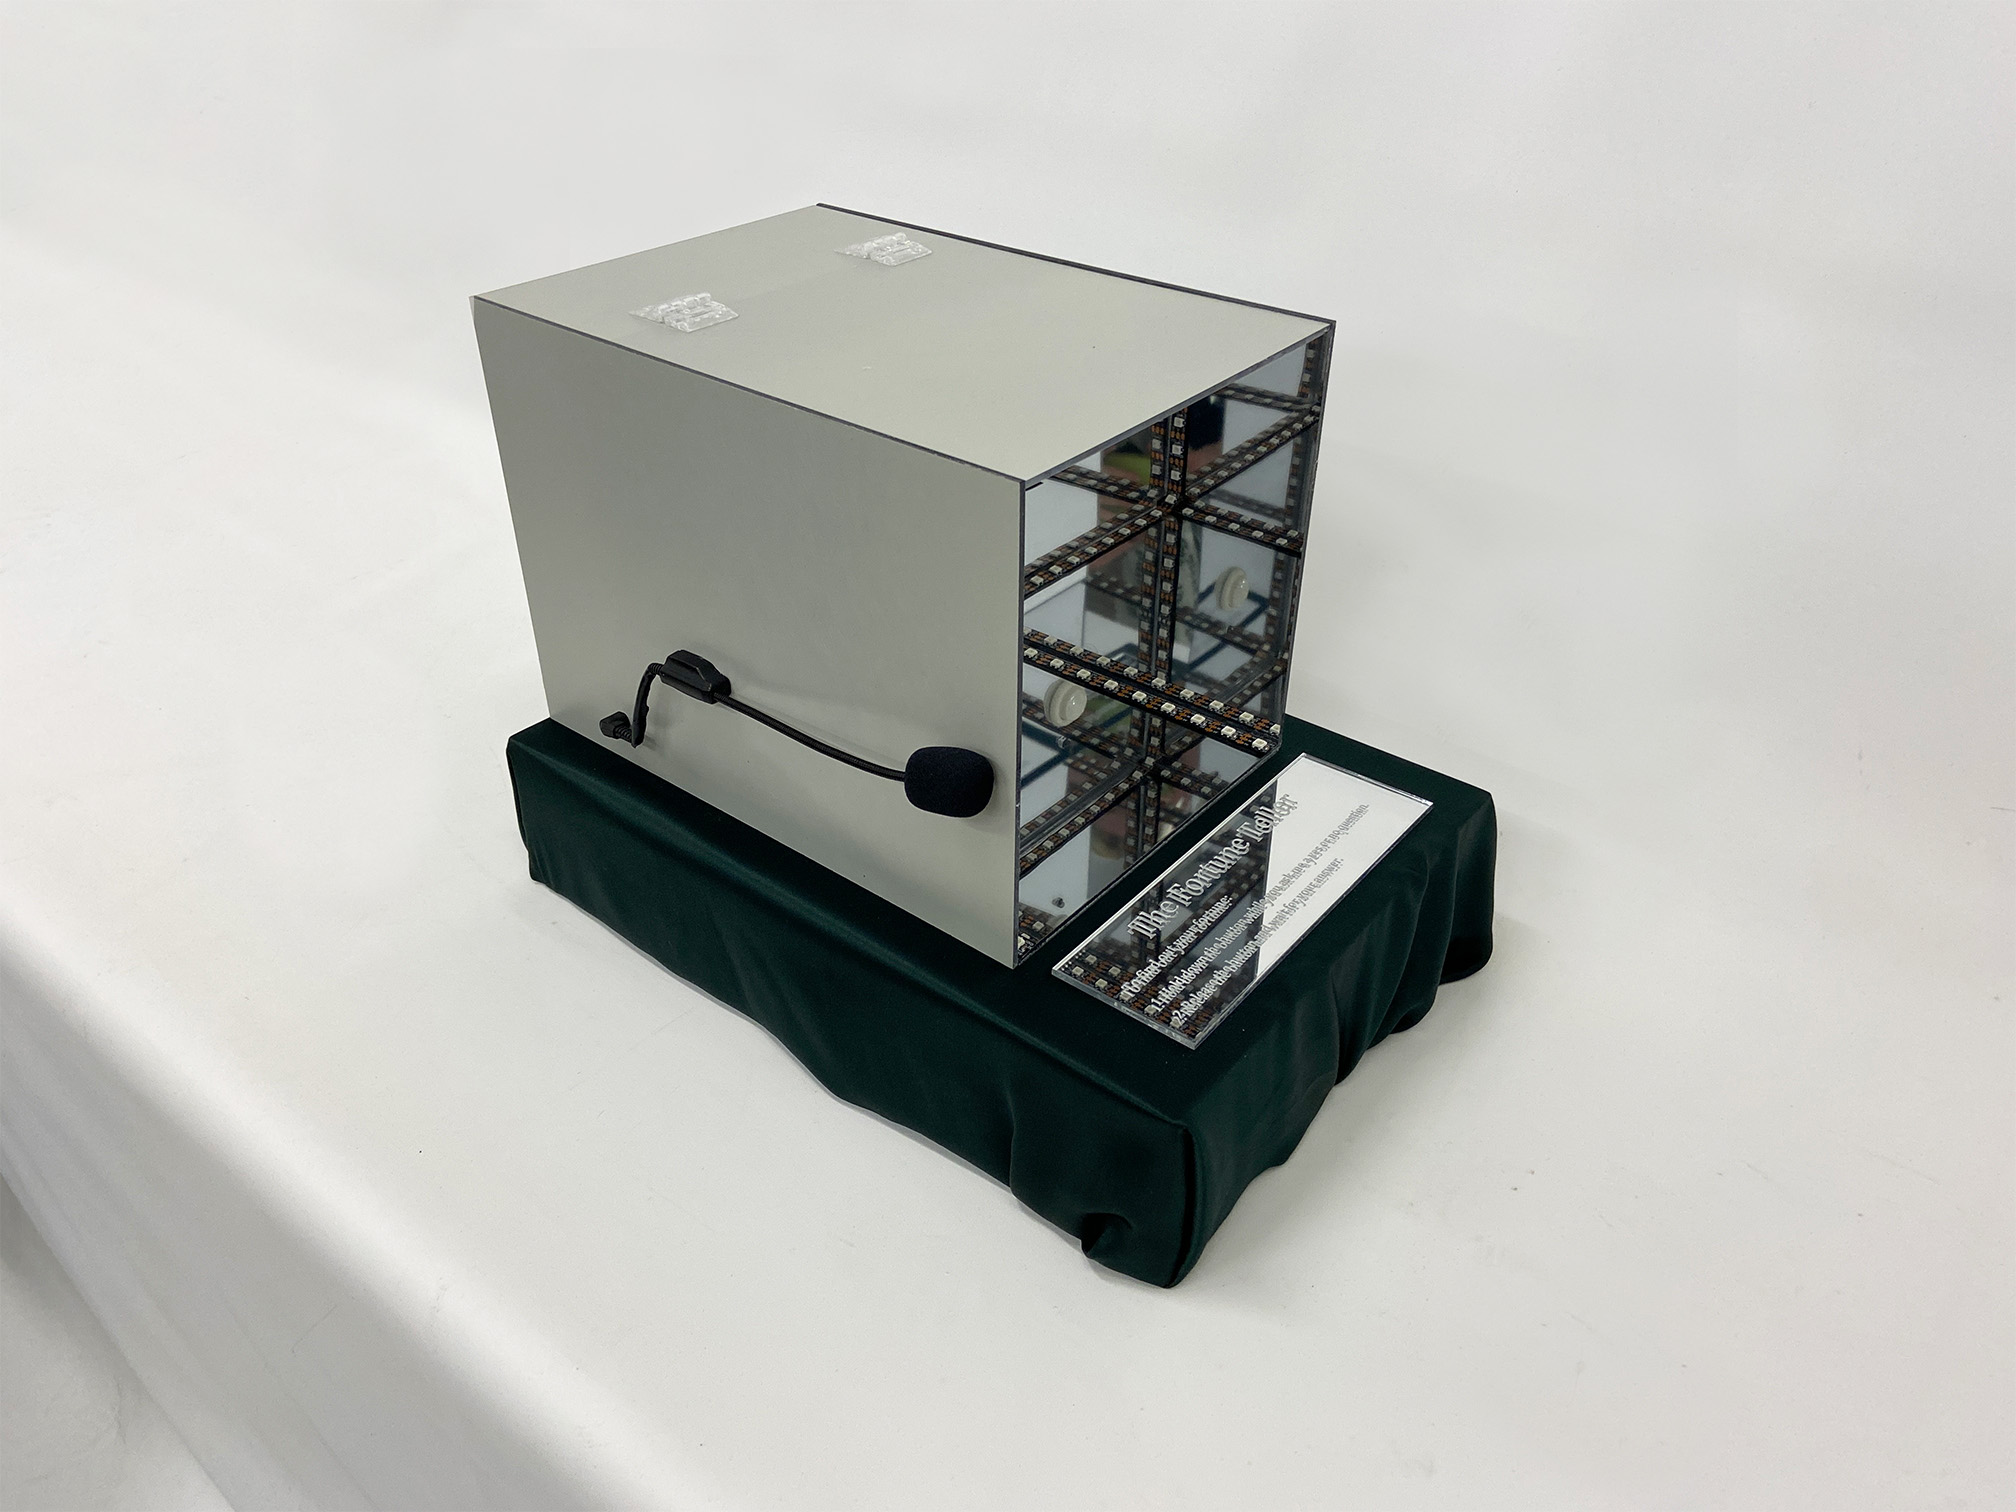
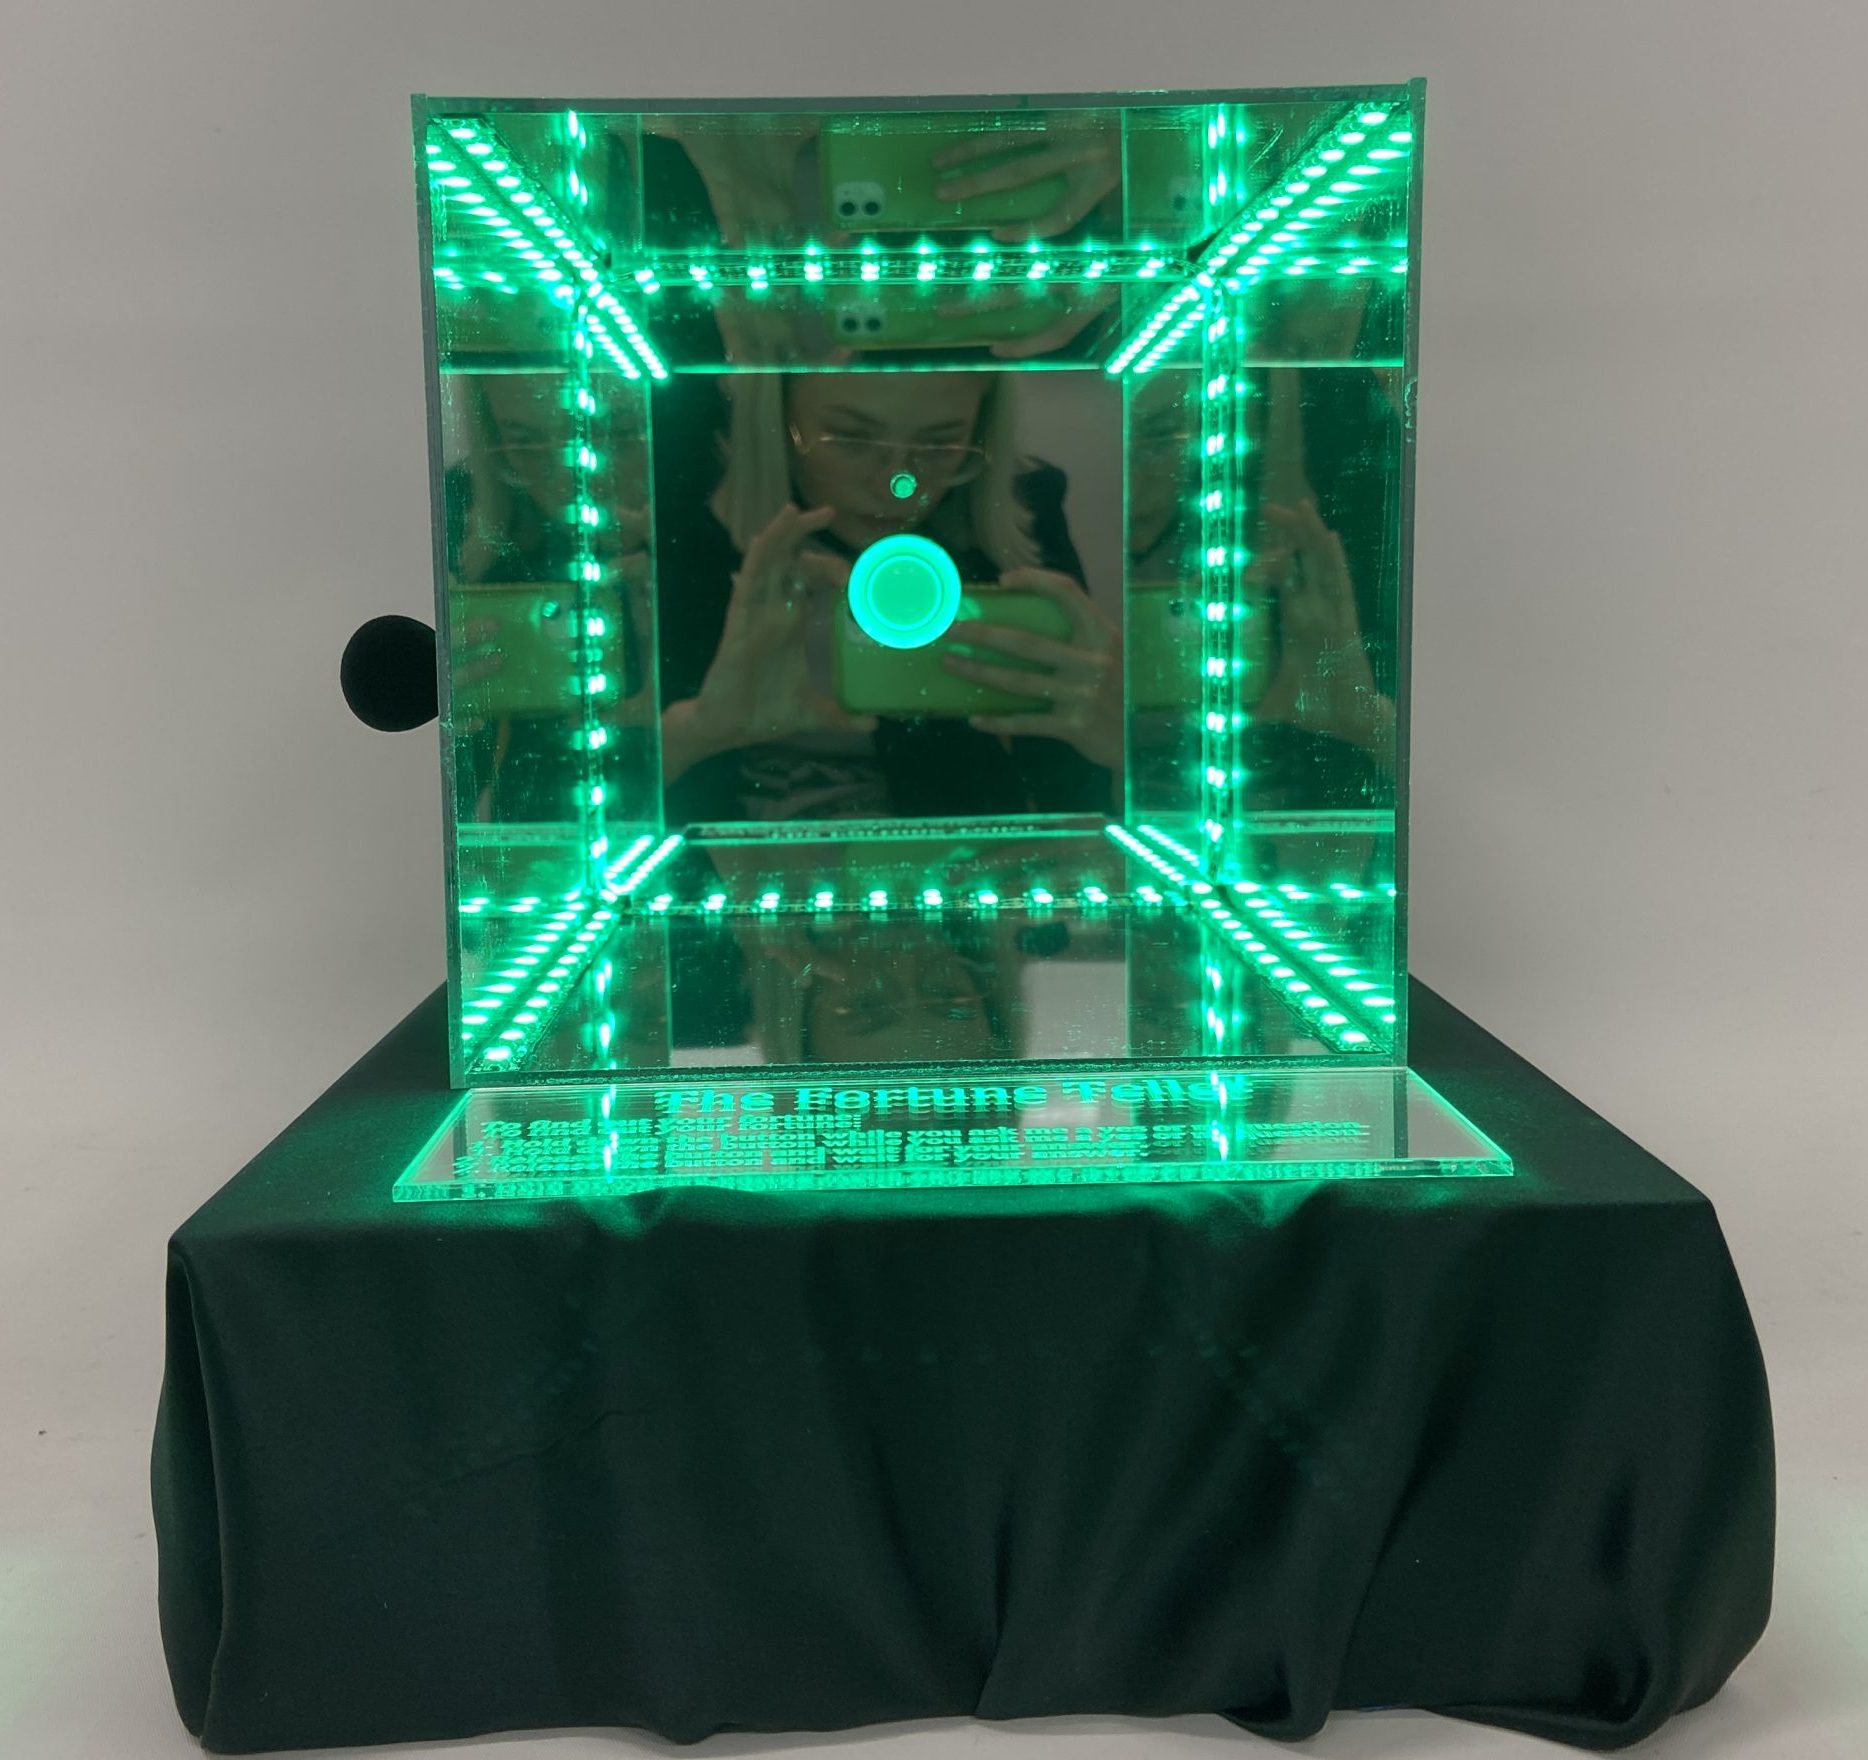
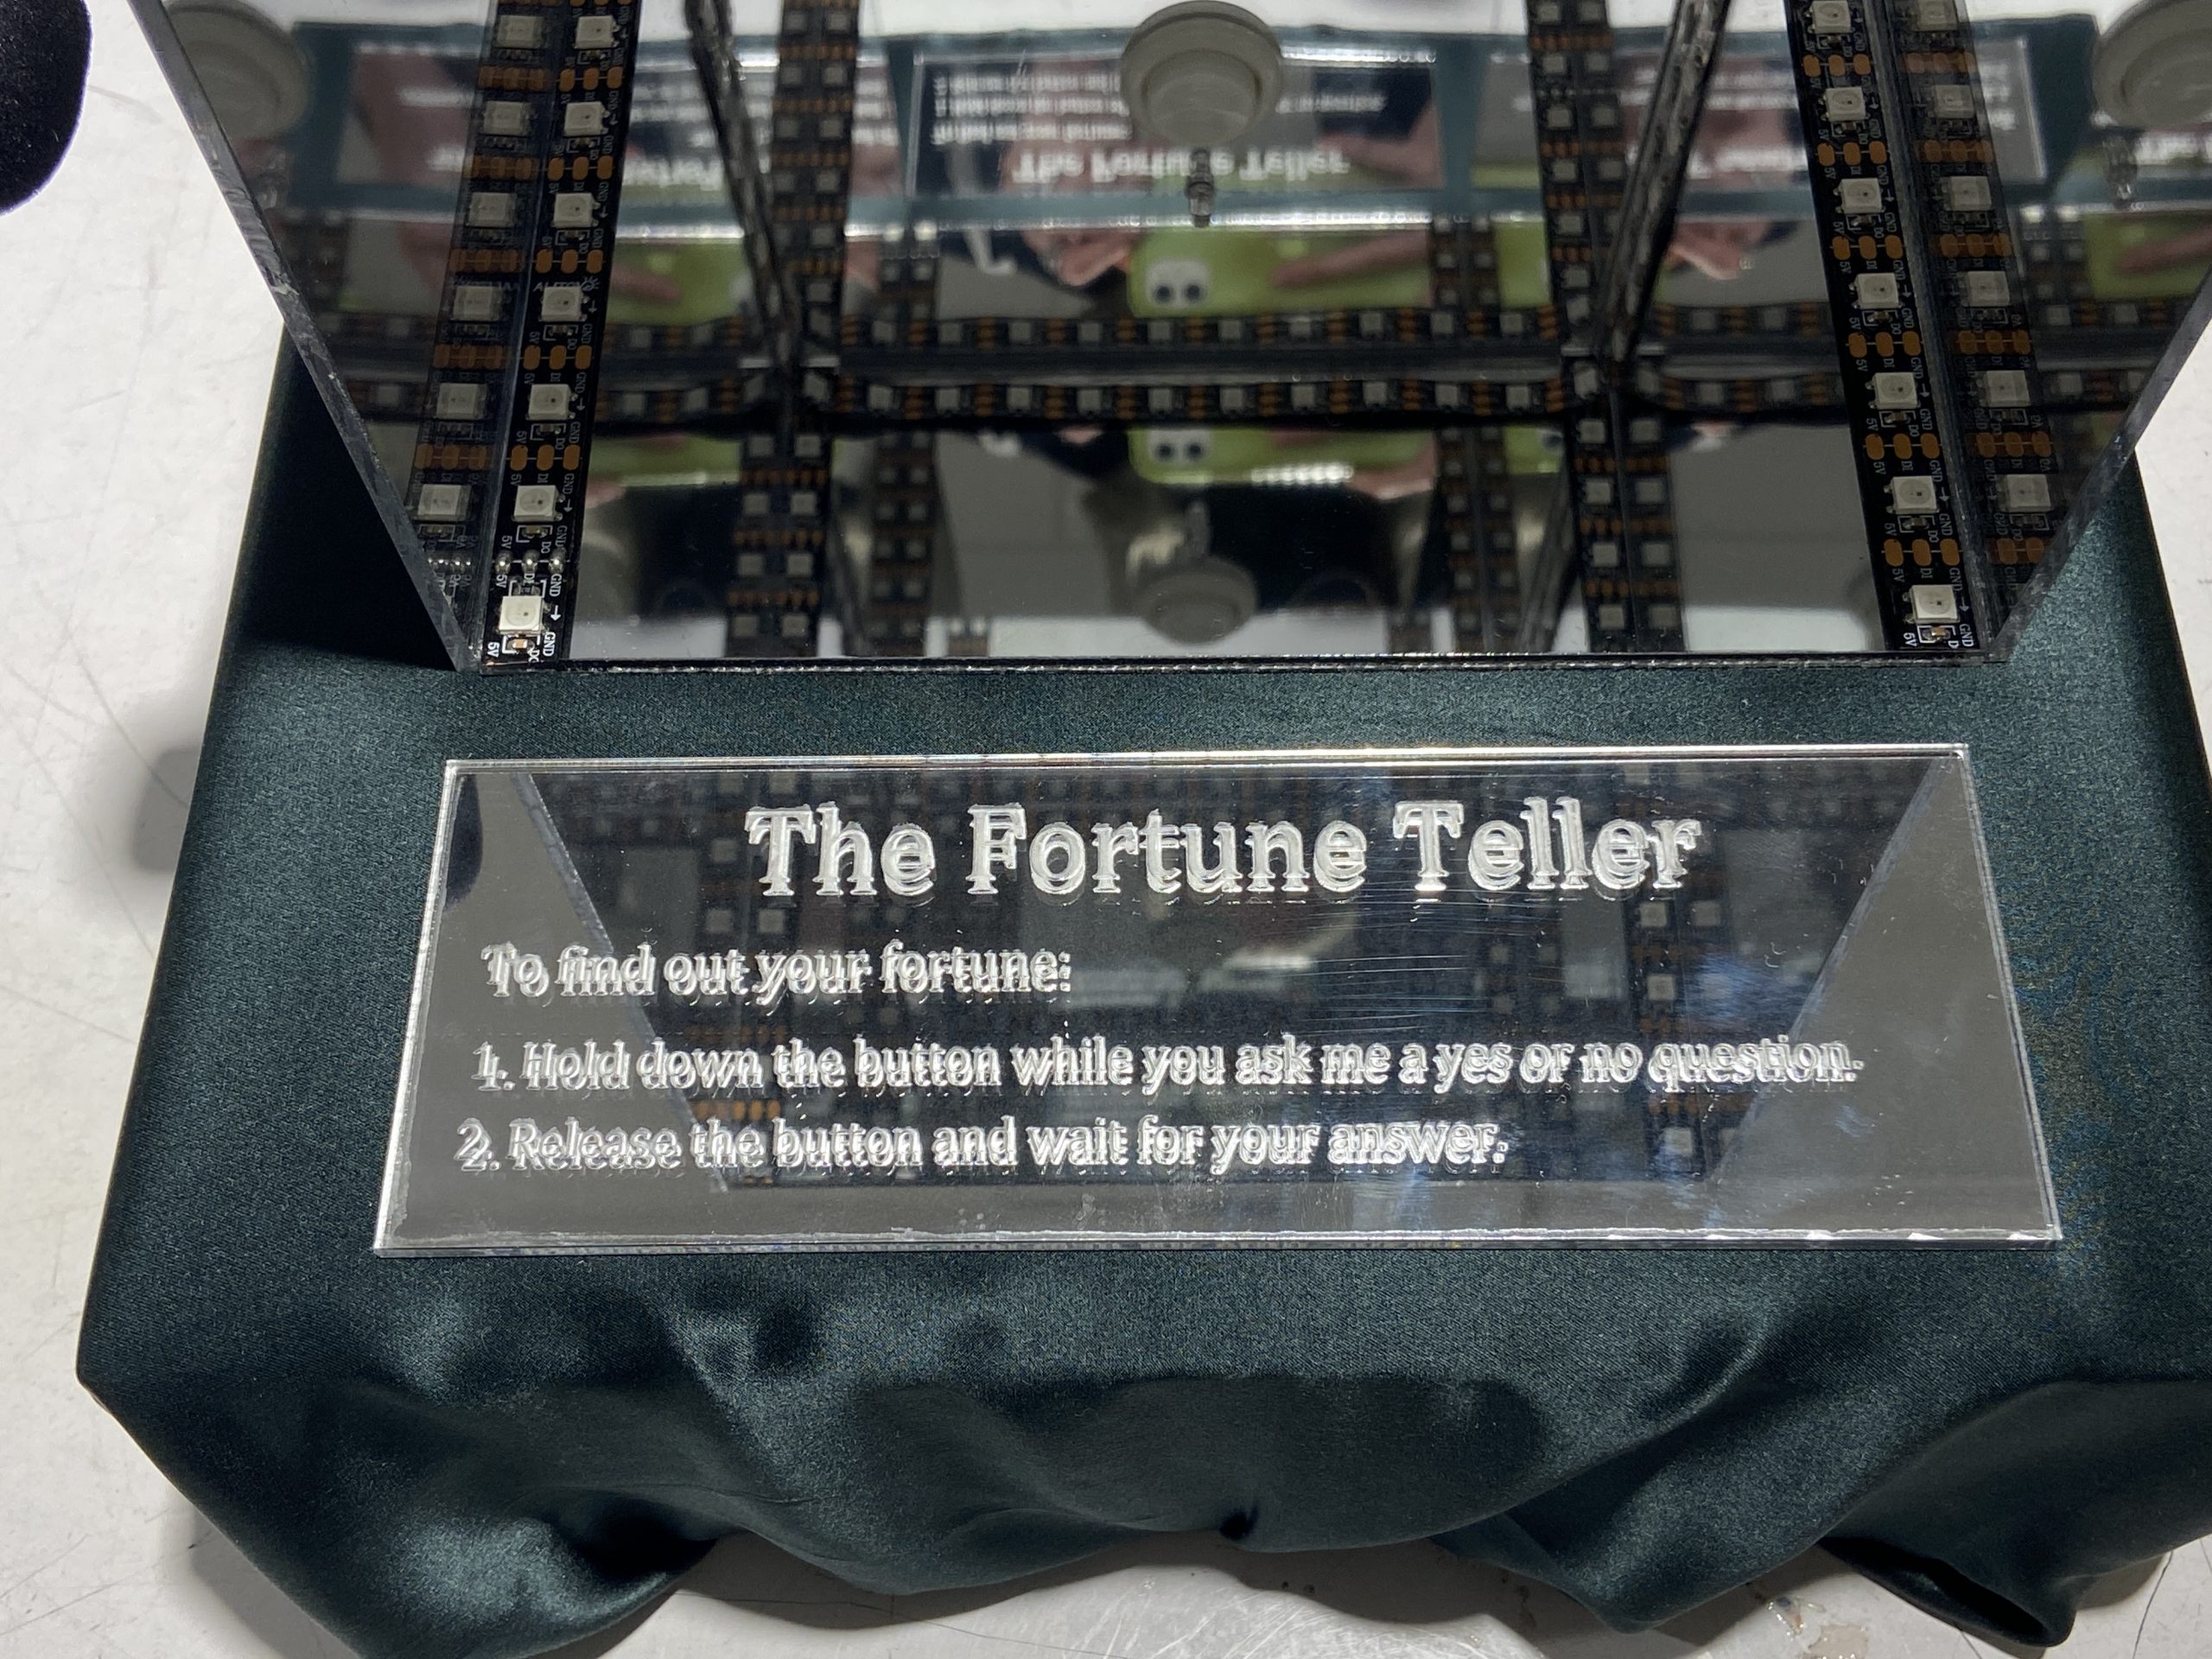
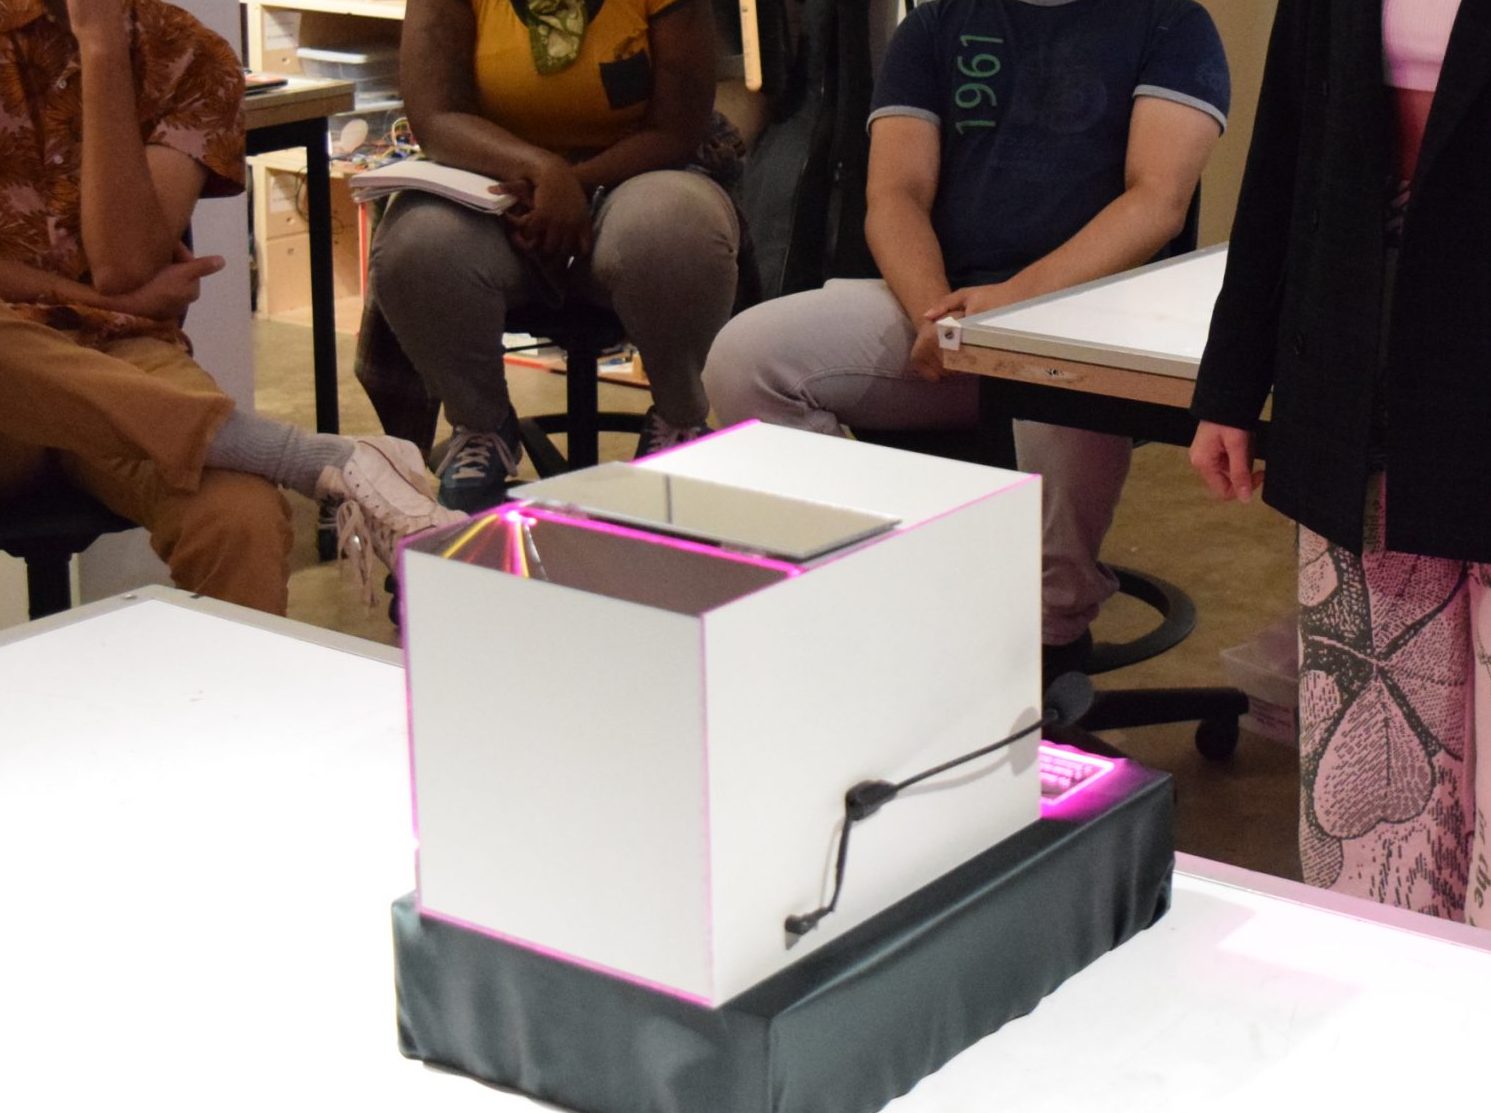
The crystal box fortune teller is a box made from mirrored acrylic with a big white button on the inside and a microphone on the side. It sits on top of a silken pedestal with a plaque of instructions. When the user holds down the button, a small white LED turns on while they ask the box a question. When the user finishes asking their question and lets go of the button, colored LEDs light up and a speaker produces a sound. There are three possible answers to whatever question the user asks so the LEDs have three different color gradients and the speaker has three different sounds.
Process Photos:
This video shows the first time I tested out the LEDs on my maquette using an example gradient arduino code.
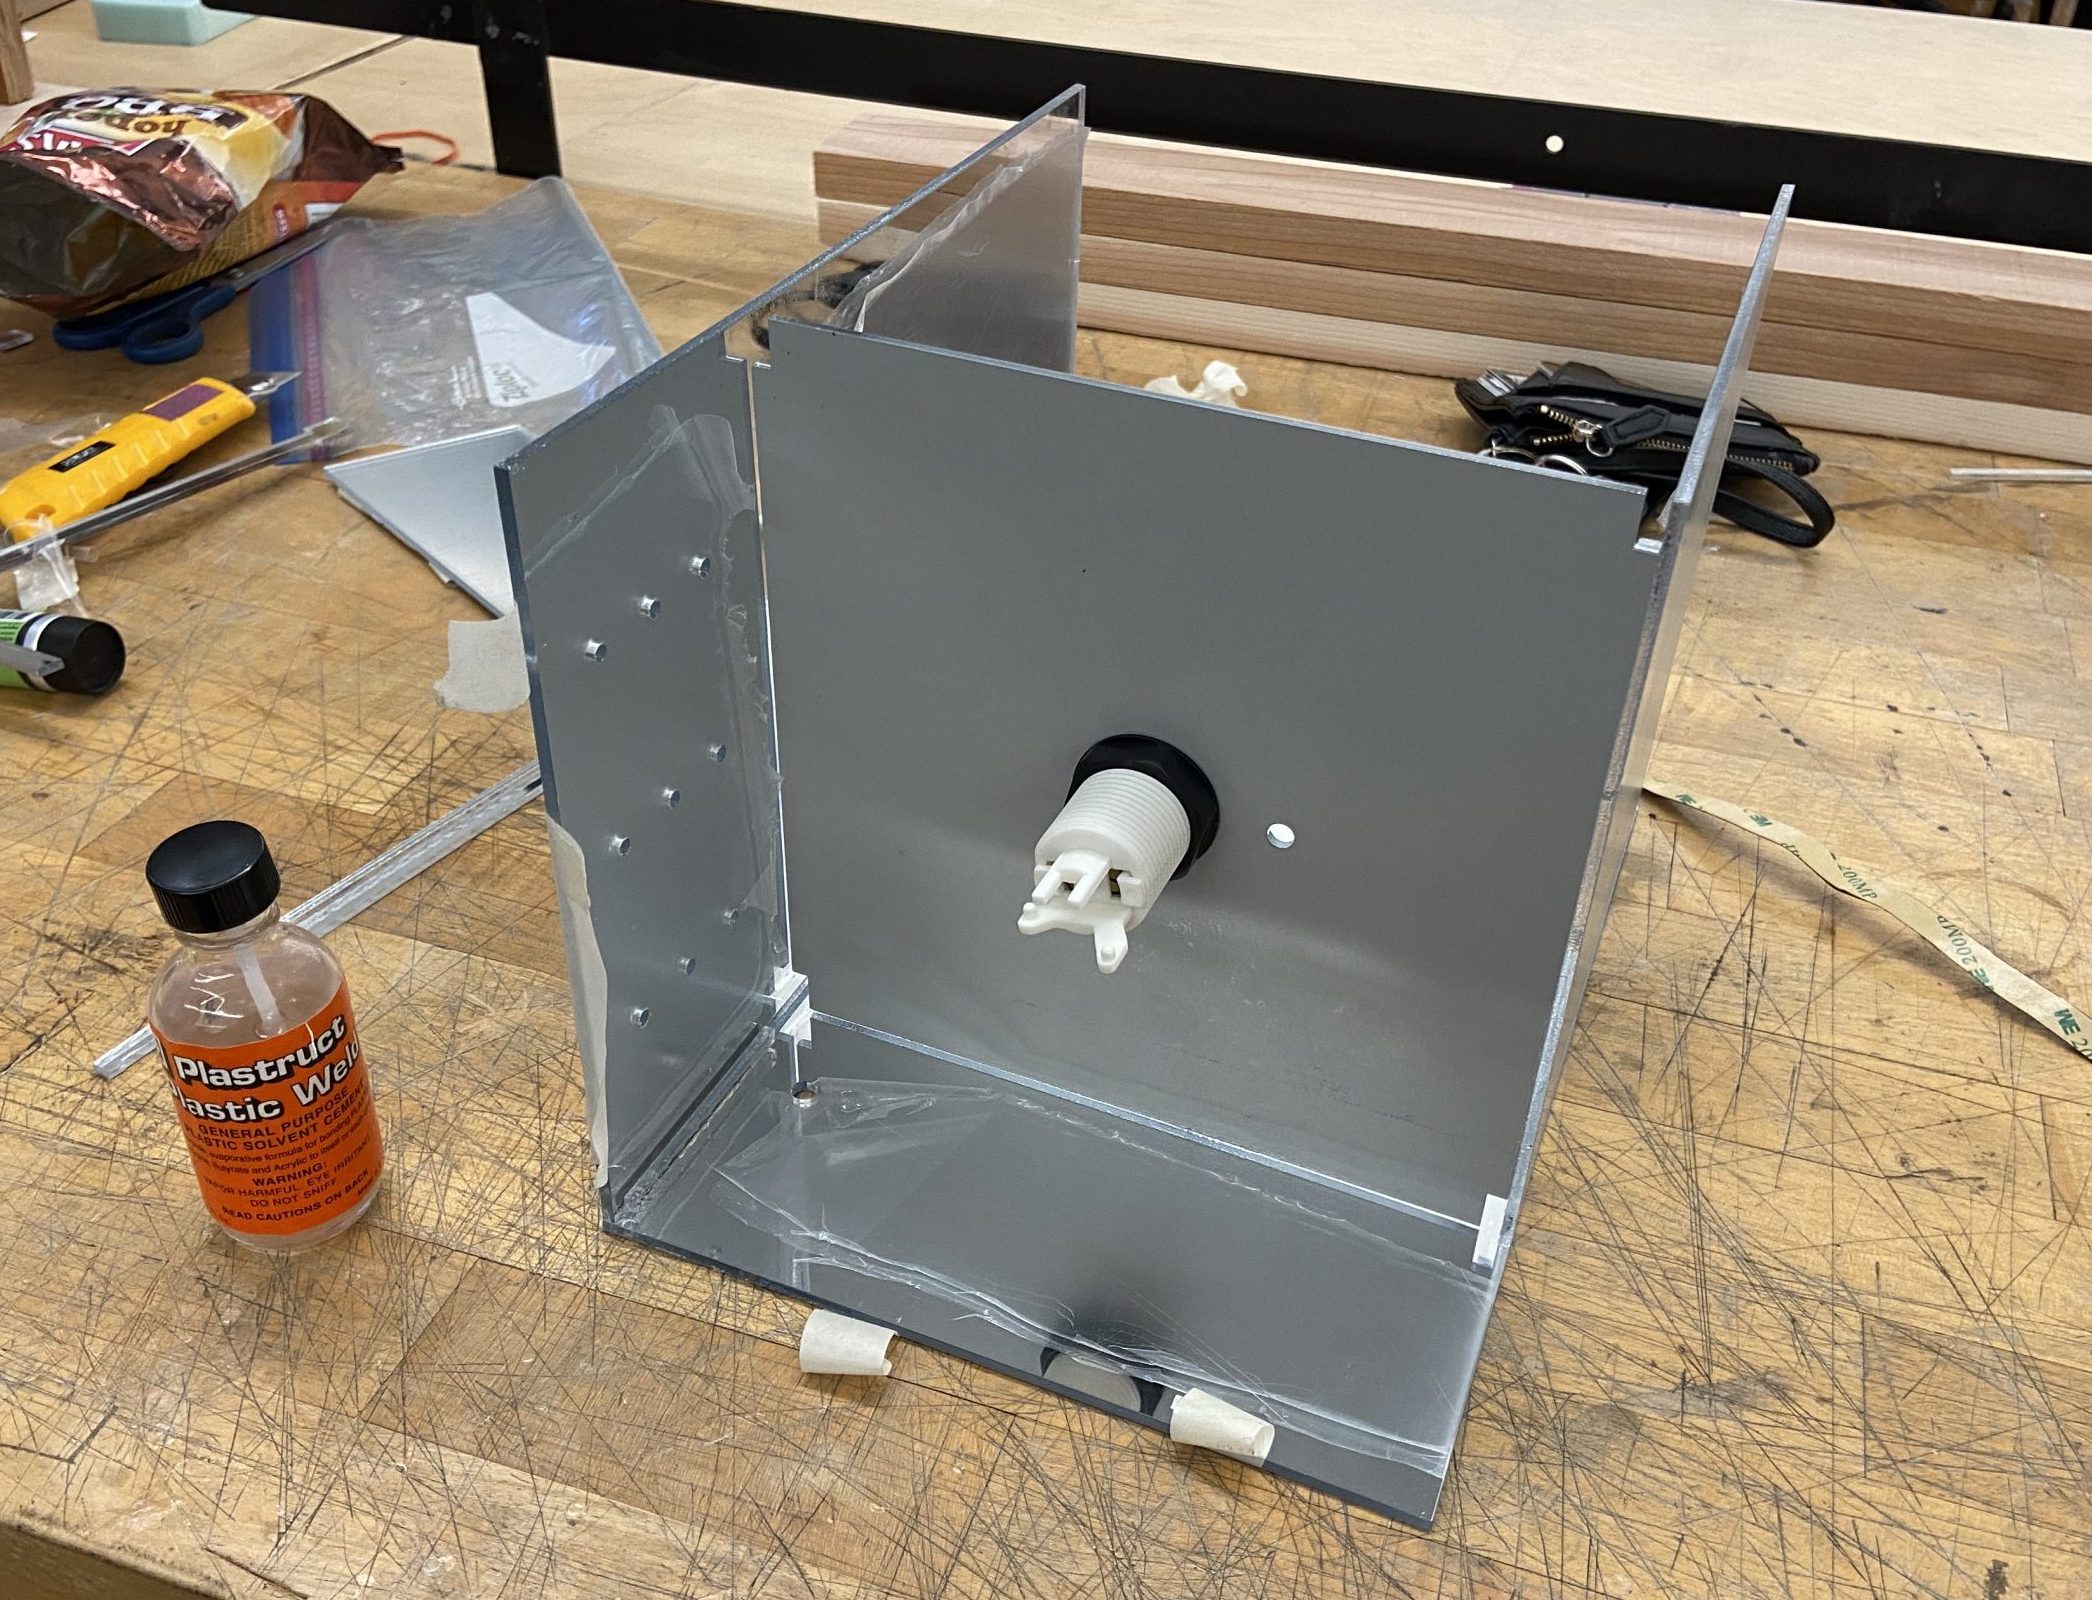
Here is when I began assembling the laser cut mirrored acrylic and attaching the button component. This process was very time consuming and frustrating because I was using plastic weld to join the acrylic pieces that dried very quickly. I realized at this point that I probably should have designed better joints between the pieces because they kept breaking apart every time I handled the box.
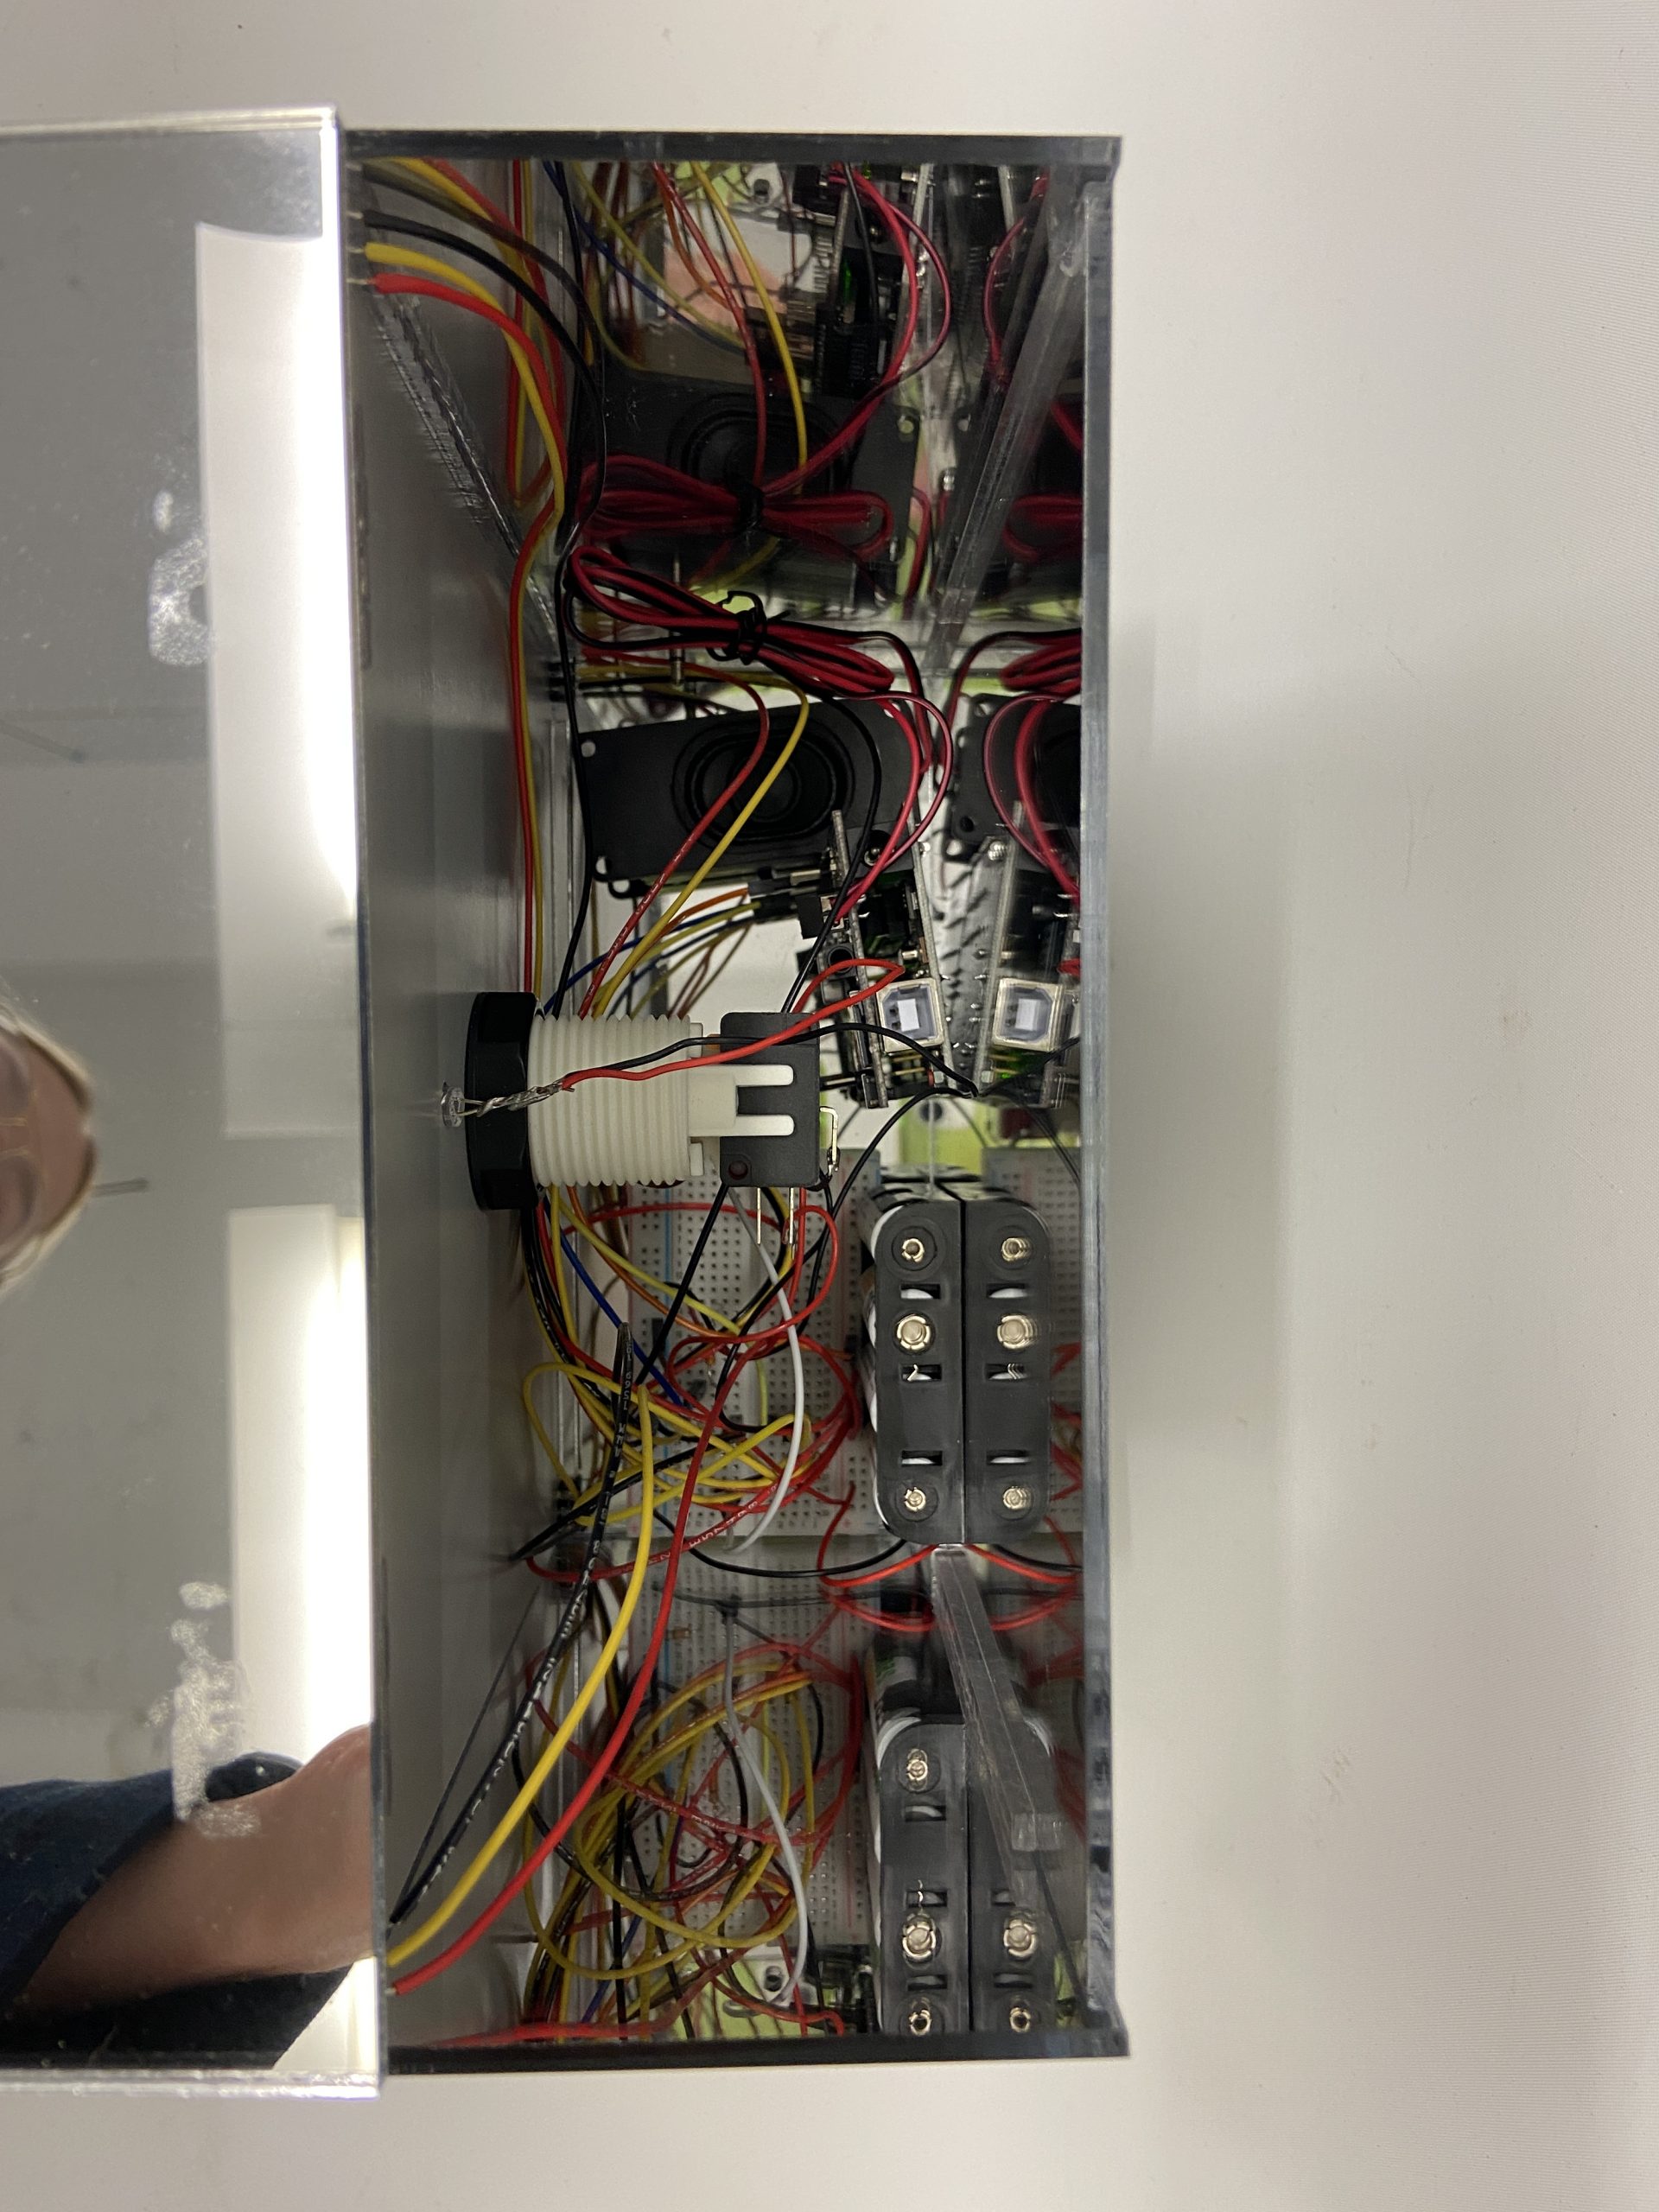
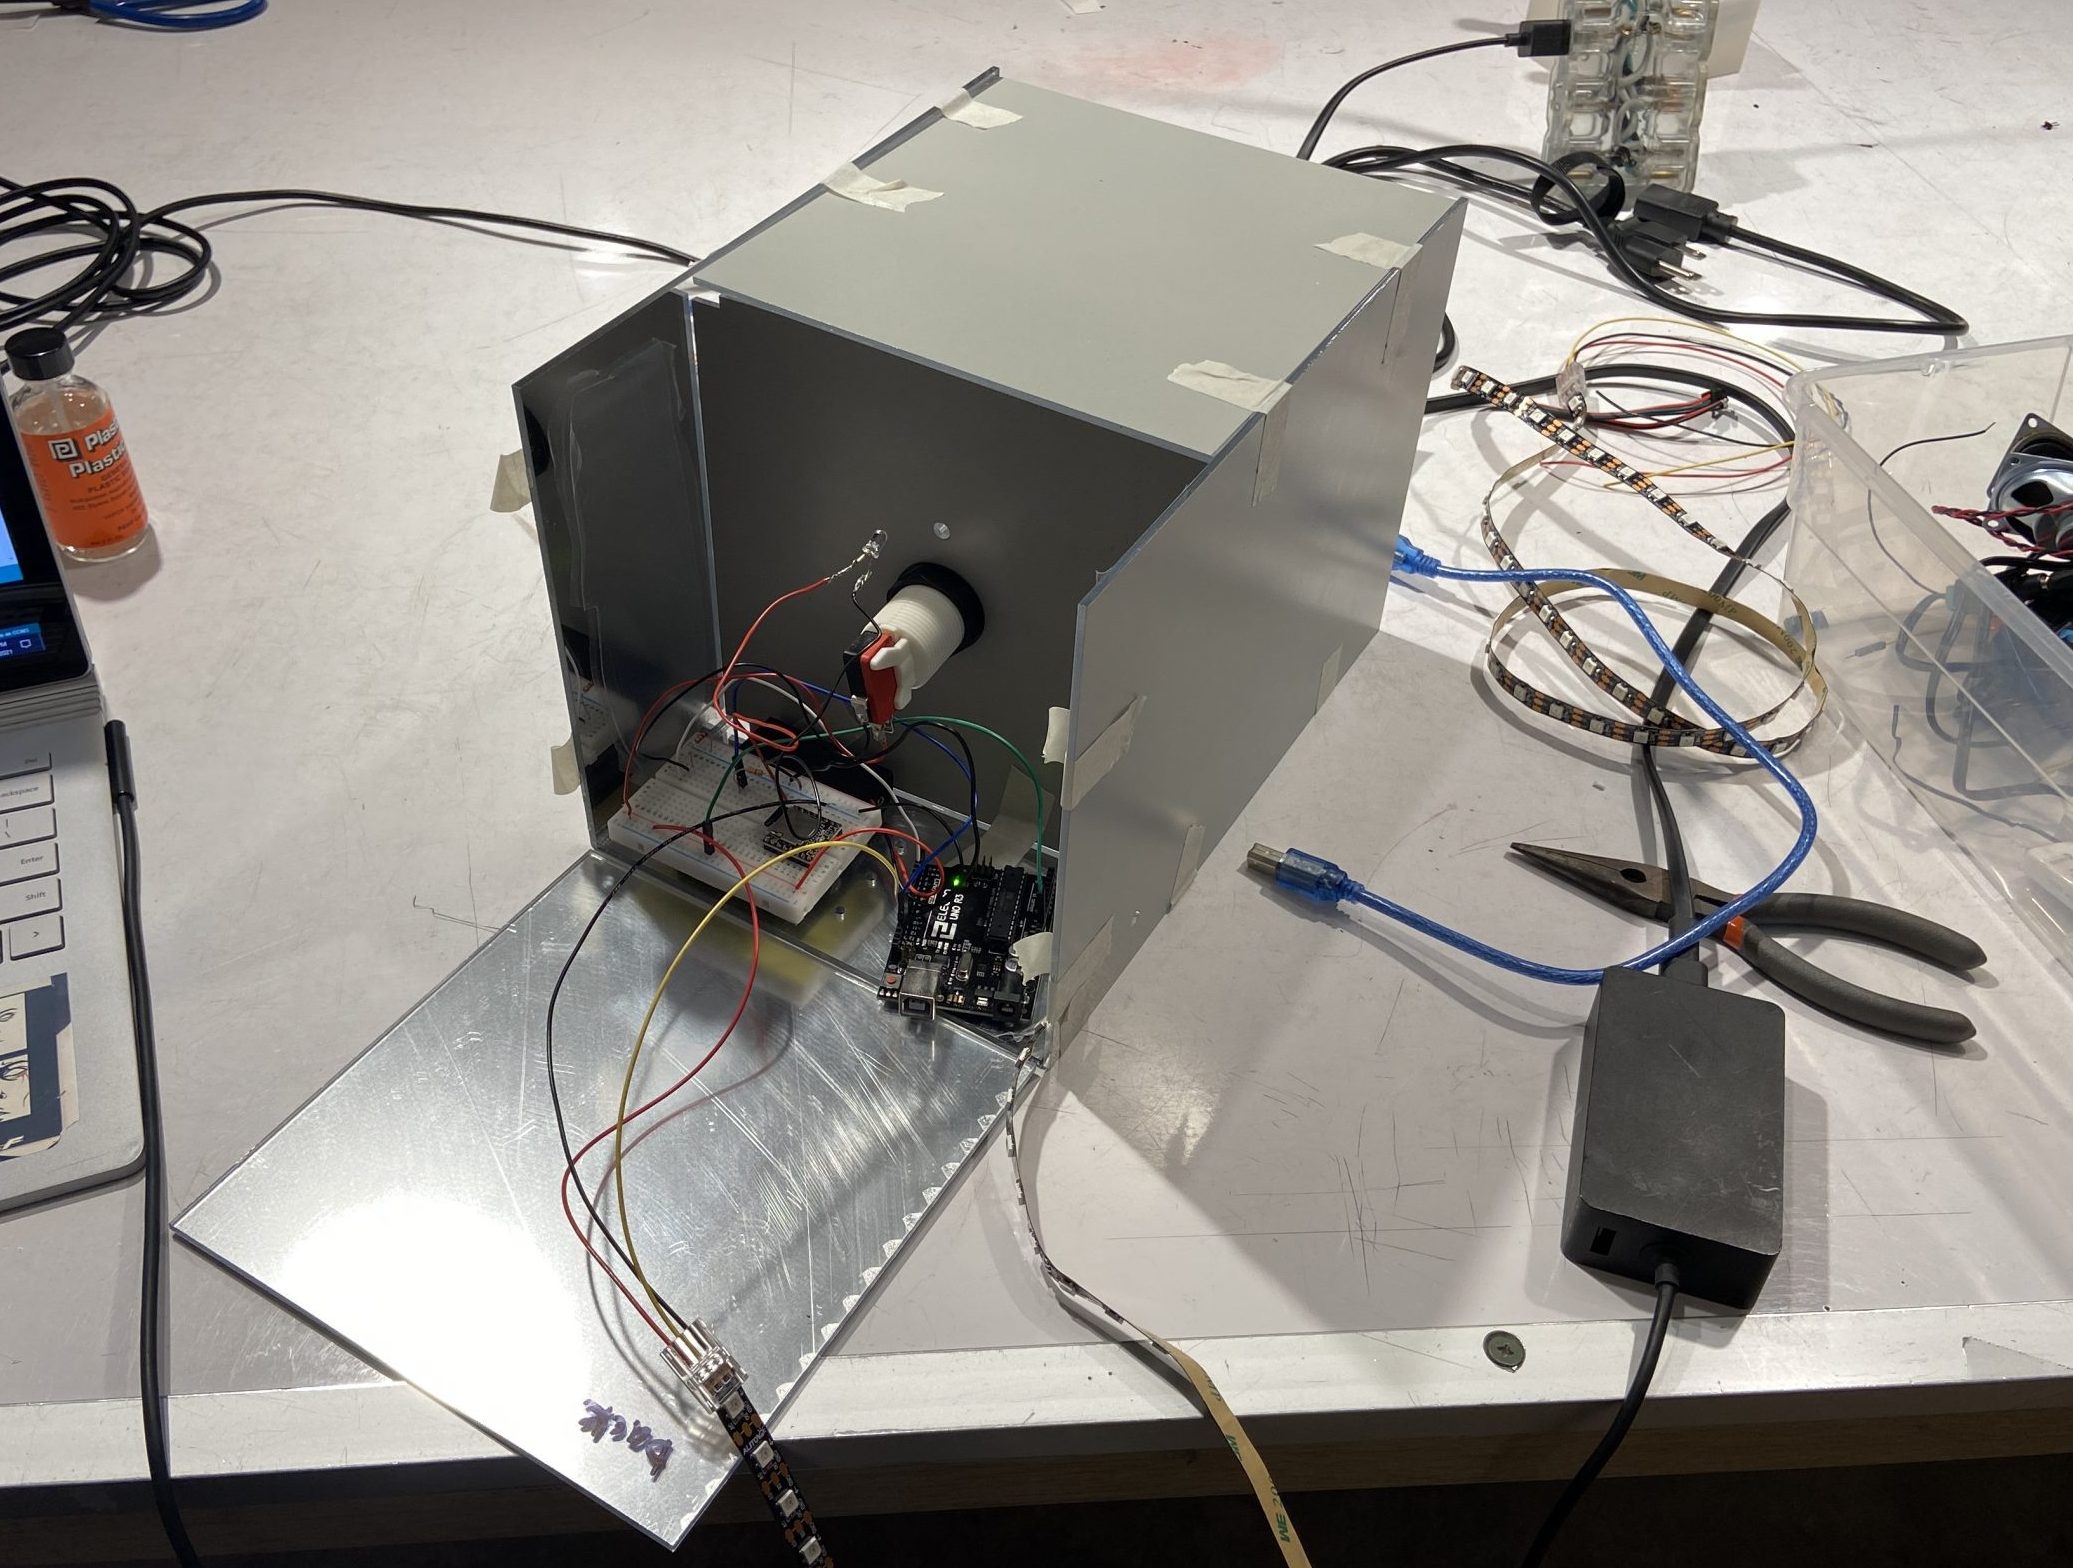
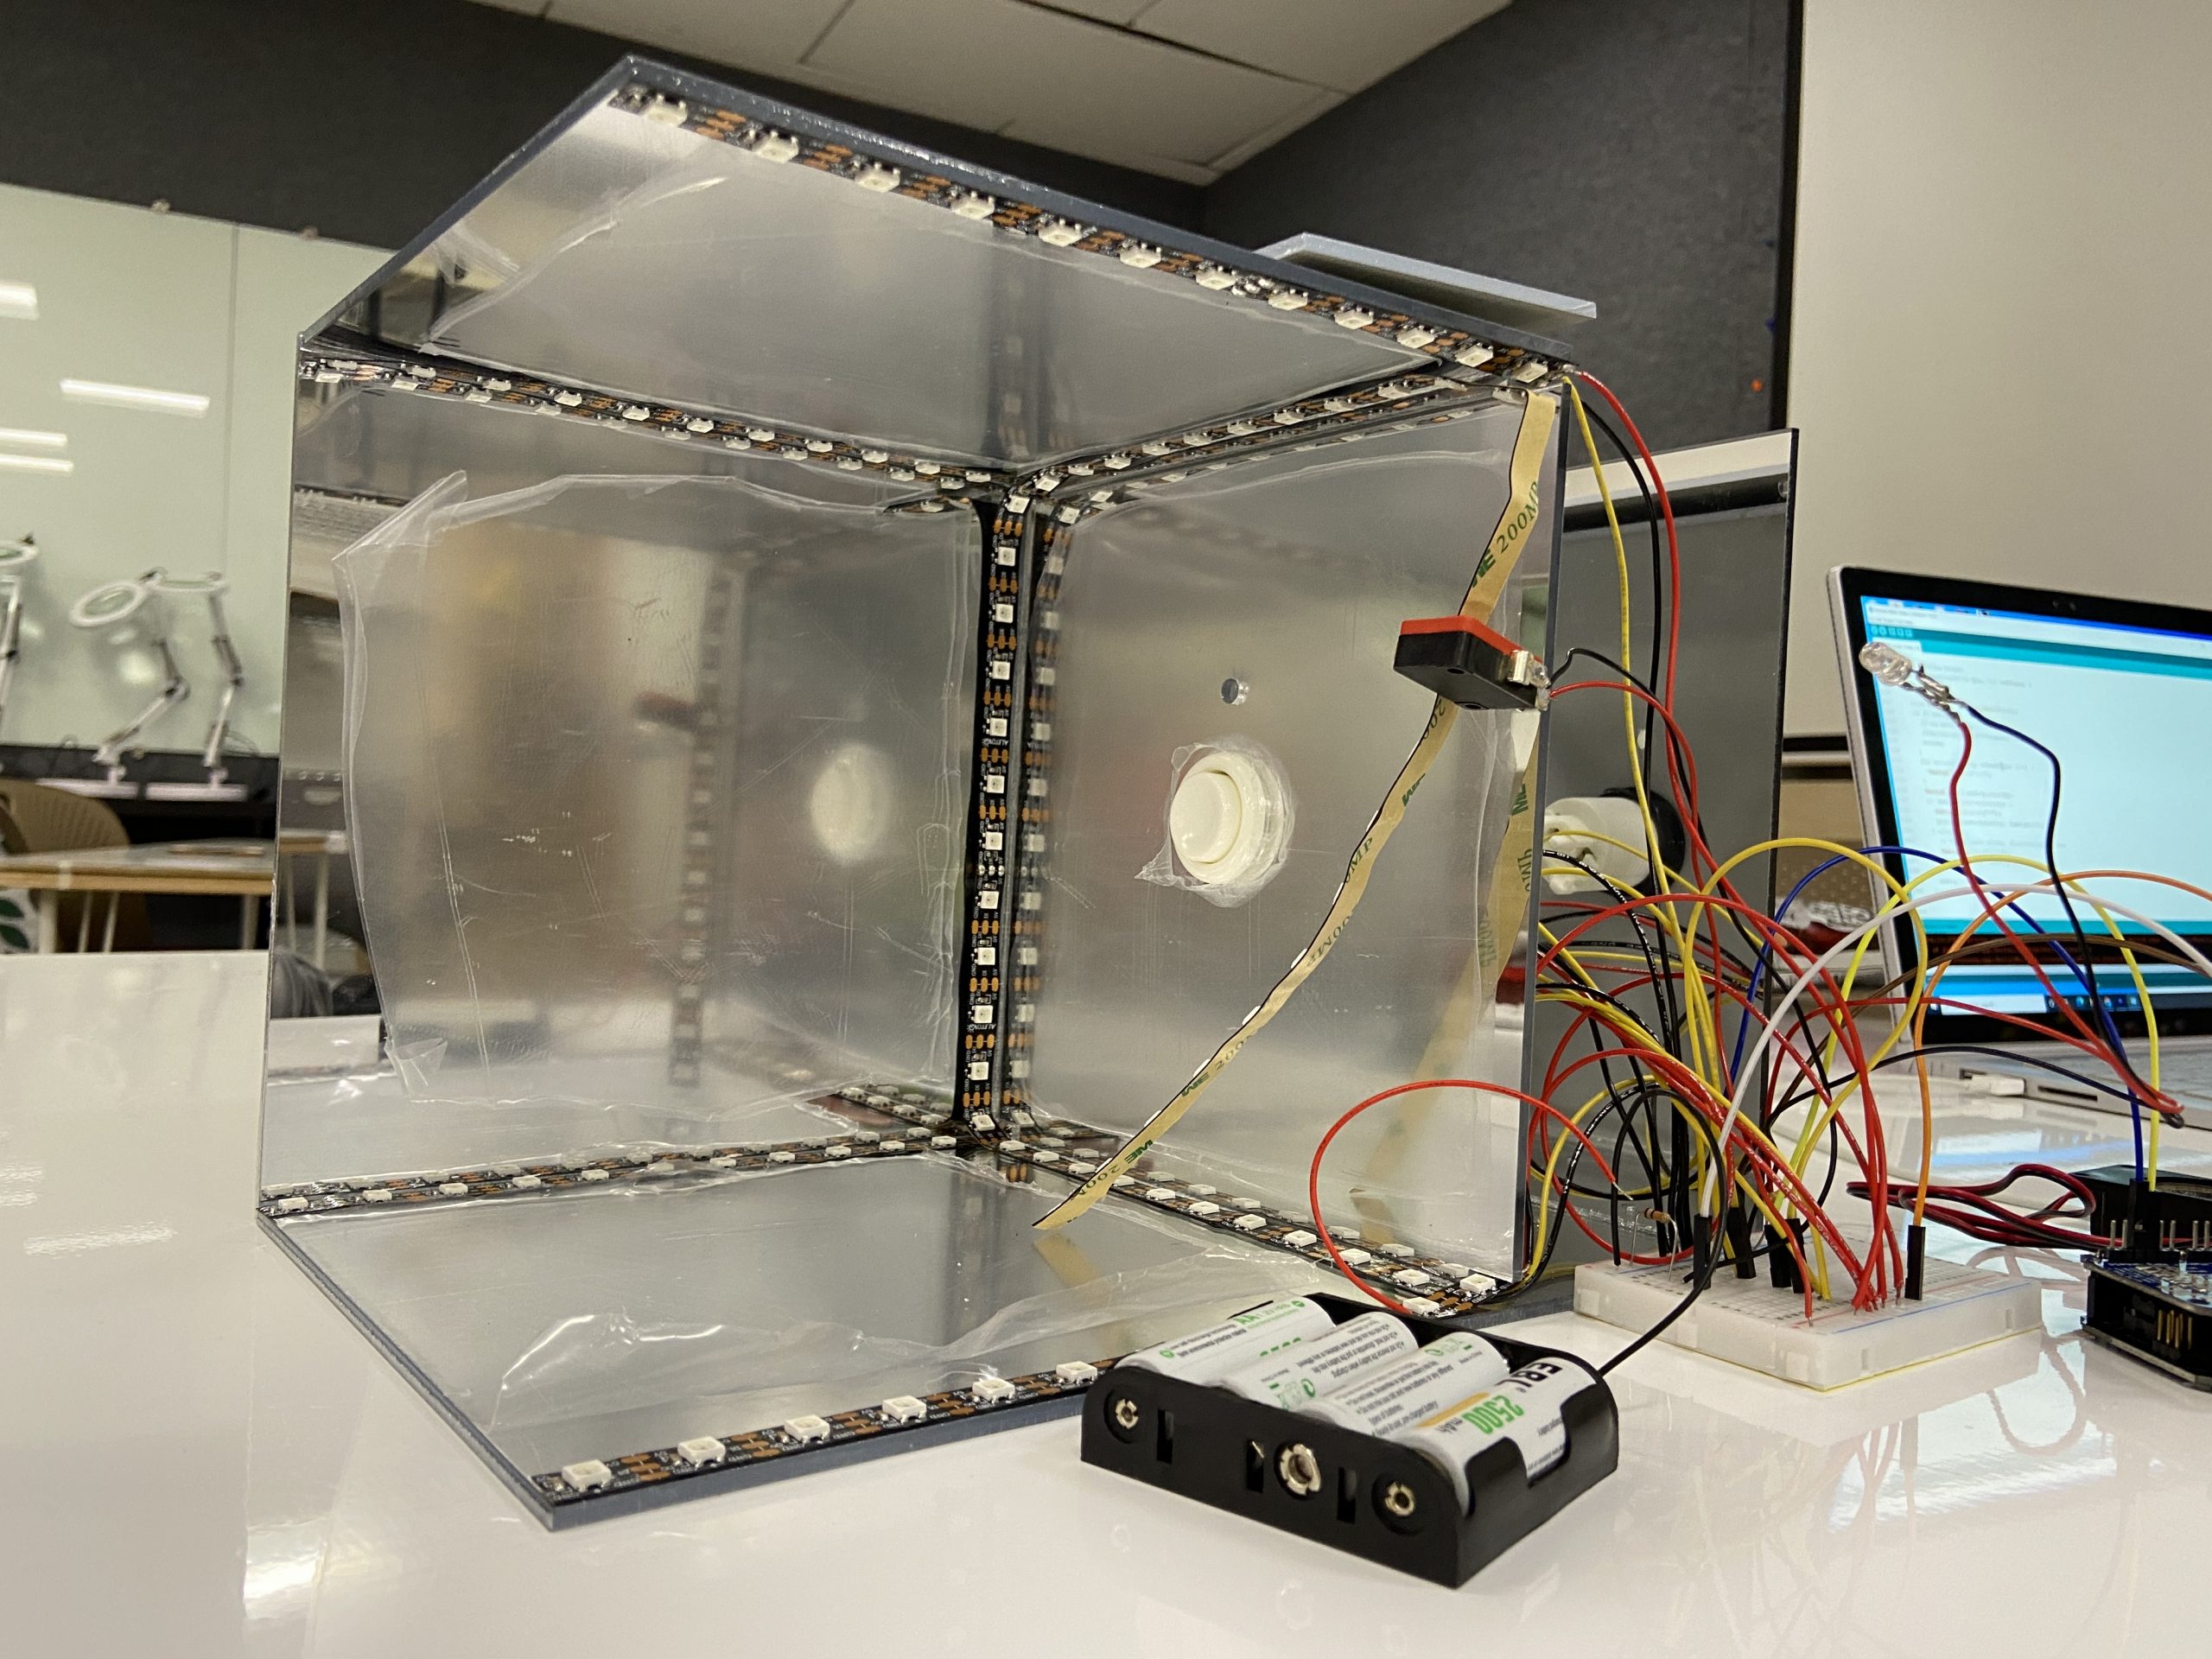
At this point I had started coding and wiring the strip of LEDs, the button, the singular LED and I was attempting to use the DFplayer component. The DFplayer component was working at first taking in information from an SD card to play my three sounds from a speaker but eventually it started giving me troubles and I had to look for another sound producing component.
Here I had cut the LED strip into 5 pieces and soldered them all to the breadboard so I could line the inside of the box seamlessly. My next step at this point in the process was to write the code for the new sound producing component. I was using the Adafruit Music Maker arduino shield which also takes information from an SD card.
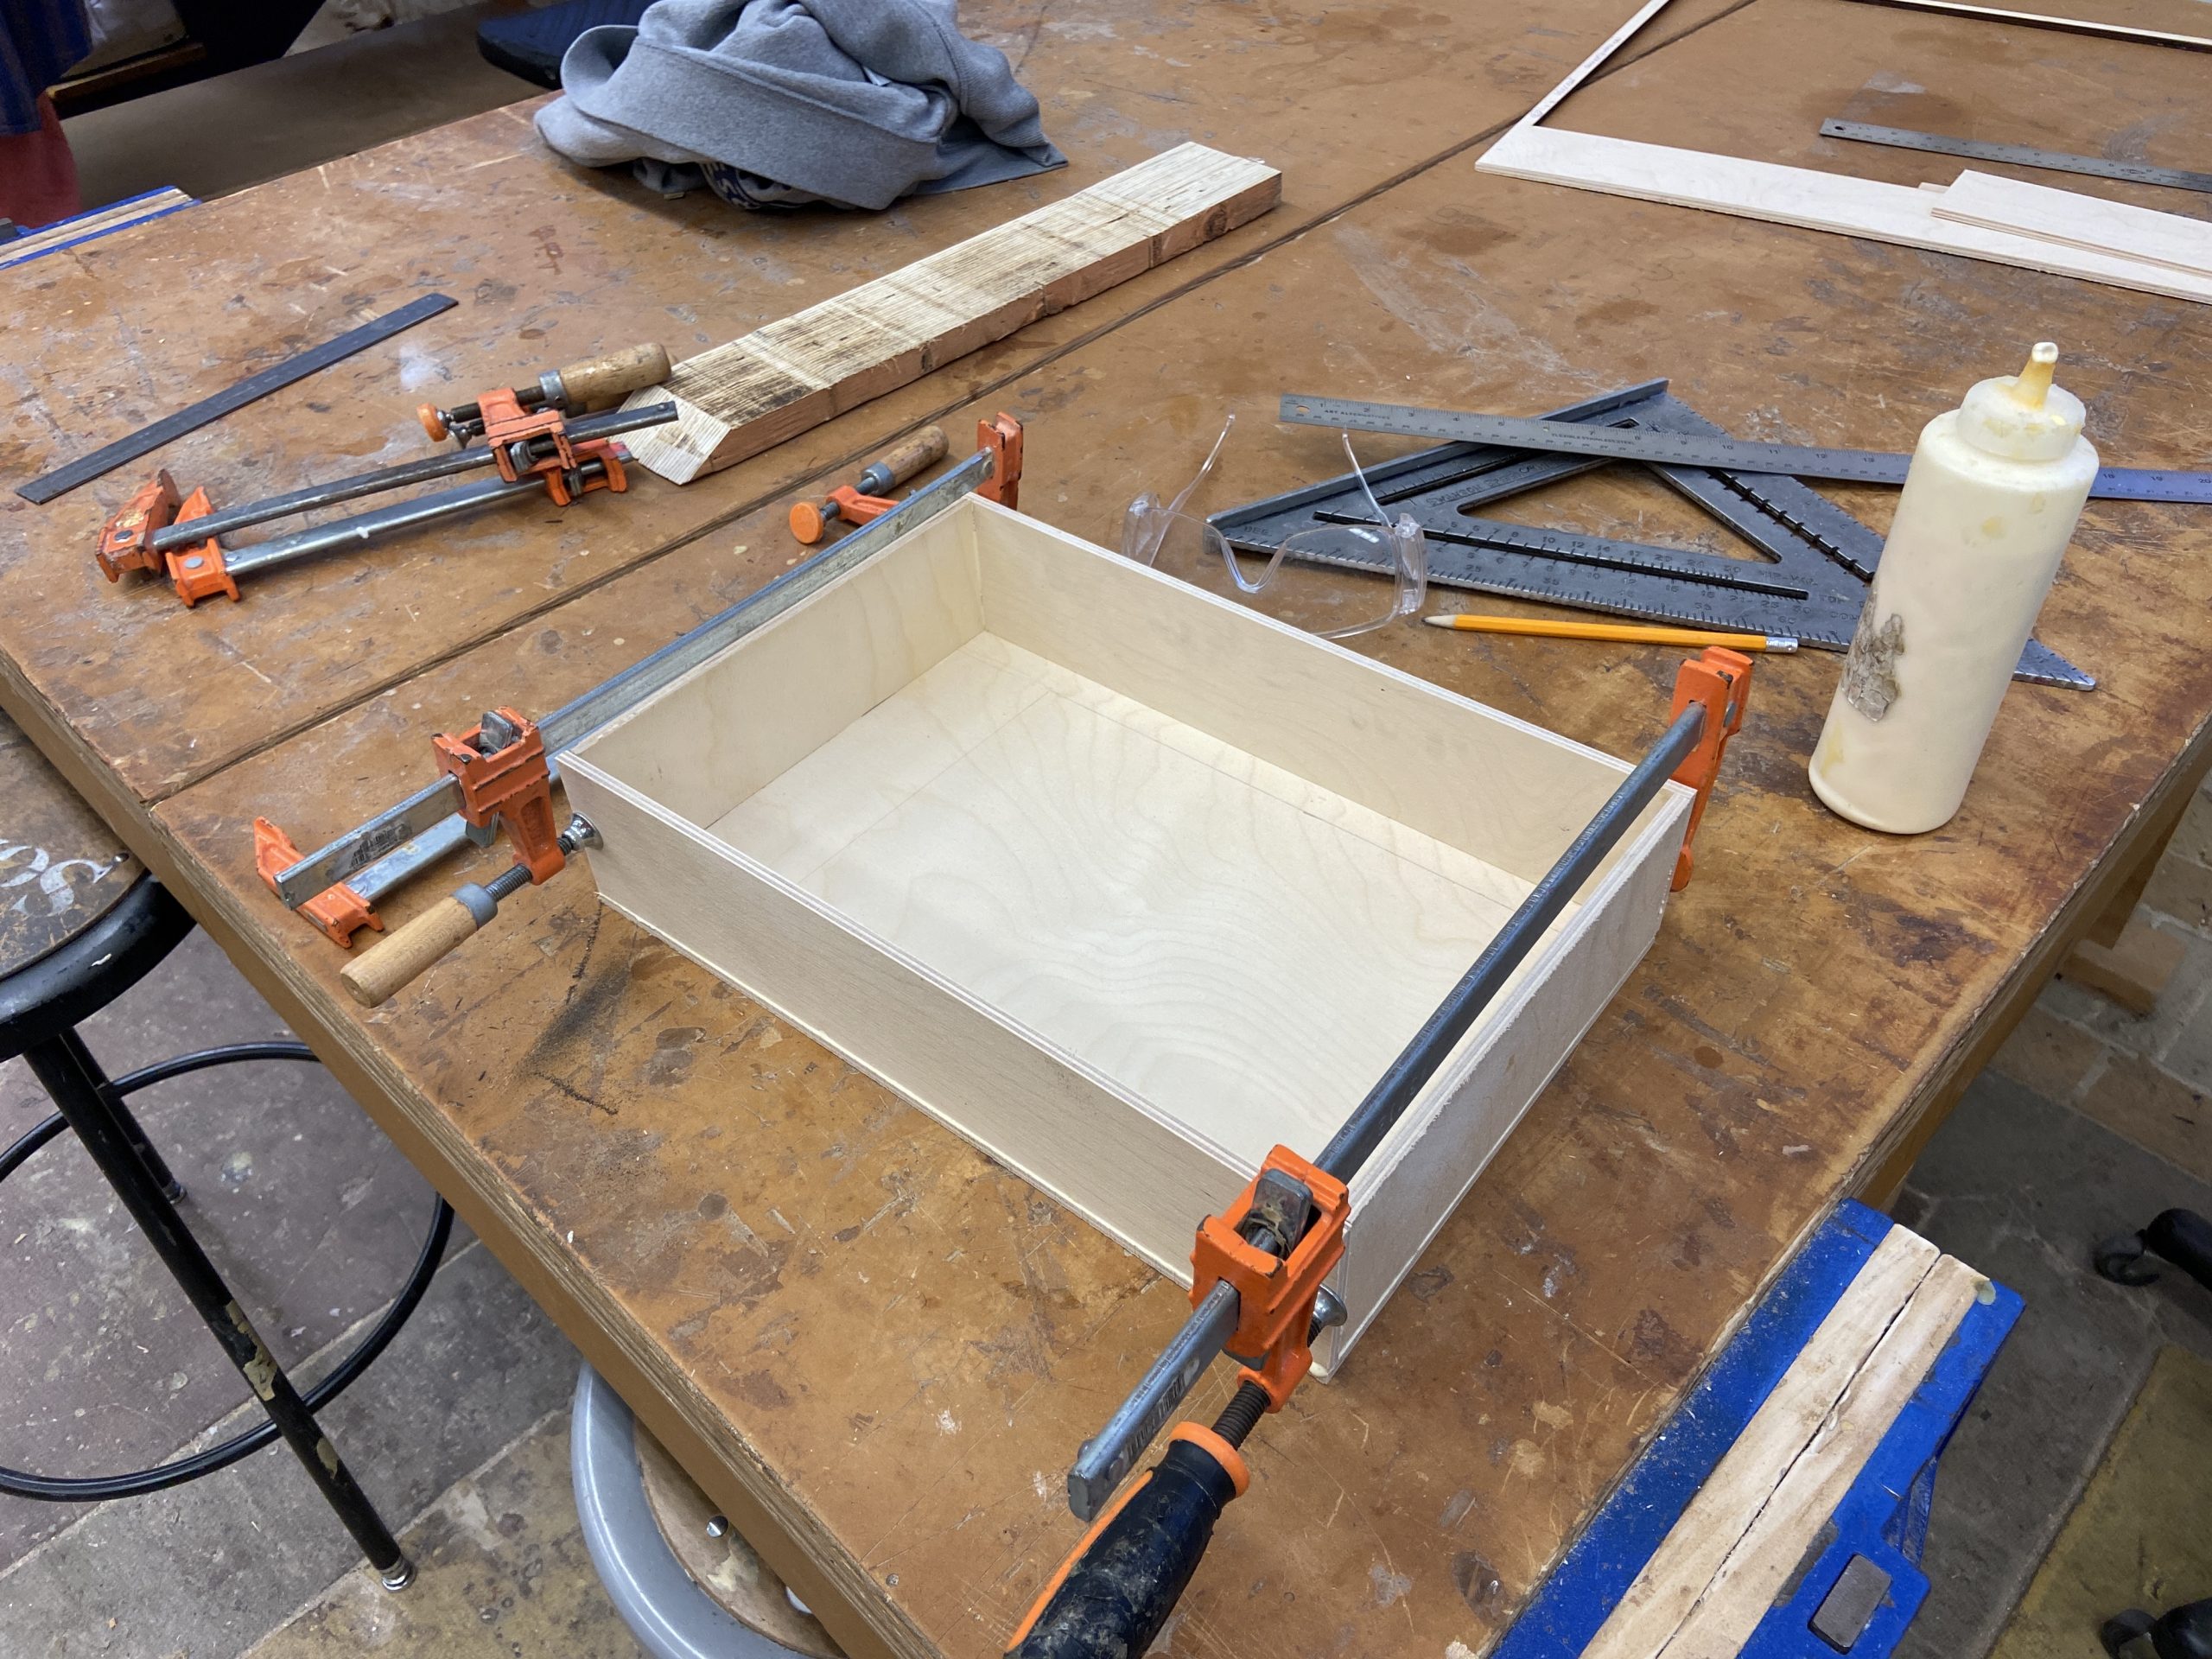
My last step was building the wooden pedestal that the crystal box would sit on.
Process Reflection:
This project was my first time coding arduino which was hard for me but I learned a lot of good basics in C and feel more confident with it now. Designing and constructing the box was easy for me because I have a lot of experience in model making but even then I struggled with putting the box together. I hope to continue learning C so that I can start doing more complex projects and build a better intuition for writing code. I am excited for what other electronics we will learn how to use in upcoming projects because I found this project to be really fun and satisfying when things started to work.
This project helped me learn the importance of planning on finishing a project a few days in advance because when working with electronics there will always be unexpected last minute bugs and glitches. This is something I don’t usually need to worry about in my normal architecture curriculum. I thought I was nearly finished with this project on the Friday before it was due but then that is when the DFplayer just stopped working so I had to troubleshoot and completely rethink the sound component for my project. I am grateful that I planned ahead and had the time to fix the sound issues.
If I had changed the input to be something other than a button then my project could have taken an entirely new direction. My outputs were based on how long the button was being held down so if I had used a different kind of sensor instead, the logic of my code would have been different. I also could have changed the size, shape and siting of the box to create a completely different user experience. Some suggestions that were brought up during my review were to scale up the size of the box so that people could fit their head inside of the infinity mirror. I also would consider putting mirrors on the outside of the box and having a default light gradient to make the project more visually interesting when the button is not being pressed.
Code submission:
/* Crystal Box Fortune Teller
    by Olivia Werner
    The user input for this code is a button. Other components involved
    are the pololu LED strip, a singular LED, and the Adafruit Music Maker.
    It records how long the button has been pressed, sorts the input into
    three different color modes and uses nested for loops to output a different
    LED gradient and sound for each color mode.
*/

// pin 2 for button
//pin A2 led strips
//pin A3 resistor to singular led


/*button
  created 2005
  by DojoDave < http: //www.0j0.org>
  modified 30 Aug 2011
  by Tom Igoe*/
#include <PololuLedStrip.h>
#include "Arduino.h"
#include "SoftwareSerial.h"
#include <SPI.h>
#include <Adafruit_VS1053.h>
#include <SD.h>

//speaker
// These are the pins used for the breakout example
#define BREAKOUT_RESET  9      // VS1053 reset pin (output)
#define BREAKOUT_CS     10     // VS1053 chip select pin (output)
#define BREAKOUT_DCS    8      // VS1053 Data/command select pin (output)
// These are the pins used for the music maker shield
#define SHIELD_RESET  -1      // VS1053 reset pin (unused!)
#define SHIELD_CS     7      // VS1053 chip select pin (output)
#define SHIELD_DCS    6      // VS1053 Data/command select pin (output)

// These are common pins between breakout and shield
#define CARDCS 4     // Card chip select pin
// DREQ should be an Int pin, see http://arduino.cc/en/Reference/attachInterrupt
#define DREQ 3       // VS1053 Data request, ideally an Interrupt pin

Adafruit_VS1053_FilePlayer musicPlayer =
  Adafruit_VS1053_FilePlayer(SHIELD_RESET, SHIELD_CS, SHIELD_DCS, DREQ, CARDCS);

// Create an ledStrip object and specify the pin it will use.
PololuLedStrip<A2> ledStrip;

// Create a buffer for holding the colors (3 bytes per color).
#define LED_COUNT 60
rgb_color colors[LED_COUNT];


// constants won't change. They're used here to set pin numbers:
const int buttonPin = 2;     // the number of the pushbutton pin
const int ledPin =  A3;      // the number of the LED pin

// variables will change:
int buttonState = 0;         // variable for reading the pushbutton status
int prevButtonState = 0;

bool countingUp = true;

unsigned long startTime = 0;
unsigned long Dif = 0;

int RoundDif = 0;
int ColorMode = 3;

void setup() {
  // put your setup code here, to run once:
  // initialize the LED pin as an output:
  pinMode(ledPin, OUTPUT);
  // initialize the pushbutton pin as an input:
  pinMode(buttonPin, INPUT);
  Serial.begin(9600);

  if (! musicPlayer.begin()) { // initialise the music player
    Serial.println(F("Couldn't find VS1053, do you have the right pins defined?"));
    while (1);
  }
  Serial.println(F("VS1053 found"));

  if (!SD.begin(CARDCS)) {
    Serial.println(F("SD failed, or not present"));
    while (1);  // don't do anything more
  }

  // list files
  printDirectory(SD.open("/"), 0);

  // Set volume for left, right channels. lower numbers == louder volume!
  musicPlayer.setVolume(1, 1);

  // If DREQ is on an interrupt pin (on uno, #2 or #3) we can do background
  // audio playing
  musicPlayer.useInterrupt(VS1053_FILEPLAYER_PIN_INT);  // DREQ int

}

void loop() {
  // put your main code here, to run repeatedly:
  // read the state of the pushbutton value:
  buttonState = digitalRead(buttonPin);

  if (buttonState == HIGH && prevButtonState == LOW) {
    //begin timer
    digitalWrite(ledPin, HIGH);
    startTime = millis();
    delay(10);
  }
  if (buttonState == LOW && prevButtonState == HIGH) {
    //end timer
    digitalWrite(ledPin, LOW);
    delay(10);
    Dif = millis() - startTime;
    RoundDif = Dif / 1000;

    if (RoundDif > 3) {
      ColorMode = 0;
      Serial.println ("Concentrate and Try Again");
      // play file 001
      delay (1500);
    } else {
      if (RoundDif % 2 == 0) {
        ColorMode = 2;
        Serial.println ("Yes, even");
        // play file 003
        delay (1500);
      } else {
        ColorMode = 1;
        Serial.println ("No, odd");
        // play file 002
        delay (1500);
      }
    }
  }

  /*
    // check if the pushbutton is pressed. If it is, the buttonState is HIGH:
    if (buttonState == HIGH) {
      // turn LED on:
      digitalWrite(ledPin, HIGH);
    } else {
      // turn LED off:

    }*/

  // Write the colors to the LED strip.

  if (ColorMode == 2)  {
    gradient(80, 100, "/track003.mp3"); //Play gradient and file 003 mp3
    ColorMode = 3;
  }
  else if (ColorMode == 1) {
    gradient(230, 255, "/track002.mp3"); //Play gradient and file 002 mp3
    ColorMode = 3;
  }
  else if (ColorMode == 0) {
    gradient(10, 30, "/track001.mp3"); //Play gradient and file 001 mp3
    ColorMode = 3;
  }
  if (ColorMode == 3) {
    for (uint16_t i = 0; i < LED_COUNT; i++) {
      colors[i] = rgb_color(0, 0, 0);
    }
    ledStrip.write(colors, LED_COUNT);
  }

  prevButtonState = buttonState;
}

// Input a value 0 to 255 to get a color value.
// The colours are a transition r - g - b - back to r.
rgb_color Wheel(byte WheelPos)
{
  WheelPos = 255 - WheelPos;
  if (WheelPos < 85)
  {
    return rgb_color(255 - WheelPos * 3, 0, WheelPos * 3);
  }
  else if (WheelPos < 170)
  {
    WheelPos -= 85;
    return rgb_color(0, WheelPos * 3, 255 - WheelPos * 3);
  }
  else
  {
    WheelPos -= 170;
    return rgb_color(WheelPos * 3, 255 - WheelPos * 3, 0);
  }
}

//gradient function

void gradient(int beginhue, int endhue, int mp3) {
  for (int y = 0; y < 3; y++) {
    for (int hue = beginhue; hue < endhue; hue++) {
      for (uint16_t i = 0; i < LED_COUNT; i++) {
        colors[i] = Wheel(hue);
      }
      ledStrip.write(colors, LED_COUNT);
      delay(70);
    }

    if (y == 0) musicPlayer.playFullFile(mp3); //Play mp3
    for (int hue = endhue; hue > beginhue; hue--) {
      for (uint16_t i = 0; i < LED_COUNT; i++) {
        colors[i] = Wheel(hue);
      }
      ledStrip.write(colors, LED_COUNT);
      delay(70);
    }
  }
}

/// File listing helper
void printDirectory(File dir, int numTabs) {
  while (true) {

    File entry =  dir.openNextFile();
    if (! entry) {
      // no more files
      //Serial.println("**nomorefiles**");
      break;
    }
    for (uint8_t i = 0; i < numTabs; i++) {
      Serial.print('\t');
    }
    Serial.print(entry.name());
    if (entry.isDirectory()) {
      Serial.println("/");
      printDirectory(entry, numTabs + 1);
    } else {
      // files have sizes, directories do not
      Serial.print("\t\t");
      Serial.println(entry.size(), DEC);
    }
    entry.close();
  }
}
