Meiger Counters
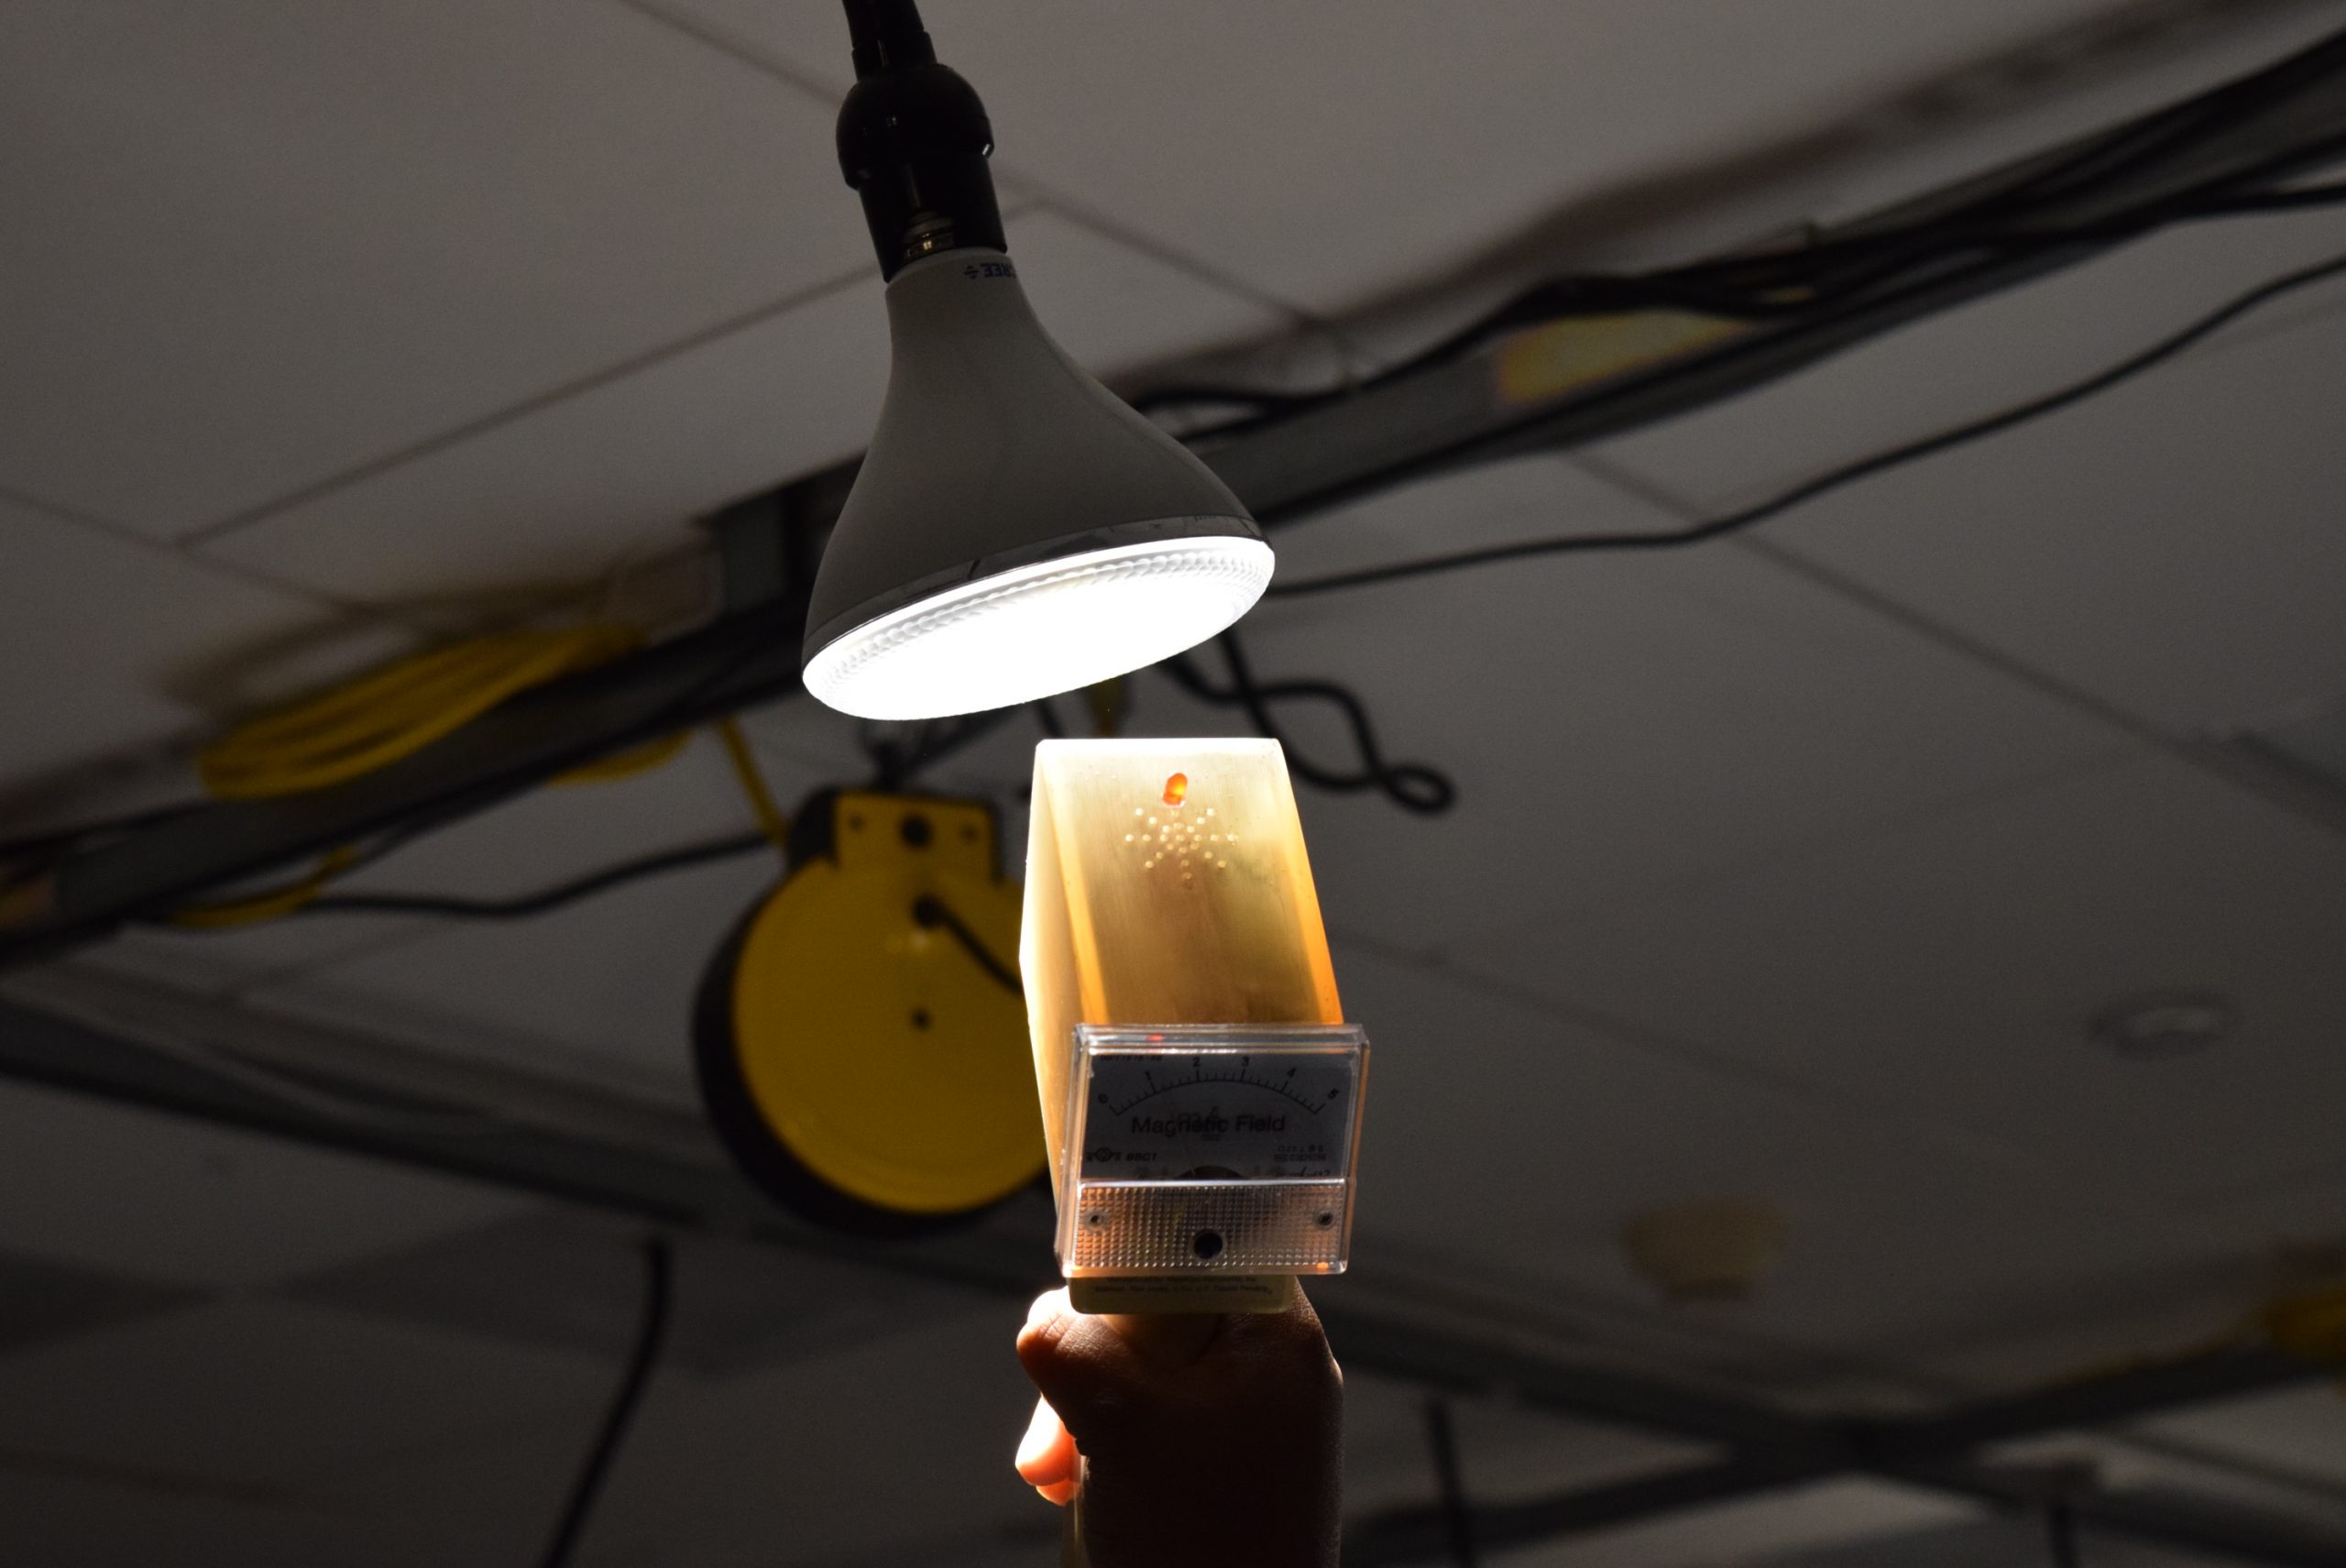
Meiger Counter pointing at a ceiling ligtht
Description
A plain, black carrying case usually meant for industrial tools with two cutouts in the foam.
Perfectly fit into the cutouts are two handheld meter-shaped devices, with boxy tops and a yellowed, plastic look. The handheld portions are opaque, while the top and bottom caps are made of a semi-translucent plastic. When taken out of their case and held in one hand, the user can see a meter labeled “magnetic field” going from 1 to 5 on the back. The front face on both meters is covered with an old, paper grid of red lines on yellowed paper. For one of the meters, the front features a coil wound around a stick, while on the other, a flat coil sits flush on the front surface.
The meters emit a click noise intermittently, around once or twice a second. When a user holds them close to an electrical device, the meters begin to click much more rapidly, blending together into a stream of pulses. Most devices will trigger this faster click rate: lights, wall adaptors, chargers, computers. The LEDs flicker whenever a click is emitted, and the meter’s hand on the back corresponds roughly to the clicking rate.
Final Photos + Function
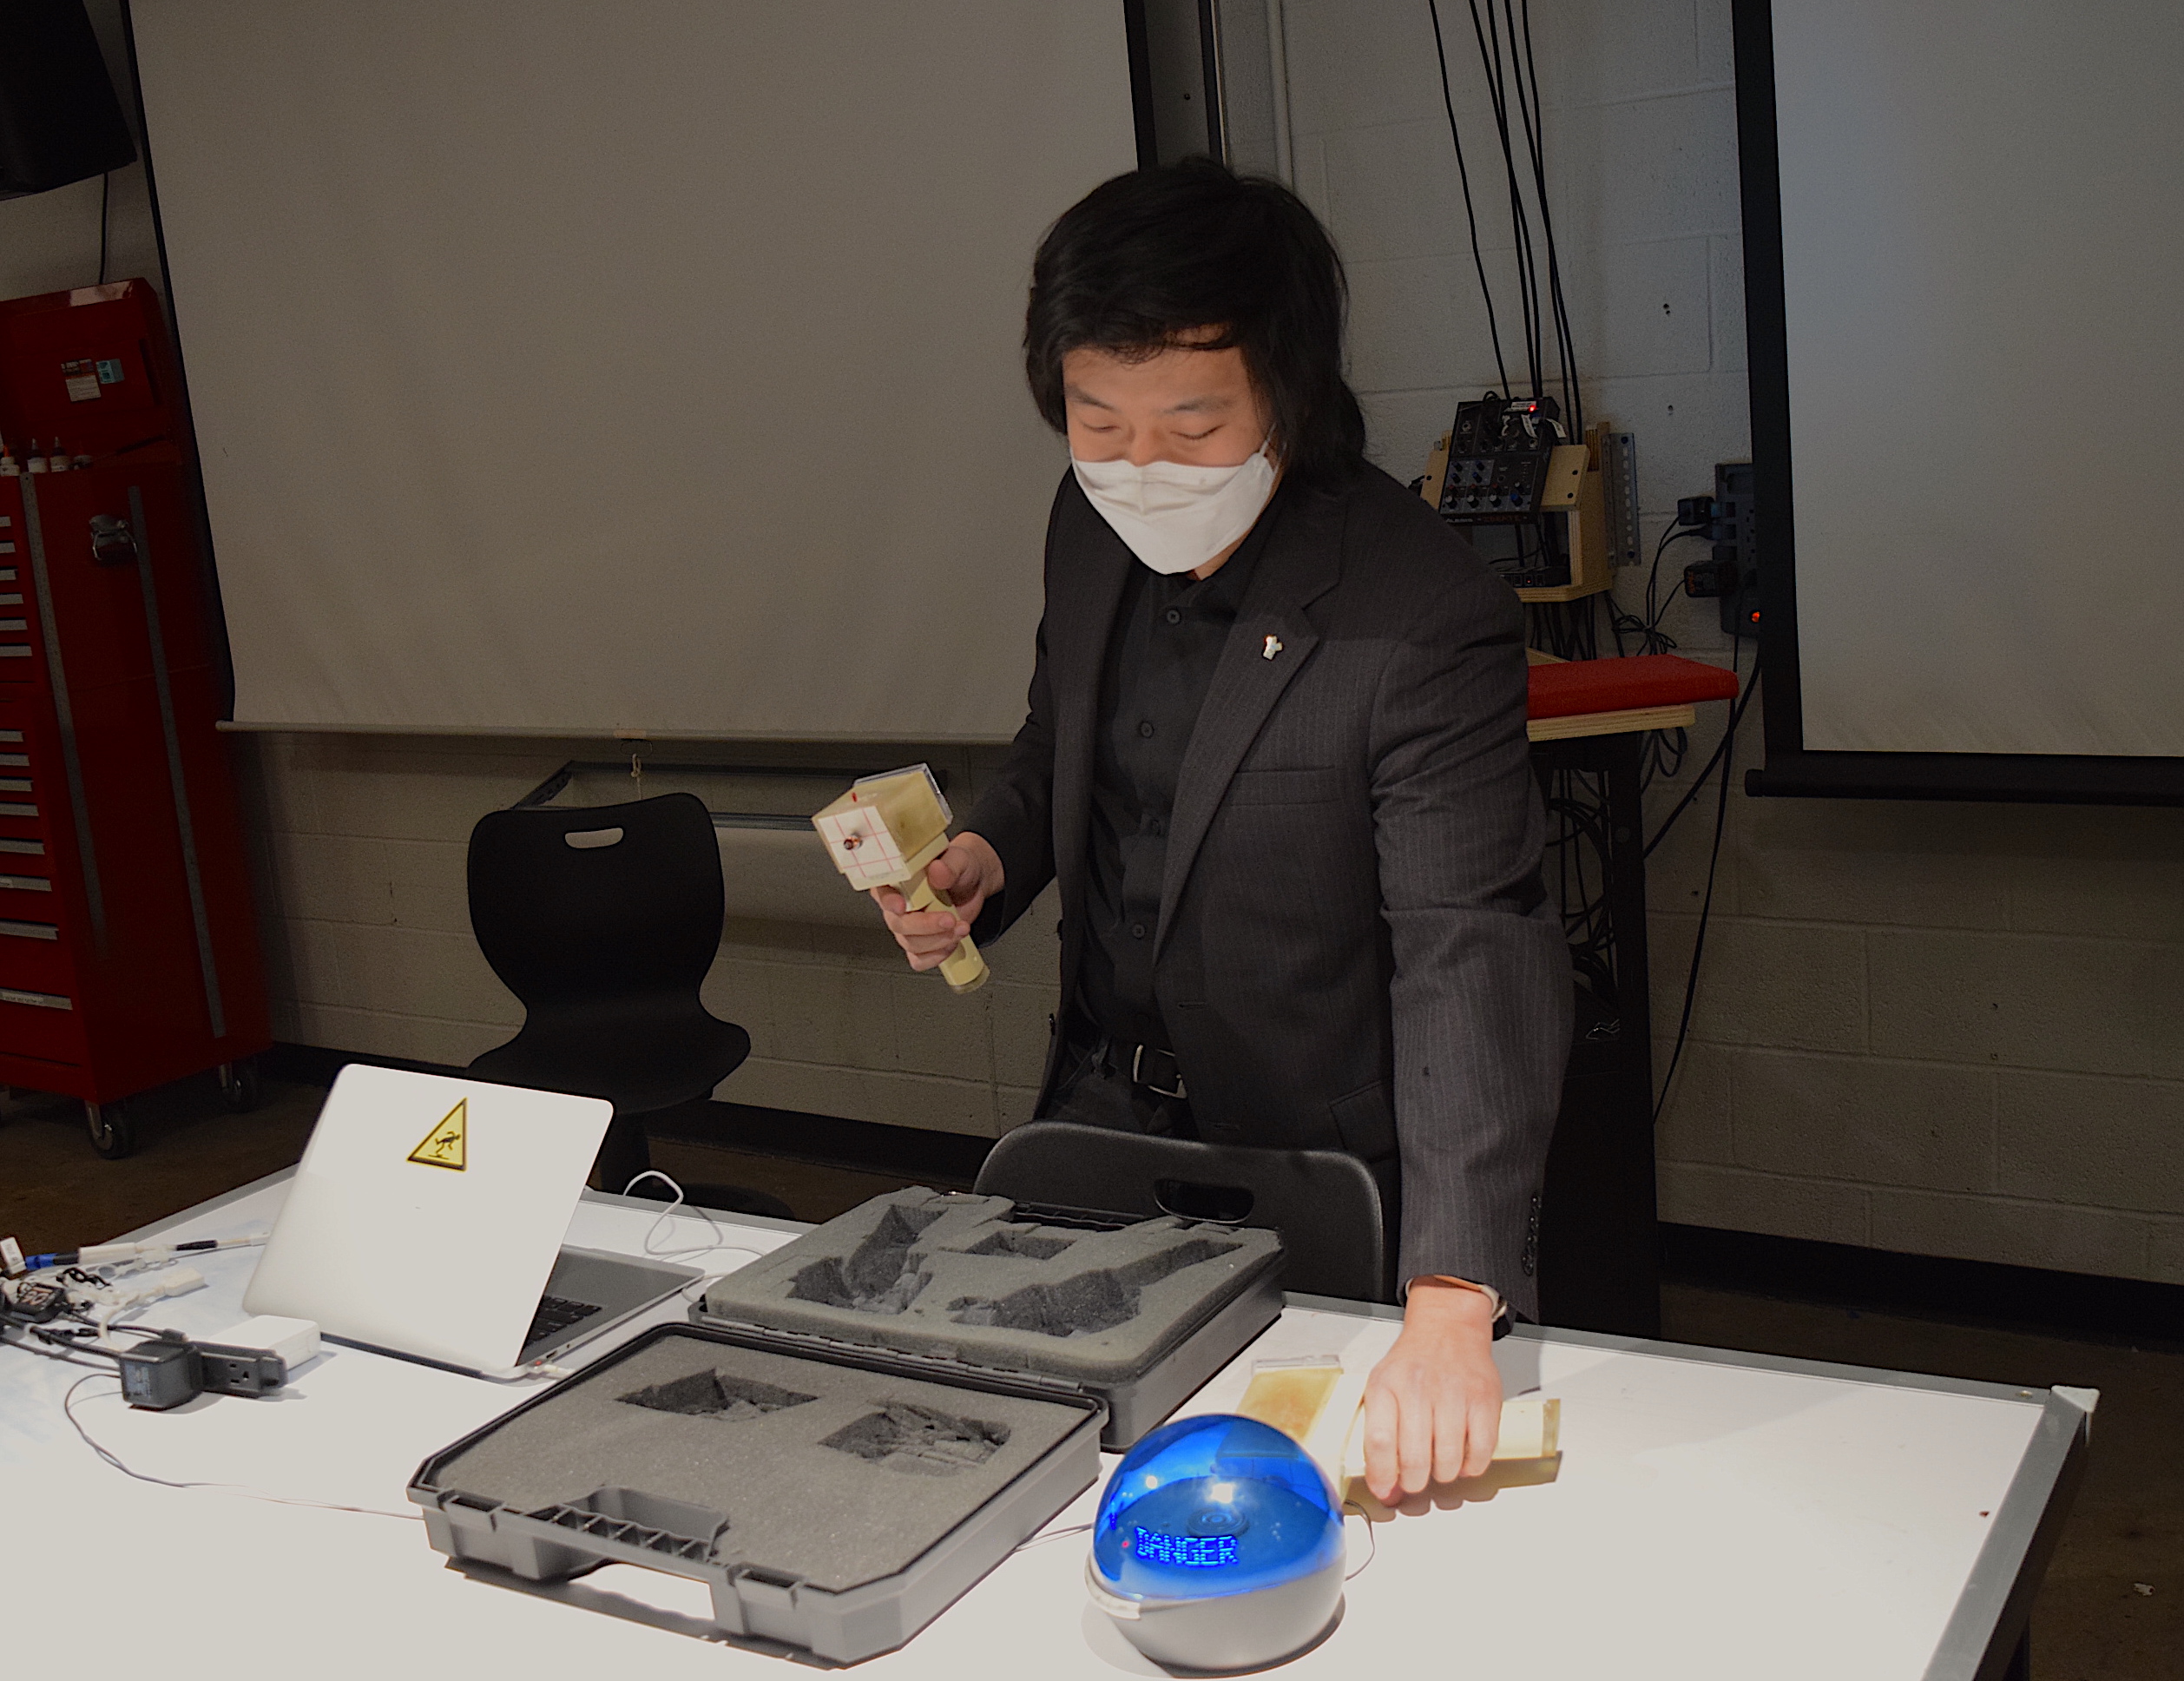
Removing Meiger counters from their carrying case
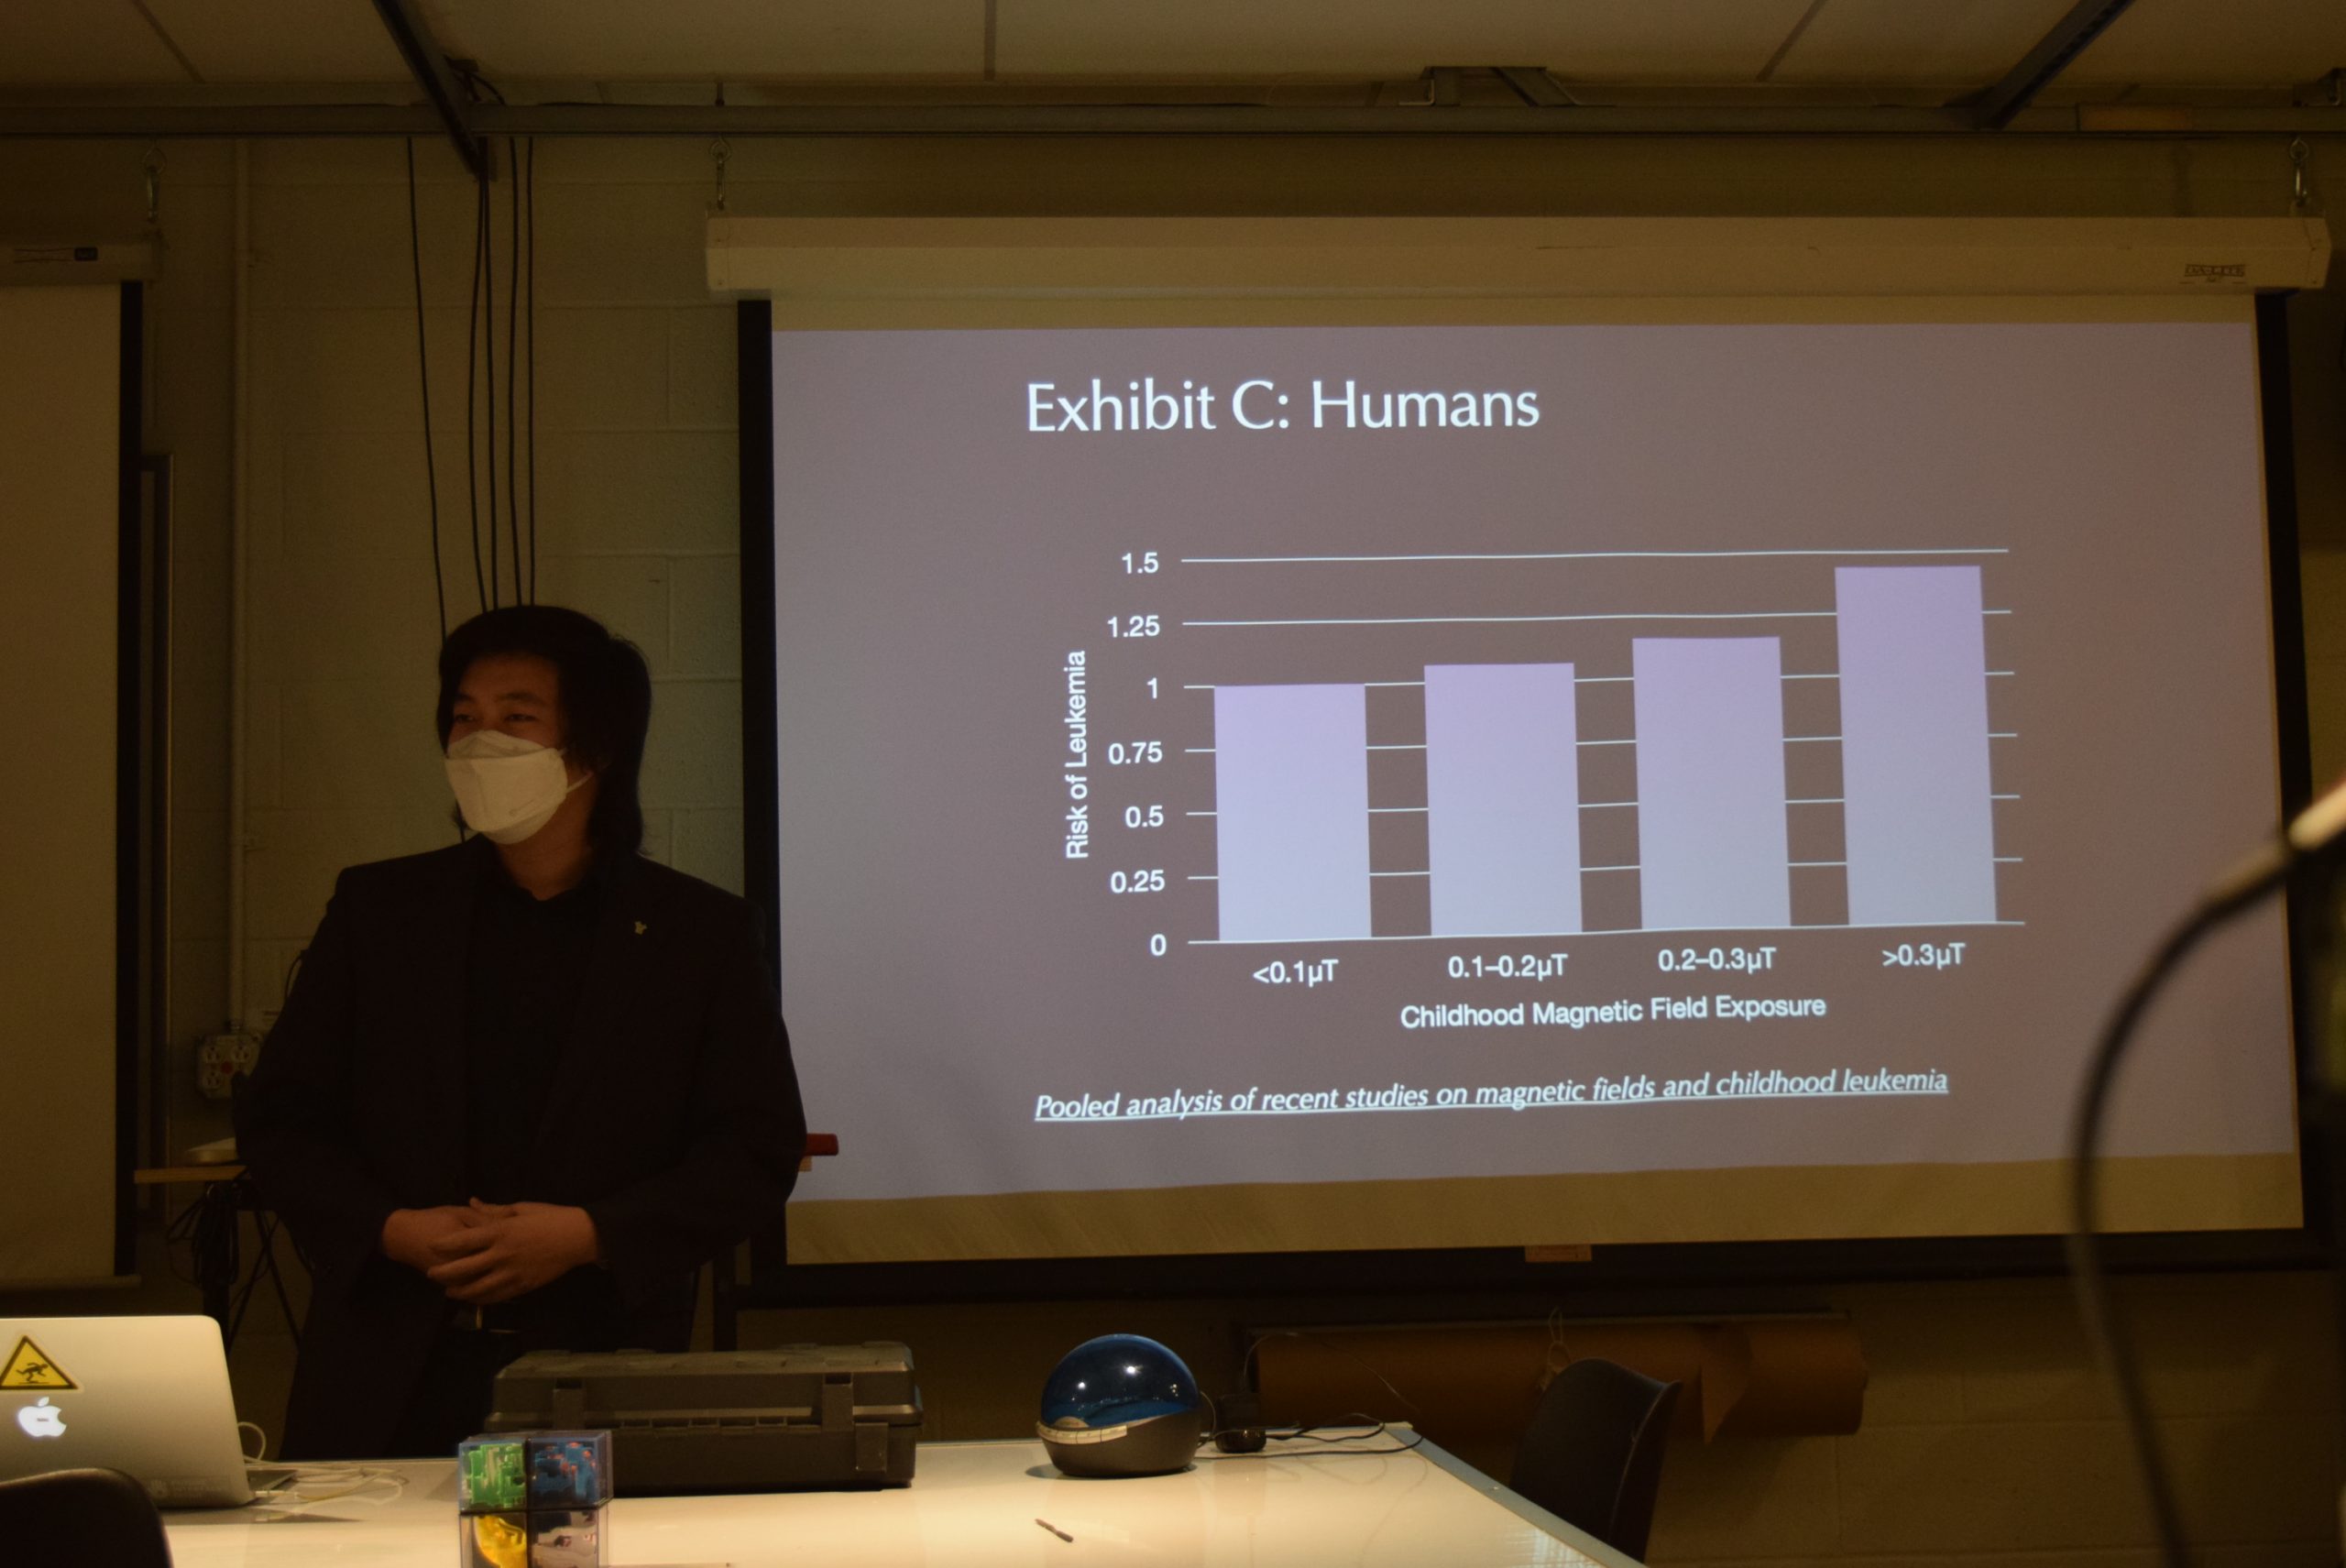
Mid-presentation: Andy standing in front of a slide which shows a graph of cancer rate vs childhood magnetic field exposure
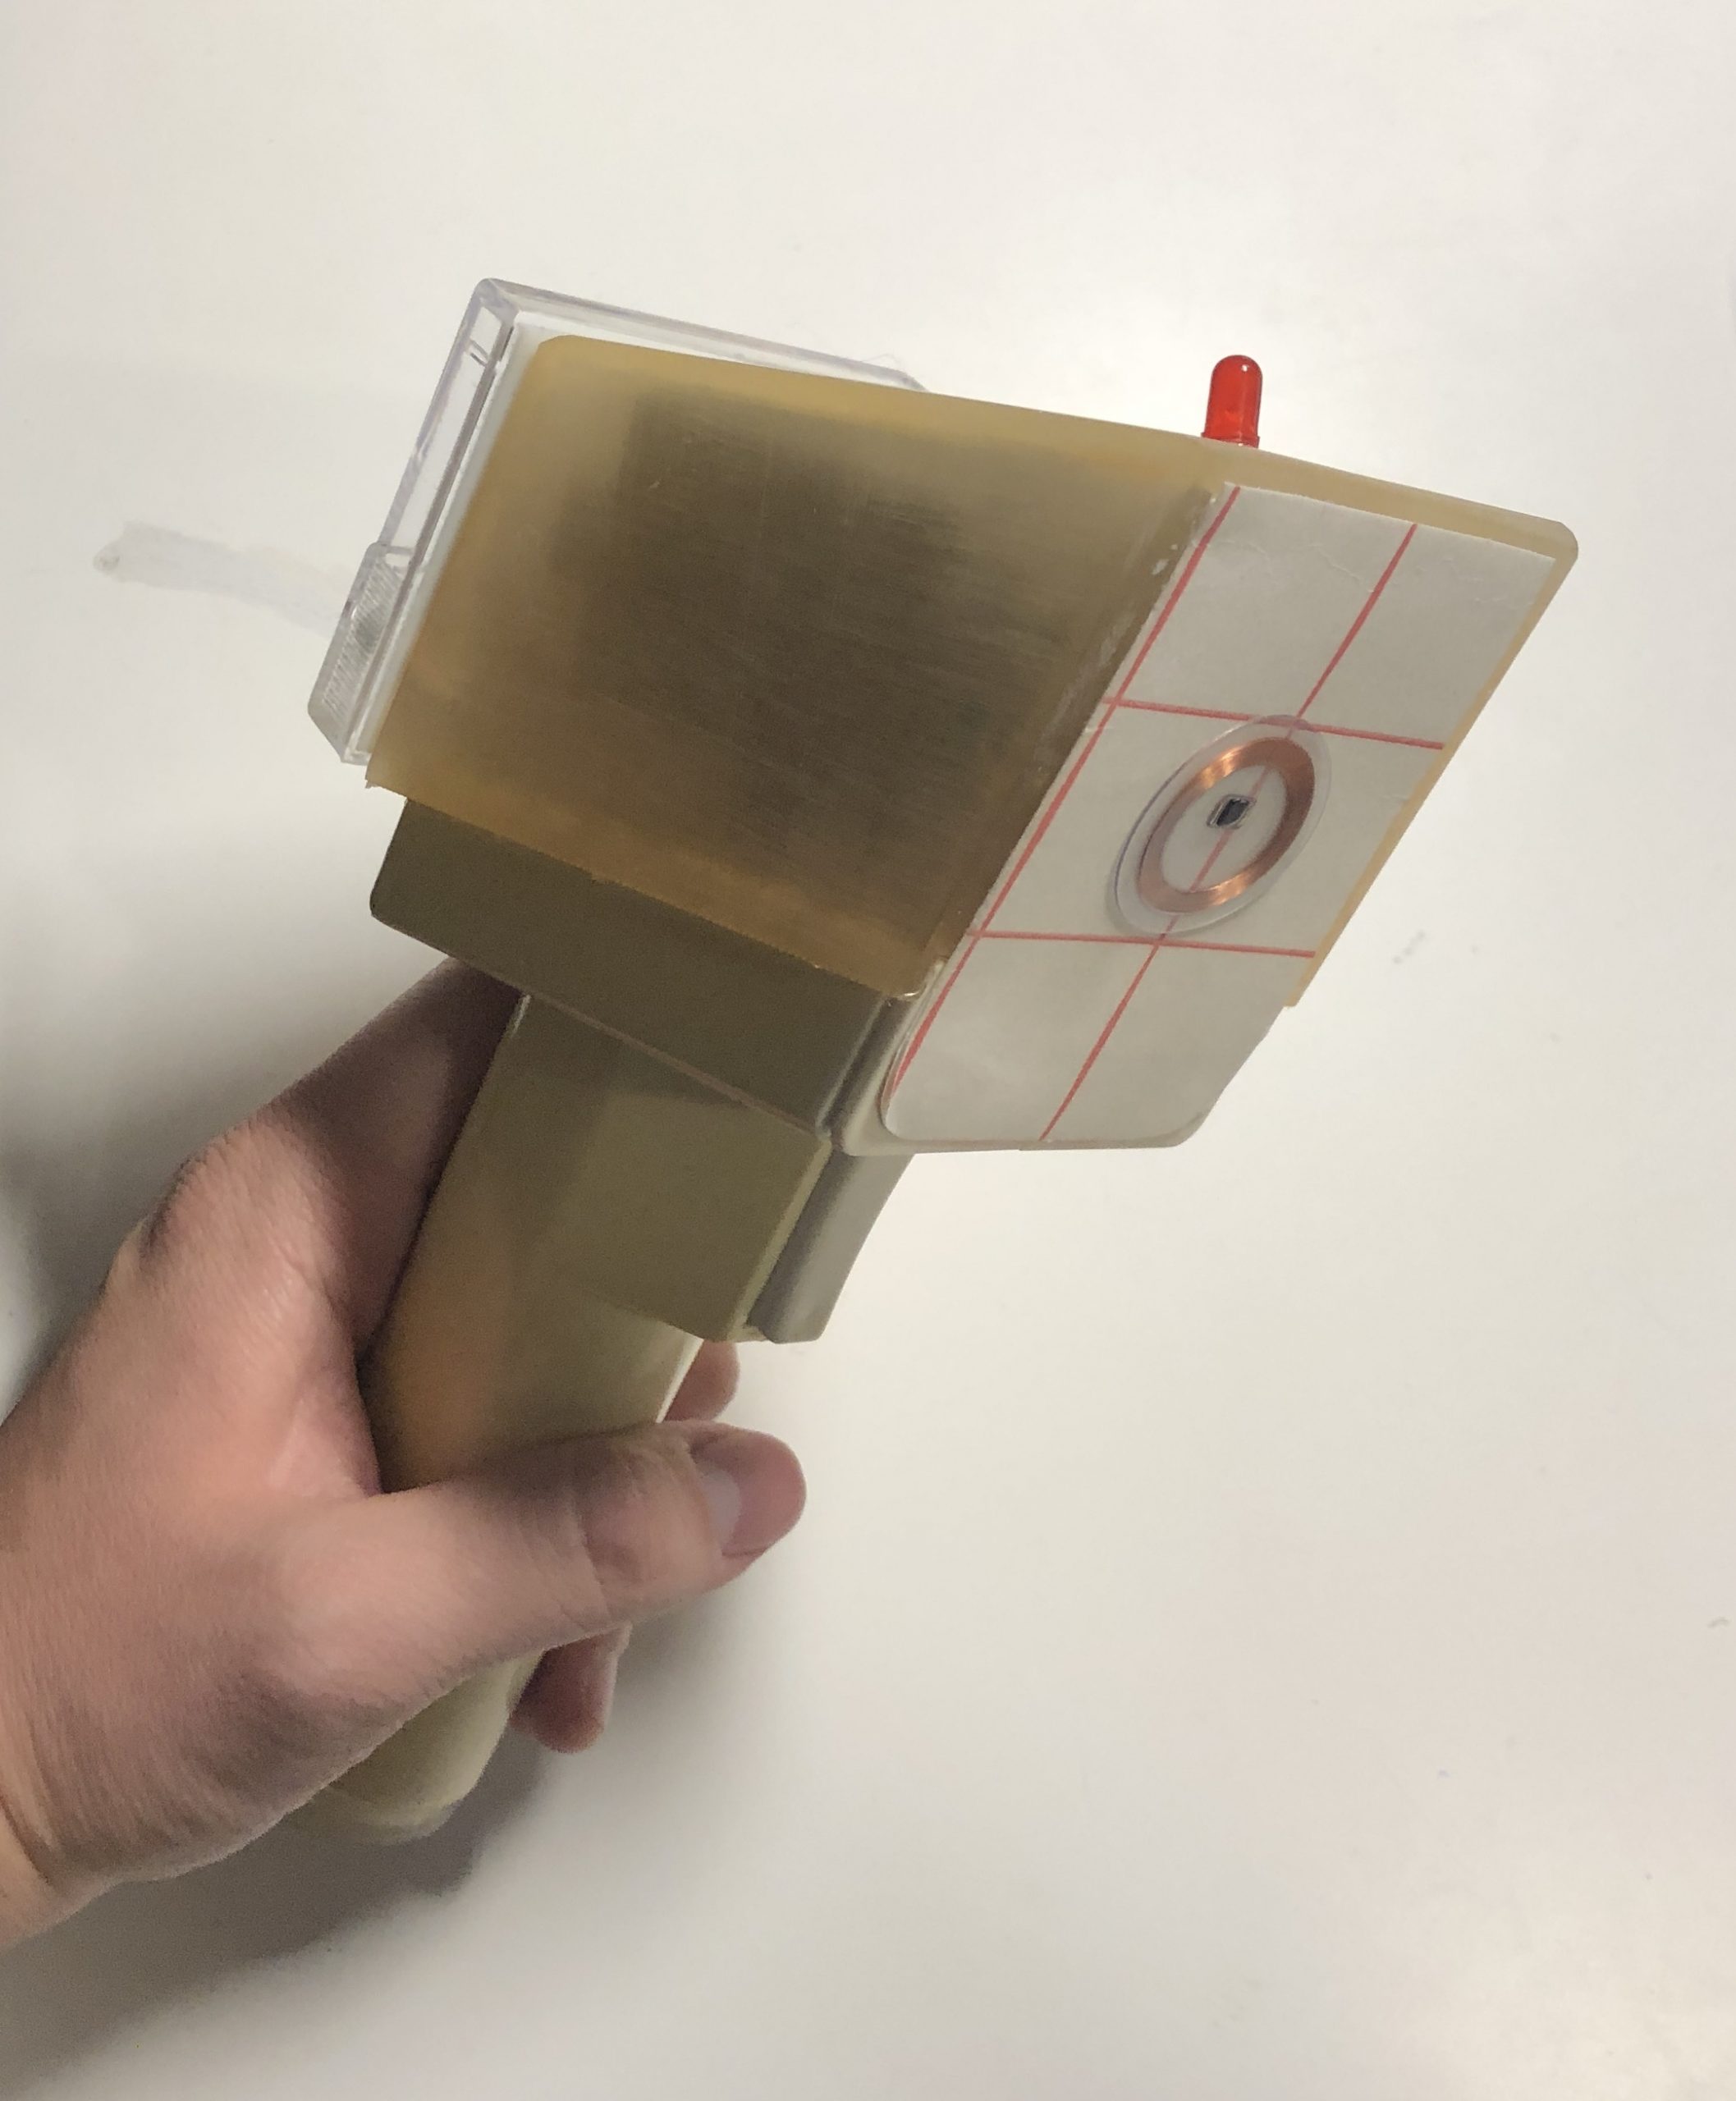
2nd generation Meiger counter, with a flat pack coil and round LED on top
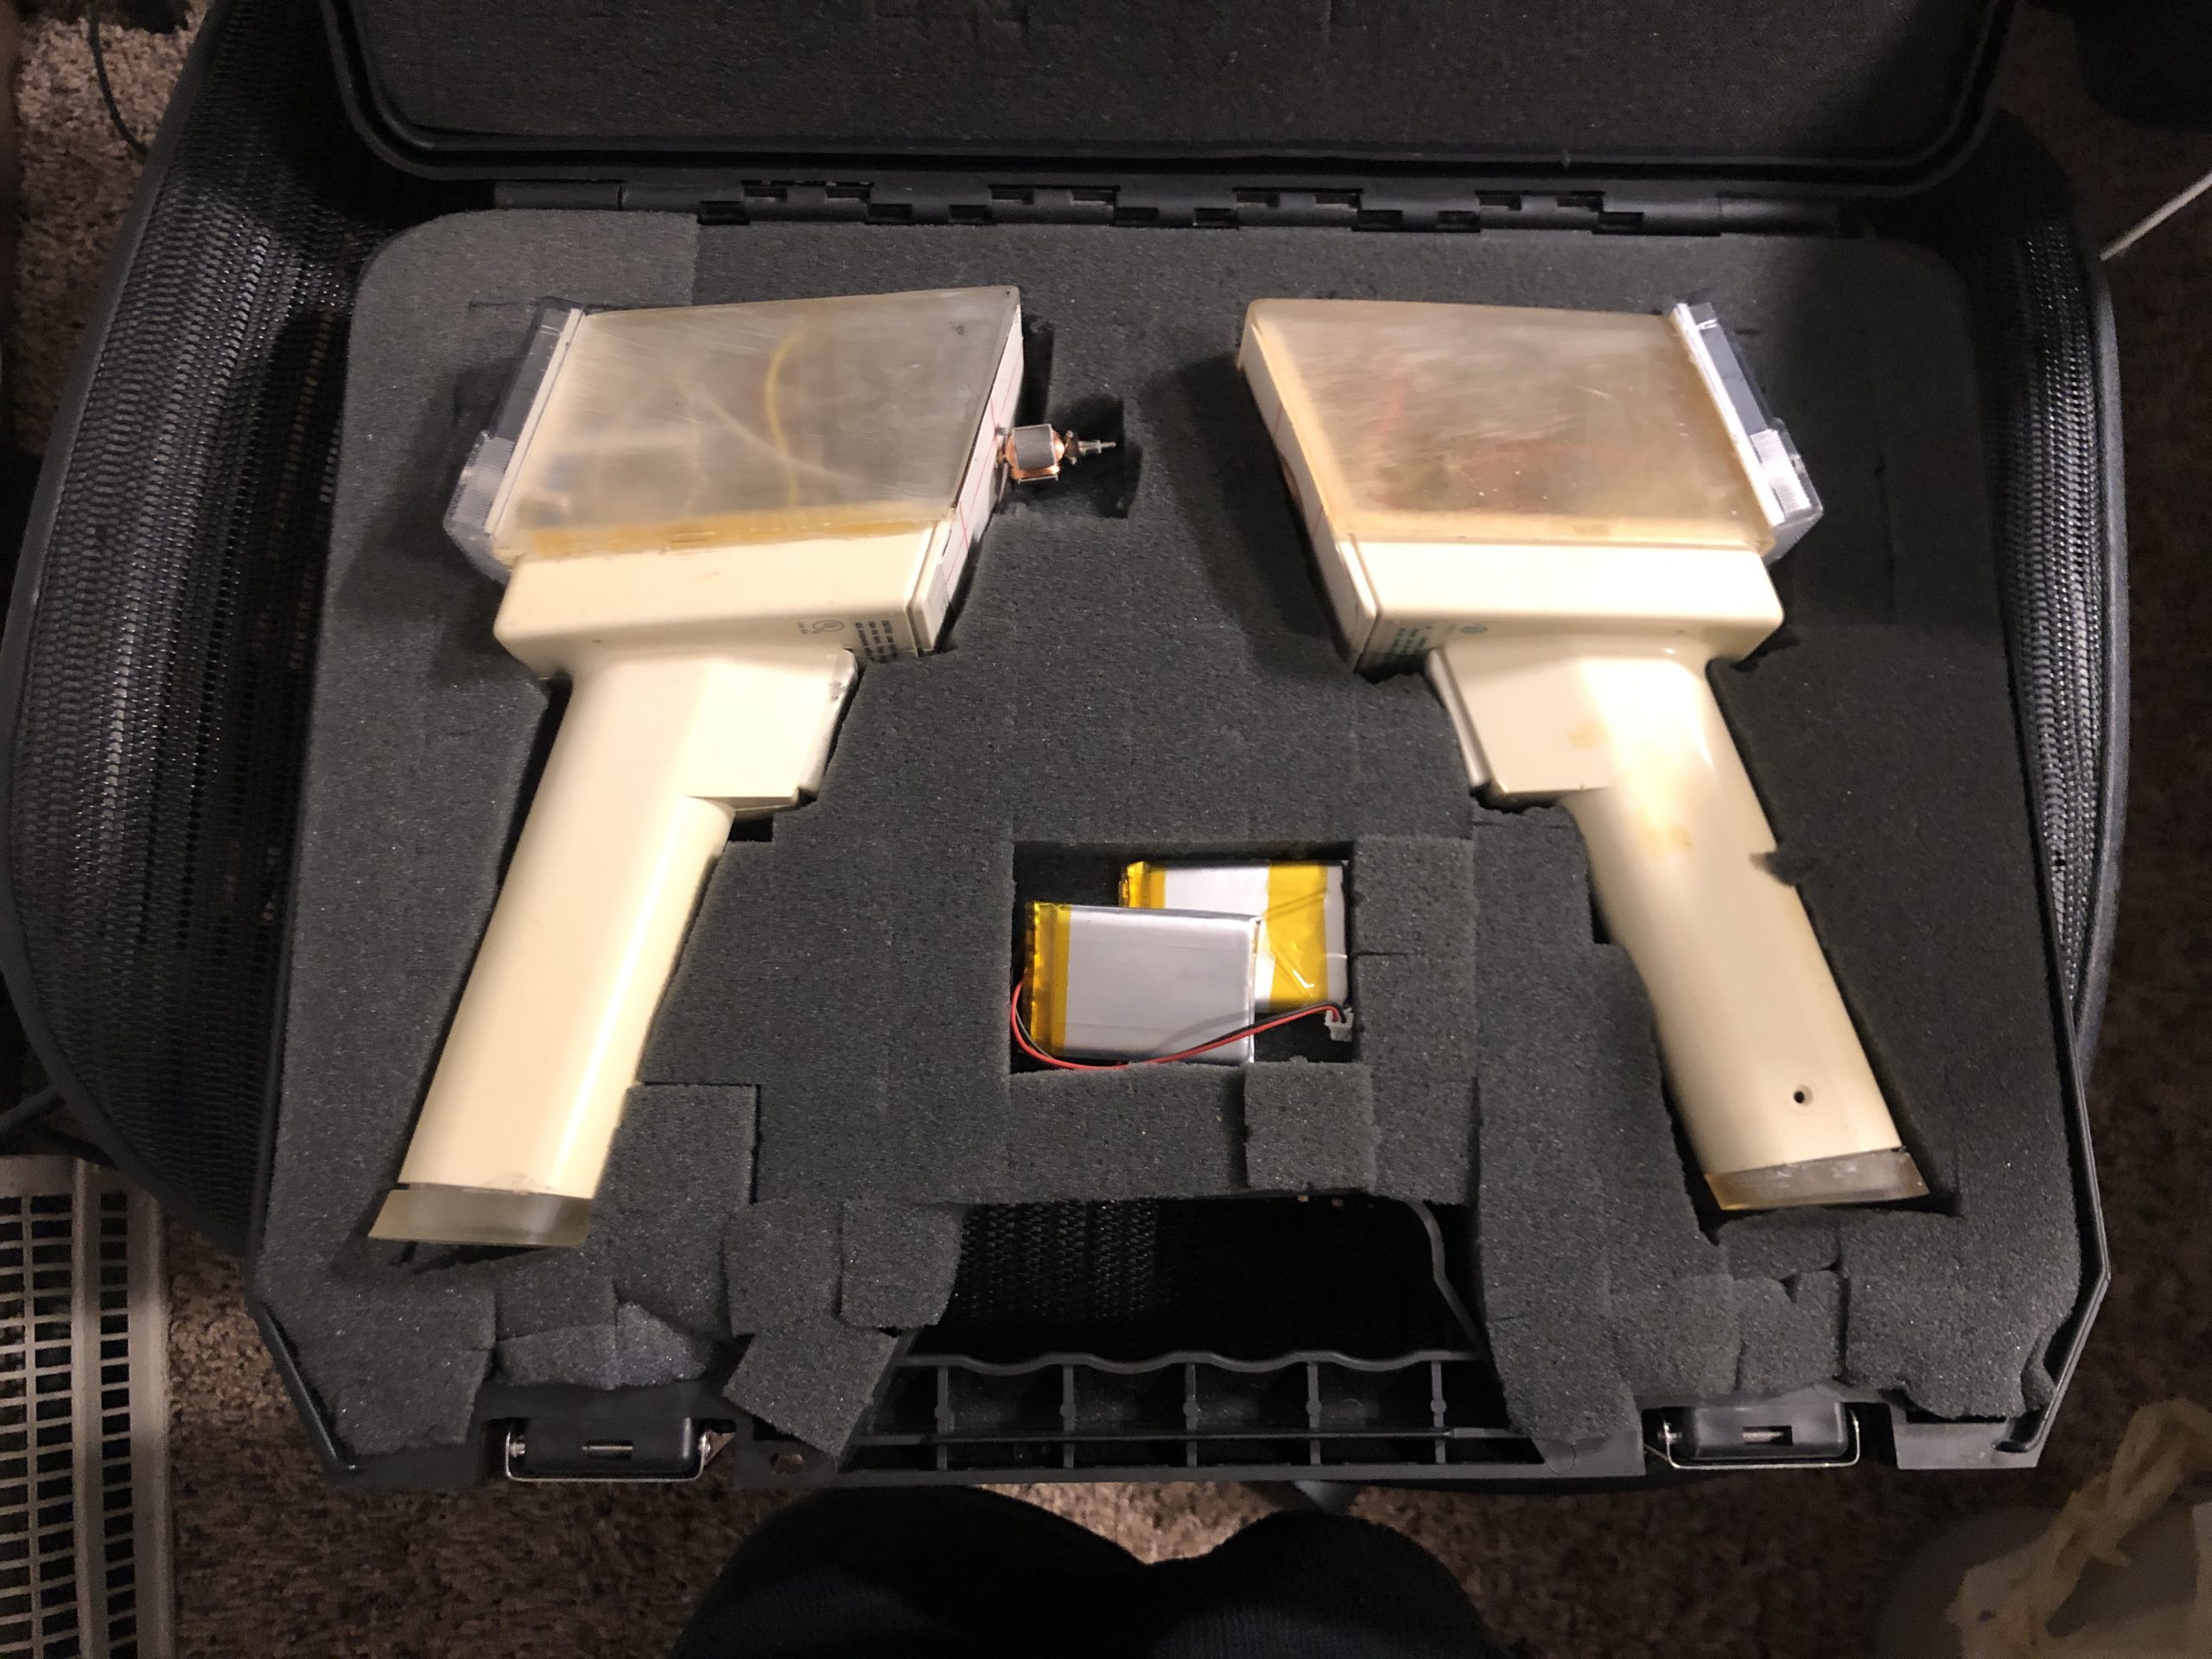
The two prototype Meiger counters in their carrying case, with the batteries removed and stored in a separate compartmenta
Process Reflection
I began this project like I usually do; procrastinating in the name of planning. Wait, honestly, I’m not sure that’s true. Making a jig helps you make a cabinet later, and proper planning prevents for potential problems. Anyway, Erin gave me a kick in the ass when she accused me of planning so I would never have to start working. Blunt works well with me, I started later that day. Because of how early I finished my first prototype, I finally had the chance to make a 2nd iteration of something.
Electronics – Fairly simple, thanks to about $50 of adafruit boards lying around the physcomp lab. I struggled a bit miniaturizing everything to fit into the shell of the barcode scanner, but I switched to a smaller microcontroller and had a good time with it.
Physical construction – Watching Tom’s project from last time, I realized that it’s easy to make something look good if you’re just repurposing something that already existed. I’m telling you this at risk to my own grade because I think it’s a bit exclusionary — not everyone is into vintage consumer electronics or has the money to buy them, but they do look good. And yes, while it’s possible to use class budget to buy these things, it’s more of a mindset where you’re aware that you can trade money for part of your project to look good already.
Anyway, I had these leftover handles from the last handheld barcode scanner to include a full sized HeNe tube to generate the laser. I needed to replace both the bottom cap and the top section, and luckily I had a 3D printer with just the right color of resin. The prints each took about 4 hours, and the first one did not fit properly. Good thing I had a second iteration! Little traps in the physical design – the speaker grills I added did not work, and the ammeter did not initially fit into the shell. These were things I forgot to fix in my 2nd go at it, probably because I just never wrote them down.
Also working with foam is hard, and the cutouts I made didn’t look very smooth at all. Sanding the case’s letters off also took a long time. Overall, I think the case and the presentation helped set up the ambiance I wanted to create. And I’m glad people walked around with the Meiger counters and explored the evil electromagnetic devices around them; that’s the point of my project! However, most people in the class looked bored/sleepy when I presented, probably because they had just stayed up all night to finish their projects! I should have thought of that, but I wanted to try something more serious. I can do playful & tongue-in-cheek just fine. I still think that part didn’t really work out; I felt rushed while presenting because I didn’t want to bore anybody. Not sure how to fix that, presentations are either boring or funny.
I wanted to try something serious because I know that it will be important. One day I will not be young, and people will not give me a pass to be childlike. I want to always be childlike, so full of wonder and excitement about the world around me, but seriousness is required for adult situations and I’ve never practiced that. The Little Prince is a great book to read yearly. Anyway, not sure I pulled that one off properly. Maybe I’m just not cut out for seriousness and should instead pursue some alternative method to gain ethos while presenting something. Any ideas welcome!
In-Progress Photos
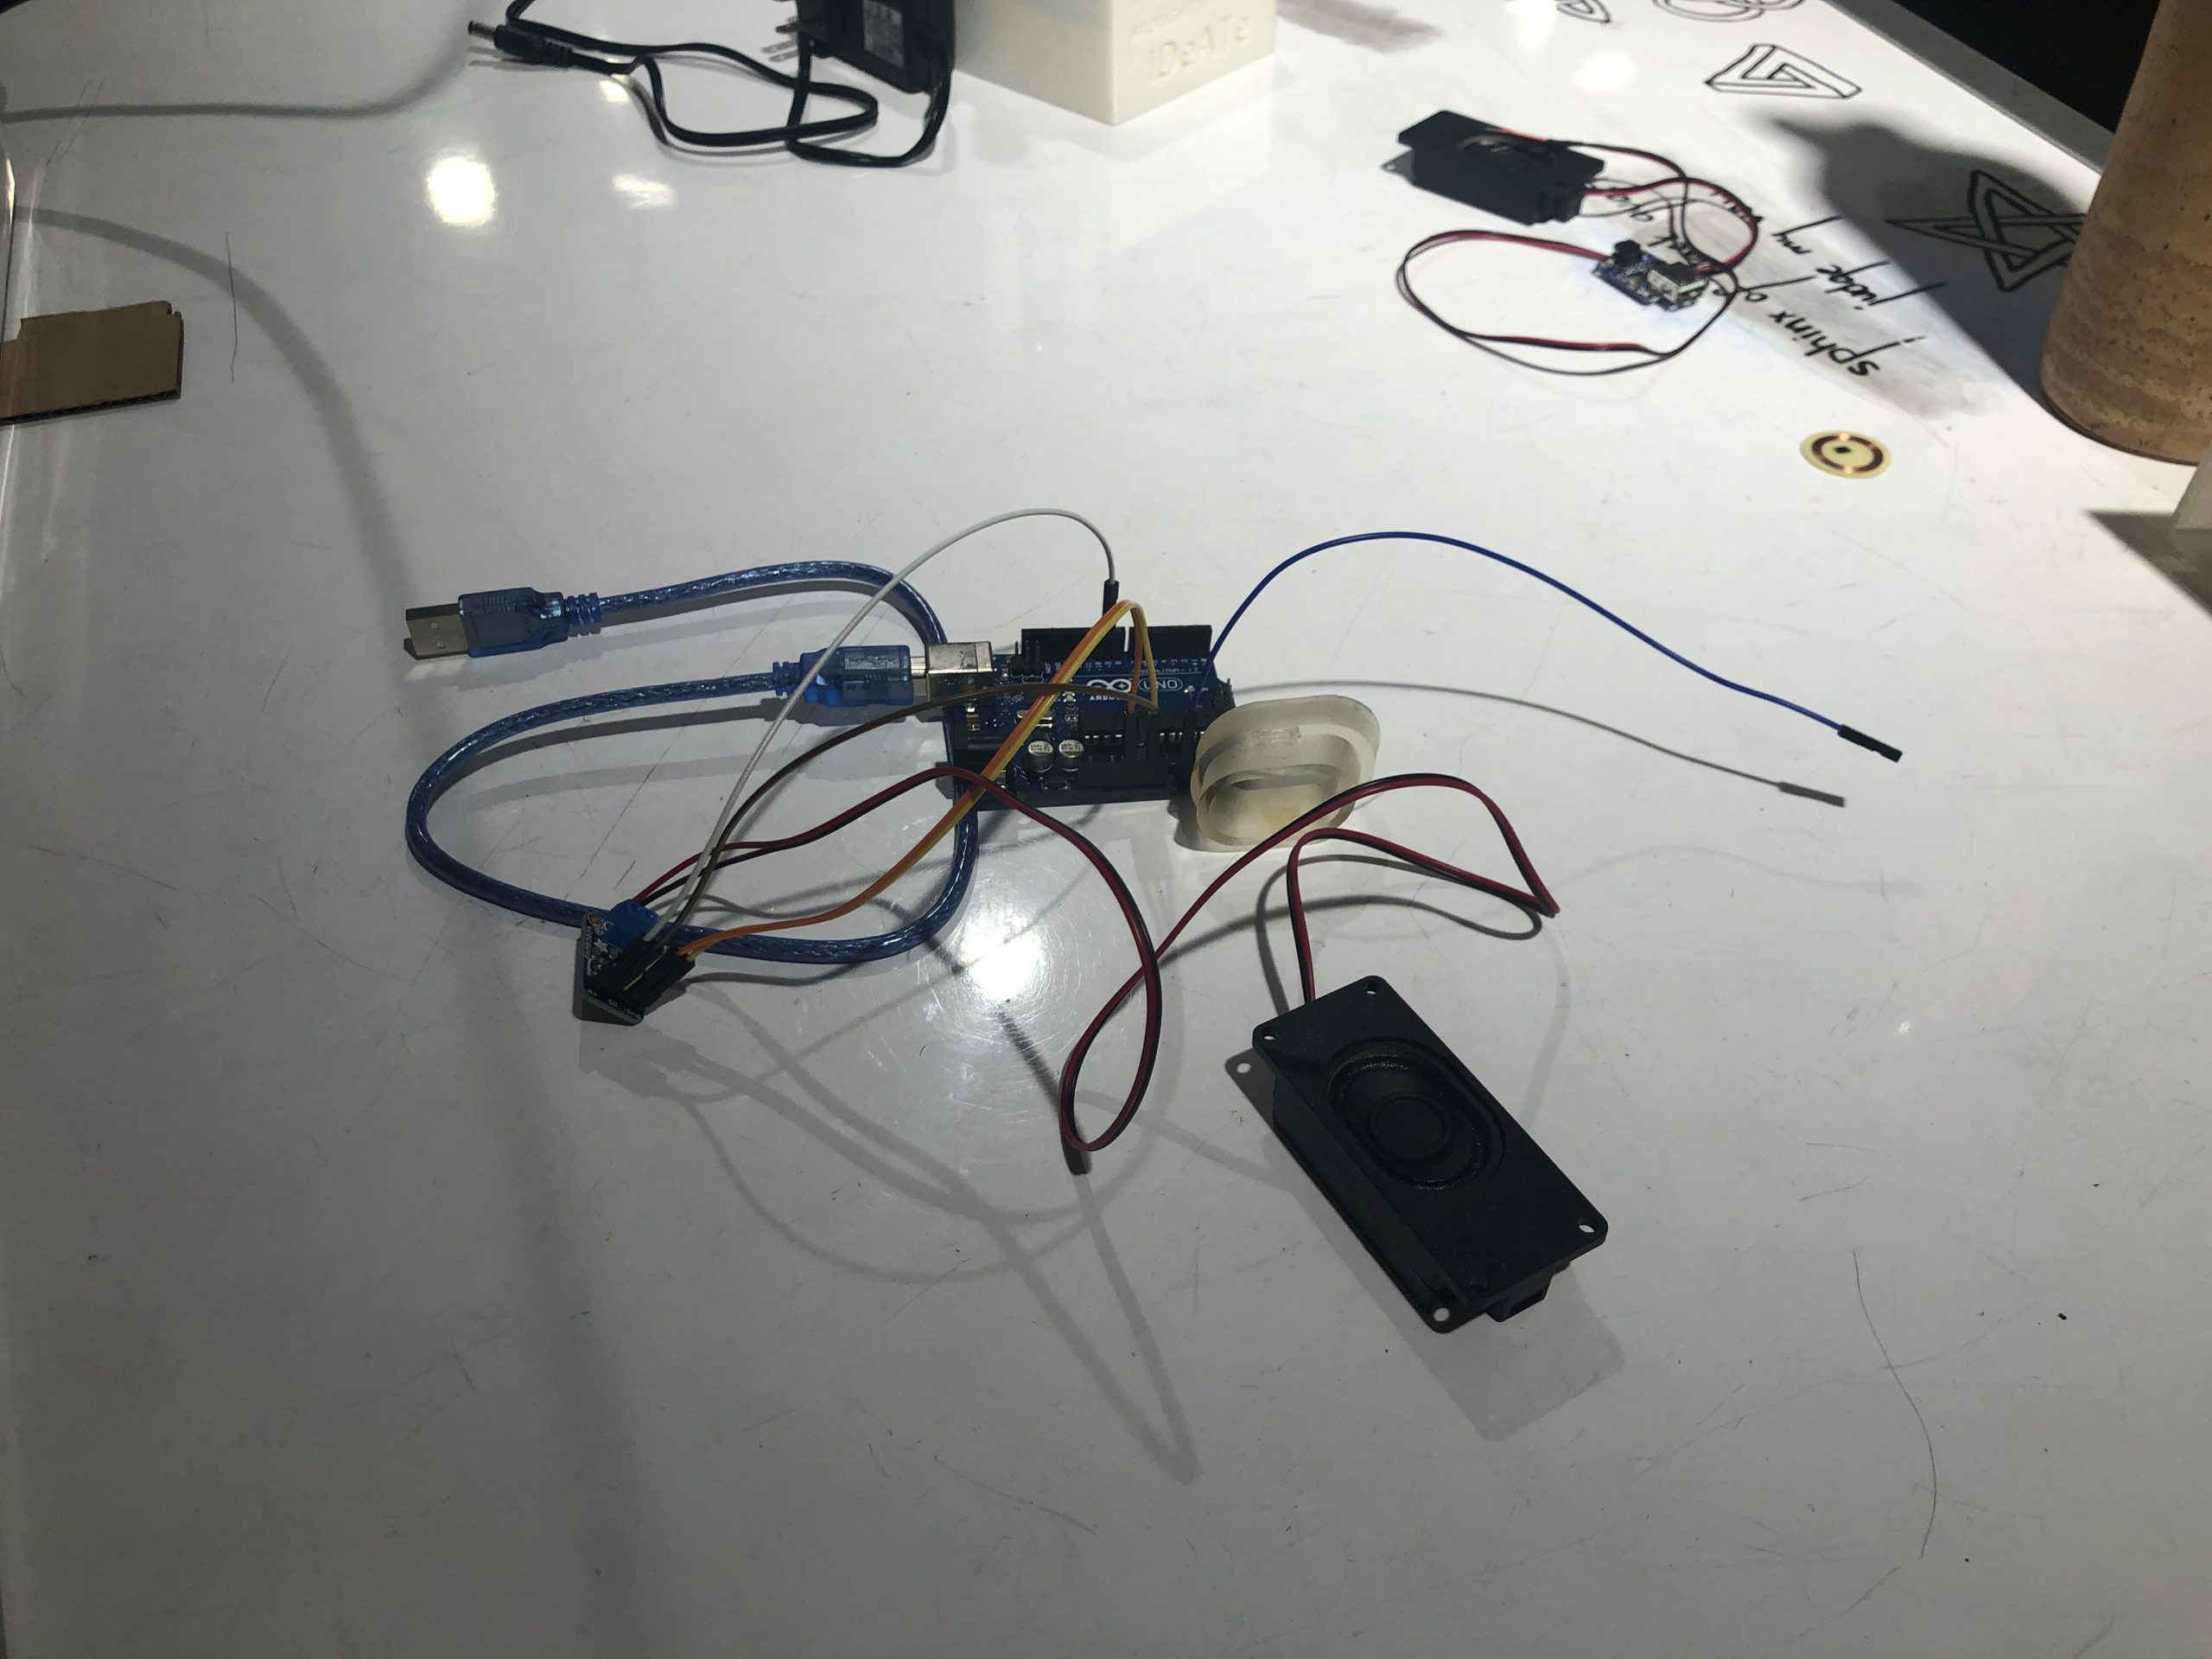
Guts of the first Meiger counter, not yet placed into the shell. Bottom cap of the Mieger counter is sitting next to it. Features antenna, speaker, and amplifier.
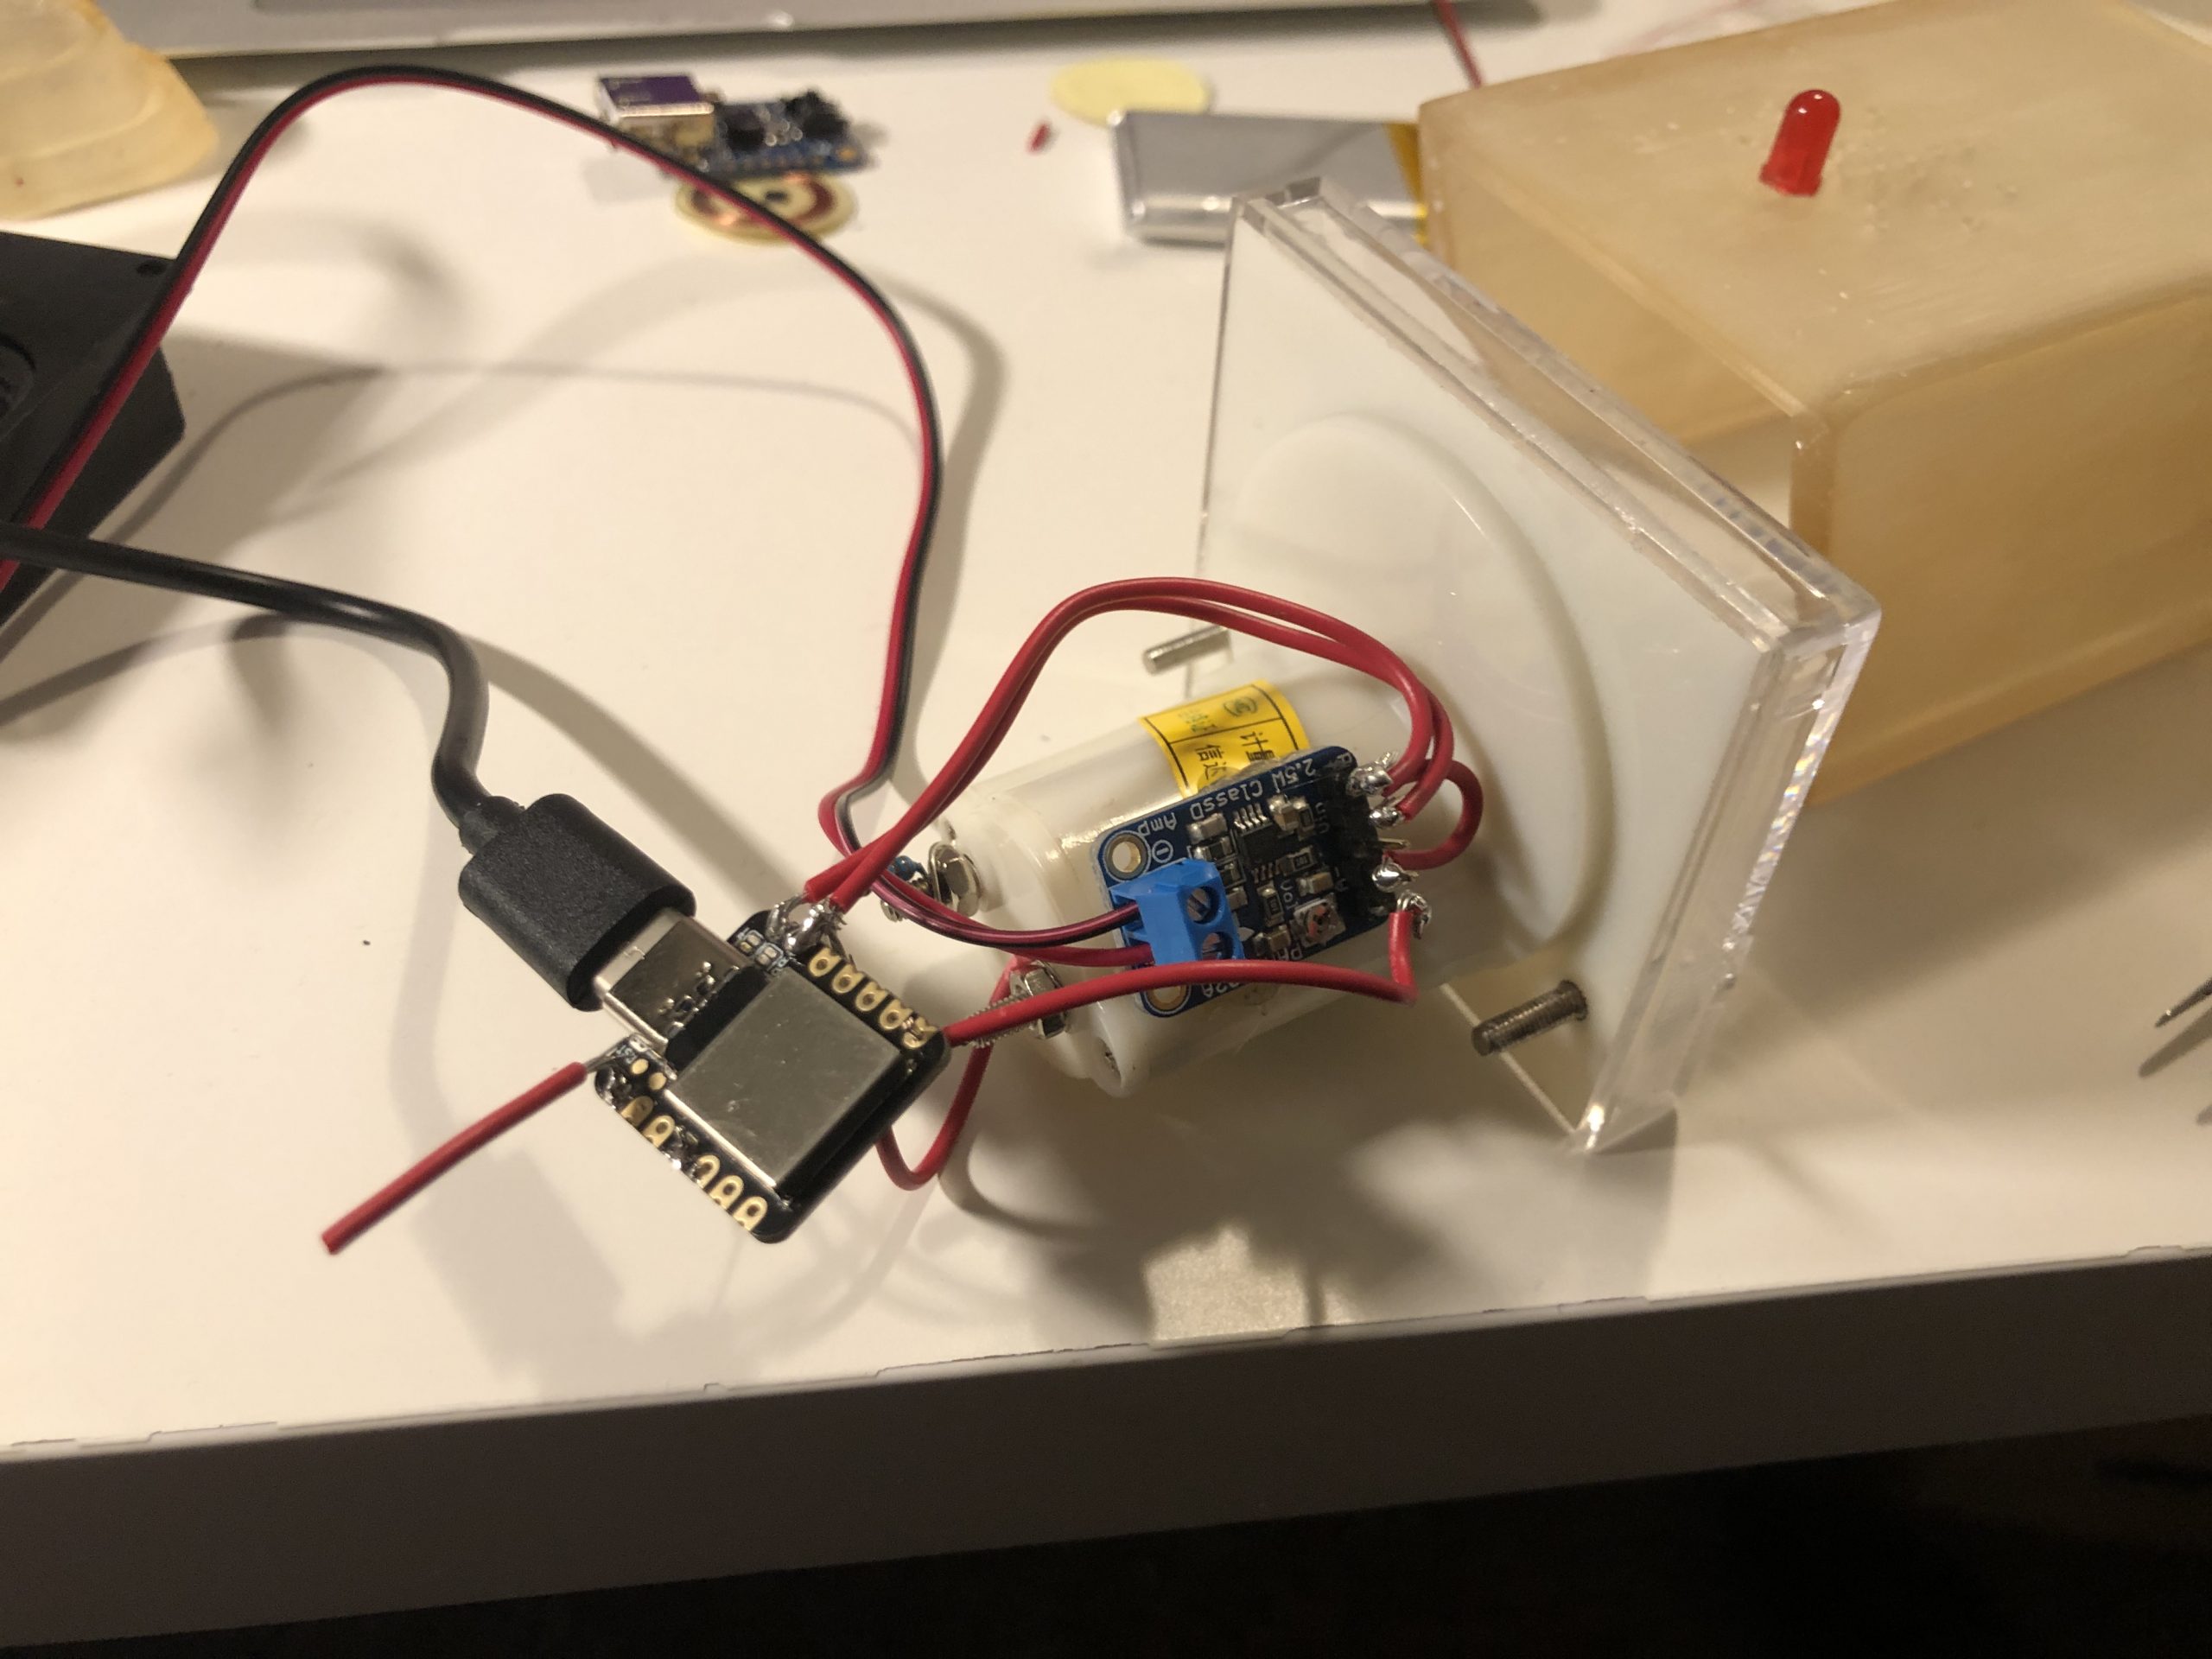
Miniaturized guts, same parts as the previous photo except with a Seeeduino Xiao instead of an Arduino. This uC is crazy good, and it is tiny. I’m just beginning to glue everything down inside the 2nd iteration of the Meiger
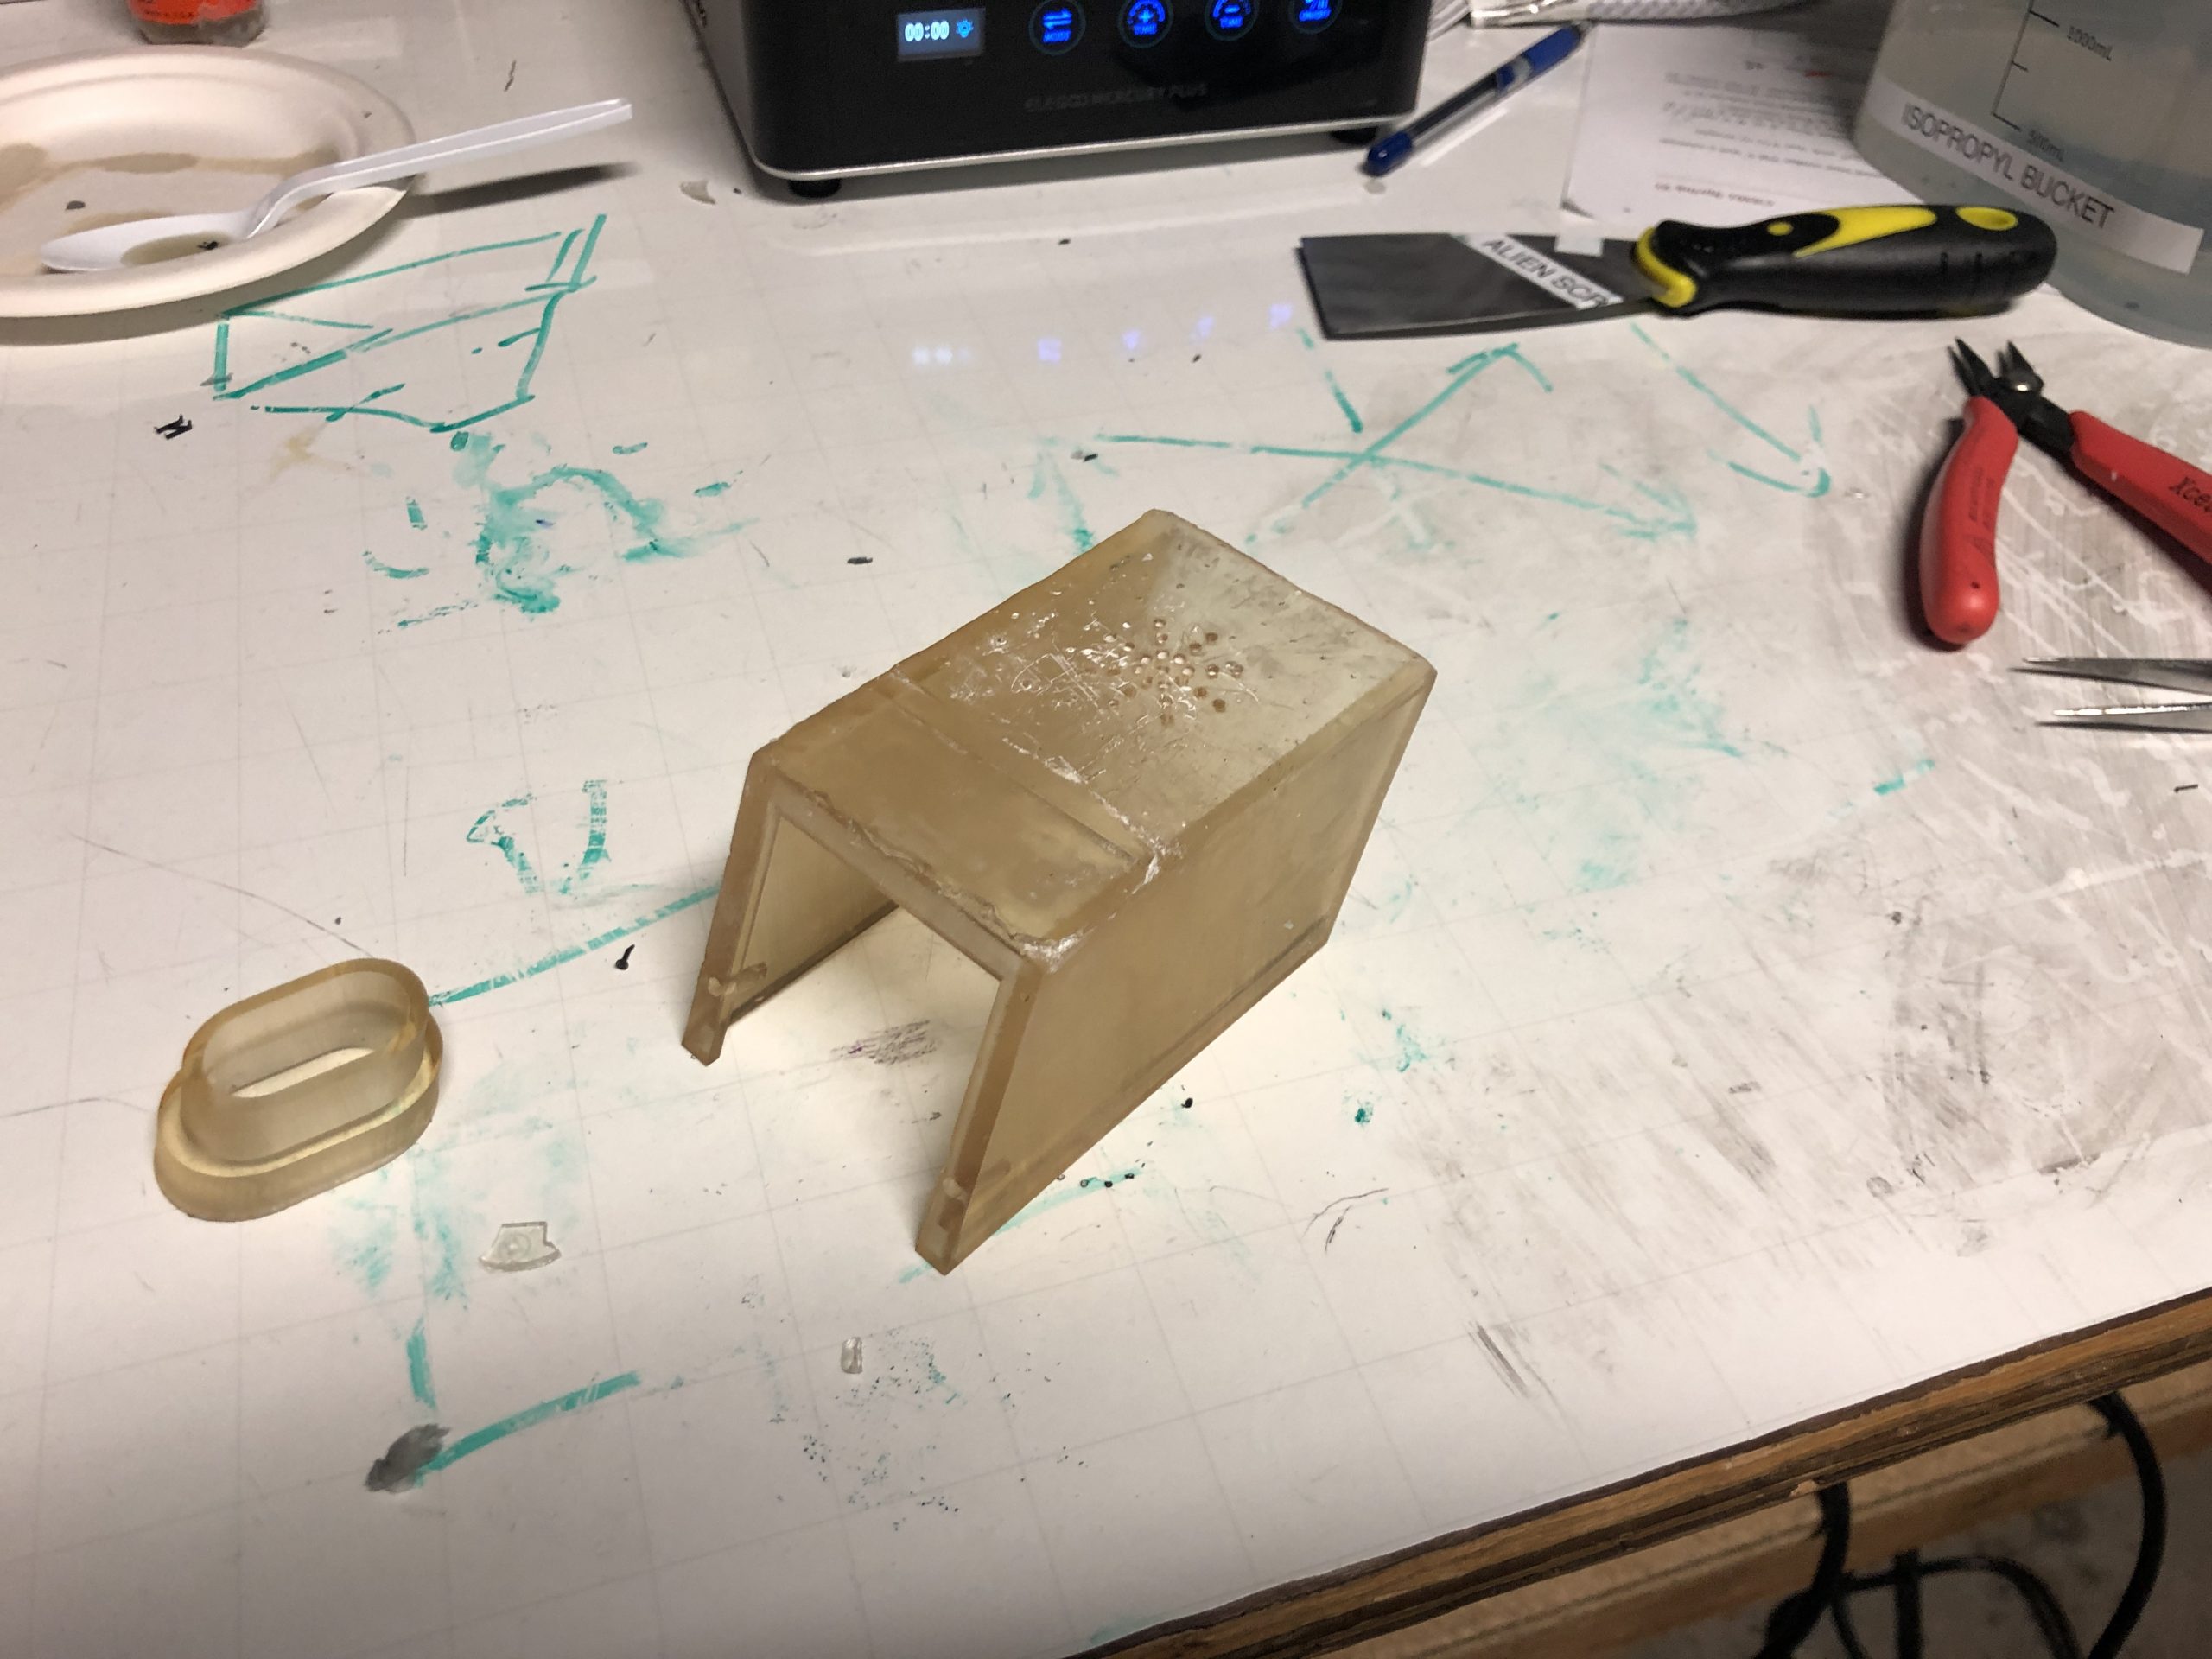
Resin printed top shell of the Meiger counters, right after curing. Needs sanding.
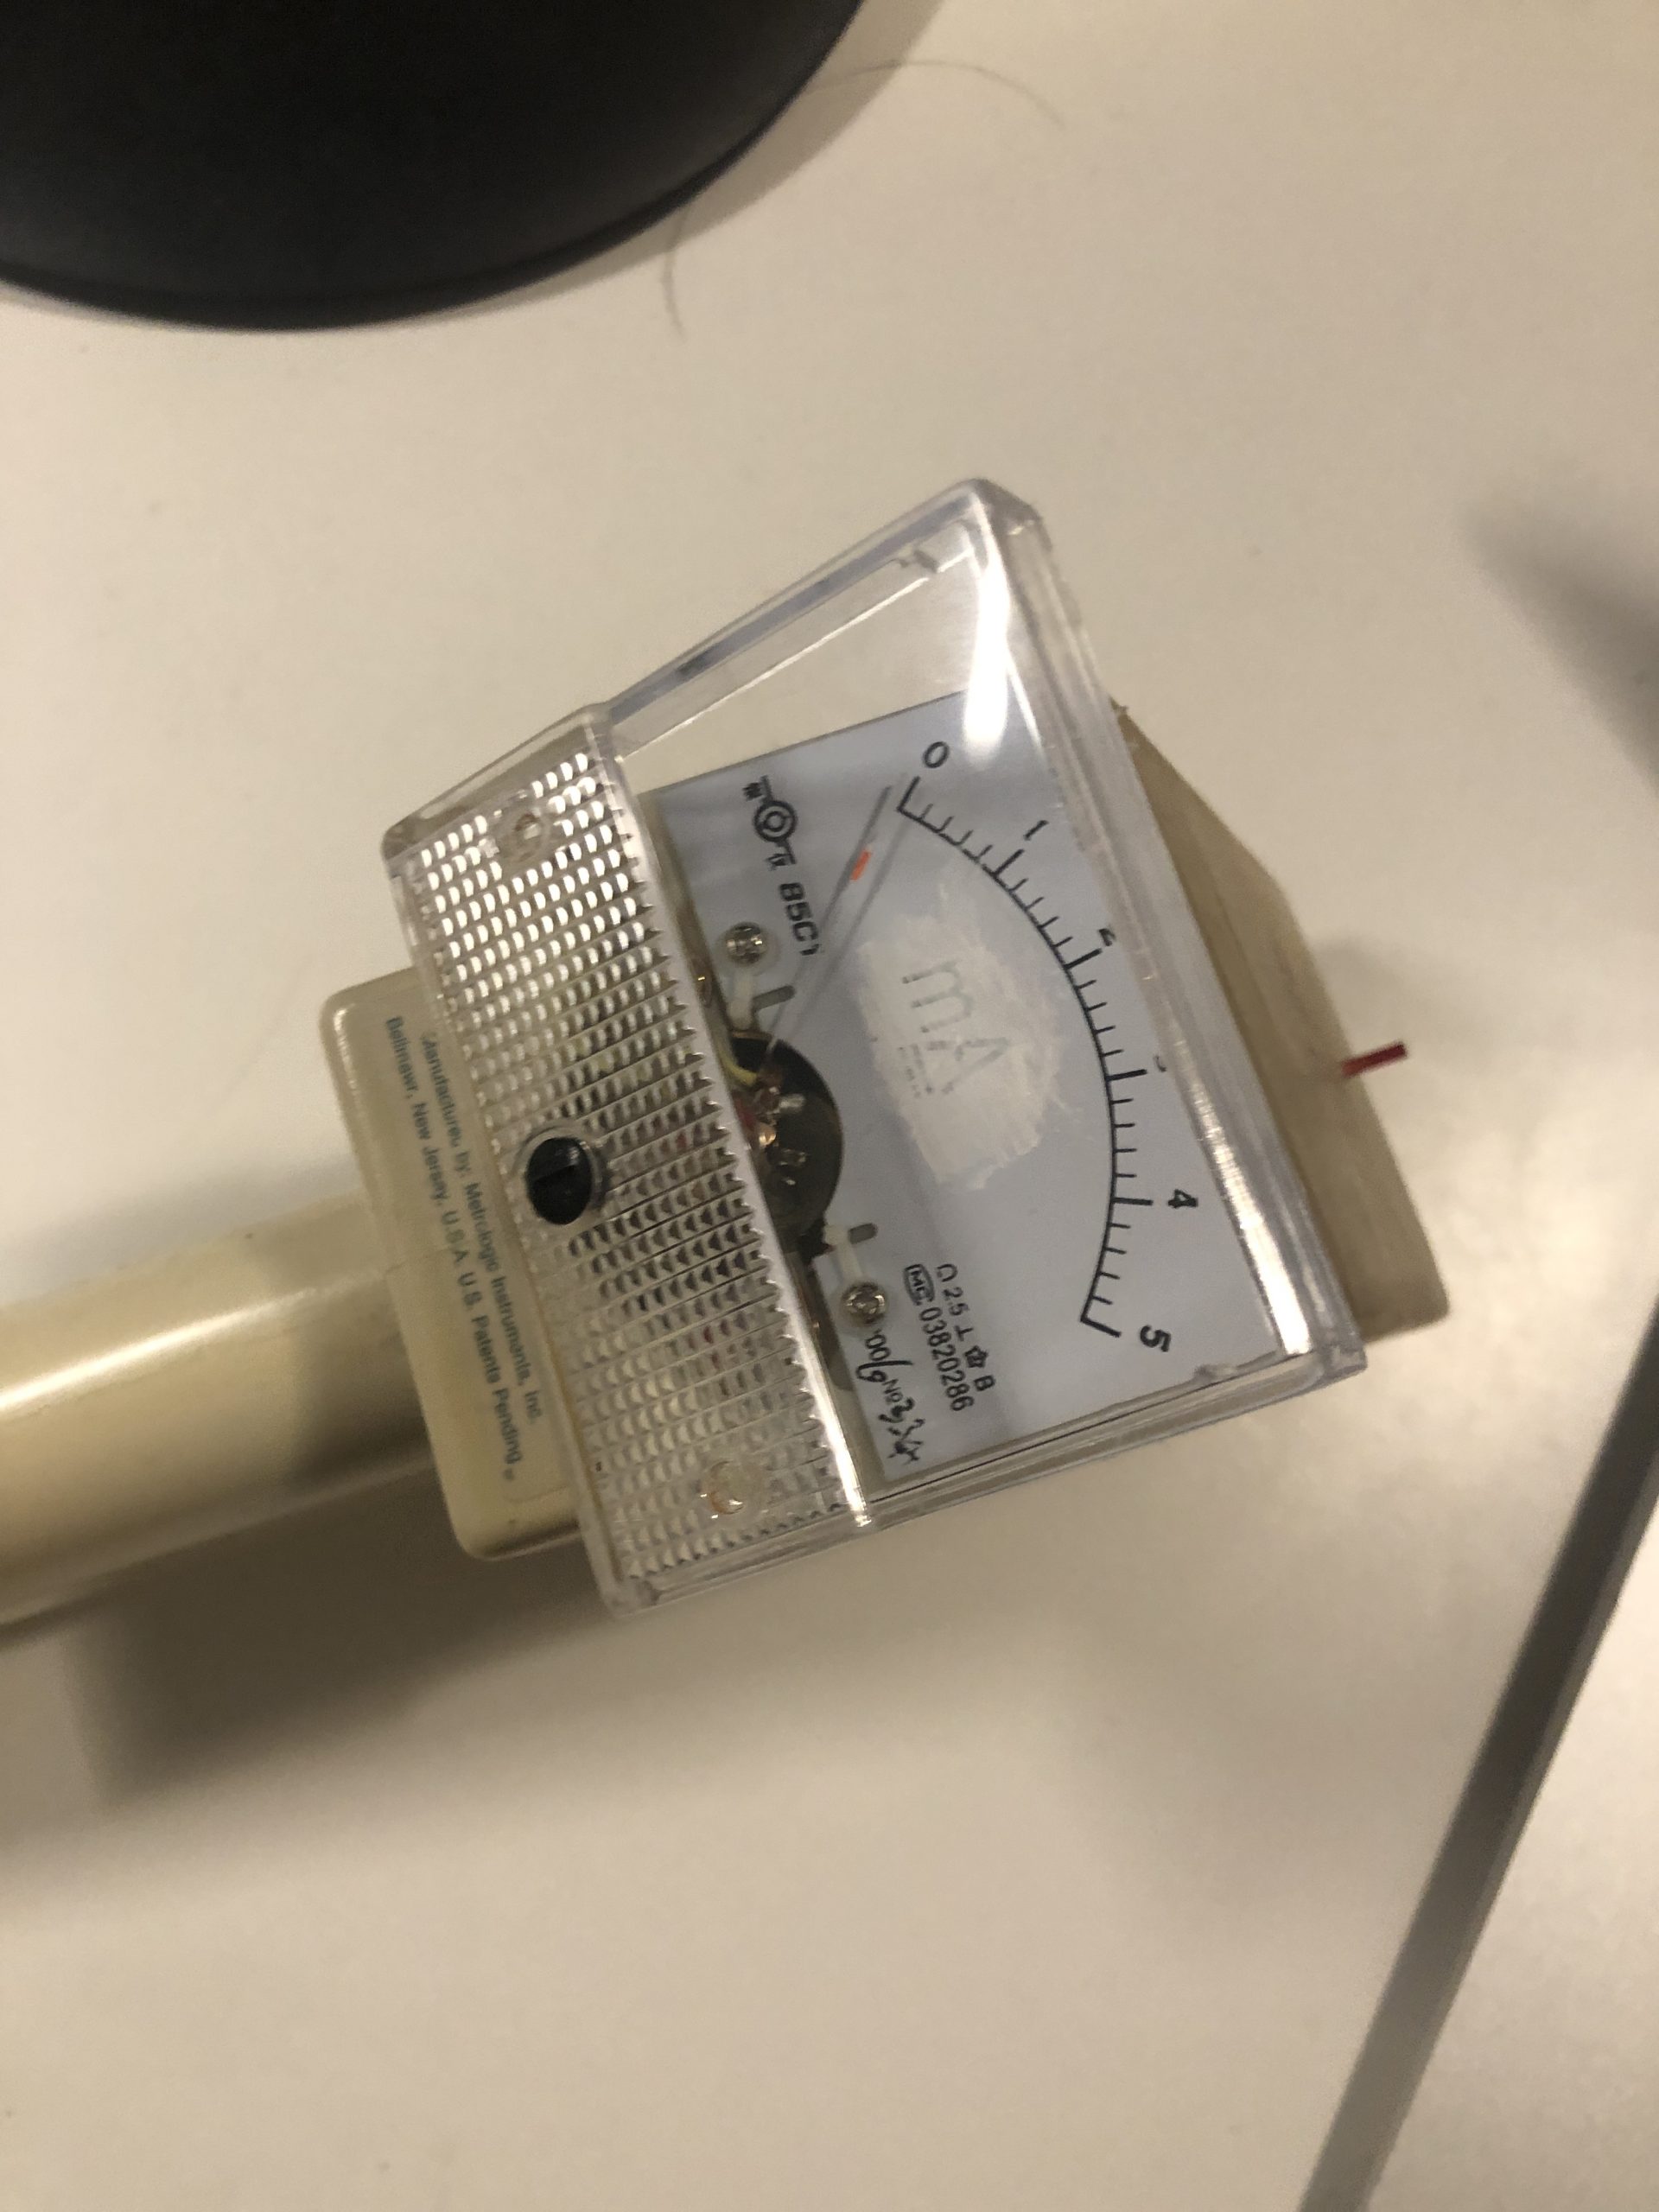
Failure of white paint to cover the initial labels of the ammeters. I ended up printing out “magnetic field” labels and putting them over the originals
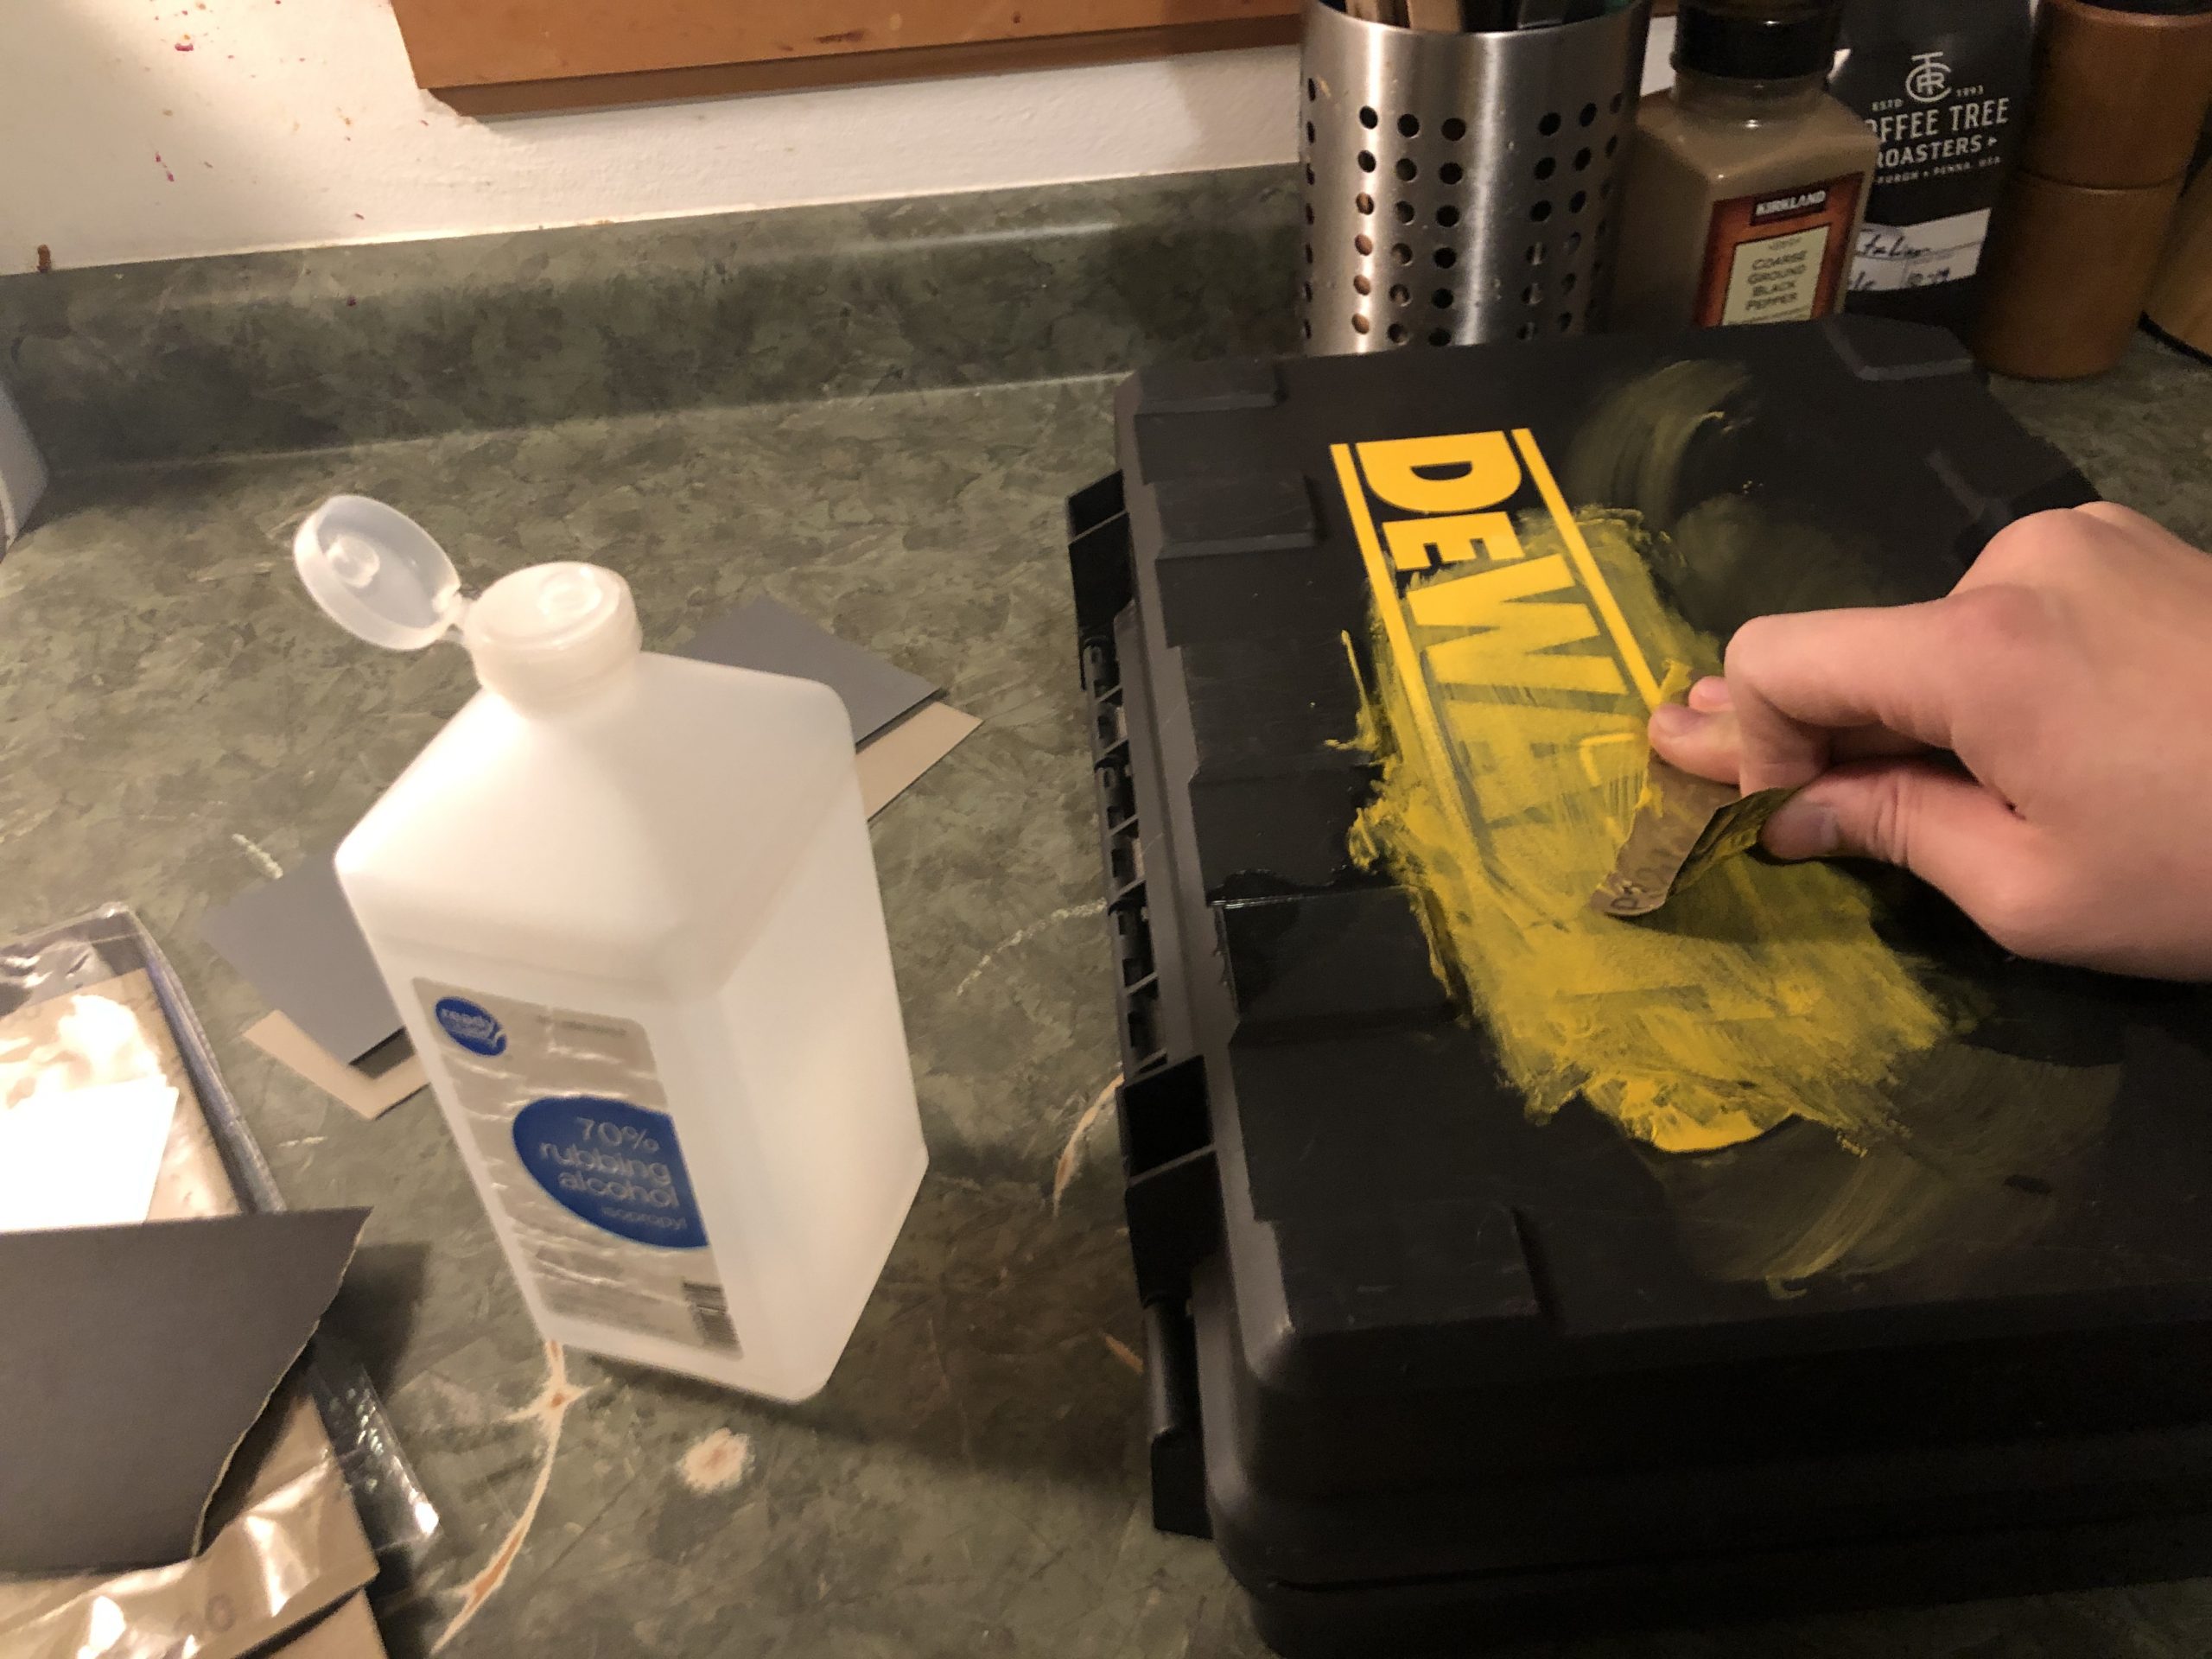
Removing the DeWalt logo using sandpaper. I should’ve used acetone, it would have been much faster
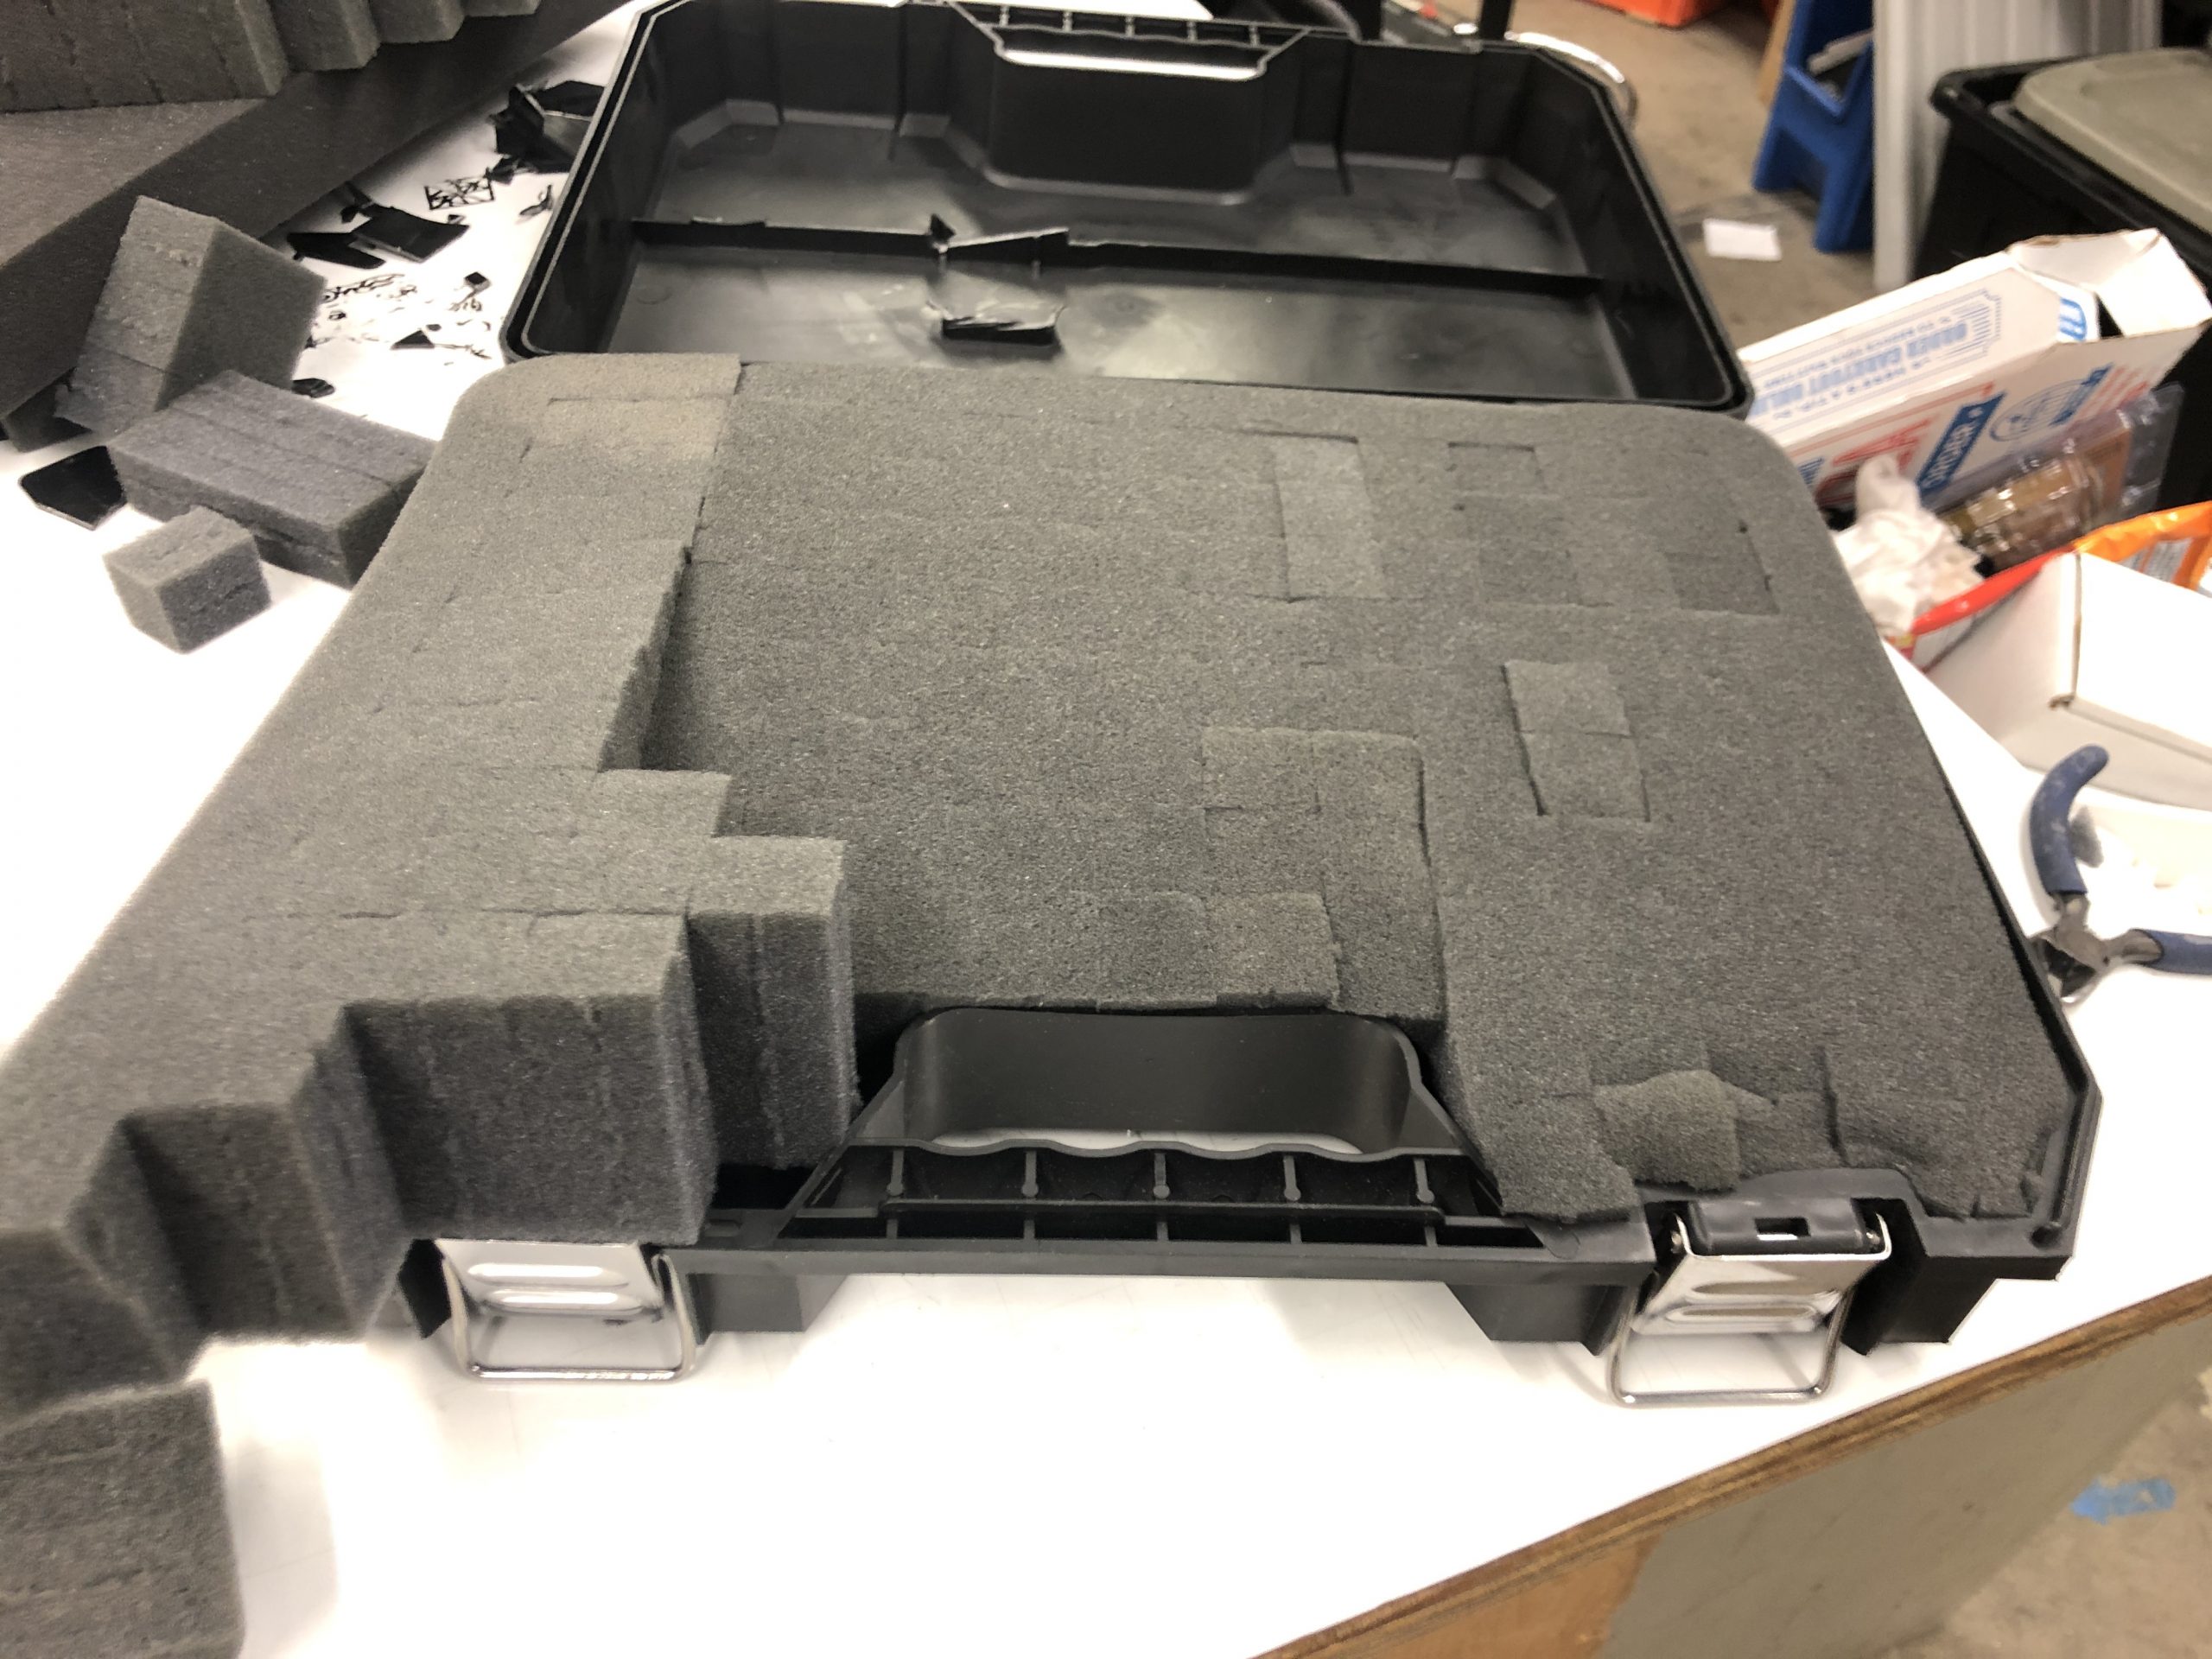
Prepping the foam to fit into the case. I had to cut down much of the foam for it to even go in the bounds, and even then it looked a bit patchy.
#define speakerNum 7
#define dialNum 3
#define trigger 6


float curRad = 0.0;
long now = 0;

// Click timing
int lambda = 4;
int next = 0;

// Click rate measurement
float rate = 0.0;
int numInLast100 = 0;
long timeSinceLast100 = 0;

void setup() {
    pinMode(speakerNum, OUTPUT);
    pinMode(dialNum, OUTPUT);
    pinMode(trigger, INPUT_PULLUP);
    Serial.begin(115200);

}


// Storing the samples that we read in
const int numsamples = 100;
double yea[numsamples];
int ind = 0;

void loop() {
    // Calculate the exponential timing for the geiger counter
    if ((millis()-now) > next){
        next = -log(1.0-float(random(1000))/1000.0)/lambda*1000;
        if (!digitalRead(trigger)){
            digitalWrite(speakerNum, HIGH);
        }
        delayMicroseconds(40);
        digitalWrite(speakerNum, LOW);
        now = millis();
        numInLast100 += 1;
    }

    // Calculate rate to output to the ammeter
    if (millis()-timeSinceLast100 > 100){
        rate = float(numInLast100)*100*.3 + rate*.7;
        analogWrite(dialNum, min(rate,255.0));
        numInLast100 = 0;
        timeSinceLast100 = millis();
    }

    yea[ind] = analogRead(A0);

    ind += 1;
    ind %= numsamples;
    float A0var = variance(yea, numsamples);
    // set the new clicking rate based on the variance of the EMI around it
    lambda = sqrt(min(map(A0var, 0, 1000, 1,30),500));
    Serial.println(lambda);

}


// Calculates the variance of a list of numbers
float variance(double a[], int n) {
    // Compute mean (average of elements)
    double sum = 0;

    for (int i = 0; i < n; i++) sum += a[i];
    double mean = (double)sum / (double)n;
    // Compute sum squared differences with mean.
    double sqDiff = 0;
    for (int i = 0; i < n; i++)
        sqDiff += (a[i] - mean) * (a[i] - mean);
    return (float)sqDiff / n;
}