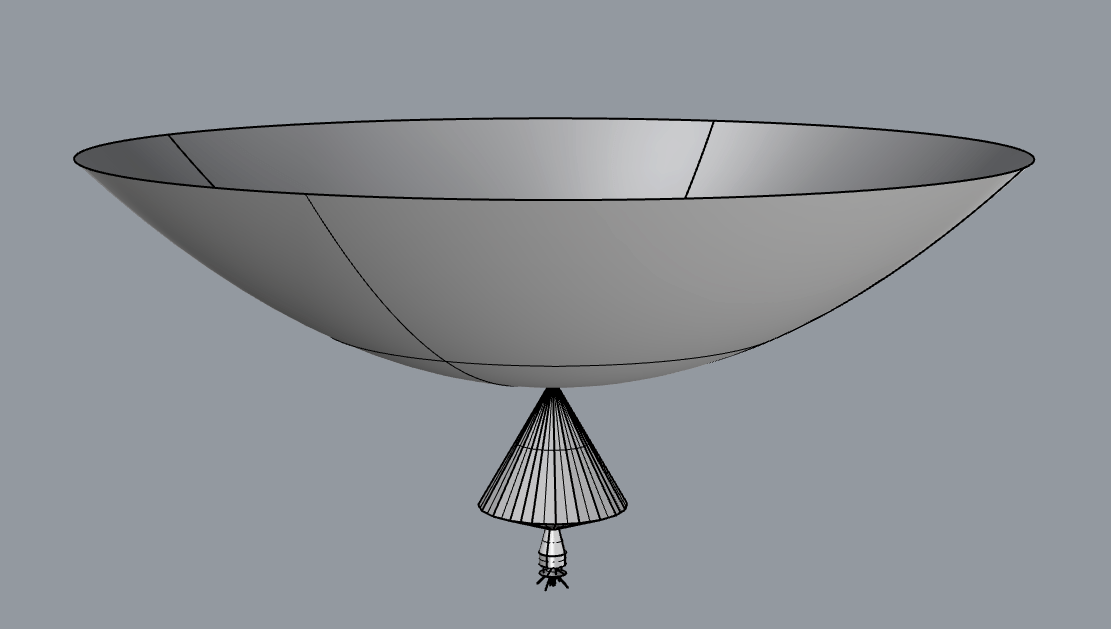
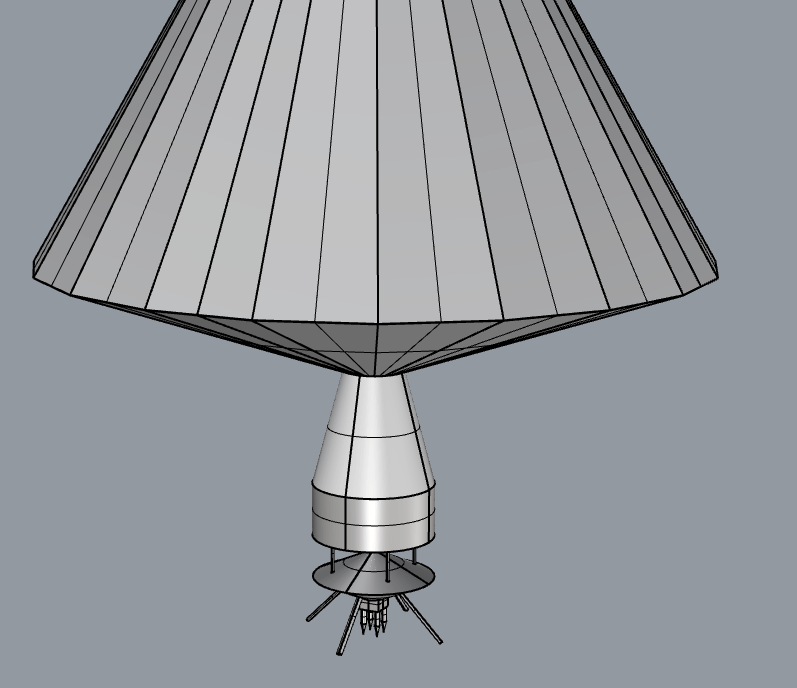
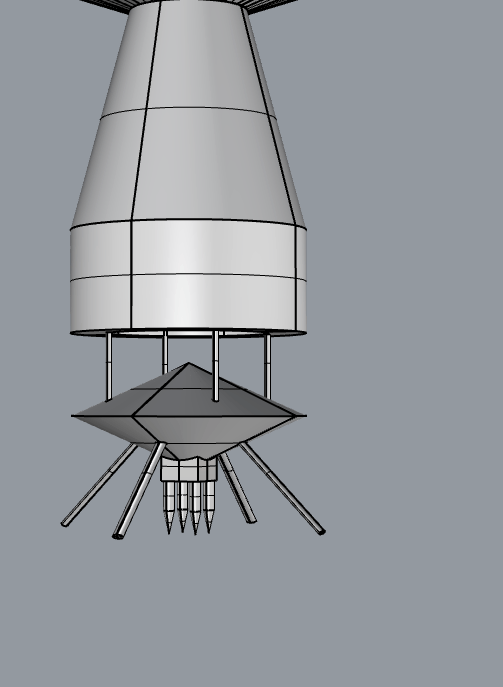
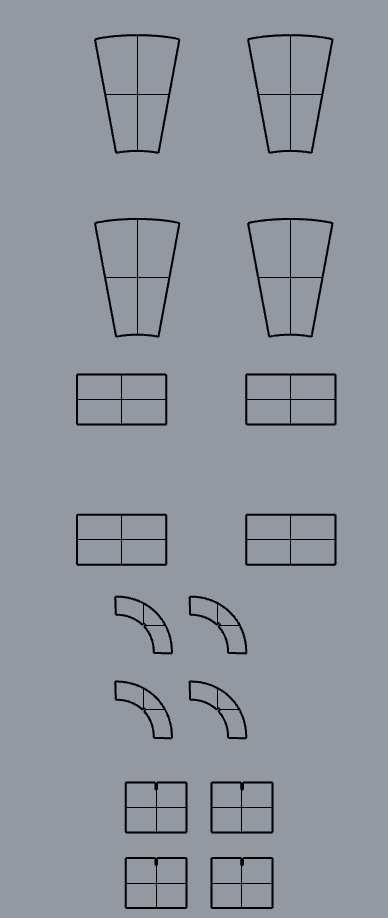
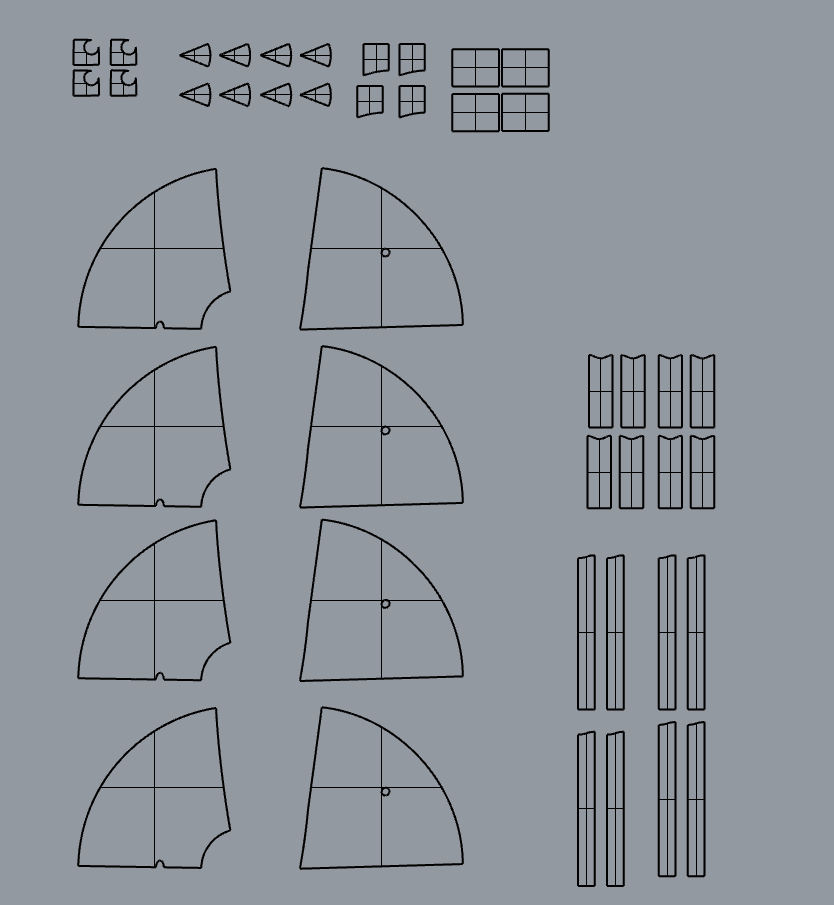
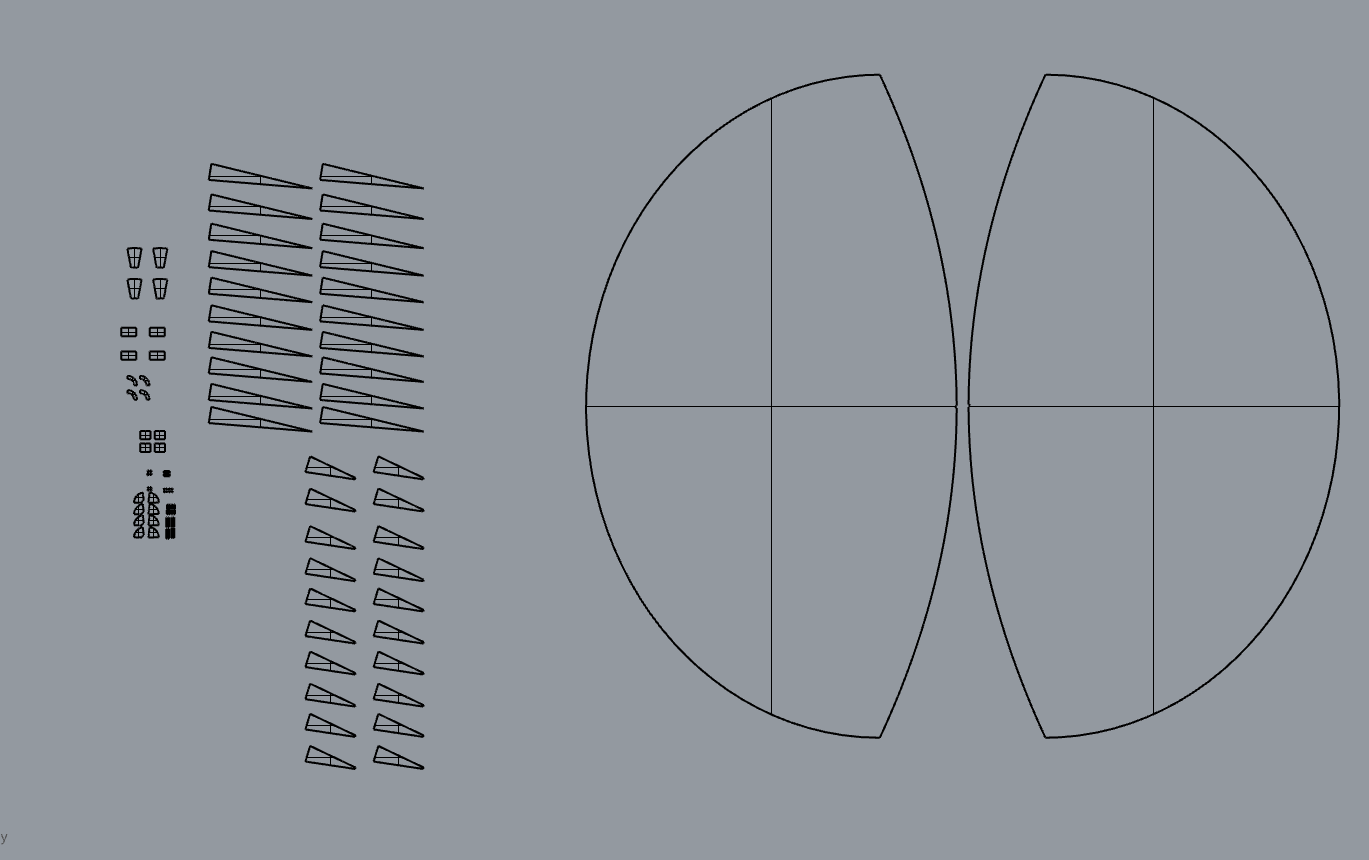
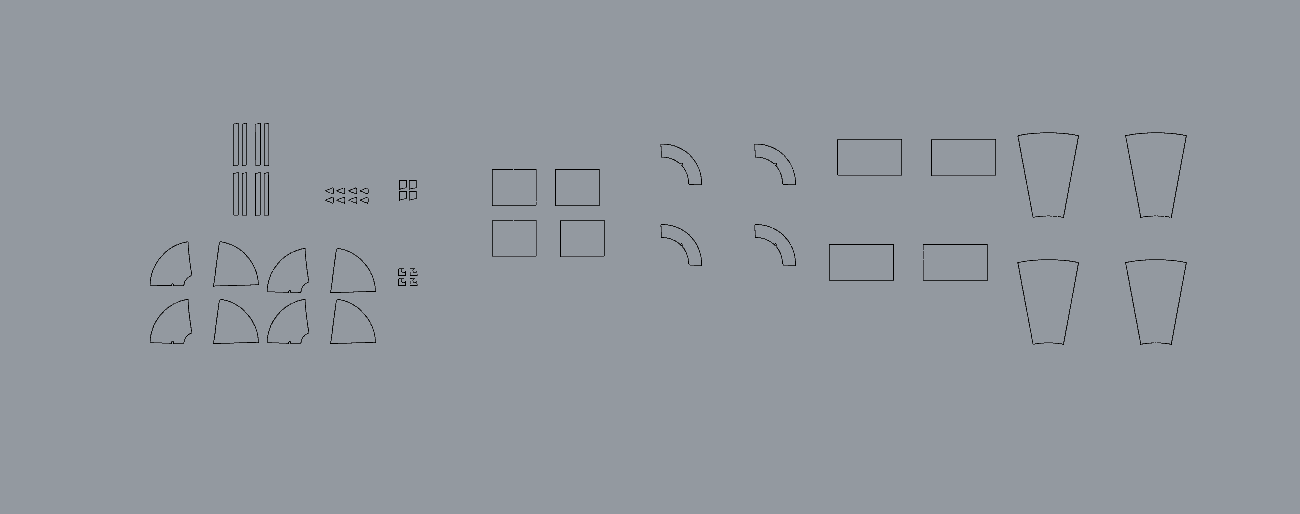
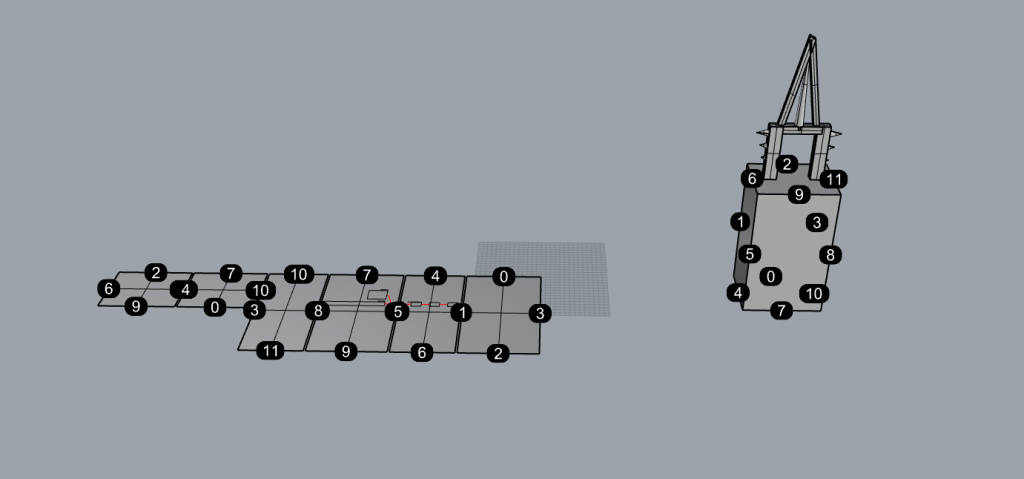
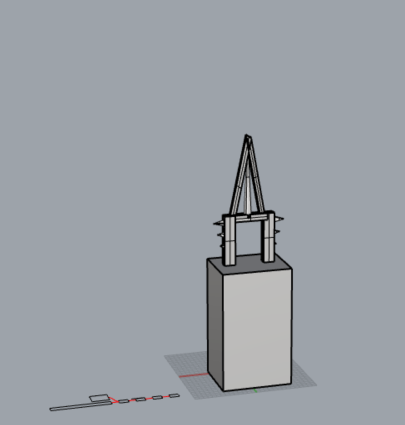
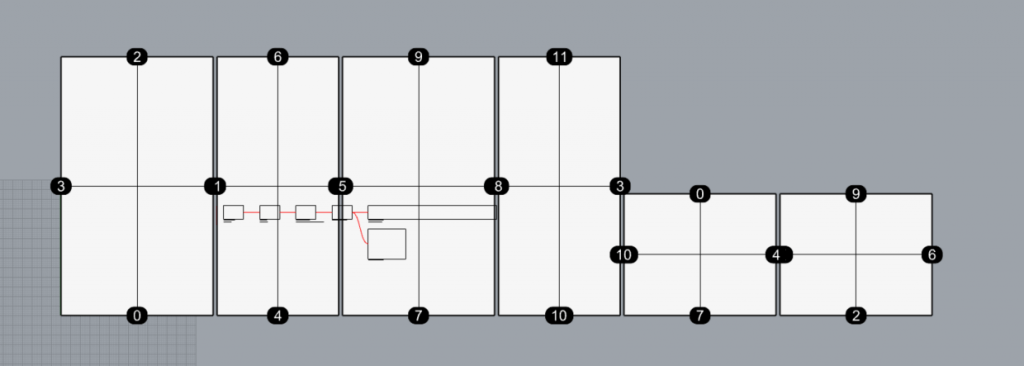
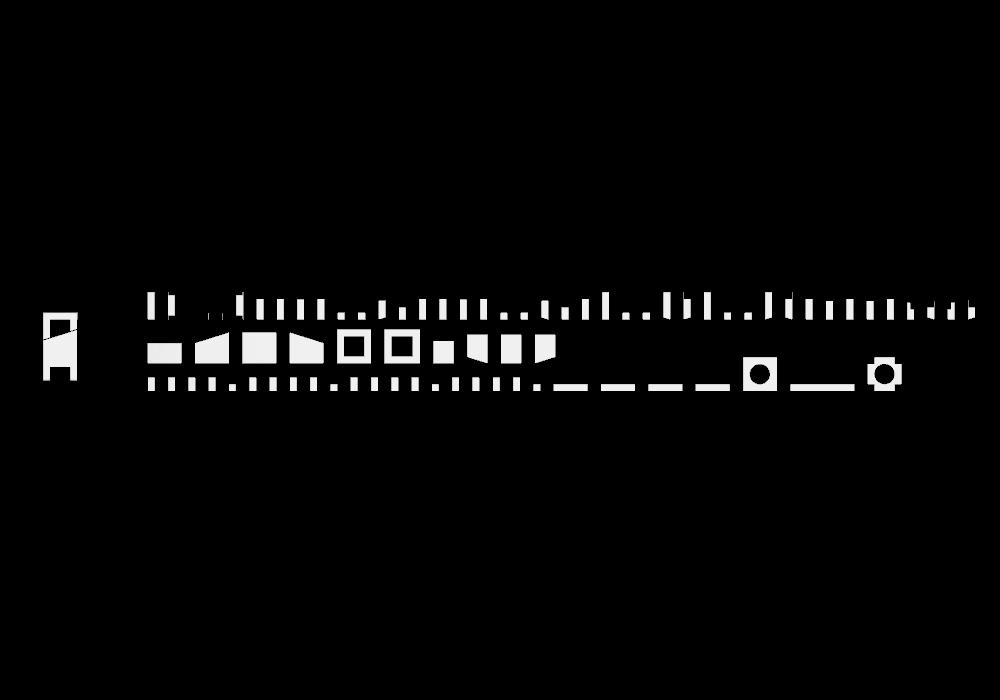
My music tower was inspired by this song. It just feels mystical and free so I wanted the tower to have lots of round shapes and cylinders to it. I also wanted all the curves to have a kinetic feeling to them, as if they were dancing to the song. Overall, my focus was on the fluidity and organic representation of the song. Here is a link to my rhino file as well.
Category: Gallery
Push/Pull Objects
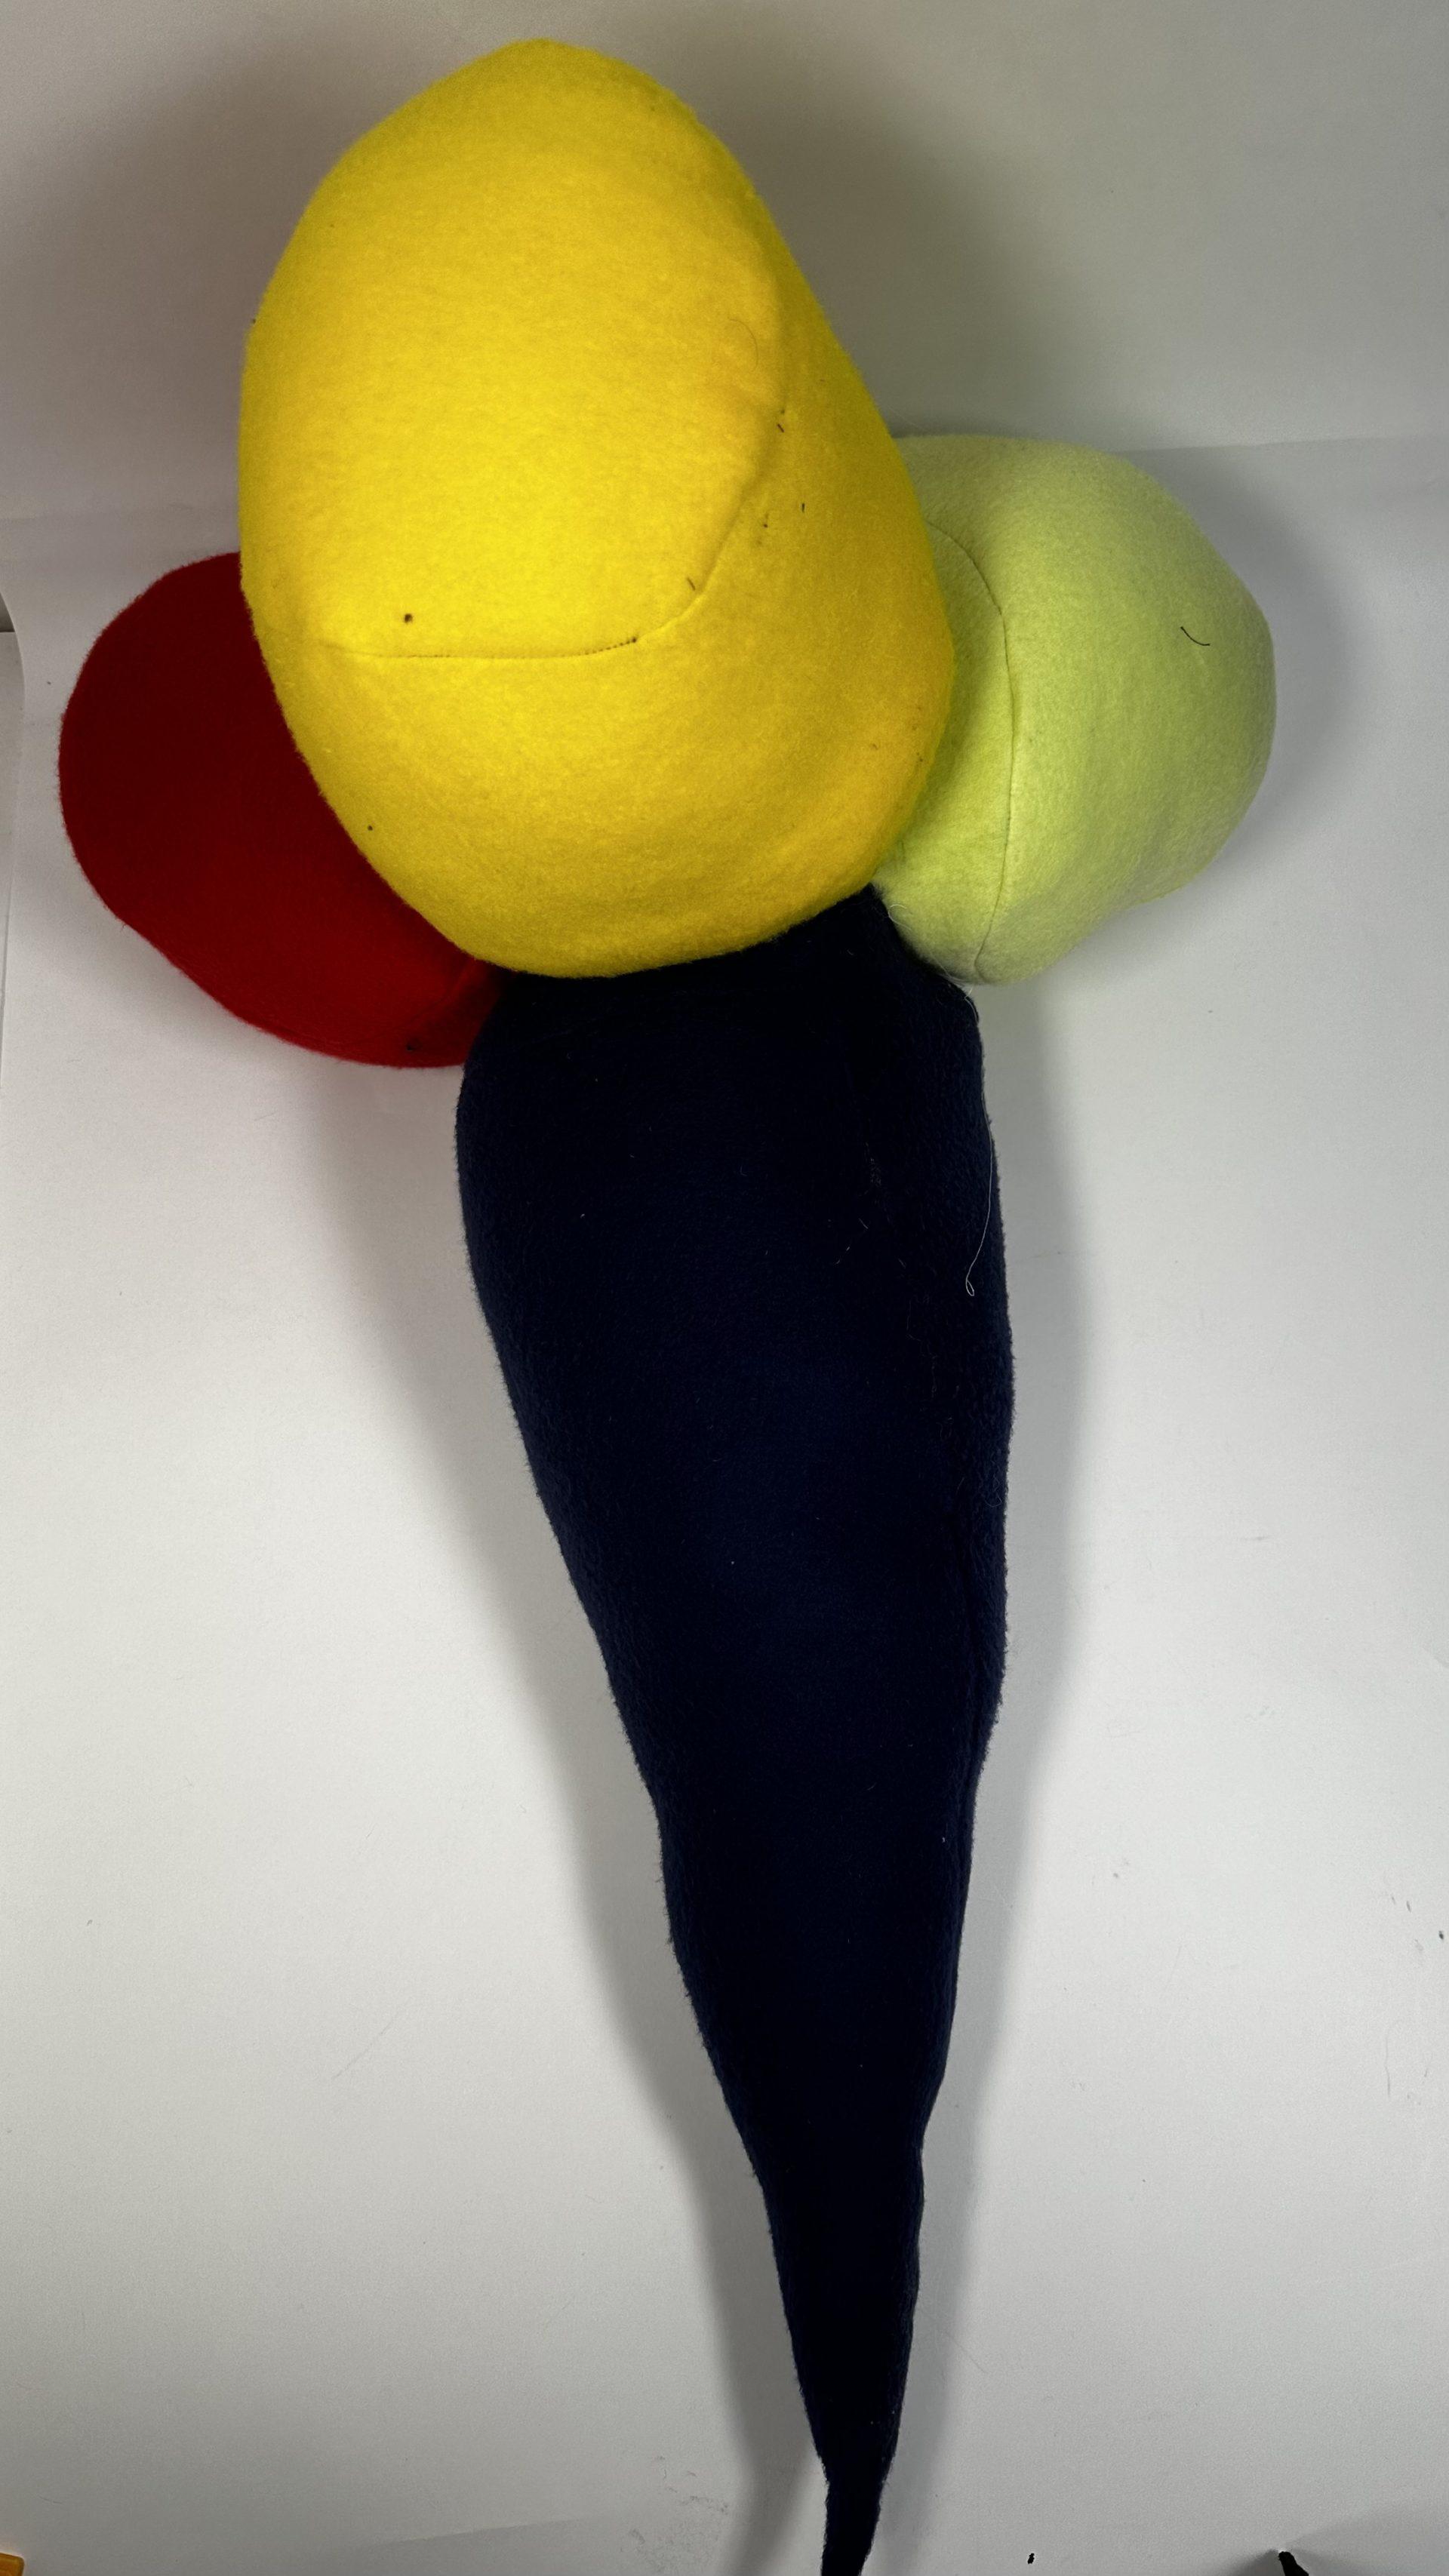
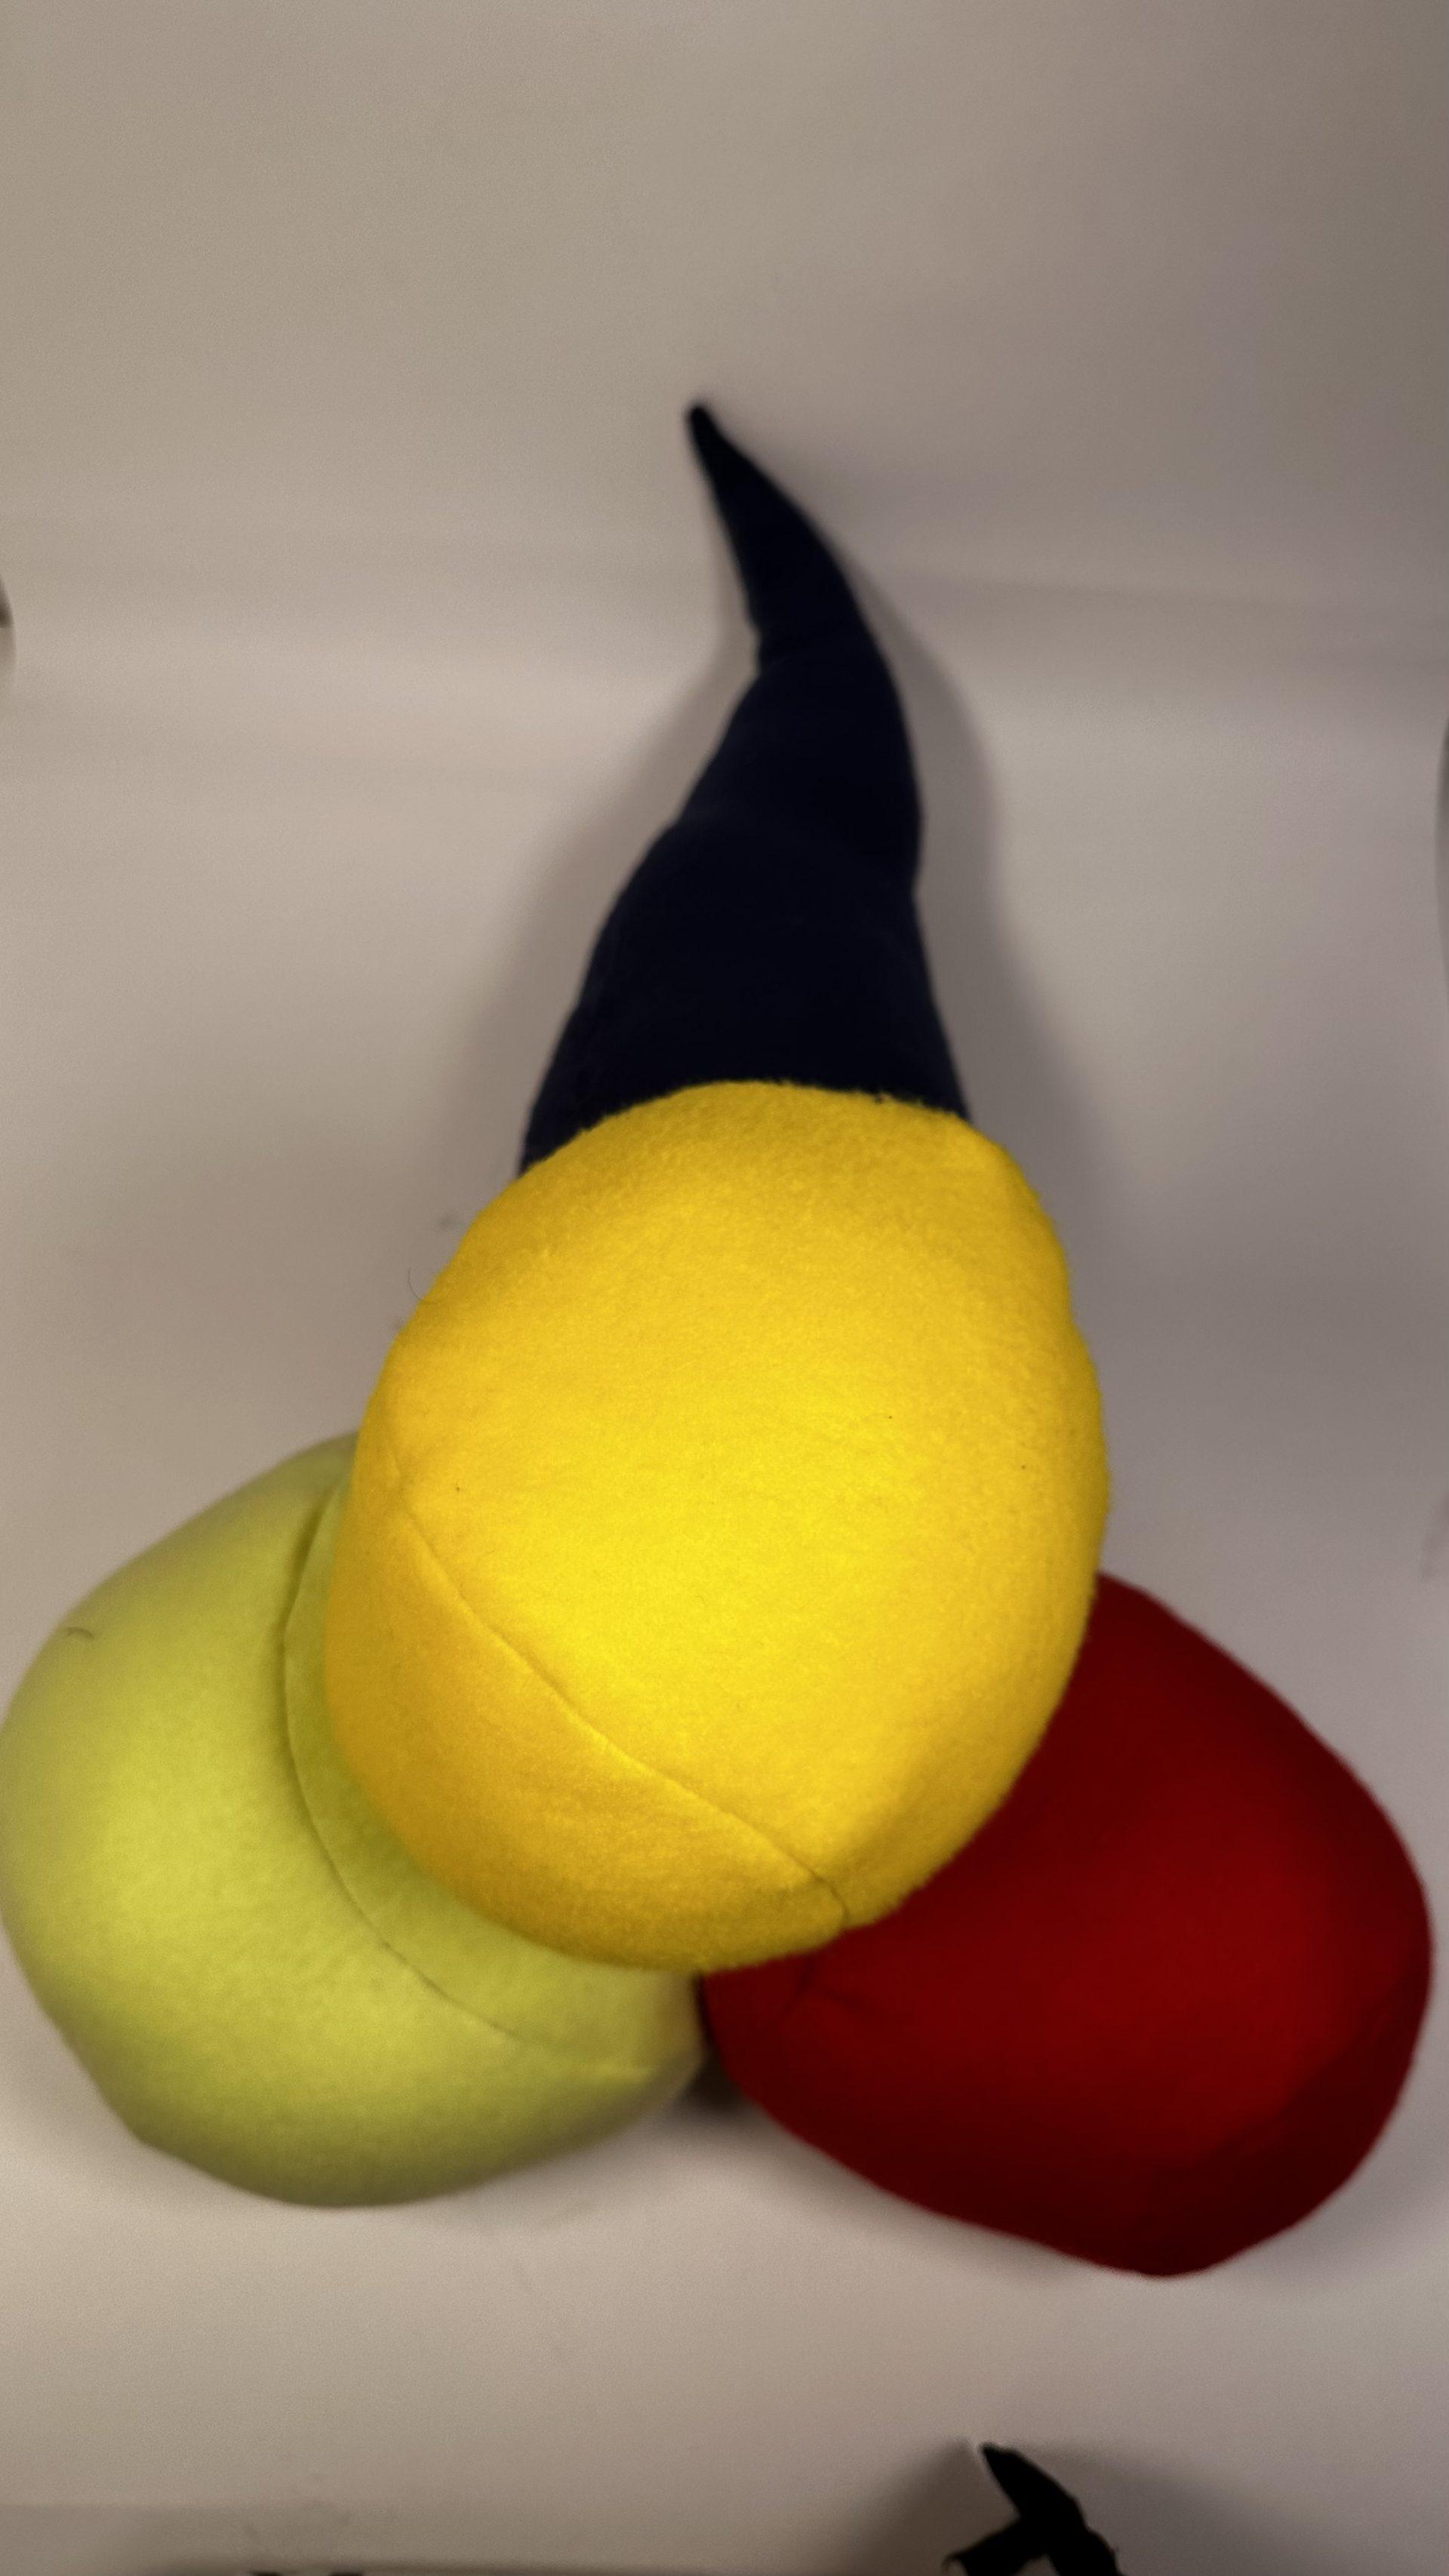
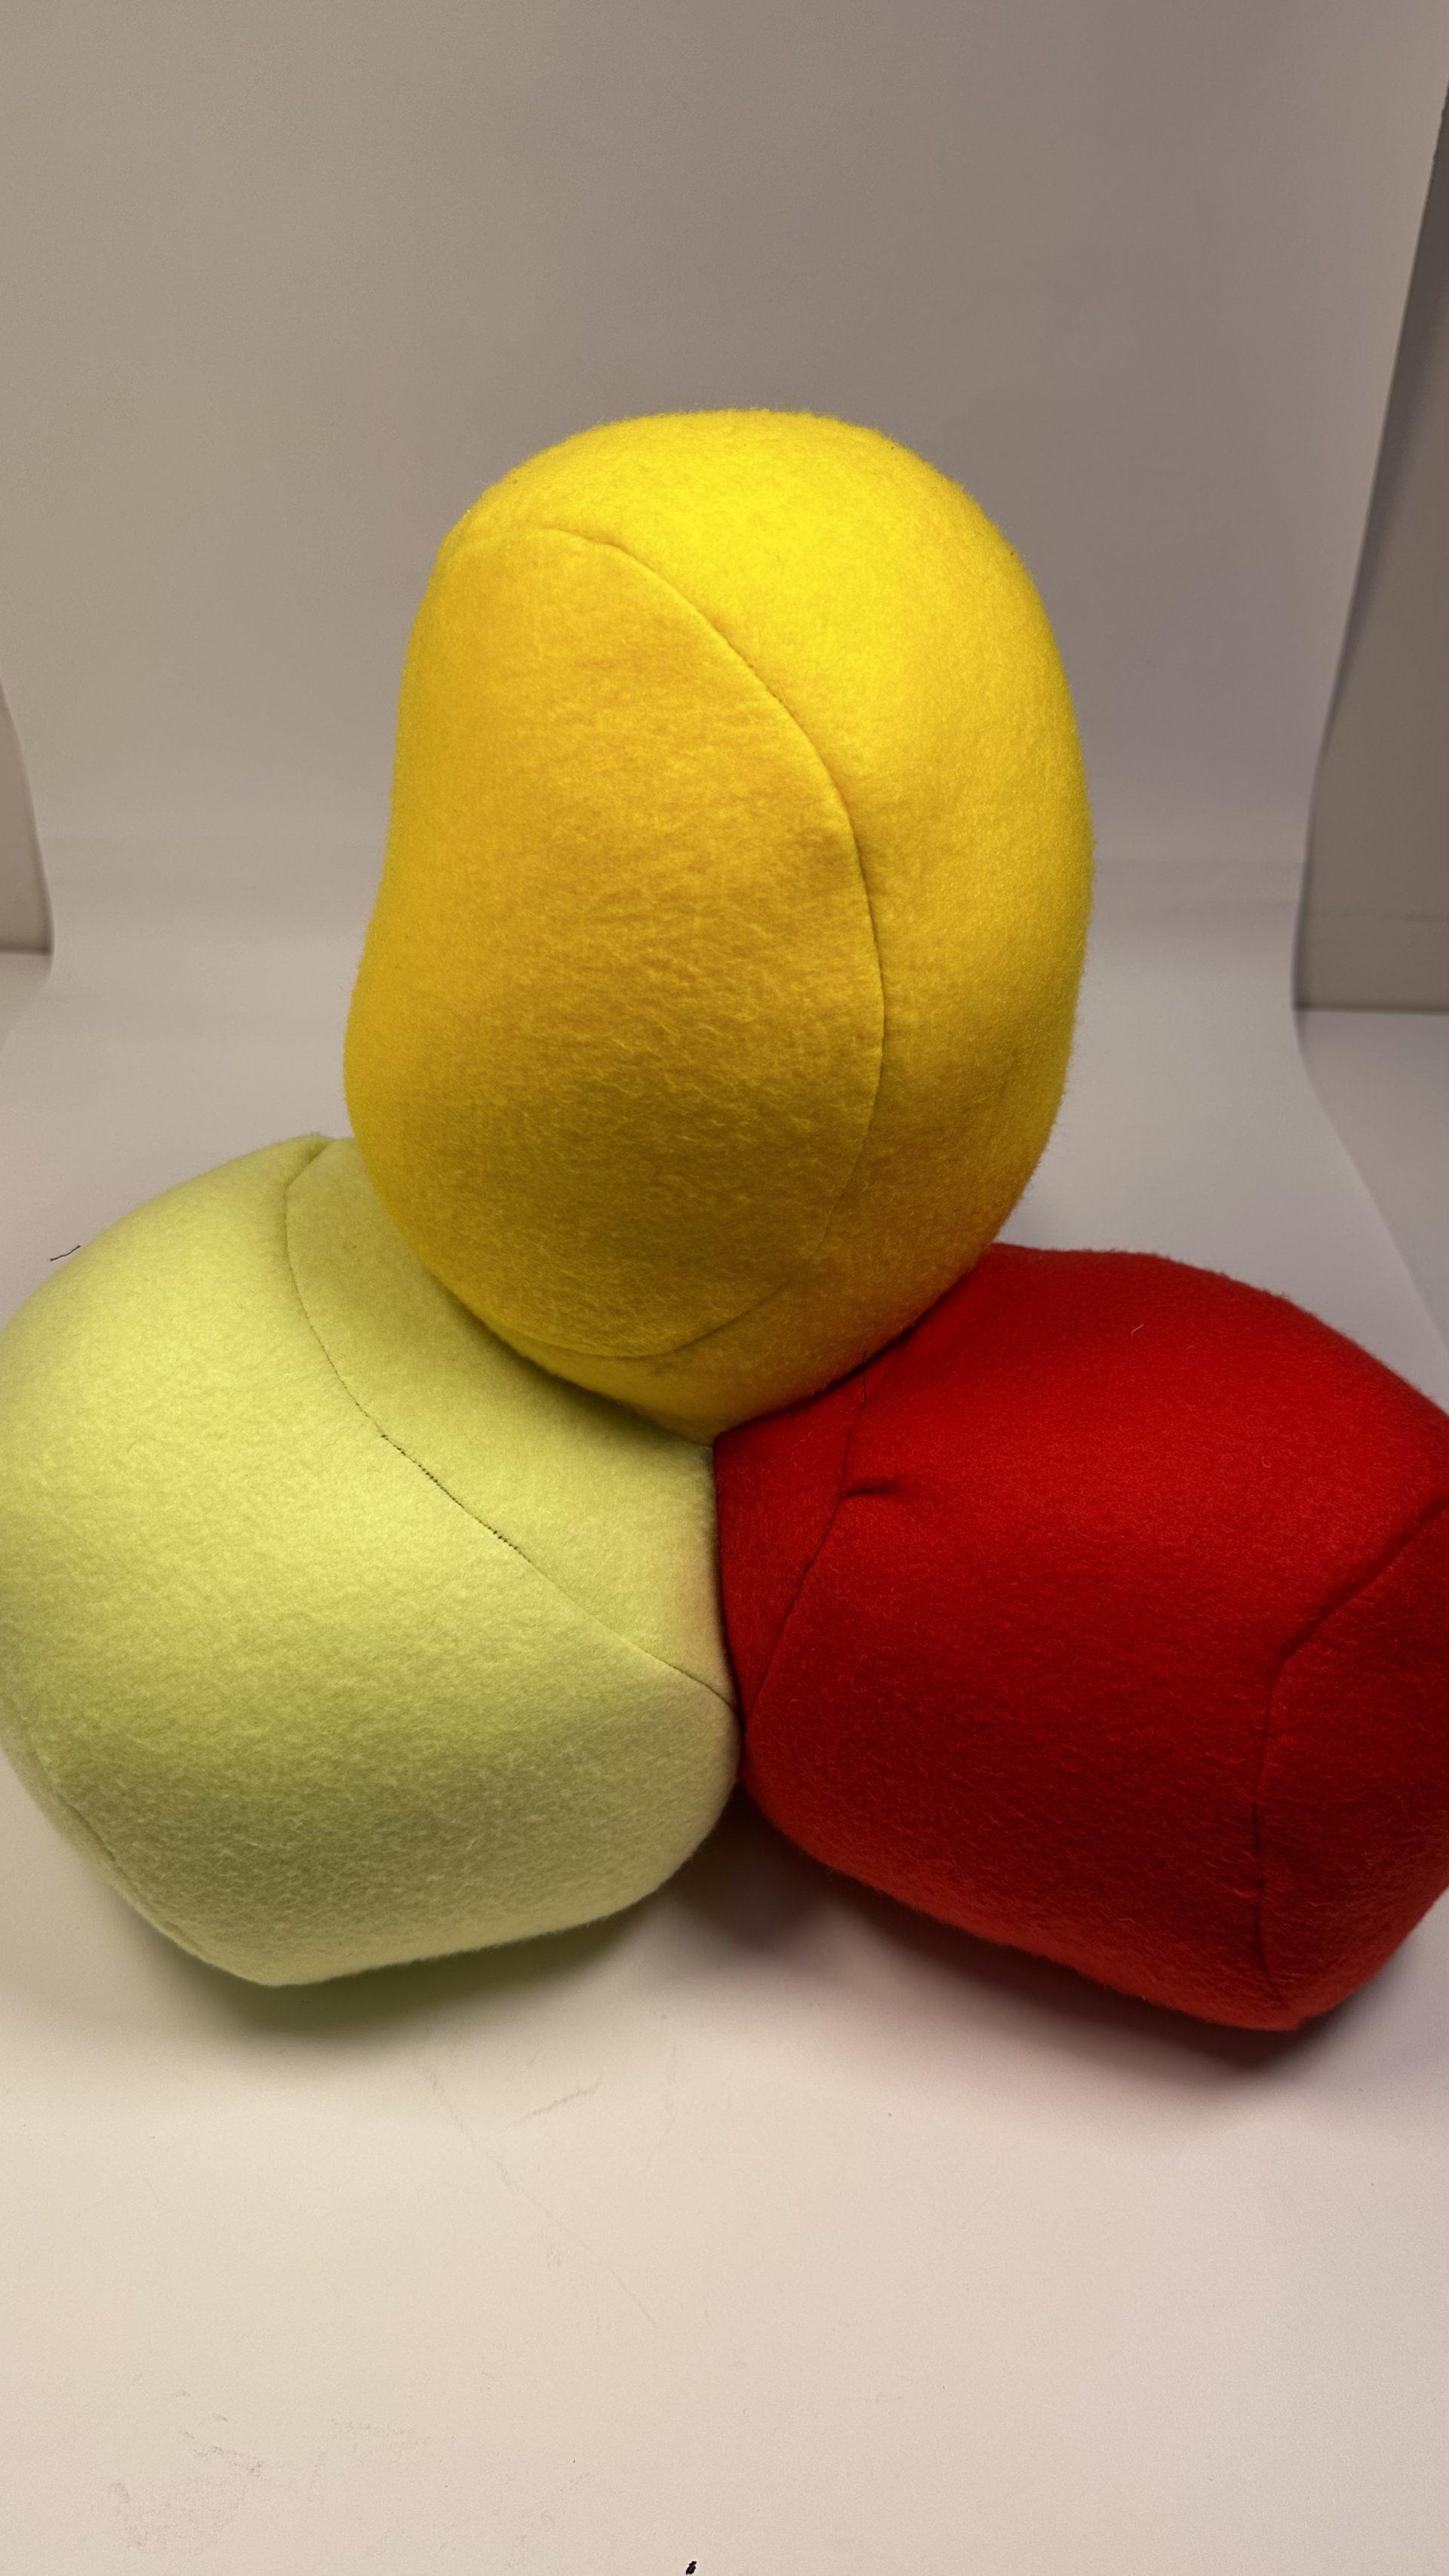
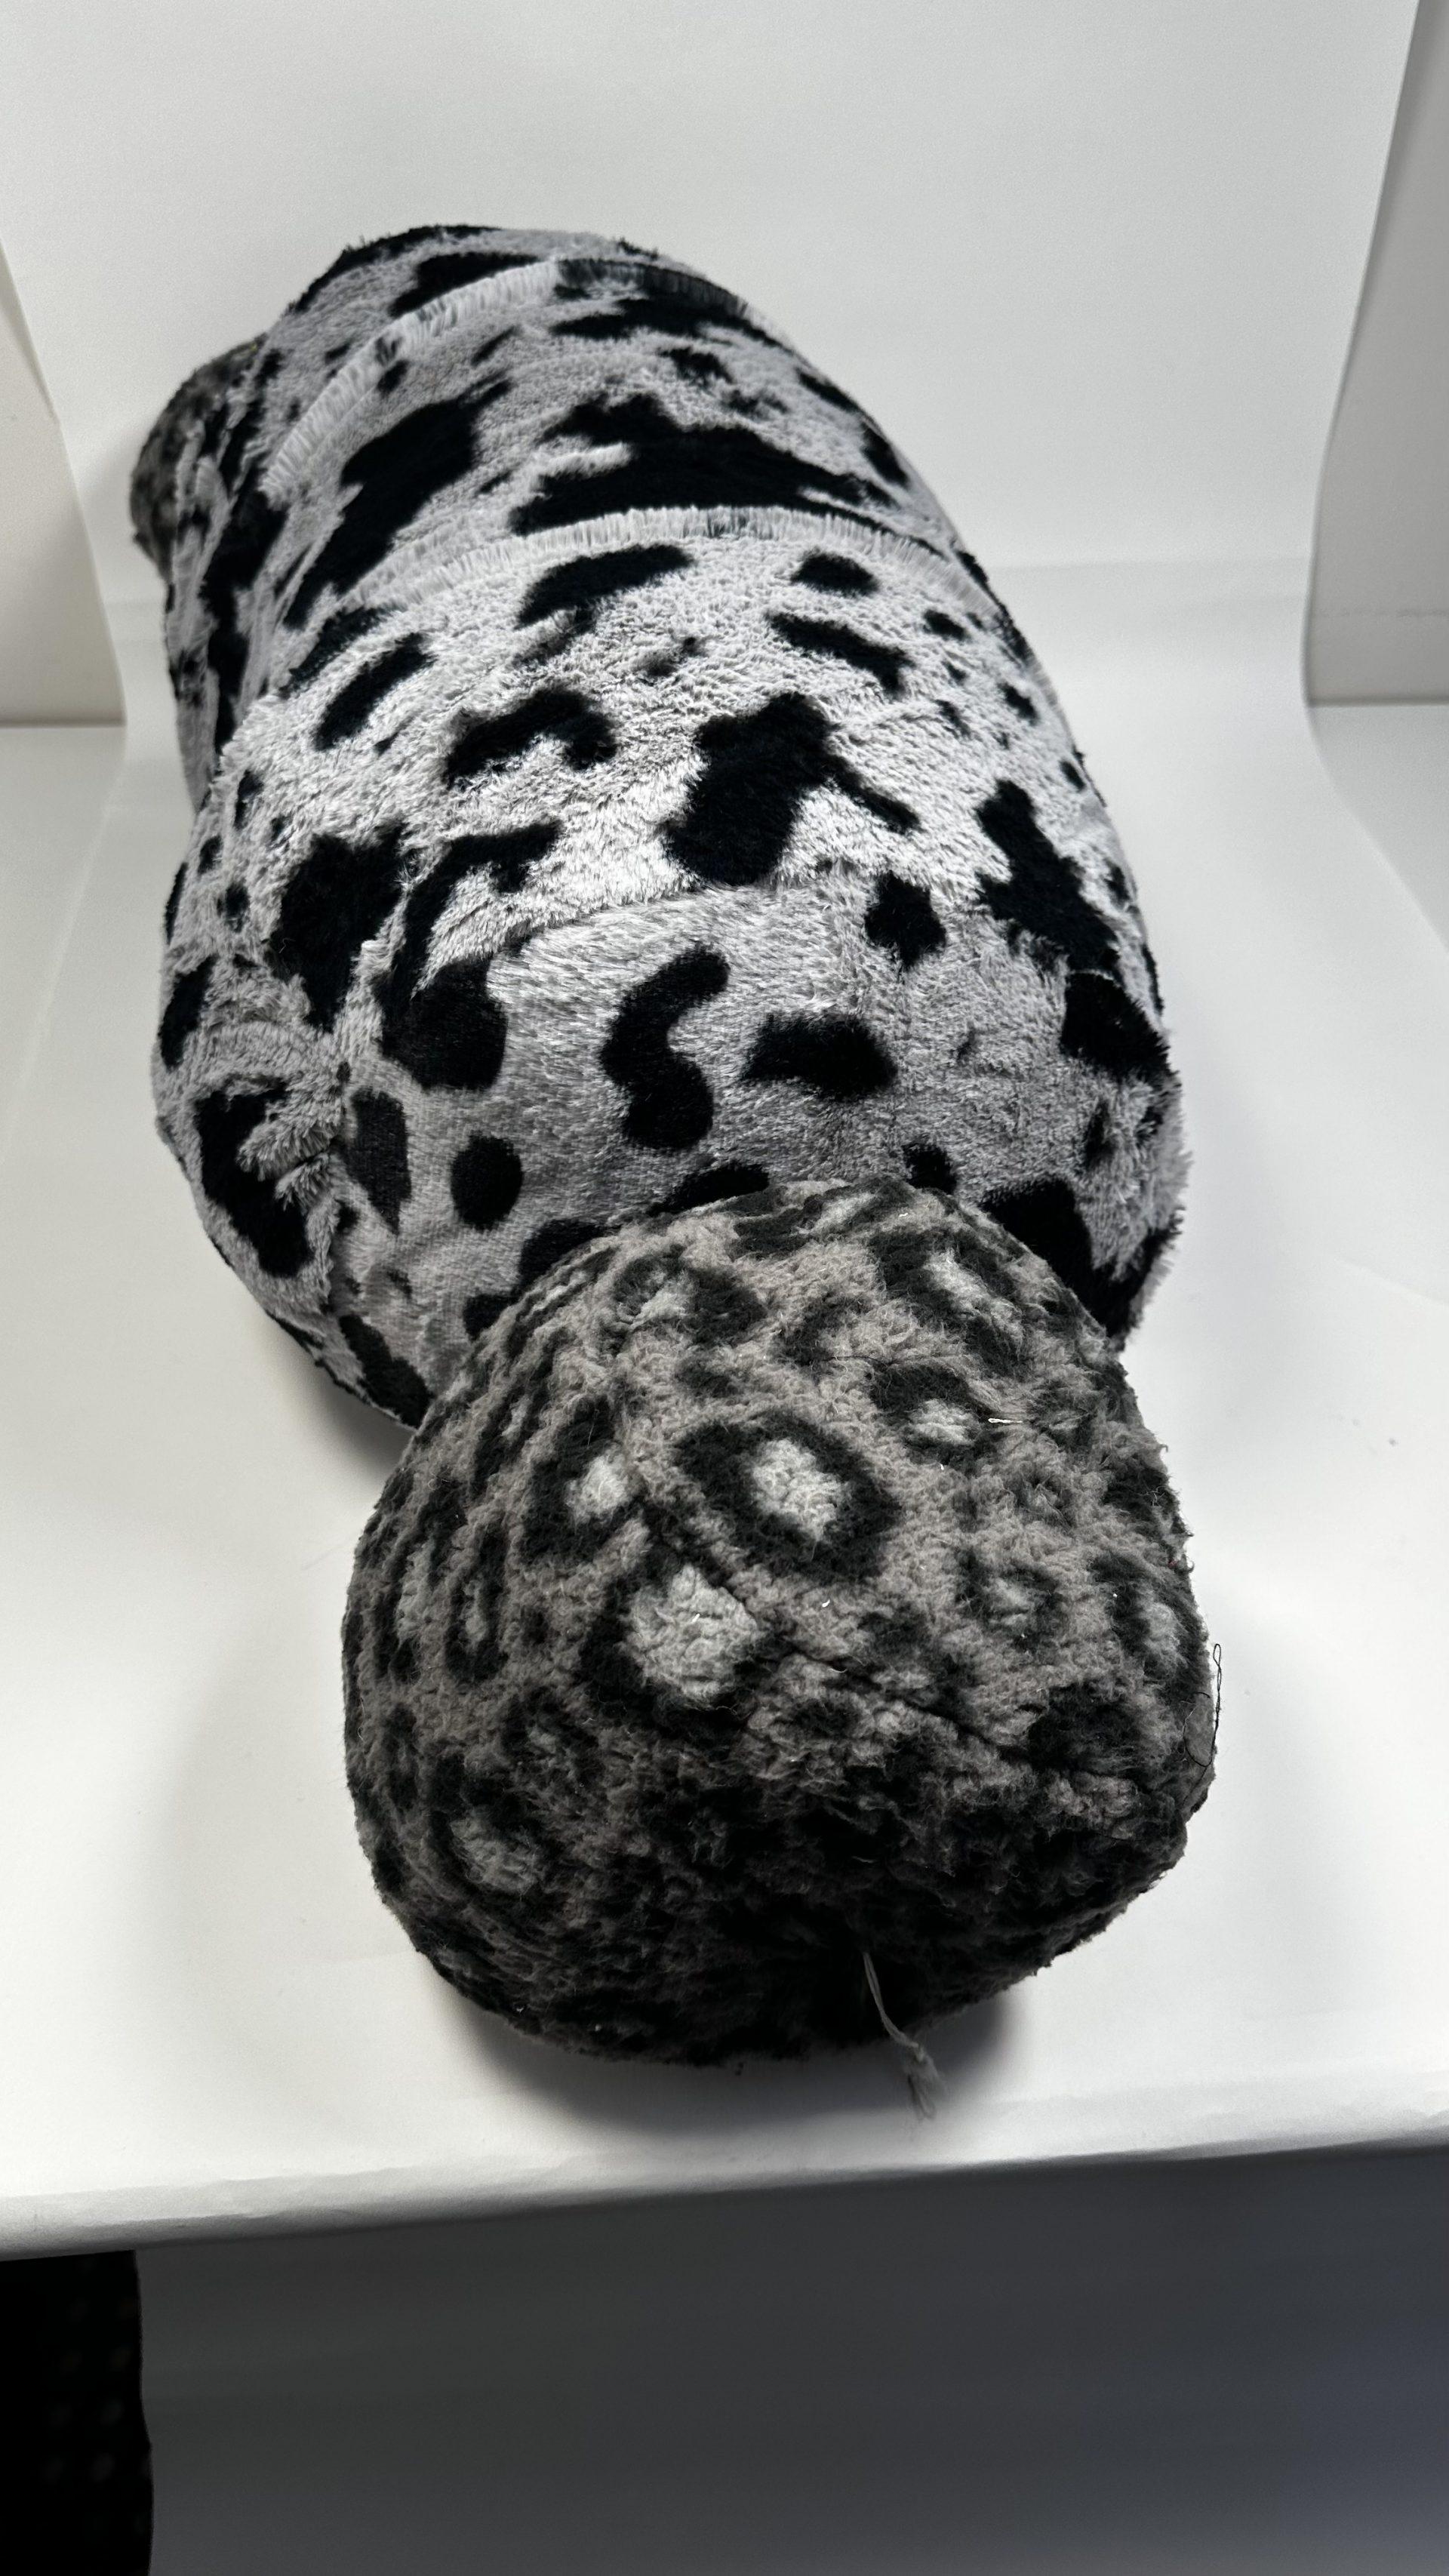
For the push/pull assignment, I wanted to experiment by trying to make an inflatable which could be a single piece of fabric. I then wanted to make something interactive, and also be able to join objects together. For my final object, I wanted to incorporate all of this, and also make it interactive.
This was my first object, and my first attempt at connecting objects together. I was initially aiming to create a completely different object, but because of certain mistakes, I was not able to make the mushroom. Instead, I was able to make something like a flower (probably seen in a game of Mario).
For my second object, I wanted to perfect joining objects together, and also be able to plan out an object and make it exactly the way I would like it to look. So I chose to make an ice cream cone, and I was able to make successfully make it. I tried making it interactive, however, I had stuffed it too much and hence could not pass a thread through the inflatable.
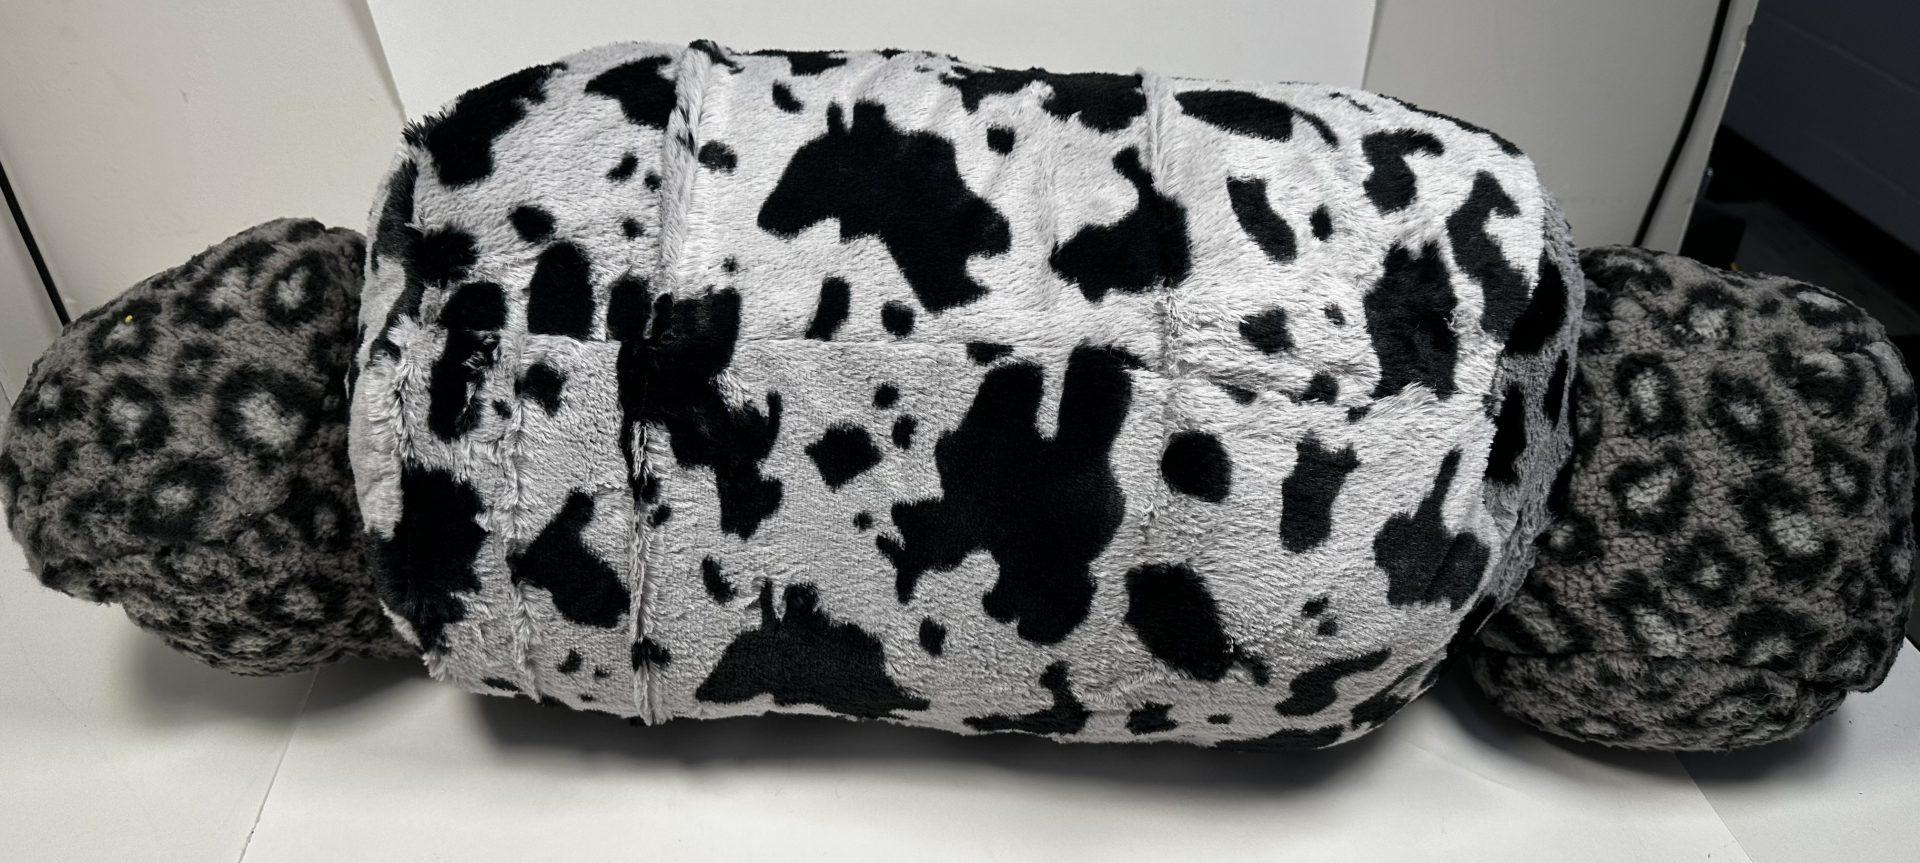
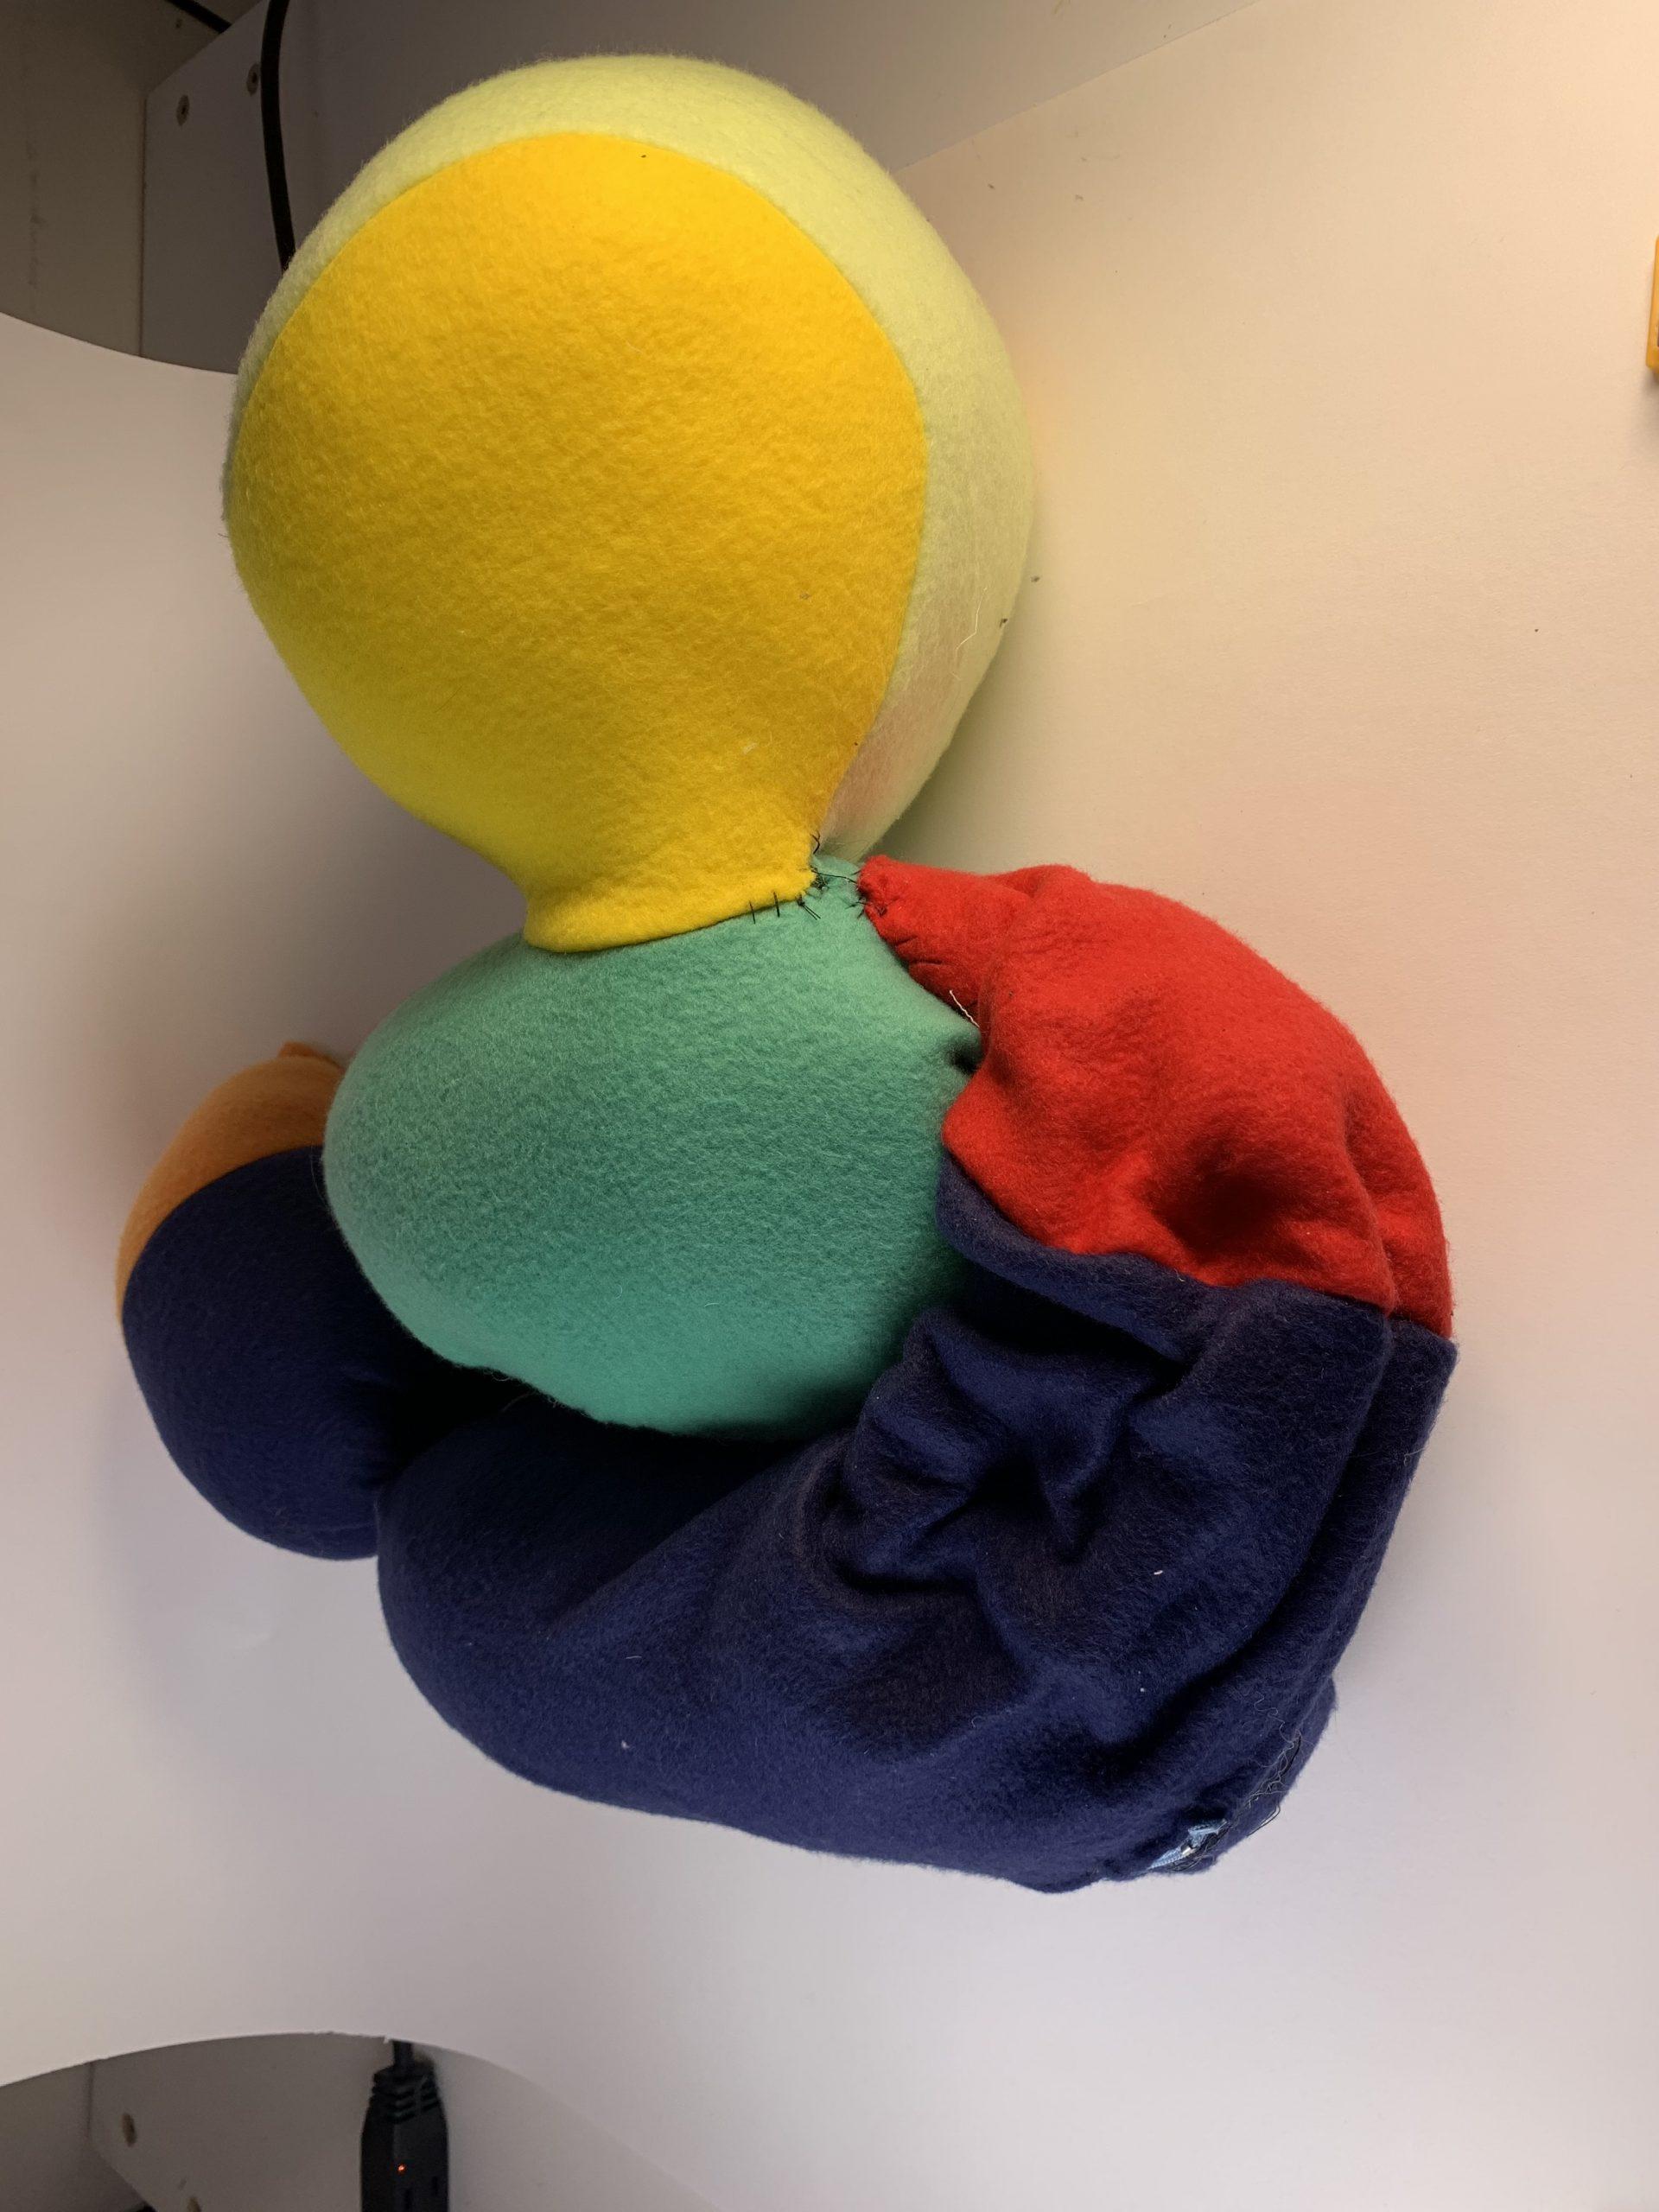
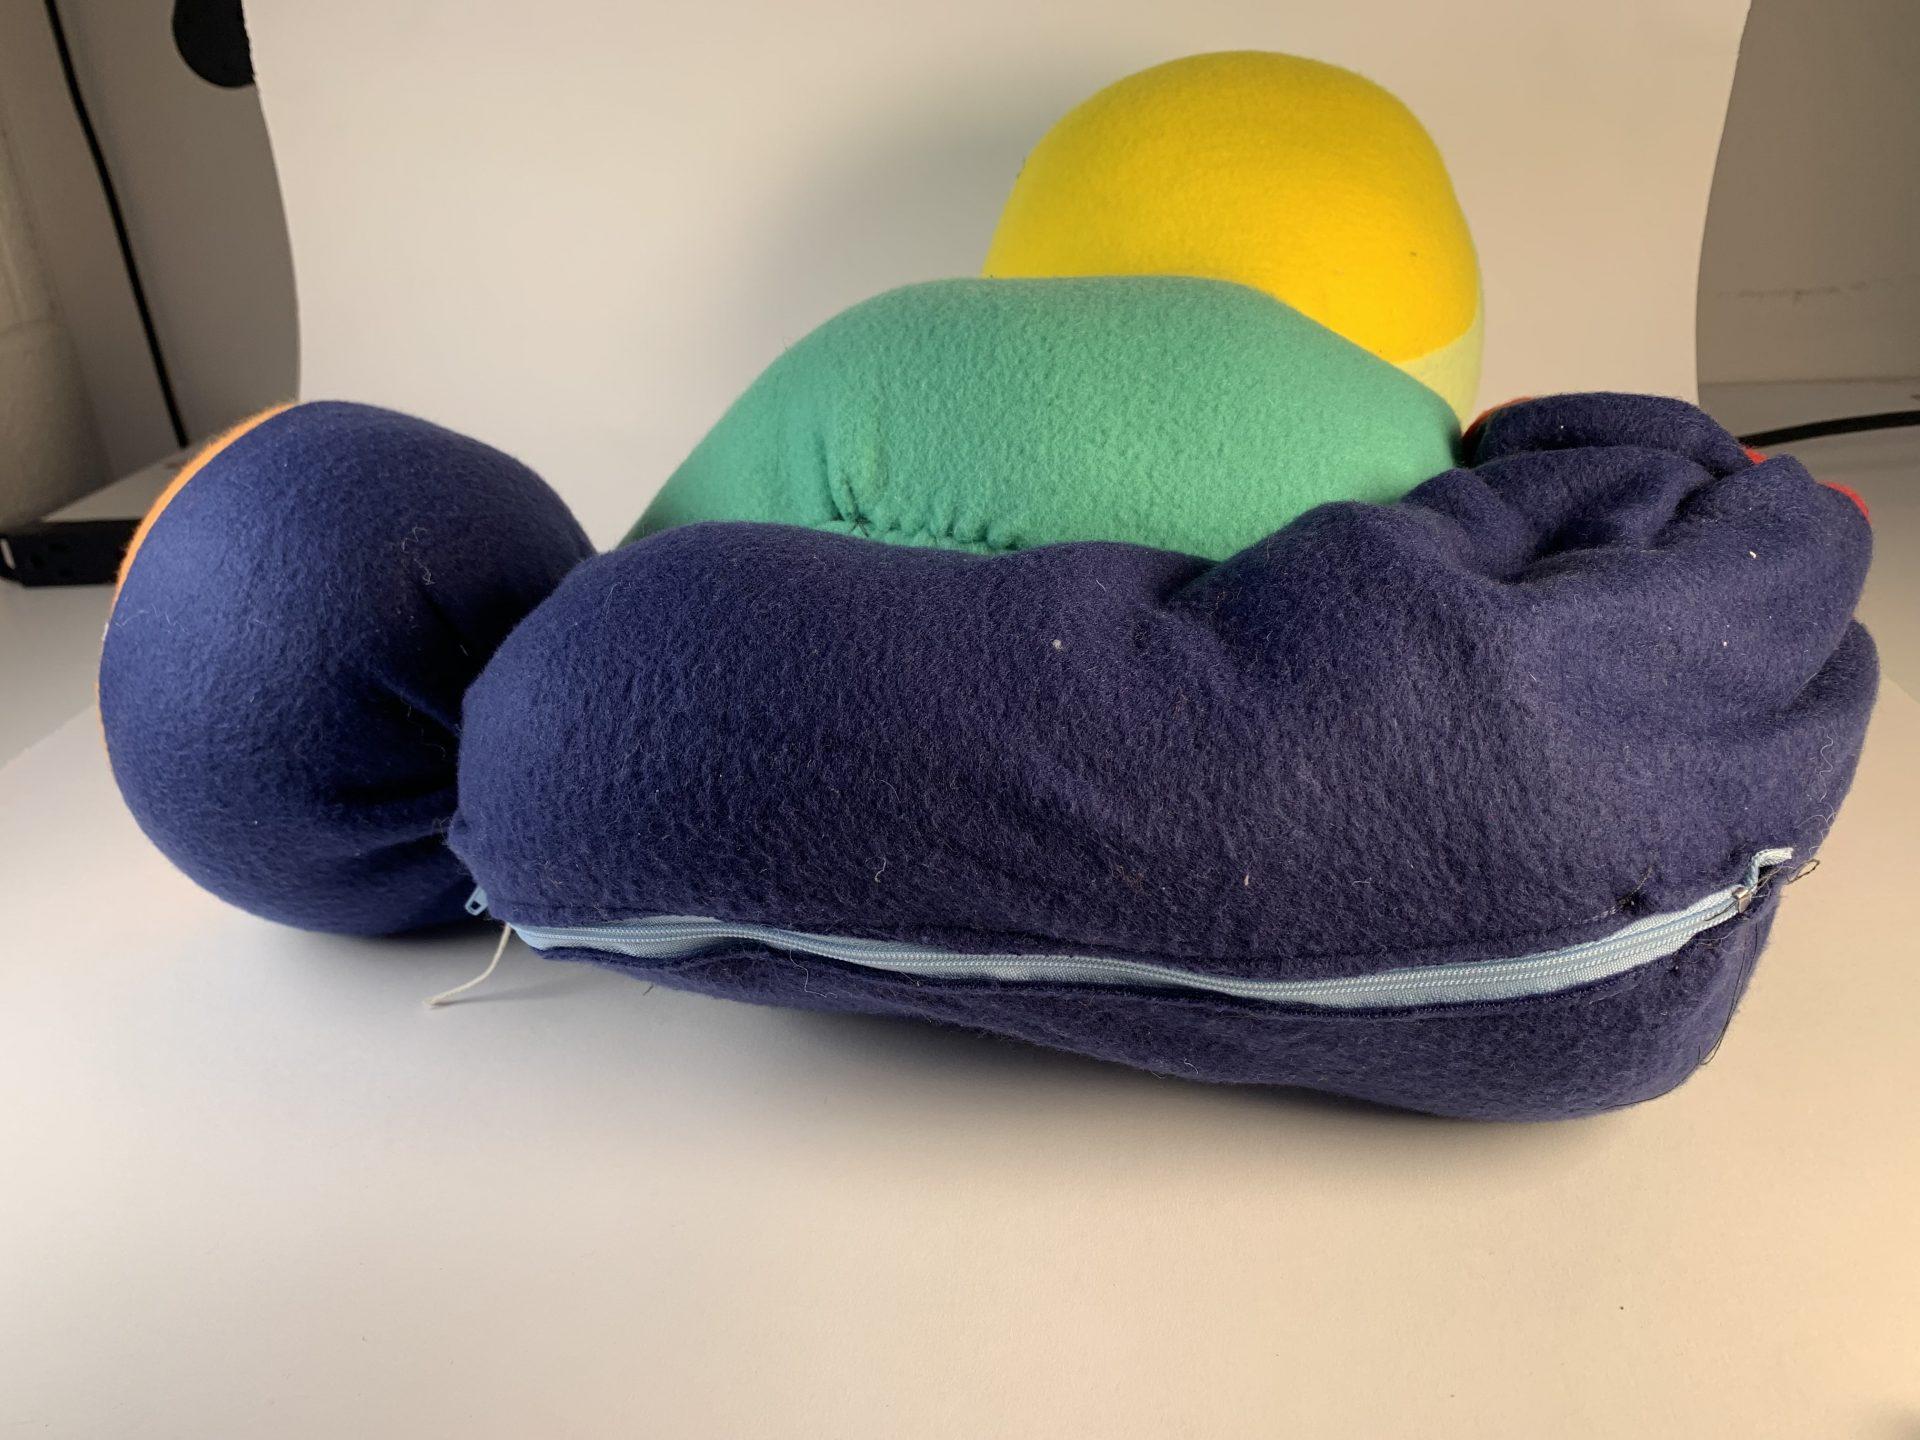
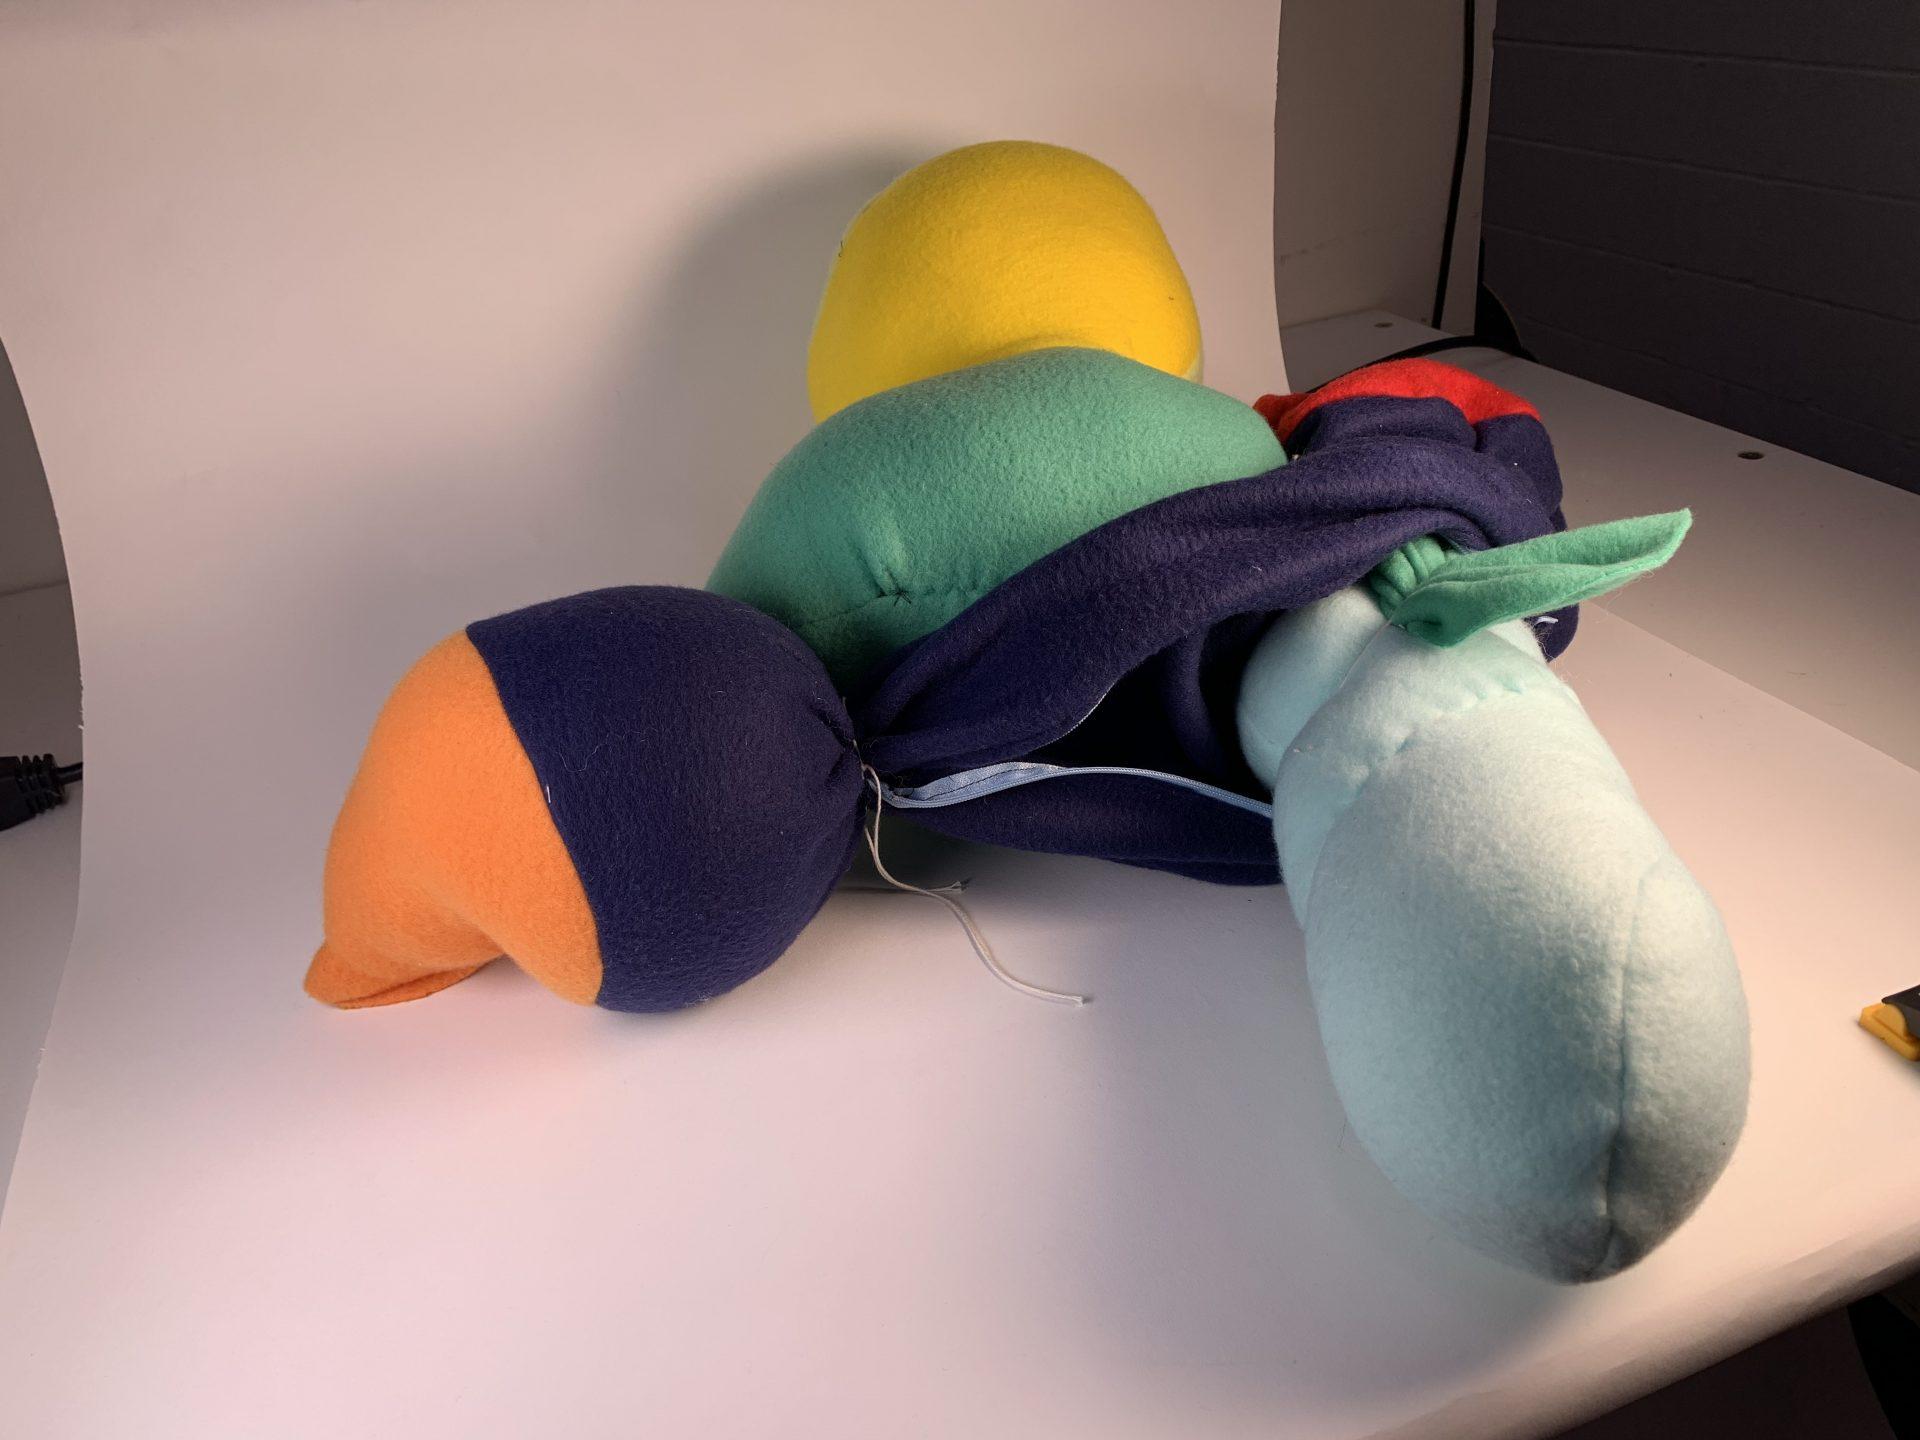
For my final inflatable, I chose to make an interactive object, which could serve as a couch cushion but was intended to just be an abstract object. I was able to perfect joining objects, and also made it interactive by adding two tiny spheres to the end of the inflatable, which could change its size depending on how much it was pulled.
Music Tower – II
My music tower is based on one of my favorite songs called “Maggot Brain” by Funkadelic. The song goes through a series of different, unique, mismatched progressions, which happen to all make sense. The song seems like it would be made by someone out of this world, which gave me the inspiration to make a space-like, but also a very extravagant tower, with the musicians being able to choose where they want to play, depending on how they want their songs to sound.
https://open.spotify.com/embed/track/5WJU527RQNyMLuKecjsL8V?utm_source=generator&theme=0
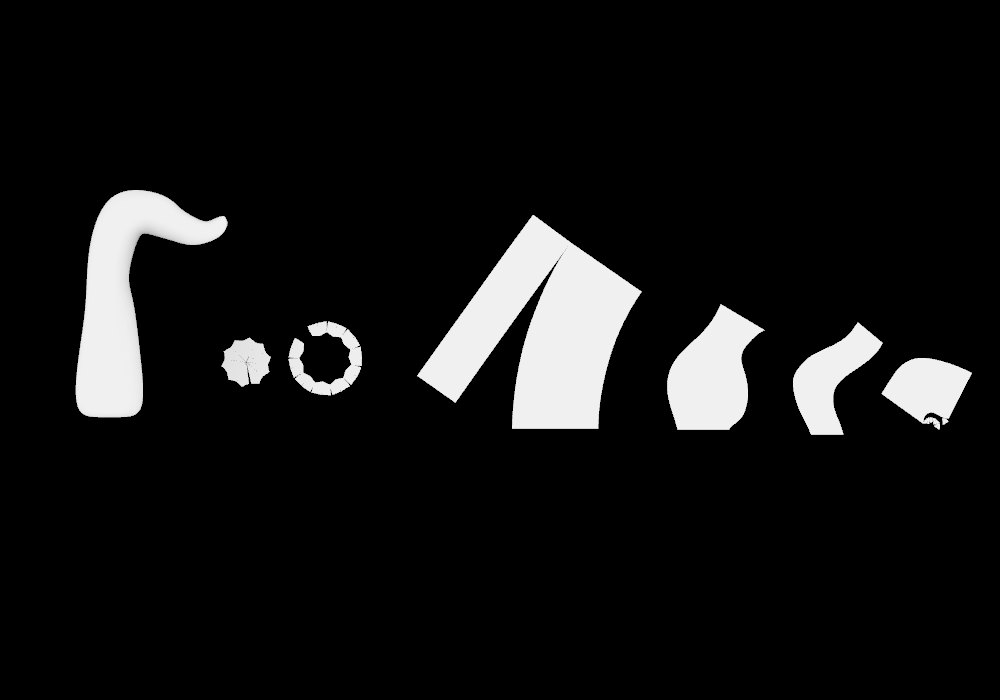
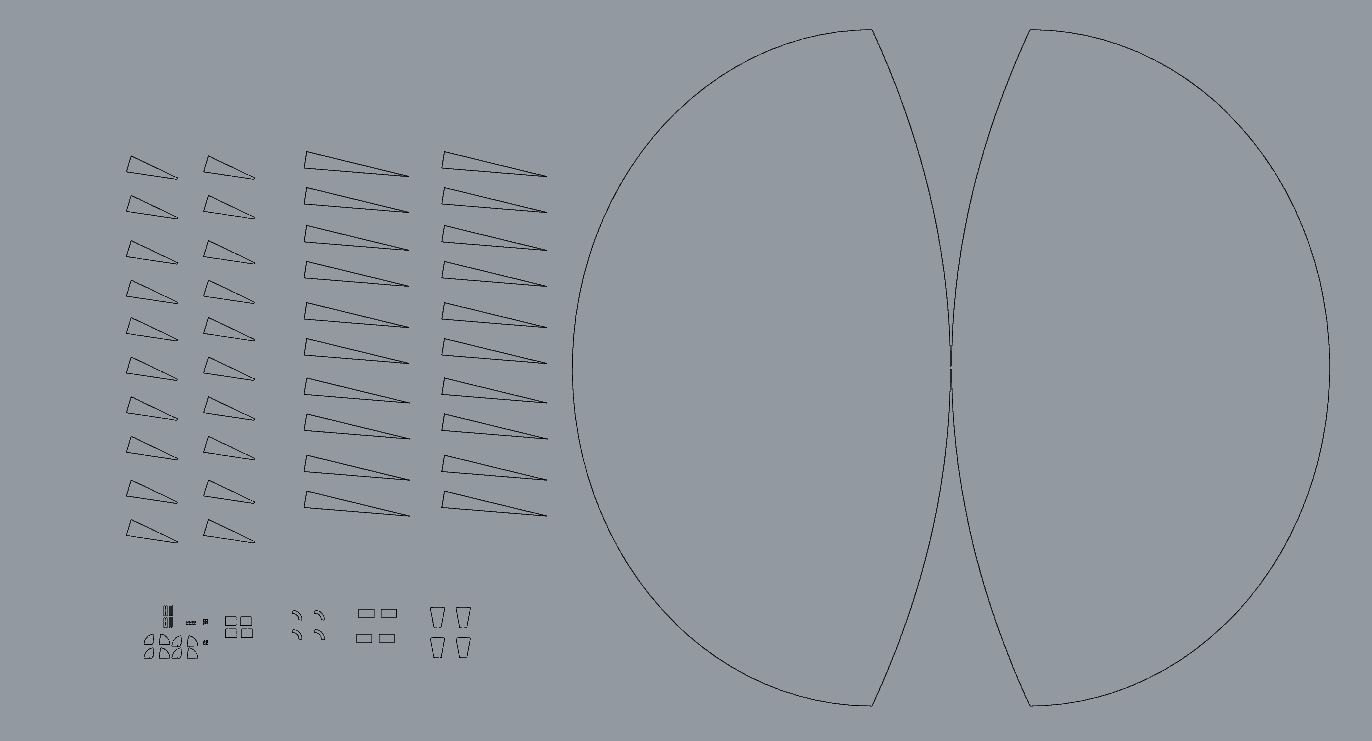
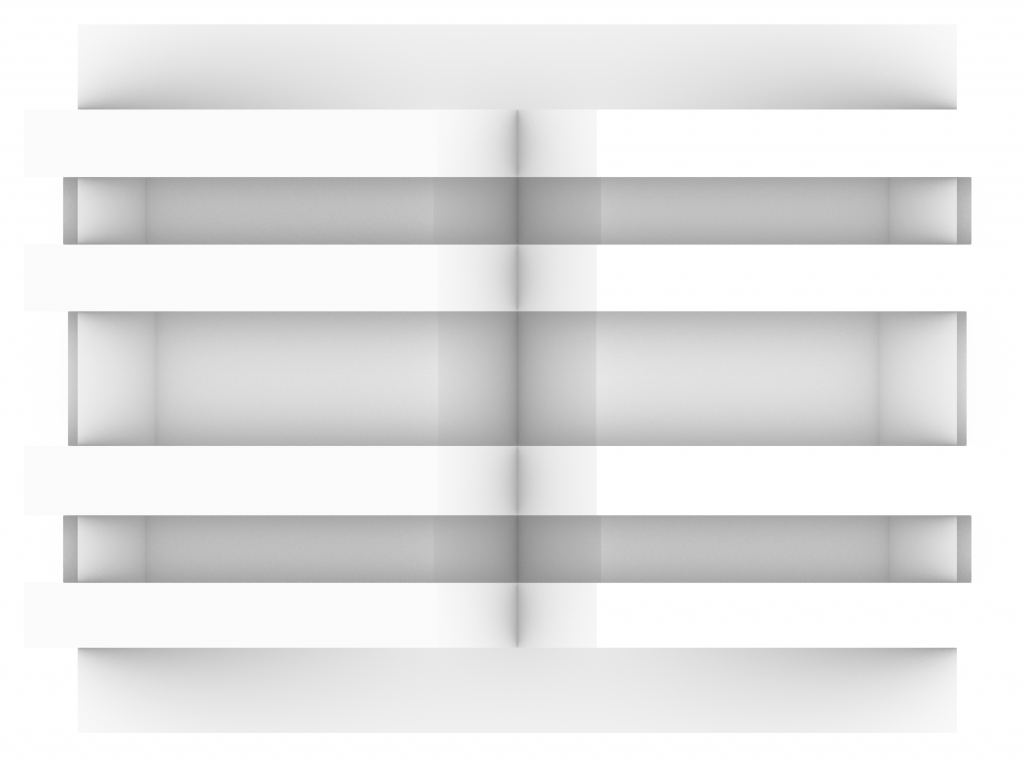
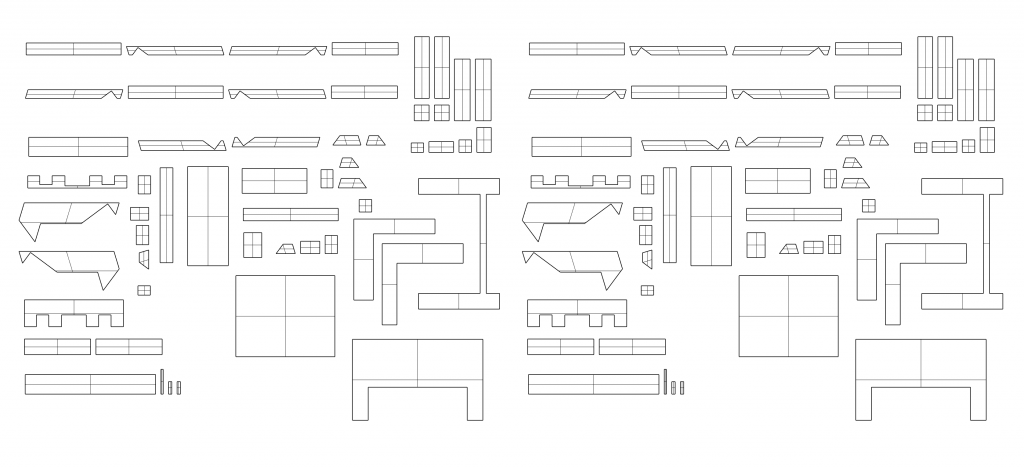
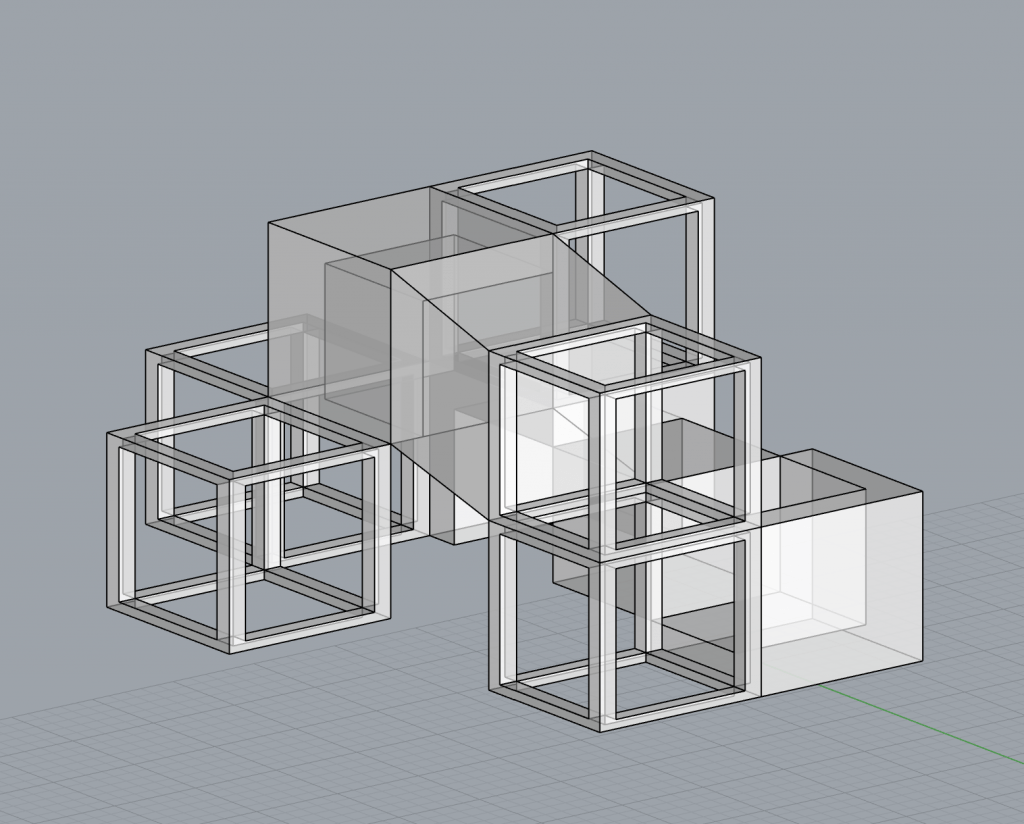
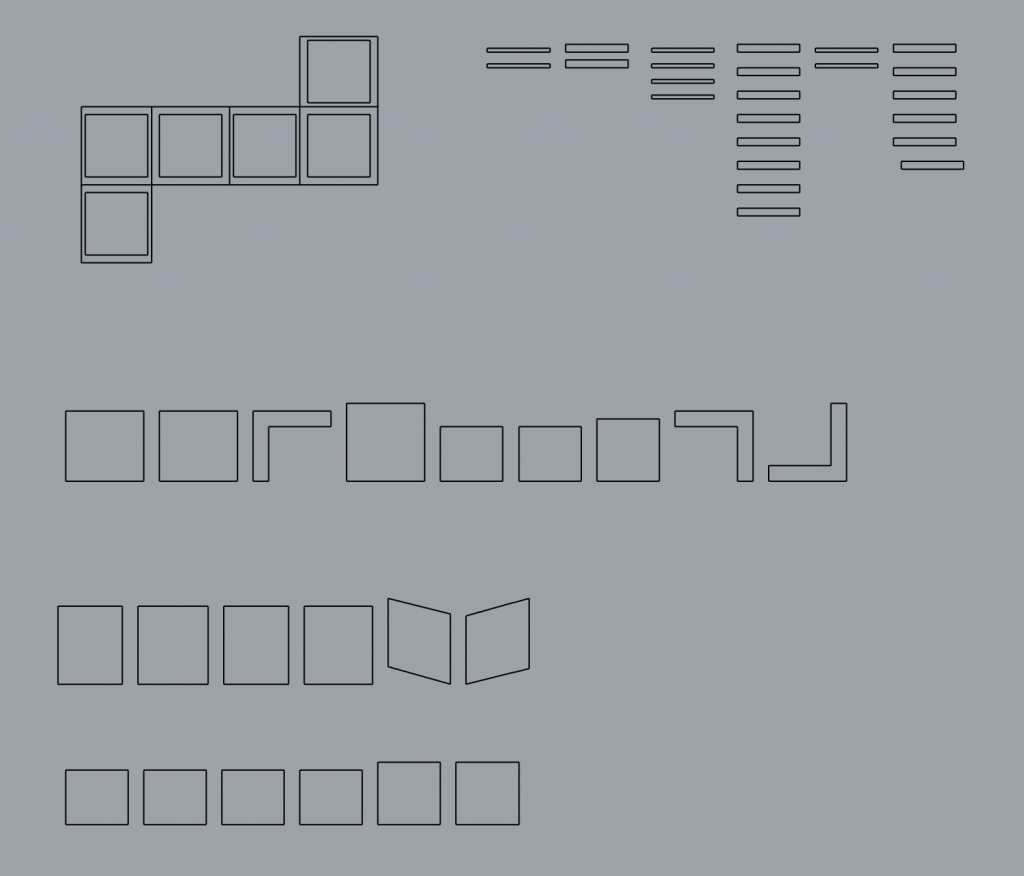
I found it difficult to figure out what the correct cutting surfaces would be, but after a lot of trial and error. I was able to cut the object correctly, use its modular nature to work on a portion of the object, and replicate the cutout patterns for the entire object, as shown below in multiple images.
Unrolled Pattern
Outline of unrolled pattern
Push/Pull Objects – Elisa Pinkowitz
In each of my push/pull explorations I ended up somewhere different than I initially planned. Instead of restarting any of my objects I decided to let my creativity run free and change my ideas as my object changed. I knew my best work would be done when I let the objects speak for themselves instead of trying to force a specific thing to form.
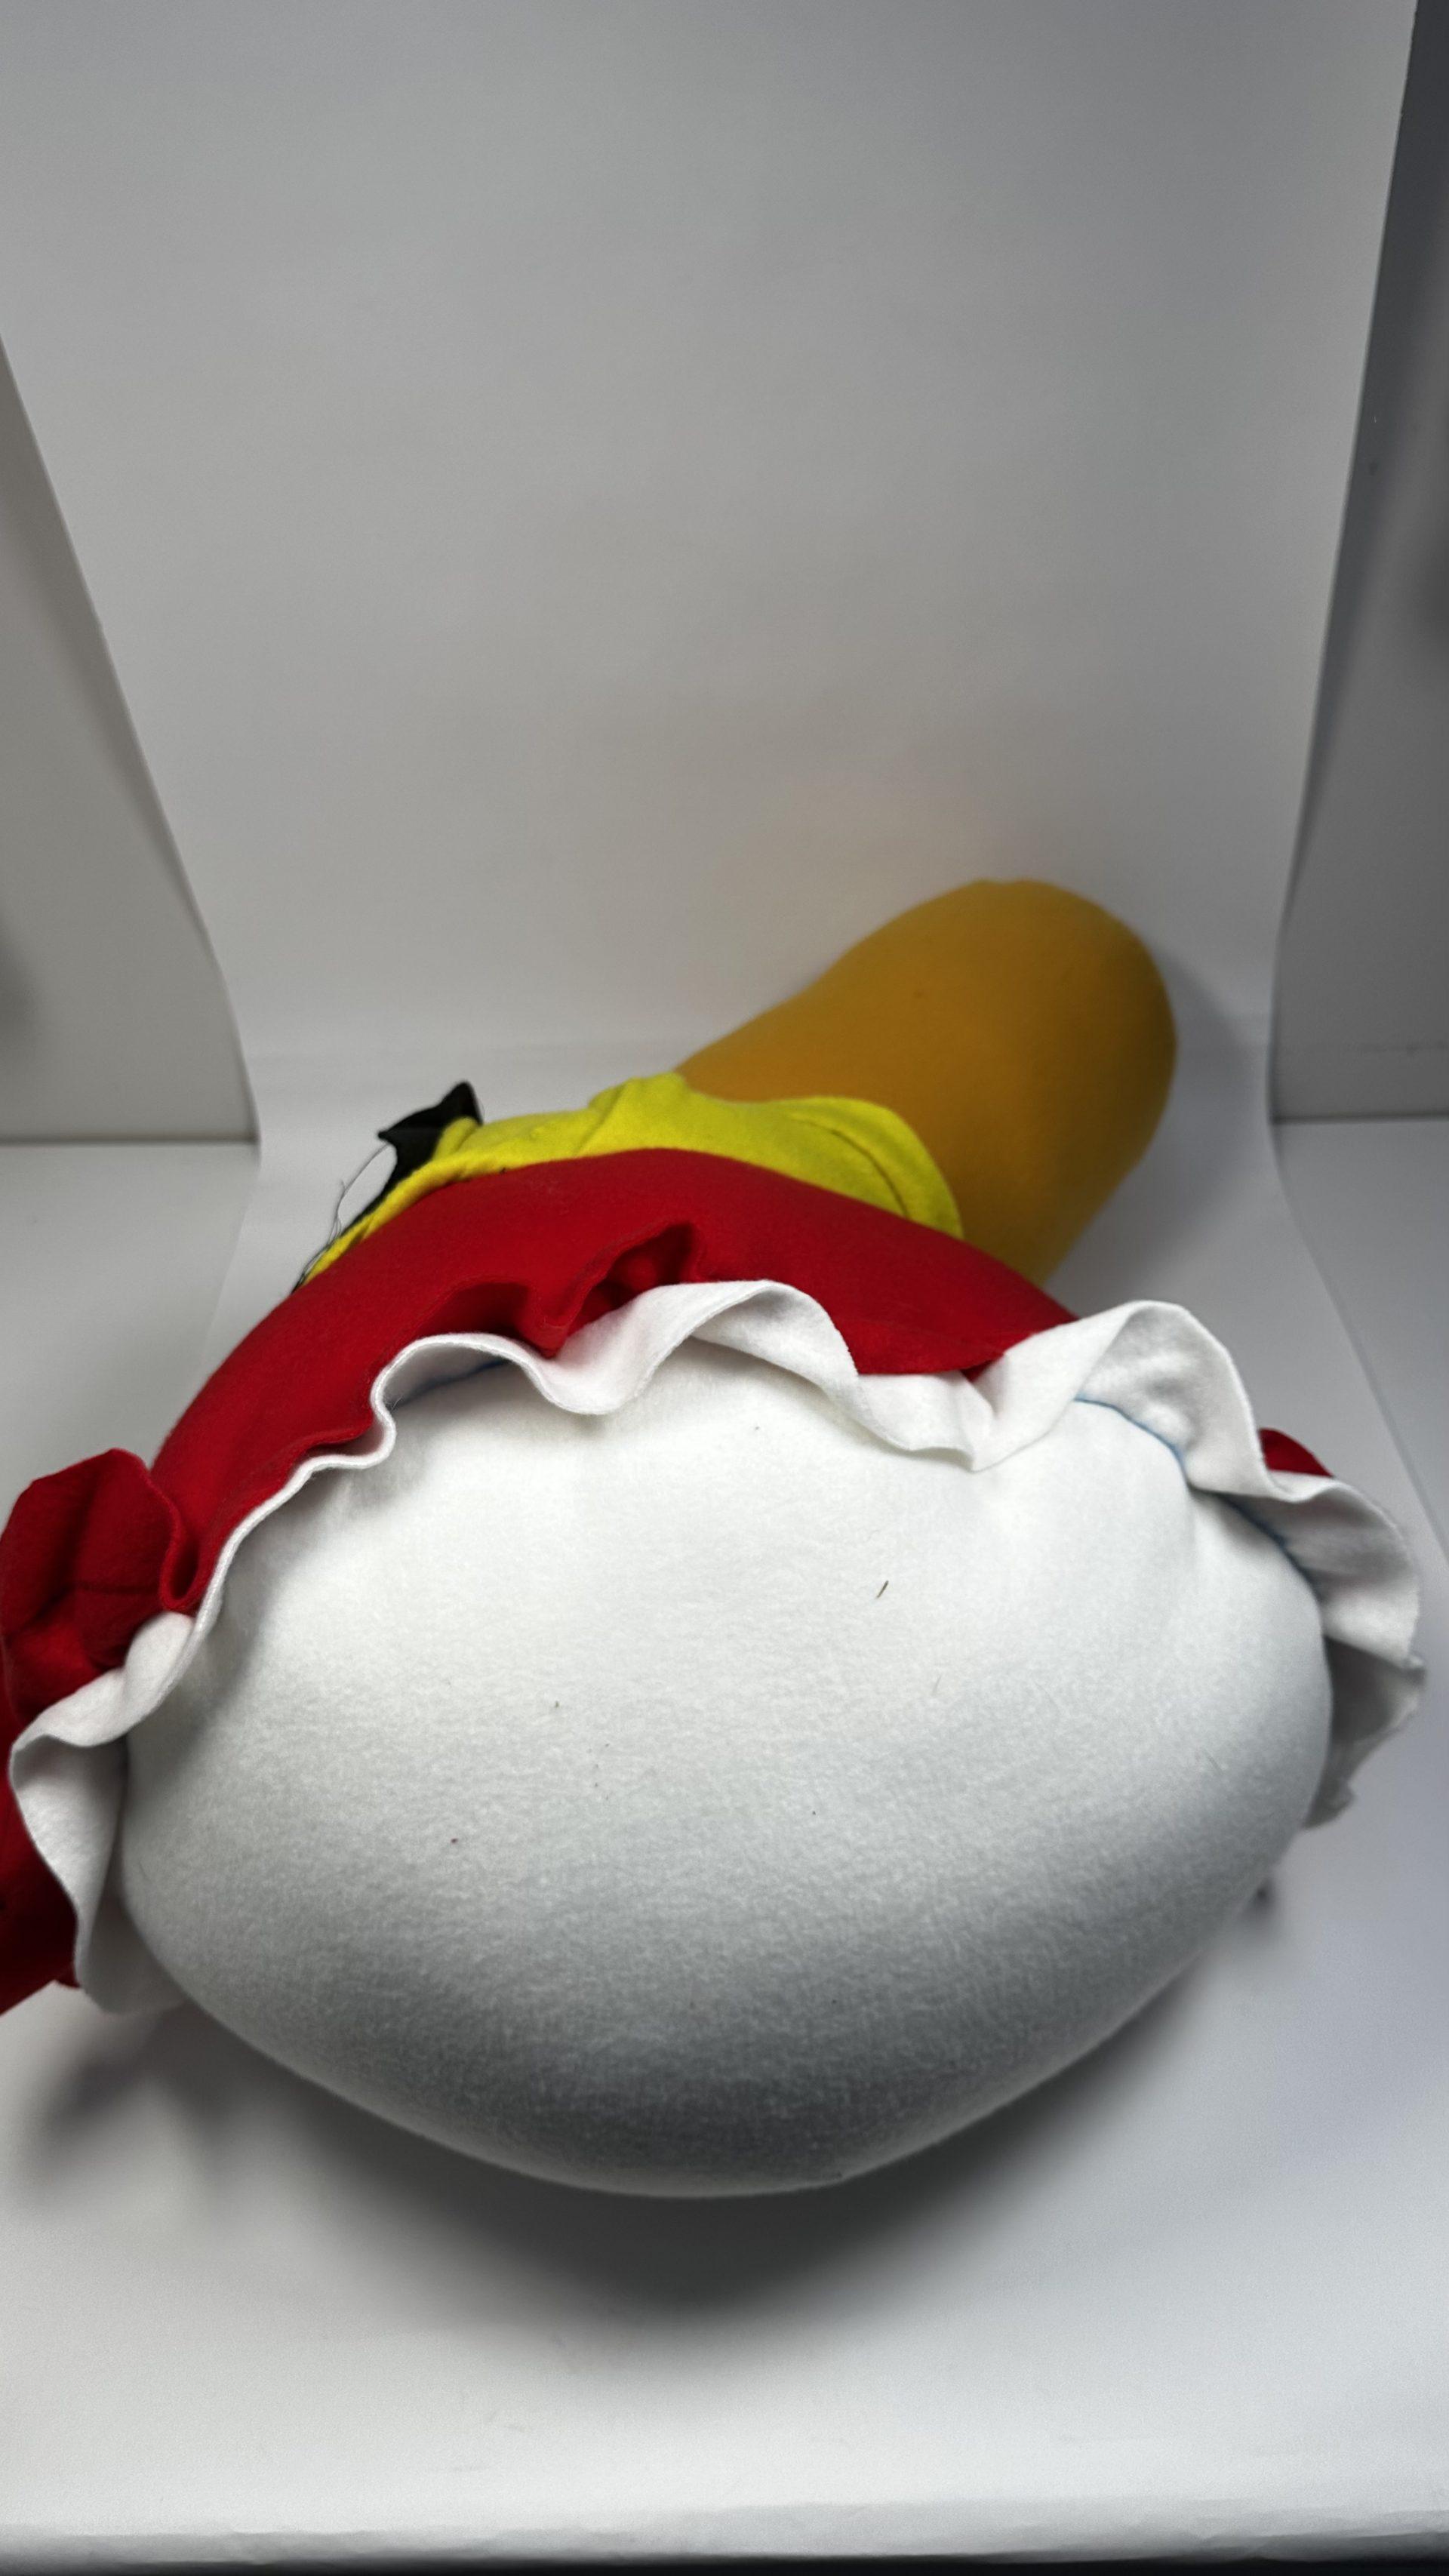
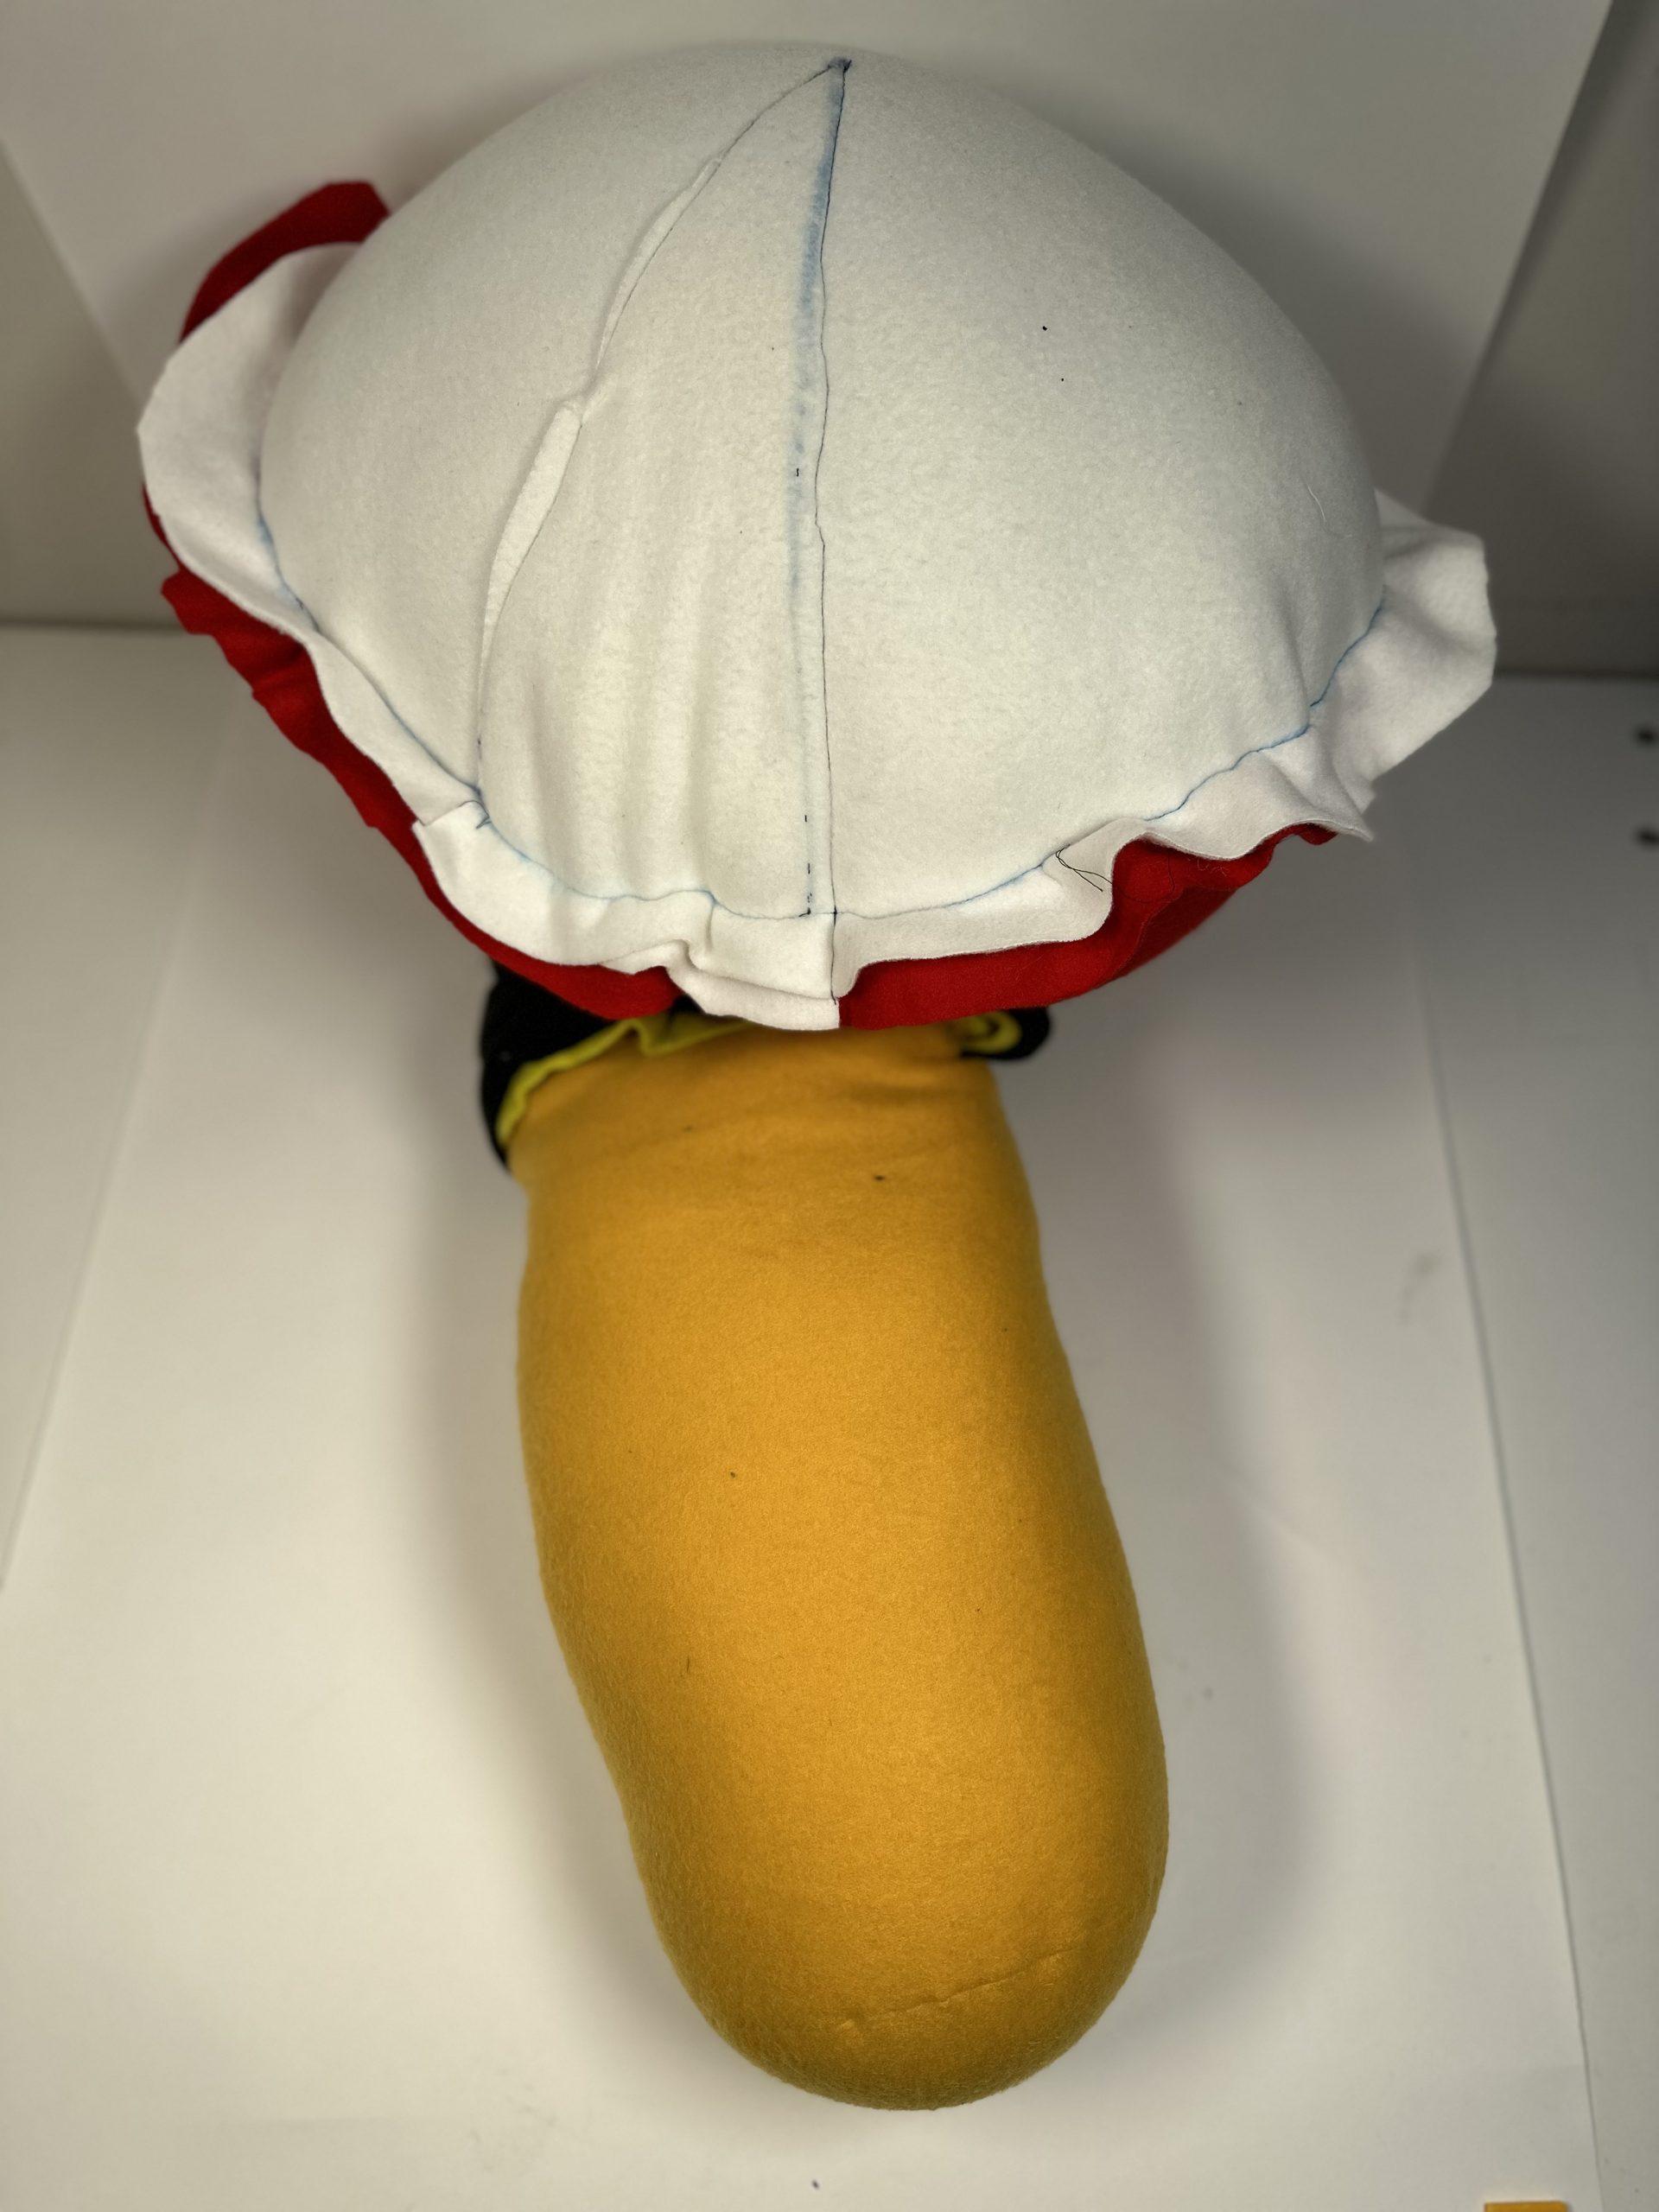
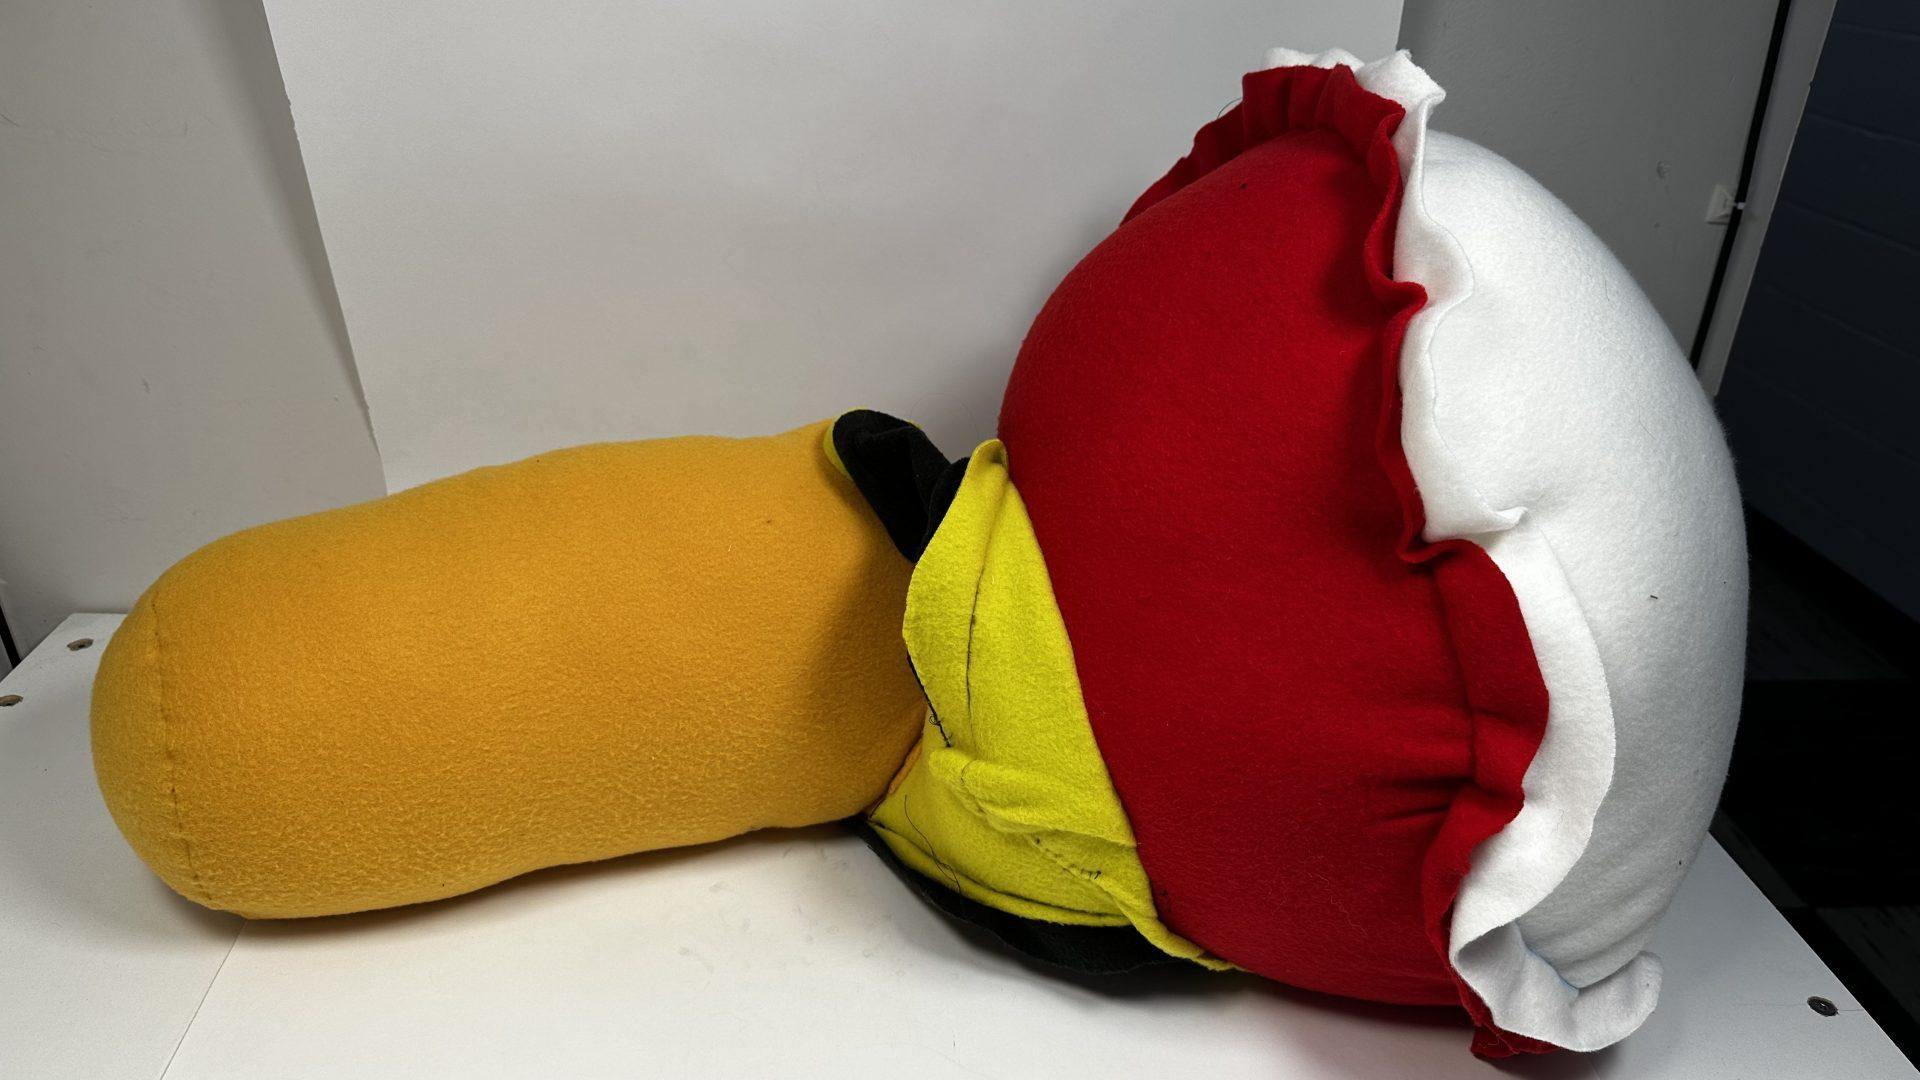
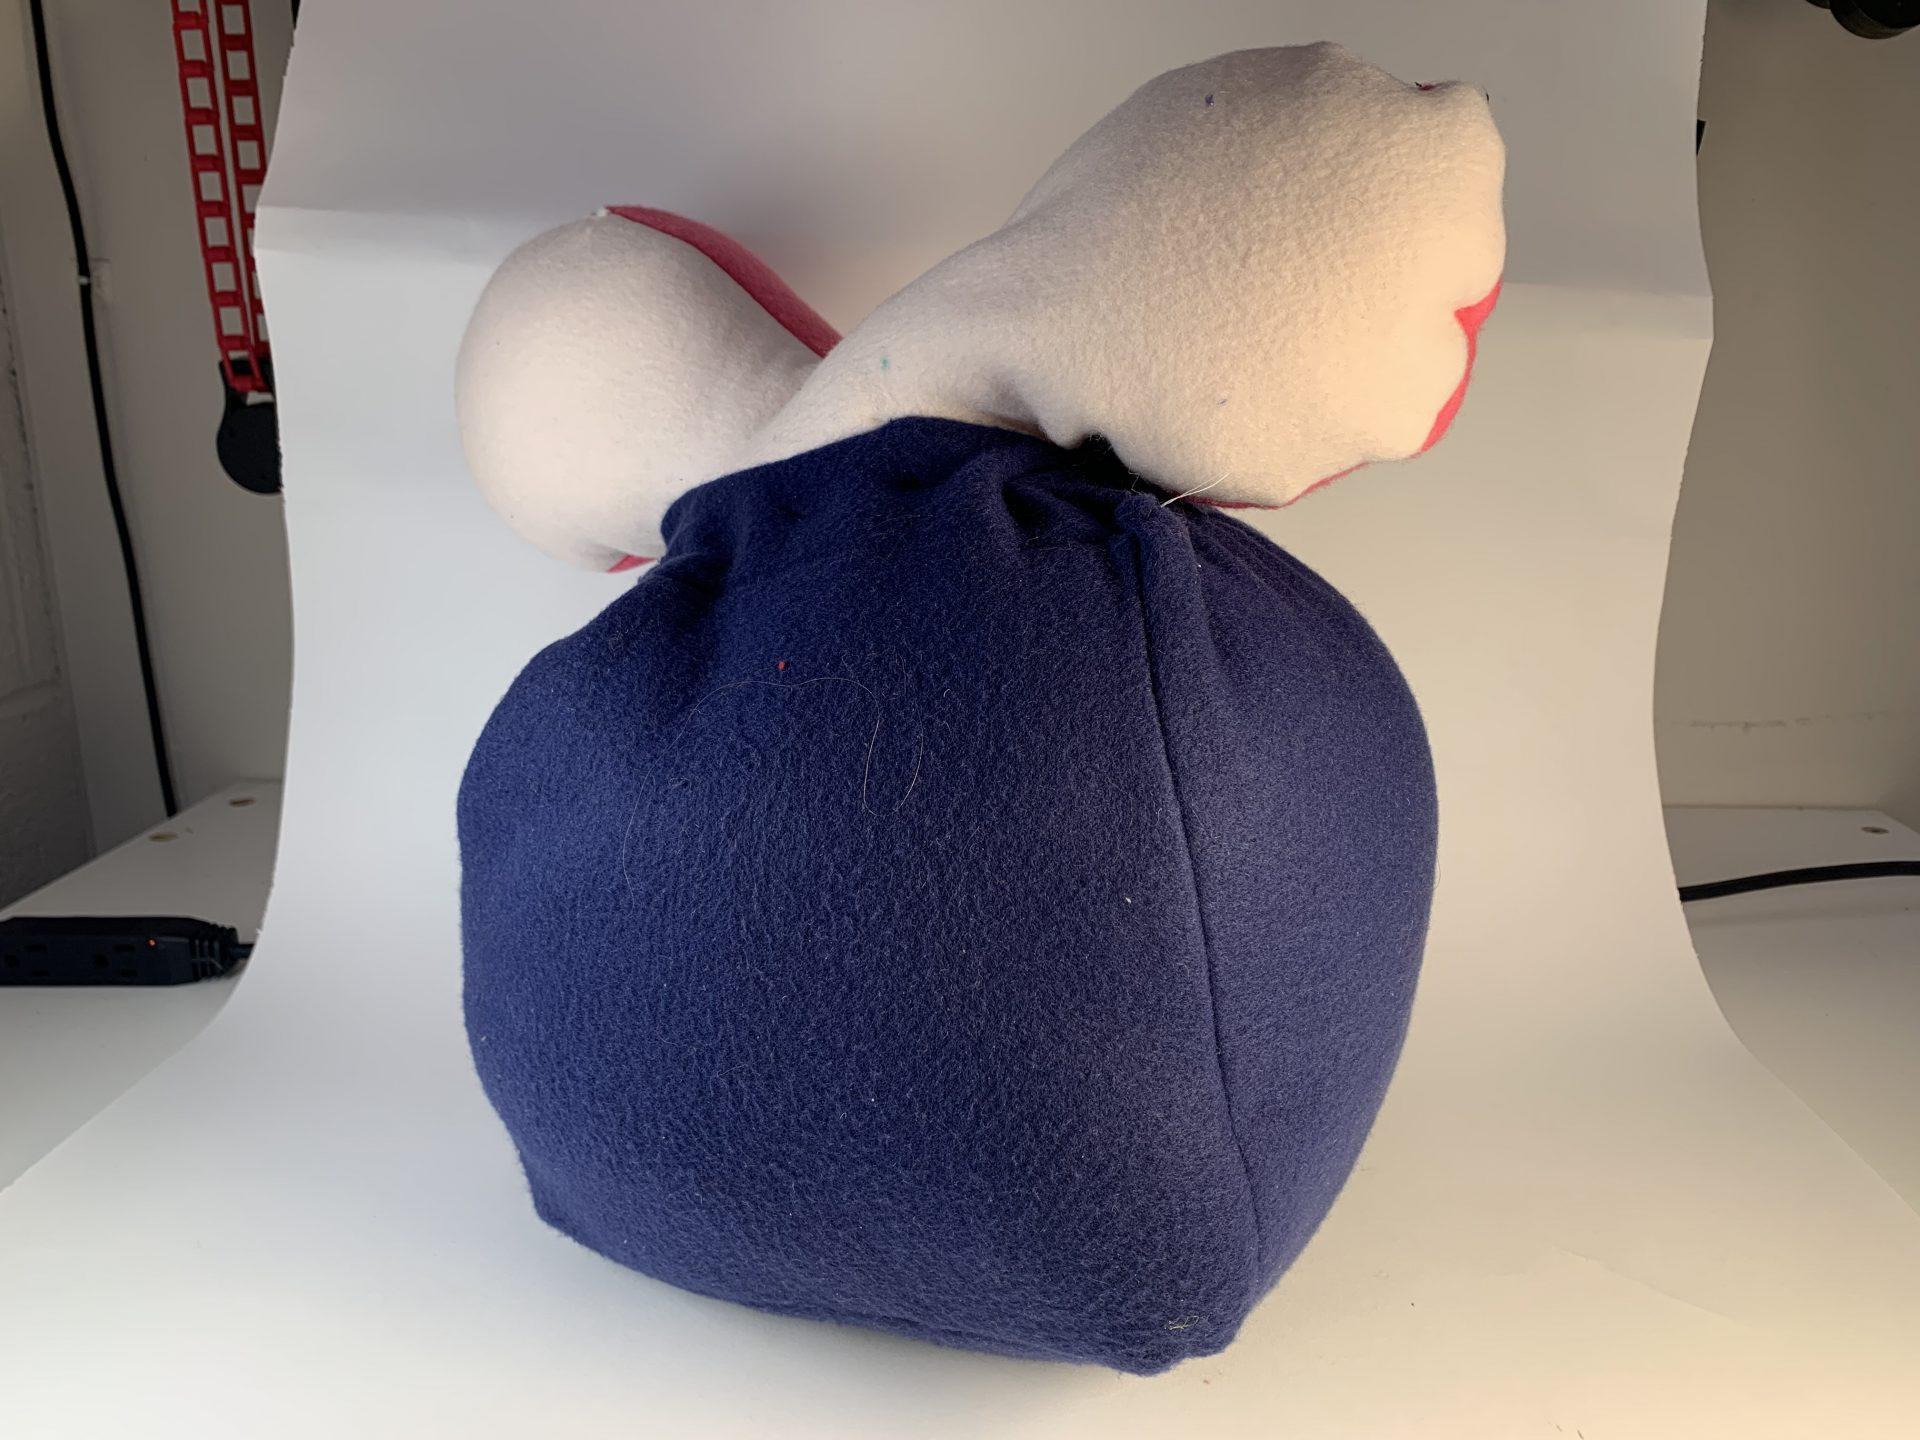
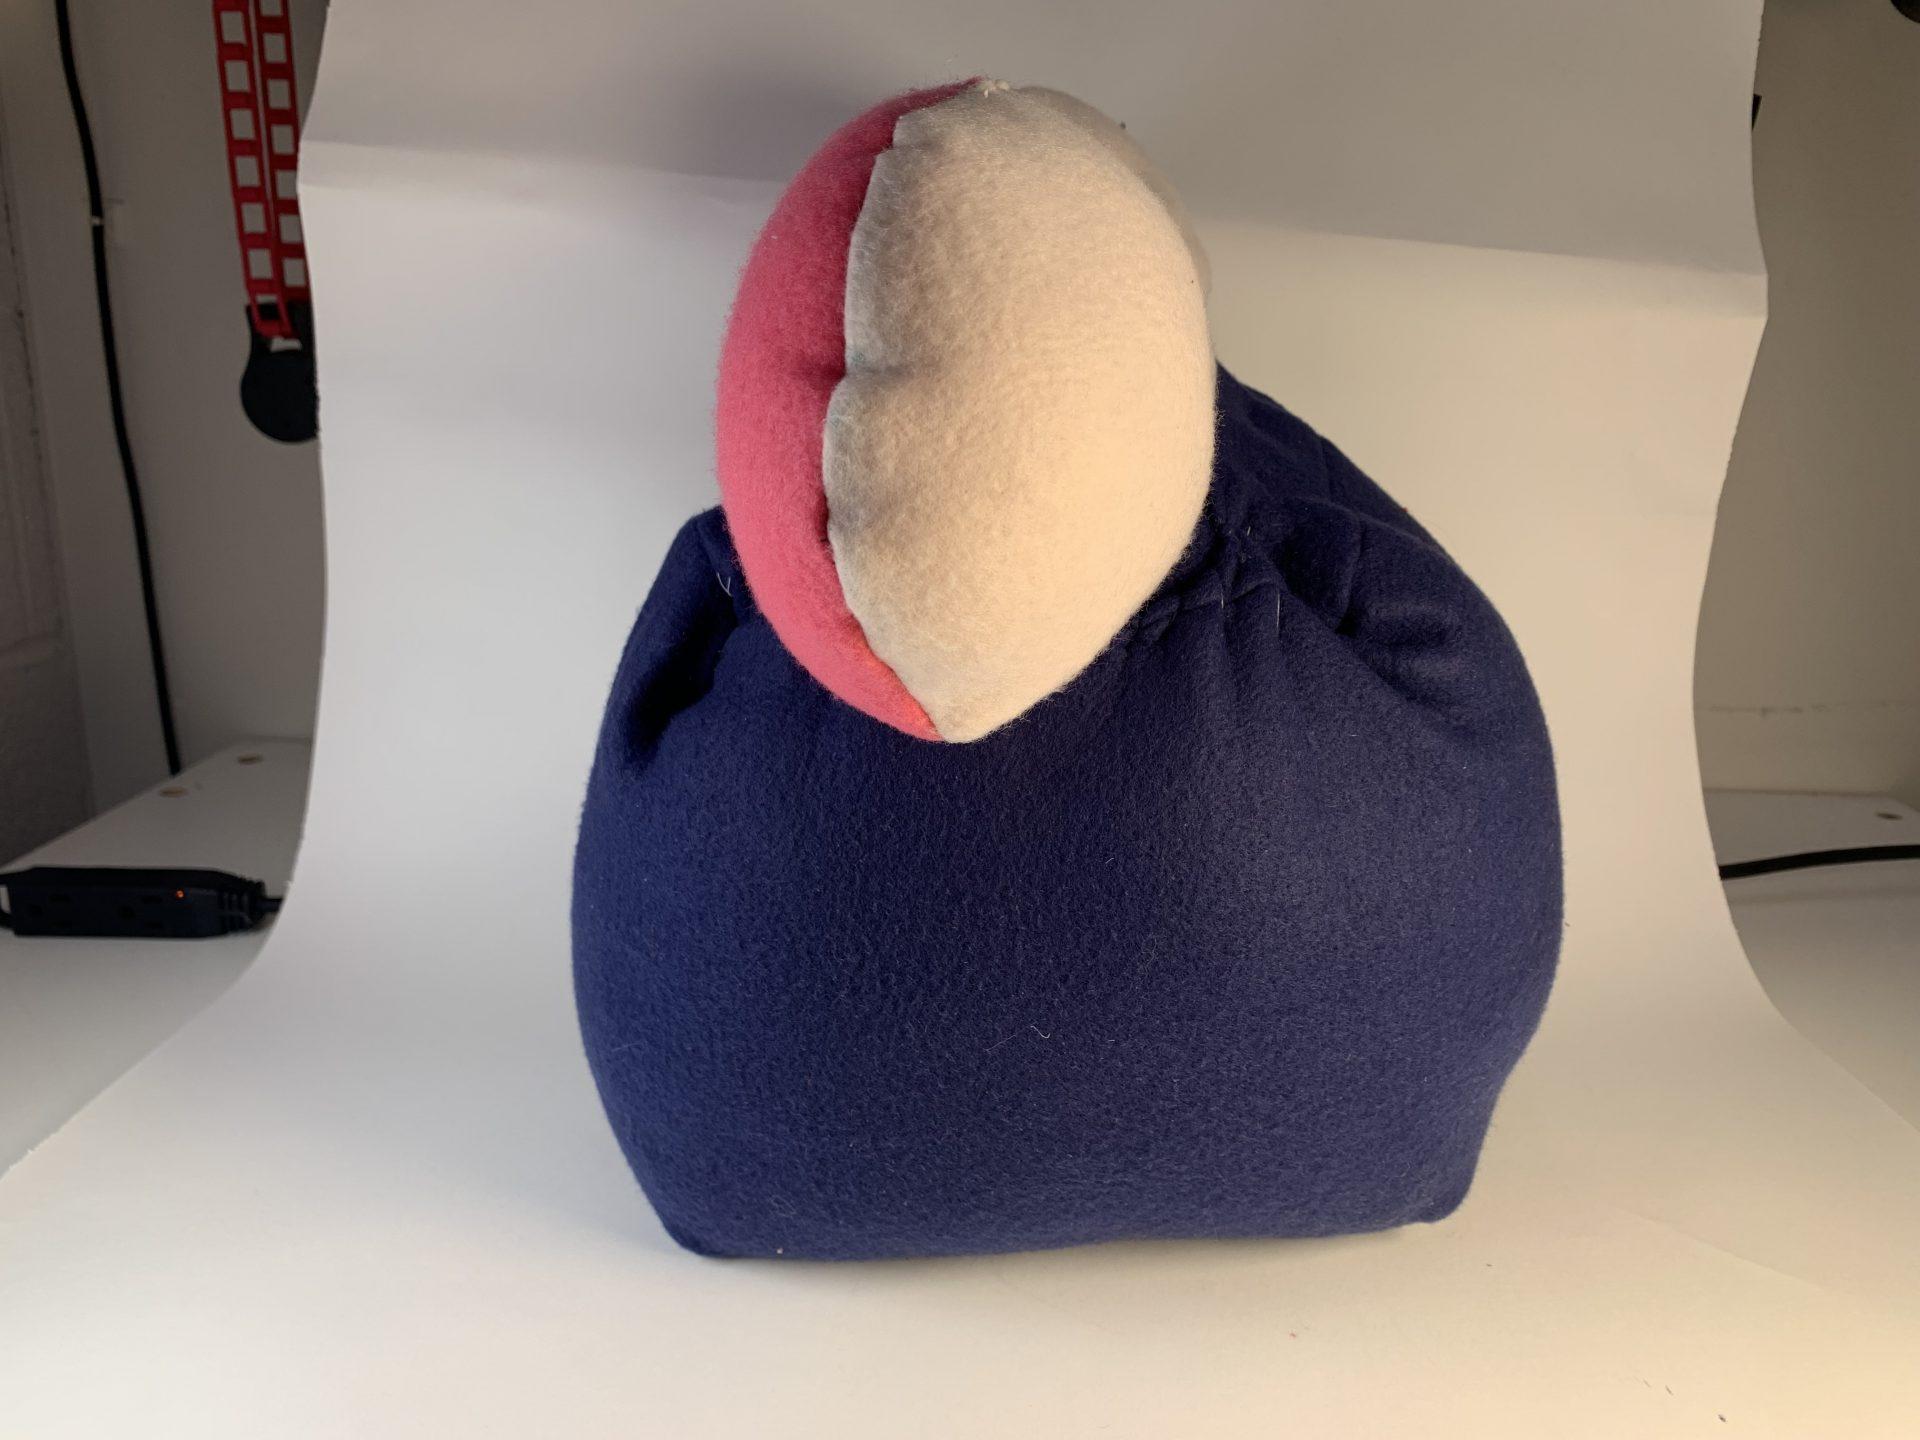
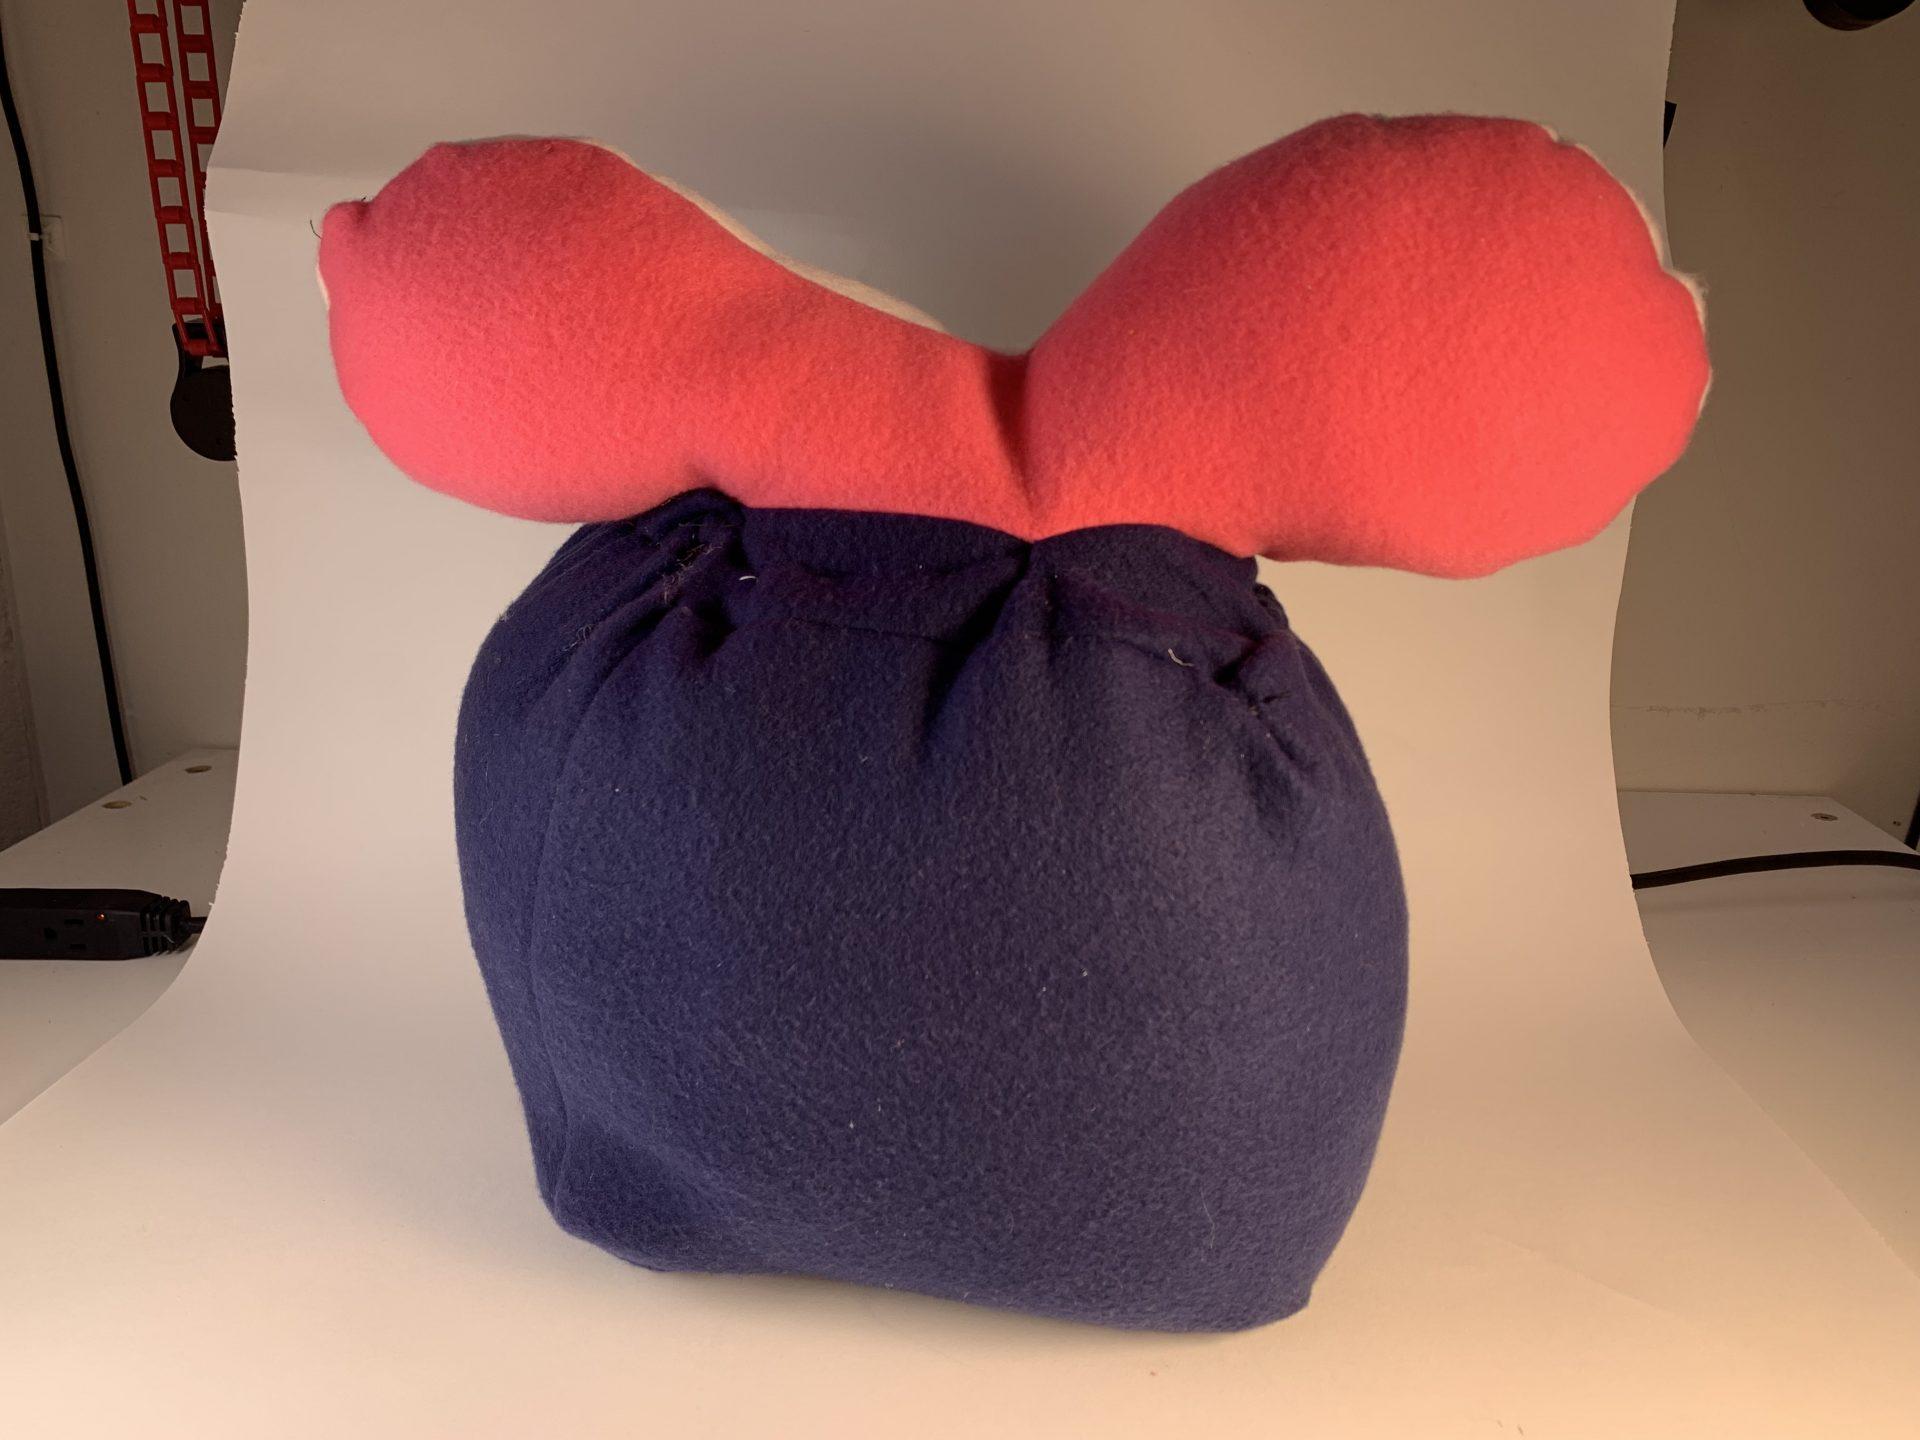
Object 1 – Bow
For my first object, I intended to have a cube with a sphere attached on top. As simple as this is, I made a silly mistake putting together my form and instead of a sphere I began forming a bow or bone shape. I thought about ripping all the seams and forming the sphere I intended, but I liked the idea of this abnormal object being formed from that of a template for a regular object. In the end, I ended up with a sphere with a bow on top, which reminds me of Minnie Mouse. In addition, when I was hand stitching to close my object after stuffing it, one of the sides ended up a bit scrunched. Instead of redoing this, I decided to make all the sides look bunched because repetition makes it look intentional. While this first object was pretty simple in both look and execution, the few bumps in the process helped me feel the beauty in the creative process and let my future objects take me wherever they wanted in formation.
Object 2 – Abstract
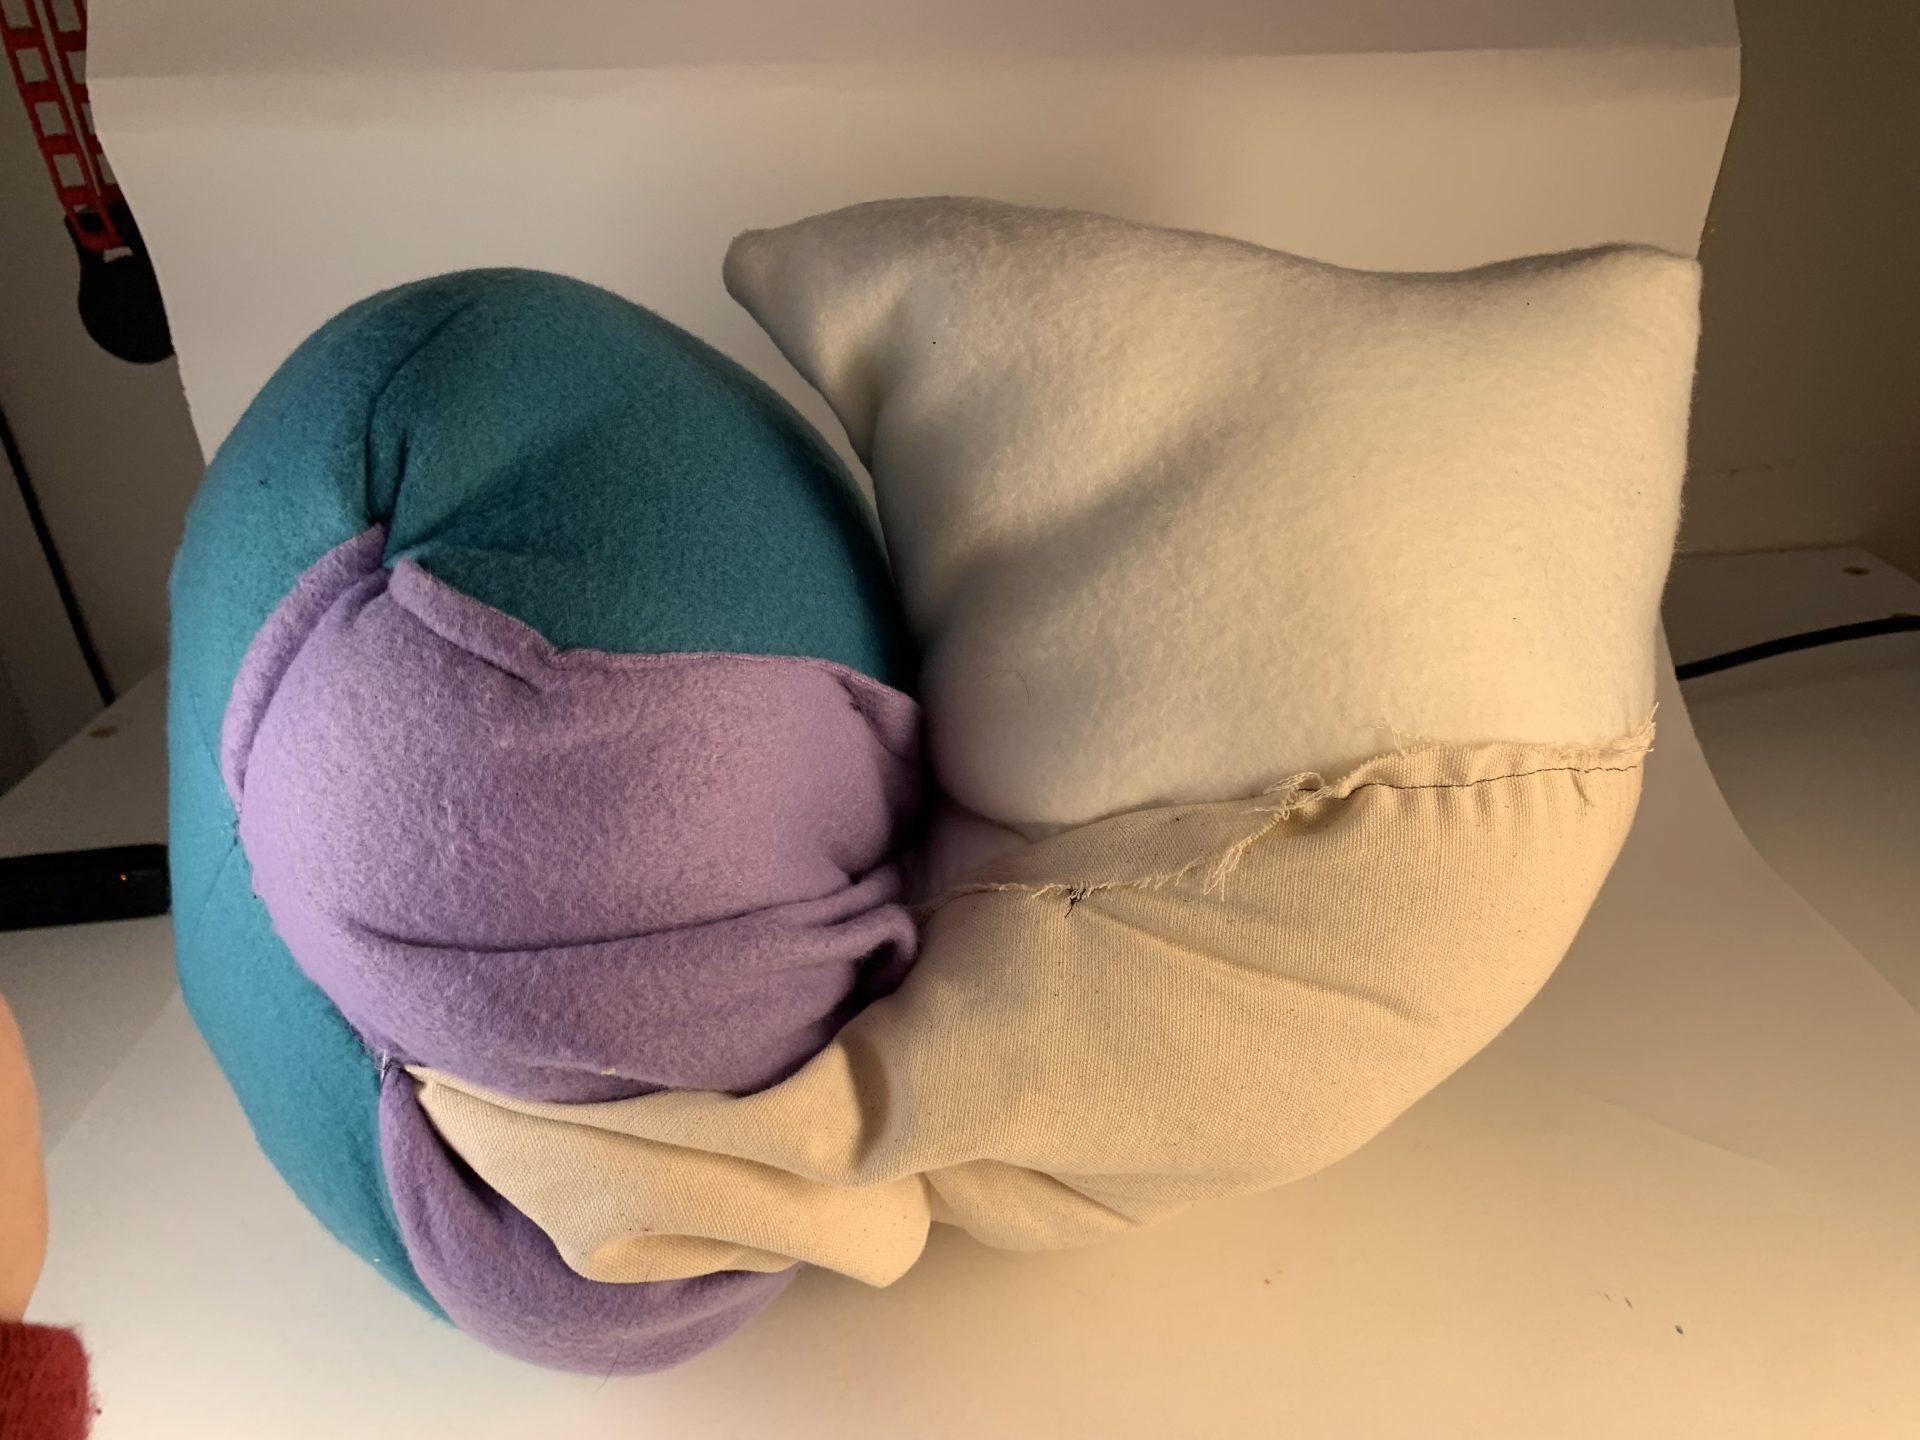
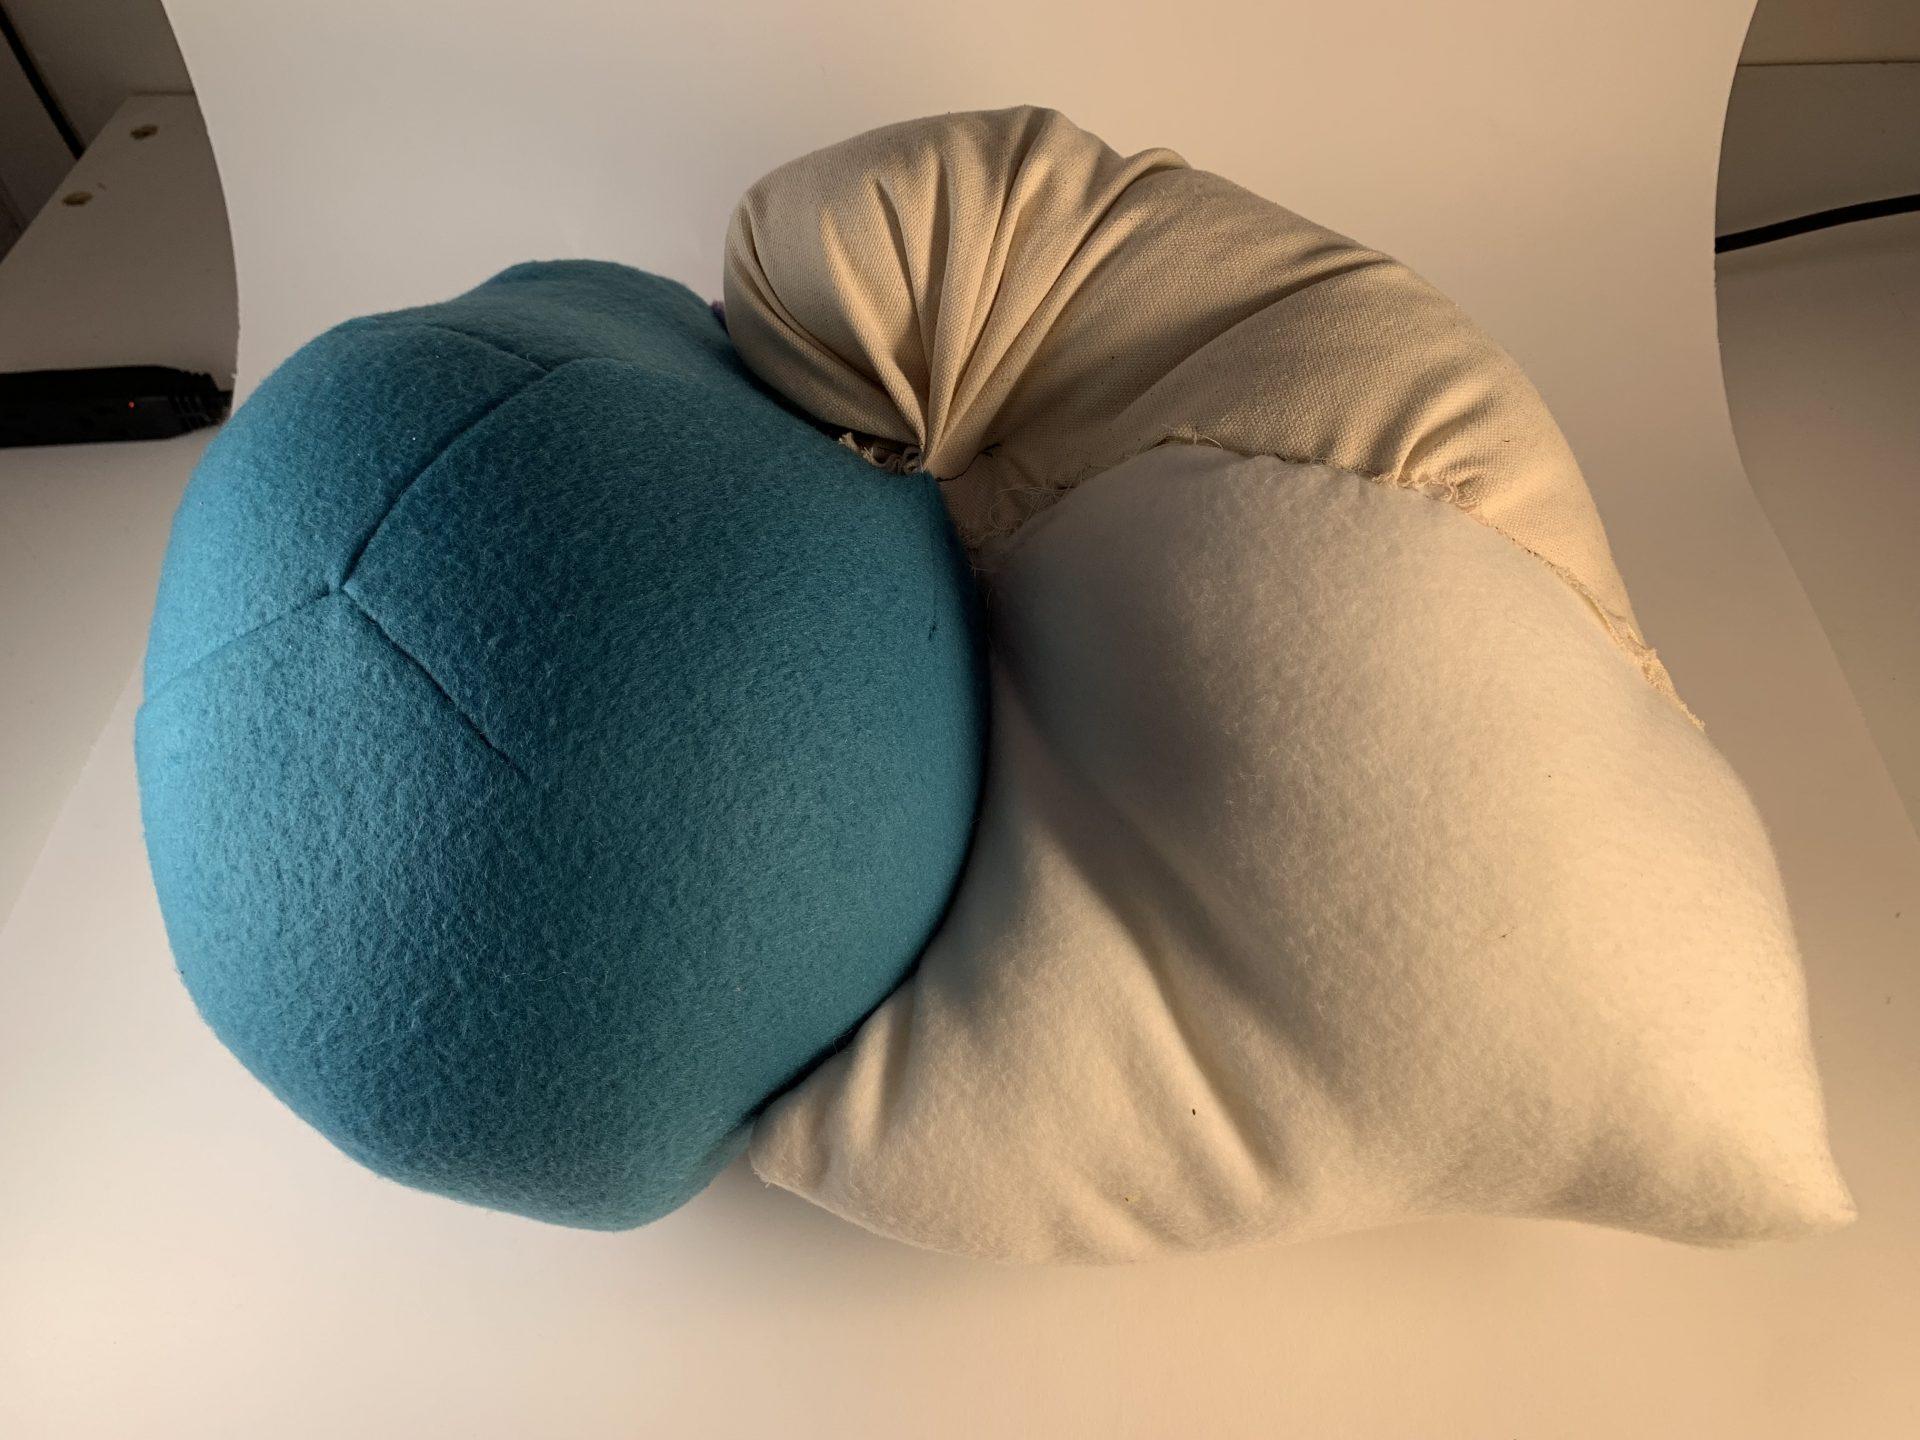
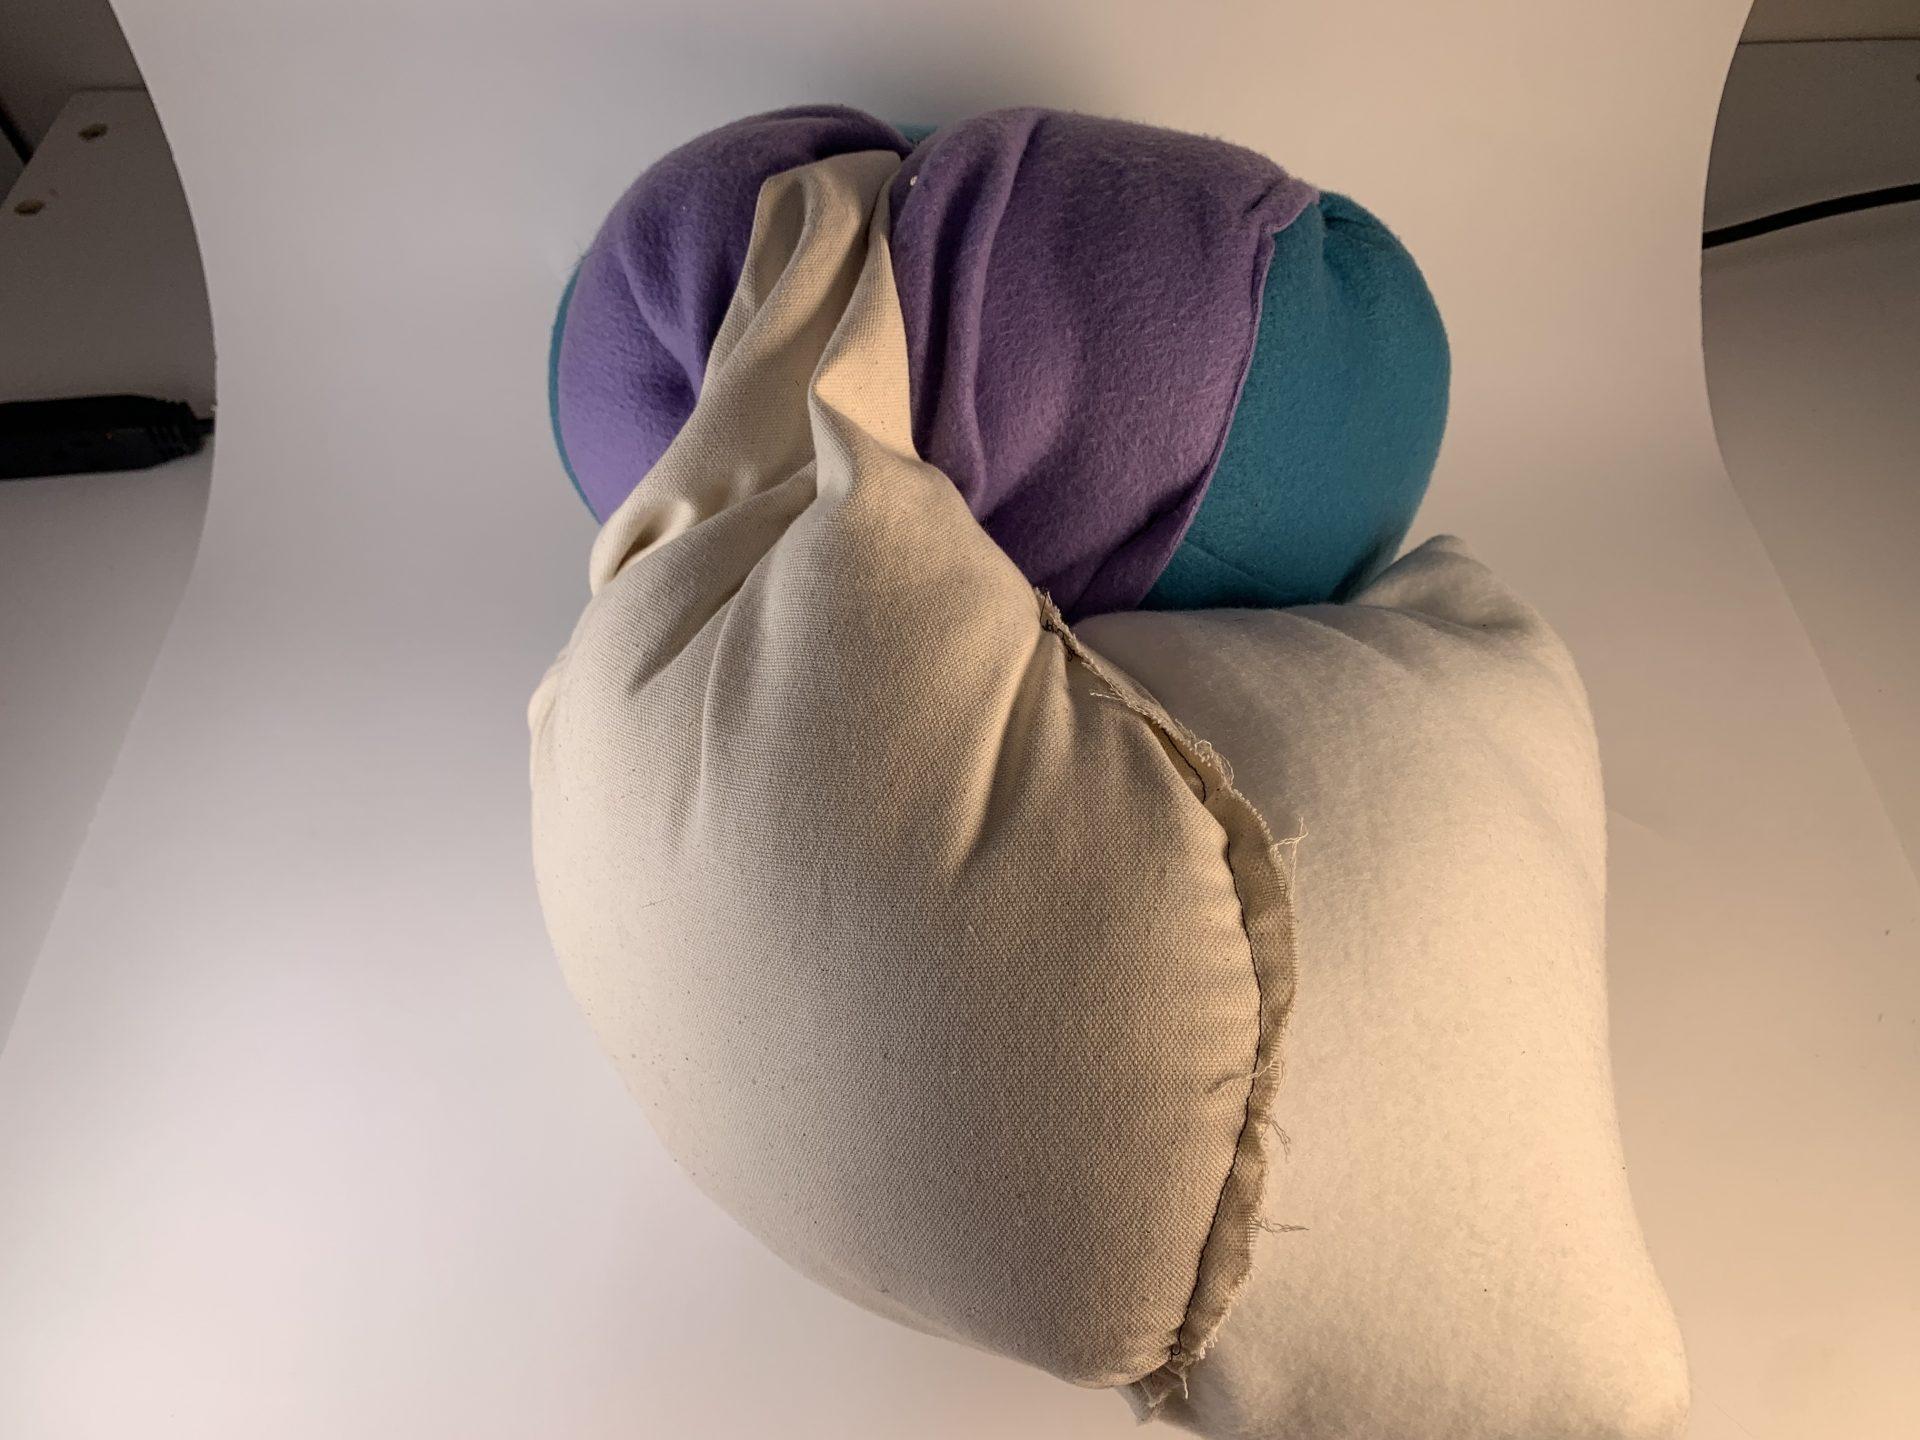
For my second object, I started with the form for a sphere and a cone. At the very beginning I was thinking about separating the two pieces of the sphere and somehow placing a zipper in between them. I also tried darting the cone which was made out of muslin but more pieces than expected ended up sewn together. I used both the purple and white fabric to help connect the shape and see where I ended up. After my initial vision, I had no idea what my object would end up to be but enjoyed seeing obvious forms such as the sphere combined with the more unique forms the other three fabrics helped form. Additionally, while it is not a functional tunnel, there is a part where the purple fabric has a bit of movement between the two sides, a concept I would further explore with both more time and more knowledge on how it is possible to execute.
Object 3 – Zipper
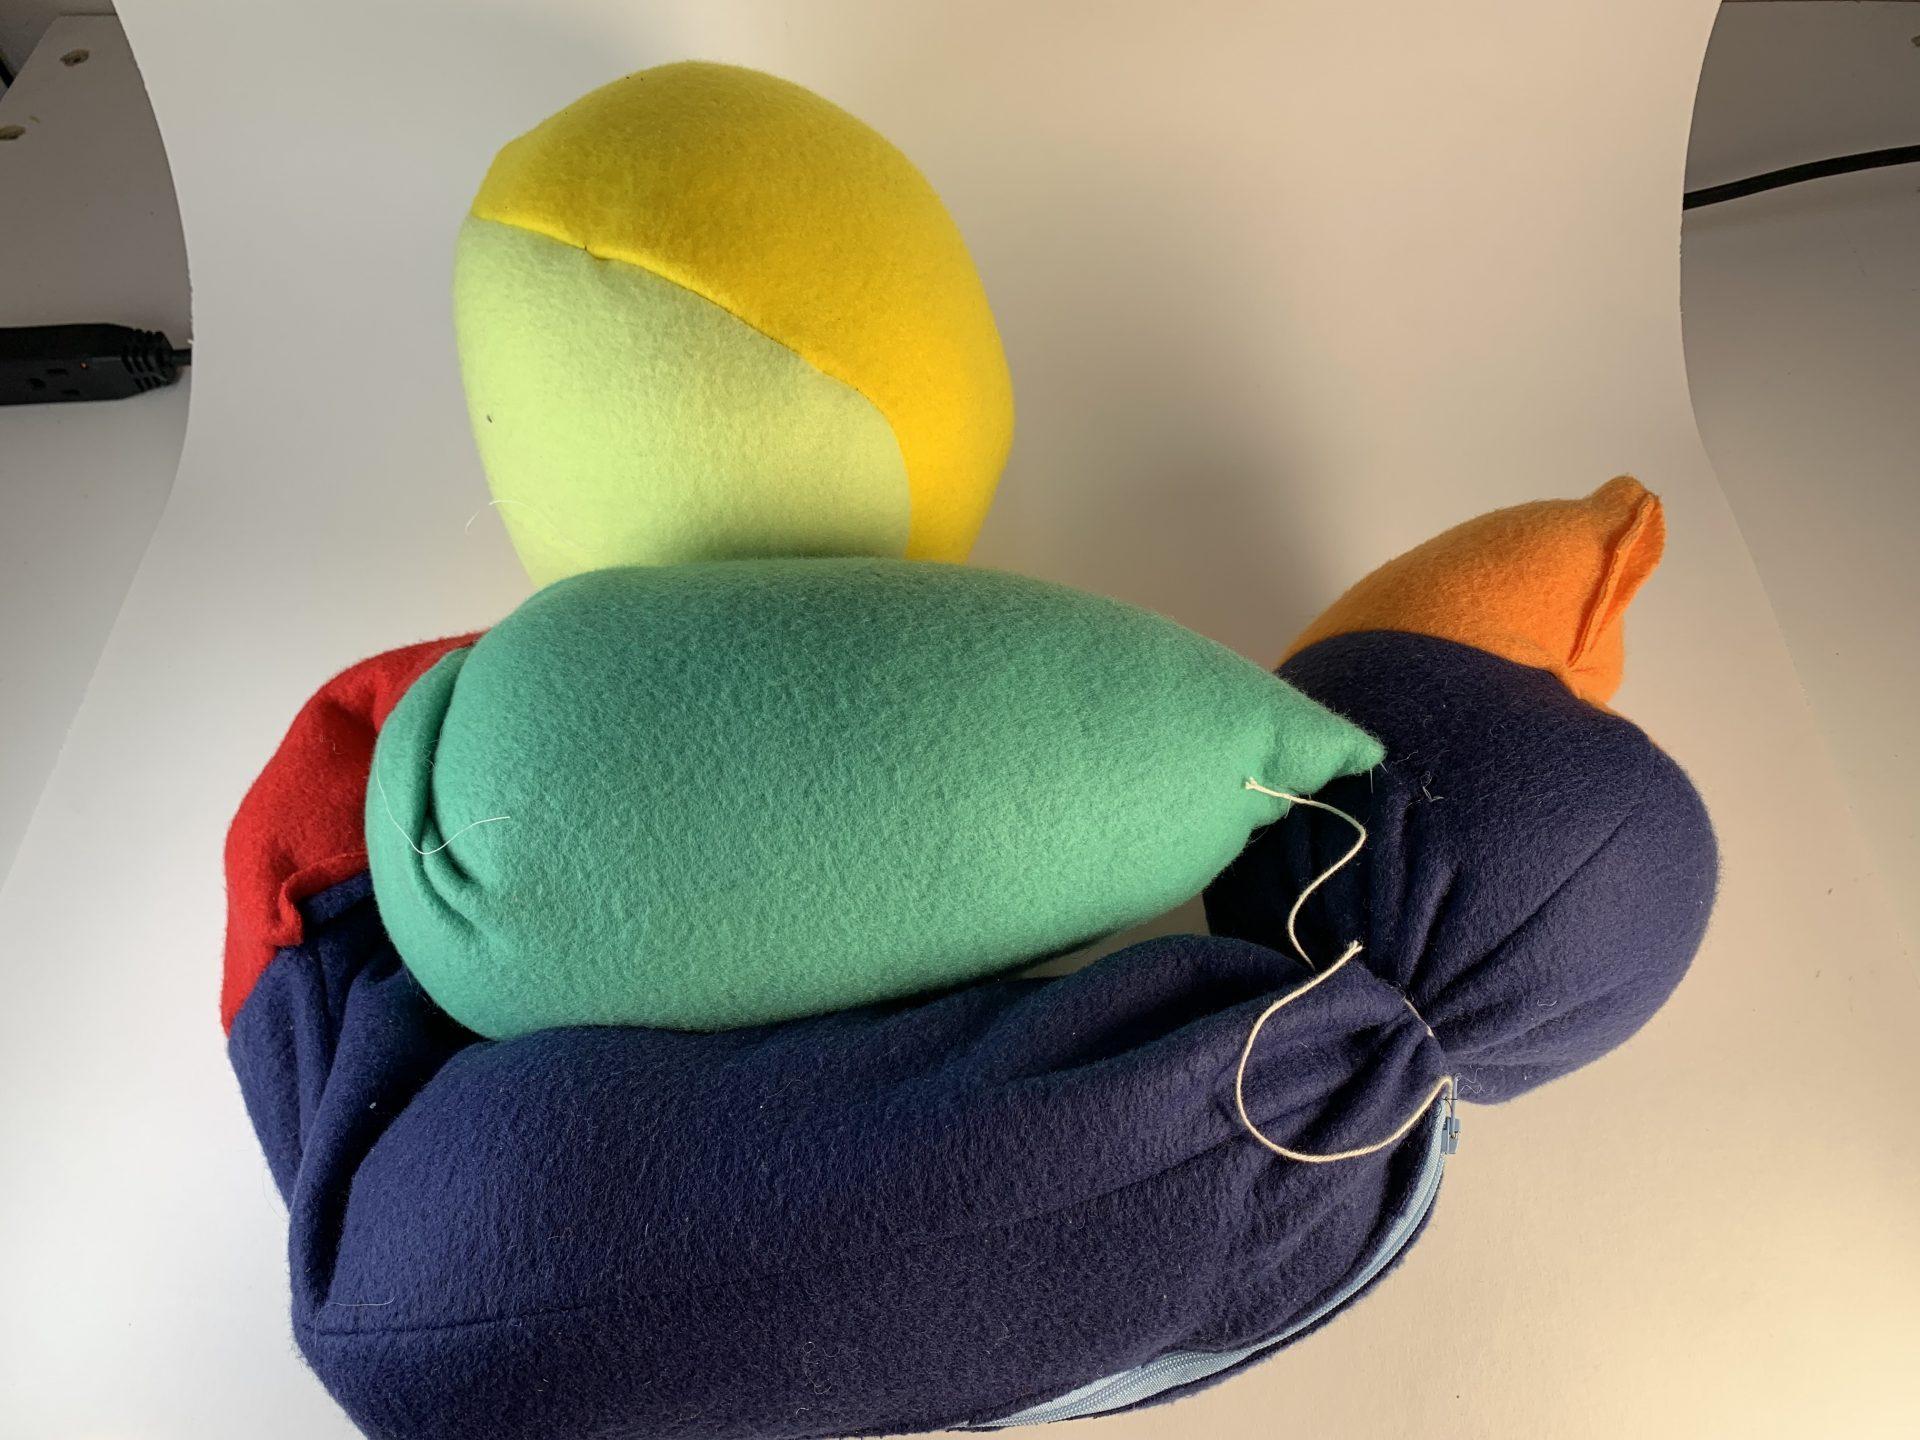
For my third object, I started with the forms of a sphere, a cone, and a cylinder. My plan was to attach all three of these forms together. As I sewed the cone, I realized there was an extra flap of fabric from wrapping a circle into a cone shape and I wondered if this piece could be a useful way to attach the forms together. When sewing the cone, I ended up deciding to close the bottom instead of adding a circular base, creating something resembling a pocket. The first two objects I attached together were the sphere and the cone, hiding the point at the top of the cone. I then tried to sew the cylinder separately and ran into trouble when I discovered the circular bases were too big for the column of the cylinder and sewed one of the sides into a beak looking shape. I was also still determined to add a zipper so I added one along the column. I wanted to fill it with an object so I once again used the sphere form and made an ellipse shape I was able to store in the zipper compartment. Going back to the flap that was leftover earlier, I used that to tie my new small object to keep it attached to the form. I also tied a portion of the cylinder so it could be partially stuffed without getting any poly-fil on the inner object. The final step I did was create a spiral with my object and sew some of the different shapes together.
Overall, I let the creative process take over in the creation of all three of my objects. They each ended up in a different place than I initially intended, but I like my objects more than the initial ideas I thought of. If in the future I want to be exact with the forms I create, I would be more intentional with planning each step prior to beginning my work.
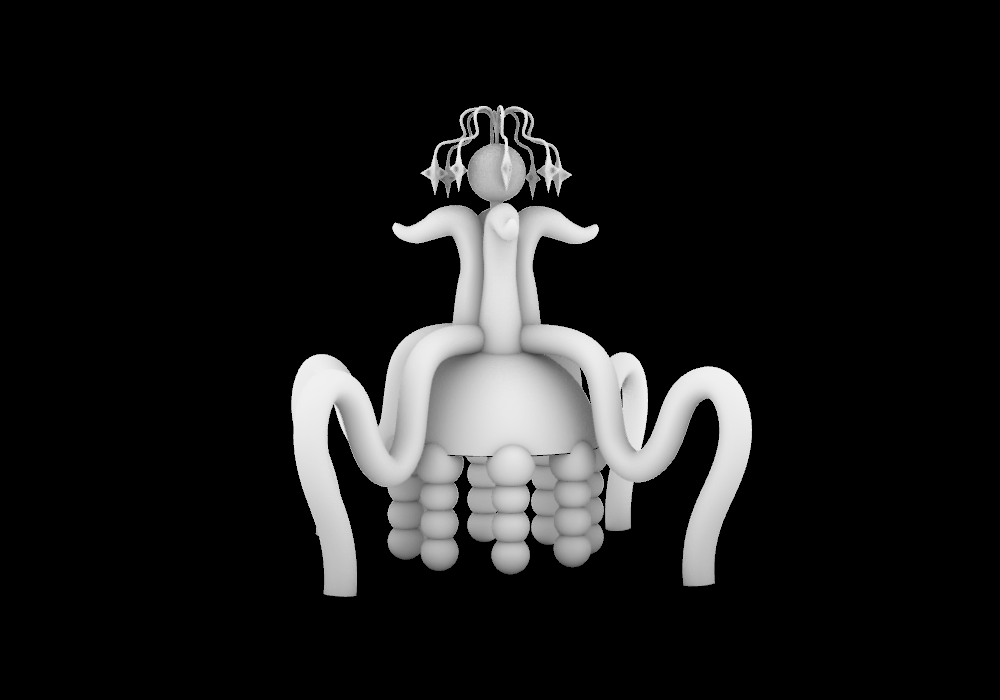
Music Tower – Adrienne Wang
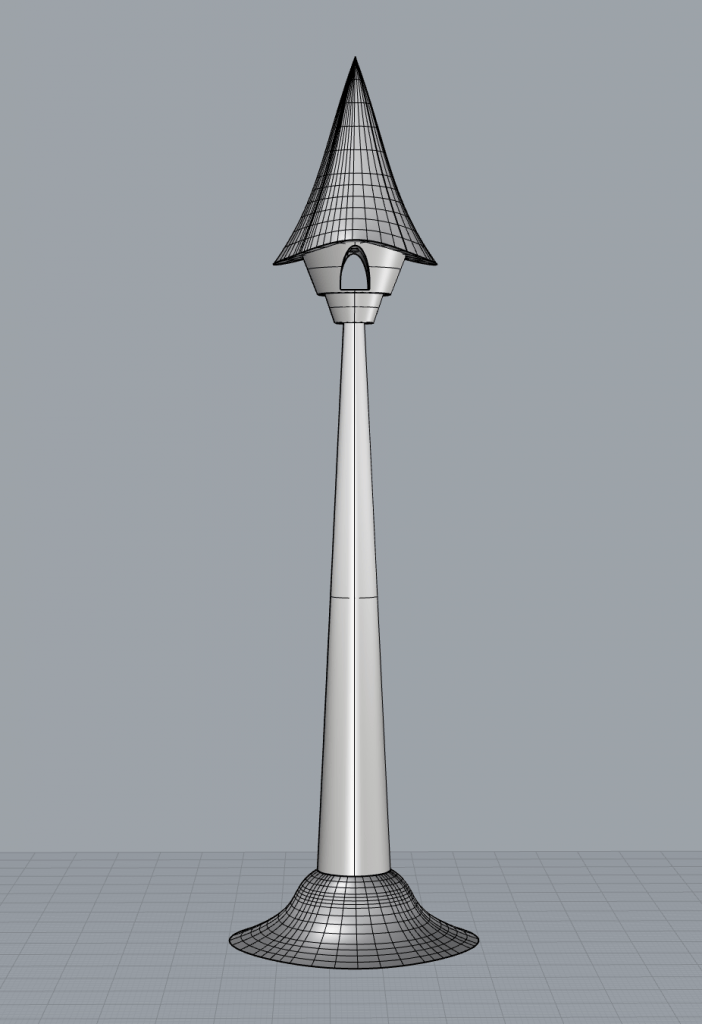
My music tower is inspired by one of my all-time favorite Disney songs called “When Will My Life Begin” from the movie “Tangled”. I was inspired by the realistic structure of the Rapunzel tower, but also the themes of isolation and boredom conveyed in the song, so I made my tower very tall and the focal point far from the ground.
Push/Pull Objects – Adrienne Wang
For this project, I created my 3 objects with different approaches: the first with the final figure in mind, the second with the goal of being interactive, and the third driven by an emotion and action verb.
Object #1 Red Panda:
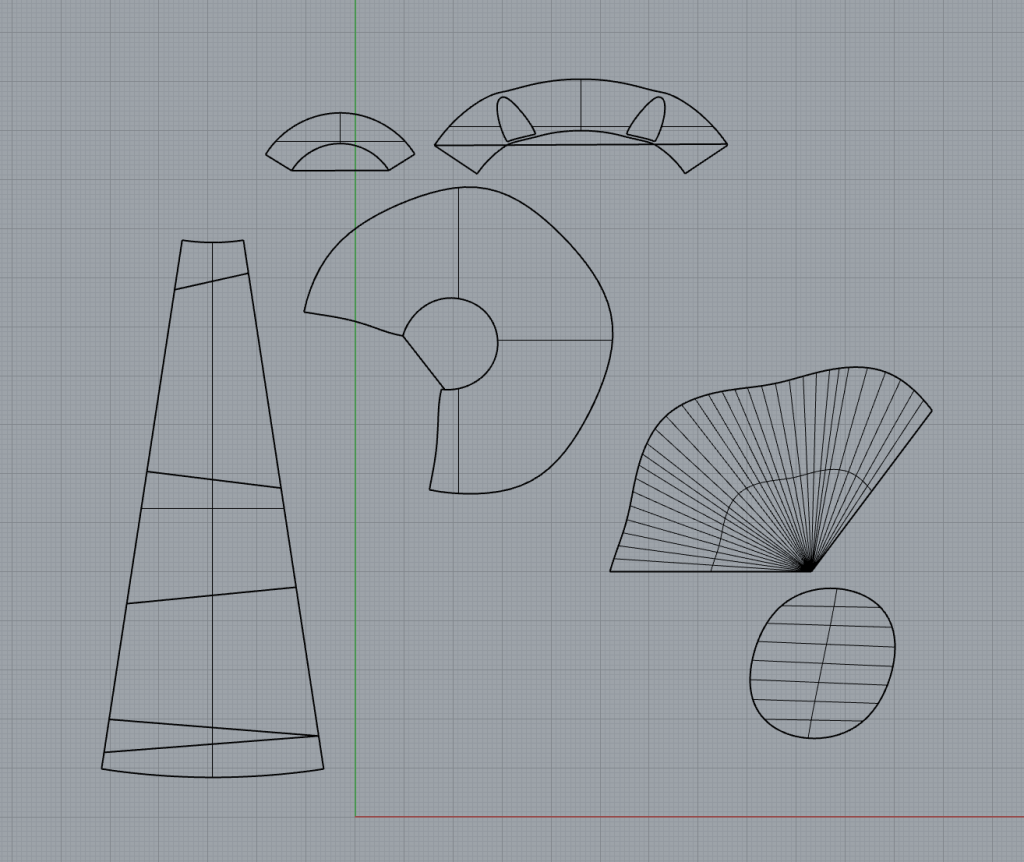
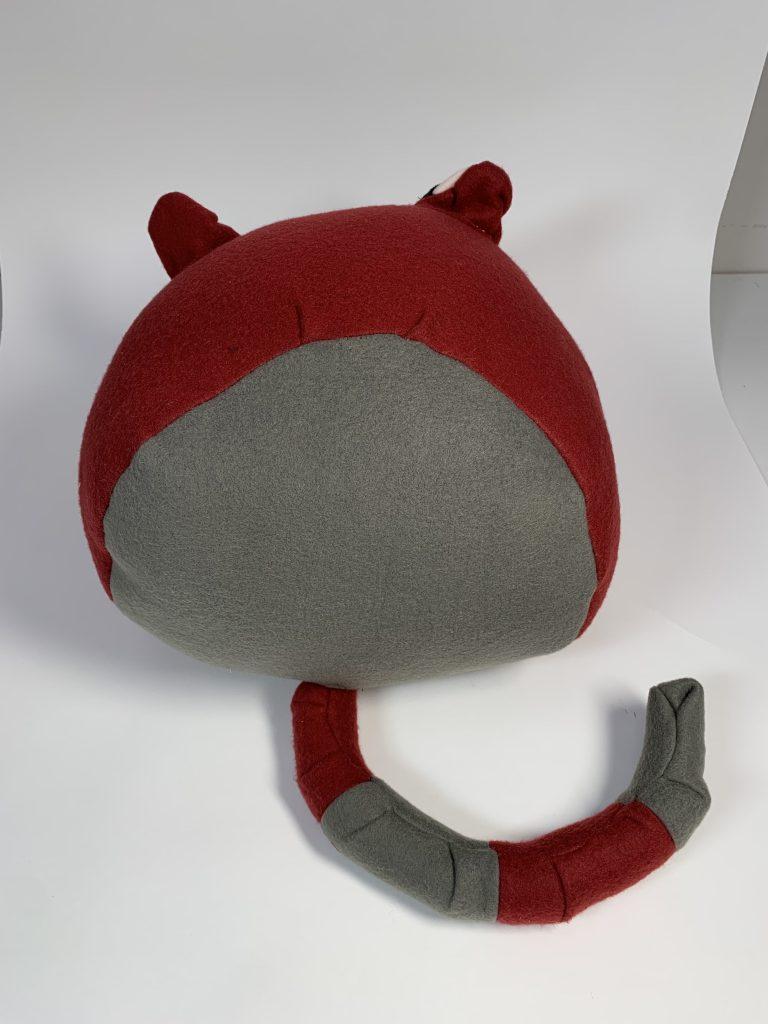
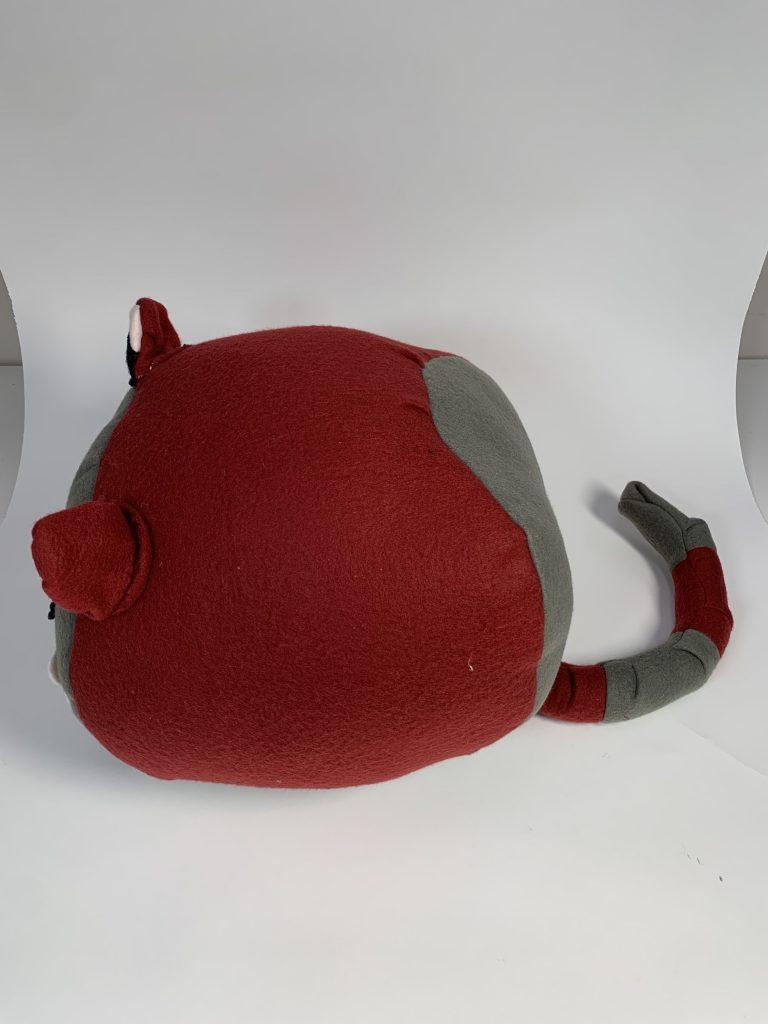
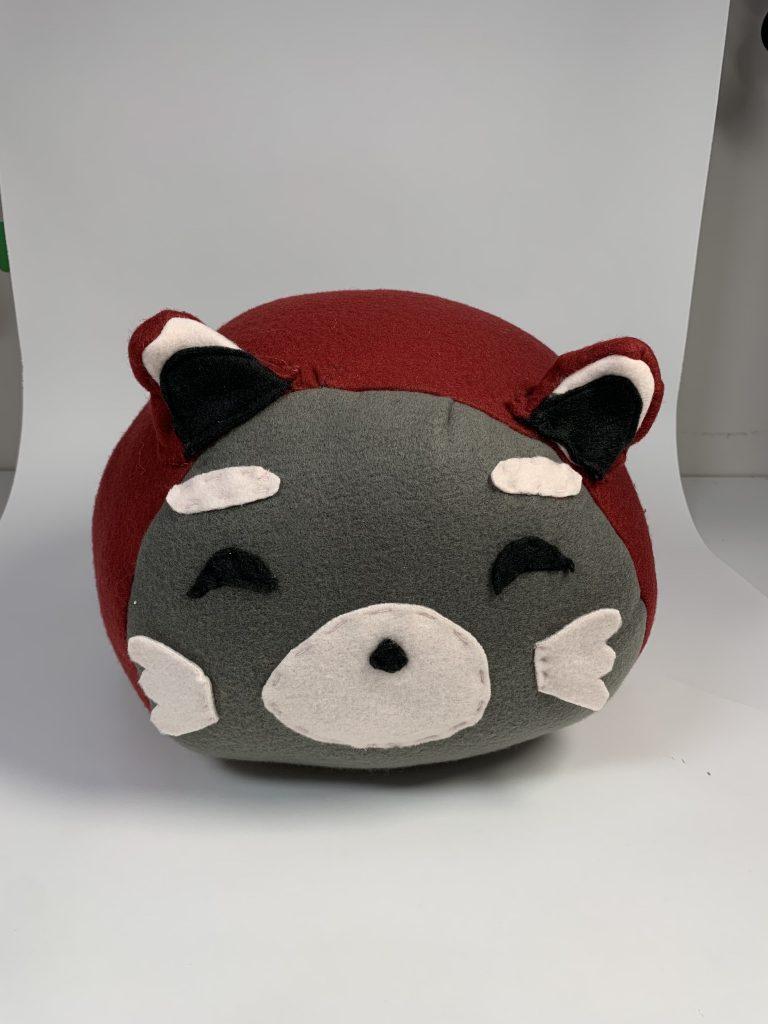
For my first object, I created a red panda plushie by combining a sphere shape, a tail made of a darted cylinder so it would curve to the side, and decorative felt for the ears and facial features. The body and tail were created together and then inverted right before stuffing. One of the biggest challenges with this object was inverting the fabric of the tail and stuffing it since its diameter was so small.
Object #2 Invertible Sphere:
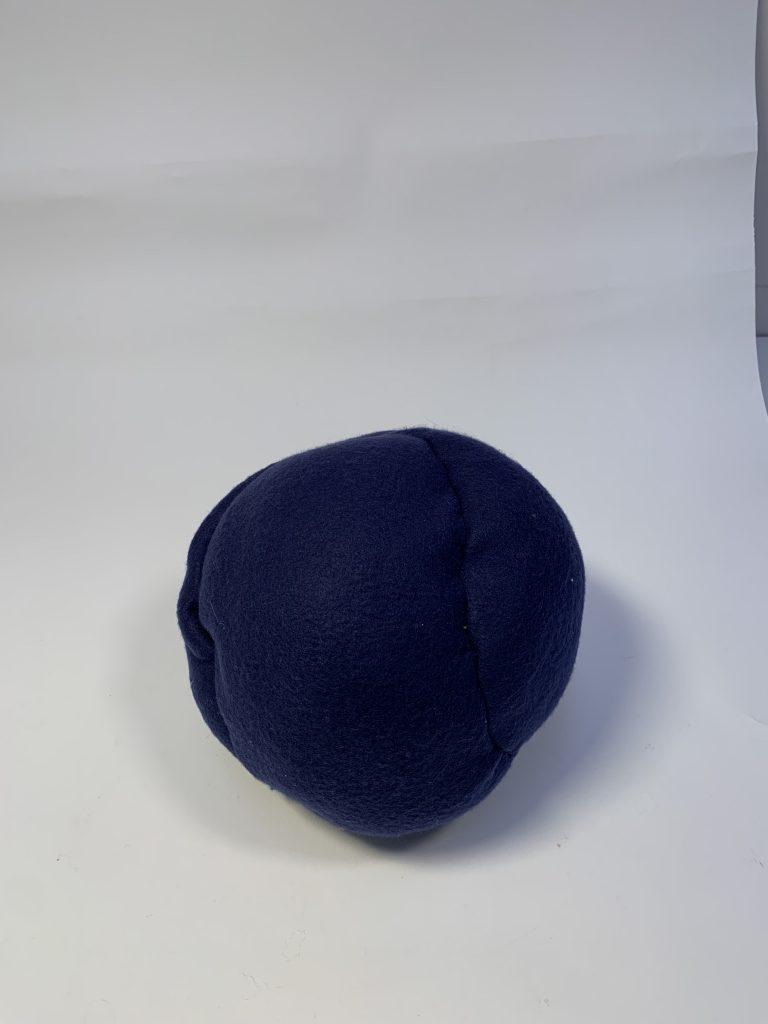
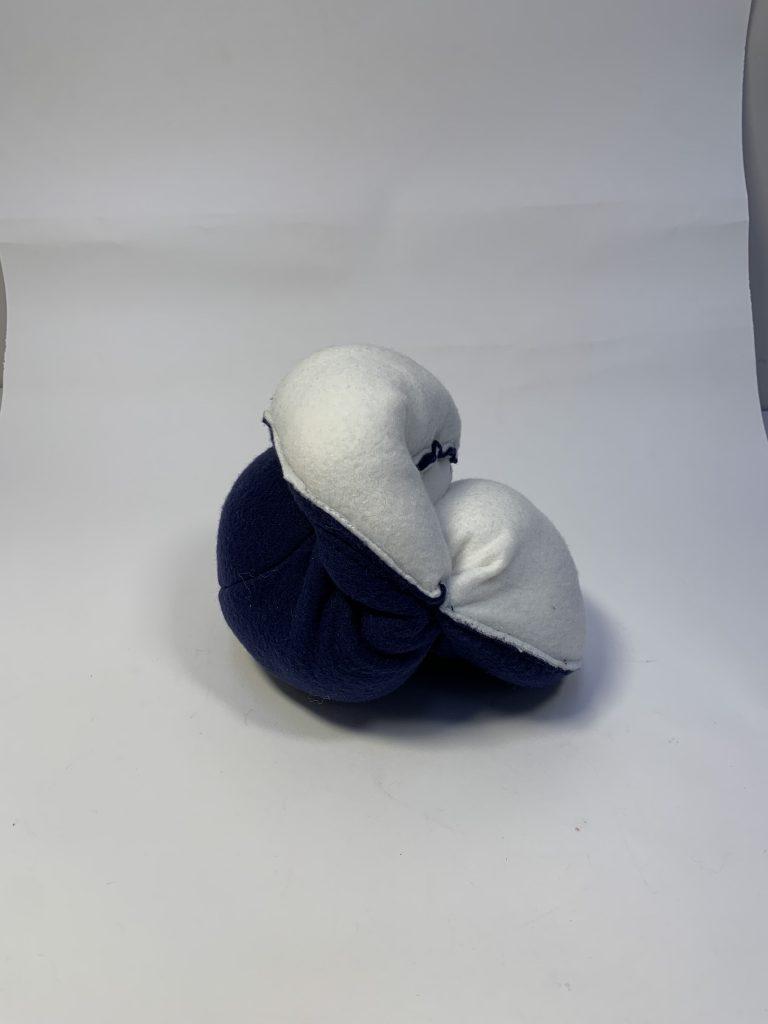
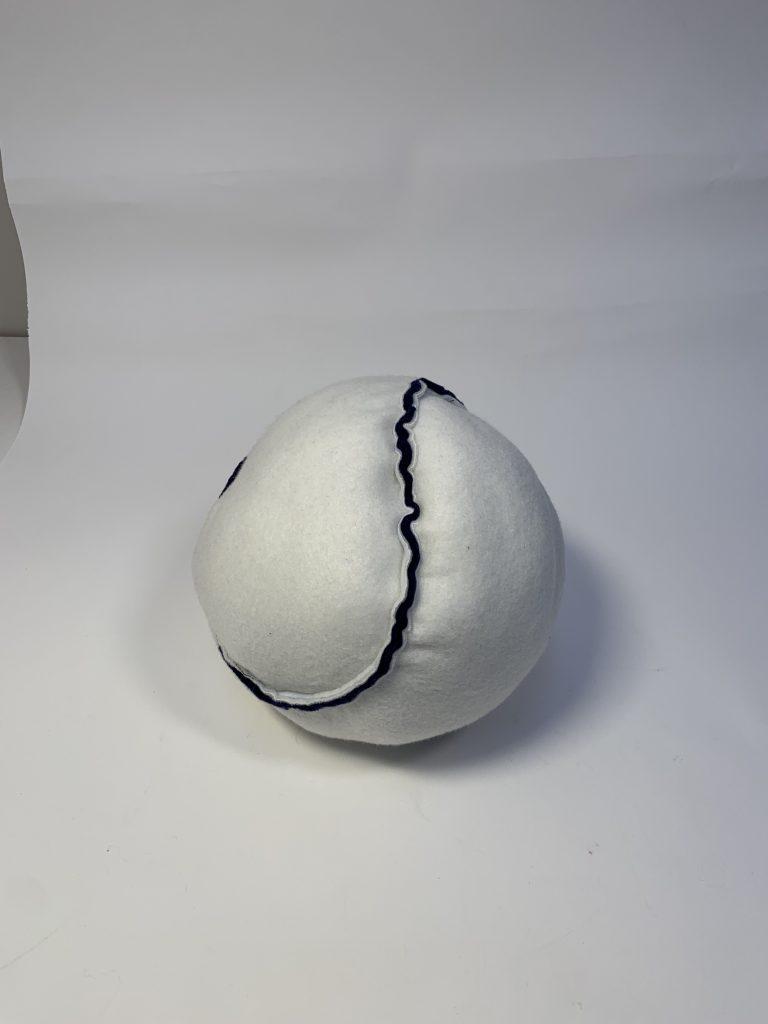
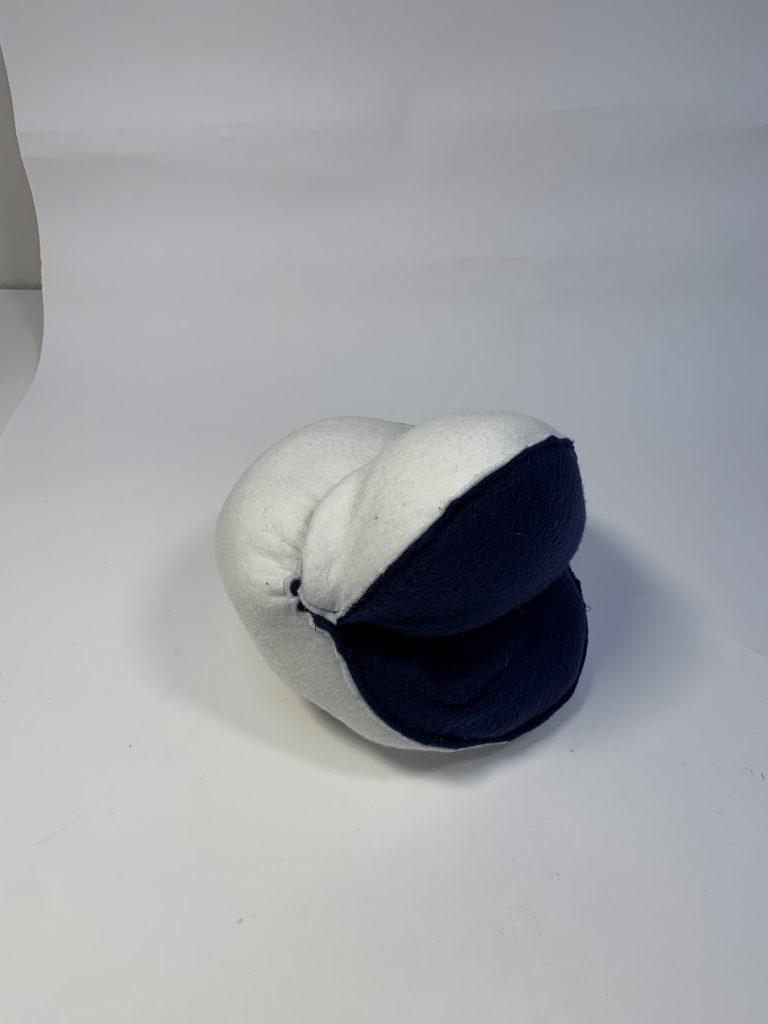
For my second object, I wanted to create something interactive and playful, so I created a more complex version of a stuffed sphere by making it invertible. I was intrigued by the two colors of dark blue and white for the inside and outside of the sphere. I also liked the ambiguity of which color is the inside or outside, since both create the same shape.
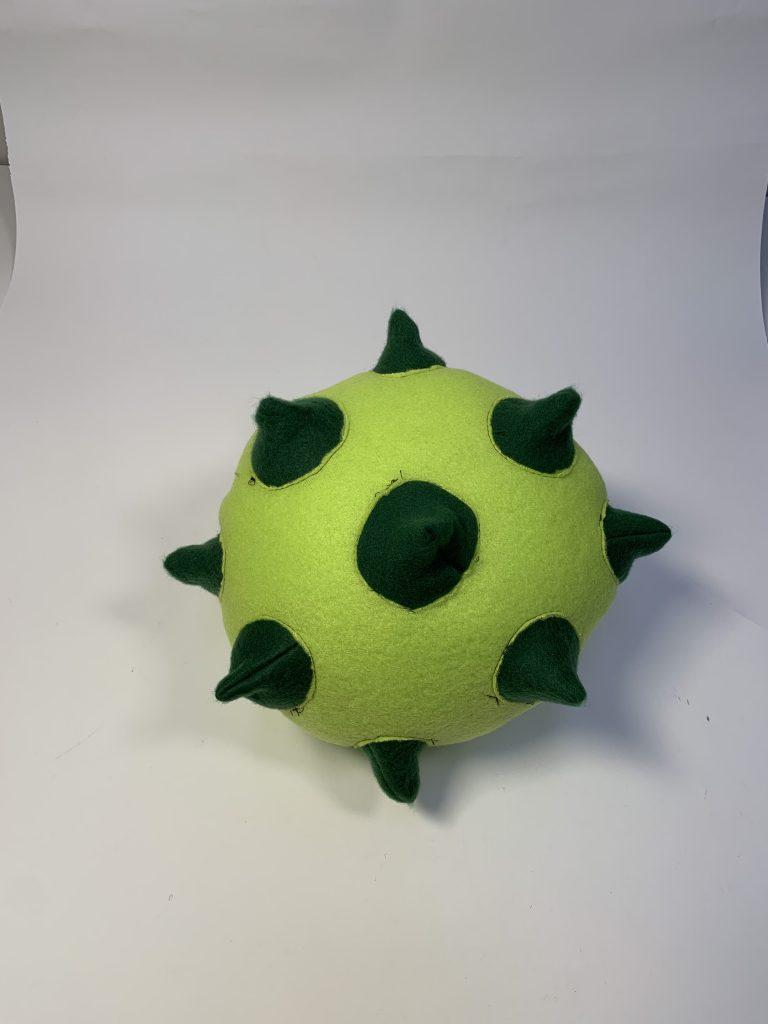
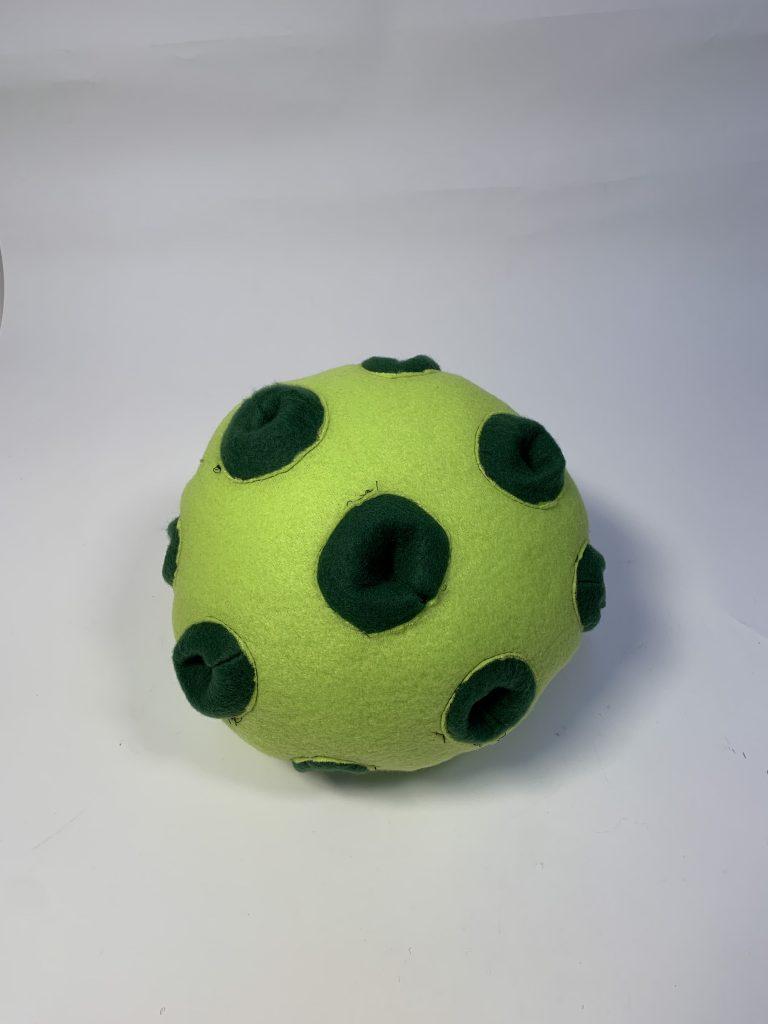
Object #3 Spikes:
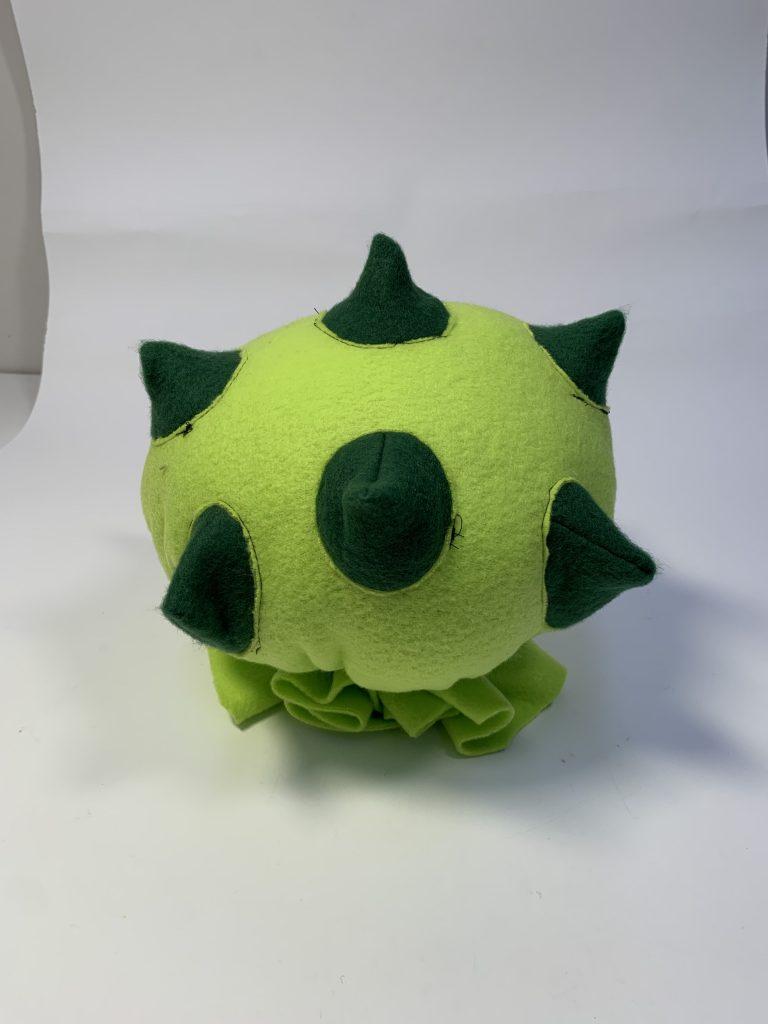
My third object was inspired by my emotions at the time, since I was feeling irritated in a calm and controlled way. I also wanted to portray the action verb of “to poke” and represented this through spikes that were made of small cones and later inverted before stuffing. Instead of making a sphere using a pattern, I leaned on the concept that inflated objects tend to form the shape of sphere, so I just tied a large piece of fabric at the base to close the object. I found it satisfying that the spikes can poke both outwards and inwards.
Rhino Sample – Jamie Espinosa
Music tower ribbed roof design
Rhino Samples
Link to a Google Drive containing the file for the Rhino Sample: https://drive.google.com/drive/folders/1c3LYmQ0I-qjYRDf2aRYyLr1R0XP4LOtR?usp=share_link