I took inspiration from a Mexican classical music piece, Danzon No. 2 by Arturo Marquez.

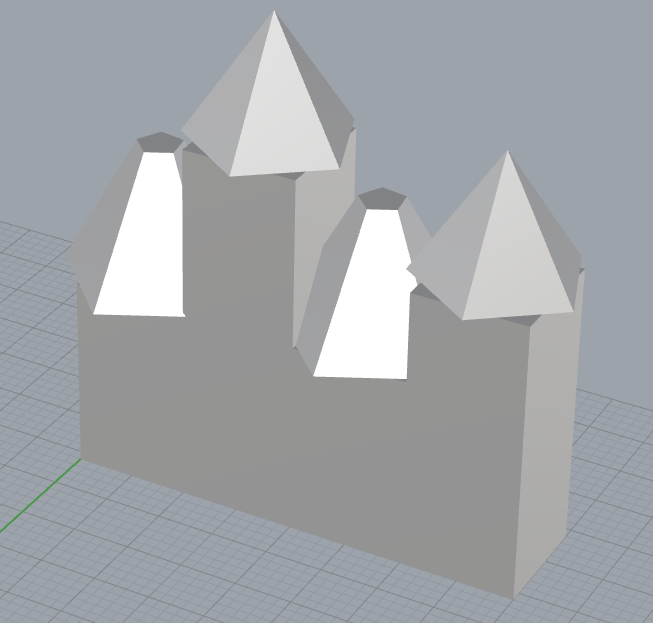
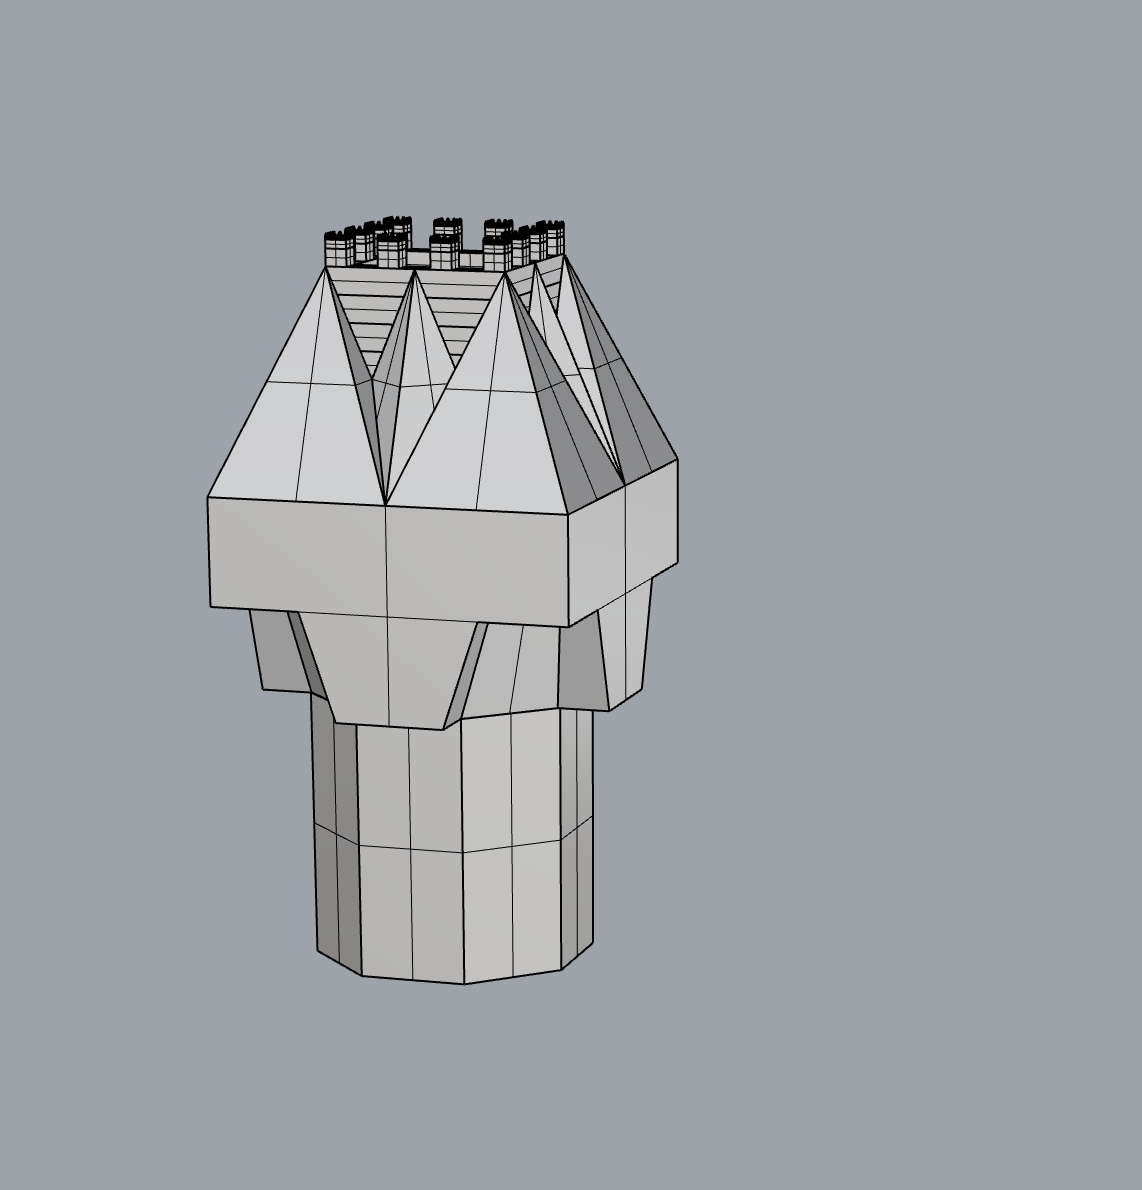
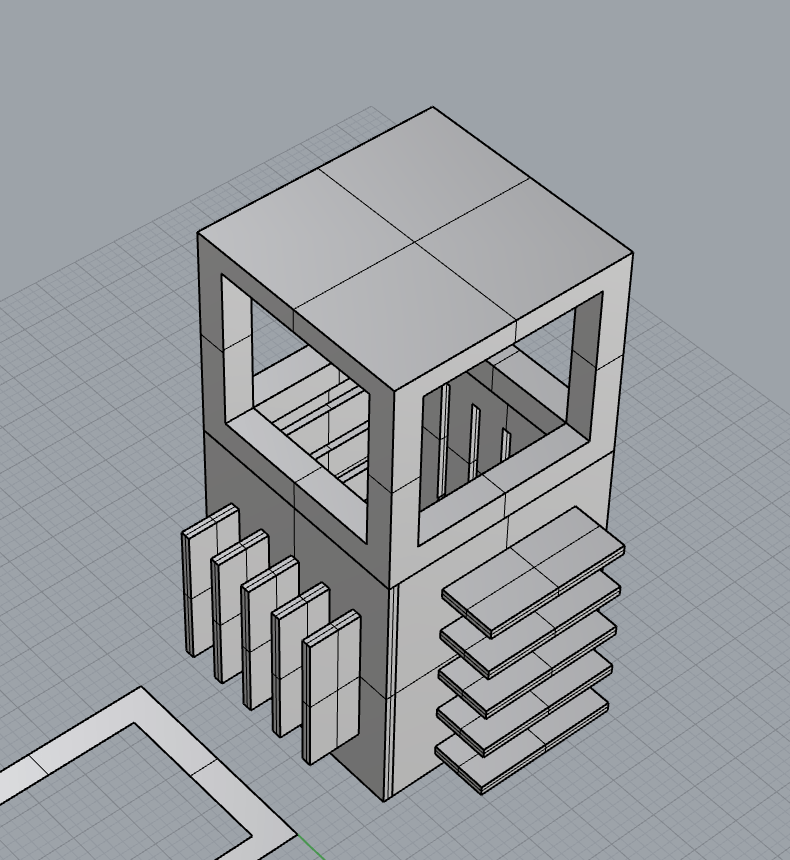
3D quick render of tower


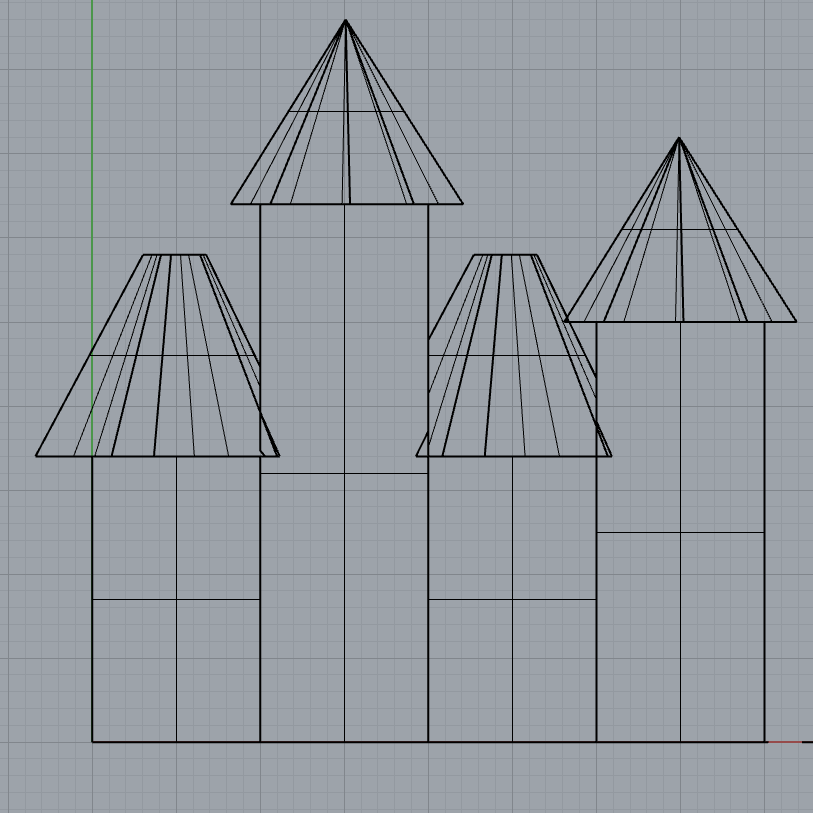
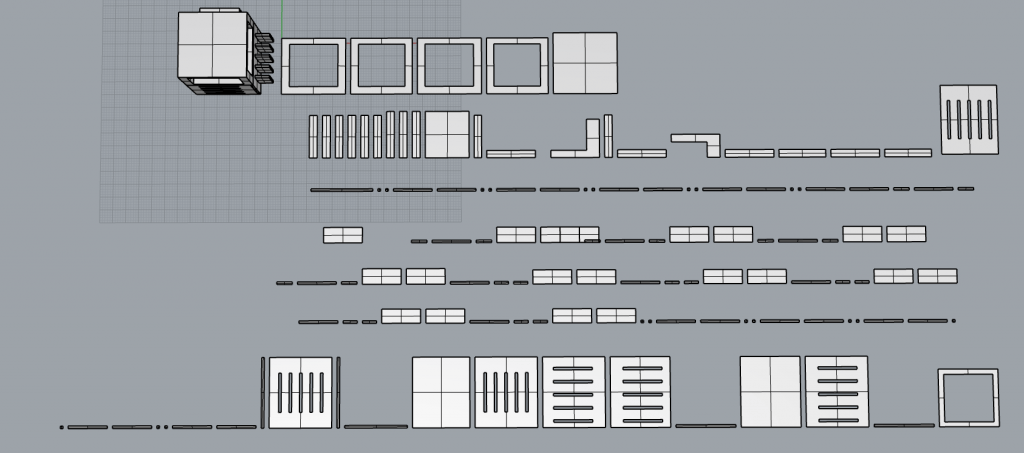
Unrolled faces of tower
CMU | 53-330A
I took inspiration from a Mexican classical music piece, Danzon No. 2 by Arturo Marquez.
3D quick render of tower
Unrolled faces of tower
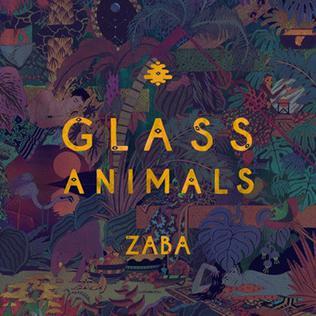
For my first music tower, I have chosen the album Zaba by Glass Animals. The reason I designed the tower to give a medieval outlook is because of the cover art for the album, and the songs in the album going off of a time when things were less developed, but more peaceful and enjoyable with each other. The reason I chose to make a castle tower form was because of it’s accurate connection to medieval times and the representation of a less developed world.
Towers:
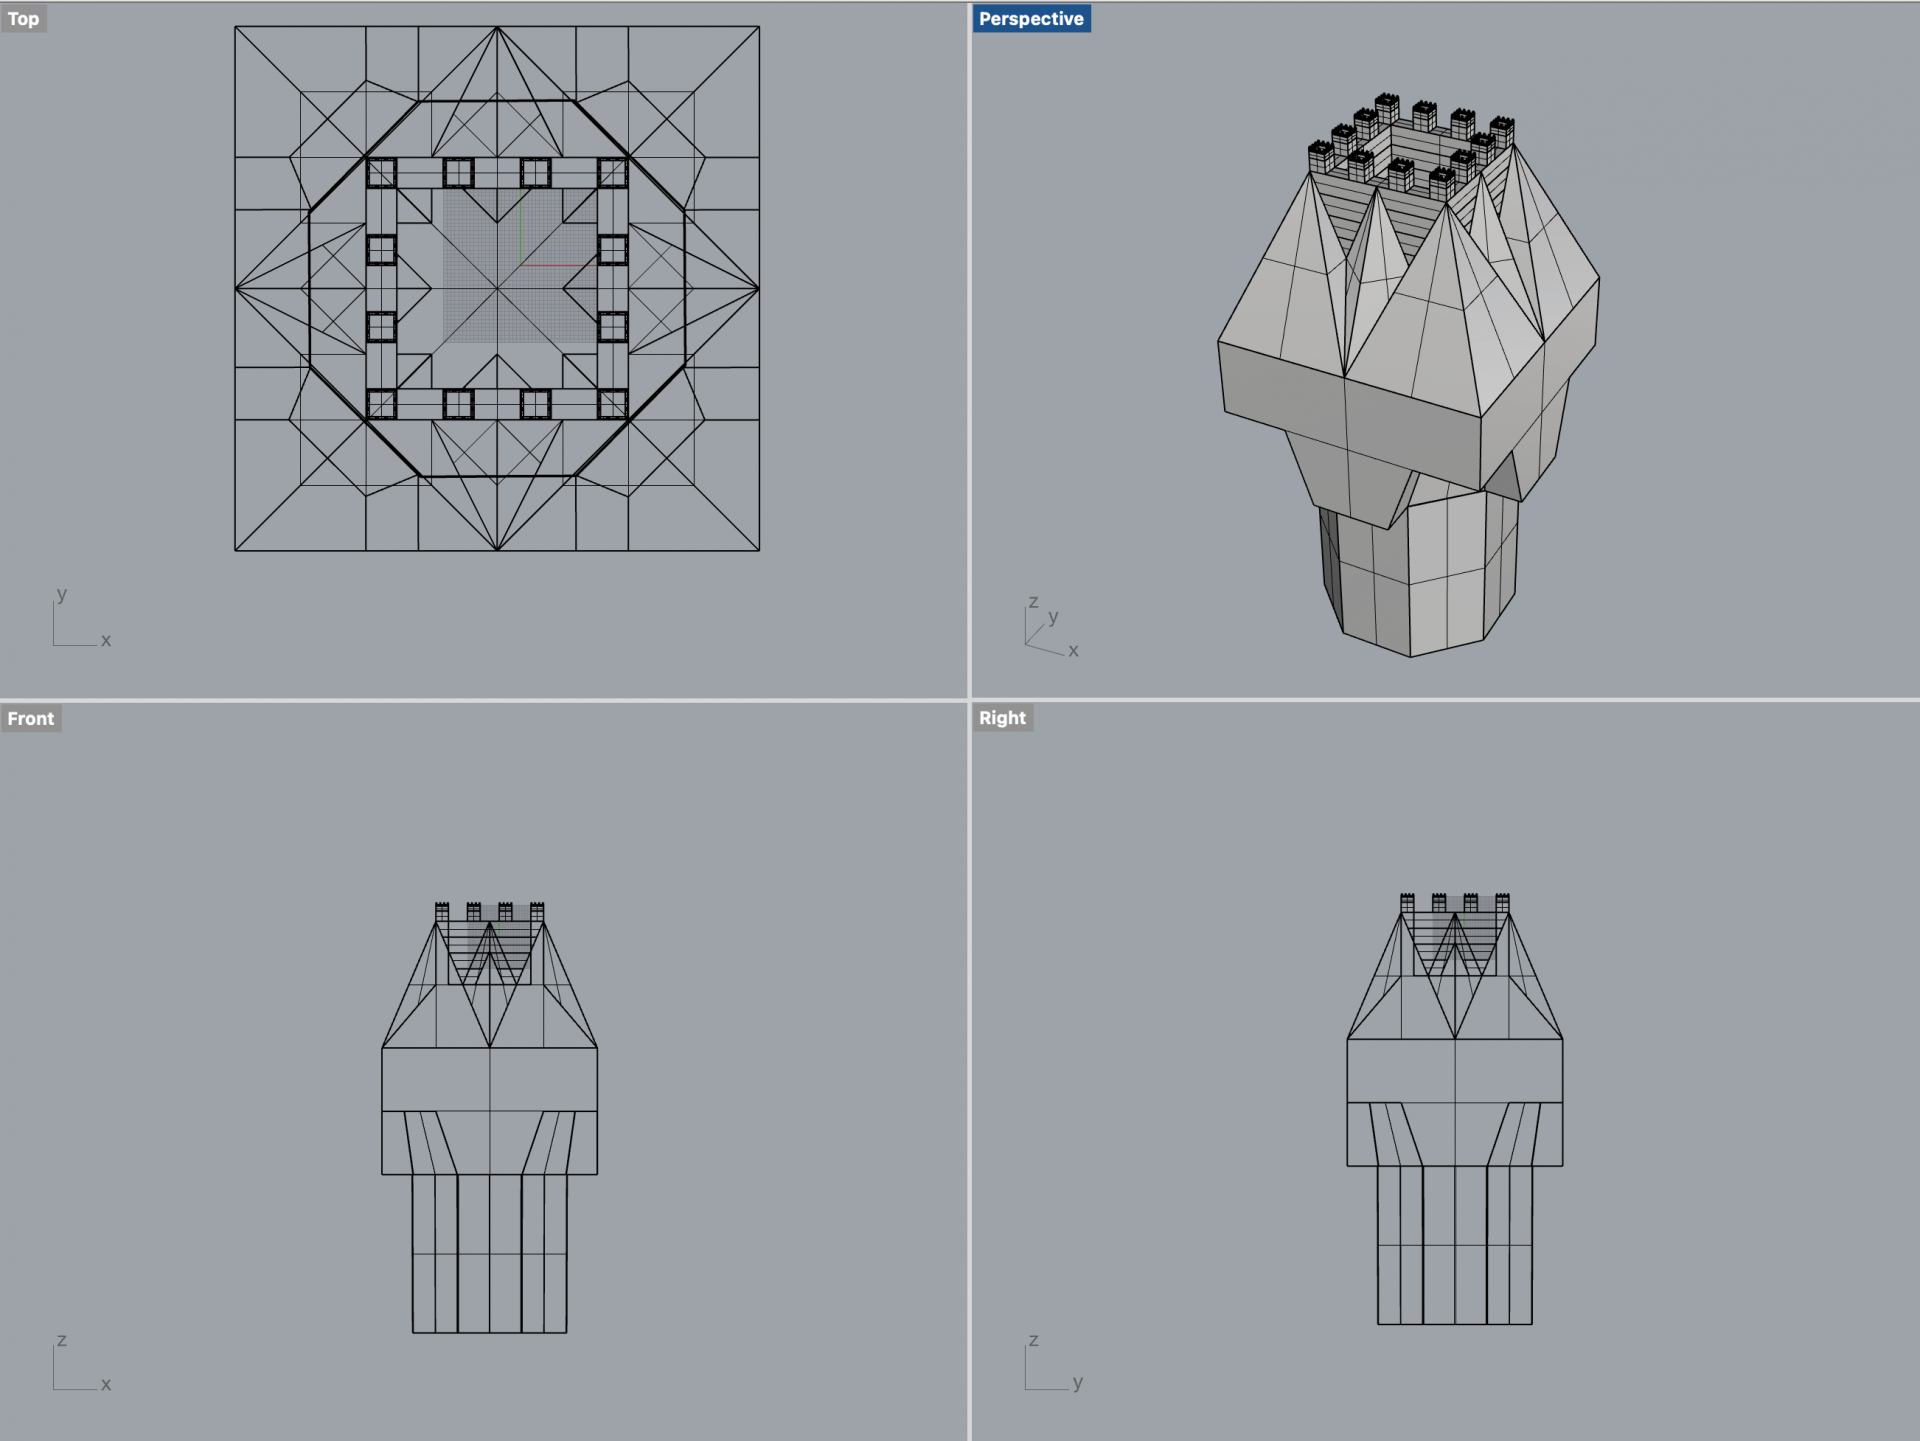
My music tower was inspired by one of my favorite albums/songs, Walking on a Dream by Empire of the Sun. Here’s an image of the album cover:
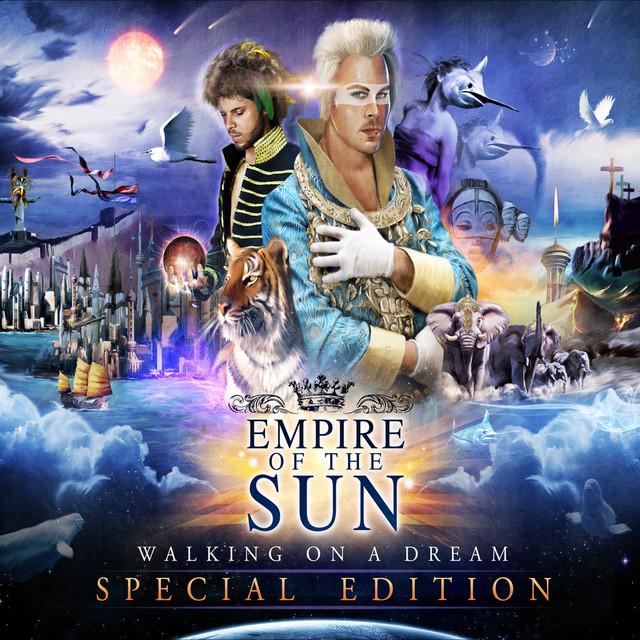
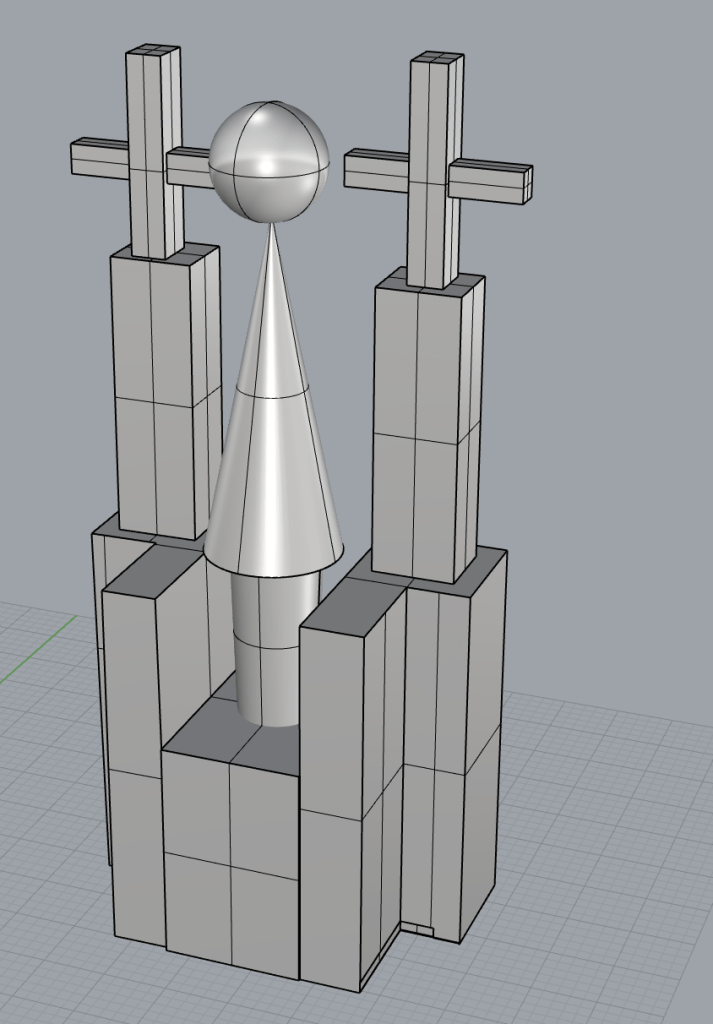
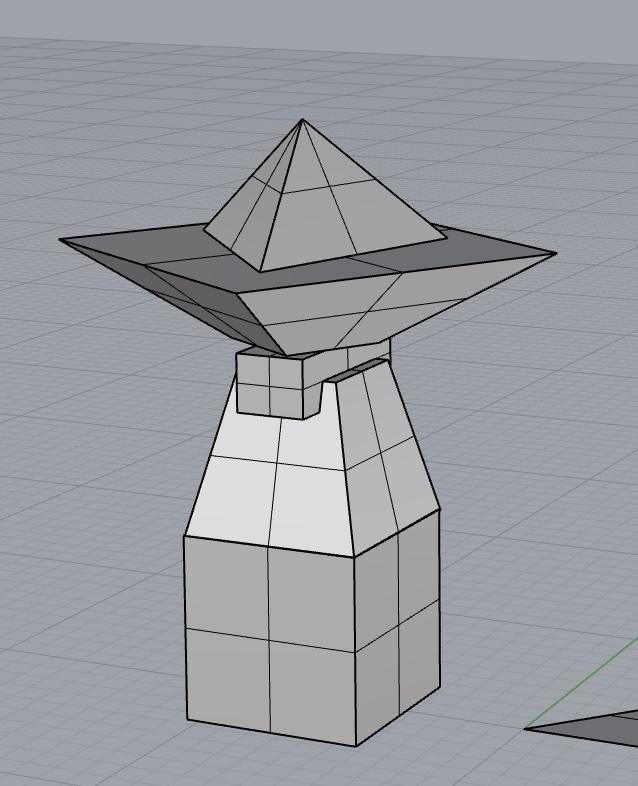
Drawing from the ethereal castle-like buildings in the image, I made my music tower tall with crosses at the top. In order to fit the playfulness of the scene, I also added a rounded shape with a ball at the top.
The Rhino file is on the class drive.
Perspective image of tower:
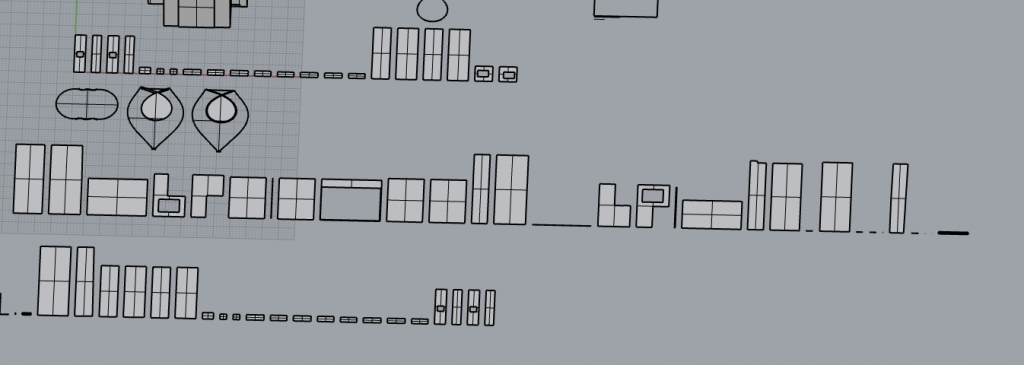
Top-View Unrolled Images:
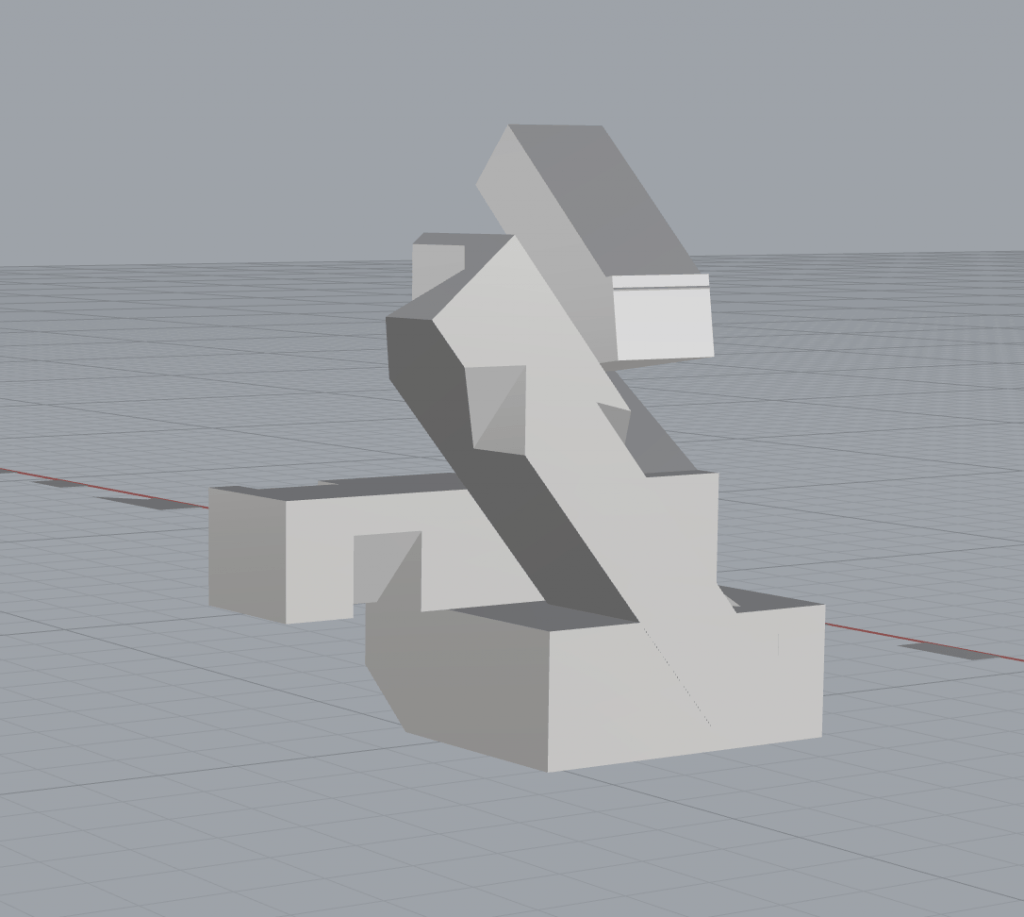
Hello! The song that I chose to inspire my form was Plus tôt (String Quartet Version) – by Alexandra Streliski
The main elements I considered were that within the song there are very soft and delicate elements combined with overarching and robust symphonies. The circular nature of the song is another element I wanted to convey in physical form.

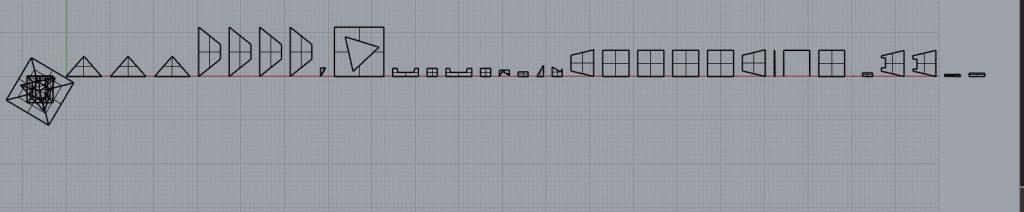
After creating my tower, which I made intentionally without complicated curved surfaces, I attempted to disassemble it and failed. The command would not go through. At this point, I was confused as to what I did wrong so I contacted our talented TA Charlotte, who helped me out a ton! We went back and forth a bit and she was able to disassemble it for the most part (Thank you Charlotte!!). My idea as to what went wrong is the use of the projection tool which I assumed transformed the object normally but perhaps messes up the commands. Not entirely sure, but glad it was mostly worked out.

https://drive.google.com/file/d/1R2RjIyJEIFyUgVc4FsyaB8NUudD7aLyi/view?usp=sharing
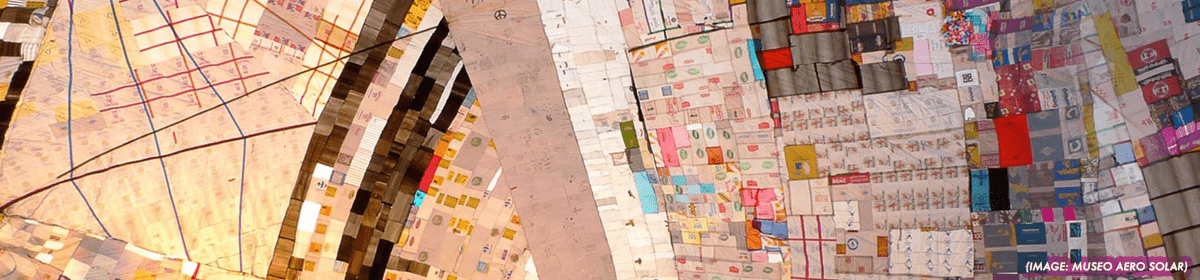
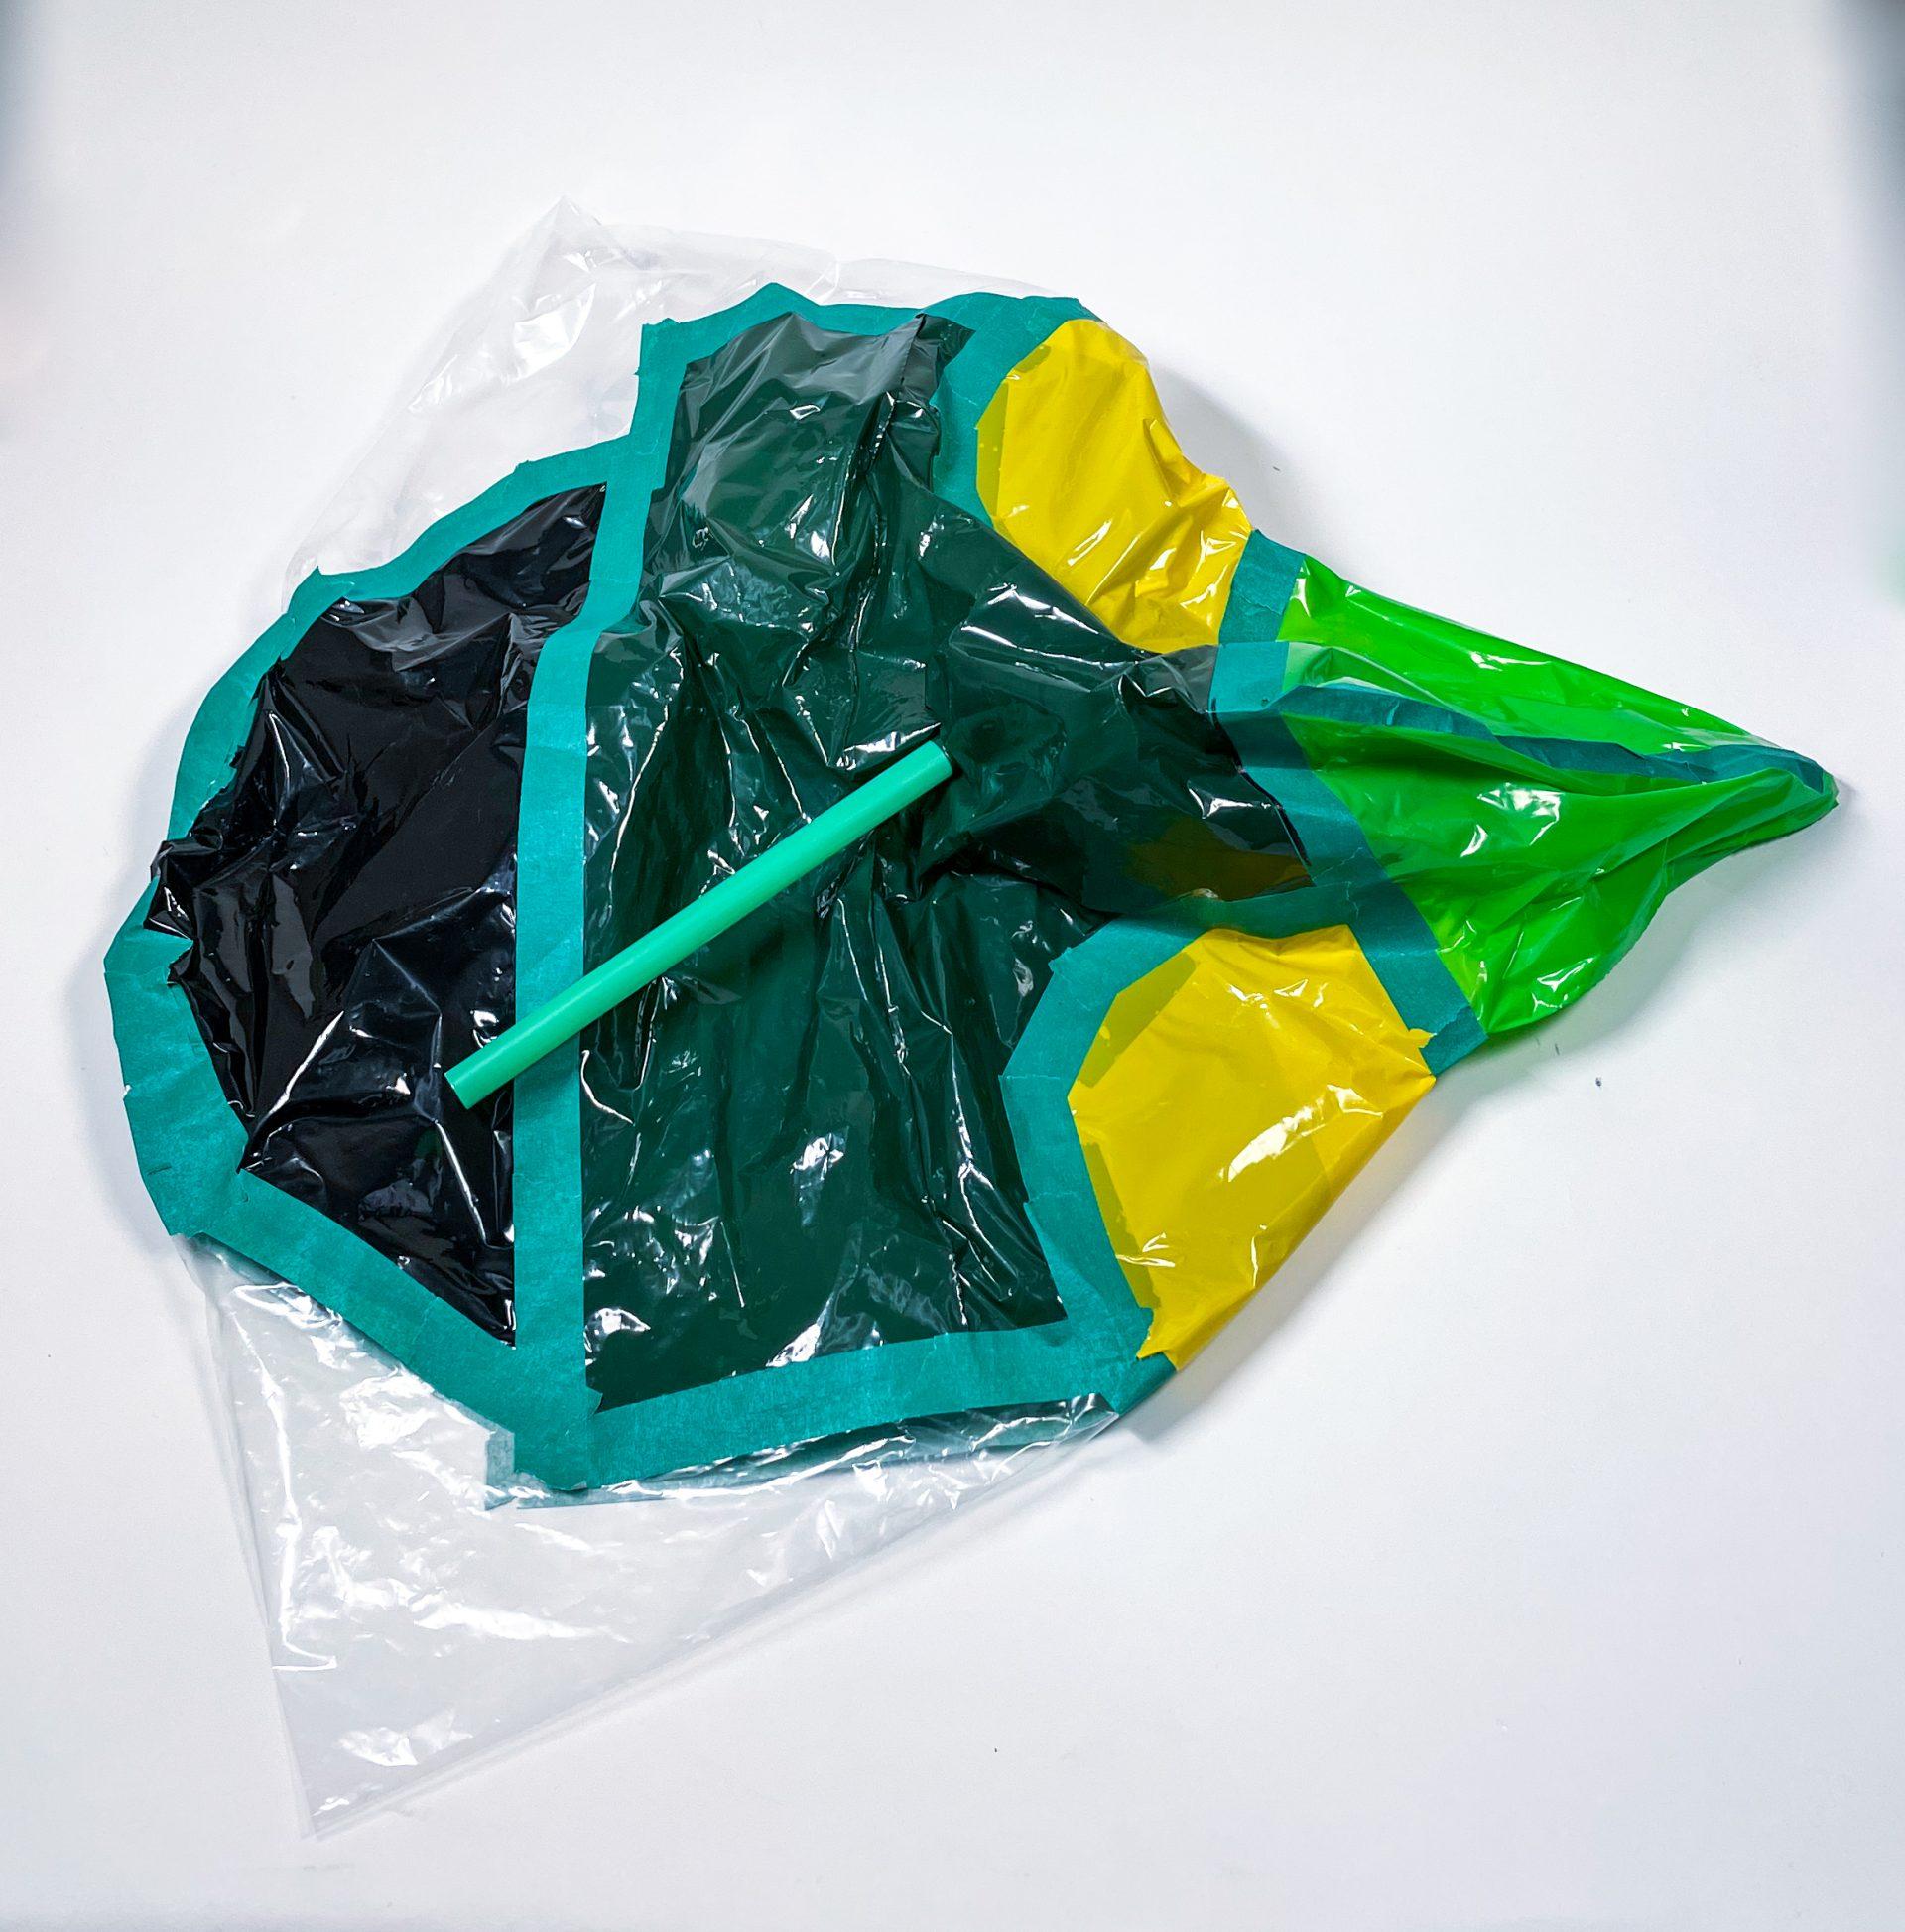
My goal for this project was to explore the limits of inflatables in terms of mending and form. My process was intuitive and I approached them all from a curious perspective.
In my first exploration, I was fascinated by the little details. I was curious to explore how small connections, folds, and mends could change the overall structure. I also questioned conventions of inflatables, such as the roundness and plumpness, and incorporated sharp edges and inversions. At one point I connected a lengthy clear piece, and curved it to create the sharp dome at the end of this inflatable.
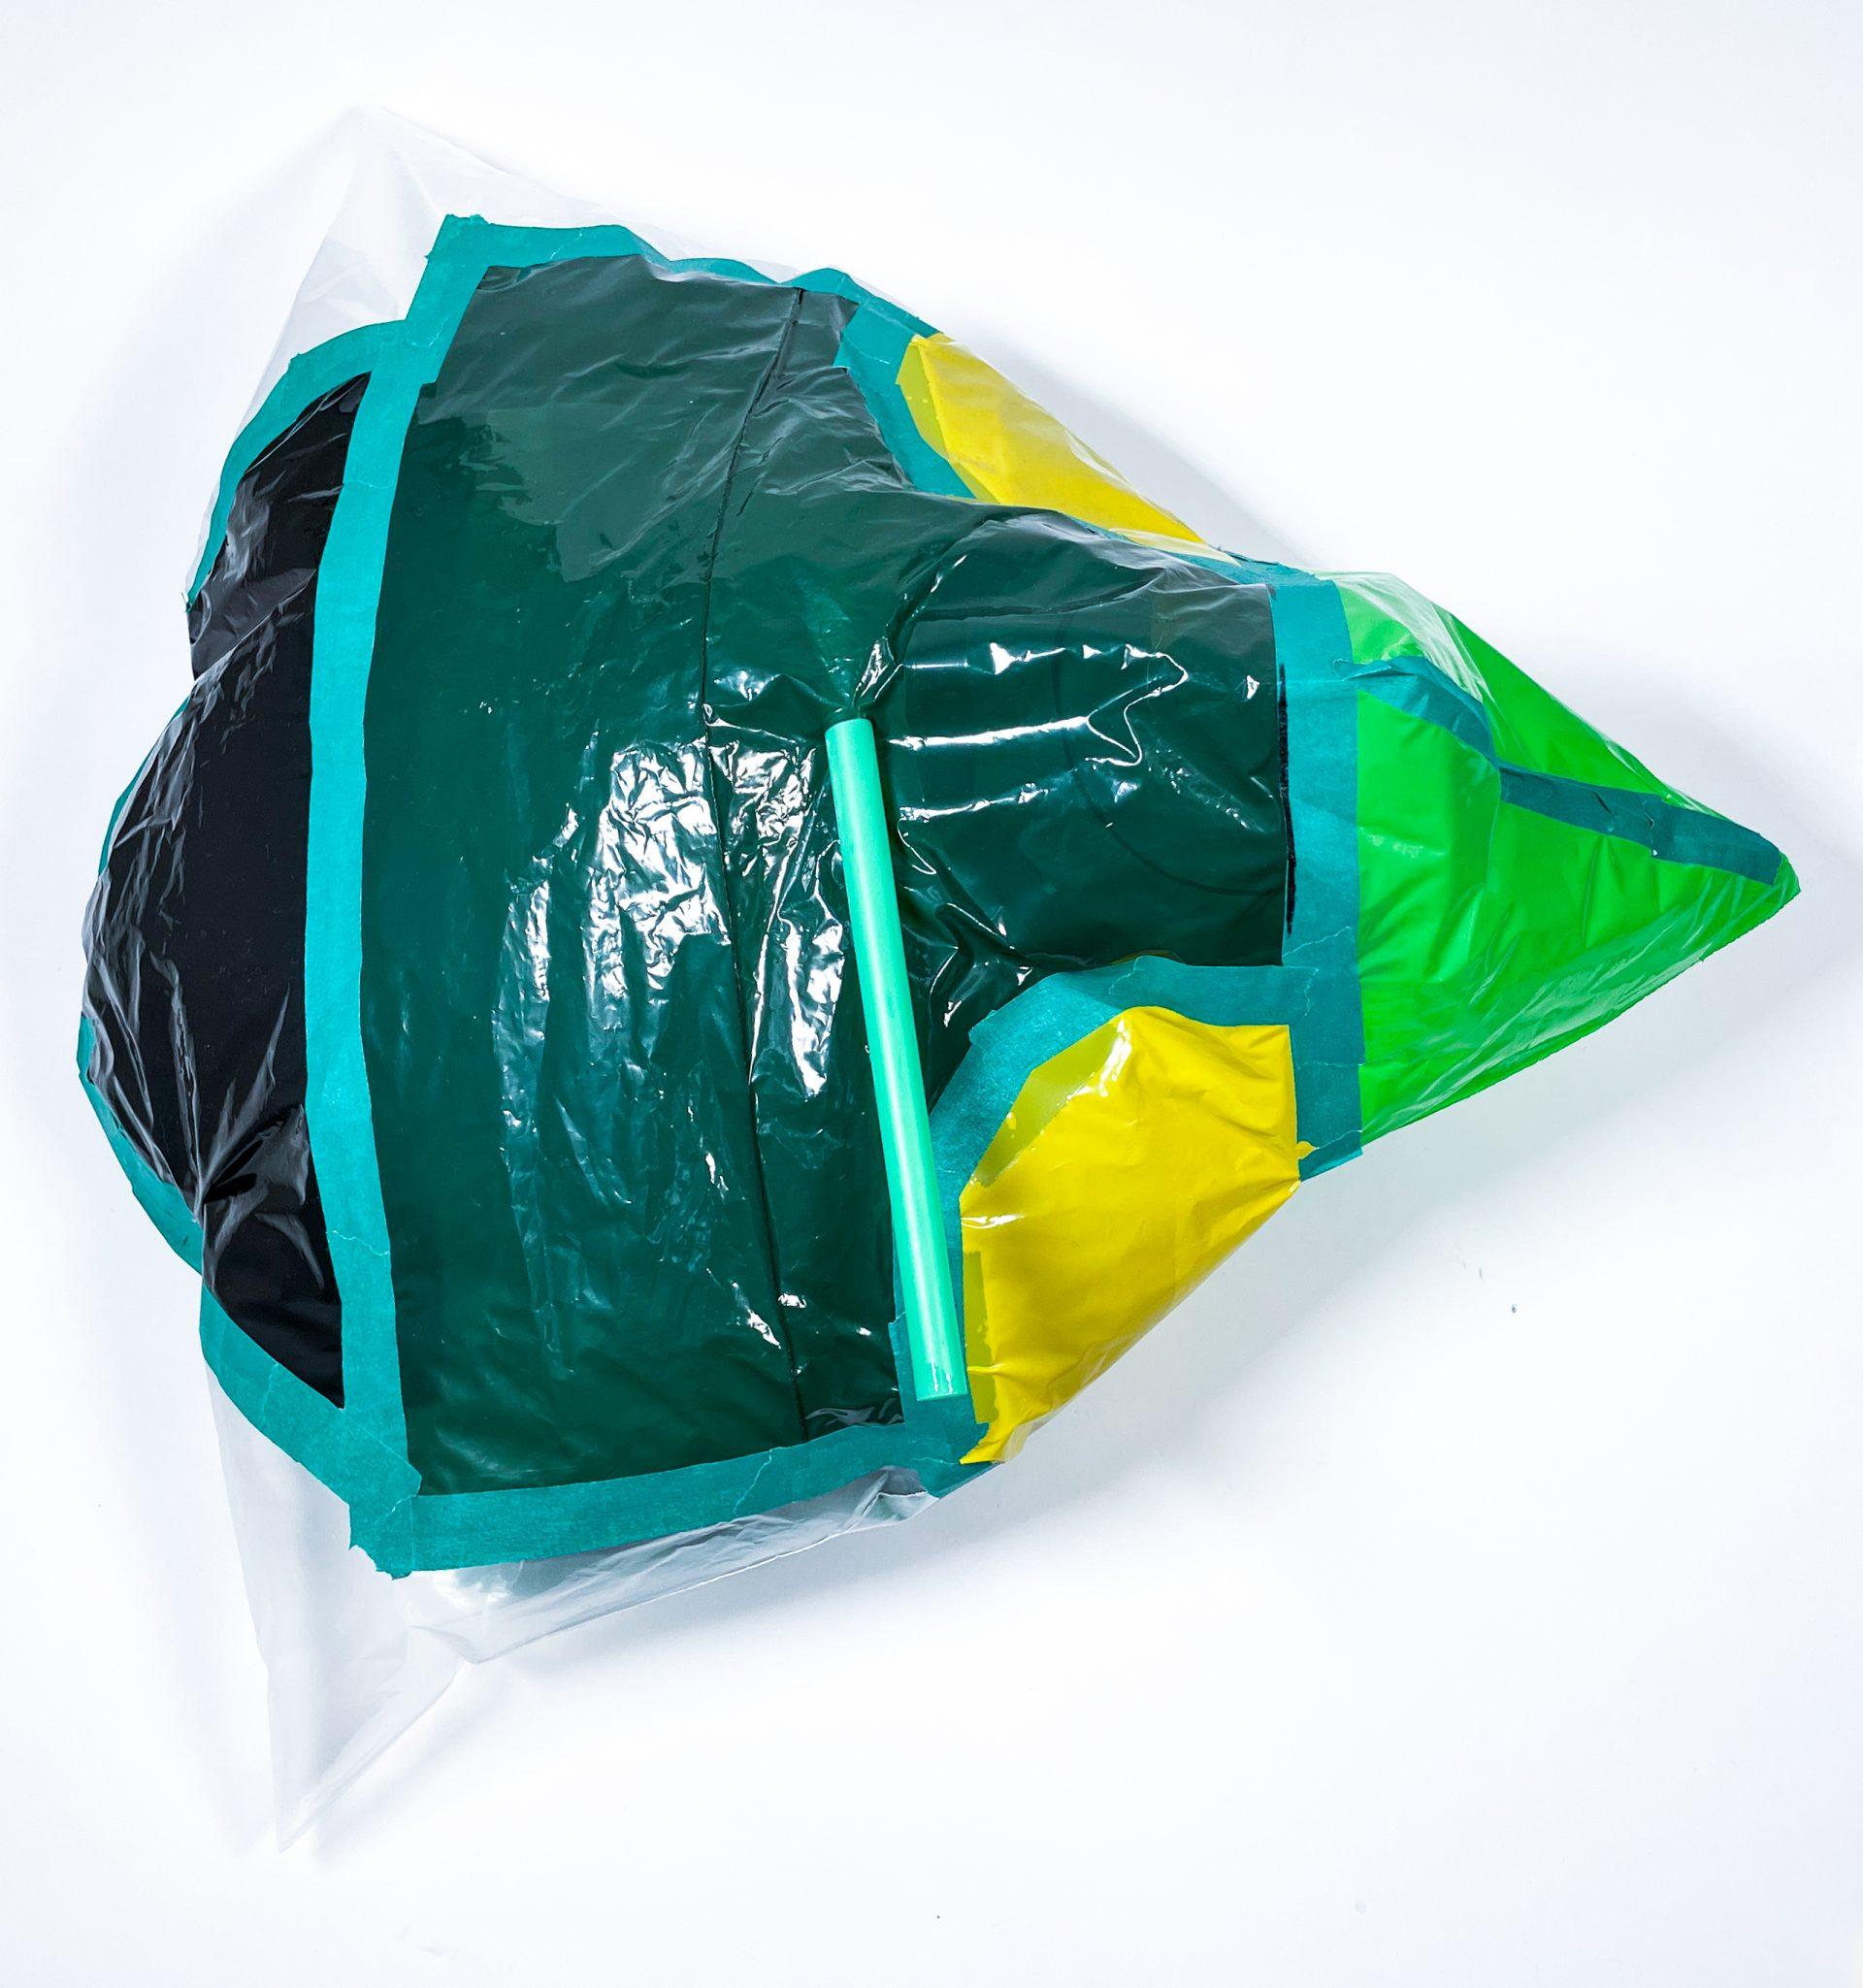
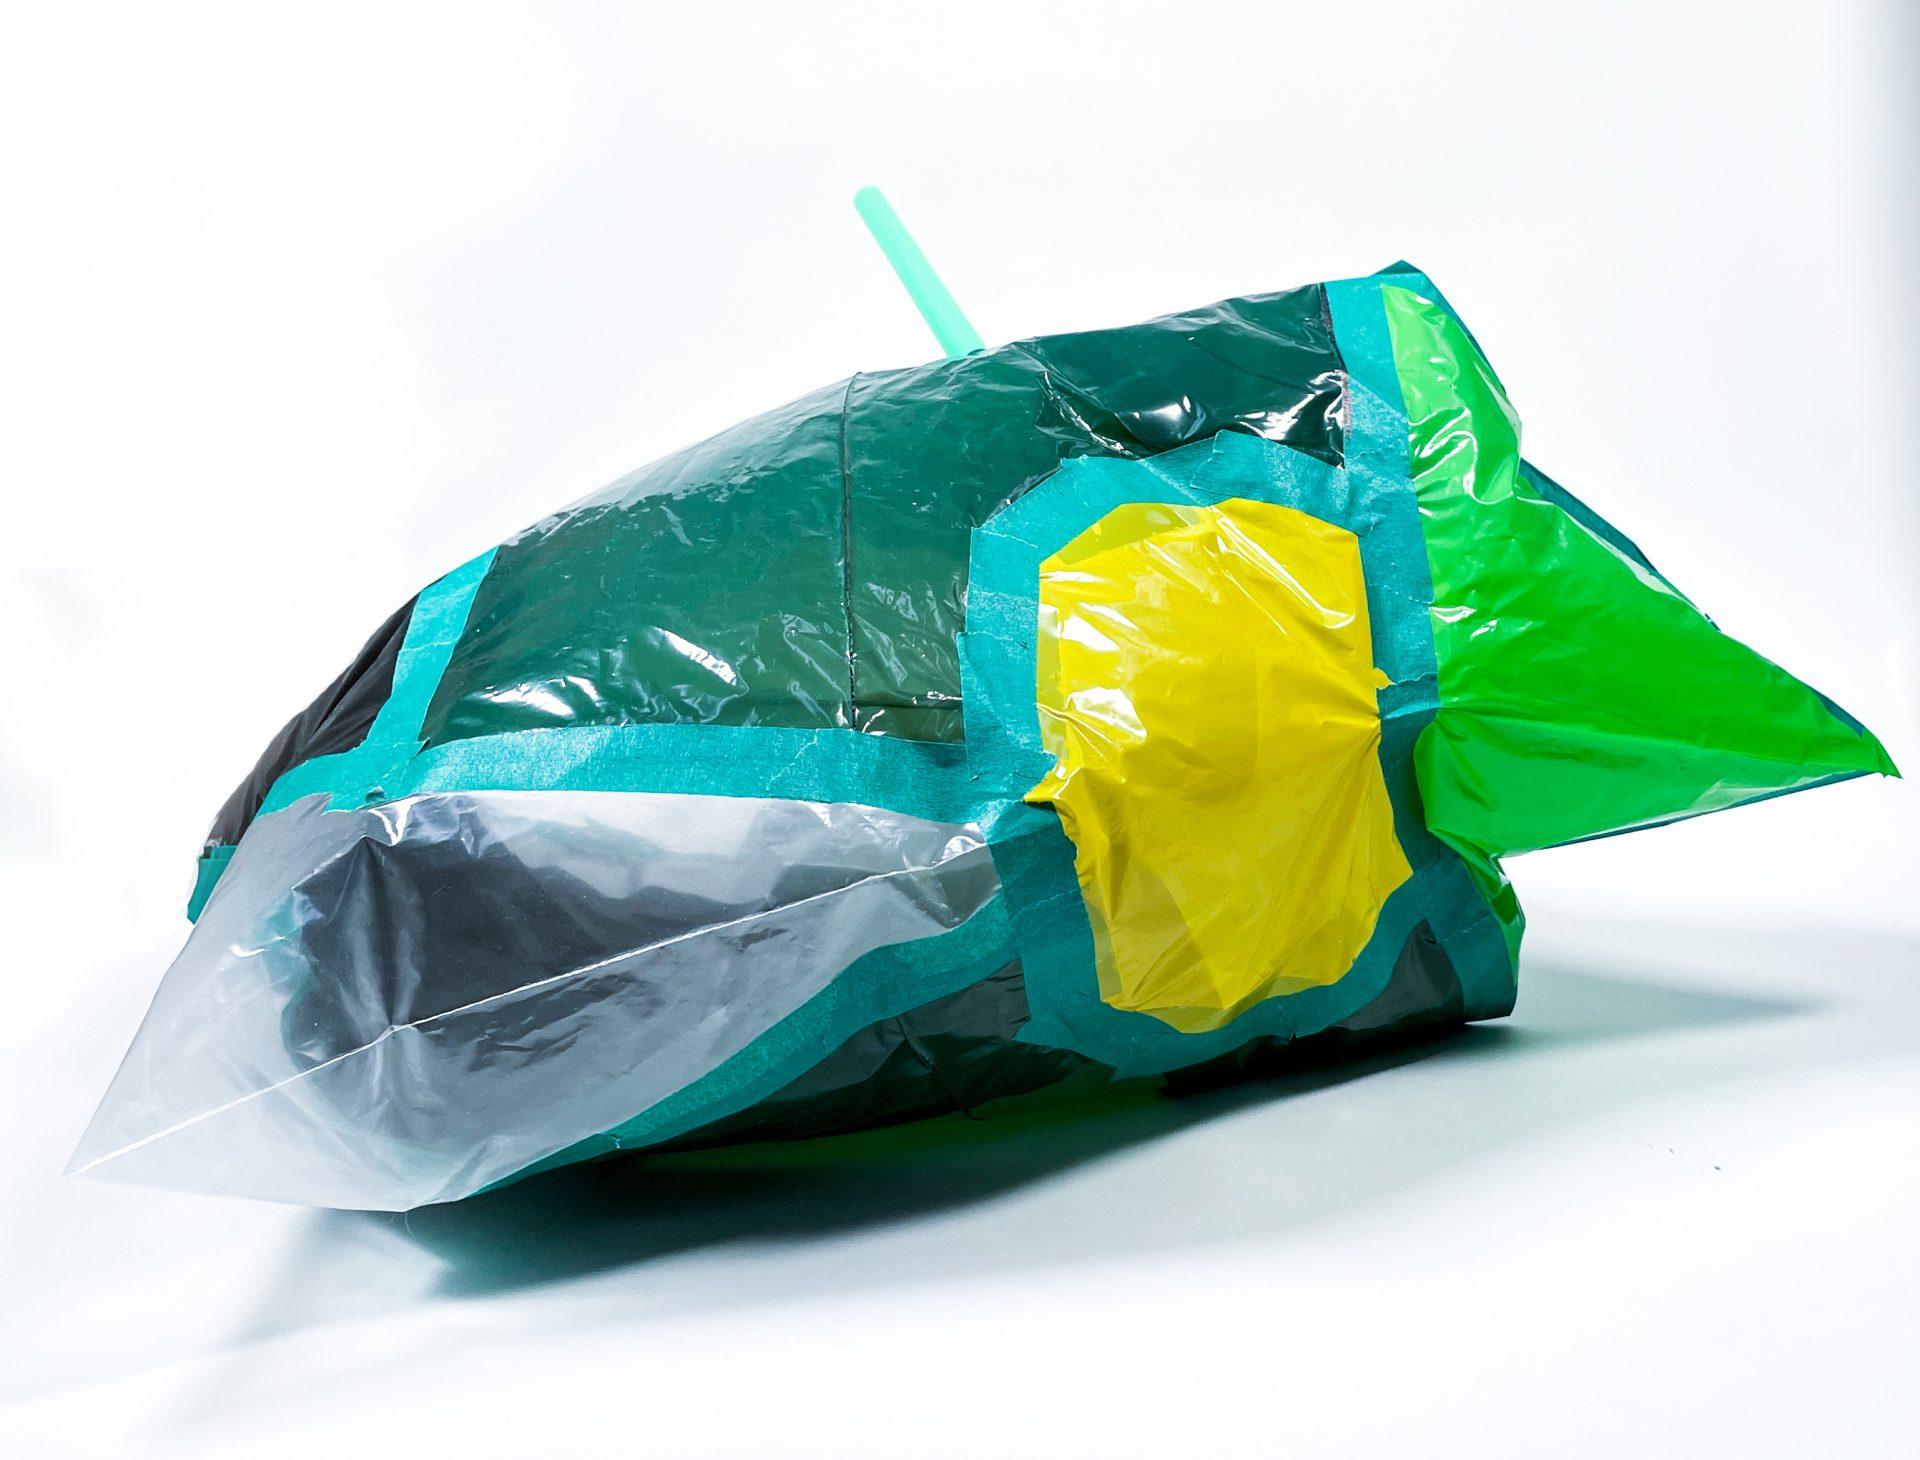
Moving on, I was curious to explore how scale would impact the construction and integrity of the inflatable. Subconciously this became an extension of my explorations in the previous inflatable. My main goal was to create a diverse planar structure, so that the point at the front would fade out into the flat portion at the back.
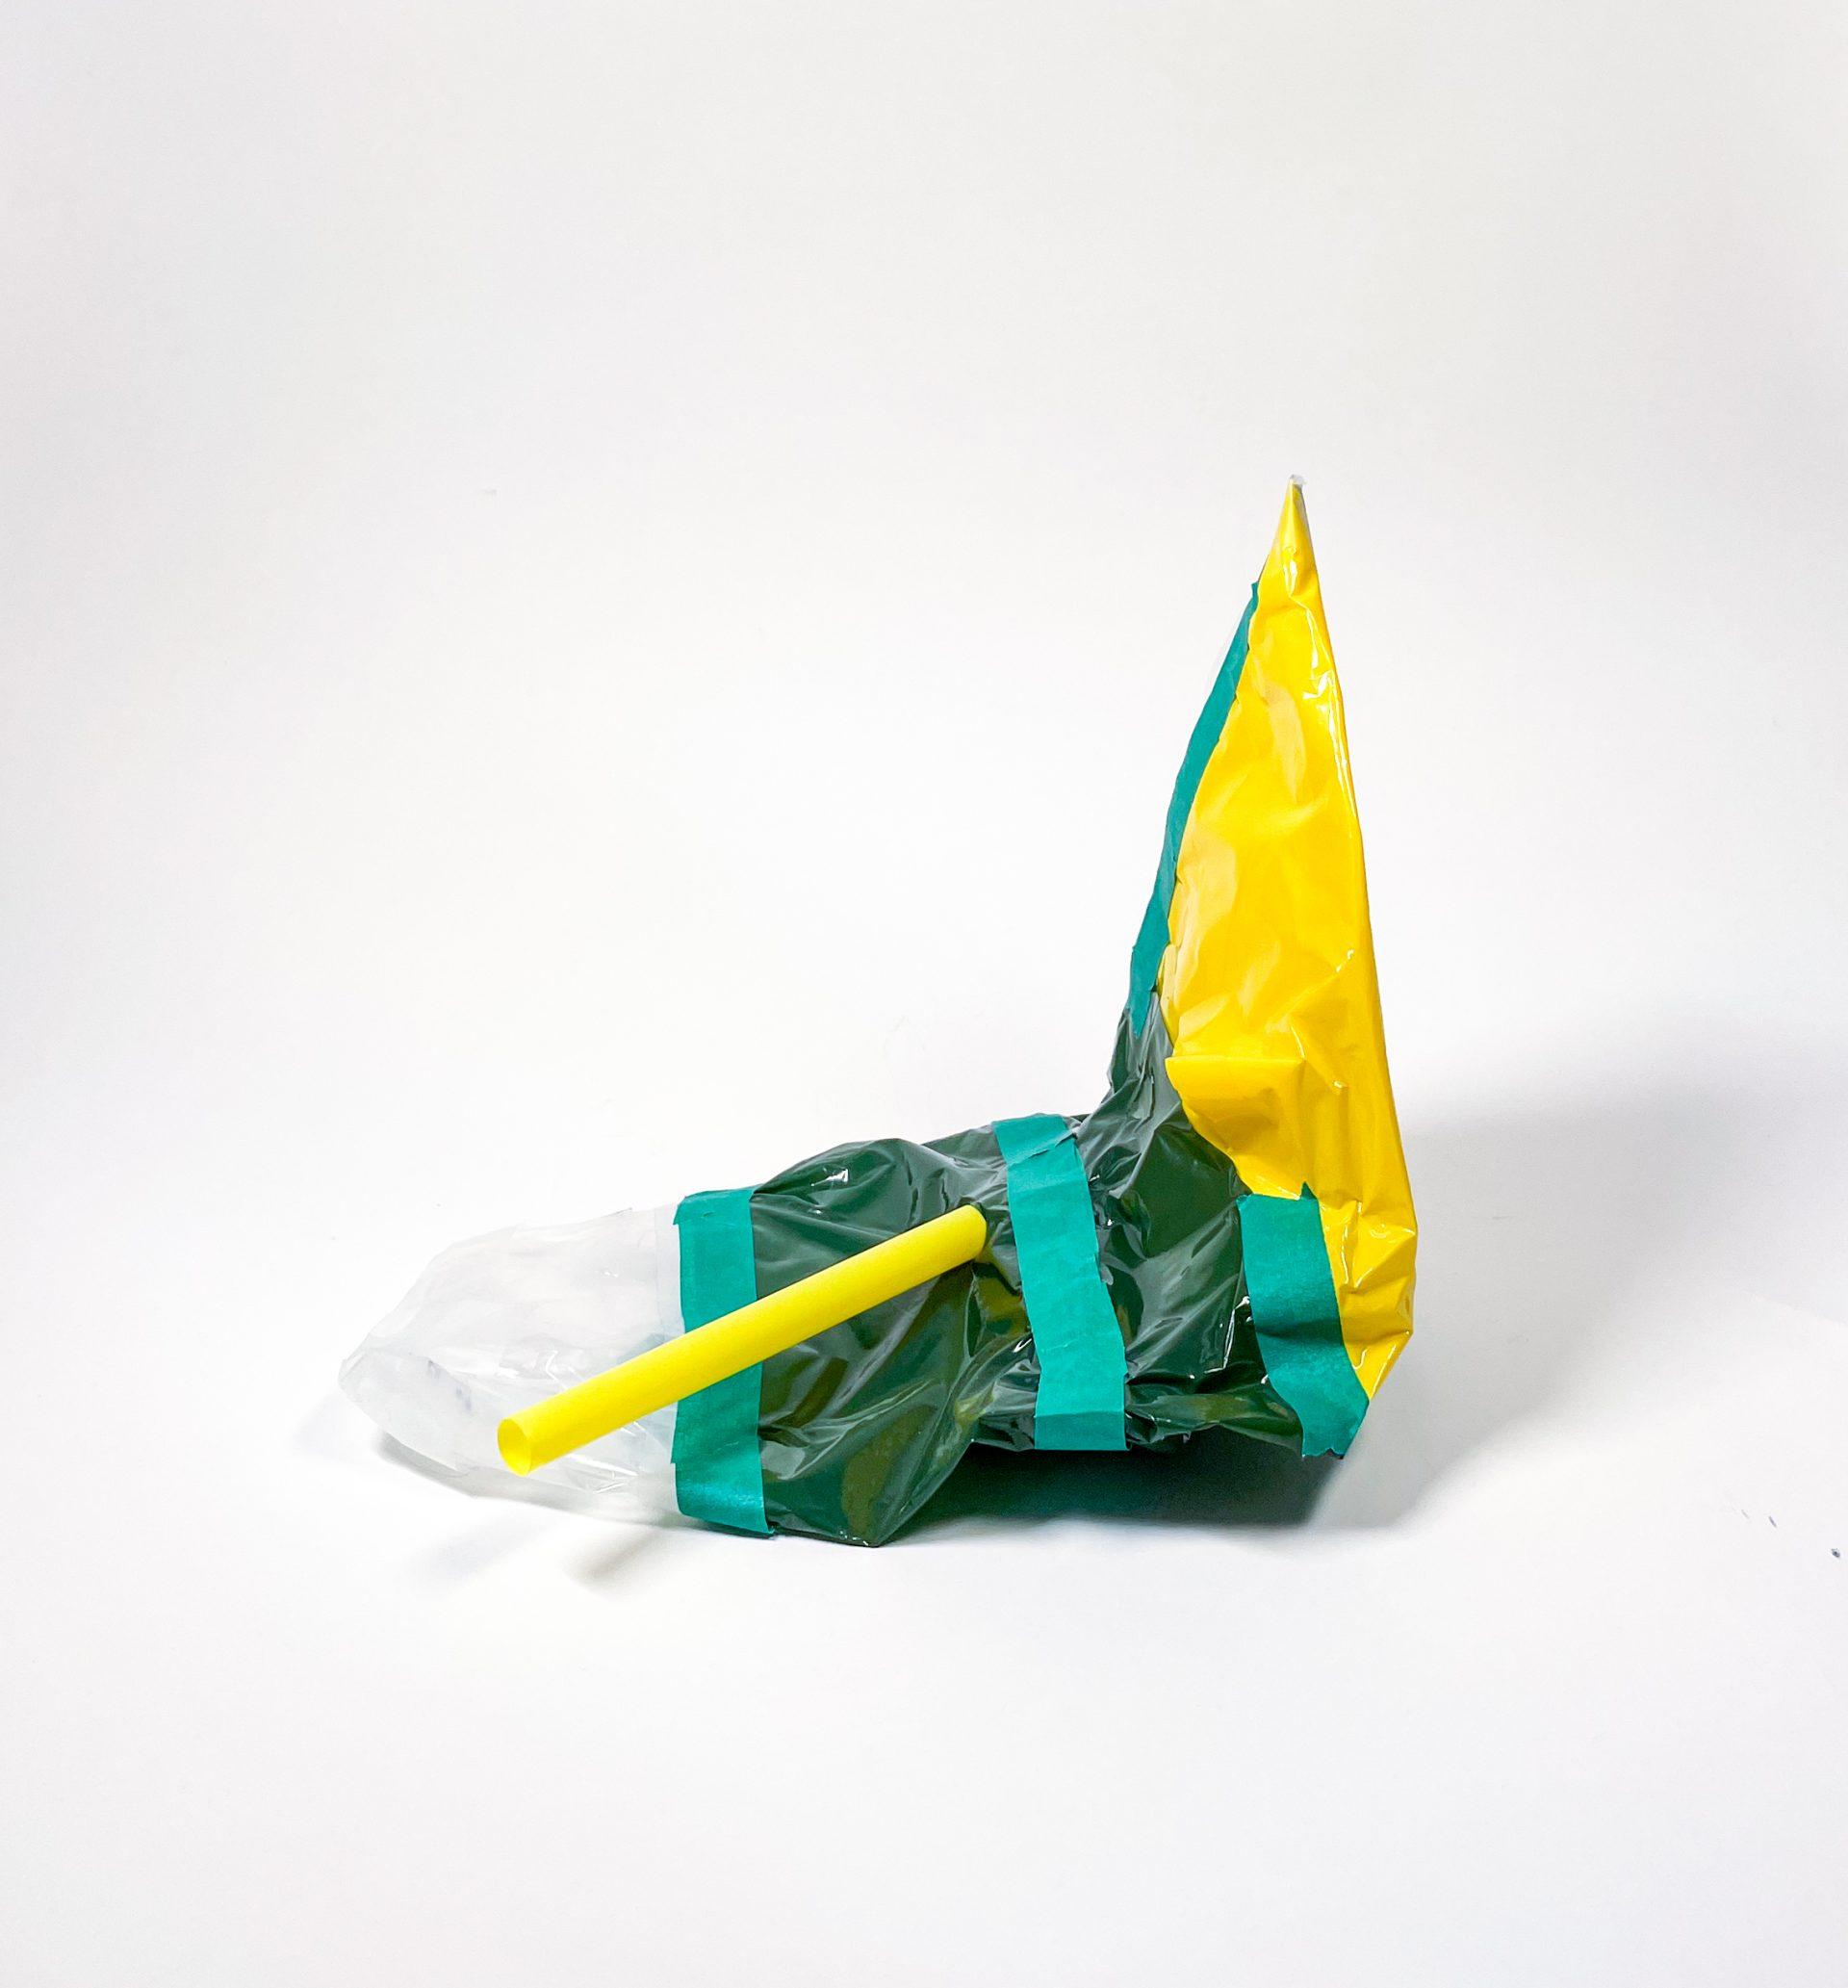
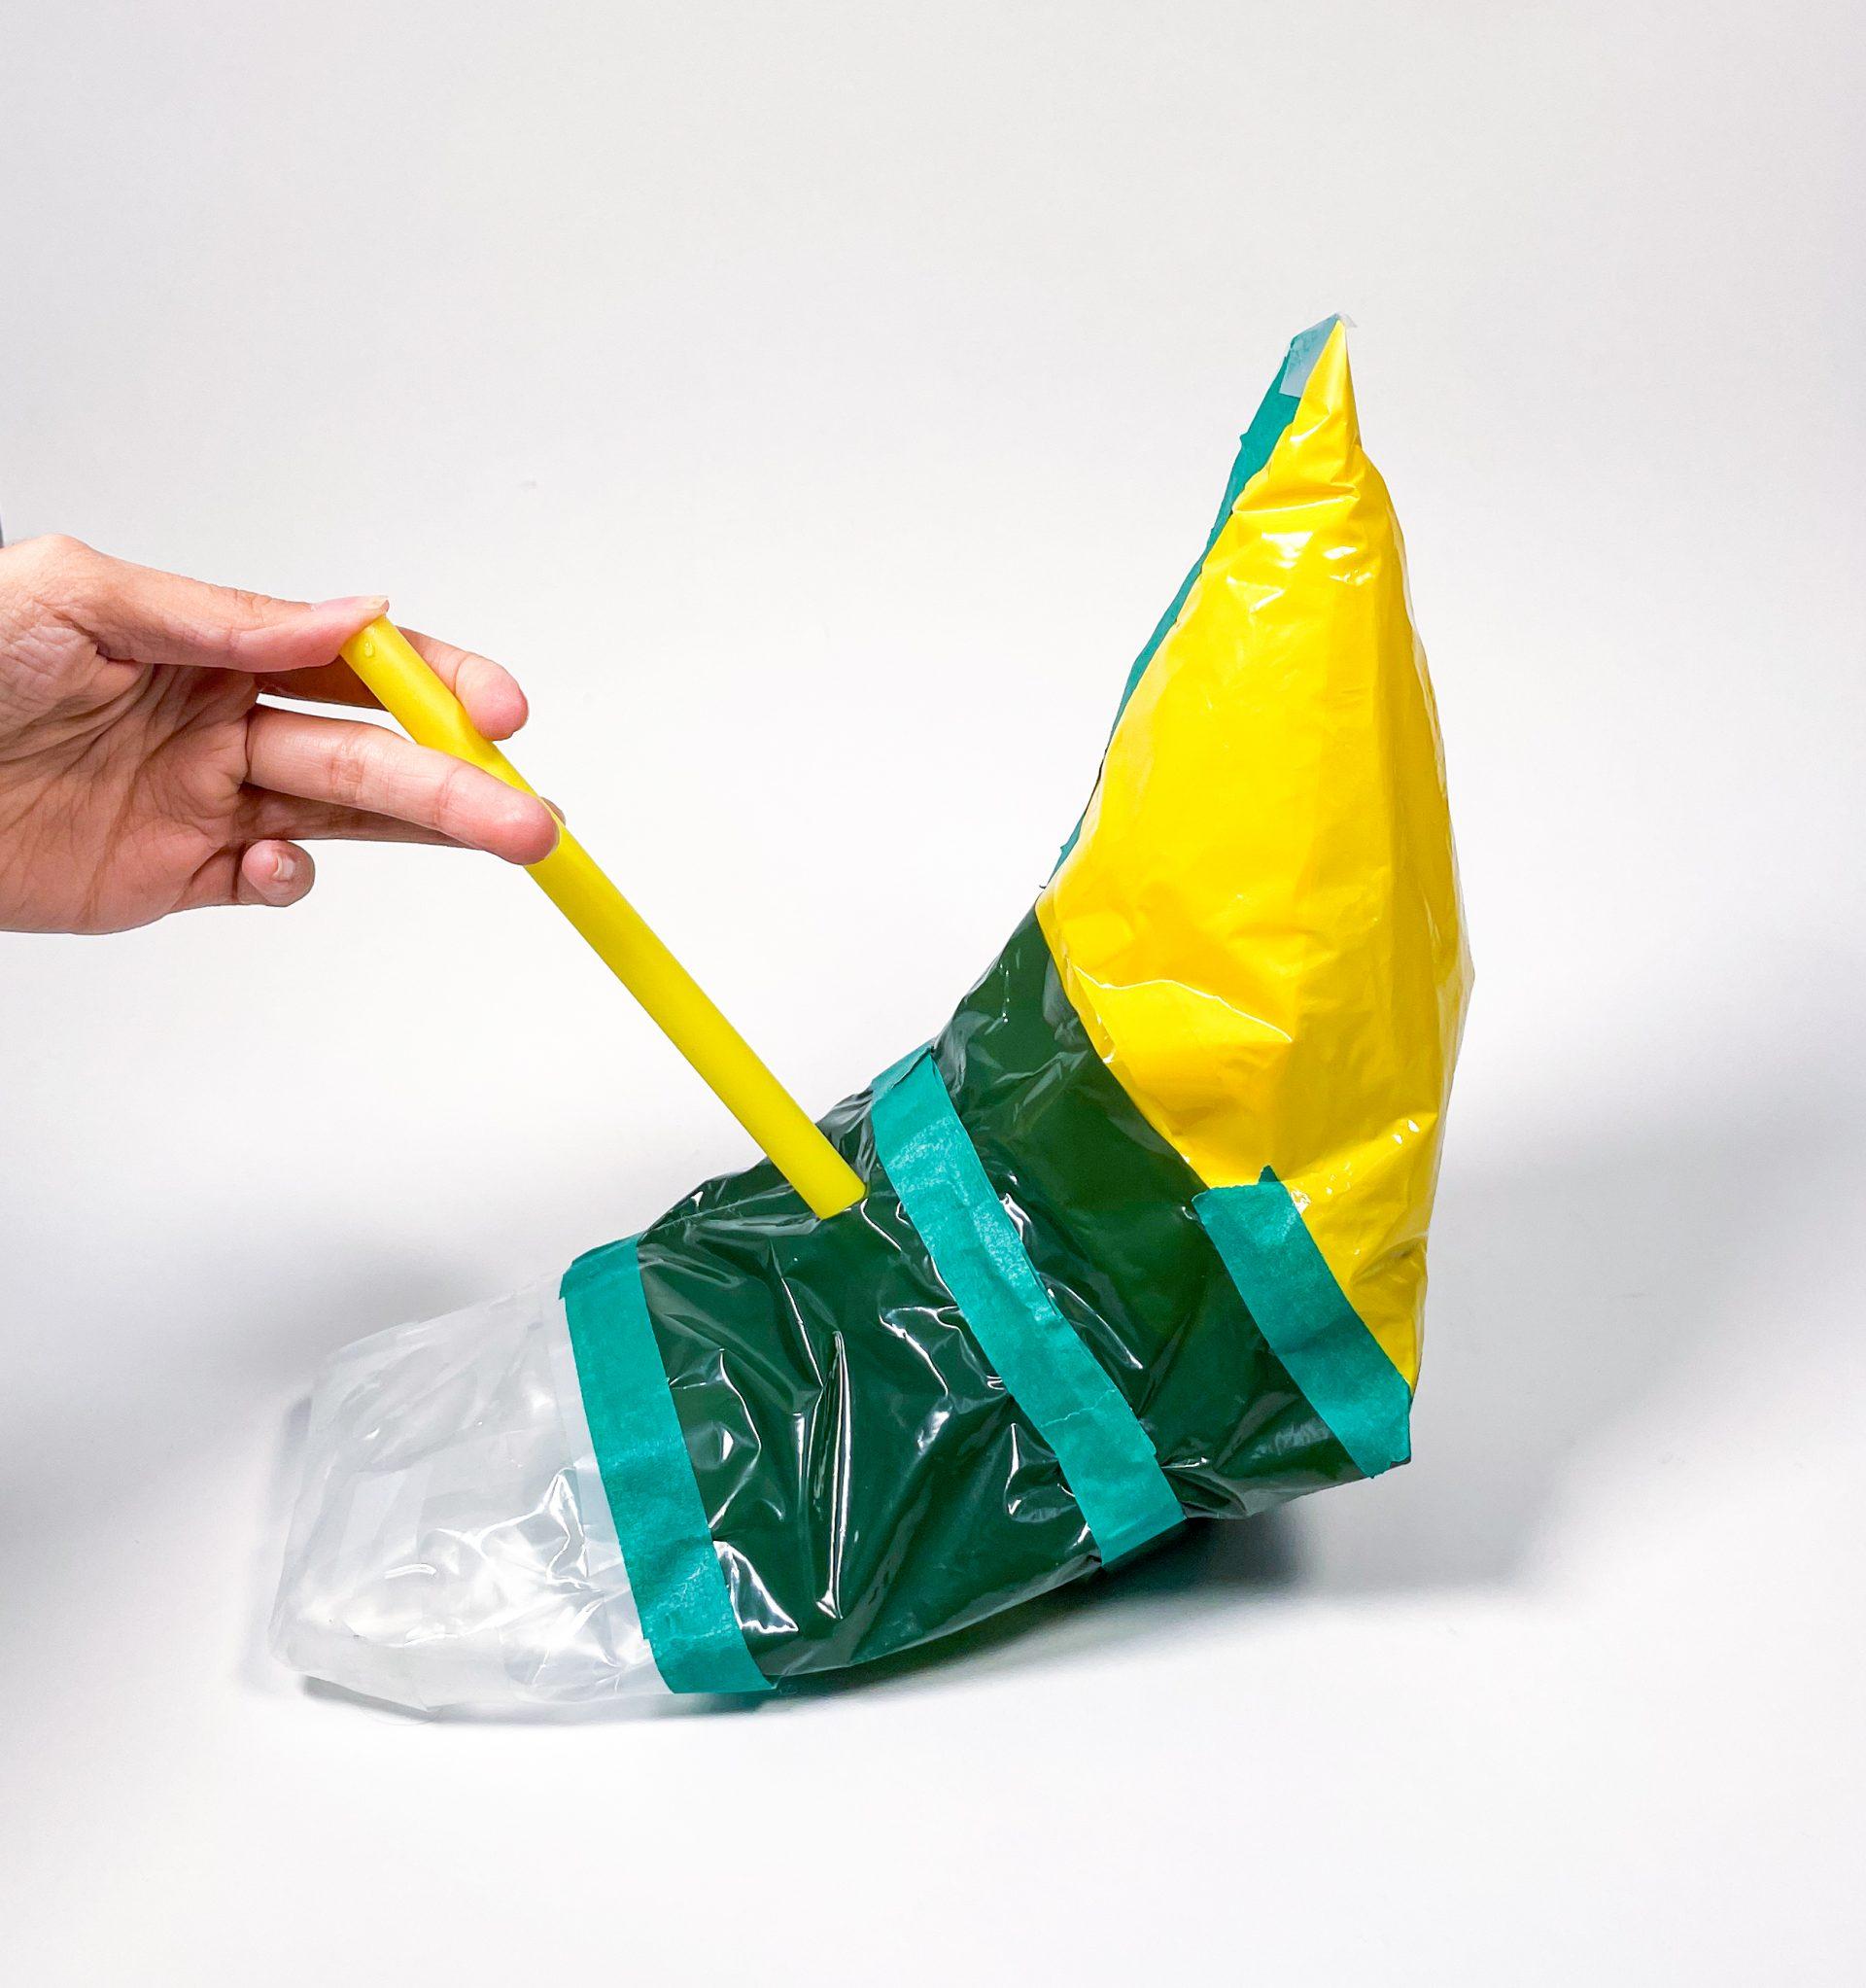
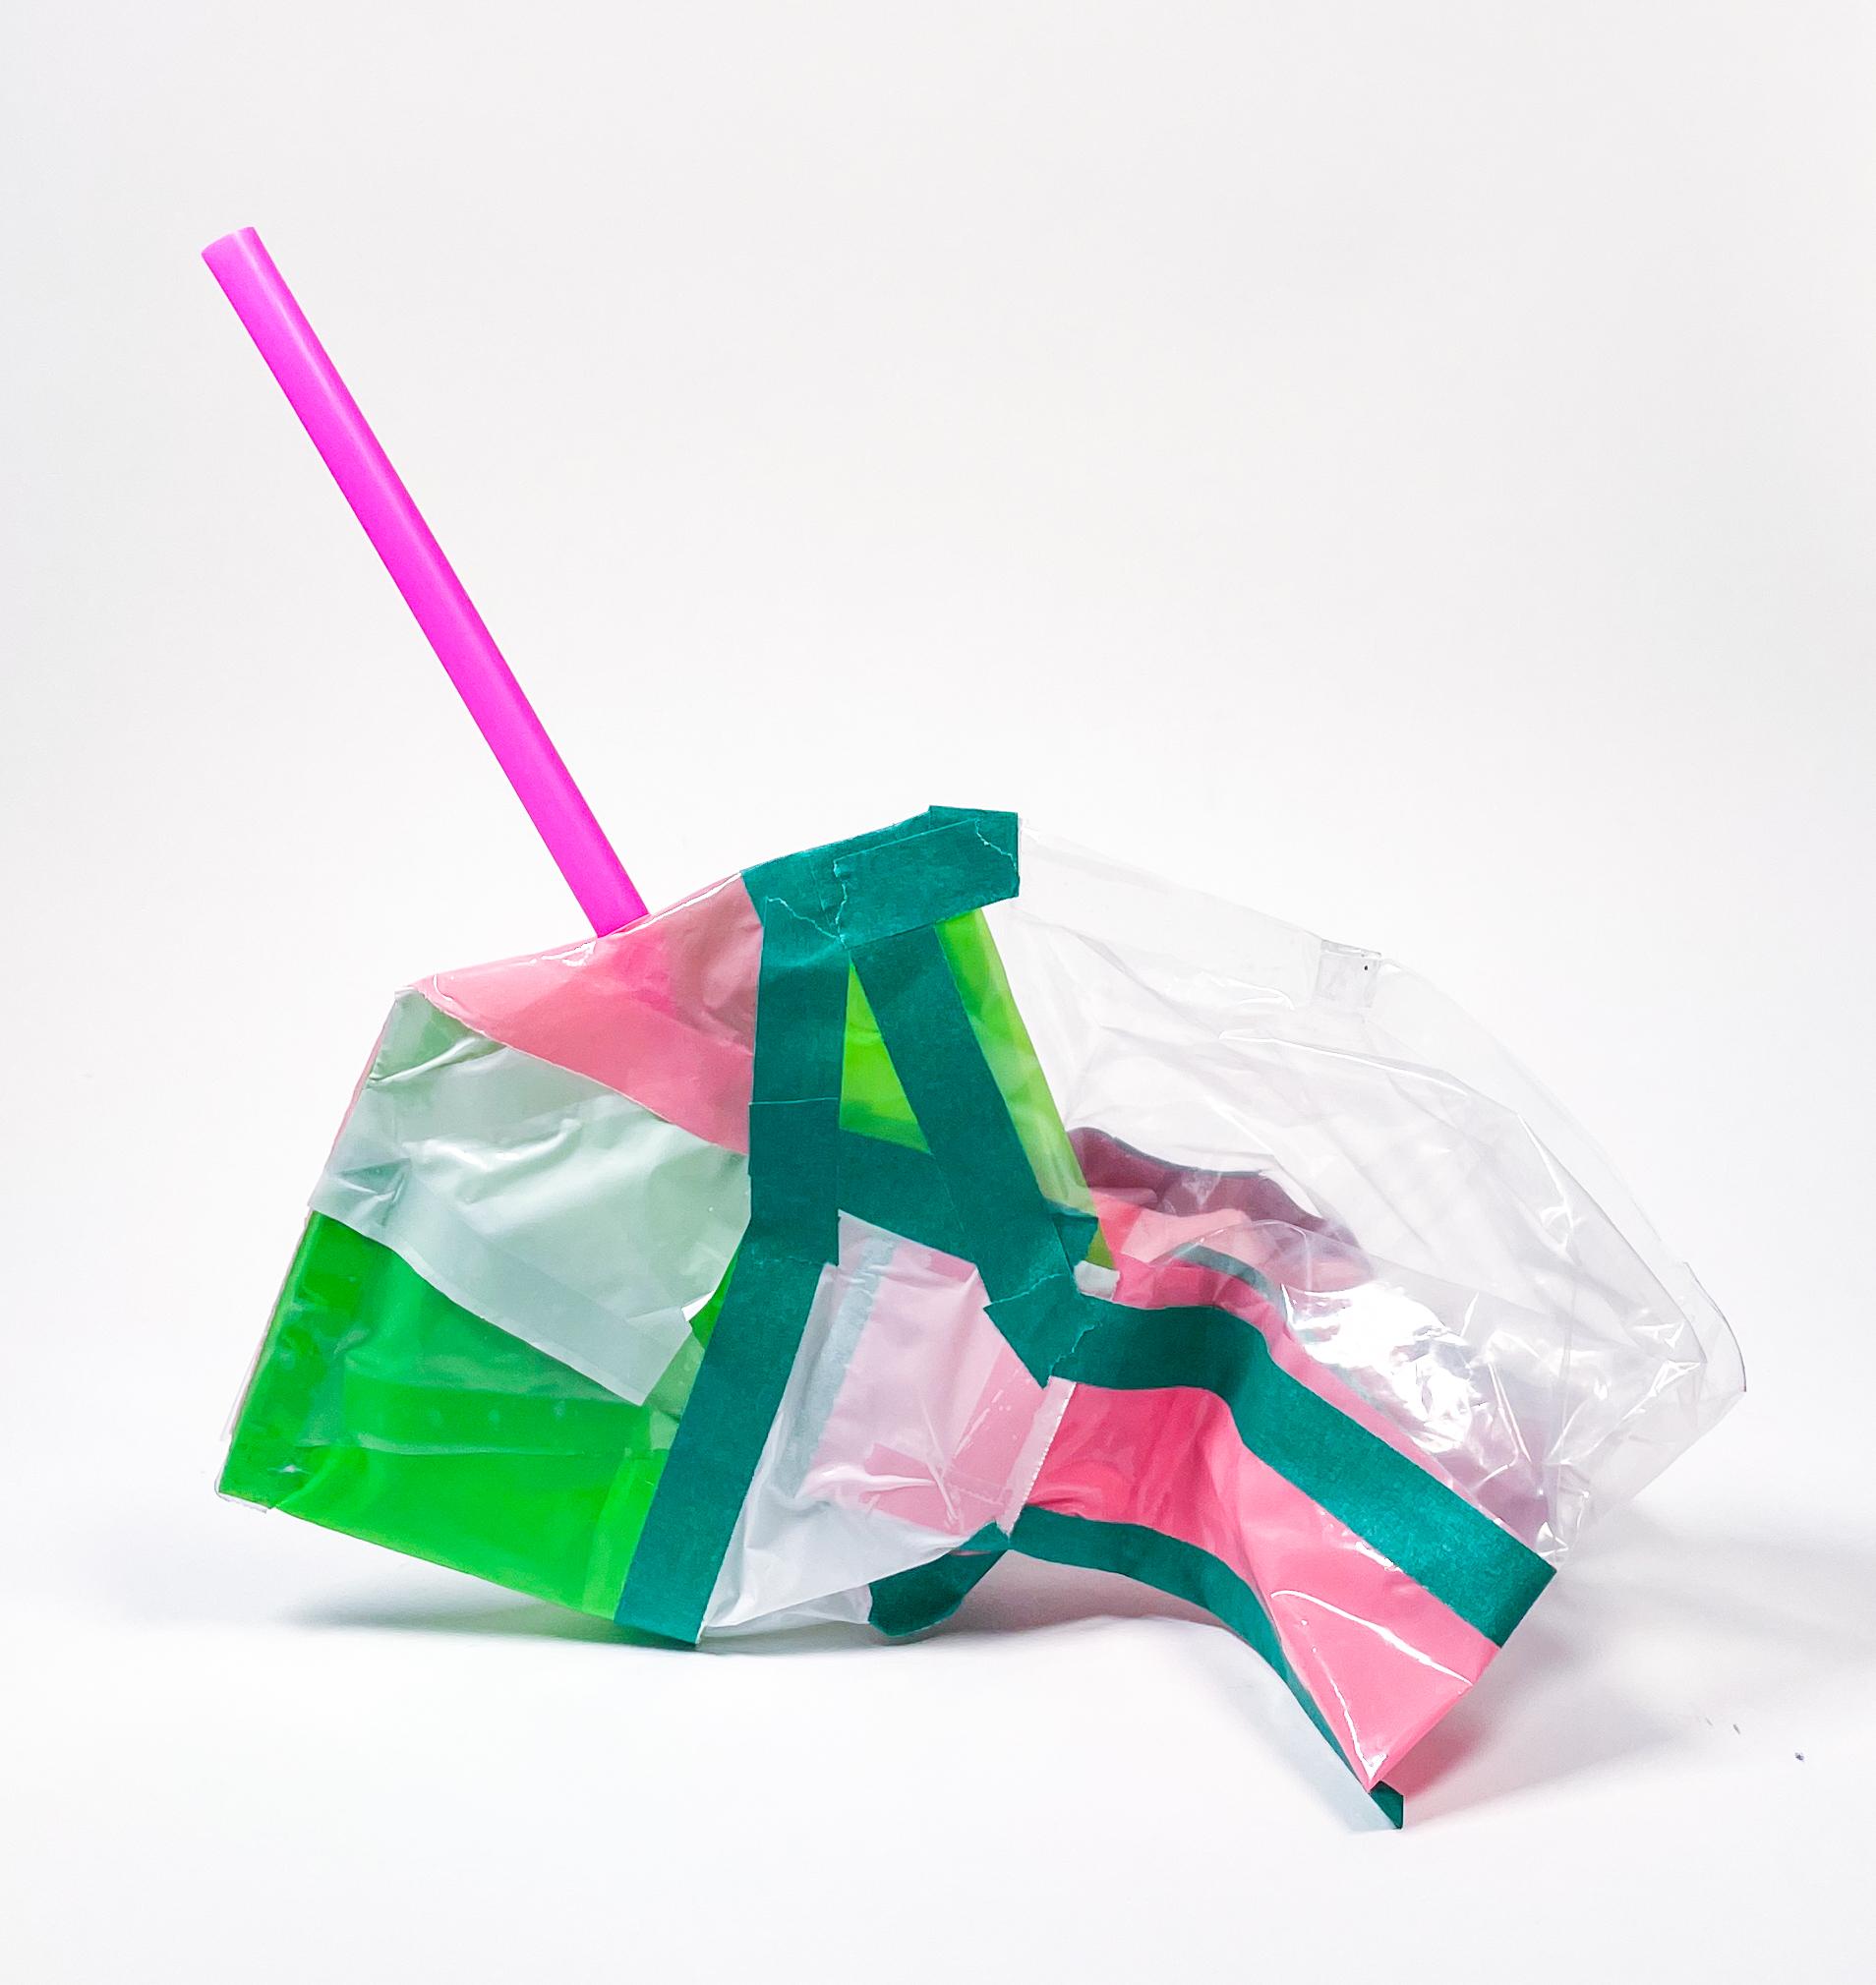
For the final inflatable, I noticed that my previous explorations had been relatively flat on the ground. My goal was to create a boomerang or banana shape that could hold itself in a V shape. I also played with asymmetry a bit more, and questioned how that would affect the perception of the object.
This intro to inflatables has given me the confidence and knowledge to attempt whackier forms at a larger scale, and I am eager to keep learning.
Inflatable 1
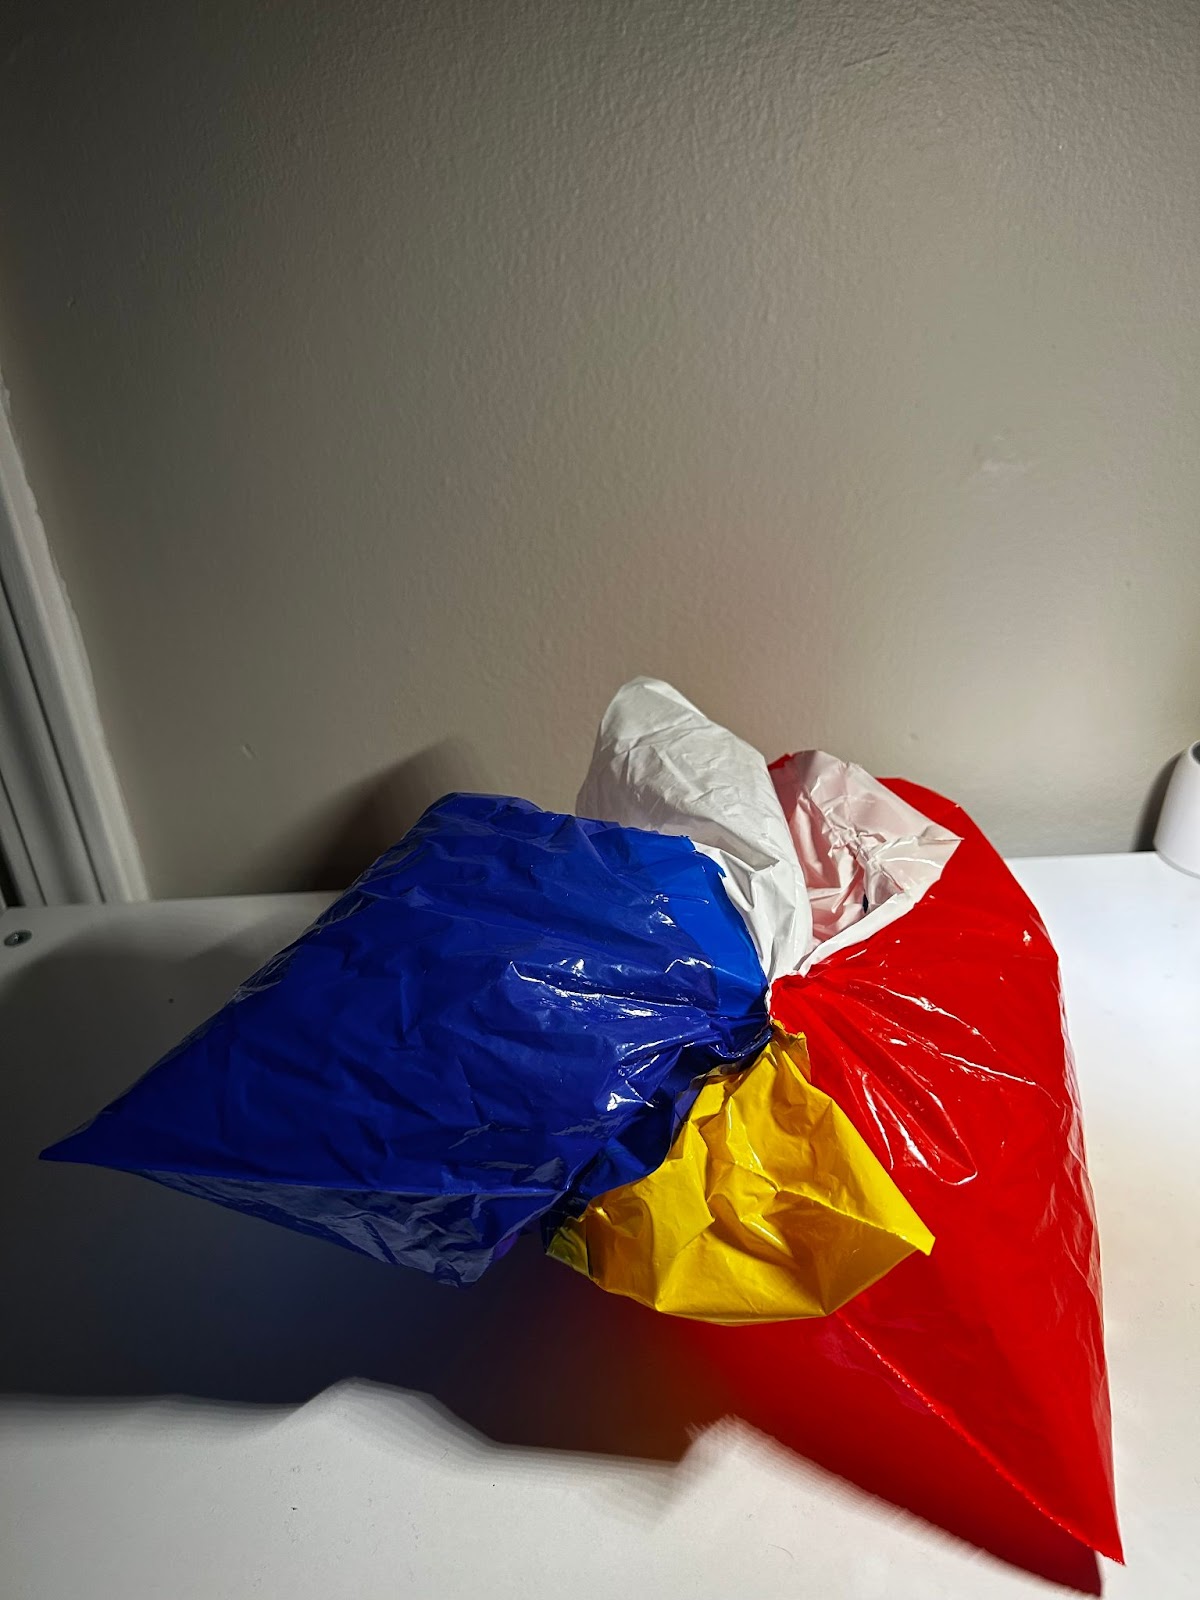
I approached my first inflatable with a general idea or concept. Initially, I wanted to create an object composed of multiple corners of plastic bags in order to create a “spiky” effect. However, I quickly realized how hard it was to tape several corners together at one point. In order to maintain my initial idea, I decided to heat seal several of the corners together to allow for more air to stay within the object itself. This led to some pieces of plastic being sealed entirely and sort of having a dangling effect on the inflatable. Although this wasn’t in my original plan, these strips gave a little more life to the inflatable and complemented the spikes that ended up inflating.
Inflatable 2
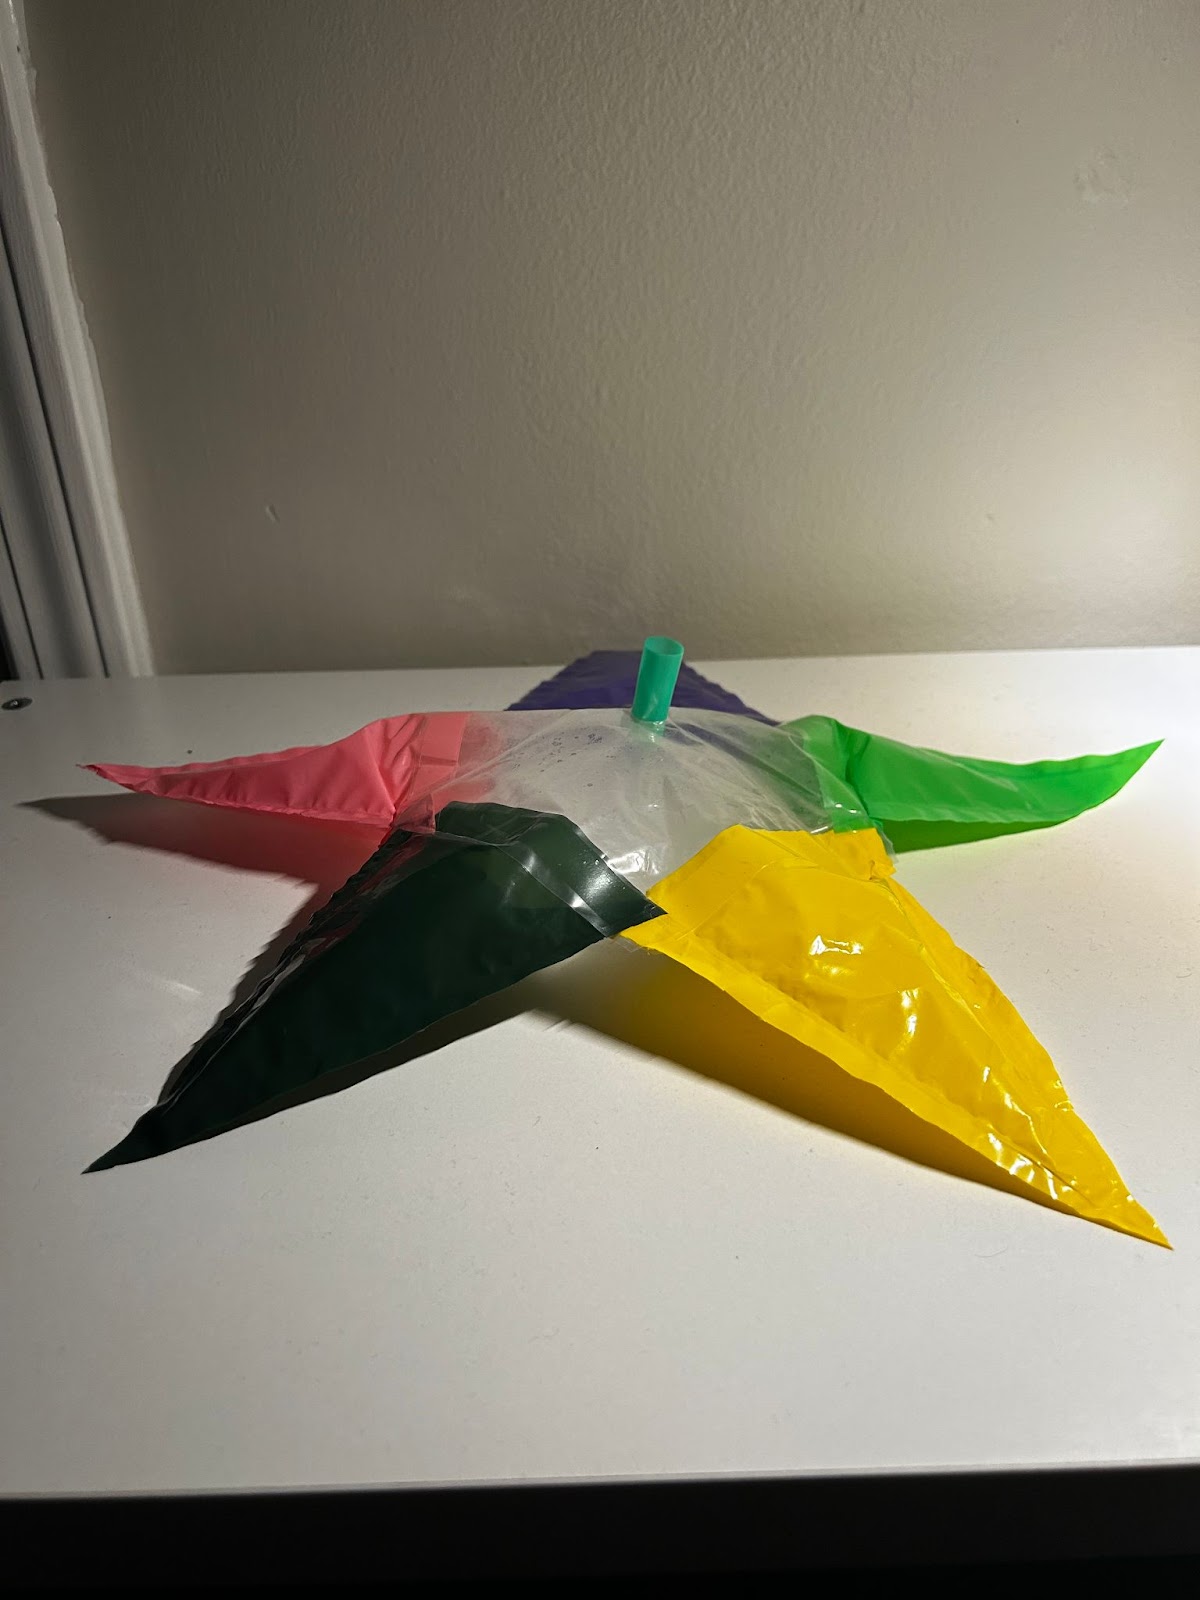
In order to explore some more geometrically oriented objects, I decided my next inflatable would have the shape of a star. In order to add complexity I broke the star into two shapes. The center – which is composed of a pentagon, and all the corners which were made using the corners of the plastic bags. The center of the star was made transparent on purpose to allow people to view inside the star and compare the inflated versus the not inflated object. It also added a perspective aspect – since spectators could directly observe the person manually inflating the star through the transparent portion.
Inflatable 3
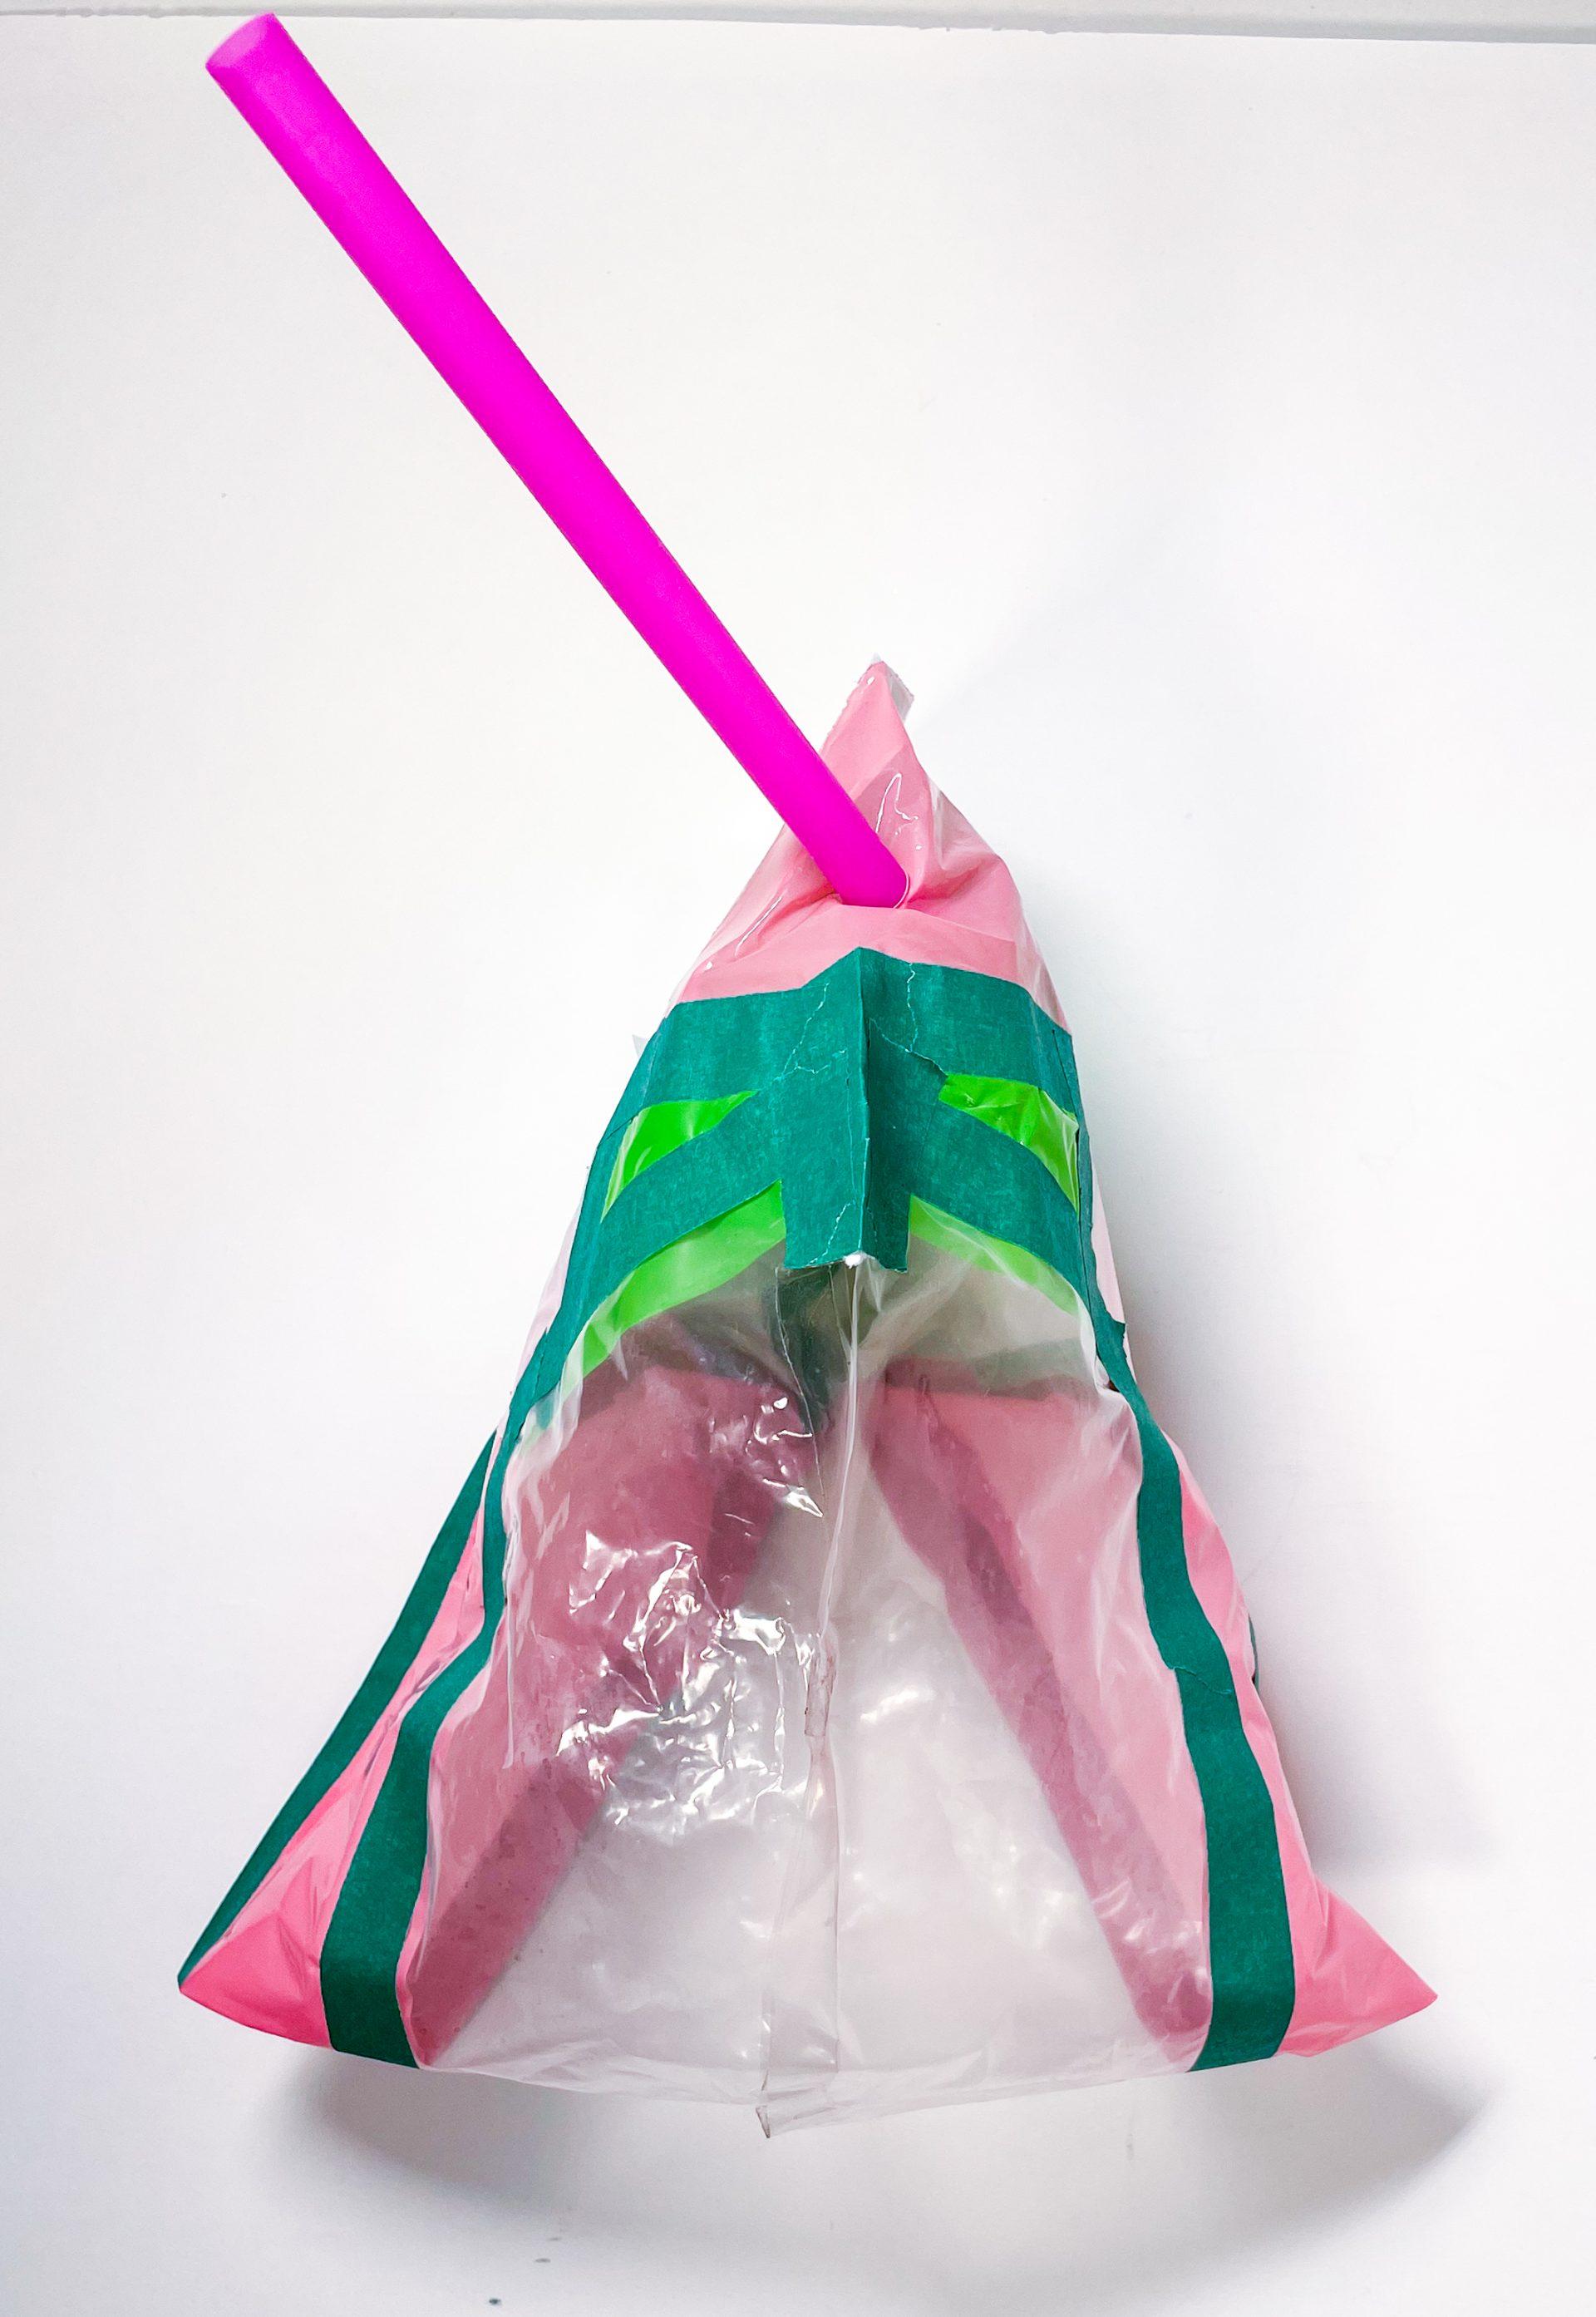
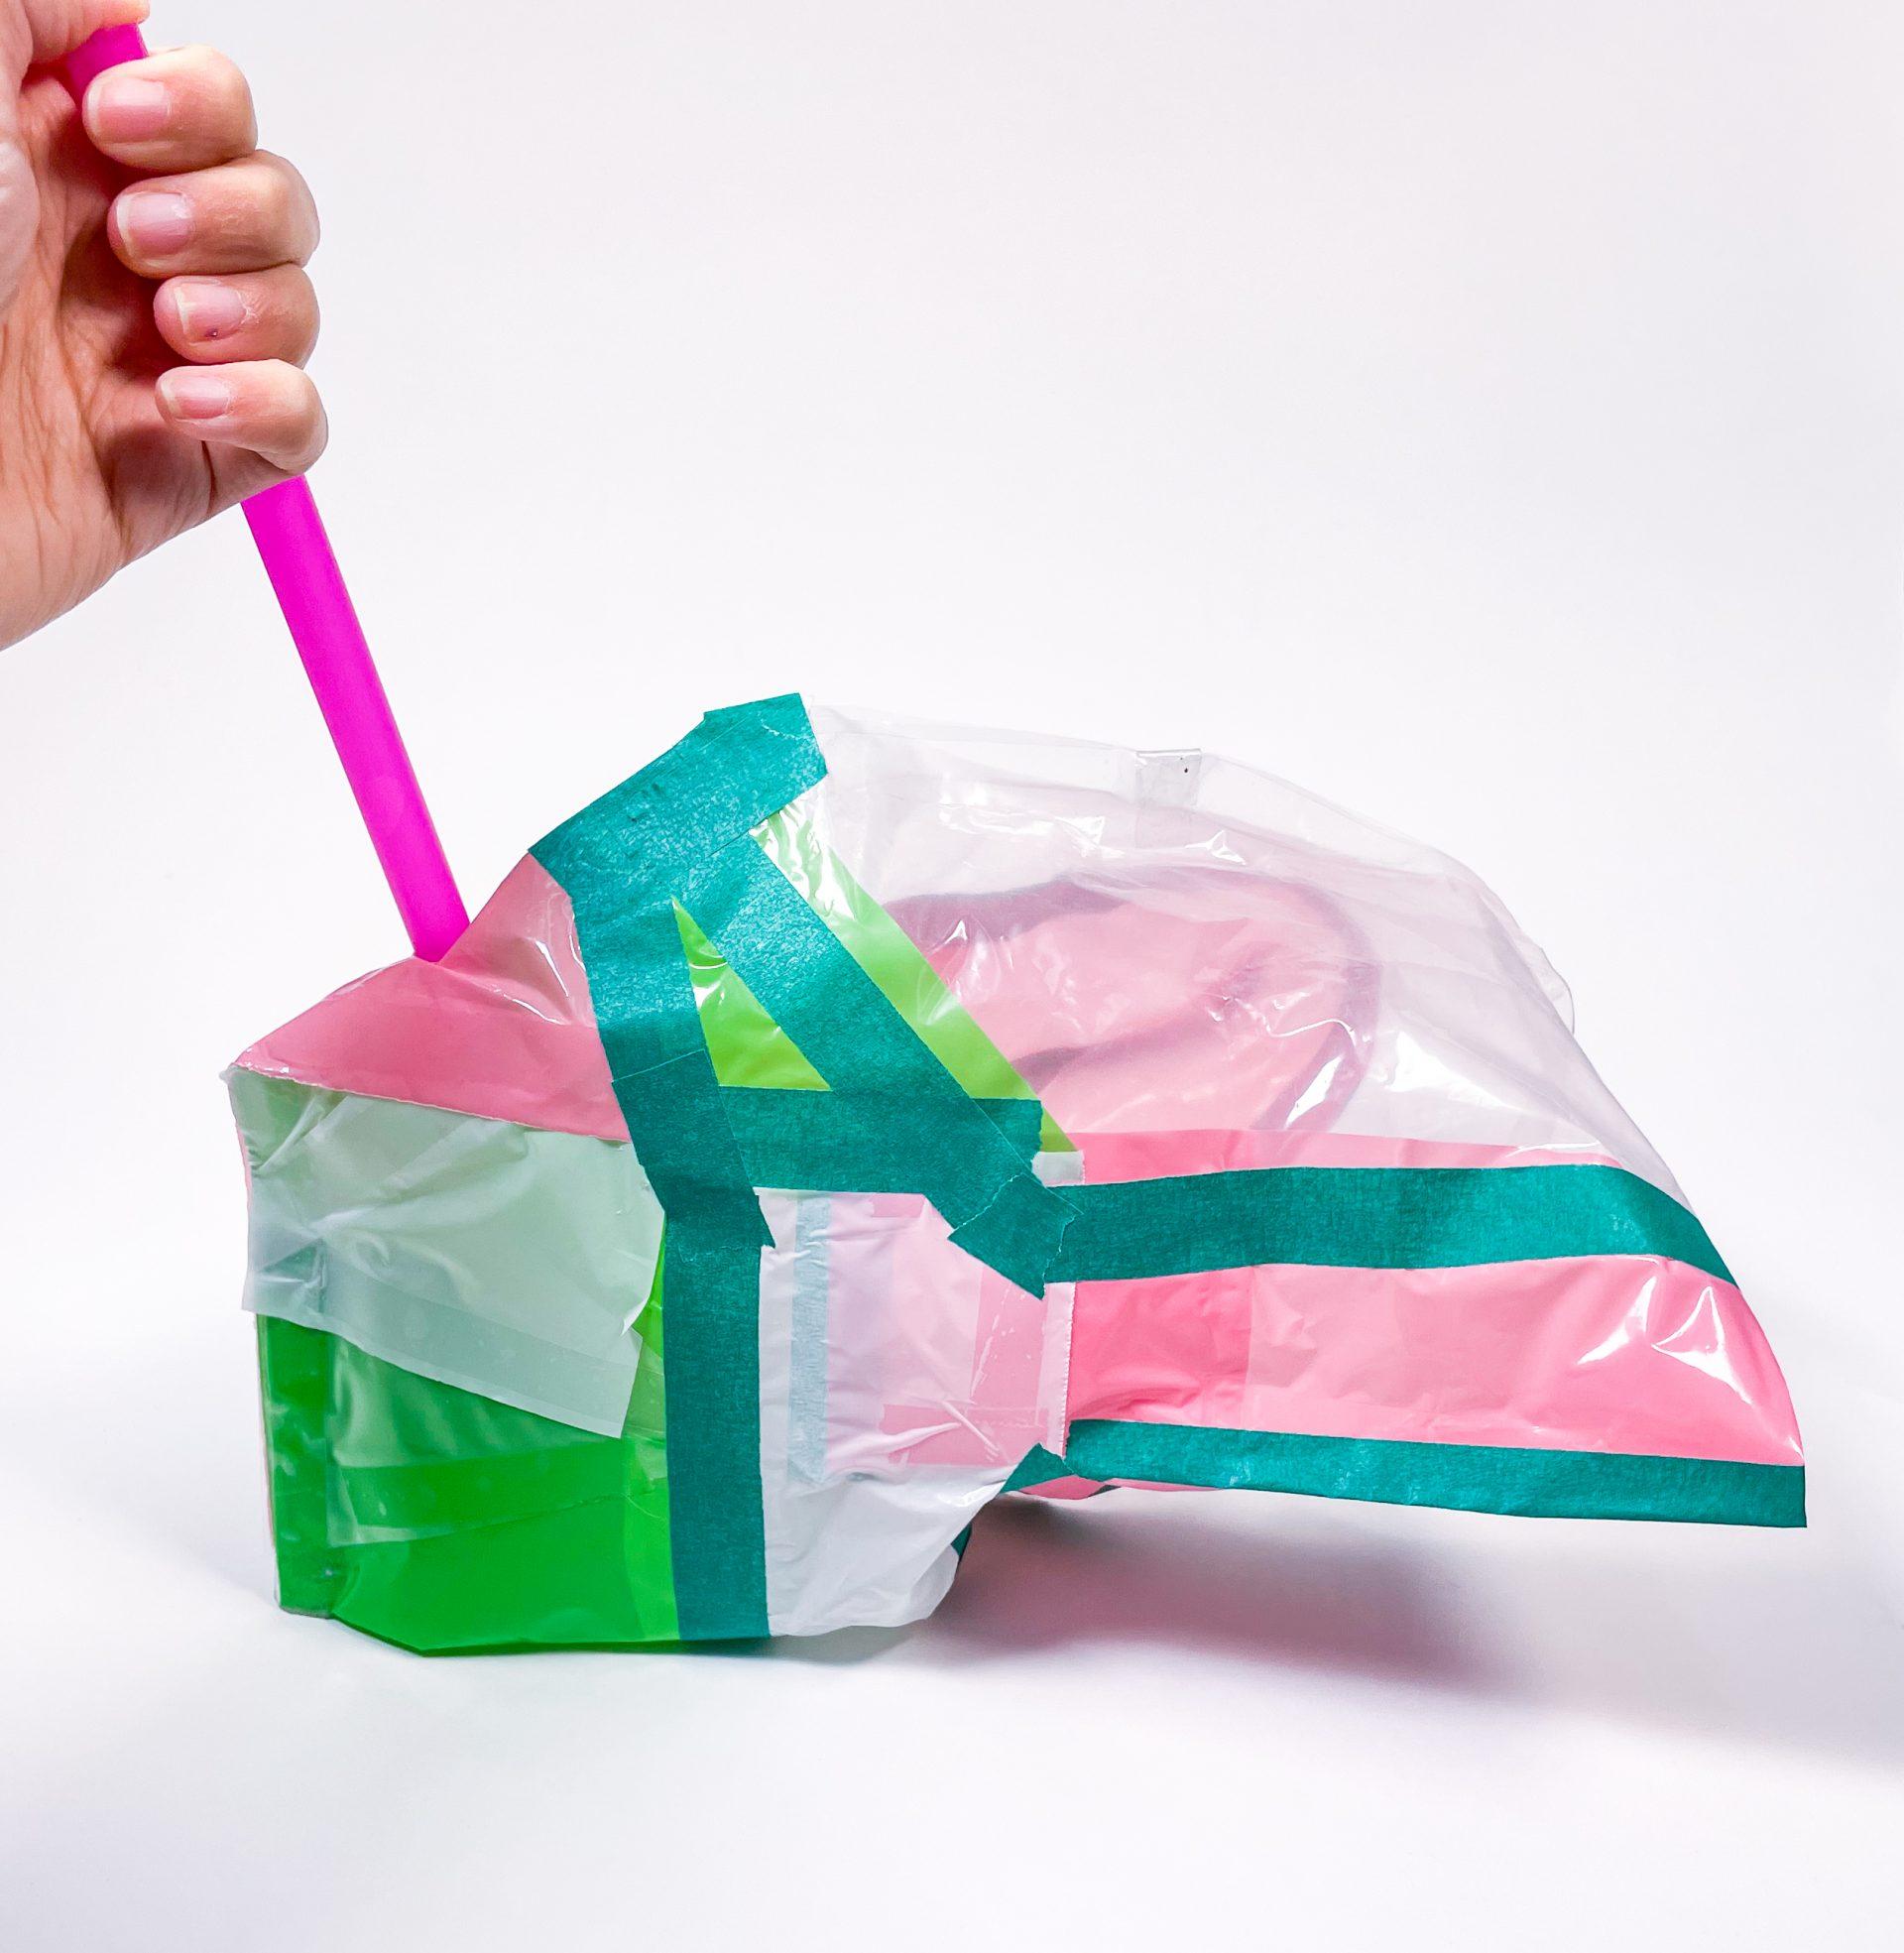
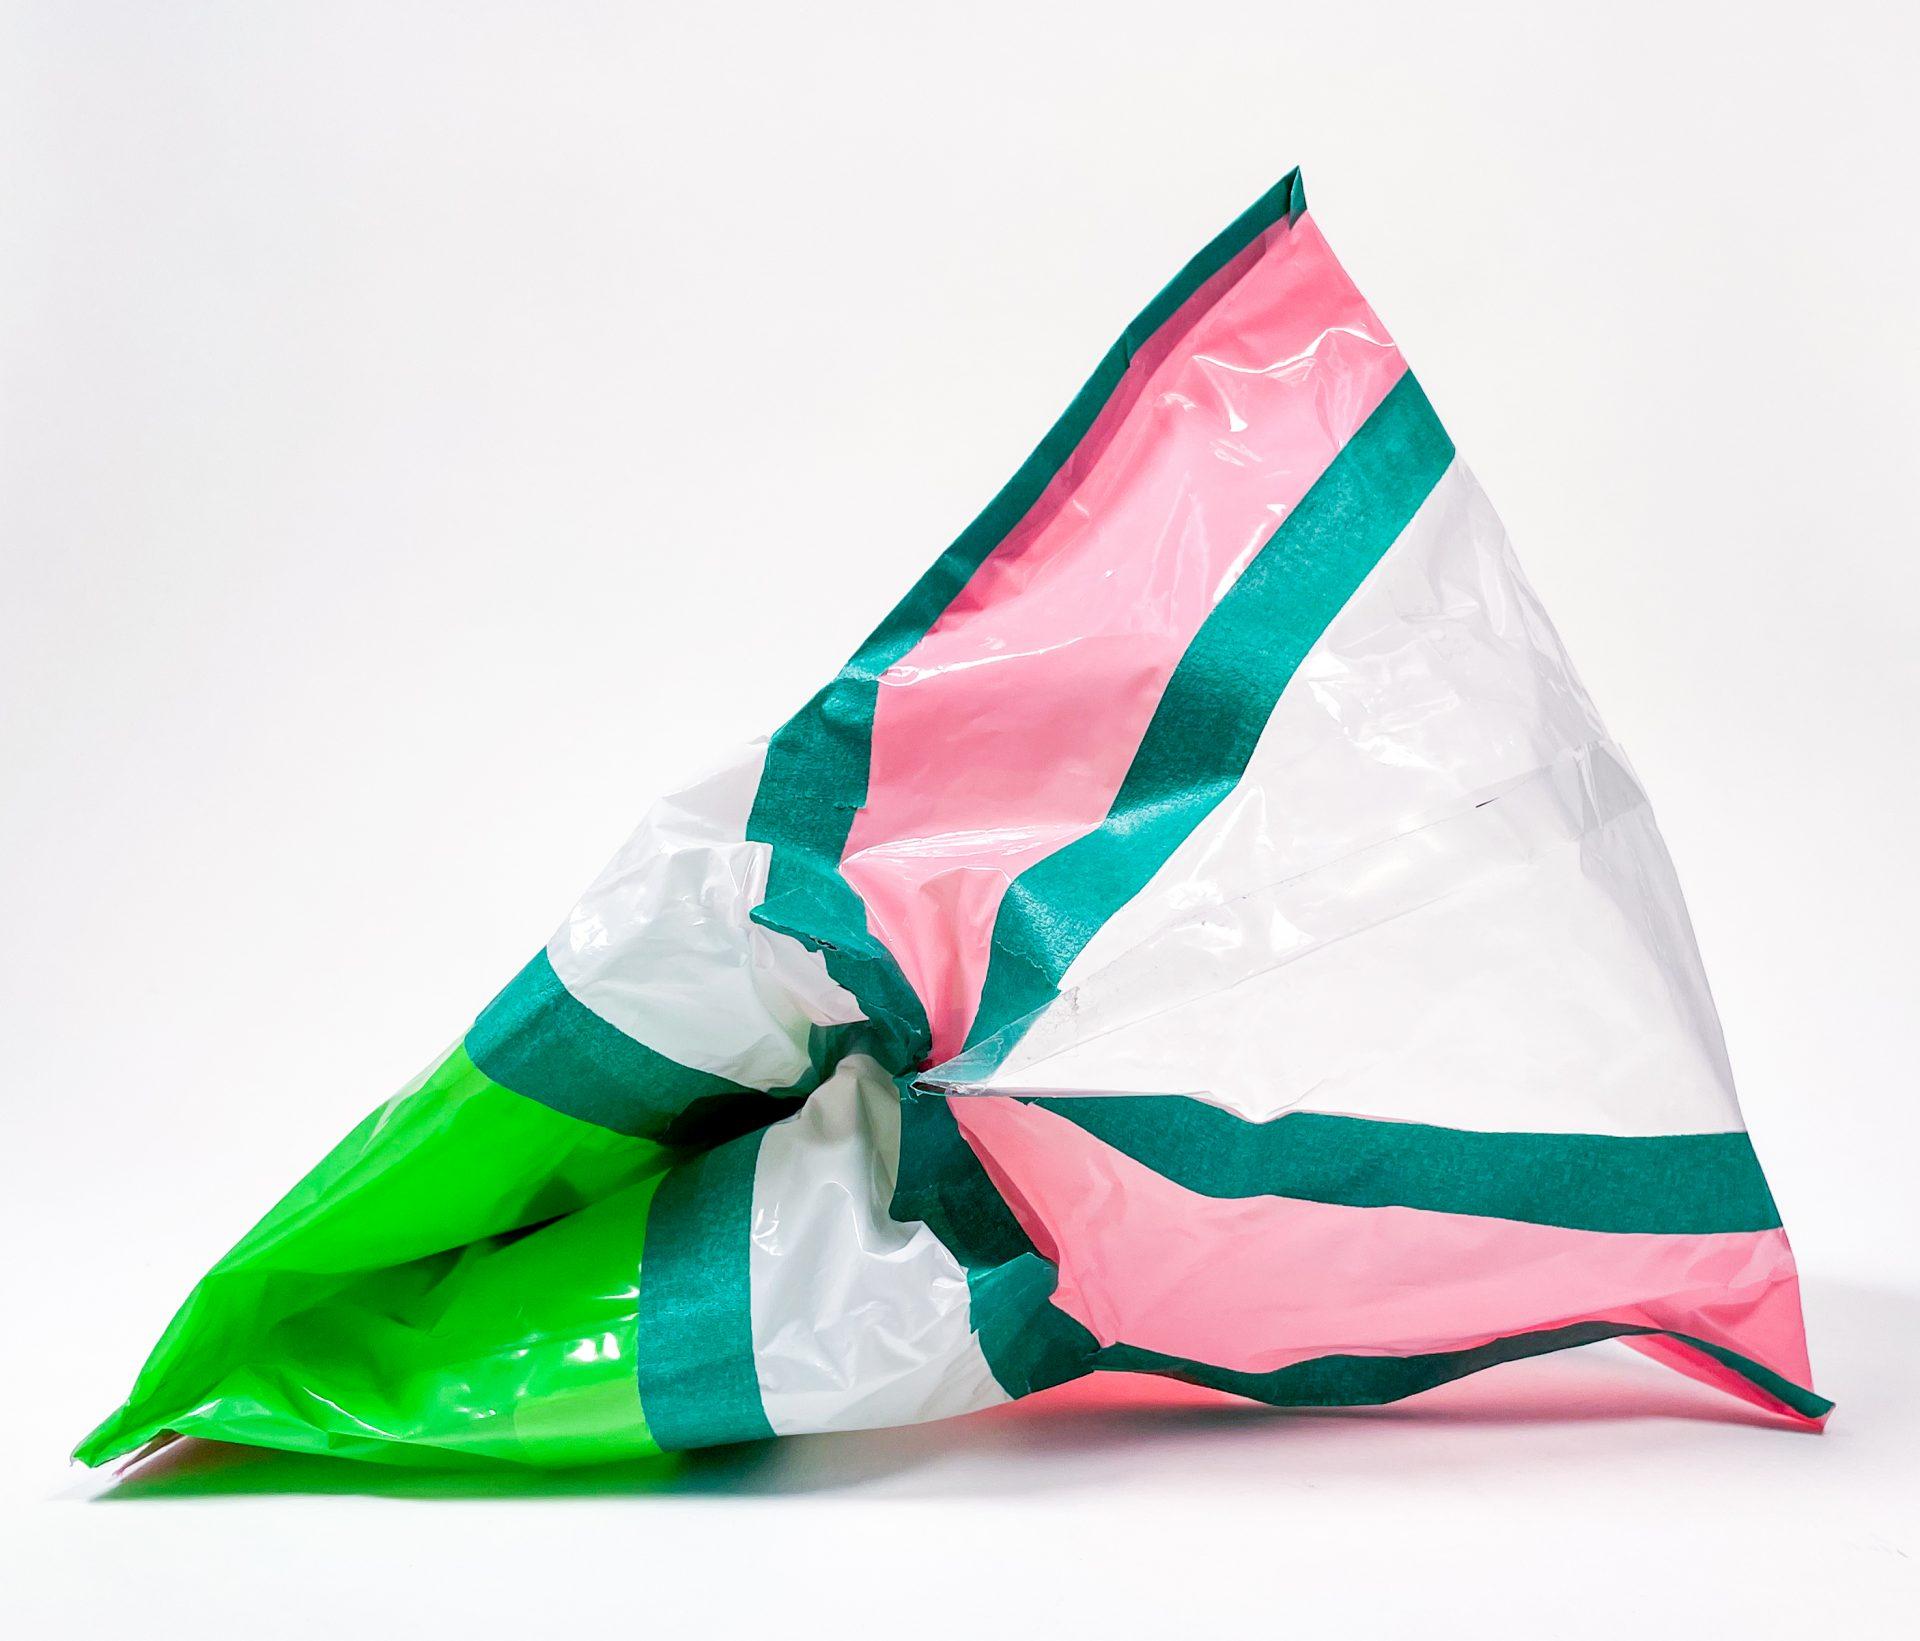
For my third inflatable I chose to have a more “freestyle” approach. I decided on a color palette beforehand and cut different shapes of these colors. I wanted the base of the object to be transparent and use the pink and green colors to create a patching effect throughout the entire inflatable. The base was made transparent intentionally to allow for different perspectives of the inside and outside of the object as well as to highlight the contrasting colors of the neon green and bright pink patches.
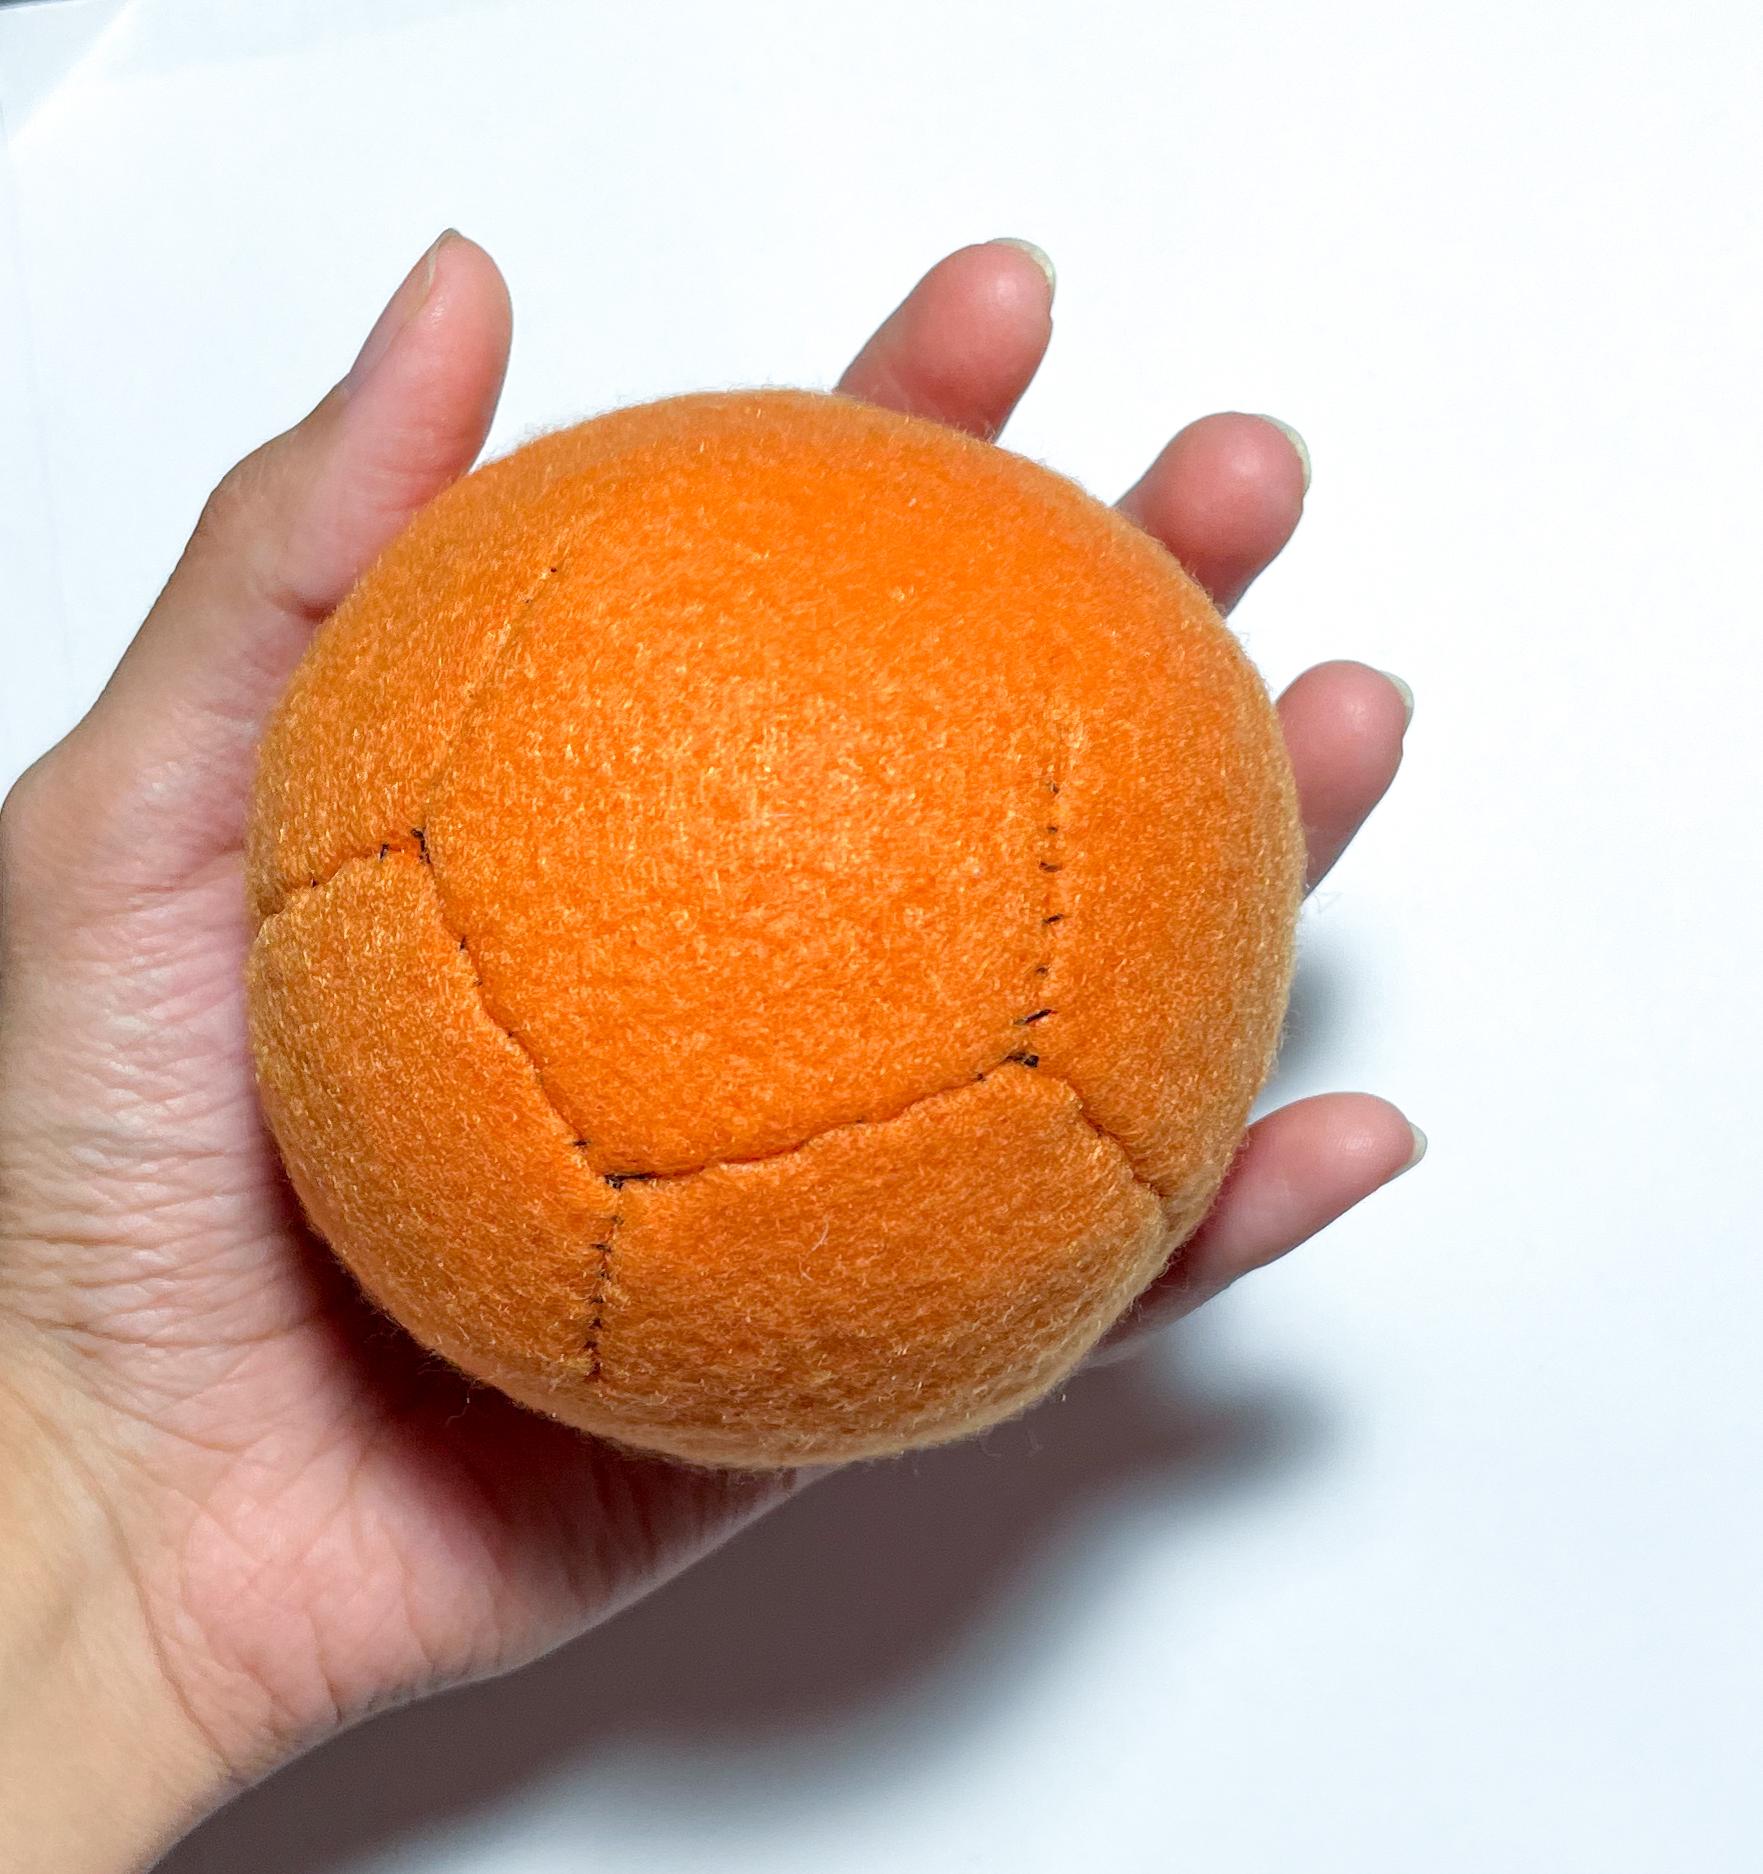
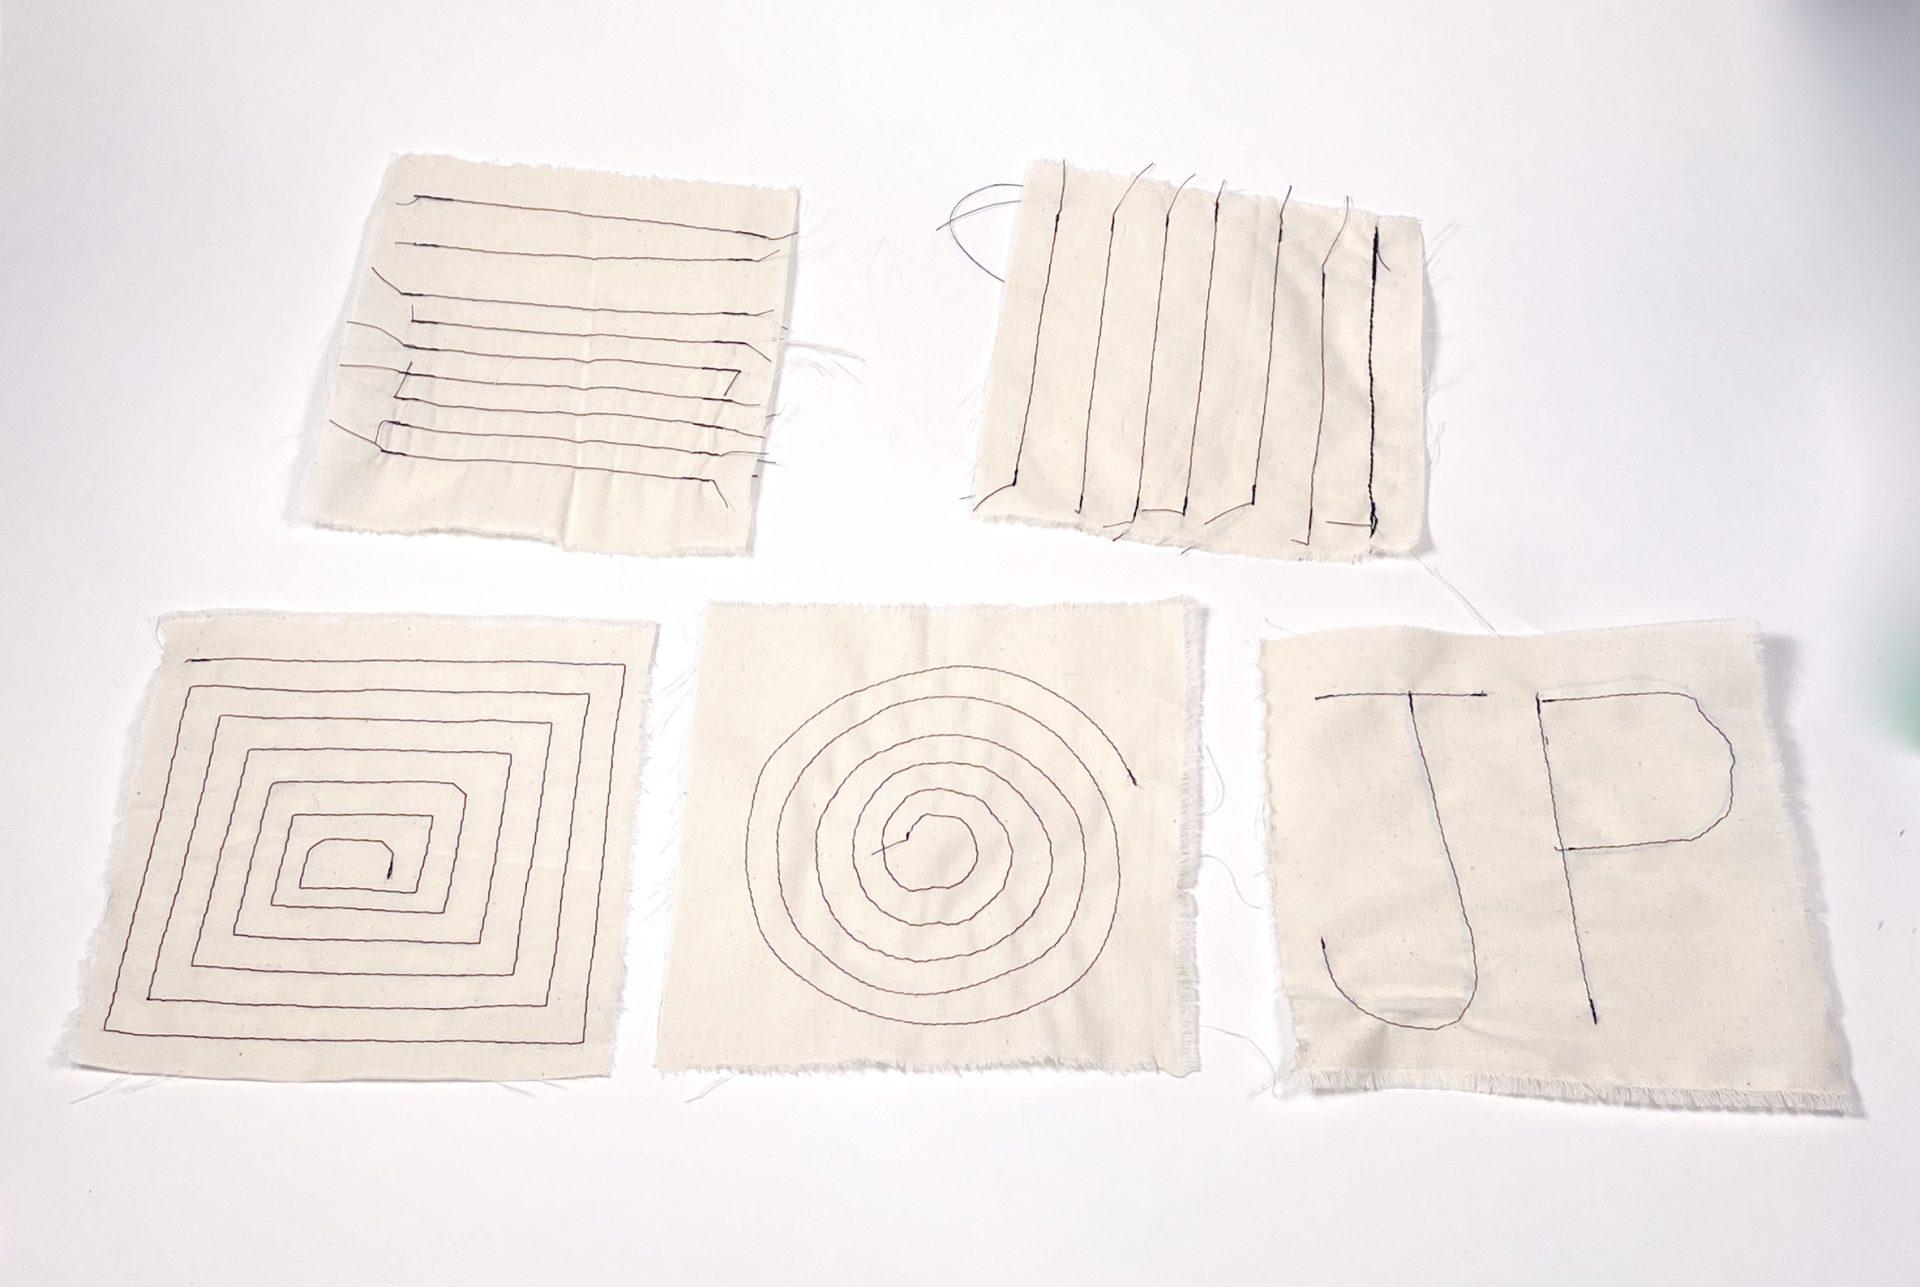
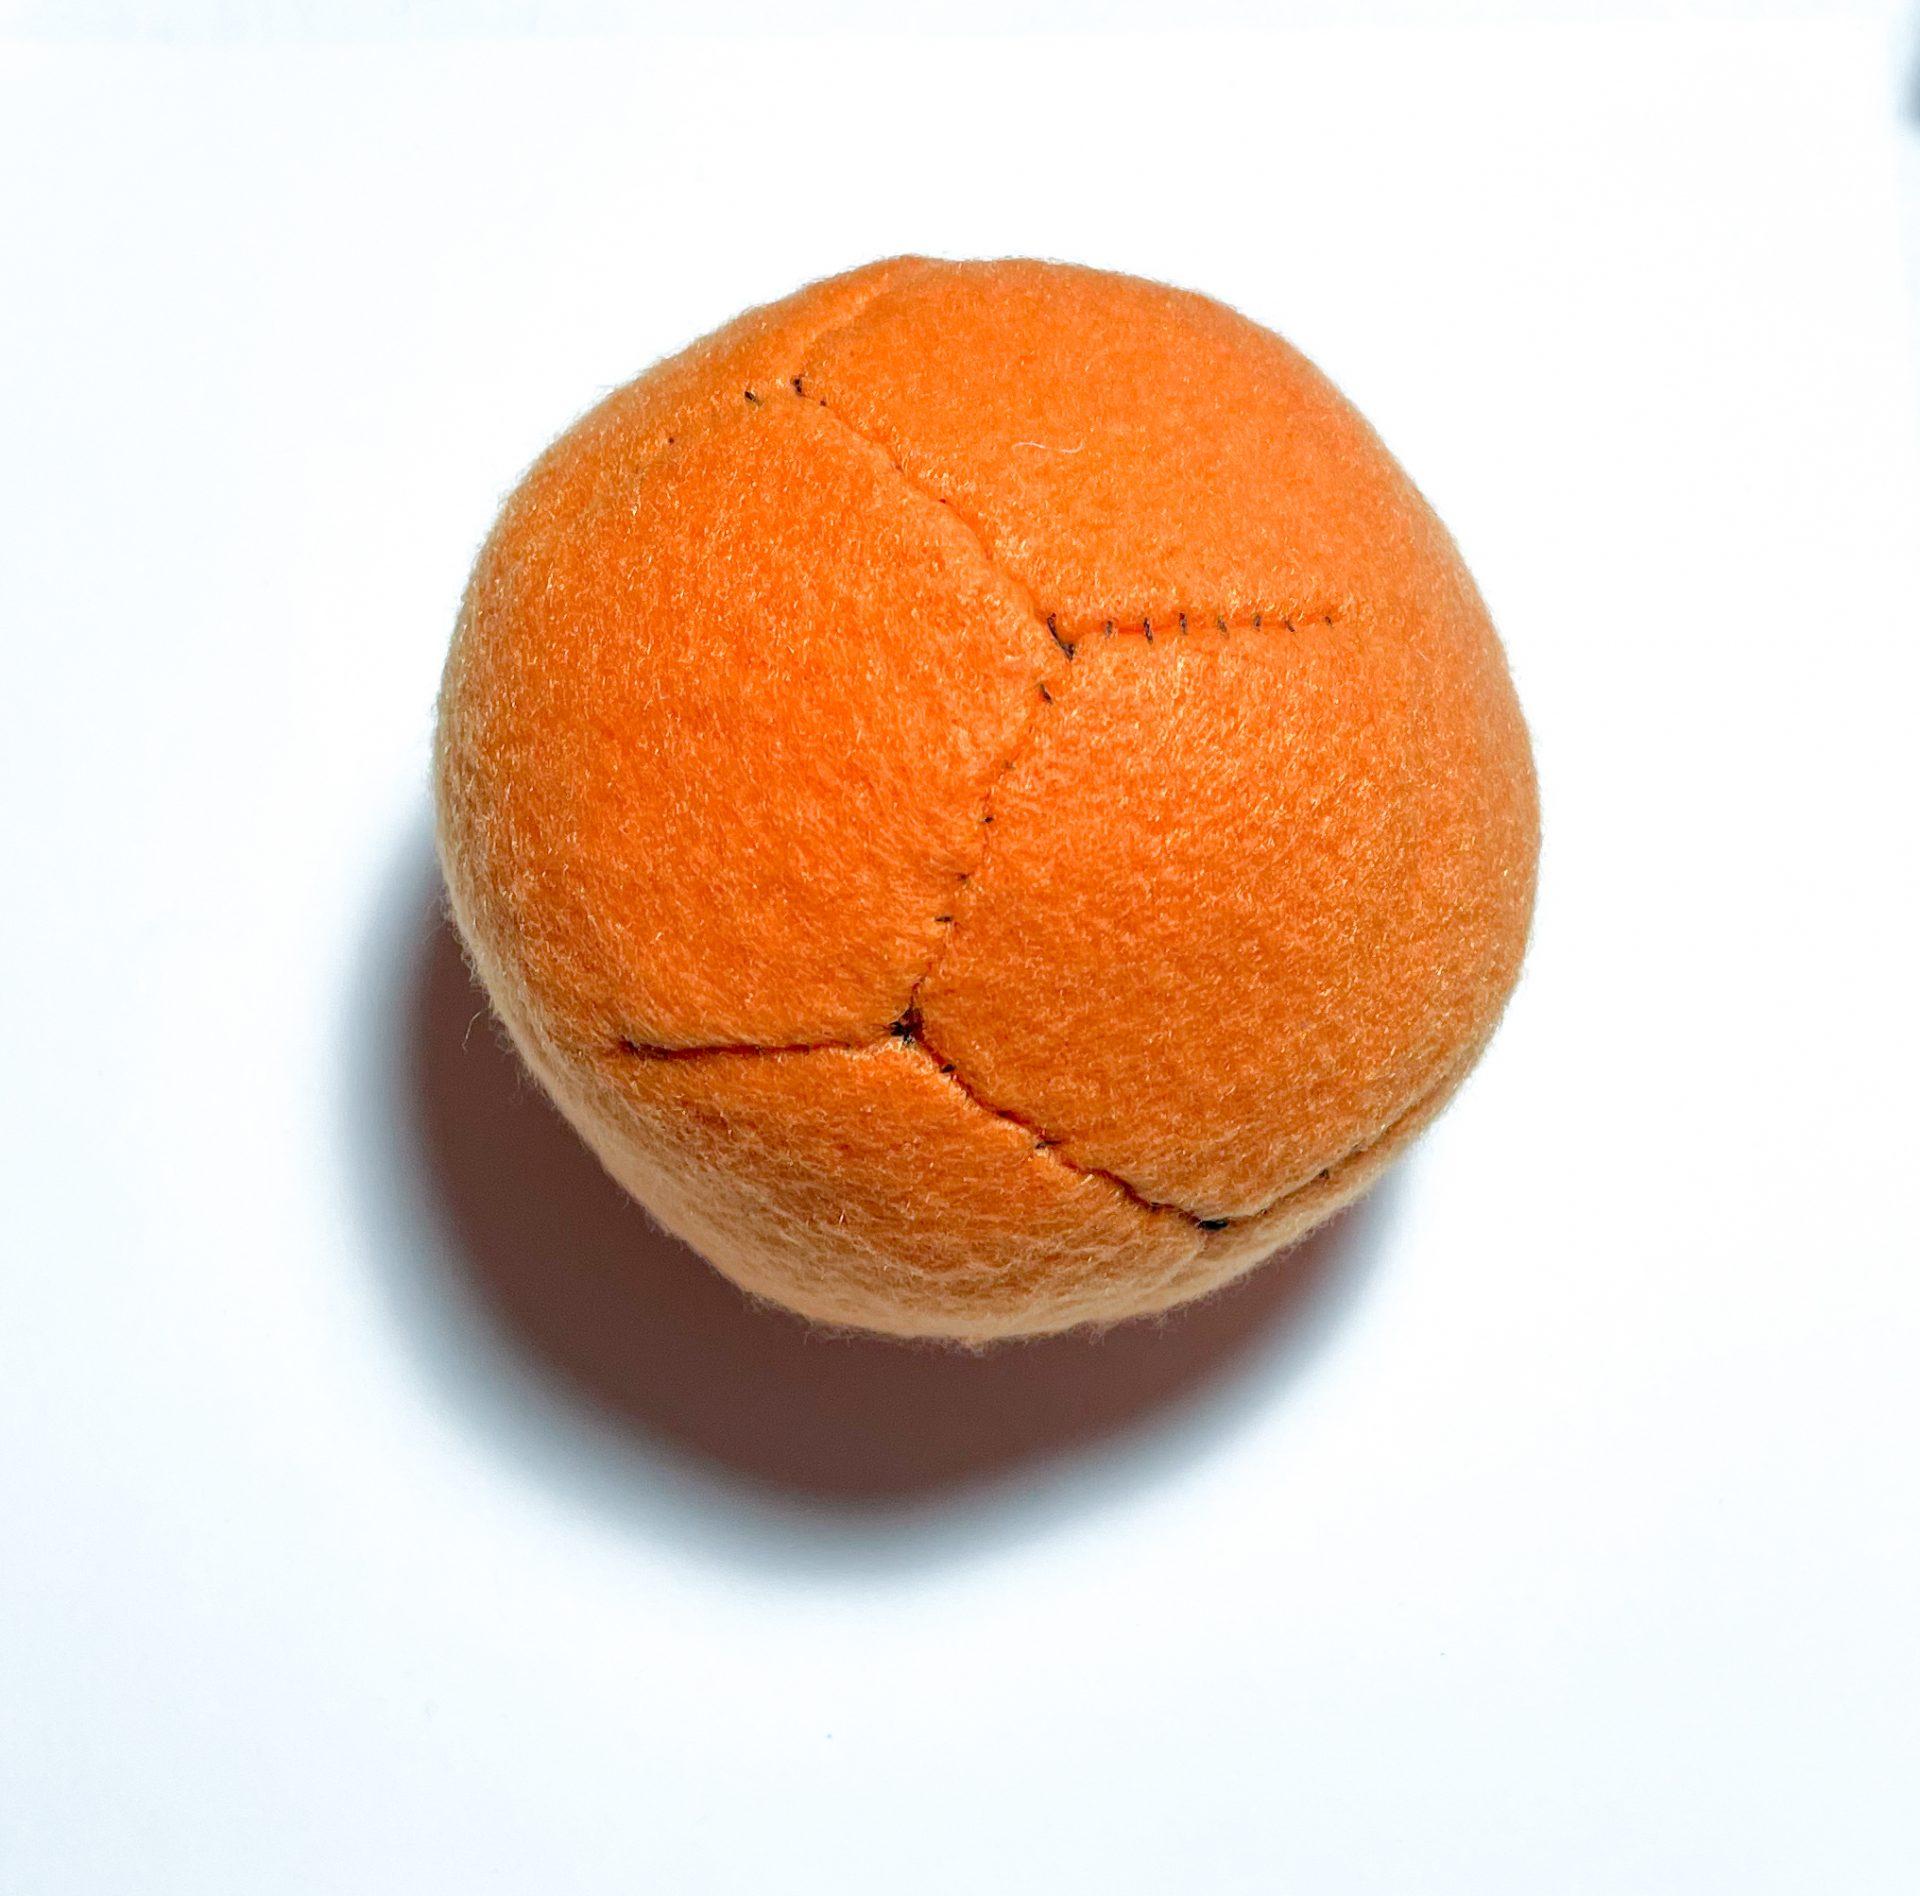
Sewing Samples & Ball
I used the basic pattern for the ball and forgot to take stuffing with me and ended up deciding to improvise and stuff it using feathers from a pillow I had laying around. I also misplaced the sample with my initials 🙁