Dorcas Lin, Ray Pai, Sophie Paul
Goals for next 3 weeks:
- 4/12 to 4/18 — Create design system using 3-4 folds by end of this week (current have hinge fold and hybrid hard/soft setting nailed down, figuring out curves/curls)
- 4/18 to 5/2 — Based on design system, create a set of utensils. Refine cuts and prints
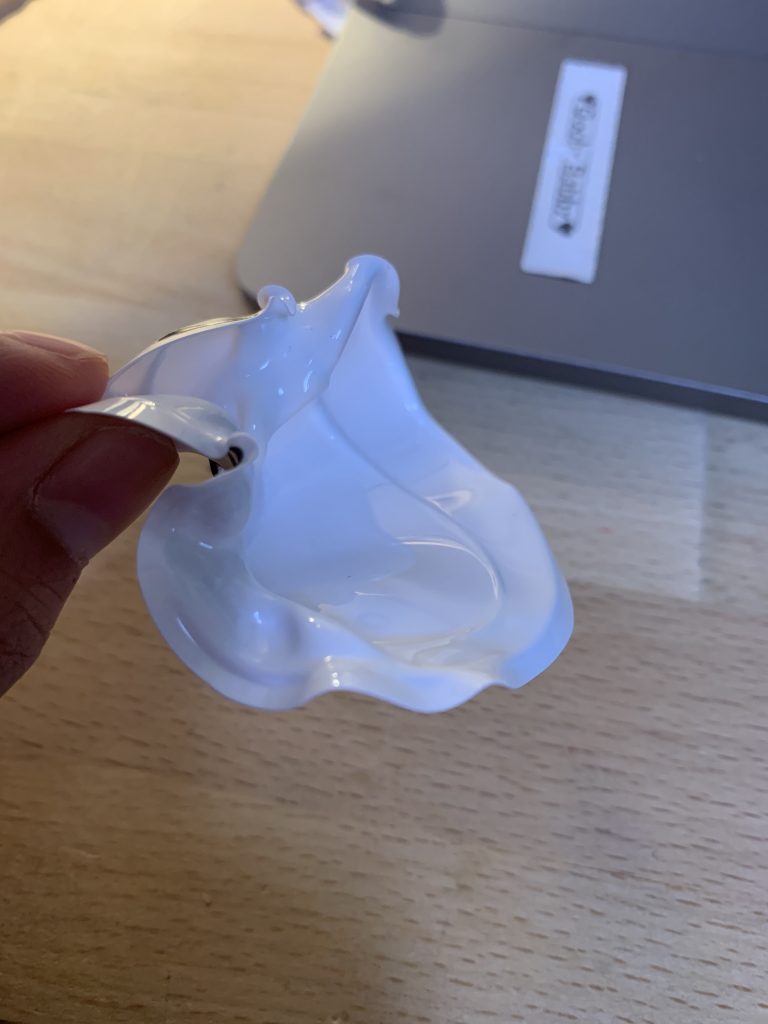
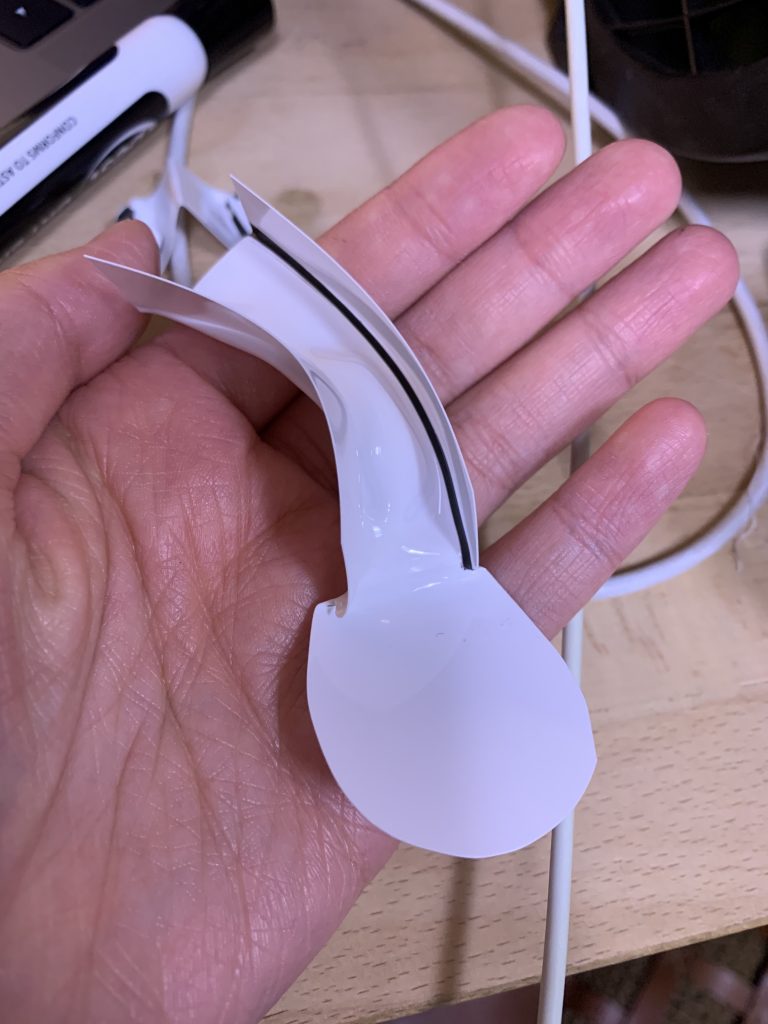
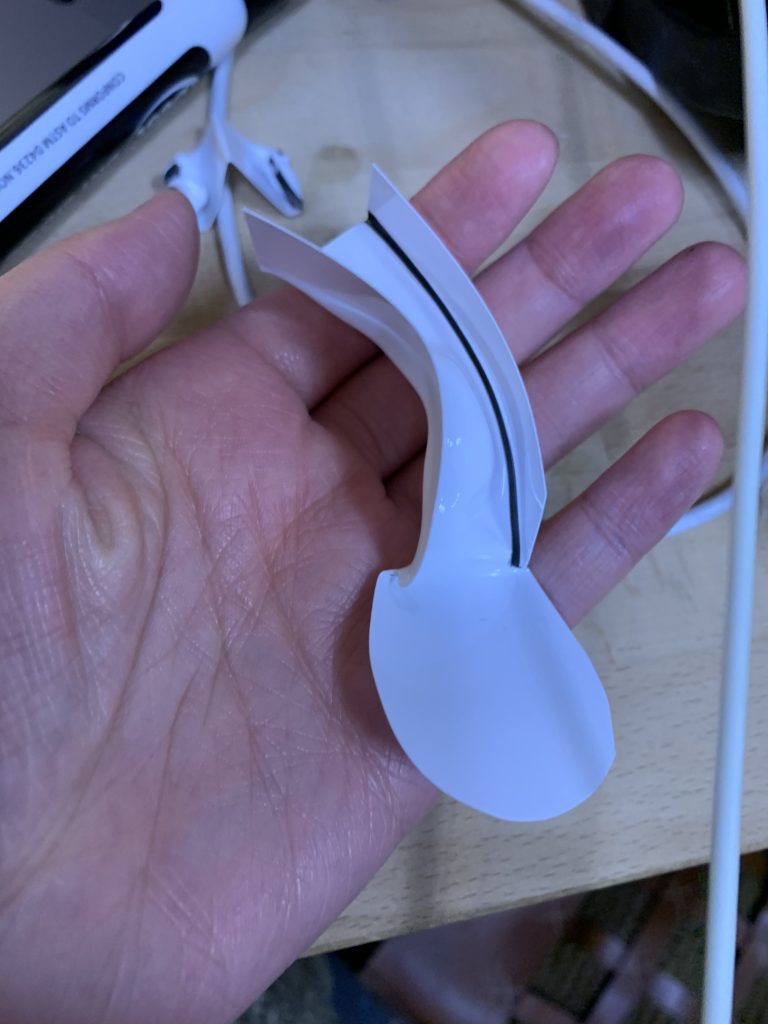
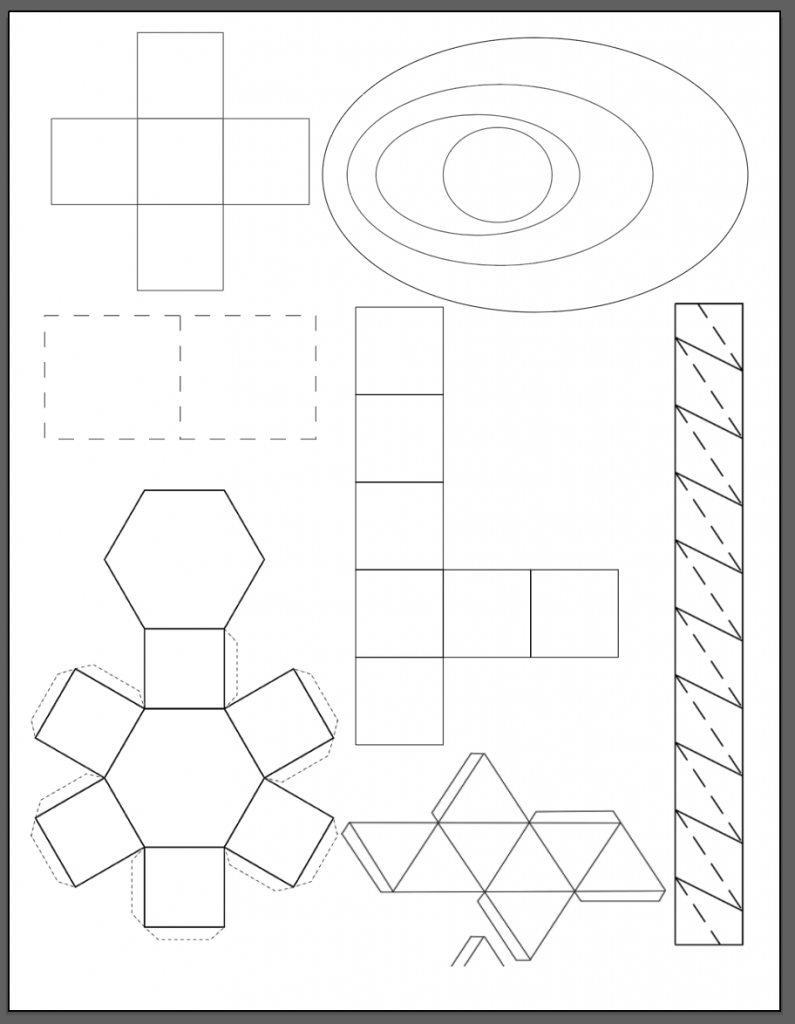
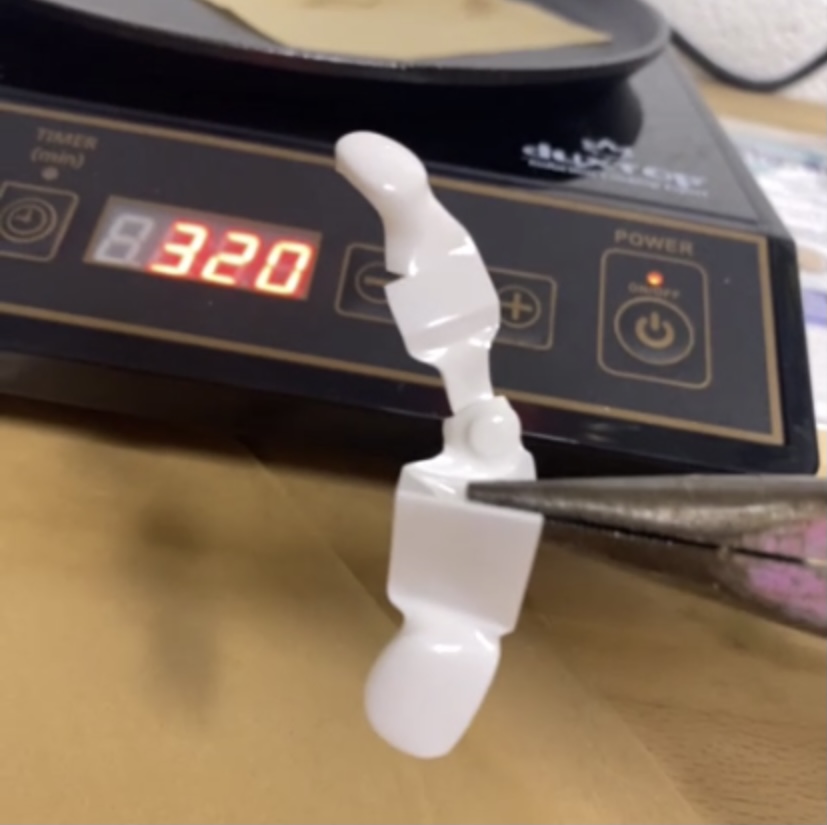
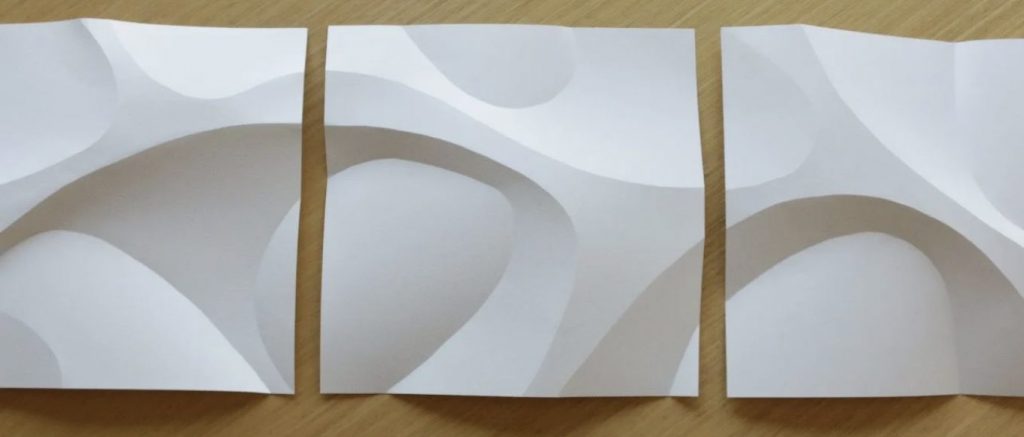
4/12 Experiment templates
The previous experiments showed affordances of the folding material that worked well with utensils. In our next steps we will test the three folds found above. The spoon would resemble more of a soup spoon than a regular spoon:
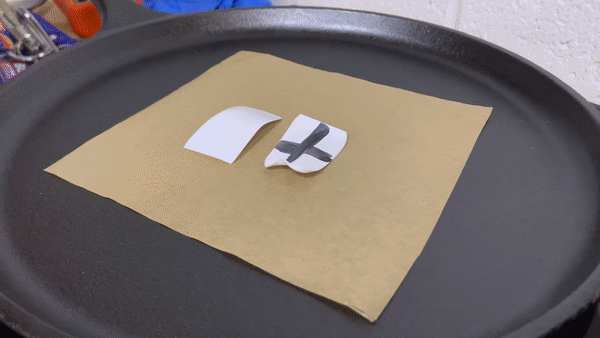
As we continue to experiment, we are exploring vocabulary that we can clearly represent, such as pinching, curling, curving, welding (connecting two separate pieces).
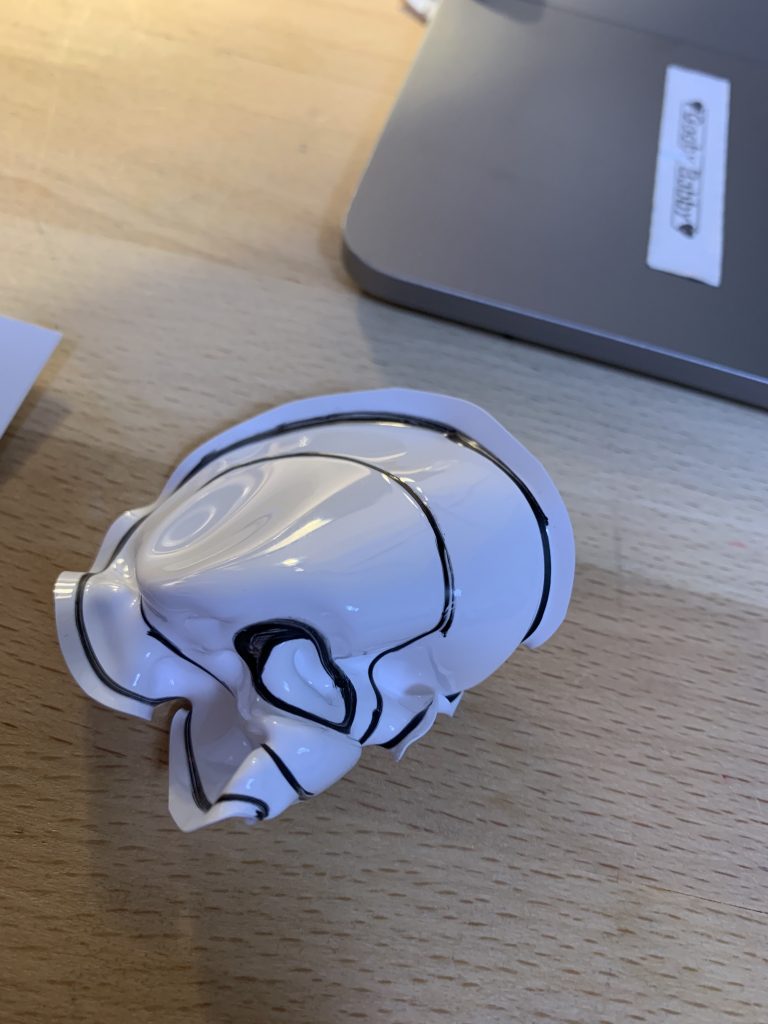
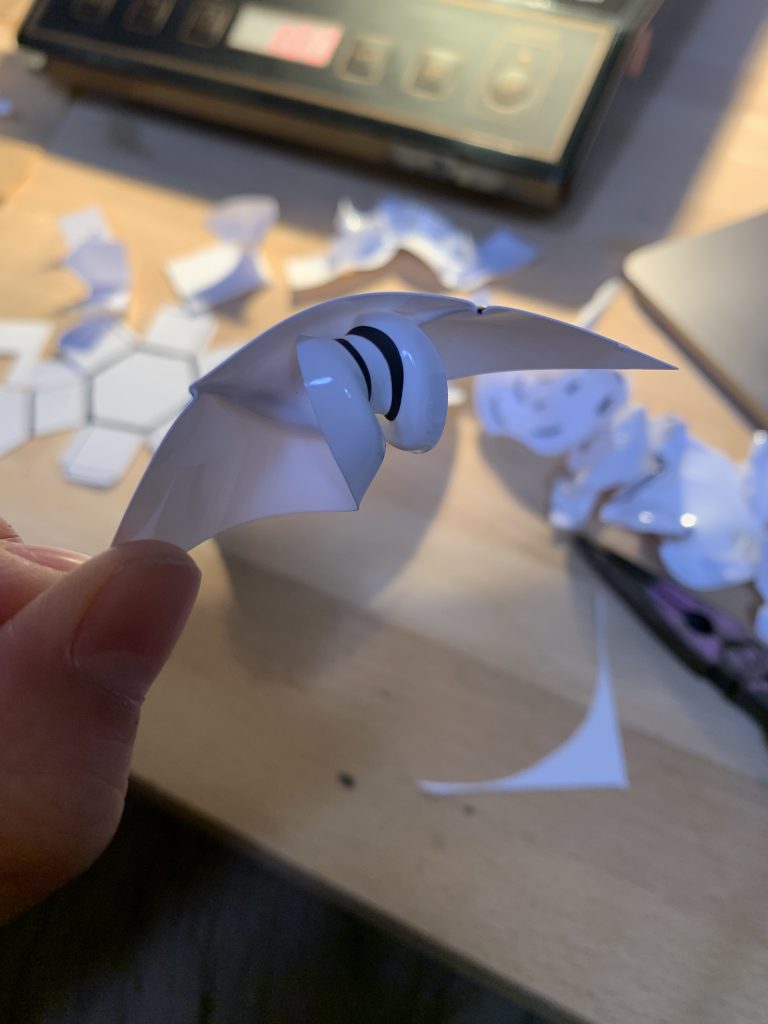
The fold in this video is interesting because we accidentally created a similar form in our previous folds from last week:
4/9
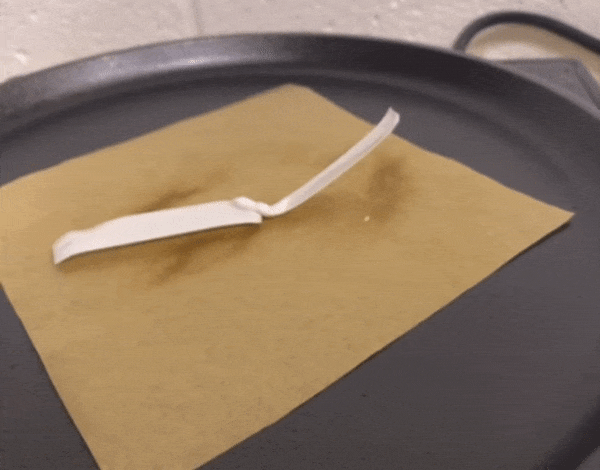
4/7 Experiment videos
https://drive.google.com/drive/folders/1-6zYD63fin145T9aUP5bLwhA9XgGtmms?usp=sharing

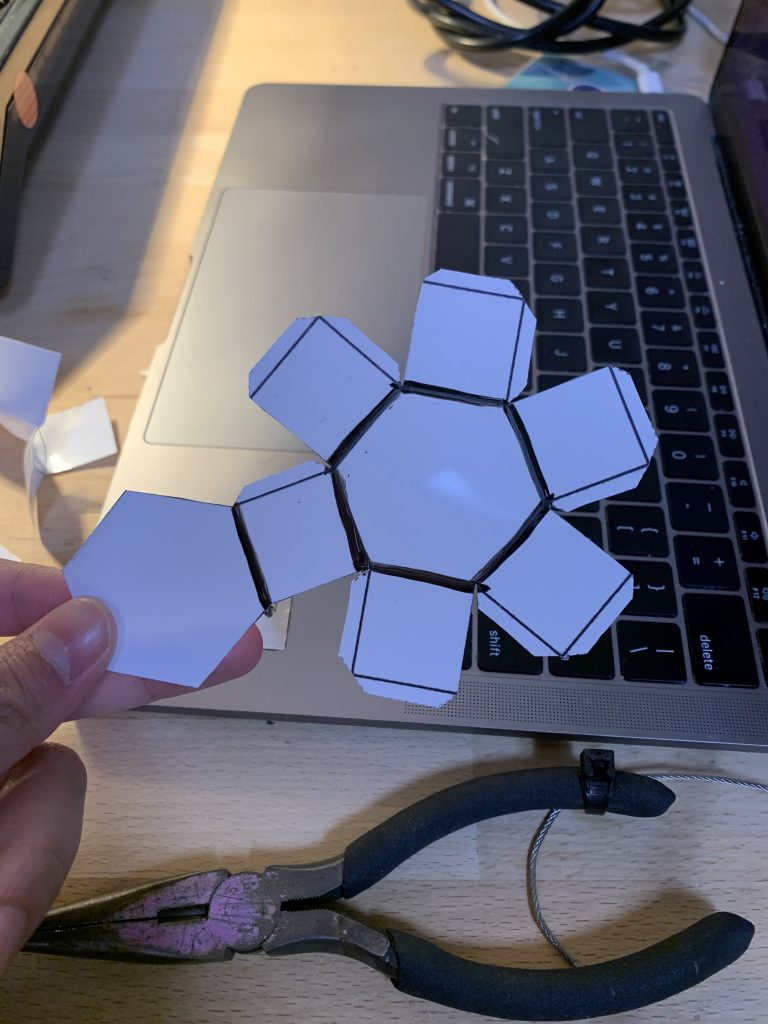
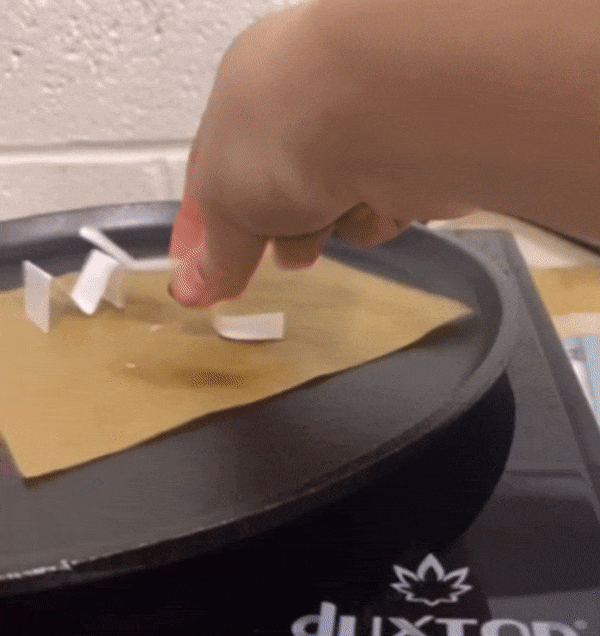
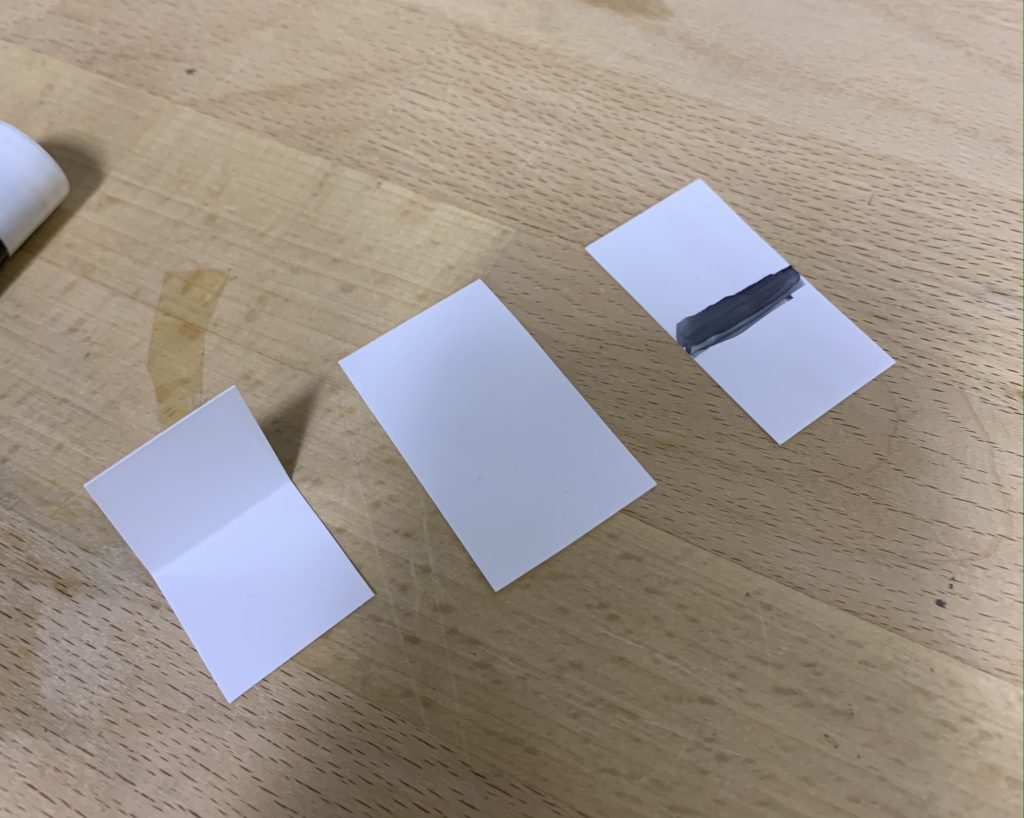
Printed Templates
4/5 Experiment
4/1 Experiment Heat as Adhesive and Form Creation
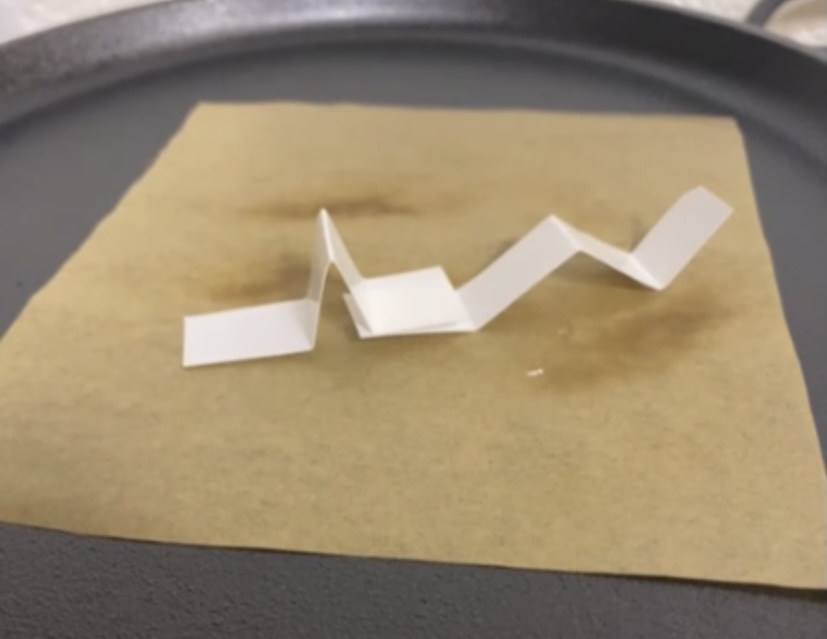
- Two zig-zag overlapping
- this created semi-flexible hinges depending on which portion set first
top 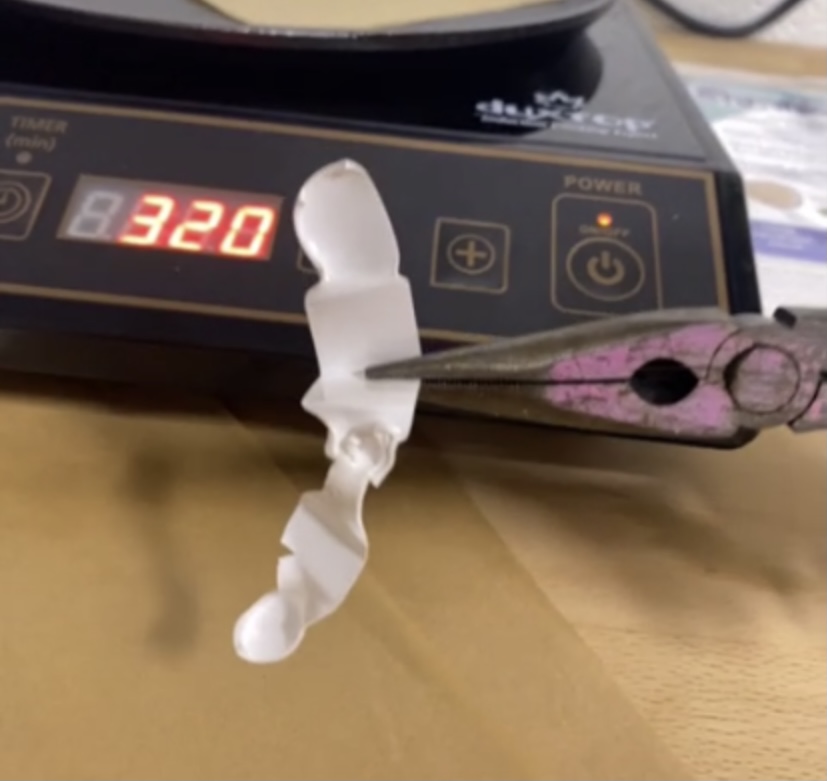
bottom
- Two strips overlapping
3. Adding pressure to touchpoints to create hybrid joint
flexible center
Exploring New Design Affordances
As our fabrication has begun to show curves in the folds, we began to explore new types of forms that their would enable.
Two notable resources:
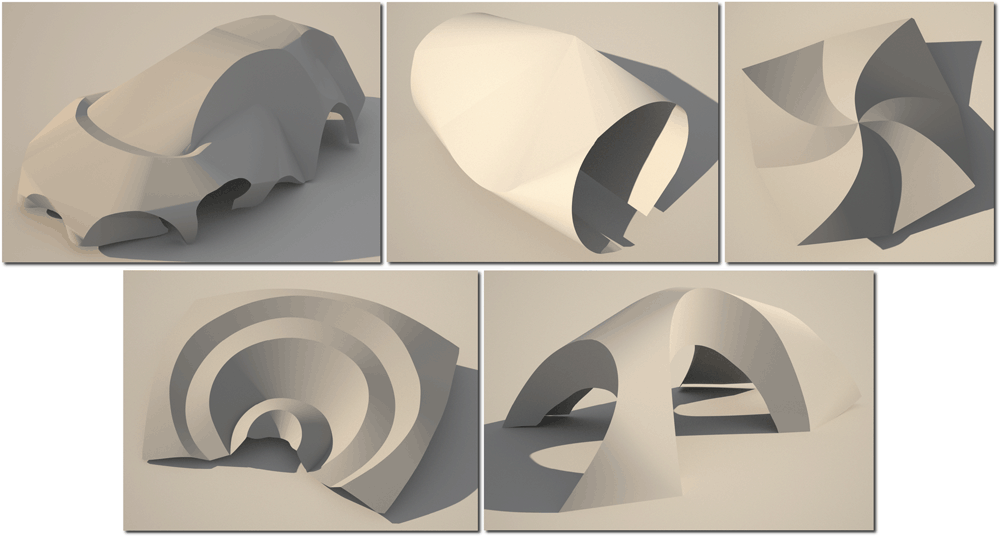
http://graphics.stanford.edu/~niloy/research/folding/folding_sig_08.html
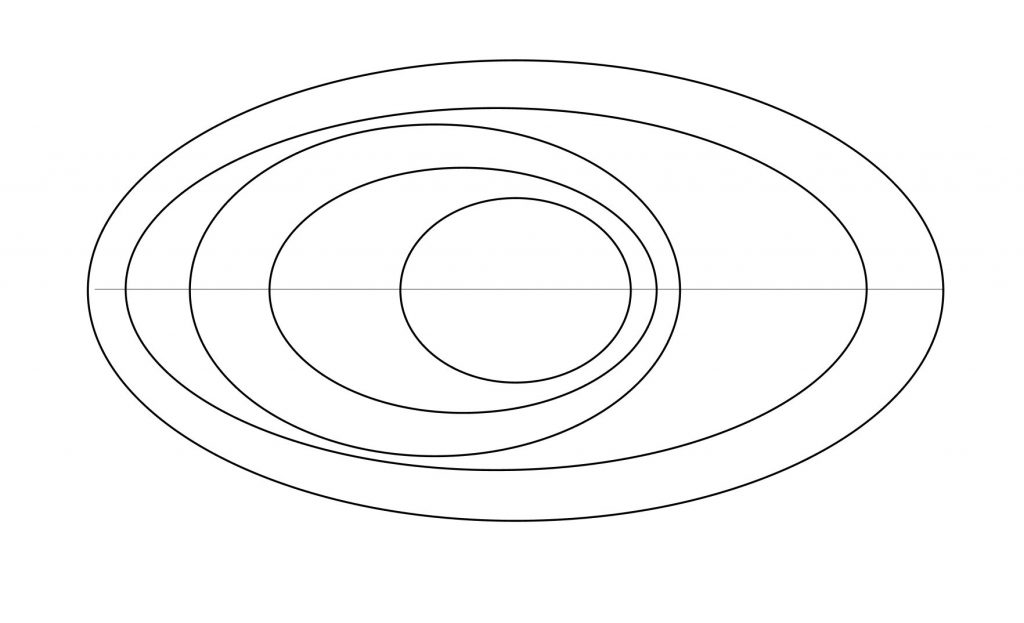
A team from Stanford explored designing curve forms from single sheets of material. This allowed them to create unique forms such as the ones shown below. An interesting exploration is looking into how these can be designed in a two dimensional process as well.
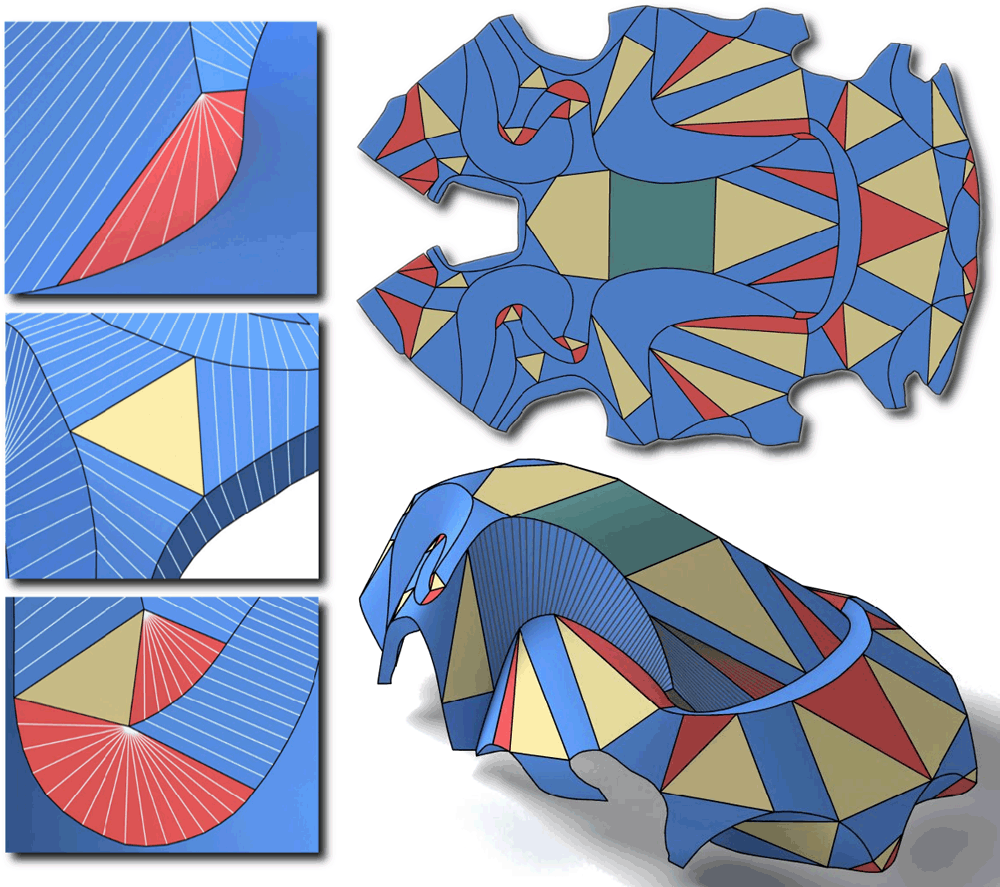
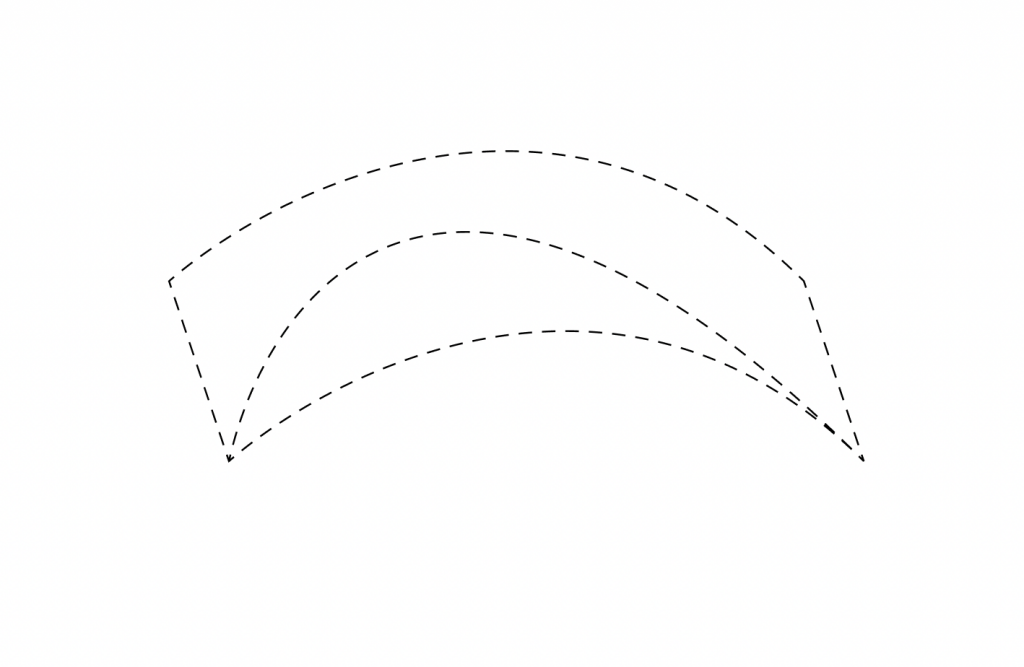
Another exploration in the design of our folds has been the potential of actuation. This was inspired by this video, which shows a person bending a curved origami form:
Although the material we are working with is much stiffer than the one found in the video, it can still be possible with many smaller folds throughout the surface that encourage bending. An early prototype I’ve explored for these curved/bent origami forms include these:
3/29/21 Buying List
| Item | Link | Price |
| Phillips BR40 Heat Lamp Lightbulb, 250W, Infrared | https://www.amazon.com/Philips-BR40-Heat-Lamp-Light/dp/B0066L0ZRU/ref=sr_1_6?dchild=1&keywords=250+watt+heat+lamp&qid=1616512216&sr=8-6 | $5.59 |
| Woods Clamp Lamp with 10 Inch Reflector and Bulb Guard (300 Watt Bulb, 6 Foot Cord) | https://www.amazon.com/Woods-Clamp-Lamp-Reflector-Guard/dp/B003XV8QOU/ref=pd_bxgy_img_2/143-4856025-9993115?_encoding=UTF8&pd_rd_i=B003XV8QOU&pd_rd_r=19fd030c-215a-4446-b903-3f4c706f7f23&pd_rd_w=M8gjZ&pd_rd_wg=mJ8KC&pf_rd_p=f325d01c-4658-4593-be83-3e12ca663f0e&pf_rd_r=D063C5WA4SS8S7BFD8MG&psc=1&refRID=D063C5WA4SS8S7BFD8MG | $14.97 |
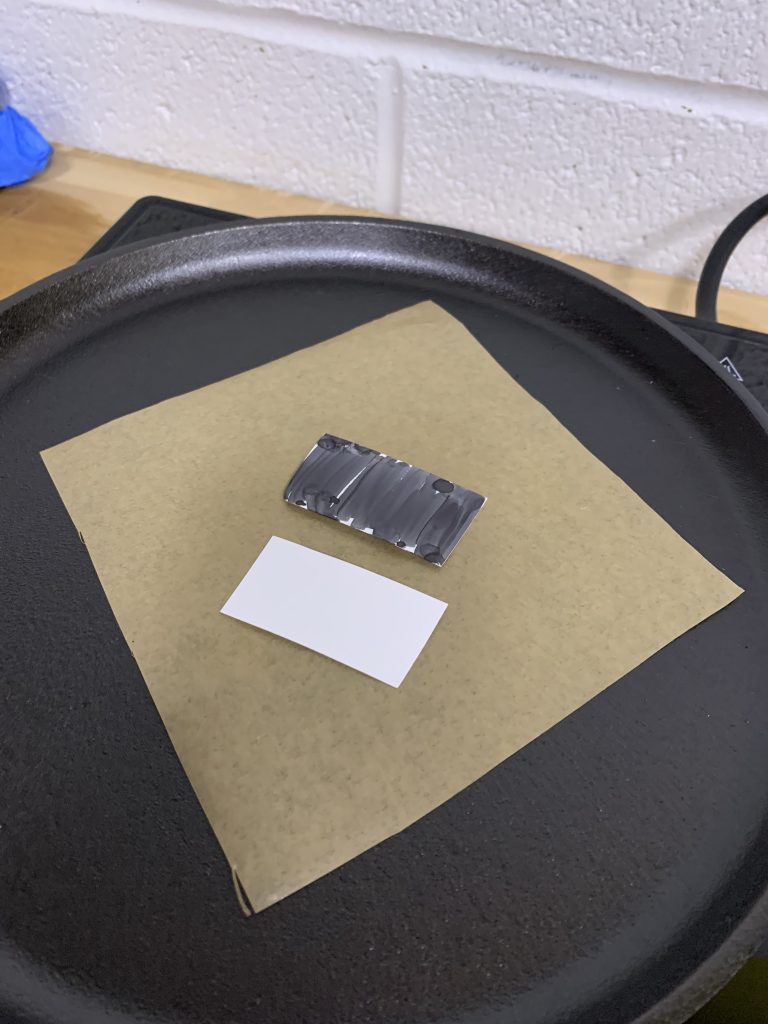
3/24/21 Experiments
Takeaways:
- shrinky dink material curls and morphs unpredictably on the hot plate as the heat comes from one direction vs. in an oven where there’s less movement in the process
- Pre-folded hinges are reinforced in the opposite direction on the hot plate
- How the folded material is placed on the hot plate doesn’t reinforce the folds but impacts the dynamicism of how it writhes and moves in the process
- The hot plate usually results in unpredictable folding patterns
- There’s a sweet spot around 3 minutes in where the desired fold or shape is retained without curling/morphing to a crisp
Pre-experiment:
- Induction Cooktop doesn’t go to 194 degrees but we set it to 200
- Not very stable, keeps bouncing from 90-100
Notes:
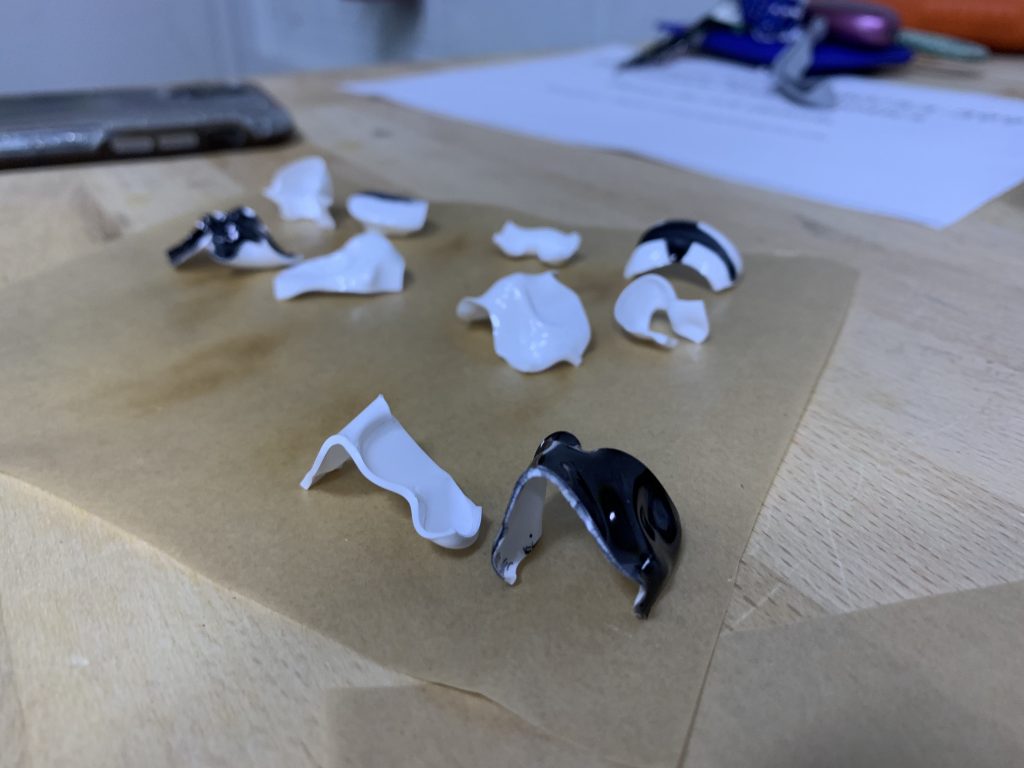
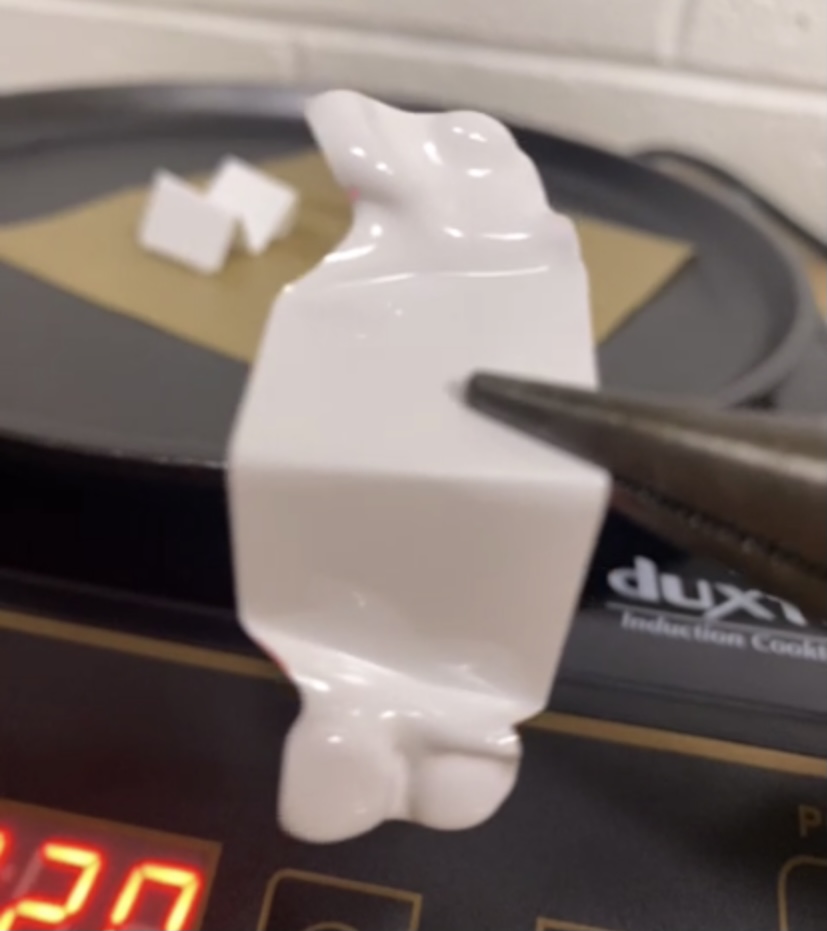
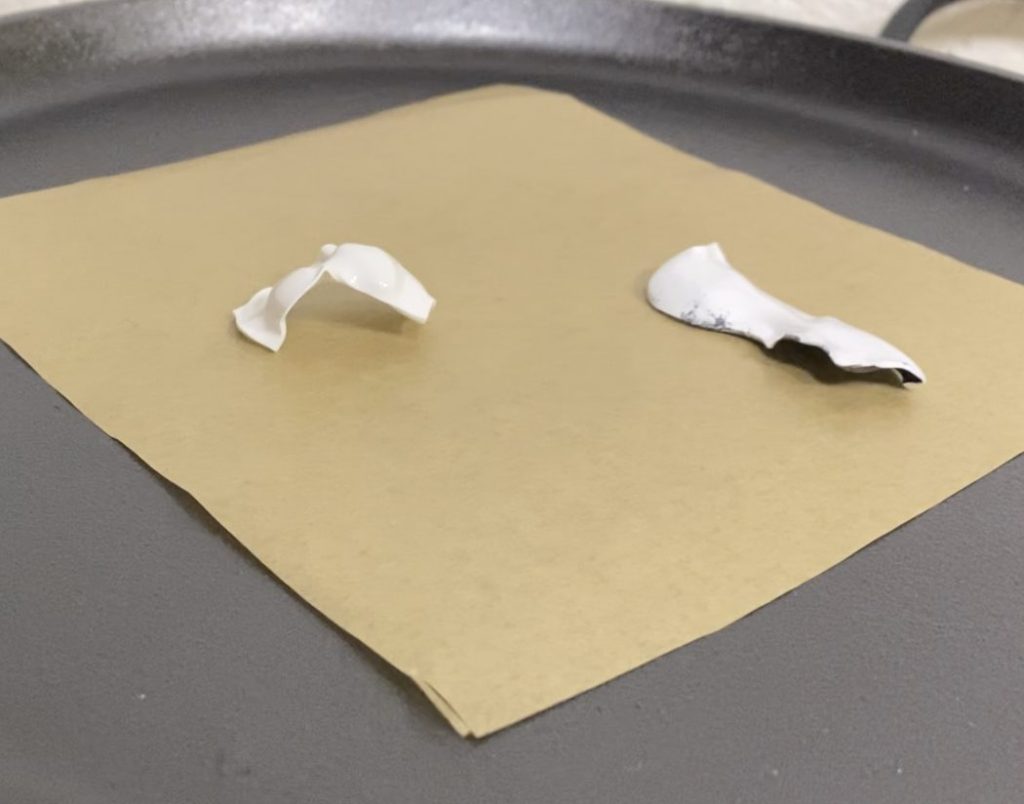
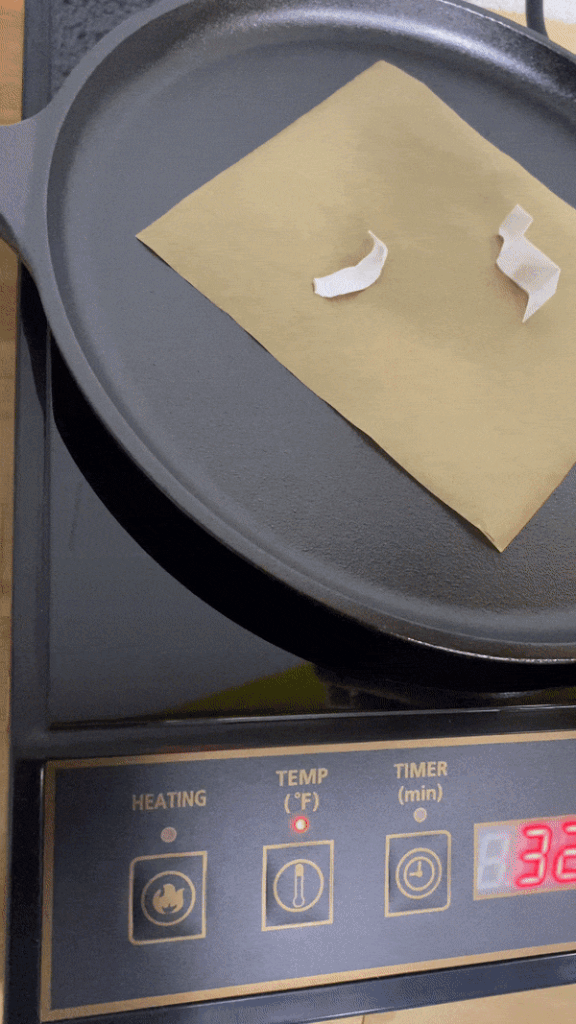
First, we started the experiment by cutting out 2-inch pieces of shrinky dink paper and we put it on the hot plate at 200 because that’s what the paper originally specified. We found that the hot plate wasn’t hot enough so we set it to 350F based on the shrinky dink instructions to see what type of results we would get. We started a timer to see if there was a specific sweet spot where the shrinky dink begins to transform.
Our most interesting finding is that the shrinky dink paper curls and tends to form air pockets when the heat is coming from one direction. Typically in an oven, shrinky dinks don’t morph as much in the process. Referring to the exhibit A and B below, we found that once the shrinky dink paper forms a convex pocket where only the edges are touching the surface, the transformation stops or requires some intervention (i.e. a flip) in order for new shapes to form. Overall, the final solidified form takes around 3 minutes per piece.
In the end, we also tried to reinforce some of the folds when it came off the hot plate to see if it would still bend or be a bit cleaner as it set.
A: 20 seconds in 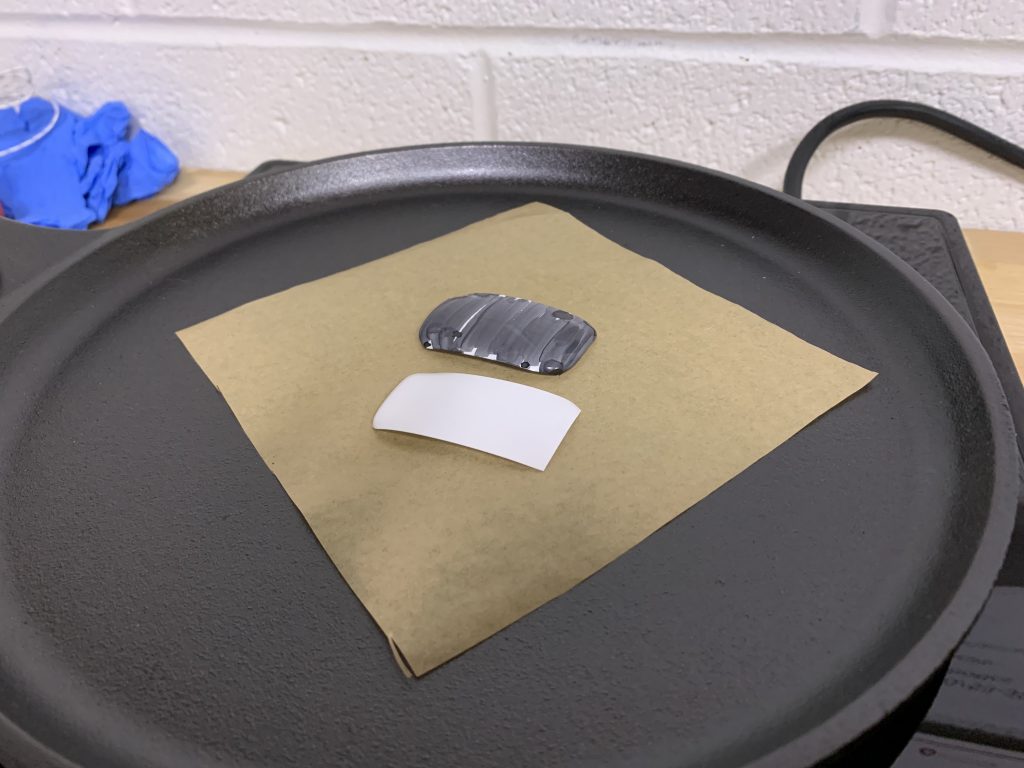
B: 1 minute in
Although we didn’t have the heat lamp in our supply yet, we wanted to see if marking the shrinky dink paper with a black marker would change anything about the way or efficiency of how the material folds. We actually initially saw that the plastic was bending along the markings but when we tried to flip the stagnant unmarked pieces, we found that it was also curling in various ways so overall, we didn’t find the marked pieces to be any more significant in its folds.
Testing Pre-bent Hinges
Instead of marking a flat sheet of shrinky dink, we decided to bend the plastic in half to see if the folds would get reinforced. We found that the fold was actually reinforced in the opposite direction and the corners curled. Once it folds, there seems to be a sweet spot of when to remove the sheet otherwise it might continue to morph. Not a super predictable material.

Next steps: ZigZag
At the end of our experiment, we were curious how the placement of material on the hot plate affected the fold. We found that in doing so, it didn’t necessarily create a particular shape but it created a lot of dynamic movement in the process.
For Wednesday: Understanding how the material behaves
- Temperature control (attaching thermocouple)
- Seeing if there are any tricks in the plate to see if there are gradient hot and cold spots of the plate
- If there are holes, concave edges, fringe, sharp corners, internal angles, pre-folded (lightly creased or all the way down), or star shapes, how does it behave
- Deliberately going over temperature to see what happens
- order a heat lamp
- light doesn’t need to be white for black lines, an infrared heat bulb plugged into a desk lamp should work as well.
- light doesn’t need to be white for black lines, an infrared heat bulb plugged into a desk lamp should work as well.
Design System

After the initial fabrication tests, it was suggested that an orthodox approach to paper folding would be a missed opportunity. The shrinking is able to produce unique curves in the material that introduces new designs.
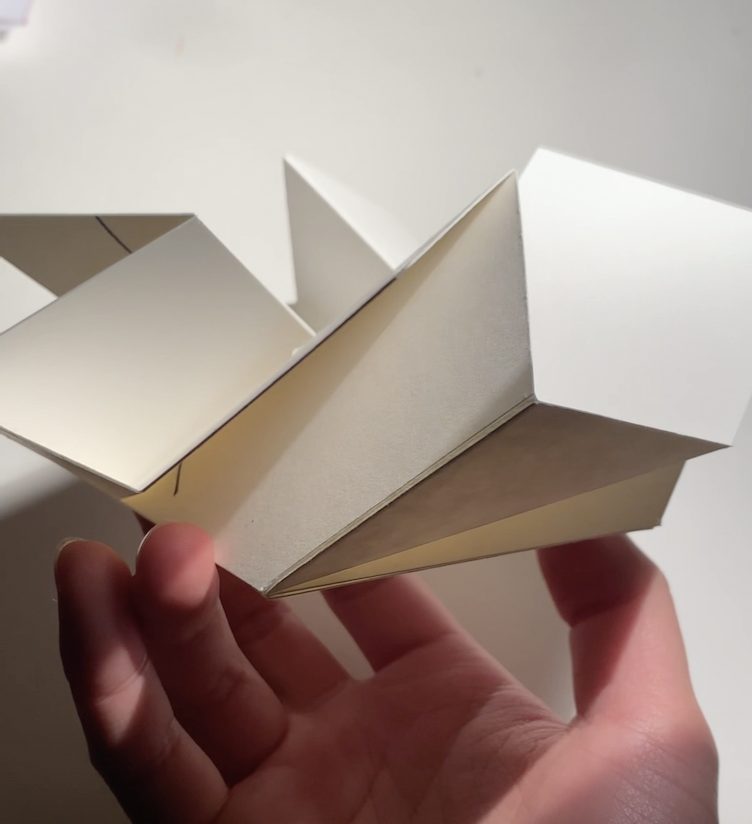
Exploration and research of more complex forms. At this point it is unclear if we have enough fine control of the material to produce a form as complex as this.
Before getting ahead of ourselves, we will document our tests on these simple folds. As some of us fabricate and test, we’ll also begin designing new forms that incorporate the curvature that we observed in the initial experiments.
Expectation of Roles
Ray – documentation of patterns and folds
Sophie/Dorcas – in-person test of folds/patterns
Overall Milestones
Equipment
- completing the light source LED equipment
- completing the heat source LED equipment
Process
- hinge fold (single valley)
- tubular triangle fold
- single mountain fold
- two-sided or two-phase heat folding process
Long-term goal
- develop three disparate examples of origami design language
- embed origami pattern in a booklet page
- embed paper in a booklet
source:
http://seven-oaks.net/self-folding-plastics-shrinky-dinks-the-next-generation/
Heat Lamp Experiment Videos (4-5)
https://drive.google.com/drive/folders/1FsMt18GmJQSh9USKcjFZobfQOR_m7_QN?usp=sharing