This week we attempted to use a fabric stiffening technique in order to increase stiffness and allow for more curvature. We followed the technique that can be viewed in this video – https://youtu.be/TyYW9BmMeSs
We both made changes to our existing parts molds and then attempted casting, incorporating the fabric.
Results
Jason: For this iteration, I decided to change the chamber geometry. The older designs used larger chambers and thin walls which were challenging to work with during the bonding process. The new chamber design mirrored the Whiteside’s design in an effort to facilitate the bonding process and actuation. Everything else remained unchanged from the previous design. That proved to be a mistake. The 1mm gap left on top of the chambers was too thin and as a result, several chambers ripped. Only half the part was still covered. Additionally, while bonding was successful on the edge, the chambers failed to bond. The video demonstrates the main flaws. The next iteration will increase the height from the chambers to the top surface and have assistance from Inbar during bonding.
Documentation Video – https://drive.google.com/file/d/1e03-rDQGTe4O90nTwW7gAXP4qcRyq4GJ/view?usp=sharing
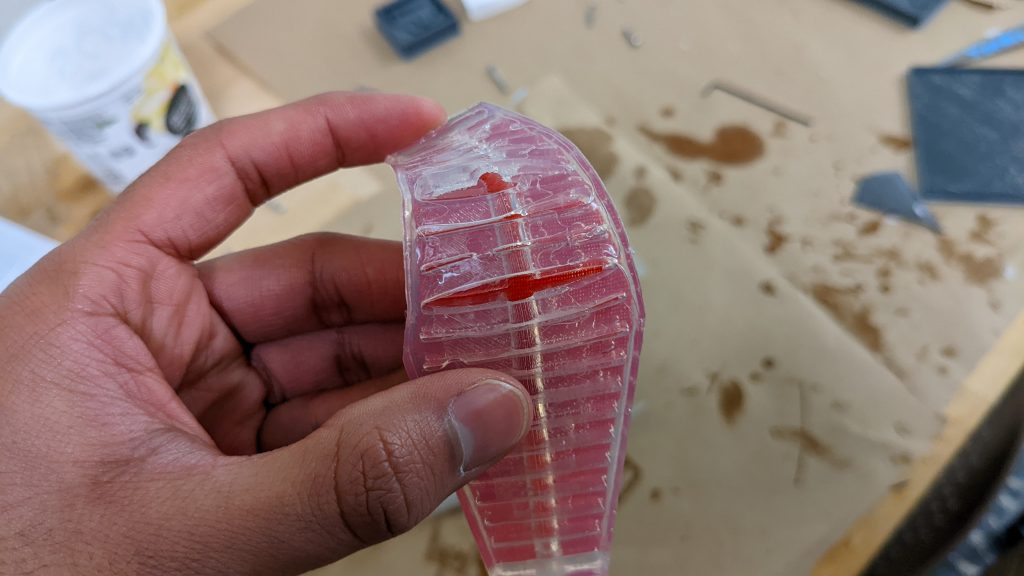
Inbar: before printing the updated mold, I’ve made sure that the number of cavities and the distance between them is the same as in Whitesides’ soft robot – which meant decreasing the number of cavities I had in my part, and as a result also decreasing the overall length of the part itself. Incorporating the fabric into the base of the part seemed to successfully increase the curvature when inflating the part. Bonding was also relatively successful, except for a narrow opening around the tube (inflating was still possible when applying some pressure in that area, as can be seen in the documentation).
Documentation video – https://youtu.be/n9vL3gL_hoE