
Overview
This box displays the time that has passed since it was last opened, making it an effective deterrent for continuous snack consumption.
Moving Image
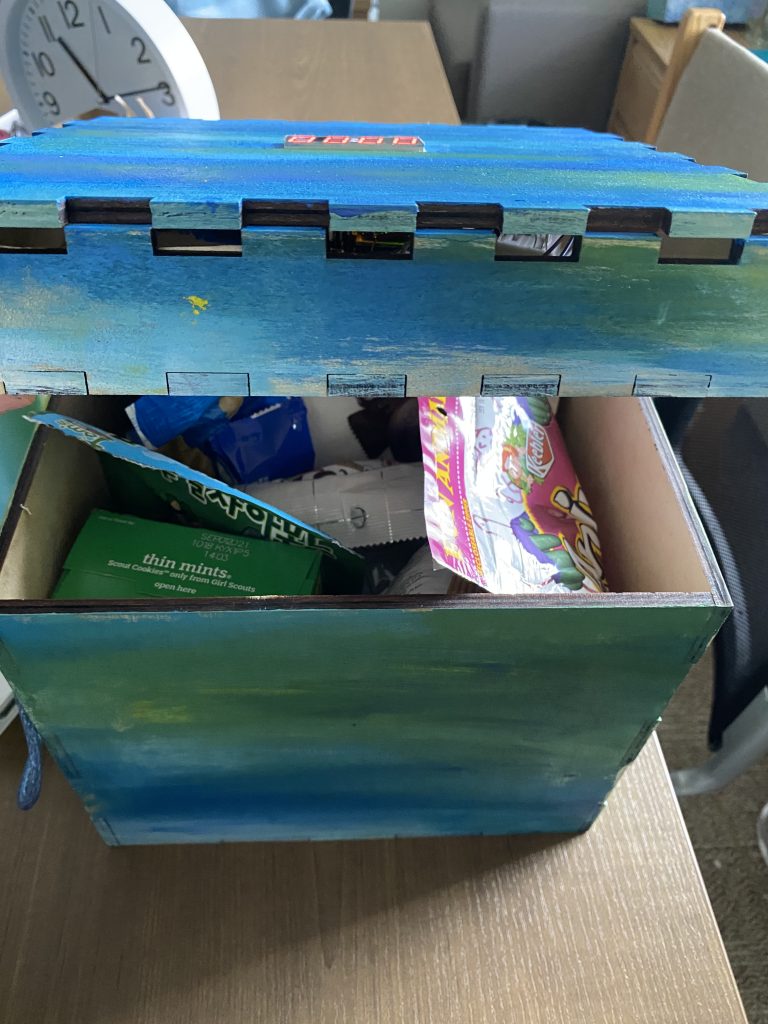
Overall Photo for Proportion and Scale
The box I constructed is 26cm x 26cm x 26cm. I made it relatively big so it could hold many snacks but small enough to fit in the shelves of my dorm room.
Detail Photos
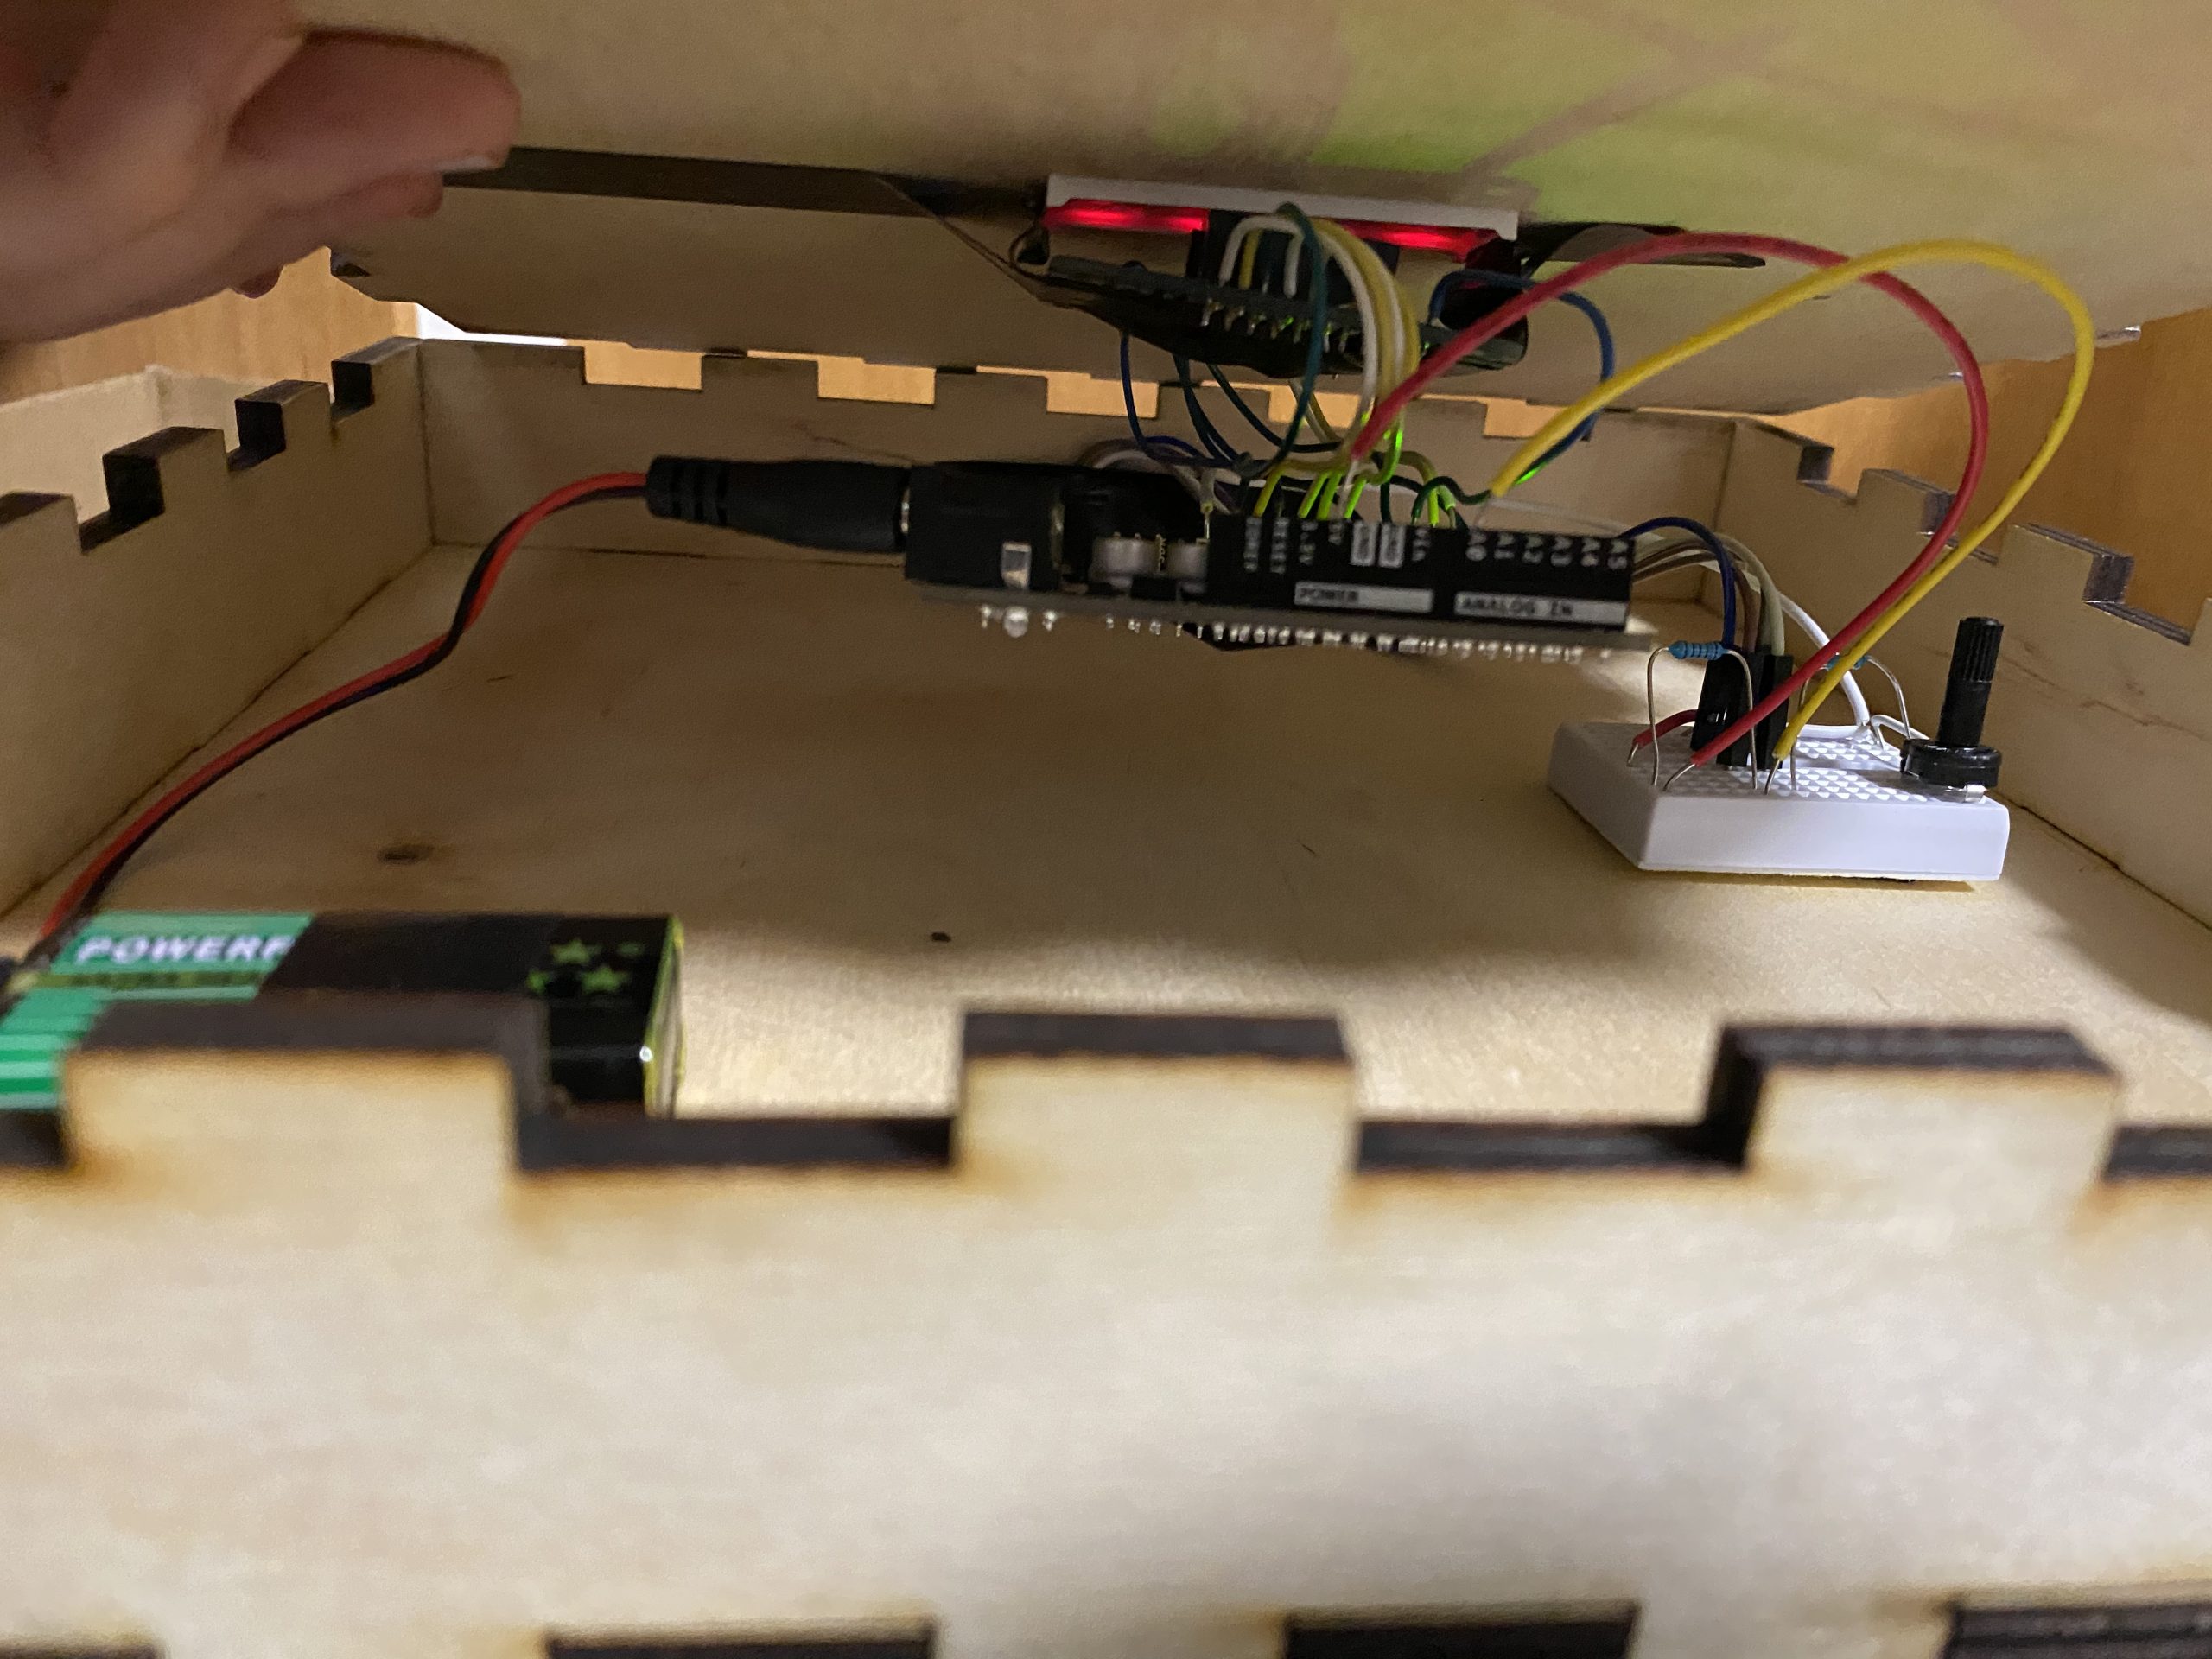
All the electrical components are within the lid of the box.
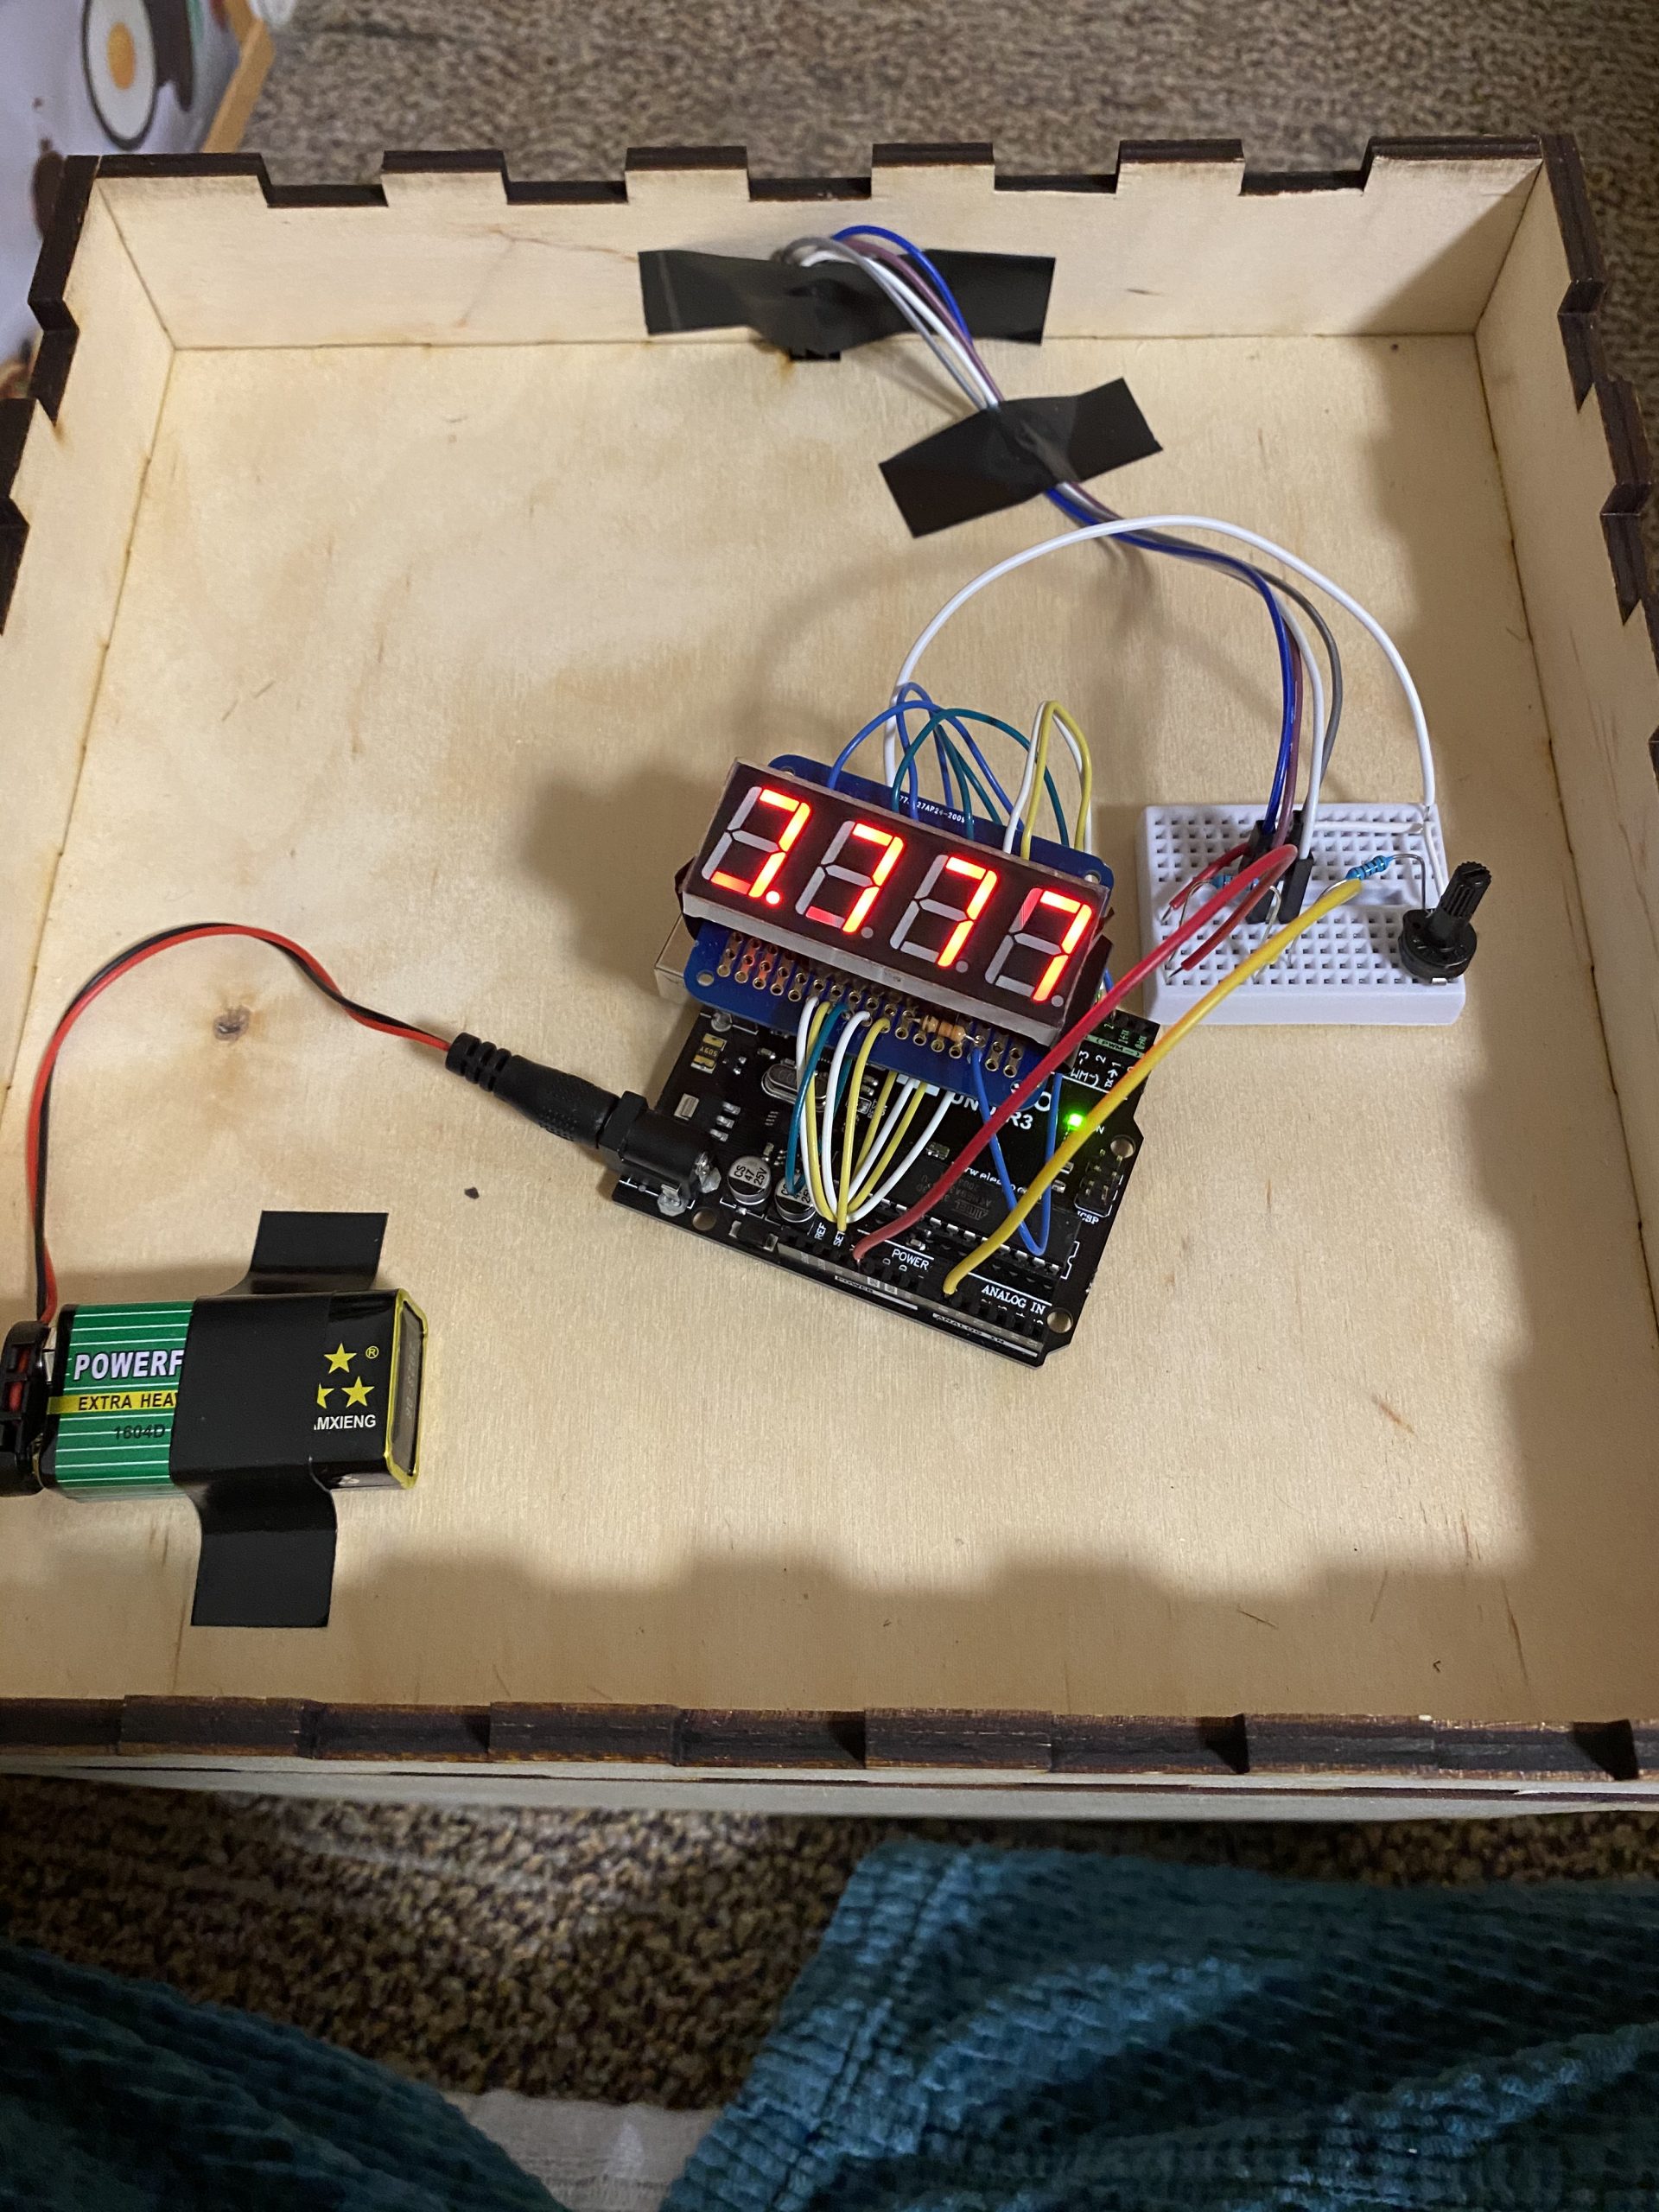
Another top-down view of the components within the lid of the box.
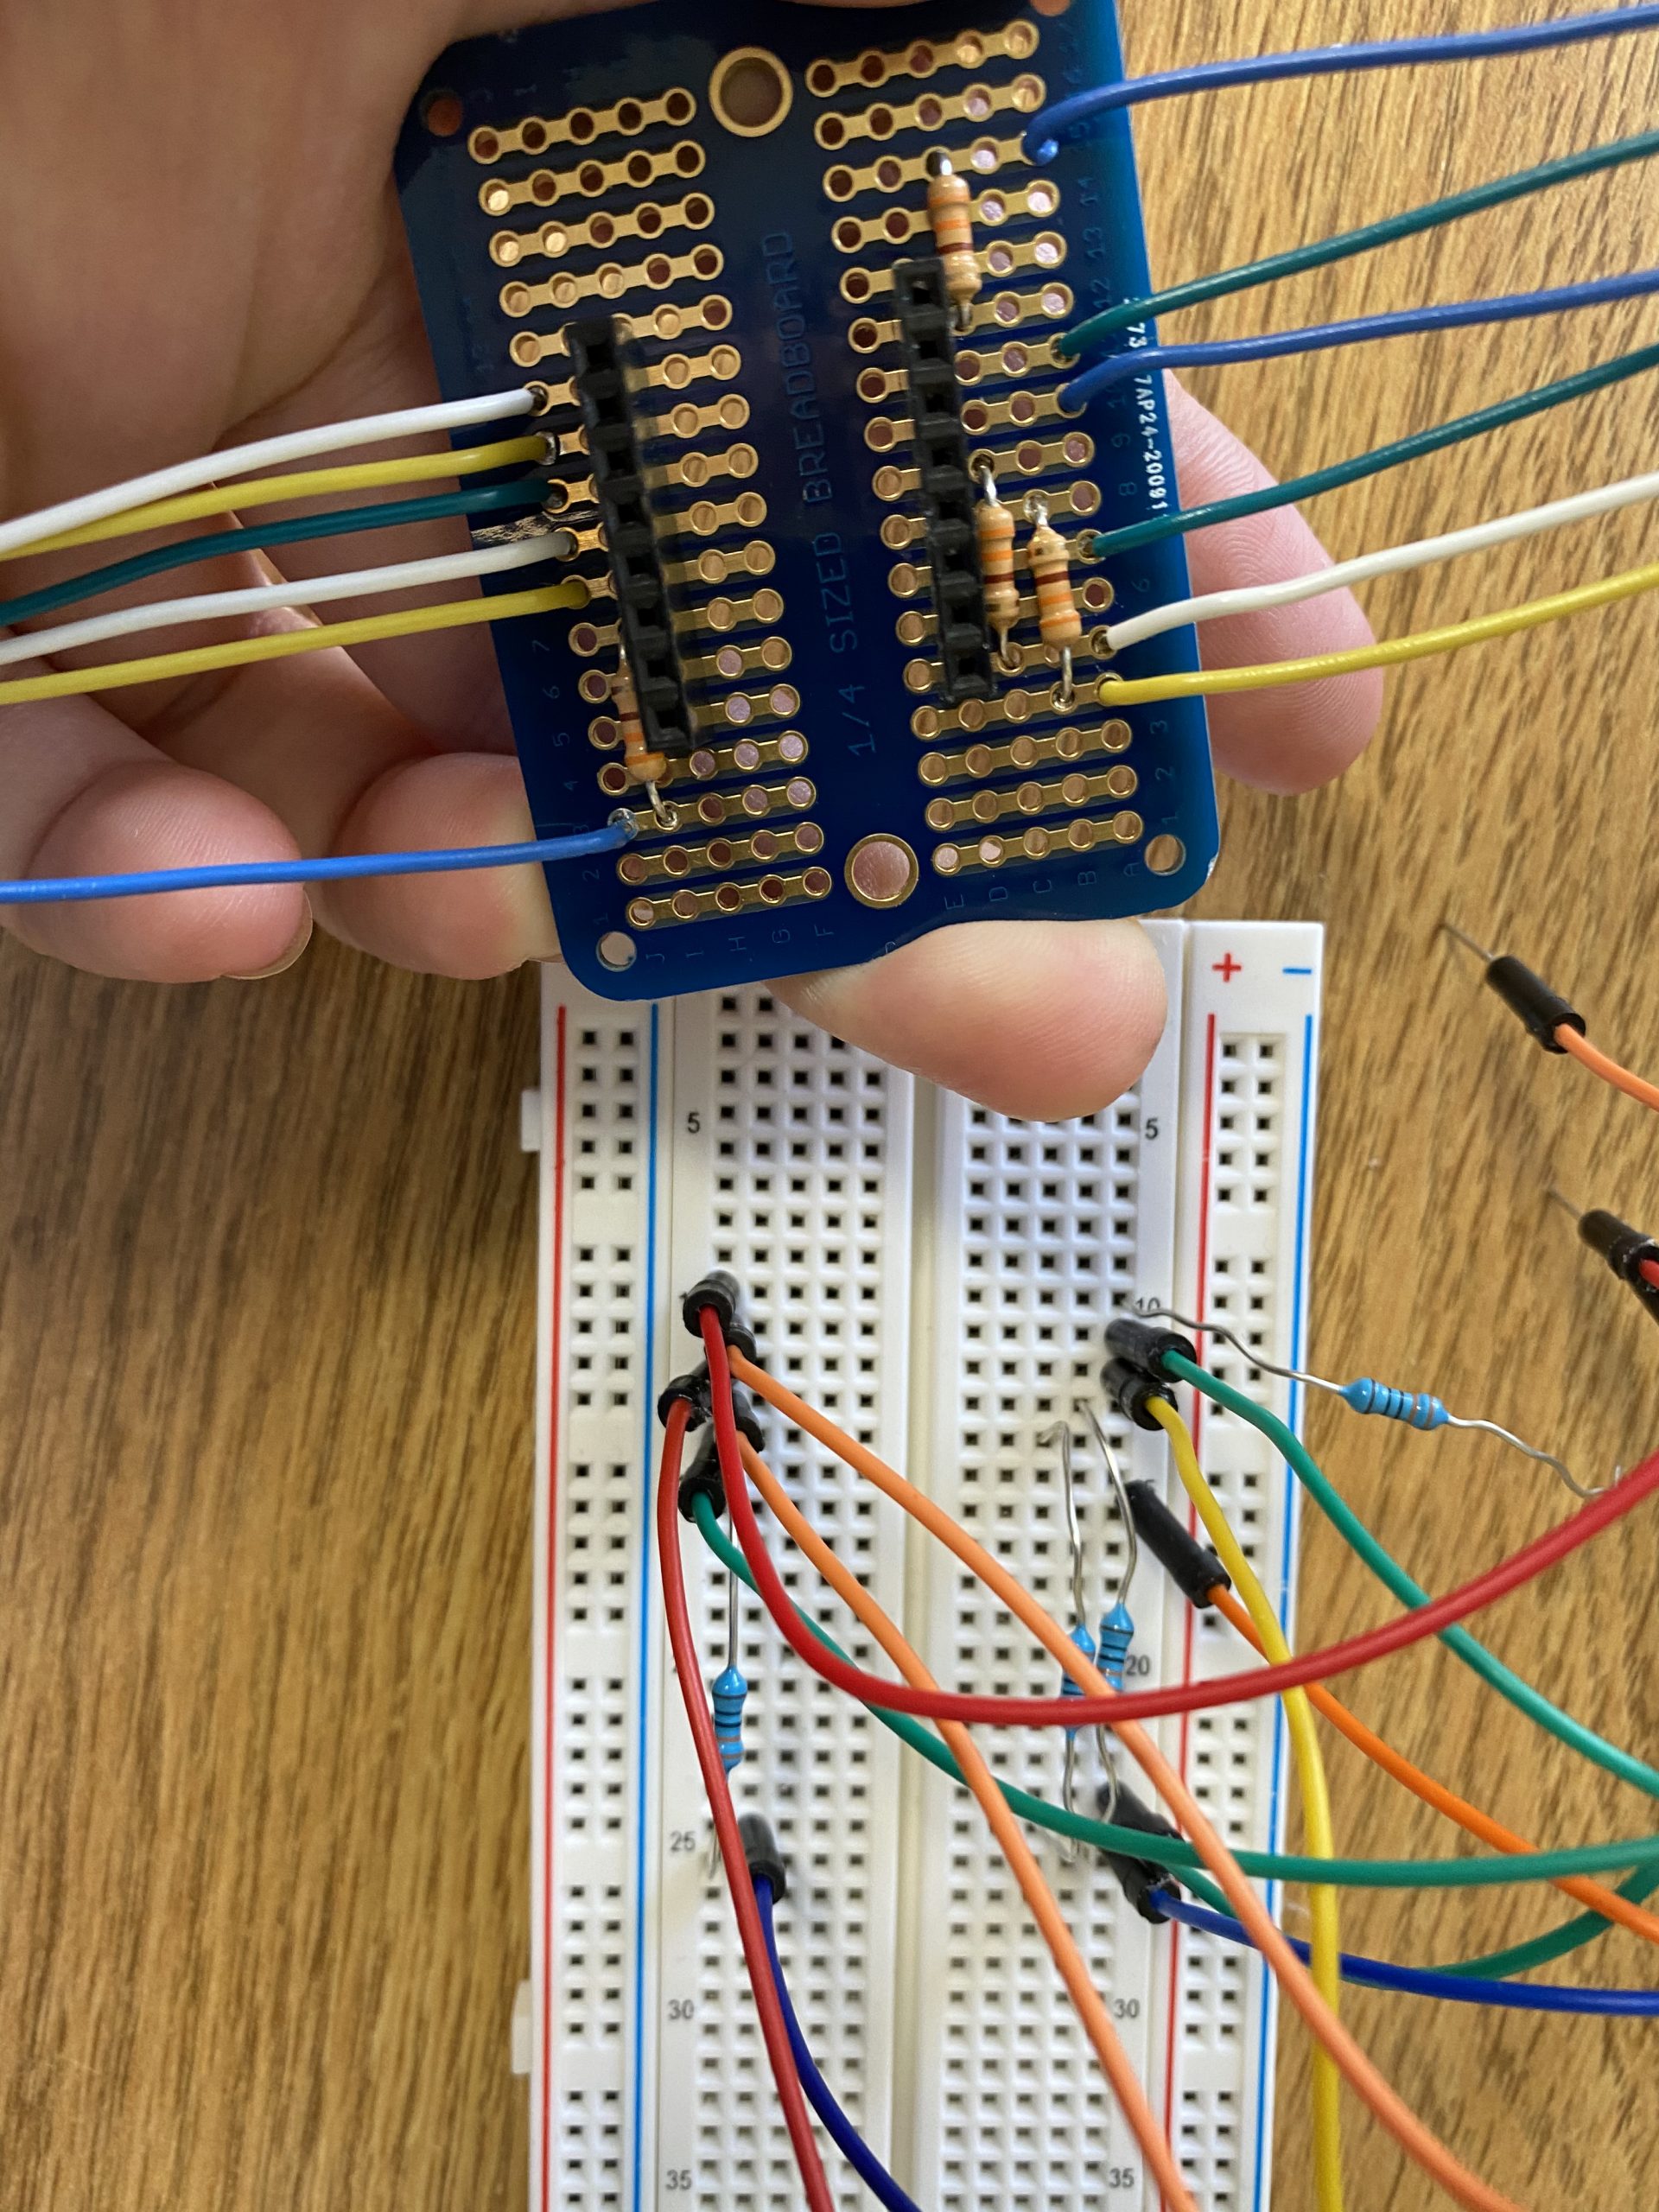
I soldered the wiring for the seven segment display to ensure strong electrical connections and prevent wires from disconnecting when the box is opened.
Use of my device
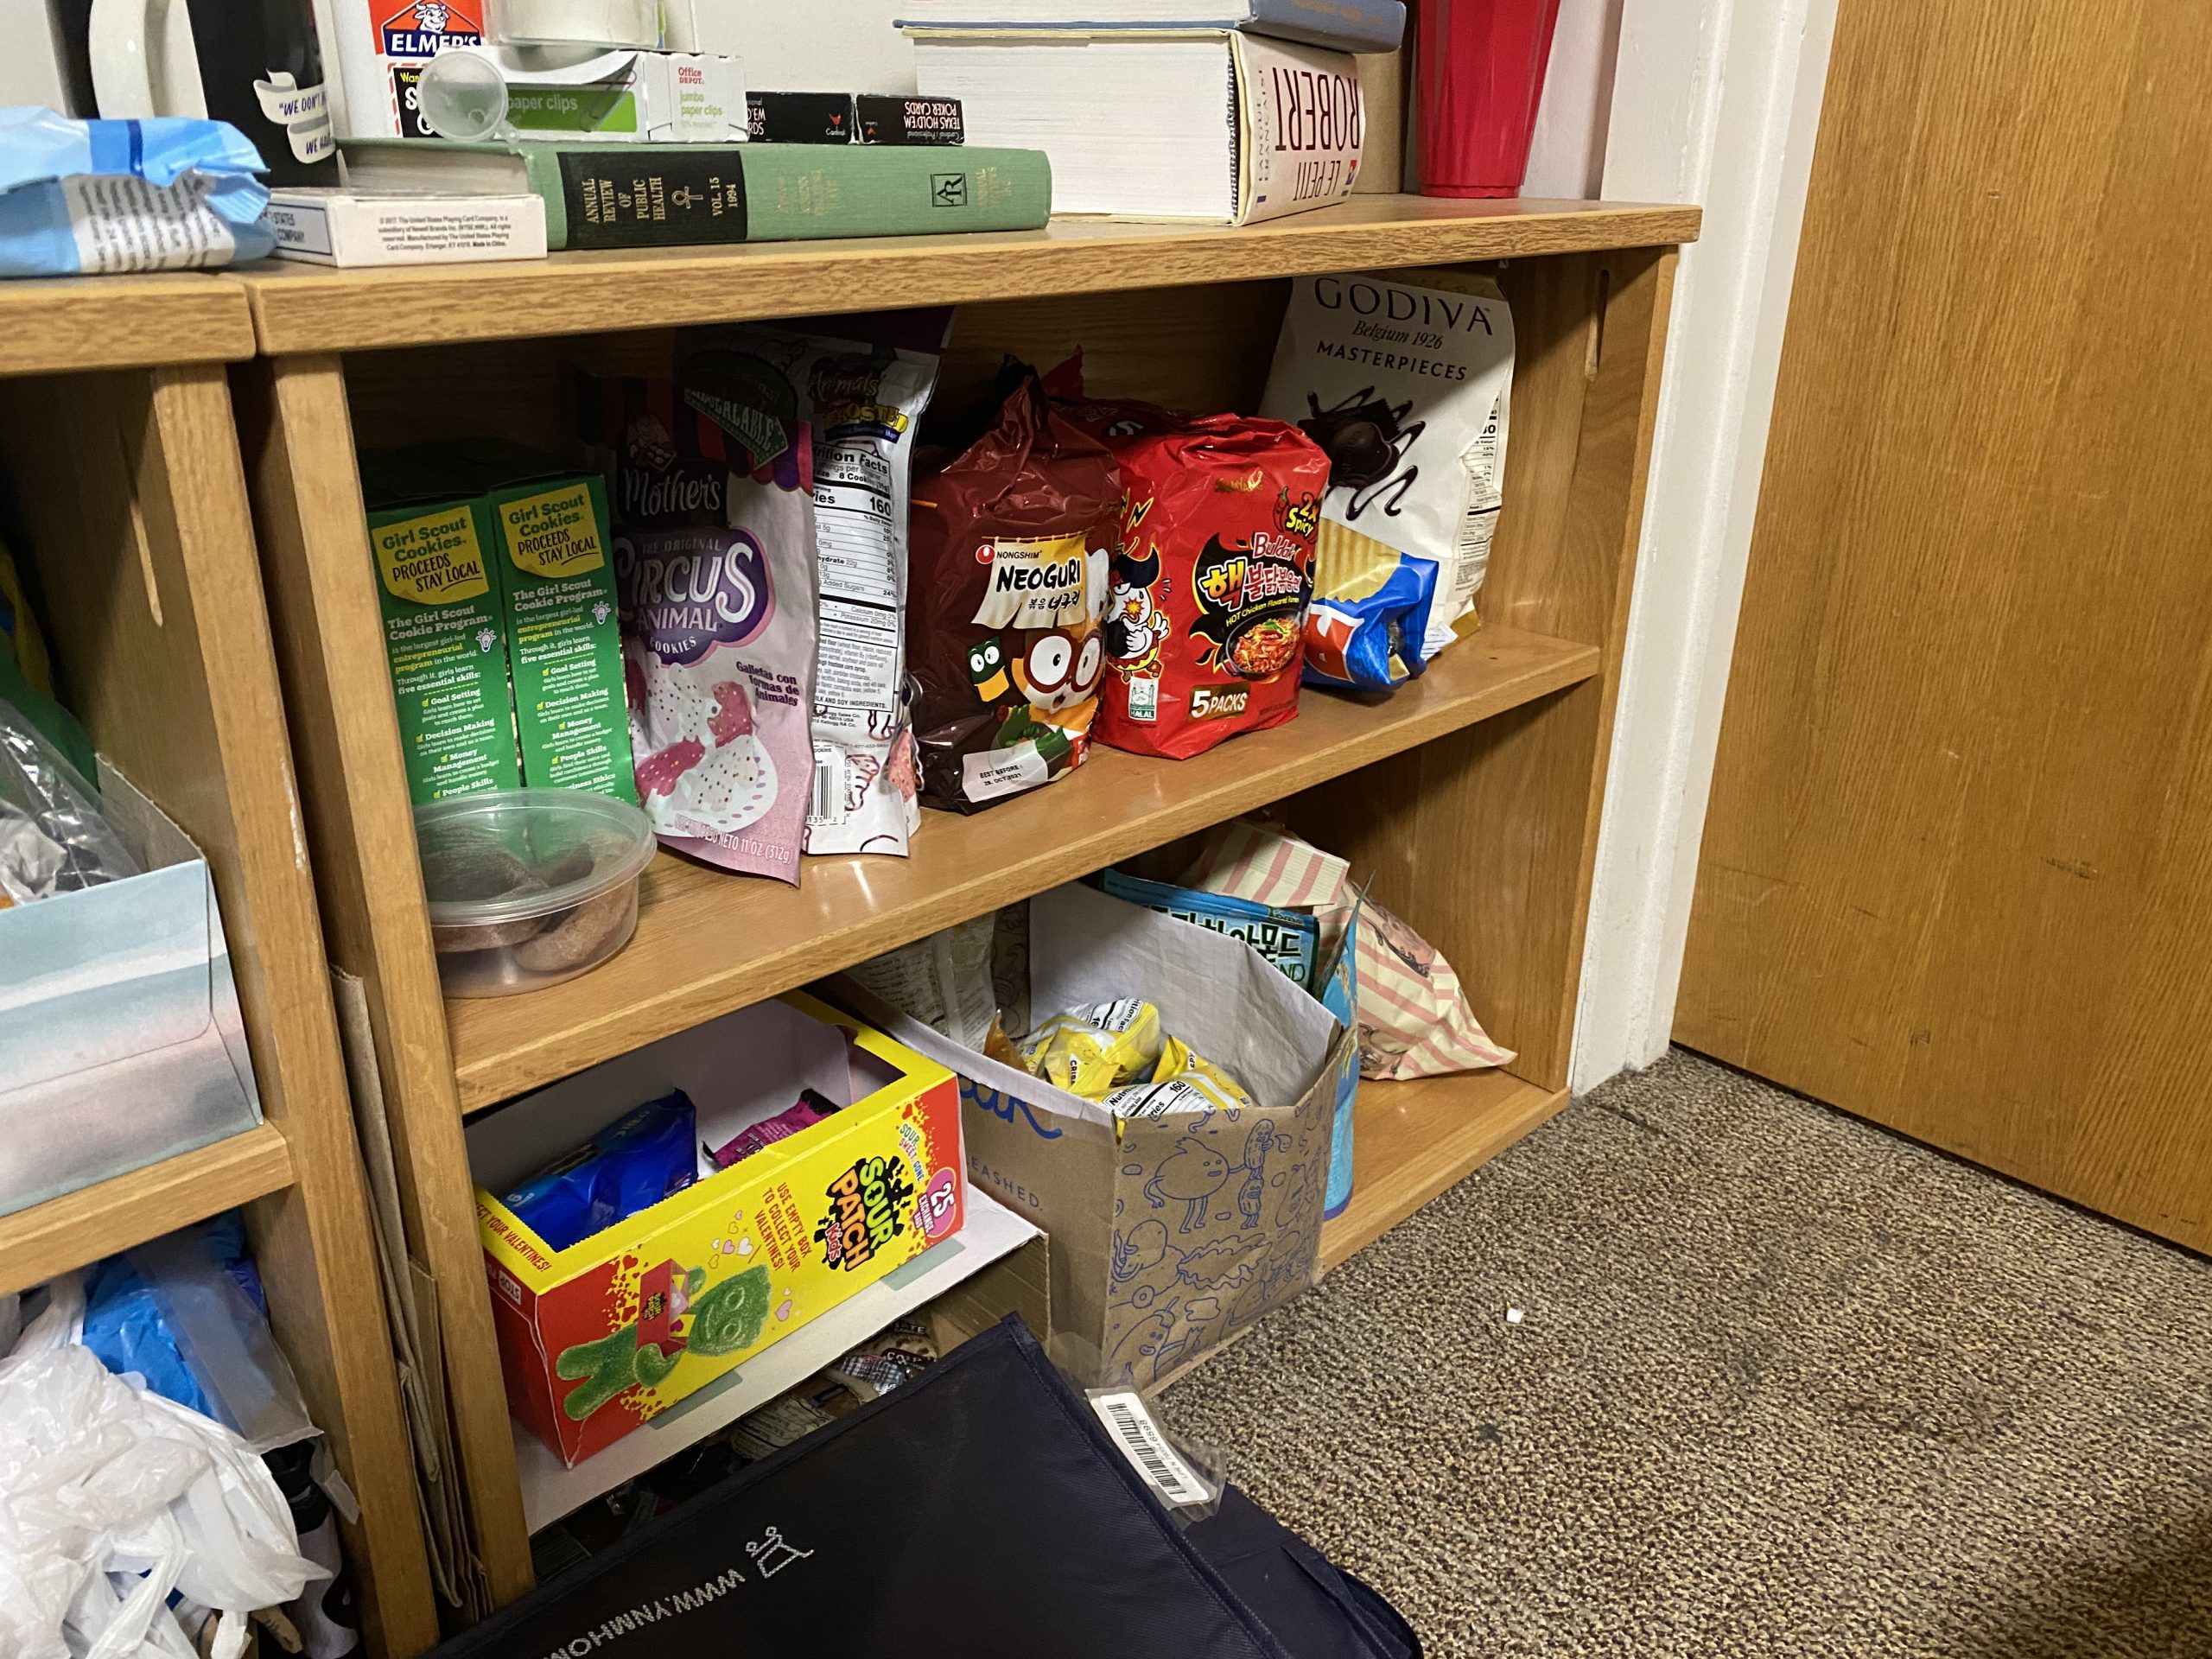
Here are all the snacks I need to stop eating
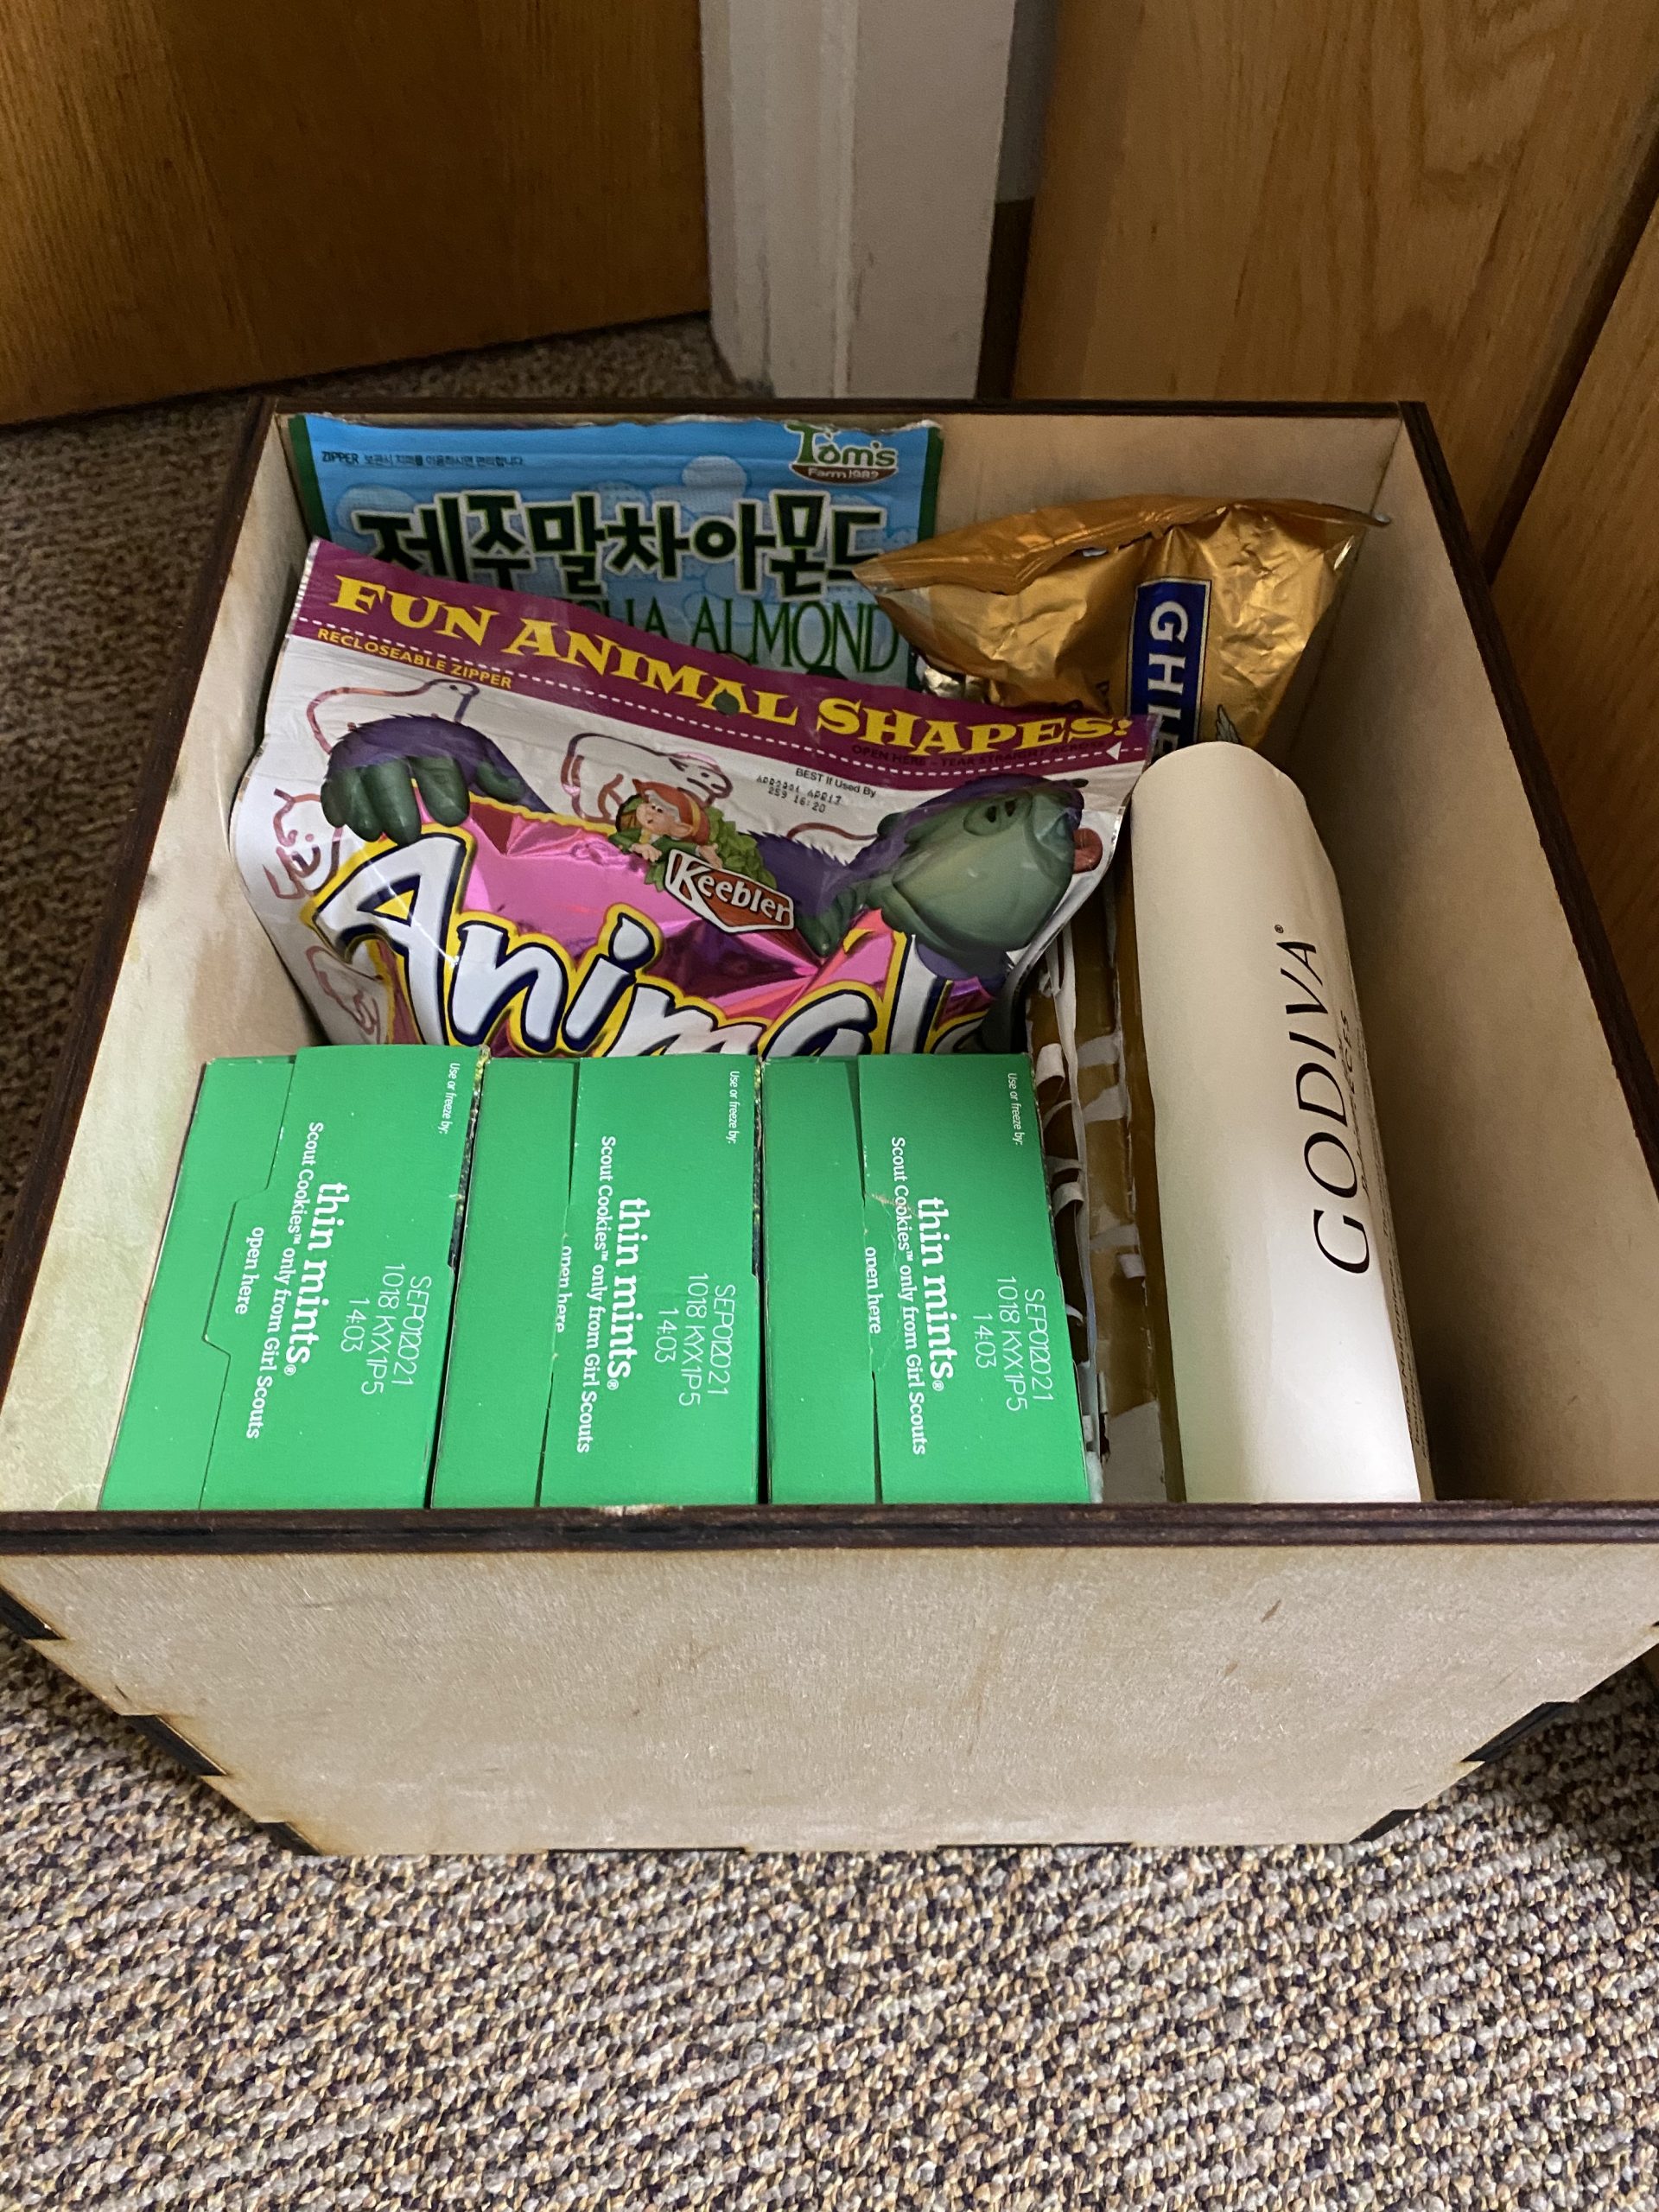
The snacks are now in the box so I will eat them less often.
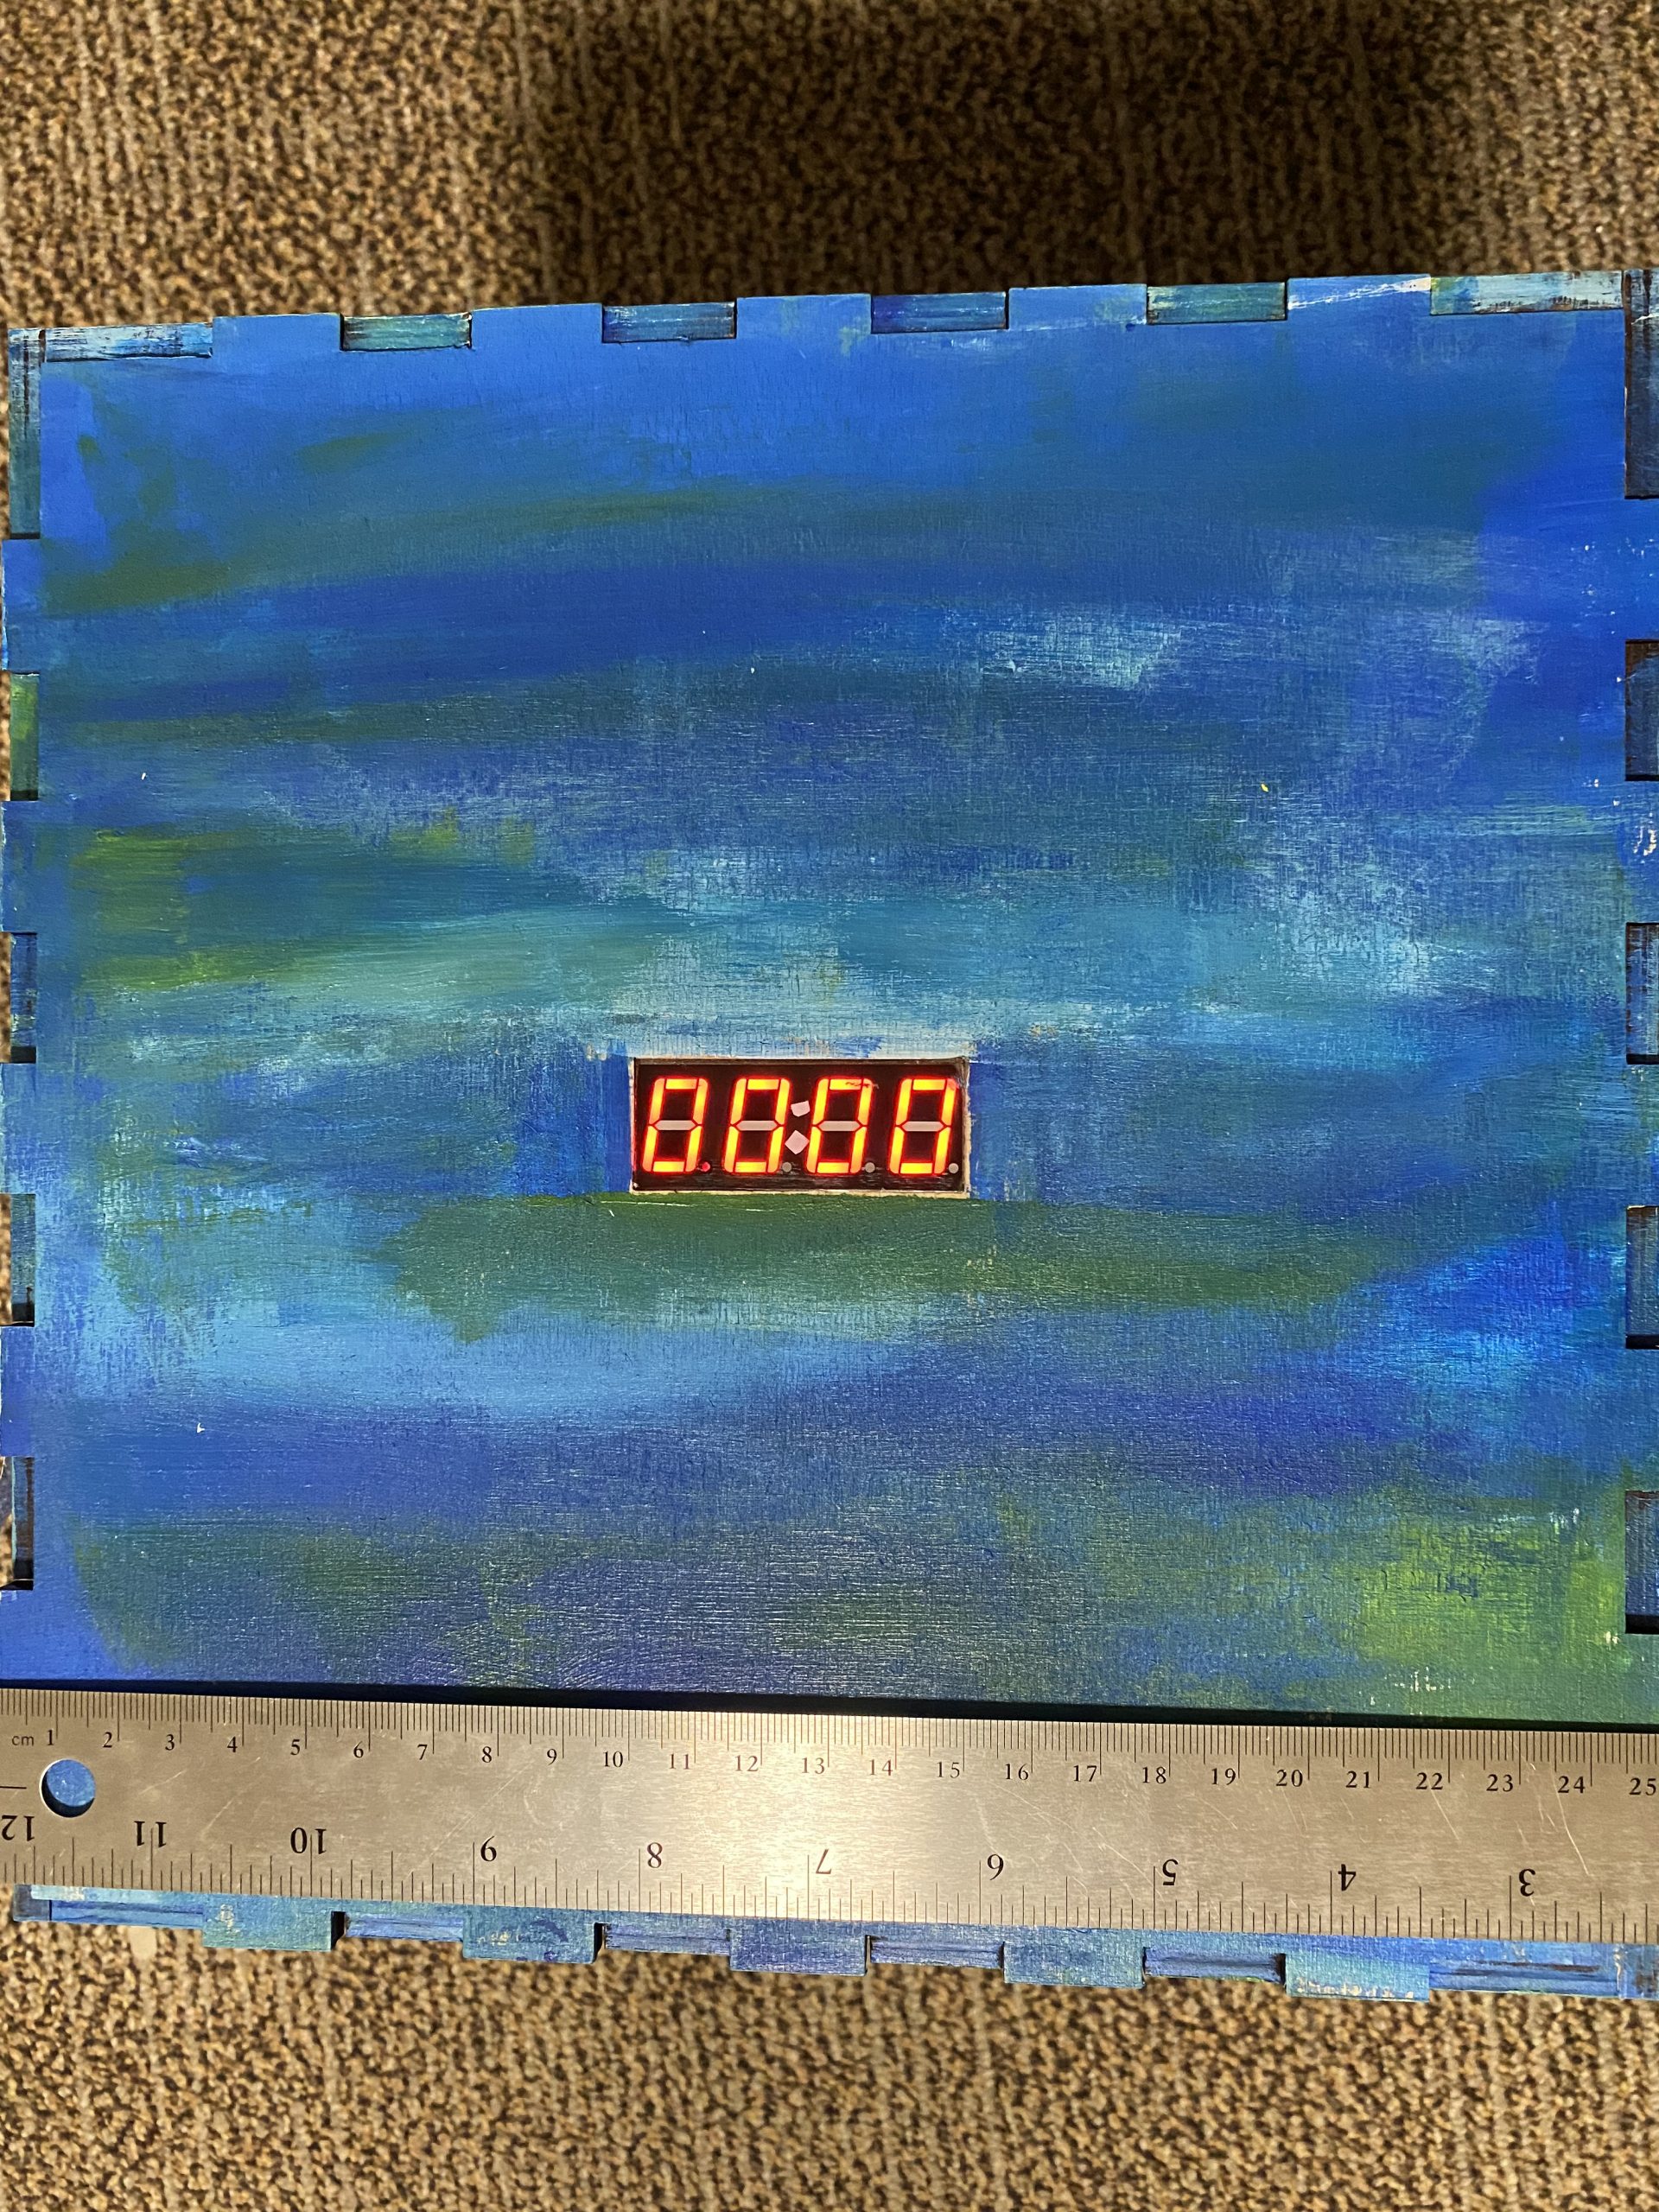
The display resets once the box is opened and the timer starts counting again.
Process Images and Review
Decision Points
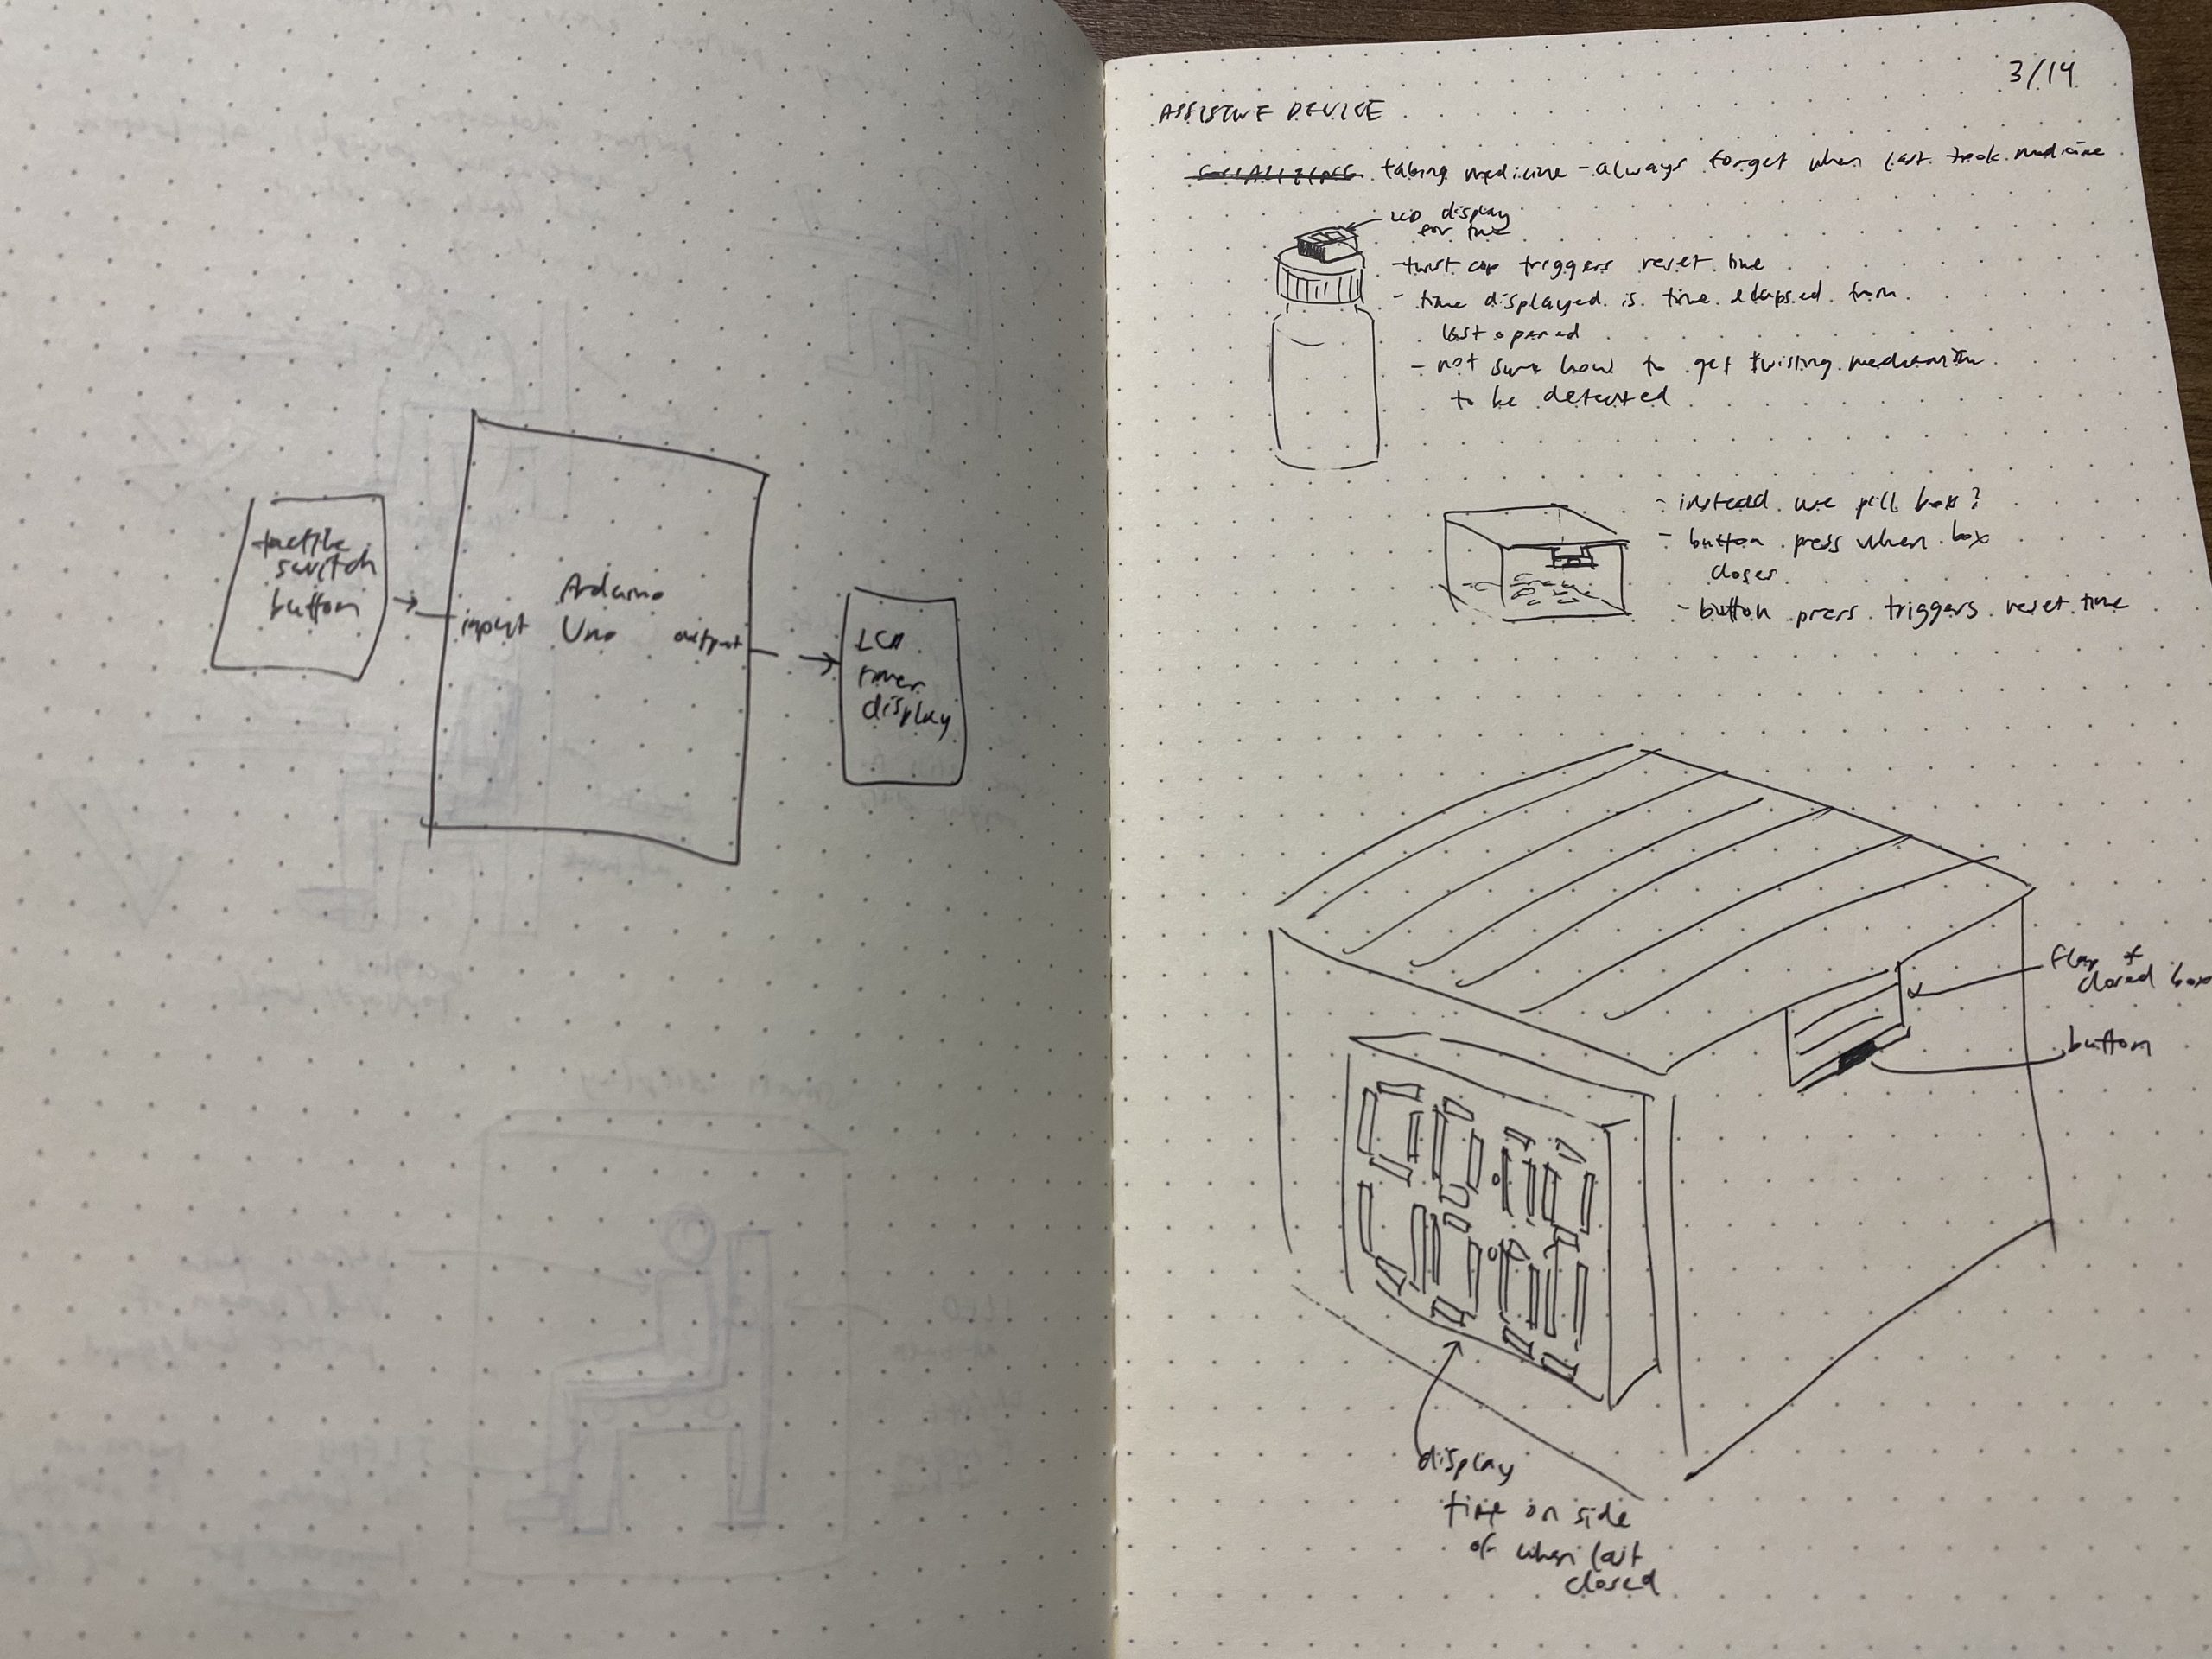
Initial ideation sketches
Originally, this project idea came from my forgetfulness when it comes to taking pills: I will always forget whether I actually took my medicine within a day. So, I had the idea to attach a timer onto the pill bottle that would display how long it has been since I last opened the bottle. With this device, I could tell if I took my medicine within 24 hours so that I would not accidentally take my medicine twice a day or just not take it at all. However, when I searched online, this device already existed so I was less interested in completing it as my own personal project.
Instead, I decided to tackle another pressing issue: my lack of self-control when it comes to food. As a Freshman, maintaining good eating habits has been difficult especially when my roommates and I buy many snacks. So I shifted the idea from building a timer to take know when to take medicine to building a timer to become more aware of how often I am eating snacks. This timer would automatically reset once I open the box to reach for snacks, making it an unavoidable reminder of my frequent snack consumption.
During the process, I unfortunately encountered issues with the battery. Whenever I would connect it to my computer, the display would show numbers very clearly and brightly. However, with the battery the device would work properly for the first few moments, but after a minute or so the display would start flashing as shown above. I attempted to debug this behavior for quite a long time, updating the monitor as few times as possible, however I was unable to successfully debug it and continued to use my computer as a power source for the demonstration.
Process Highlights
Since I had not used the seven segment display before, I was also quite curious about the edge behavior. With the electronic prototype I built, I tested what would happen when the time would overflow and attempt to display a 5 digit number. I found that it would simply display “—-“, in which I was okay with not changing that behavior since I think I would deserve a snack if I was able to resist after 100 hours.
Although I used millis() to keep track of the time, I wanted to display the time in hours:minutes to keep the convention of a clock and display a decent amount of time (around 4 days). This involved some conversions and math which took a bit of testing to get right. I sped up the incrementation to ensure that the time would be accurate even when the hours went into the double digits.
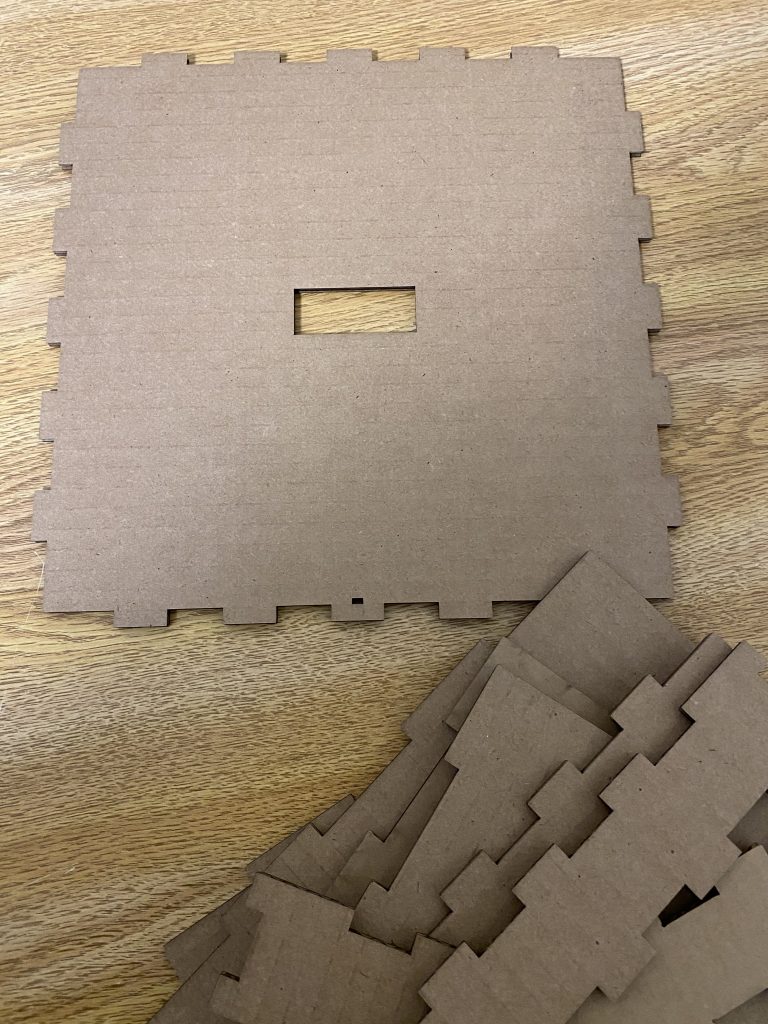
My cardboard laser cut box had a few issues that I was able to fix before laser cutting the final box
This was my first time laser cutting or working with any sort of software for laser cutting. On my first attempt, I made a hole for the display on top of the box and the IR proximity sensor I used to determine whether the box was opened or not. However, I realized that I made the hole for the sensor too small and placed it in the wrong position. I wanted the proximity sensor to determine the distance between the lid of the box and the box component, but I had placed the proximity sensor hole at the top of the box which would fail to detect anything useful. Thankfully, I noticed my mistake and changed it before laser cutting the wood.
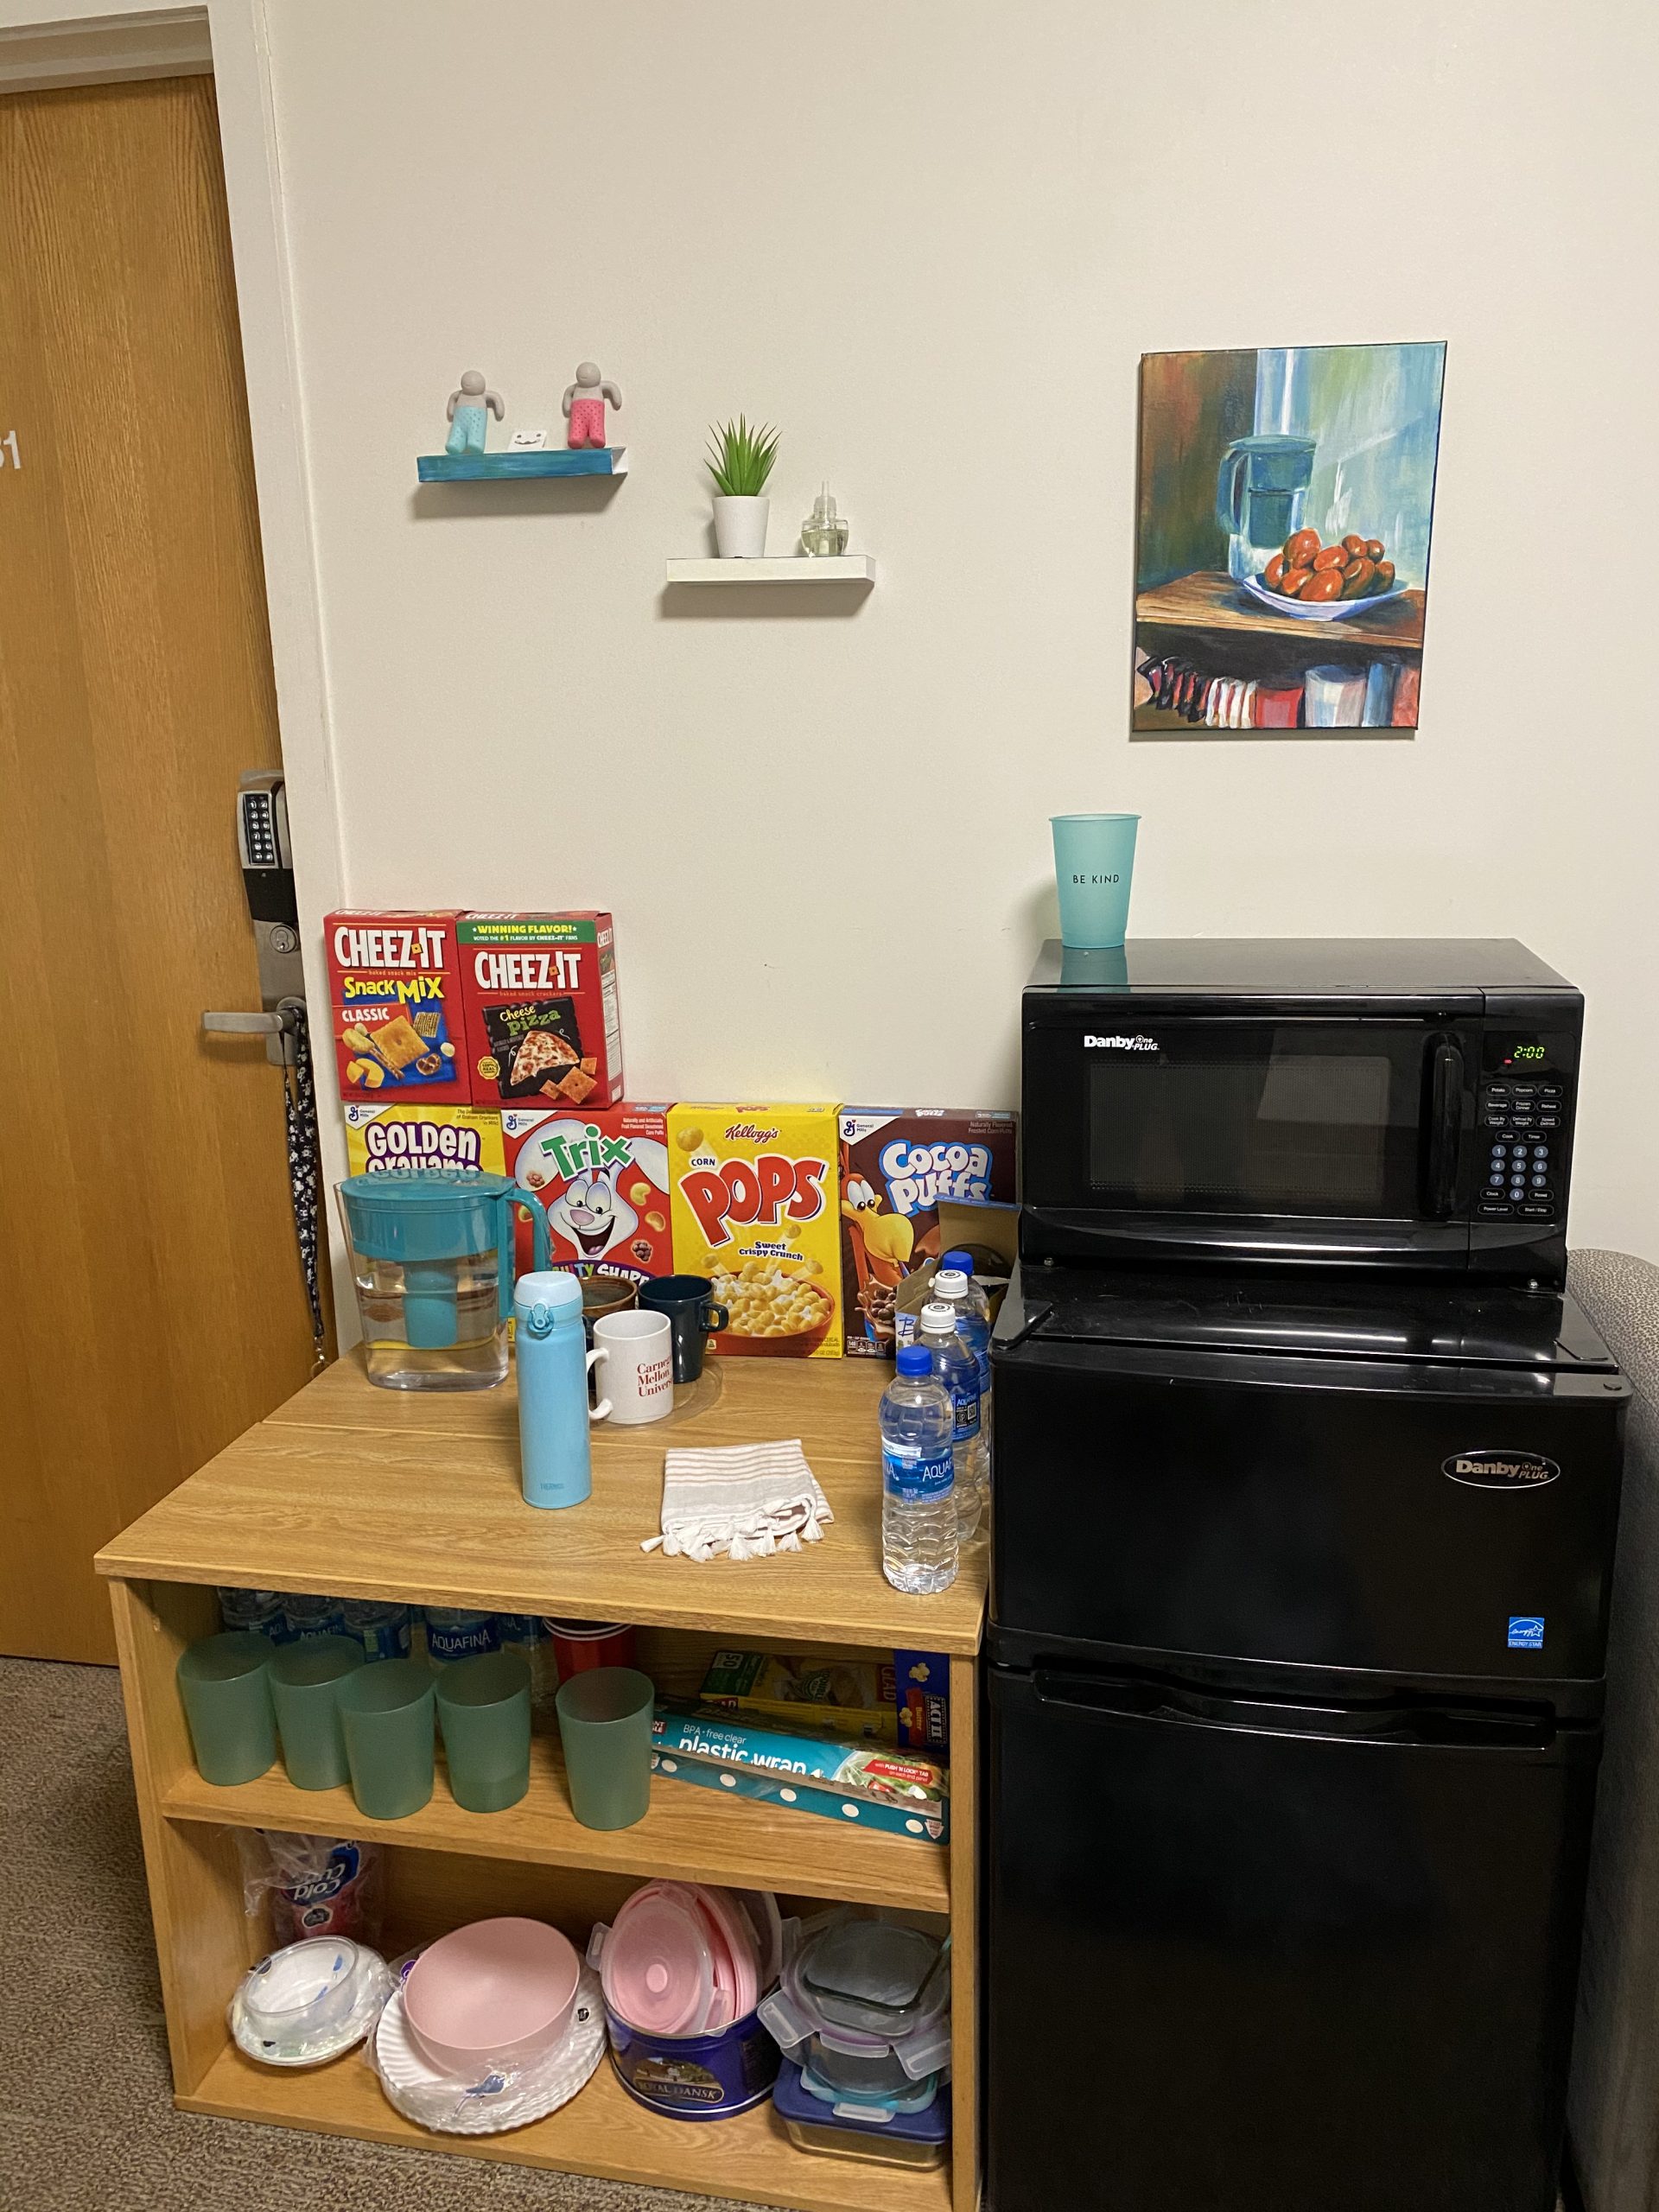
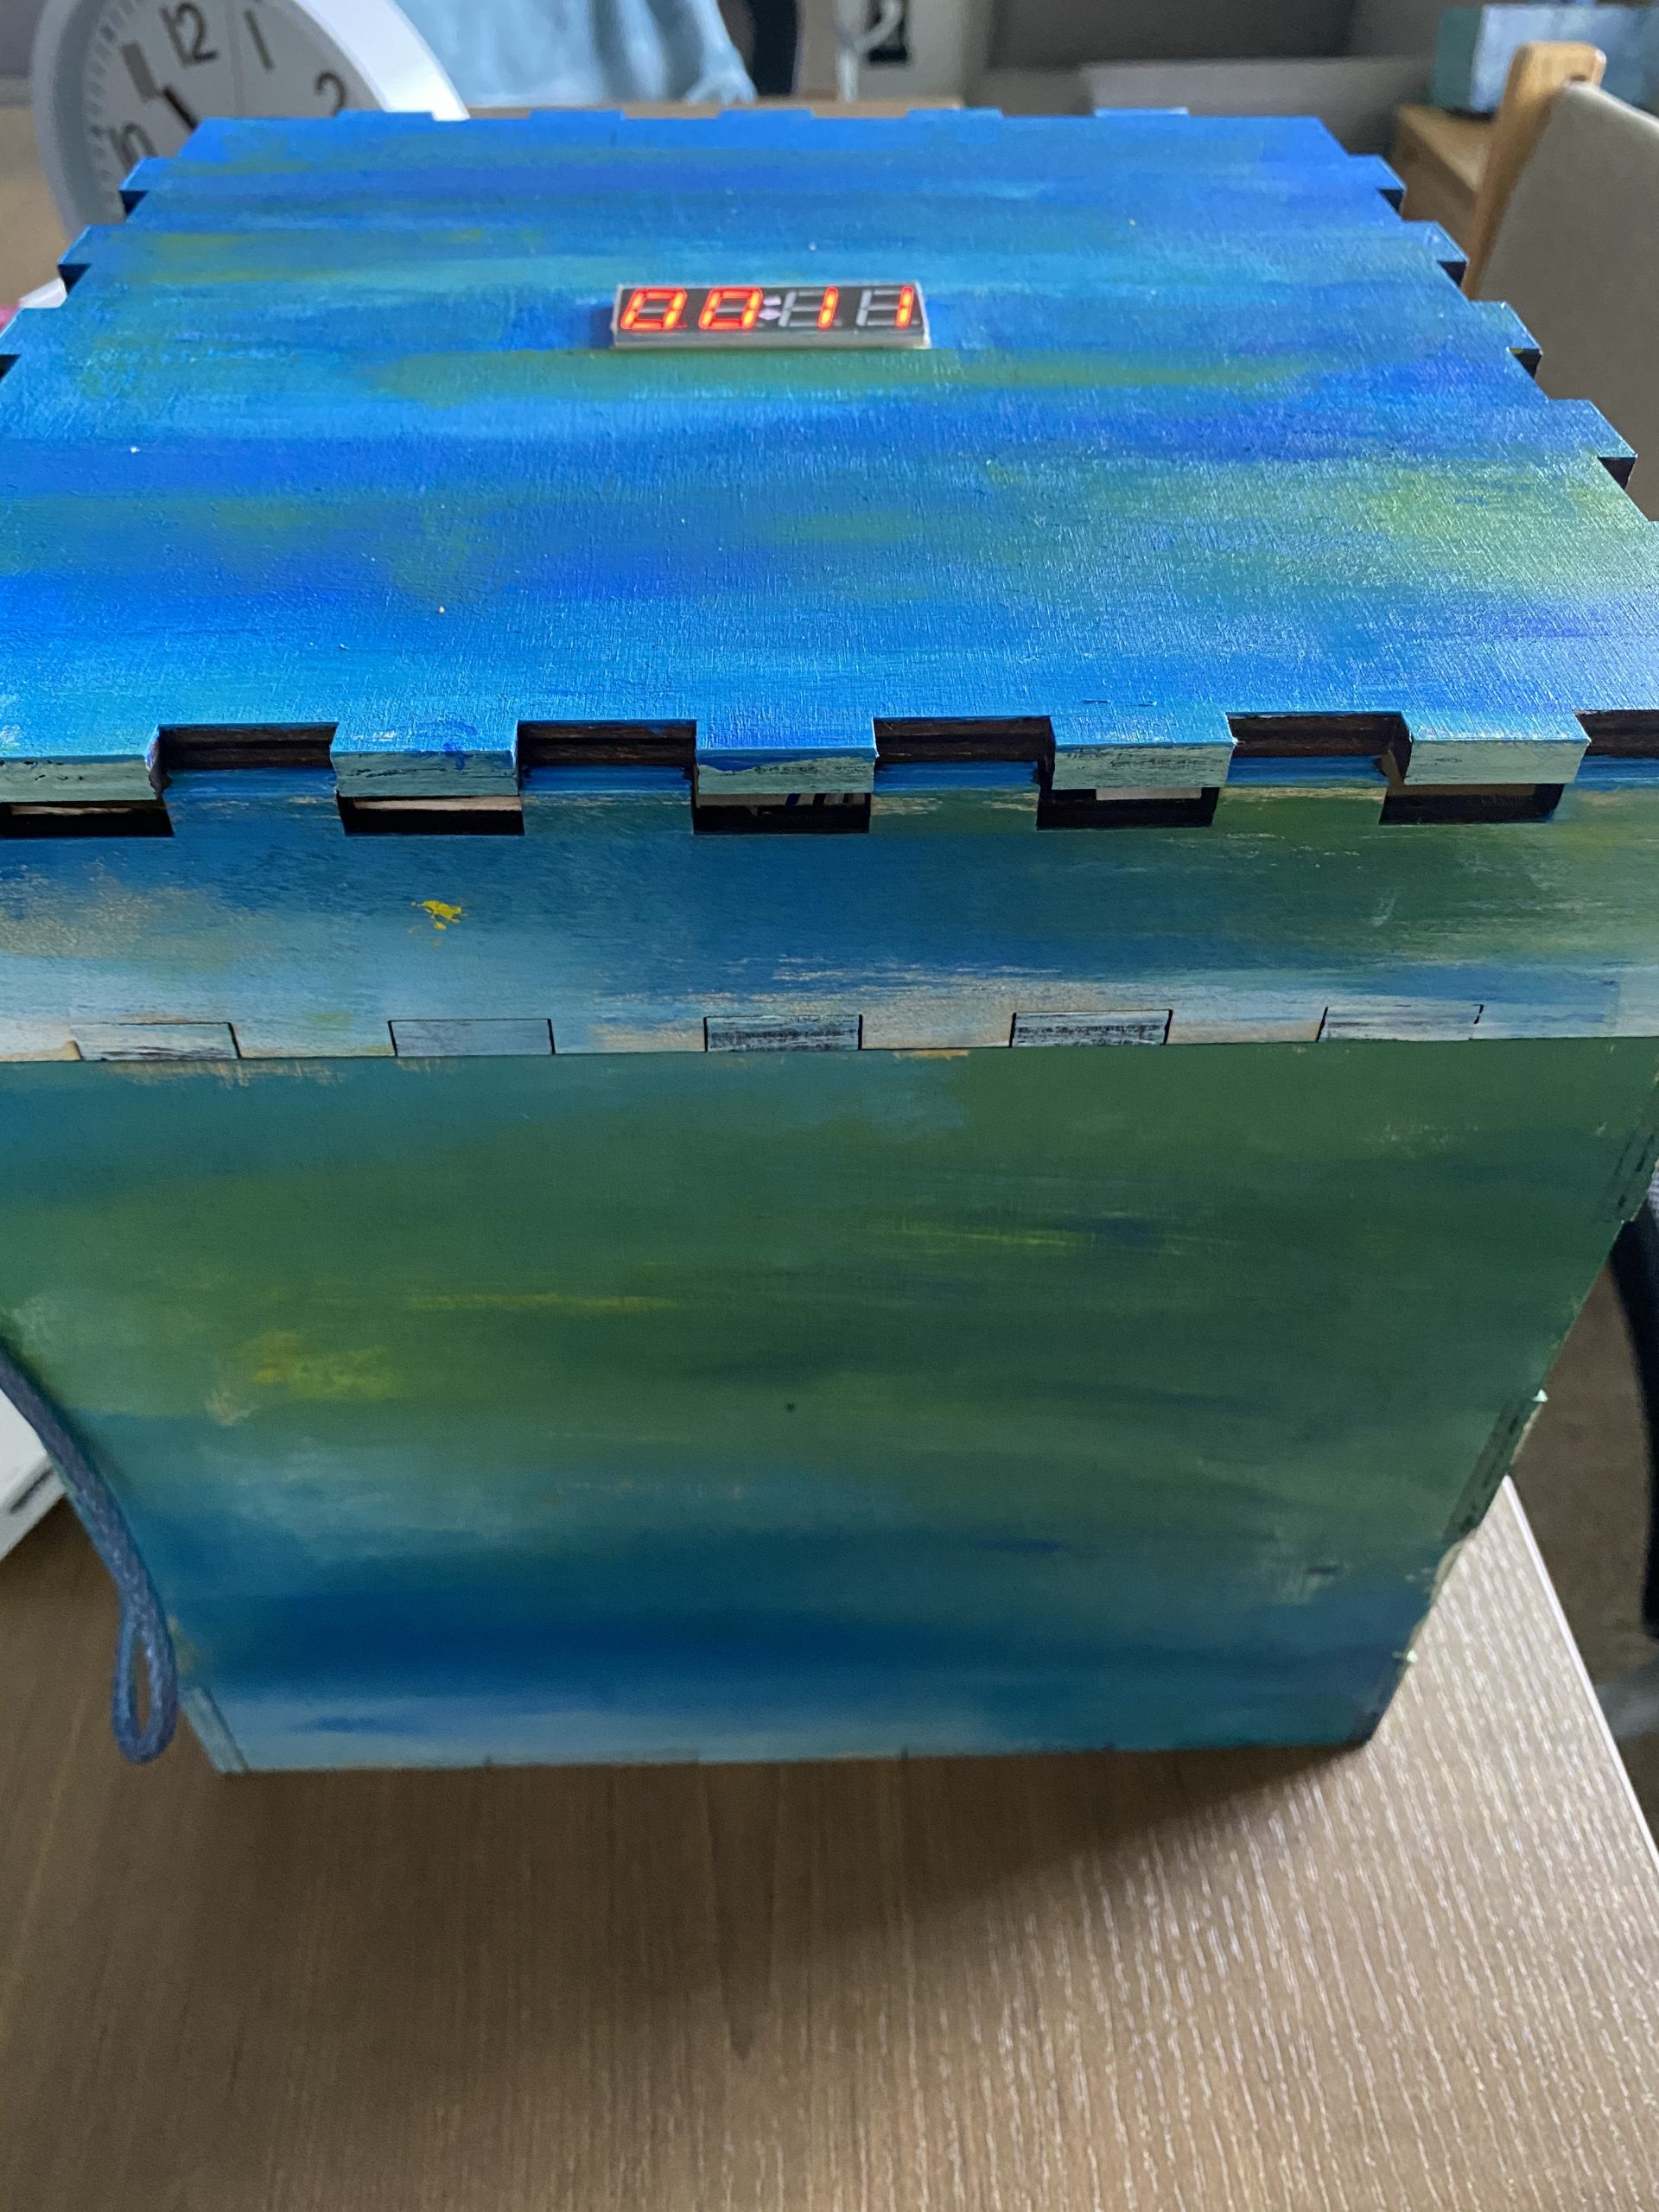
Minor detail: I painted the box so that it would match other decorations in the space
Discussion
One comment I received asked what would happen when I put the snacks into the box. Currently, the solution would be to time placing the snacks in the box that I would put snacks in while taking them out so the time would still reflect the last time I ate snacks. However, I could instead add a button just for putting in snacks that would prevent the IR proximity sensor reads from resetting the timer when I wanted to add in snacks. Another comment I received was adding some sort of punishment if I opened the box too frequently or even having some sort of reward if I was able to prevent snacking for a long time. I could implement a speaker that would play certain sounds to reflect either disapproval or approval, using a buzzer/annoying noise vs a sparkly noise to contrast the results of opening the box at certain times.
I am personally quite satisfied with the overall construction of the box and the way all the electronic components are just housed within the lid. So far, I have found the box quite effective as it has drastically reduced temptations to look towards the snacks during the day and has prevented me from opening the box when I was testing the box. However, I am quite disappointed that I was unable to get the battery to power the device, making it quite inconvenient to use on a daily basis.
I learned that I am quite interested in the physical construction of the devices I make. I had a lot of fun thinking of ways the box could be customized and decorated to be well incorporated in the space of my dorm, making it perfectly fit the shelves and making the electrical components fit the different holes within the box. In the future, I hope to continue to create 3D forms using laser cutting or 3D printing.
Although I do not expect to build another version of this box, I would have a lot of ideas for a future one. First off, I would incorporate the sound addition described above to provide feedback to the user’s snack consumption. Furthermore, I would want to make the box a little lighter since the lid is quite clunky right now despite the electronic components not being very heavy. Finally, I would want to make sure that the battery works.
Technical Information
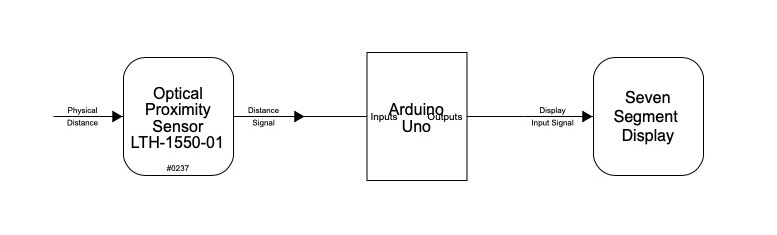
Logical Block Diagram
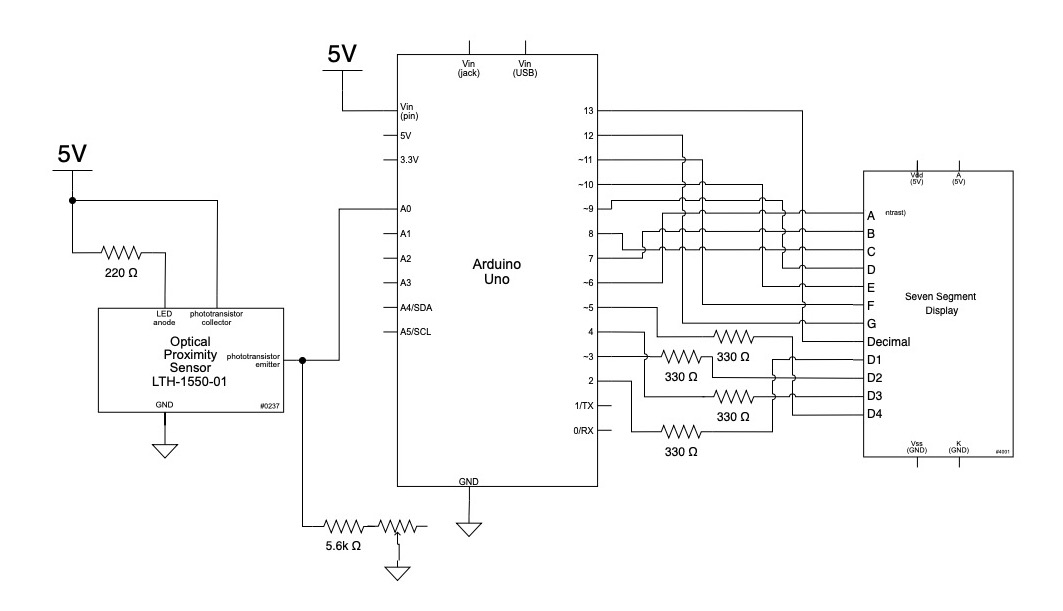
Schematic Diagram
/*
 * Self-control Snack Box
 * Erica Fu
 *
 * Description:
 * Uses IR Proximity sensor to detect if the box is opened; resets the timer once the box is open
 * Increments the time on the display and converts the time to hours and minutes
 *
 * Pin mapping:
 *
 *  Arduino pin                 | type   | description
 *  ----------------------------|--------|-------------
 *  A0                           input      IR proximity sensor to detect if box is opened
 *  2, 3, 4, 5                   output     digit pins on the seven seg digit display
 *  6, 7, 8, 9, 10, 11, 12, 13   output     segment pins on the seven seg digit display
 *
 * Sources:
 * 1) Used this website to understand and complete the wiring of the seven segment display,
 *    also used the code to display numbers
 *    https://www.instructables.com/Using-a-4-digit-7-segment-display-with-arduino/
 * 2) Used the IR proximity sensor explaination on the course website to understand and complete the wiring of the part
 *    also used the code to read inputs
 *    https://courses.ideate.cmu.edu/60-223/s2021/tutorials/IR-proximity-sensor
 */

#include <SevSeg.h>

SevSeg sevseg;

const int PHOTORESISTORPIN = A0;

//used to calculate the timing later
long timeVal = 0;
long delayTime = 0;
int savedTime = 0;

void setup() {
    //setup for the seven segment display
    byte numDigits = 4;
    byte digitPins[] = {2, 3, 4, 5};
    byte segmentPins[] = {6, 7, 8, 9, 10, 11, 12, 13};
    bool resistorsOnSegments = 0;
    sevseg.begin(COMMON_CATHODE, numDigits, digitPins, segmentPins, resistorsOnSegments);
    sevseg.setBrightness(0);
    sevseg.setNumber(0, 3);

    //setup for the IR proximity sensor
    pinMode(PHOTORESISTORPIN, INPUT);

    //serial setup for debugging
    Serial.begin(9600);
}
void loop() {

    //check if 1 second has passed
    if(millis()-delayTime >= 1000){

      //store the value of the IR proximity sensor
      int readVal = analogRead(PHOTORESISTORPIN);

      //reset delay
      delayTime = millis();

      //check if something is lifted from proximity sensor
      if(readVal<15){
        timeVal = 0; //reset time
      } else {
        timeVal = timeVal + 1; //add to time
      }
    }

    //if the time has changed
    if(savedTime != timeVal) {

      //calculate the hr:min to be displayed
      int hr = (timeVal/3600)*100;
      int mins = (timeVal/60)%60;
      int displayTime = hr+mins;

      //update the seven segment display
      sevseg.setNumber(displayTime, 3);

      //update savedTime for next time change check
      savedTime = timeVal;
    }

    //refresh display so it will light up
    sevseg.refreshDisplay();
}