Categories
Independent Project

Independent Project Final Update – Lea Emerlyn

Intended Effects

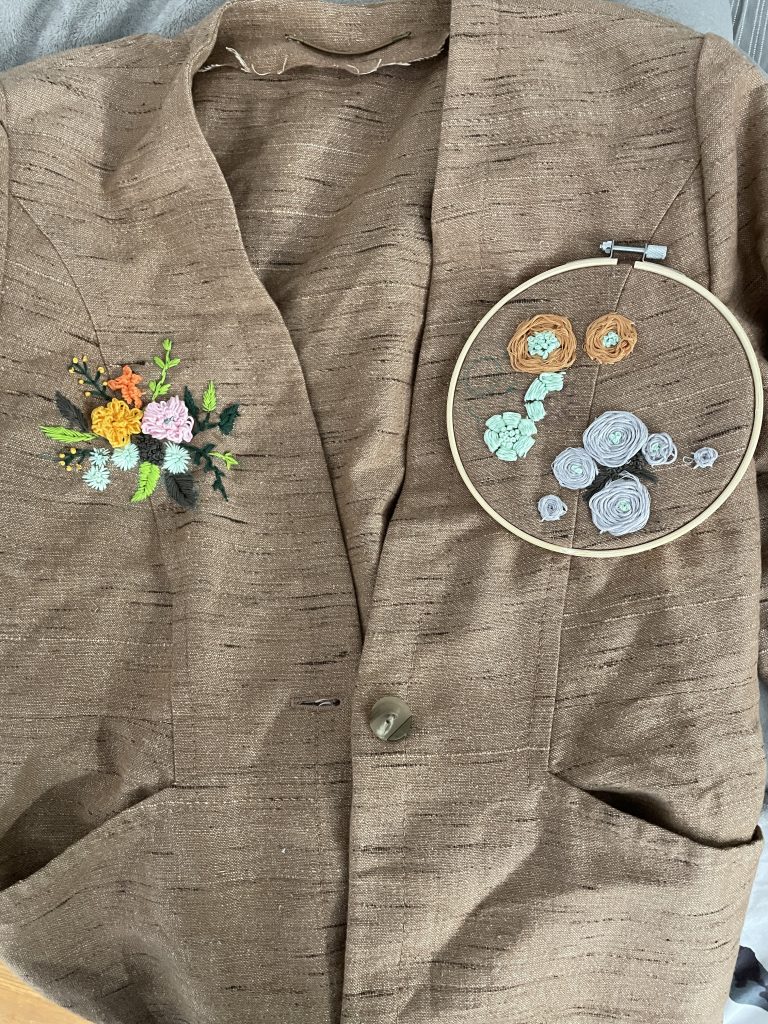
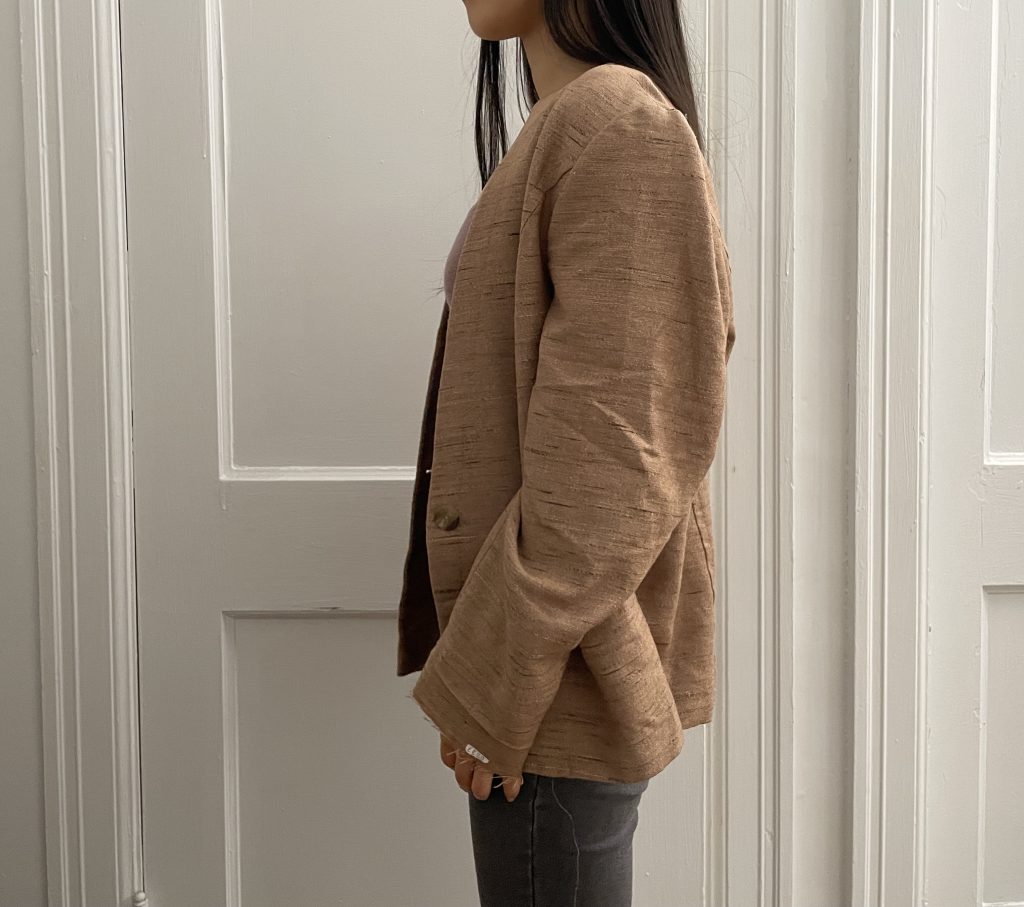
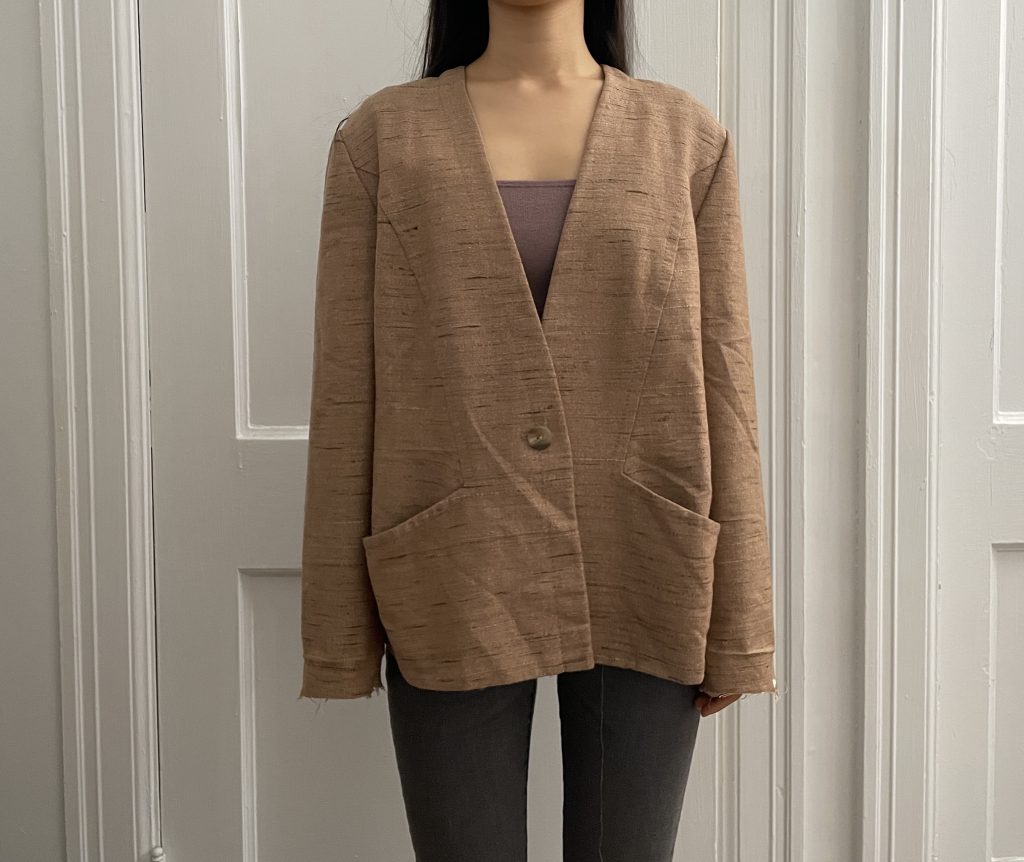
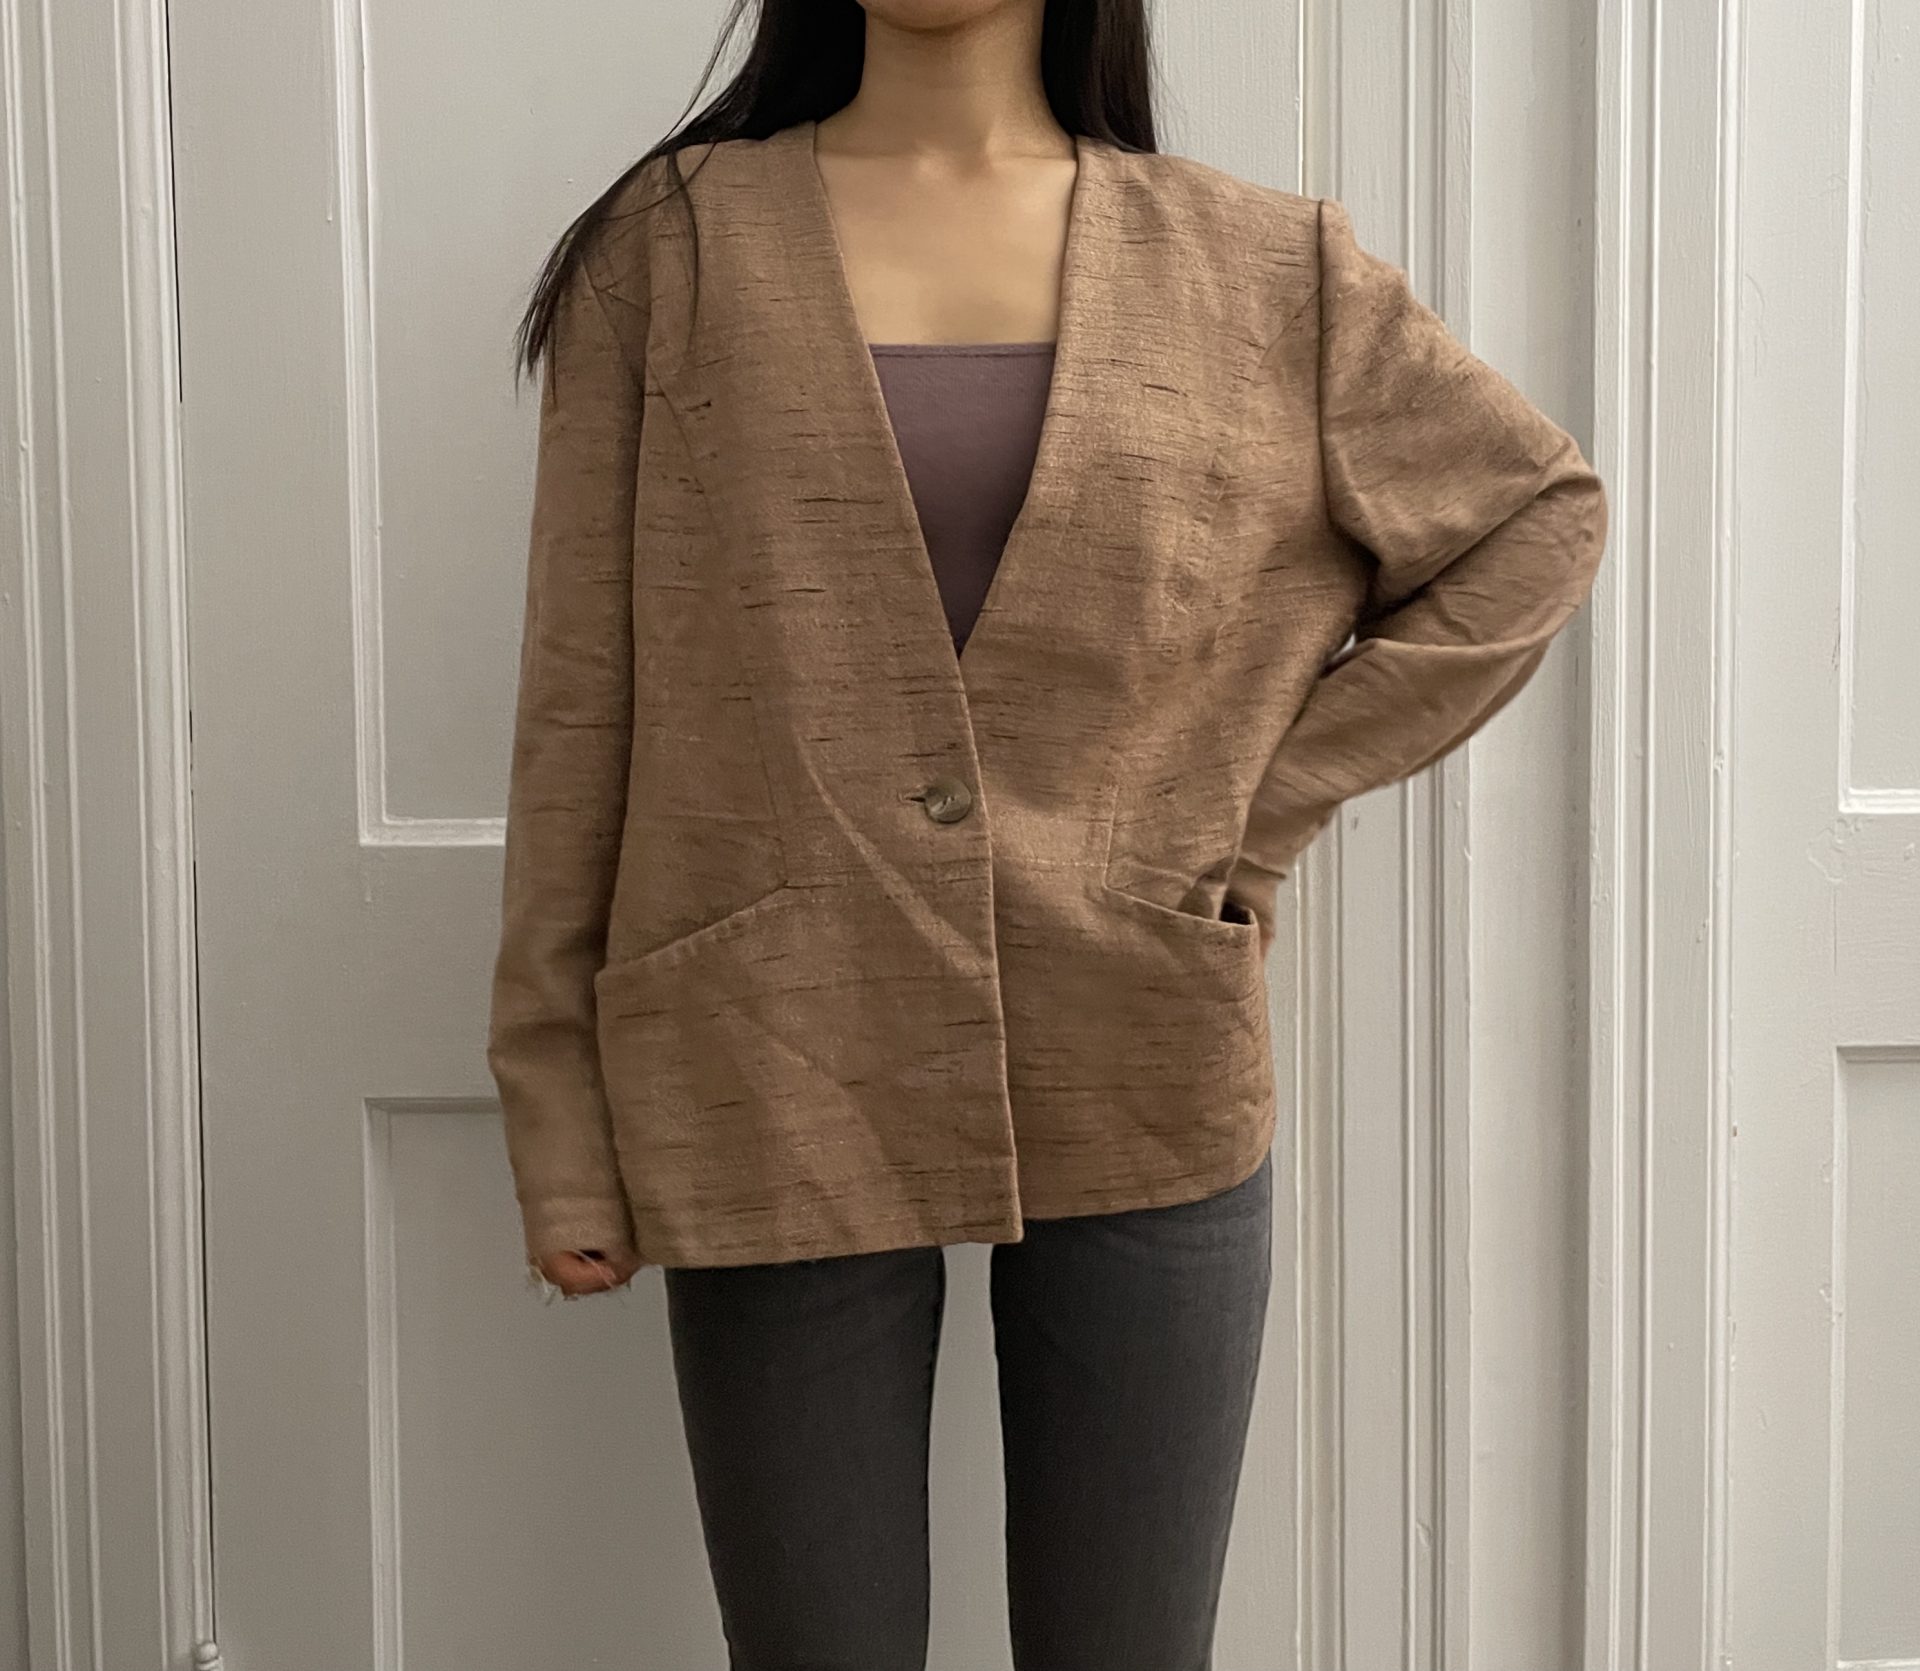
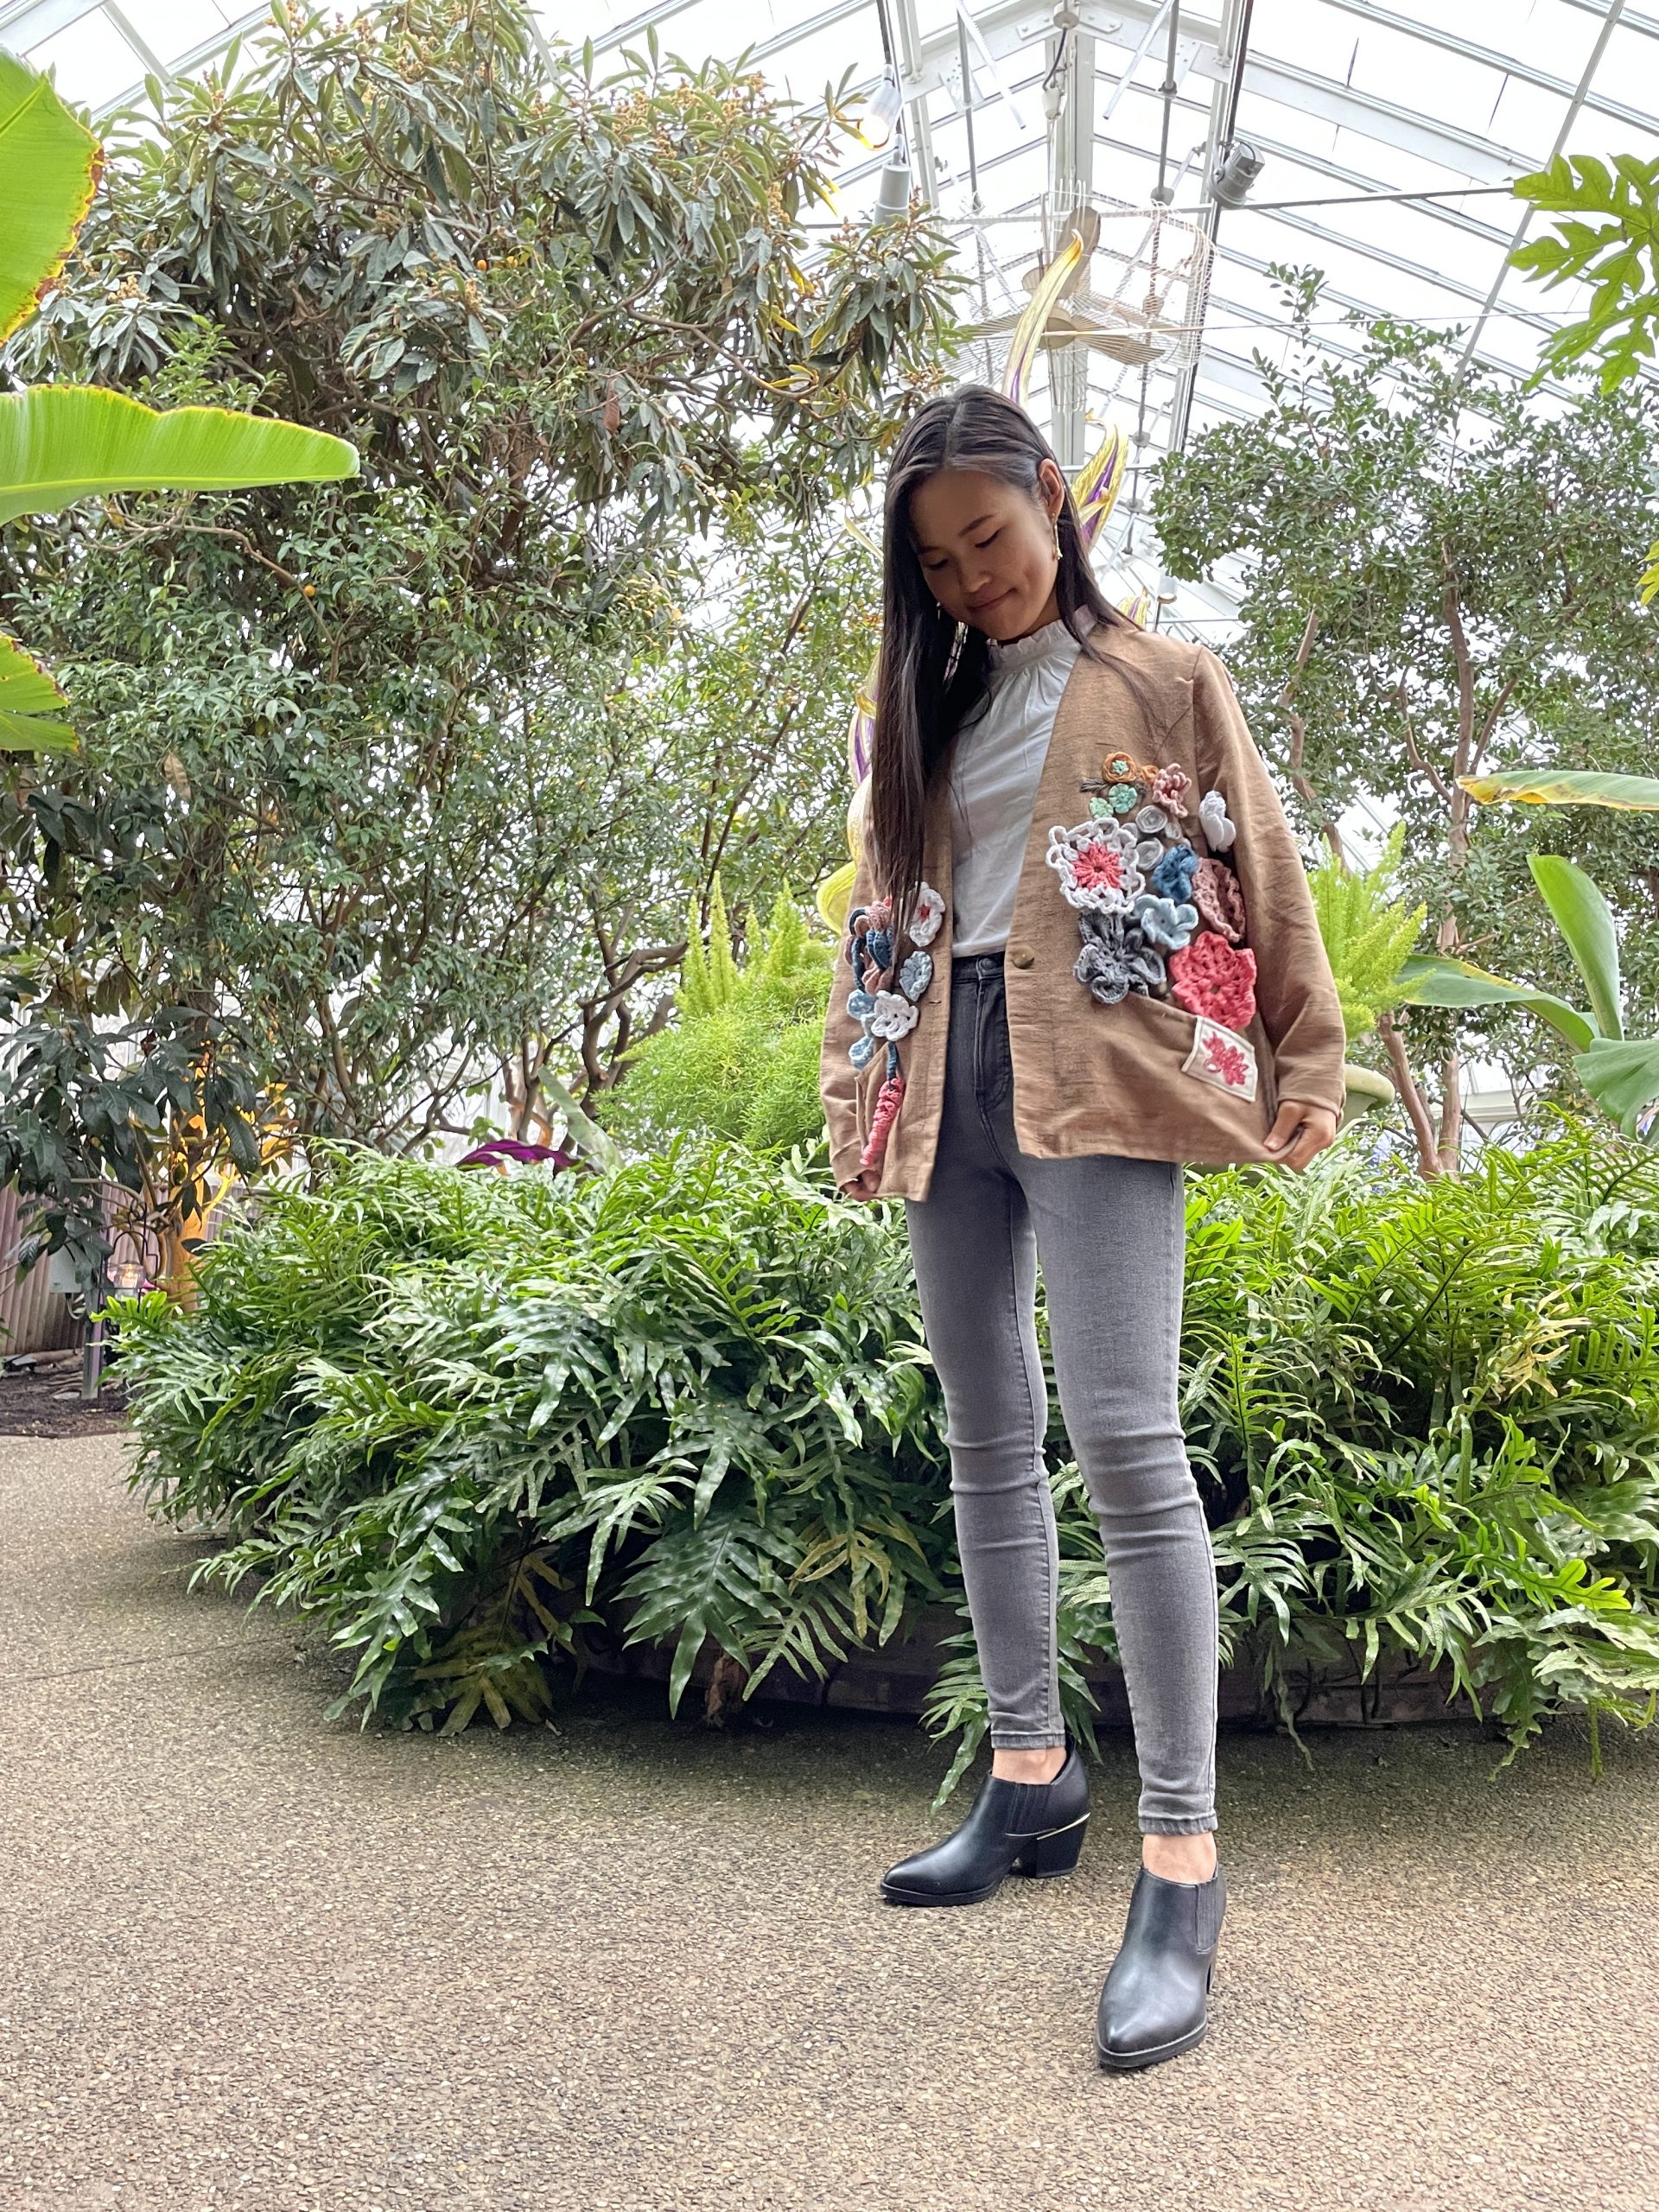
For my final project, I wanted to explore different ways that floral can be embedded into a piece of clothing. I had a bland brown jacket that I purchased second-hand, and I thought that it can be an opportunity to revamp it.

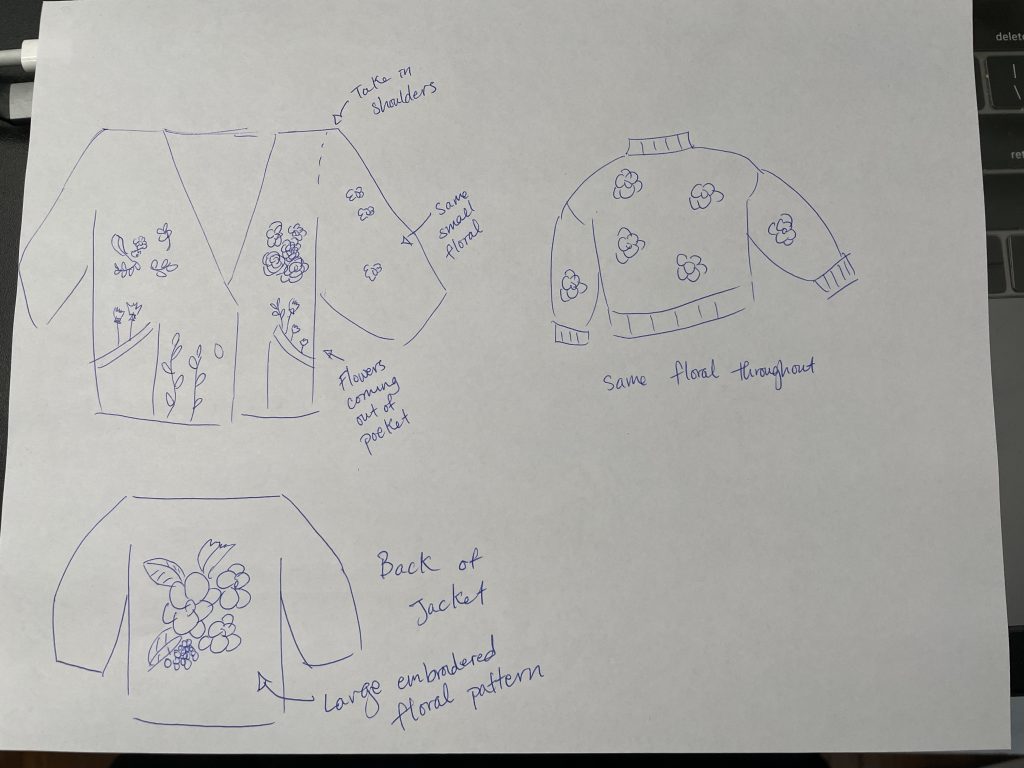
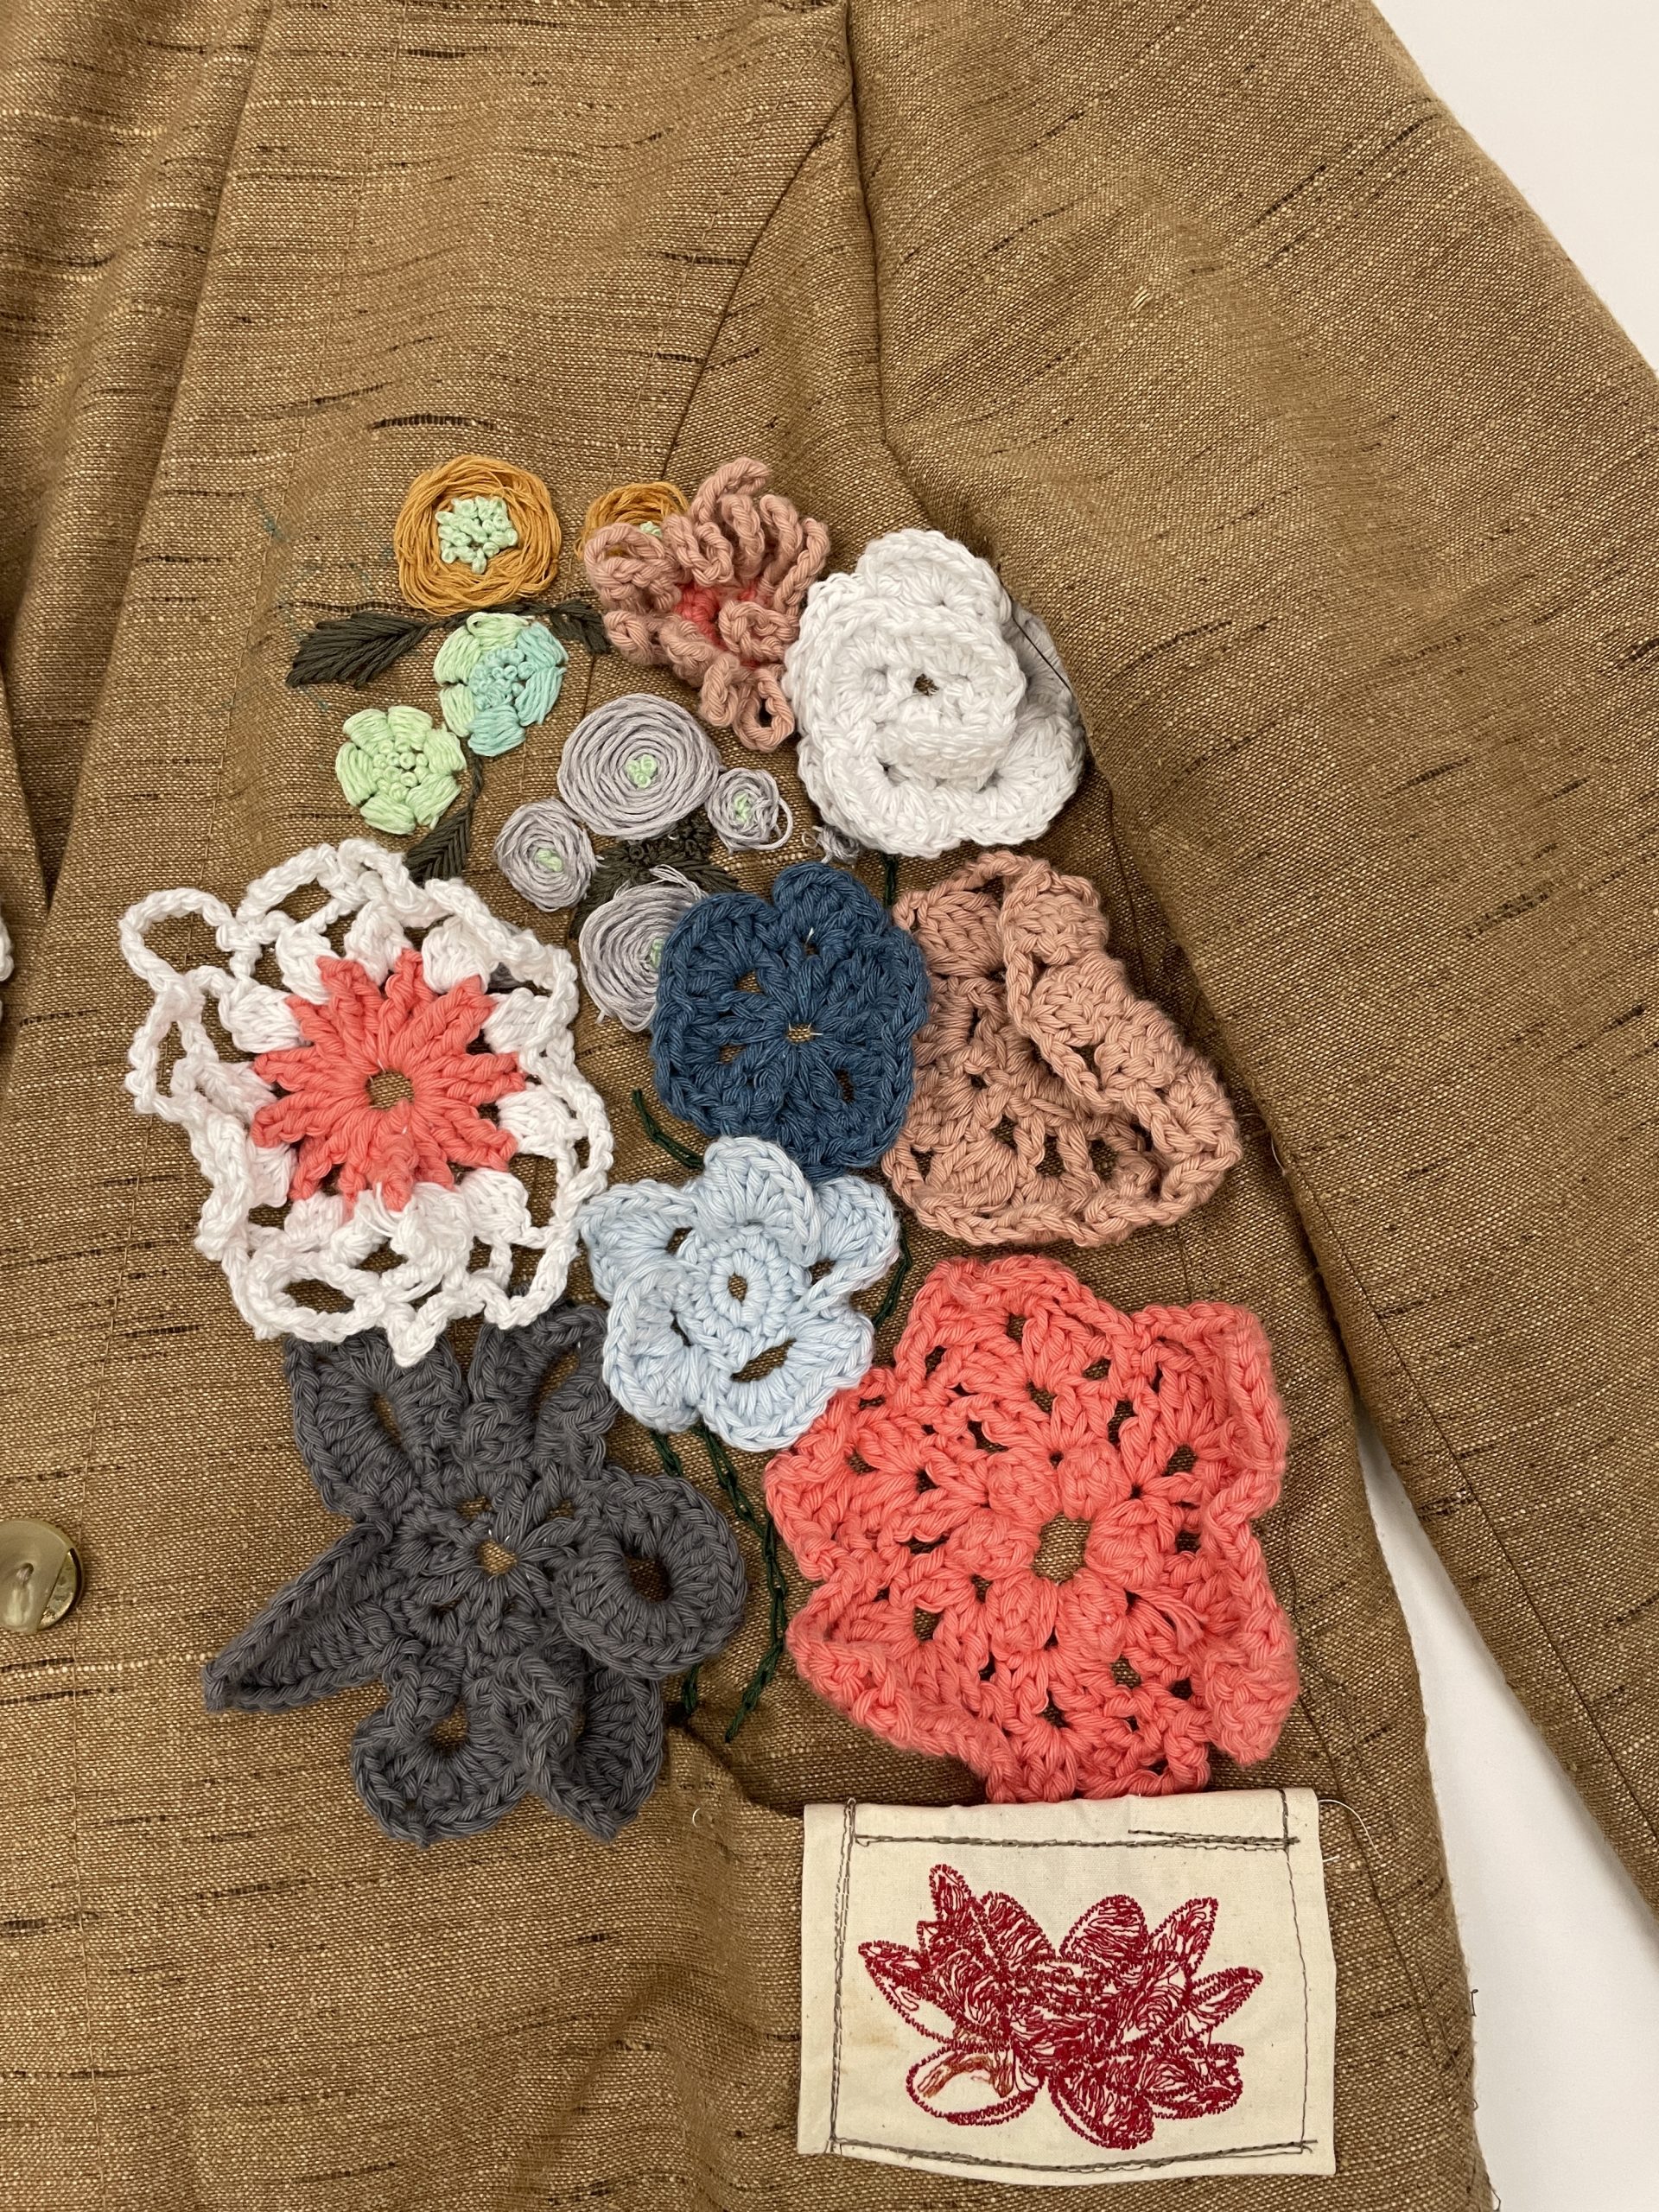
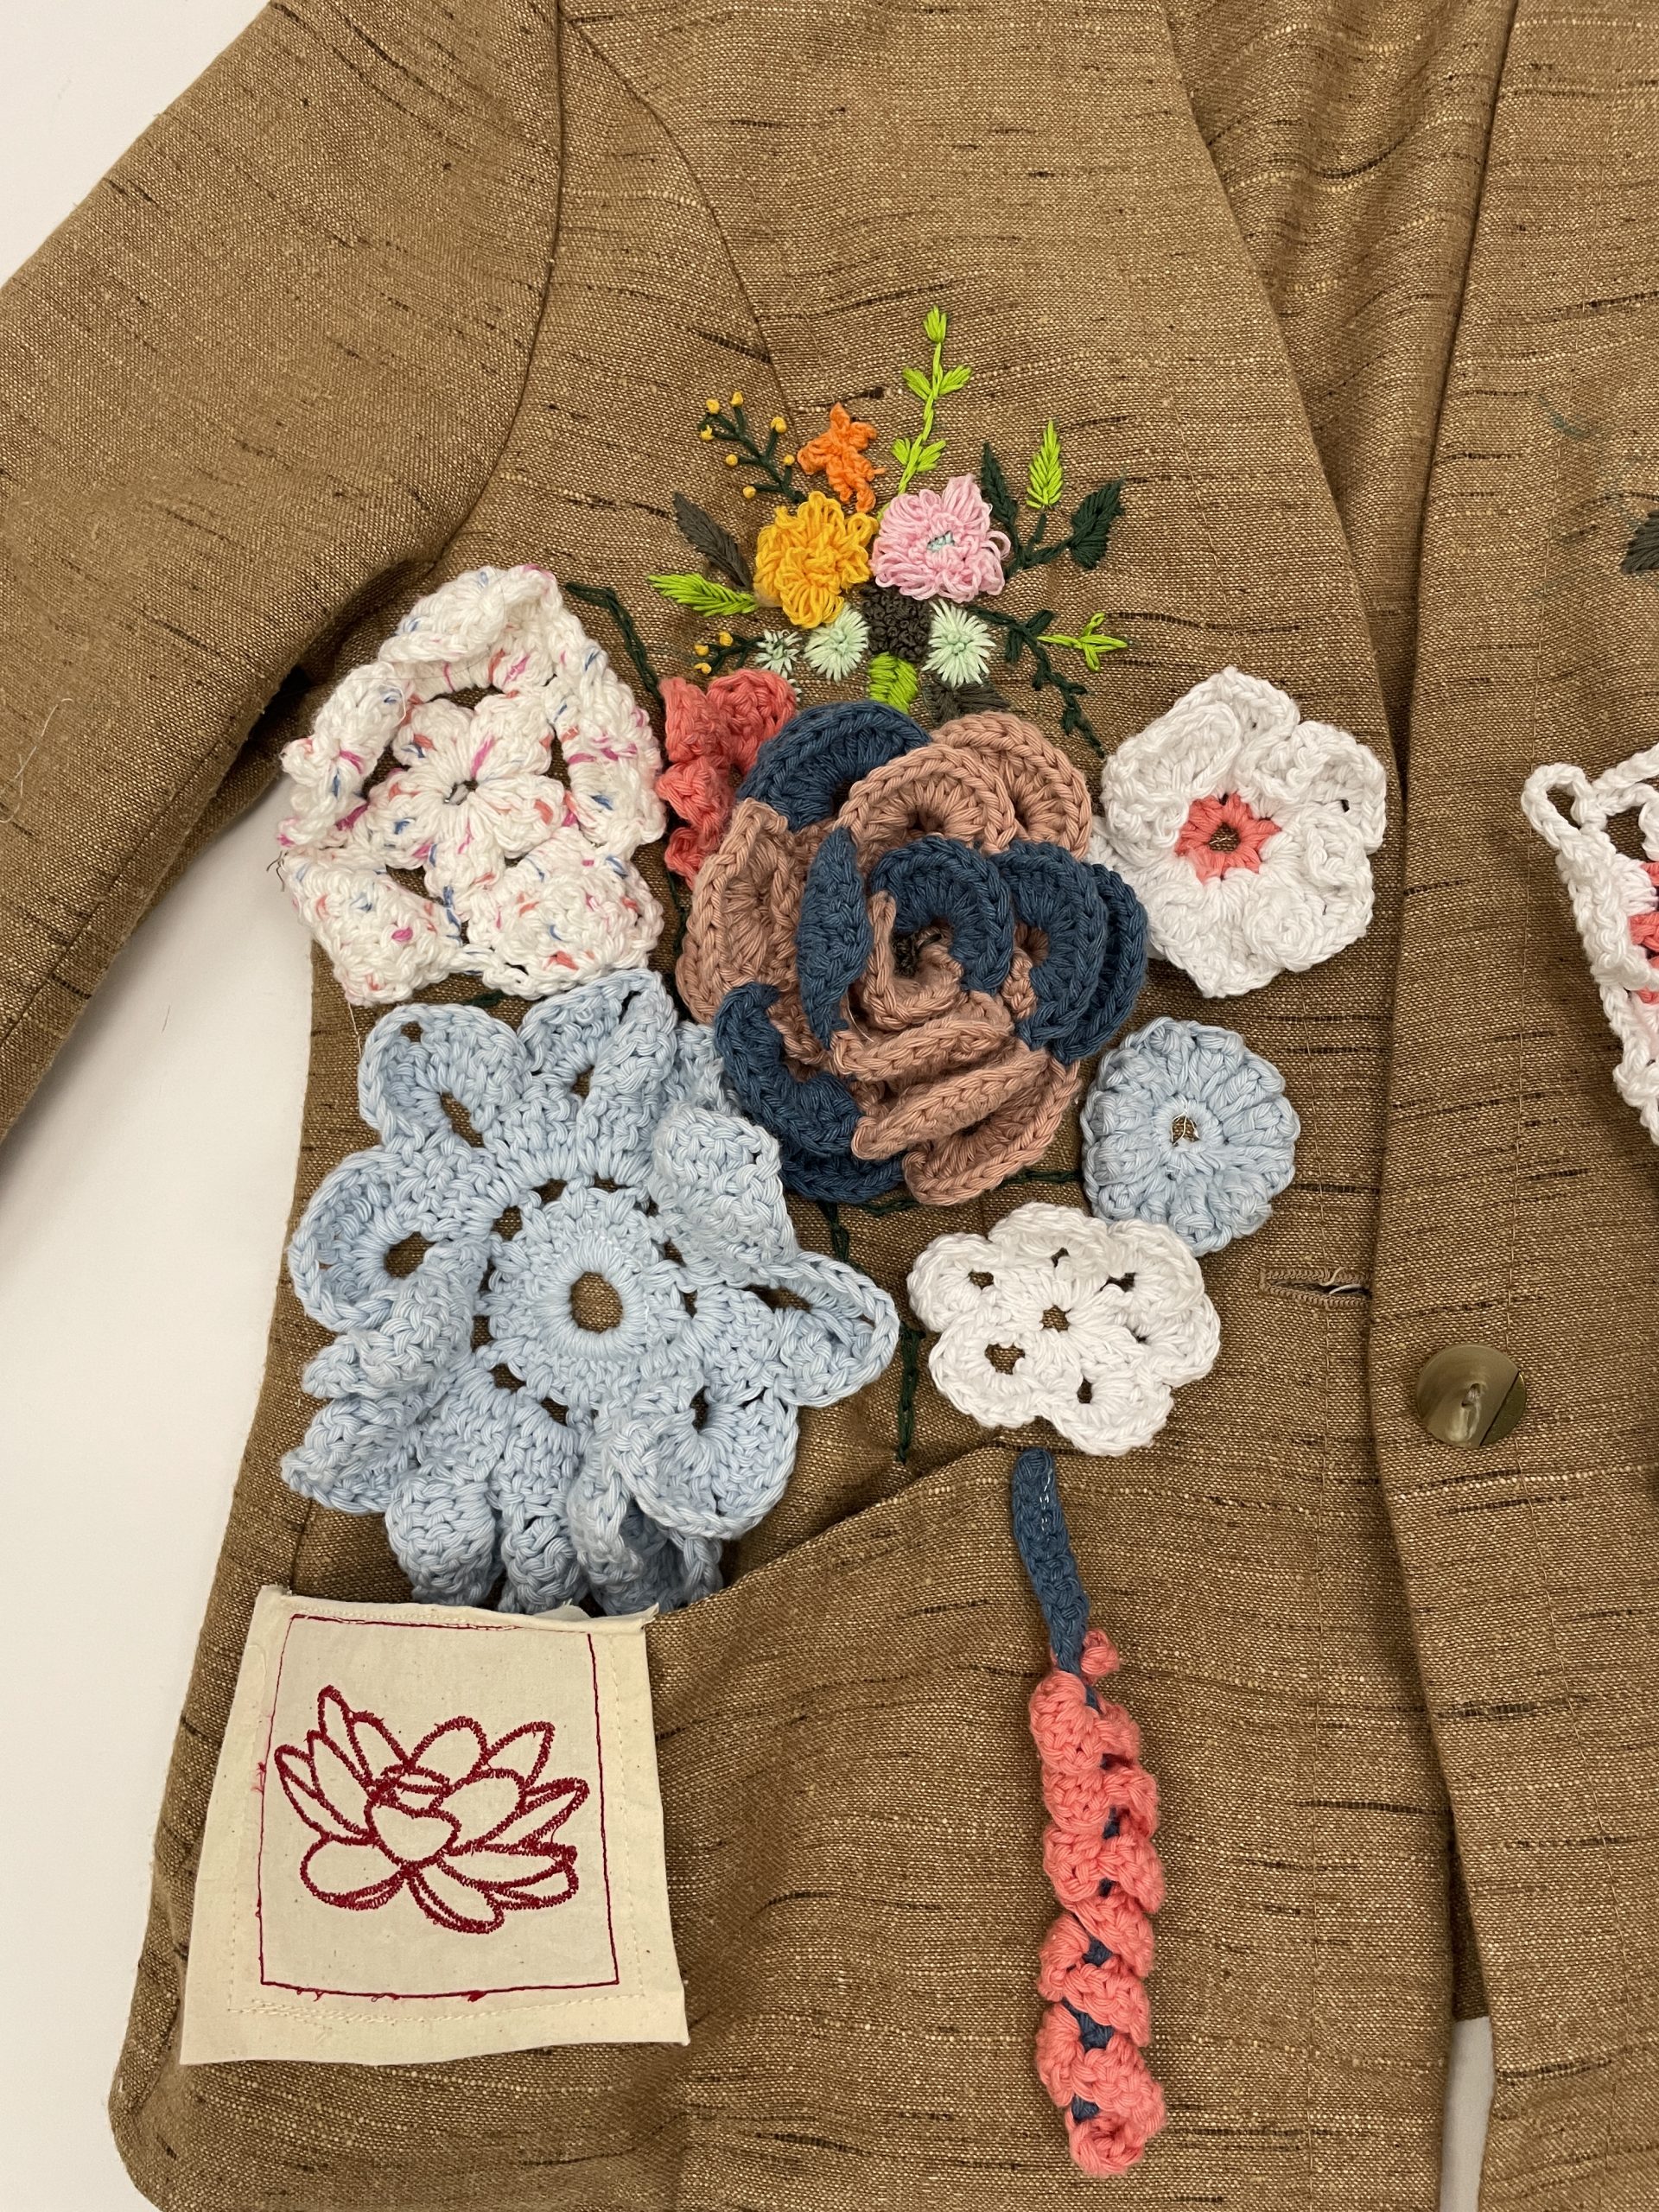
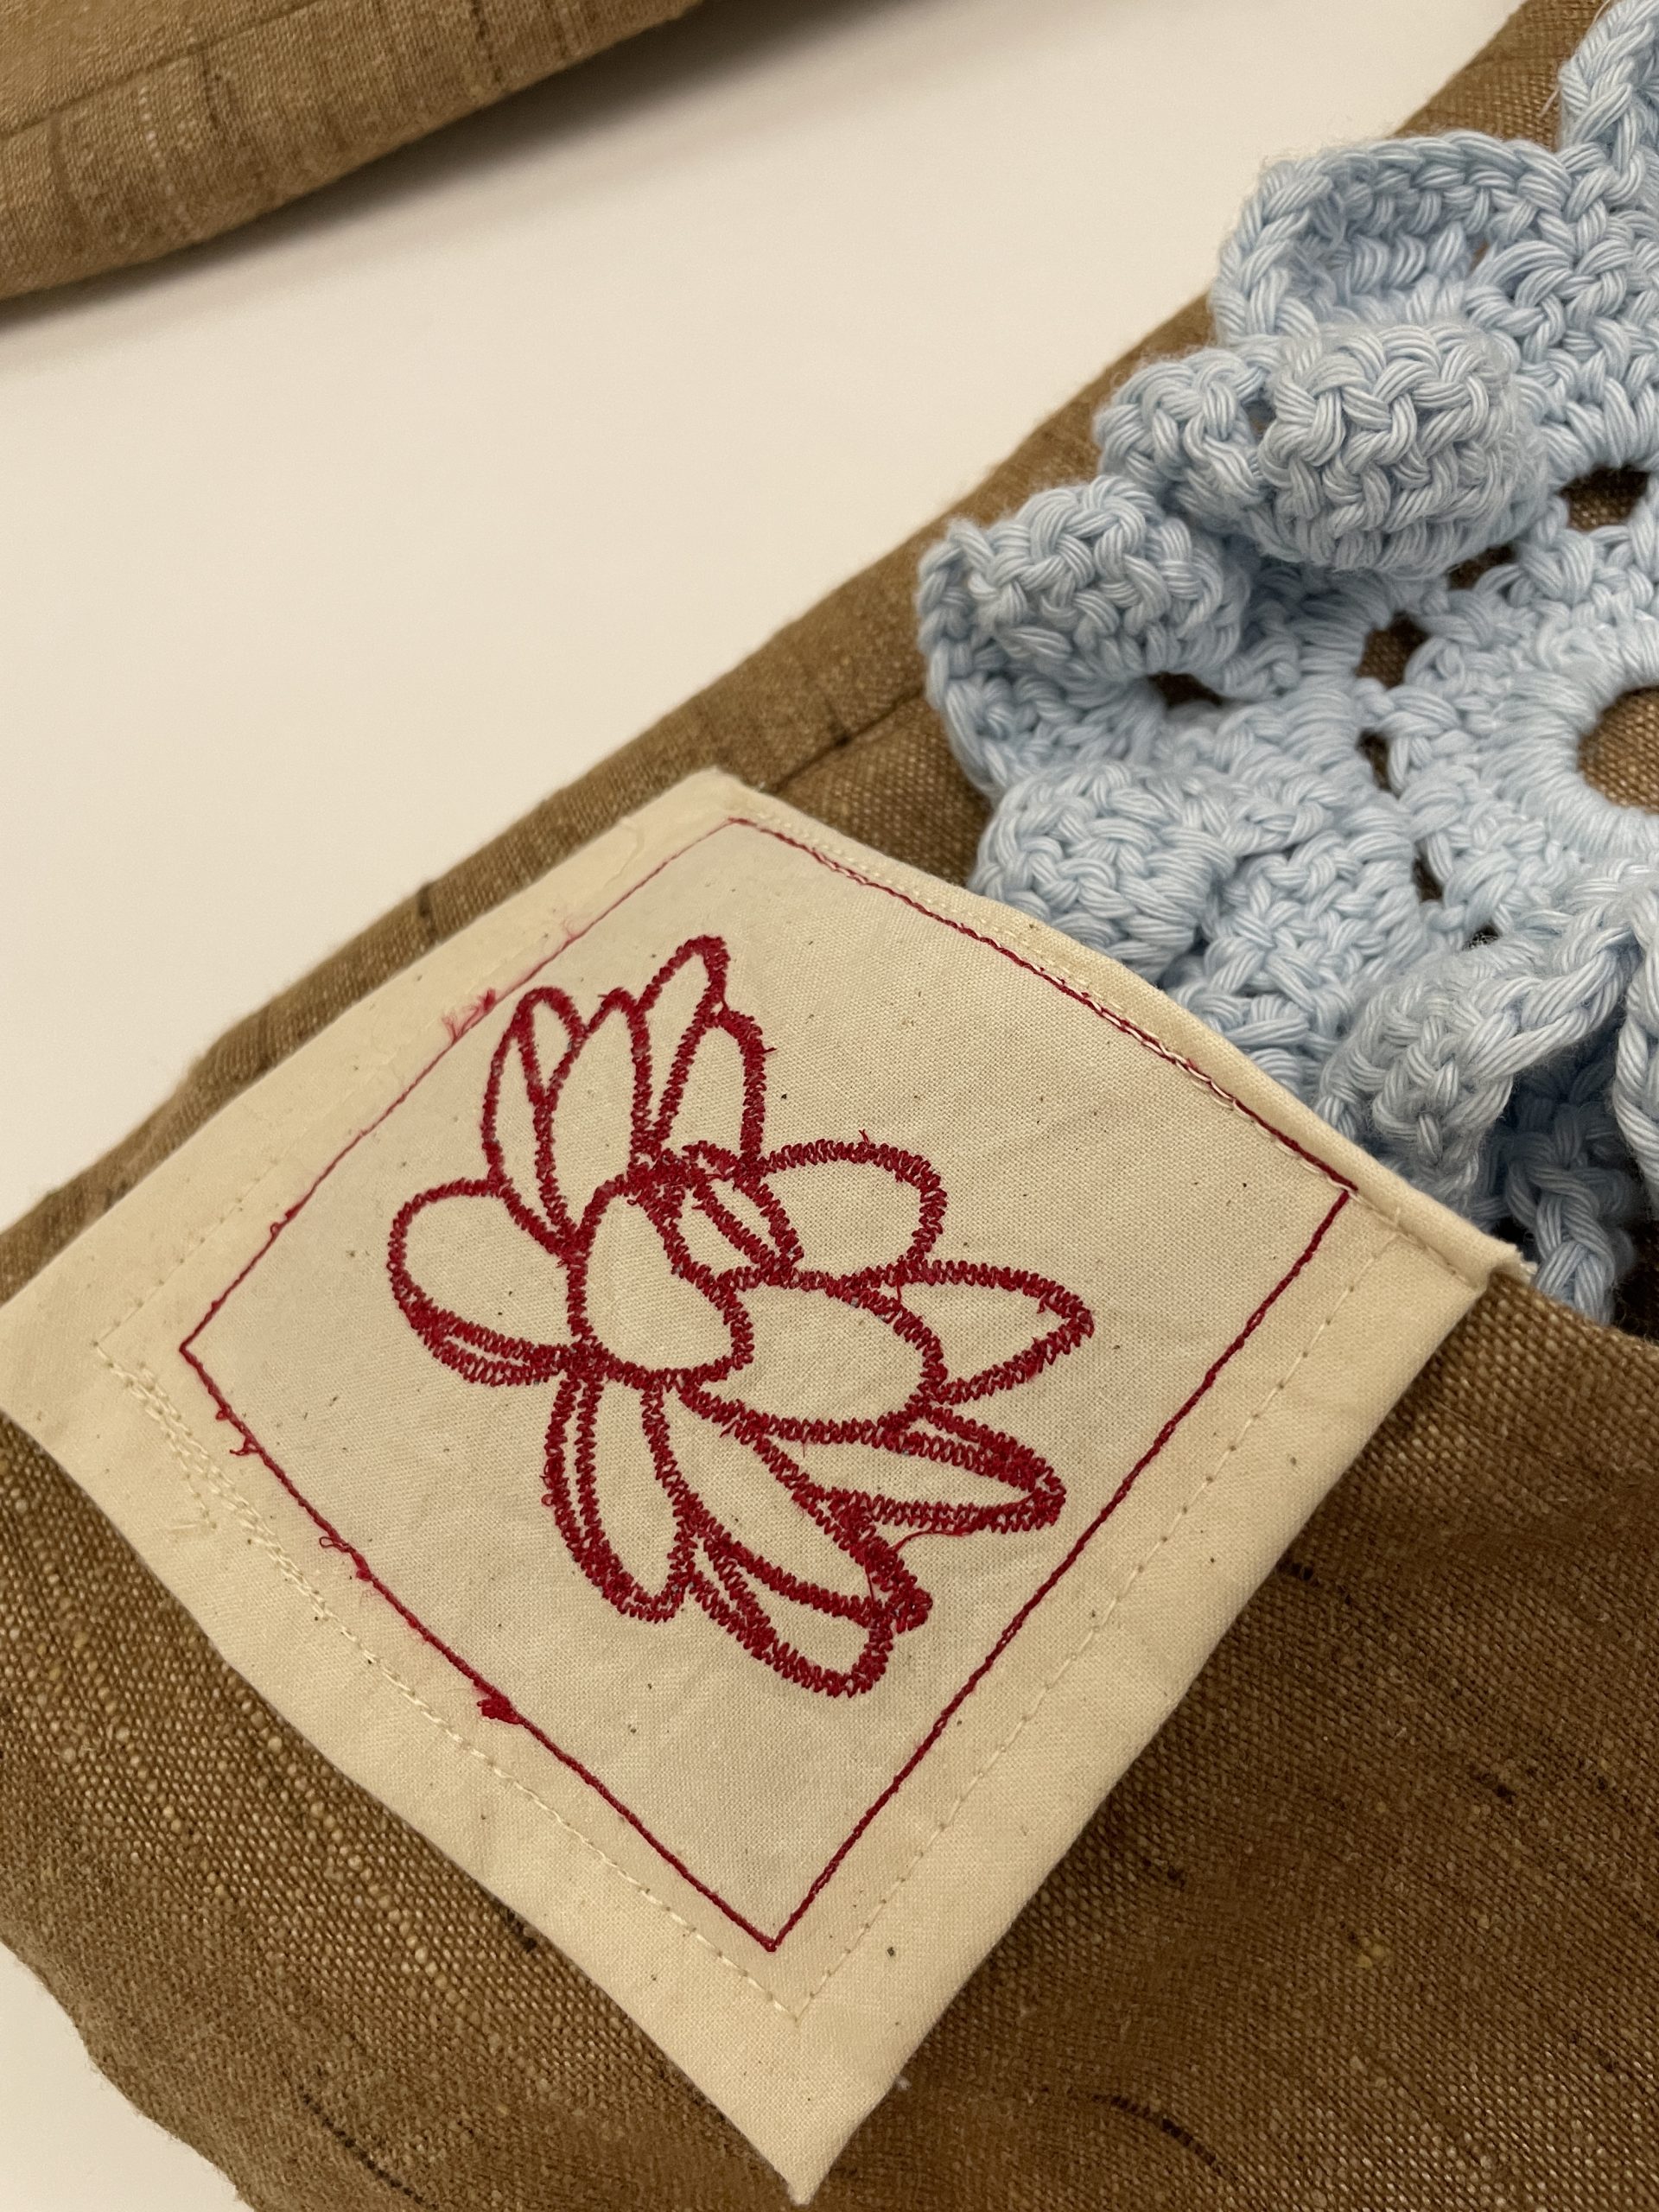
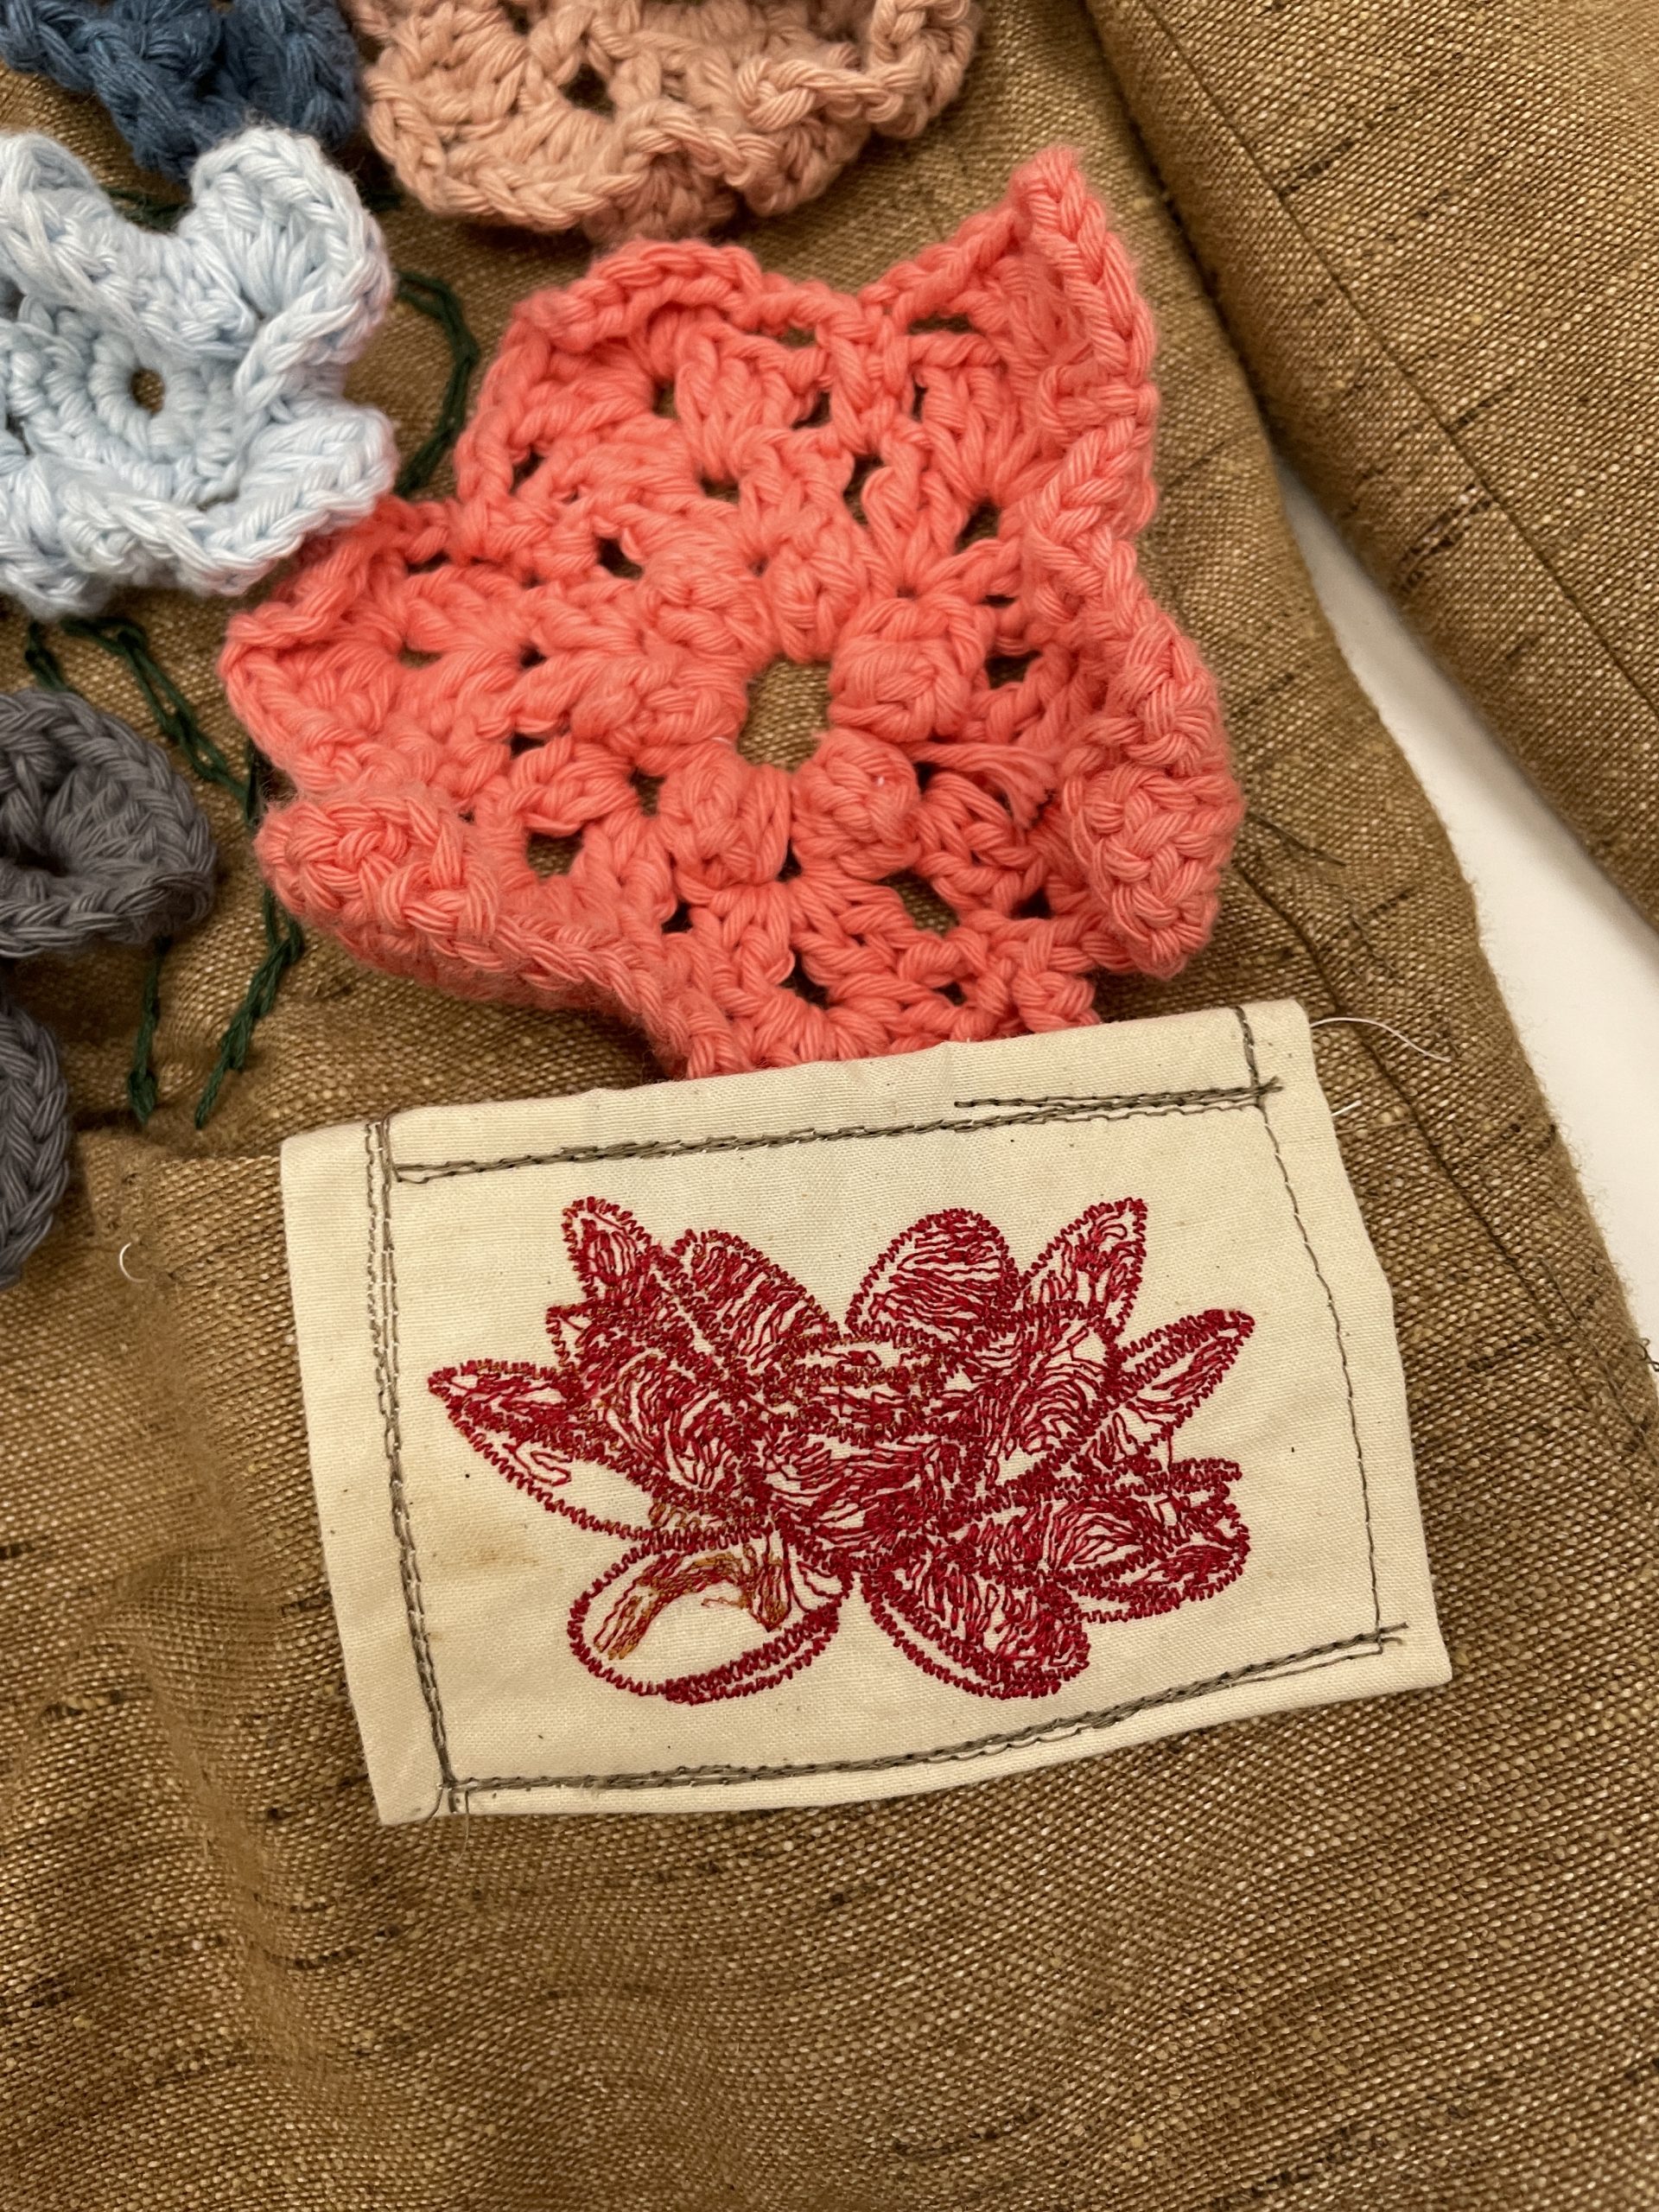
At first, I want to only do embroidery on the jacket. I wanted to cover up the jacket with different types of flowers. This is also a way for me to learn more advanced skills in embroidery. Since we also learned computerized embroidery in class, I also thought about combining both machine and hand embroidery to show the difference and contrast between the two techniques.

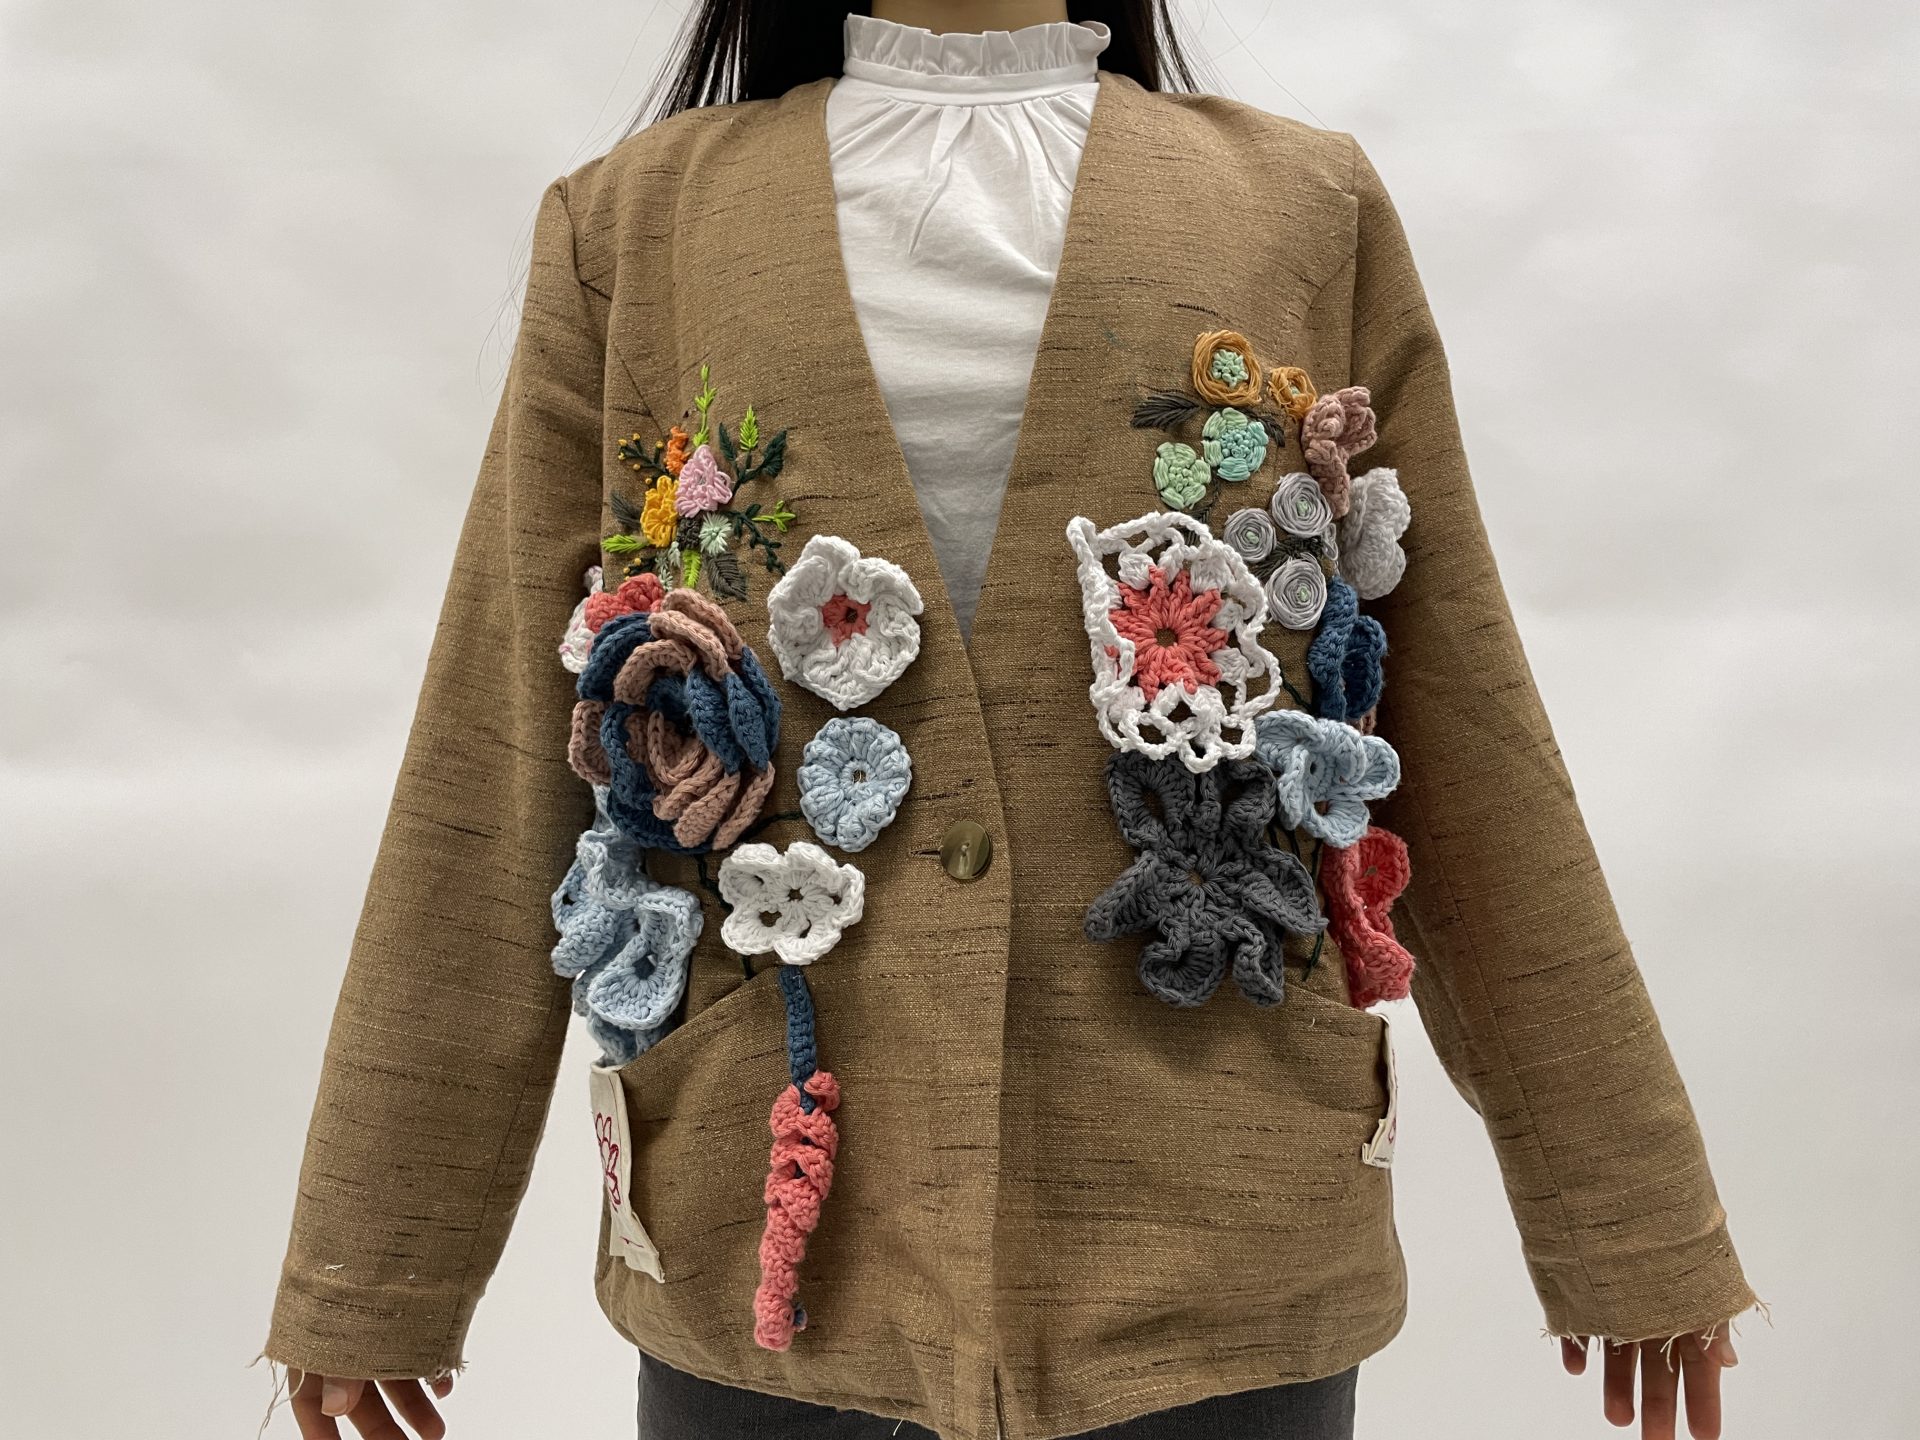
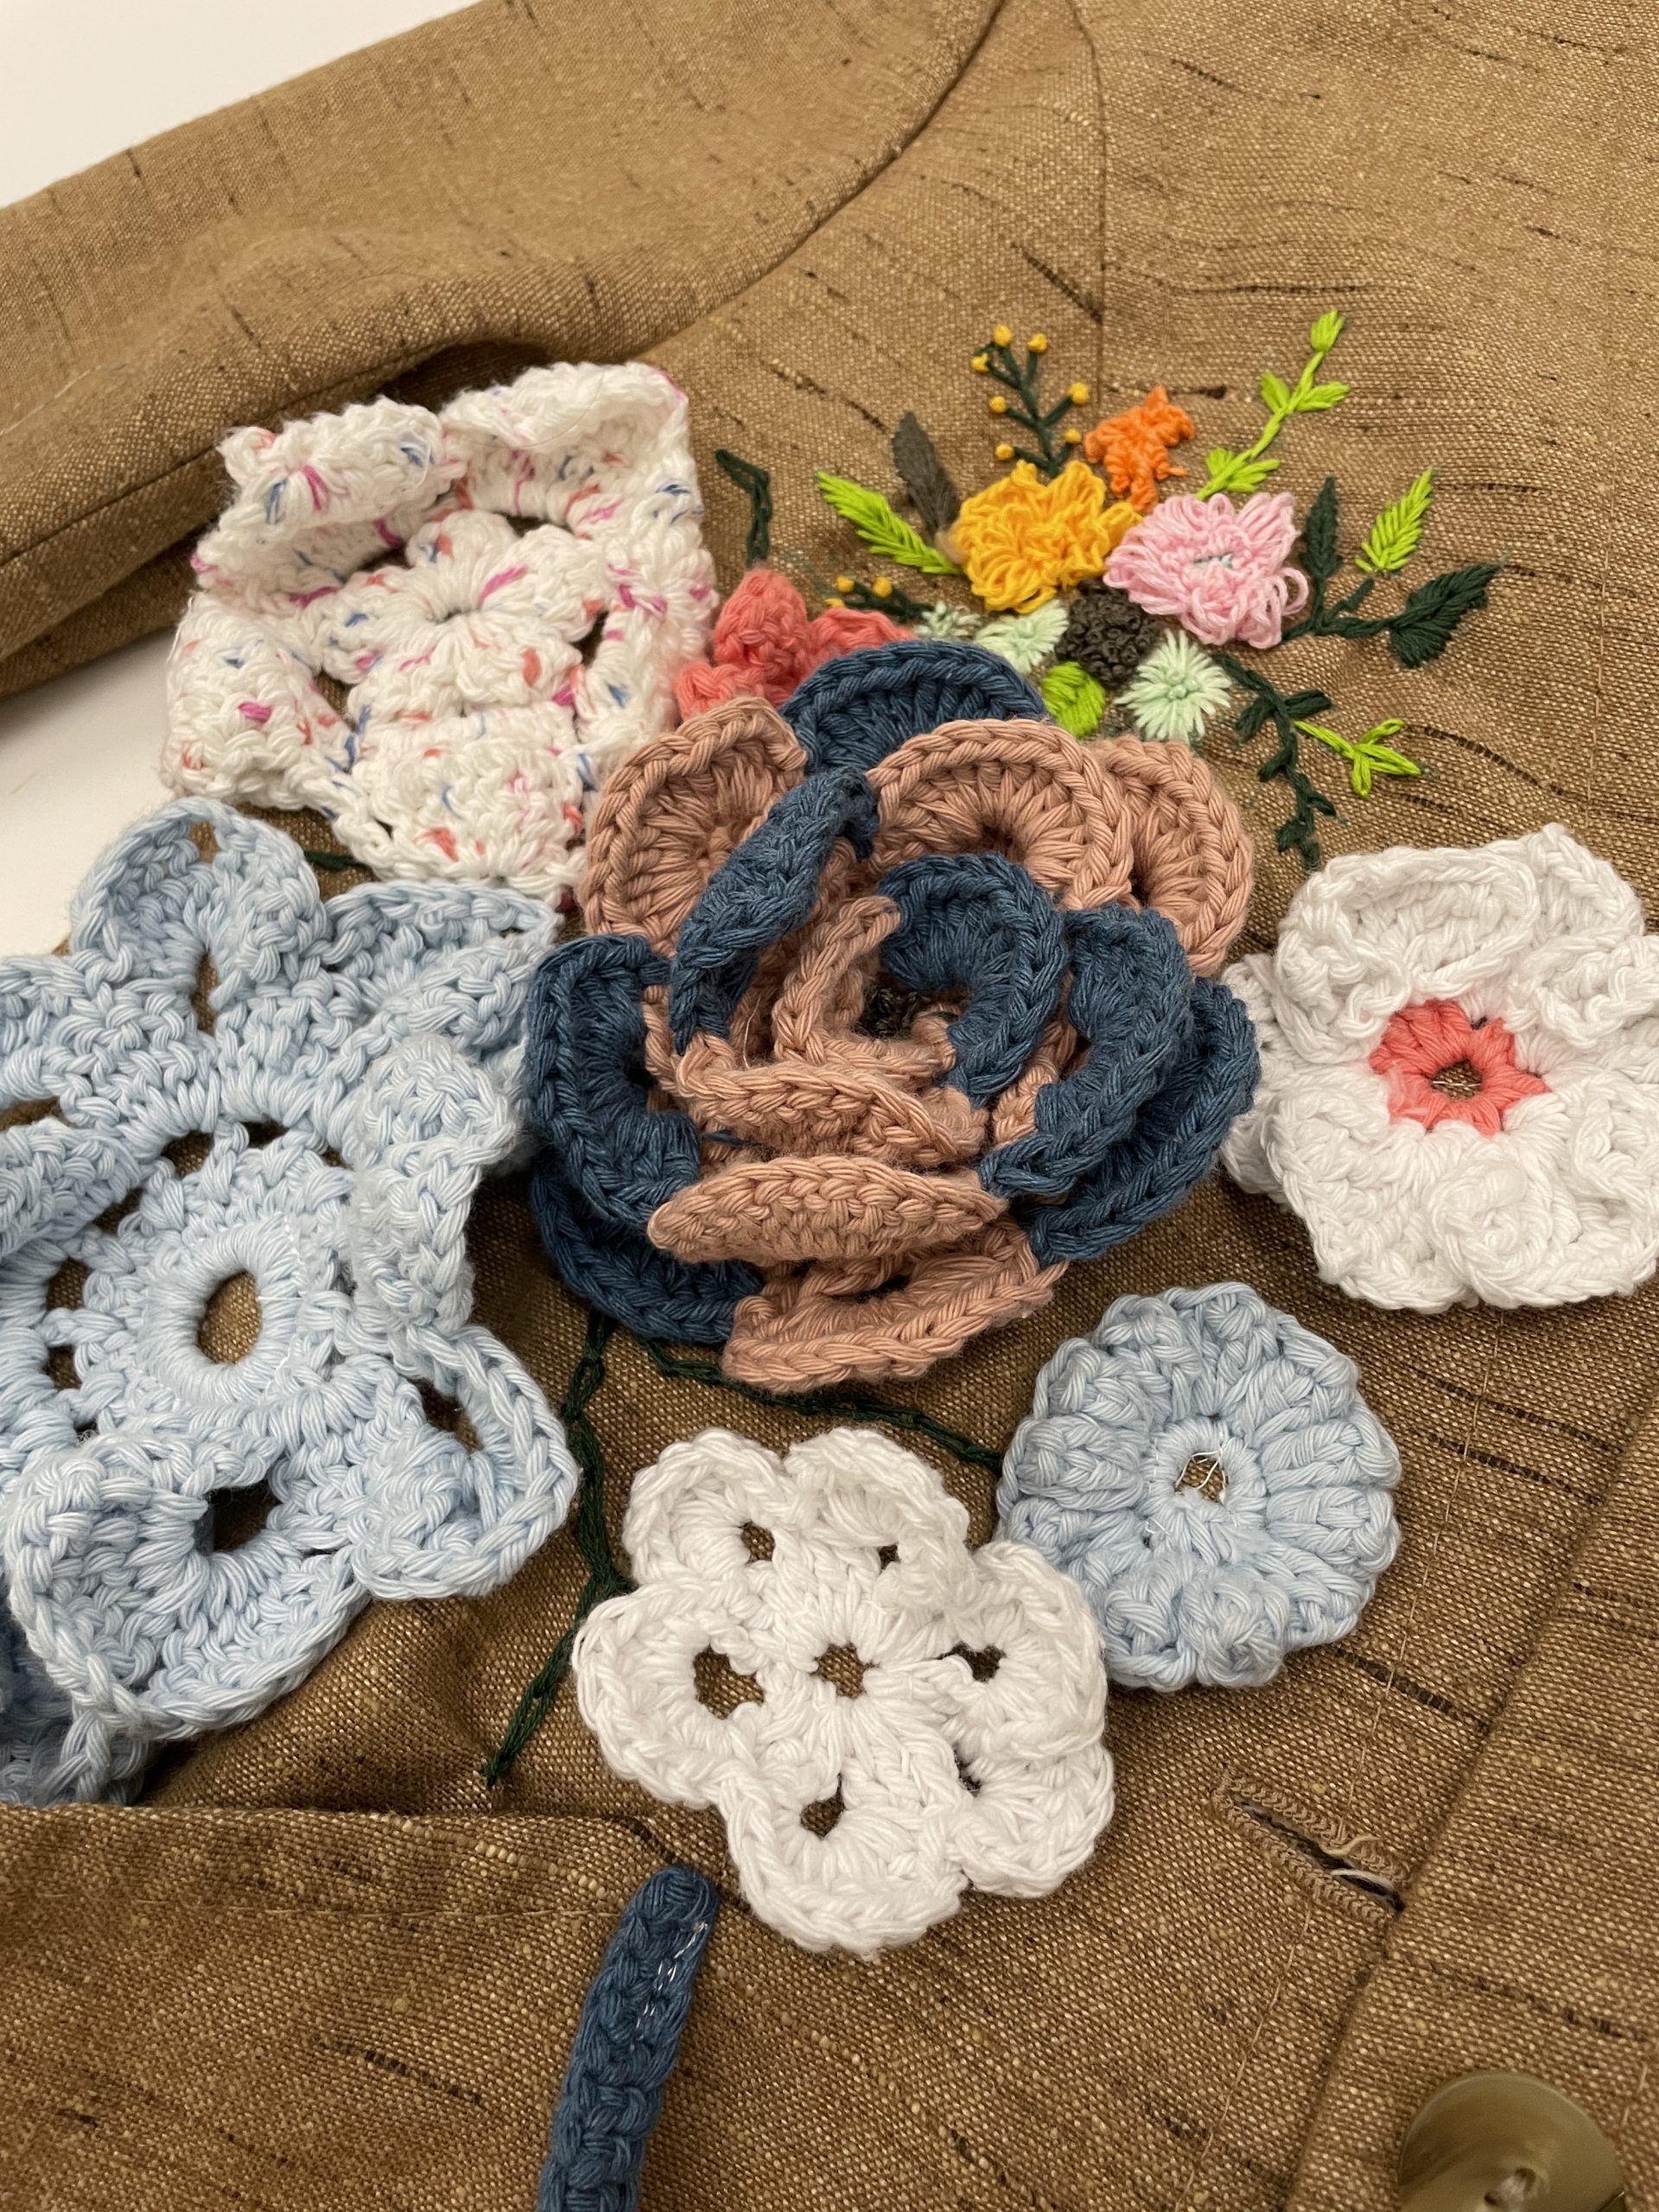
I then realized that I could also crochet flowers, which also adds another technique to the jacket. Every single one of the flowers is different. I followed 15 different YouTube tutorials to learn these crochet patterns.

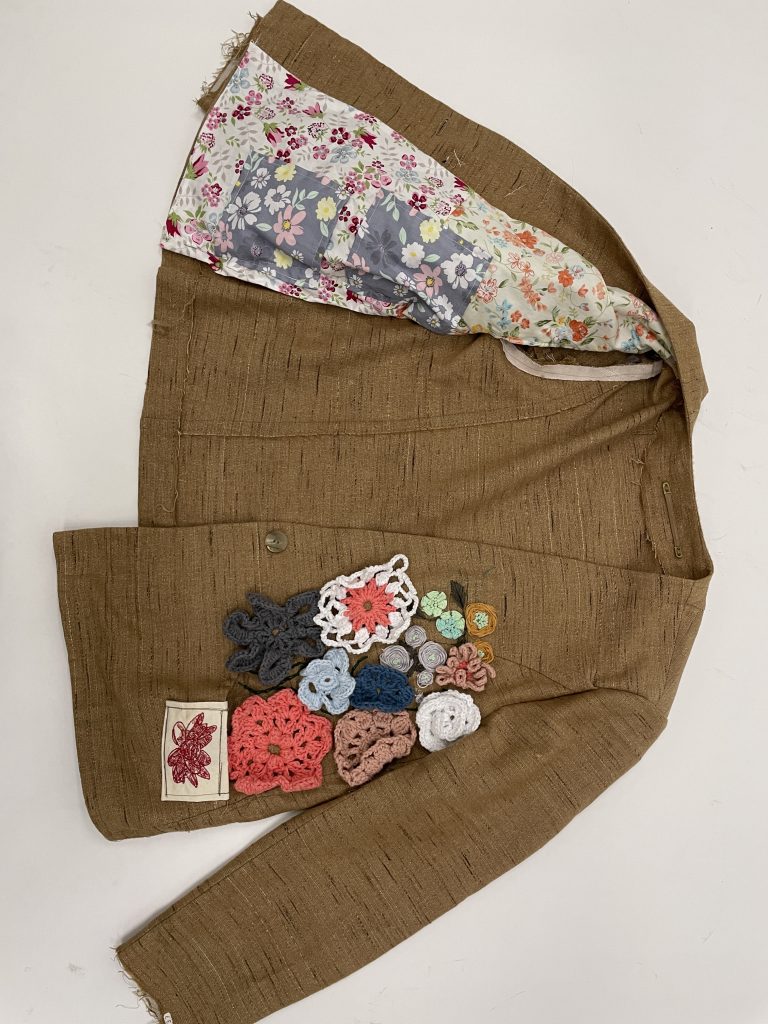
I also added a floral pattern lining to the jacket. I learned to sew pockets on to the liner. I feel like the floral cloth adds another floral element to the entire theme.

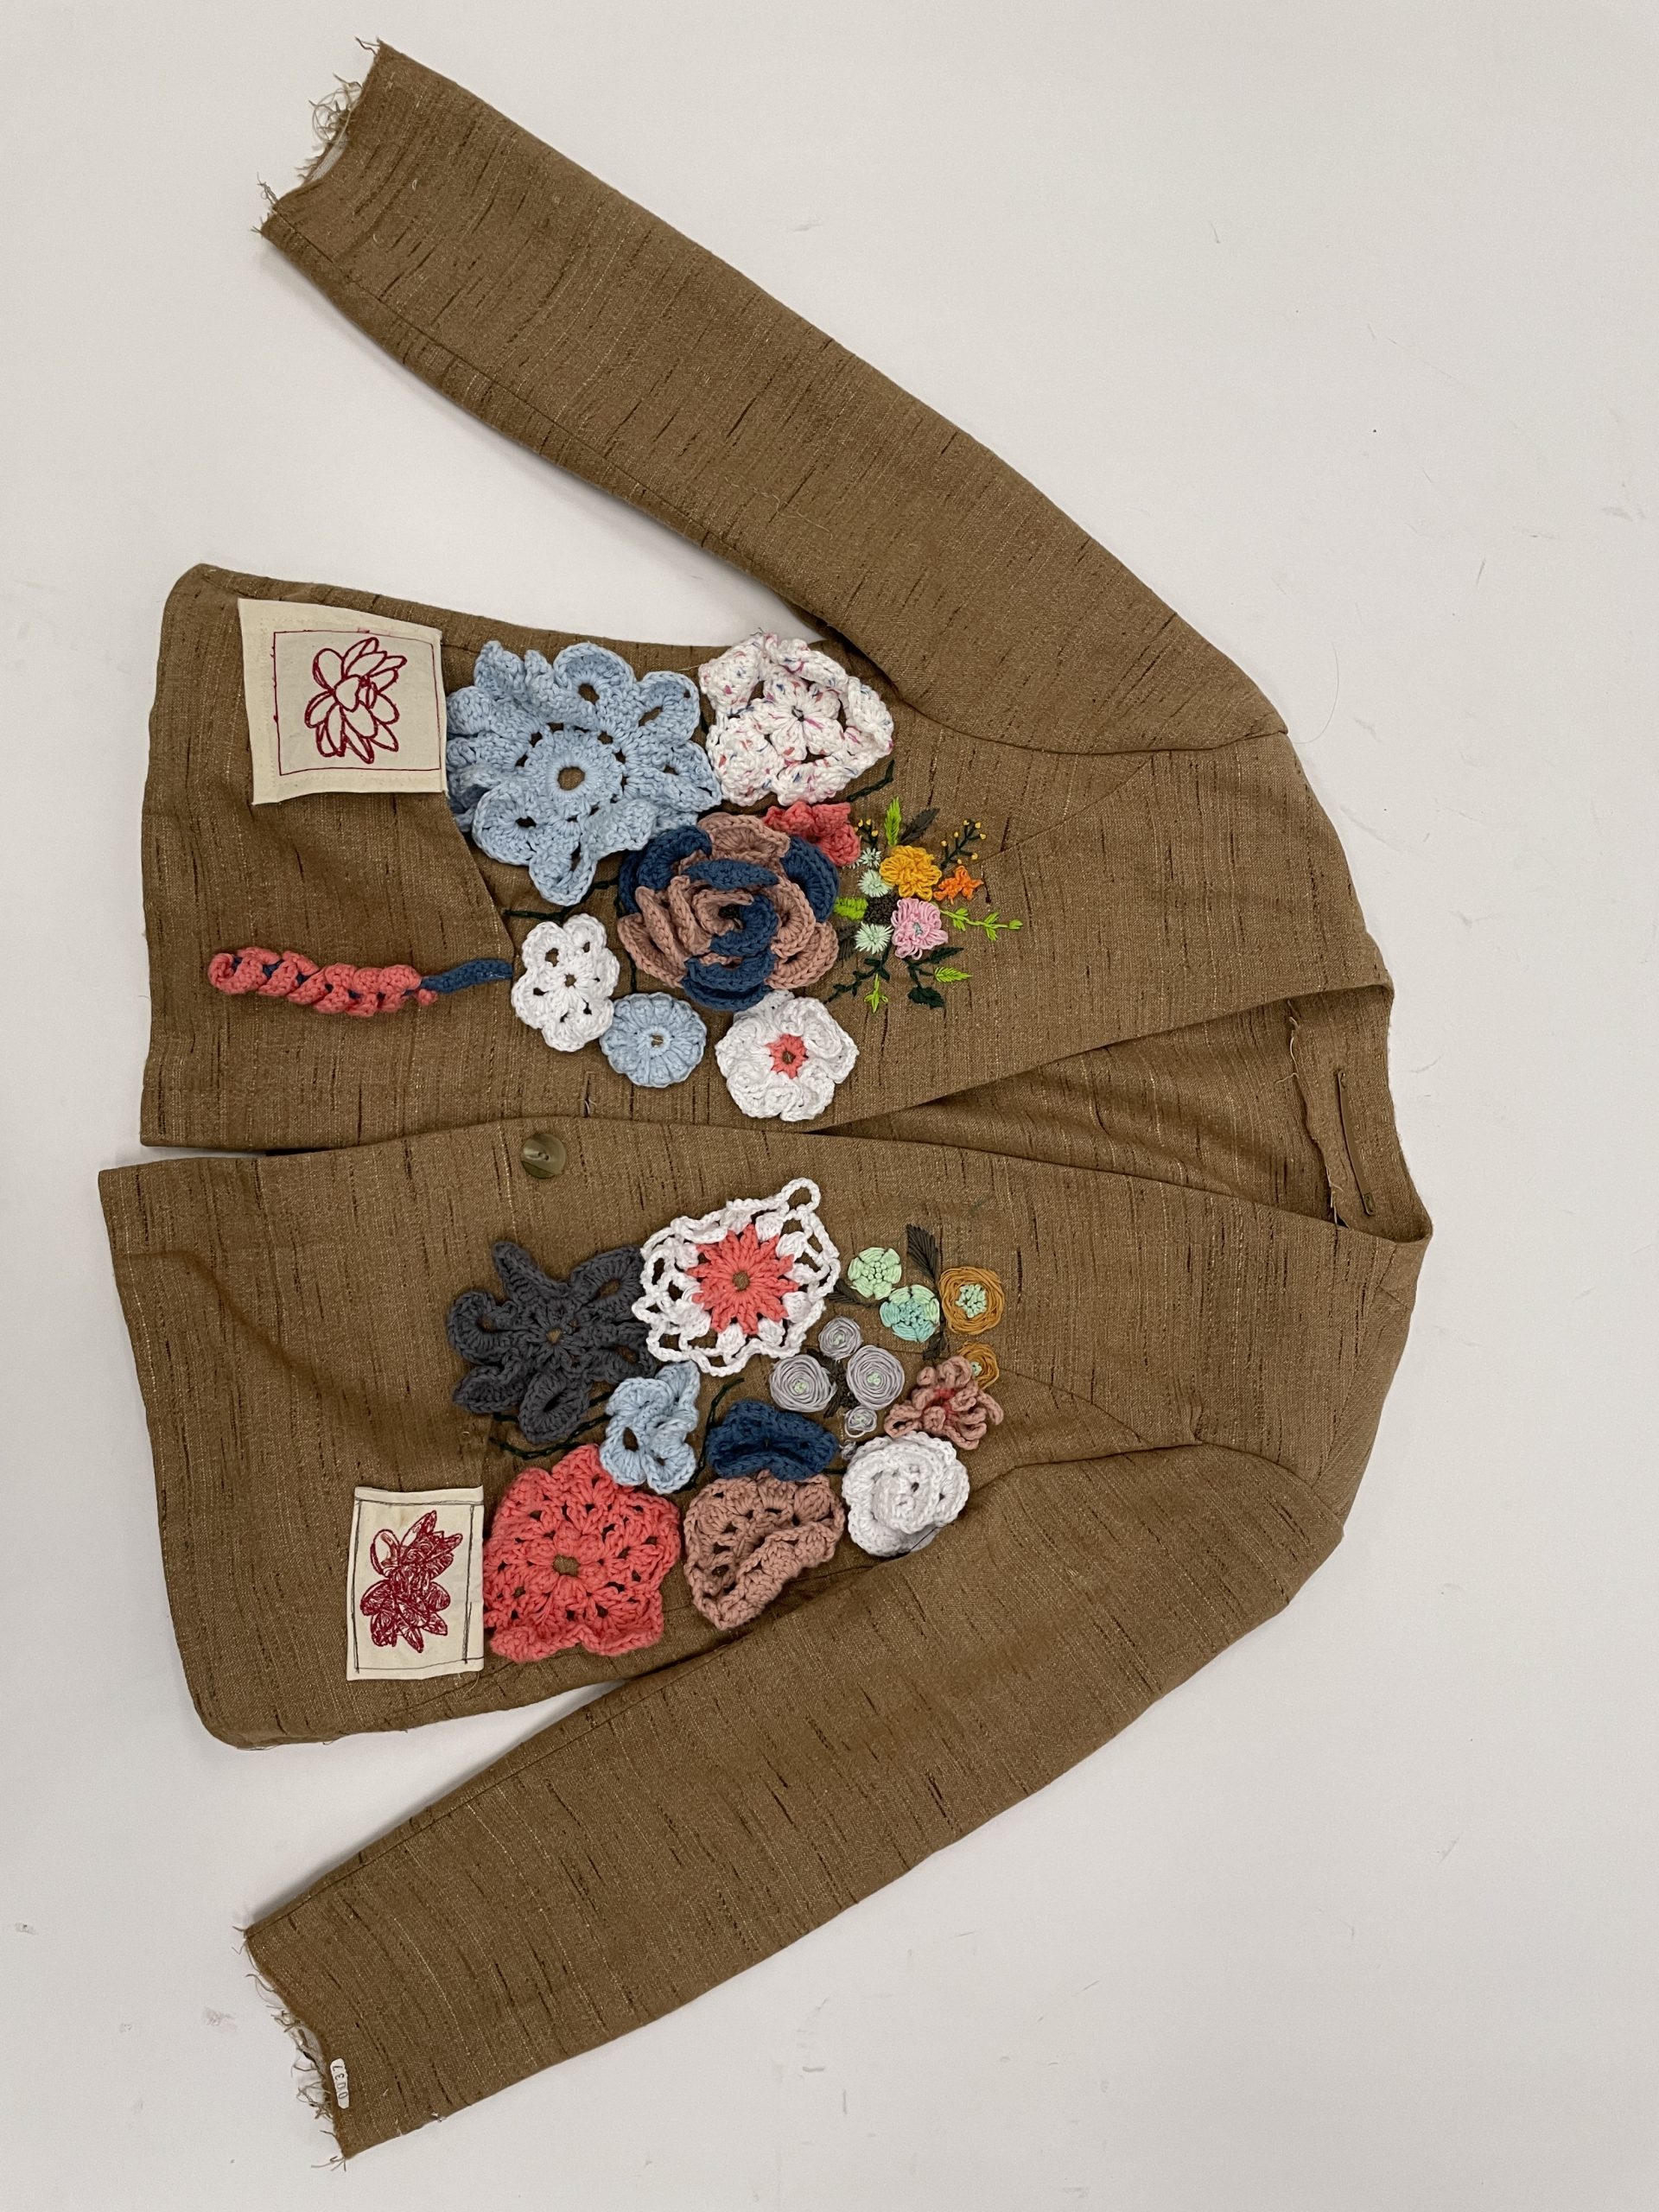
Overall, I intended this project to help me explore and learn several different techniques (hand embroidery, machine embroidery, crochet, and sewing). The end effect is like a walking garden because of the brown background, which looks like dirt. The variety of techniques, colors, and high-density placement of the florals was meant to be overwhelming.

Challenges

After attaching the crochet flowers and embroideries, I realized that the inside of the jacket is filled with threads that could potentially be caught in things. Therefore, I tried to add a liner to the inside of the jacket. This covers up all the loose threads and knots that I made. I found the floral cloth from the fabrication lab in Hunt Library. I also decided to add pockets to the inside because the outside pockets are really small, and things can easily fall out. Adding the lining is a huge challenge because I needed to find a way to hide the stitching. I did this by sewing it as close to existing seams as possible. It was also difficult to cut the fabric to match the shape of the jacket.

Another challenge I had was attaching the crochet to the jacket. I hand sewn most of the flowers on. However, I needed to reinforce a lot of the flowers. When I first attached them, they were very droopy due to the weight. I then sewed some of the pedals on the jacket so that the flowers would stand up. To fill in some of the gaps between the flowers, I used a chain stitch and a string of green embroidery floss to make it look like there is a vine background.

Success

I was able to learn several crochet techniques online. I started off with a very simple flower that only took around 25 minutes. After a couple more flowers, I was able to crochet a more complex flower that took 3 hours to make.

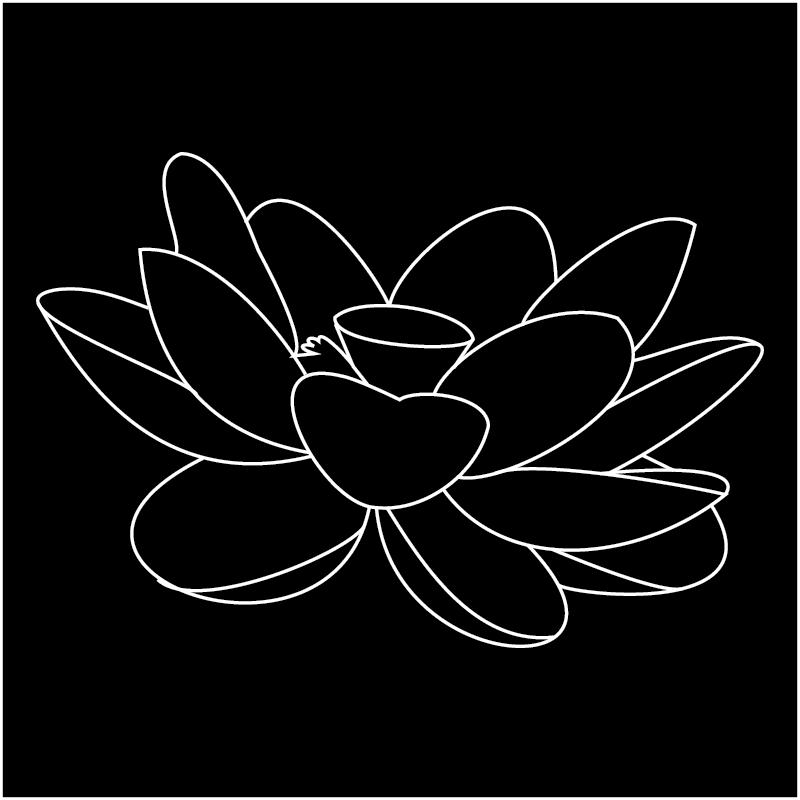
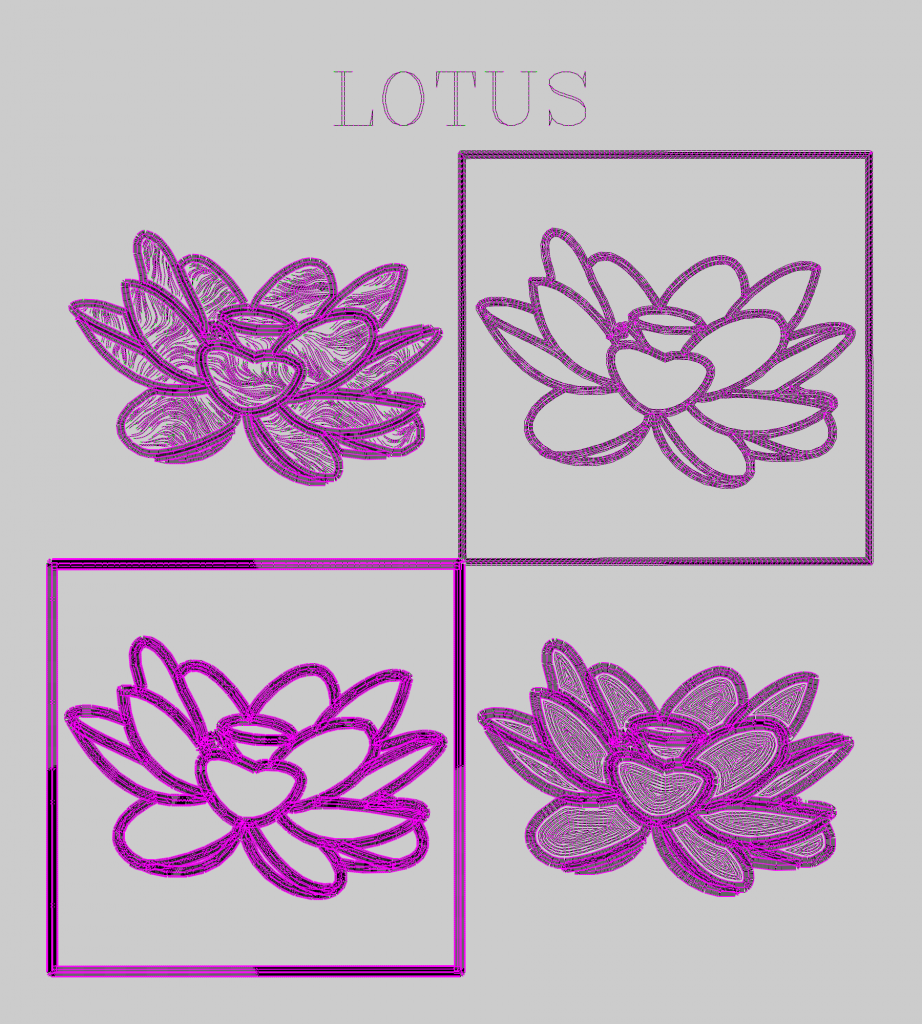
I also learned to use PEmbroider for machine embroidery. I explored different types of stitches available in the library. The two that I attached to the jacket consist of perpendicular stroke stitches and Perlin fill stitches.

Categories
Independent Project

Independent Project Update – Lea

I created a file for computerized embroidery. I drew one lotus in Adobe Illustrator. Then I used PEmbroidery to create 4 copies of it. I explored different types of stroke and fills to create 4 different versions of the lotus. I also added text on top. I plan on adding this embroidery onto my jacket.

I also started hand embroidering flowers onto my jacket. I looked at tutorials on how to embroider these different types of flowers. Then I drew on the pattern with an air erasable pen.

Categories
Independent Project

Independent Project Proposal – Lea

Core Concept

Exploring Floral Embroideries

Around two months ago, I bought a second-hand jacket on Depop. It was shipped from Greece and is made out of all-natural materials. However, I never wore it. I felt like it looked too big and very bland. I want to transform this jacket by taking in the shoulders a little and adding hand embroideries.

I am also knitting my first sweater. I also plan on adding floral embroideries to this sweater. I feel like embroideries are typically done onto non-knit fabrics. I want to use a tapestry needle and a lightweight yarn to embroider on the sweater.

I want to explore different types of floral embroideries. I plan on learning how to hand embroider a variety of flowers. If time permits, I also want to do computerized embroidery on the back of the jacket.

Types of Materials

  1. Embroidery Needles (For Jacket)
  2. Embroidery Threads (For Jacket)
  3. Worsted Weight Yarn (For Sweater)
  4. Tapestry Needle (For Sweater)
  5. Computerized Embroidery supplies. (For back of Jacket)

Timeline:

November 26 – Hand embroidery on the front of the jacket. Learn a variety of stitches that can be used on the sweater

November 30 – Finish sweater knitting and start exploring types of flowers to embroider on the sweater.

December 3 – Explore computerized embroidery

December 9 – Complete all floral embroidery

Categories
Encoded Cloth from the Future Gallery

Encoded Cloth Part 3 – Lea, Carol, Rose

We will create a world passport. This is to symbolize open borders. It is a symbolic piece of work to represent how people no longer need to use identifications to travel and everyone is a citizen of the Earth. Potentially, we might need passports to travel through space to other planets, but at least on Earth, we would have open borders.

Cover – Passport cover with 3D felted globe. Under the globe, there will be text “Global Citizen”

Page 1 – Photo identification page. For the photo, we will use a mirror/reflective fabric. This symbolizes that you are a global citizen, no matter who looks into the mirror.

Page 2 – Quote from a leader. Potentially Obama – “We are defined not by our borders, but by our bonds.” (This will be screen printed)

Page 3 – Collage of different languages saying, “Unite”

Page 4 – 10 Passport stamps. Each page will use a different technique. (Felting, screen printing, embroidery, and patchwork)

Materials needed:

  1. Wool for felting
  2. Canvas cloth for main body of passport
  3. Mirror/really reflective cloth
  4. Threads/needles/sewing machine/iron for patchwork and putting together the passport
  5. Screen printing materials (contact paper, cricut etc.)
  6. Yarn
  7. Scrap fabric for decoration
Categories
Encoded Cloth from the Future

Encoded Cloth Part 1 – Lea

I’m being extremely optimistic. Although not realistic, it is what I hope the future looks like.

In year 2070:

  1. Vertical Farming is the primary way we secure food. This allows us to grow more food with less land and water. With climate change, vertical farming became the most important step we took to save our environment. We also give this technology to any countries in need, and world hunger is not a problem.
Visual Portfolio, Posts & Image Gallery for WordPress

2. There will be no private forms of transportation because public transportation is so convenient. The roads are only for trams and not private cars. Transportation is heavily subsidized, so everyone is able to get to any place they want free of charge. These trams run on renewable energy, which means no greenhouse gases.

Visual Portfolio, Posts & Image Gallery for WordPress

3. Composting facilities and at-home composting will be common. People are able to compost easily and give nutrients back to our soil. Almost everything that we use is made with compostable materials so our trash bin turned into our compost bin.

4. Our workweek is reduced to only 2o hours a week. This is because we realized that the 40-hour workweek is not the most productive use of our time. Since our technologies made our lives easier, there is no need to work so much. We all live much happier because we can invest more time into something that intrinsically motivates us. This means that more people have time to create art, play sports, dance etc.

Visual Portfolio, Posts & Image Gallery for WordPress

5. There will be no more fighting and there will be more sharing. We stop producing weapons because there is no need for them. There is also no war. We realize that it’s more important to share our resources and collaborate rather than compete.

Categories
Tapestry Weavings

Final Weaving Reflection – Lea

Process

Rather than having a specific image in mind that I wanted to create, I let the tools, fabric, and mood determine where my piece will go for the beginning of the weaving. I thought that if I had a goal in mind, it would restrict the creative process too much. I wouldn’t be able to discover new techniques or interesting combinations. I also didn’t want to force my weaving into something that I wasn’t sure if I’m technically able to do yet. Since this is my first weaving, I wanted to learn about what different techniques would look like and potentially use them in another project. 

I particularly like the look of having warps showing rather than hiding it. I wanted to learn more about ways that I can let the warps coexist in harmony with the weft. 

After the exploration phase, I wanted to do something more regular and pattern-based. The beginning of the weaving looked very abstract and that represents the more creative side of me. The checker pattern represents the part of me that is very organized. I see myself as someone who needs routine and a plan or else I’ll be too stressed. 

What worked well

The checker pattern worked better than expected. I liked how it is also reversible: the back shows the same pattern in a different sequences. I also tried color combinations that I wouldn’t have thought would go well with each other such as blue and pink. The color contrasted each other nicely and I was pleasantly surprised. I also enjoyed how the pattern is still visible even when I only used one color (yellow). The pattern created 3 different types of texture although I only used 2 techniques. 

What I would improve

I want to be better at controlling the sides of the weaving. Some parts of the weaving were wide and some parts were tight. I was trying to make the width consistent throughout, but I was having difficulties with that. 

I originally had very muted colors in the weaving. I didn’t think it contrasted with each other or the warp well. After adding bolder colors, I feel like the weaving was more “powerful.” It stood out much better than before. 

What I learned through this project

  1. Don’t be afraid to use vibrant colors together. It could actually be complementary and make both colors stand out.
  2. Even if you’re only using one color, other elements can also make the piece interesting. 
  3. I enjoy doing things more experimental at first and learning the techniques. 
  4. Things may not turn out exactly as how you imagined, but you still might get something cool or at least learned a technique.

Five Directions 

  1. I could use the same pickup stick technique throughout the weaving in order to create long rectangular stripes rather than checkers. 
  2. I could try bold colors for experimental and muted colors for the pattern.
  3. I could braid the rya knots together so that they are not just dangling threads. This would also make it less chaotic. 
  4. I could make the contrast between regular and chaotic vertical instead of horizontal. (Left and right rather than top-down) 
  5. I could use varying lengths for each section of the pattern. (Instead of square shapes, maybe long rectangles with short rectangles.
Categories
Tapestry Weavings

Lea Emerlyn – Weaving in Progress

Visual Portfolio, Posts & Image Gallery for WordPress
Categories
Tapestry Weavings

Tapestry Weaving – Lea Emerlyn

I thought that what Alexandra Sipa did was interesting because she weaved electrical wires into a dress. I did not think that it was possible to use wires because it is a stiff material and didn’t seem like it could turn into clothing. I also feel like she is making a statement about how much waste there is in the fashion industry and the electronics industry. Being able to turn waste into something practical is a more sustainable way of doing things.

https://www.dezeen.com/2020/09/15/alexandra-sipa-romanian-camouflage-central-saint-martins-fashion/

Visual Portfolio, Posts & Image Gallery for WordPress