Neyetmare Team Inflatable Reflection

Individual Questions

  • What aspects of your project or process were most successful?
  • What were a few of the challenges you encountered and how did you overcome them?
  • What are the three top things you learned from this experience that you will take with you into future project experiences?
  • What have you observed in yourself regarding your collaboration with teammates who bring different skills and experiences to the creative process?
  • What is your number one piece of advice you would give to future students in this course?

Yiyang

  1. Our process of making the entire project is quite successful. We kept our plan simple and it was straightforward. Our making process was ahead of class and was on track of our schedule. 
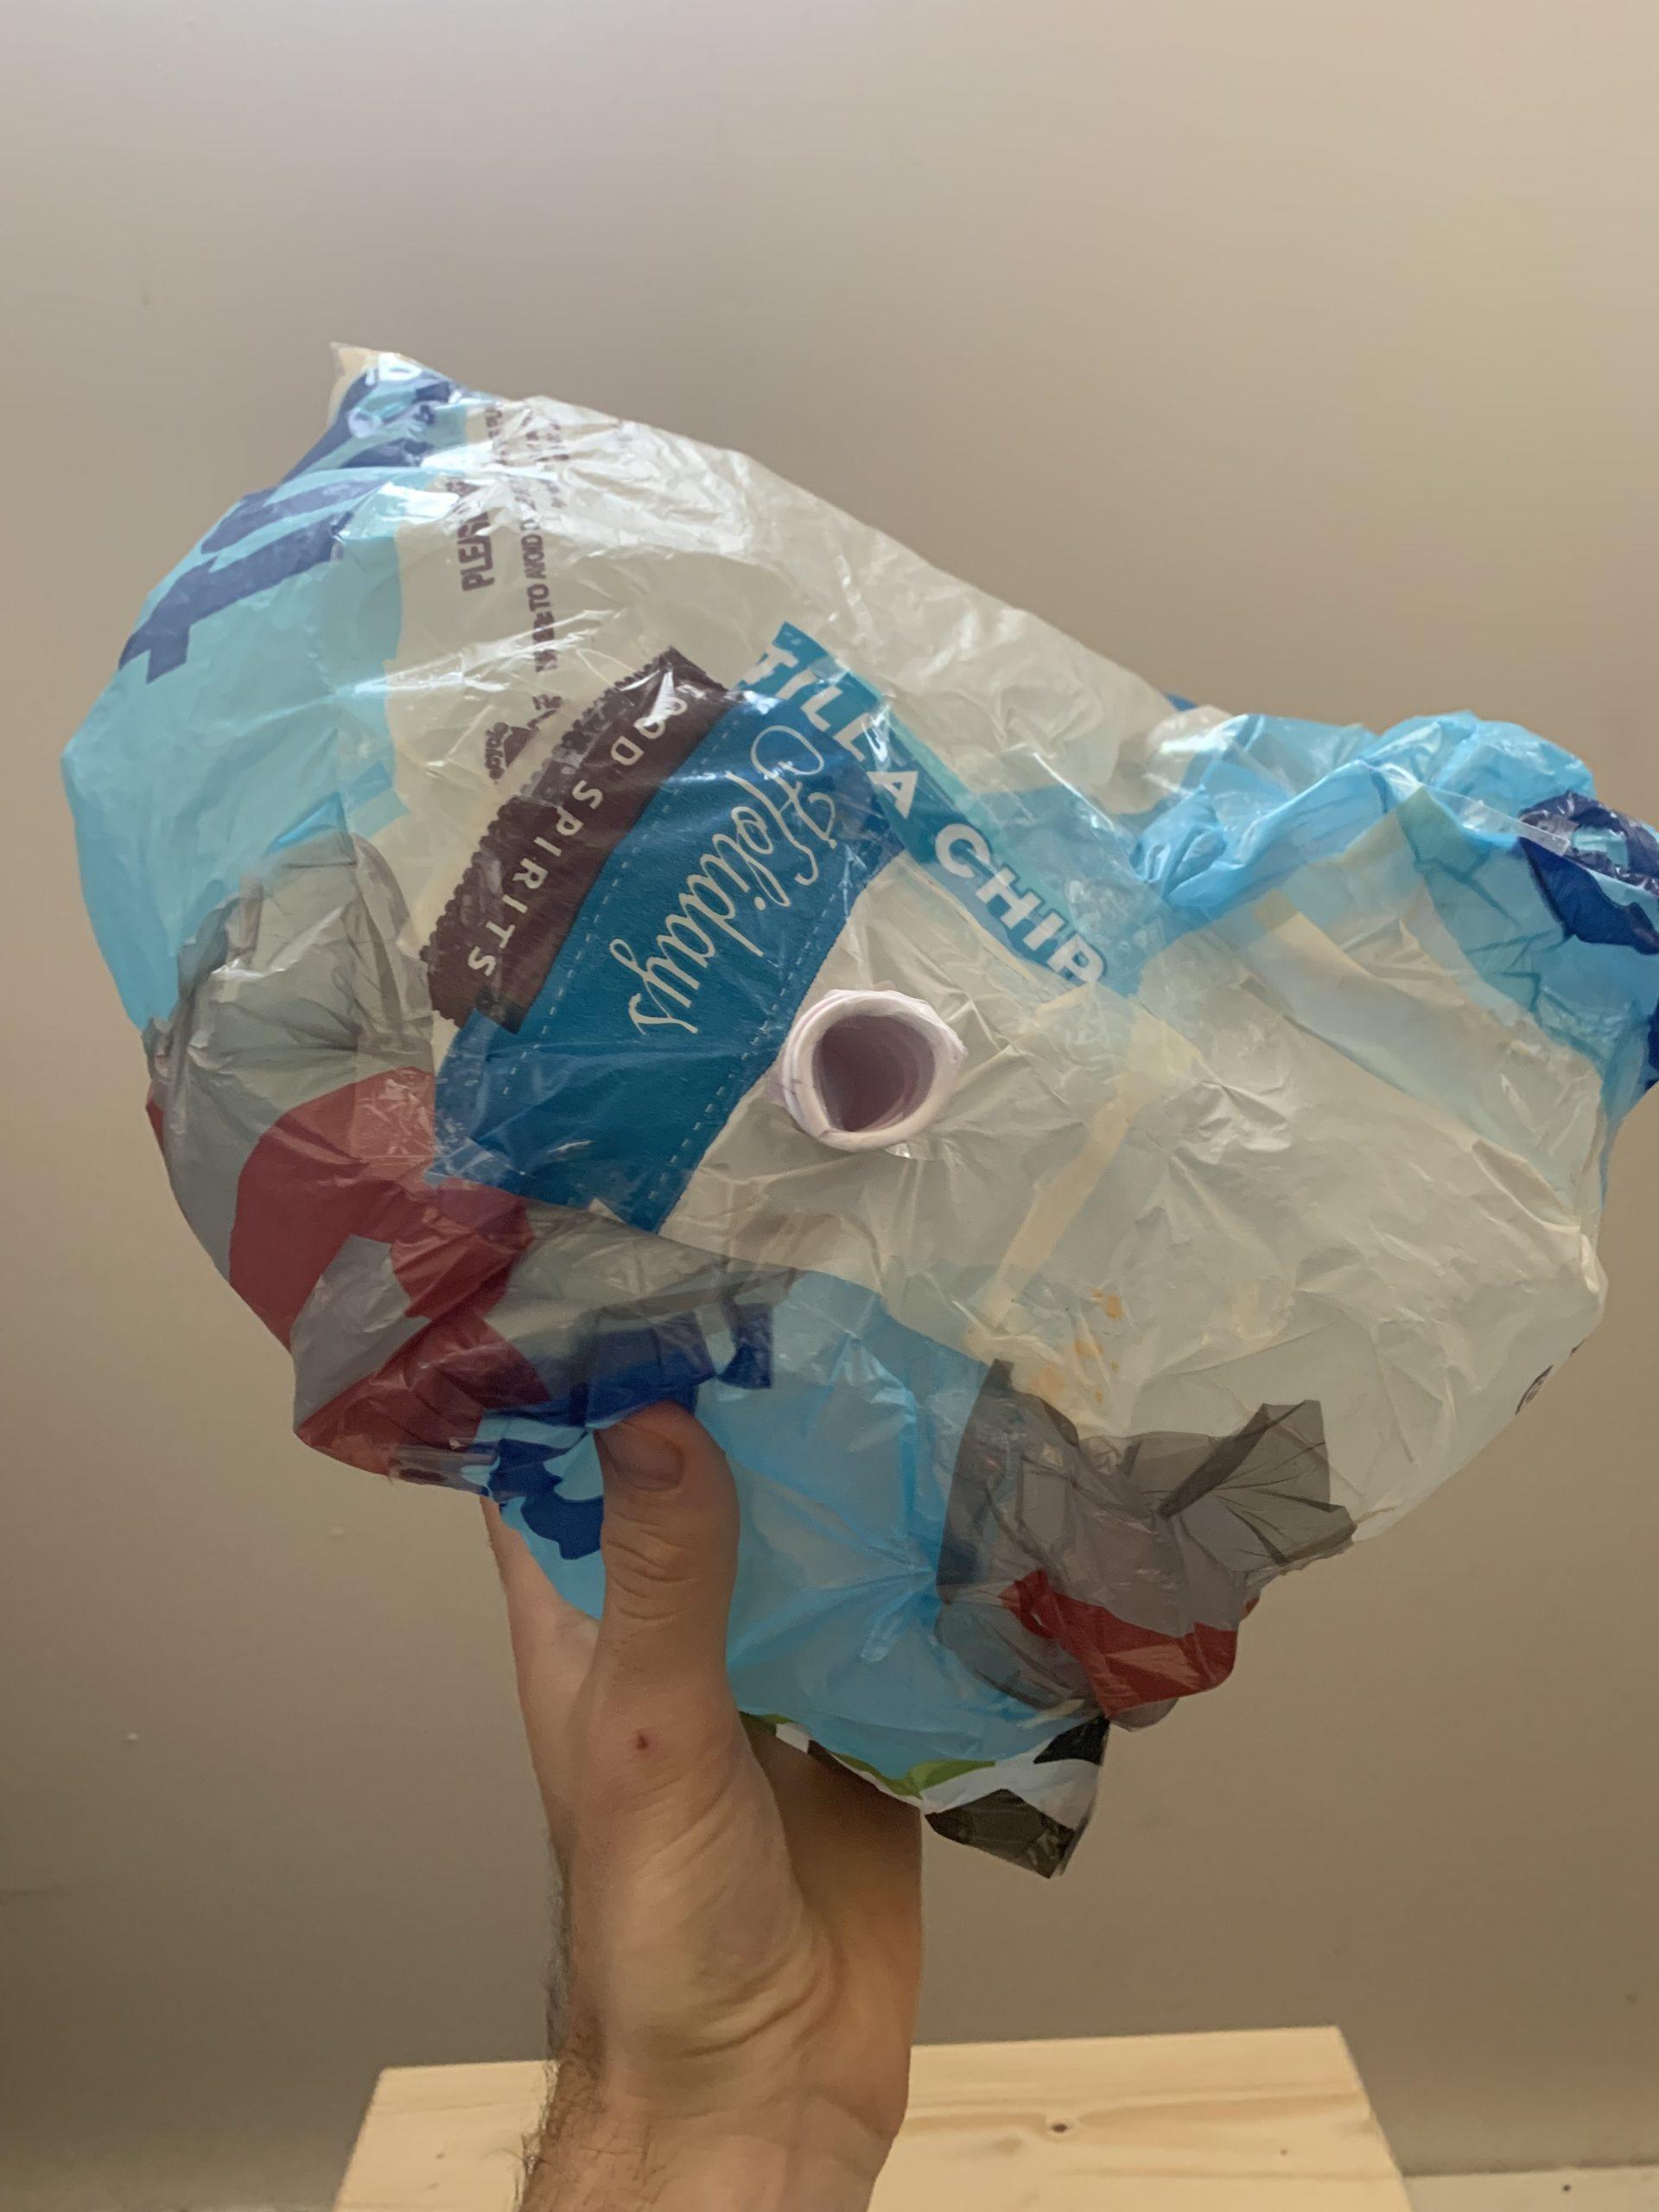
  2. Our installation process, however, was really challenging. We had to deflate it over the weekend and also took it down during the week. Thanks to Douglas, we had it up there again in the end. 
  3. Double check with the person who is in charge of the installation process. In general, double check with people who were responsible for the space. And just to be safe, check it with the second person who is in charge or in use of the space. 
  4. I created the Rhino file. Compared to making the object, I am much more confident and comfortable in making 3D models. Douglas and I also had much more time on campus and we traced all pieces for the project. In general I guess all of us are pretty flexible with our roles in the team. 
  5. Be prepared to spend tons of extra hours outside the class. And prepare the final project as early as possible so it would not have conflict with other finals. For those who come from non-project based classes (STEM), this class is highly project-based and thus requires careful time management. Make sure you either have some free time on campus or have some free space at home to work on the project.  

Lori

  1. I believe that the most successful part of our project was our time management. Our team was really on top of everything right from the beginning, and worked really efficiently. Our pipeline, from modeling and slicing in Rhino all the way through sewing our cut pieces of nylon worked really well.
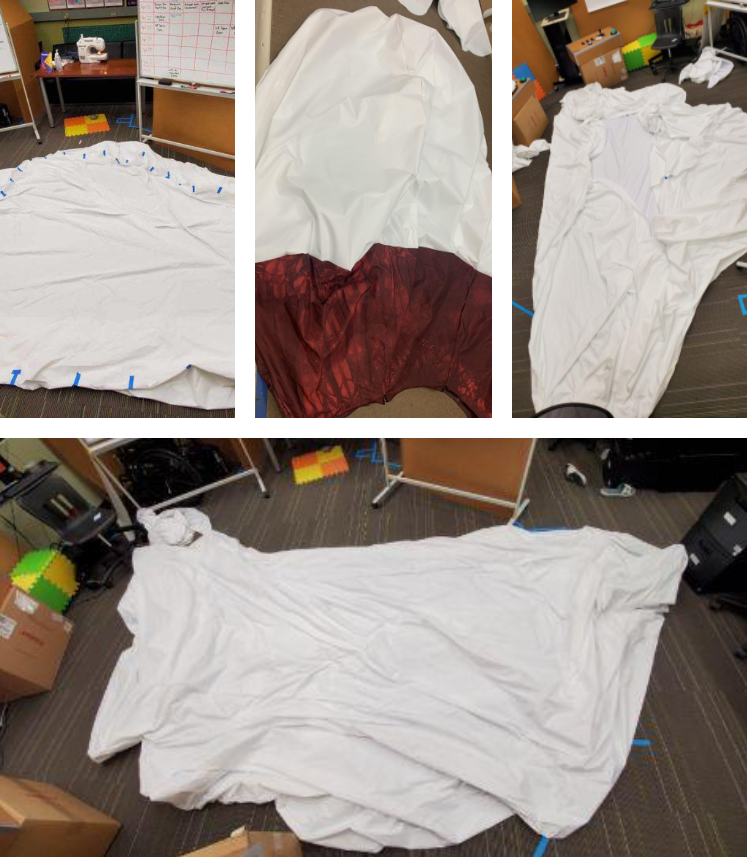
  2. The biggest challenge was probably my lack of access to campus, in general. Because I spend most of my time away from CMU’s main campus at the ETC, it was sometimes difficult for us to coordinate as a team. We worked around this by having Douglas and Yiyang complete a lot of the patterning together, and then passing me the pieces to sew. Since I was able to check out a sewing machine and walking foot, I was able to sew up the entire cloud at the ETC rather than struggling to find time to go to Hunt. We also had to cut the optic nerve from our design, since we were using too much fabric. We got around this by instead changing the narrative of our piece by turning the eye to look at the nightmare cloud rather than being attached to it.
  3. First, I learned a lot about sewing and soft fabrication. I really enjoyed the practice I got sewing and learning about what causes wrinkles, folds, and errors while doing it. Especially since I am hoping to go into location-based themed entertainment, understanding different materials and assembly is really important. Second, I learned a lot about time management for a large-scale fabrication project and the importance of leaving time for iteration and corrections before installation. Finally, I learned how amazing it is to have dedicated, reliable teammates. We were able to accomplish so much because I knew my teammates were reliable and responsive, so even though we weren’t able to spend much time together, I still felt like we were a team.
  4. I really enjoyed listening to my teammates’ creative vision for this project. Both Douglas and Yiyang brought up narratives for our piece that I would not have considered, and their expertise in patterning was incredibly crucial to our team’s success. I am so appreciative of my teammates and of their different views, and I have found that it’s a lot easier to remain on schedule and remain accountable when you know you can rely on your teammates to do the same.
  5. Definitely start earlier than you think you need to; patterning takes way more time than actually sewing, so account for that when you plan your project timeline.

Douglas

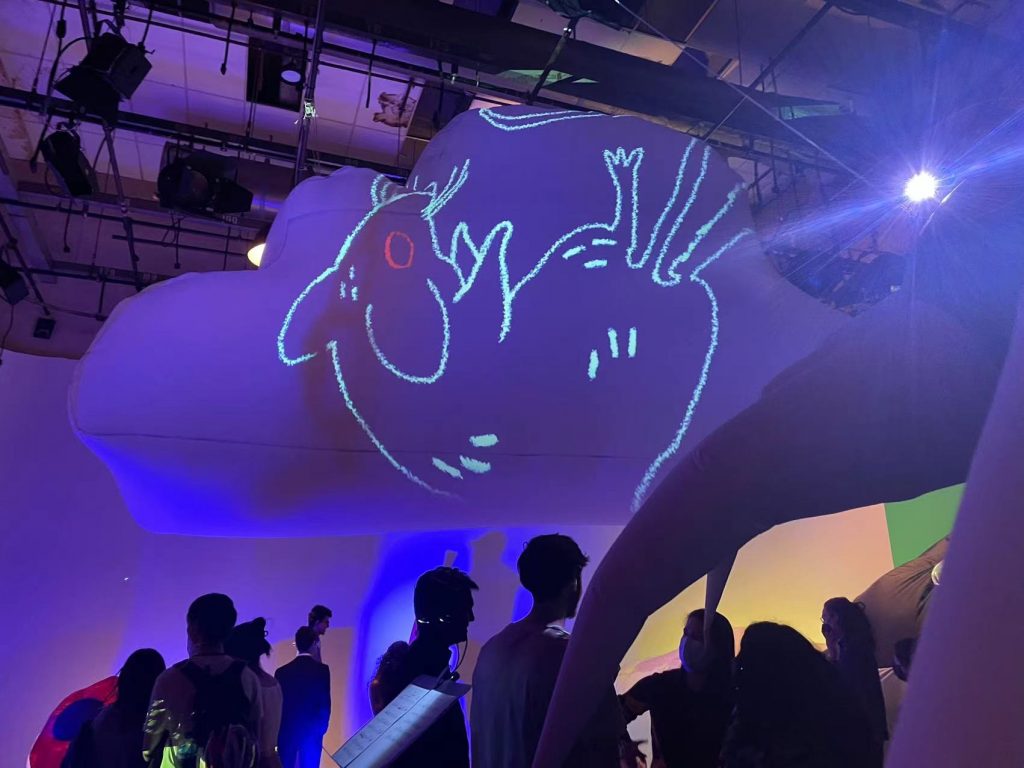
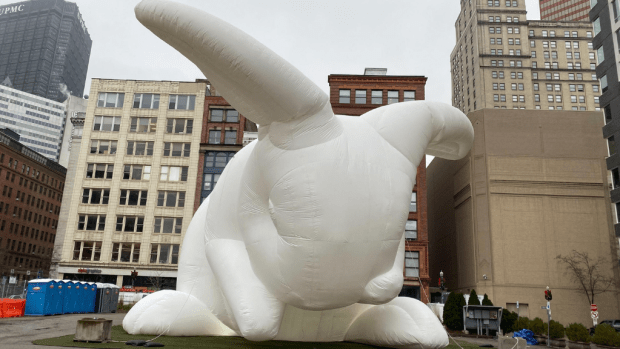
  1. I believe we succeeded at making a large scale project that was challenging to create and install while still maintaining simplicity of design. This accomplished the original intention of working synergistically with the animation team to provide a large and awe-striking medium for projection.
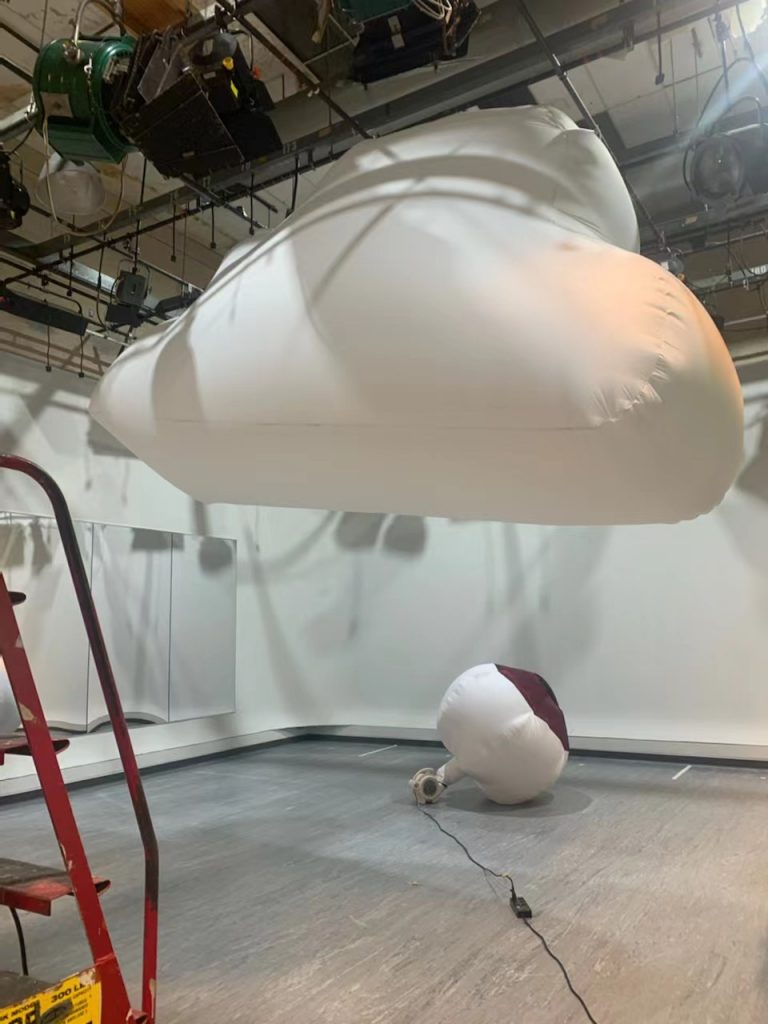
  2. The installation of the cloud required a couple hours of working on a lift 2 stories above the ground for attachment of the inflatable to the ceiling. This along with a the need to tie it up and reinstall it due to miscommunication (being told we were able to leave the cloud installed in advance when in reality this affected other classes or events) was a challenge.
  3. I learned and will be applying in the future the knowledge and various tricks of sewing, how to use another form of computer aided design (Rhino), and the scale up process of how to take a small concept in my head and realize it on a large scale.
  4. I have been very grateful for each team member’s contributions and talents in this project. I believe our team became good friends and were able to pick up where someone left off or could enhance the performance of each other really well in each part of the project. I learned trust and got comfortable with the idea of leaving large tasks into the hands of team members which can be very stressful.
  5. The one piece of advice I would offer future students would be to design your final project focusing on simplicity of design. The project is complicated regardless just based on the sheer magnitude of the project, and one can always increase the complexity. But when supply or time shortages are a risk to completion, one will be very grateful that their project can be simplified to accommodate the new constraints.

Group Questions

  1. How did you generate the idea and starting point for the project?
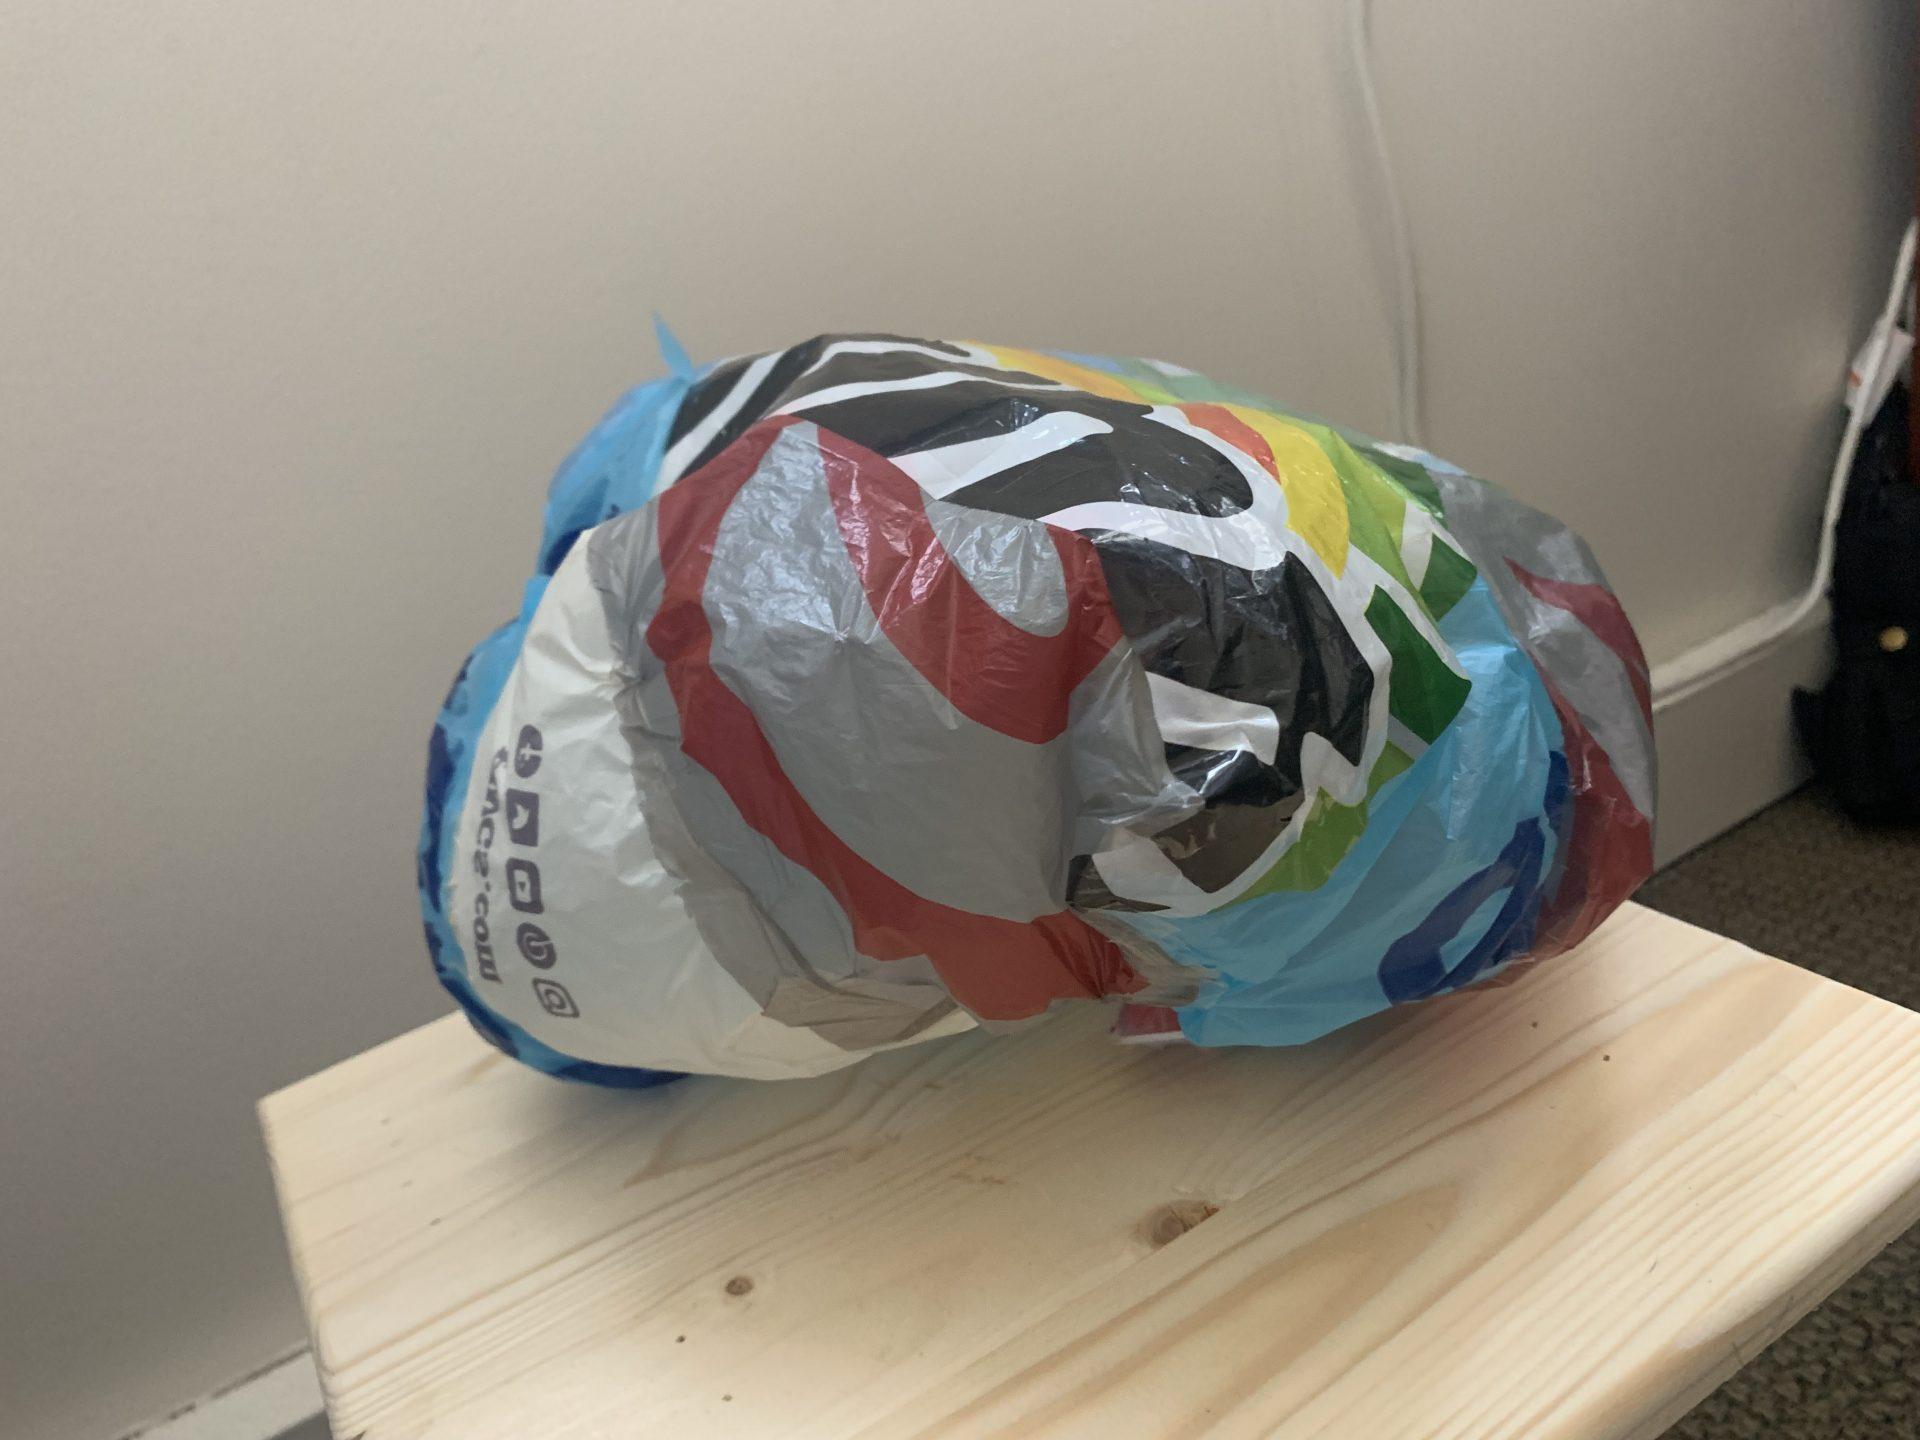
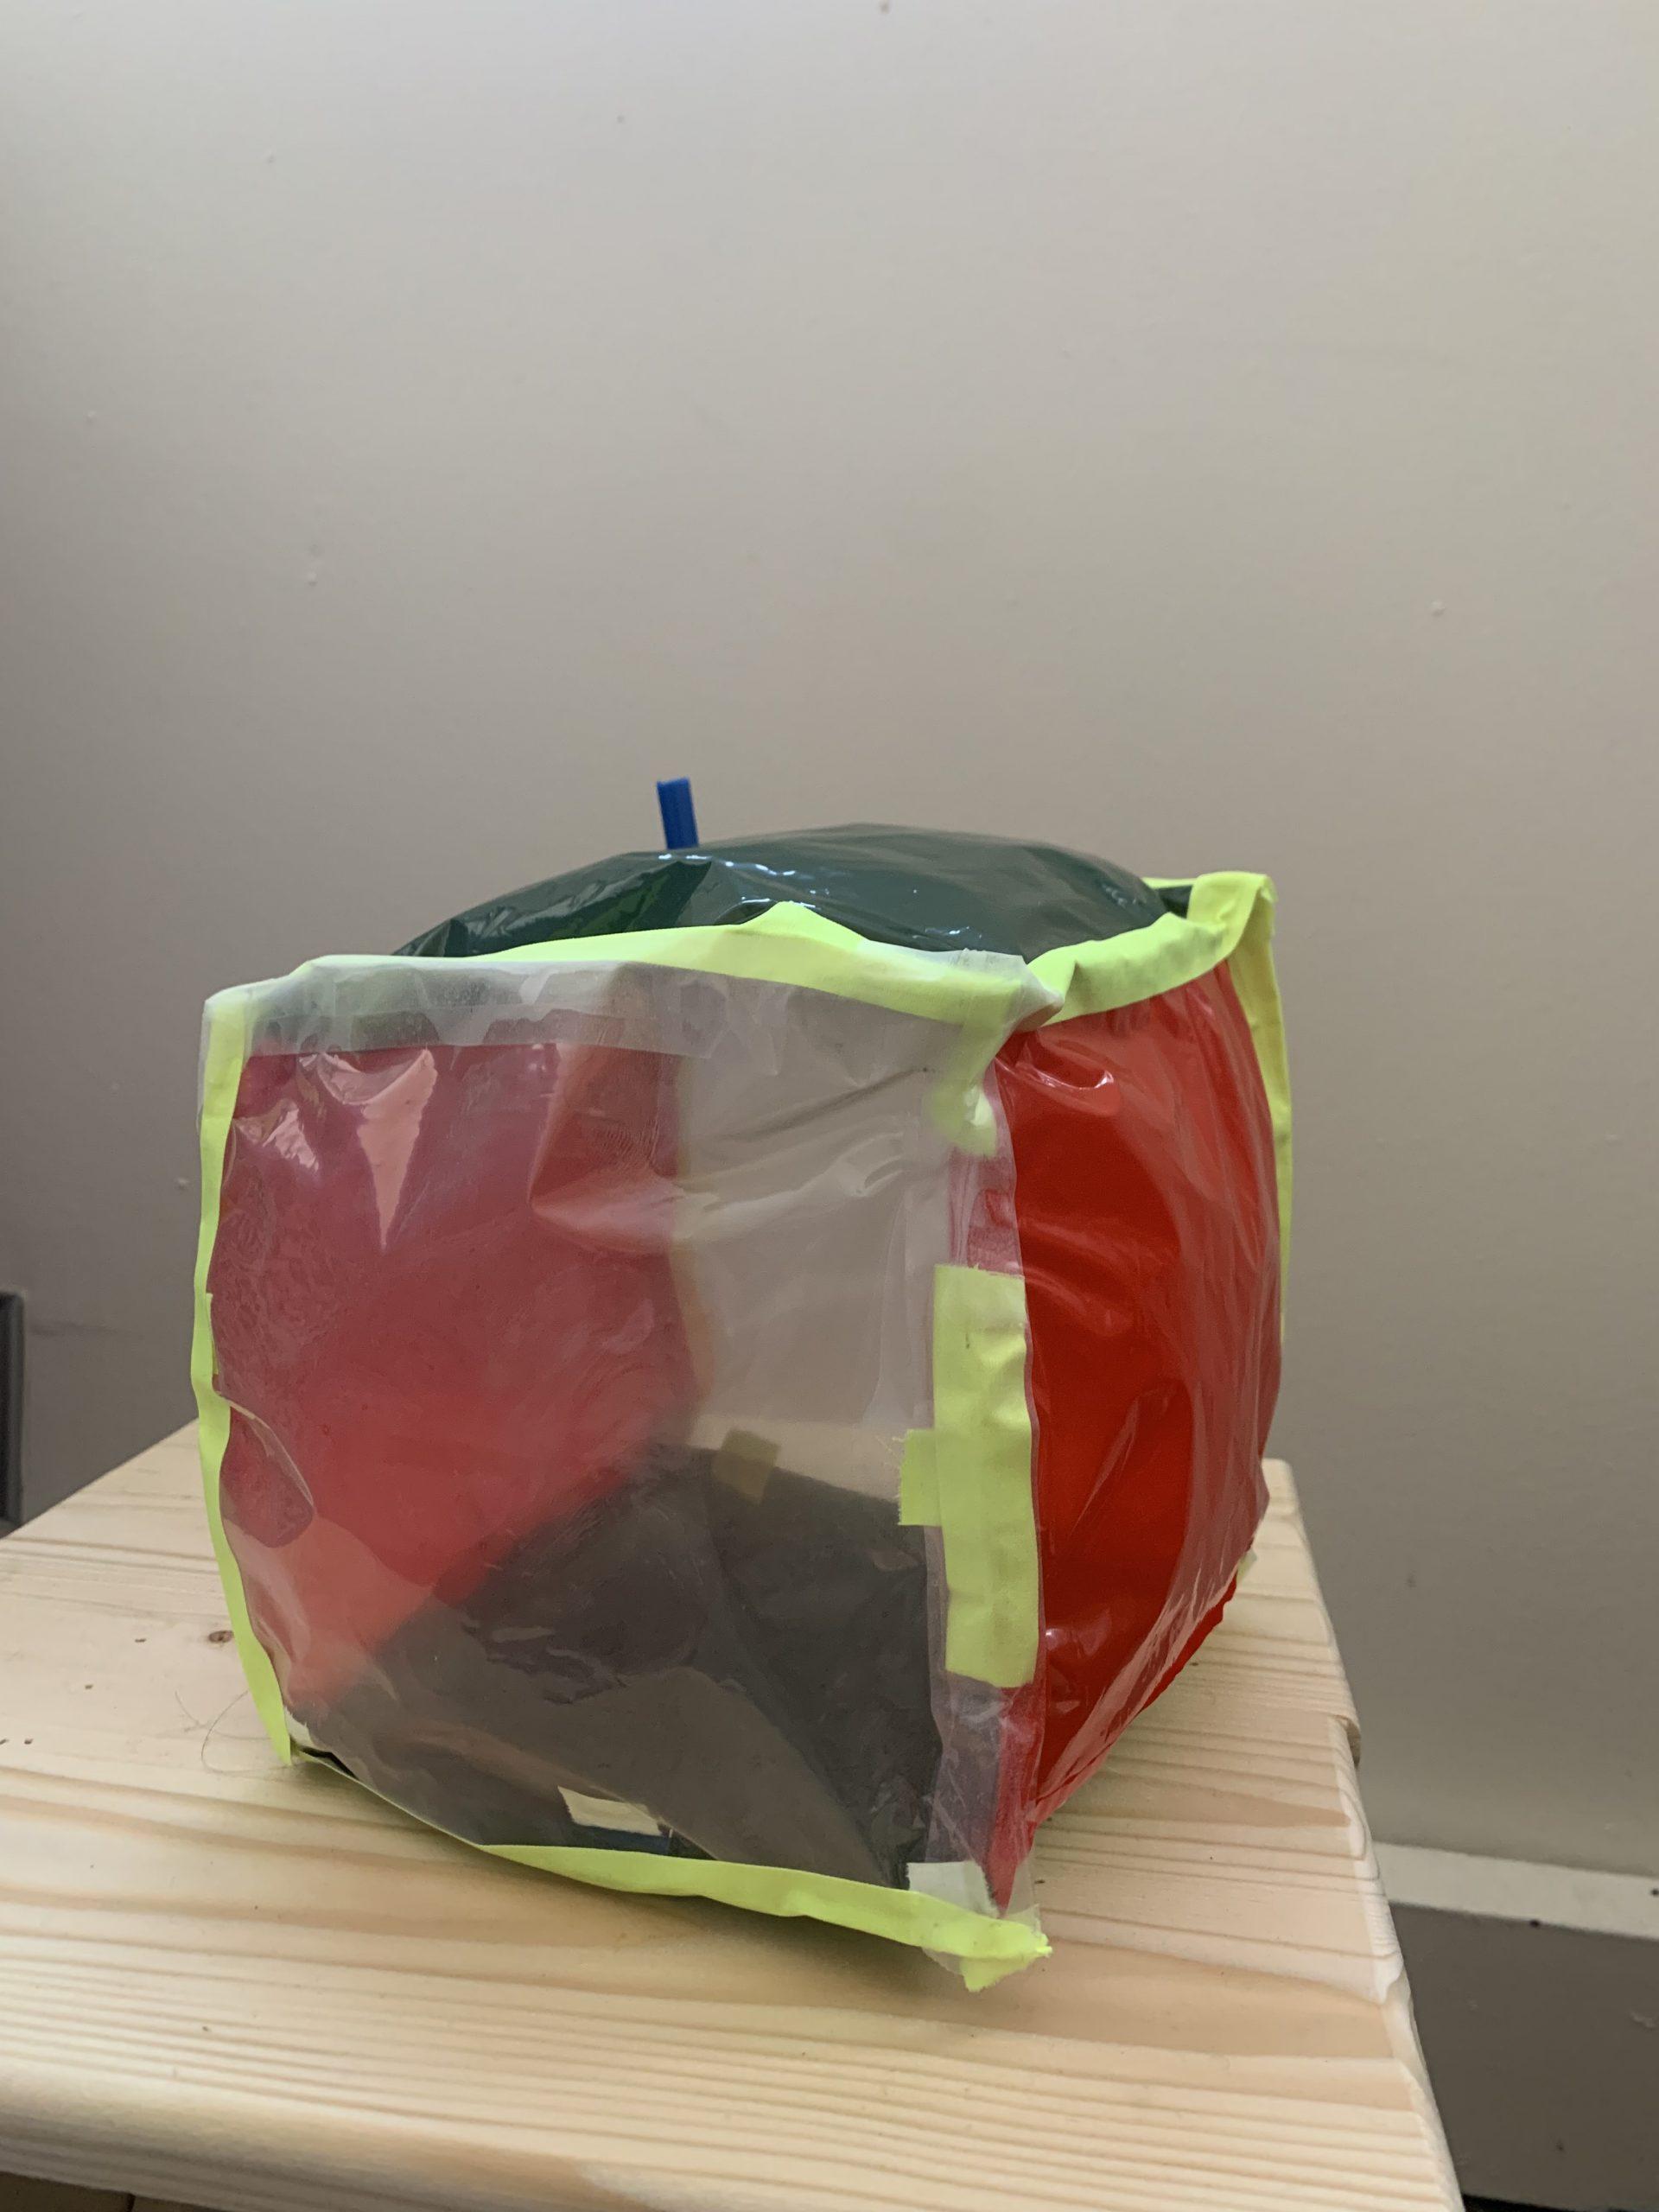
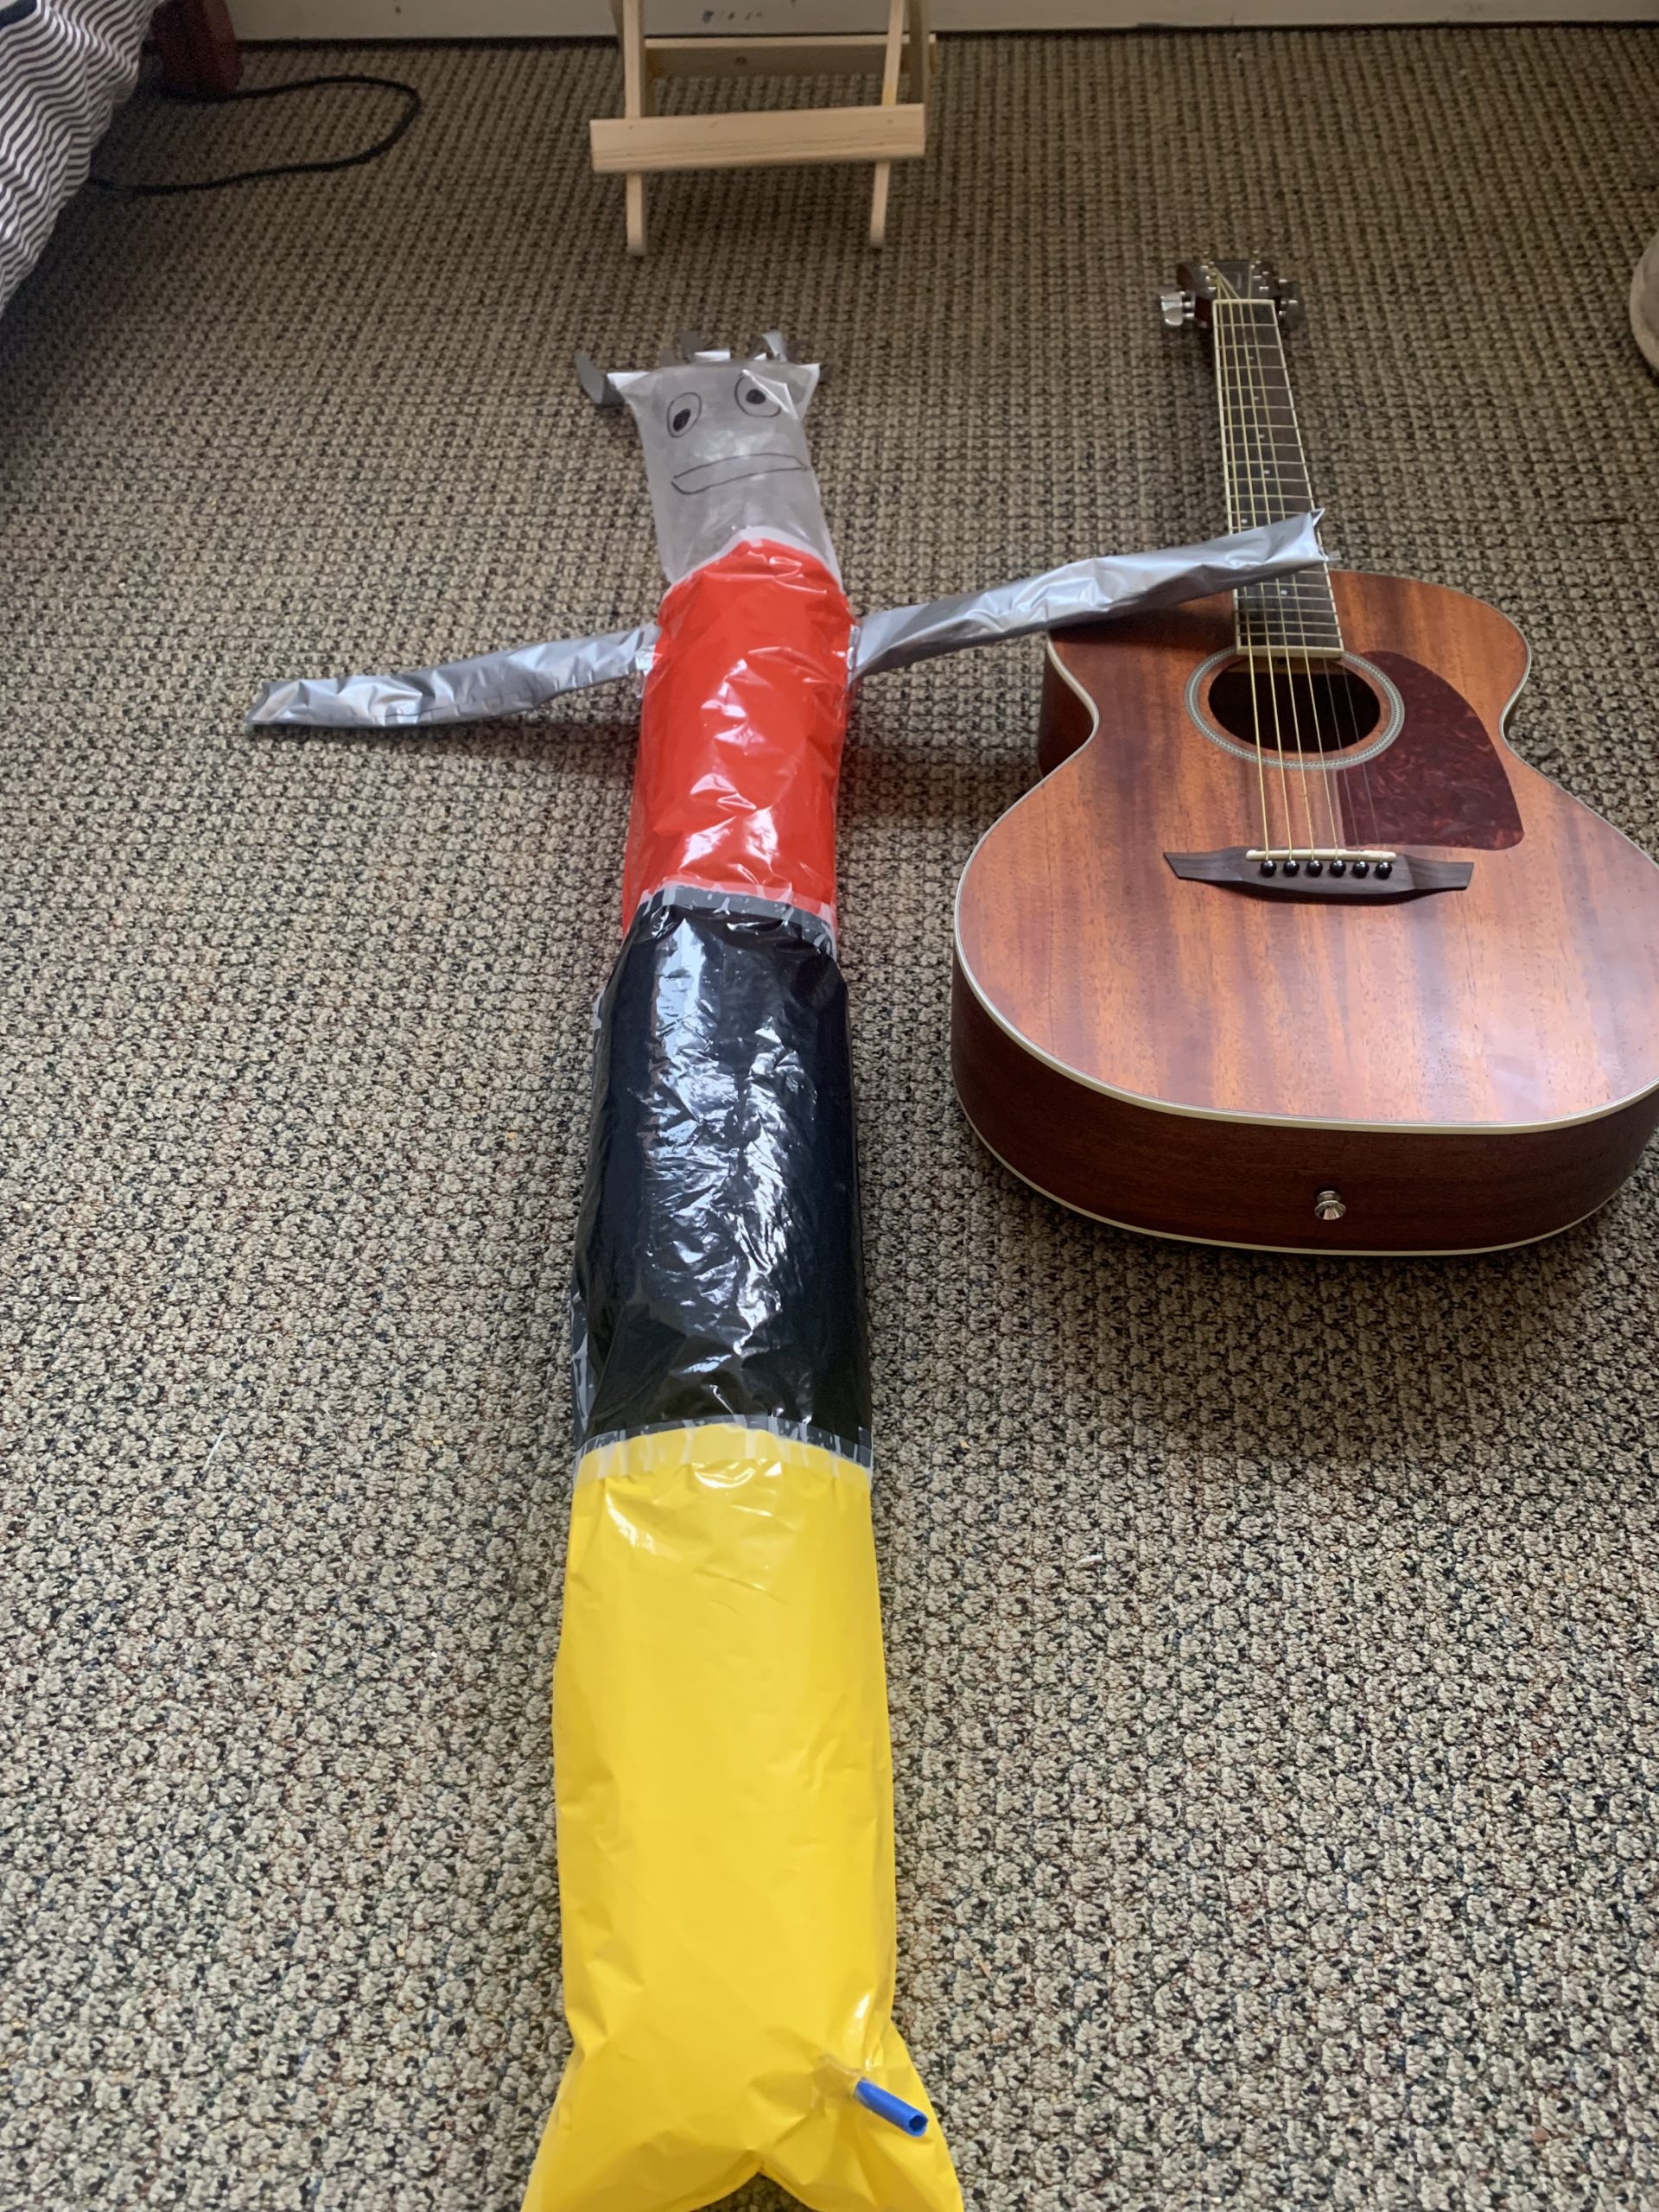
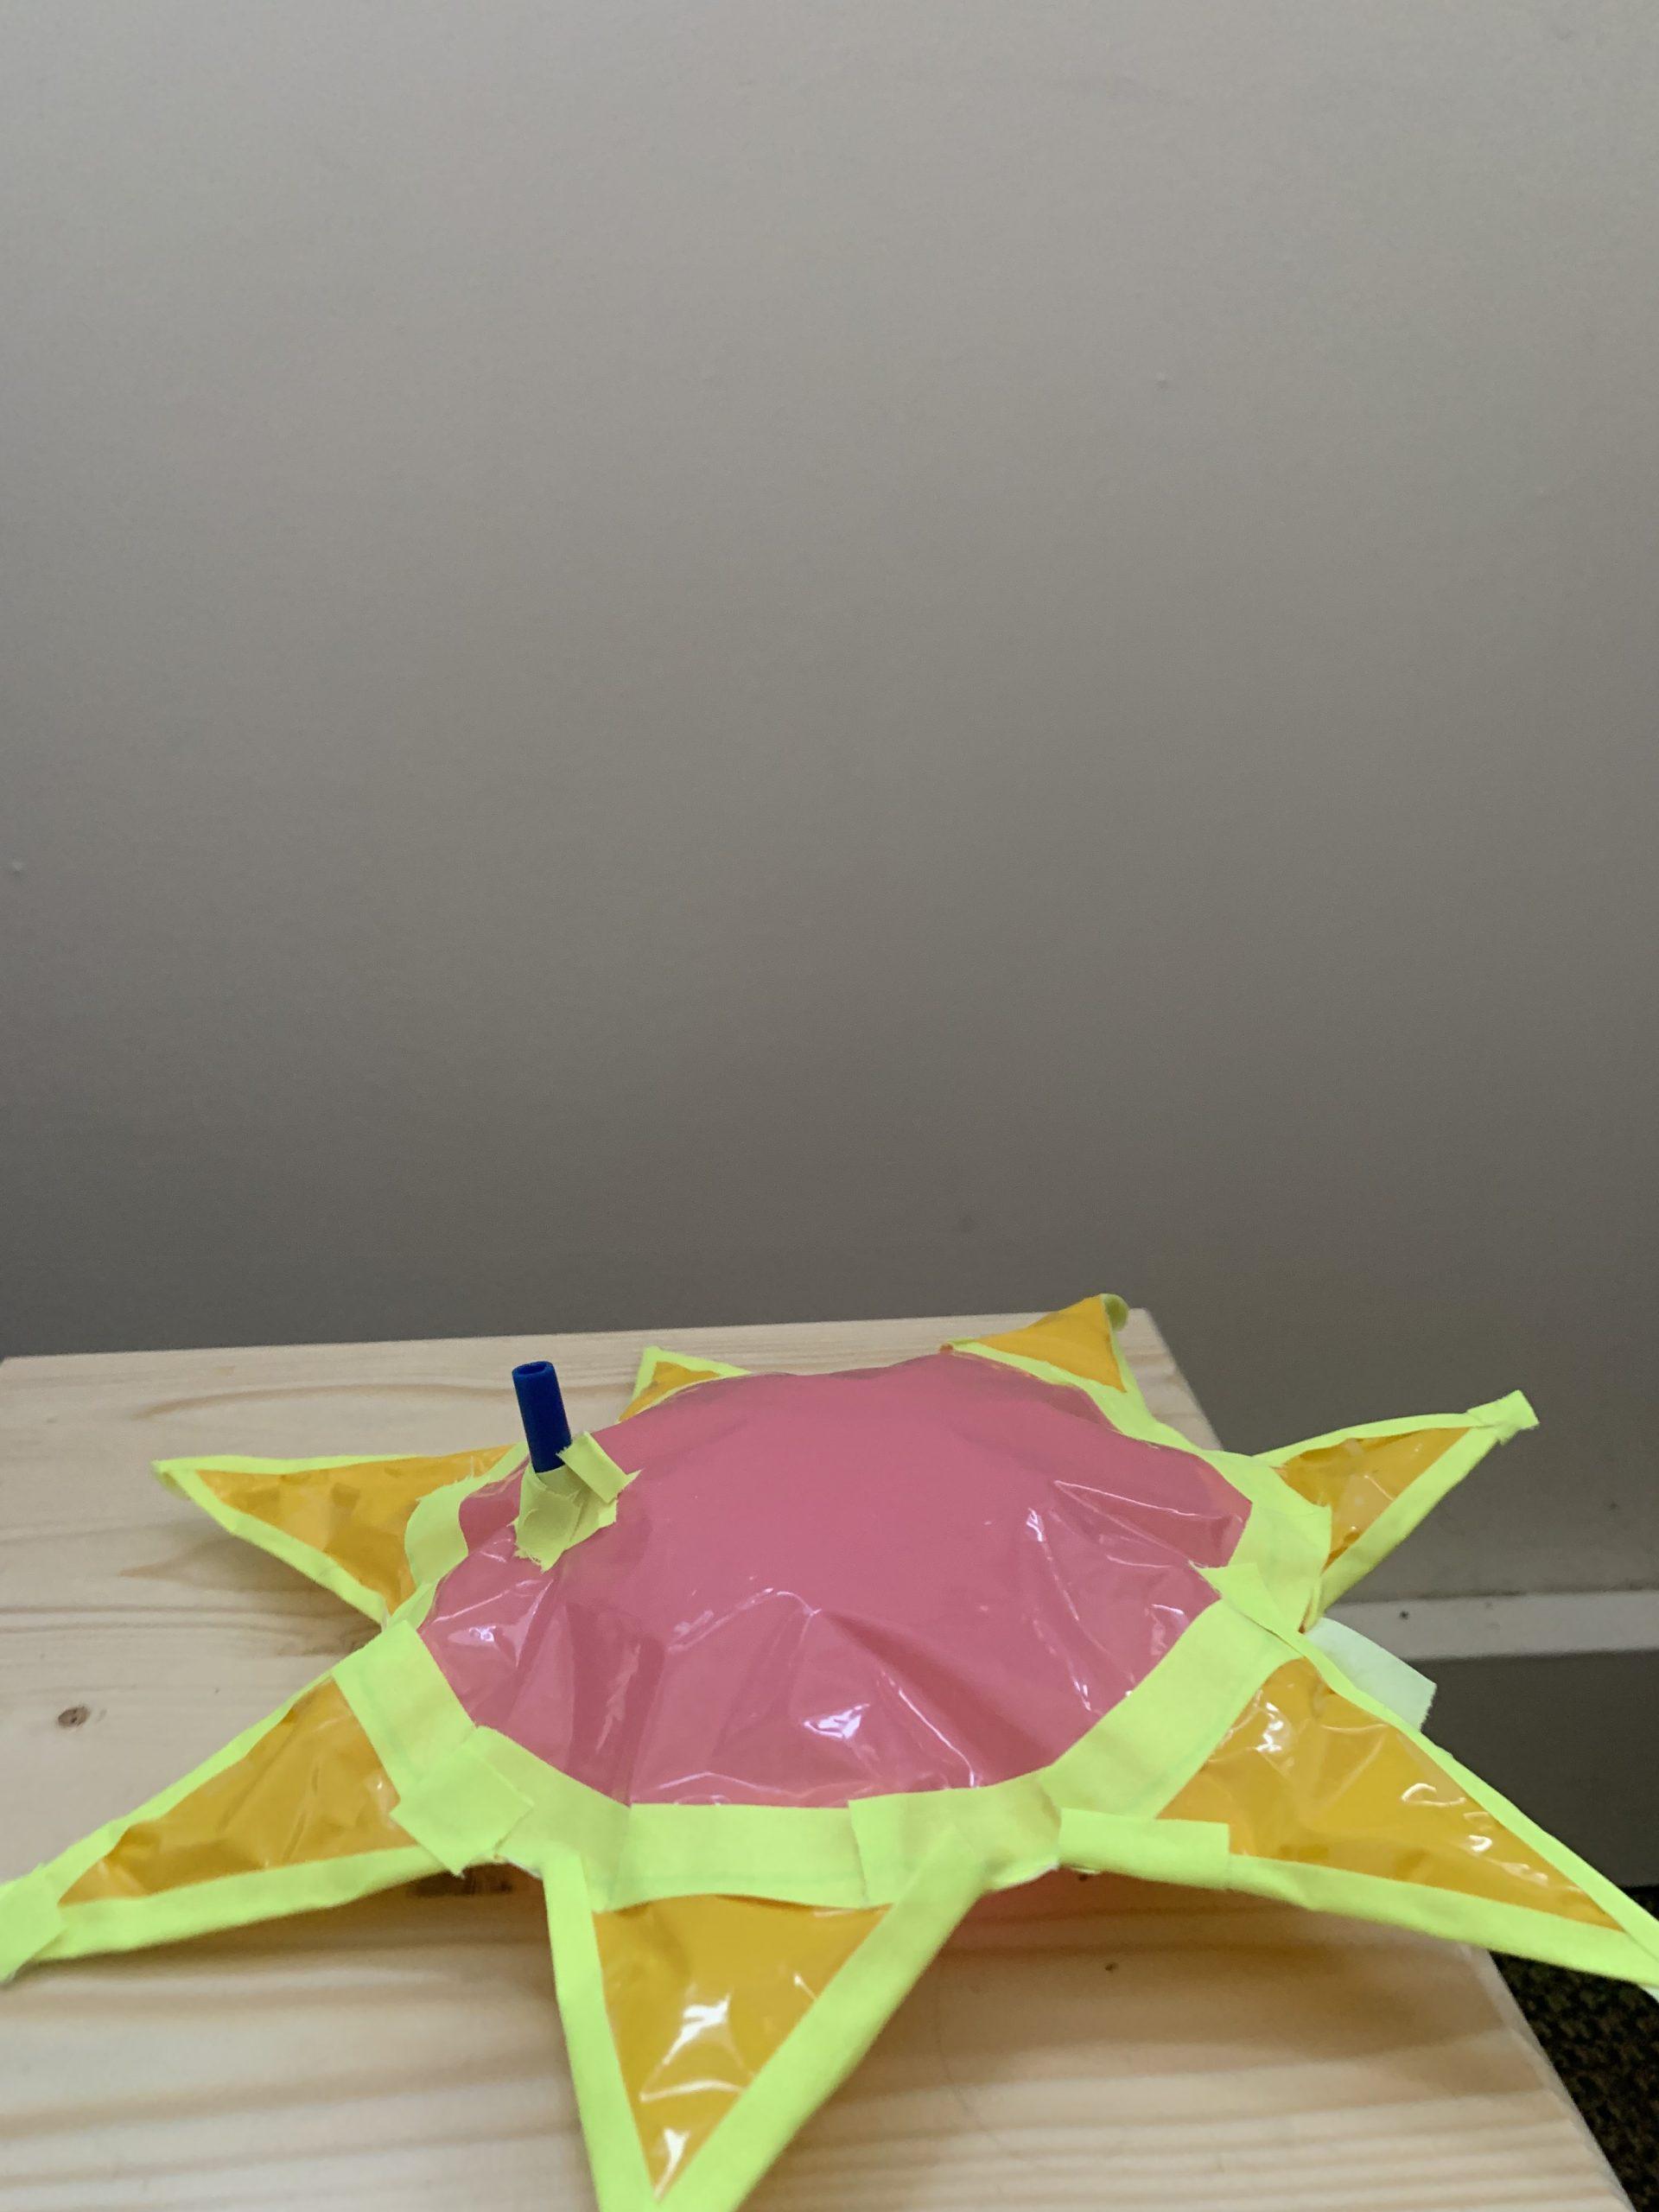
  2. What was the path that you took from beginning to end to accomplish the project? Please upload 5-10 photos to illustrate your story.
  3. What were the challenges you encountered and how do your team overcome them?
  4. What were the “happy accidents” that you encountered along the way?
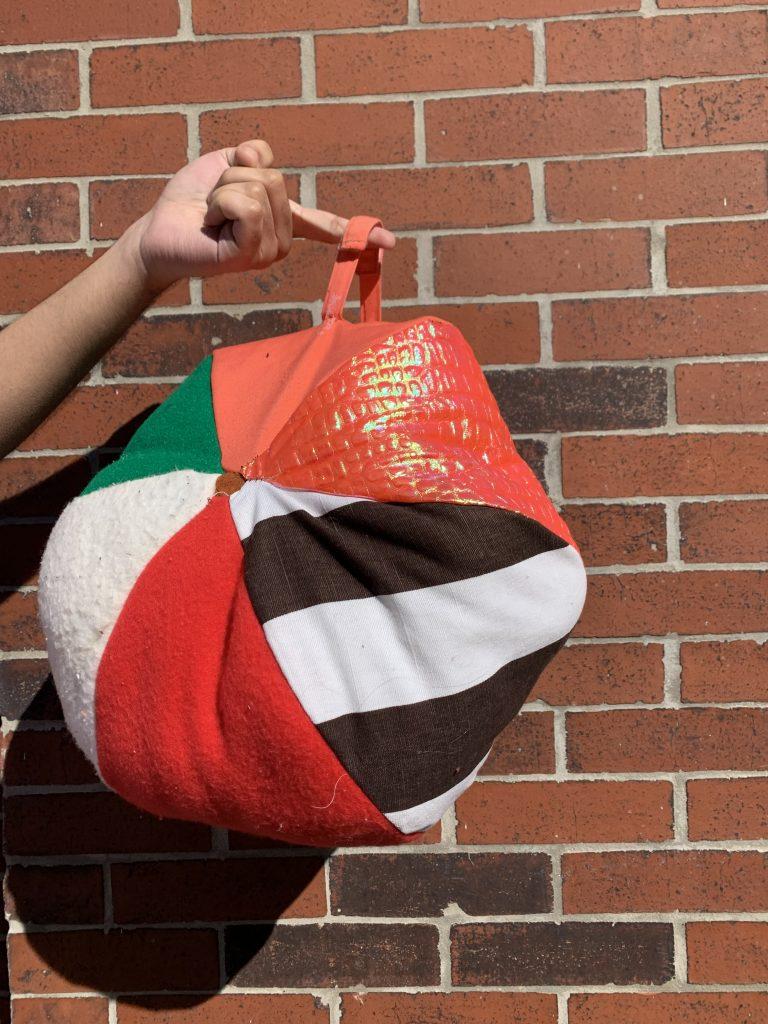
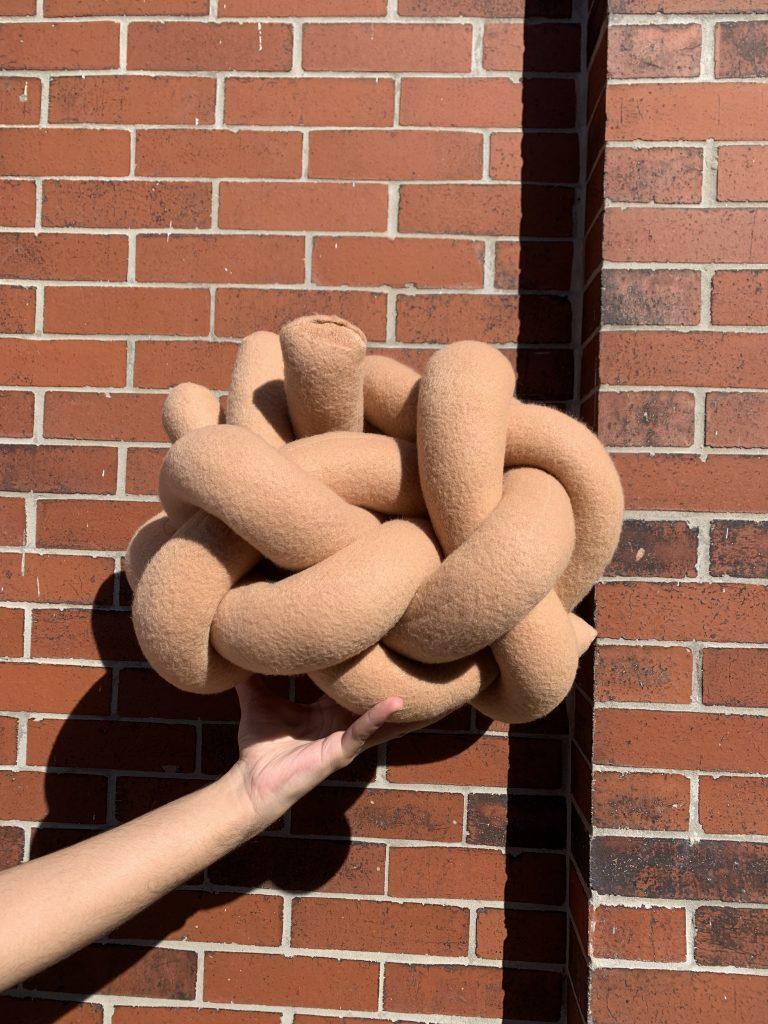
  5. Final Project: please upload 5-10 photos of your final project and 3 sentences that describe what your final project is (not what you intended, but what it is now that it is finished).
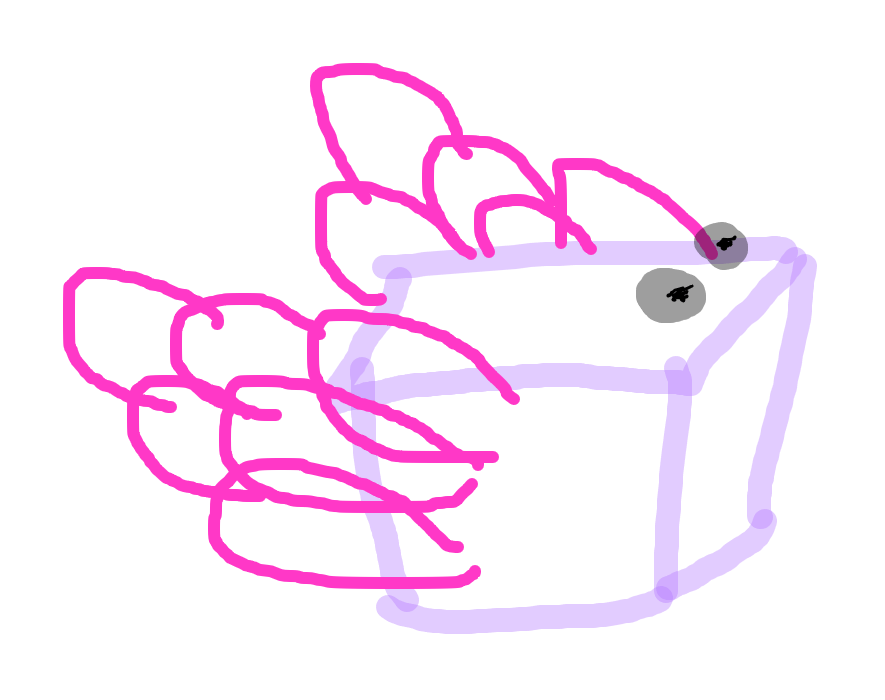
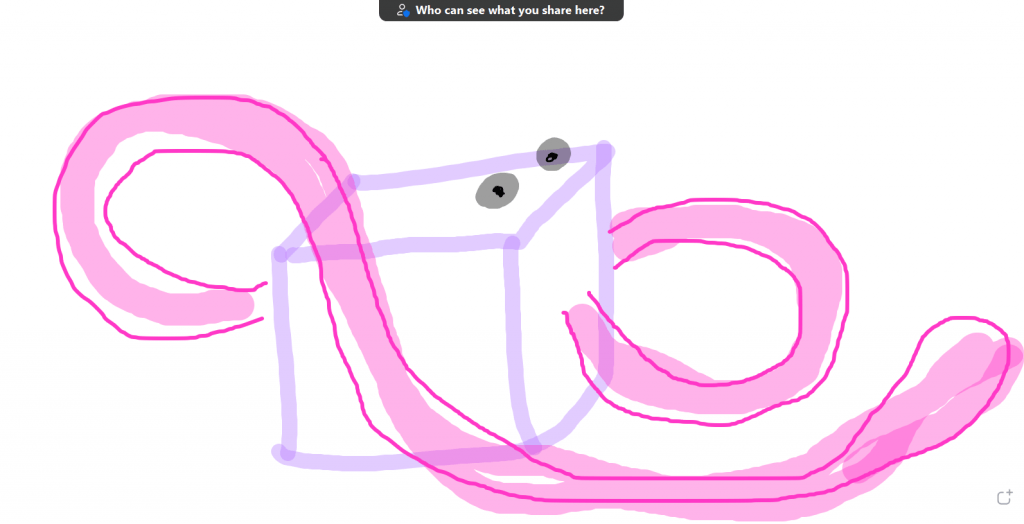
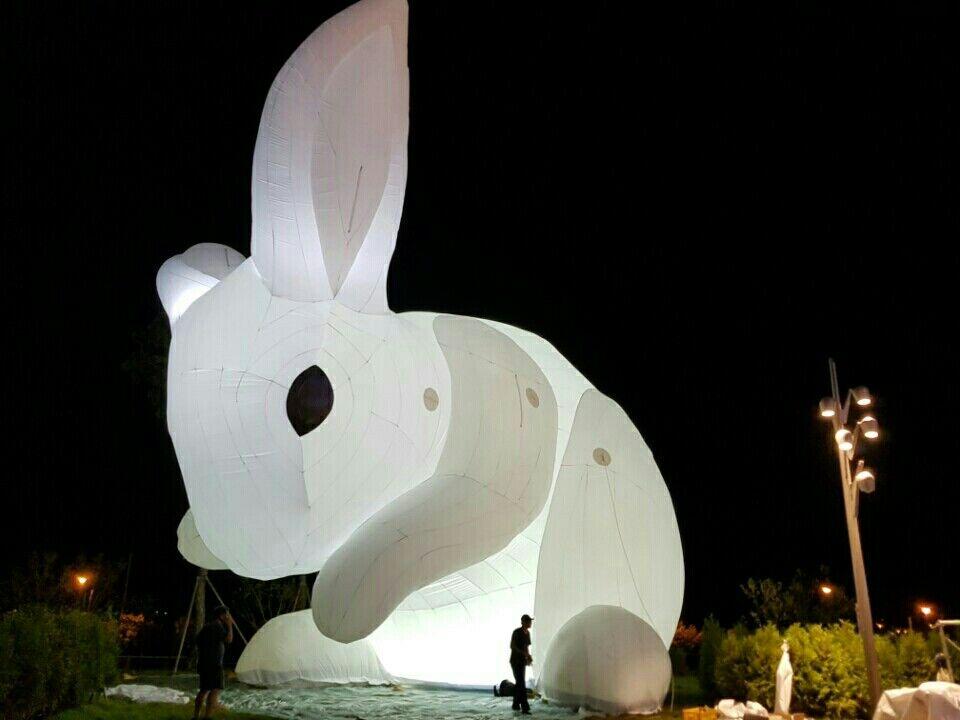
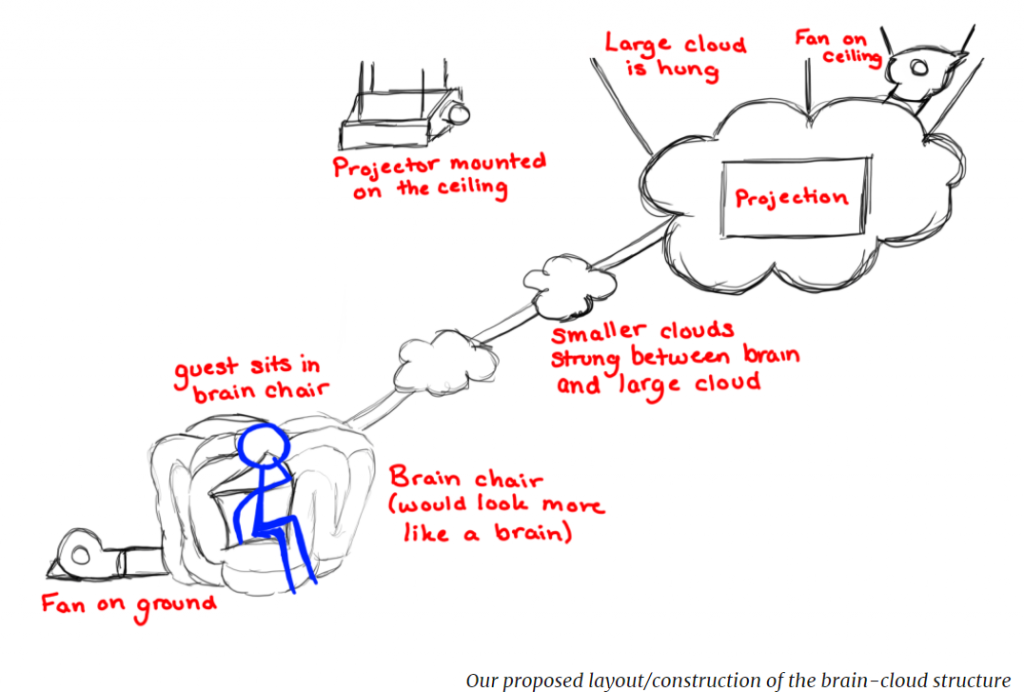
  • Yiyang wanted to do something creepy, and so we started brainstorming about what that could be. We had the idea of doing a dark thought bubble that someone could stand under, as if it were reflecting their thoughts. From there we expanded on the nightmare theme, eventually introducing a brain, and then an eye when a brain proved to be too difficult.
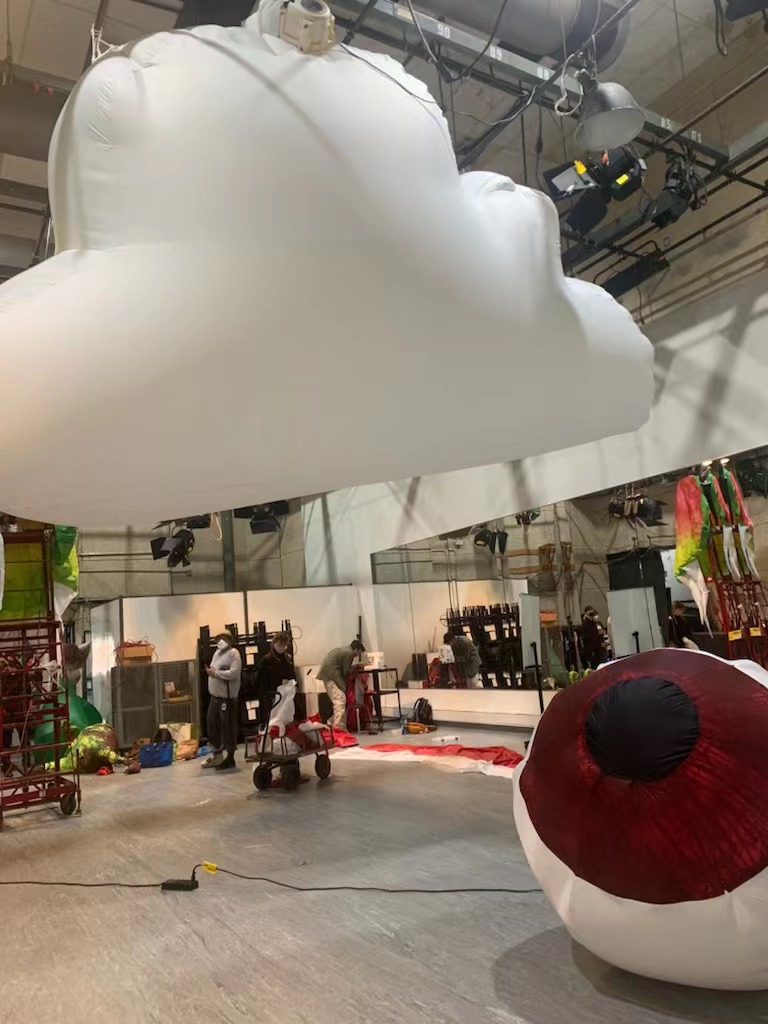
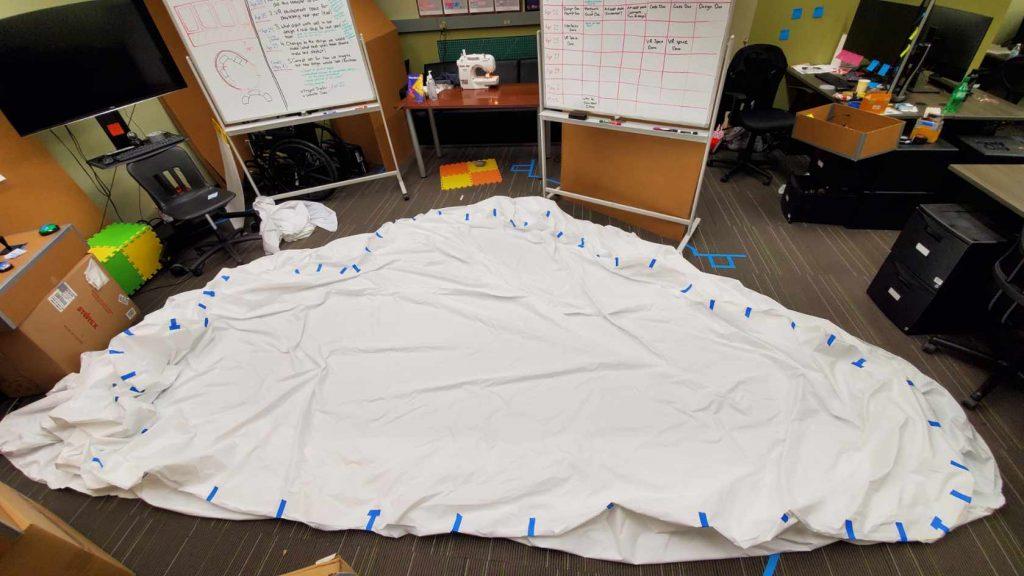
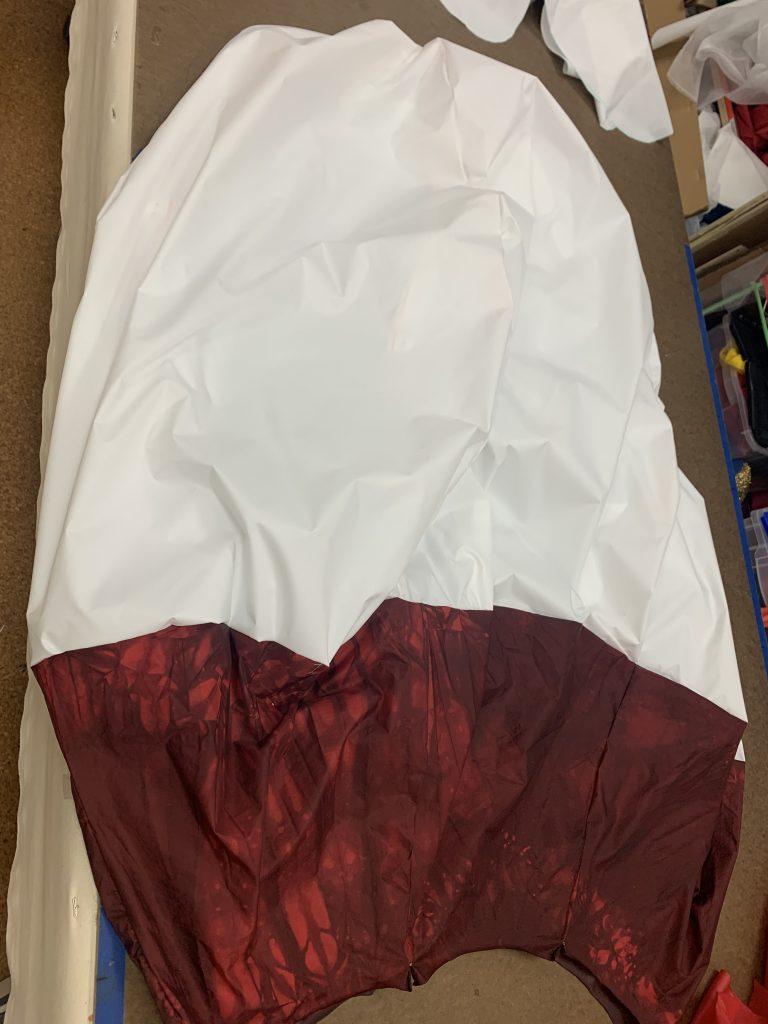
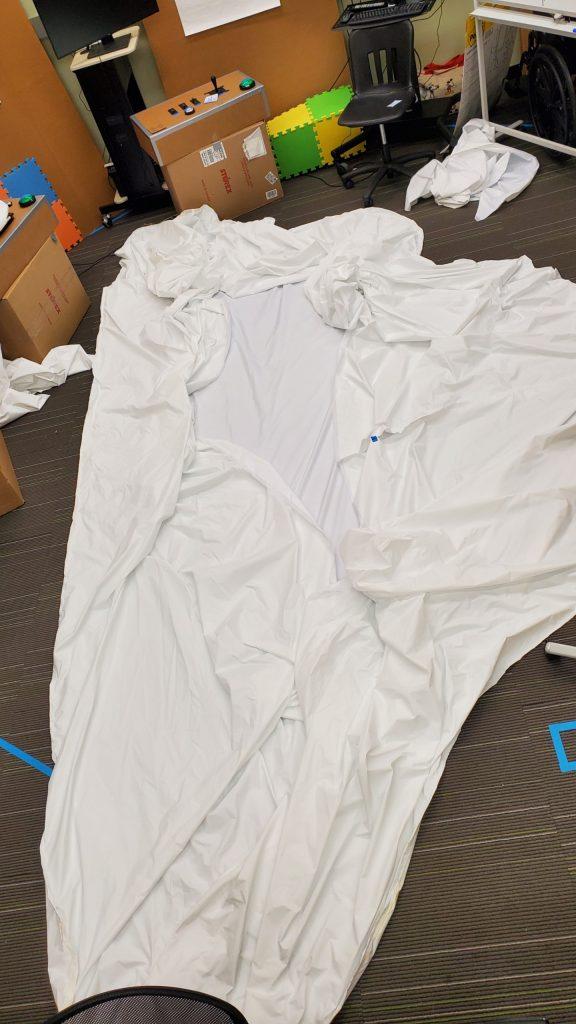
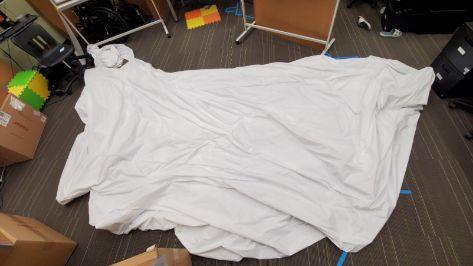
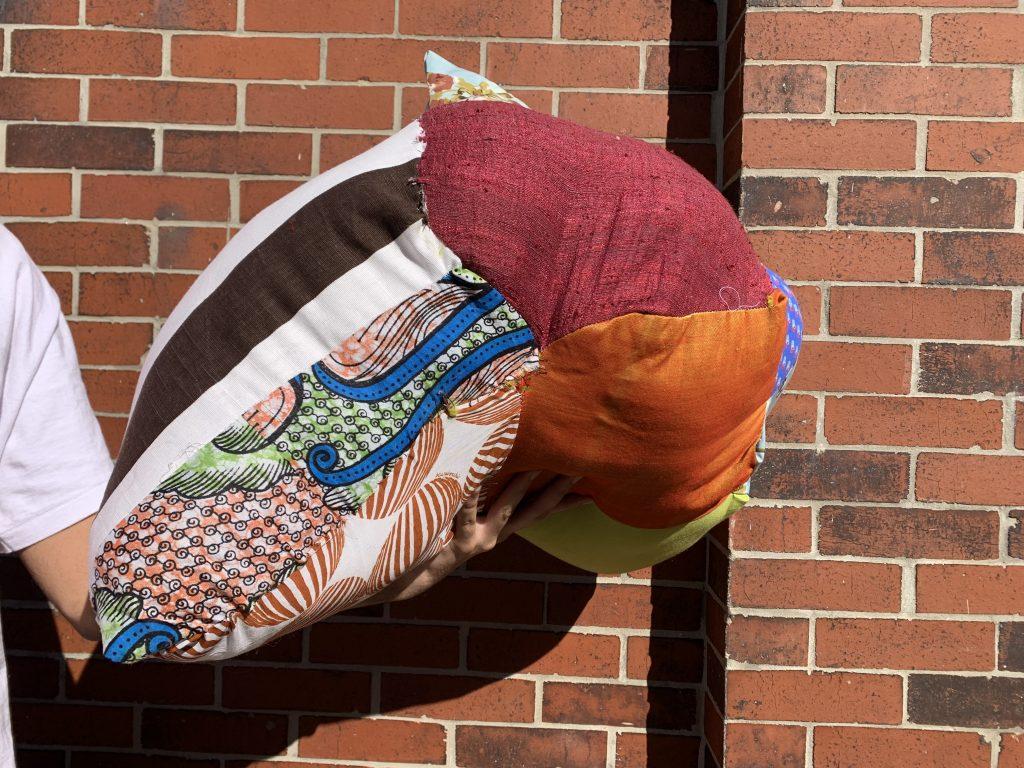
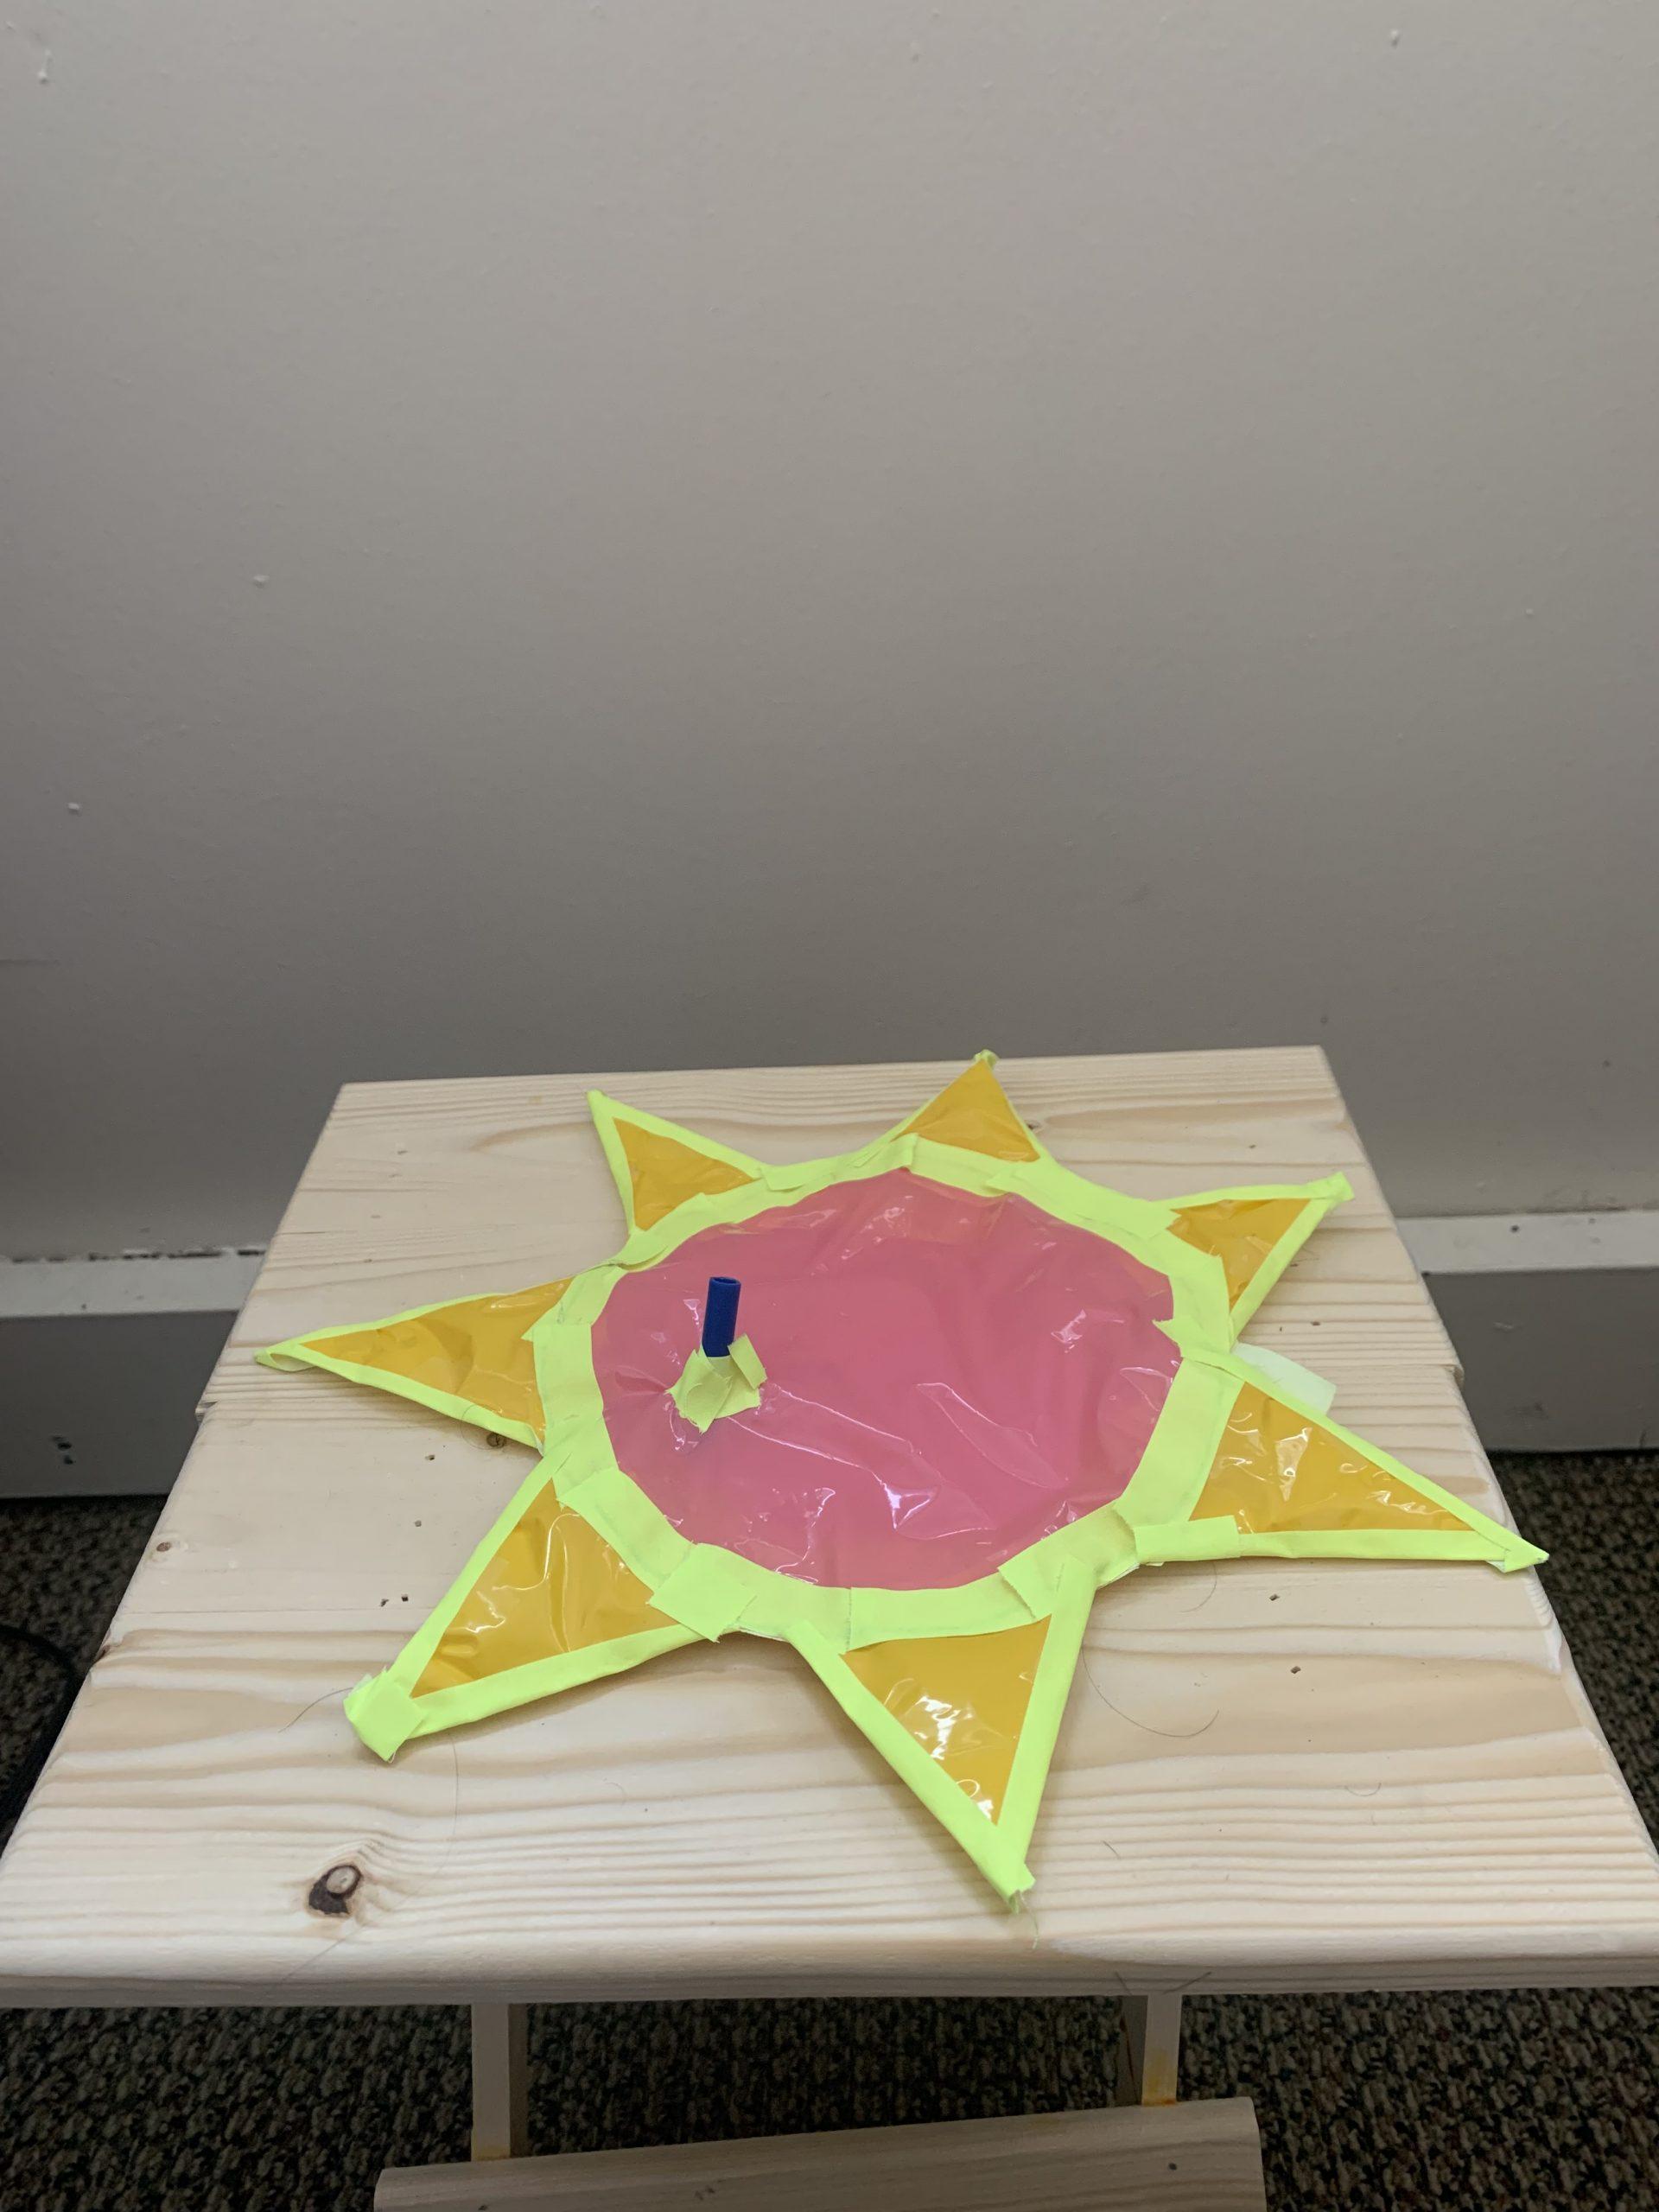
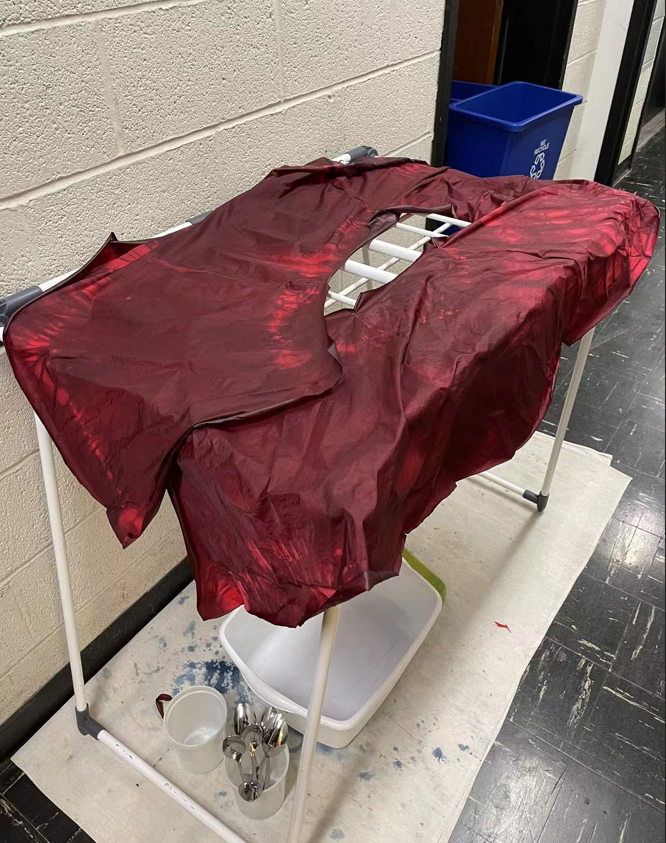
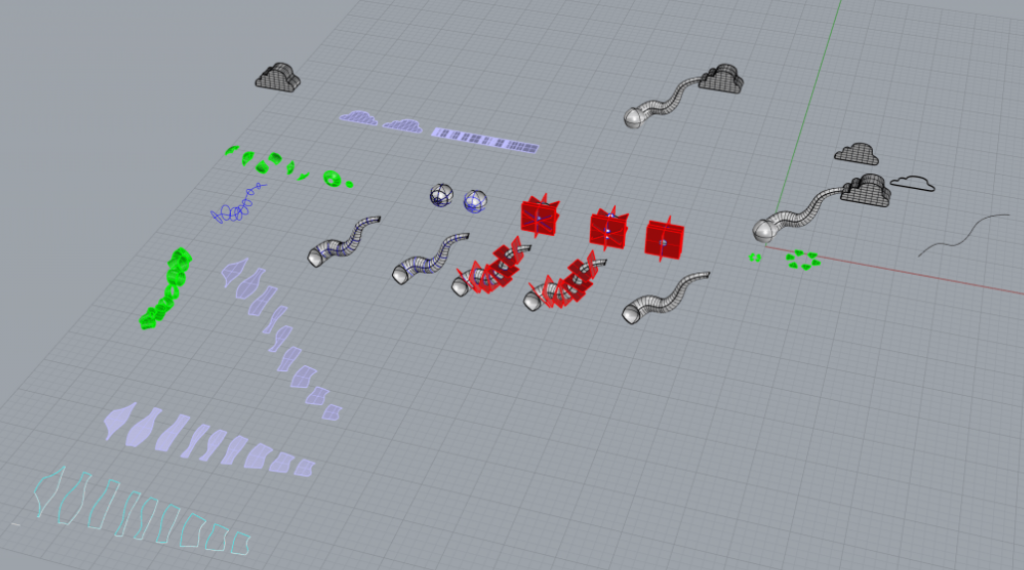
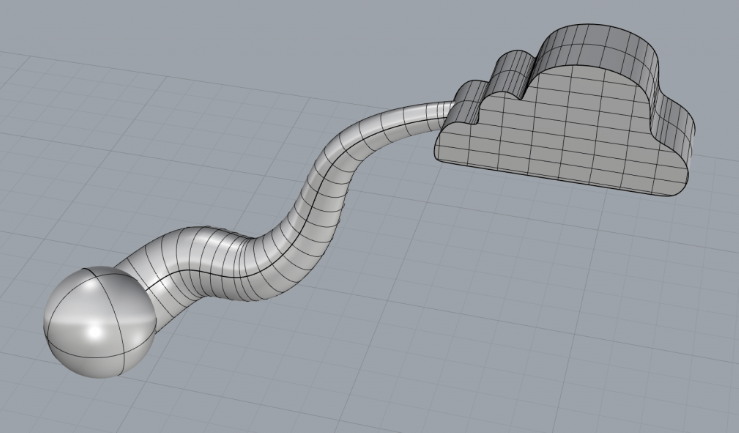
  • After establishing the nightmare implementation (eye to cloud), we modeled the whole thing in Rhino, then sliced the model into several pieces that we could pattern. Using the projection method, we traced brown paper versions of the different patterned pieces, then cut out nylon versions. To tackle the workload, we divided the project into the eye and the cloud. Douglas and Yiyang did a lot of the patterning work for both pieces, Lori and Yiyang dyed the nylon for the eye, Lori sewed the cloud, and Douglas and Yiyang sewed the eye.
  • Our team’s biggest challenge was the sheer size of our inflatable – especially the cloud. We also had to cut the optic nerve from our design because we would not have enough fabric to complete the whole piece. Additionally, because the cloud and eye are both simple forms, it was important to have clean, uniform seams, especially for the projections.
  • Originally, we planned to baffle the cloud using extra large acrylic buttons. However, after fully inflating the cloud for the first time, we decided that we actually liked the rounder, bloated shape rather than a flatter projection surface, and decided to nix the buttons.
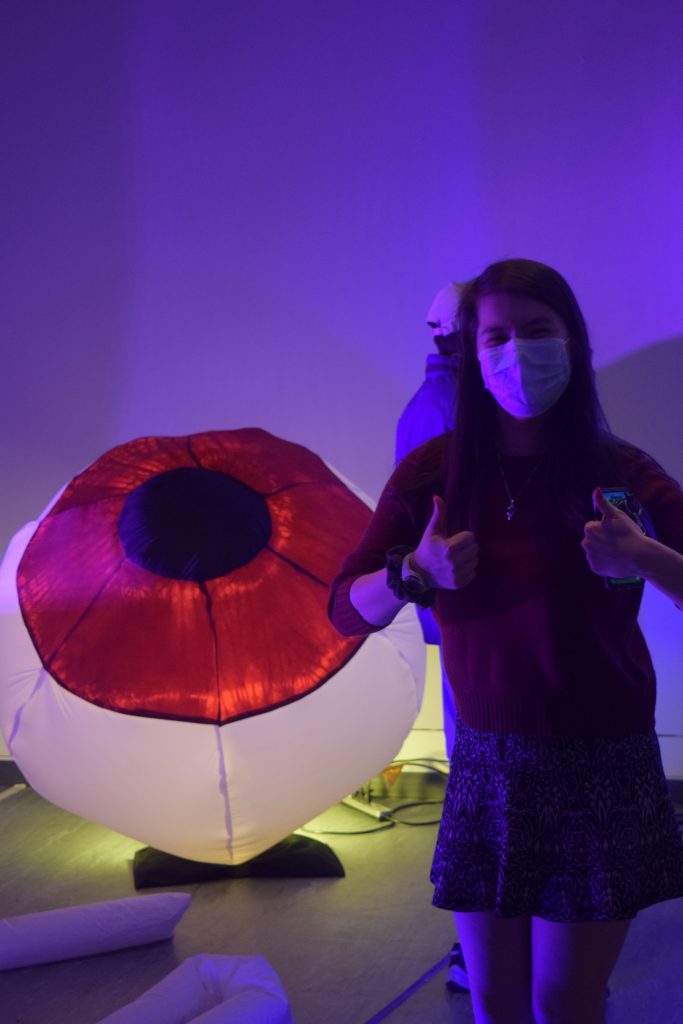
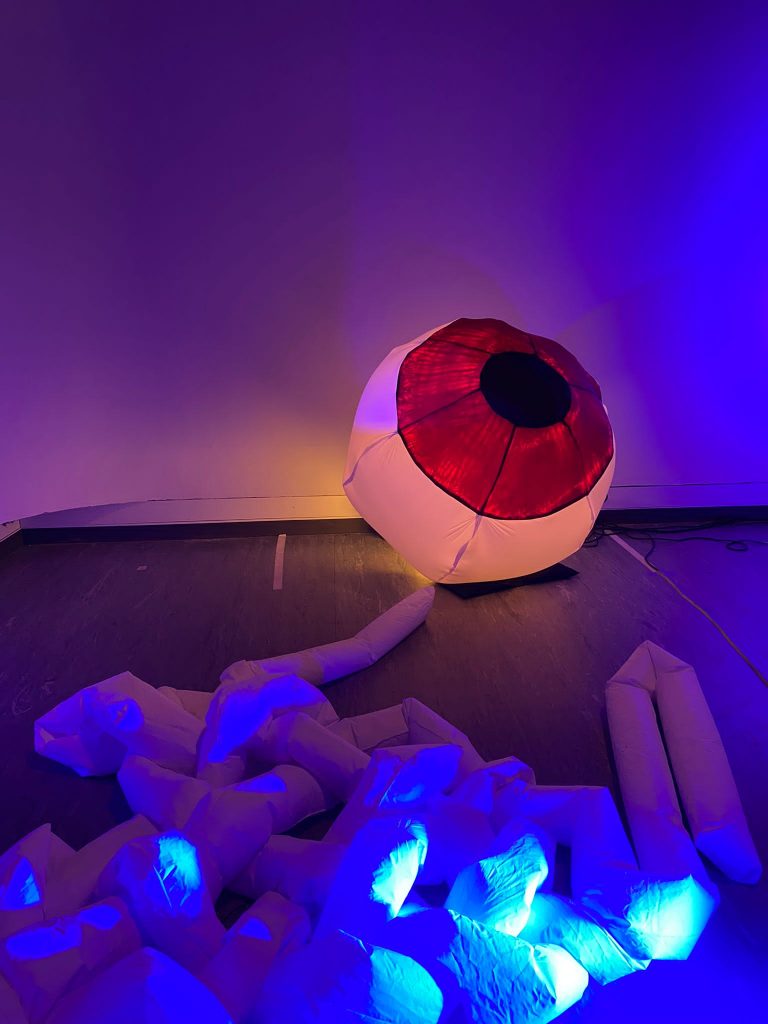
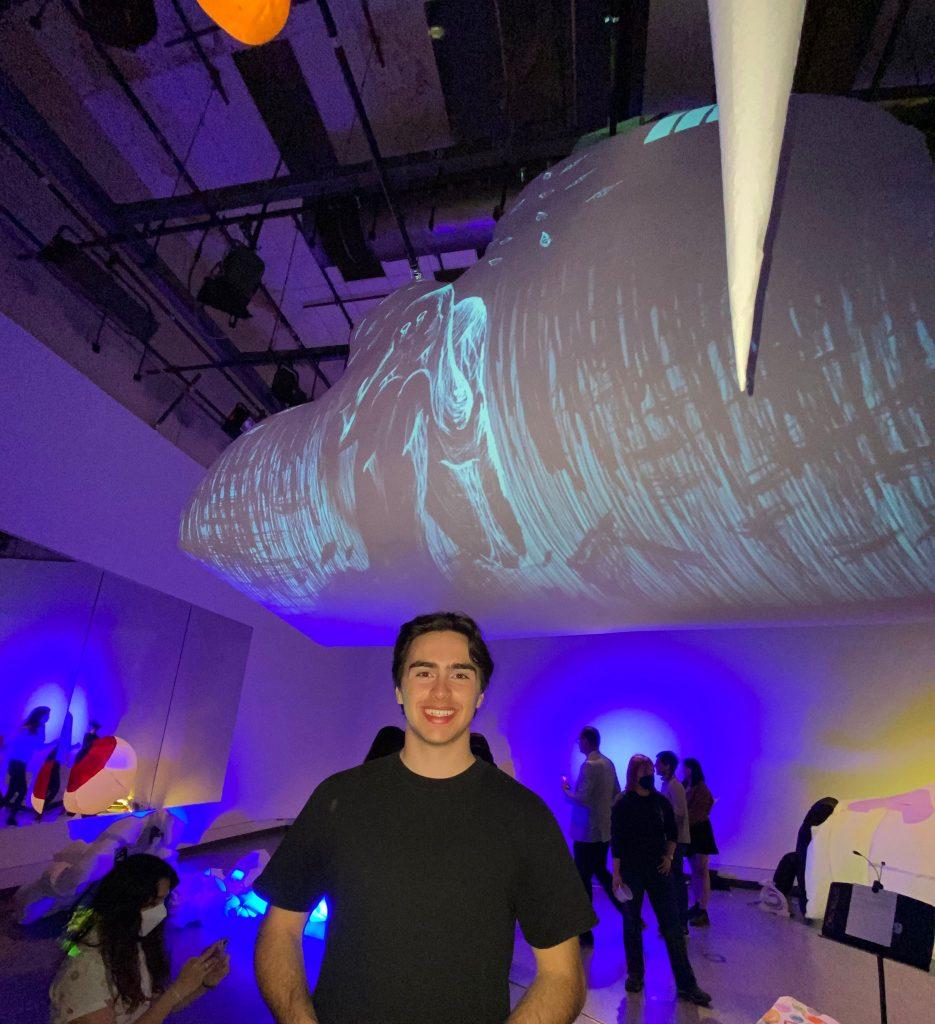
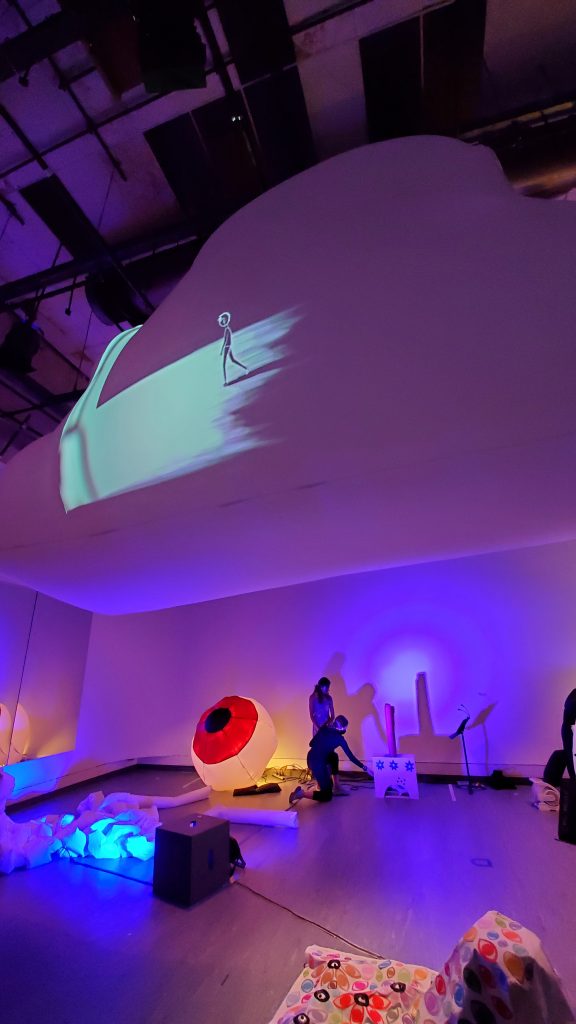
  • Our neyetmare cloud is a ominous entity that looms over the viewer inspiring awe alongside a glowing, curious, and piercing eye that joined the viewers on the mortal ground. The cloud offers a large projection area offering flexibility for animation project and increasing the “mass” of the cloud even further because of the way the animations are brought to life at such a scale. The eye ball sits in the corner lit up with an LED light that highlights the dyed iris and giving it vitality.

4/18 Update Final Project – Lori, Yiyang, Douglas

Last week: completed dyeing and patterning, cut most nylon pieces

This week: completed sewing of the cloud sans buttons (we will decide post test inflation where they will be located as baffles) and attached air inlet though we have made the air inlet that will attach to it. We will add the hole retroactively. Sewed all but the pupil onto the eyeball, which we will also add the air inlet later.

Push/Pull Ideation – Sophia, Douglas

Sophia and I met briefly this morning and intend to reconvene soon to further develop our ideas on how to incorporate our amalgamations of work to the physical space. As of now, both of our ideas are full of life in the natural sense with a bird/dragon type creature and a flower. This leads us to believe that our inflatable should be showcased in an area with a significant amount of natural light as this is the natural habitat of our creations. Our inflatable will help call in the spring season here at CMU.

Push/Pull Part 1 – Douglas Gearhart

My first object was probably the most fundamental. I made my own beachball sphere pattern and used a unique material for each piece. This was a method that was effective in modifying the primary form of the sphere as each material had different properties of how they would respond to the stitching and filling. For example, the felt looks full and comfortable while the shiny pink fabric has almost become concaved and refuses to bulge with the polyfill. The white material was a poor decision in the end because it doesn’t hold up well to tension and has been ripping up like a cotton ball. The cone on the top was left unfilled for me to see how it would retain its shape, or to see the character it expresses with its freedom.

For my second inflatable, I took inspiration from other students who were showcasing ideas of handles or linking parts on their inflatables. This made me think how I can make an inflatable, and then use that inflatable as a building block material. In this case, I took a very long cylindrical shape and used it to twist and tie up the final form. Inspiration here came from pretzels and proteins in the human body. Challenges with this one were the tension that was created when using the cylinders to tie themselves, they are massive and quite the resistance to being braided. Also, stuffing an extremely long cylinder is difficult because felt cannot easily be pushed down to the bottom as you go, so I had to employ a technique where I only slowly turned the fabric inside out only enough so I could shove some polyfil down the barrel. This took about 15 increments of polyfil-ling per cylinder.

This inflatable was that which I designed in Rhino and laser cut. I decided to create a shape using three modifying primary forms to create a troll like body with a nose and hair. The trapezoidal pyramid body was the easiest to understand after the laser cutting as the edges were pretty square but I had difficulty with the cylindrical nose and the conical hair. The nose was a bit difficult only because of the small size and the need to do a circular stitch on such a small circumference. The hair was extremely difficult because I applied so many modifications on the angles of the cone that the pieces were small and connecting in very irregular ways to create a double twisted (or so it was intended) hairdo.  I enjoy the material I used for this inflatable because it agrees with the woodland create theme that is the troll.

My last inflatable was very fun and I am currently using it as a pillow while writing this blog post. What began as my desire to create my own fabric for an inflatable by quilting together a jumble of scraps turned into this experimental piece. I decided what if I just sew all my fabrics together into a rough rectangular sewing pattern while additions and subtractions here and there. Then I took this pattern and started sewing edges together in an unexpected way. About halfway through the sewing, I took two strips of fabric that after sizing up the inflatable I realized would be much smaller than the final shapes breadth and sewed them to opposing inside walls. This is where the divot and bumpiness come from in this shape, the tension that is created by the inside sewn strands that inhibit the inflatable to be its ideal bursting full, rounded shape.

In The World – Douglas Gearhart

This work is part of a line of pieces called Intrude, created by the Australian artist Amanda Tarer. One thing I enjoy about these pieces as Amanda mentions, is the “huggability” of the work. Despite the medium of an inflated plastic (I think), it somehow maintains the soft and fluffy look that we attribute to bunnies. I also love how I can see the connection between the pieces of the rabbit because it offers insight on how the variety of body language expressions were created. One of my interests going forward in the class is to made animals and this is a valuable reference for me to understand how simple shapes can be to still create extremely recognizable if not realistic forms.

Interestingly enough, this exhibit was displayed here in Pittsburgh for the previous week in the cultural district. The message explored is how the “elephant in the room” can be so easily disregarded. These are bunnies – cute fairytale creatures and despite the sheer magnitude (some being around 50ft tall) the audience still passes by without a sense of threat. This can represent the greatest challenges we face such as our environmental impact, similar to how in Australia, rabbits are a non-native species that has severely damaged the ecological landscape.

Work can be explored here and here.

Visual Portfolio, Posts & Image Gallery for WordPress

Improvisation Inflatables – Douglas Gearhart

Visual Portfolio, Posts & Image Gallery for WordPress

This project has challenged me greatly, perhaps too much. Before receiving the materials for the project, I decided that at some point I’d want to make a bag out of rogue items anyways, so I decided why not first for practice. This was a rude awakening to the art form because I was unhinged cutting the most irregular shapes for myself out of trash bags of varying textures, of varying qualities (some riddled with tiny perforations that had me retracing many steps at times), using three separate kinds of tape, and both inside and outside taping methods. Looking back, what was my most frustrating piece may truly be my favorite. I enjoy the recycled look, the organic form, the semi-deflated state structure, the ingenuity, and the personal symbolism for me that represents trial and tribulation as well as growth as an artist.

The cube was my next inflatable and a protest to my previous irregular organic form. I wanted to cut neat (as neat as my unsteady hands allow) regular shapes and make an straightforward and what I thought would be easy shape. Turns out a cube is not as easy as it seemed. This presented challenges and learning opportunities in how tiny errors in pattern pieces can add up to create cattywampus edges that do not desire to meet. This was also an opportunity to practice using tape to crease the edges and as a structural element. Going forward, what I will think about most from this cube was the 3 unique states of this cube: pre-inflating deflated, inflated, post-inflation deflation. They range from flat to almost spherical to a “perfect” cube.

The sun/flower was the result of a post dinner communion drinking tea on the kitchen floor. An excited group of friends saw my supplies for this class and were inspired to join me making inflatables. To their dismay, it is a bit harder than they first thought and had to reel in their tremendous ideas of grandeur, ultimately making a non-inflated headdress, a bag (from pieces of a cut bag), a mitten like structure, and a “floaty”. From this night of arts and crafts, was born an interesting play on how to play with a 2D image of an inflatable. The uniqueness of this third inflatable is the fact that when deflated, one will claim it is a sunflower, though when inflated, the pillow like sphere and conical petals create a firey sun effect.

The last inflatable was more for a joke than anything, though of course merit was found in this process. This inflatable allowed me to give personality to the piece which was valuable in character work for future inflatables when I will complete my desire to make an animal. How can I create it to represent a given emotion? How can I accessorize it to add flair? Also, with this long inflatable, I realizes that the inflating motion can be even more dynamic, for example if I rolled up the car wash man similar to a paper towel roll, and as I inflated it from the bottom, it would roll out similar to one of those birthday kazoos.