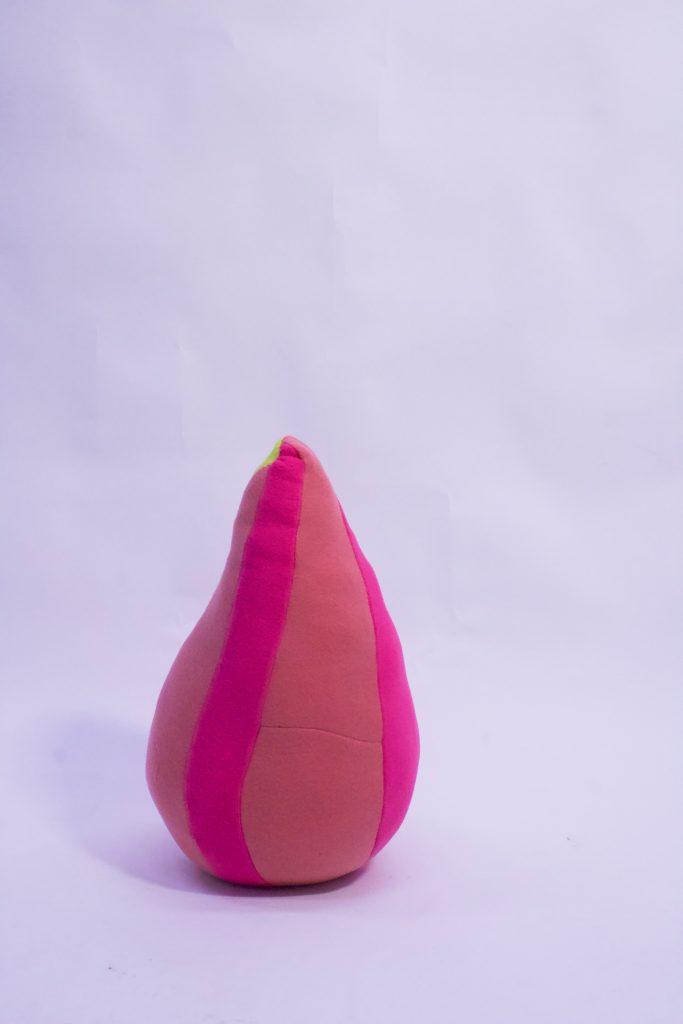
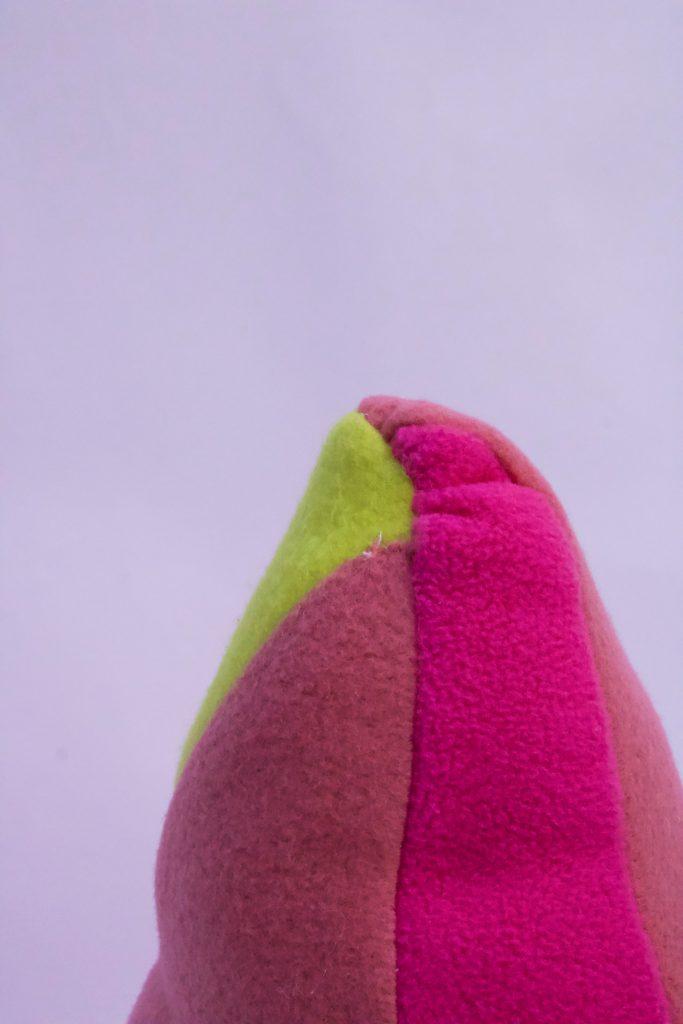
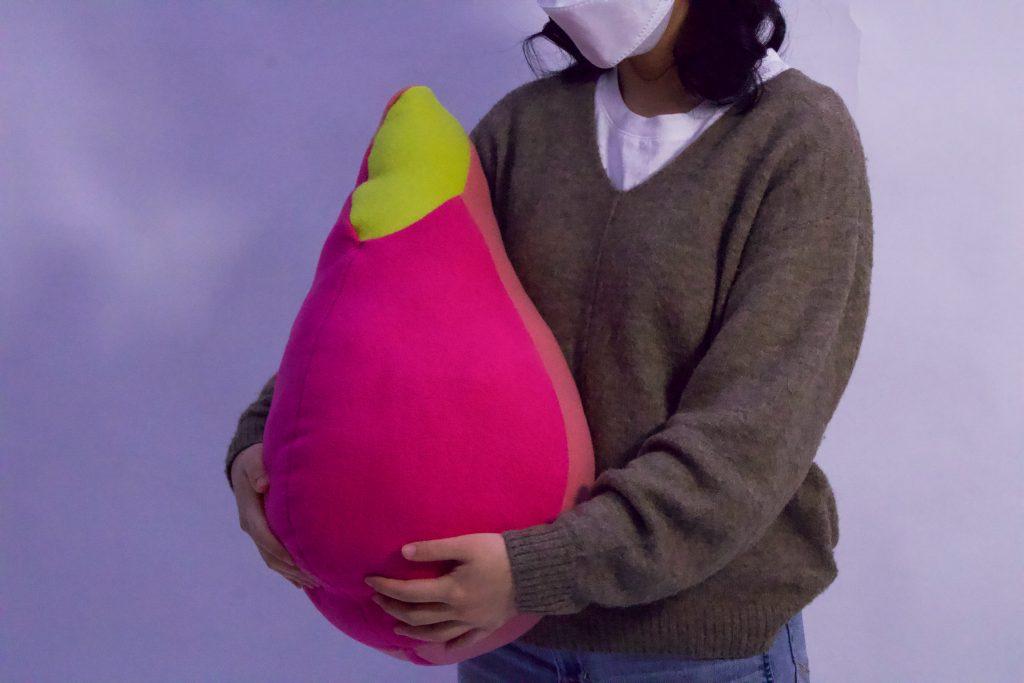
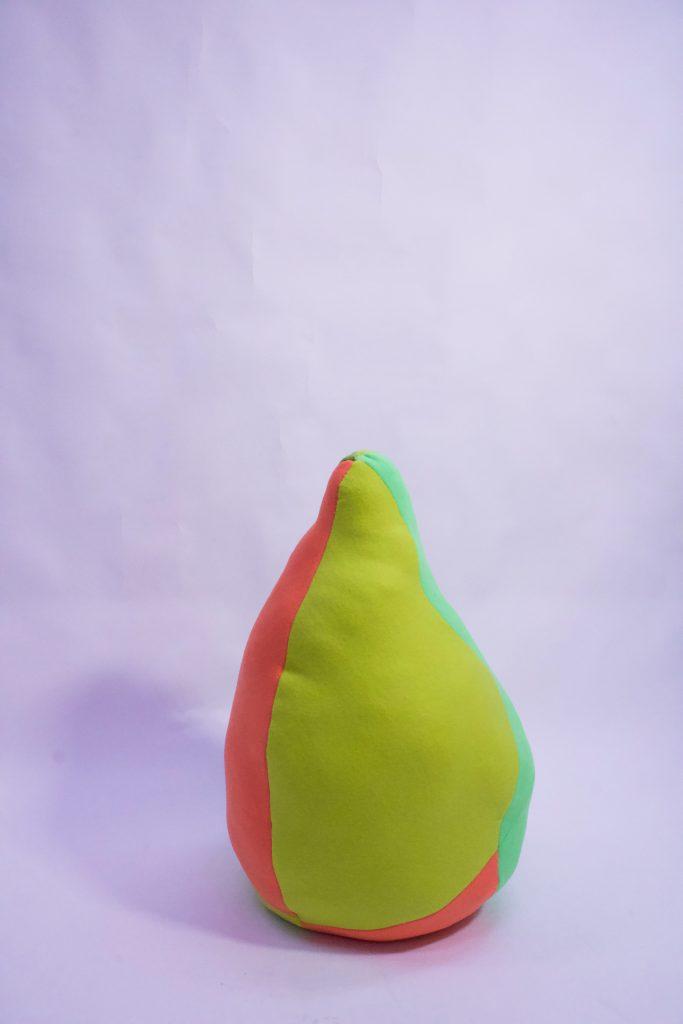
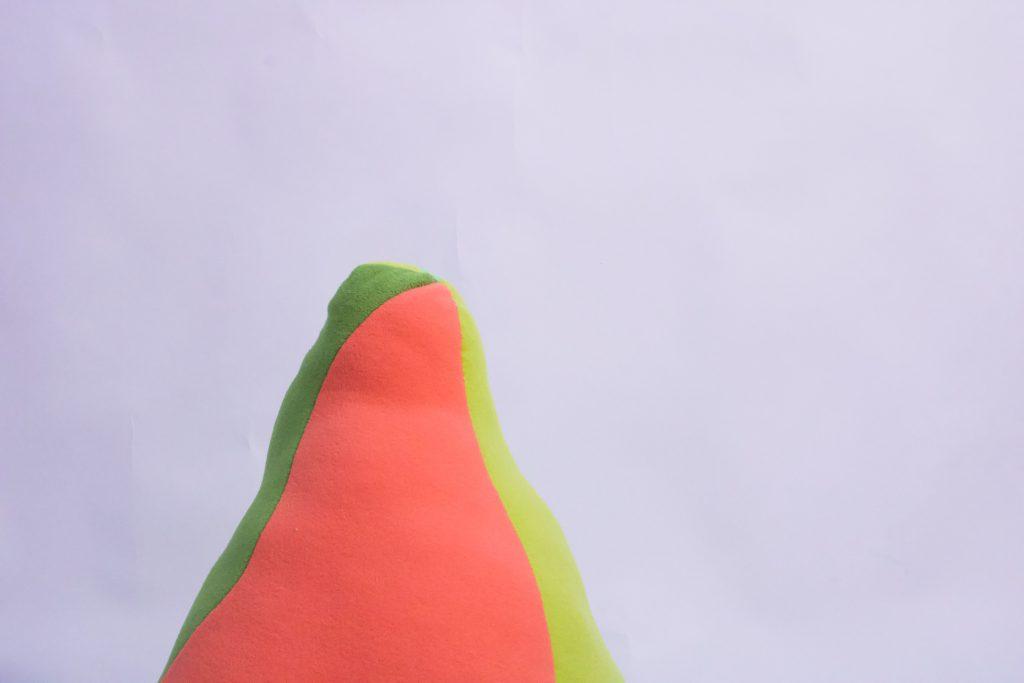
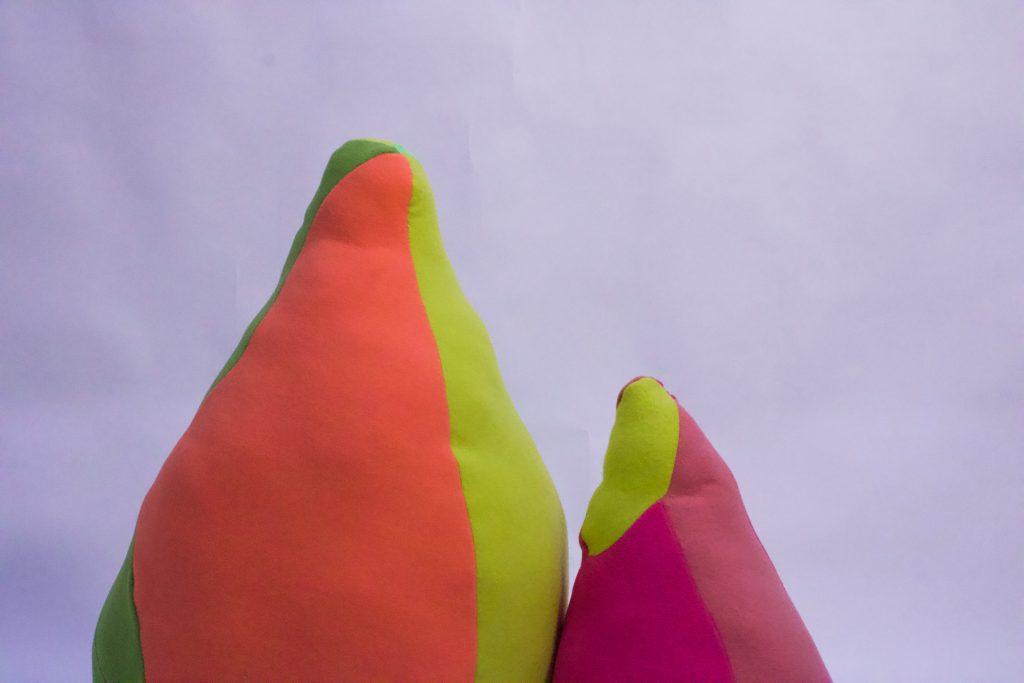
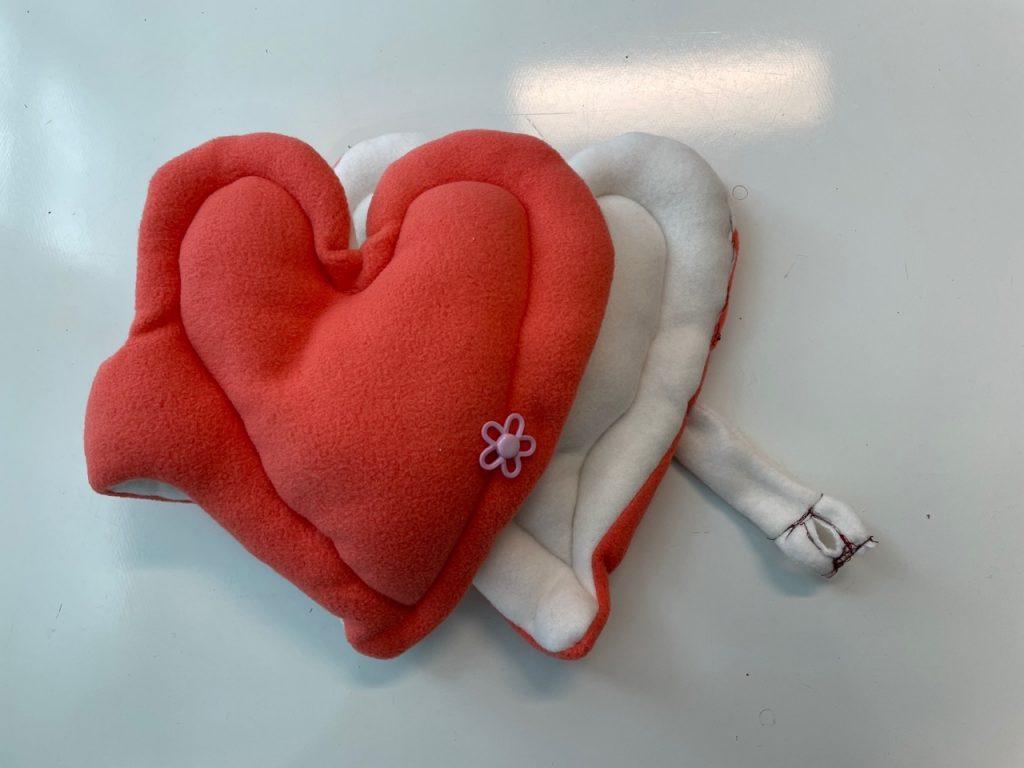
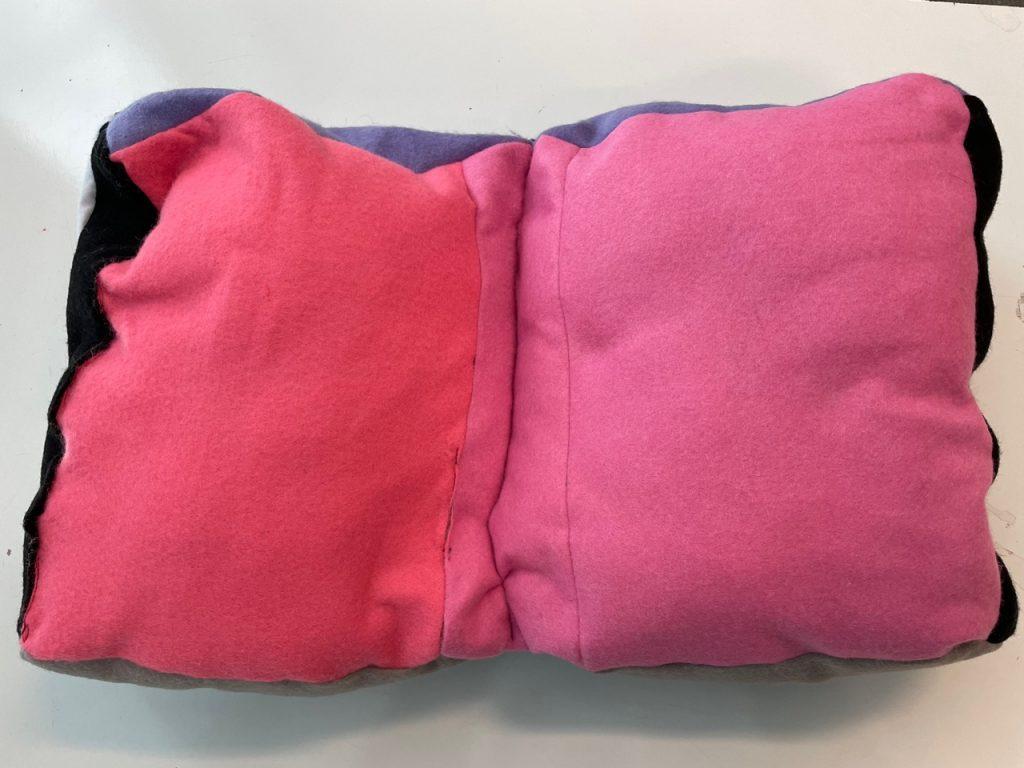
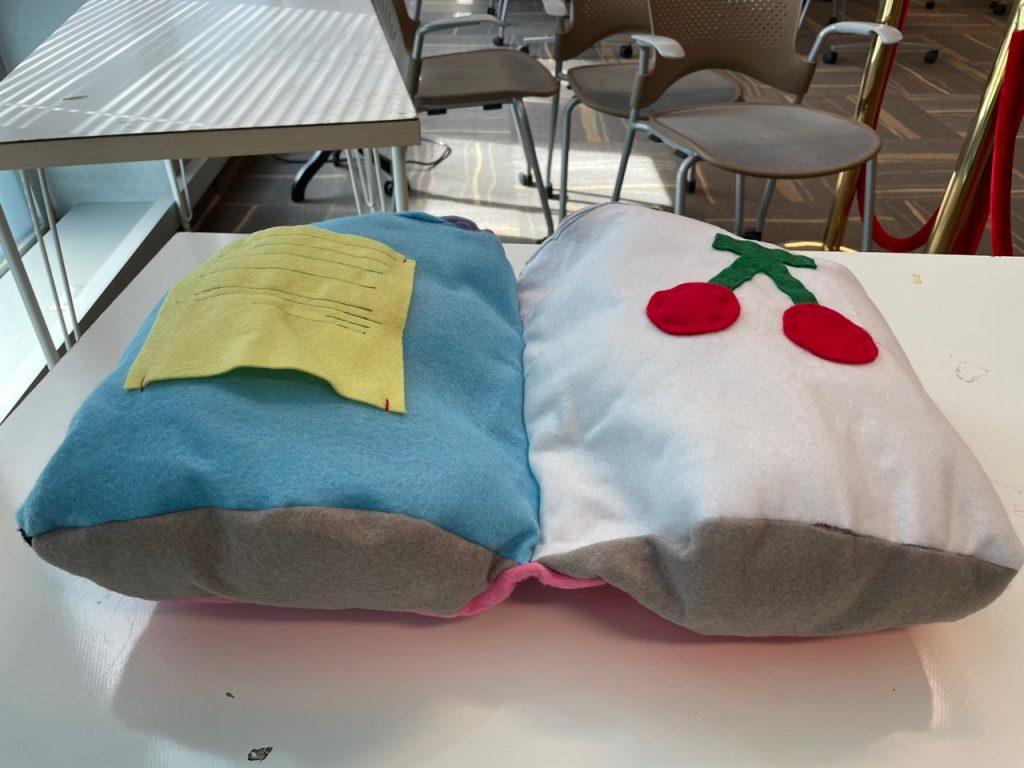
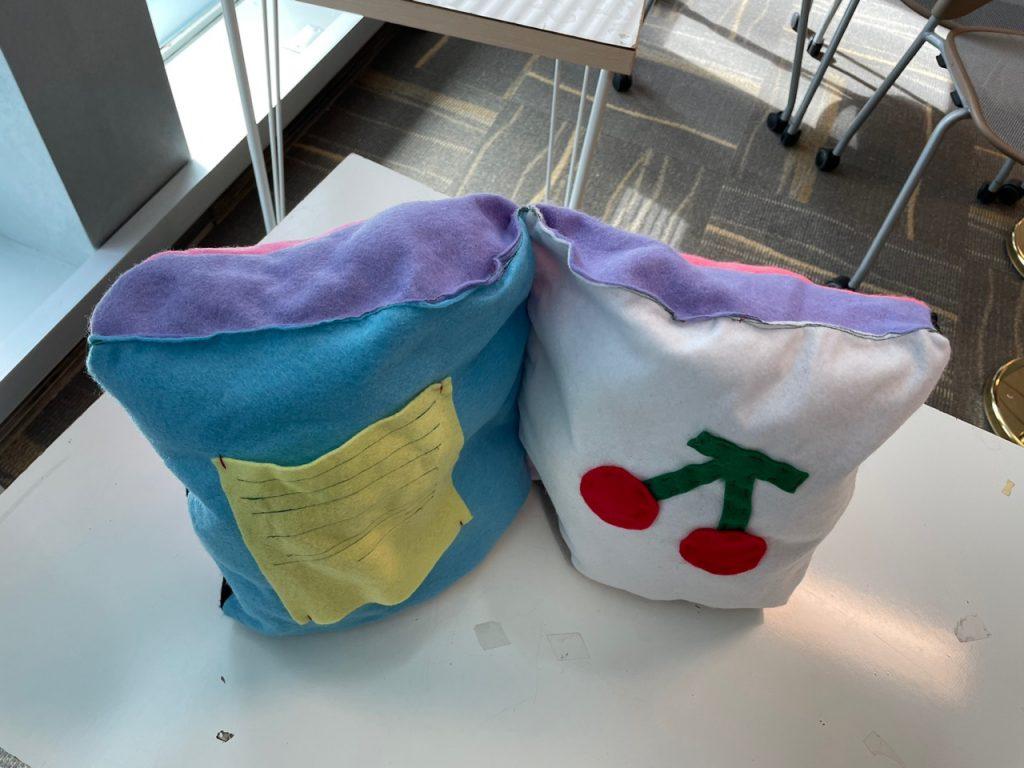
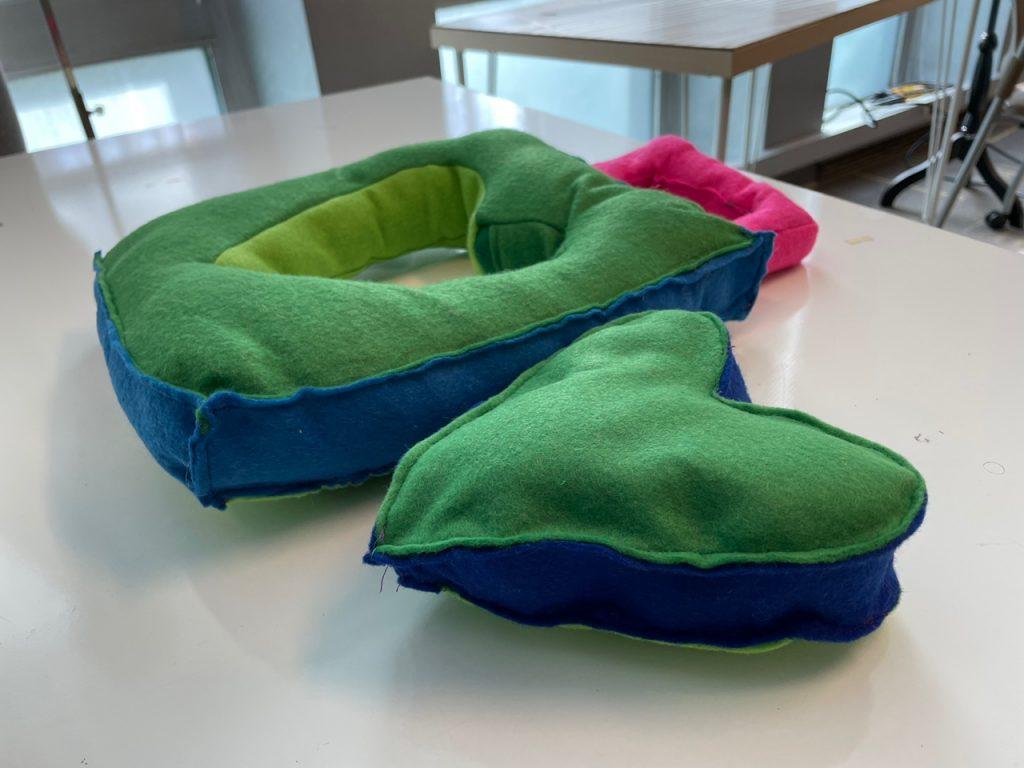
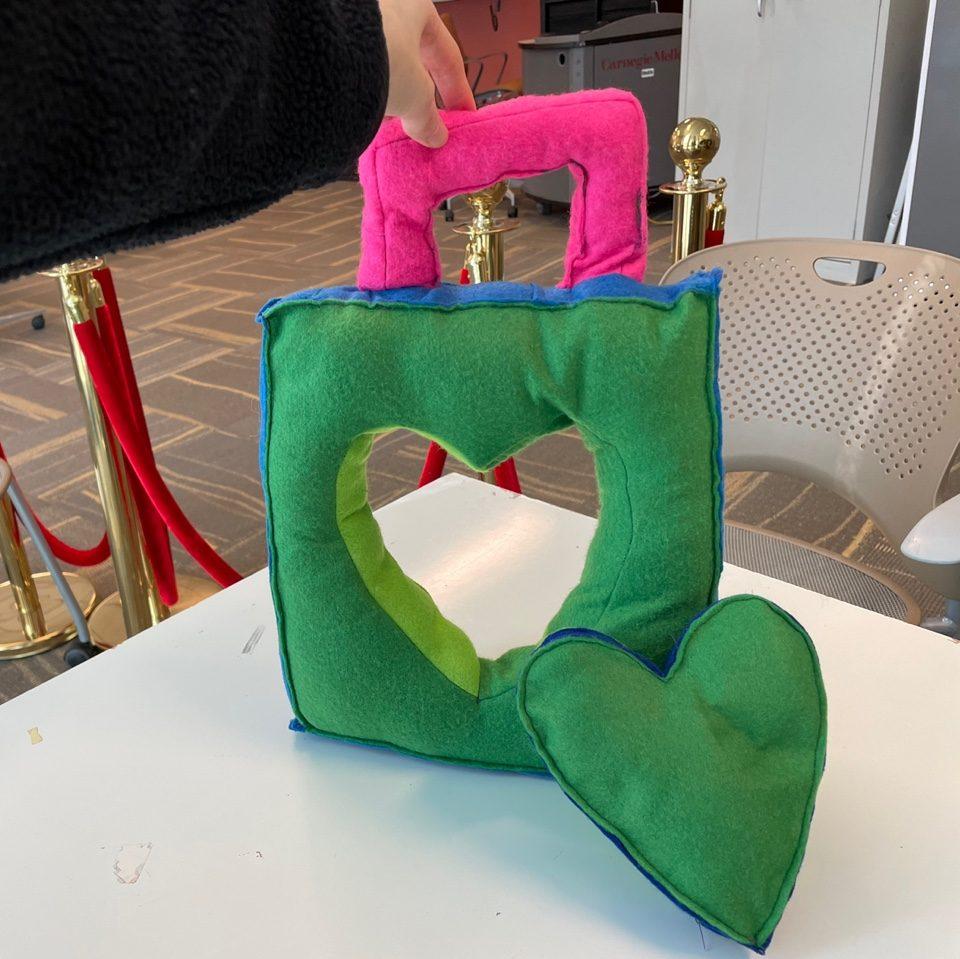
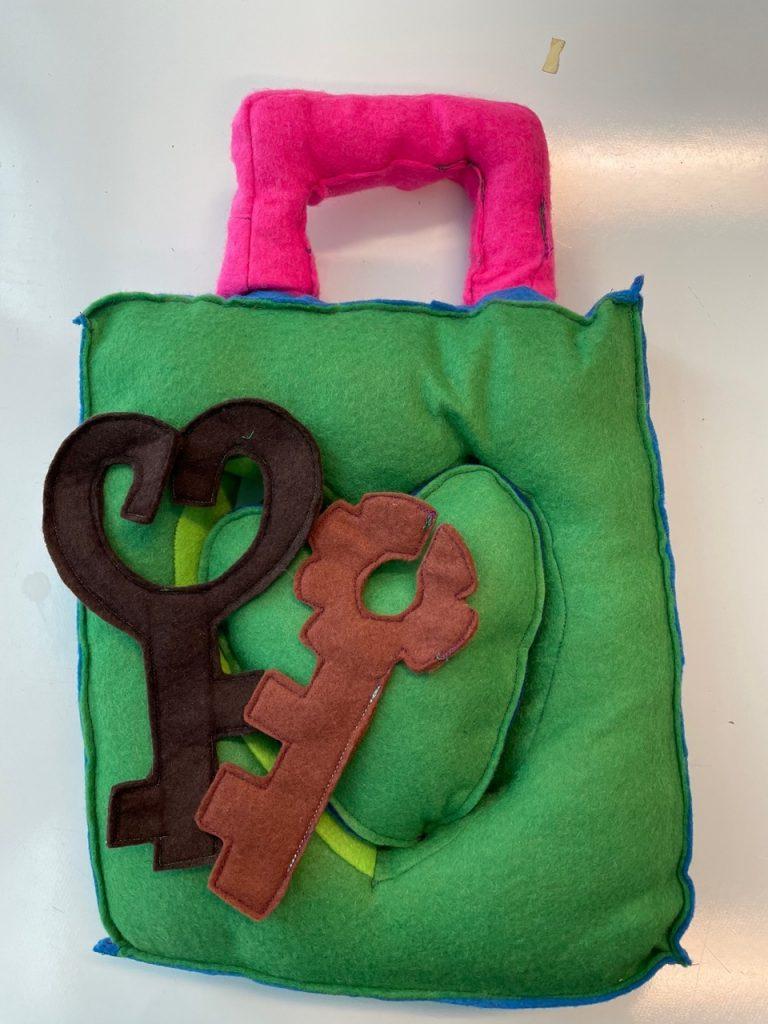
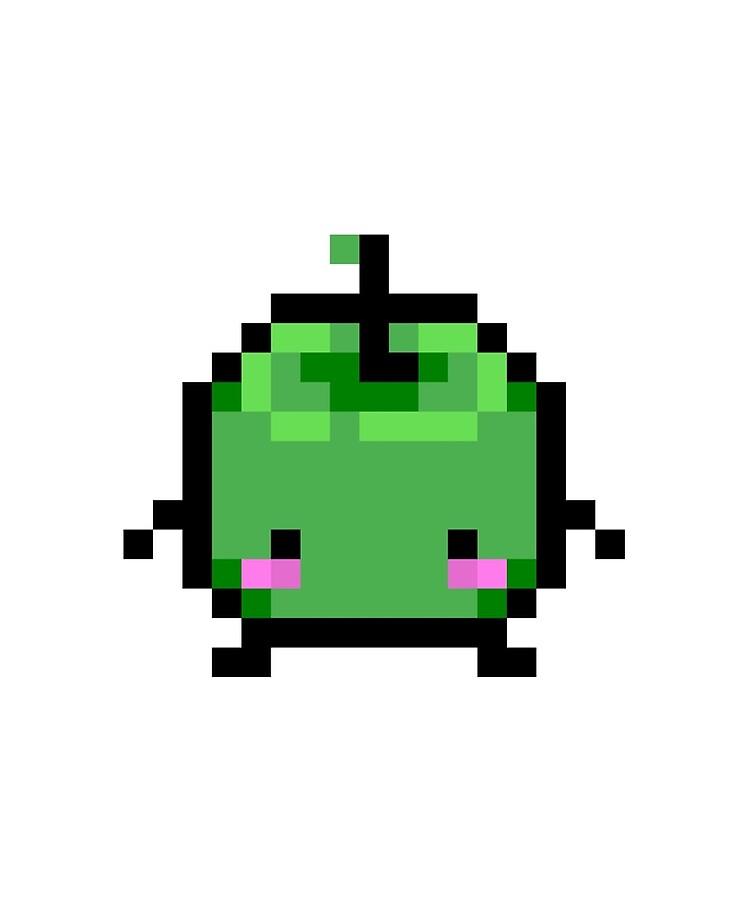
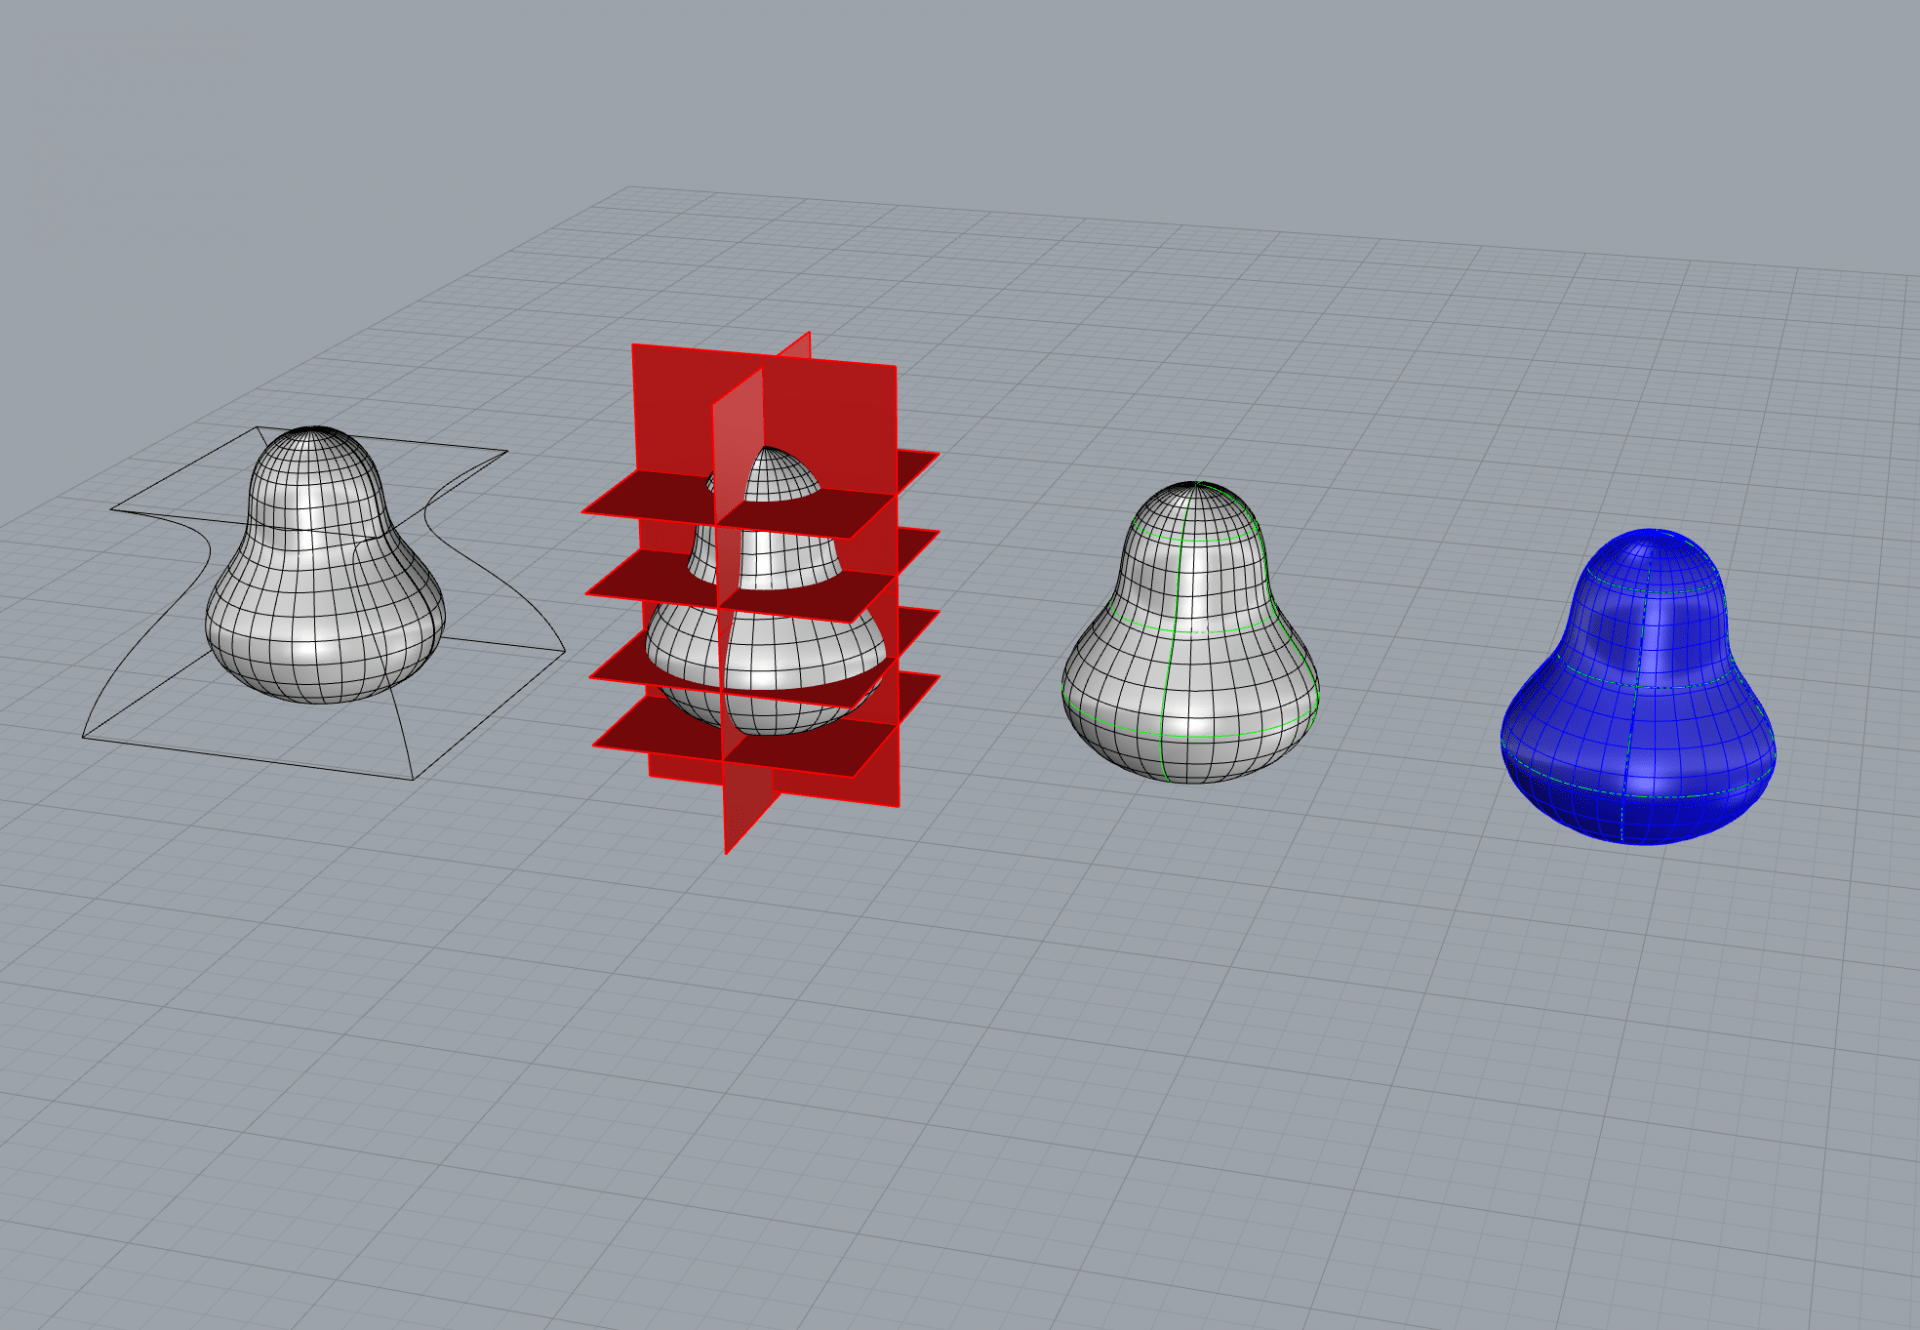
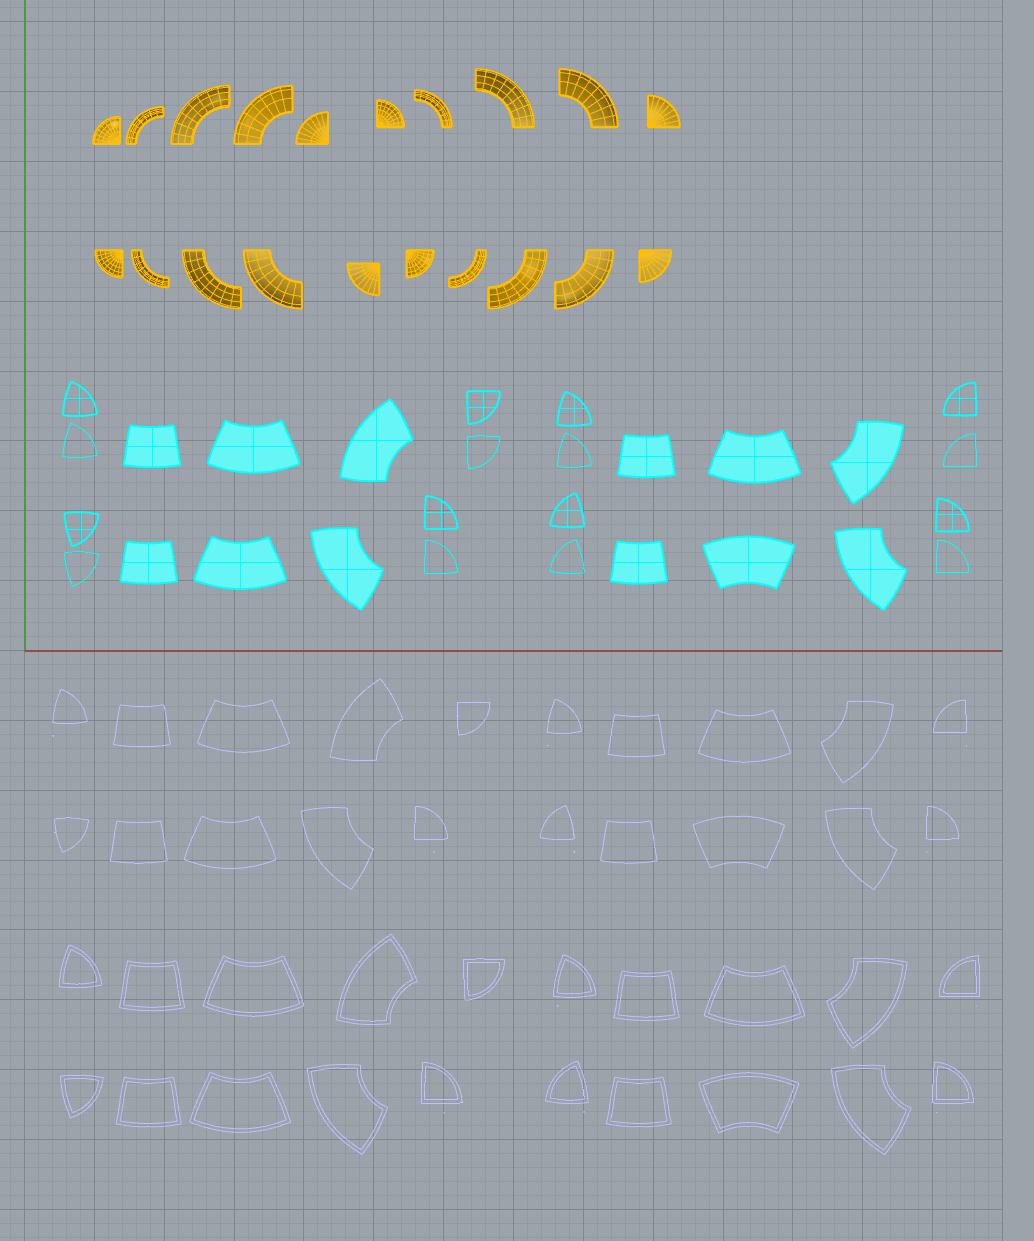
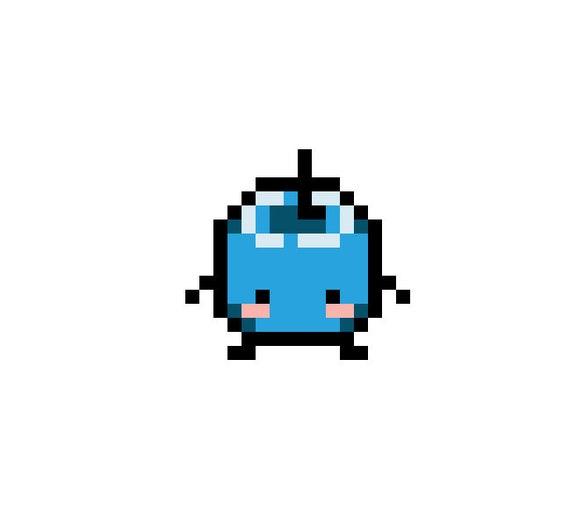
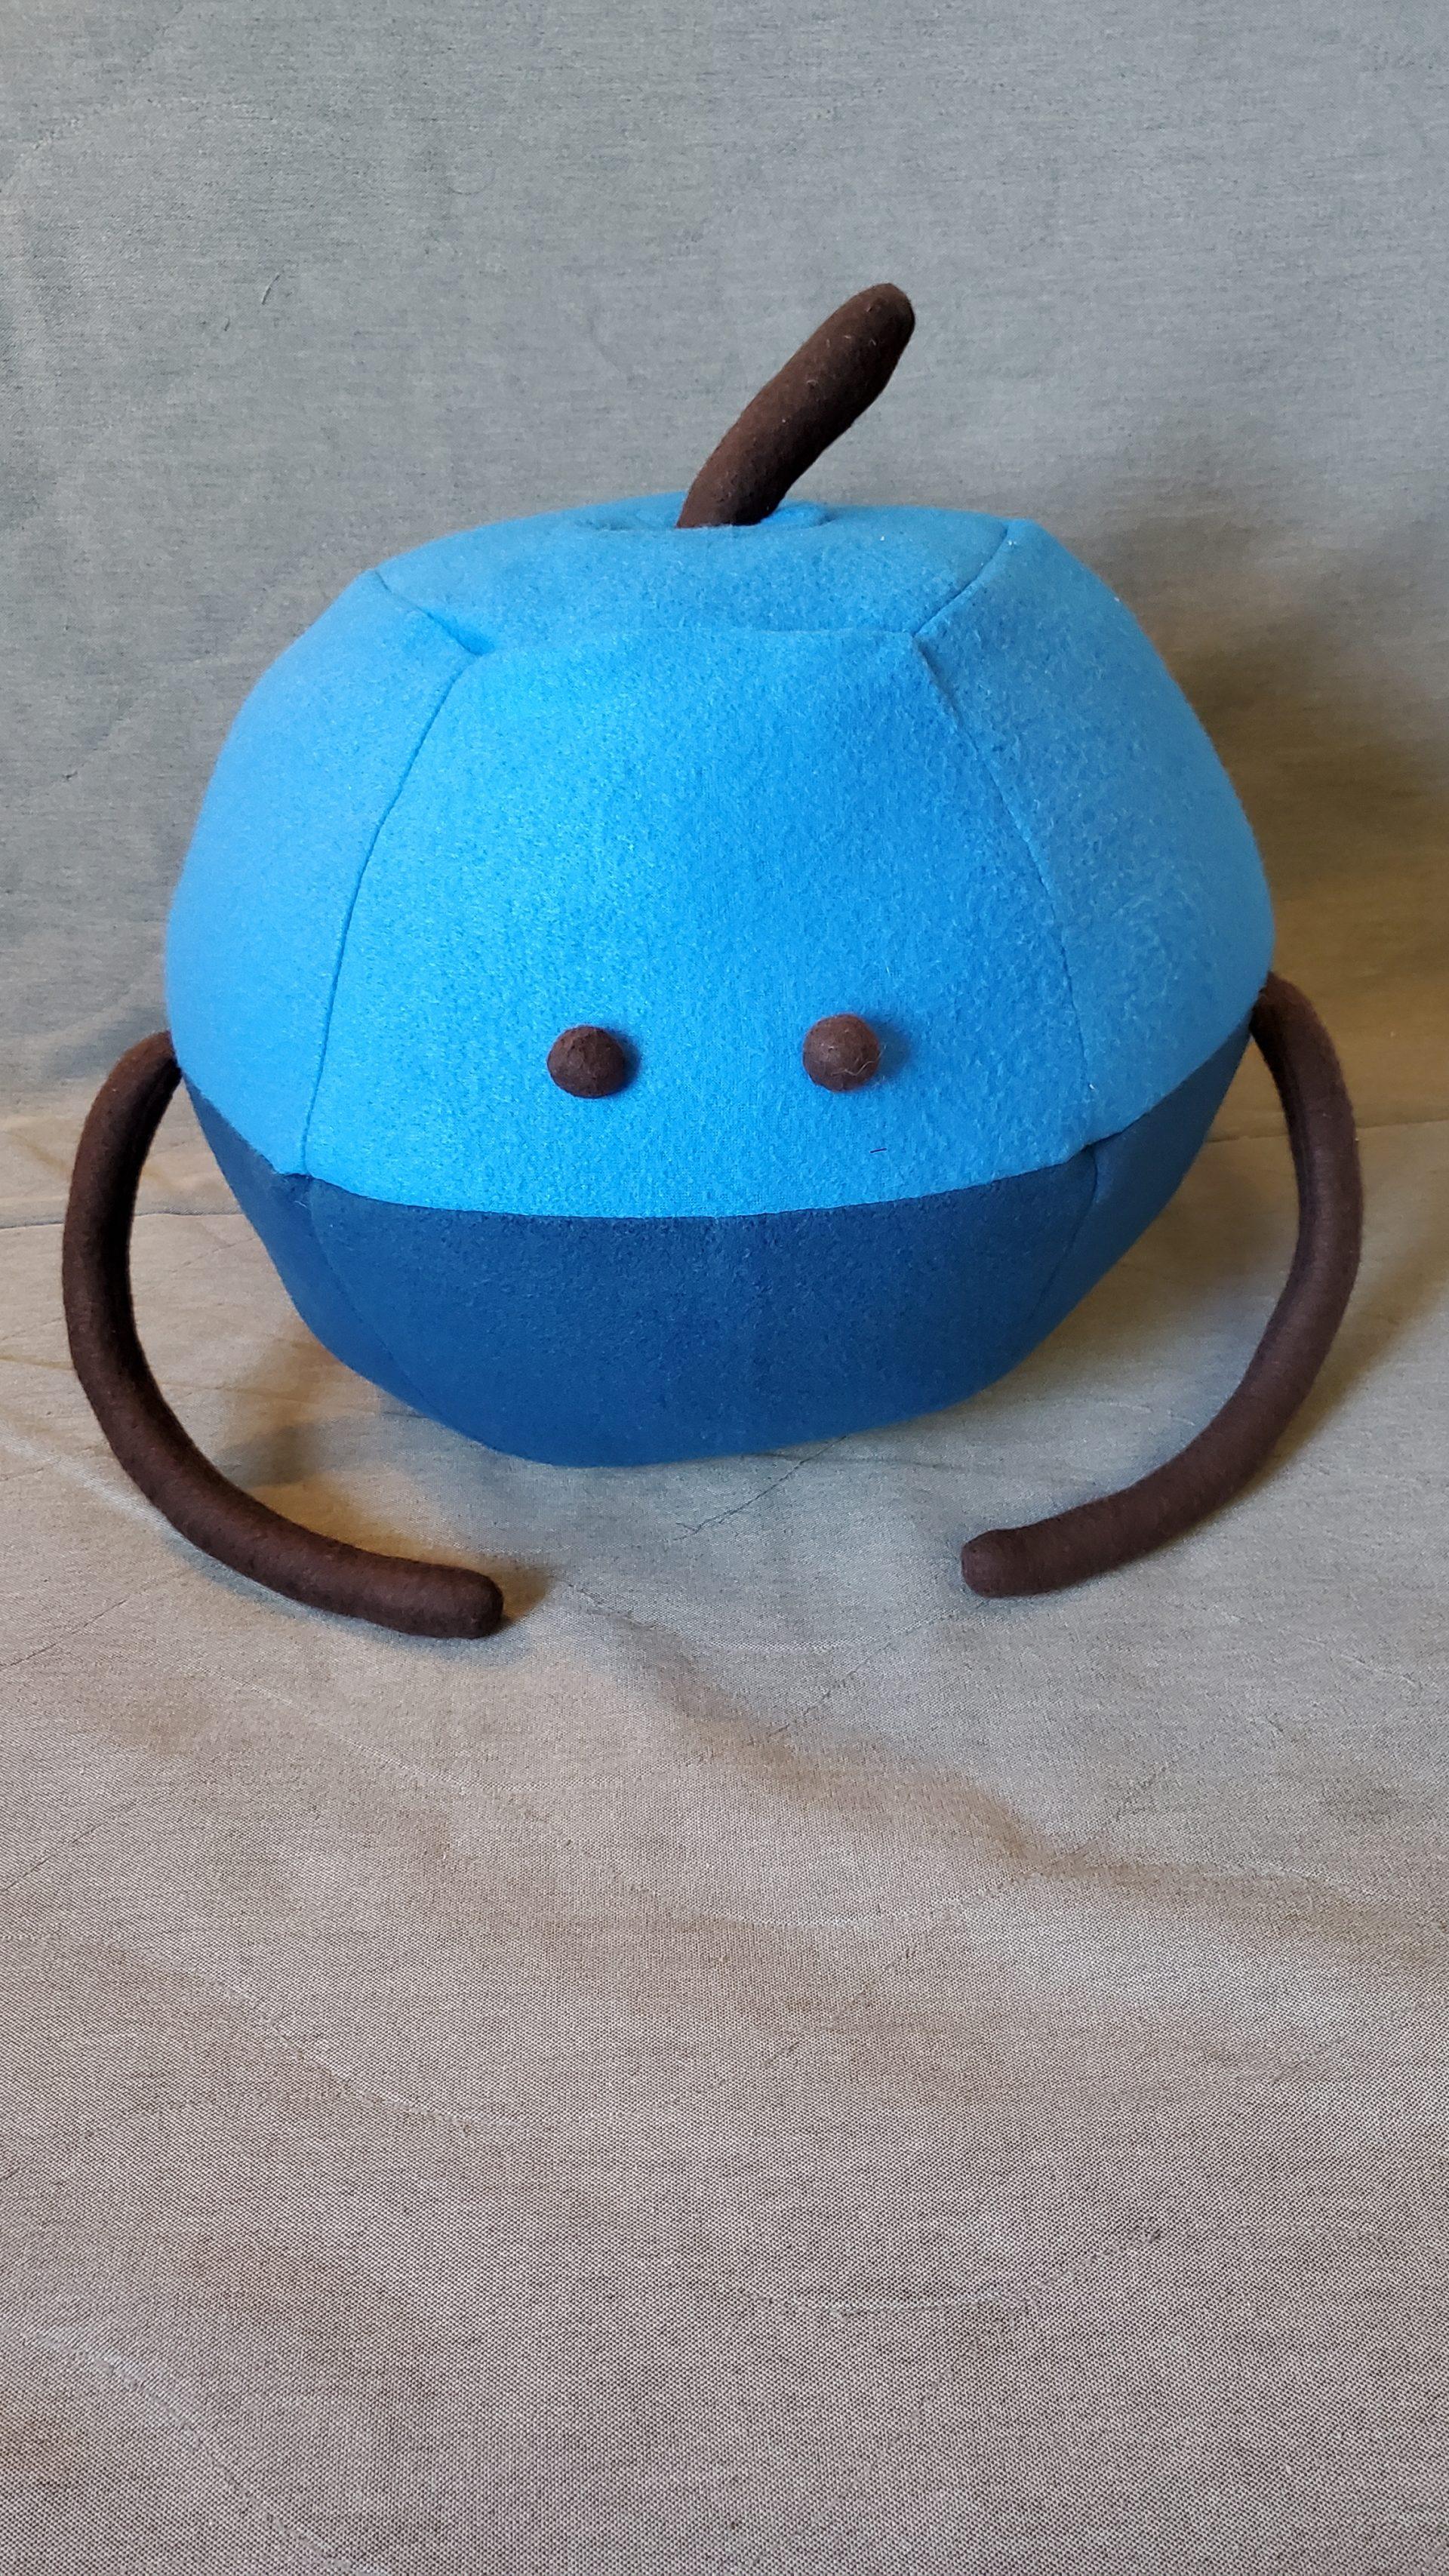
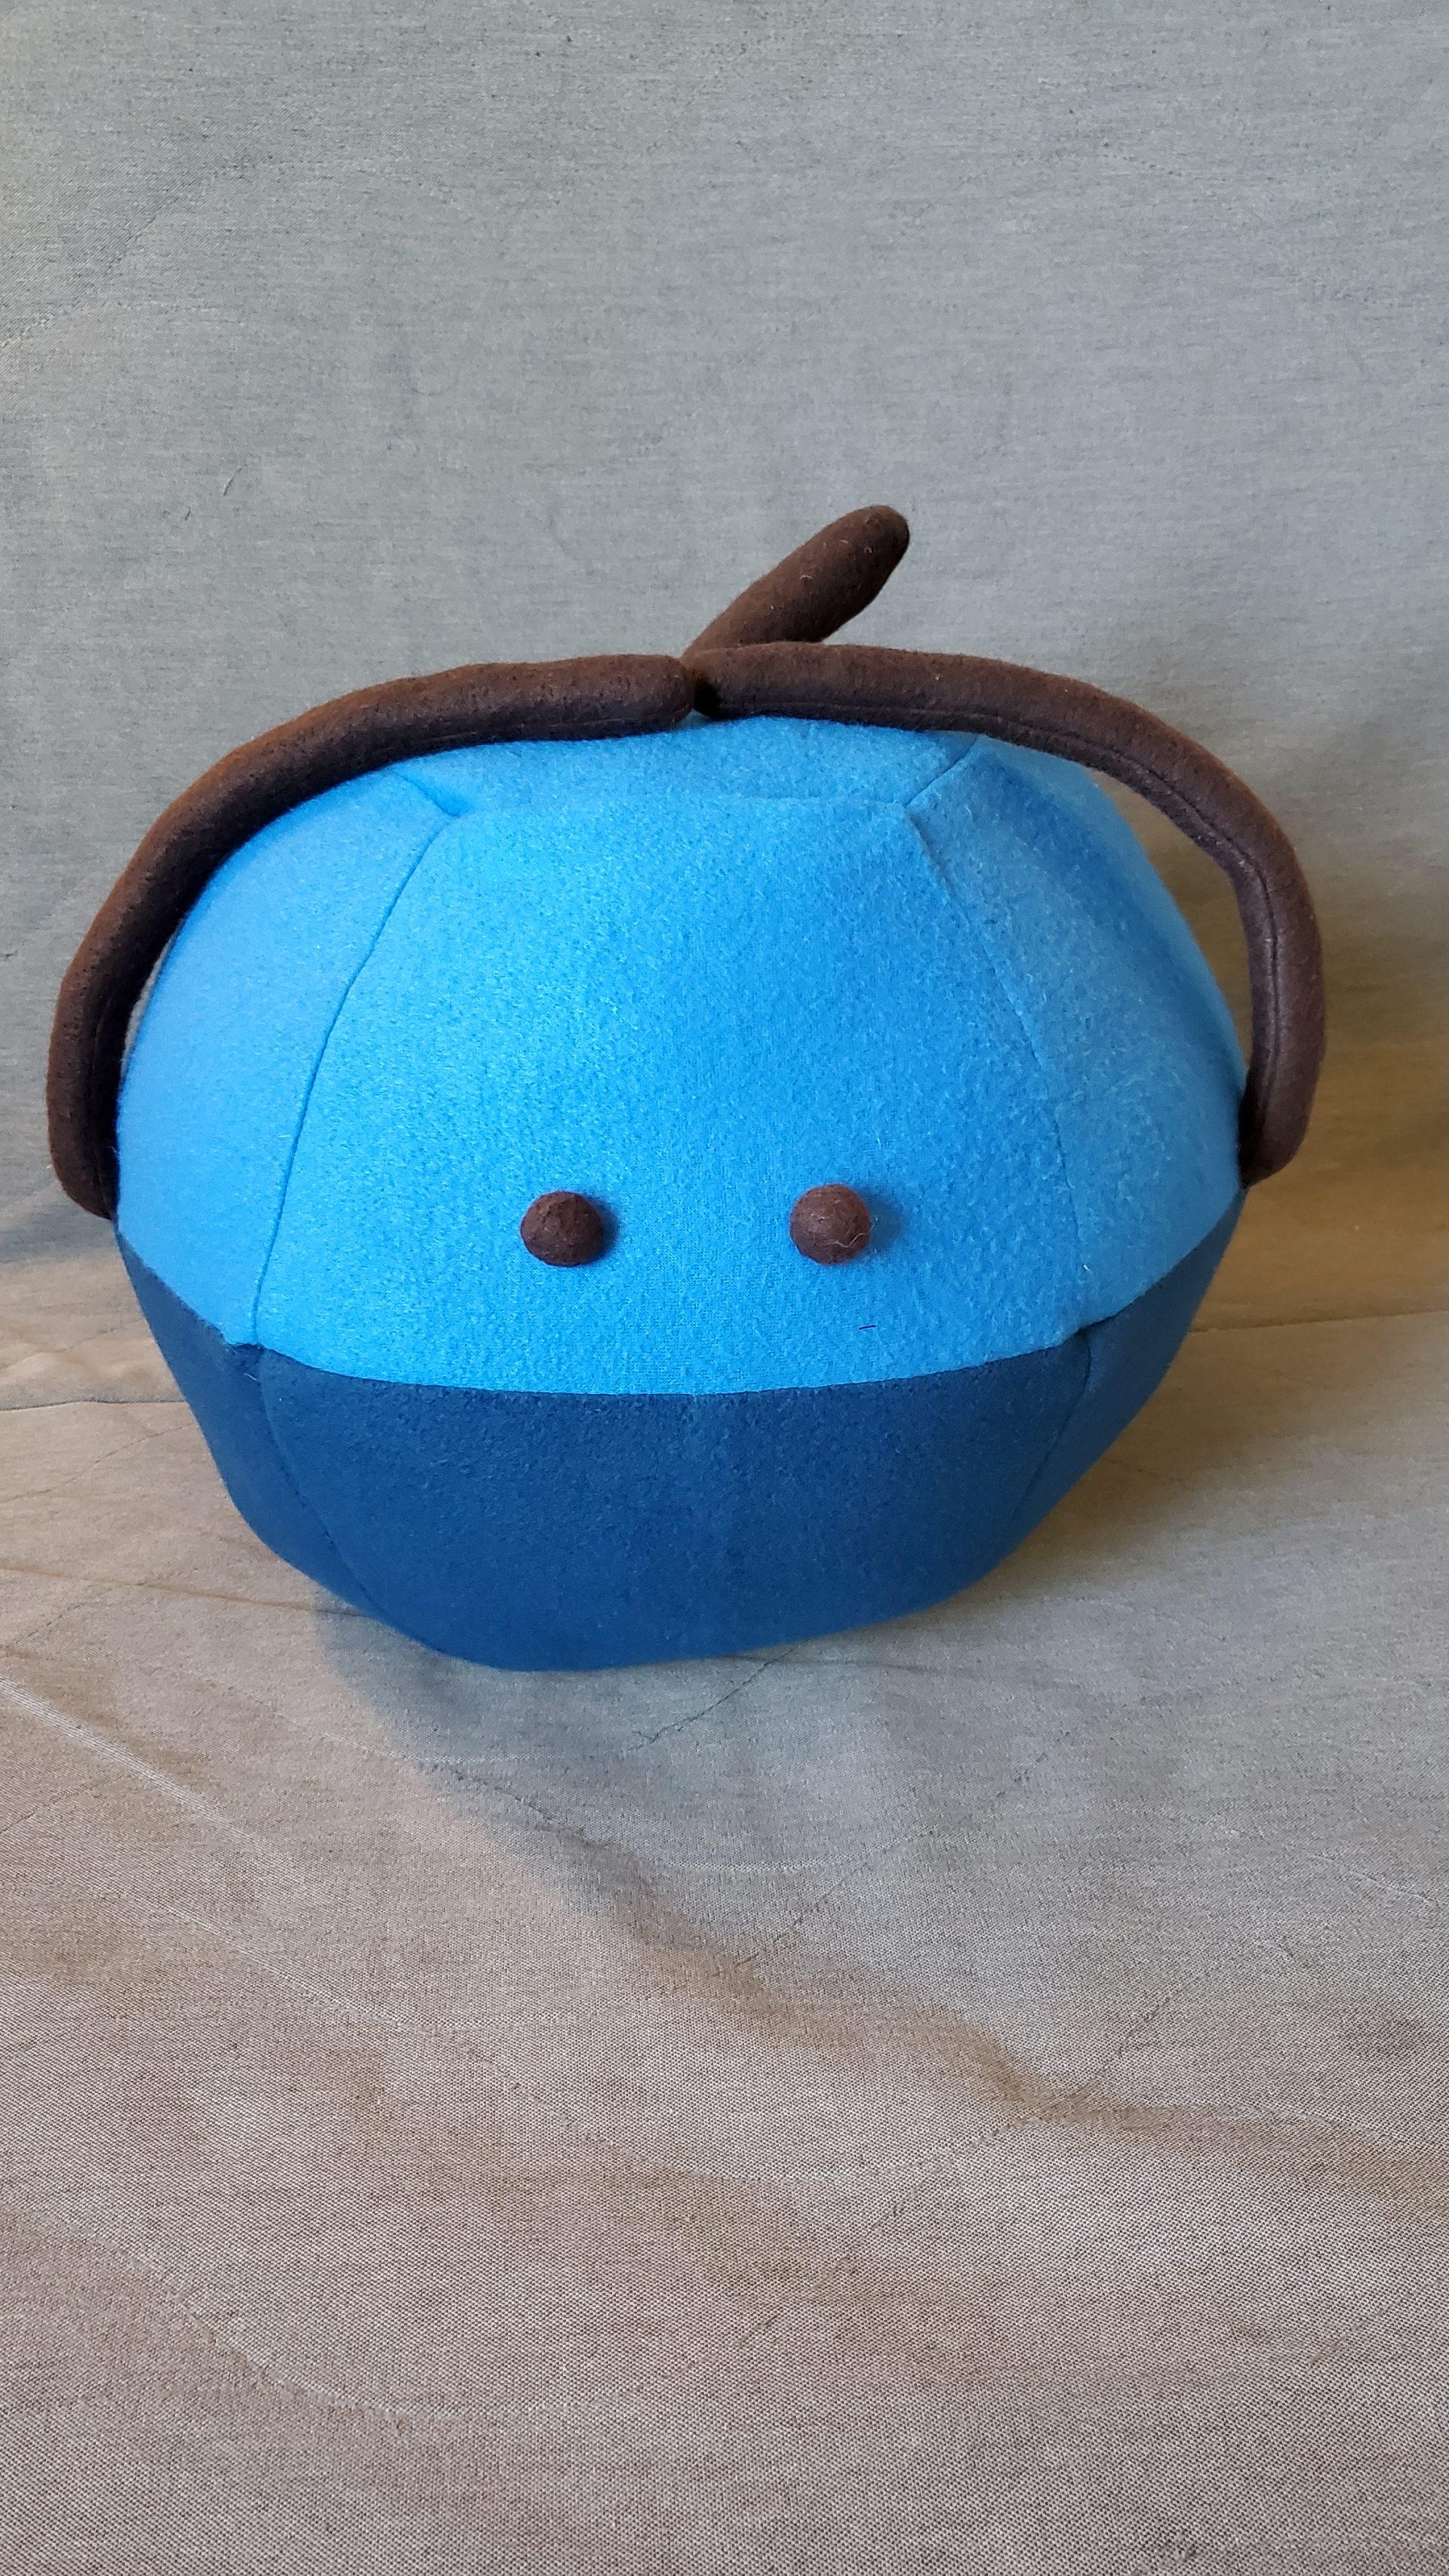
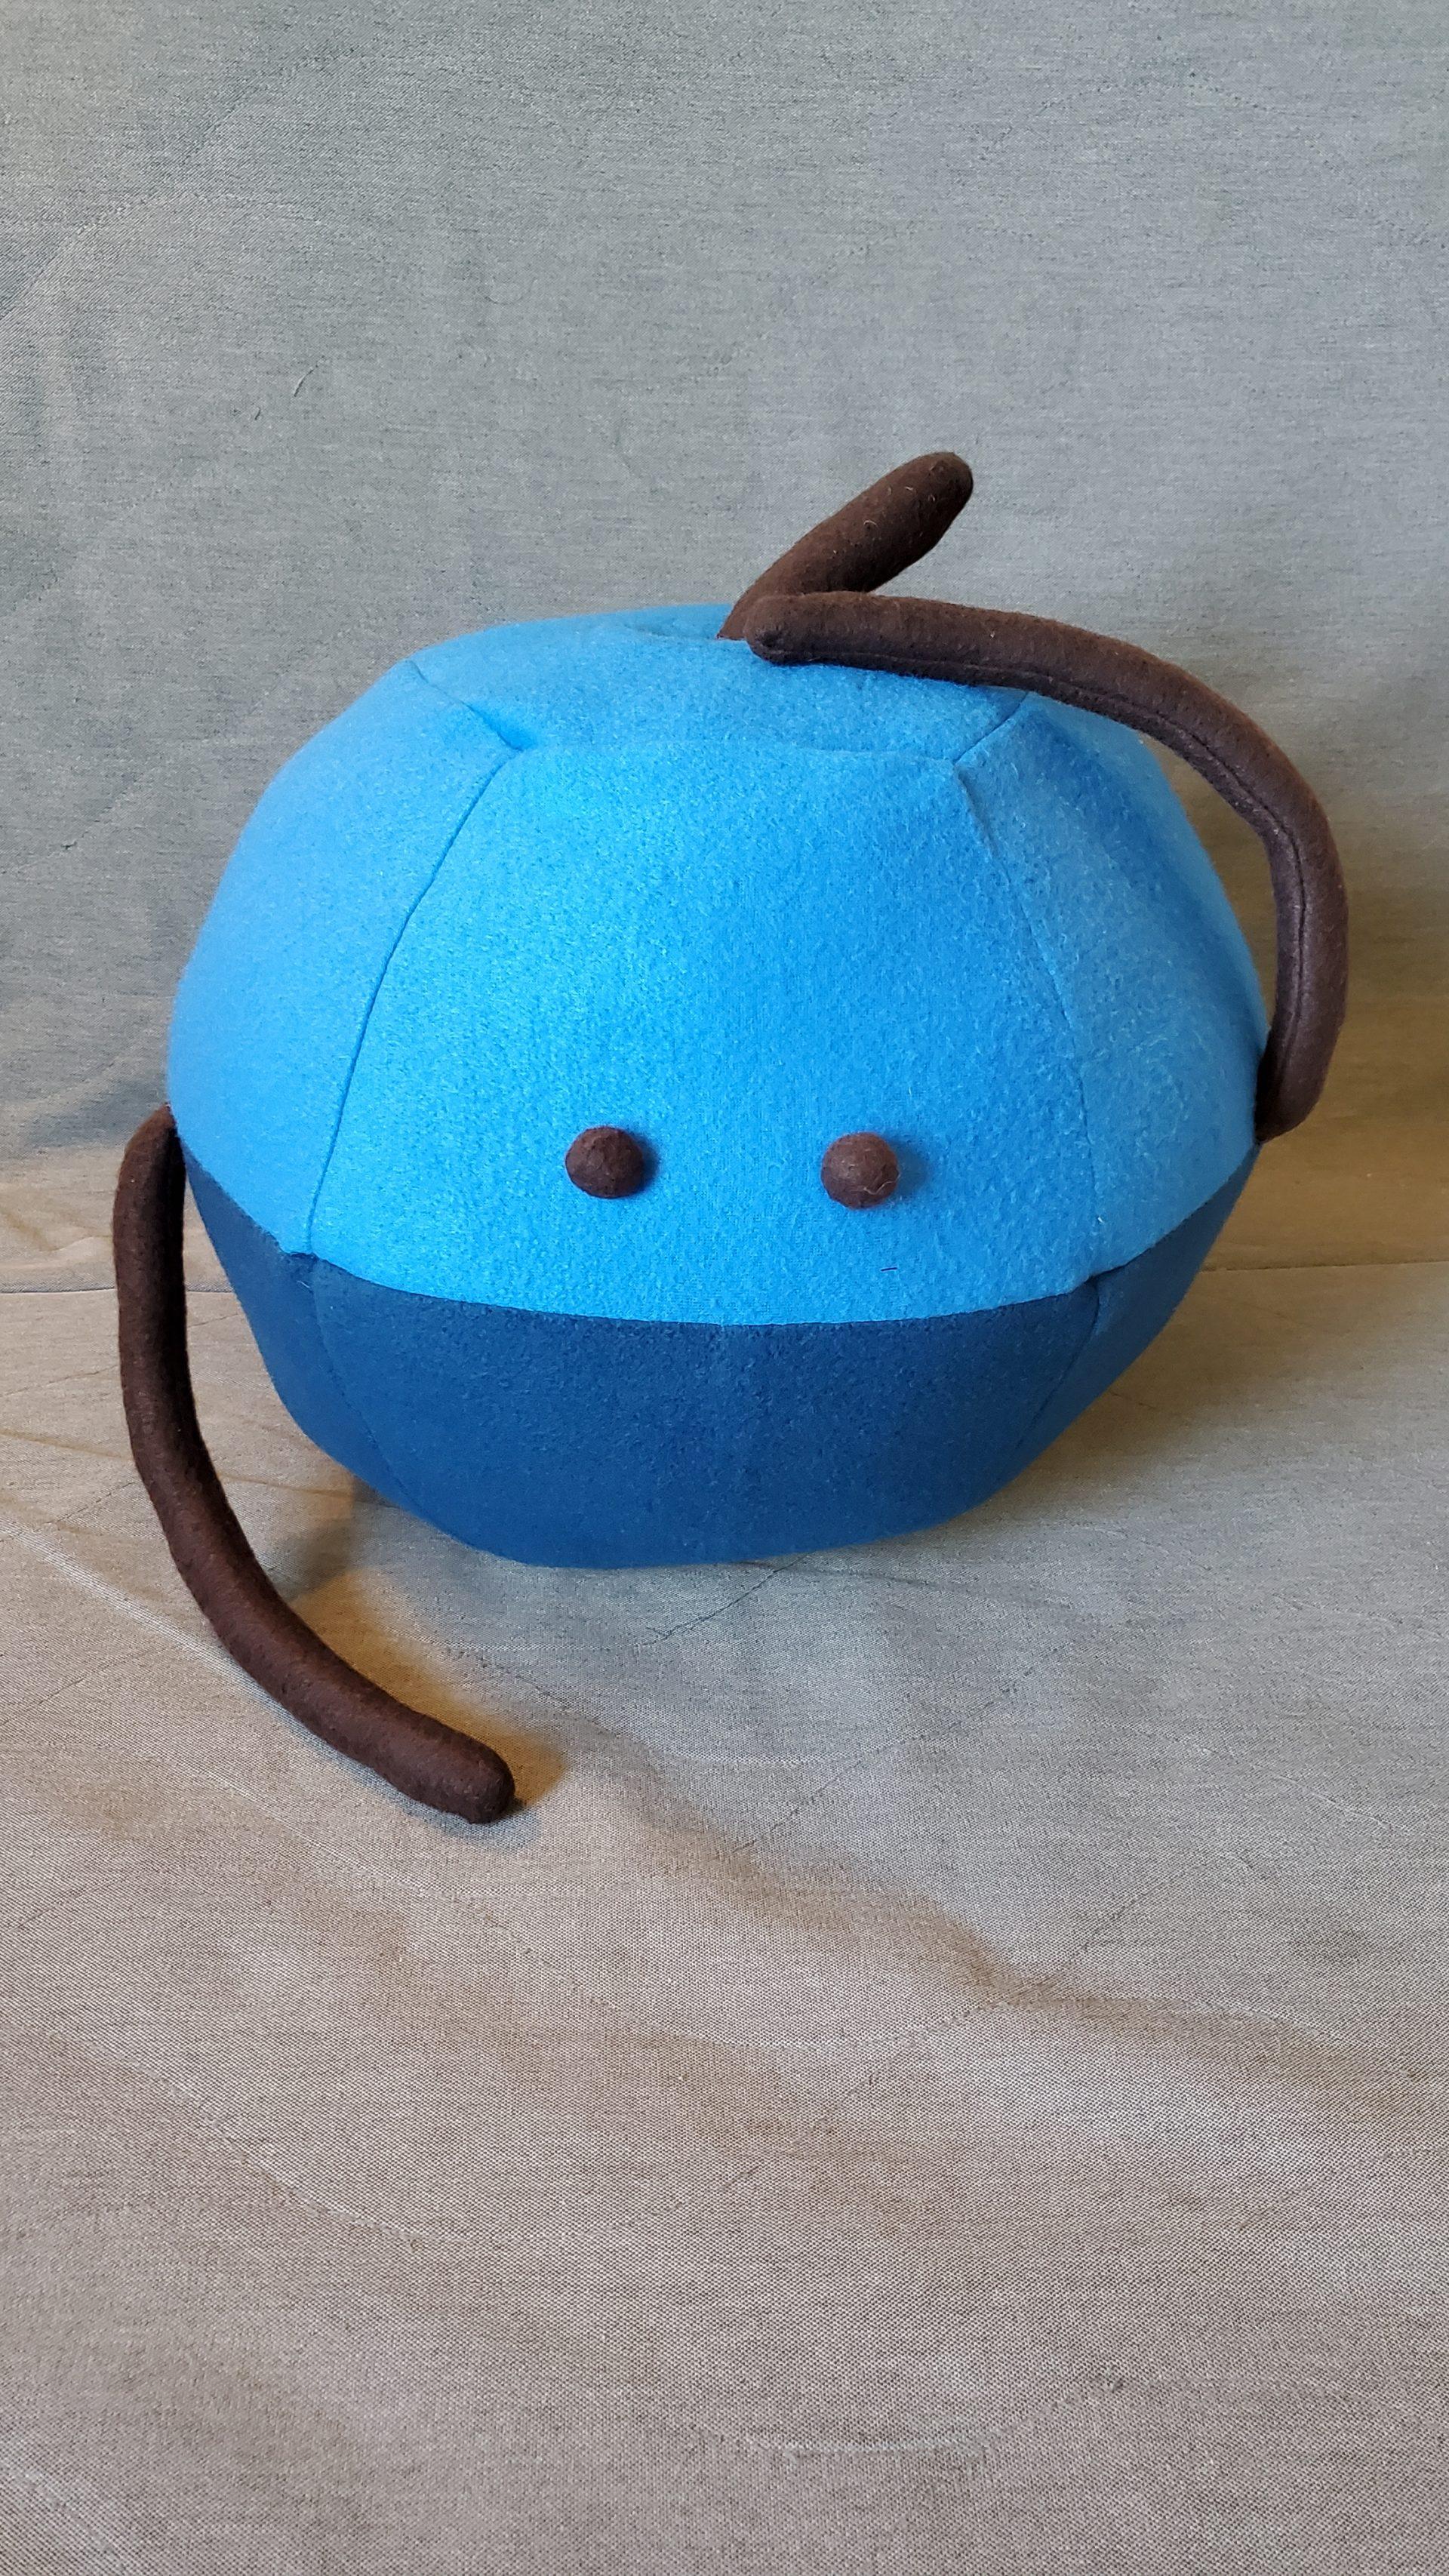
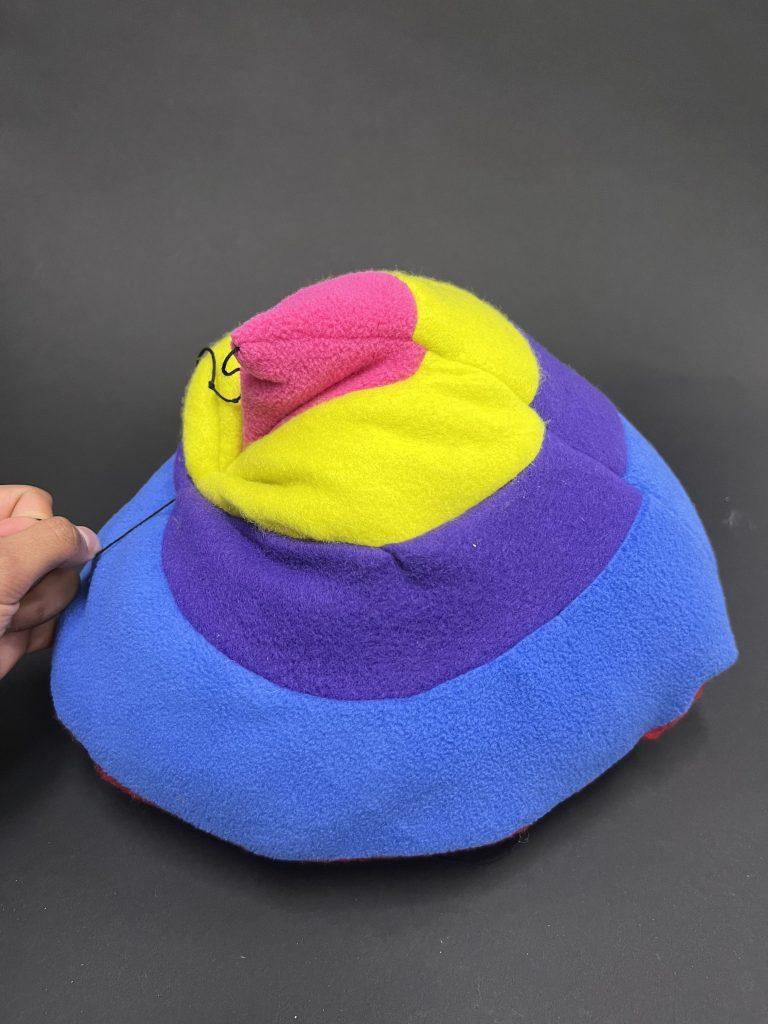
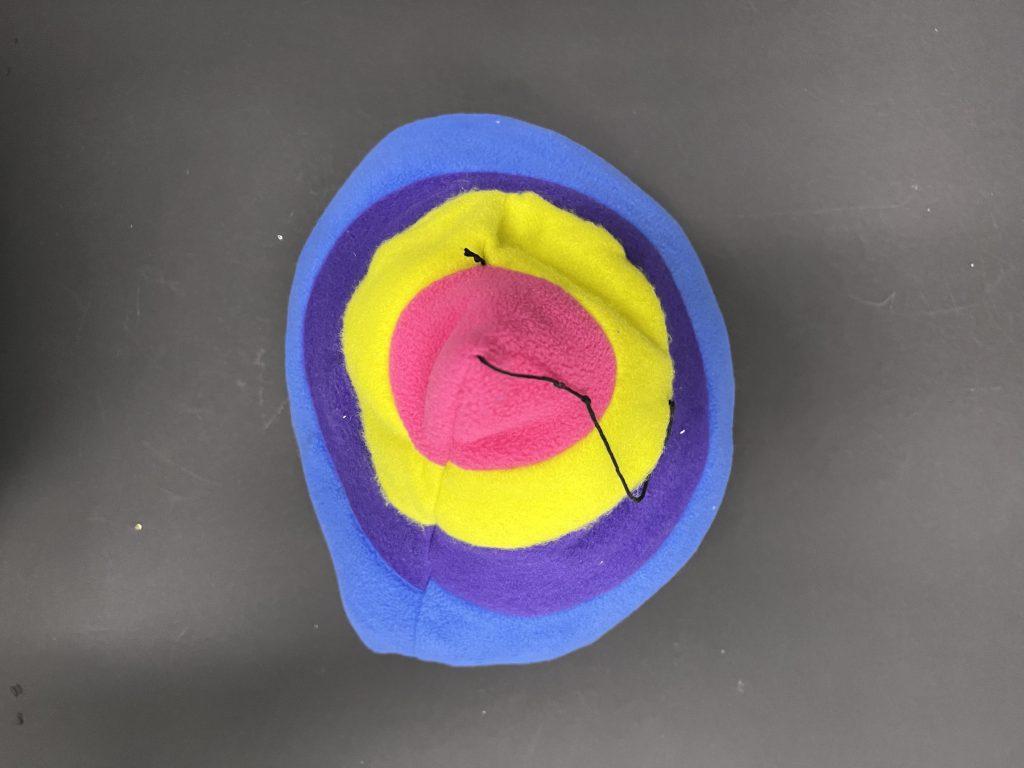
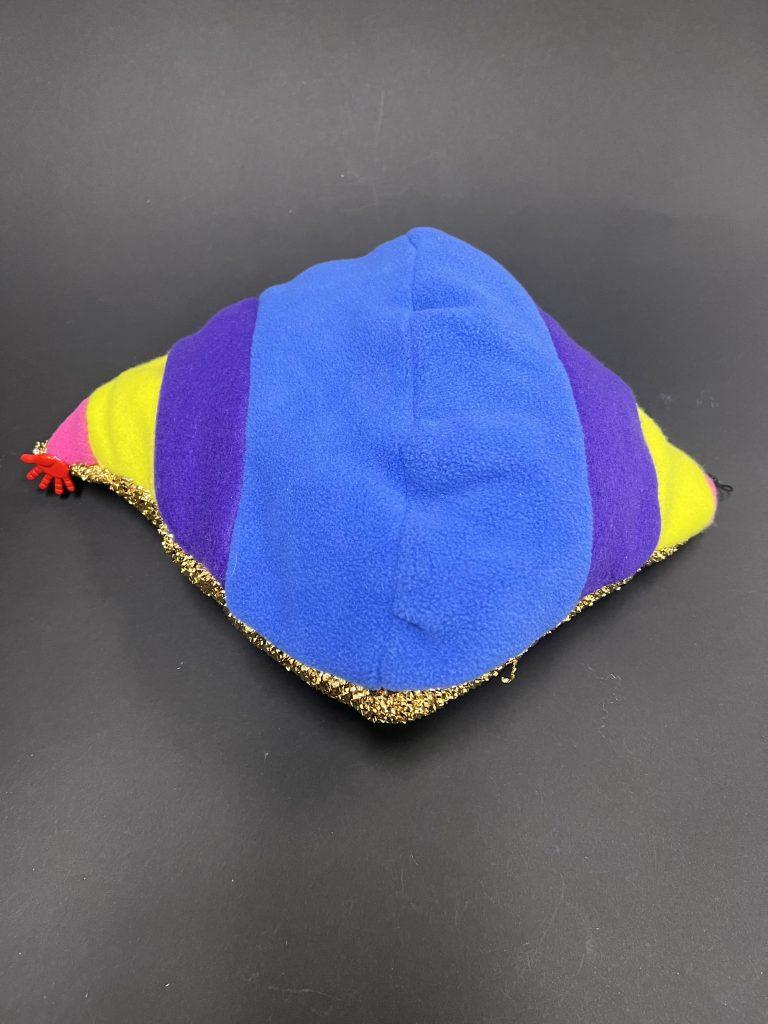
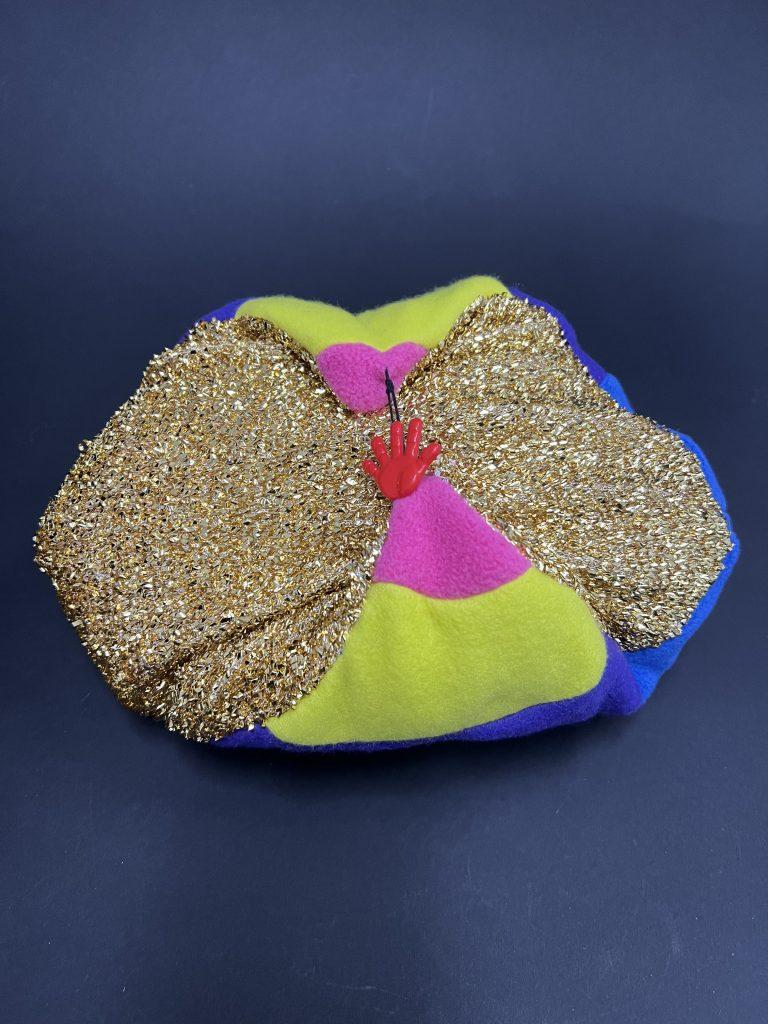
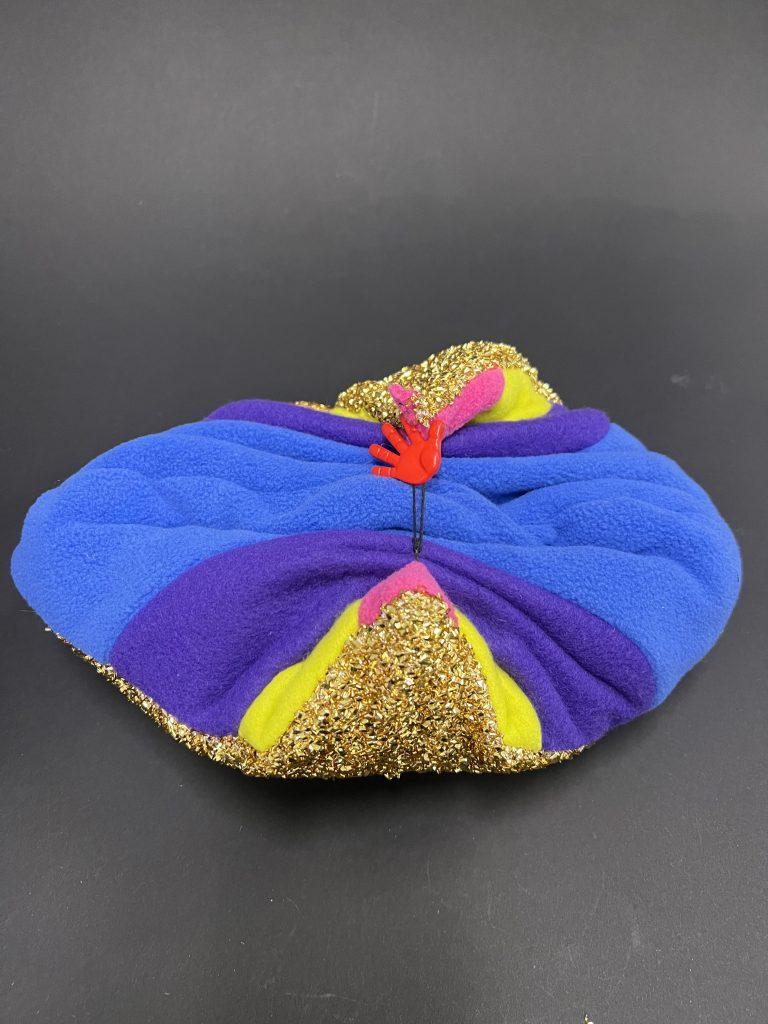
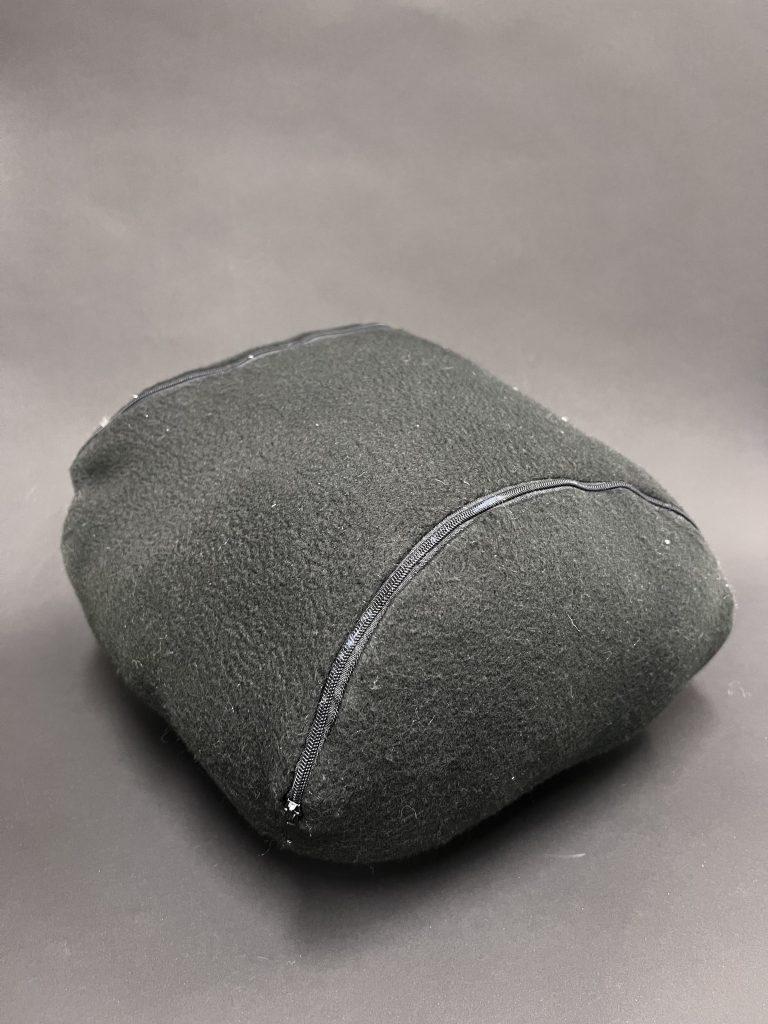
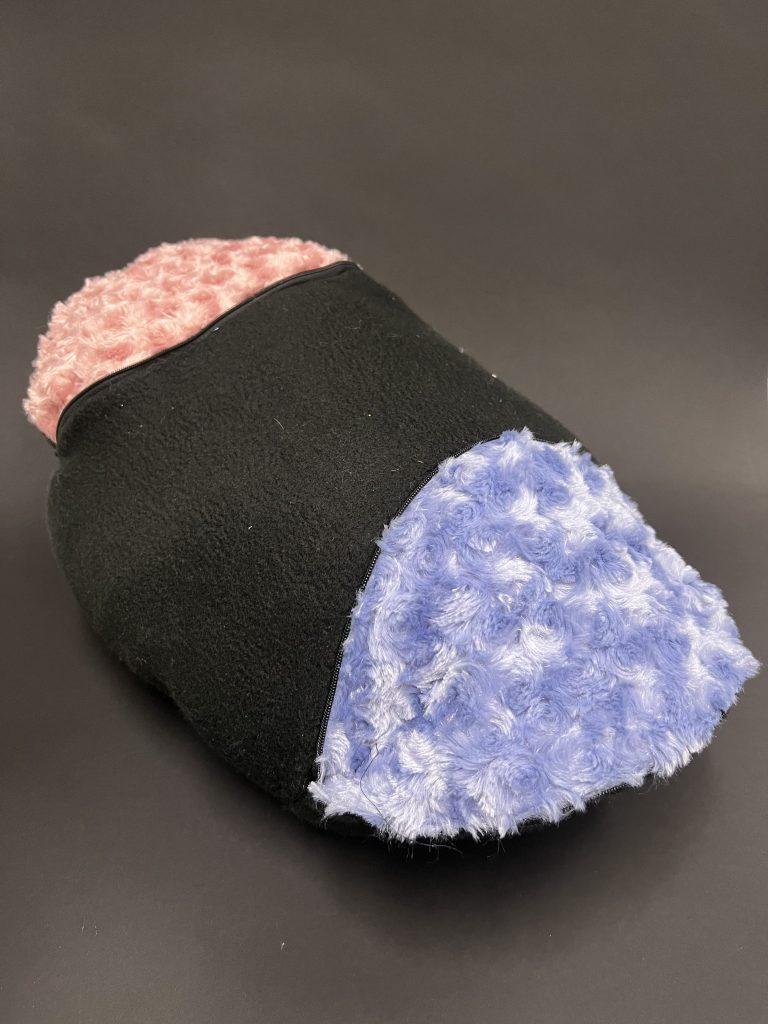
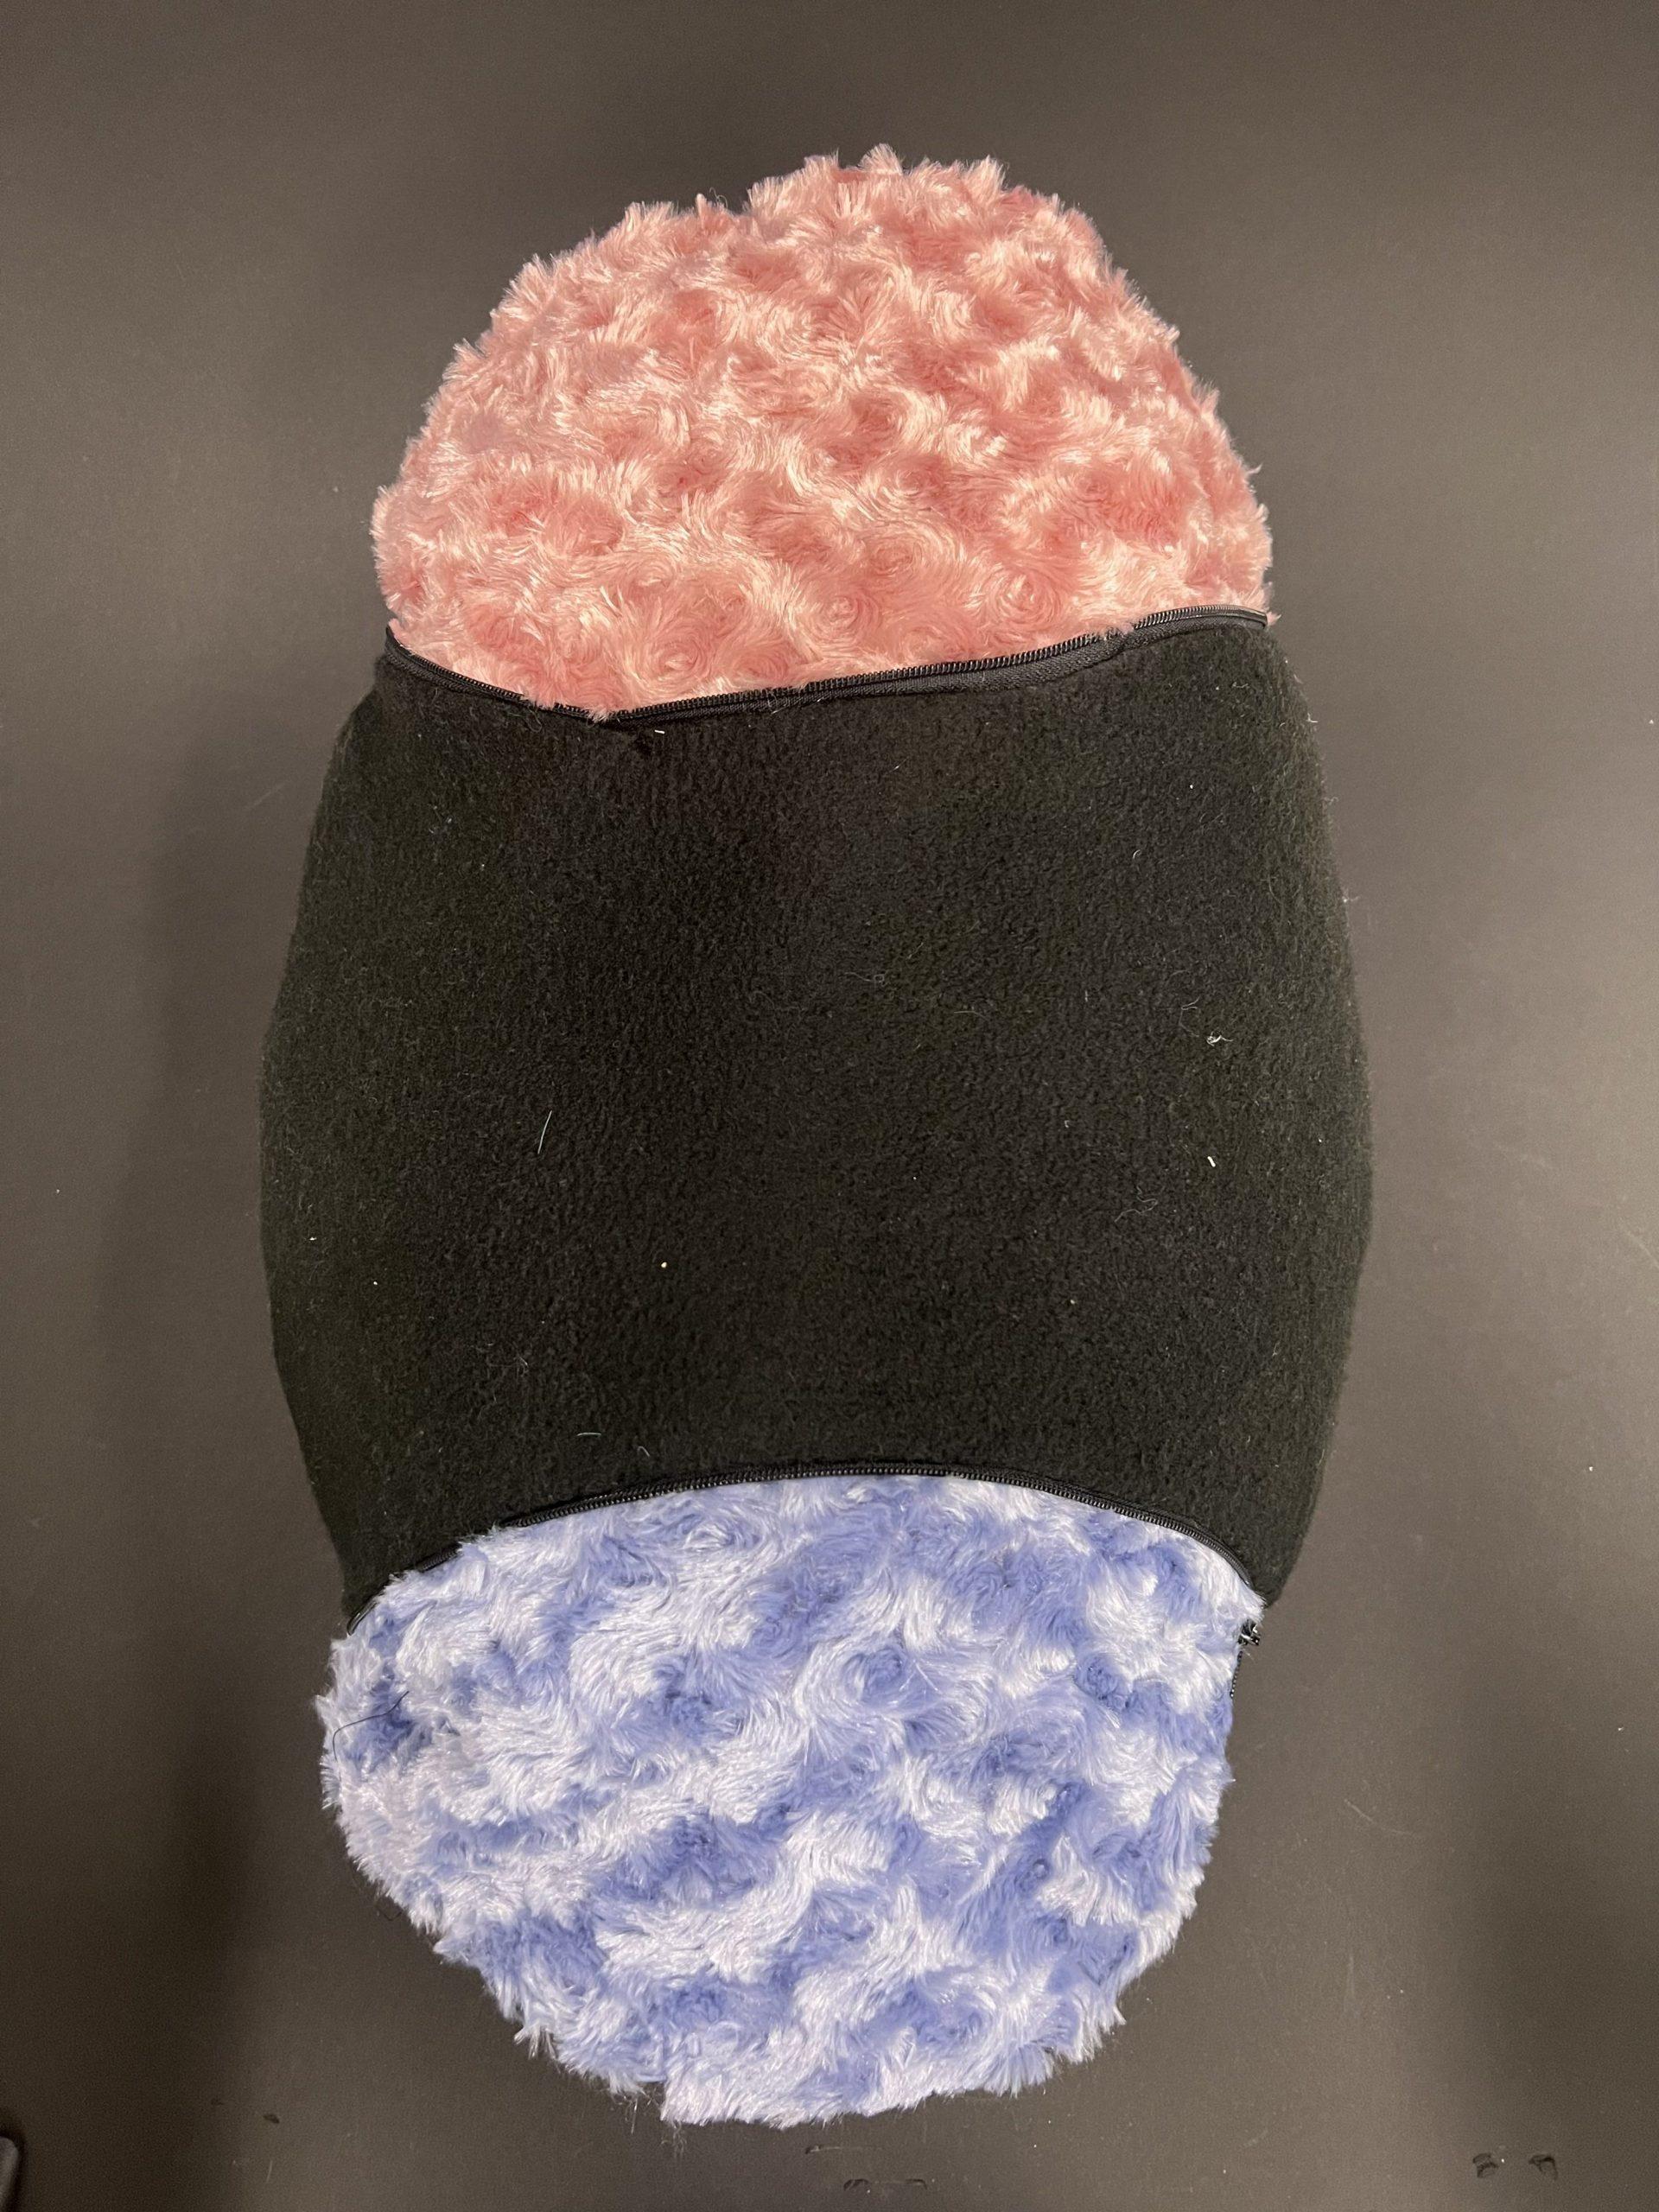
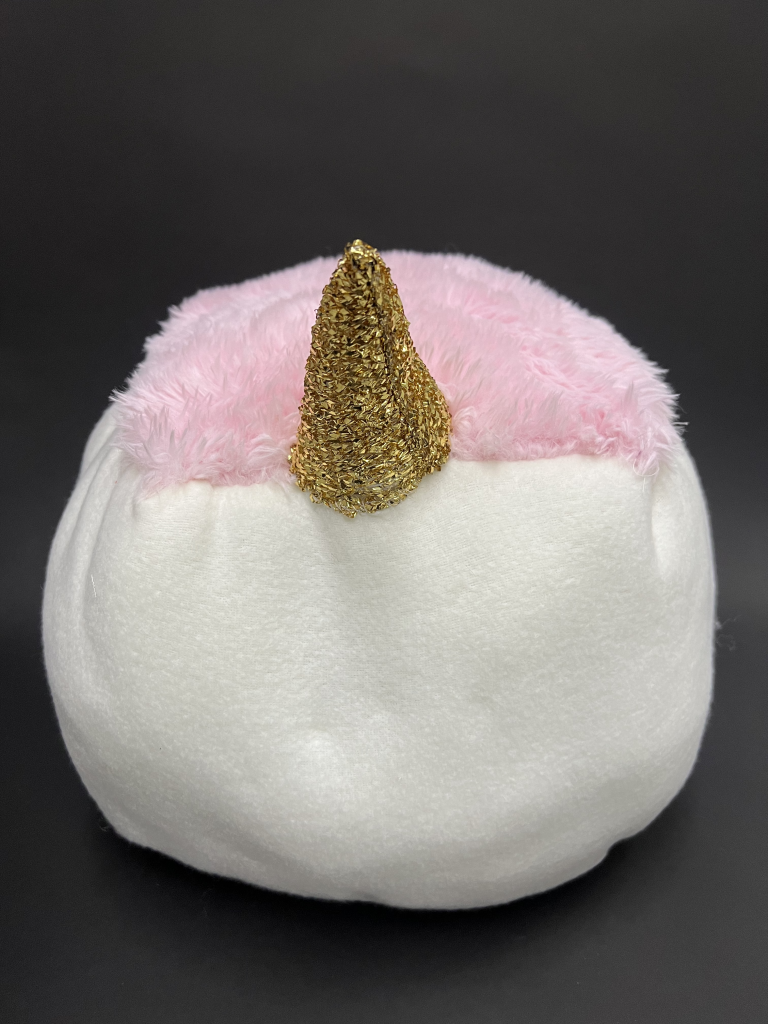
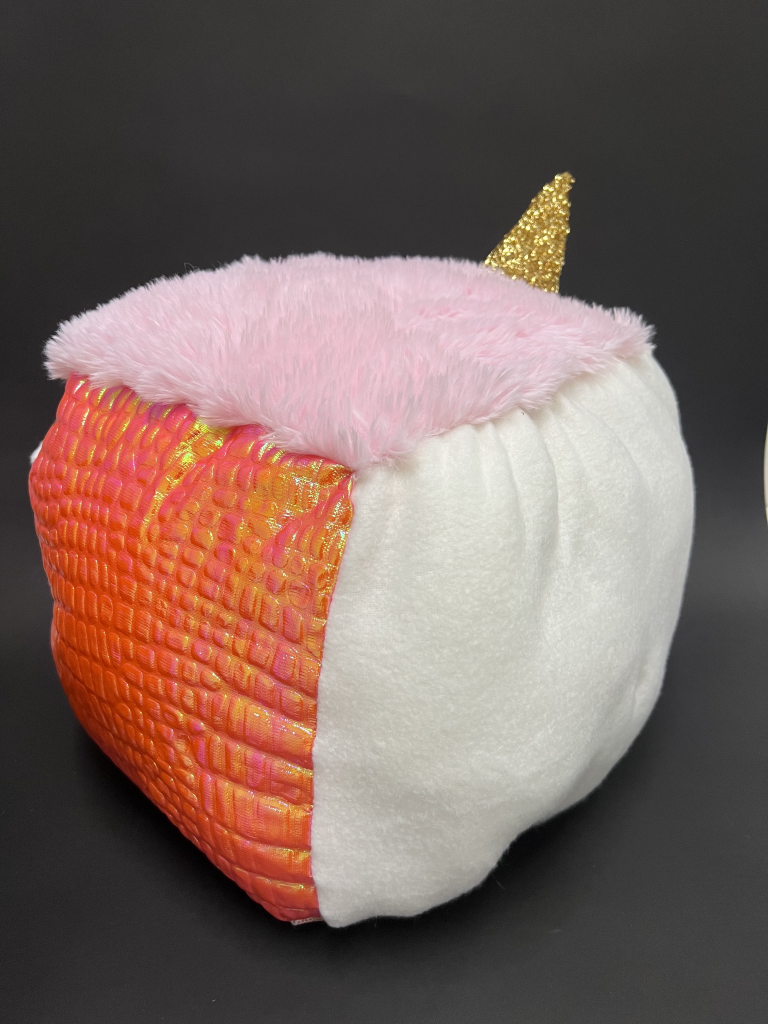
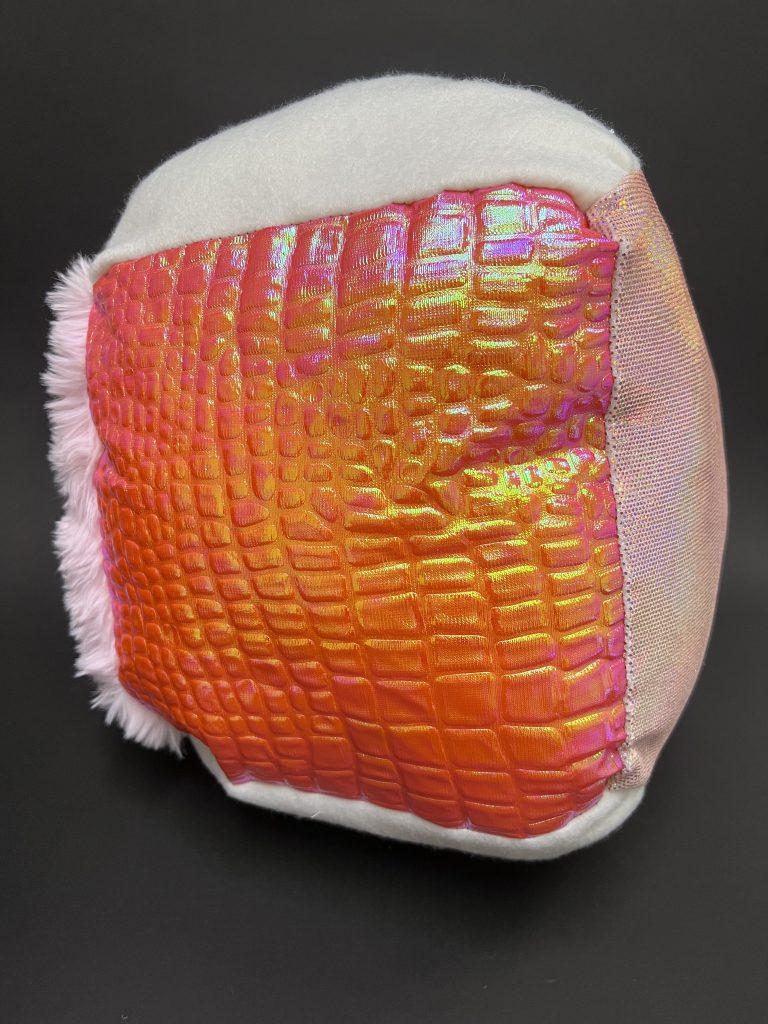
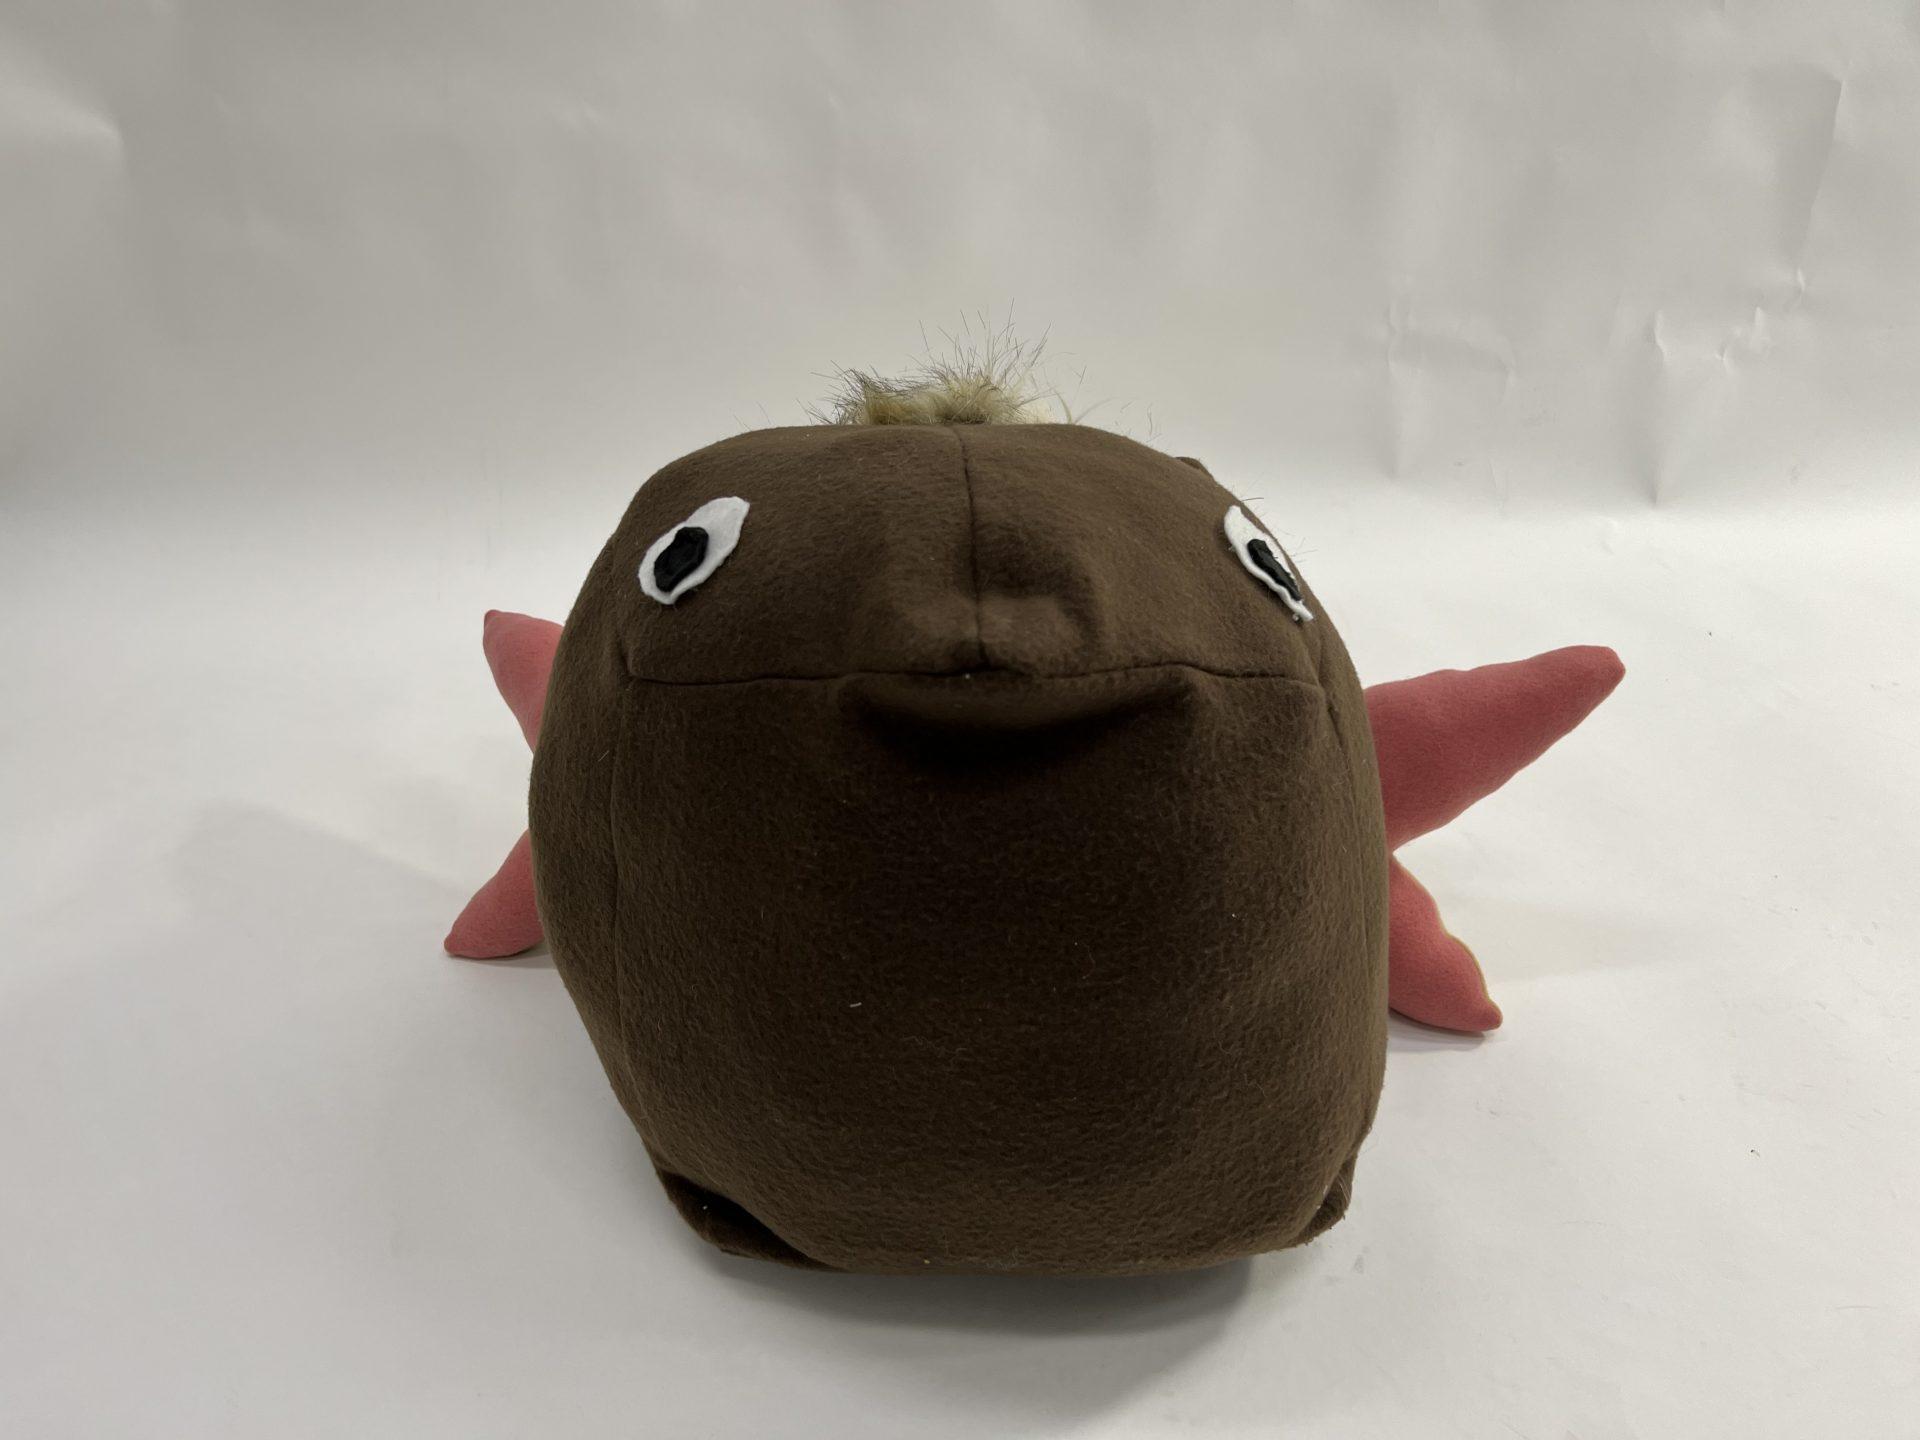
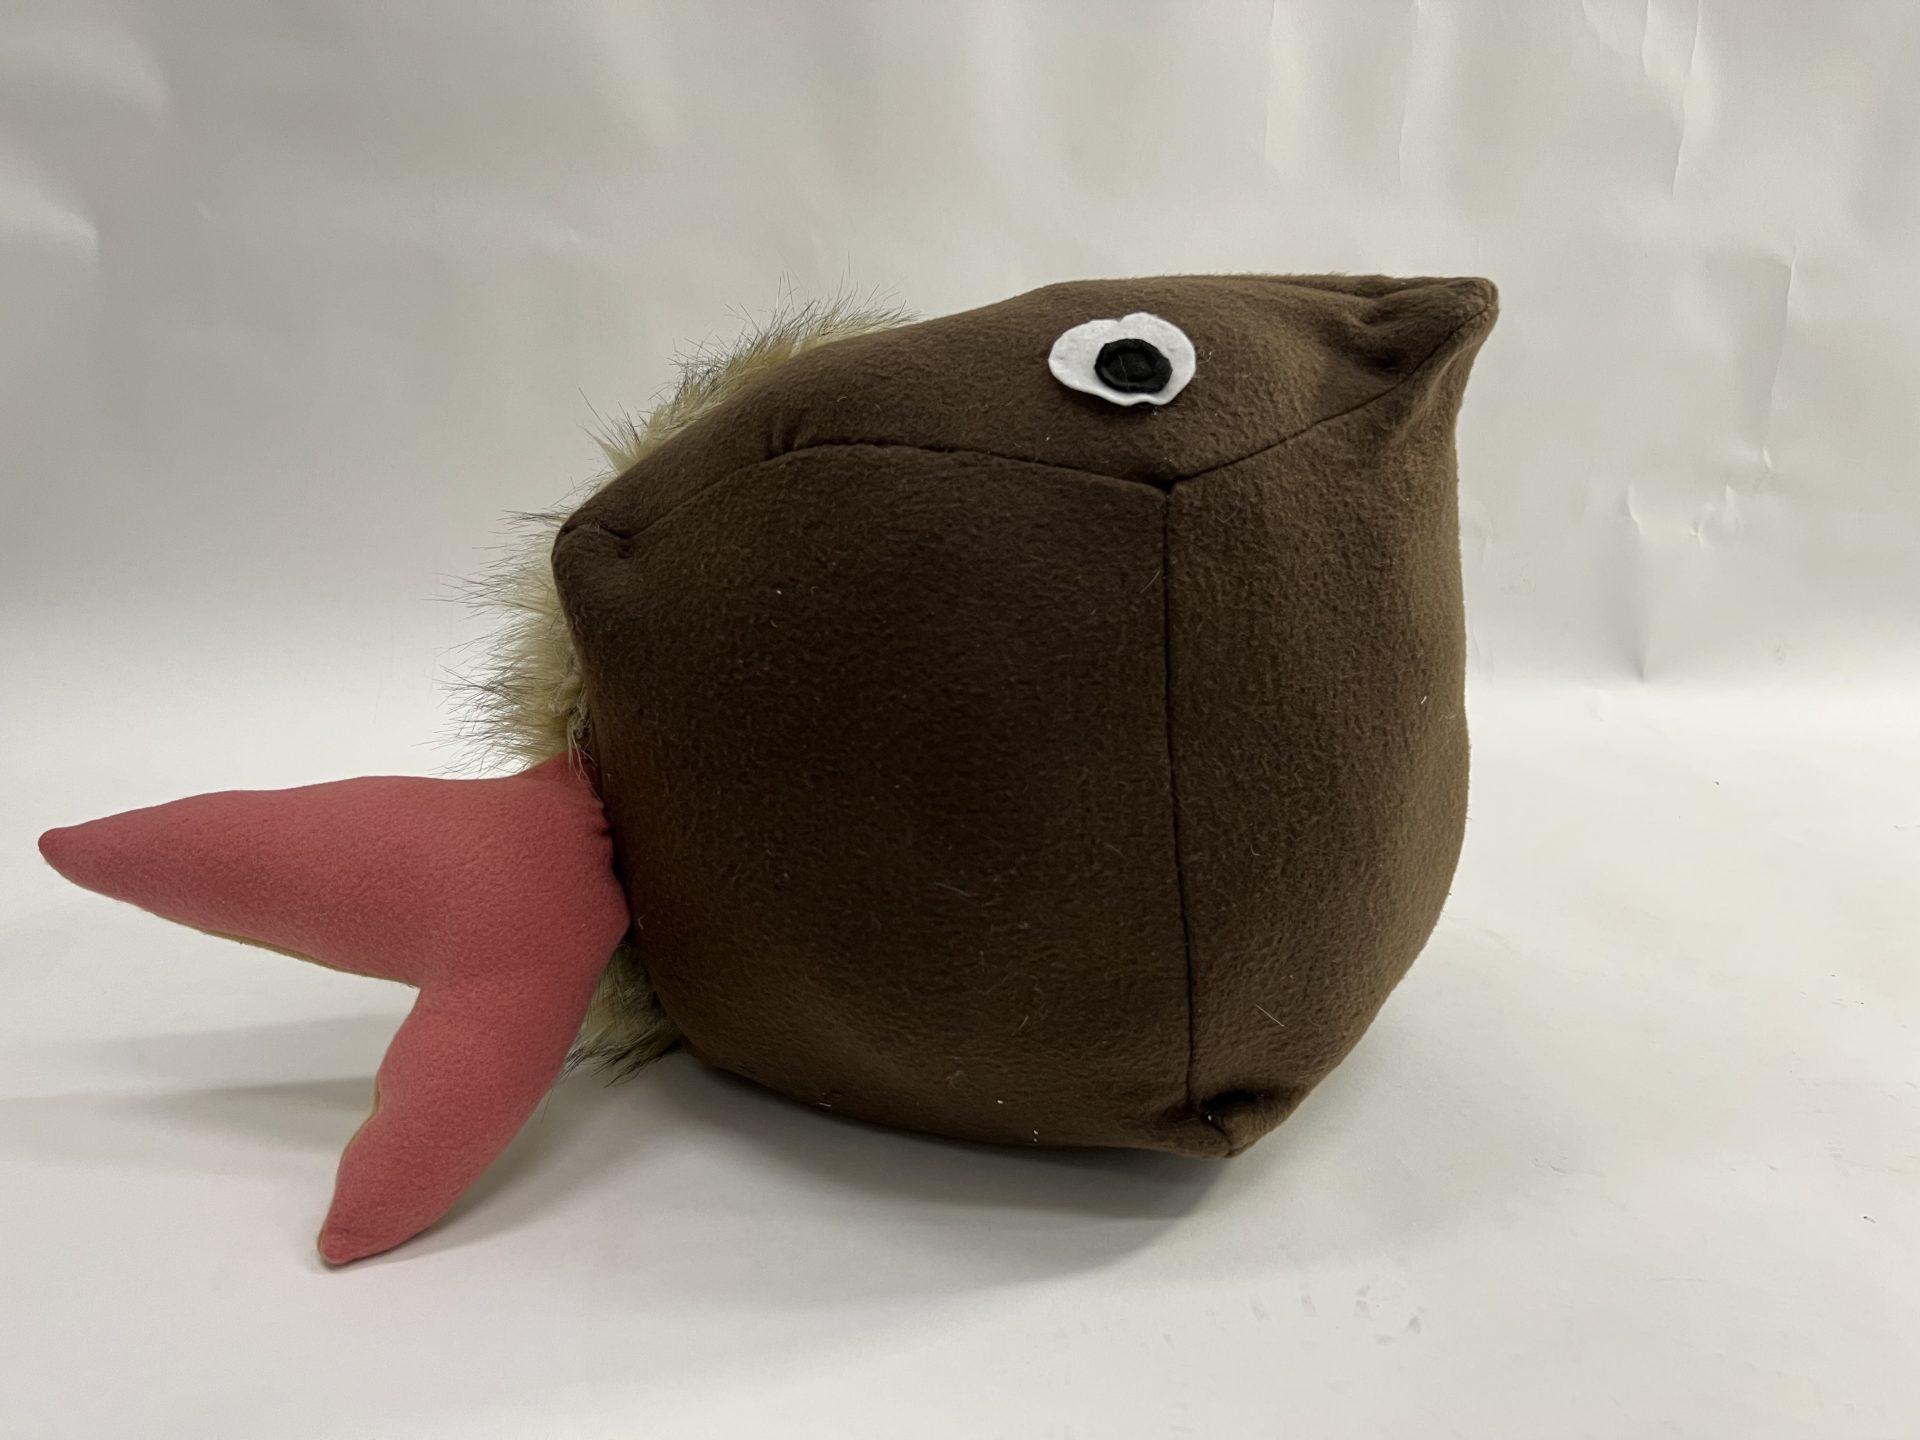
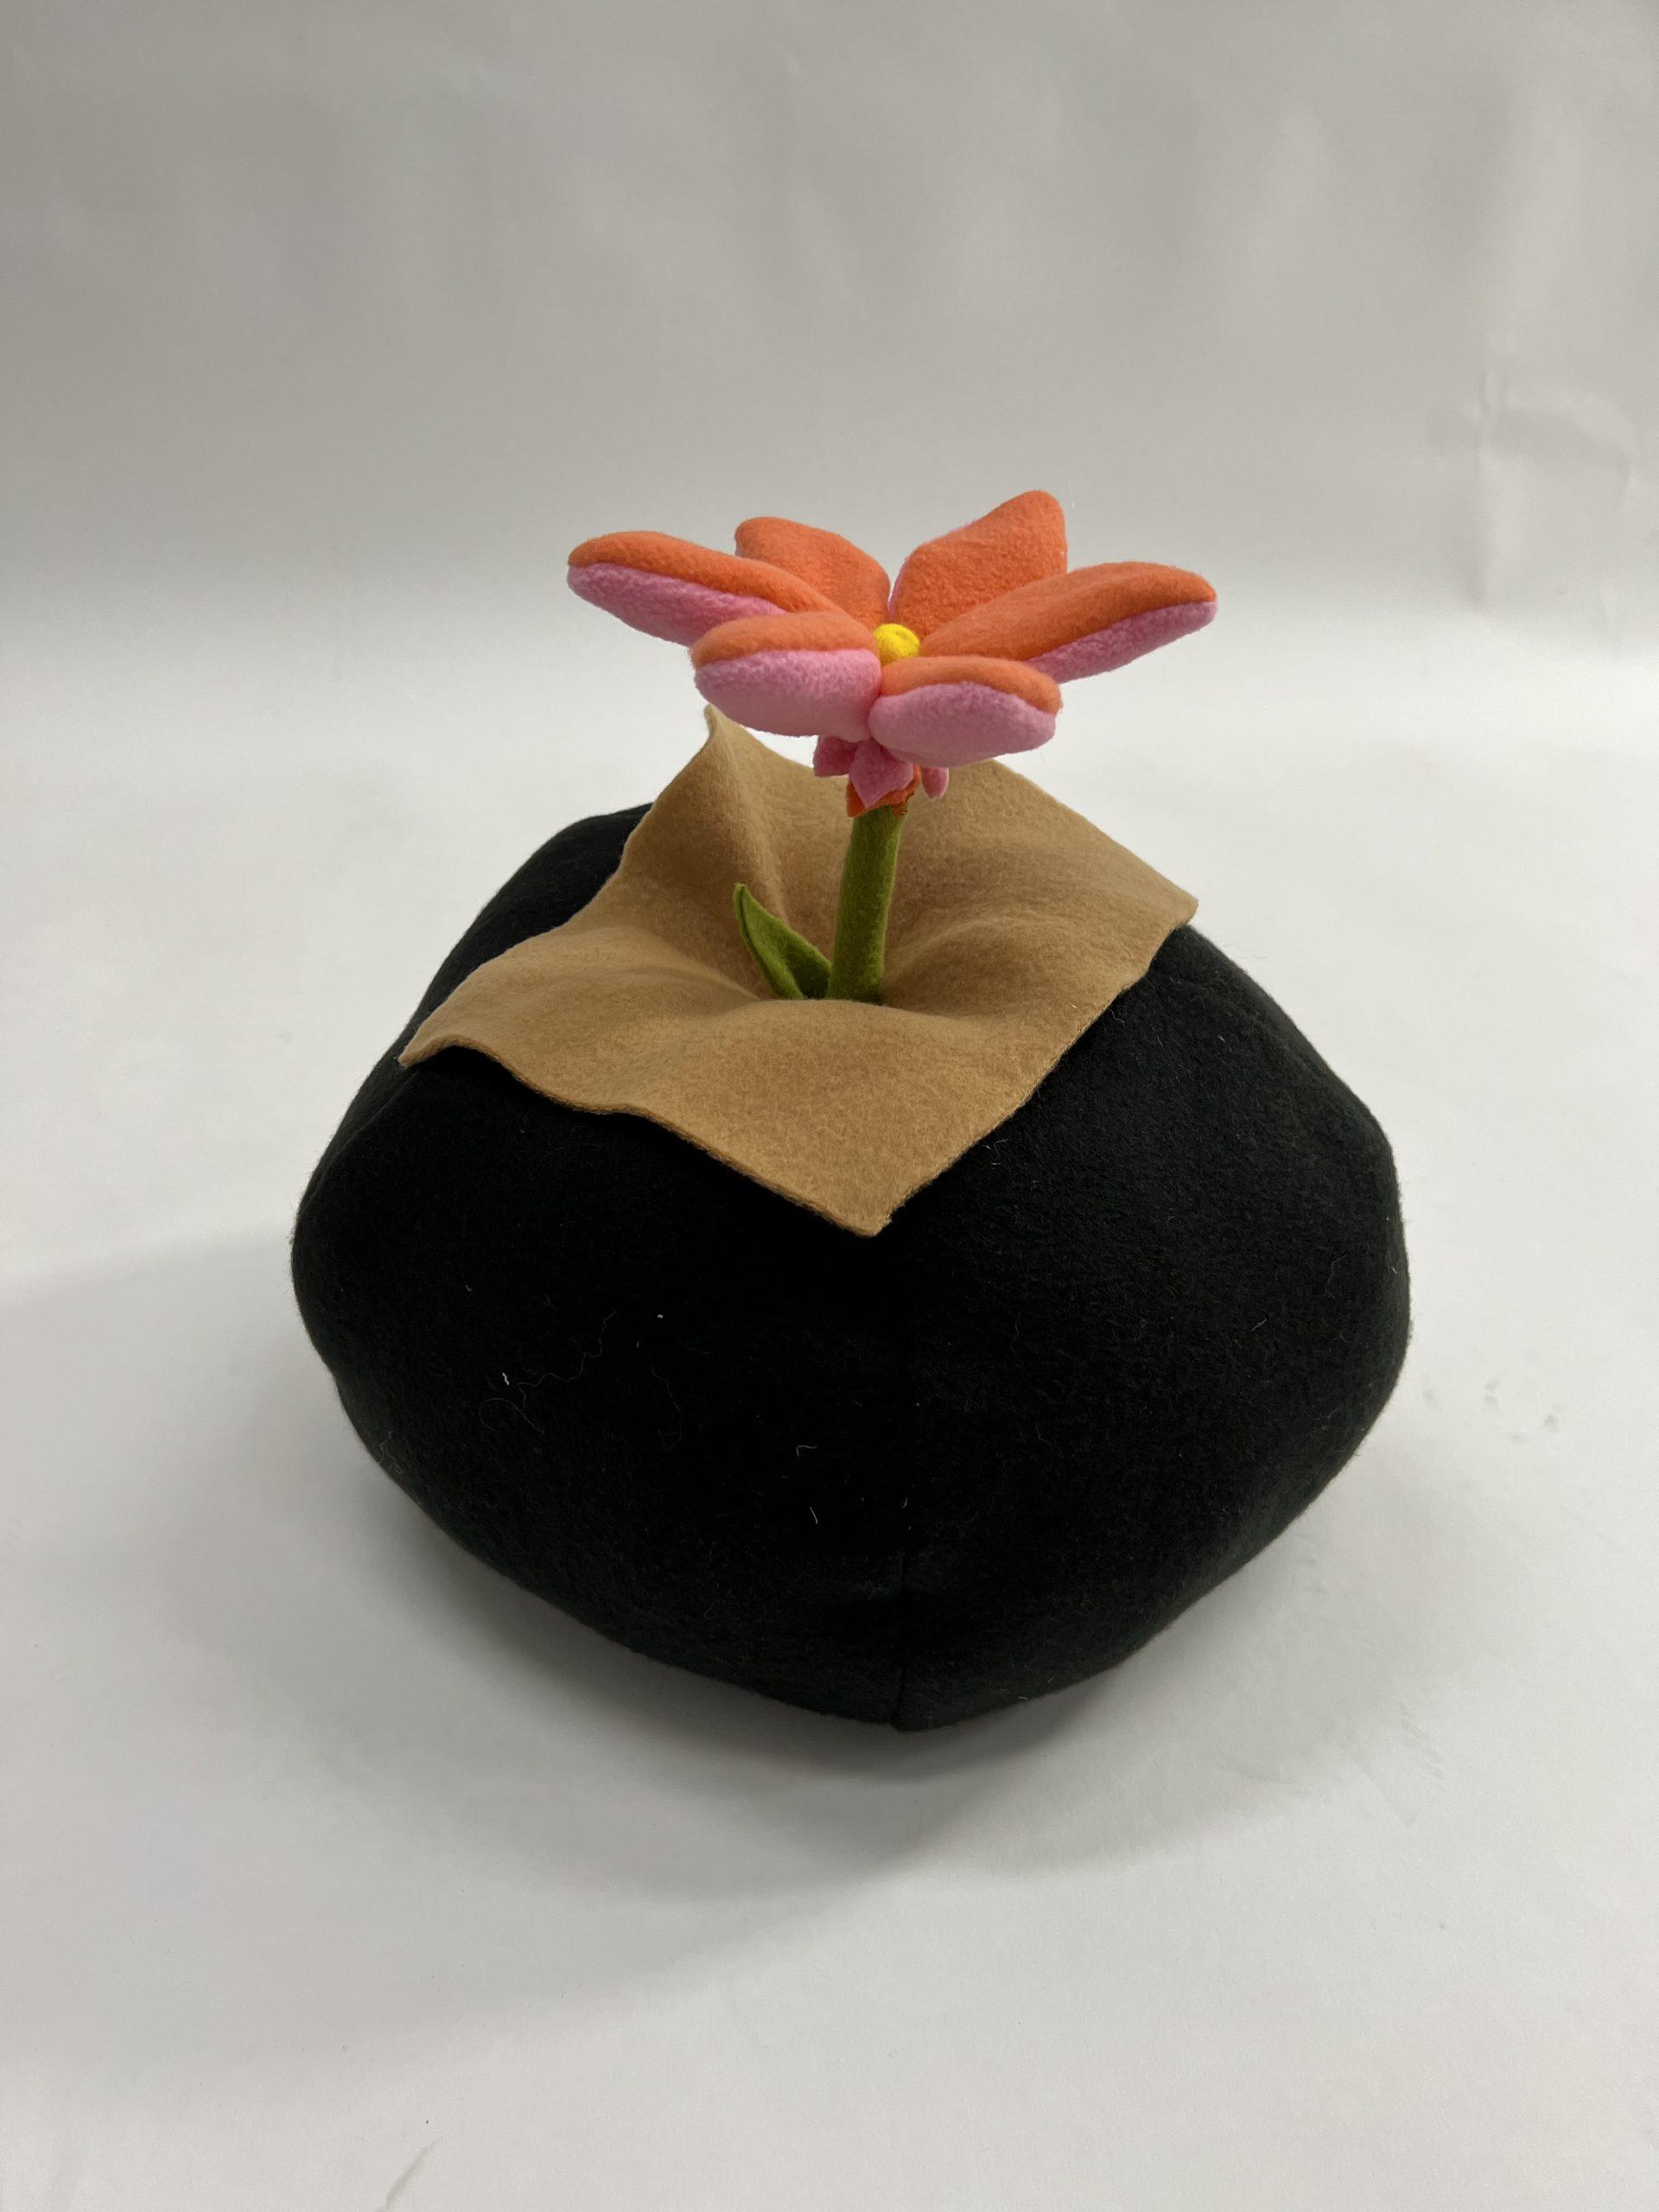
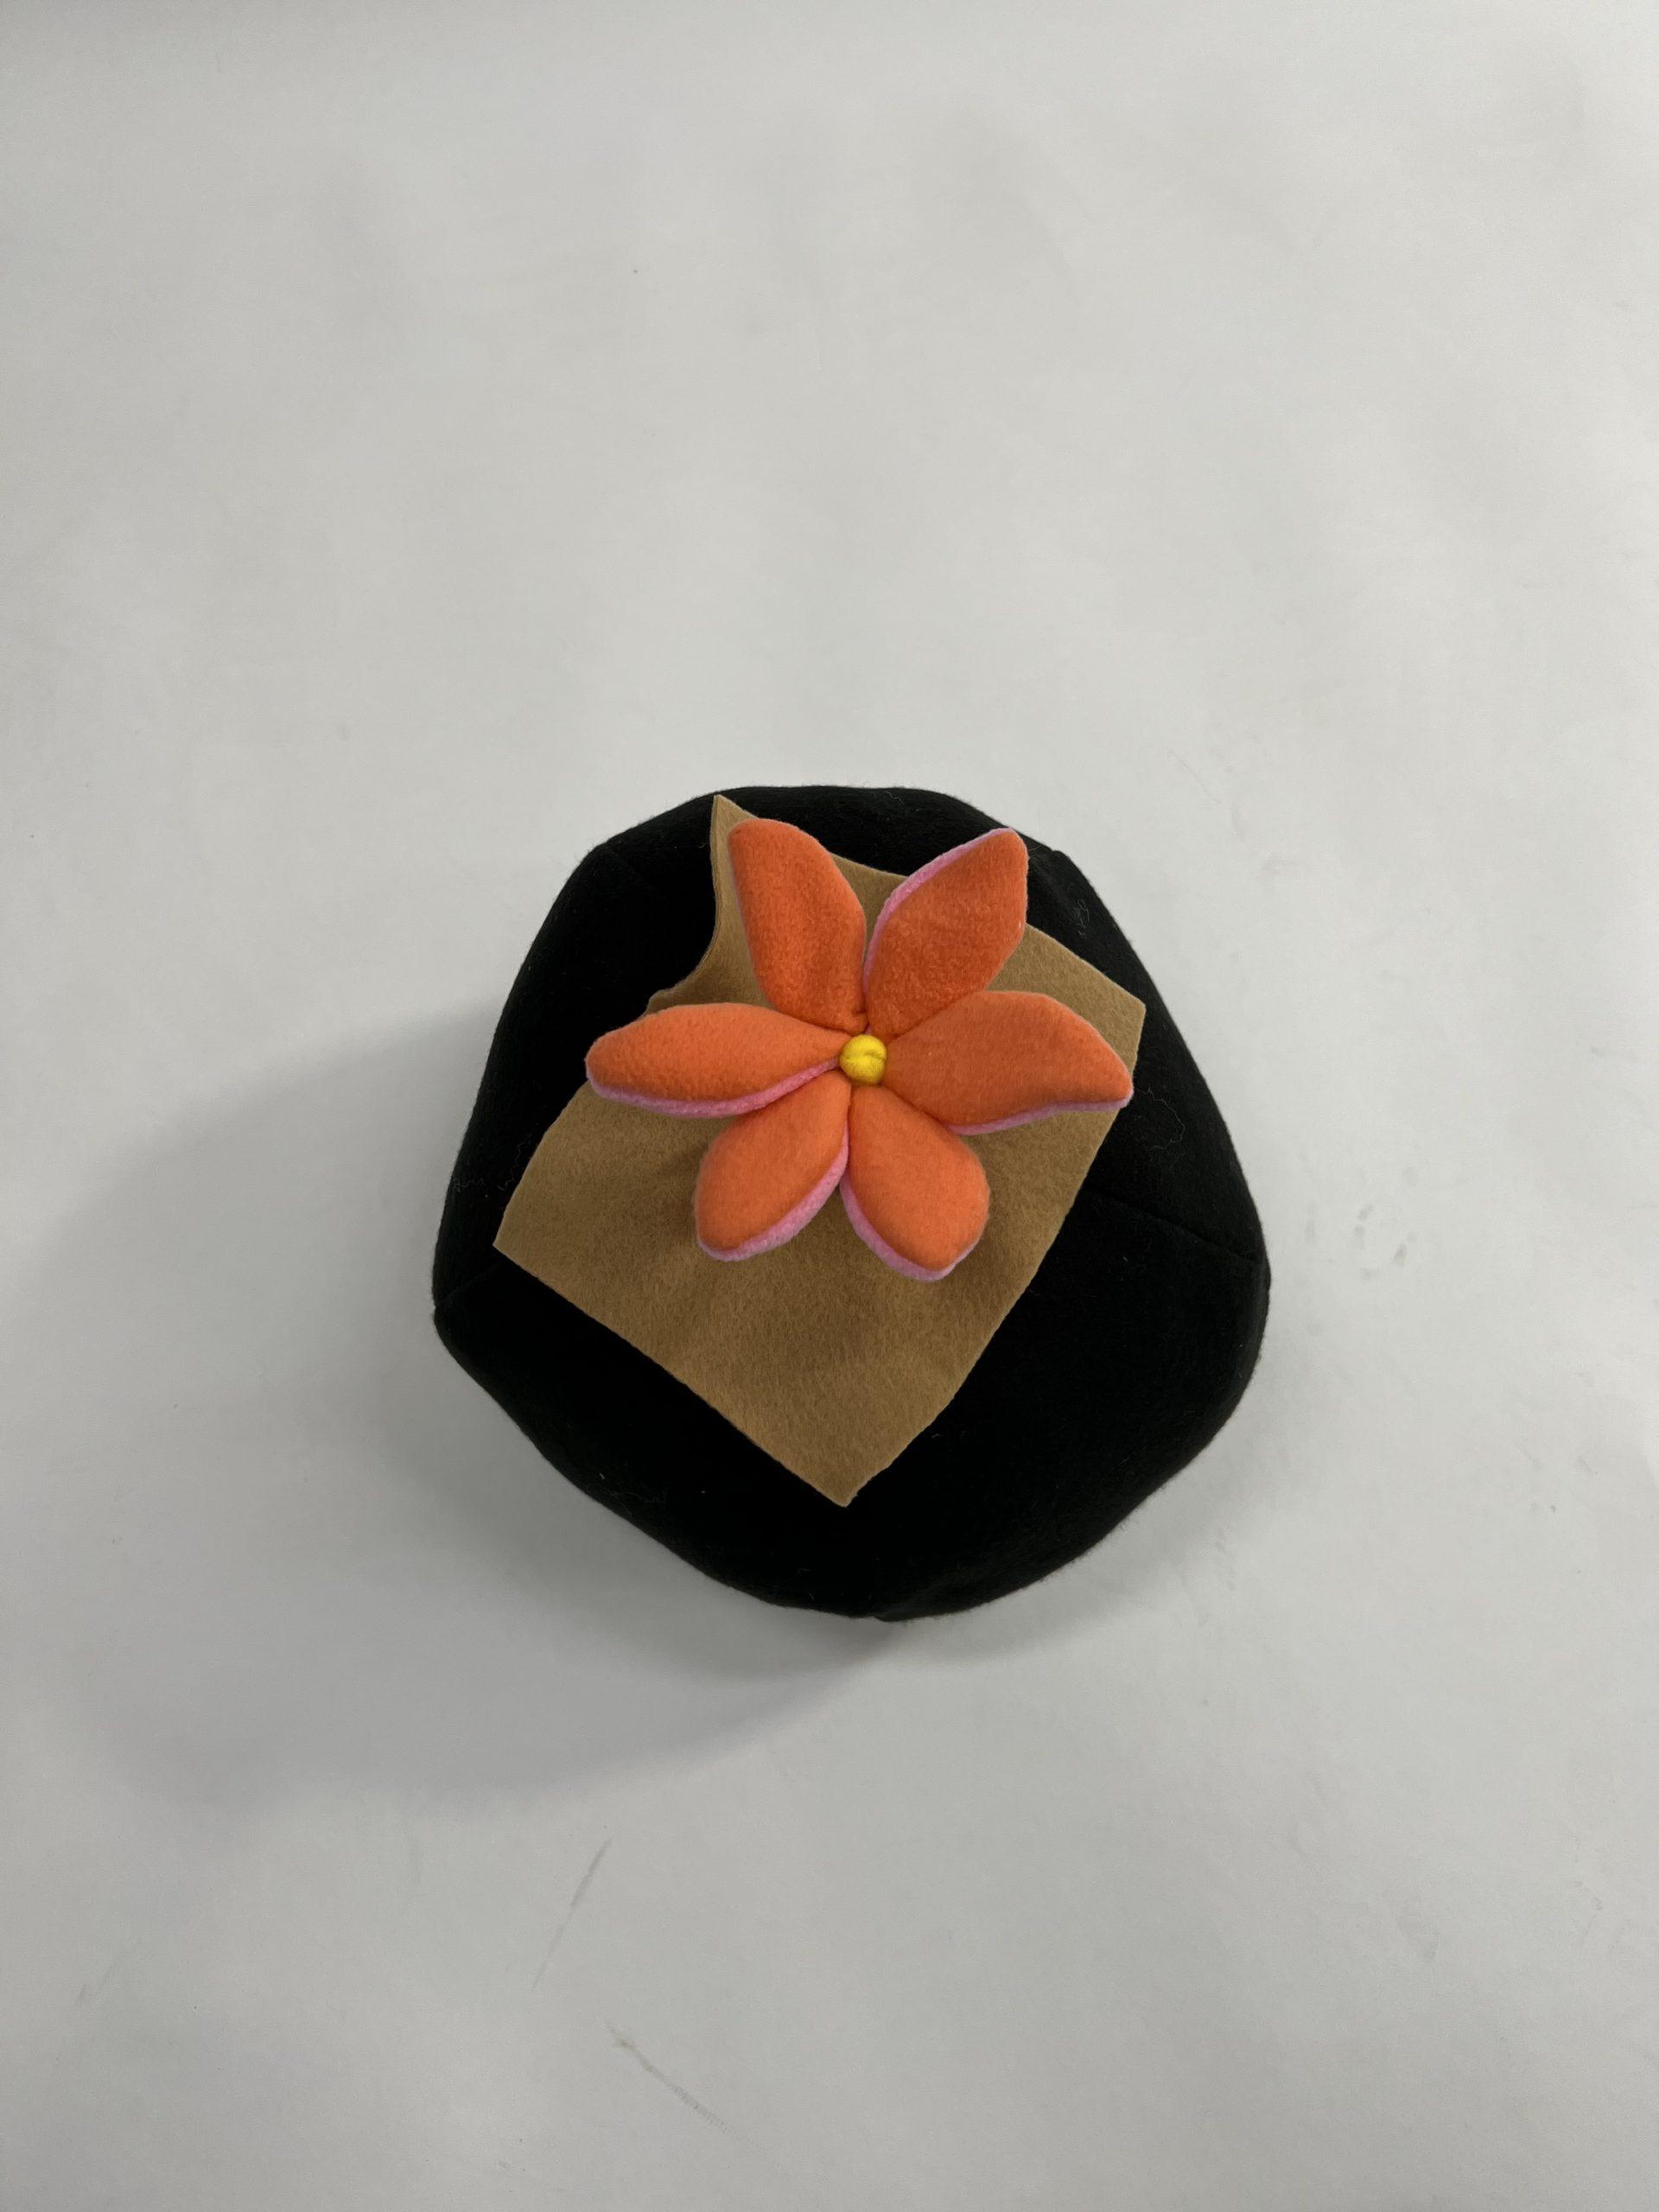
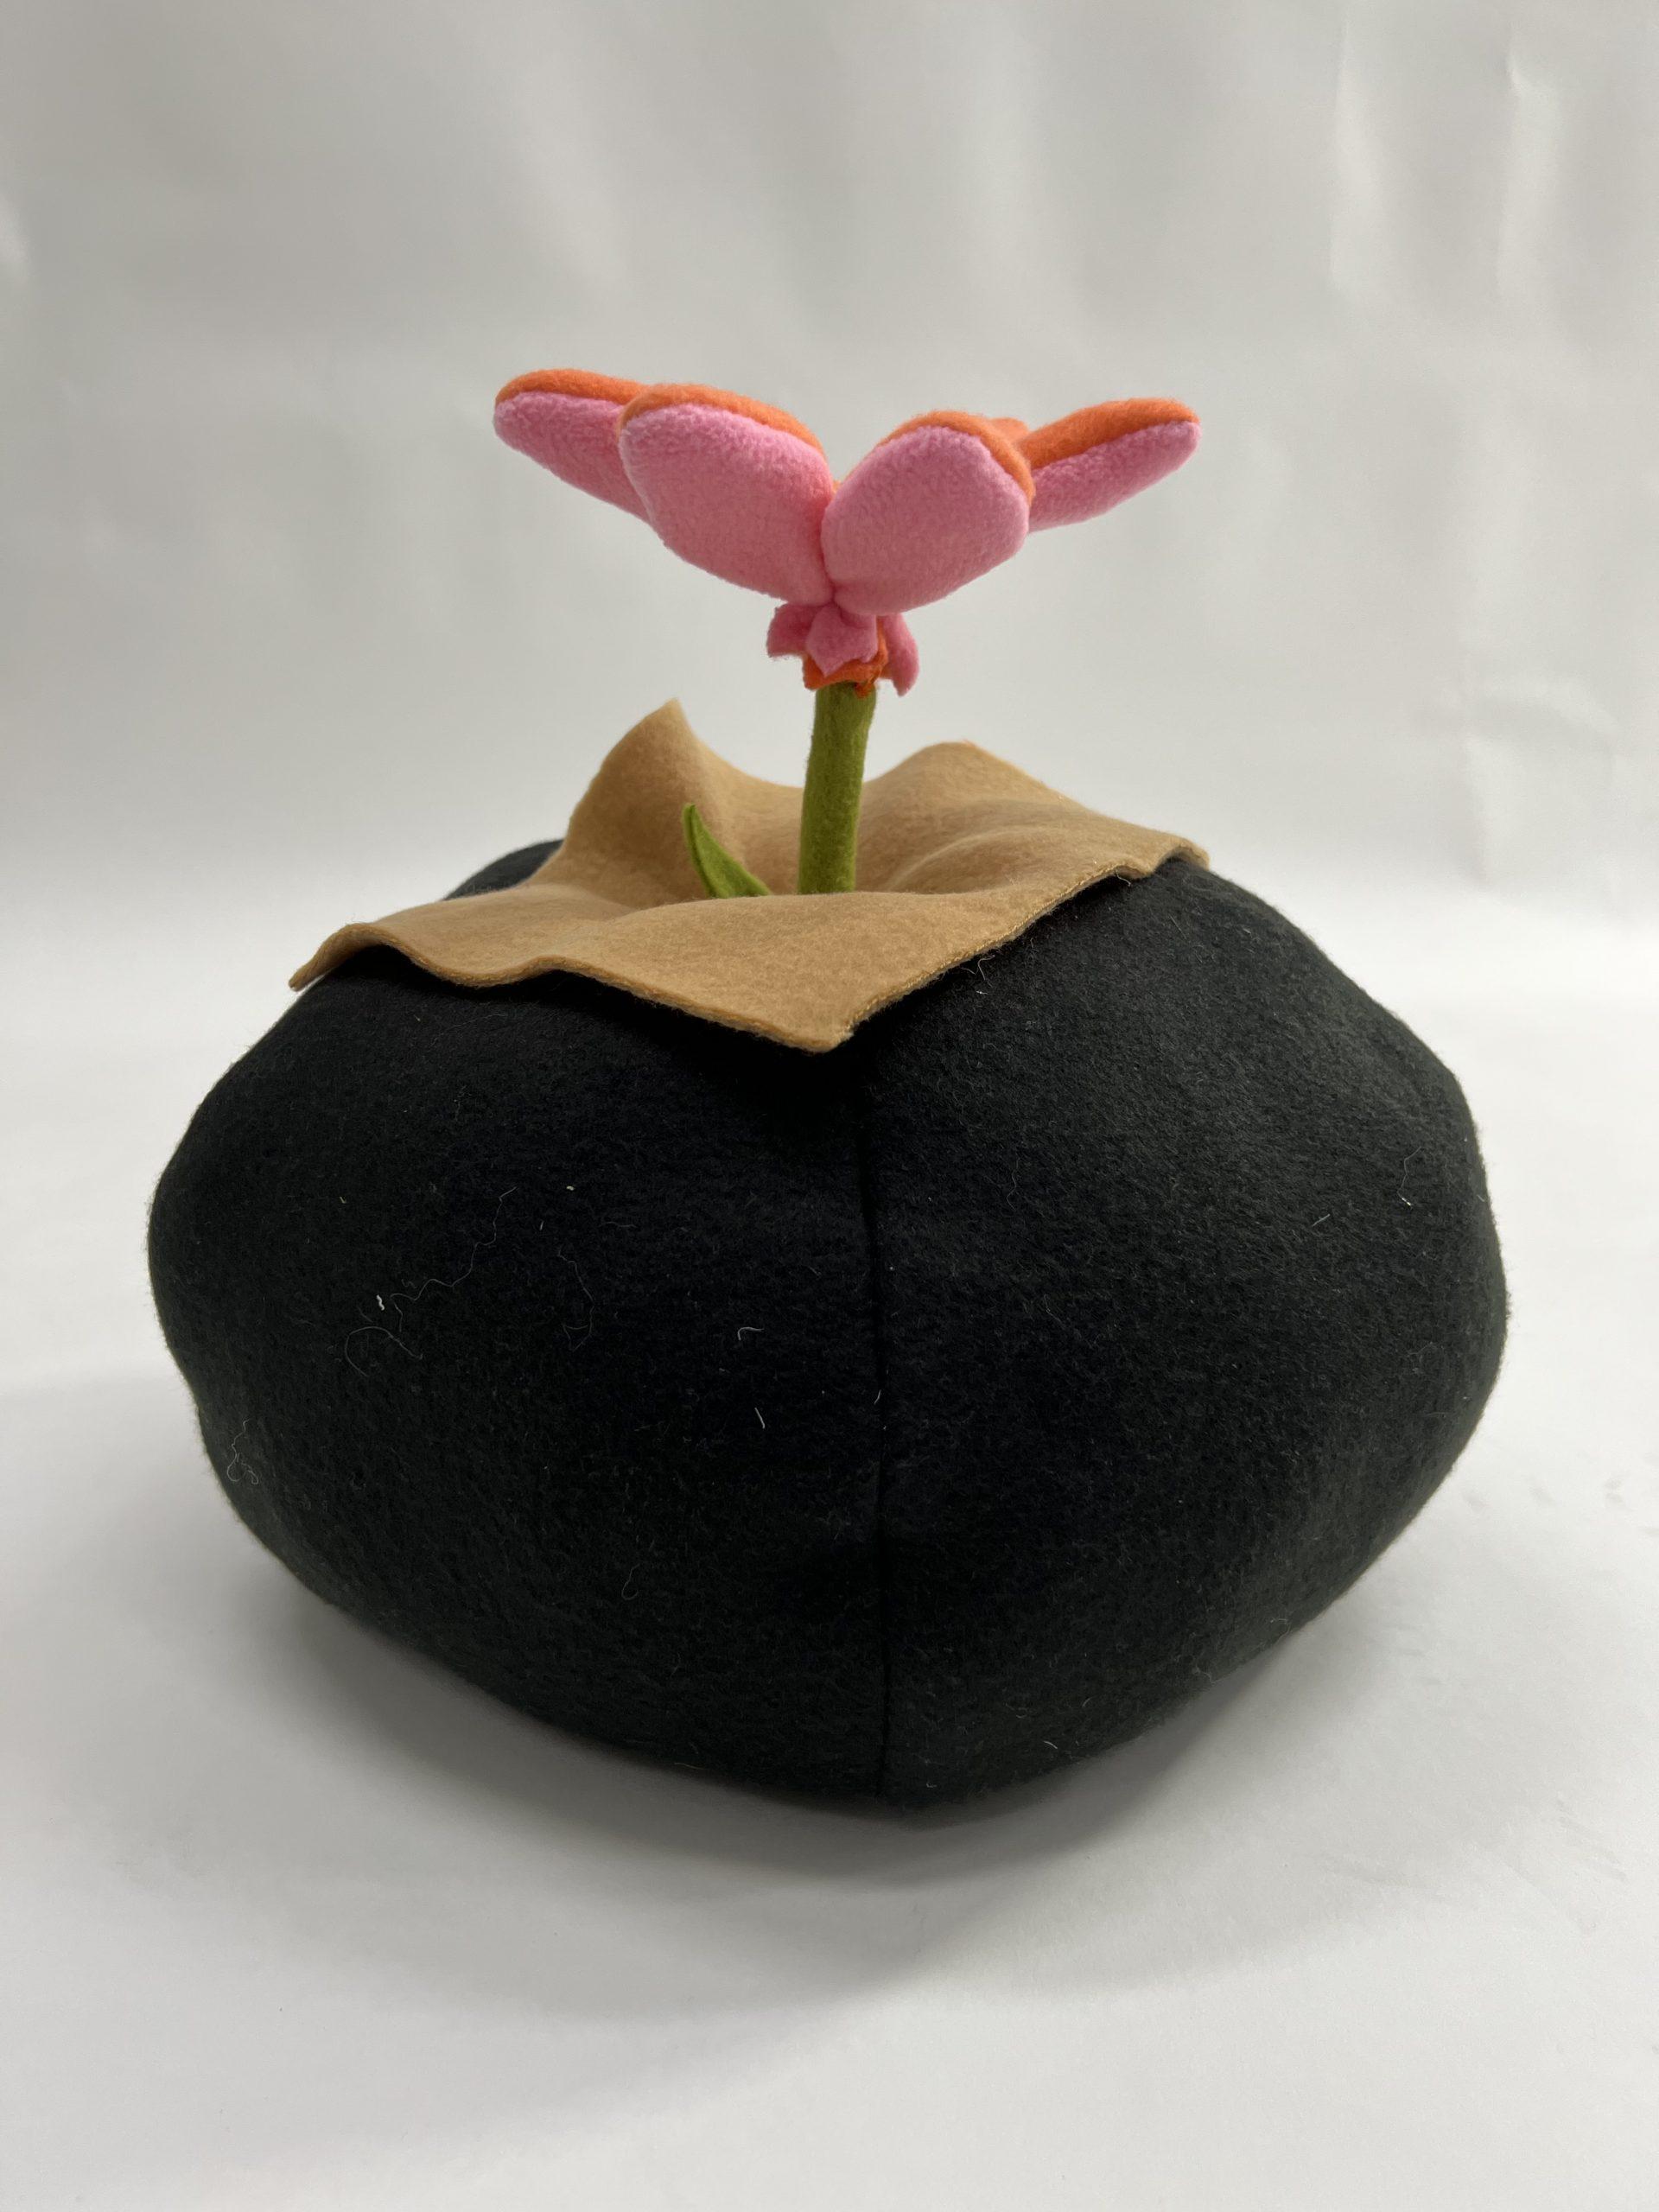
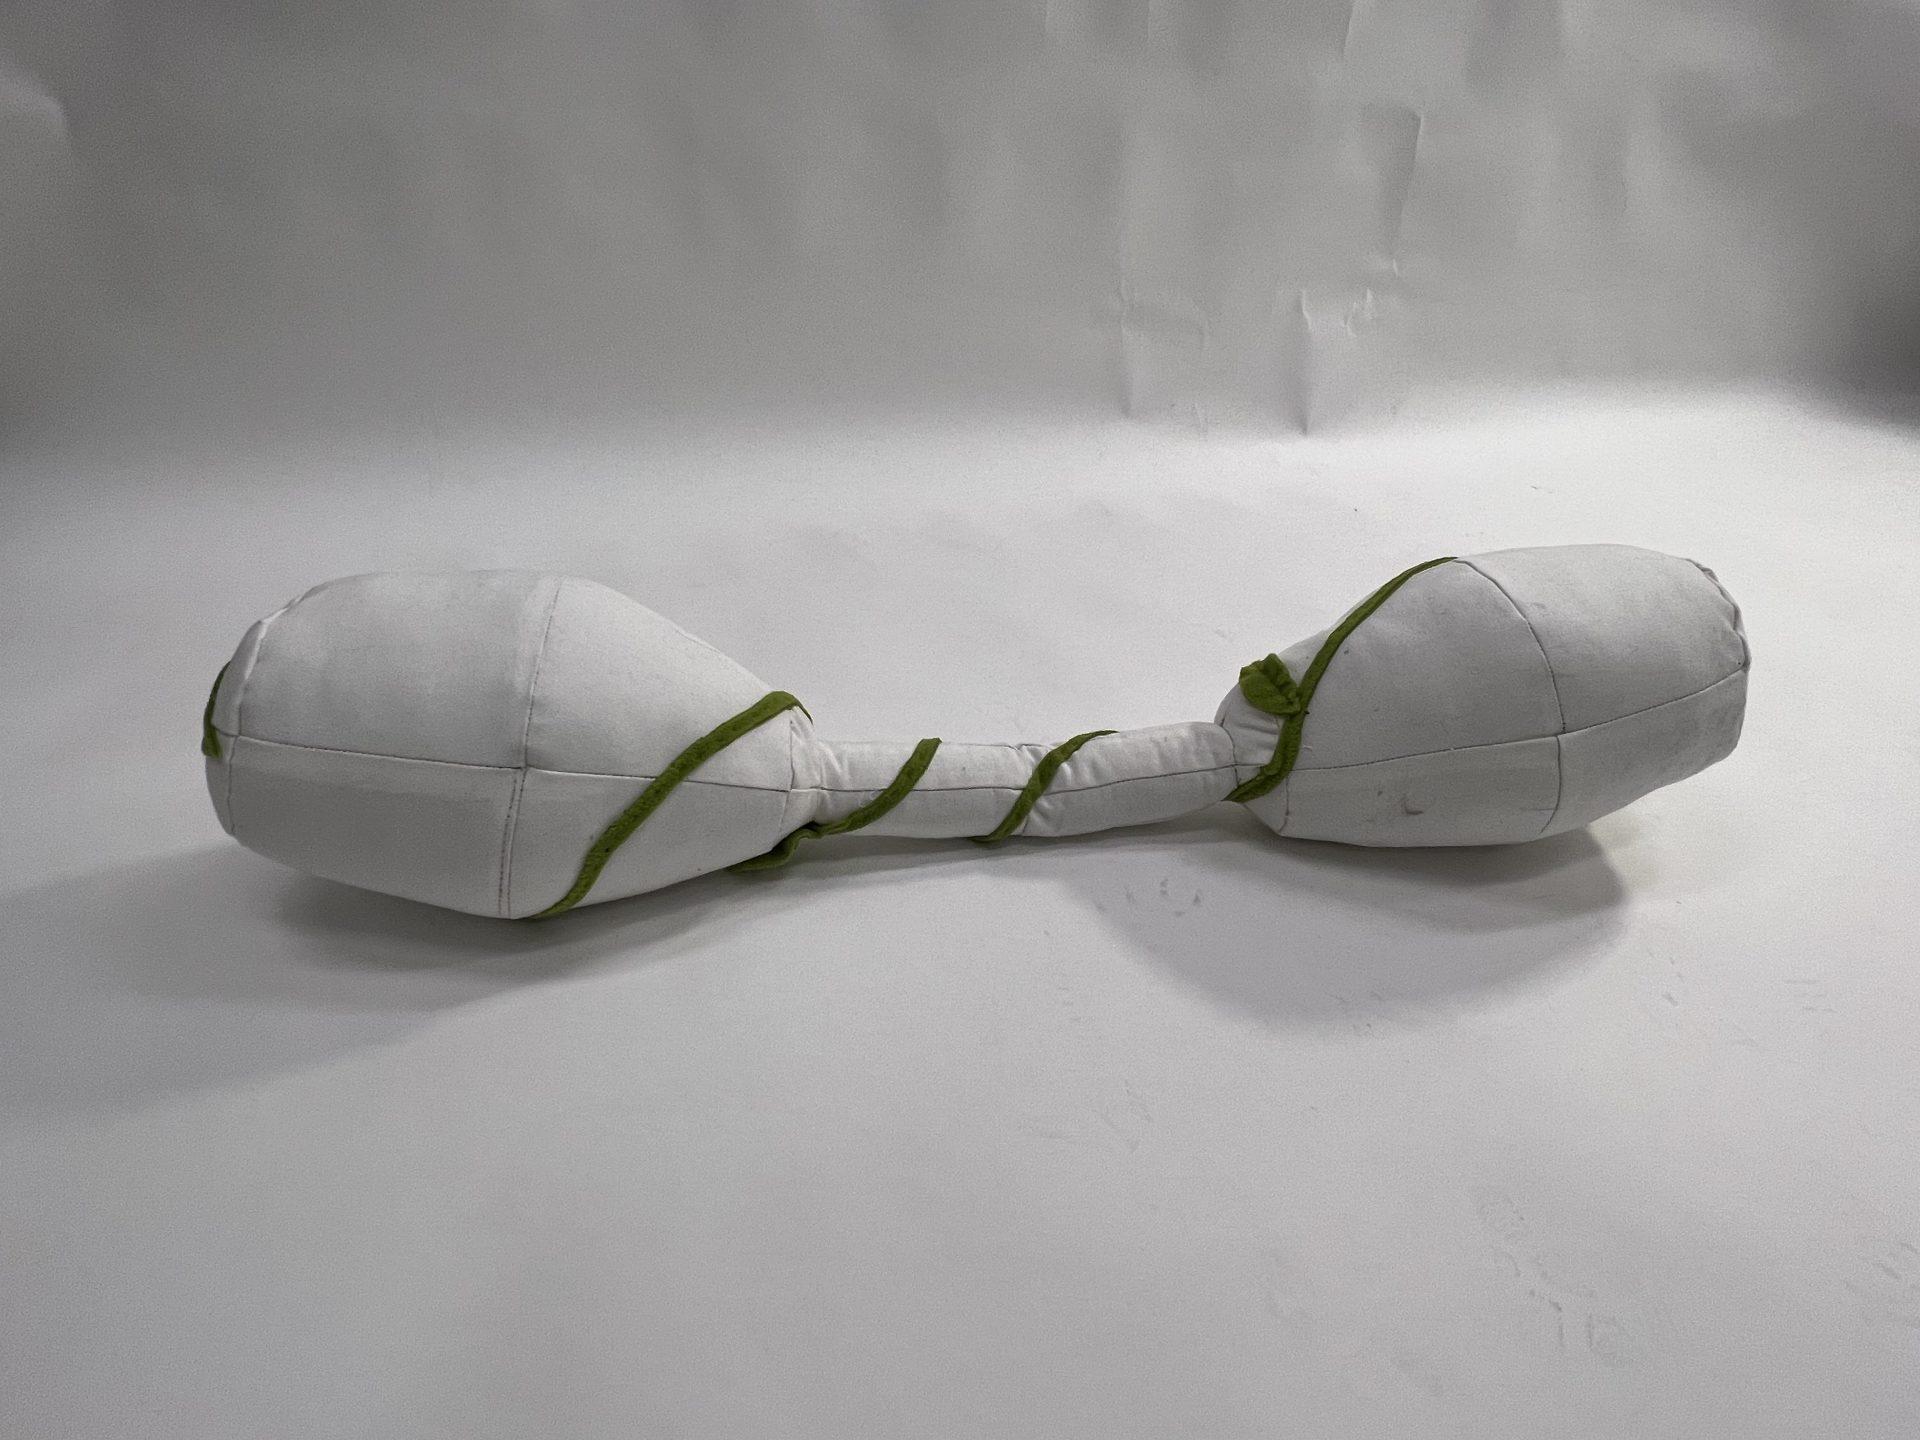
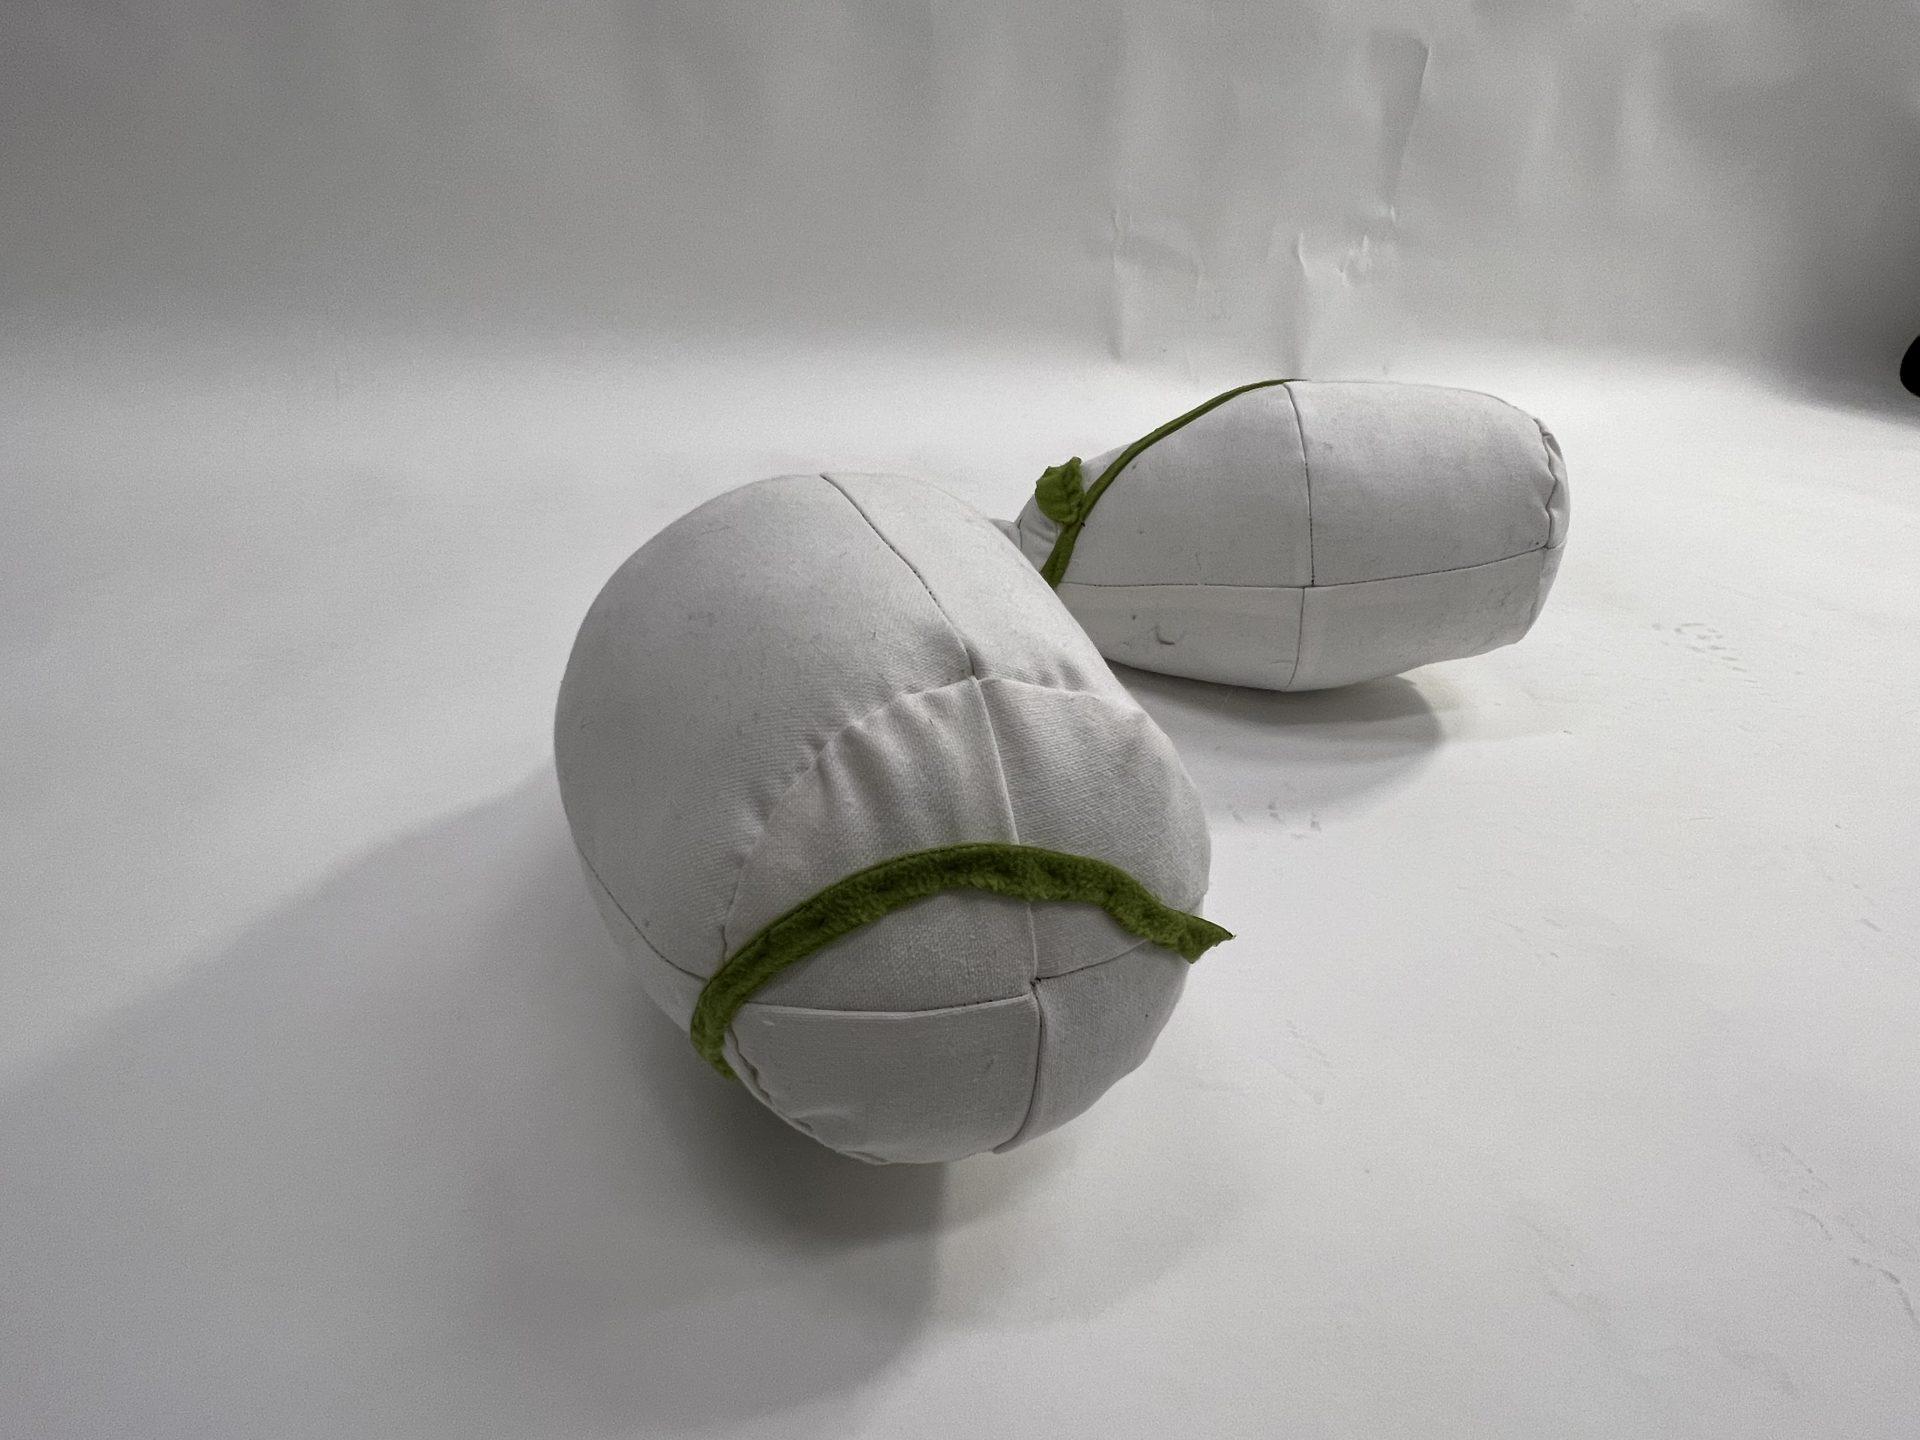
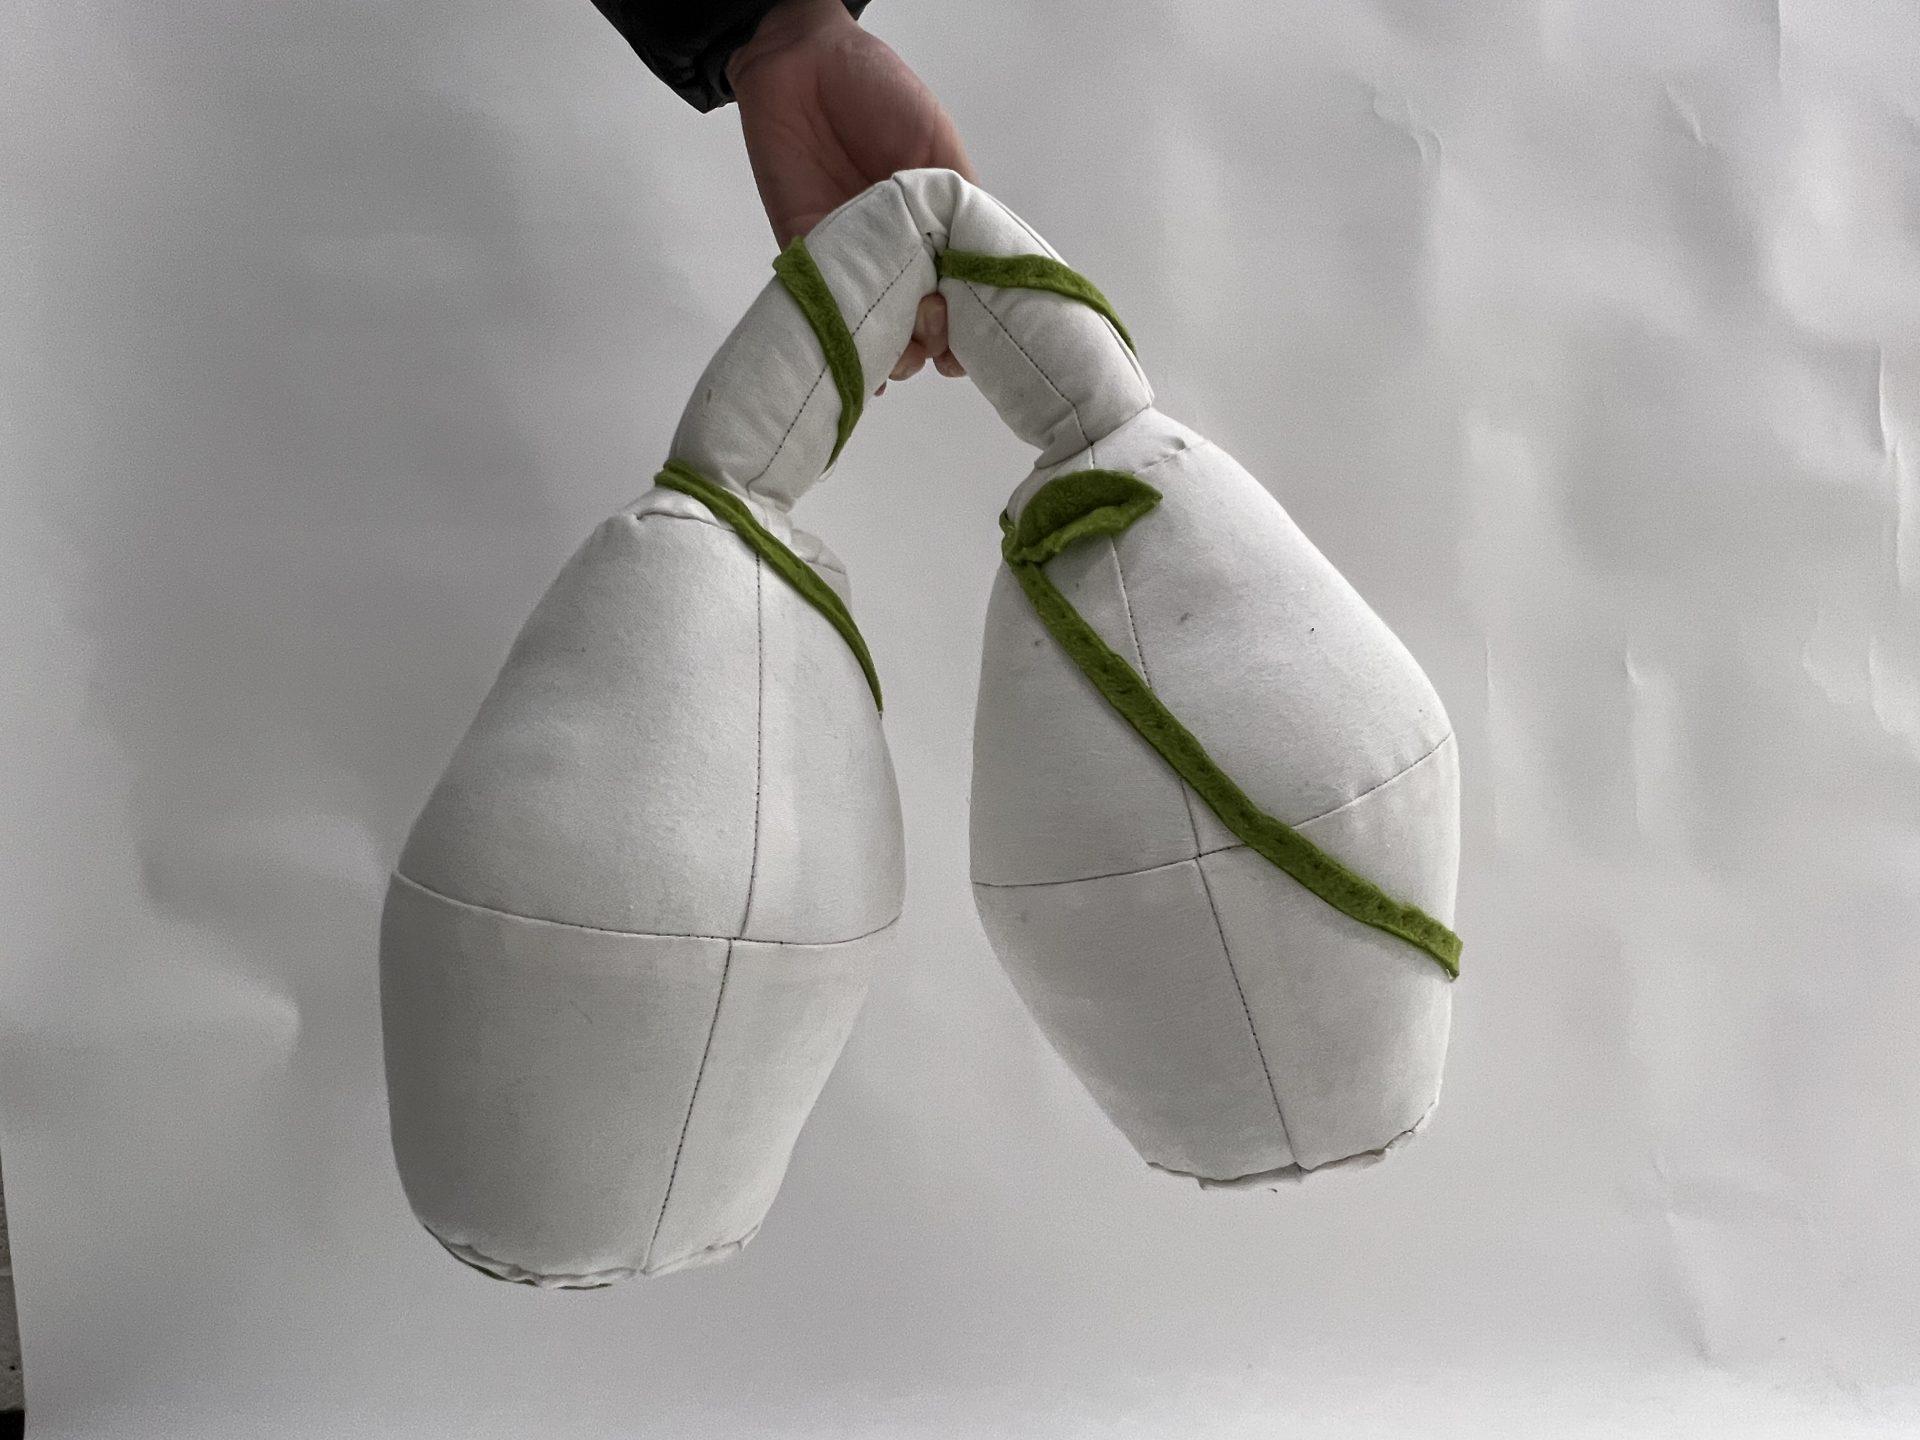
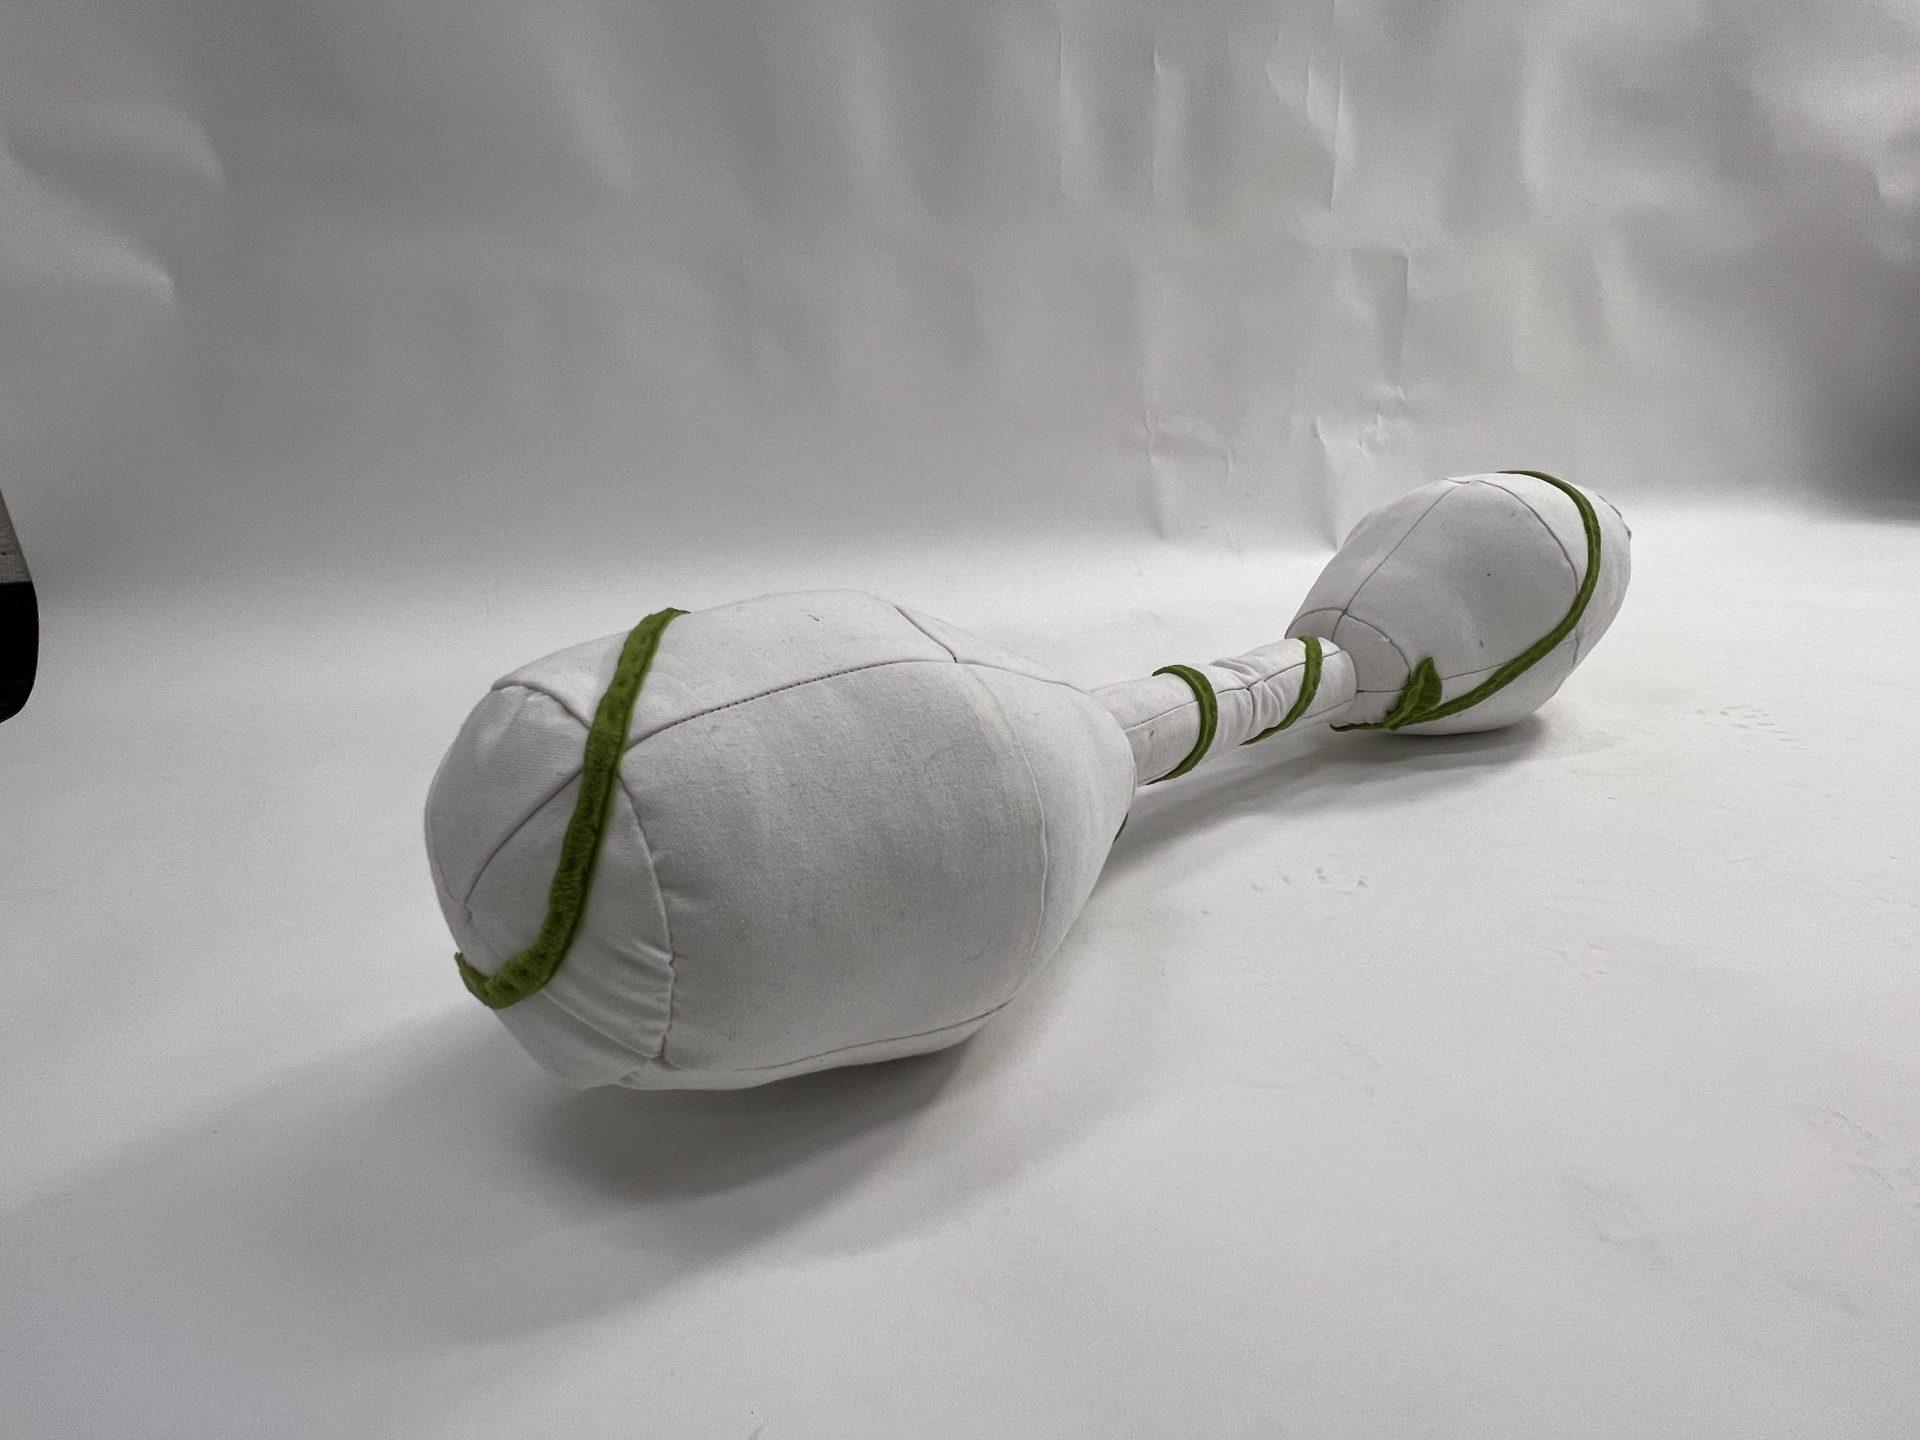
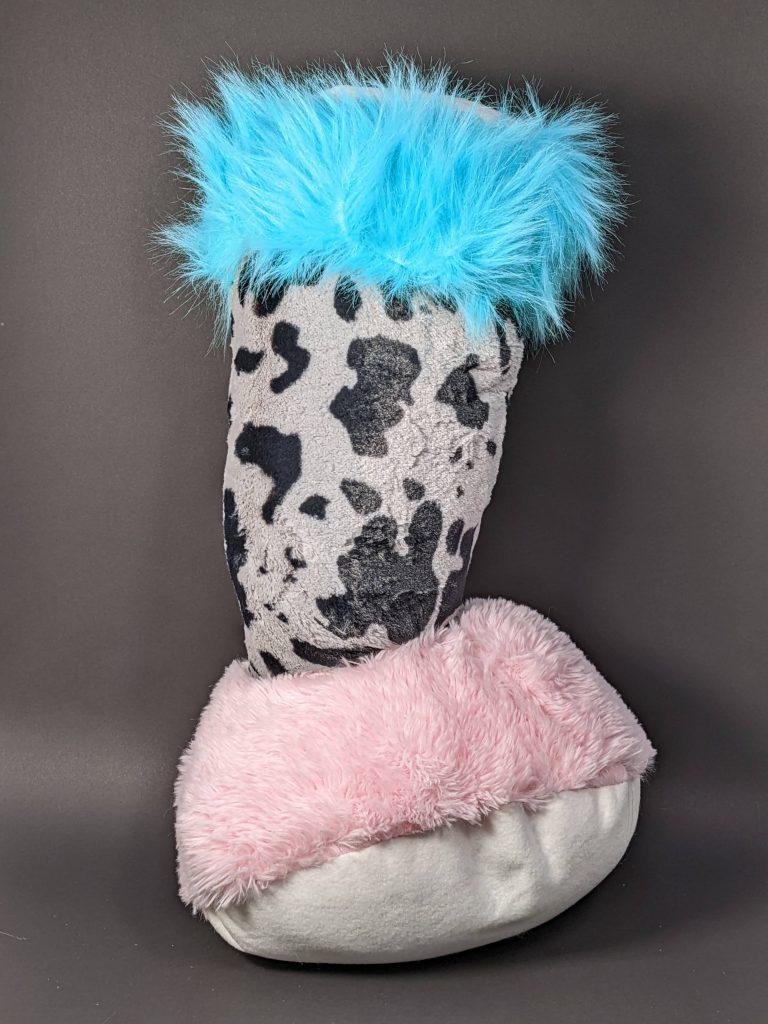
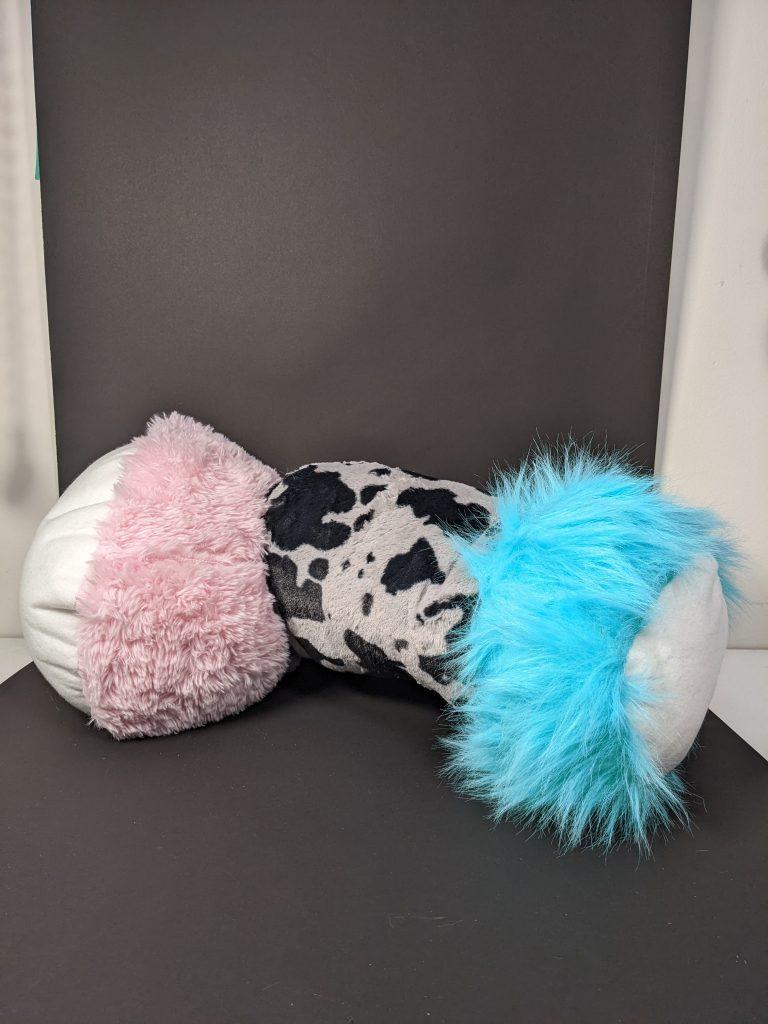
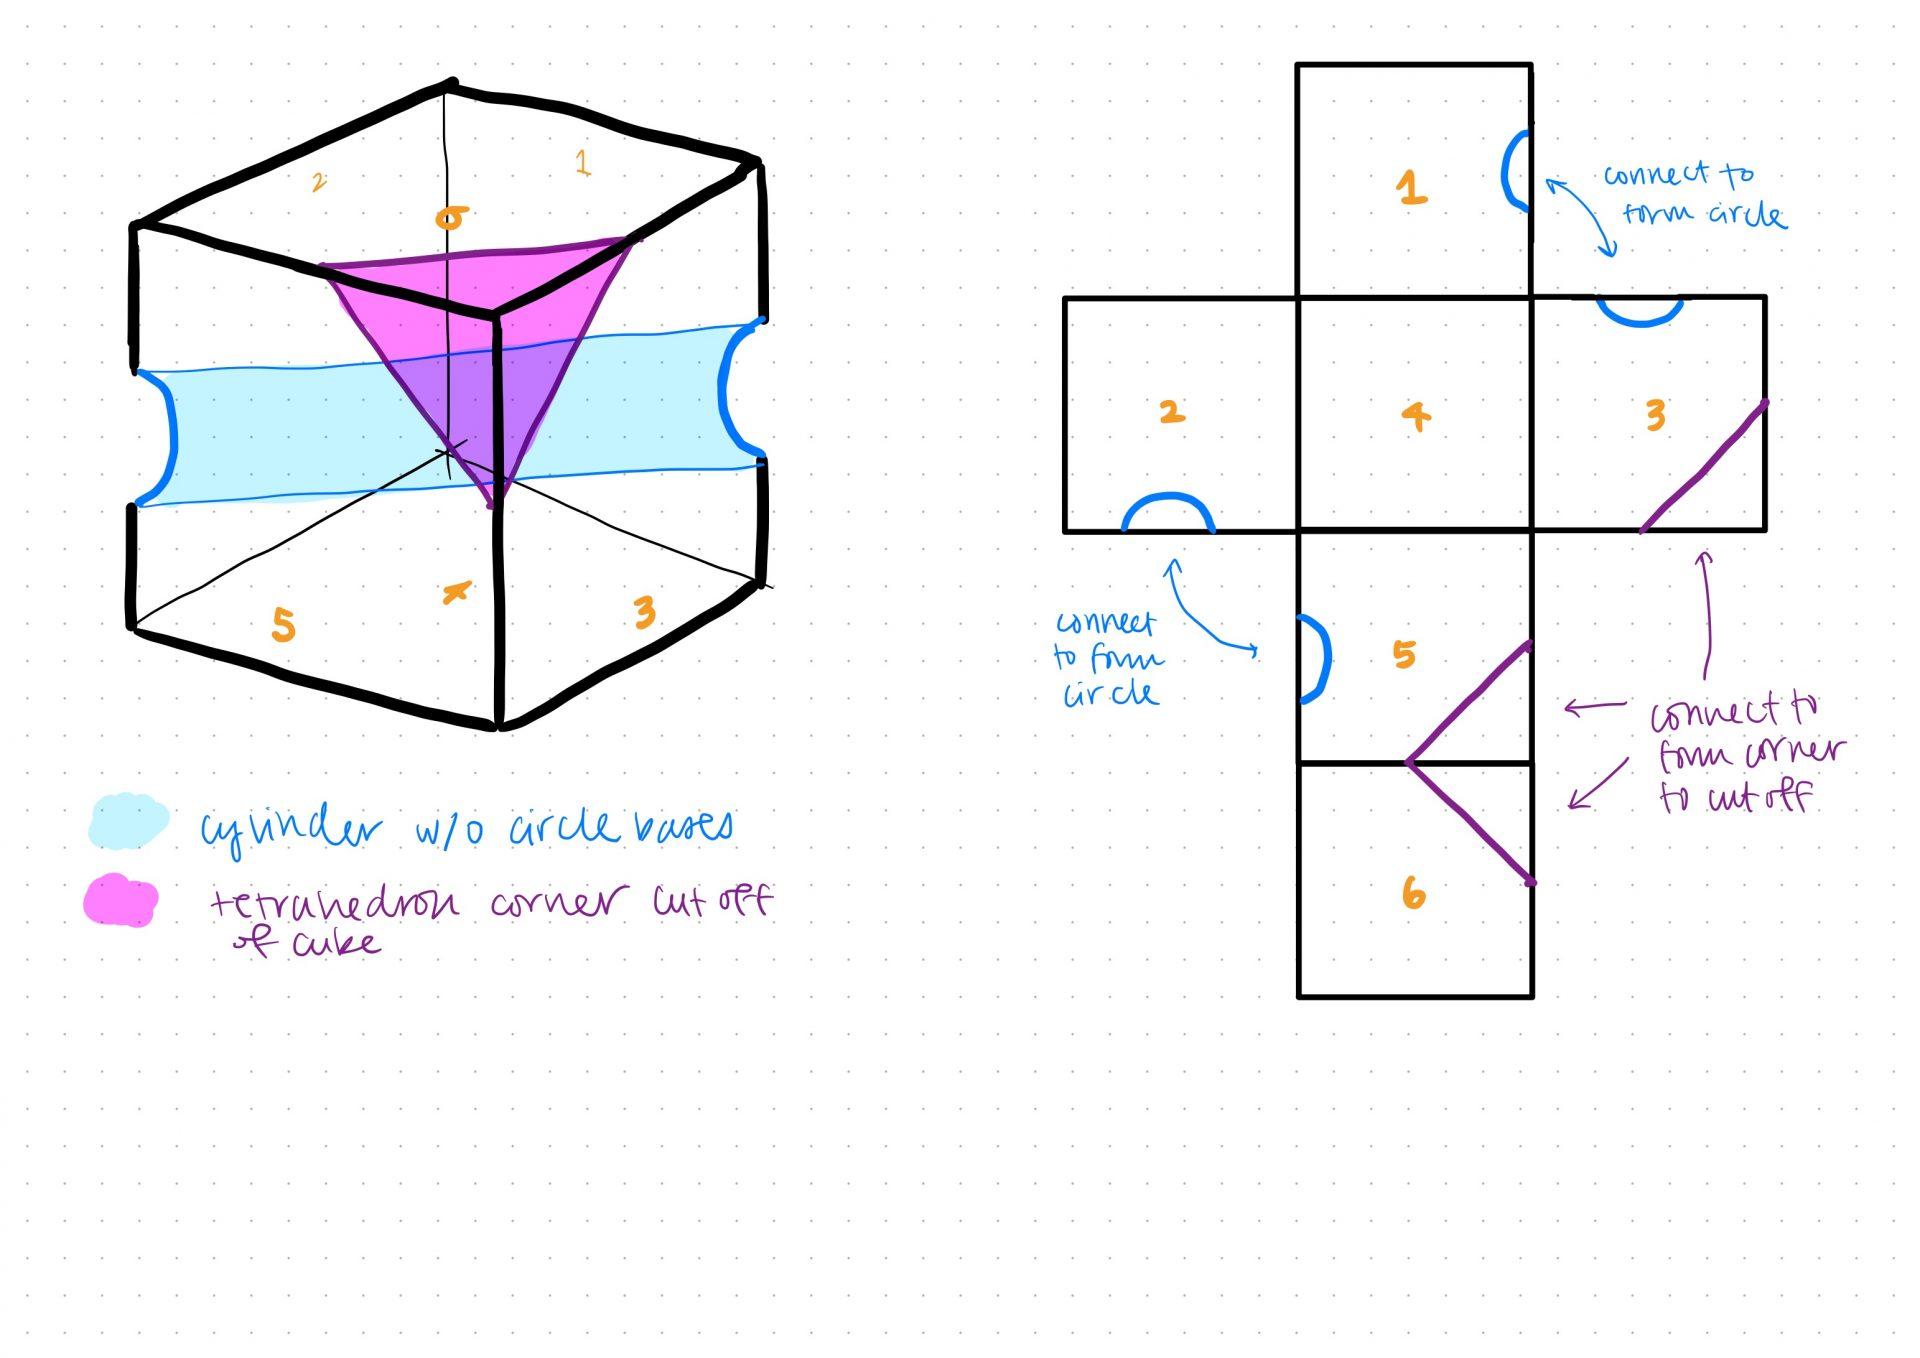
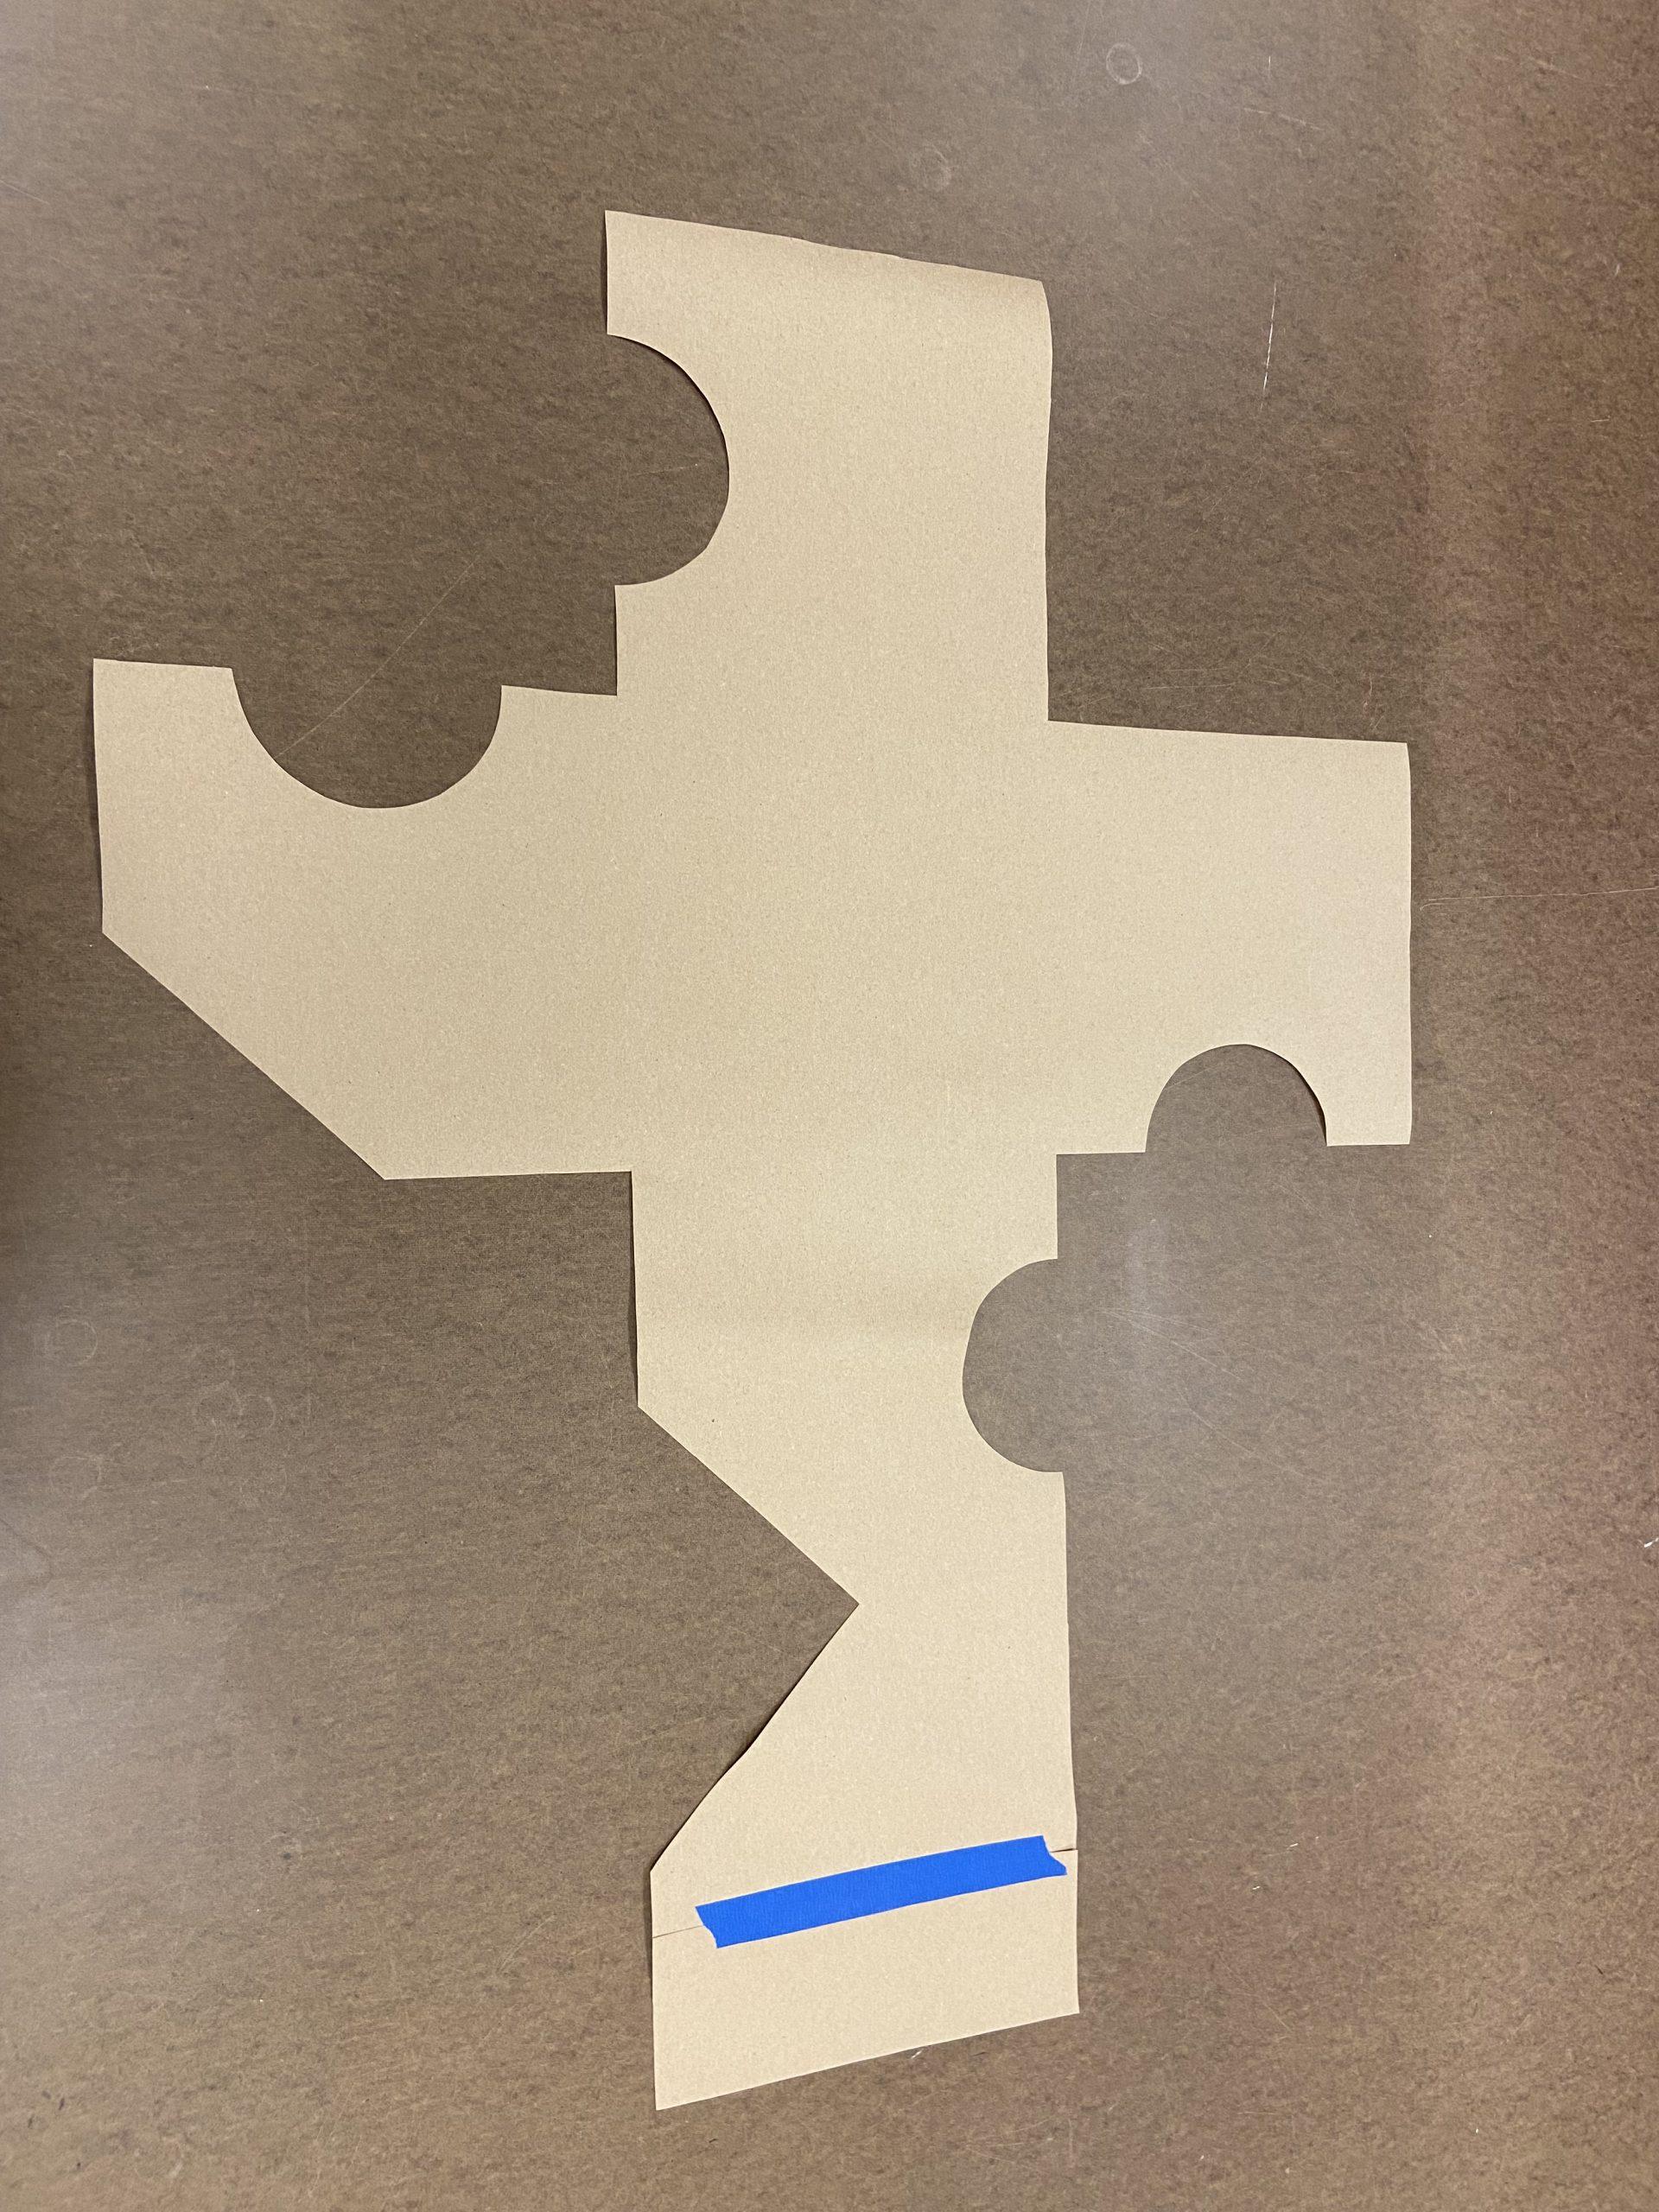
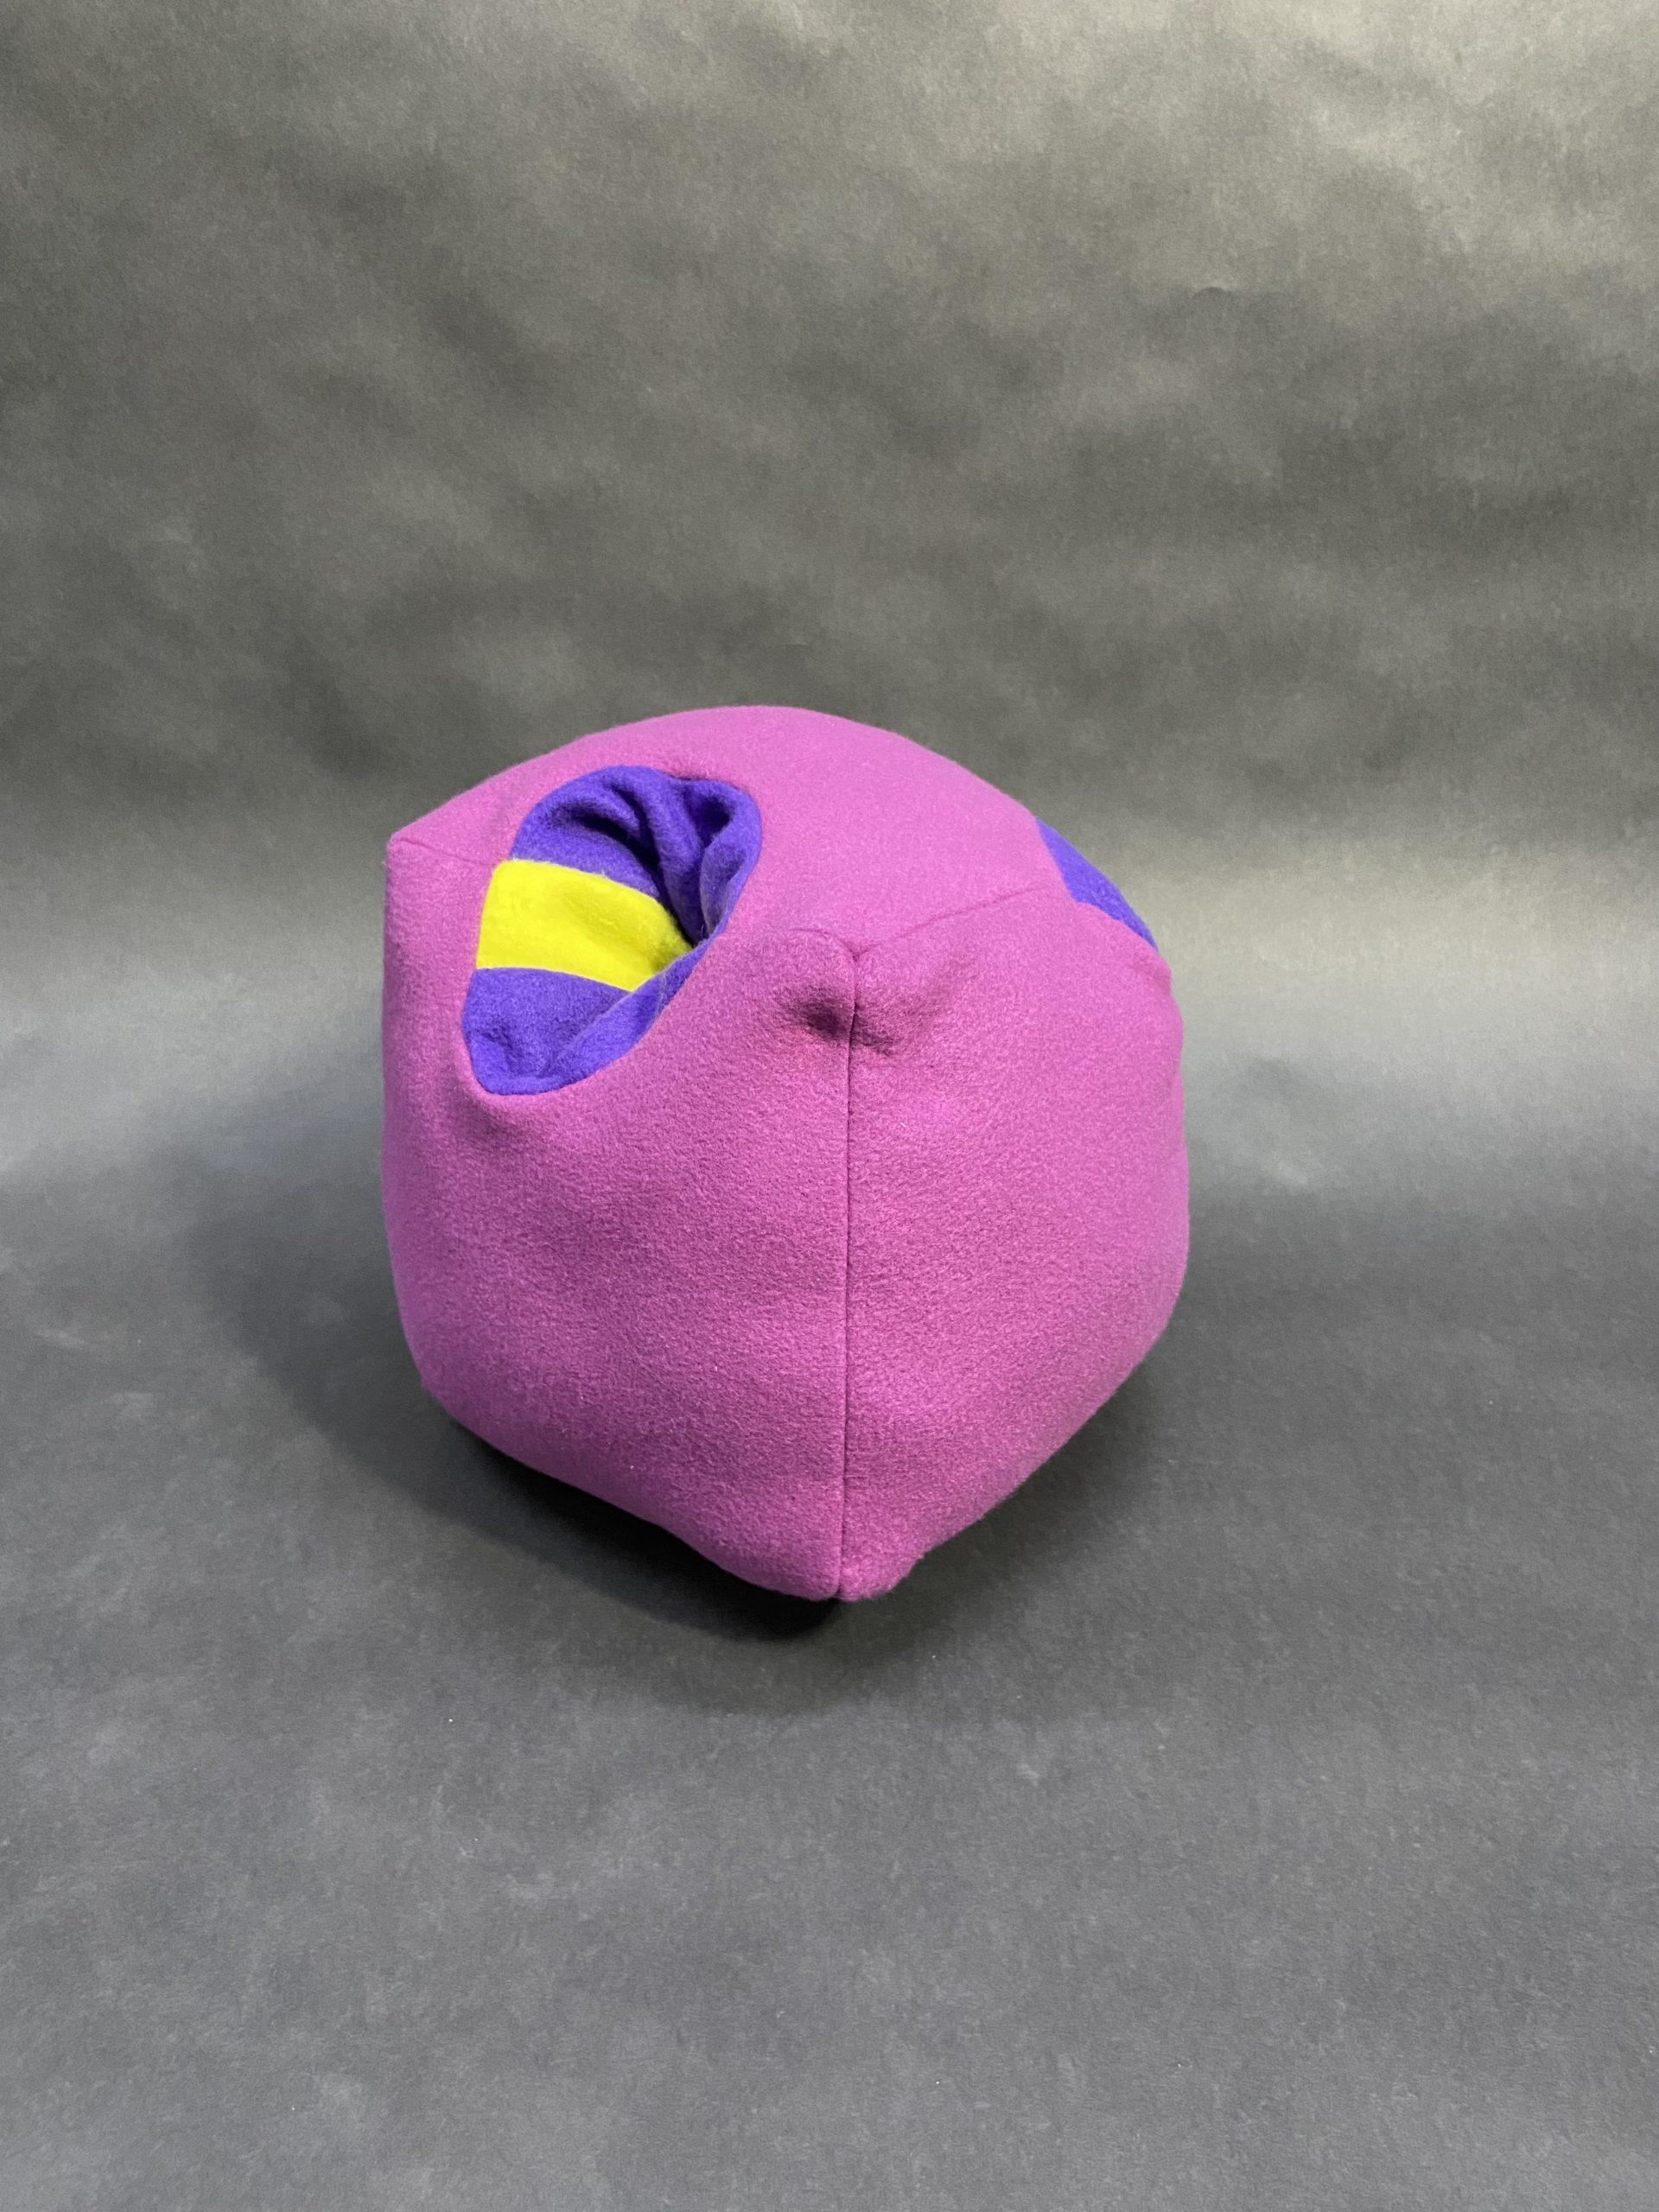
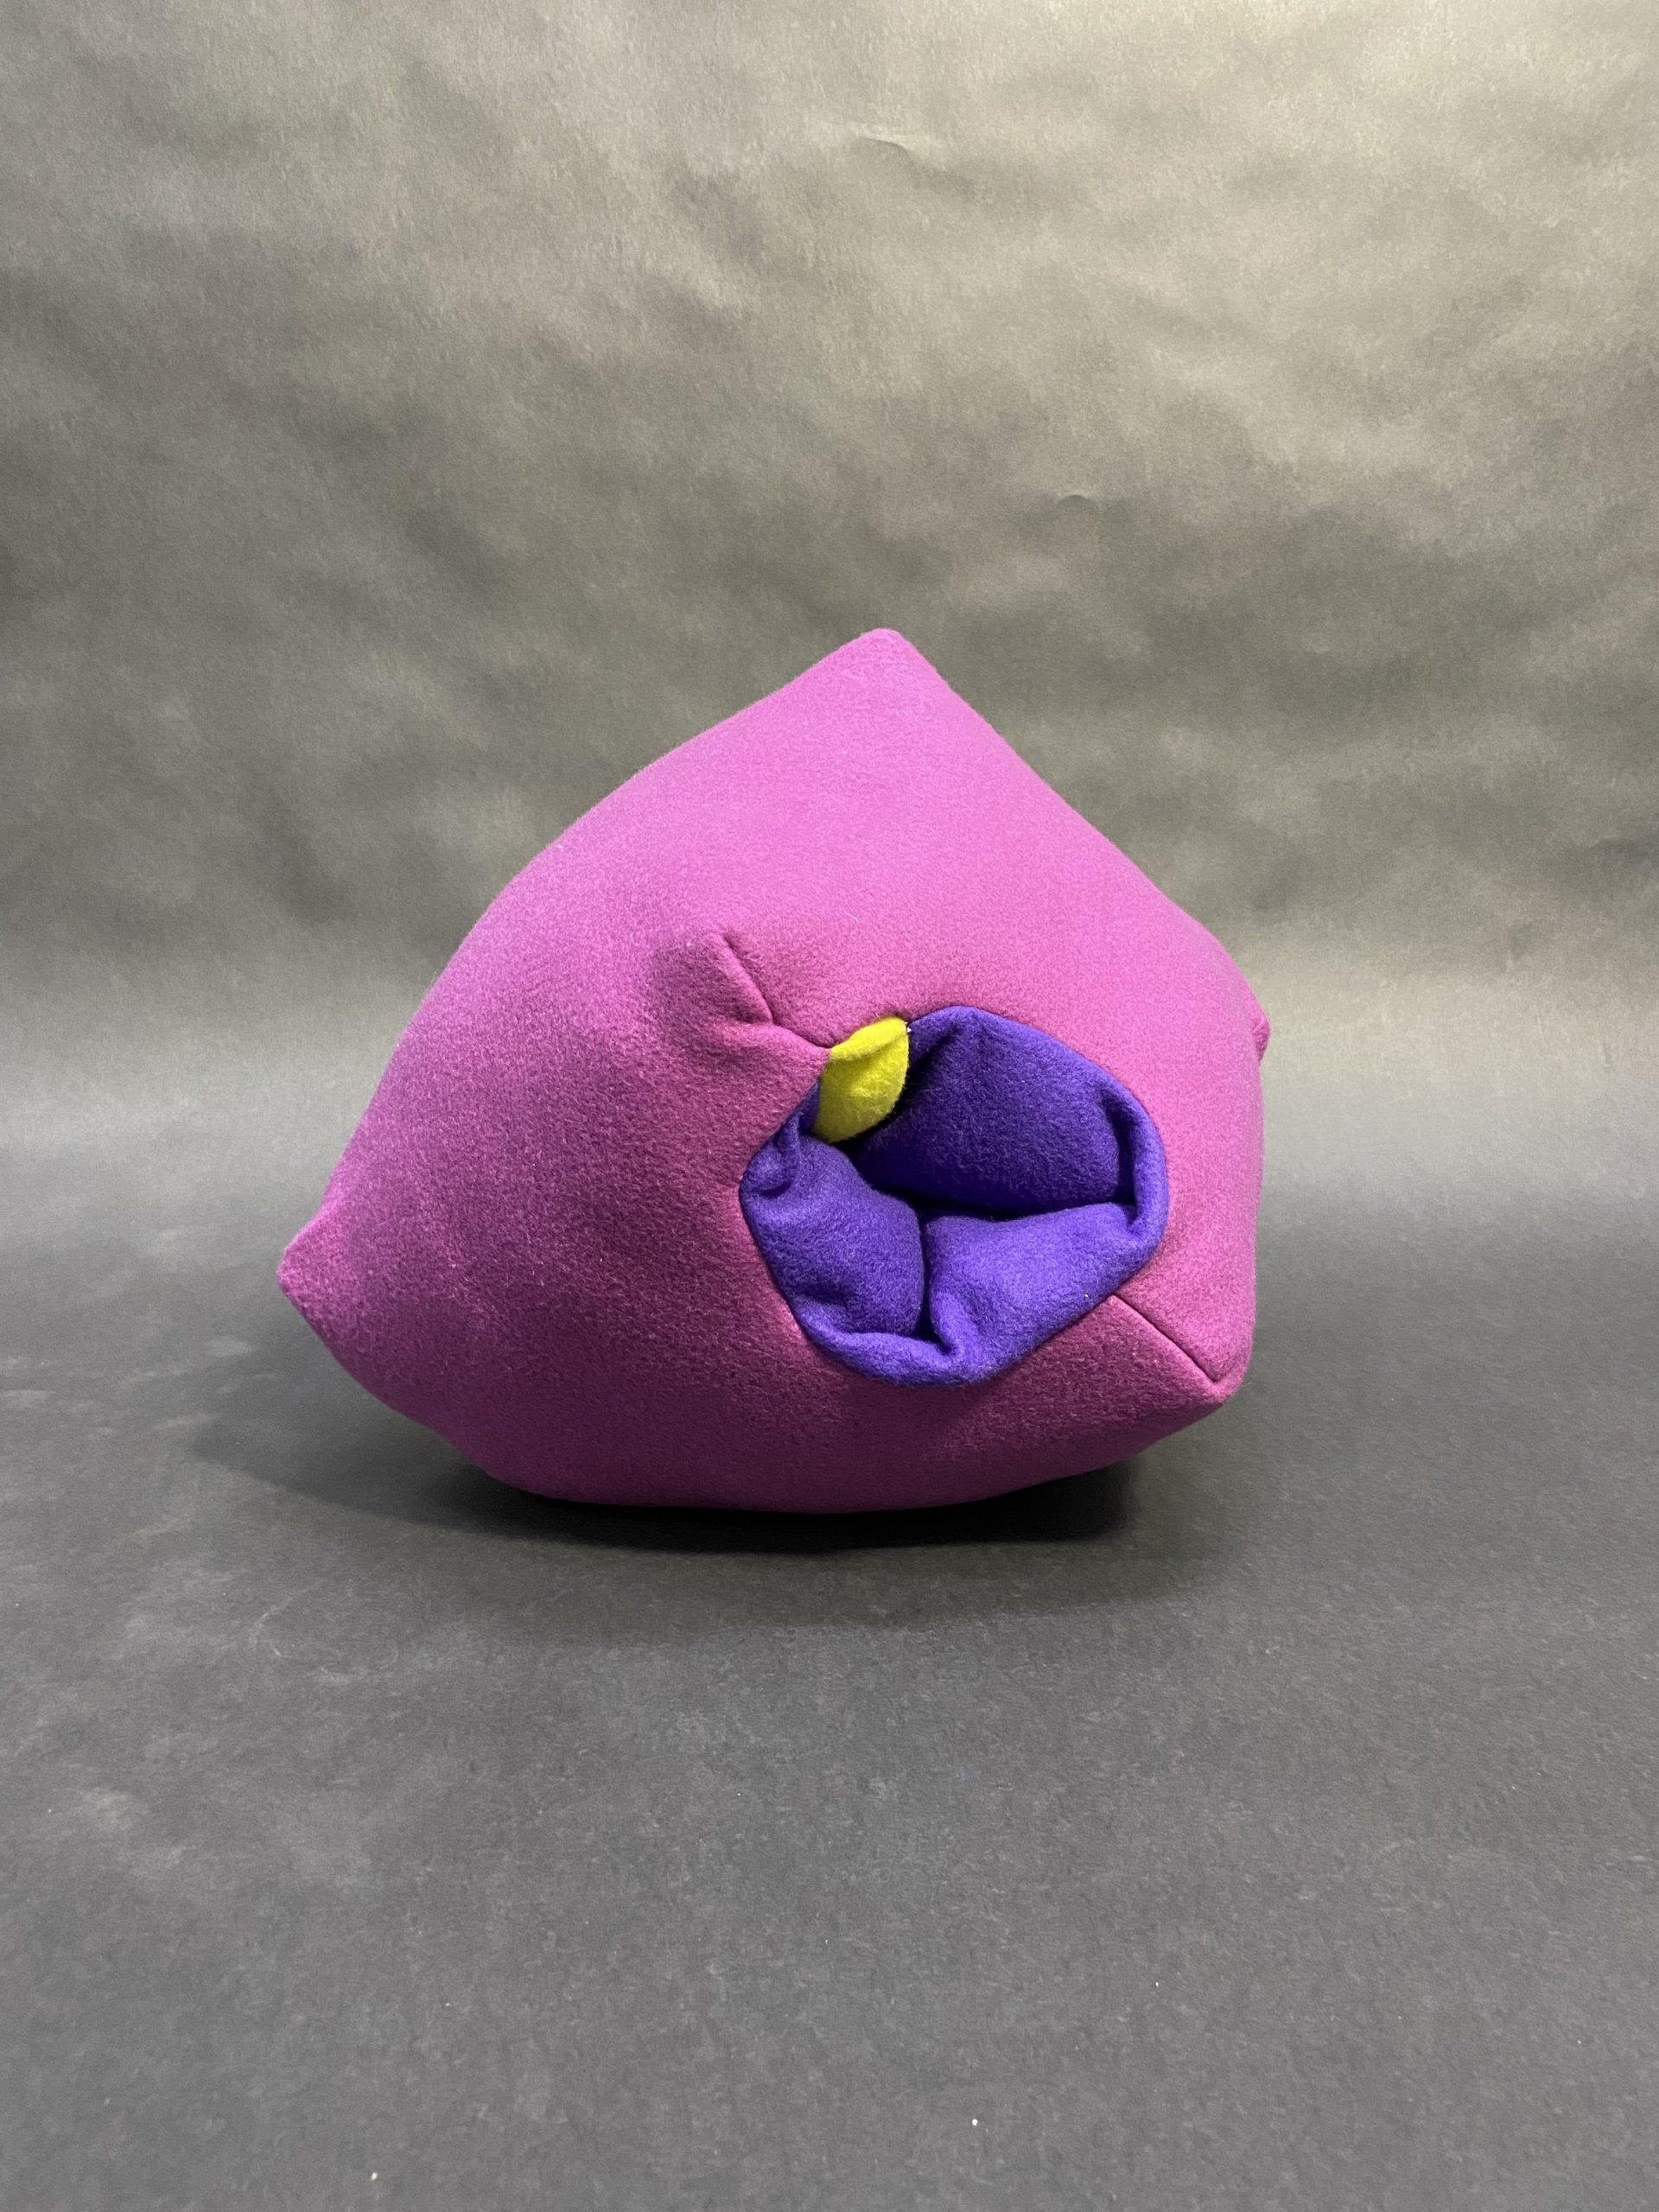
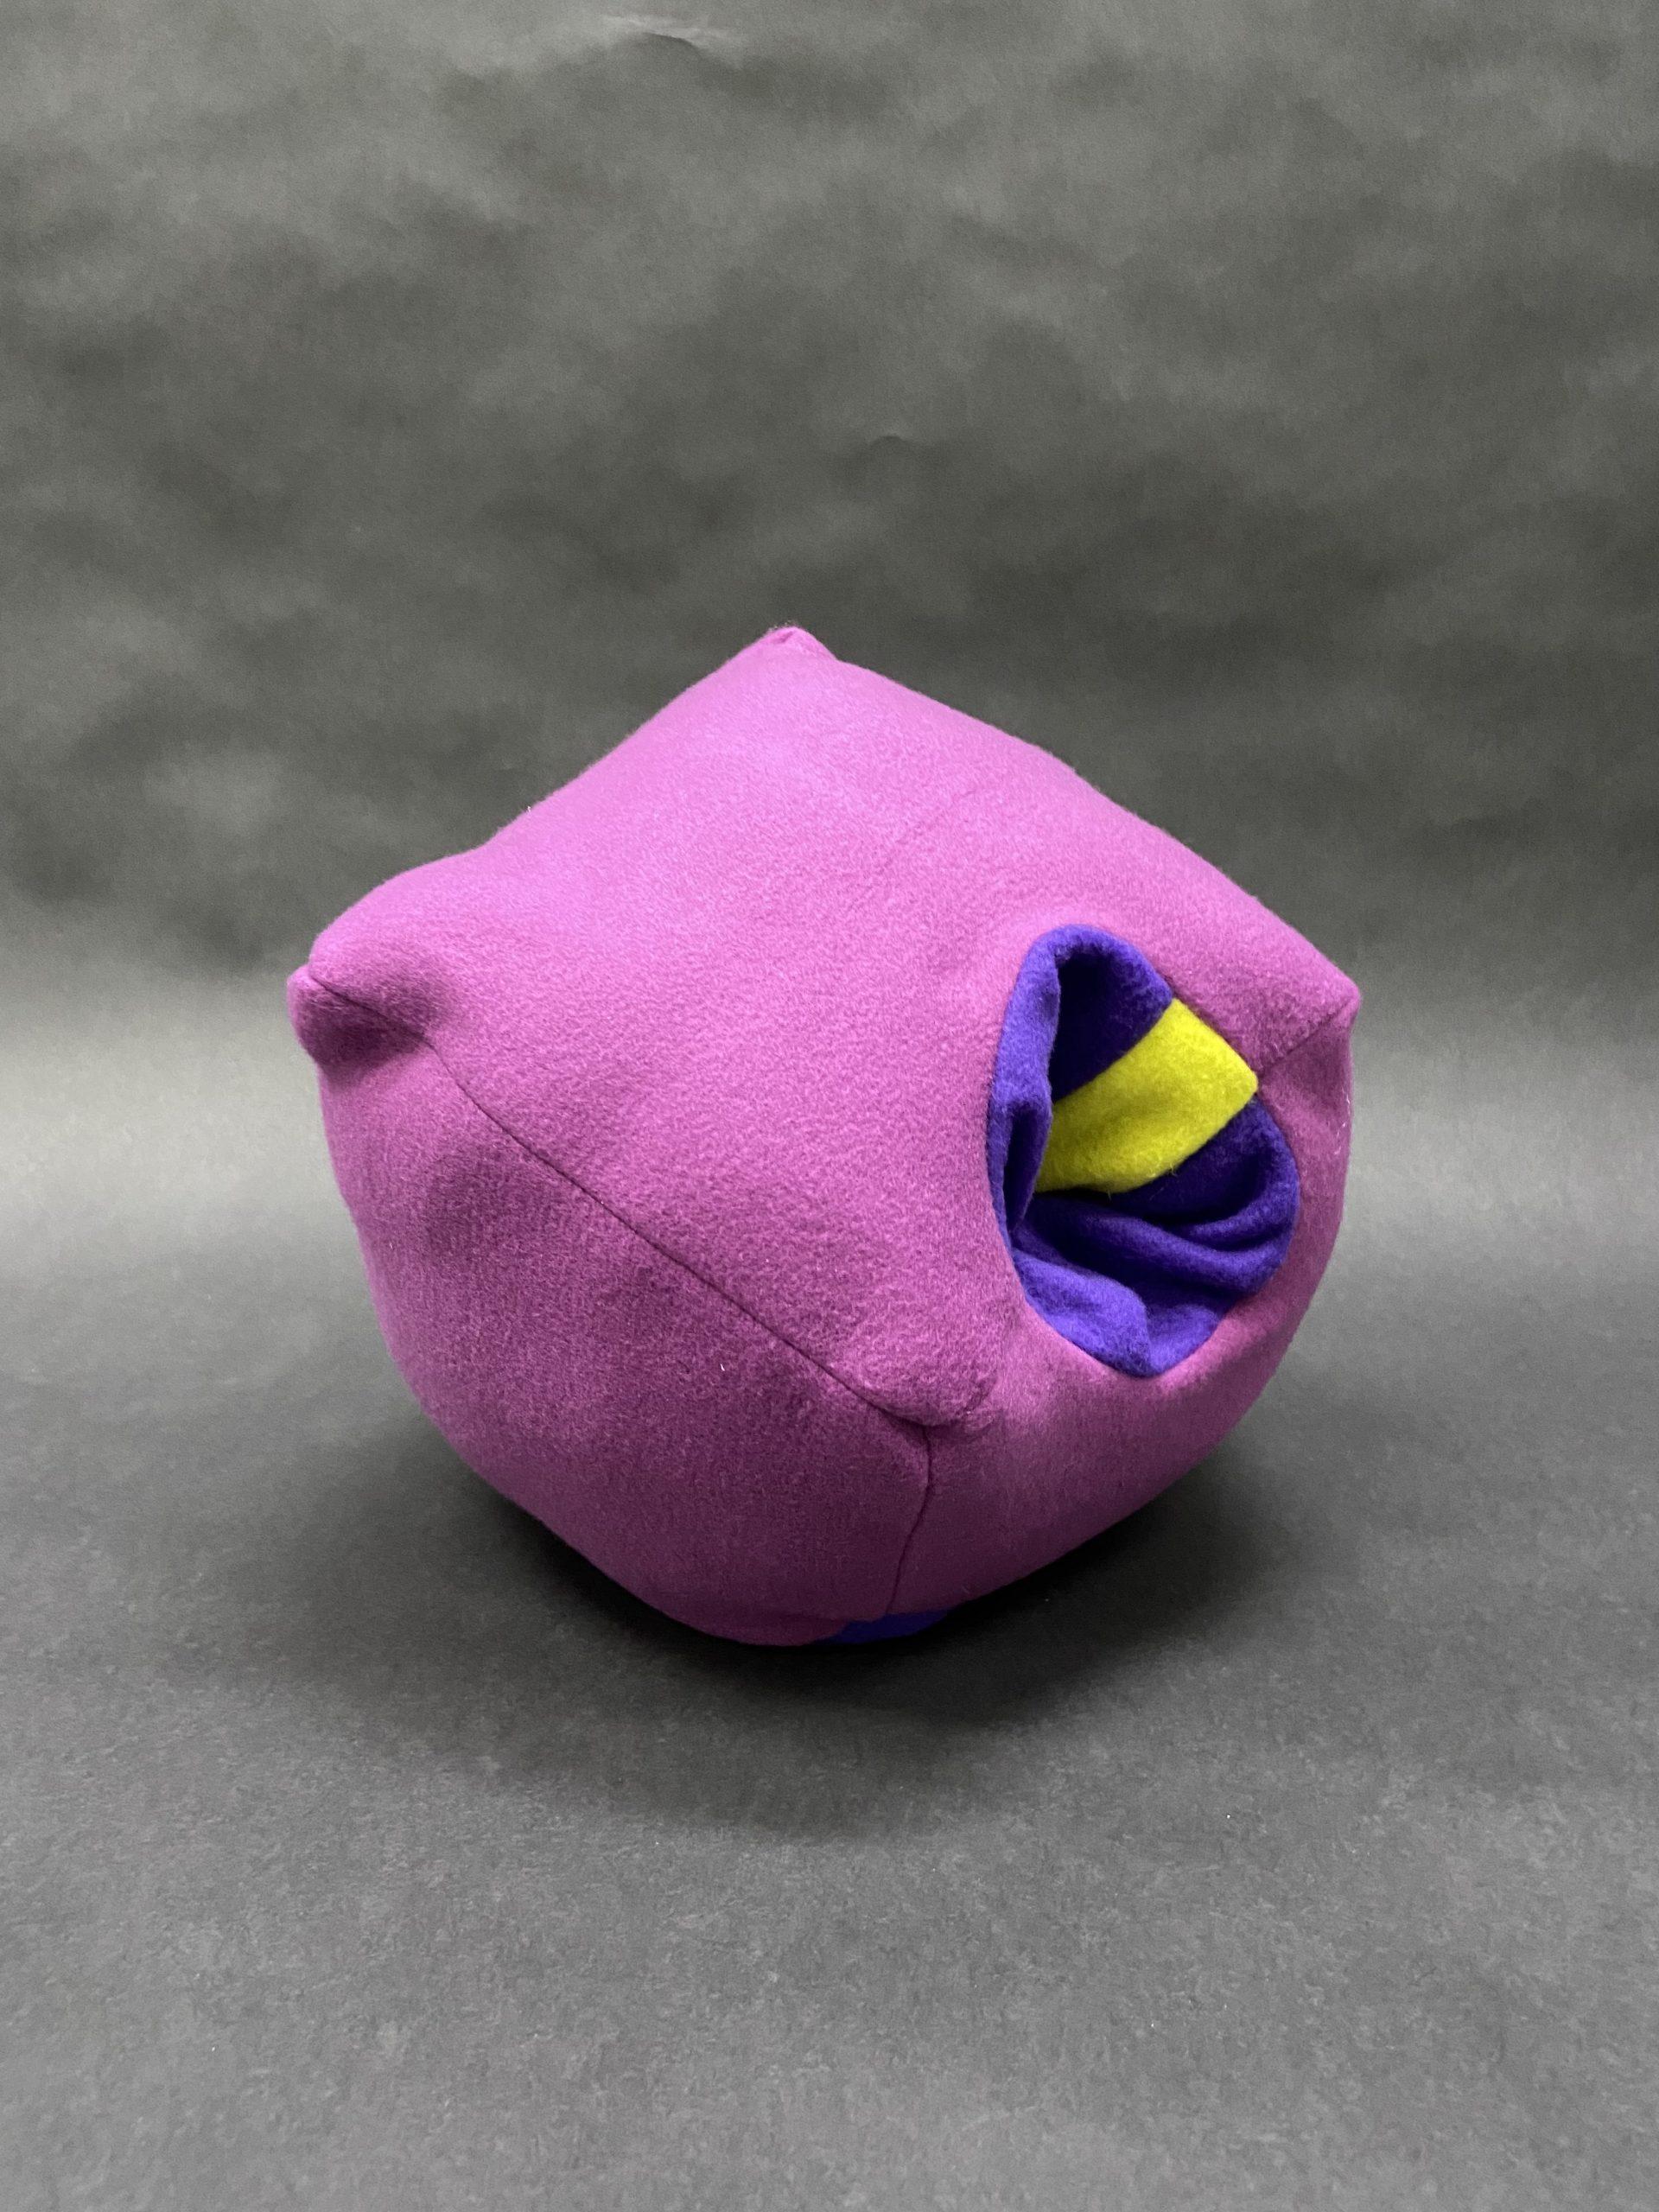
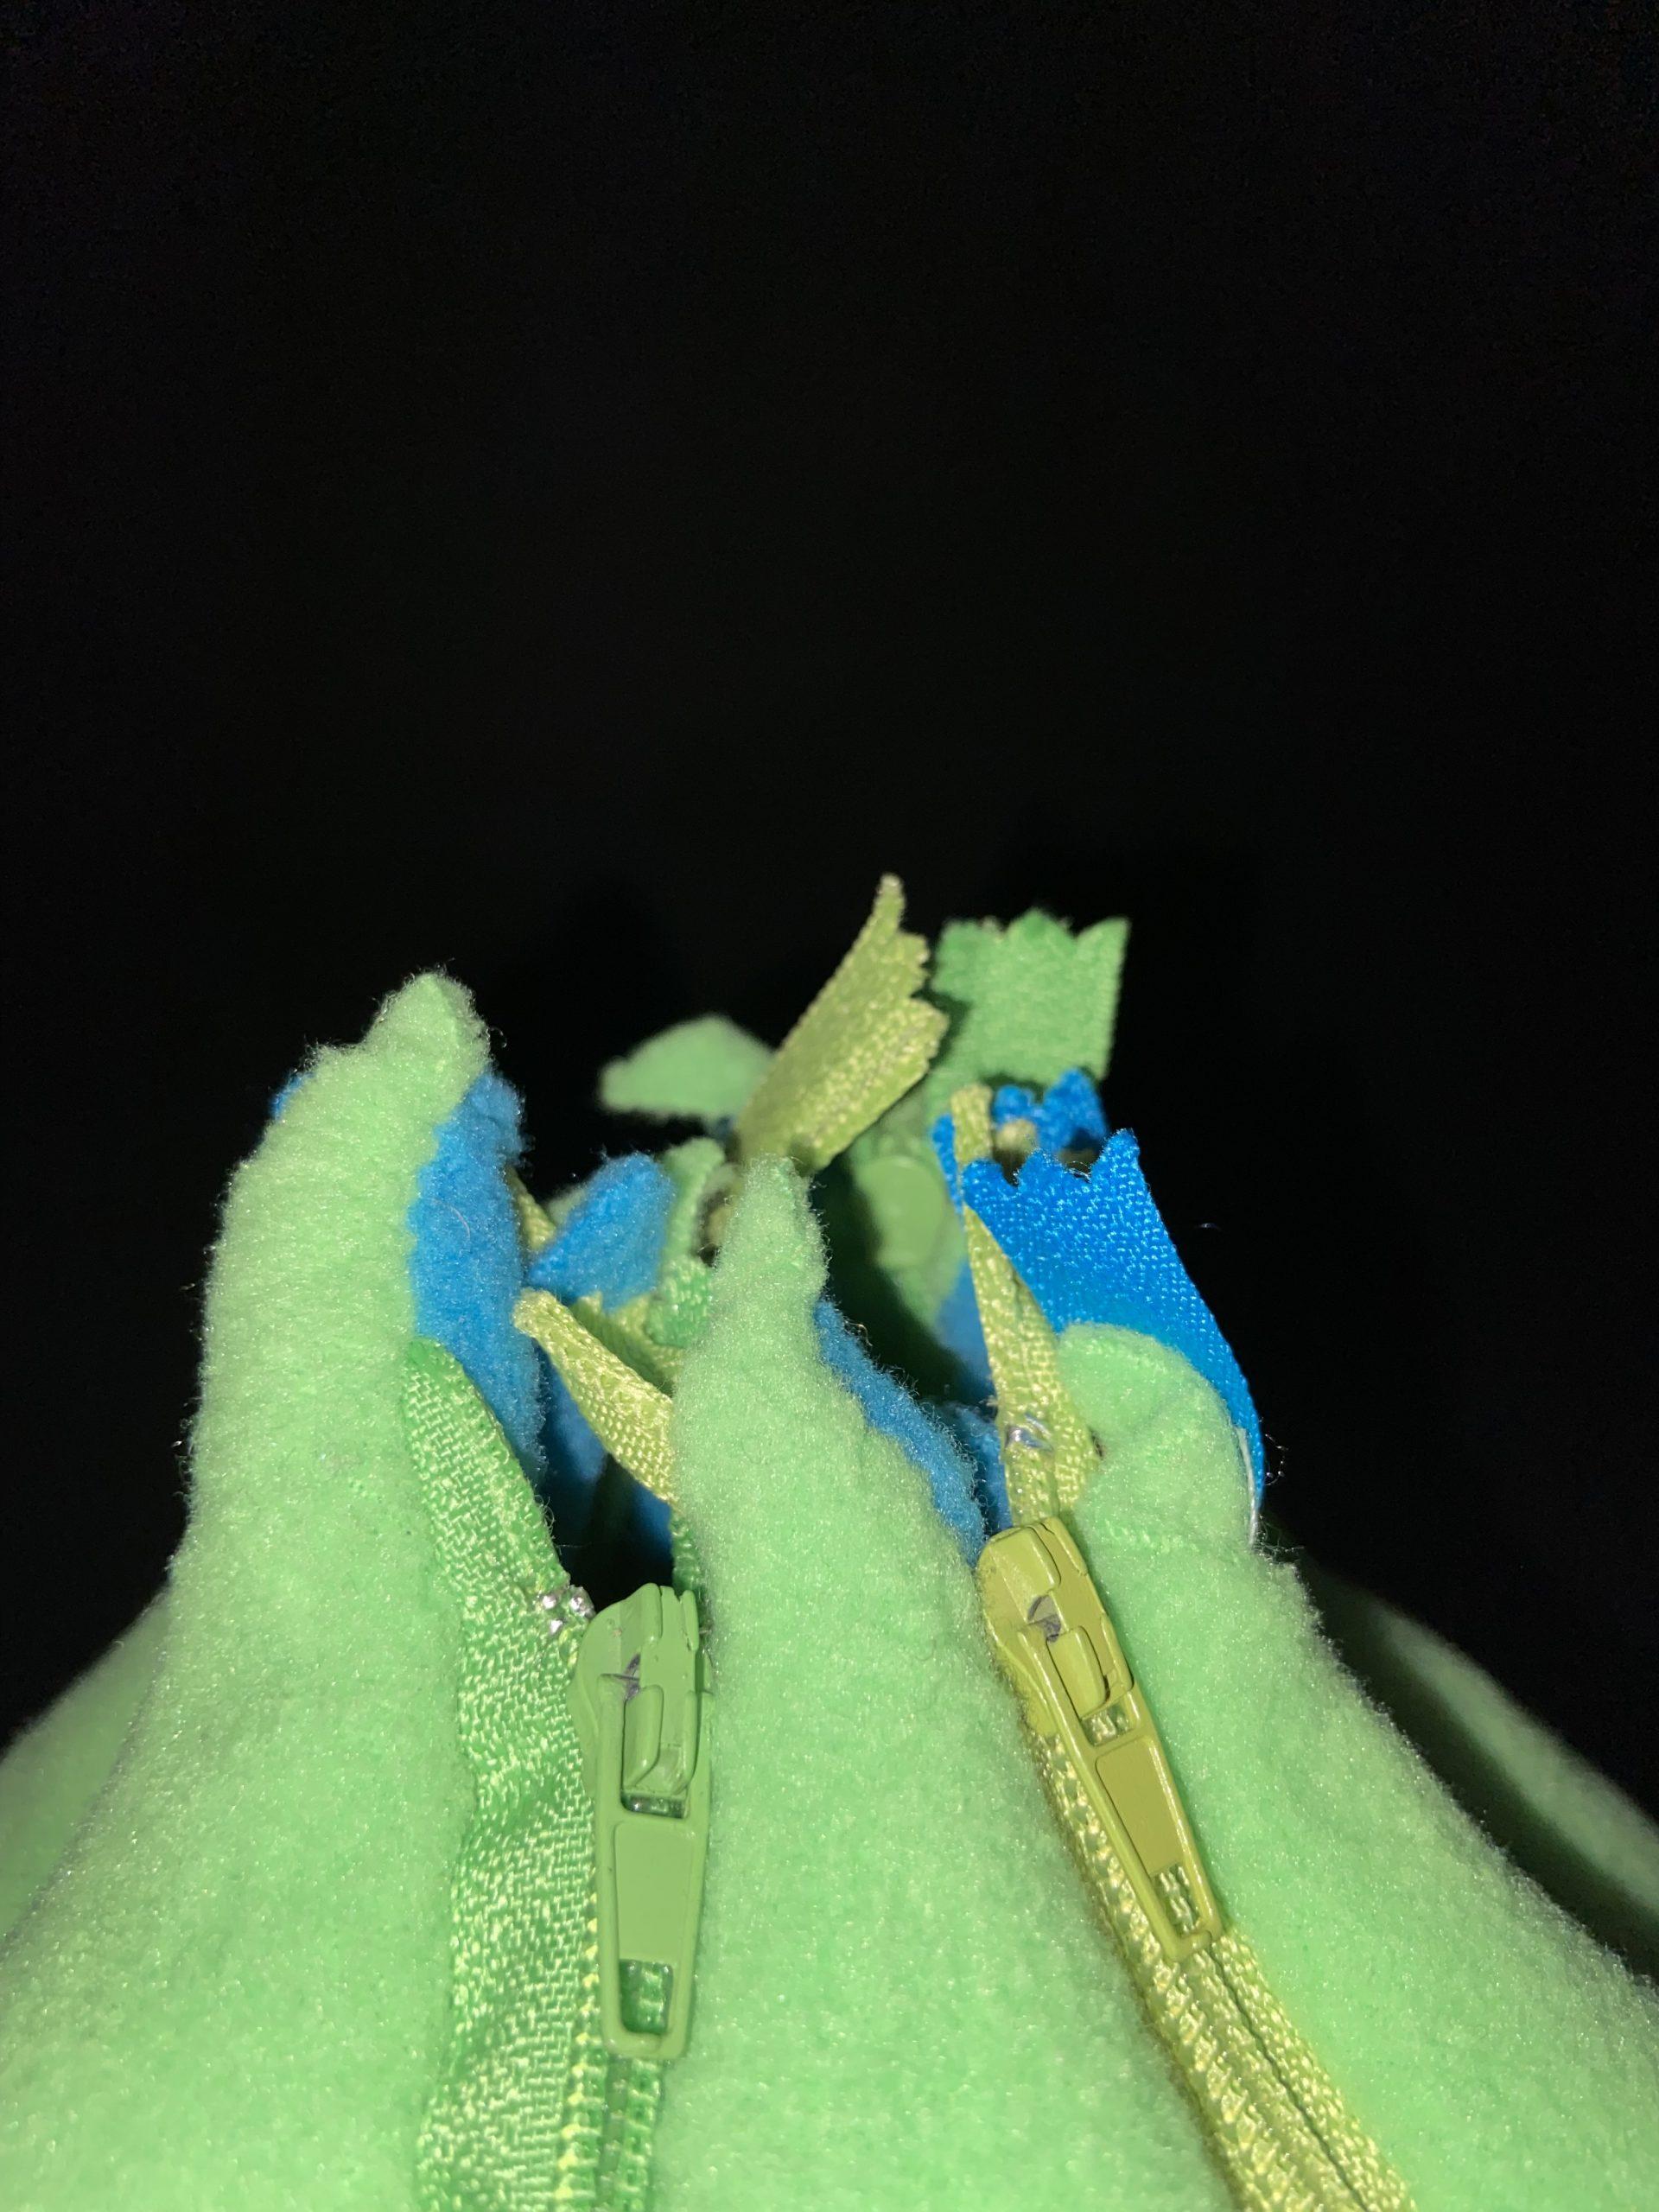
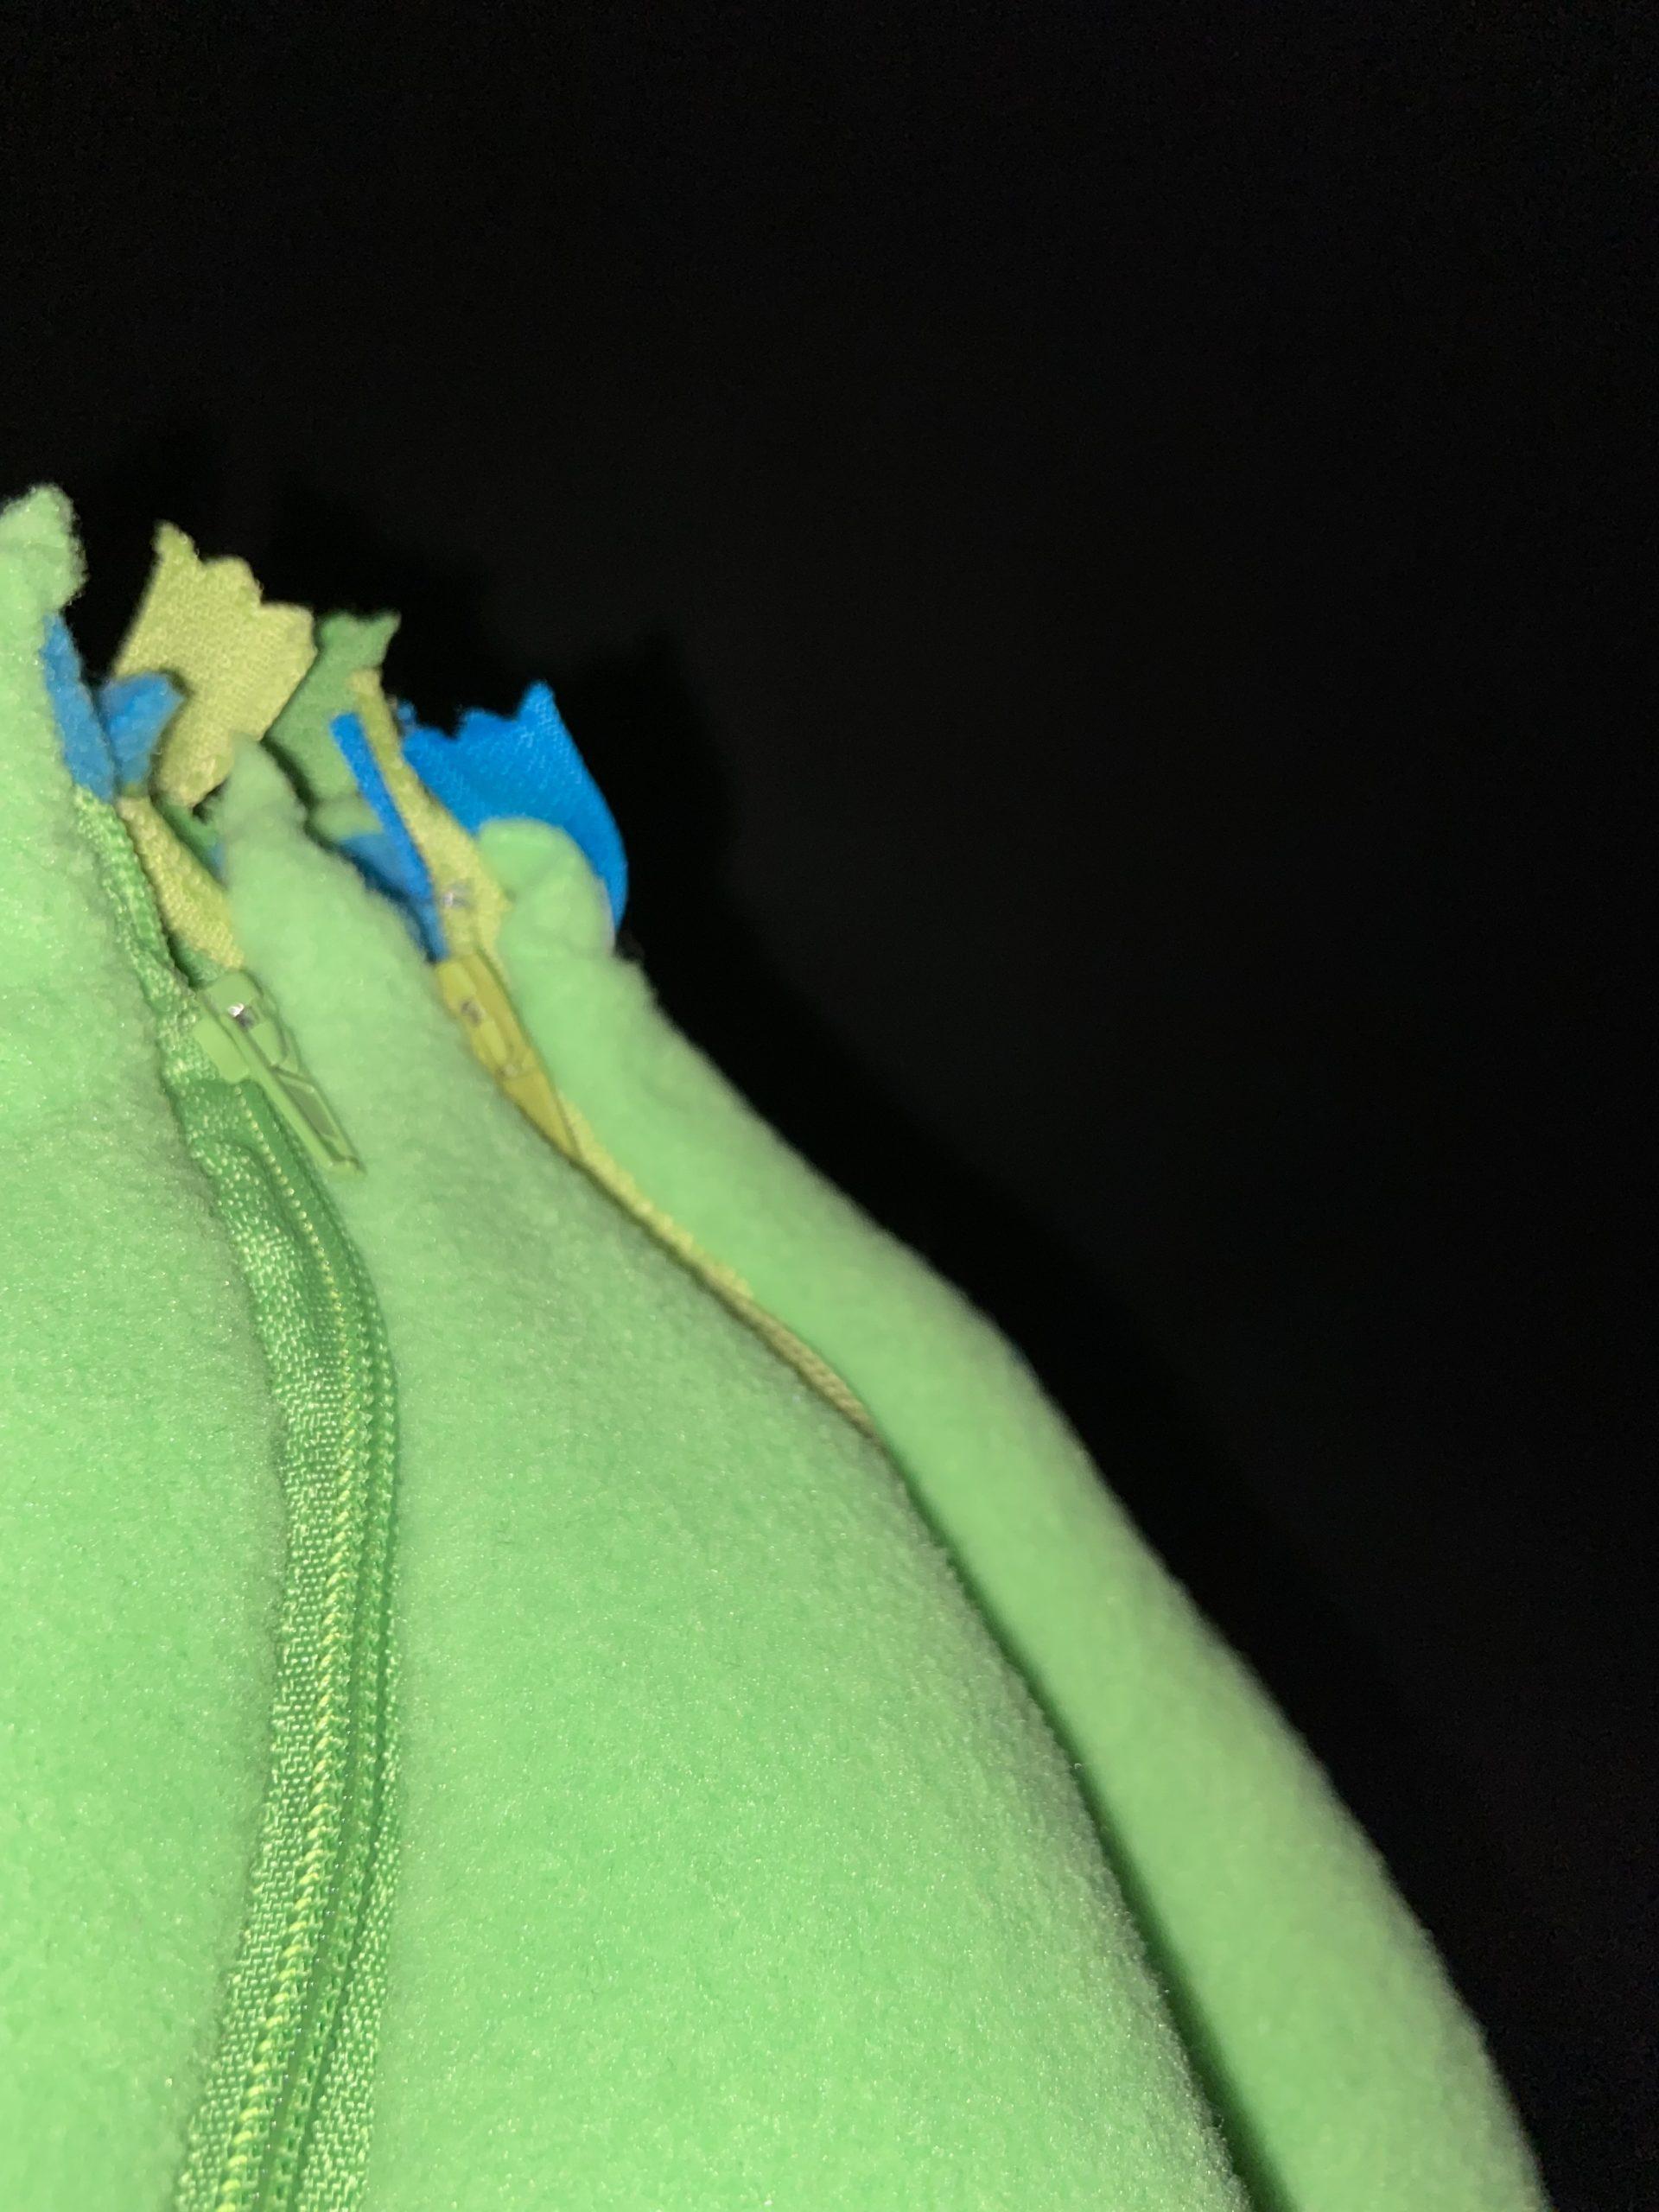
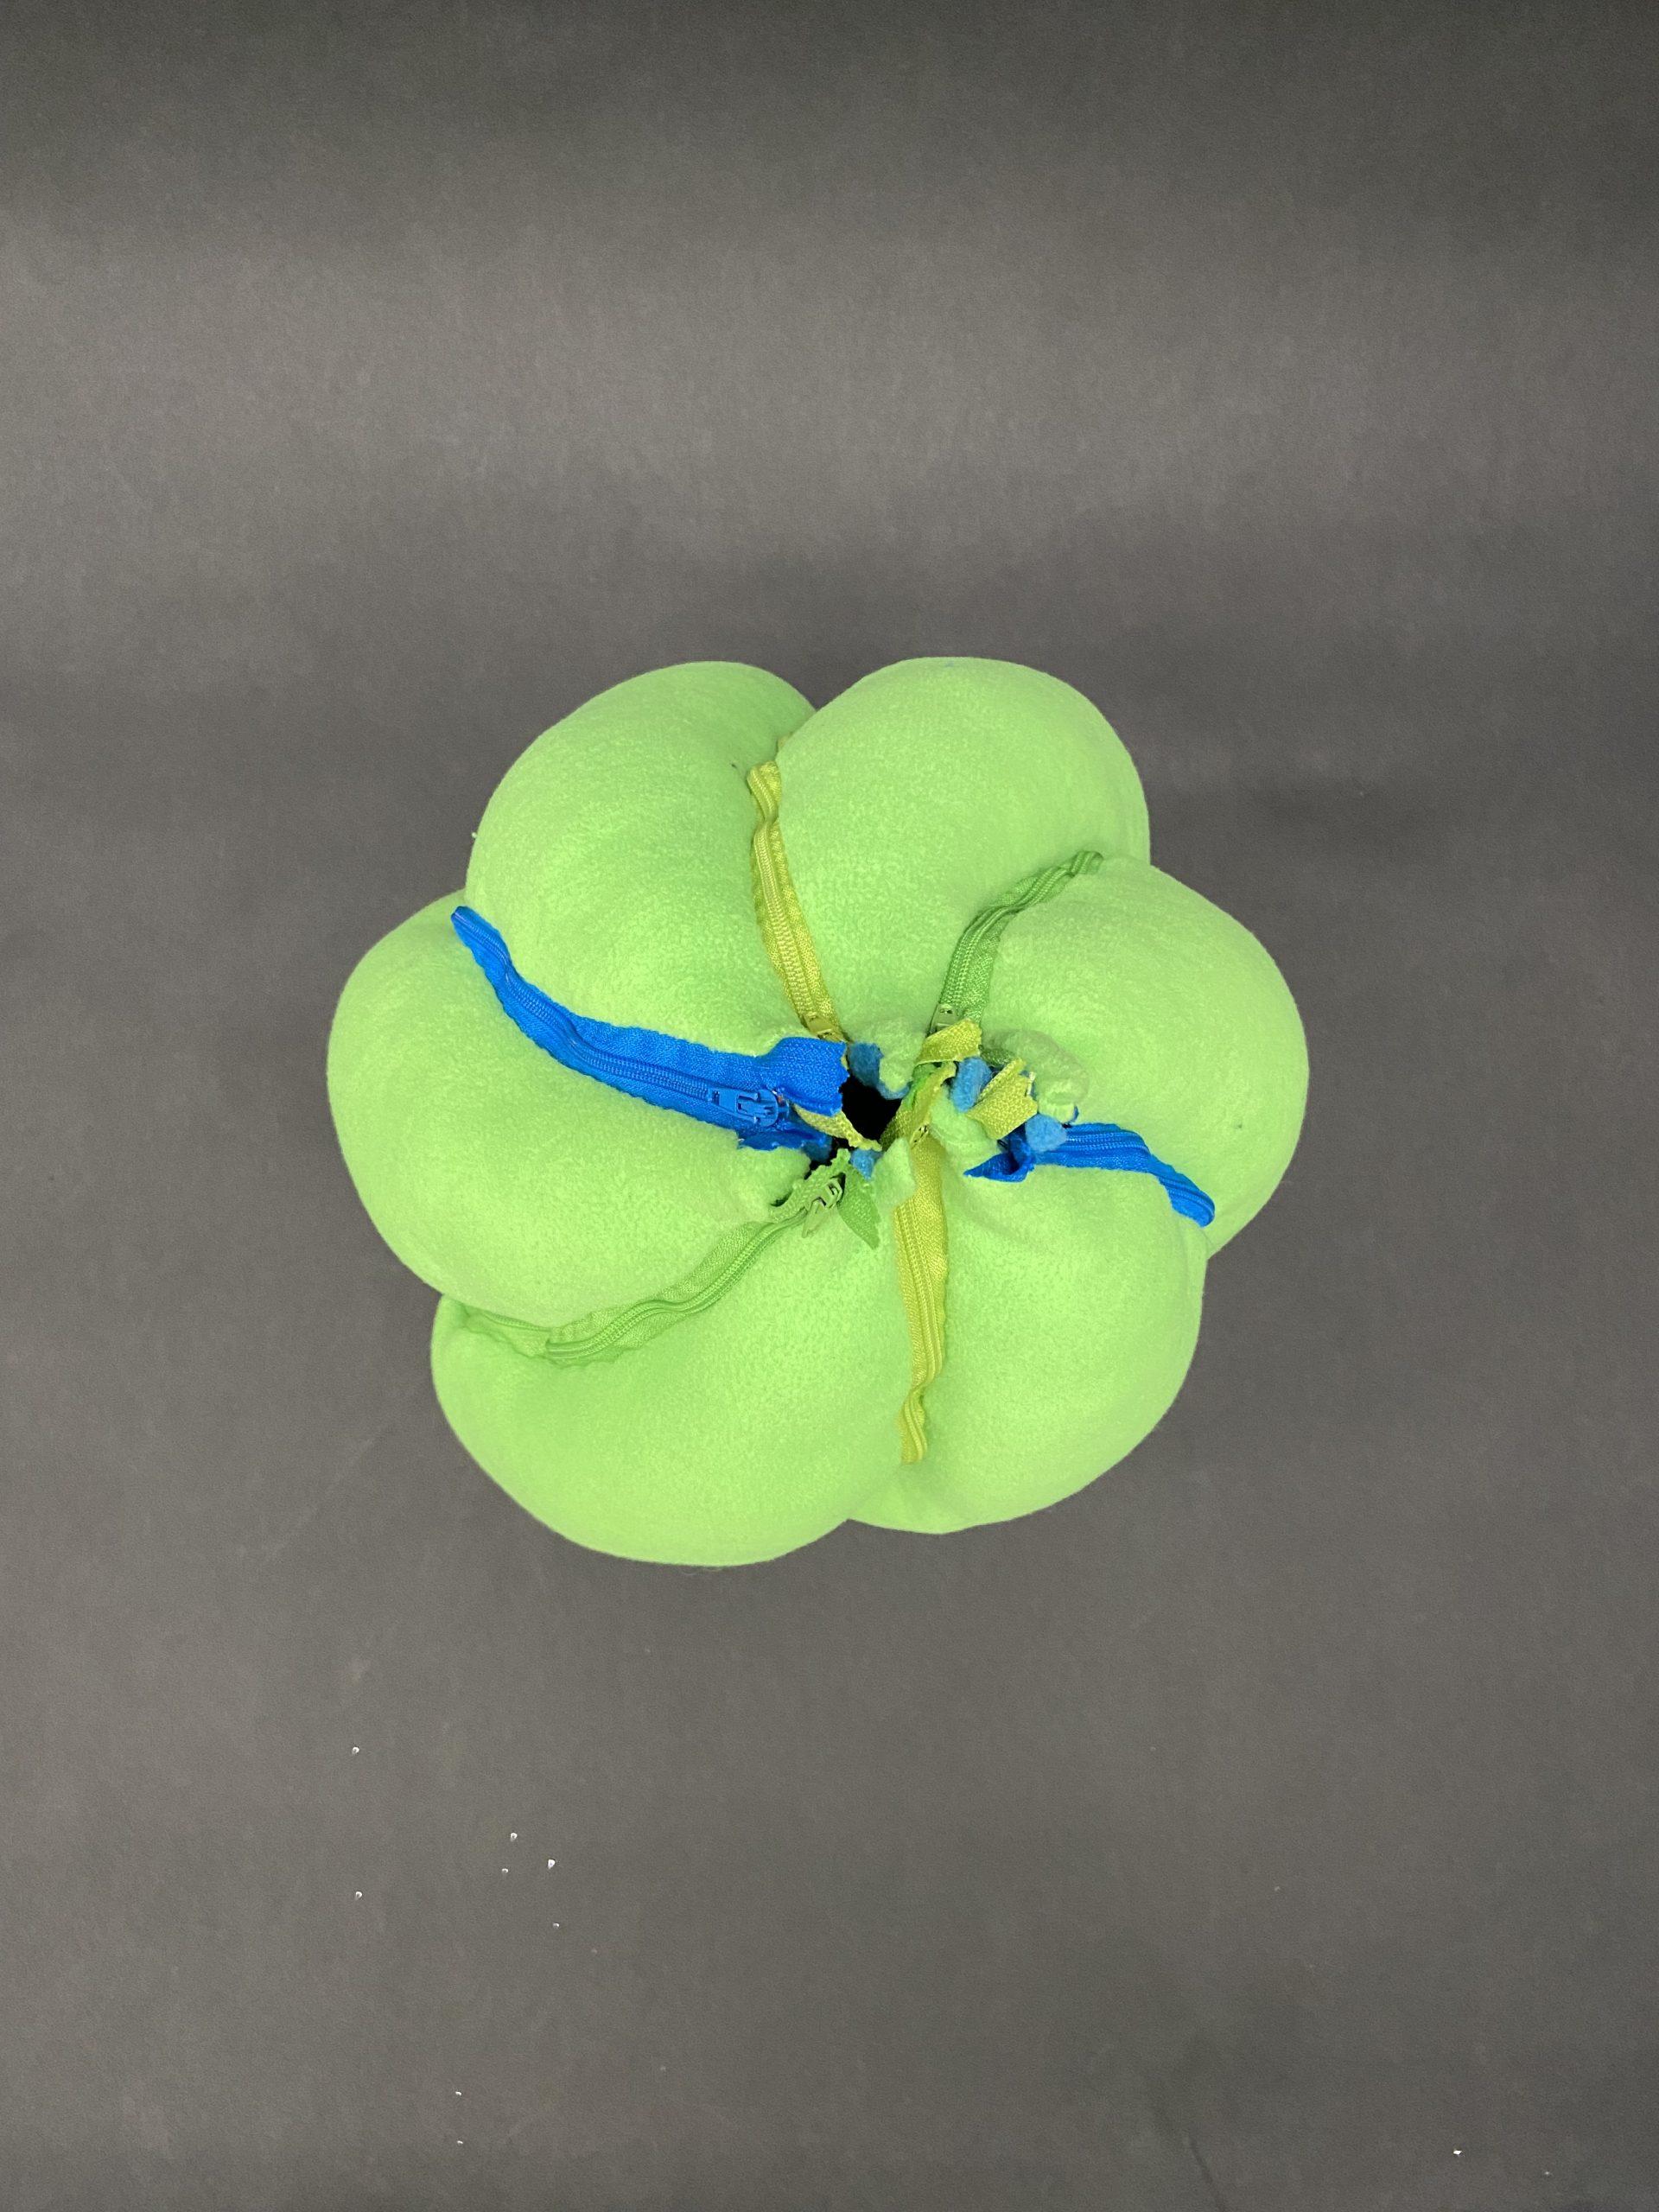
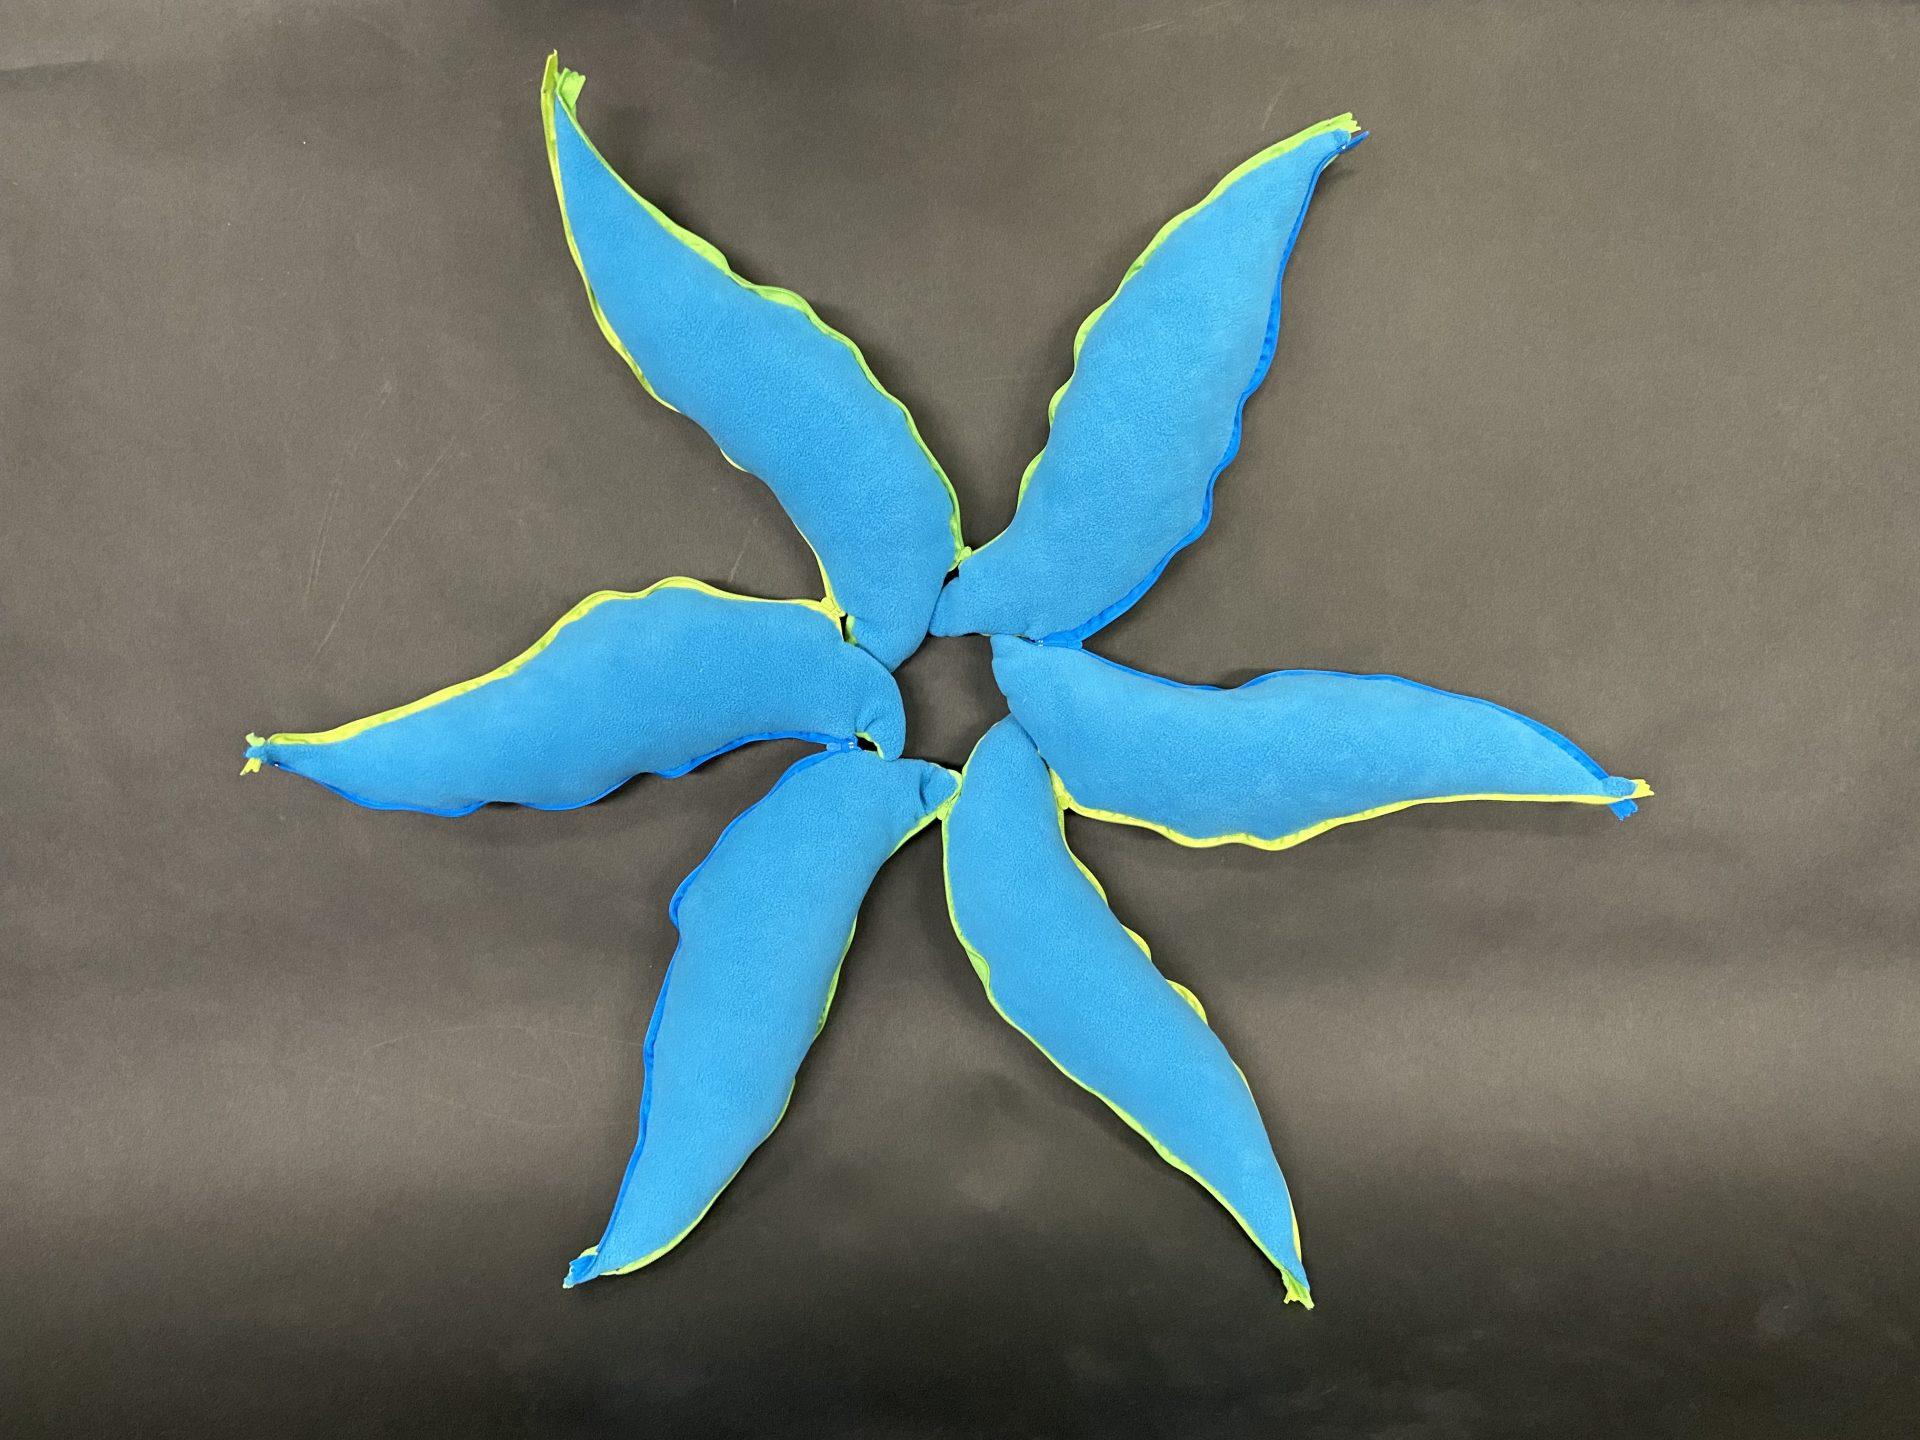
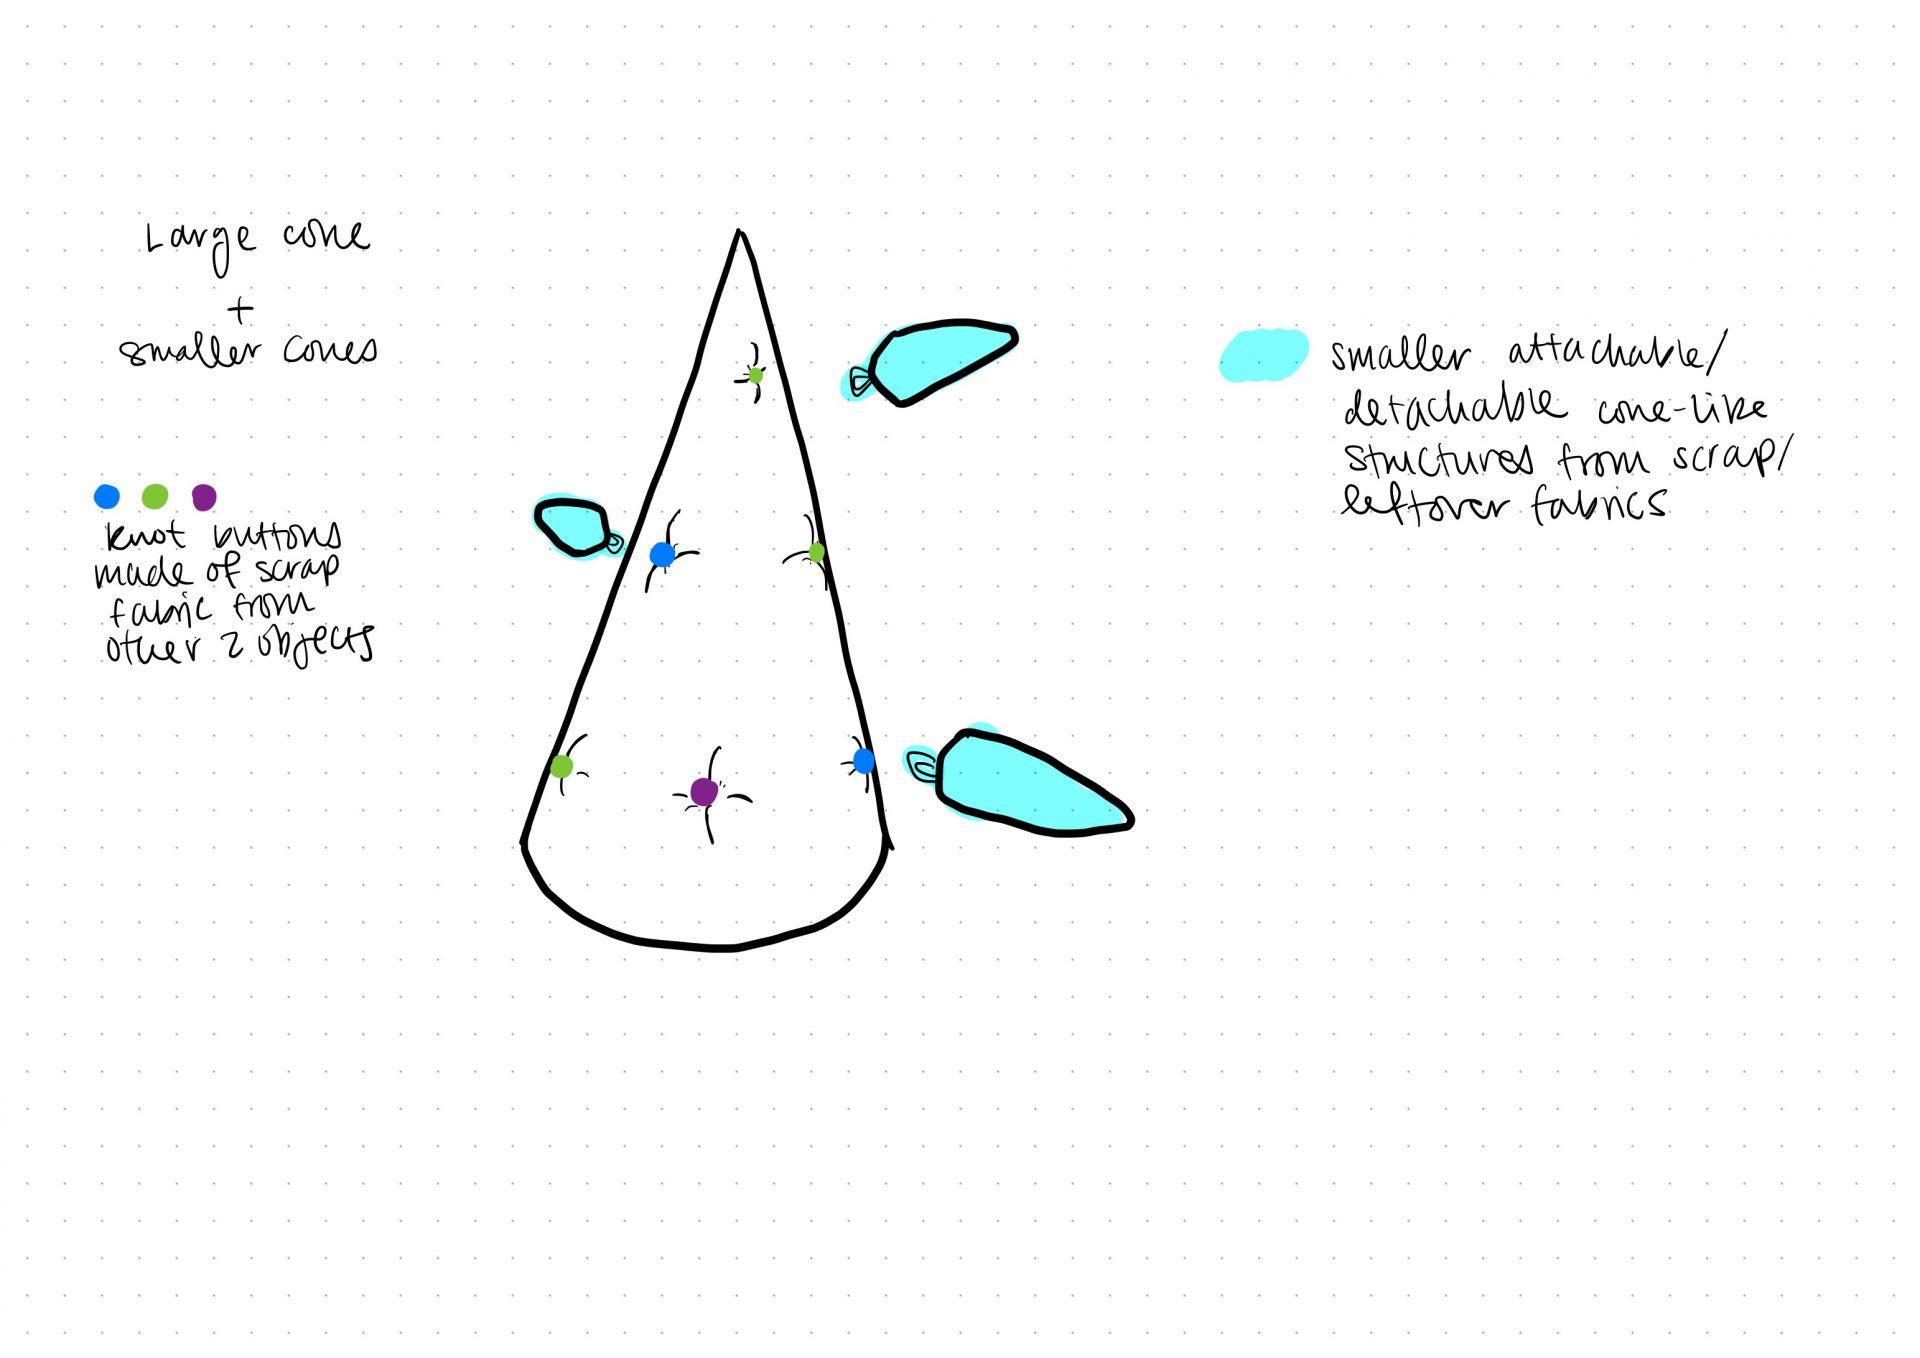
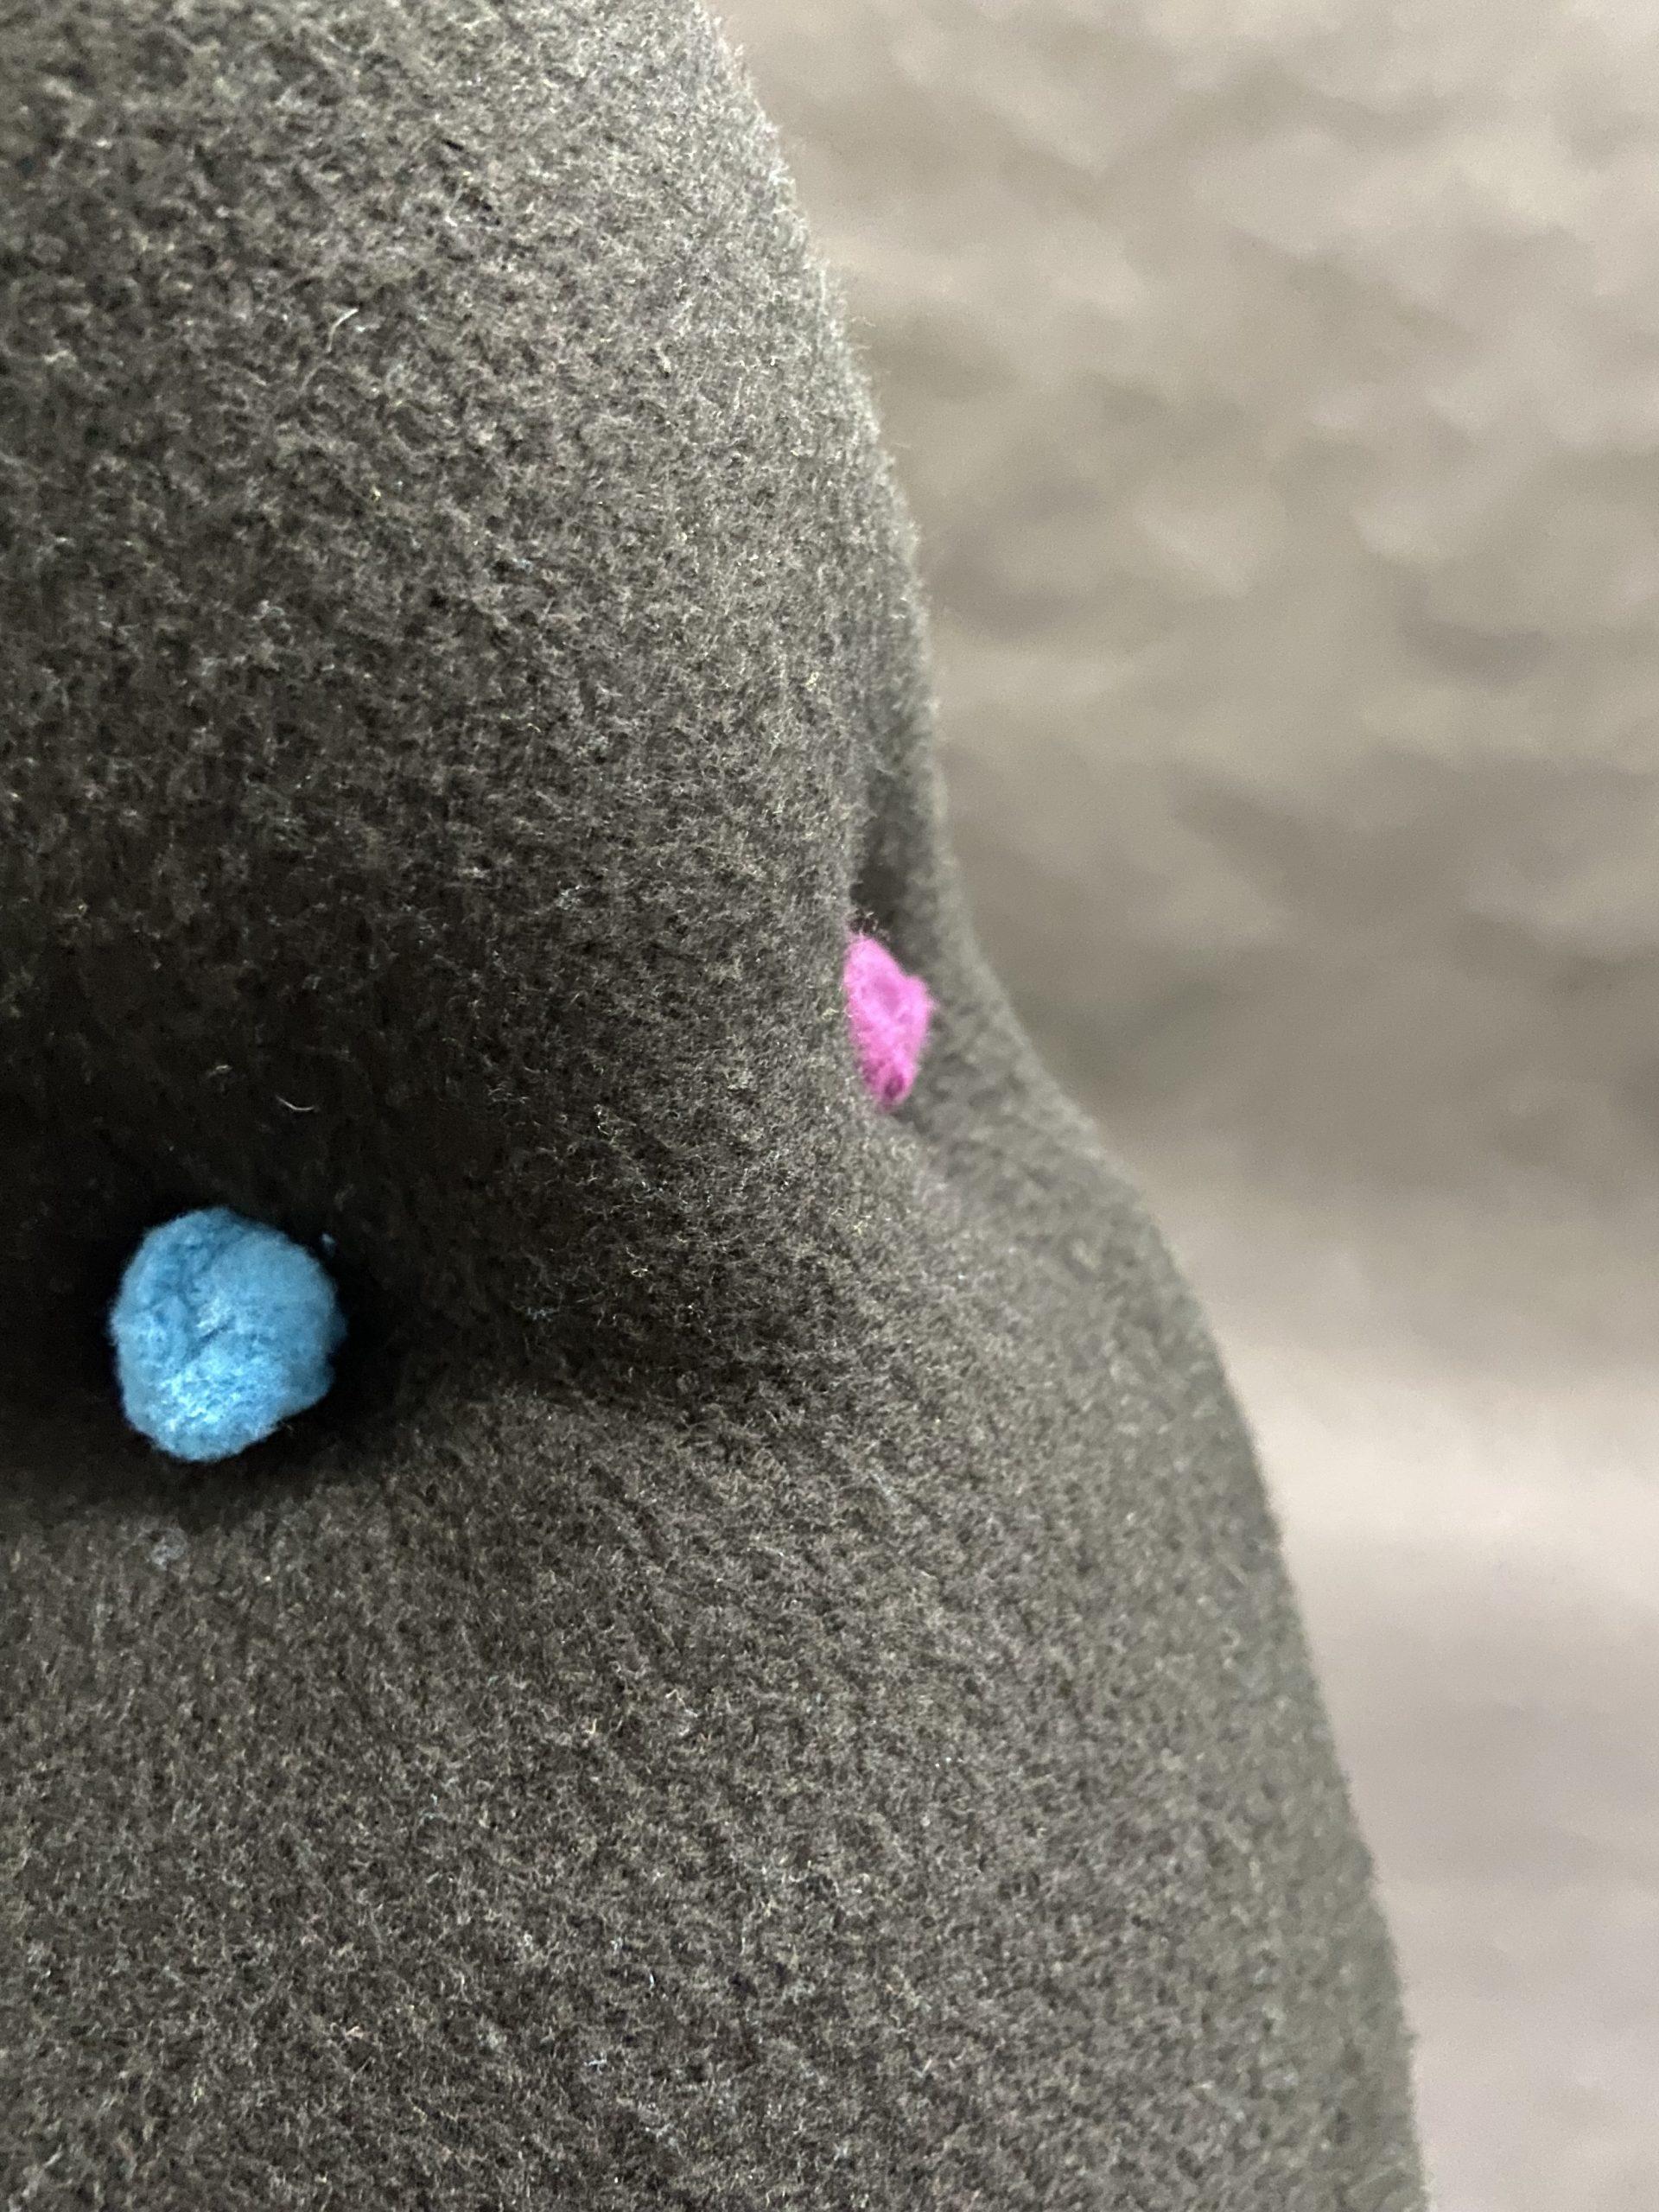
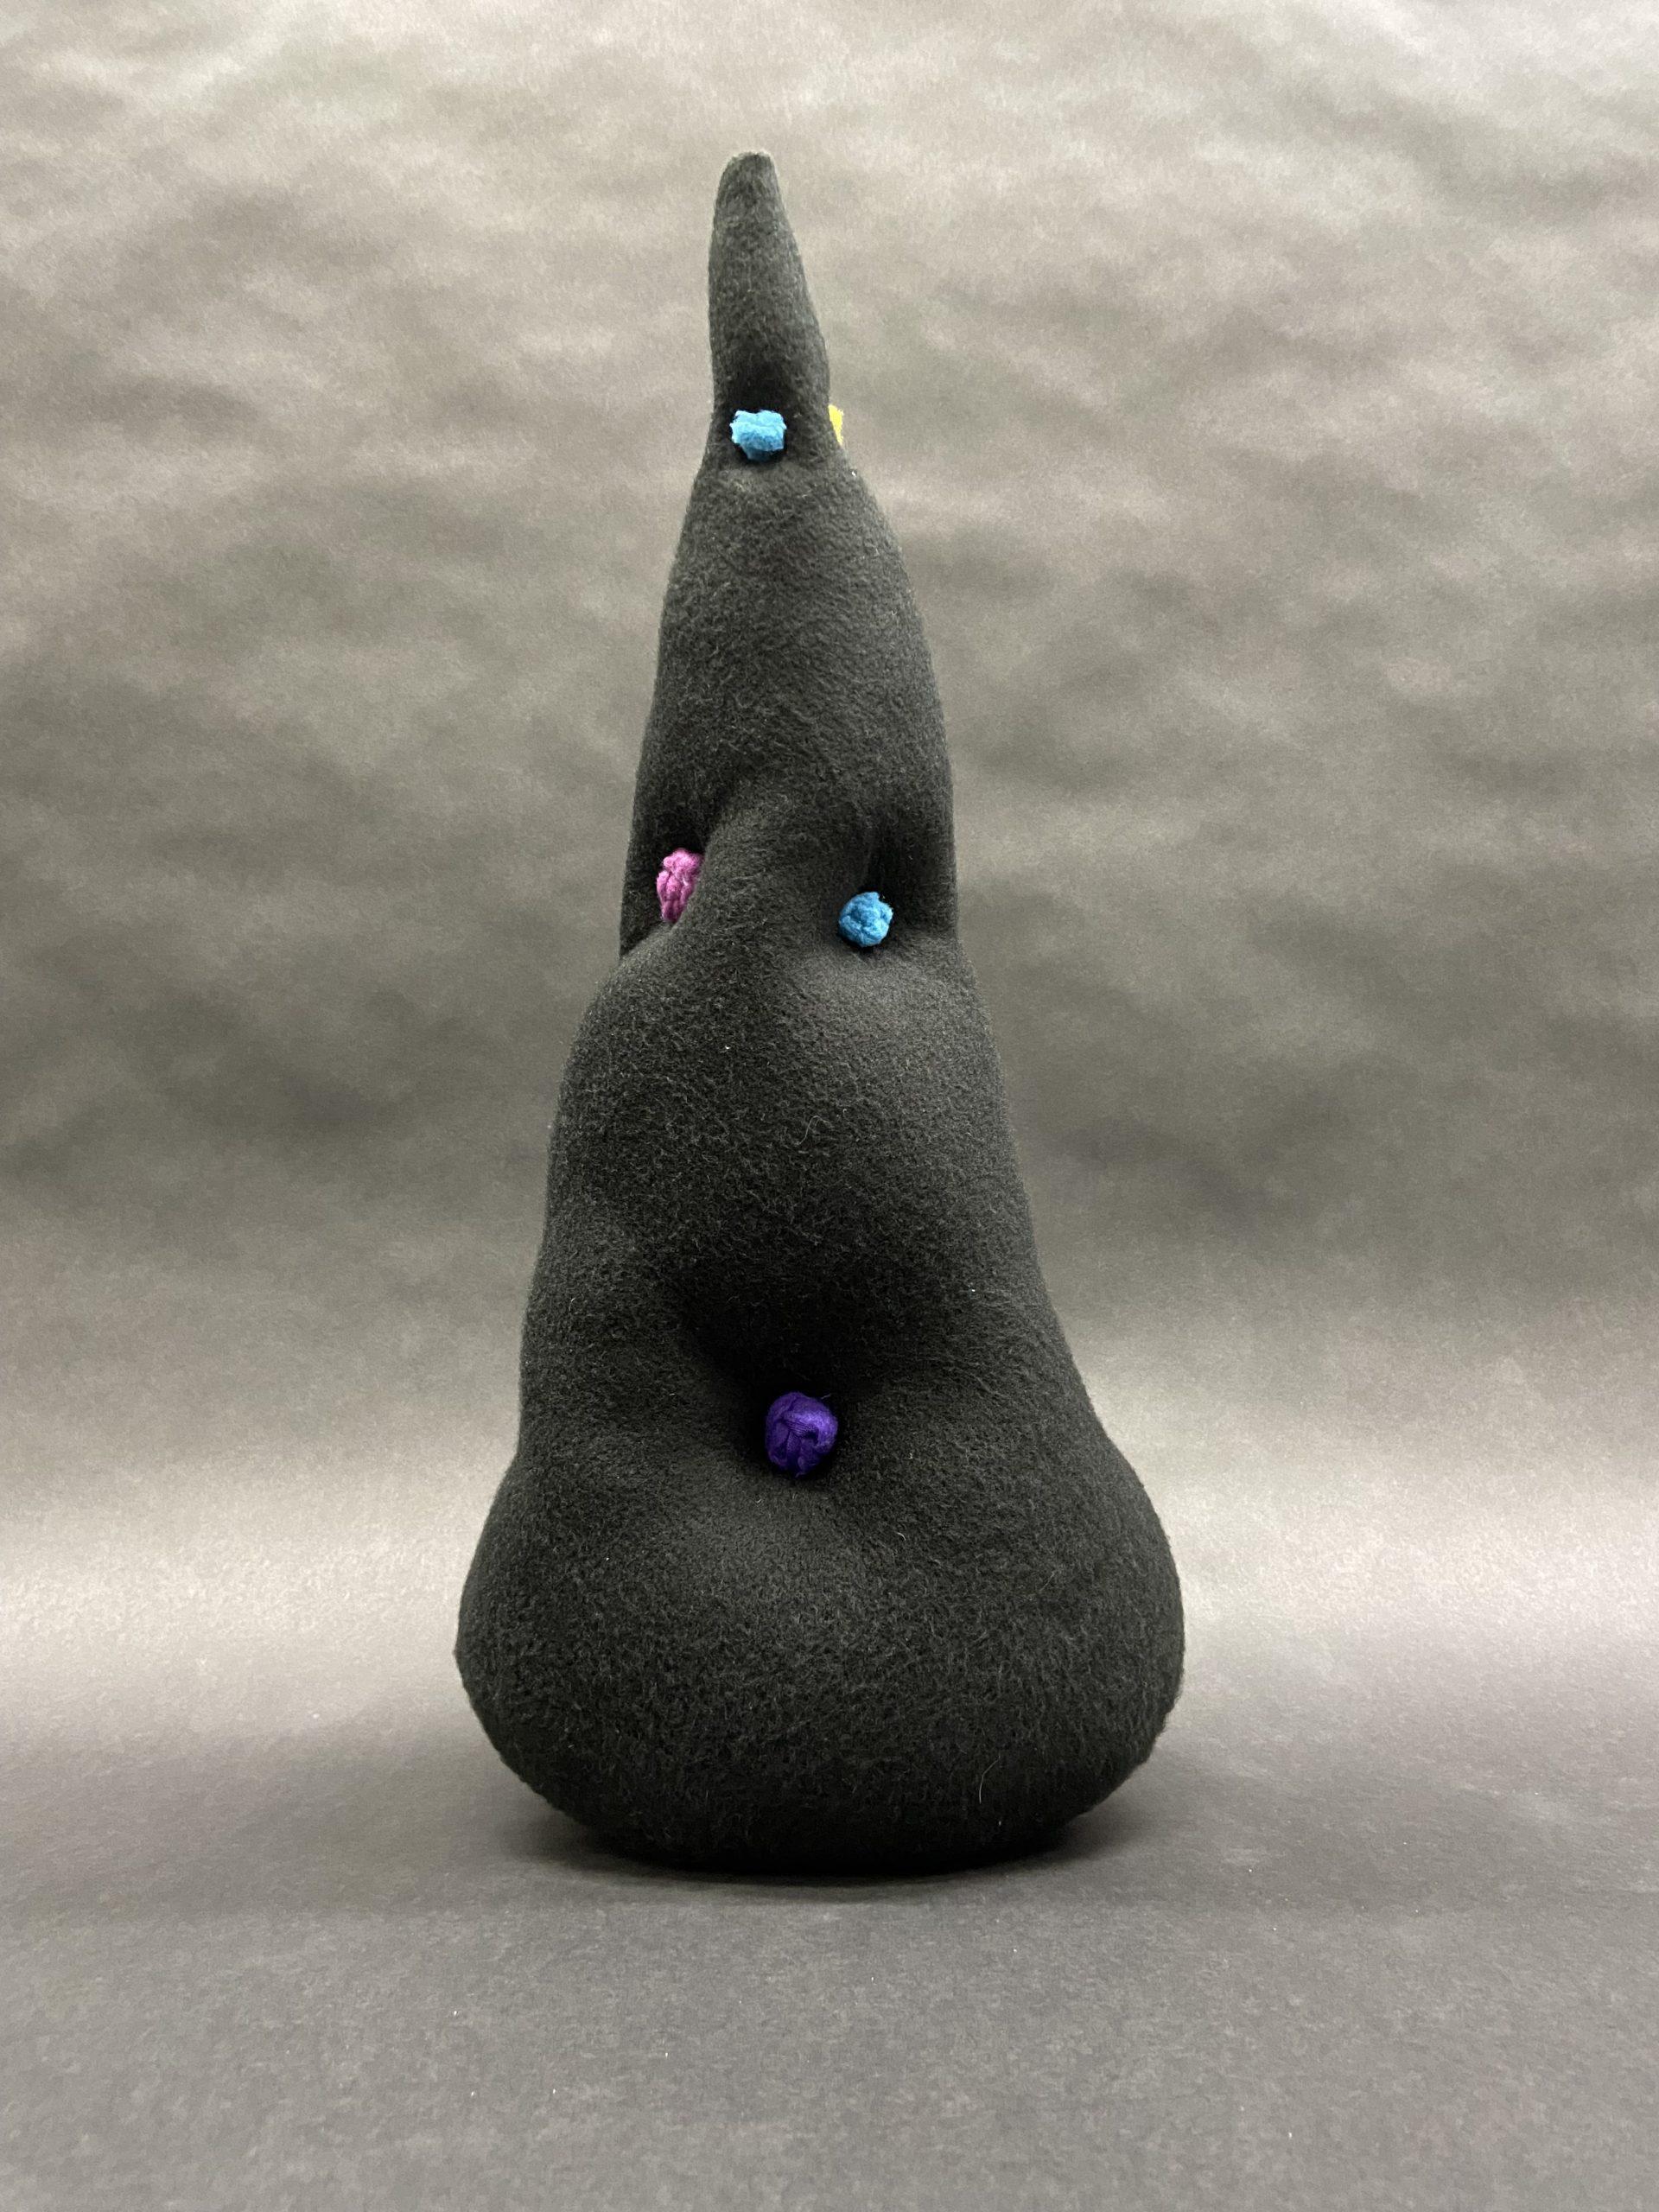
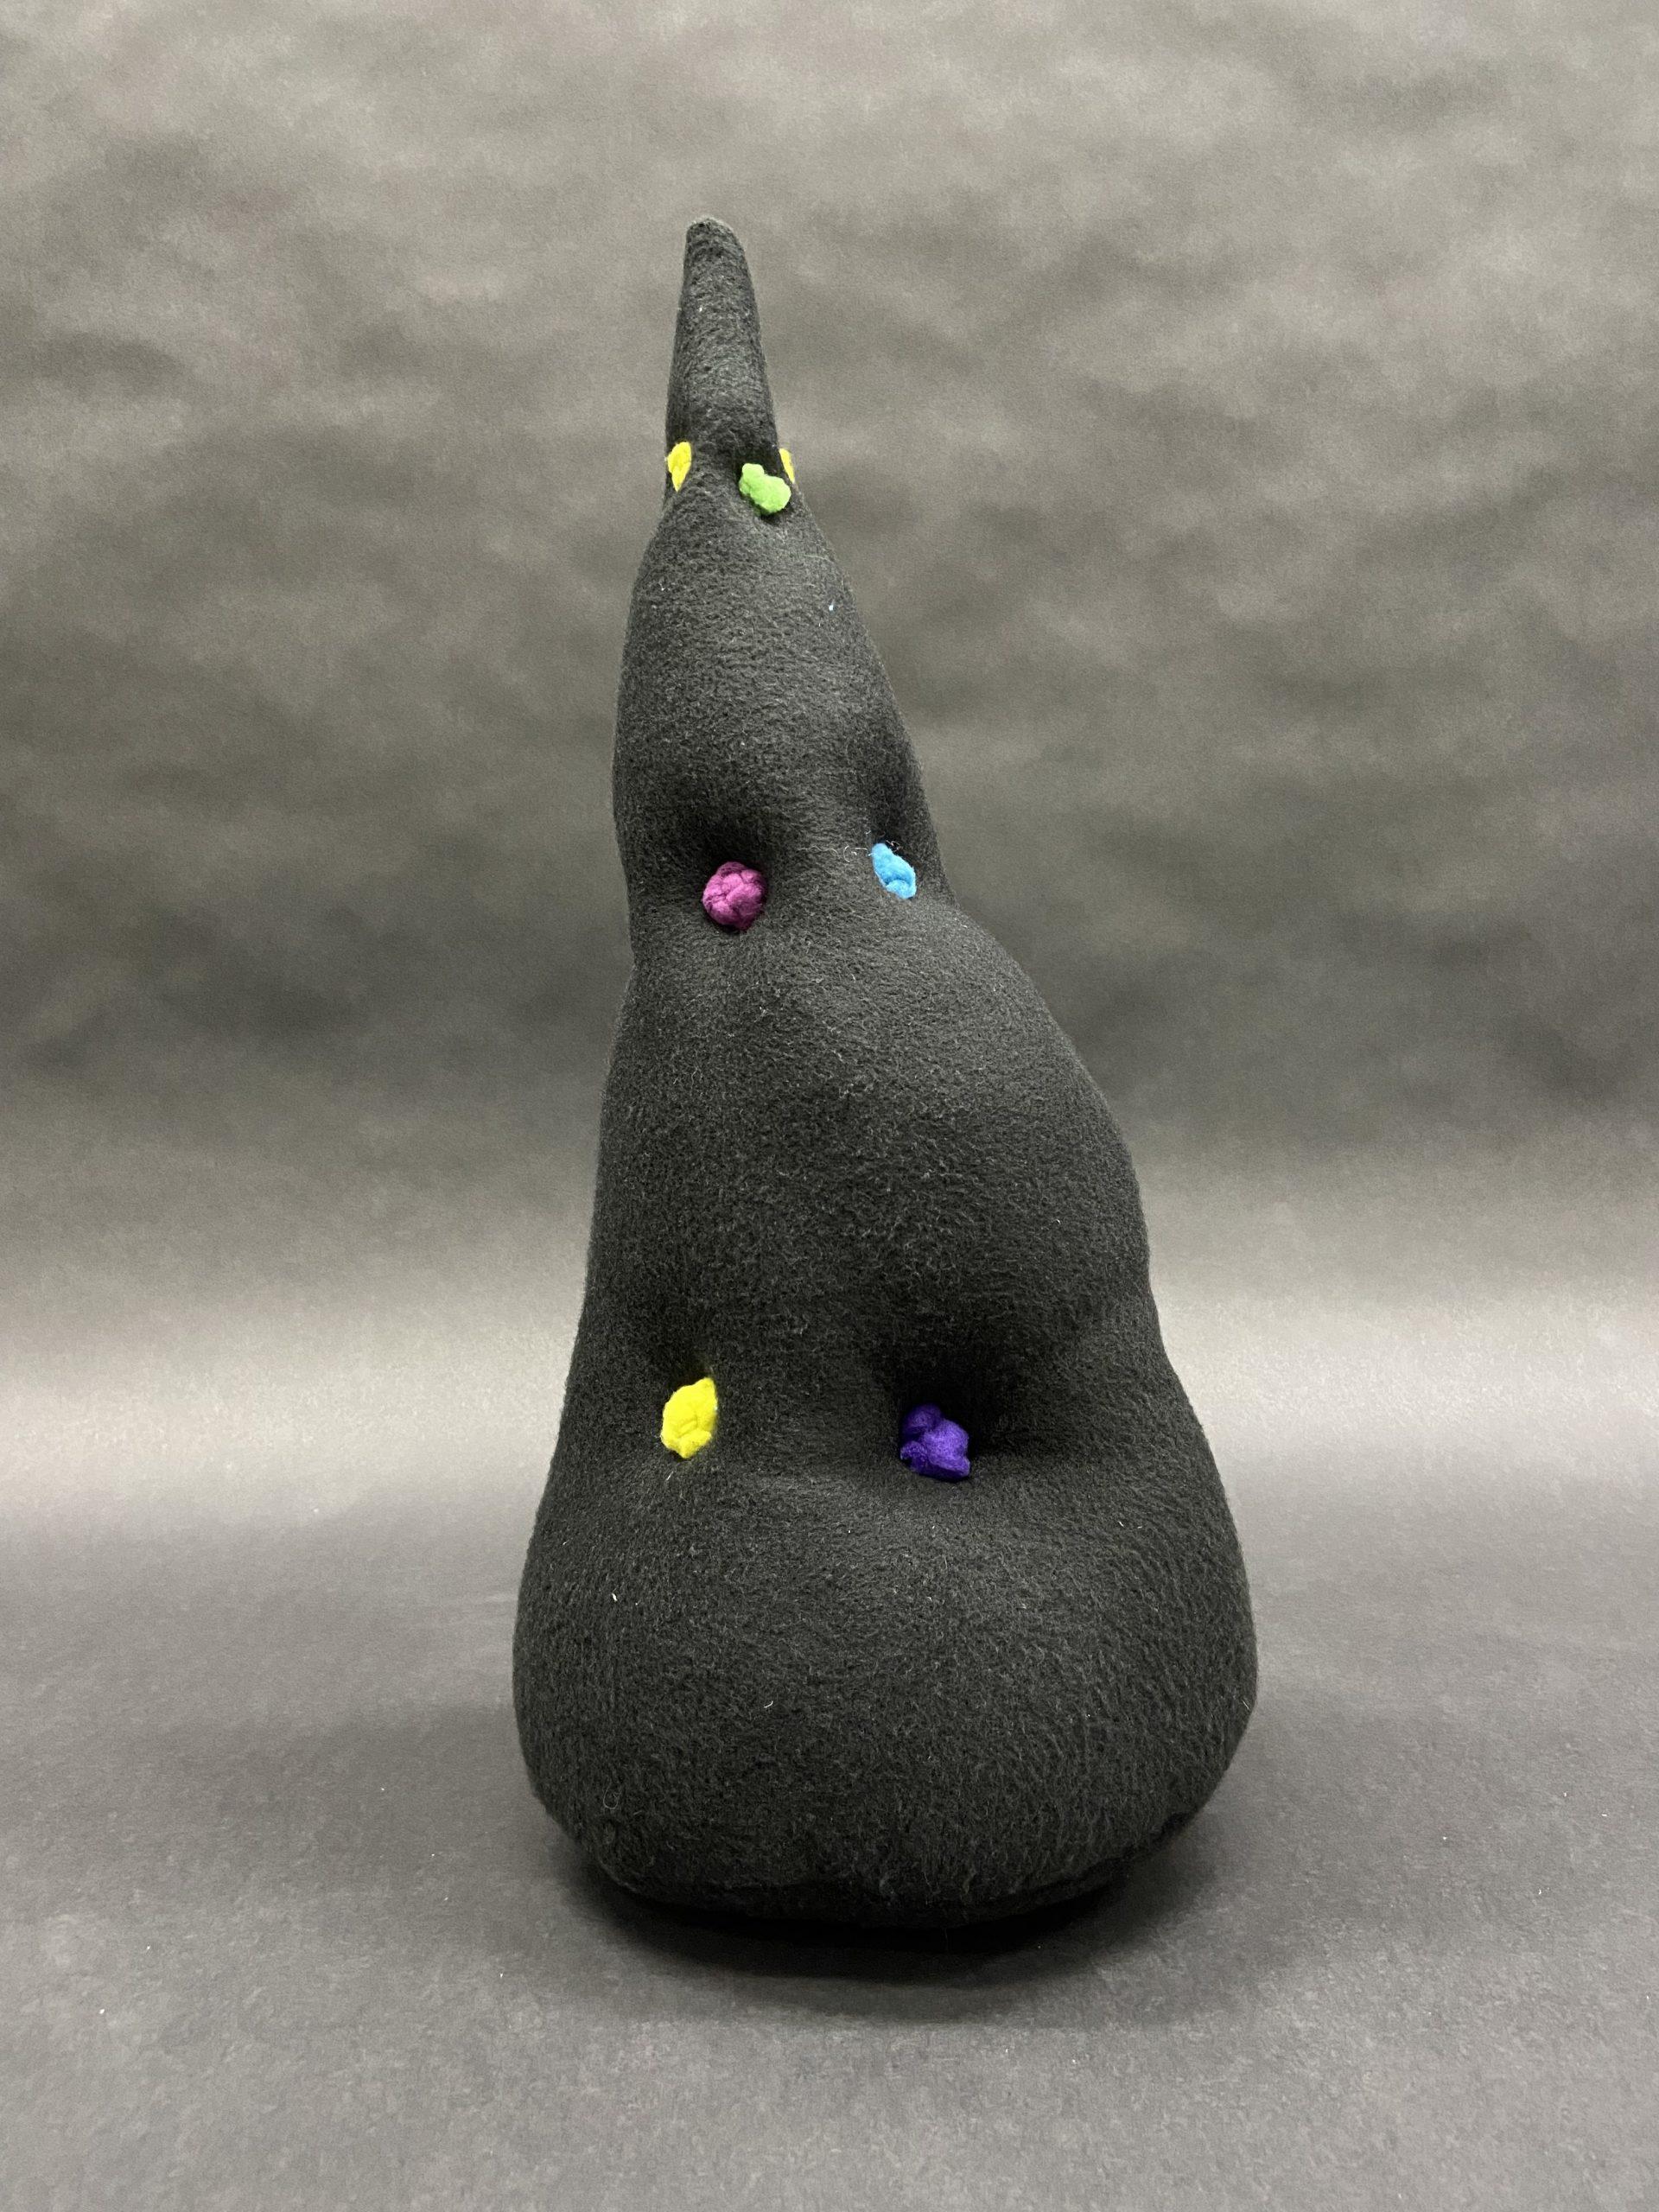
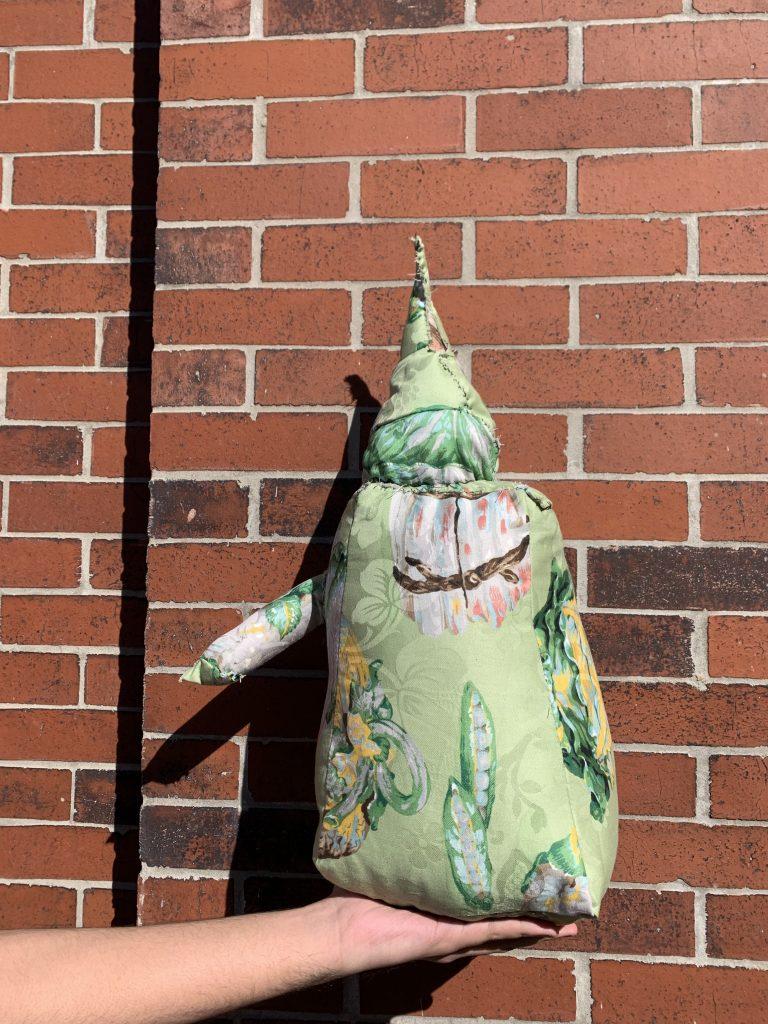
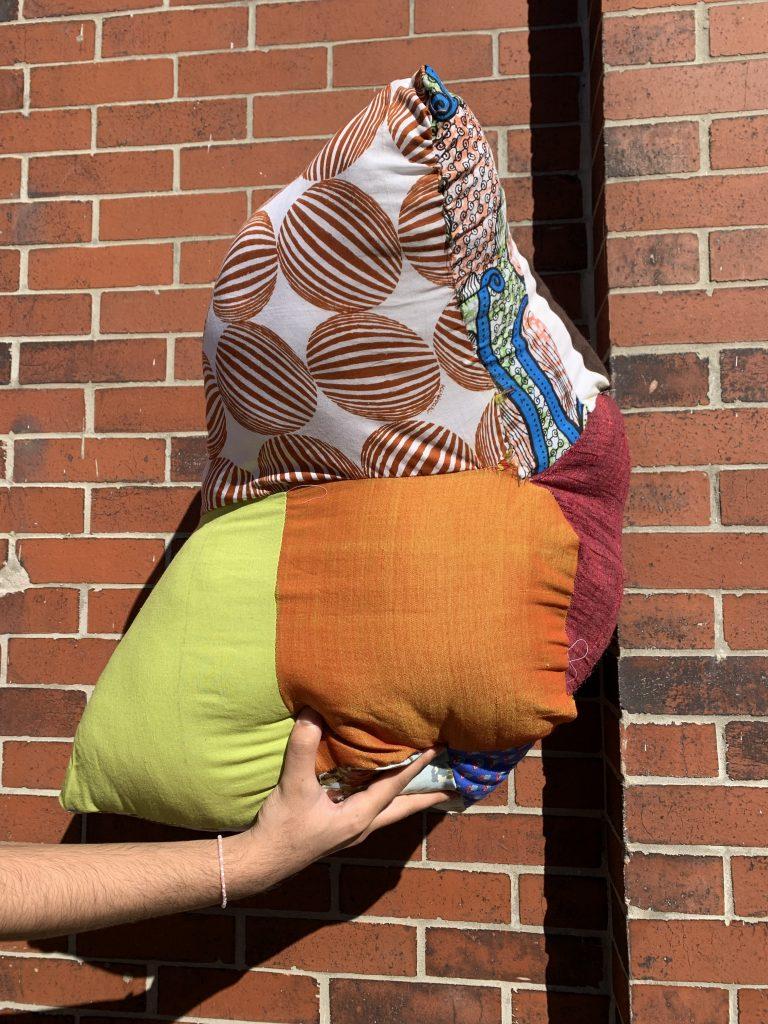
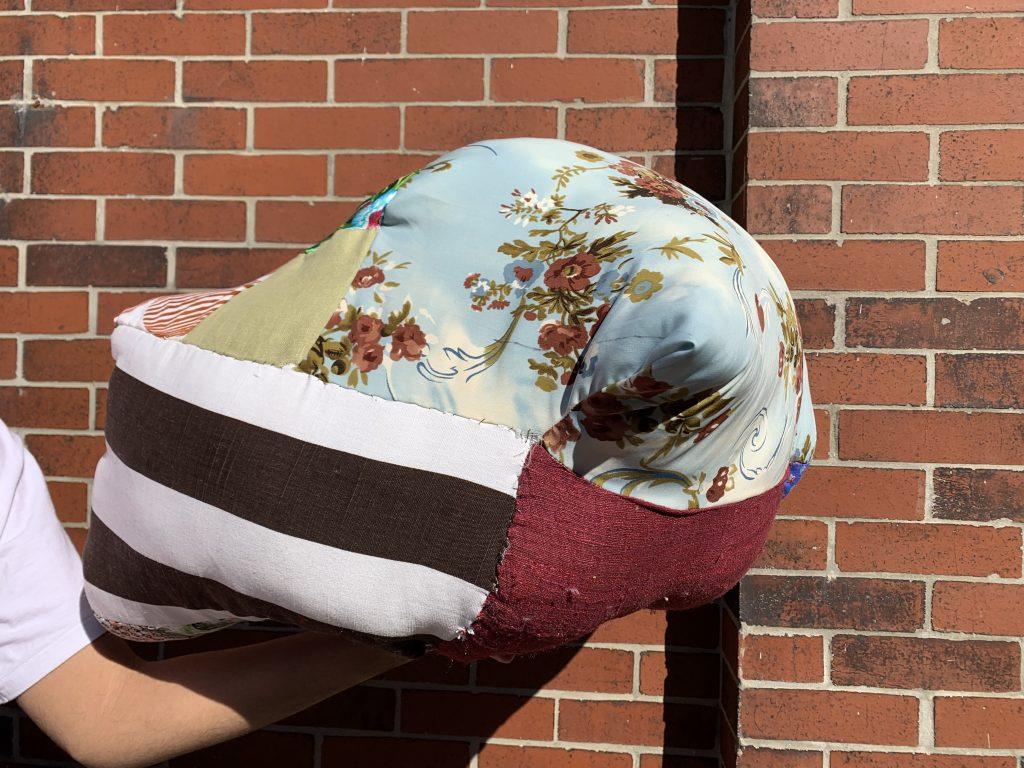
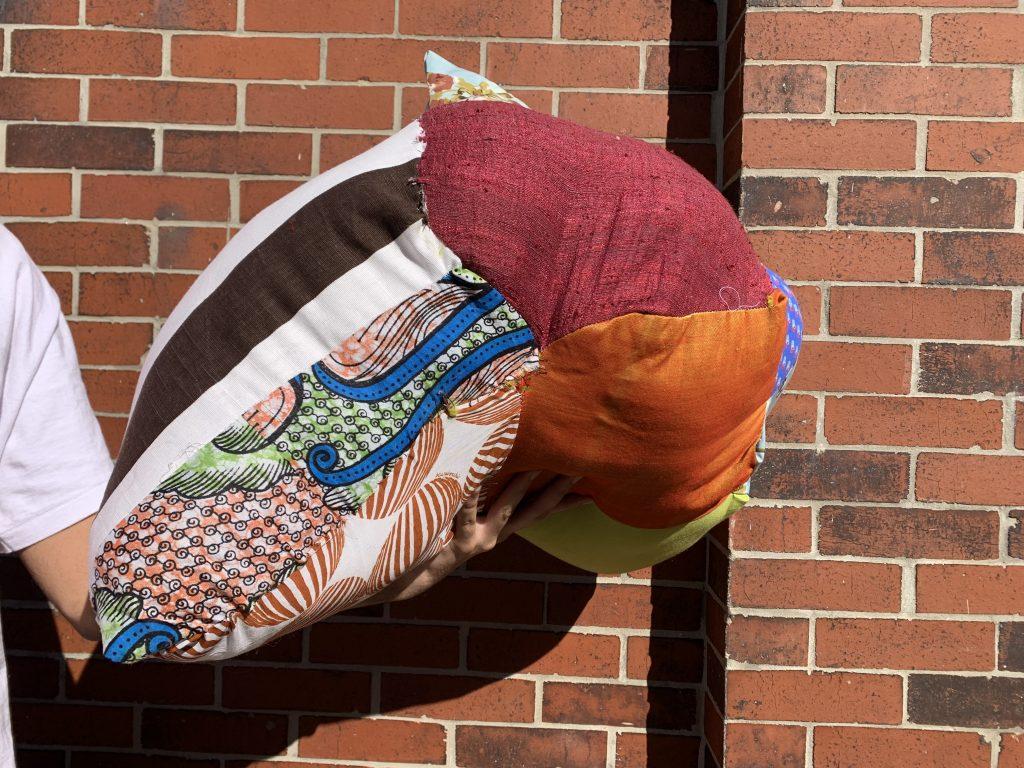
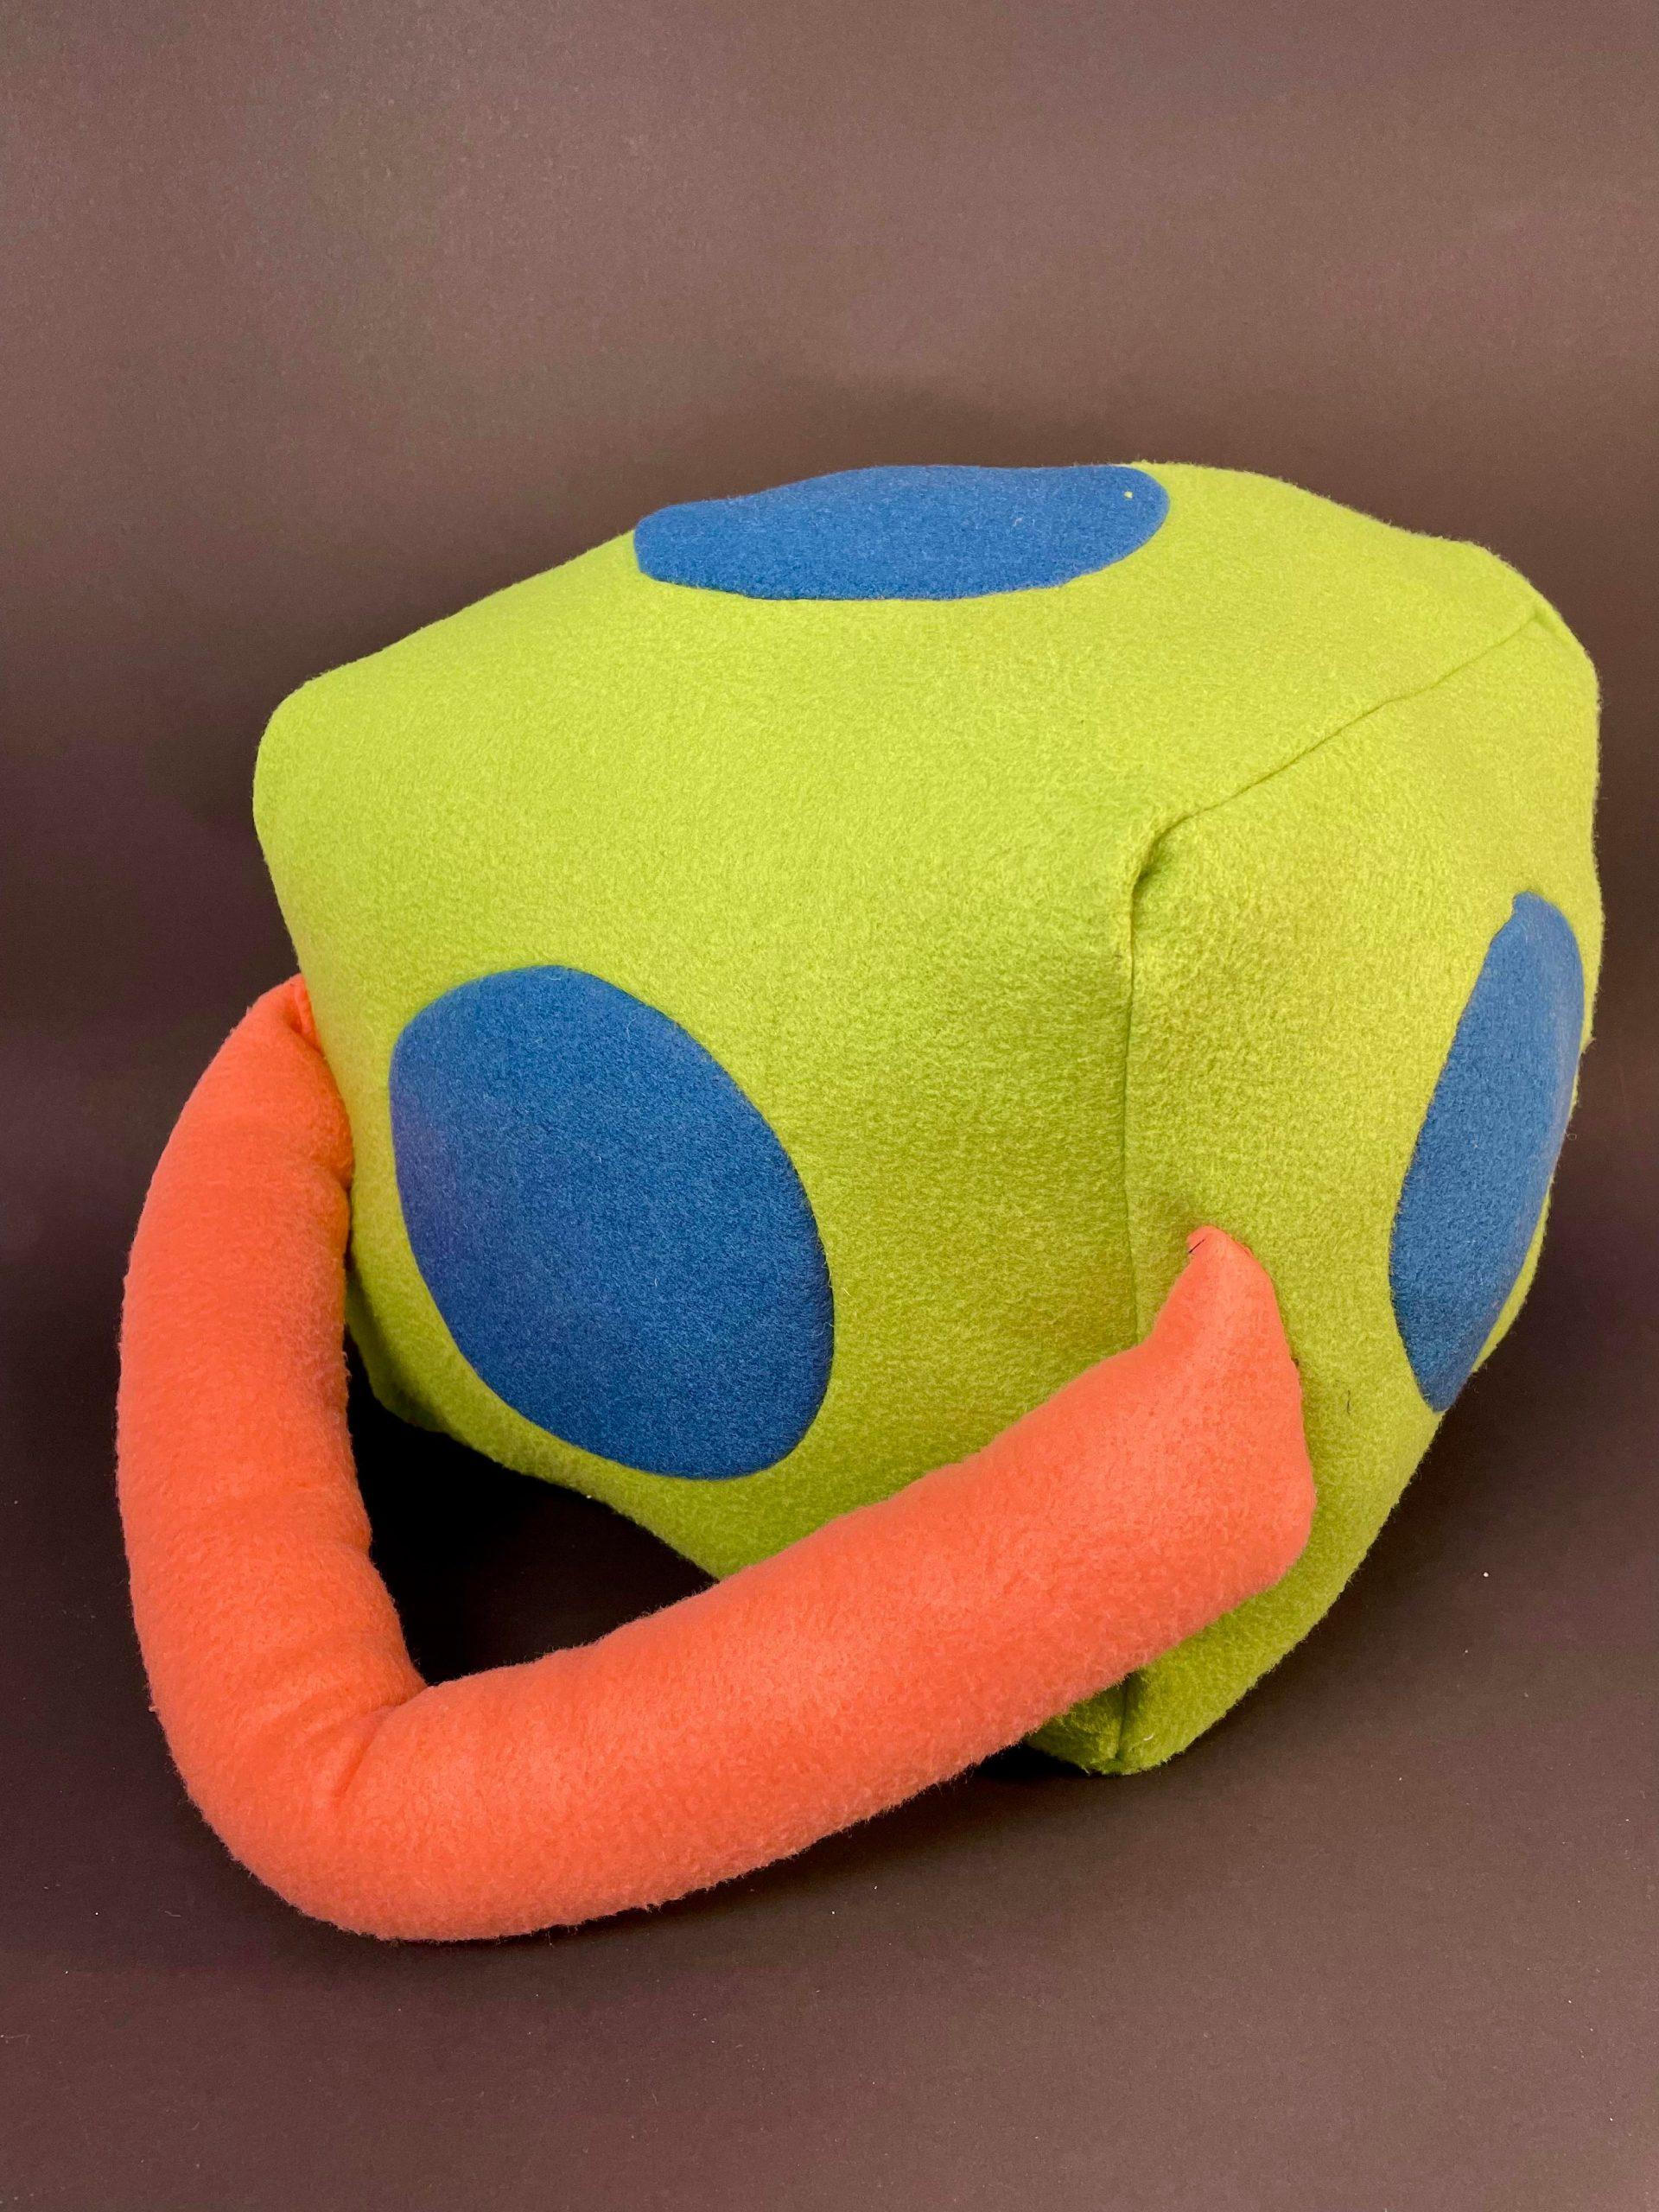
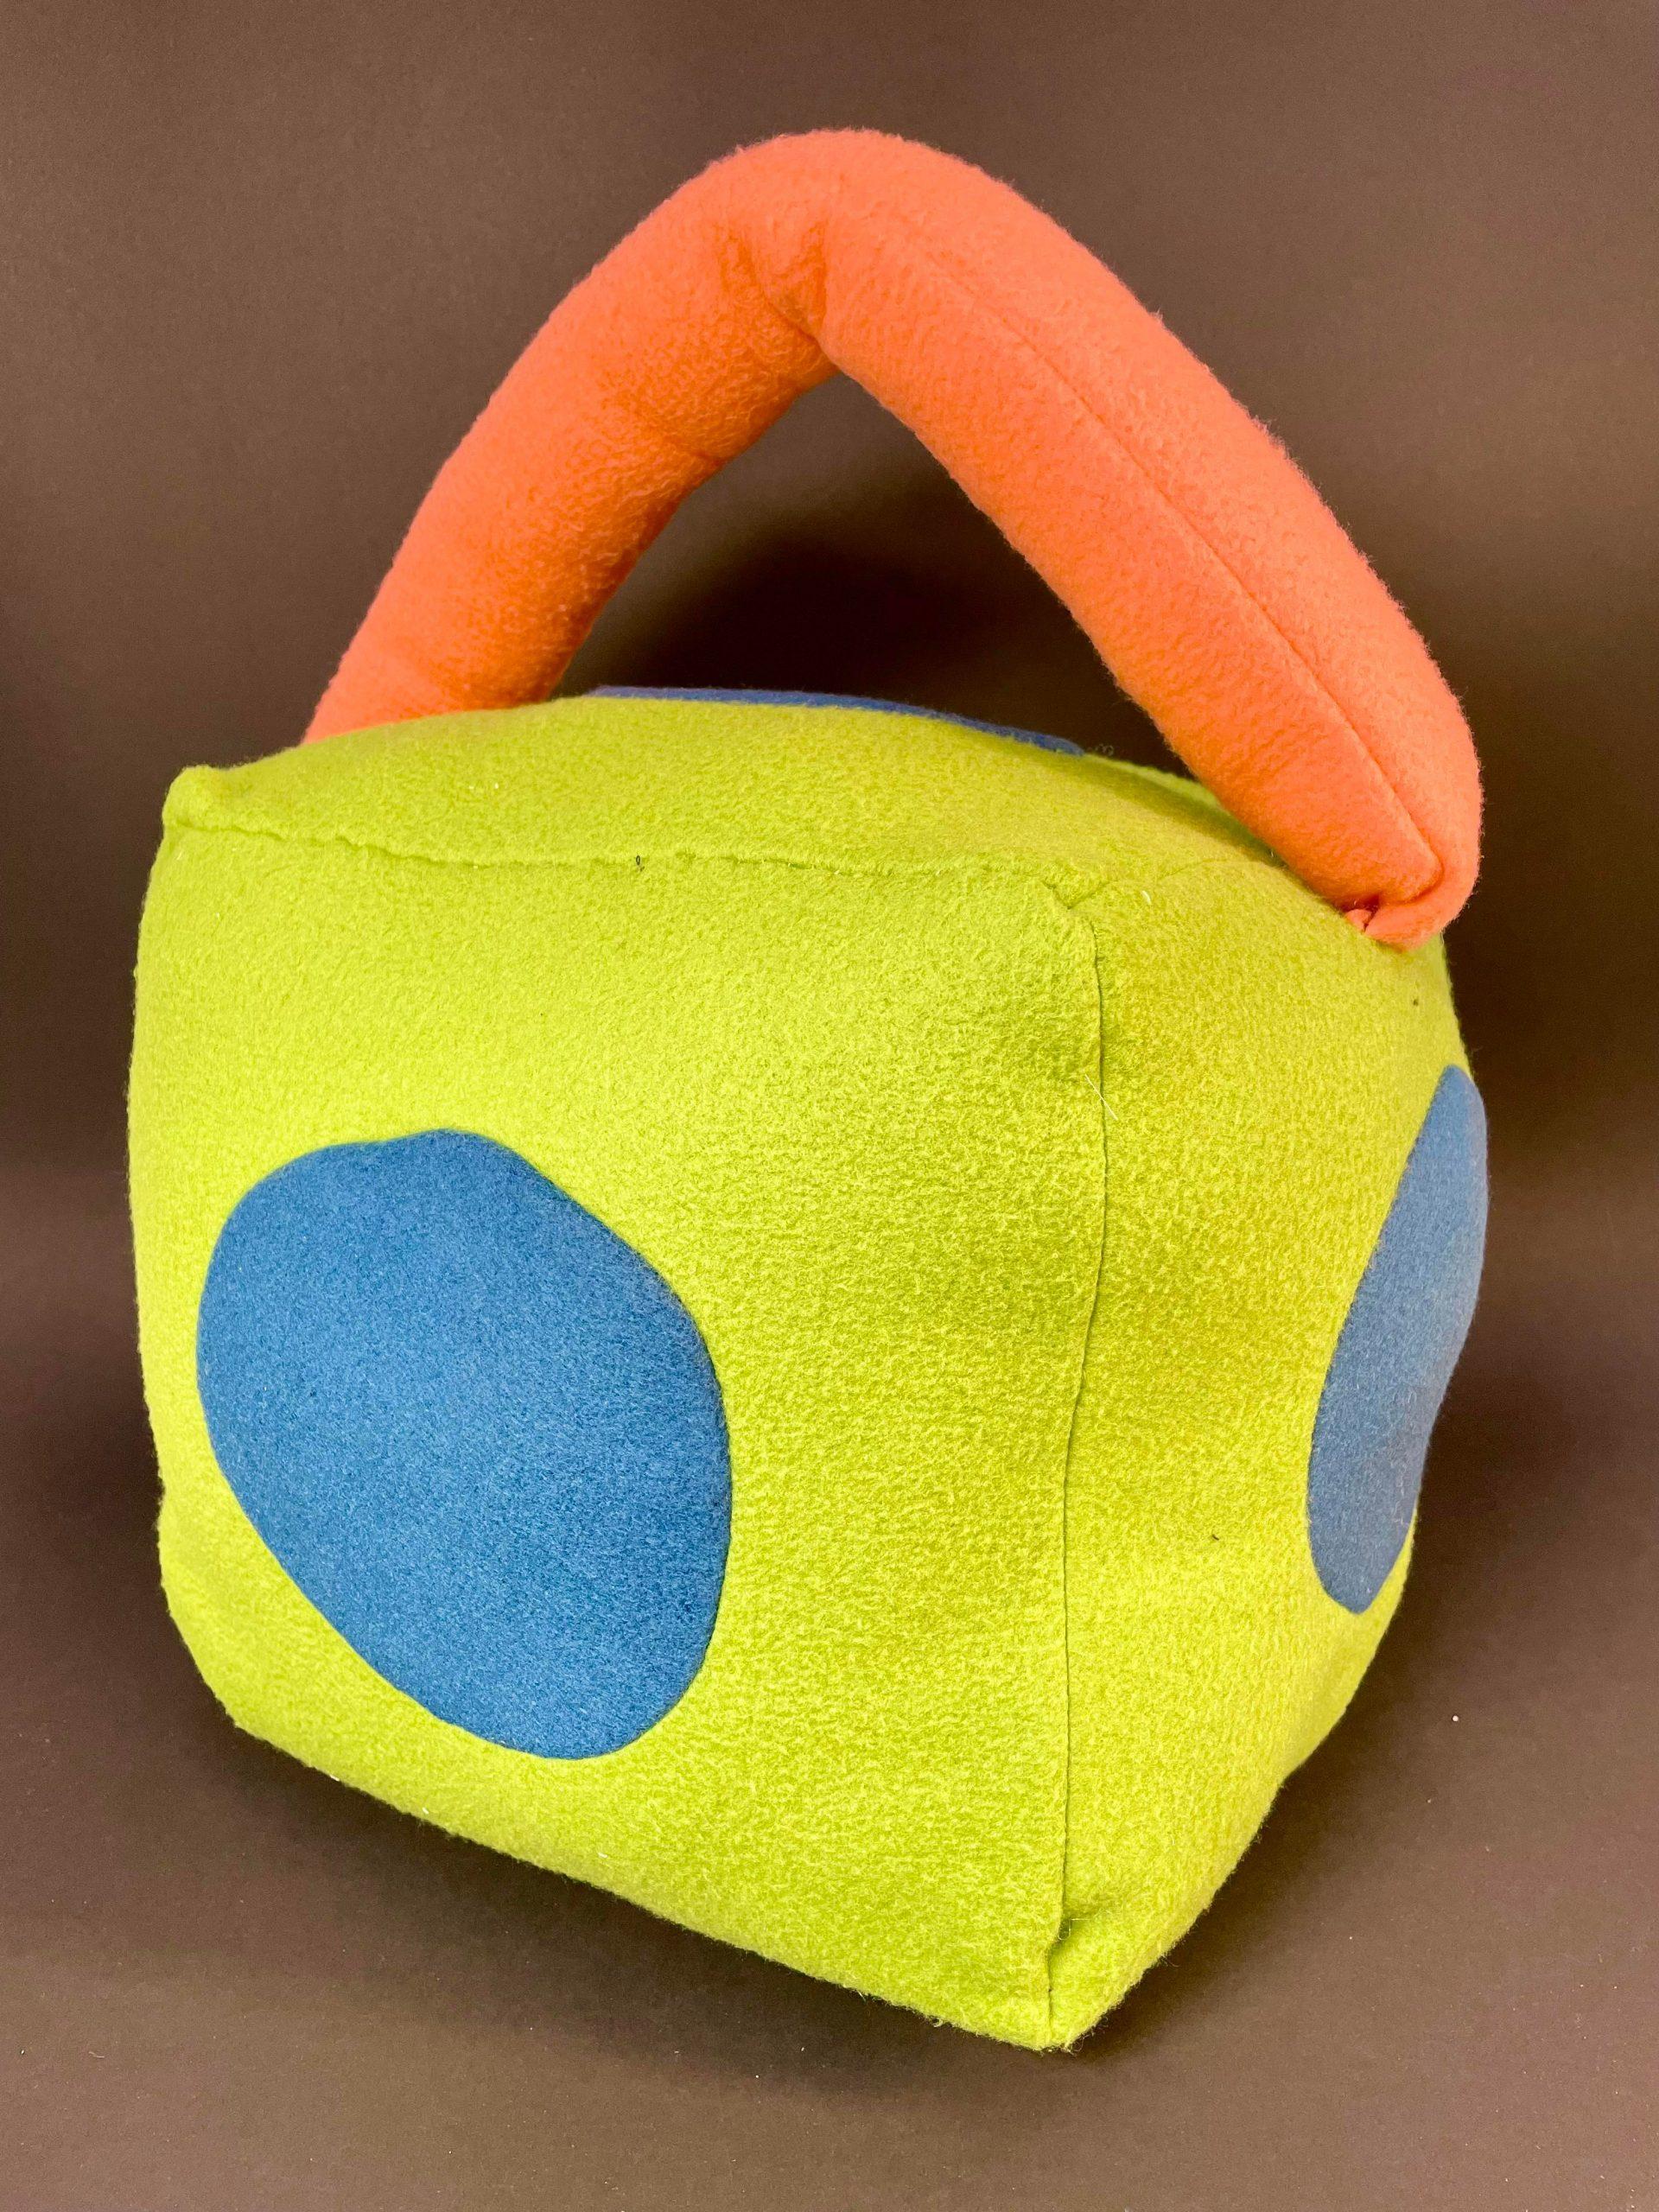
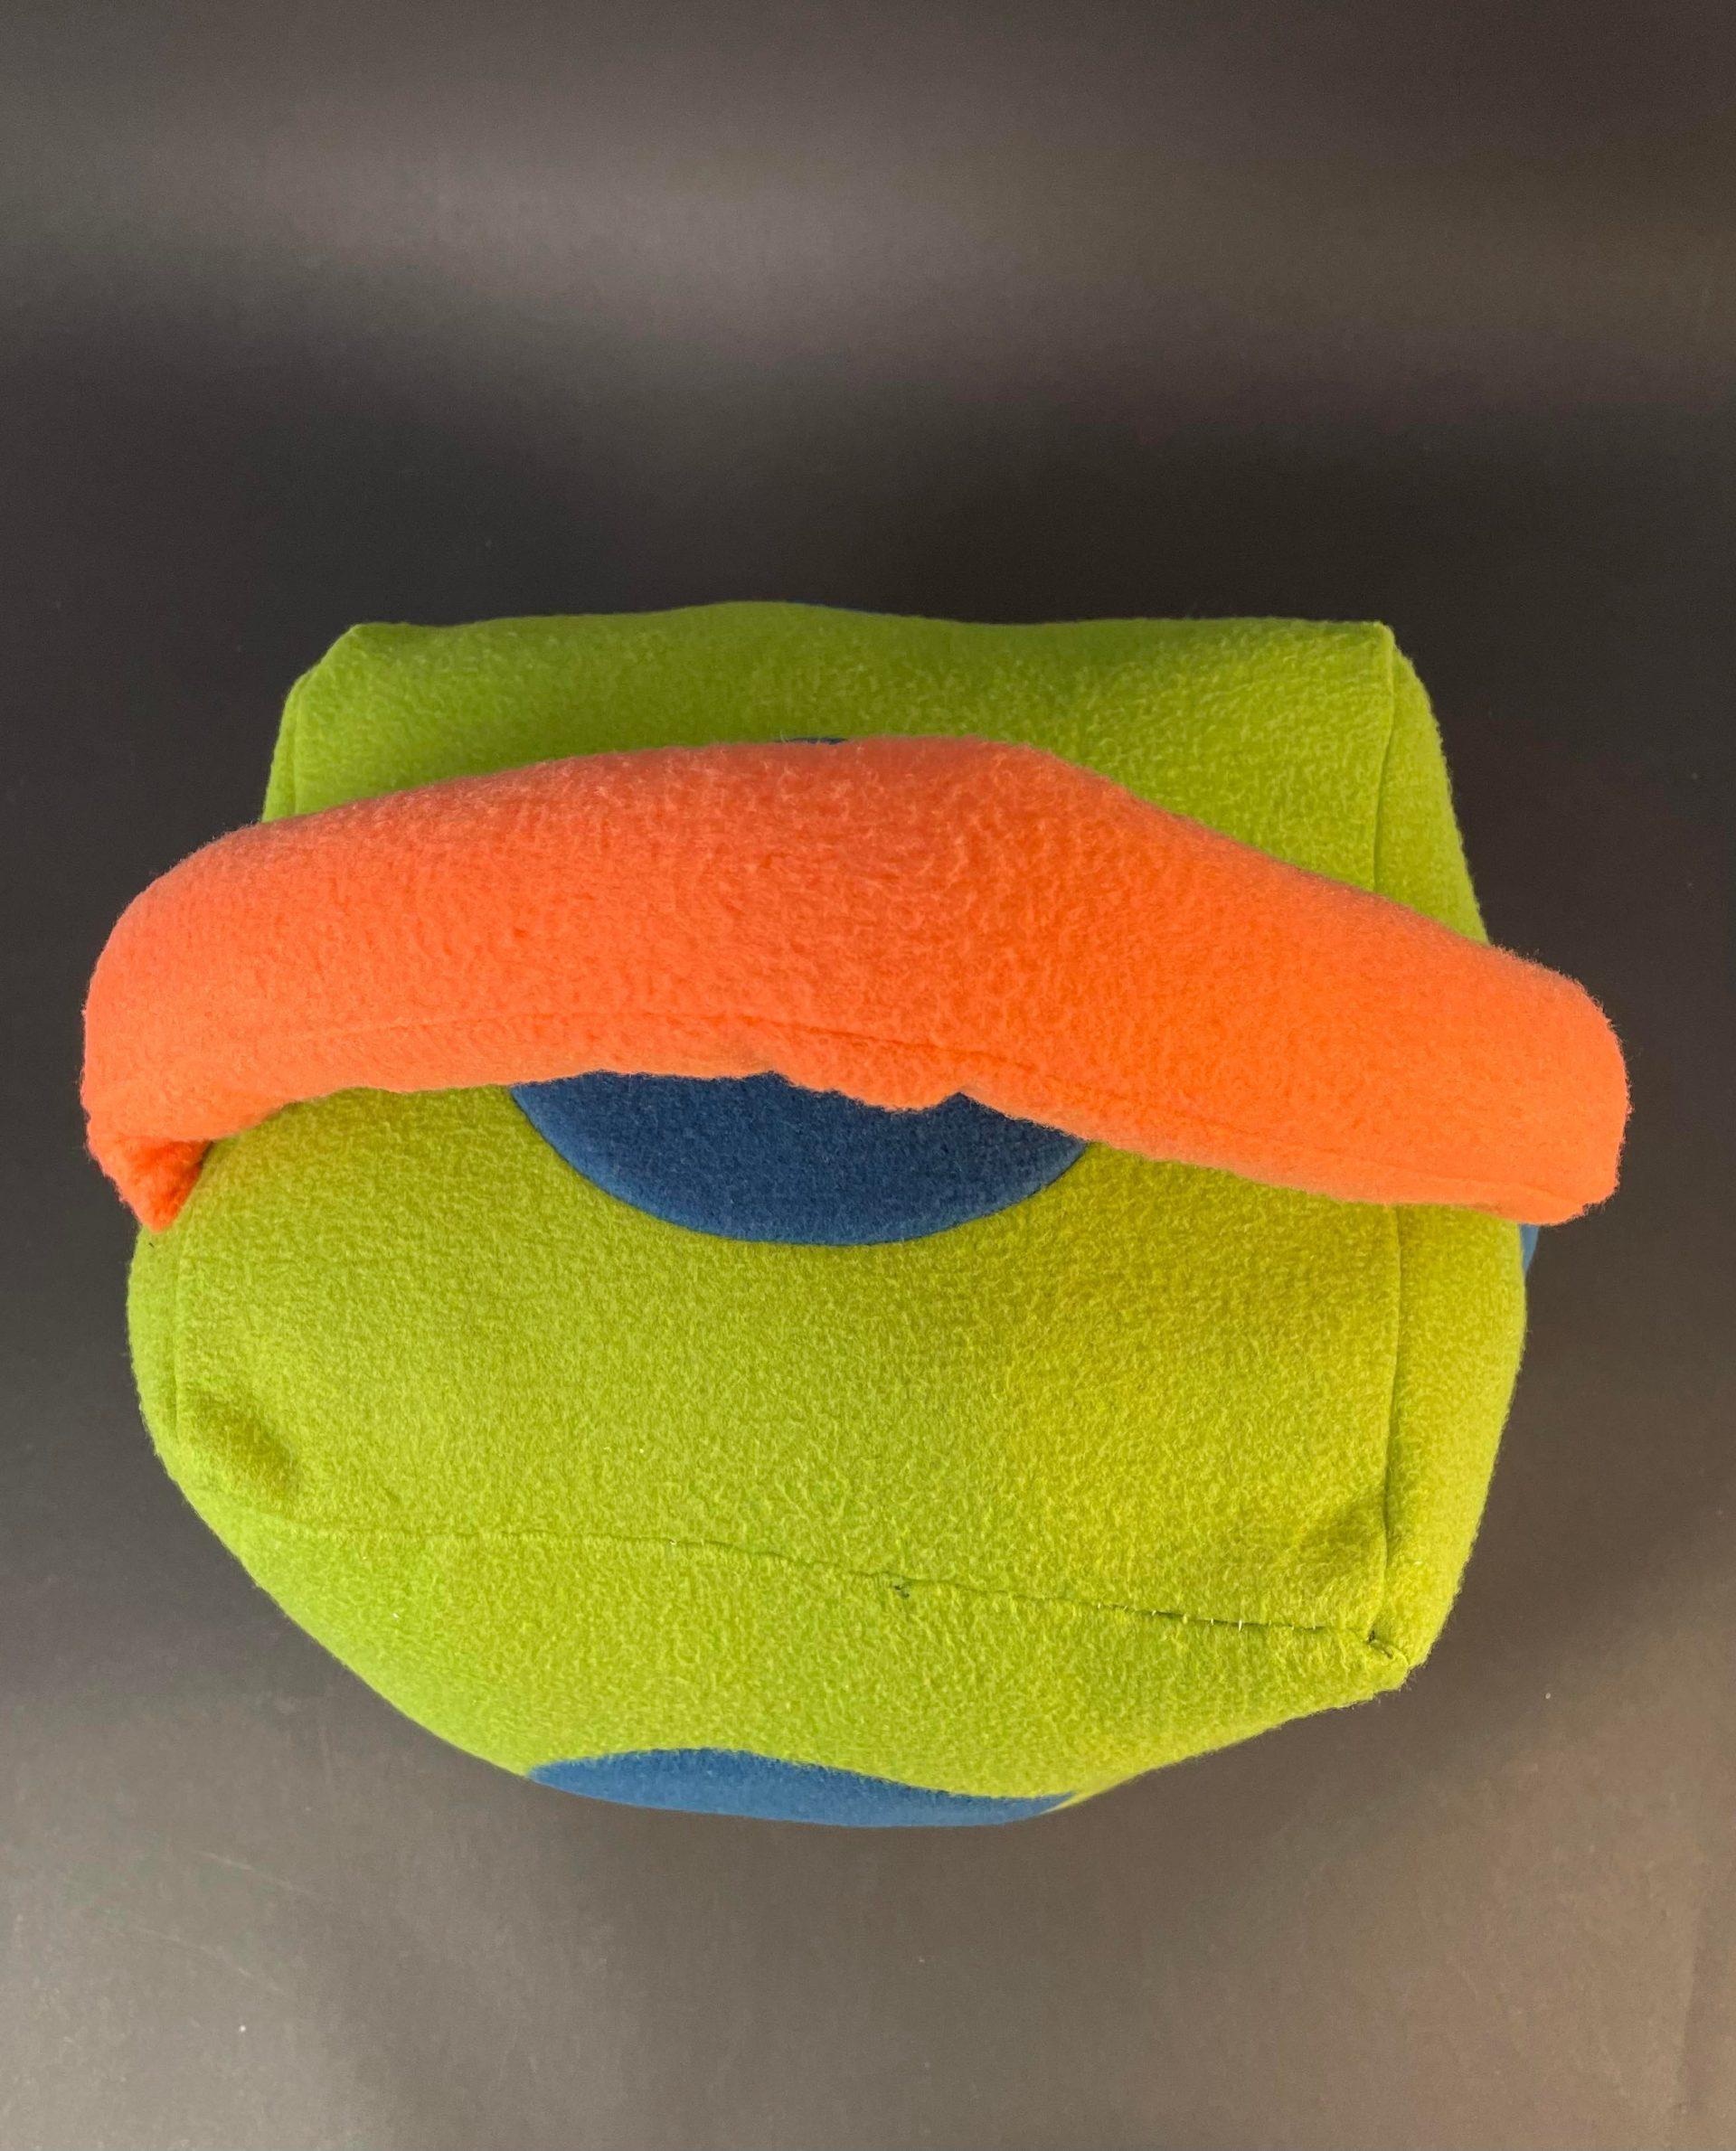
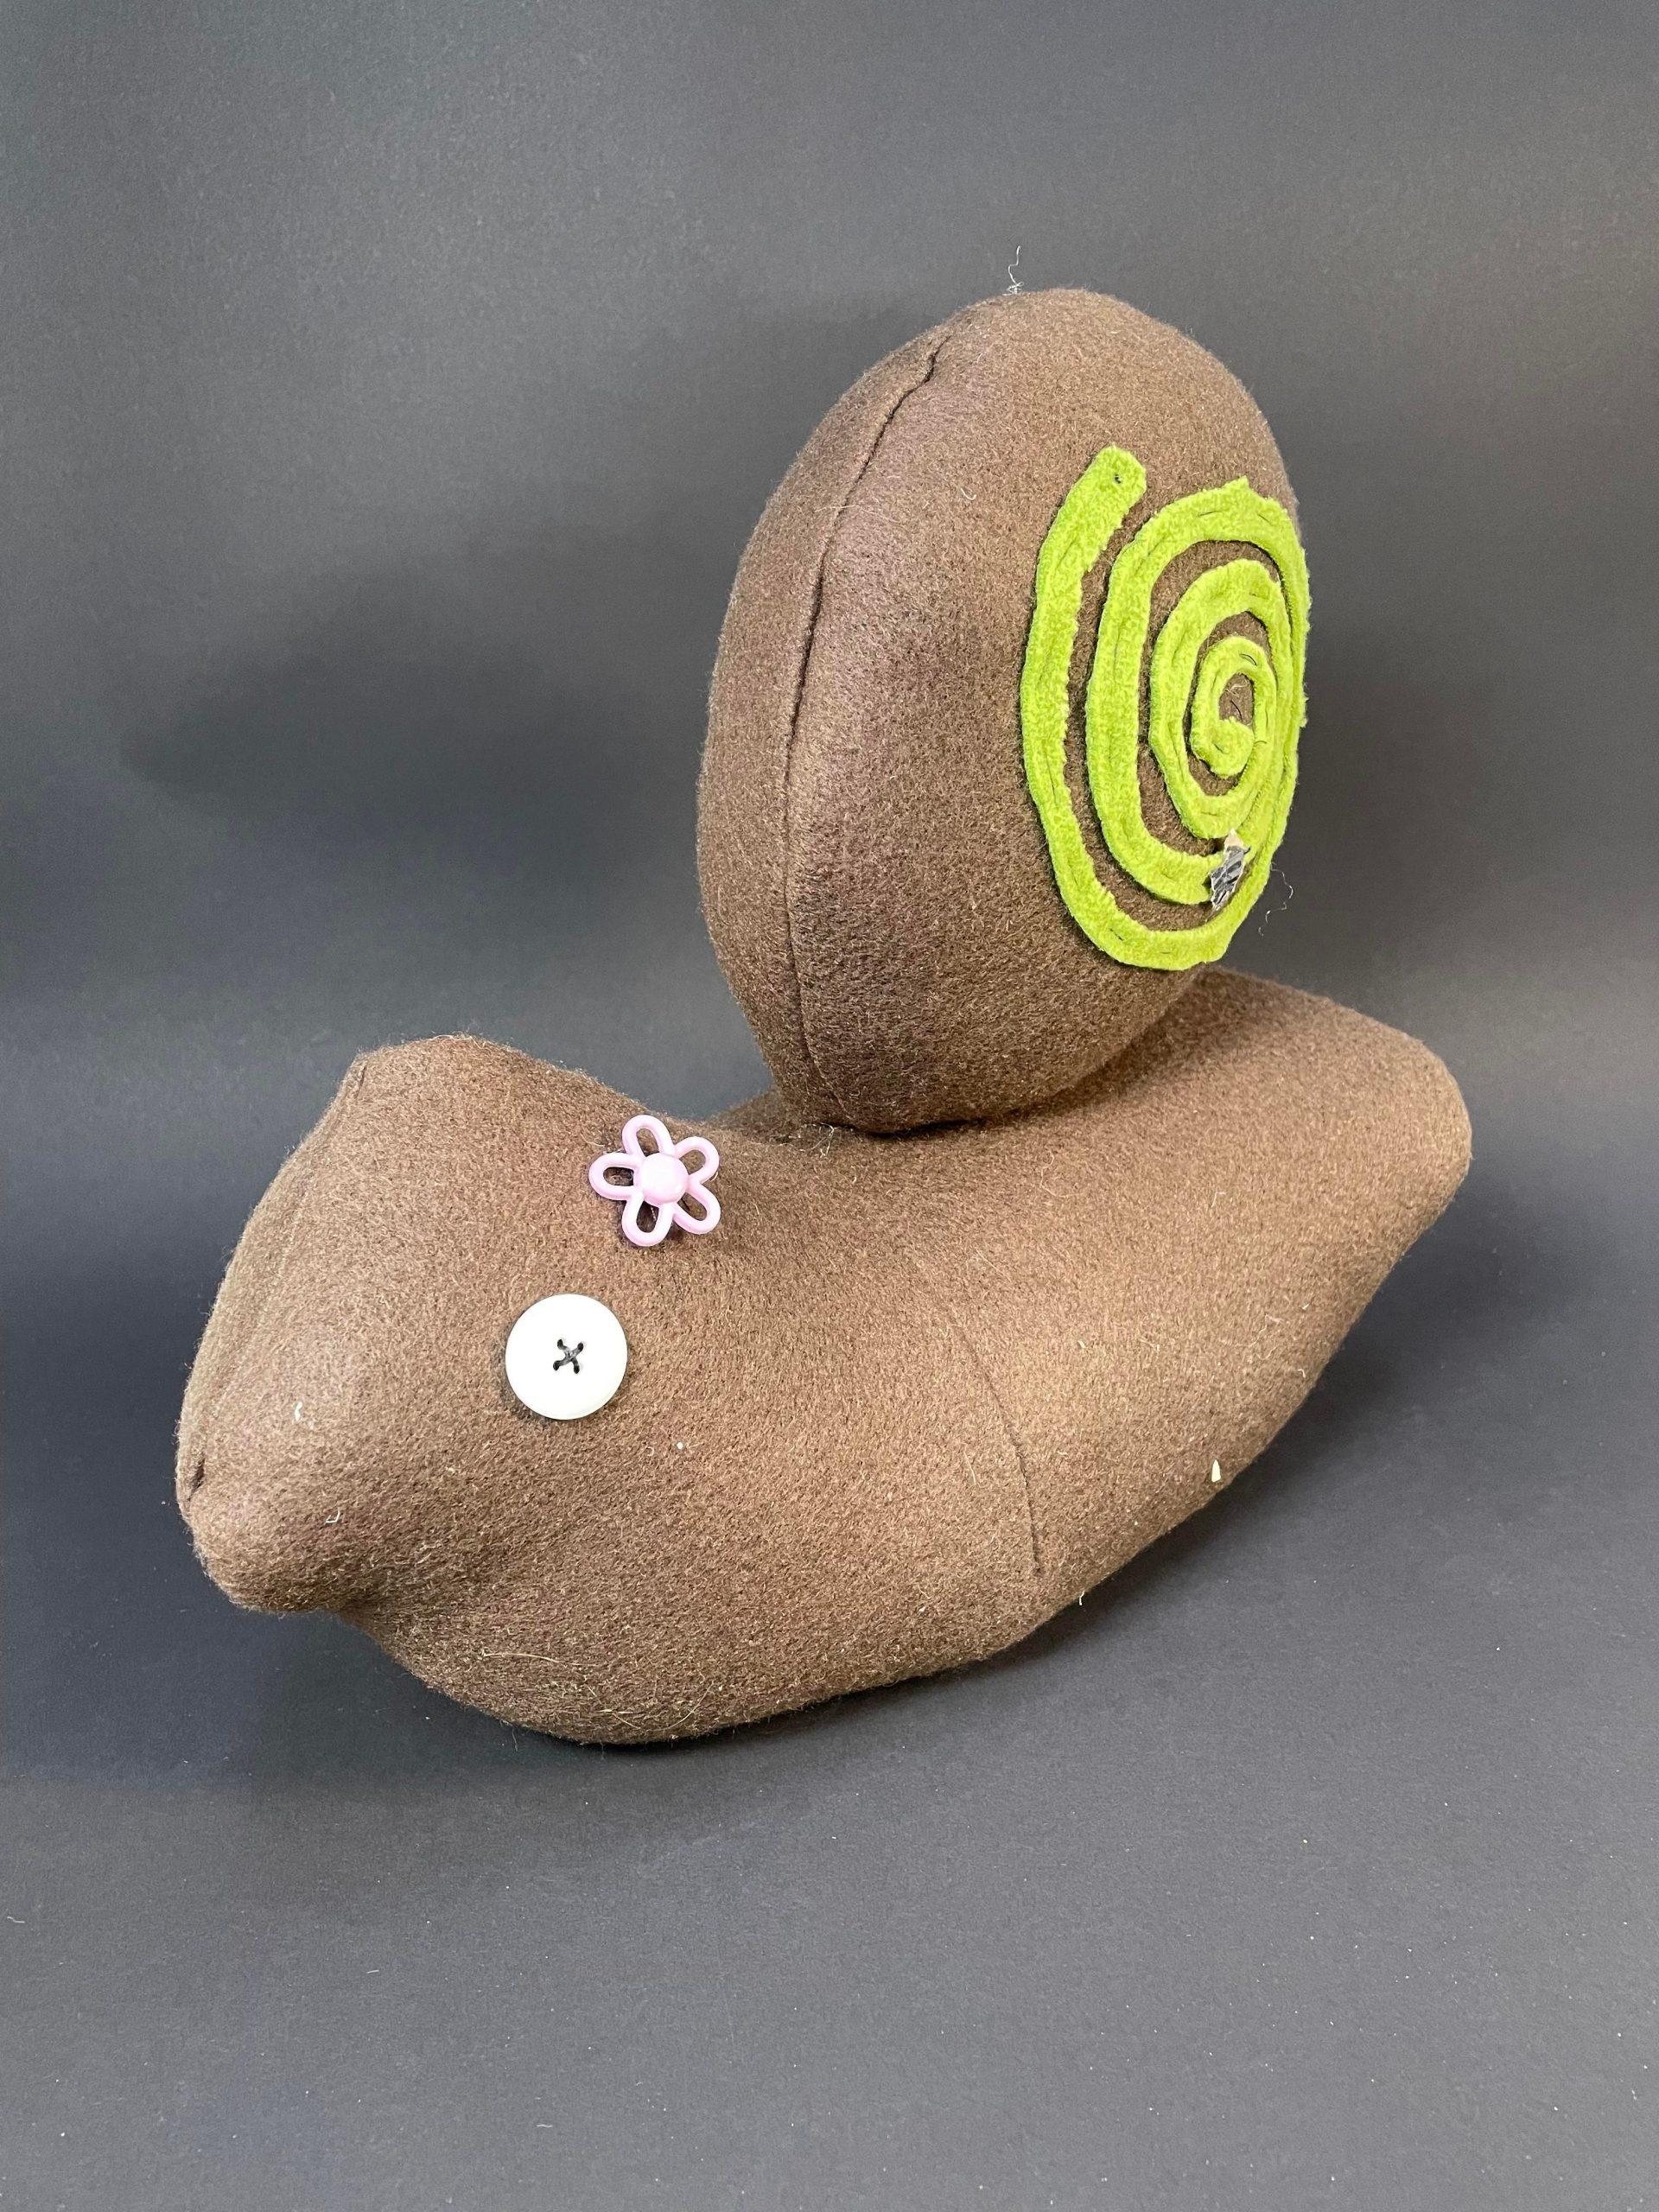
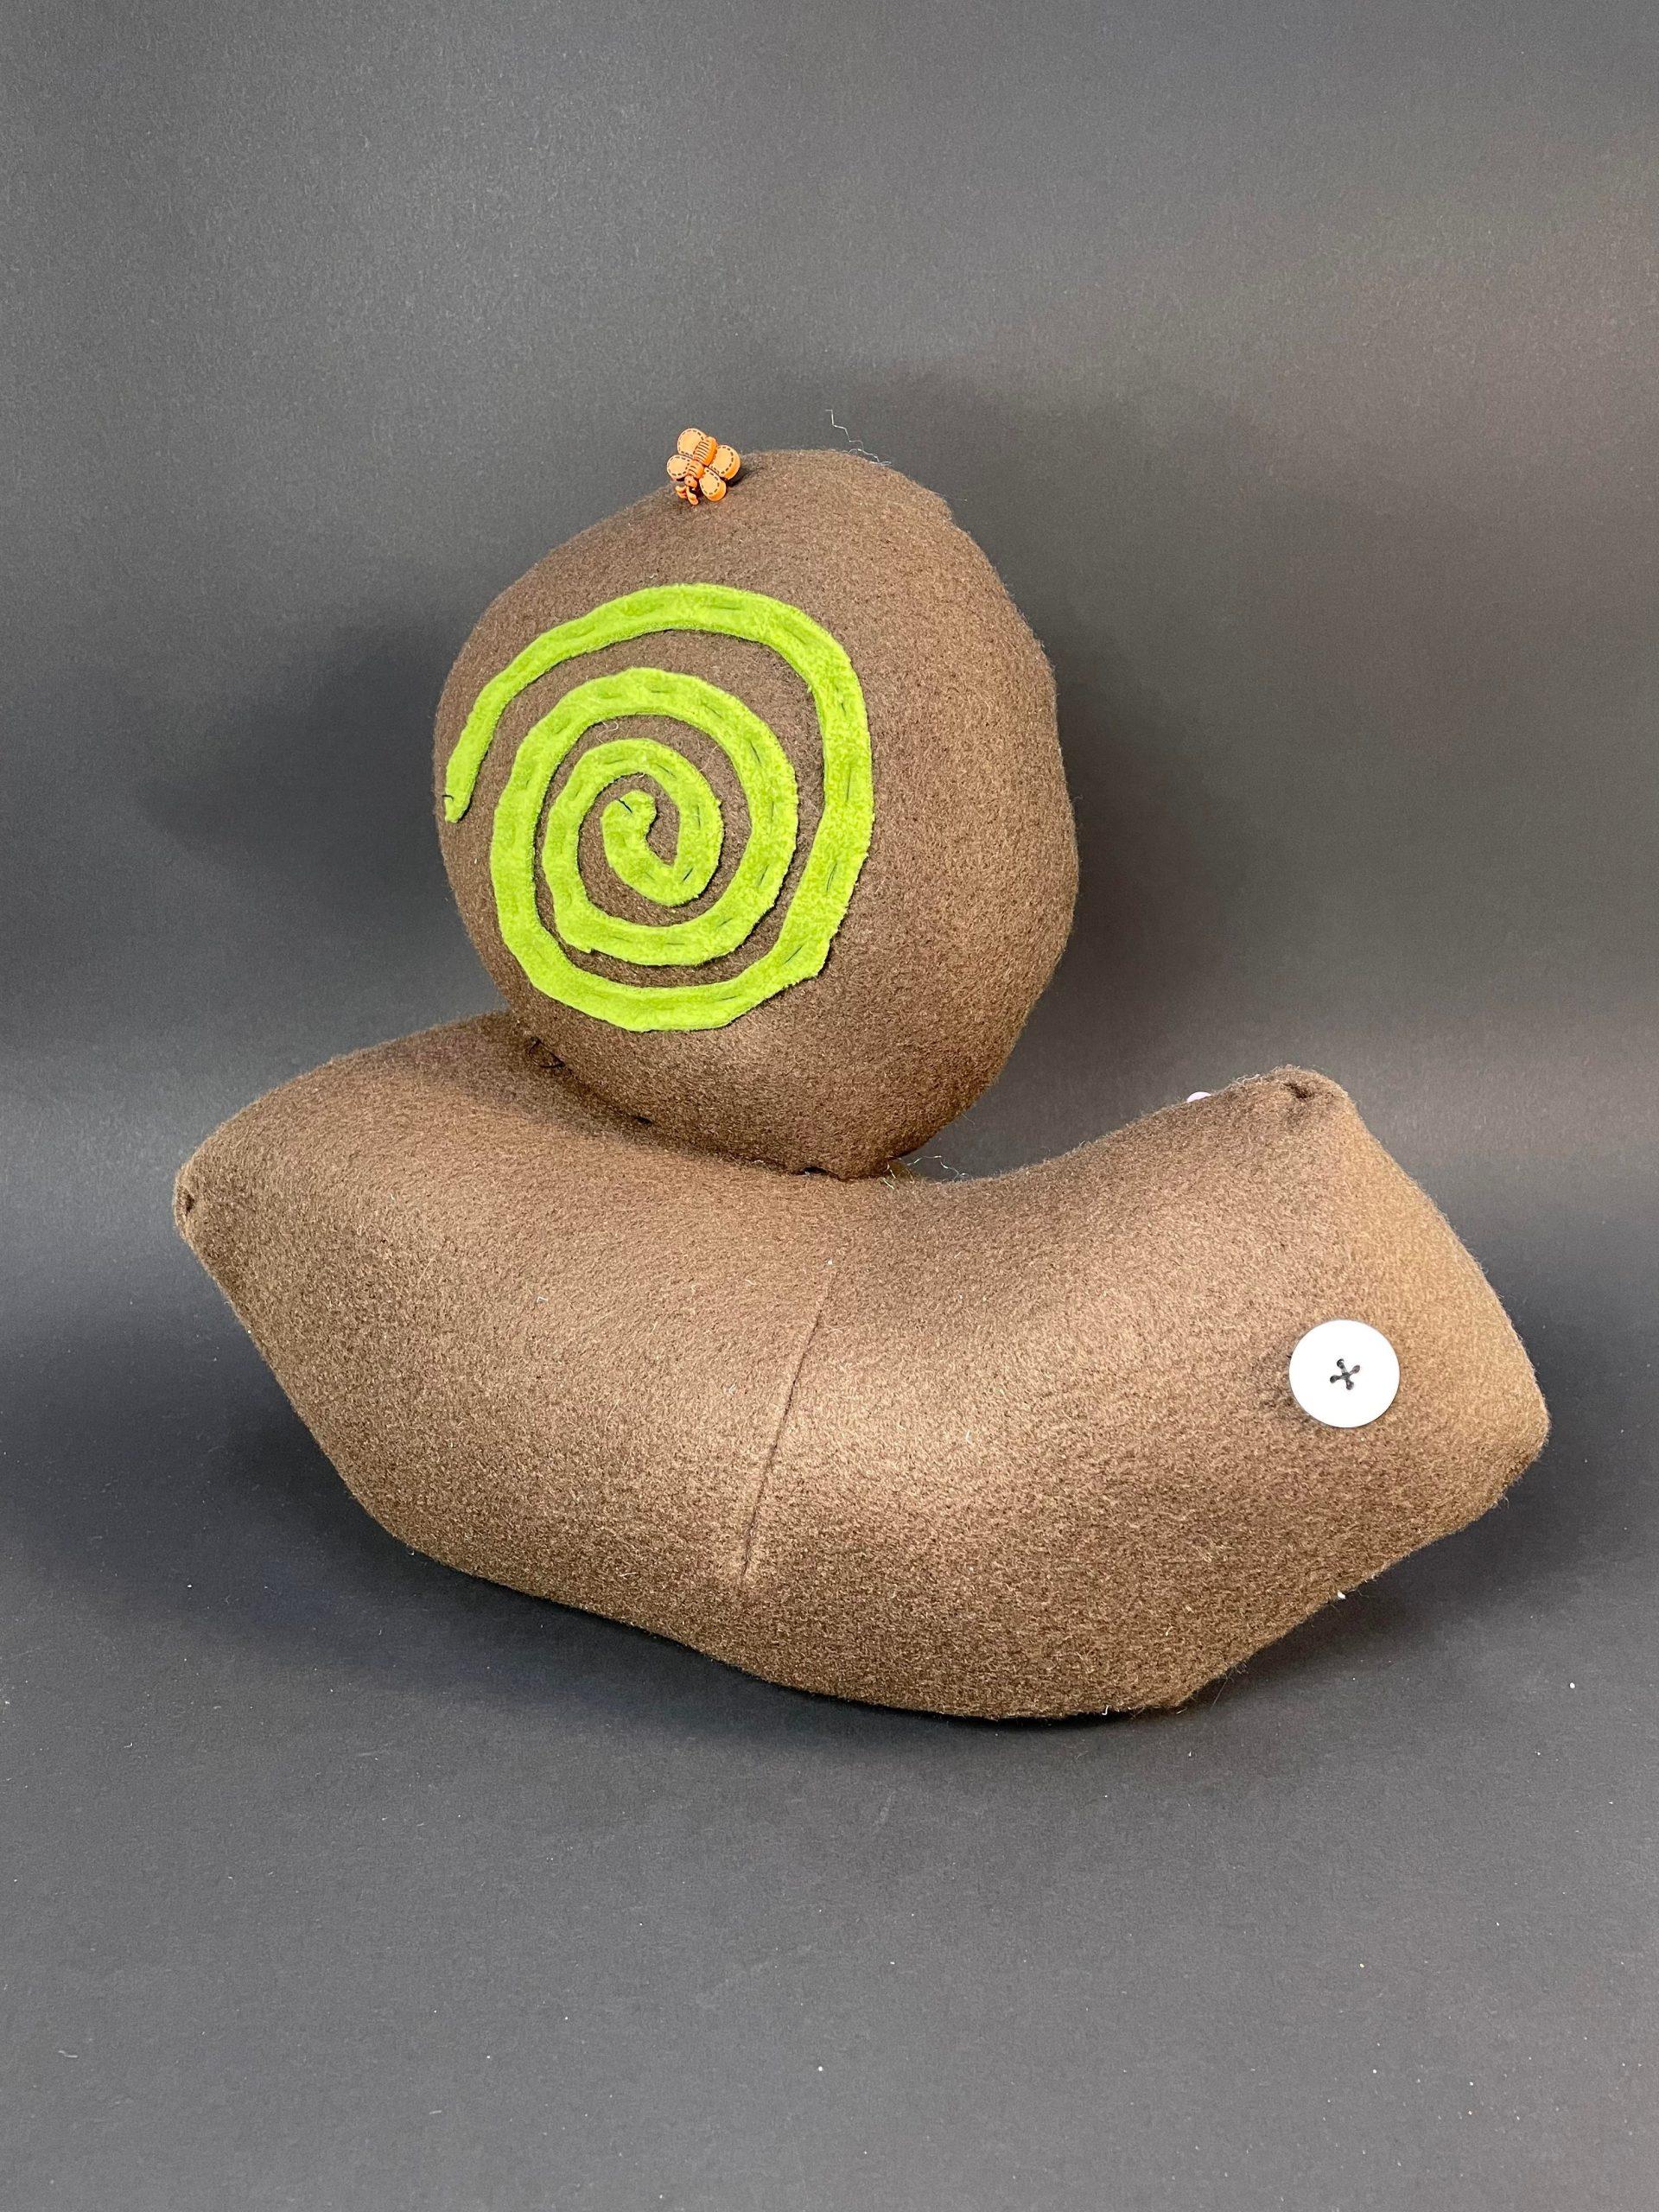
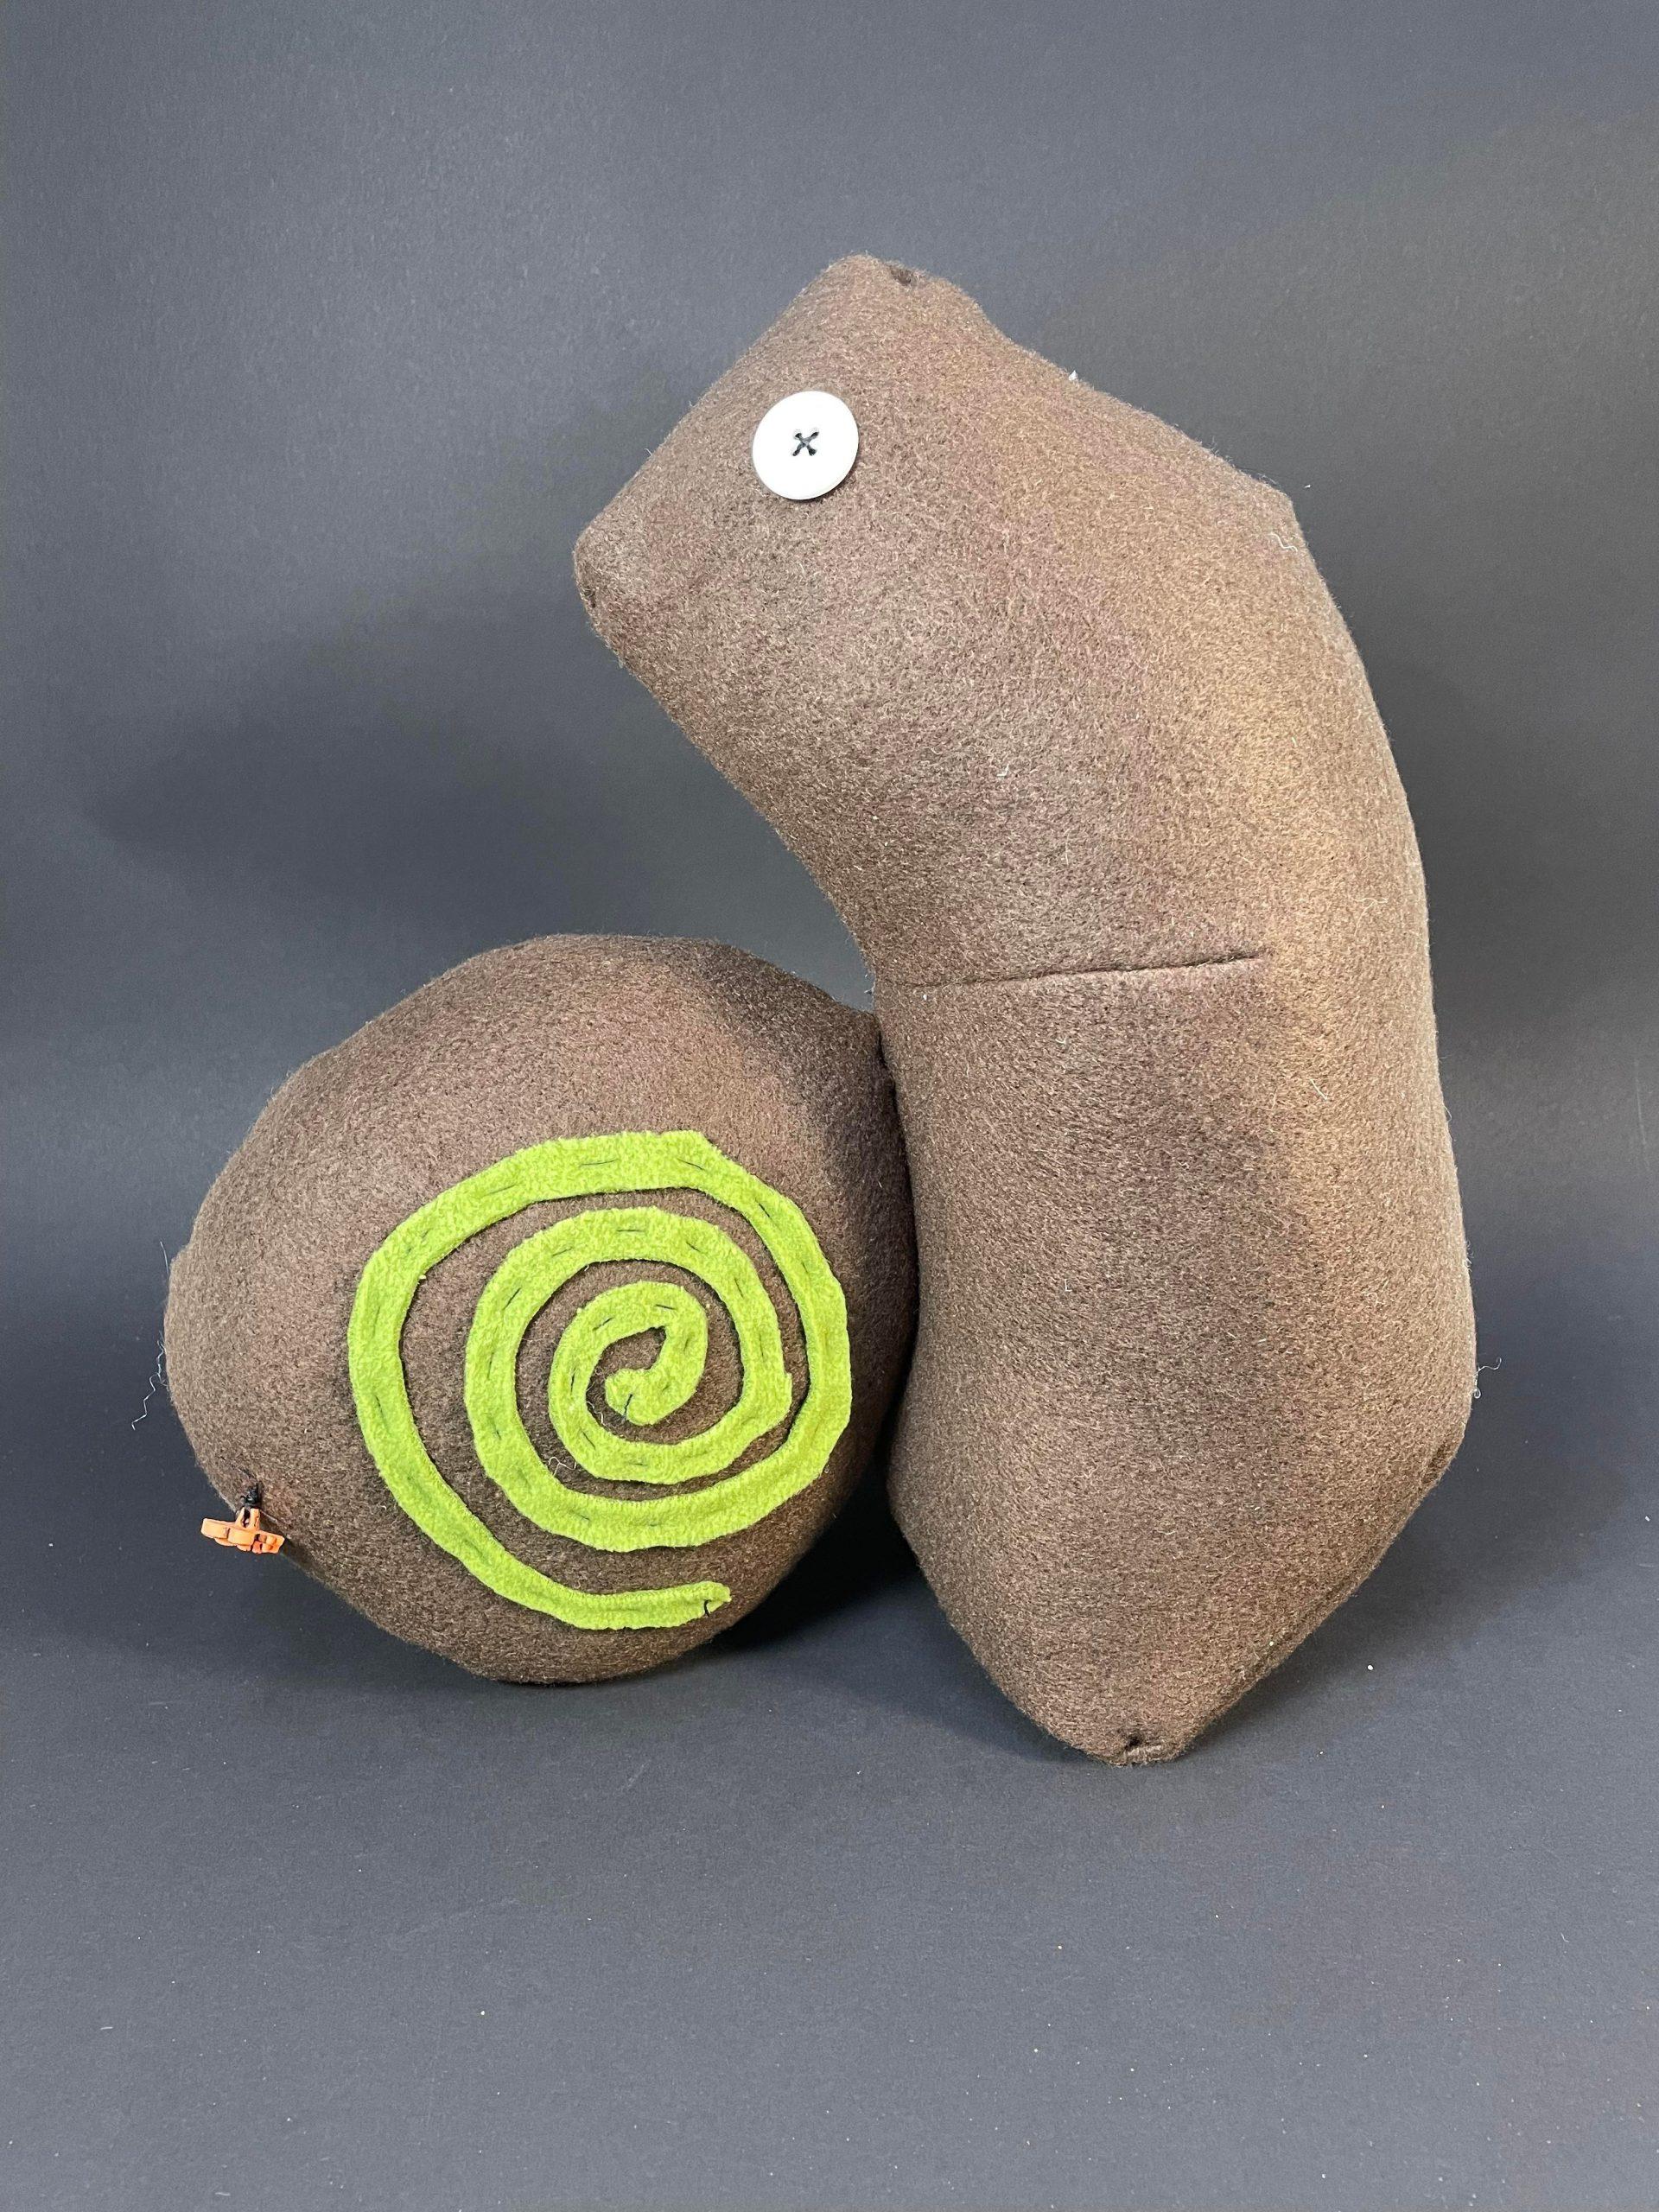
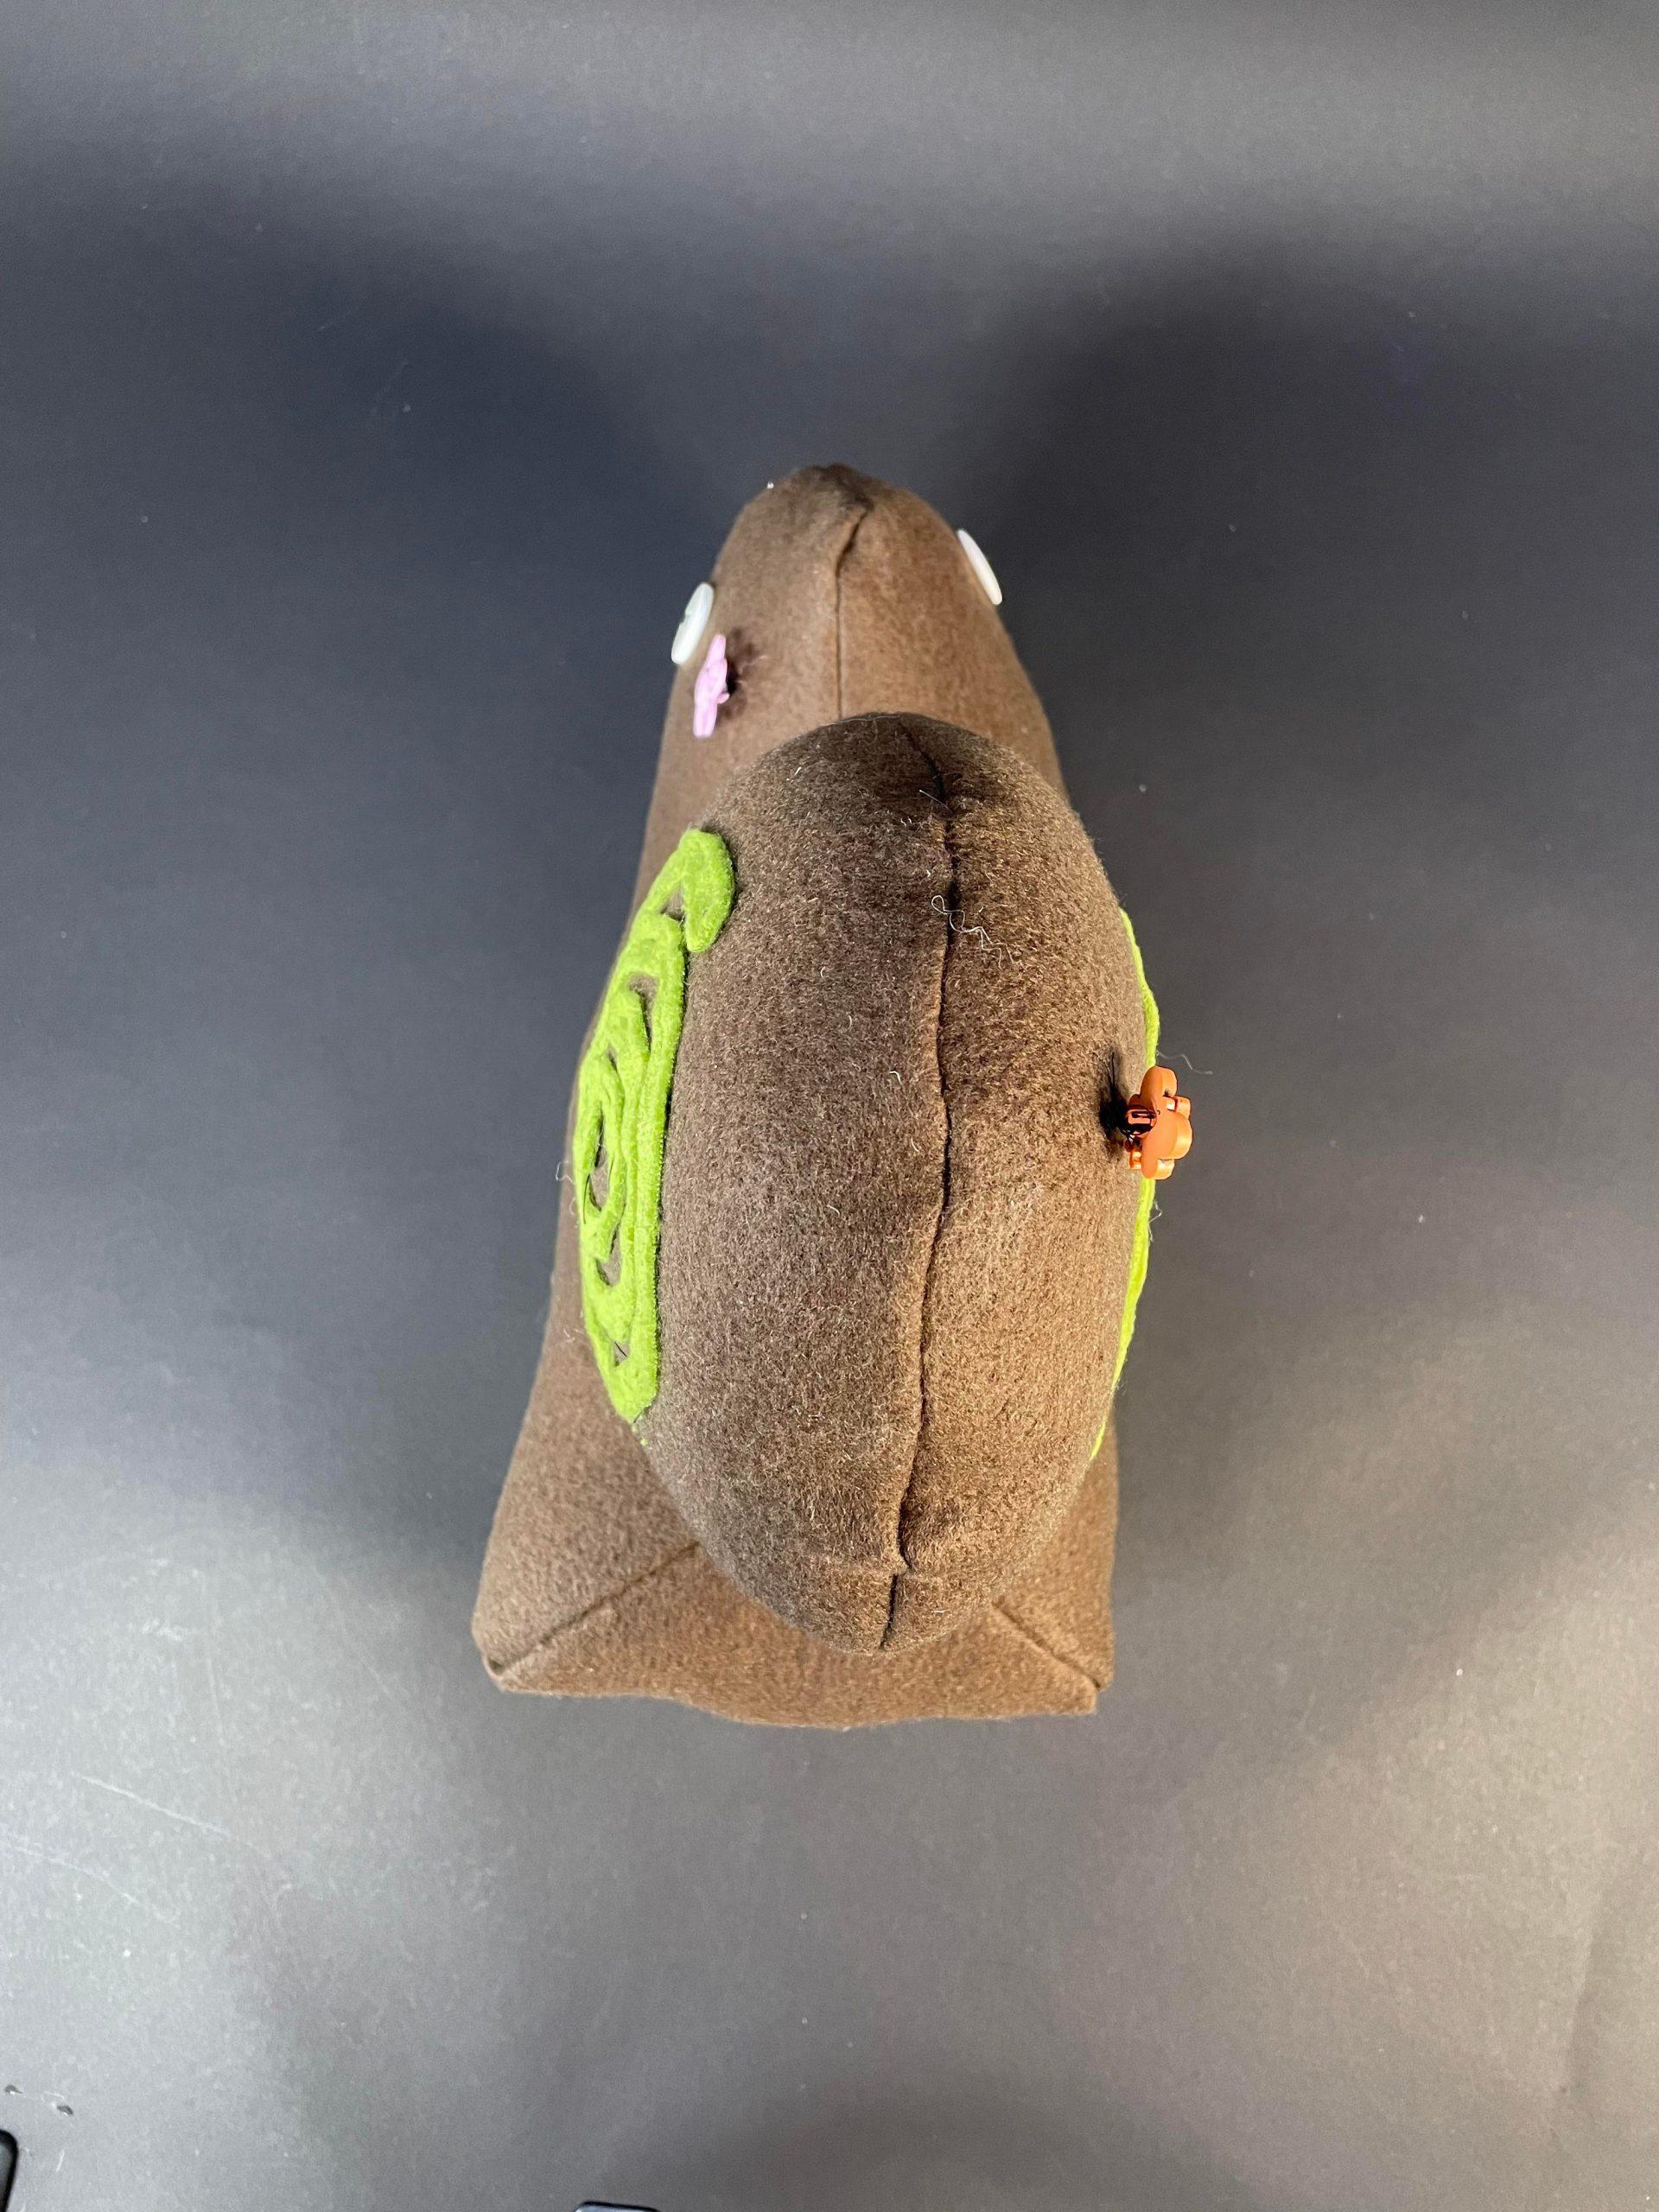
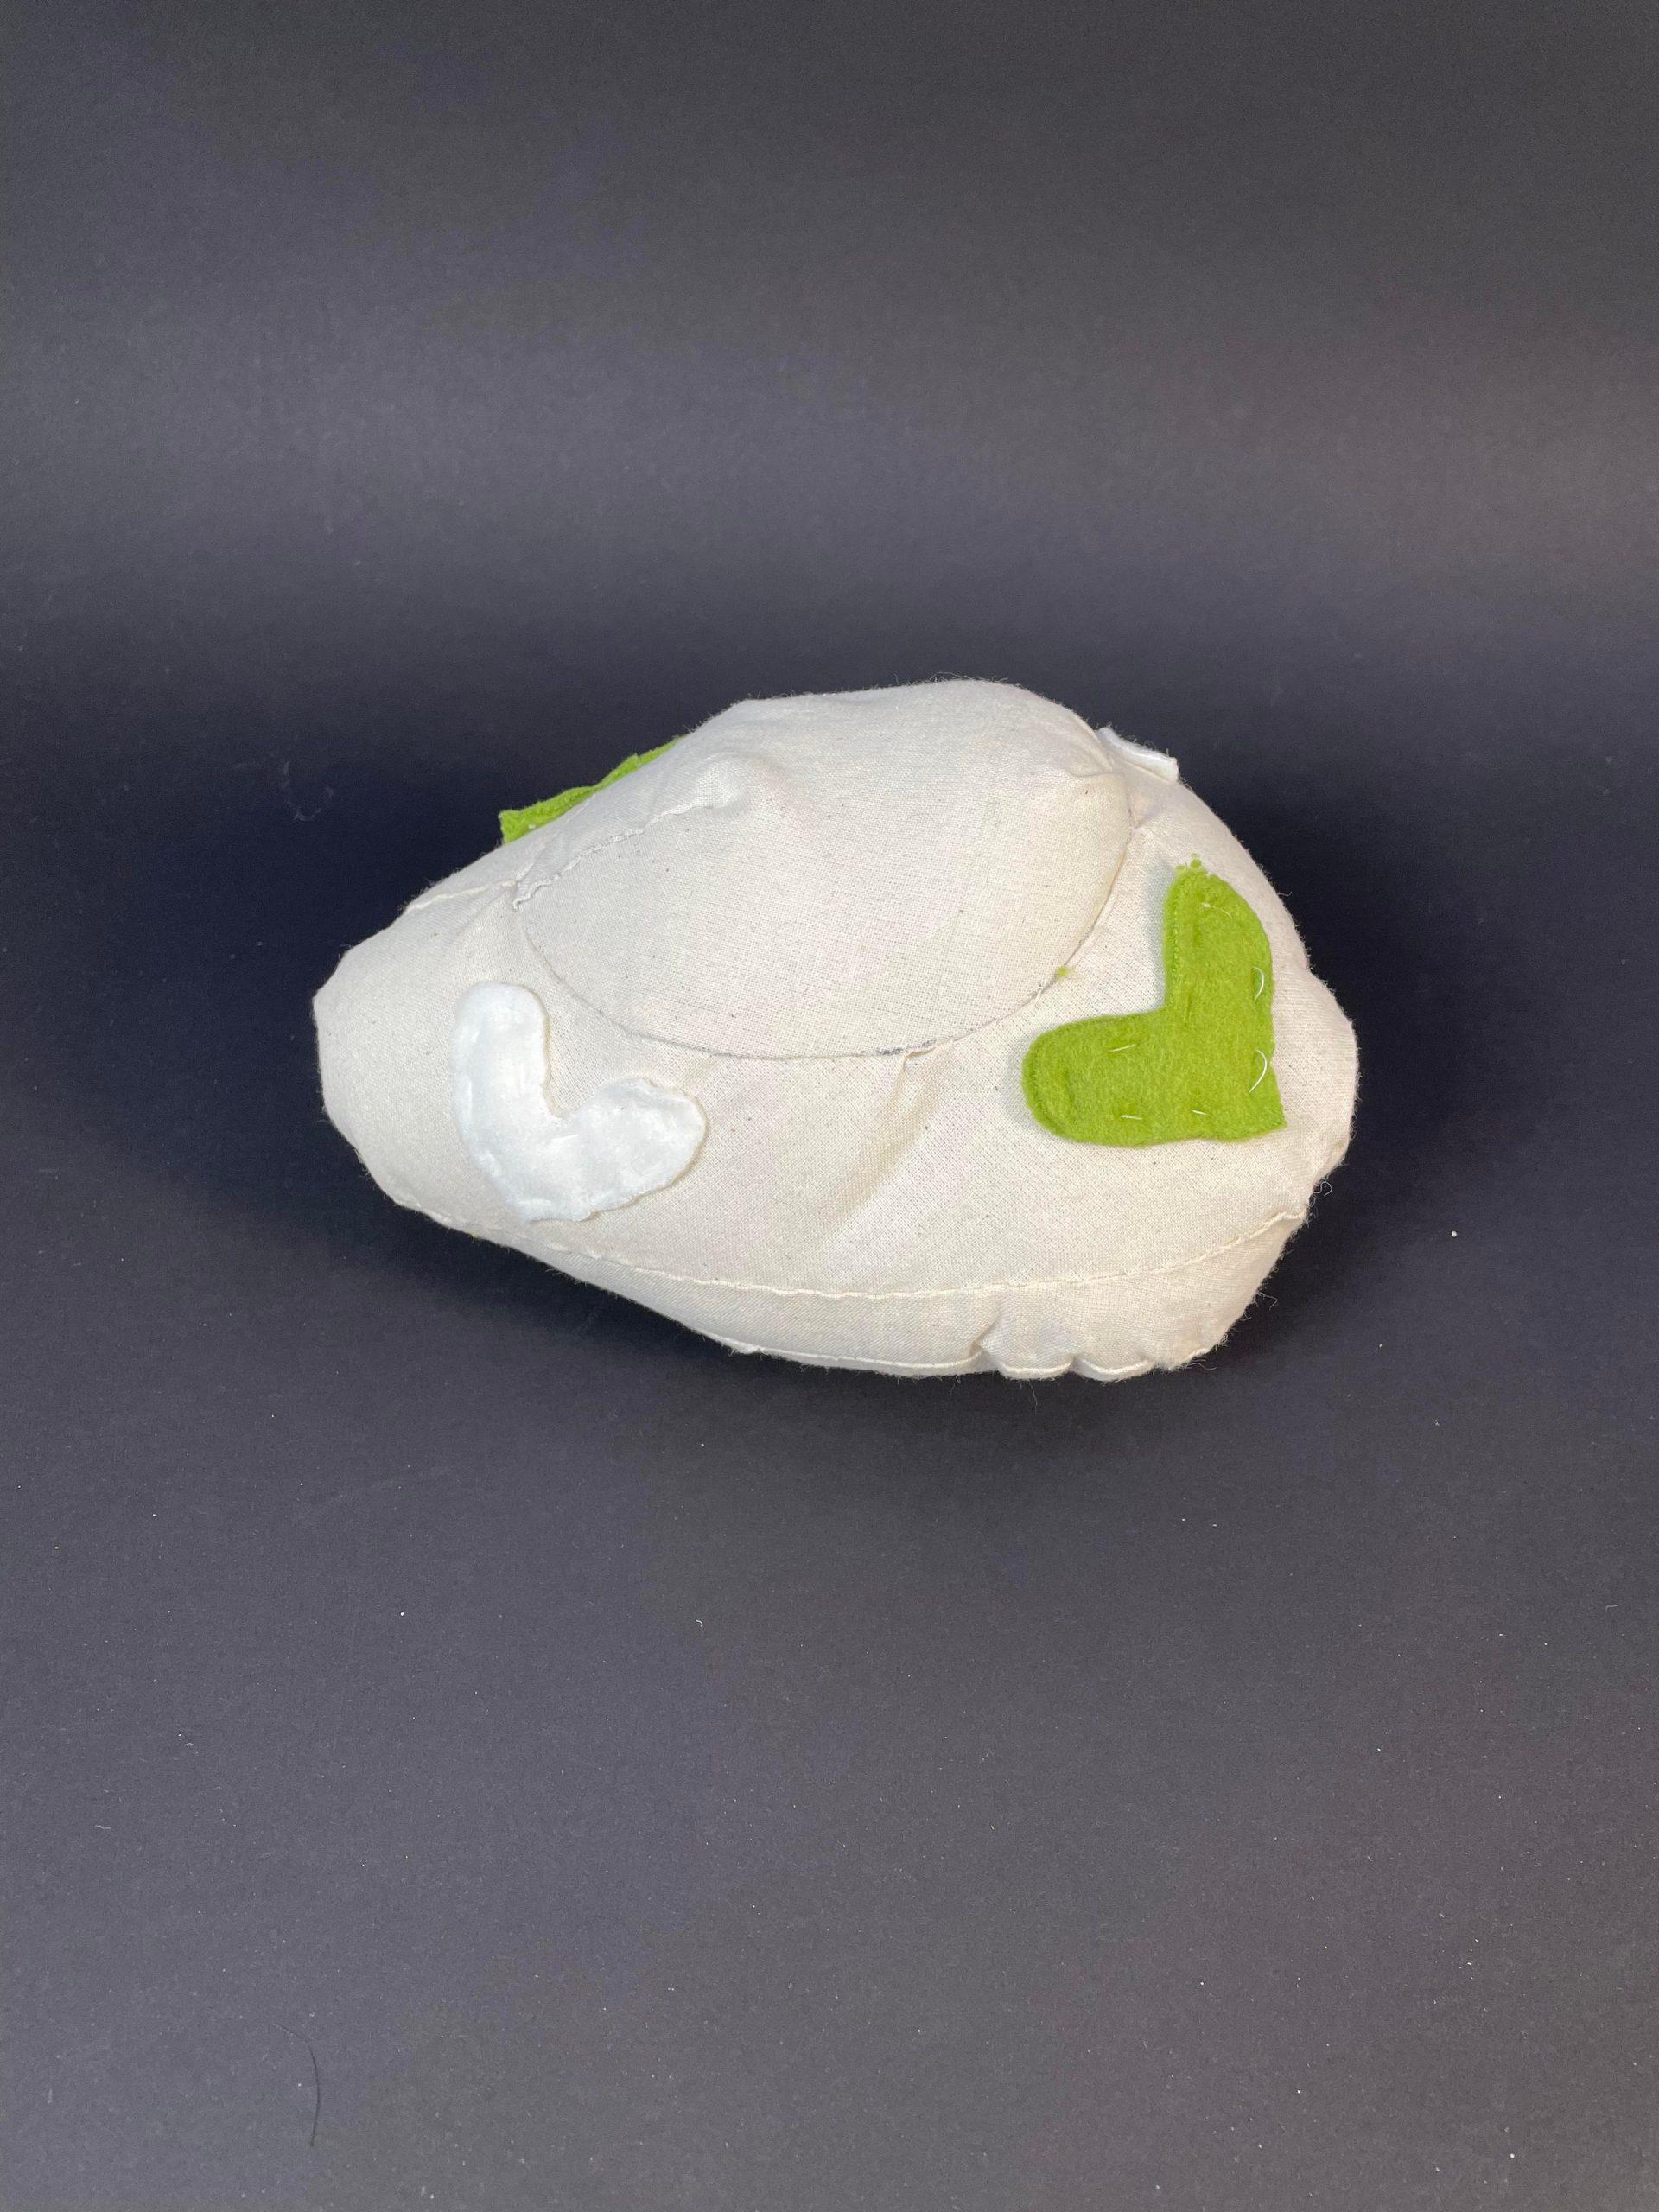
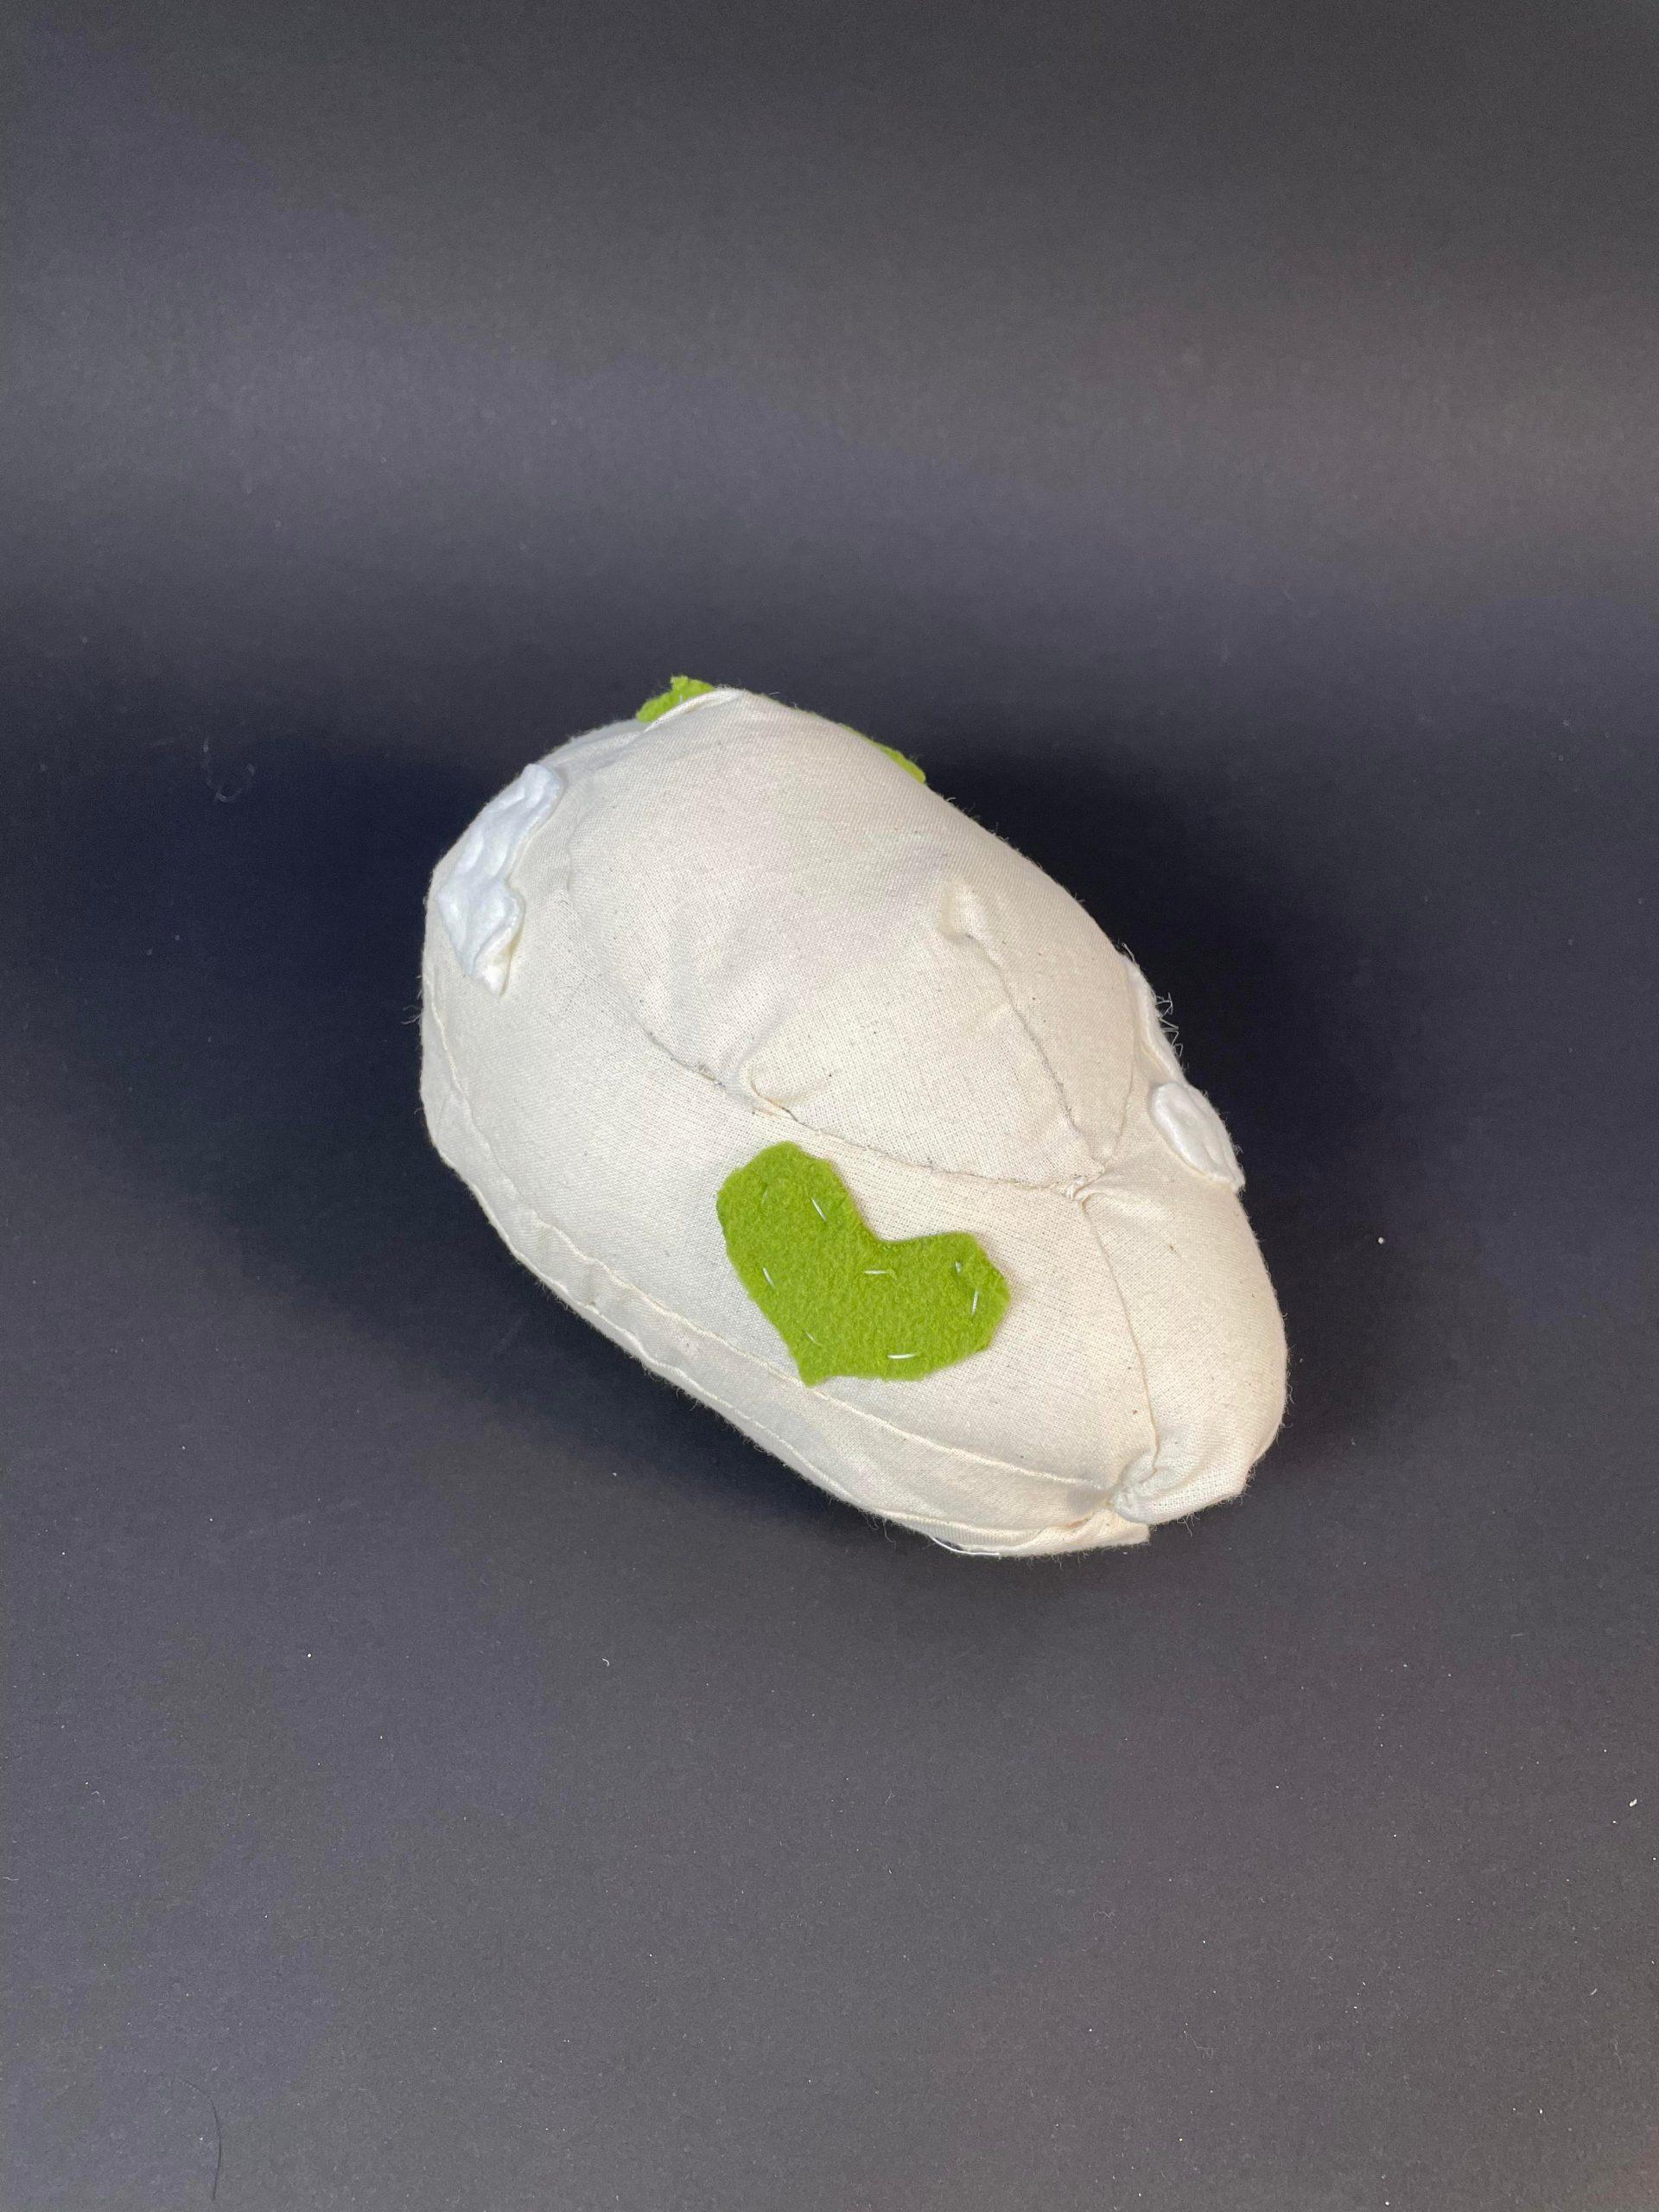
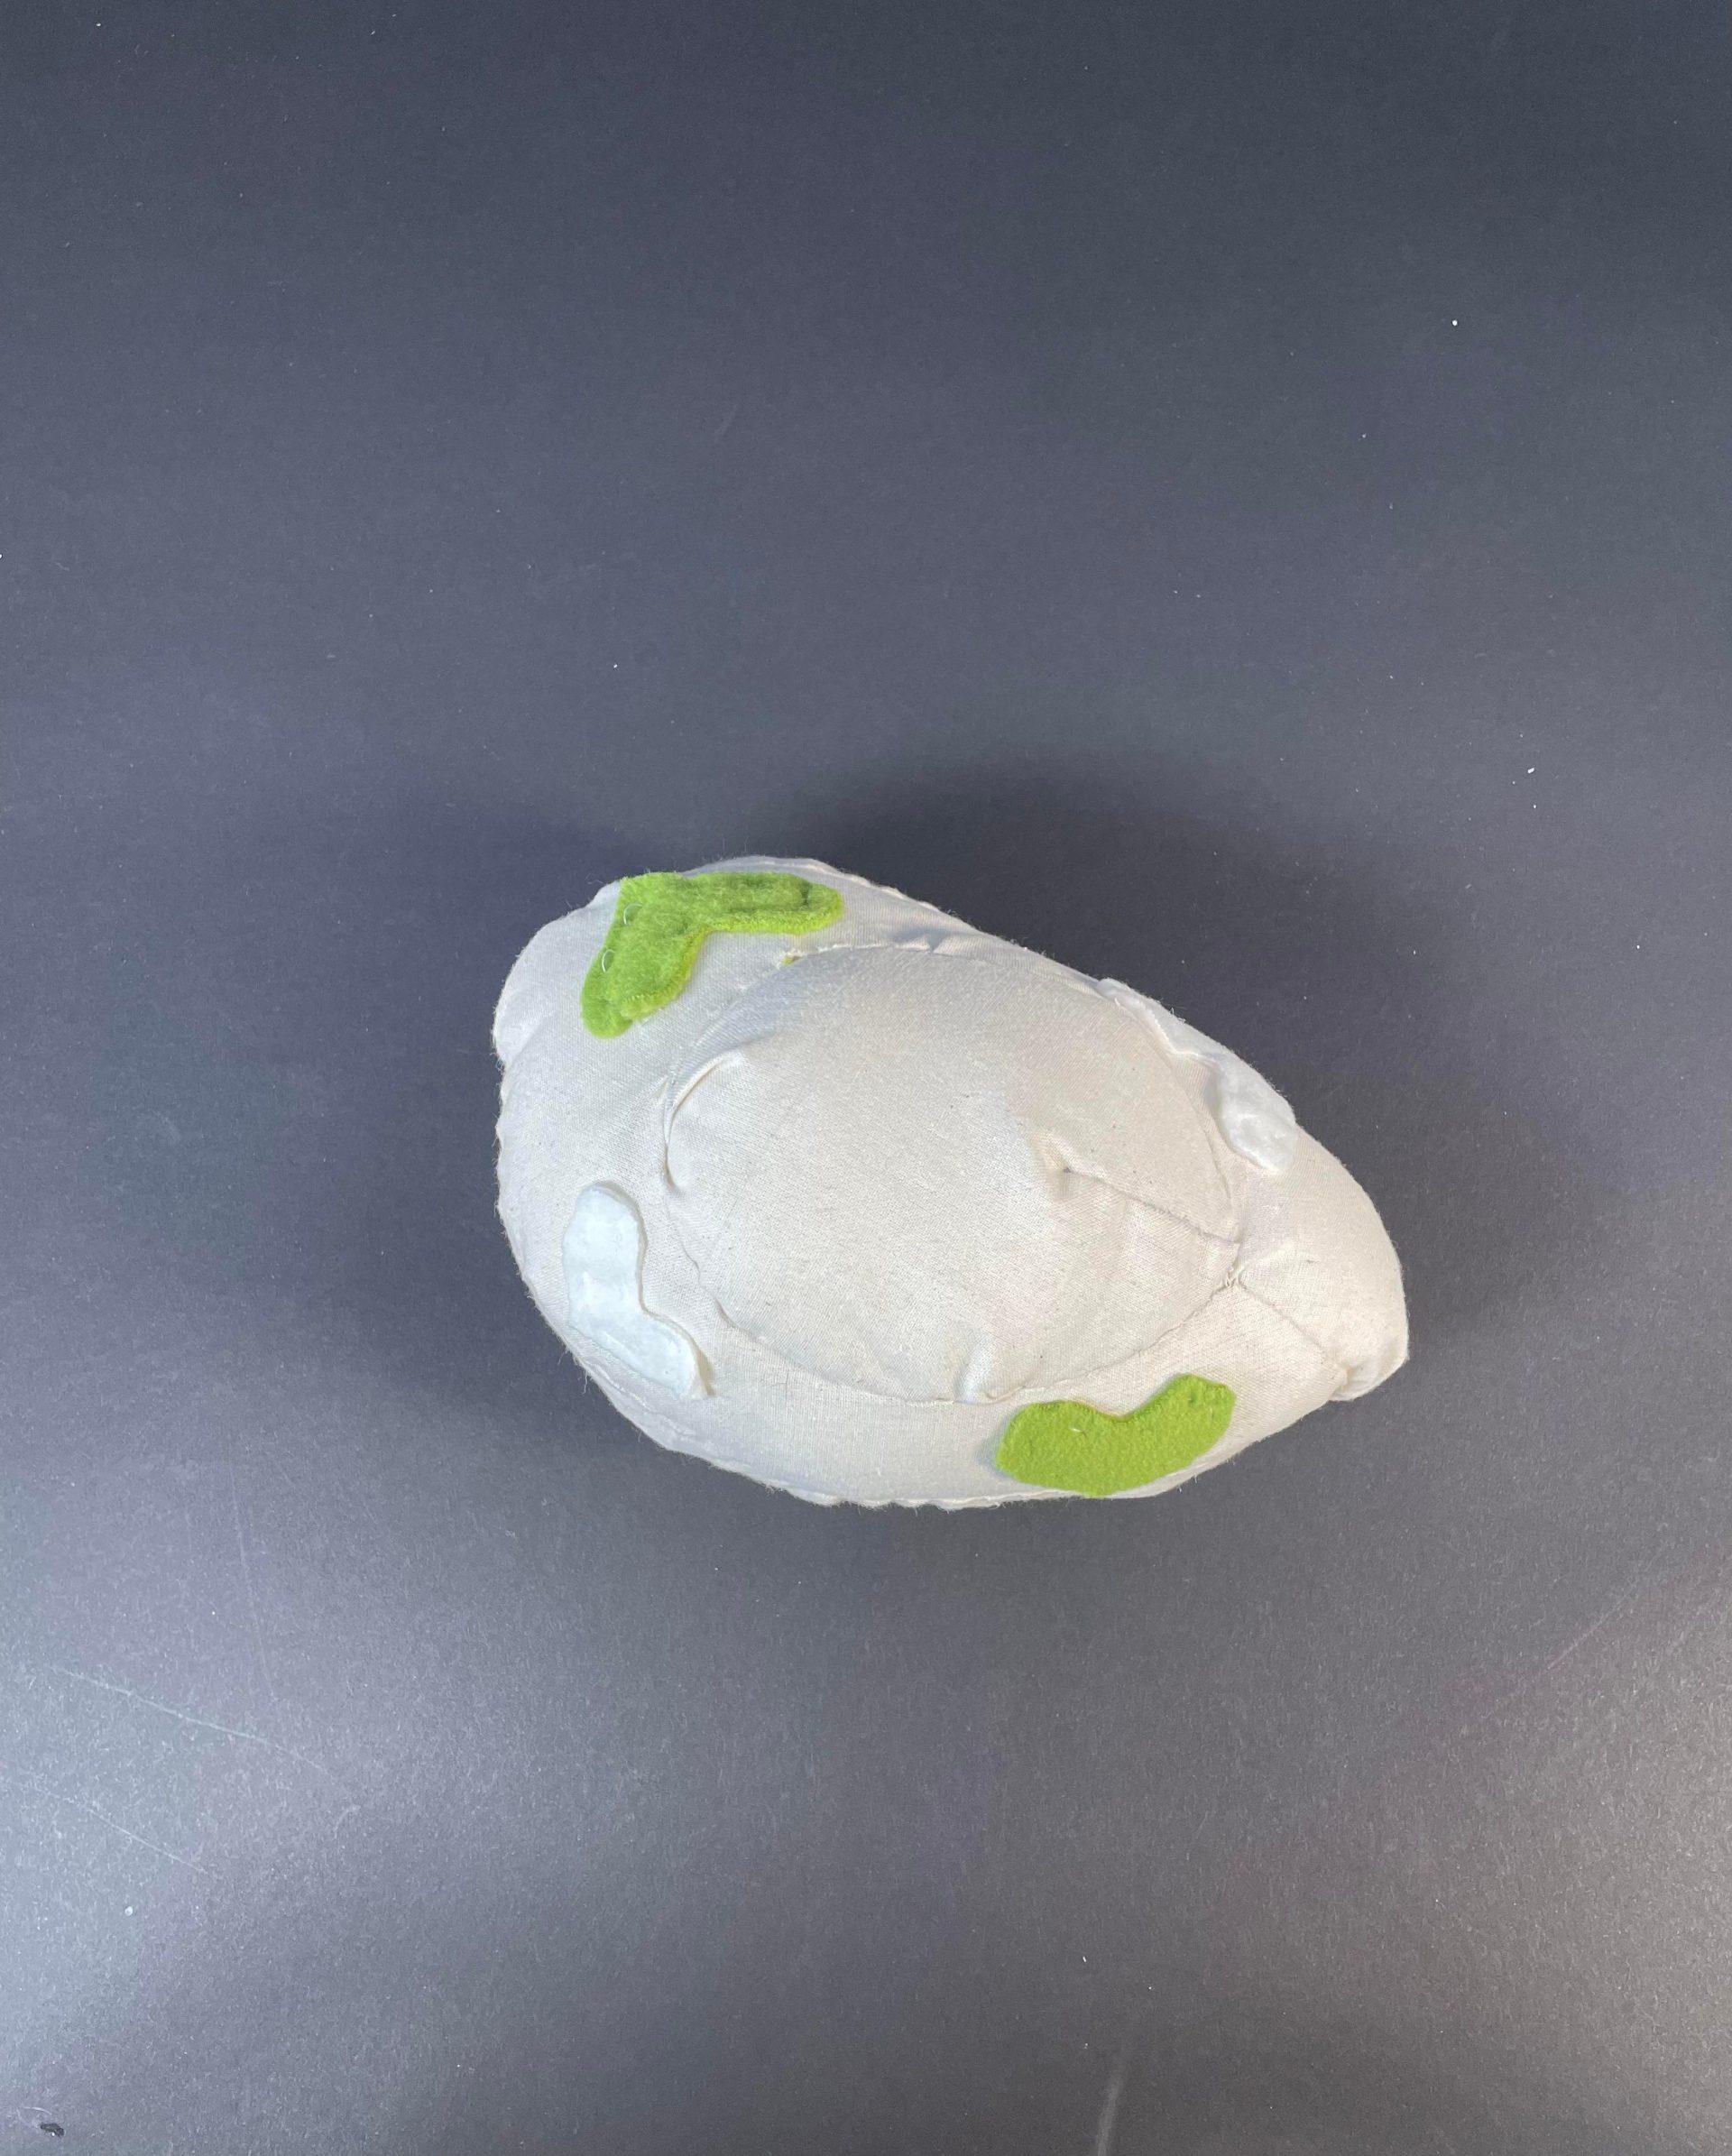
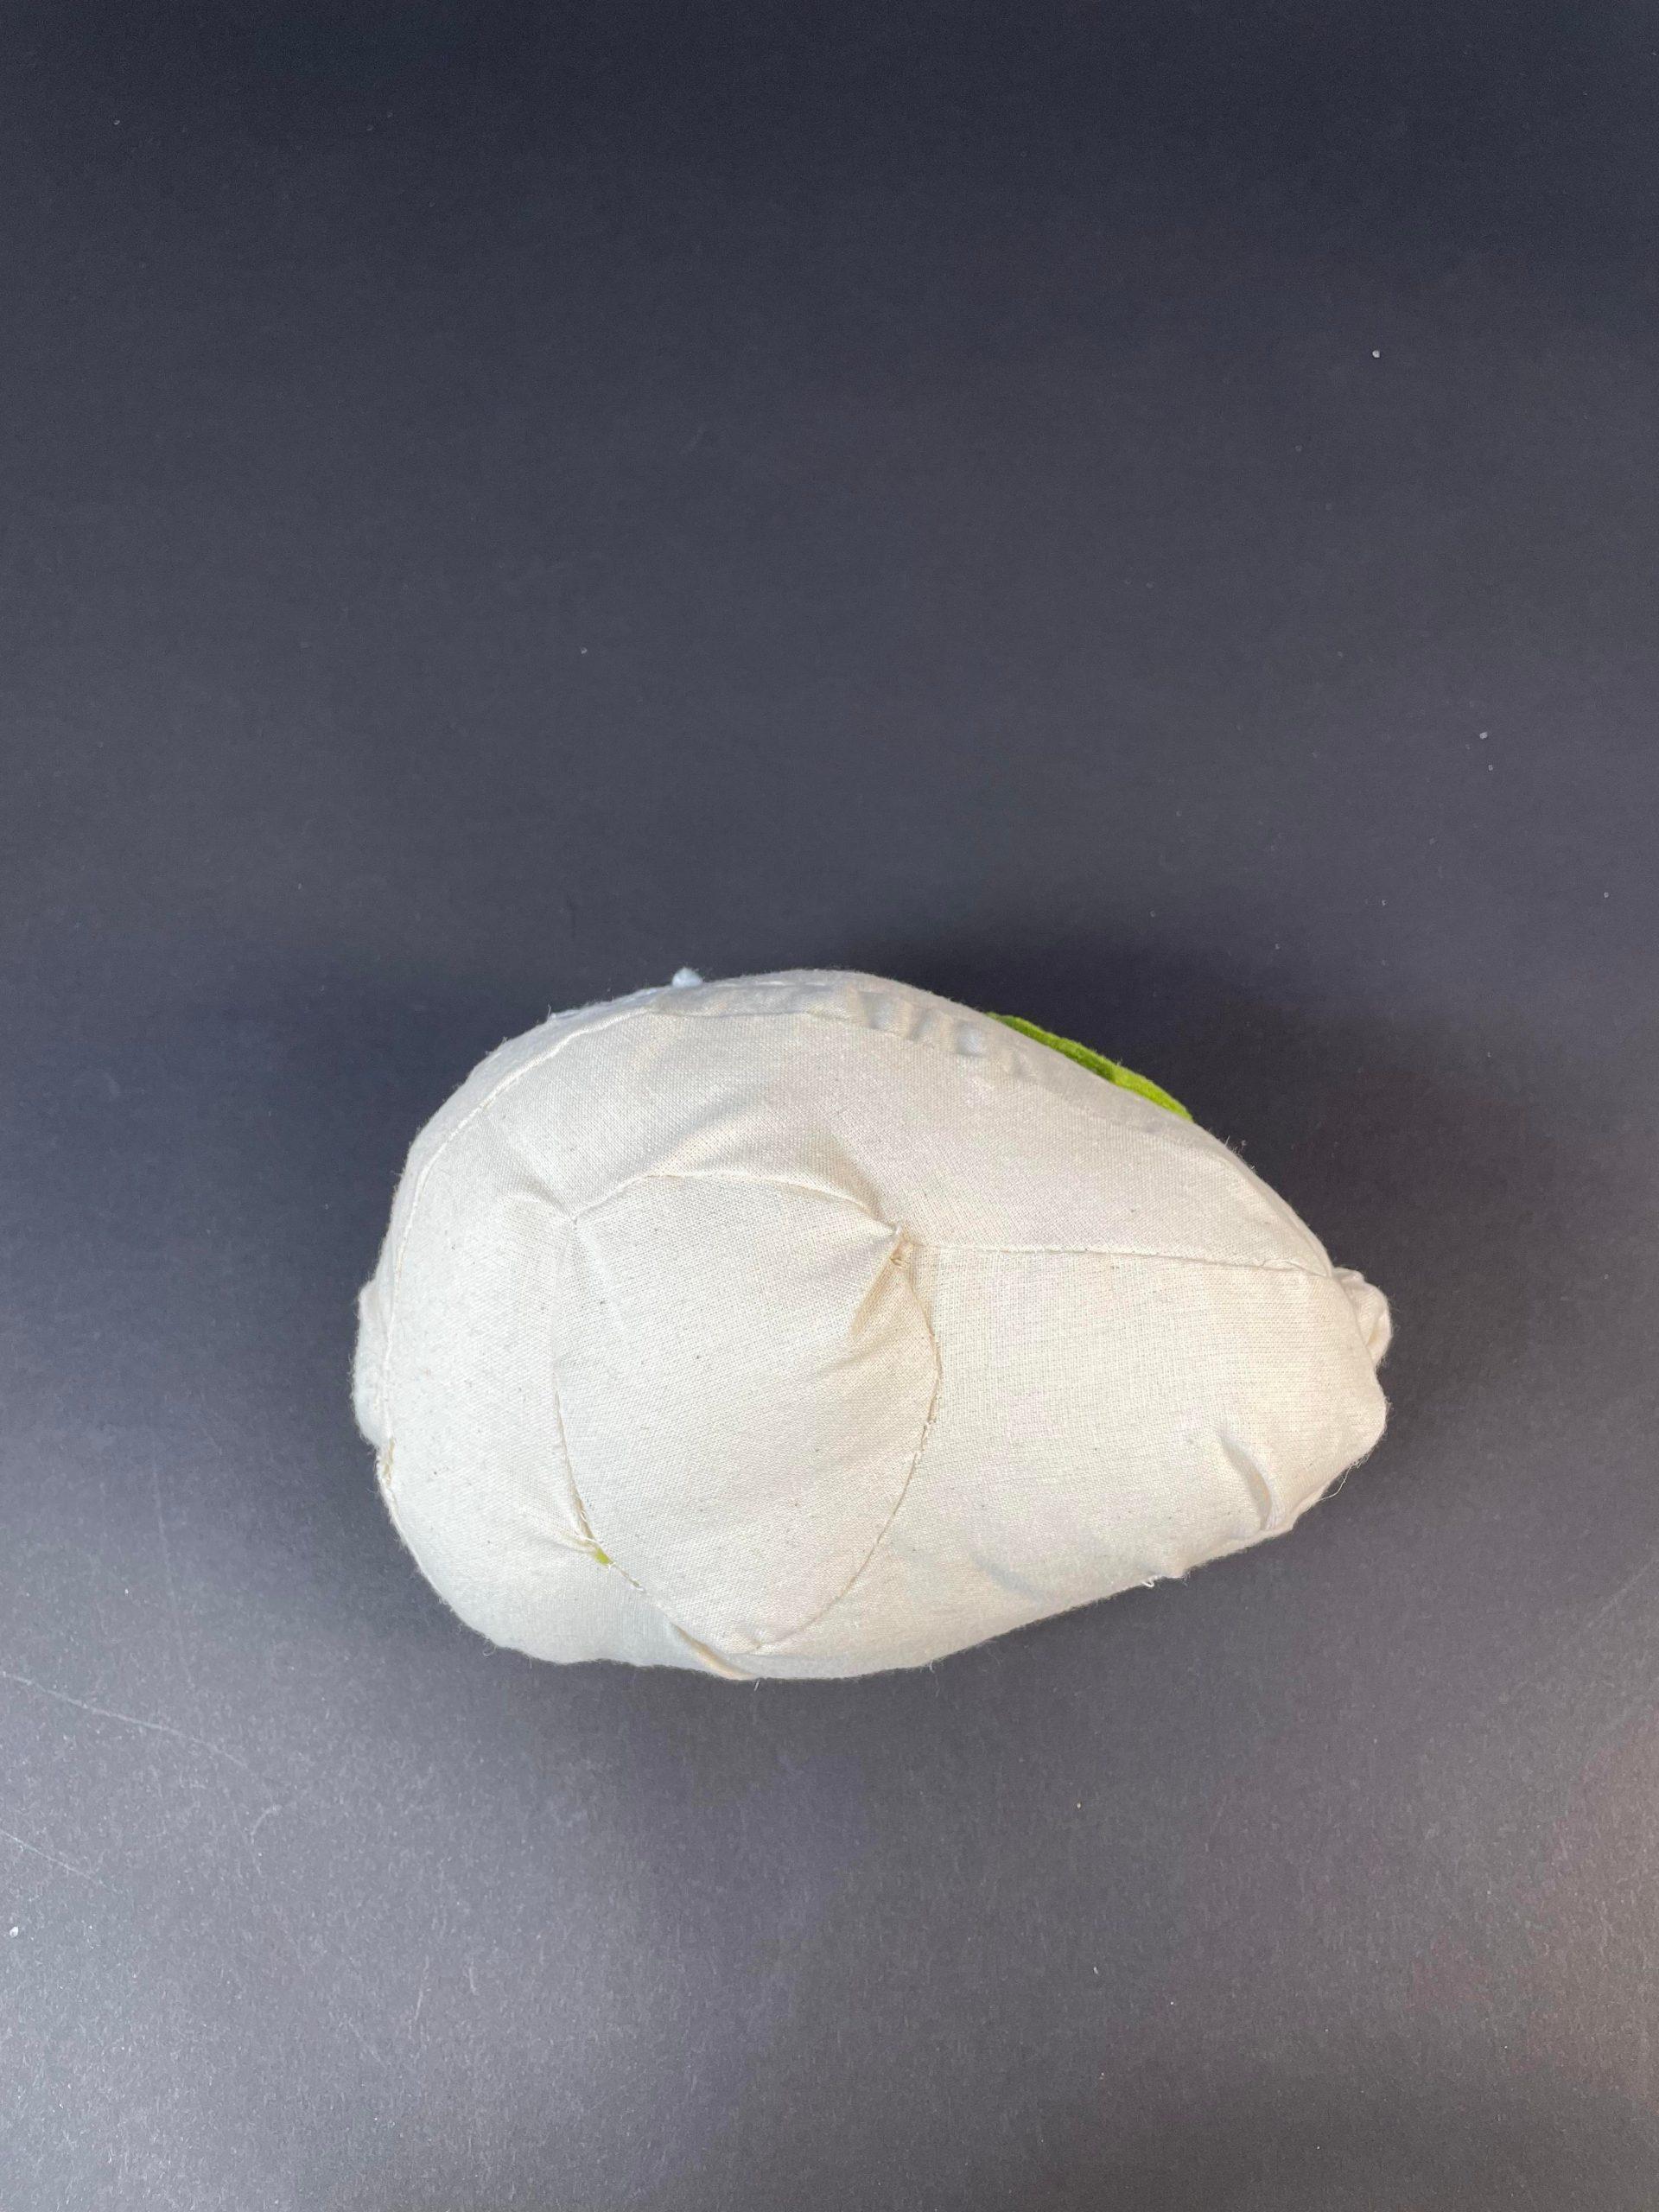
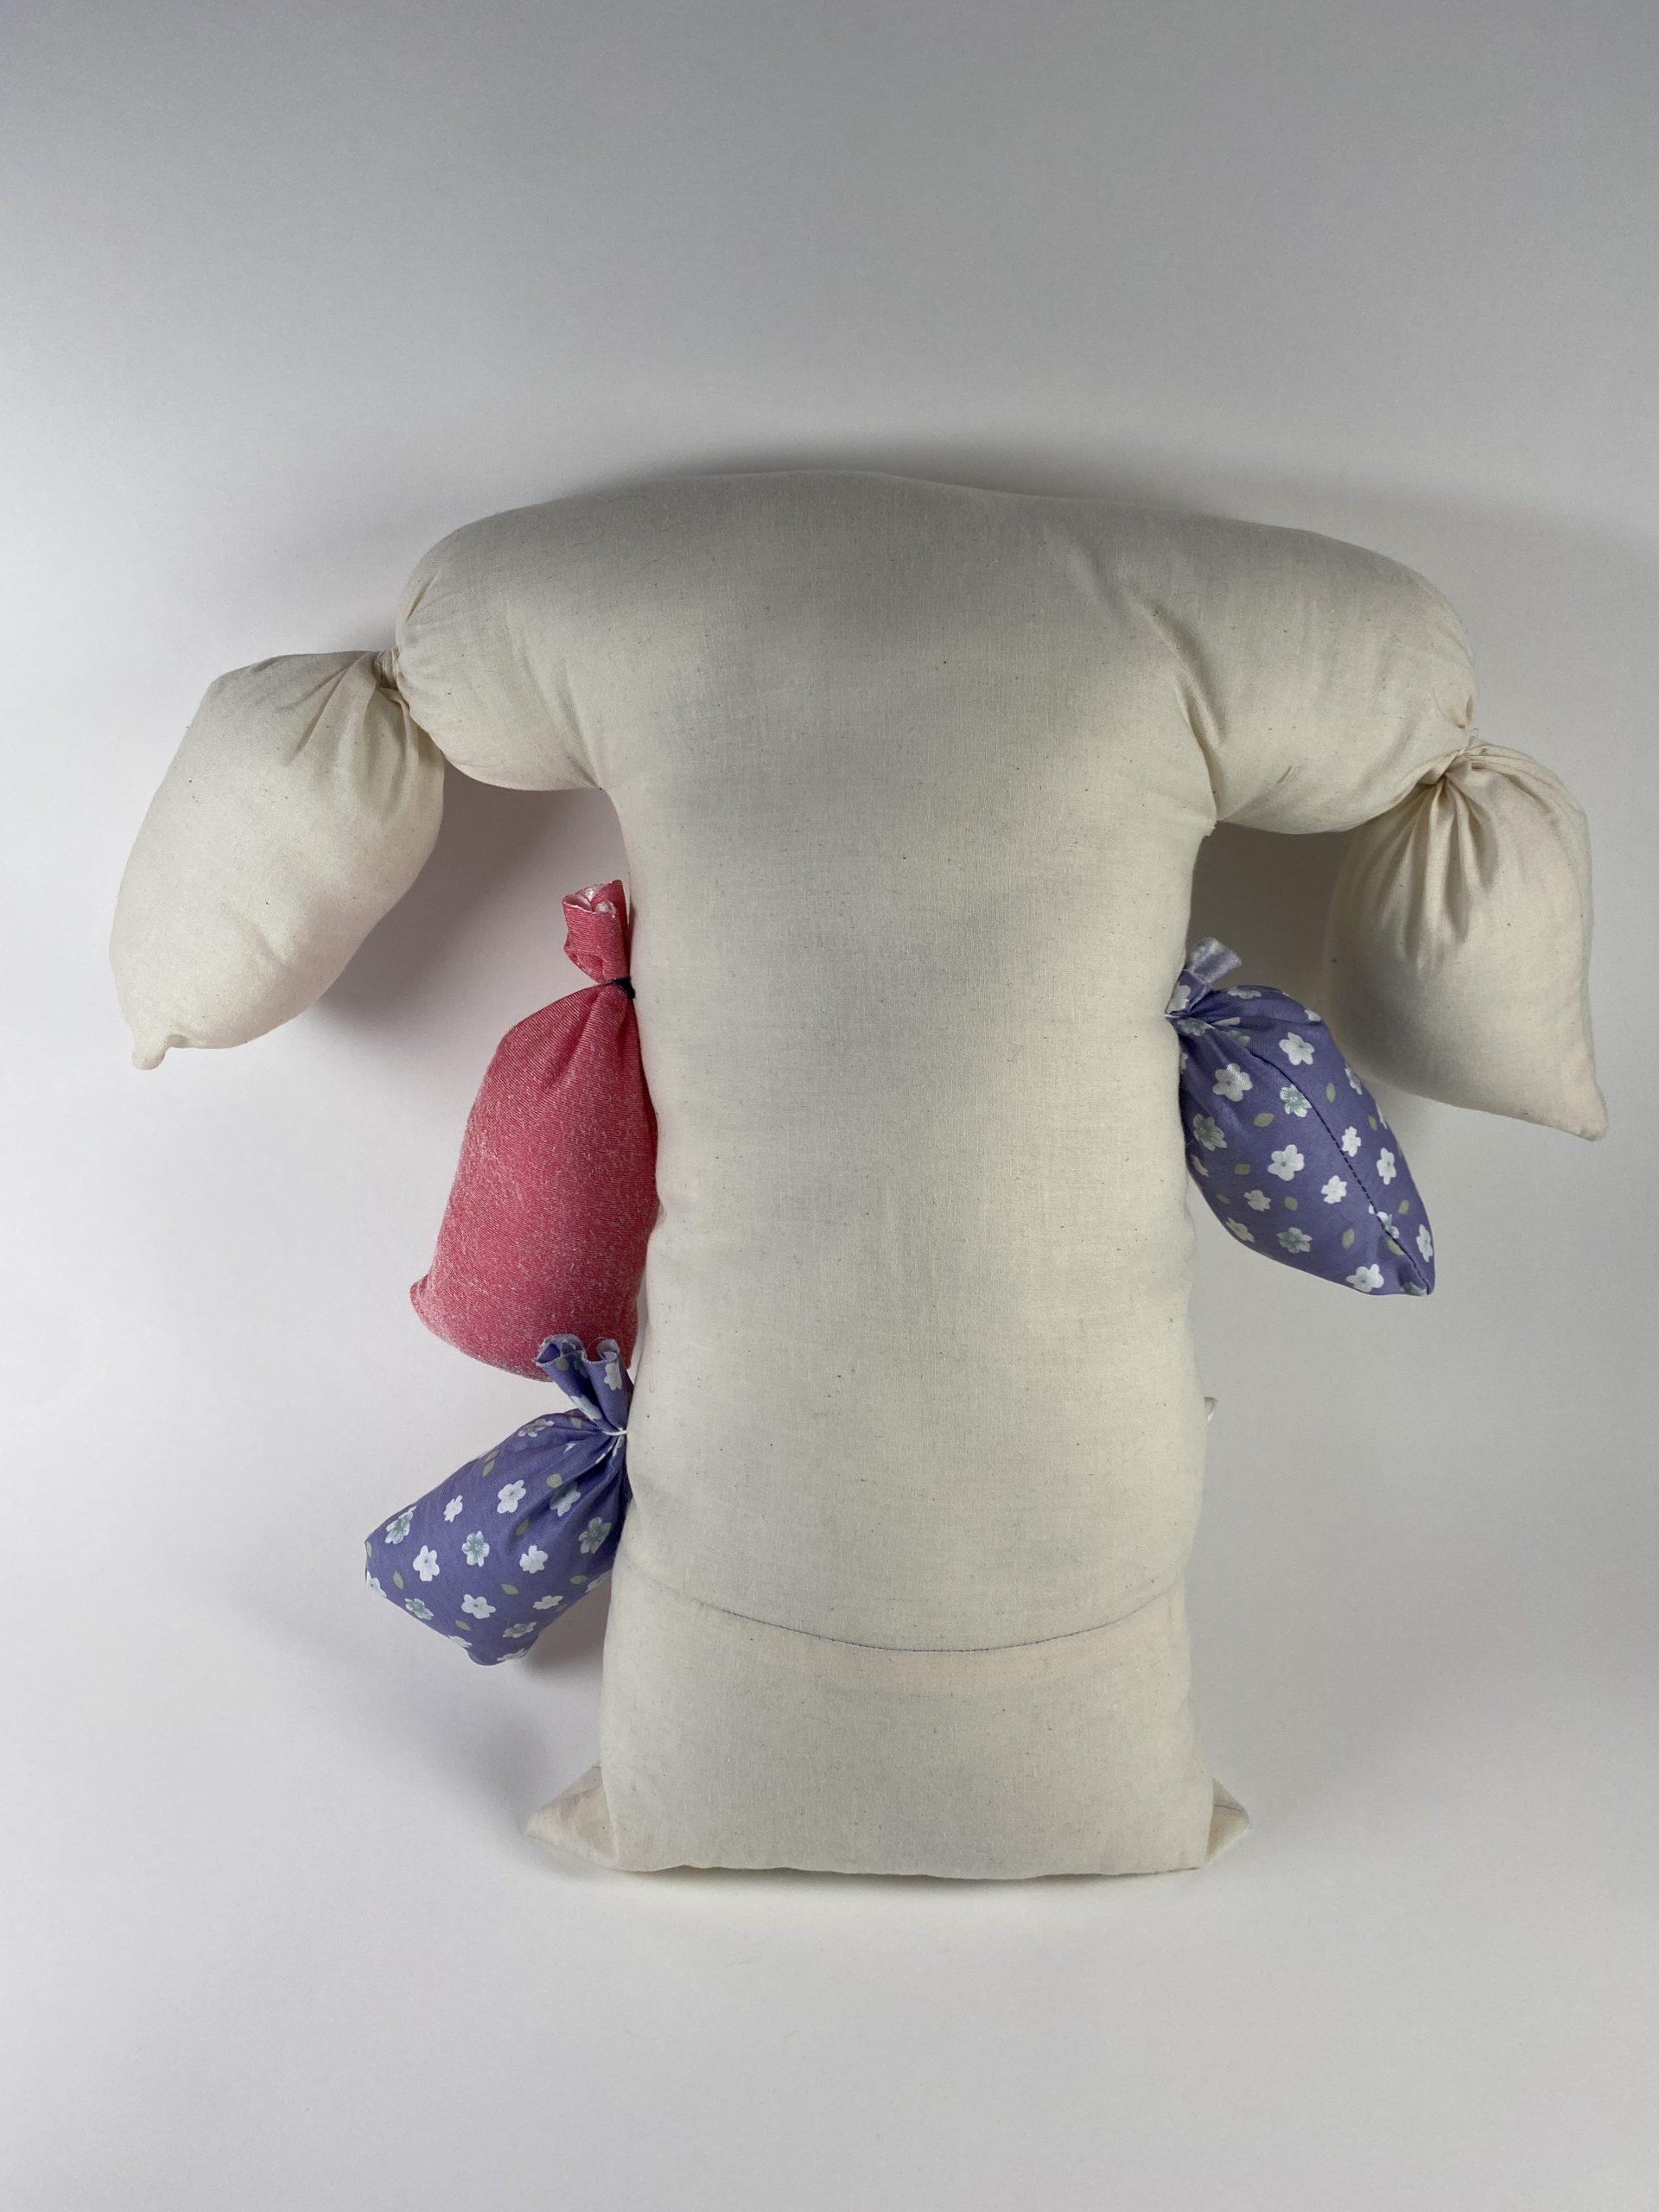
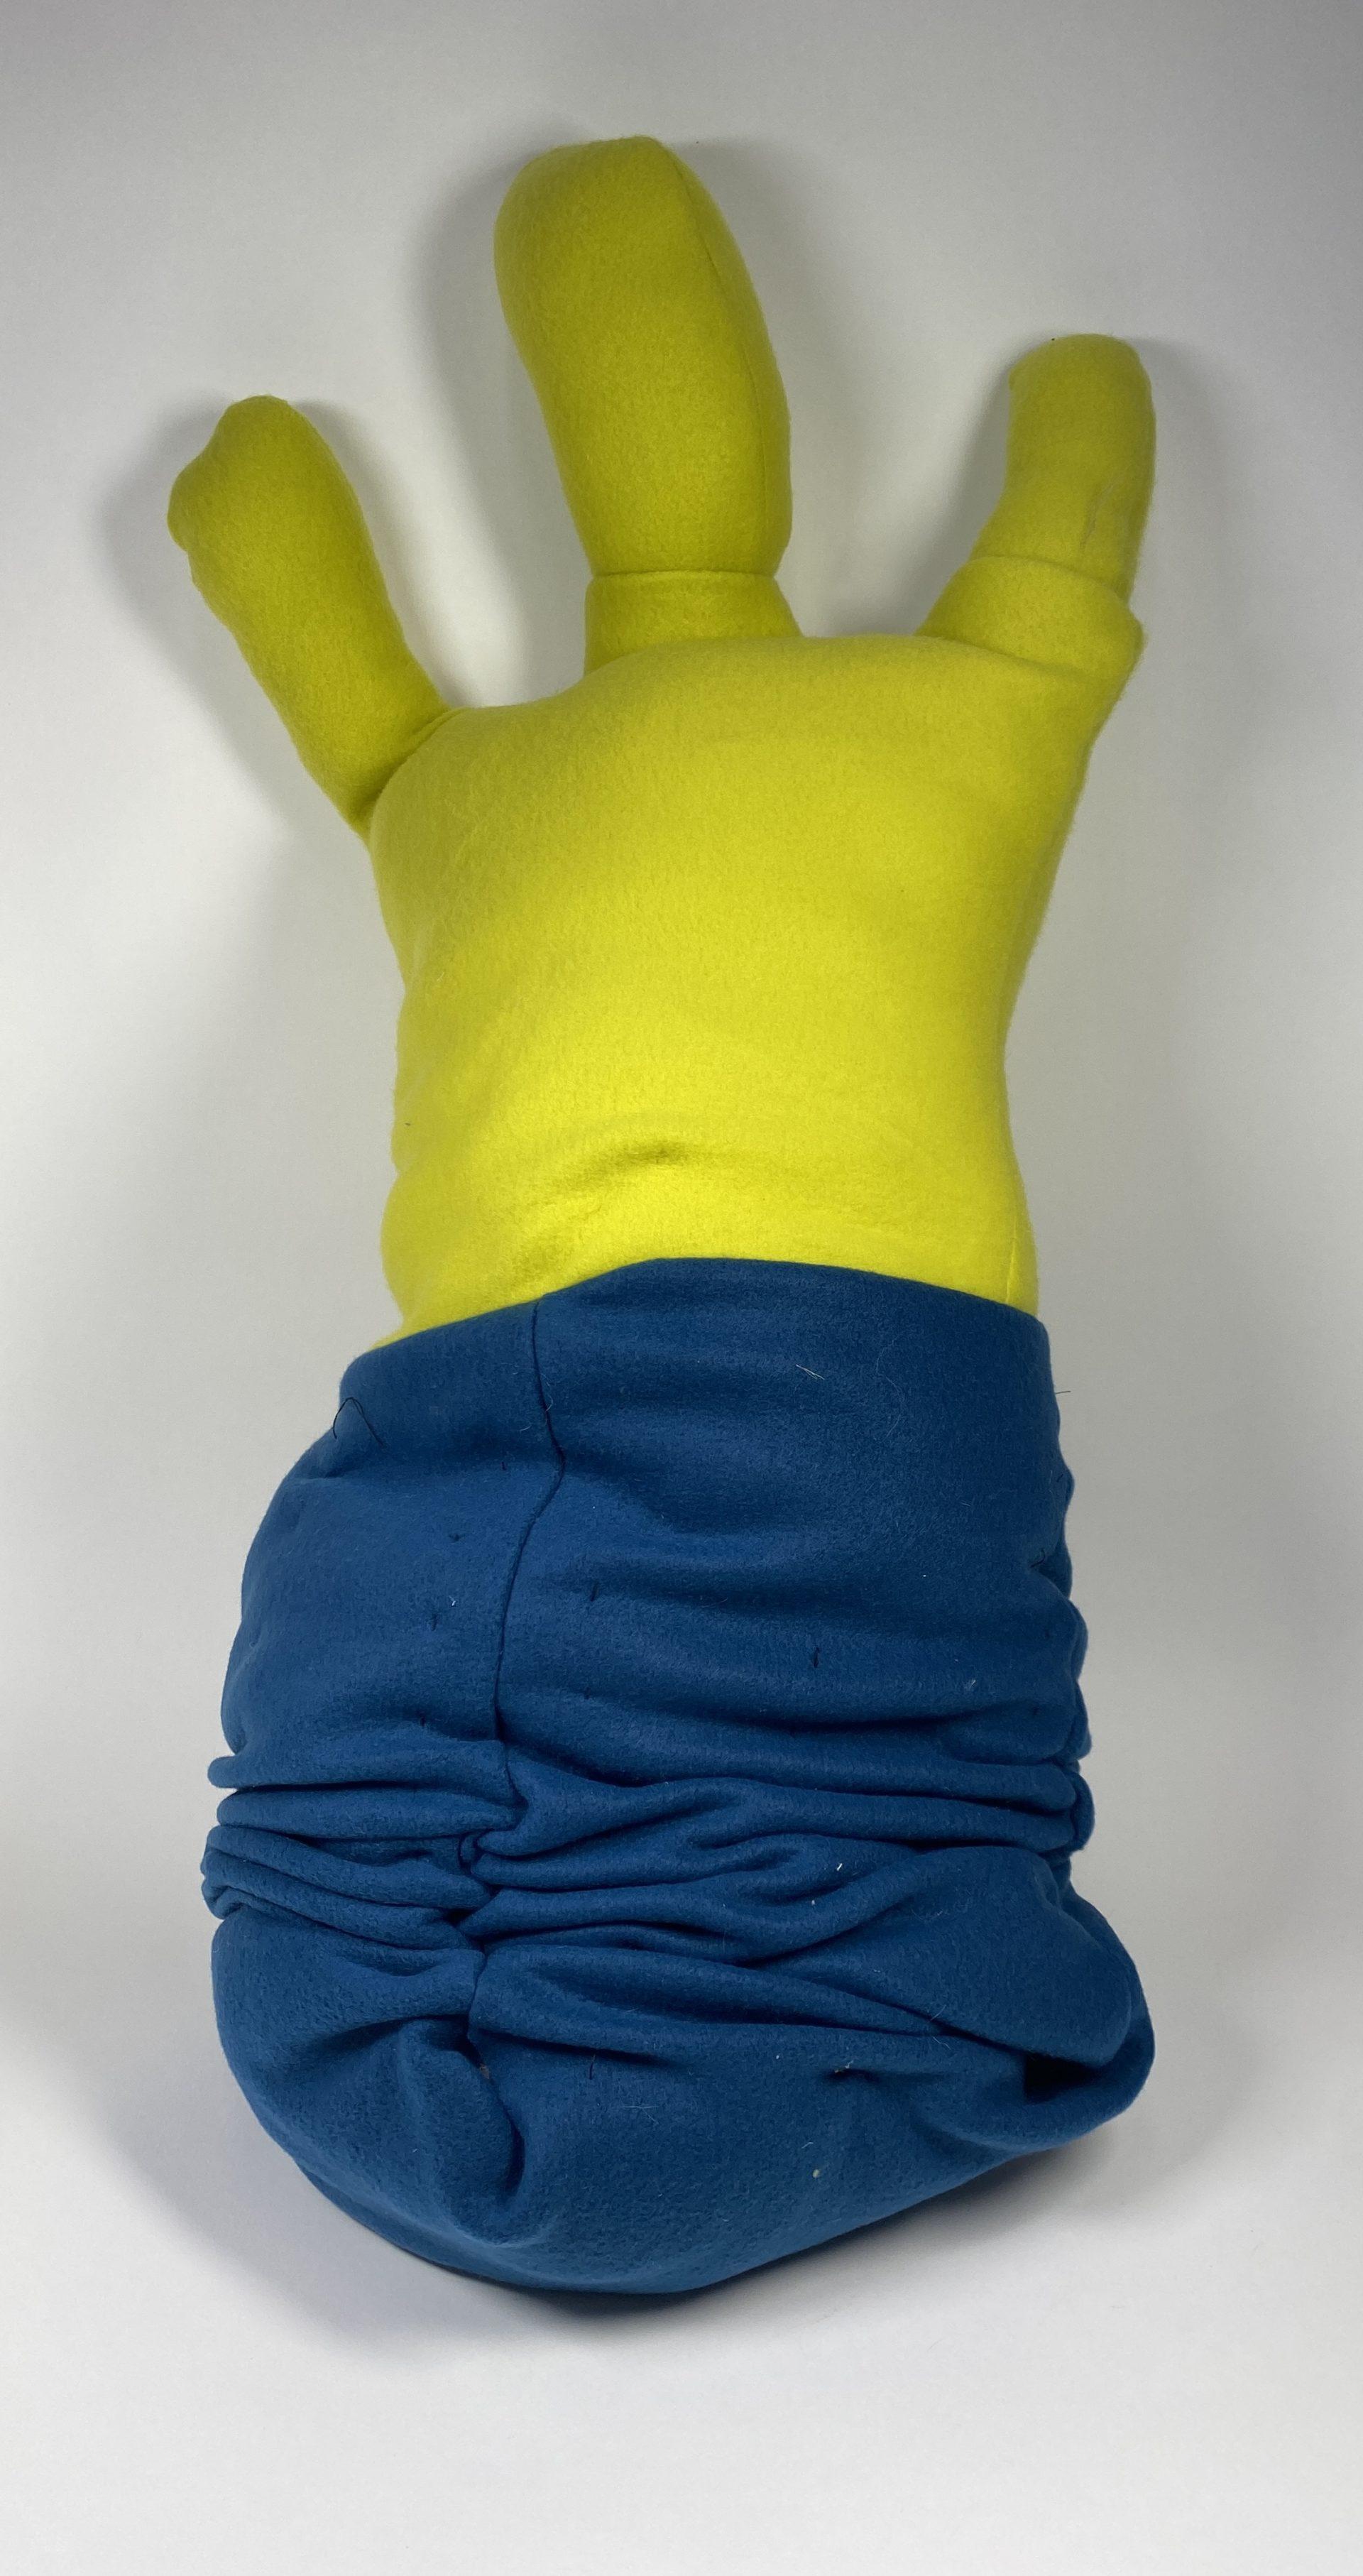
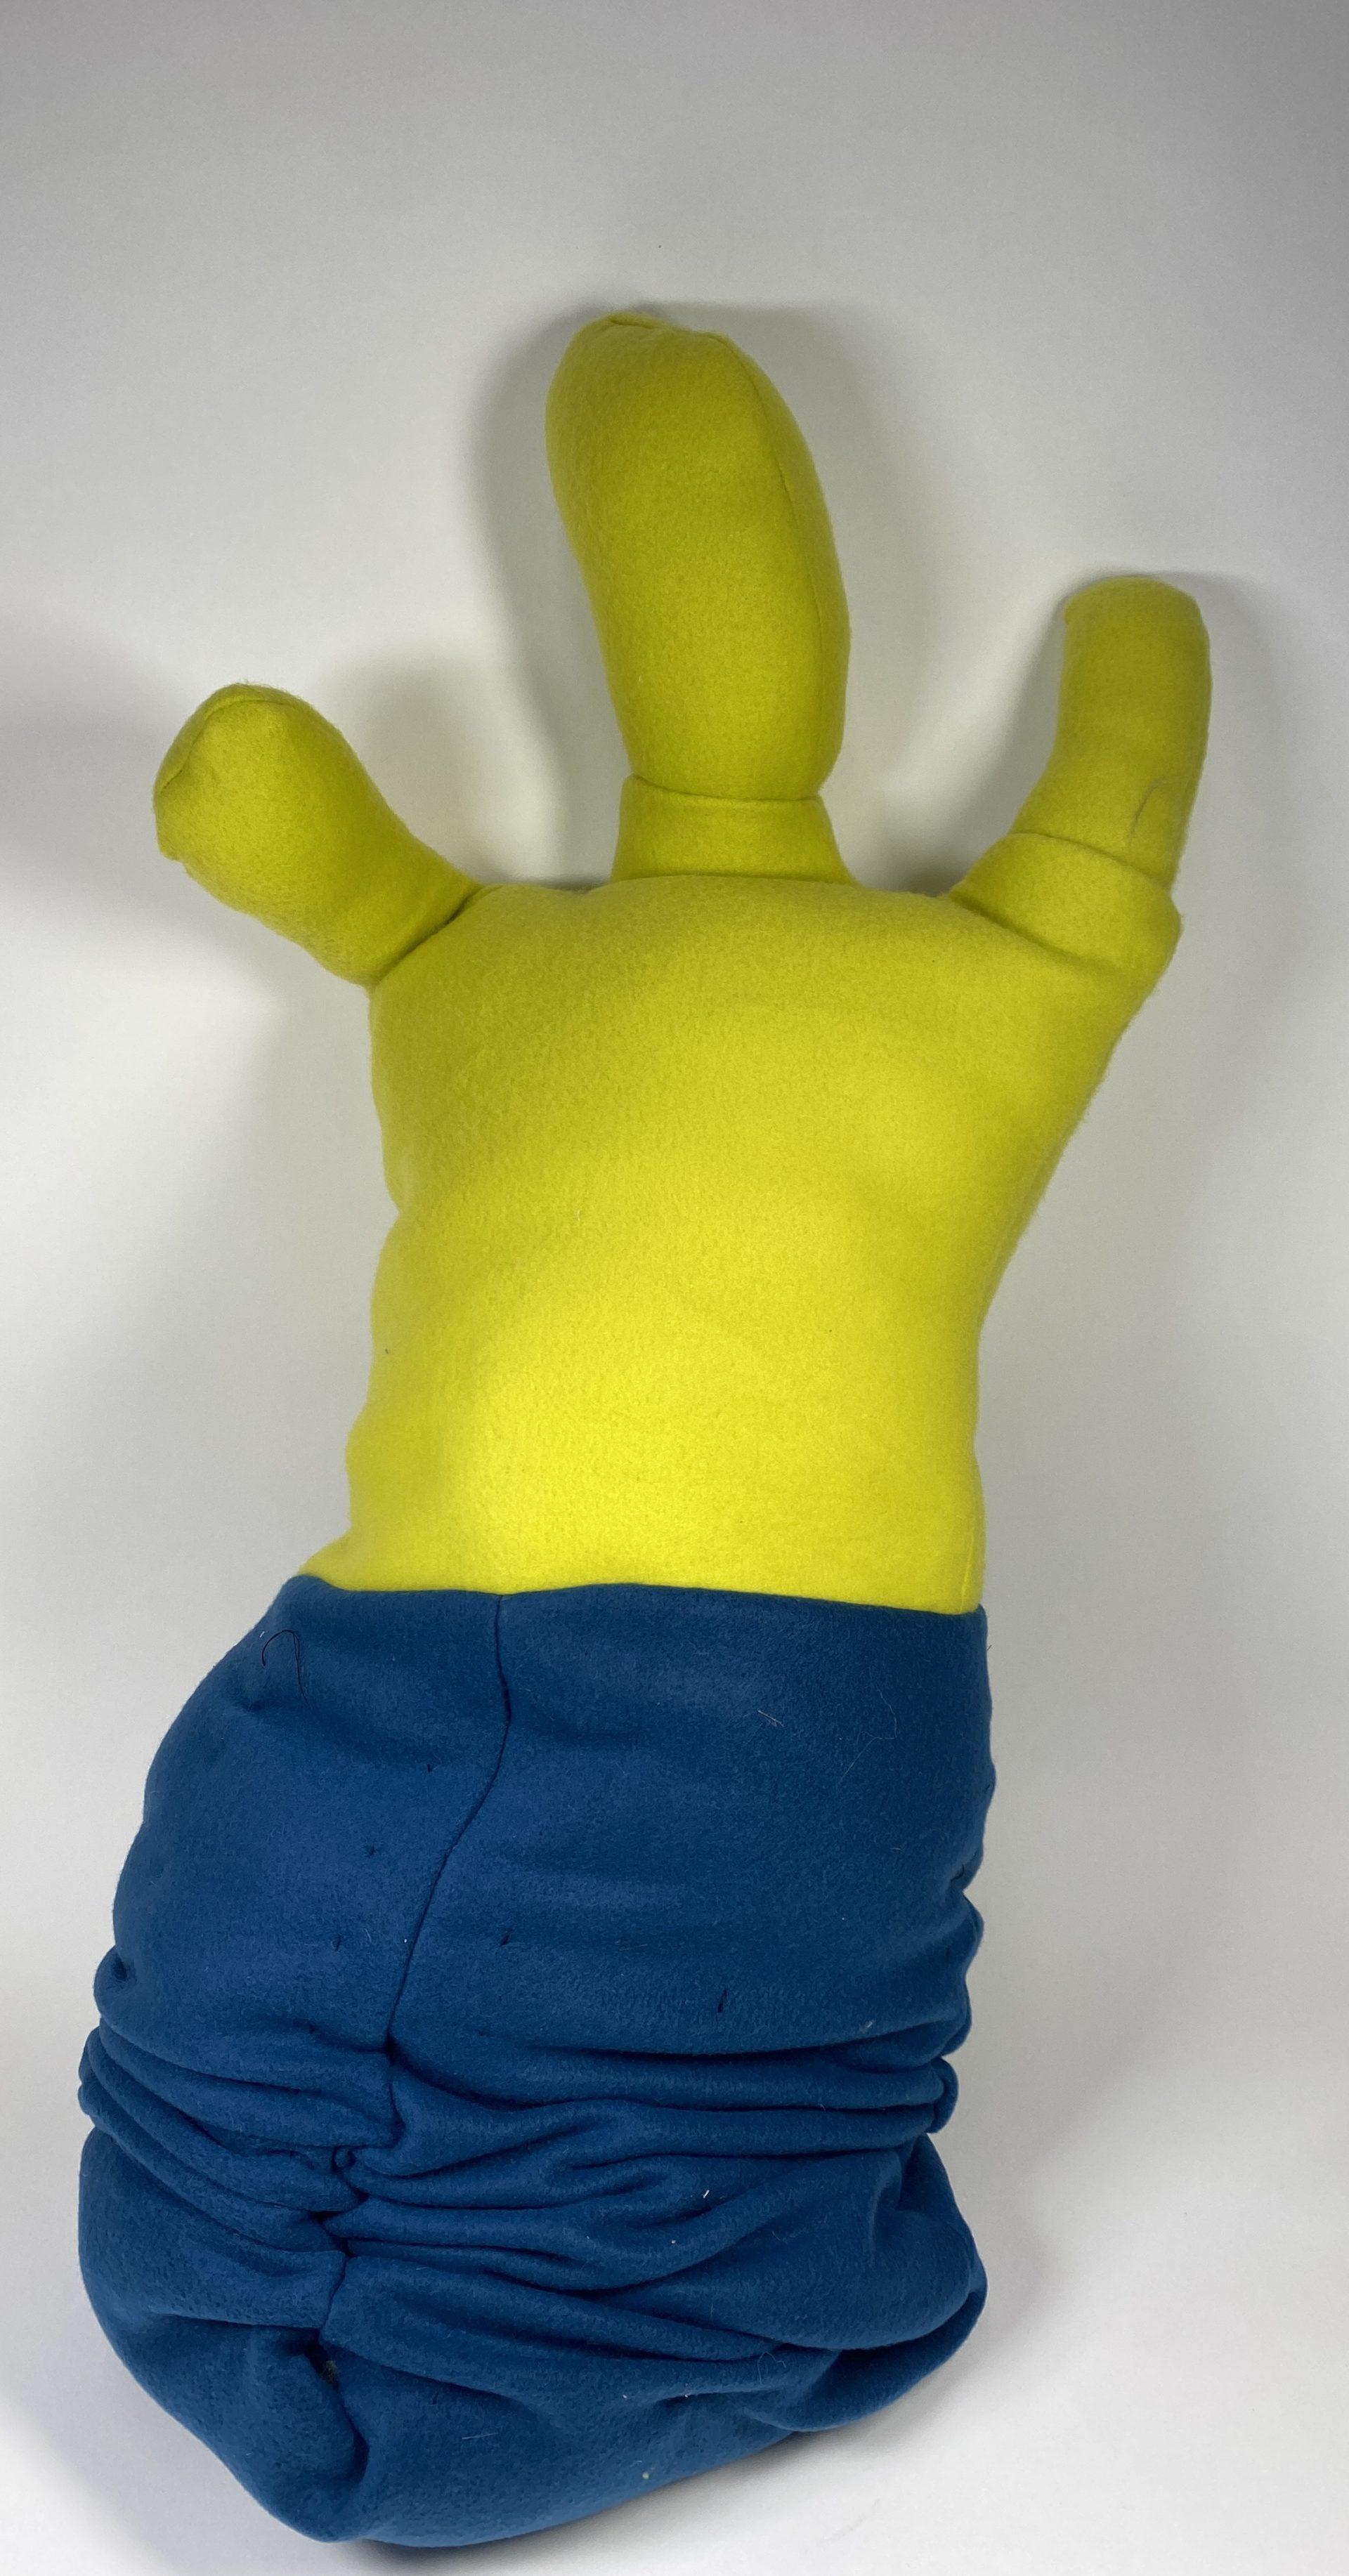
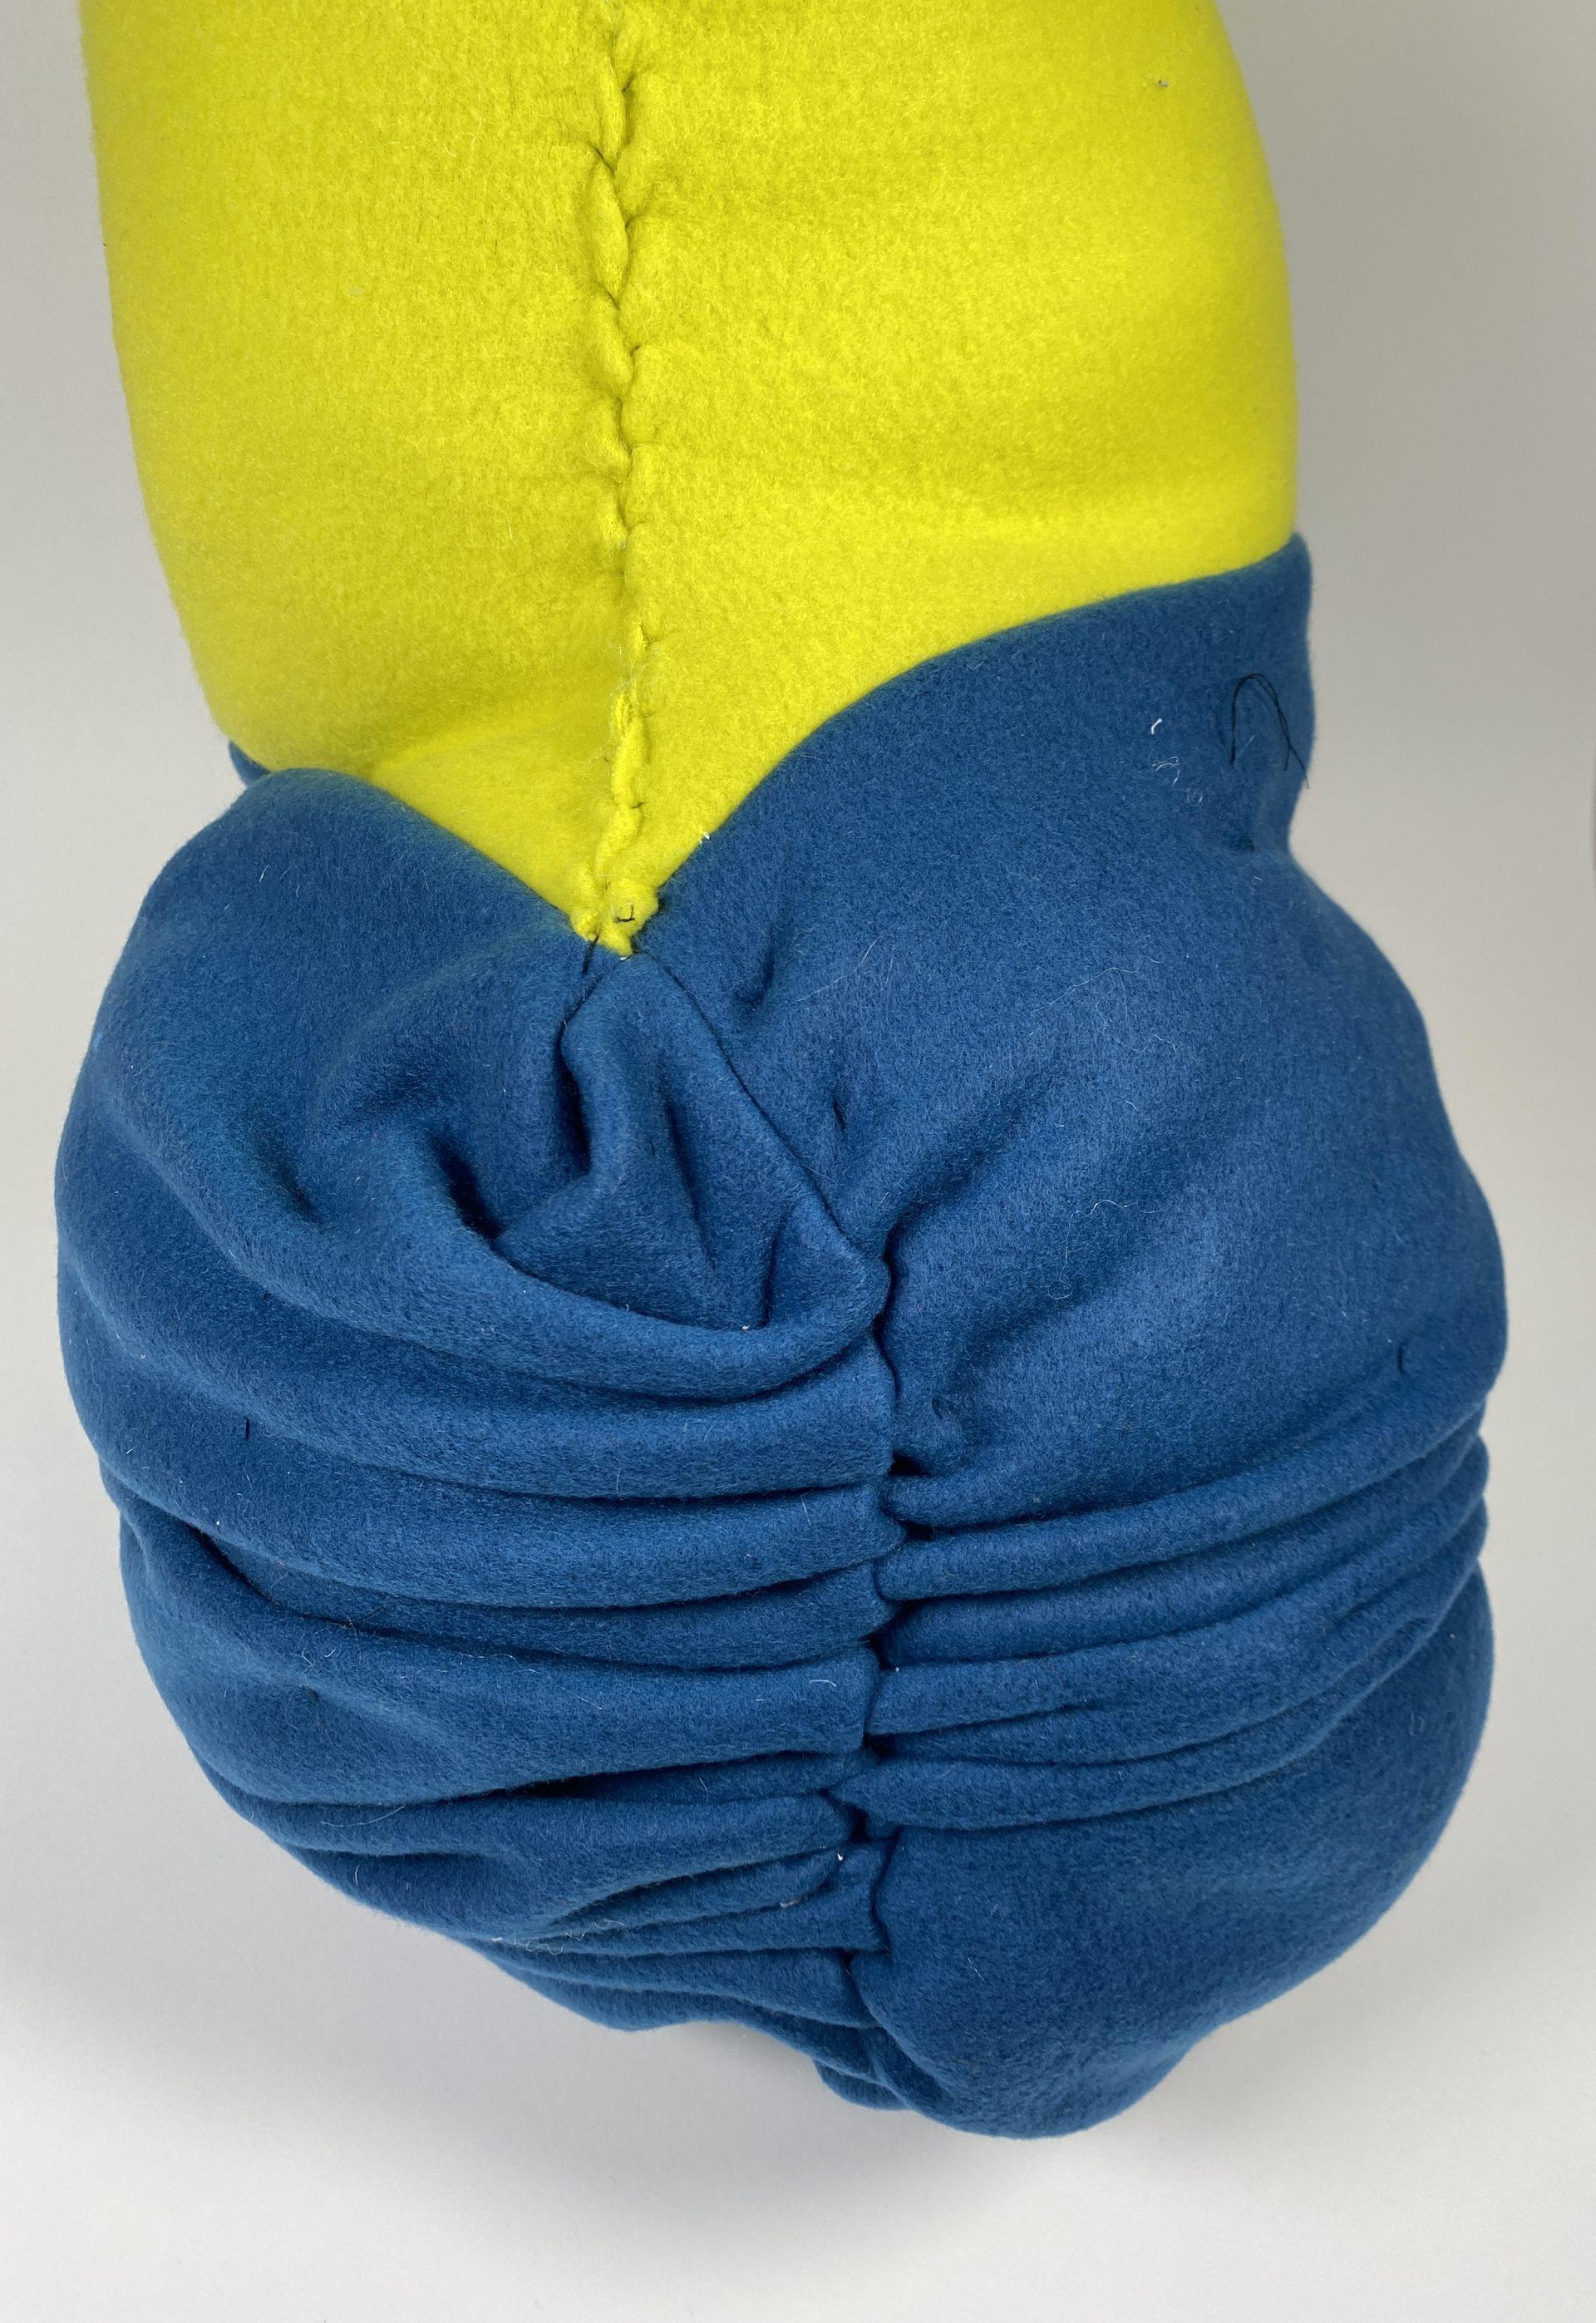
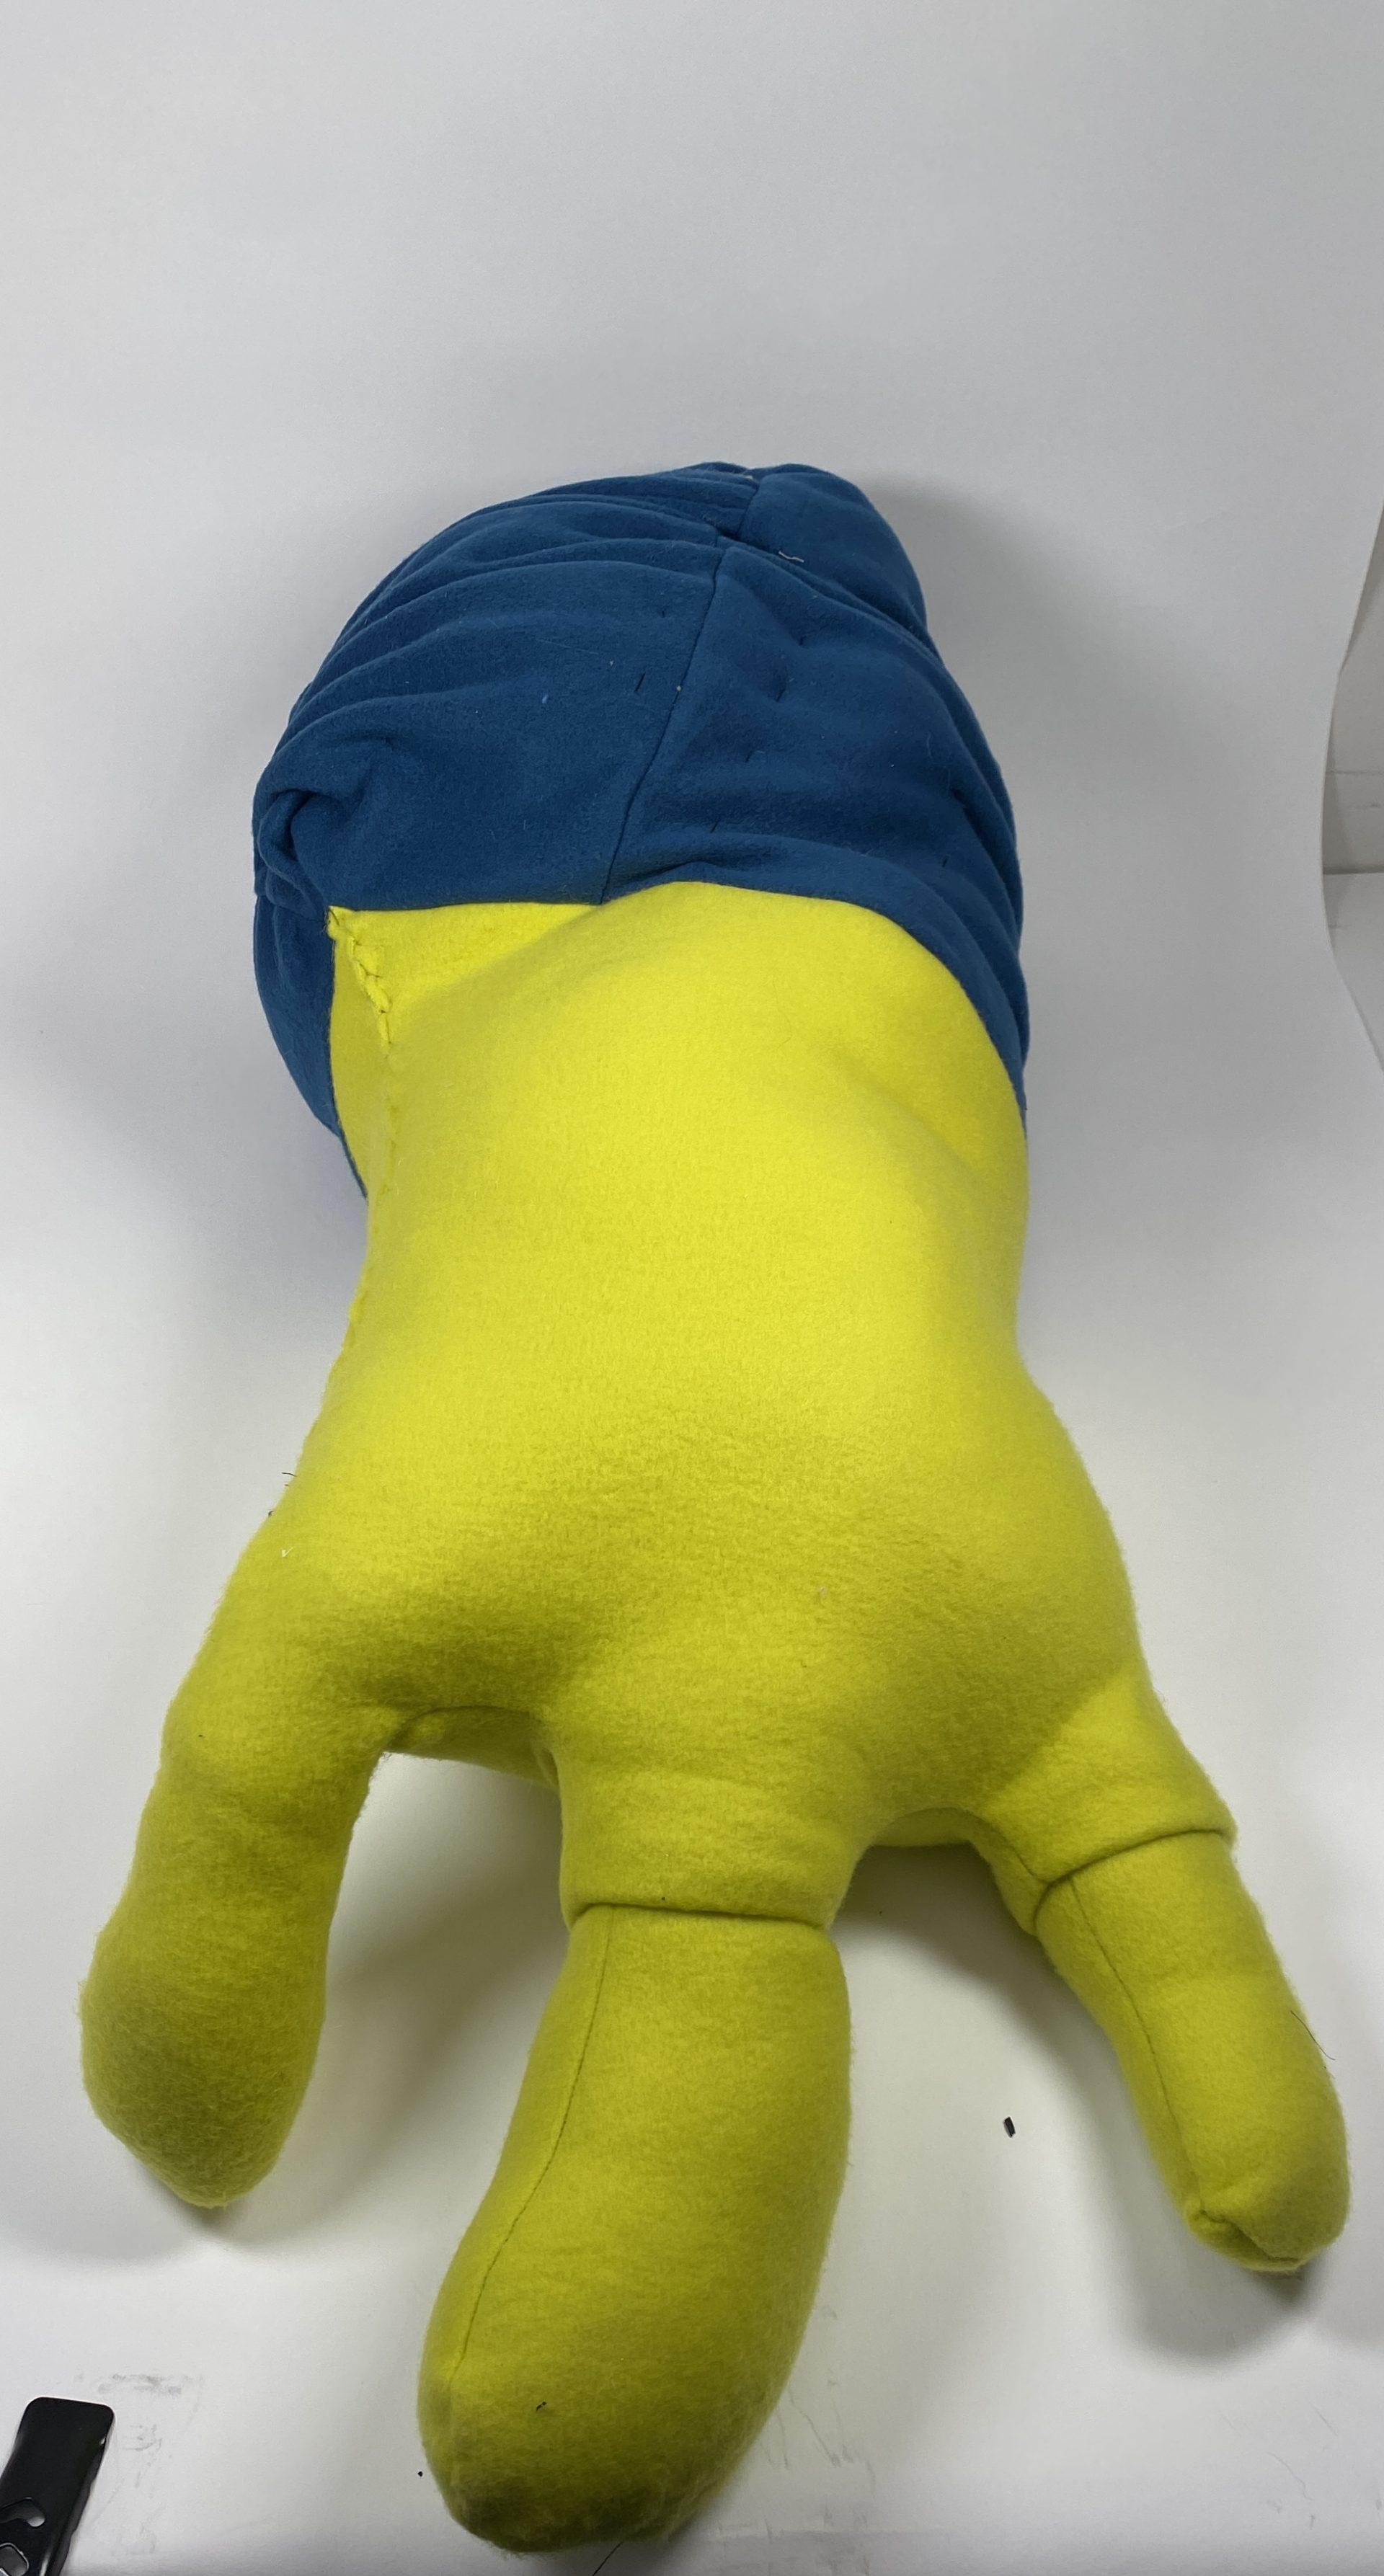
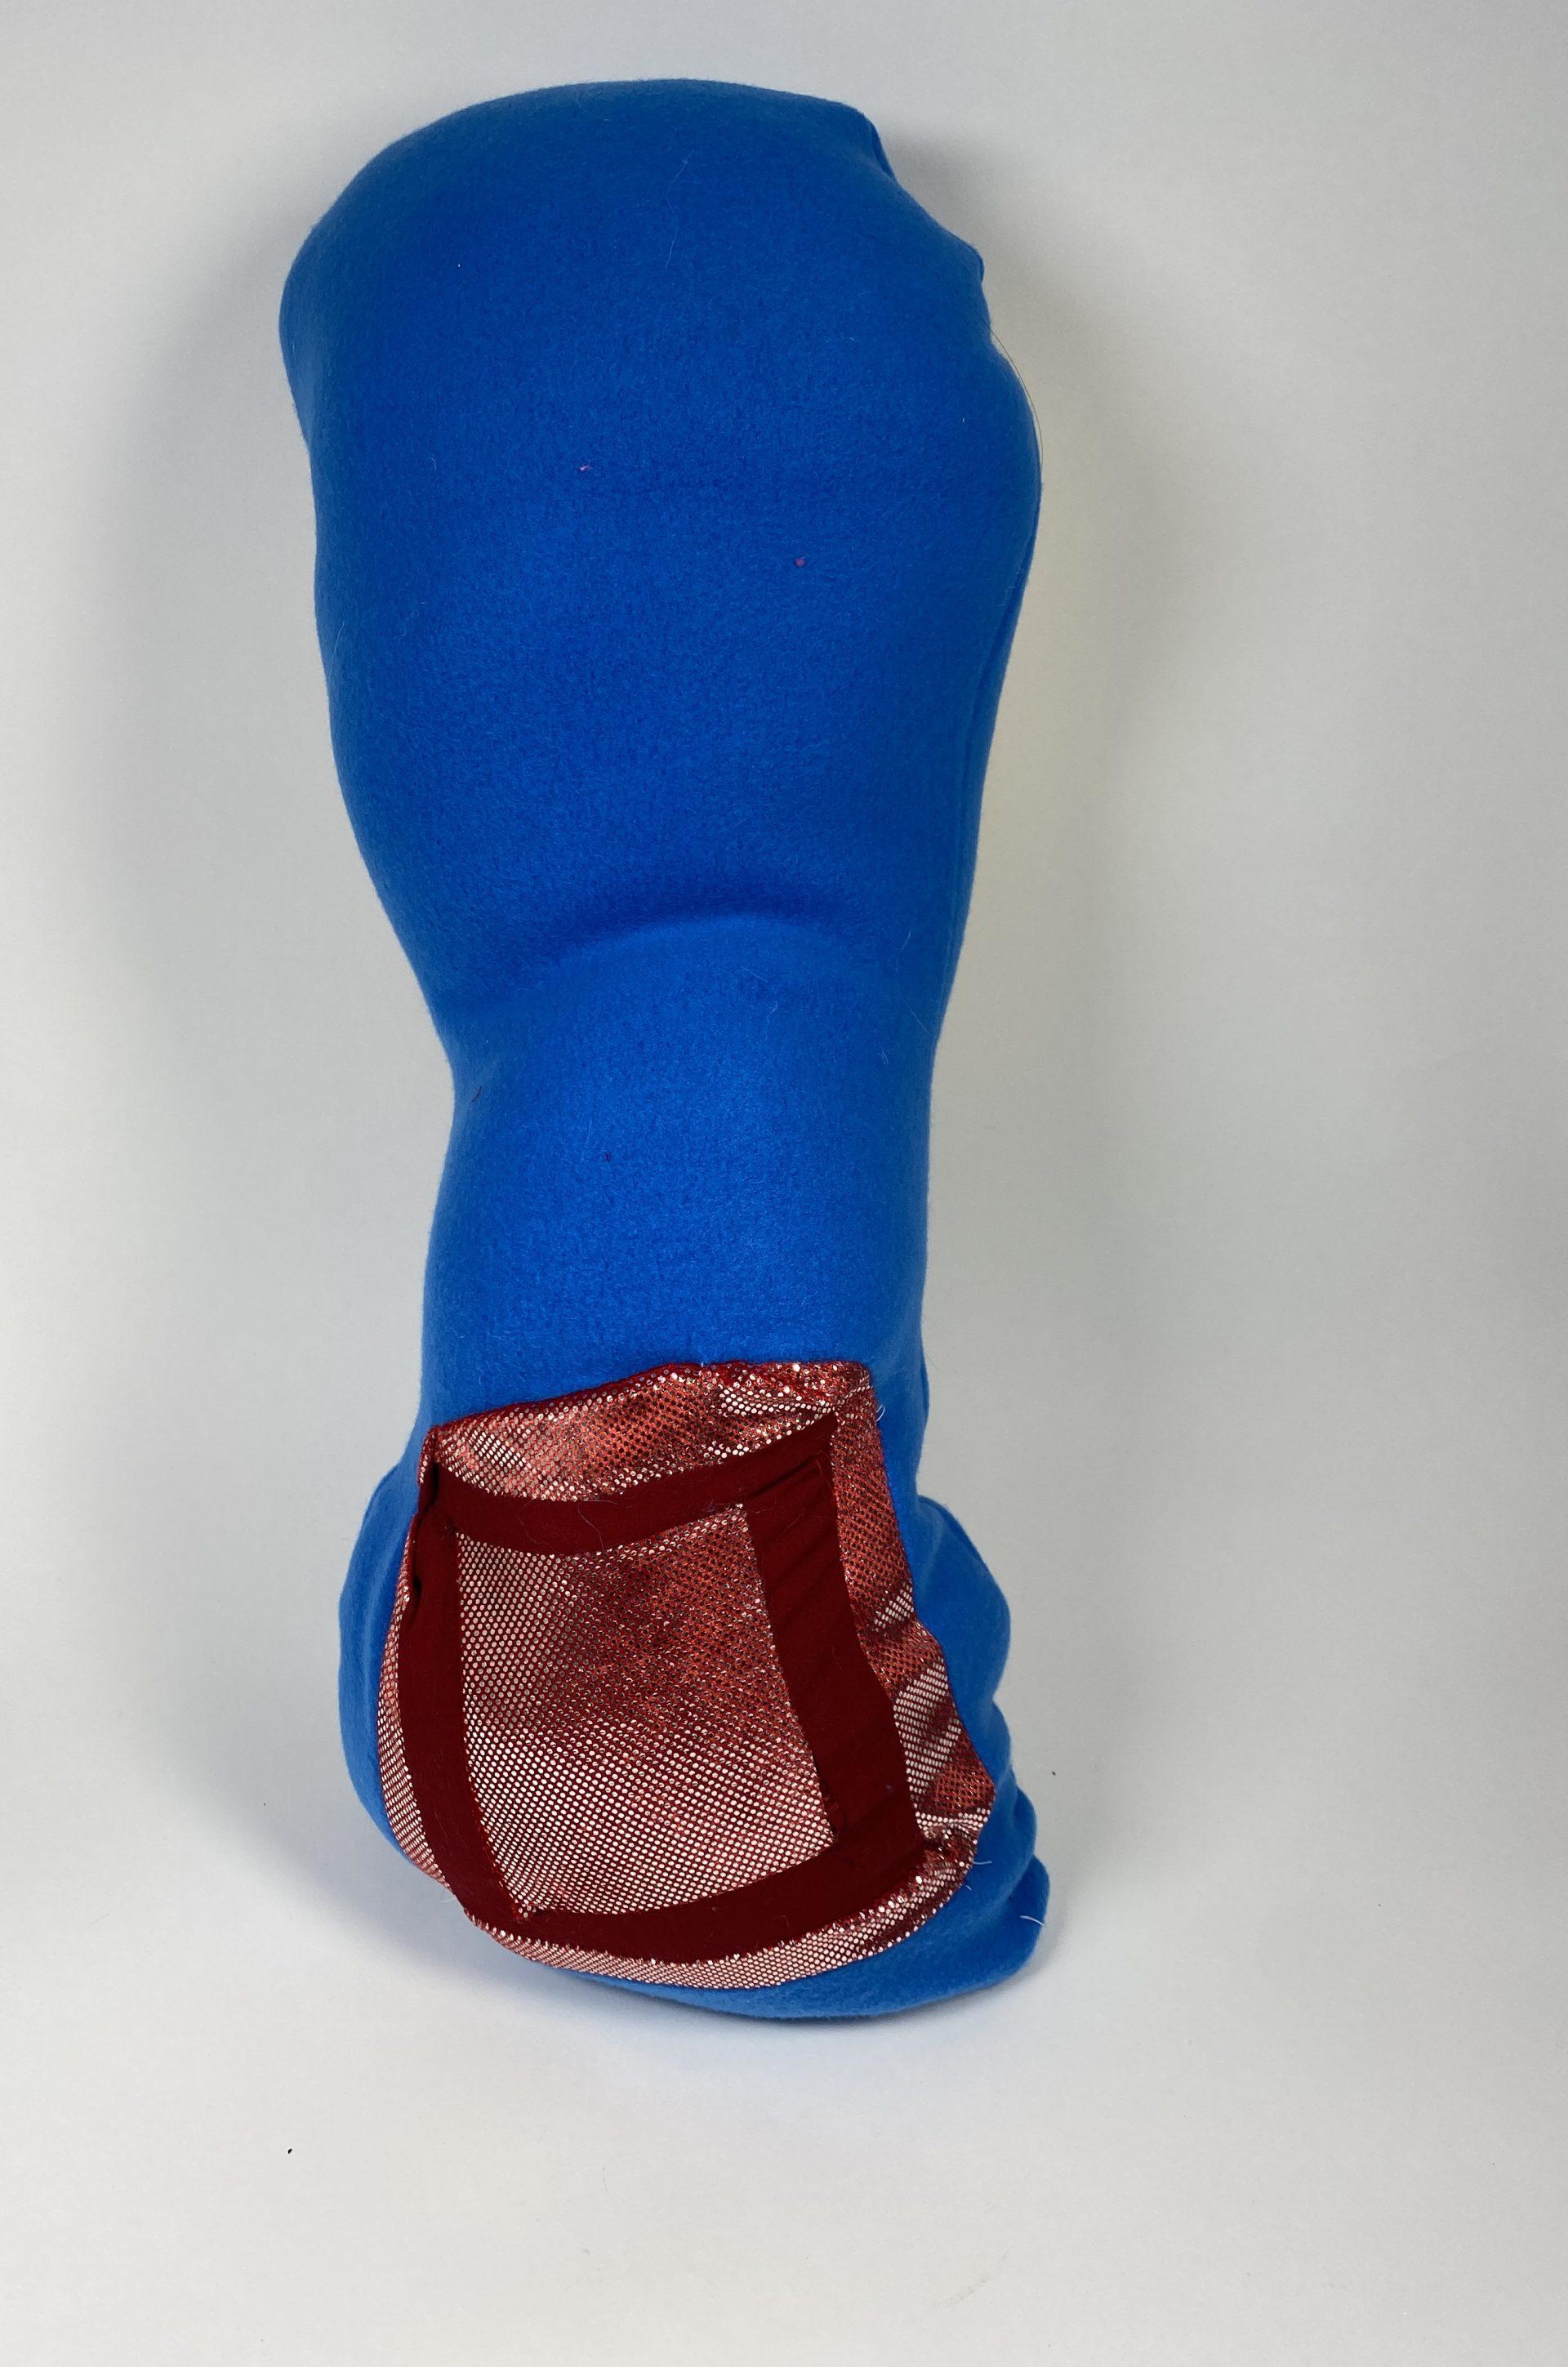
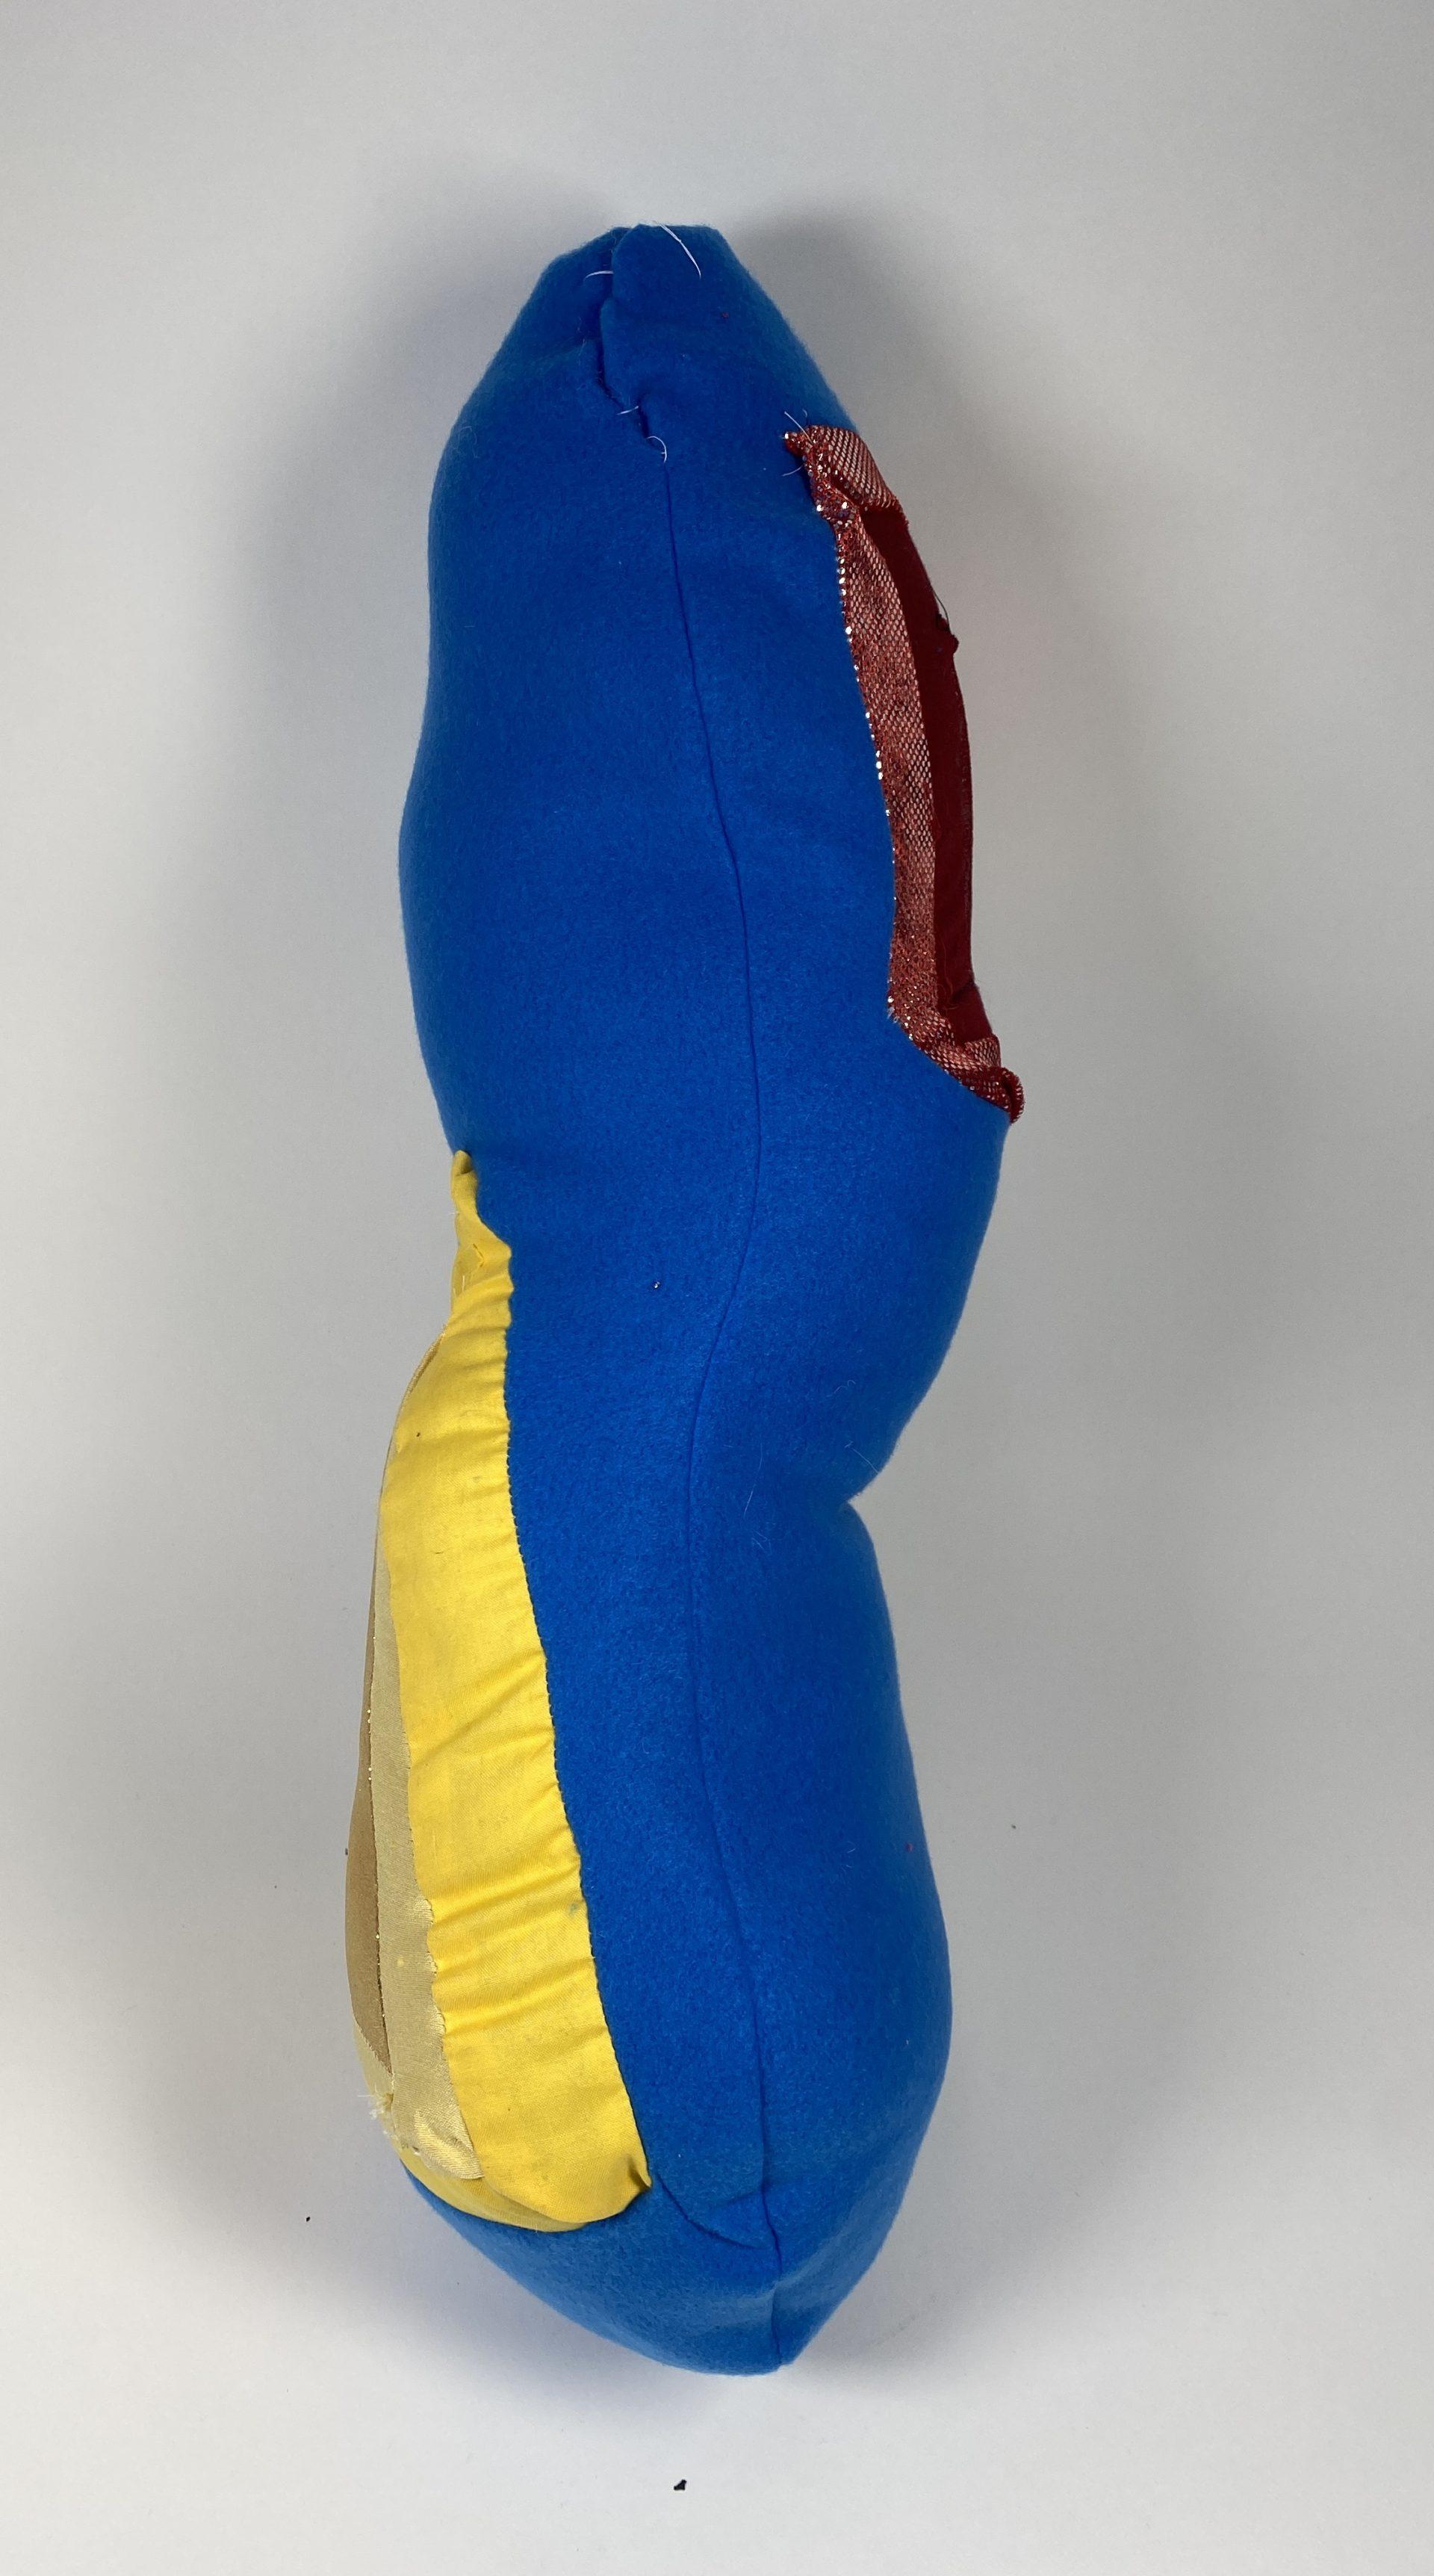
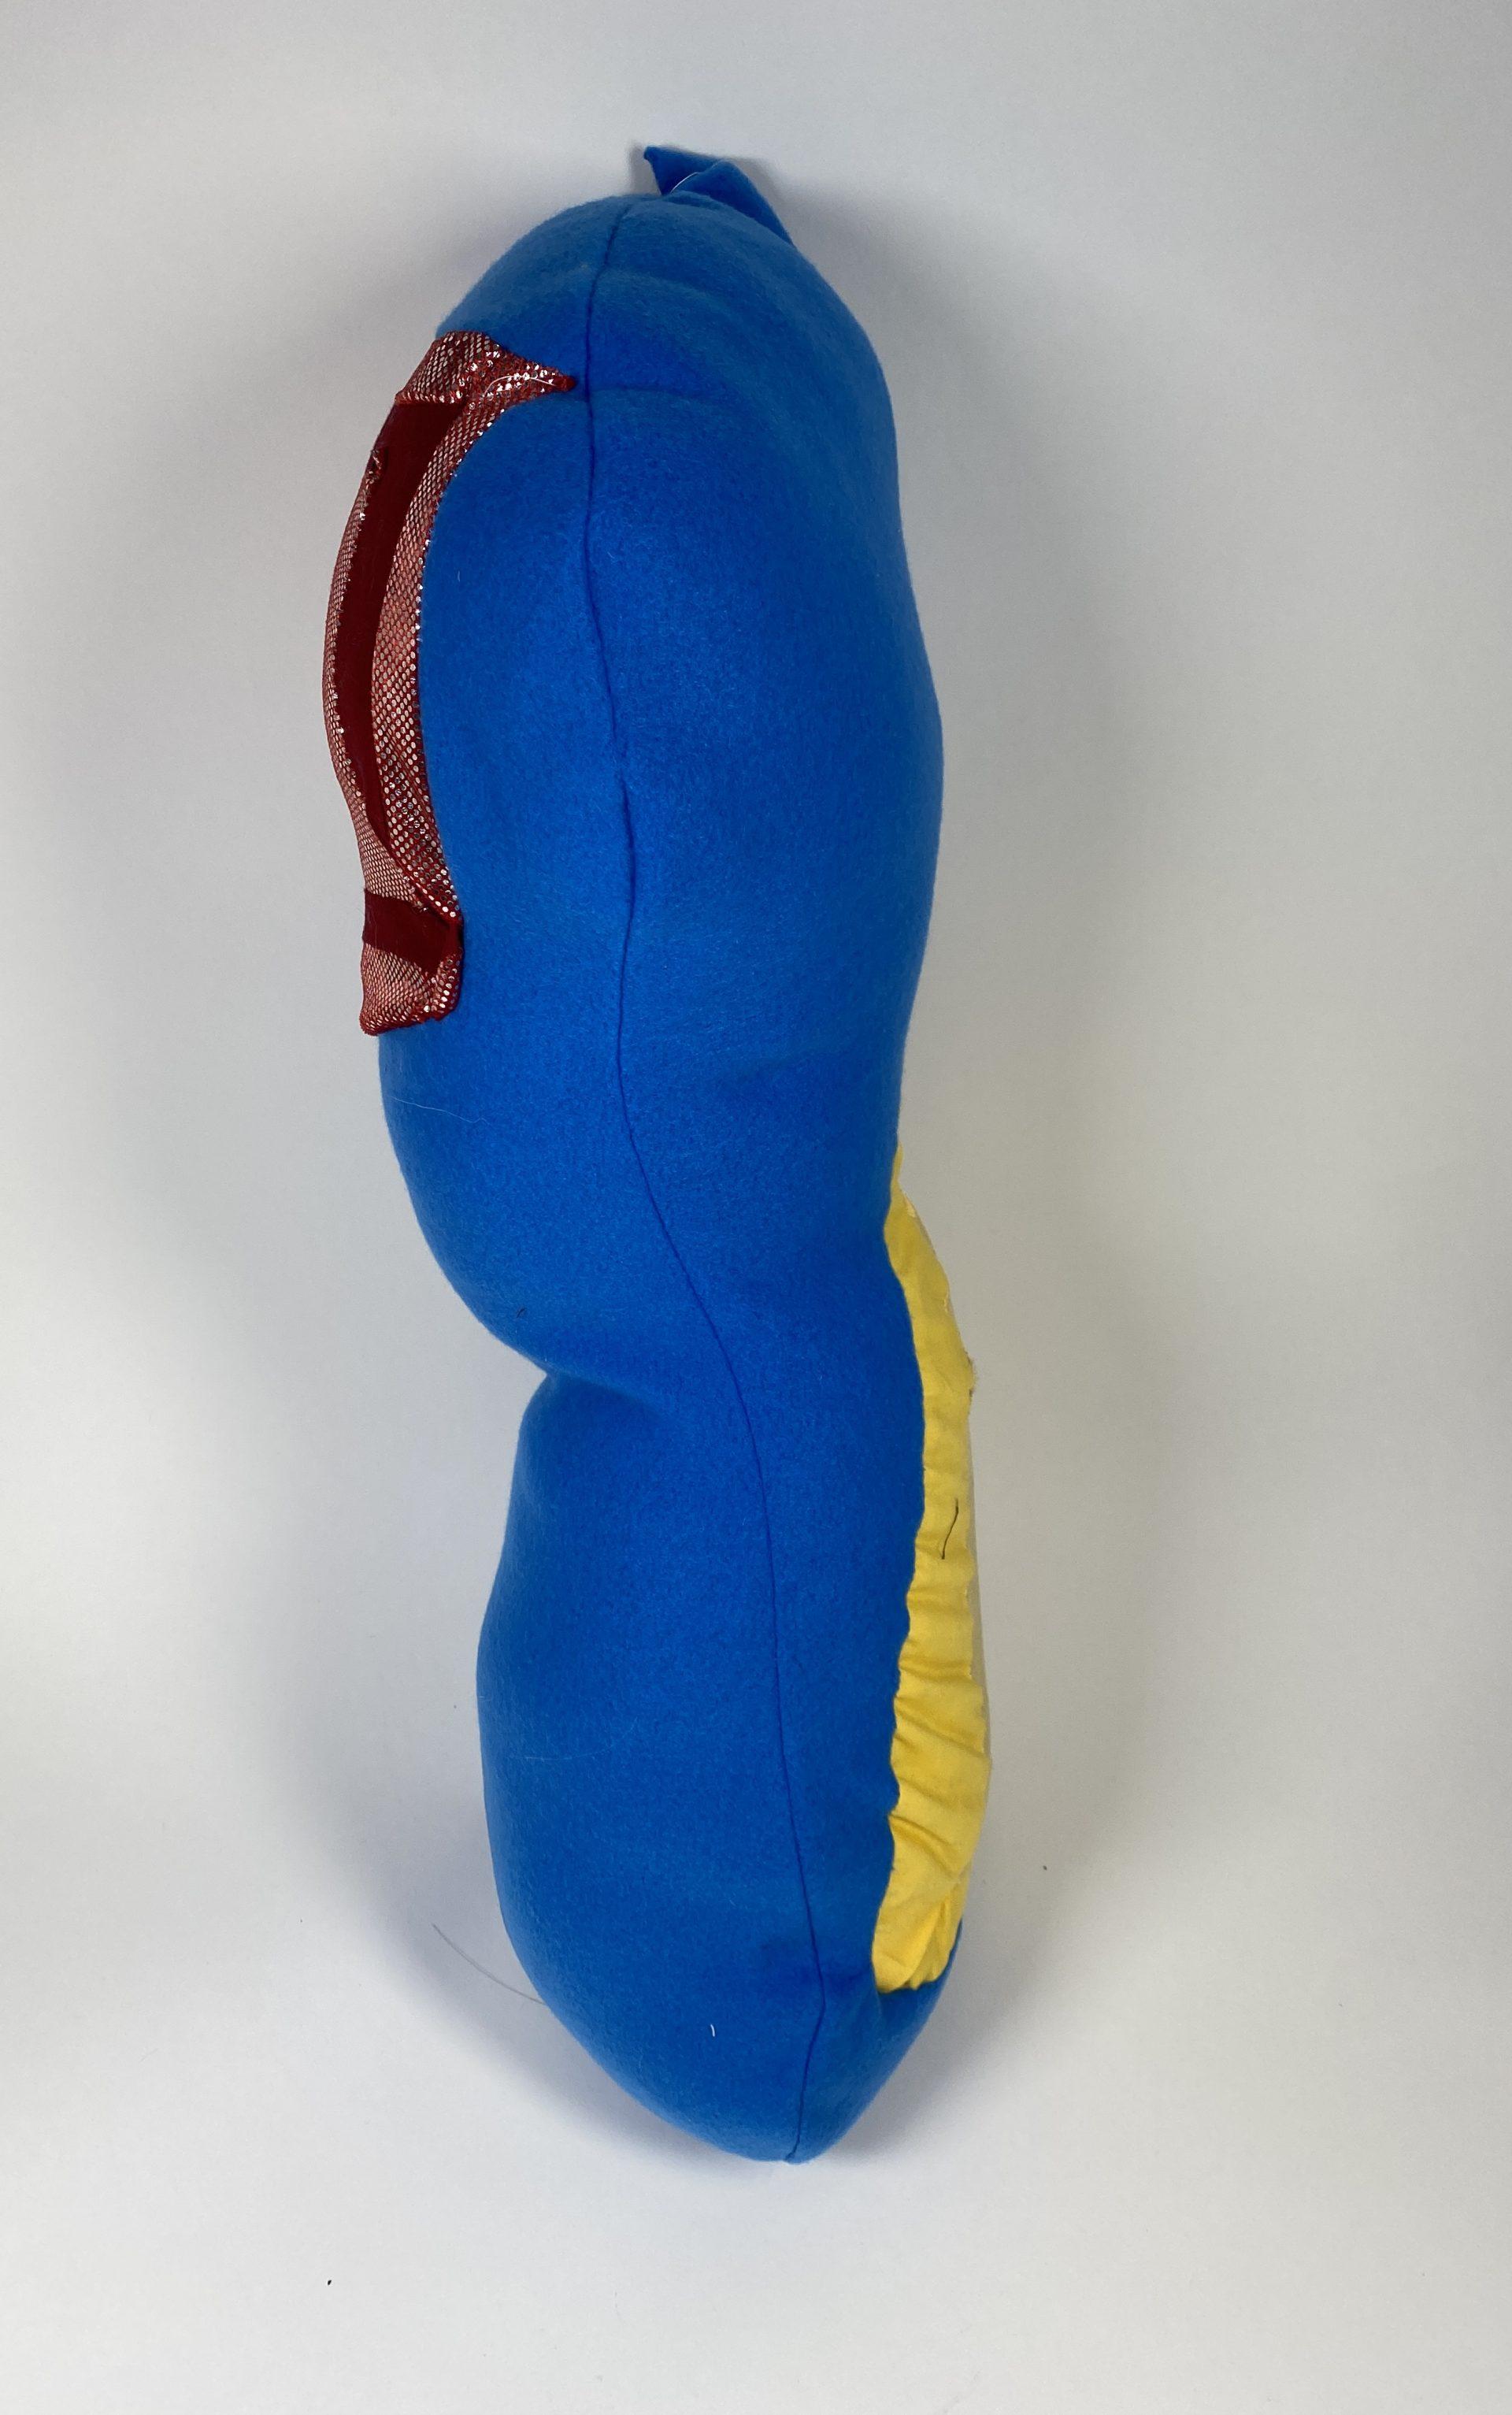
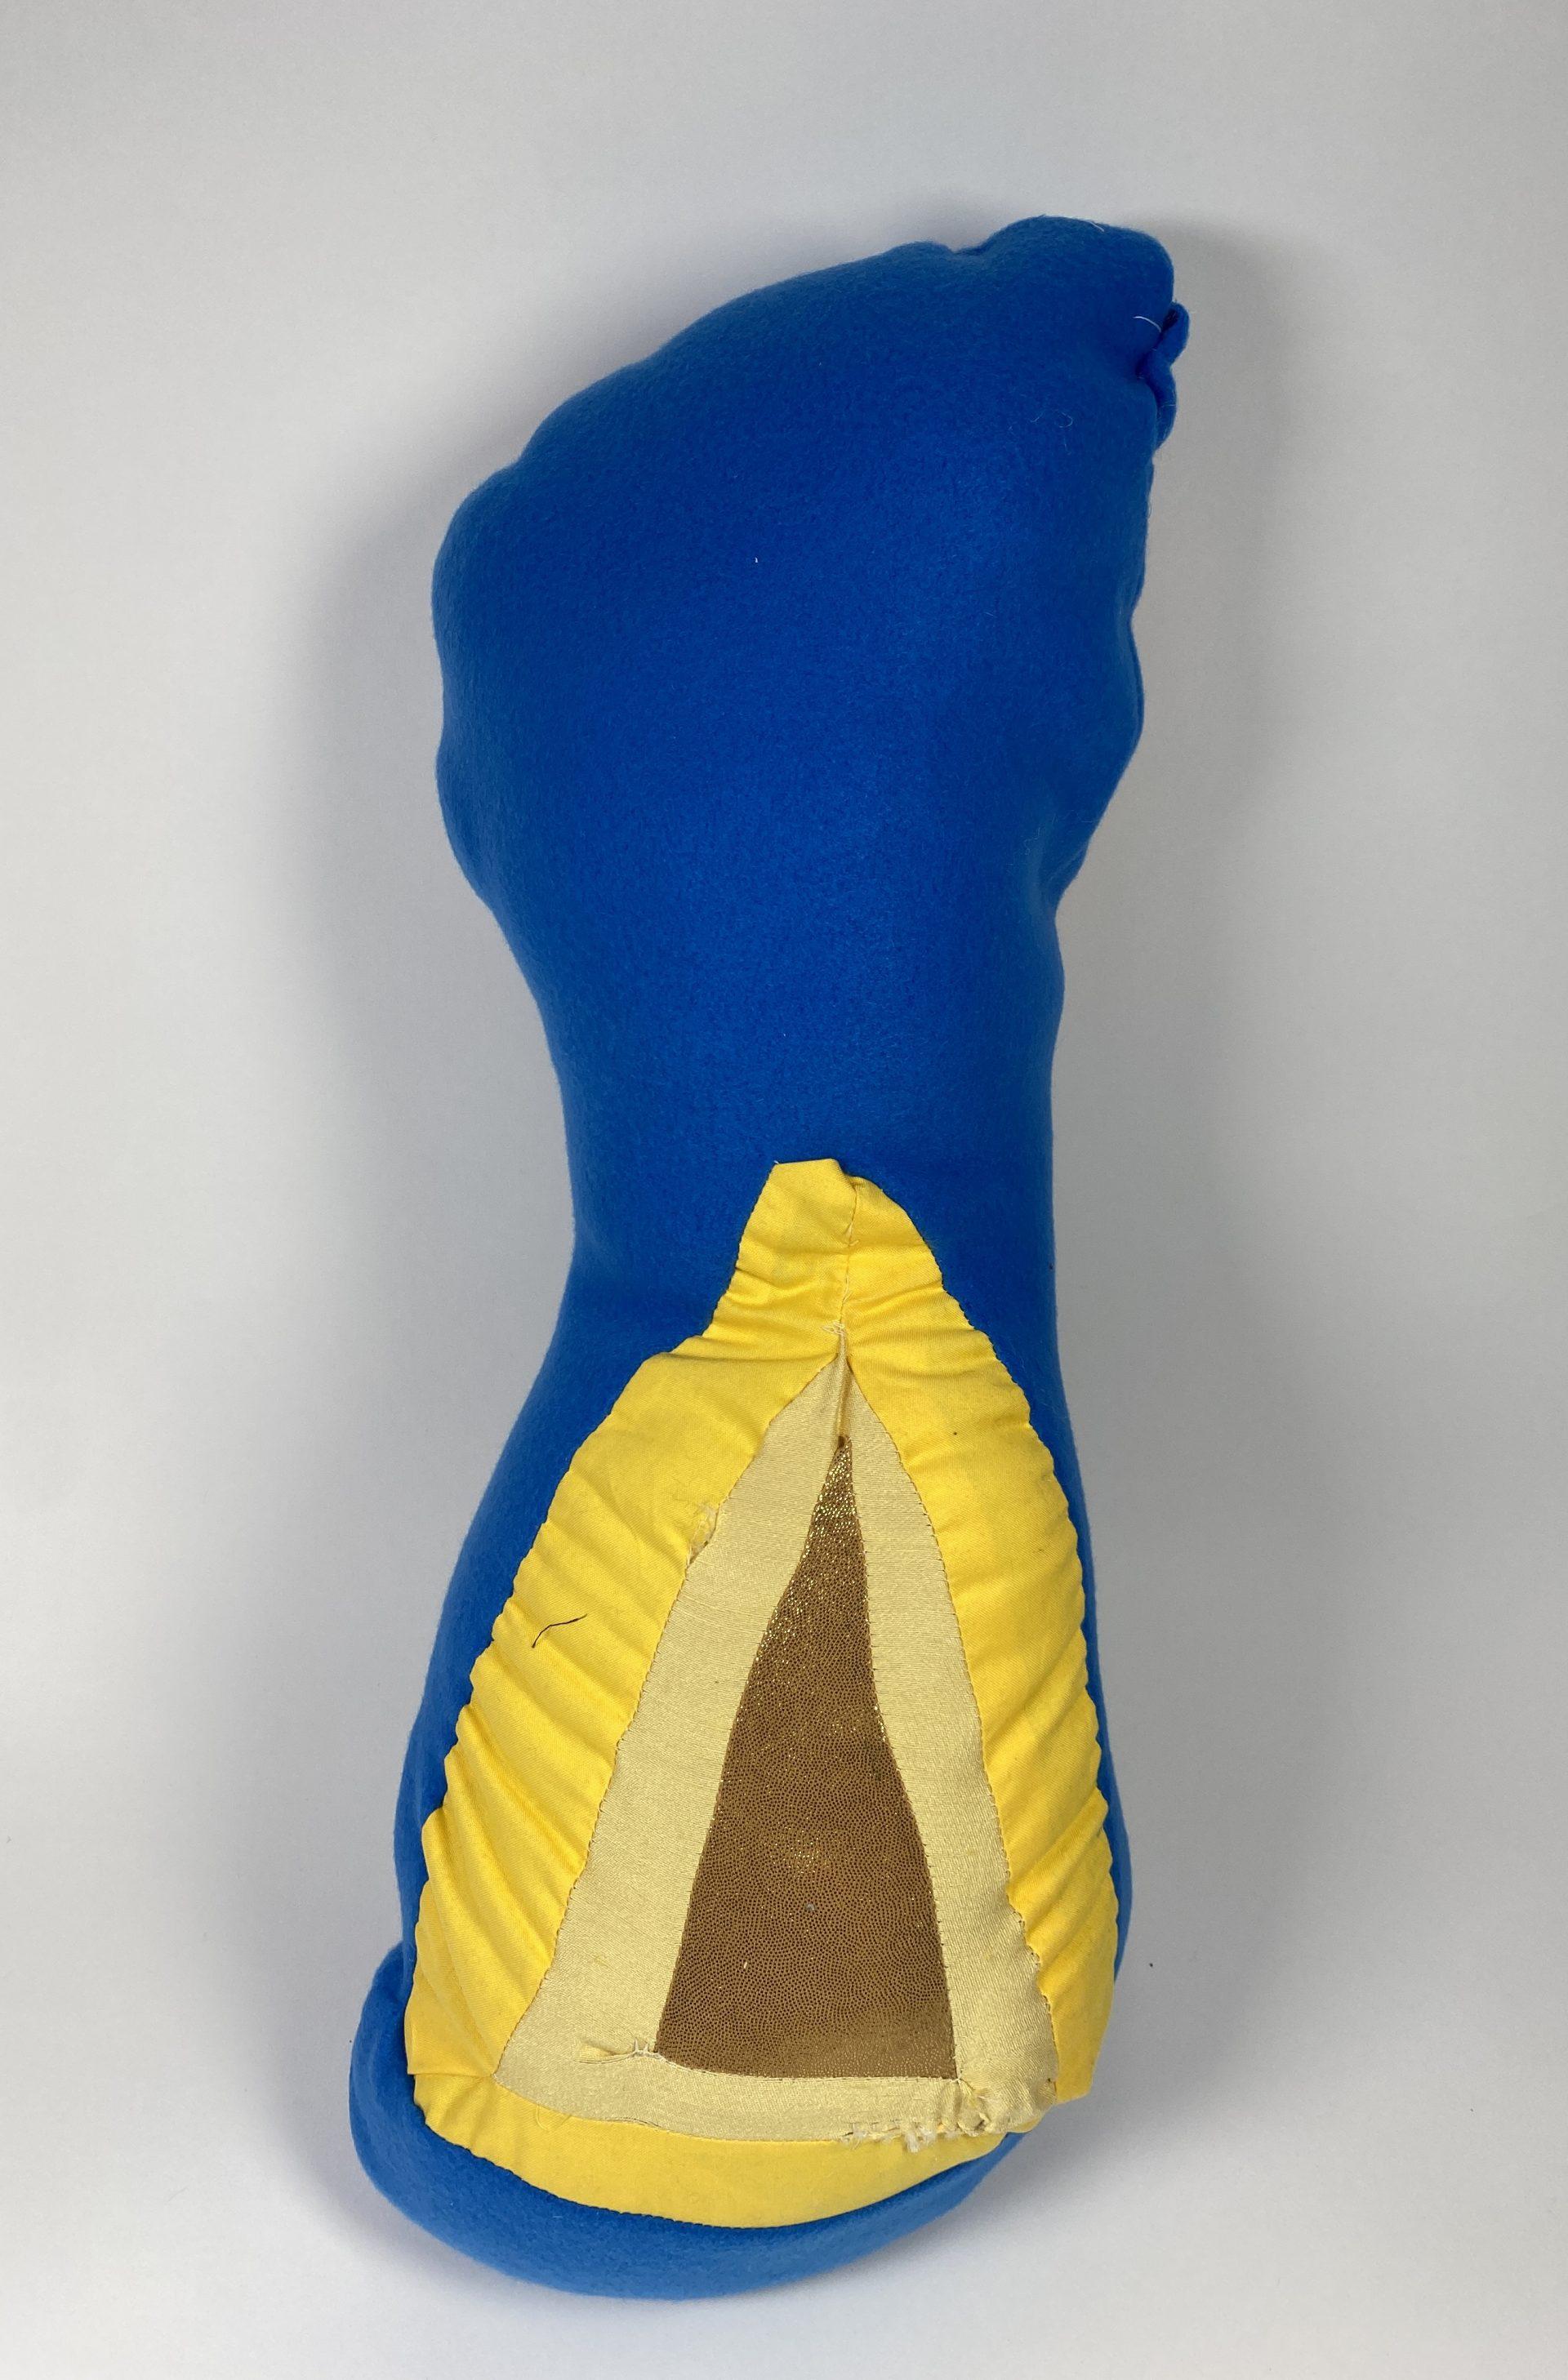
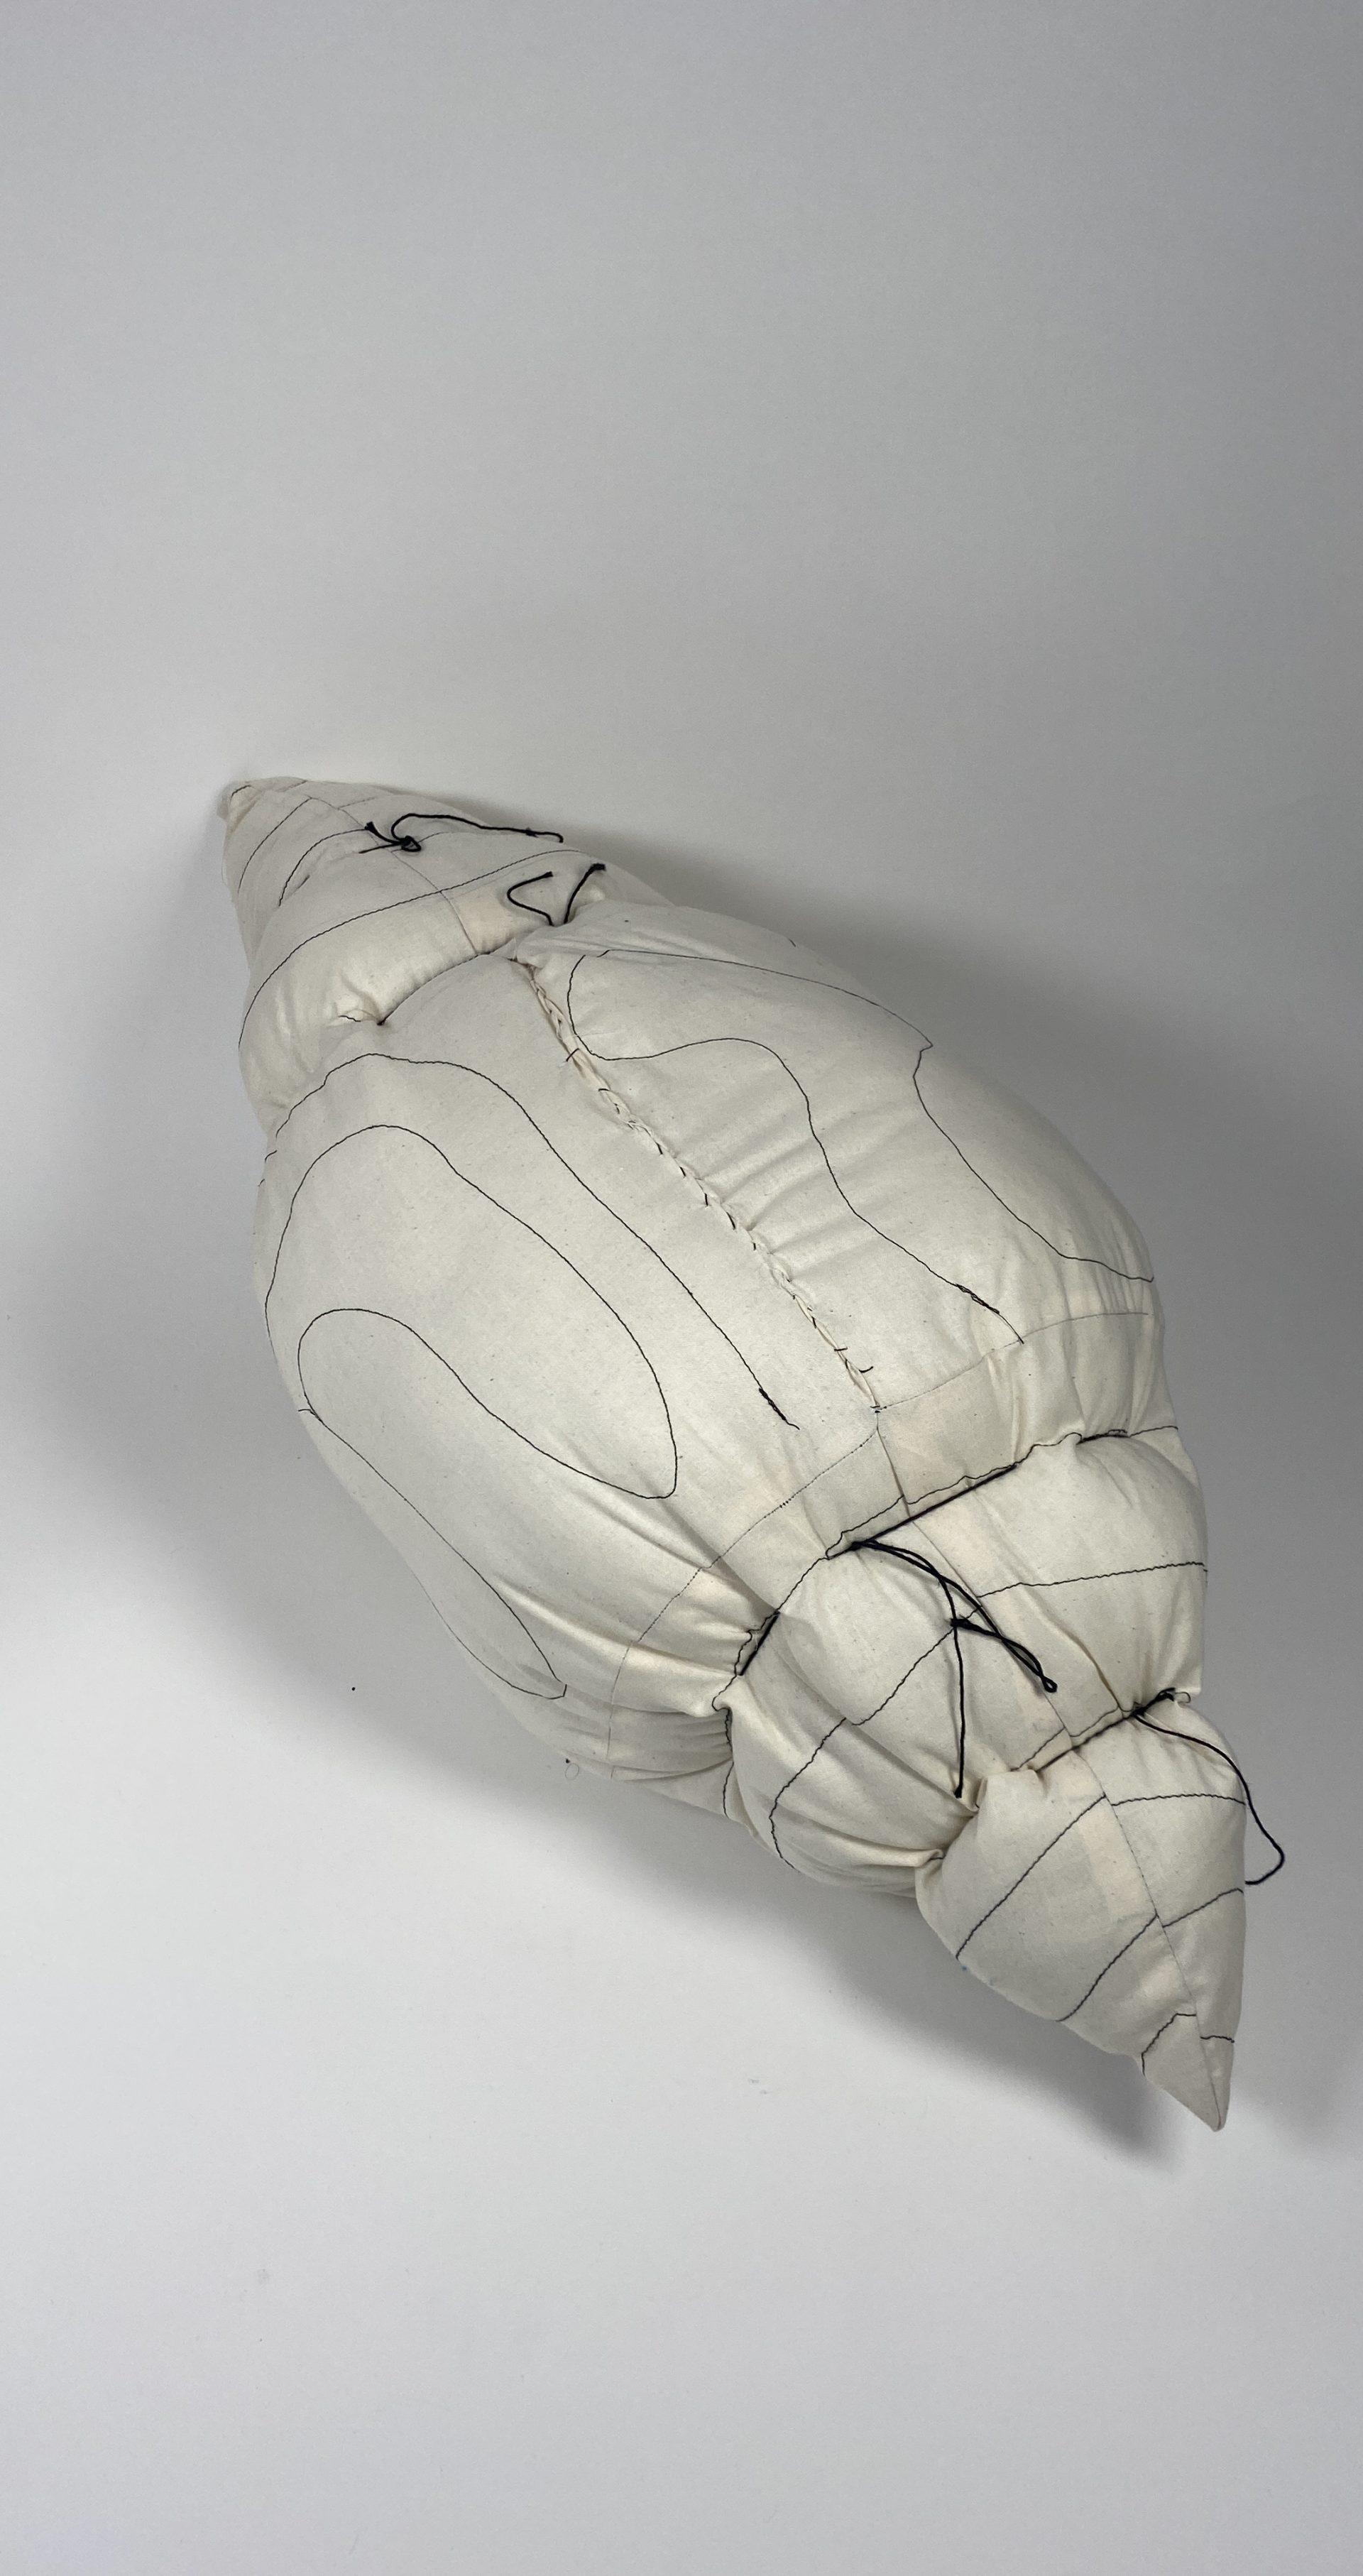
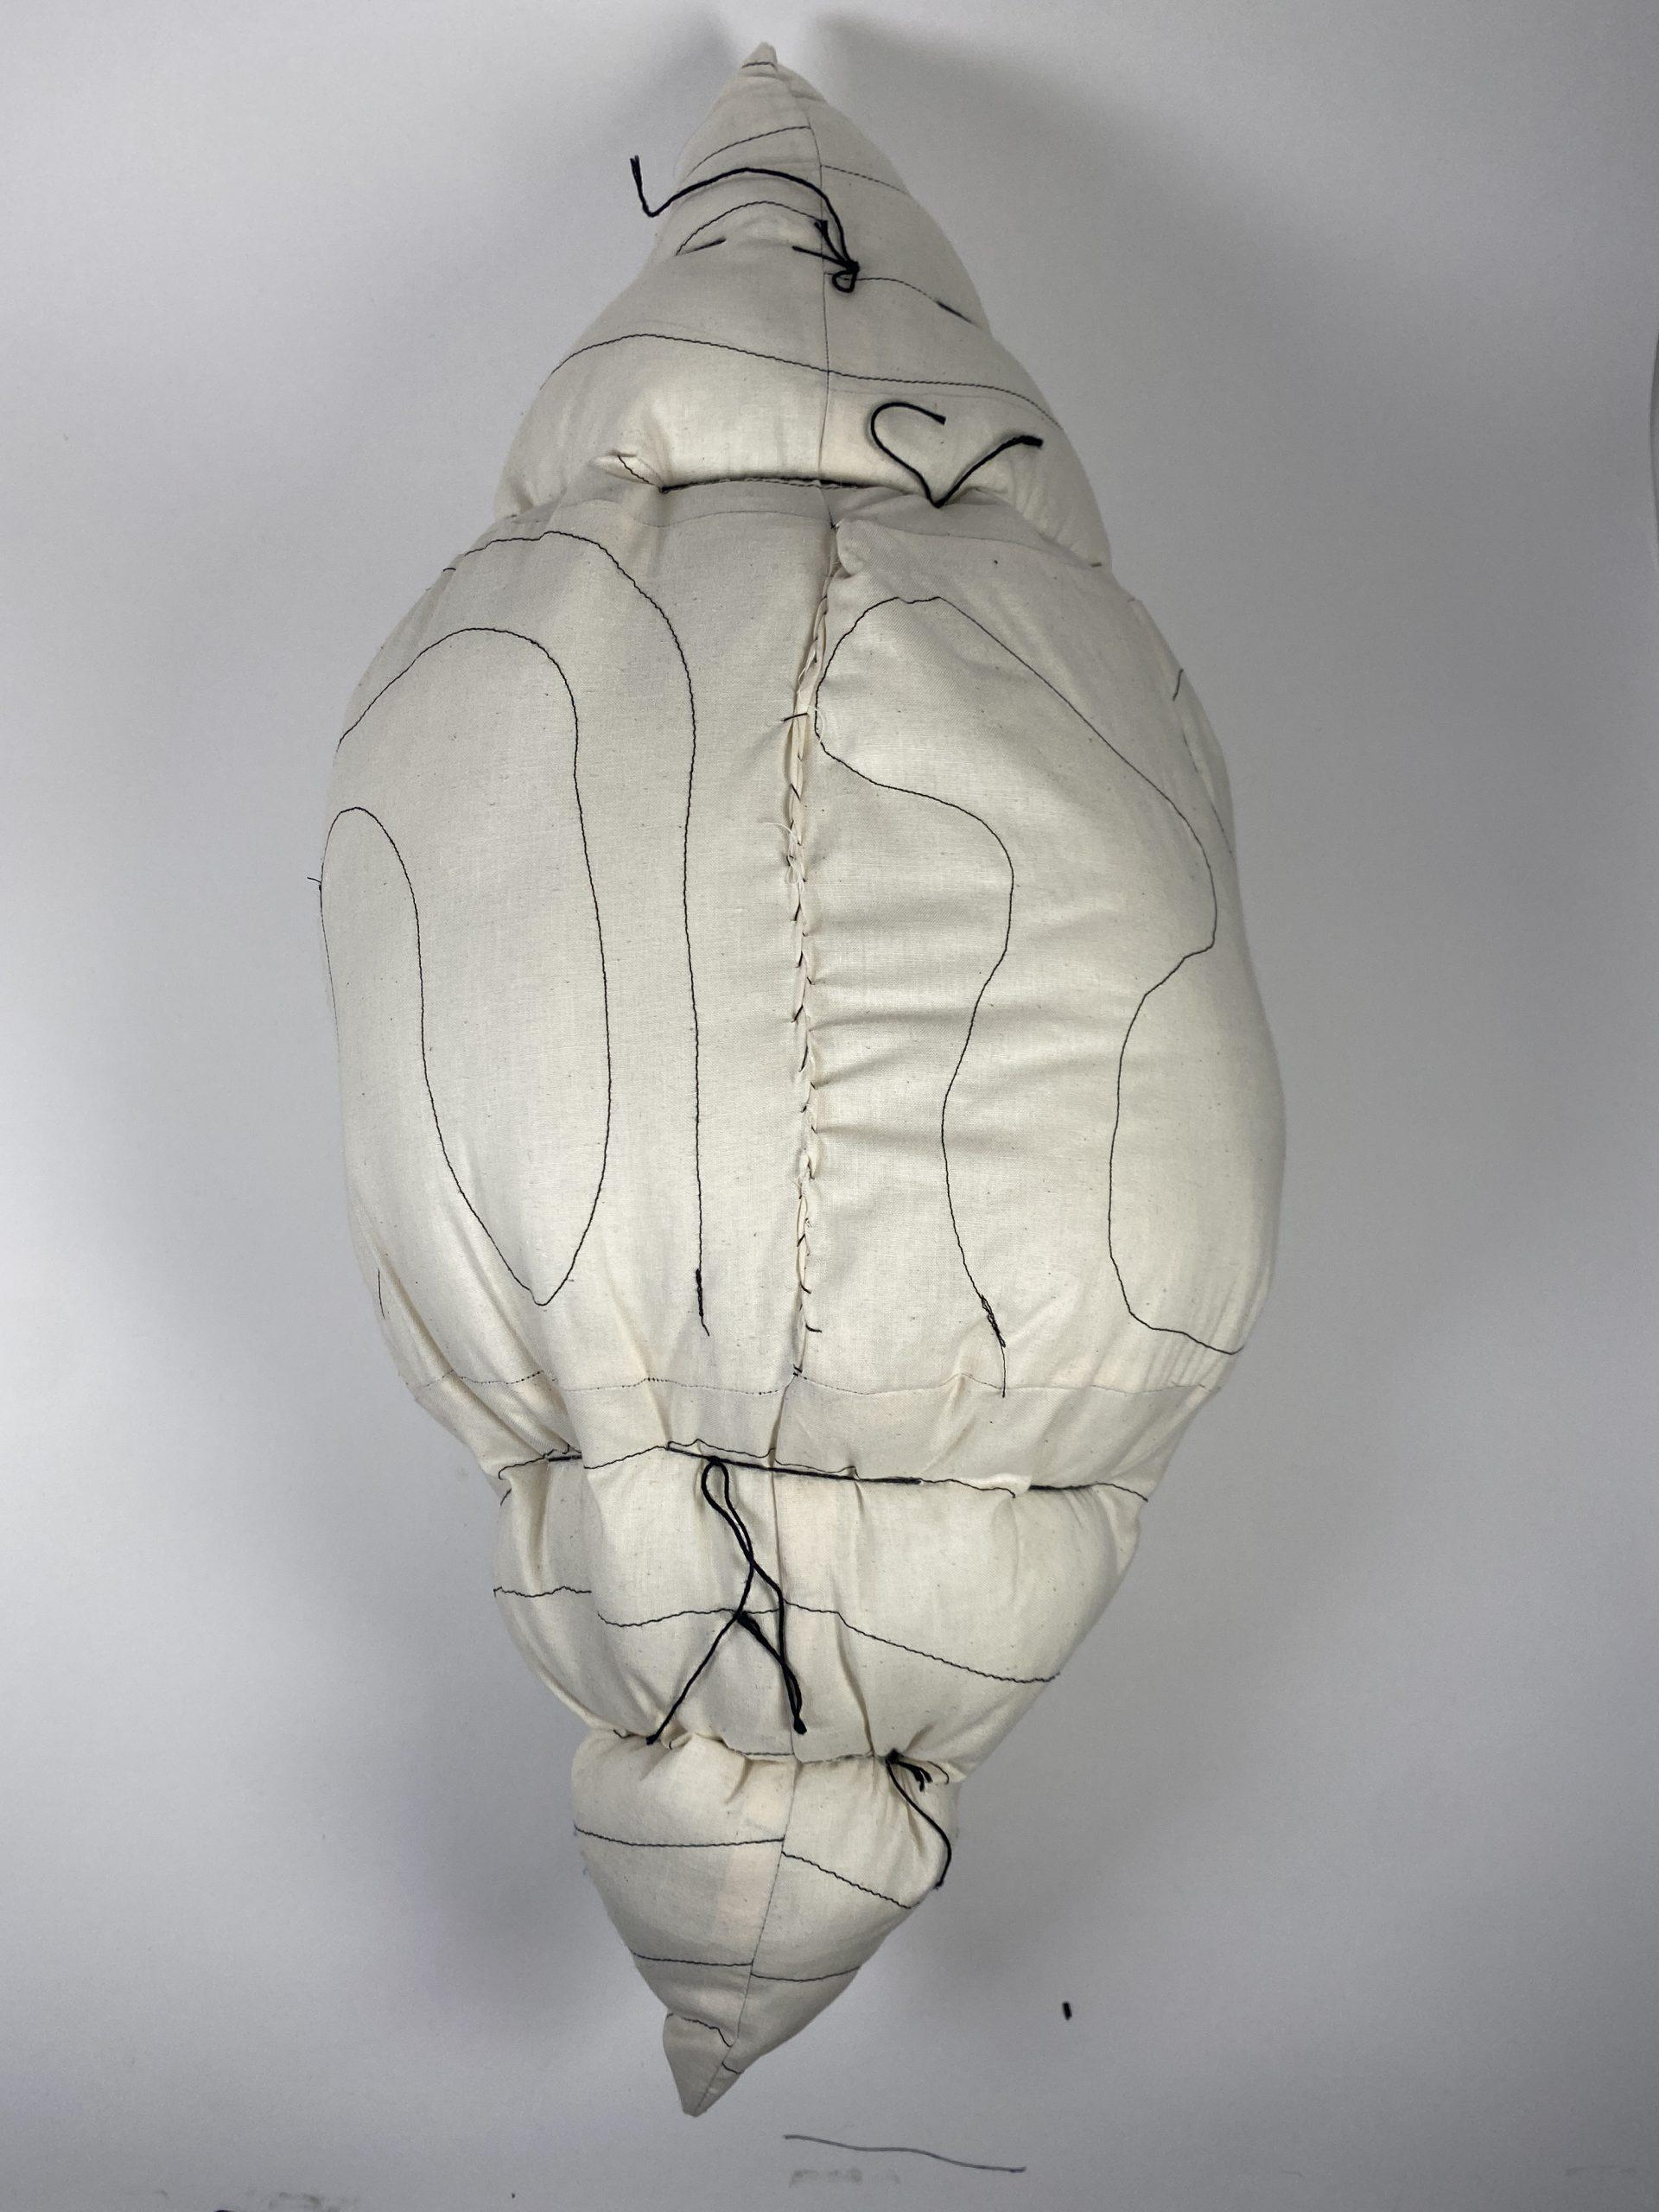
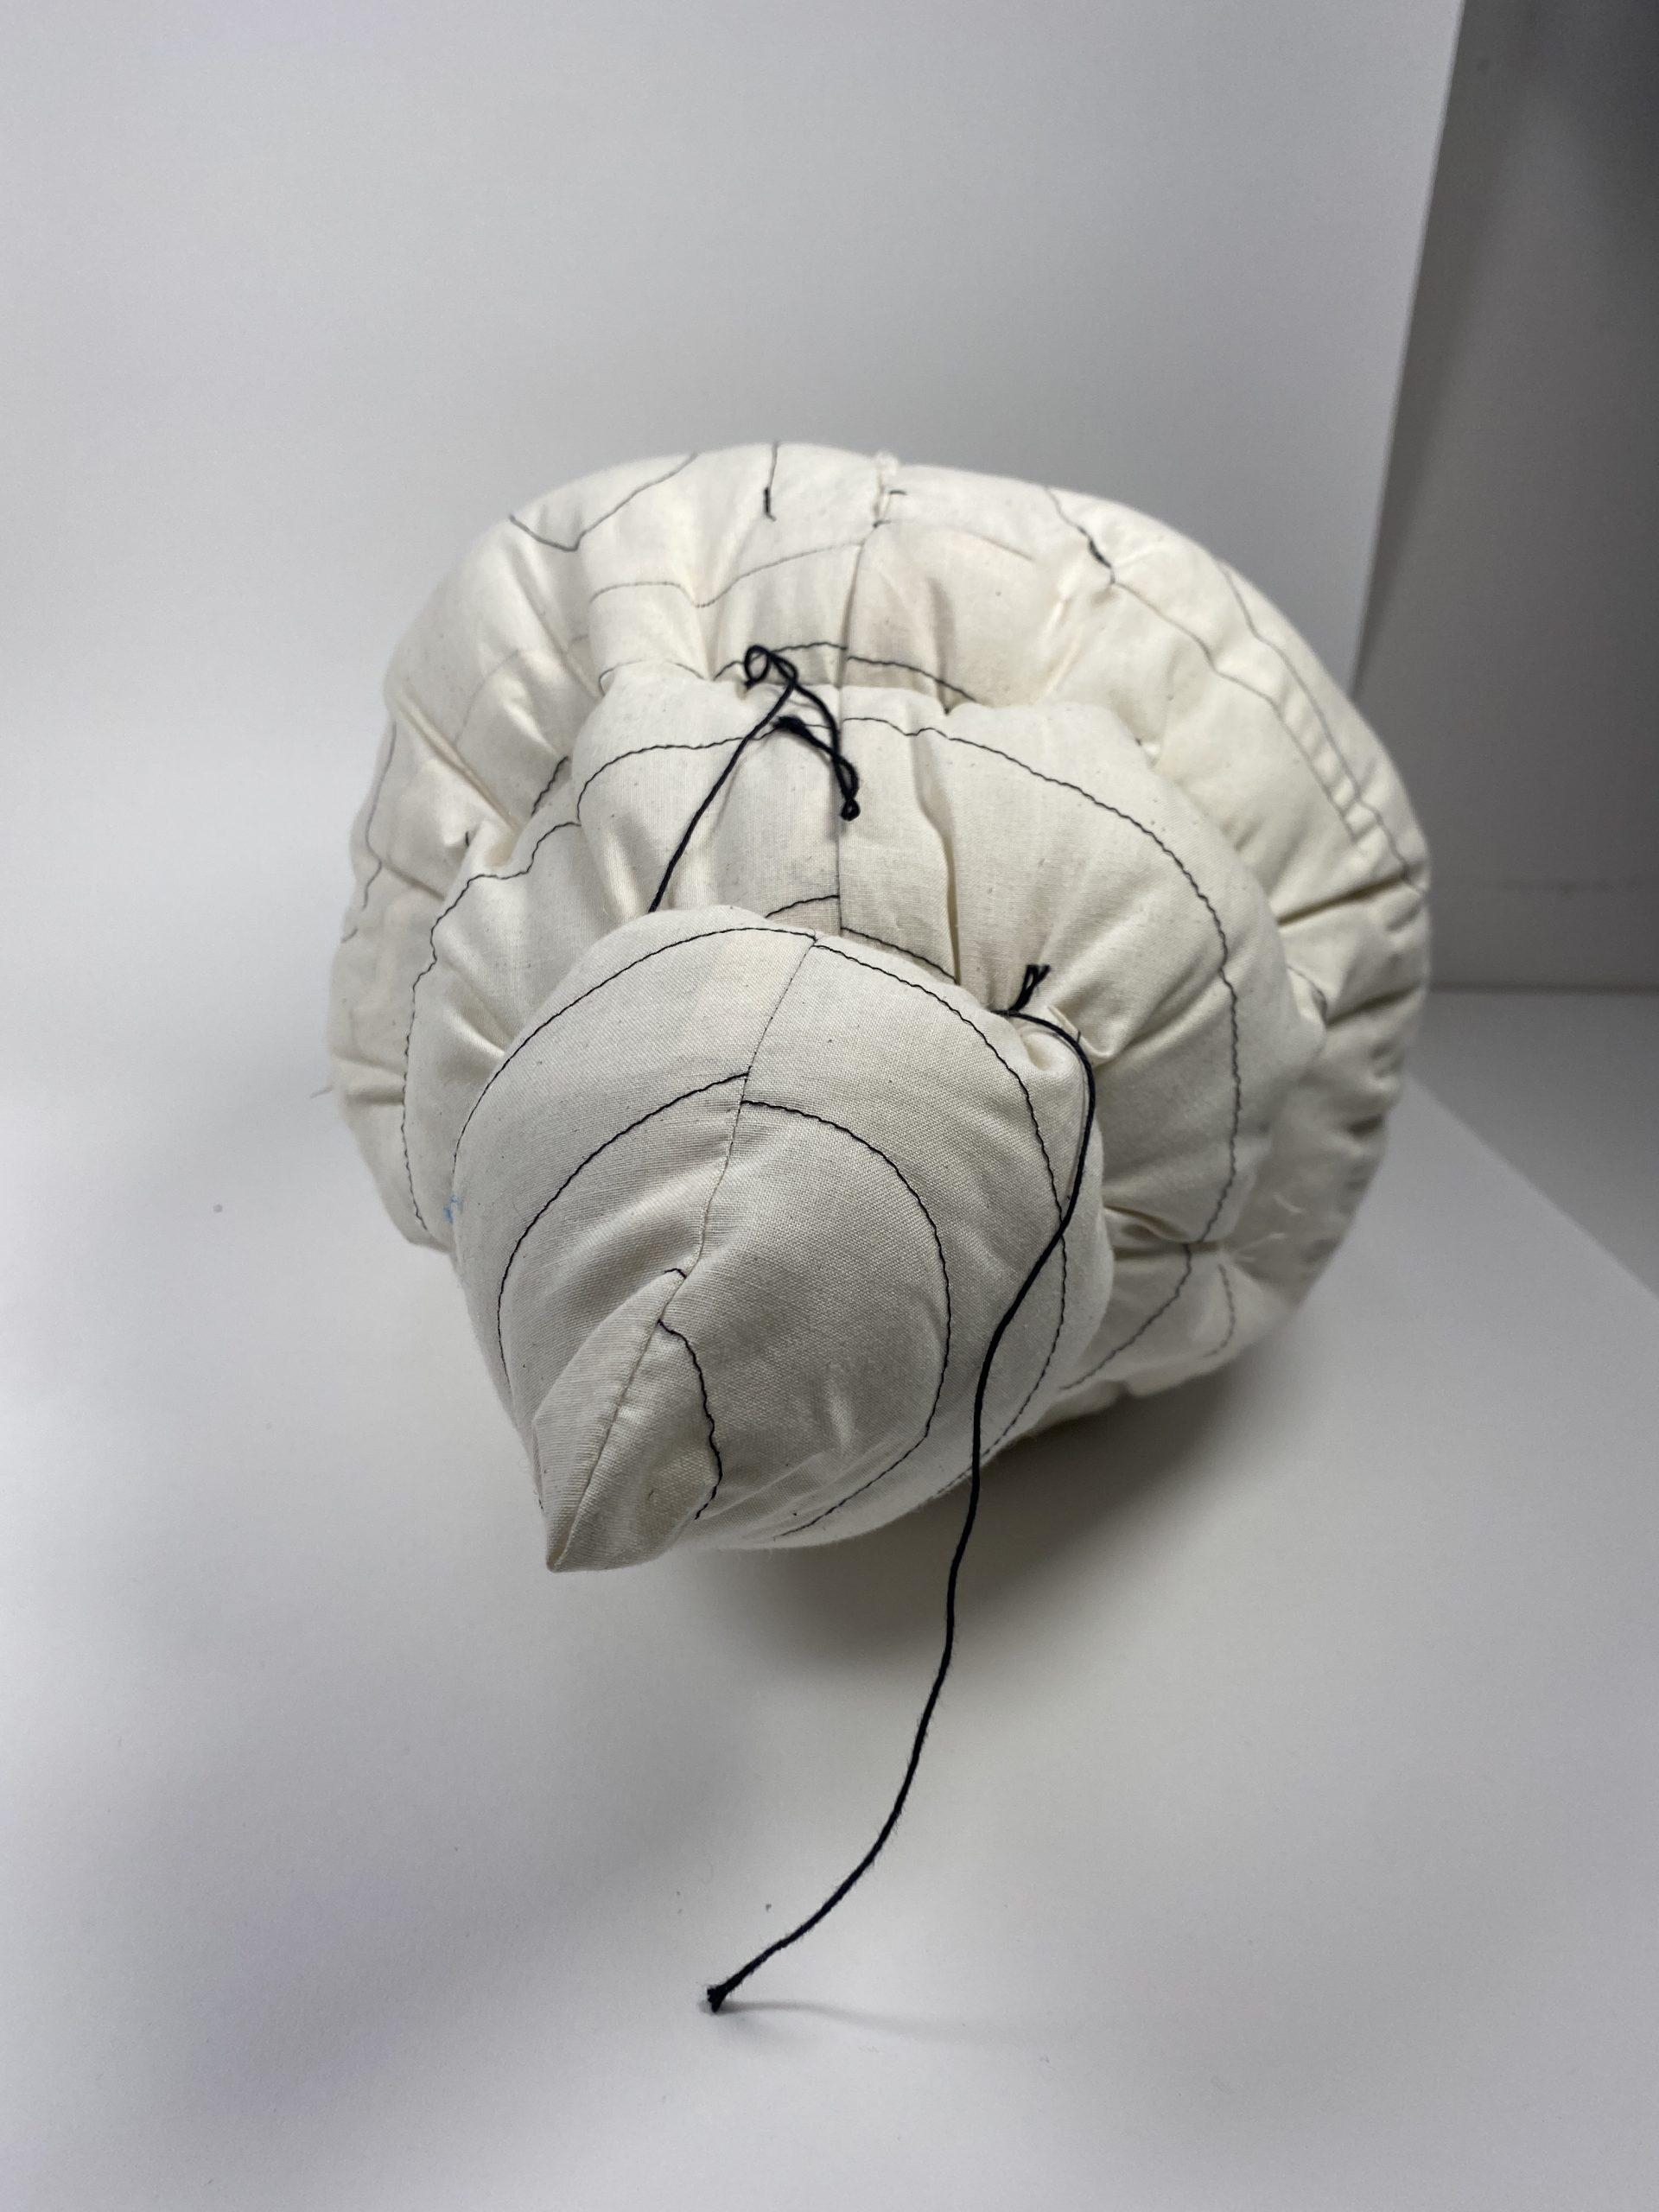
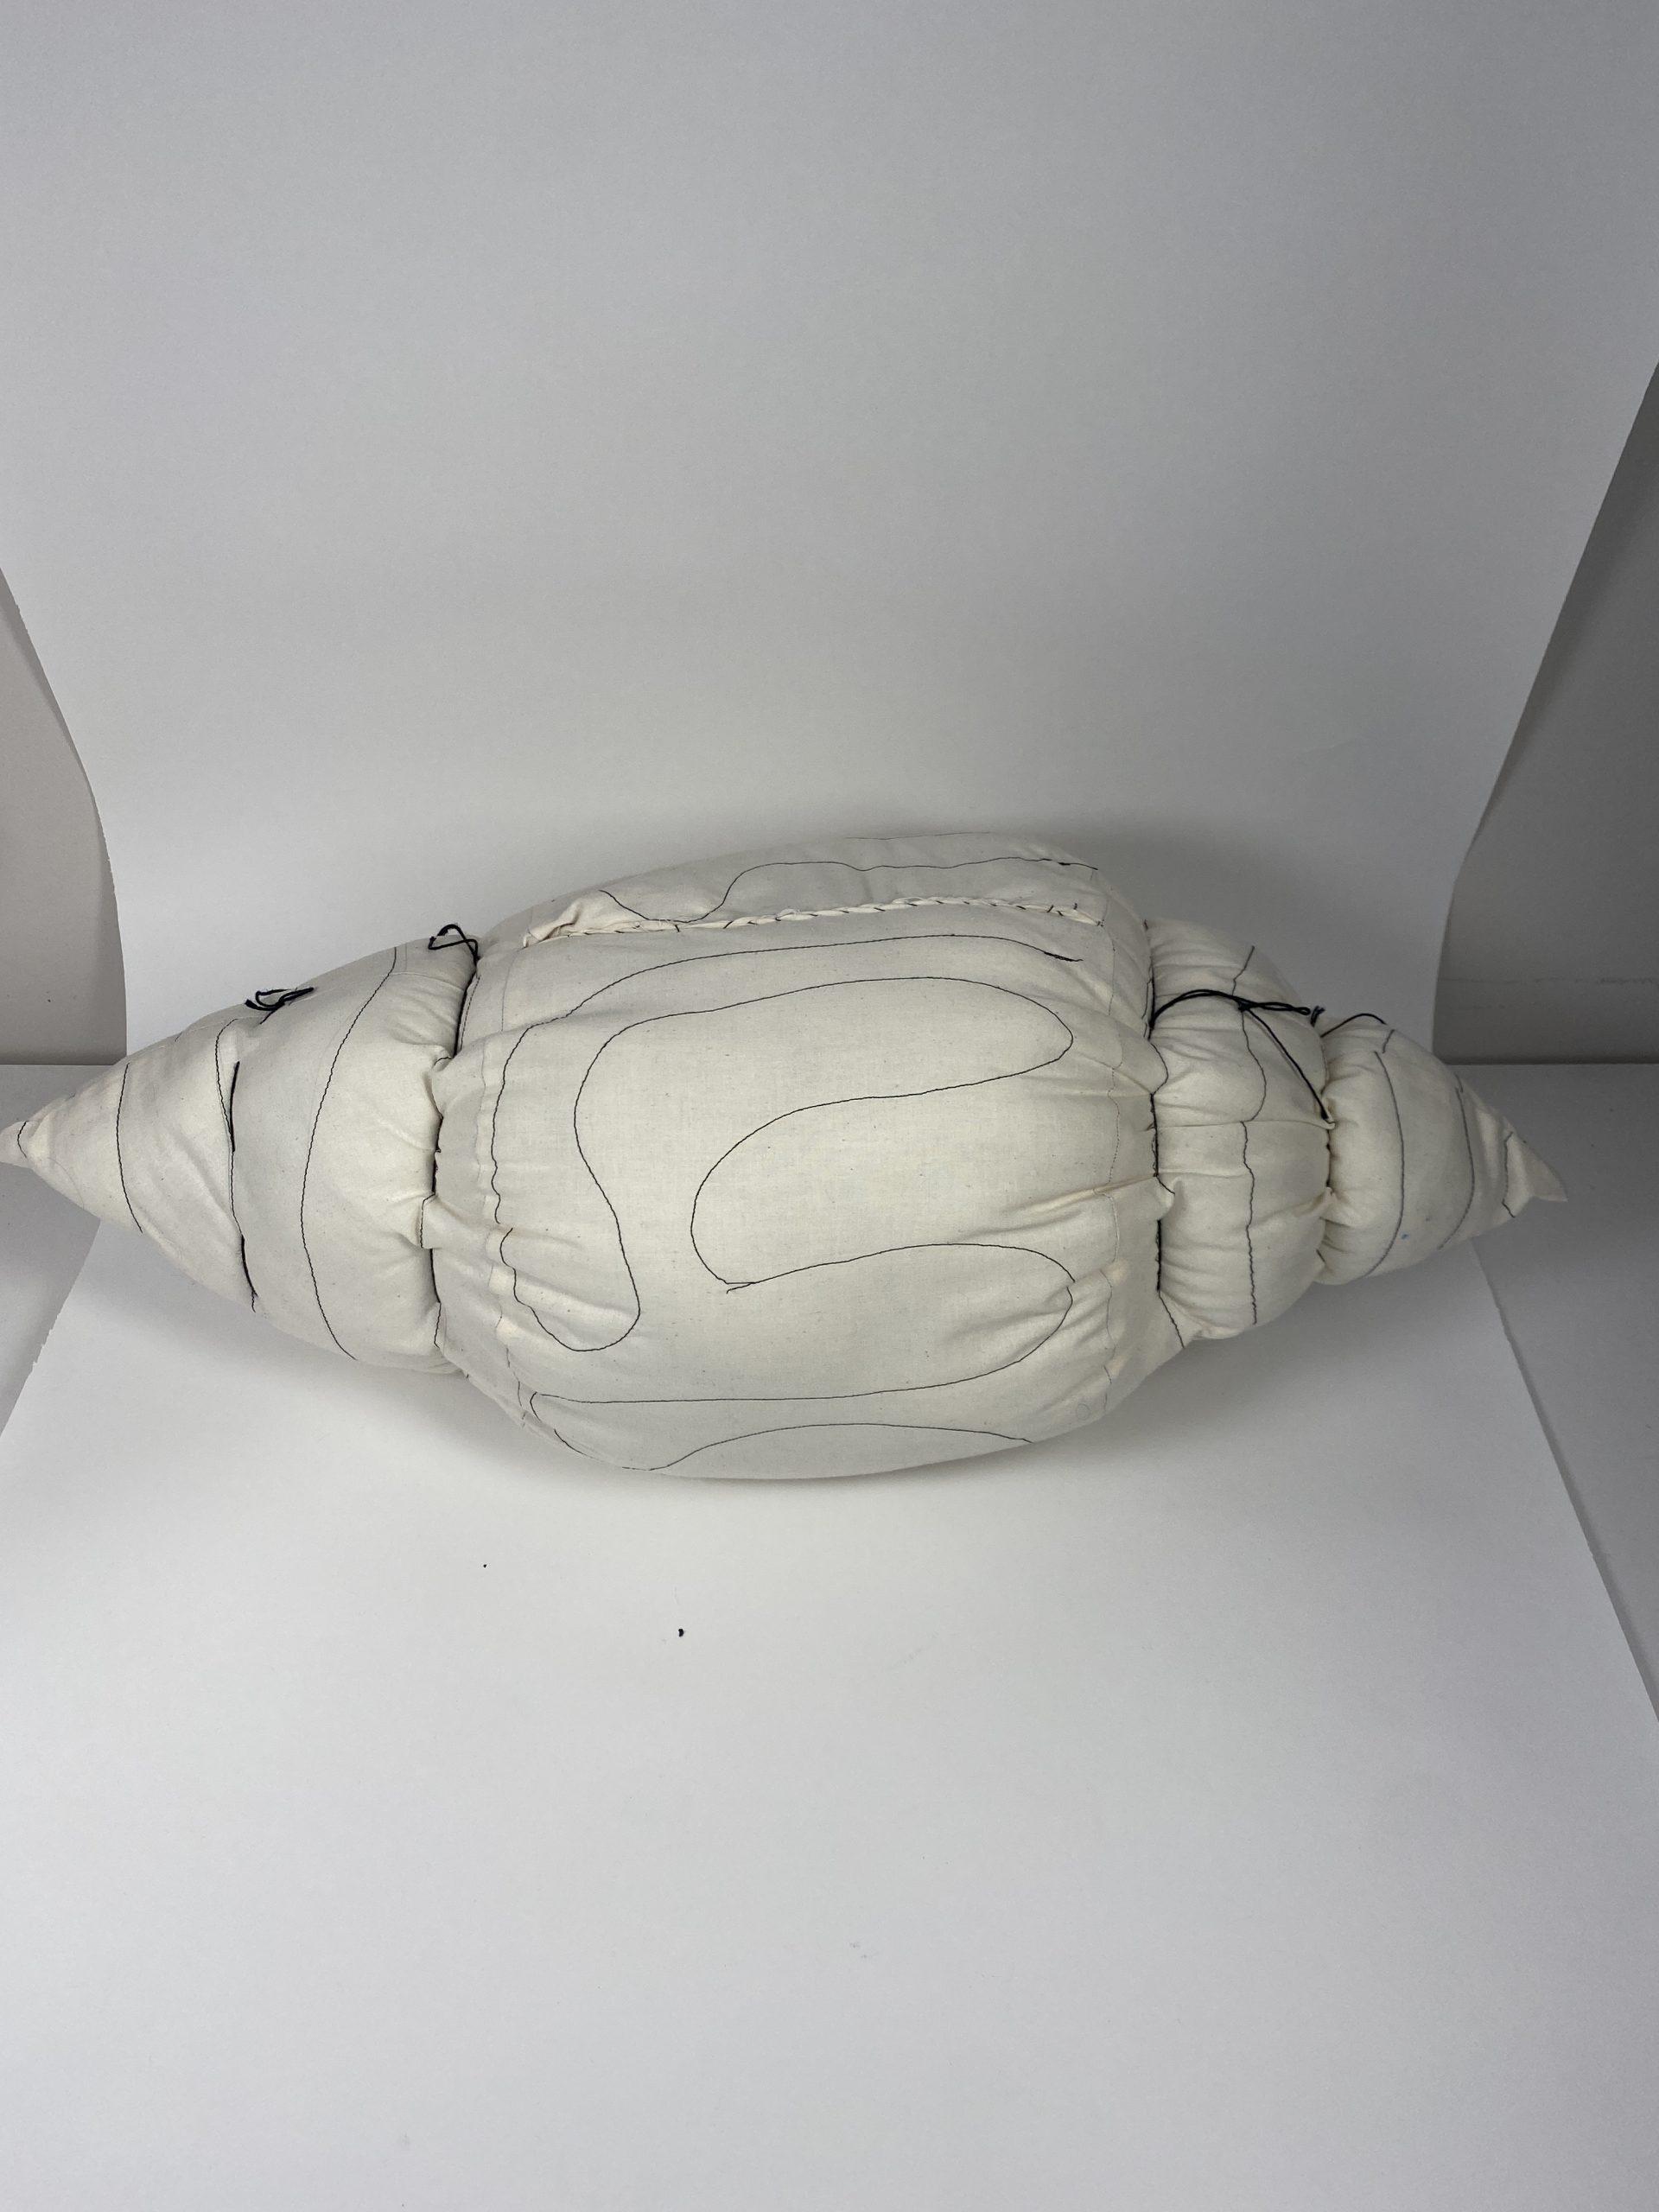
For my set of Push/Pull objects, I intitally wanted to focus on creating characters; I wanted to explore how different forms could lead to different expressions. My first two objects are loosely based off of Junimos, which are small, helpful creatures from the game Stardew Valley, and were created in Rhino, while my third object was patterned by hand and was intended to serve a specific purpose.
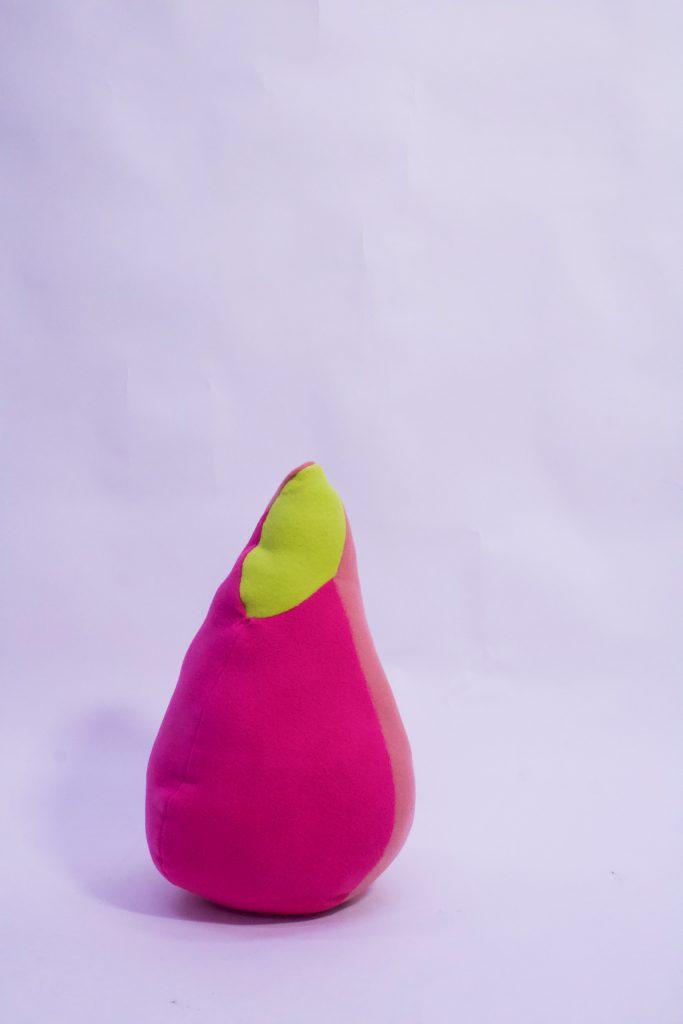
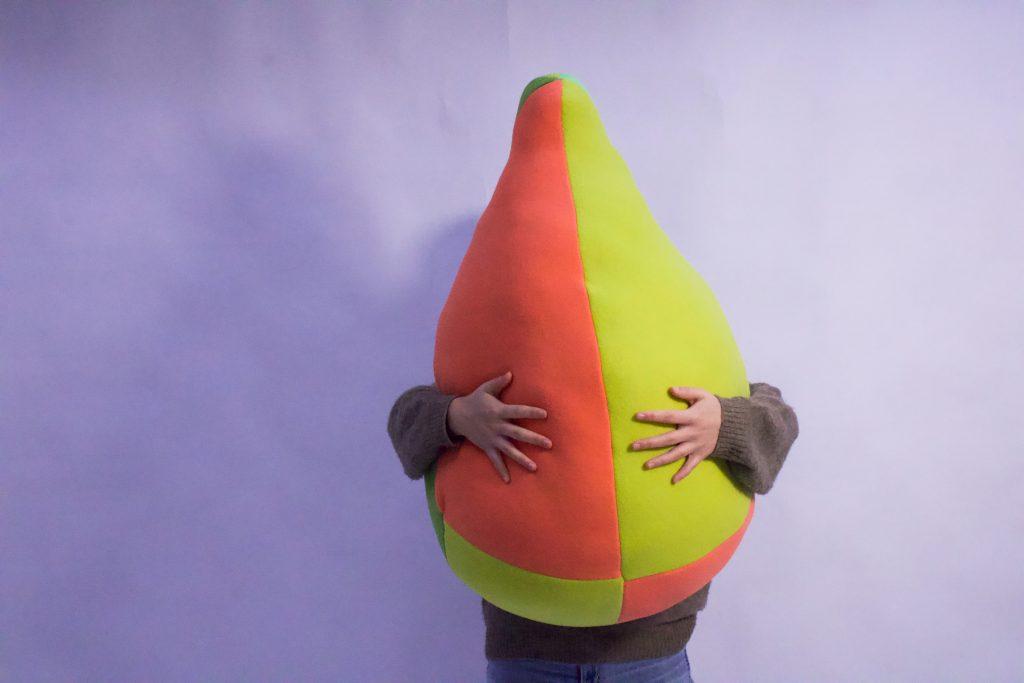
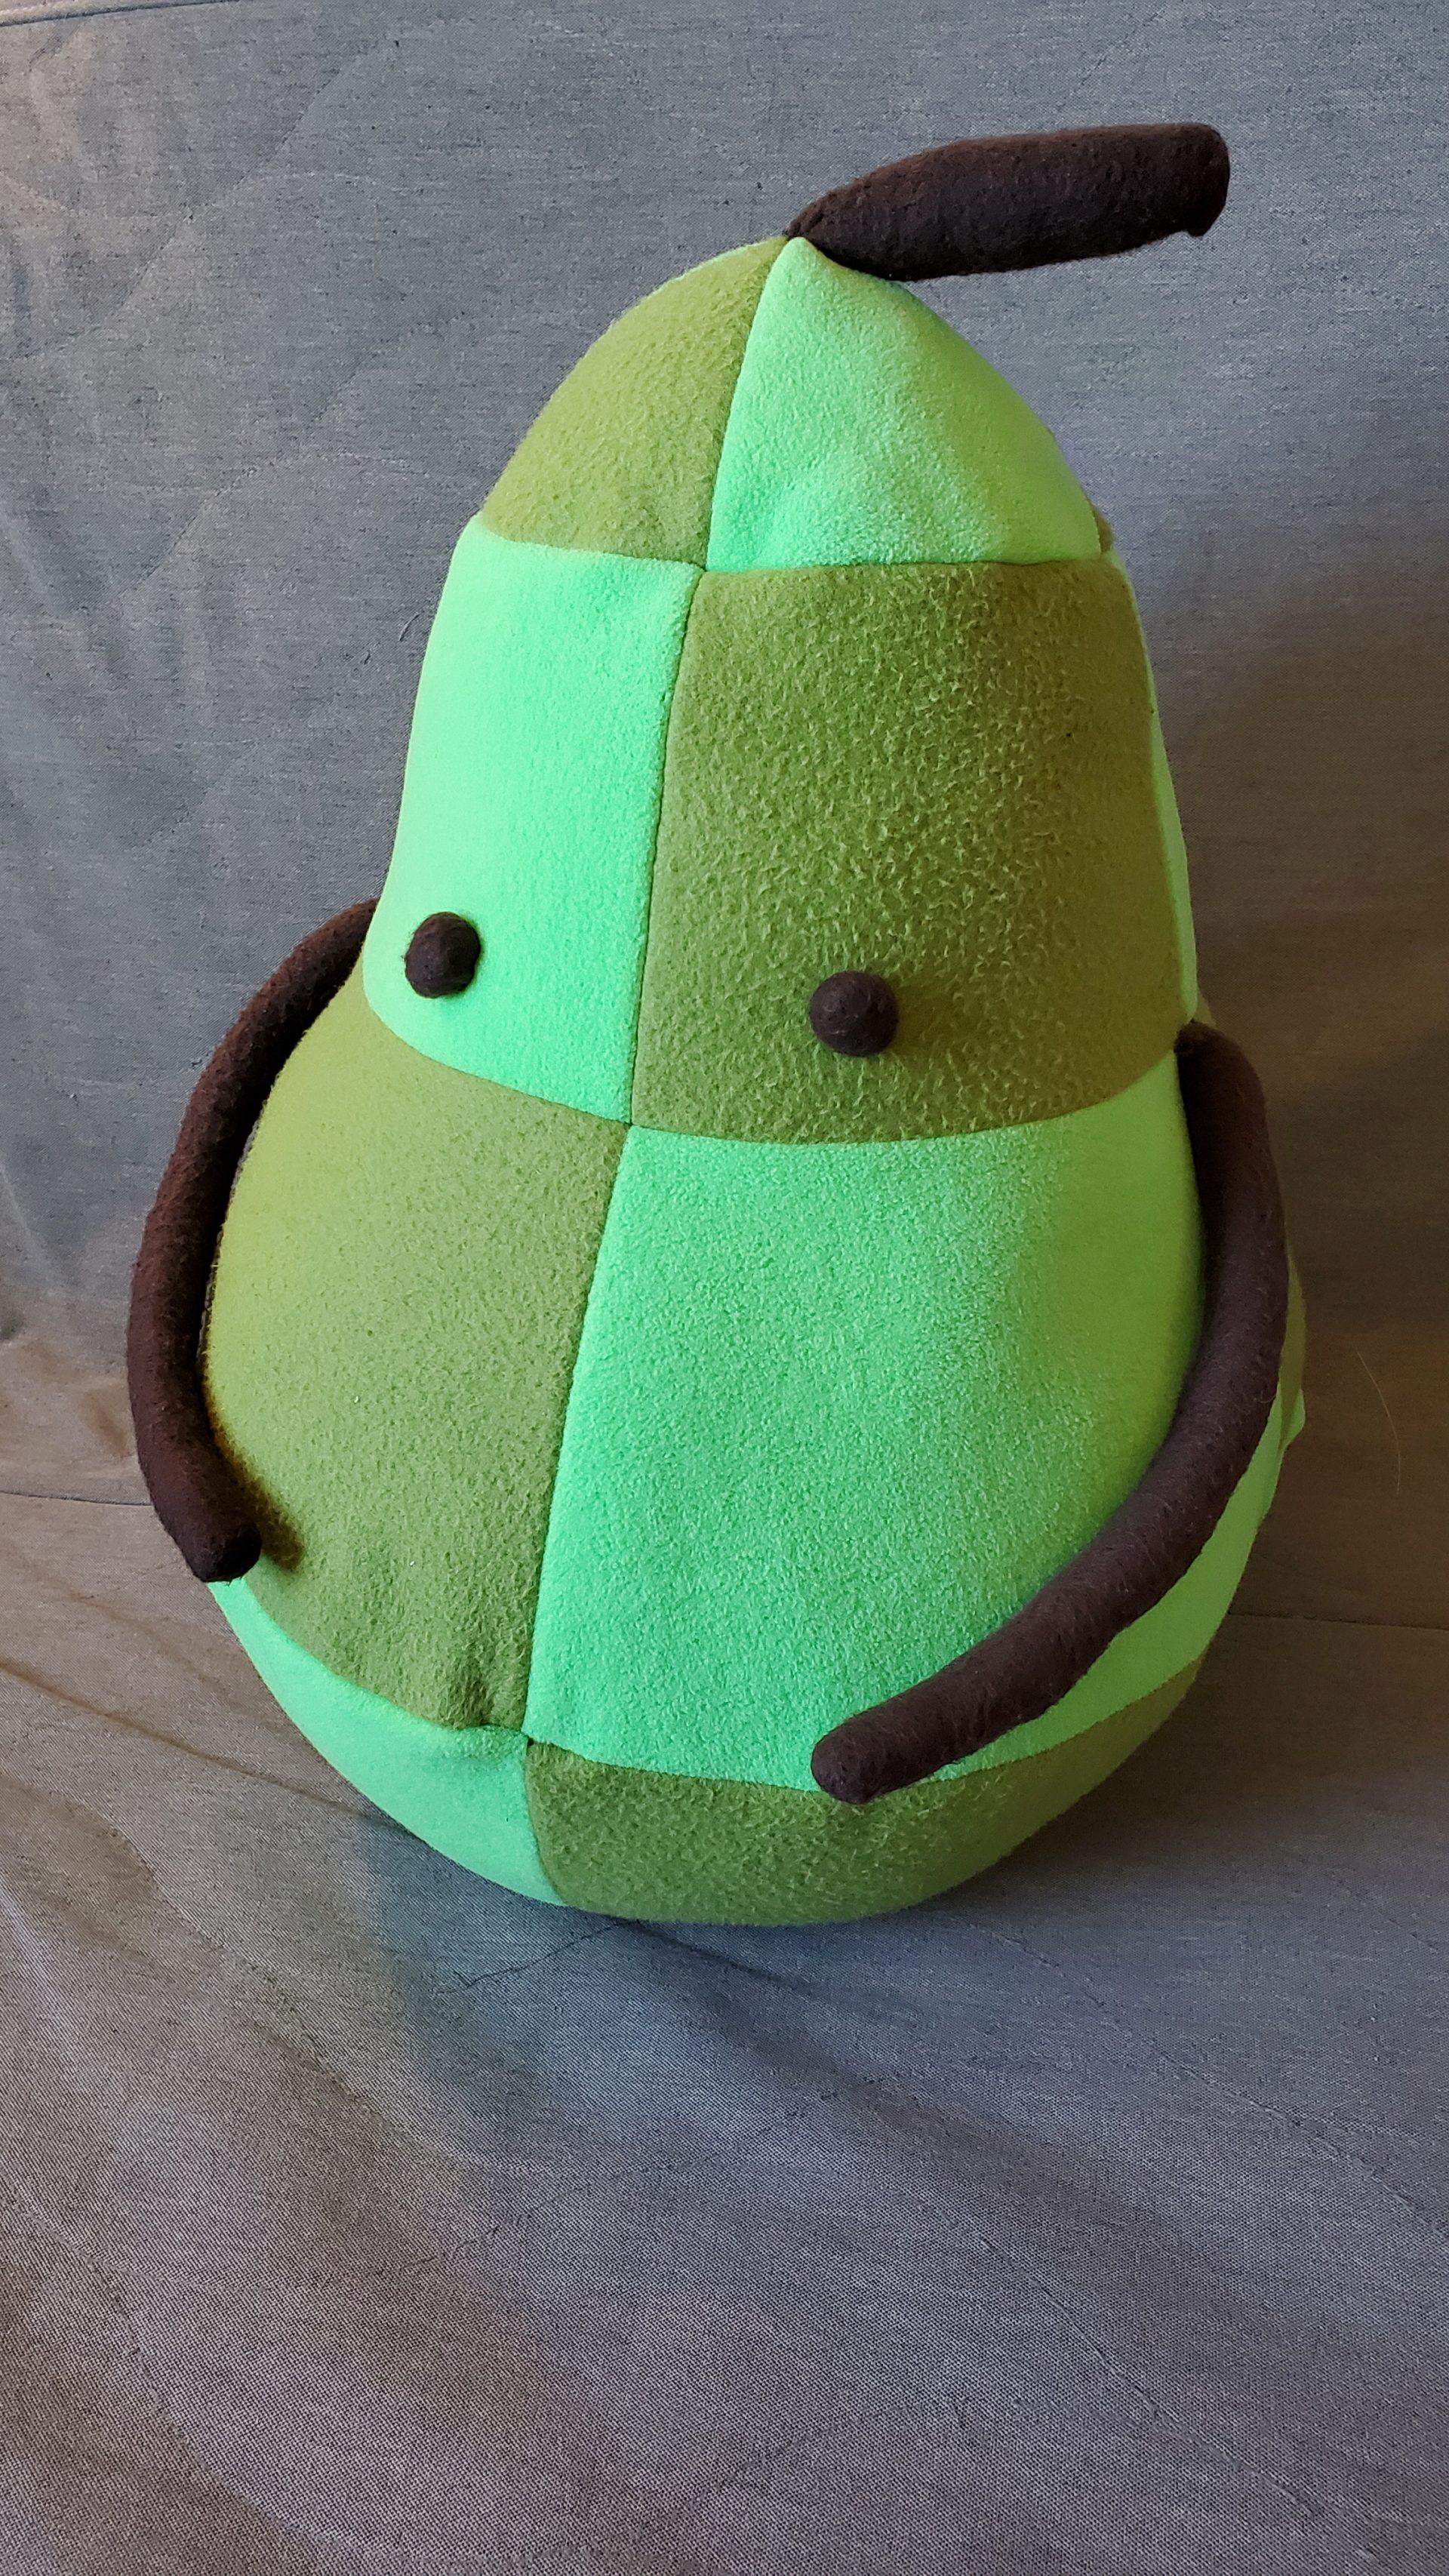
Object 1 – Pear Junimo
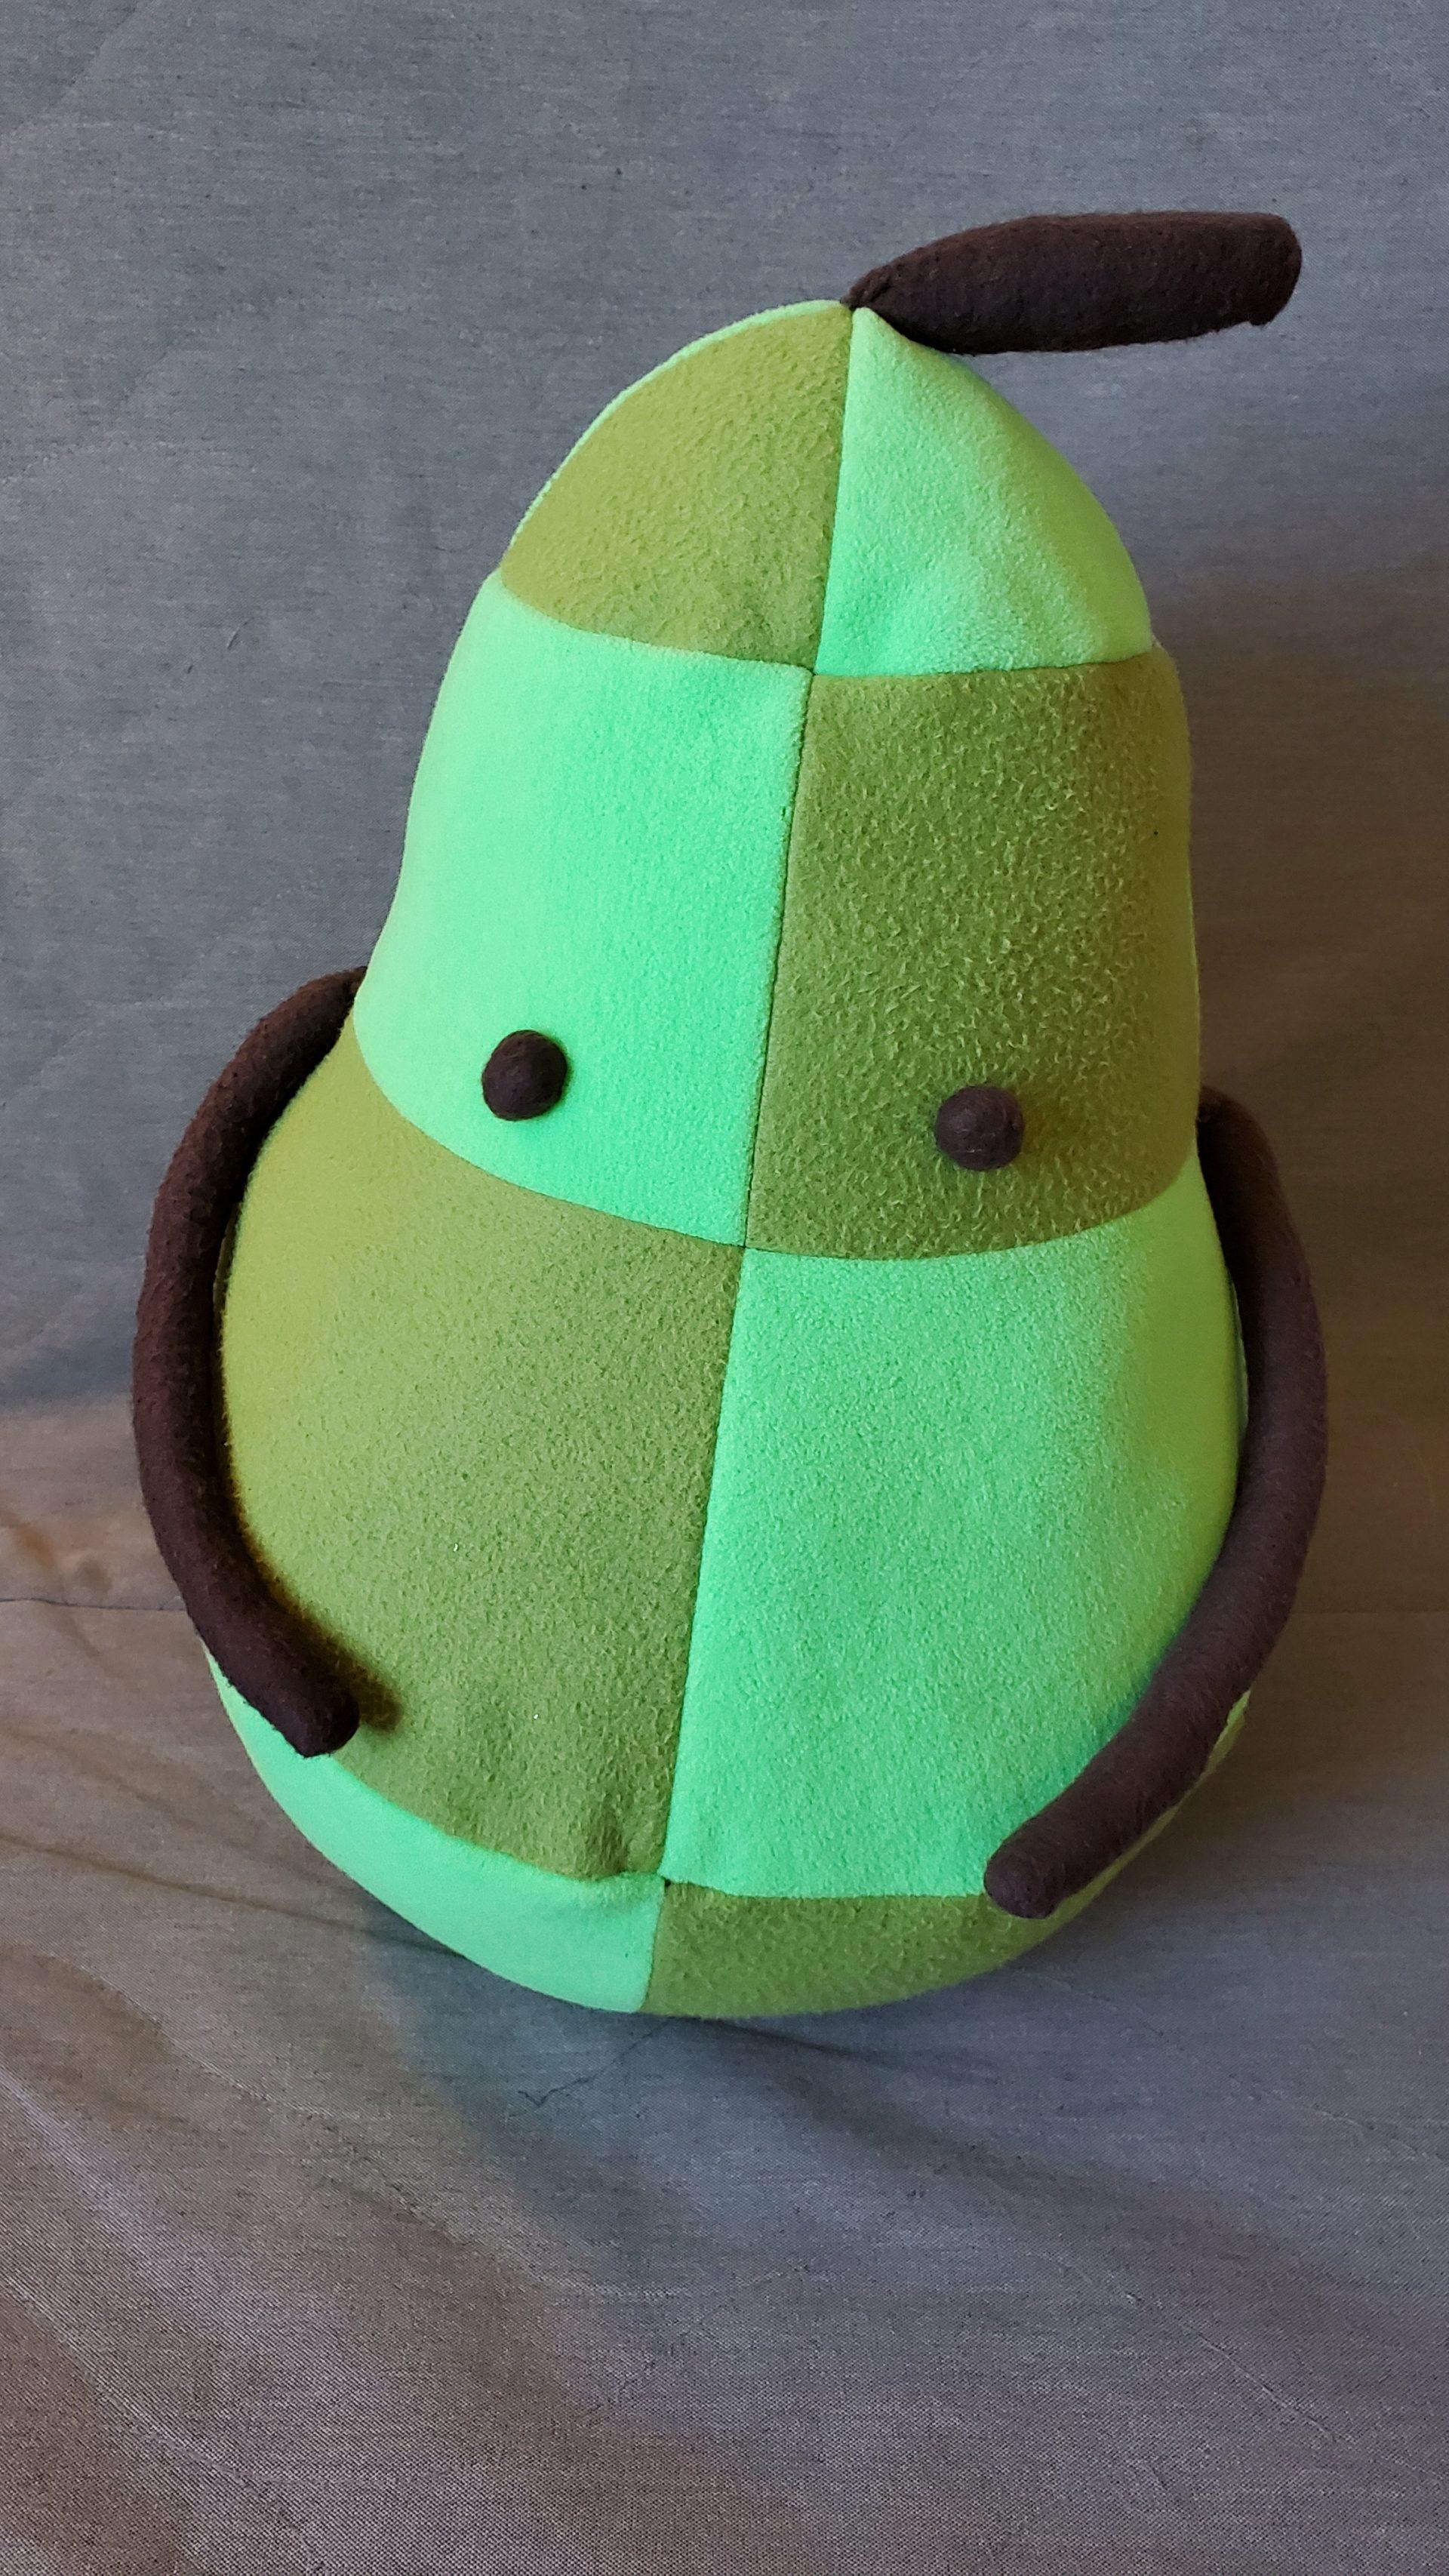
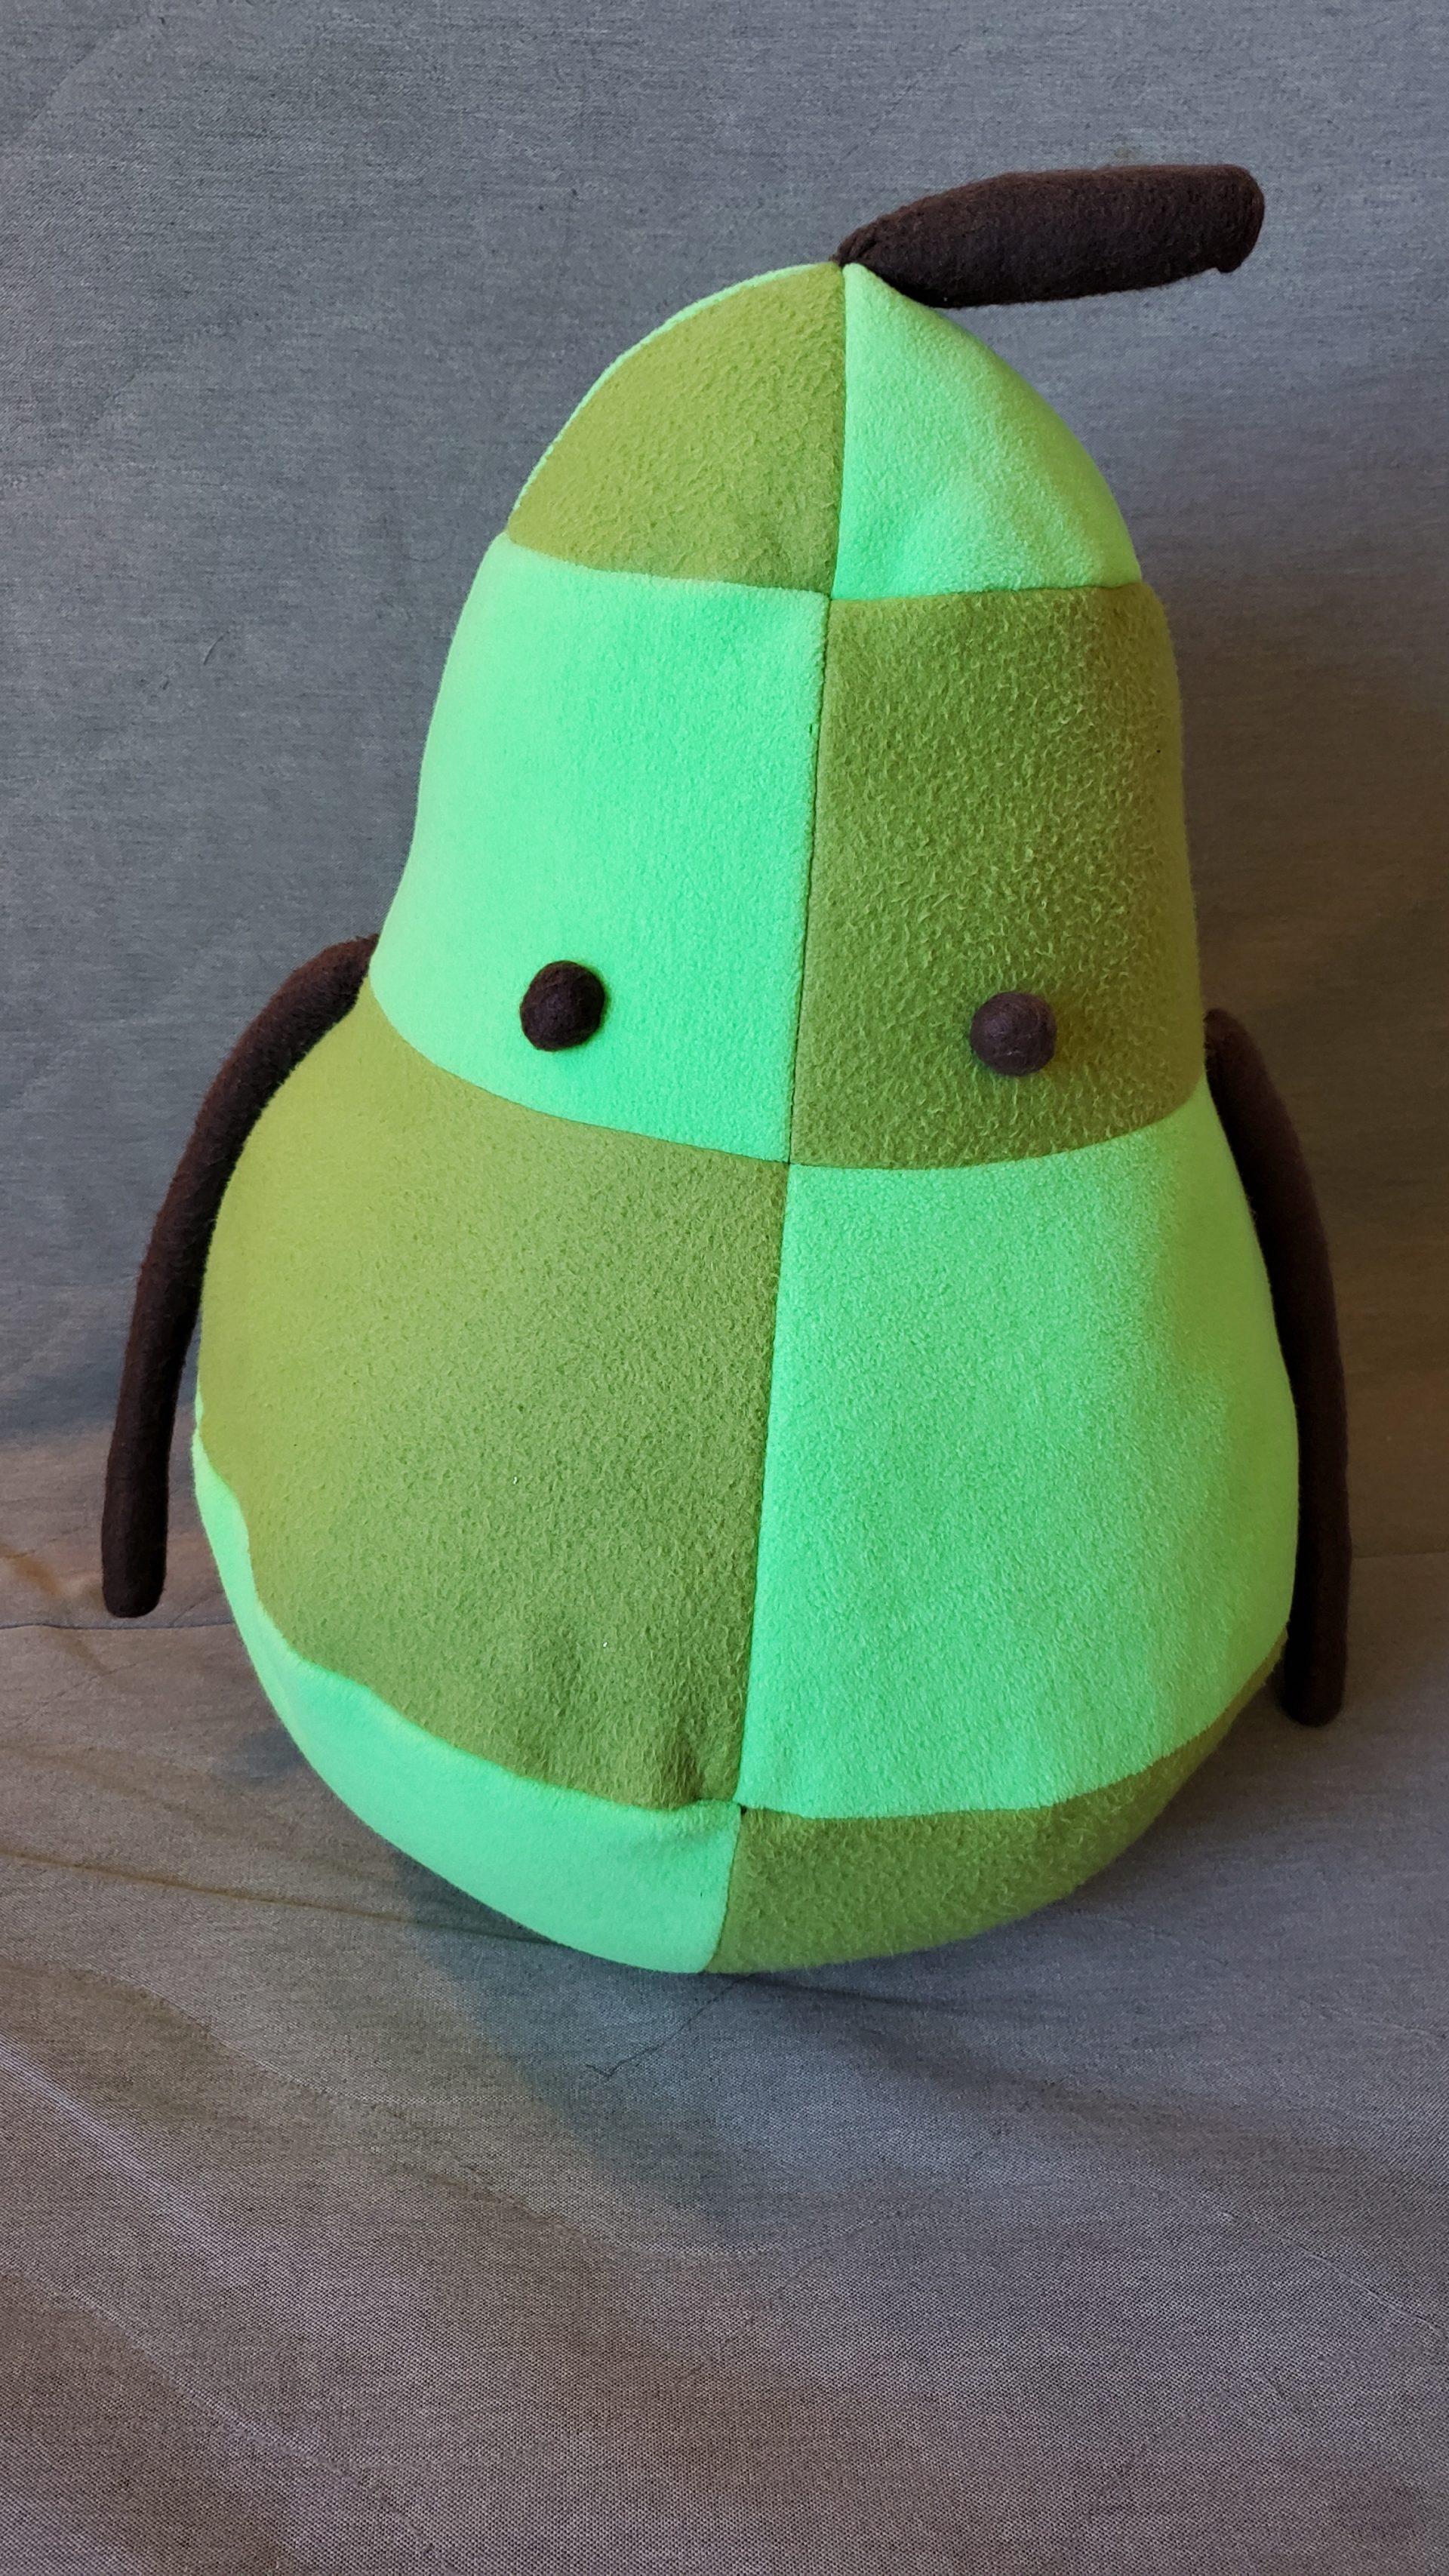
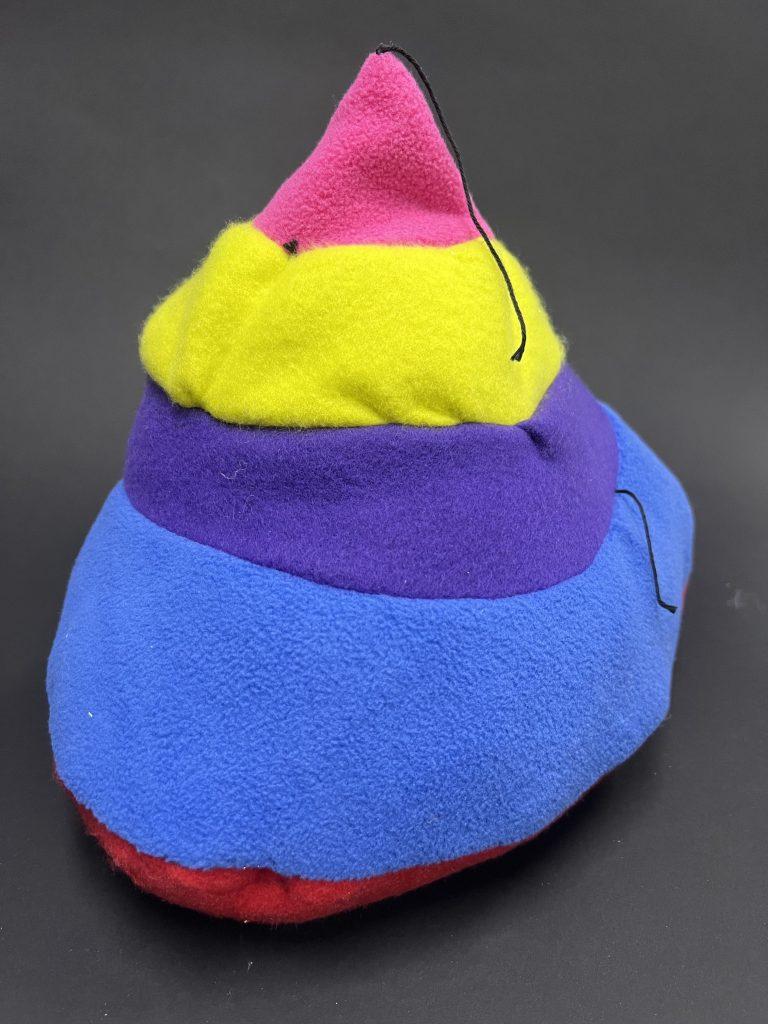
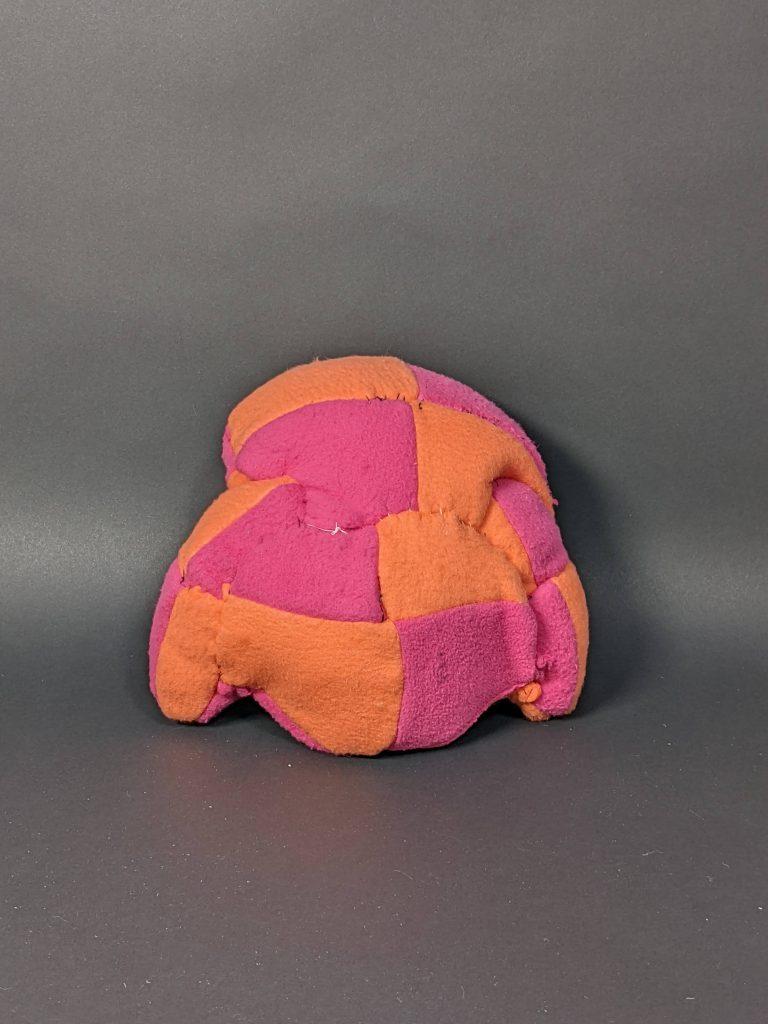
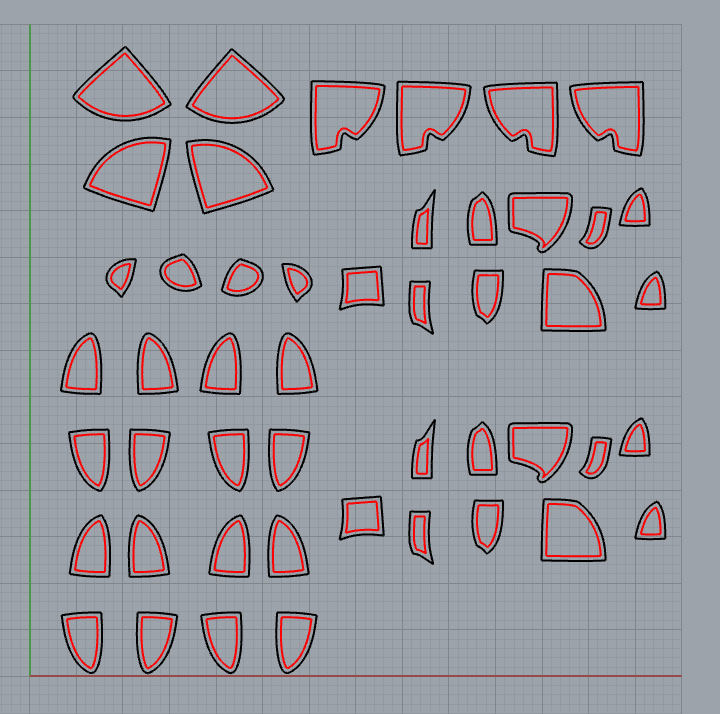
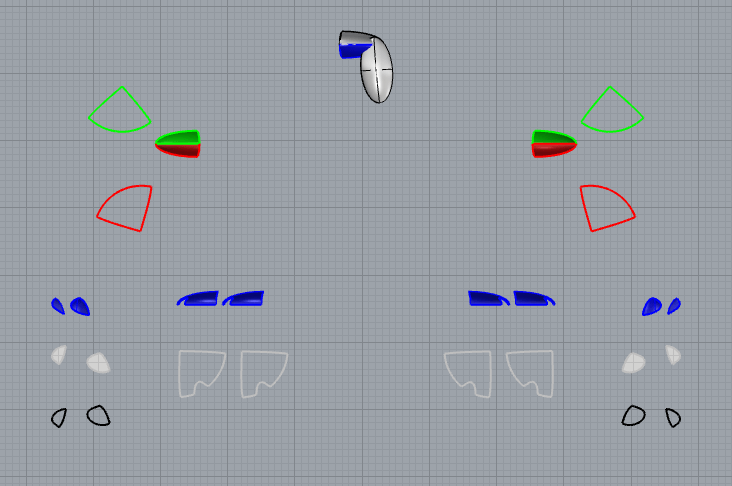
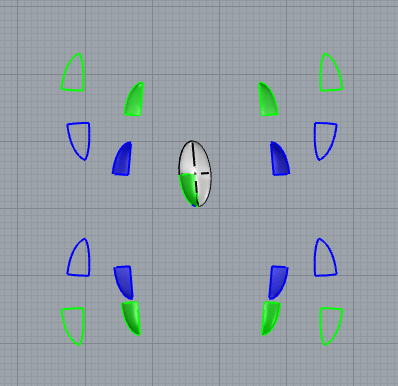
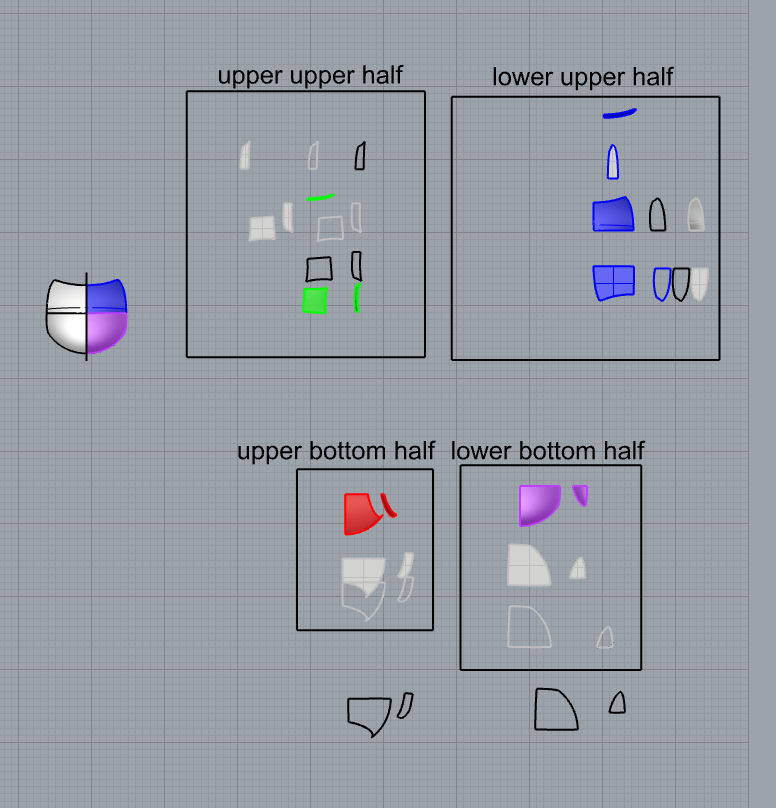
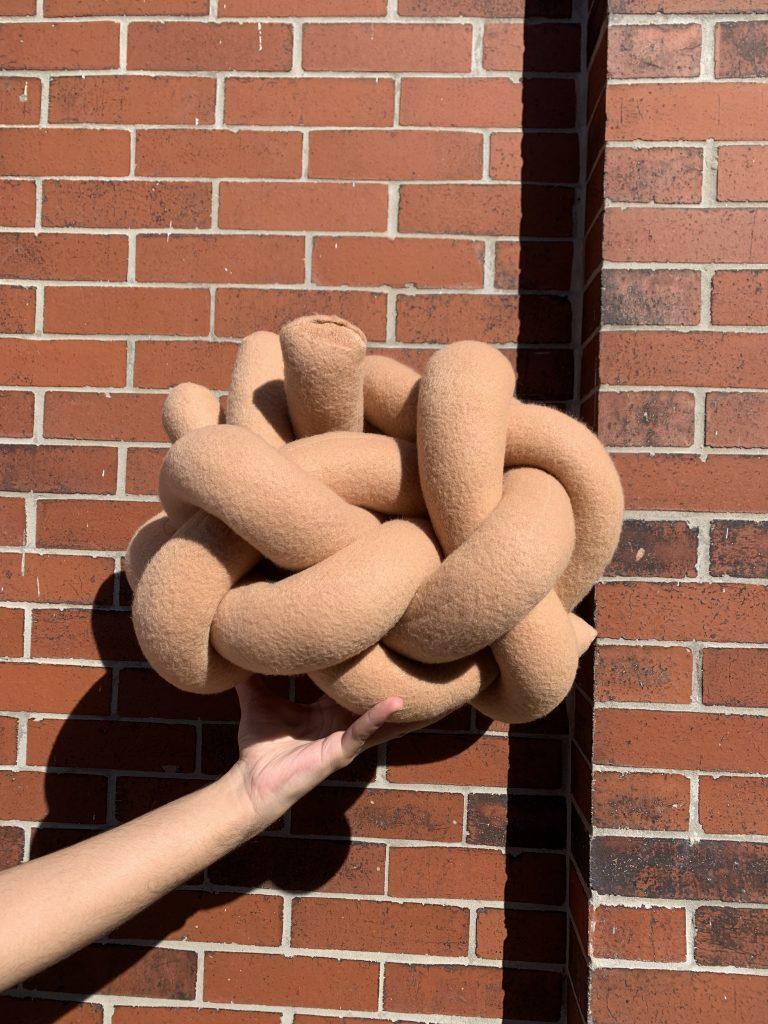
I modeled the pear-shaped body in Rhino by symmetrically deforming a sphere. In Rhino, I was able to explore how various alterations to basic forms resulted in new forms, and I was particularly interested in how they squished to being represented by 2D curvature. Because the Pear Junimo is rotationally symmetric, each of the surfaces in the same patterned ring squished down to the same geometry. The arms and stem were originally intended to be cylindrical, with defined circles on the ends, which I intended to form small domes on the ends of the arms. However, when I actually sewed up the pieces, the arms were much too small to accomodate adding the circles as I had modeled in Rhino. I turned these fleece circles into the small button-eyes on the figure.
I also found that the arms had a natural curvature at the seamline, which I had not anticipated. I believe this to be due to the fleece fabric stretching slightly more where there were no seams when I stuffed the arms. Although because of this, I did learn that when working with stretchy fabric, the location of seams actually changes the form of the final figure. I also found that hand-sewing smaller additions – the arms and eyes, was much more time consuming than stiching the rest of the form by machine. In hindsight, for the arms, I should have stuffed them and sewn them into the seam on the large figure directly rather than handsewing them on afterwards, although I am still incredibly pleased with the result.
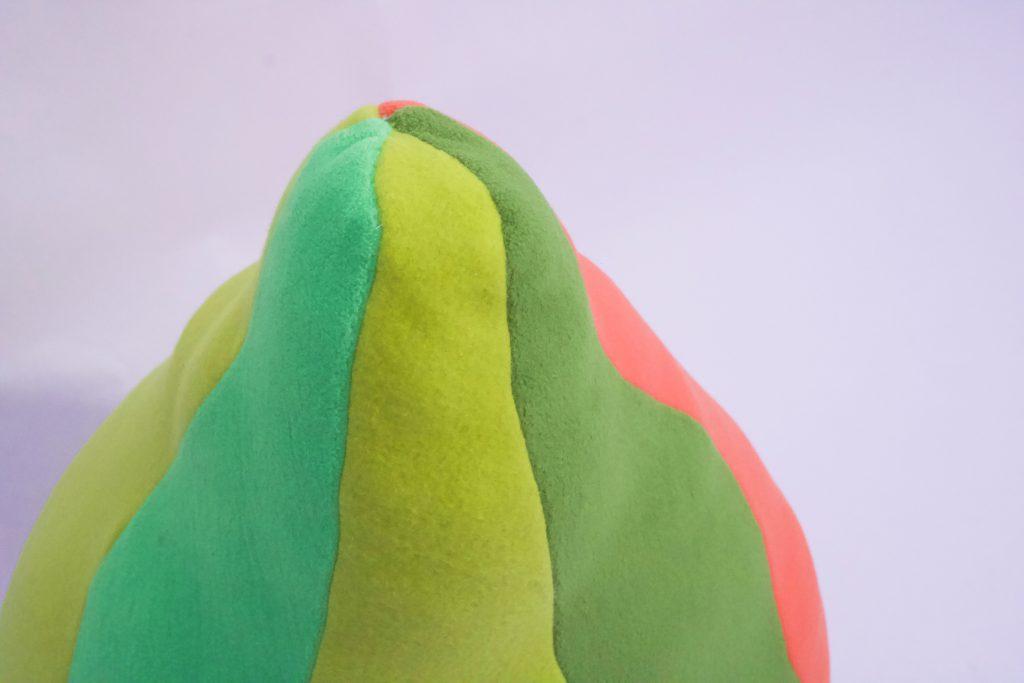
Object 2 – Blueberry Junimo
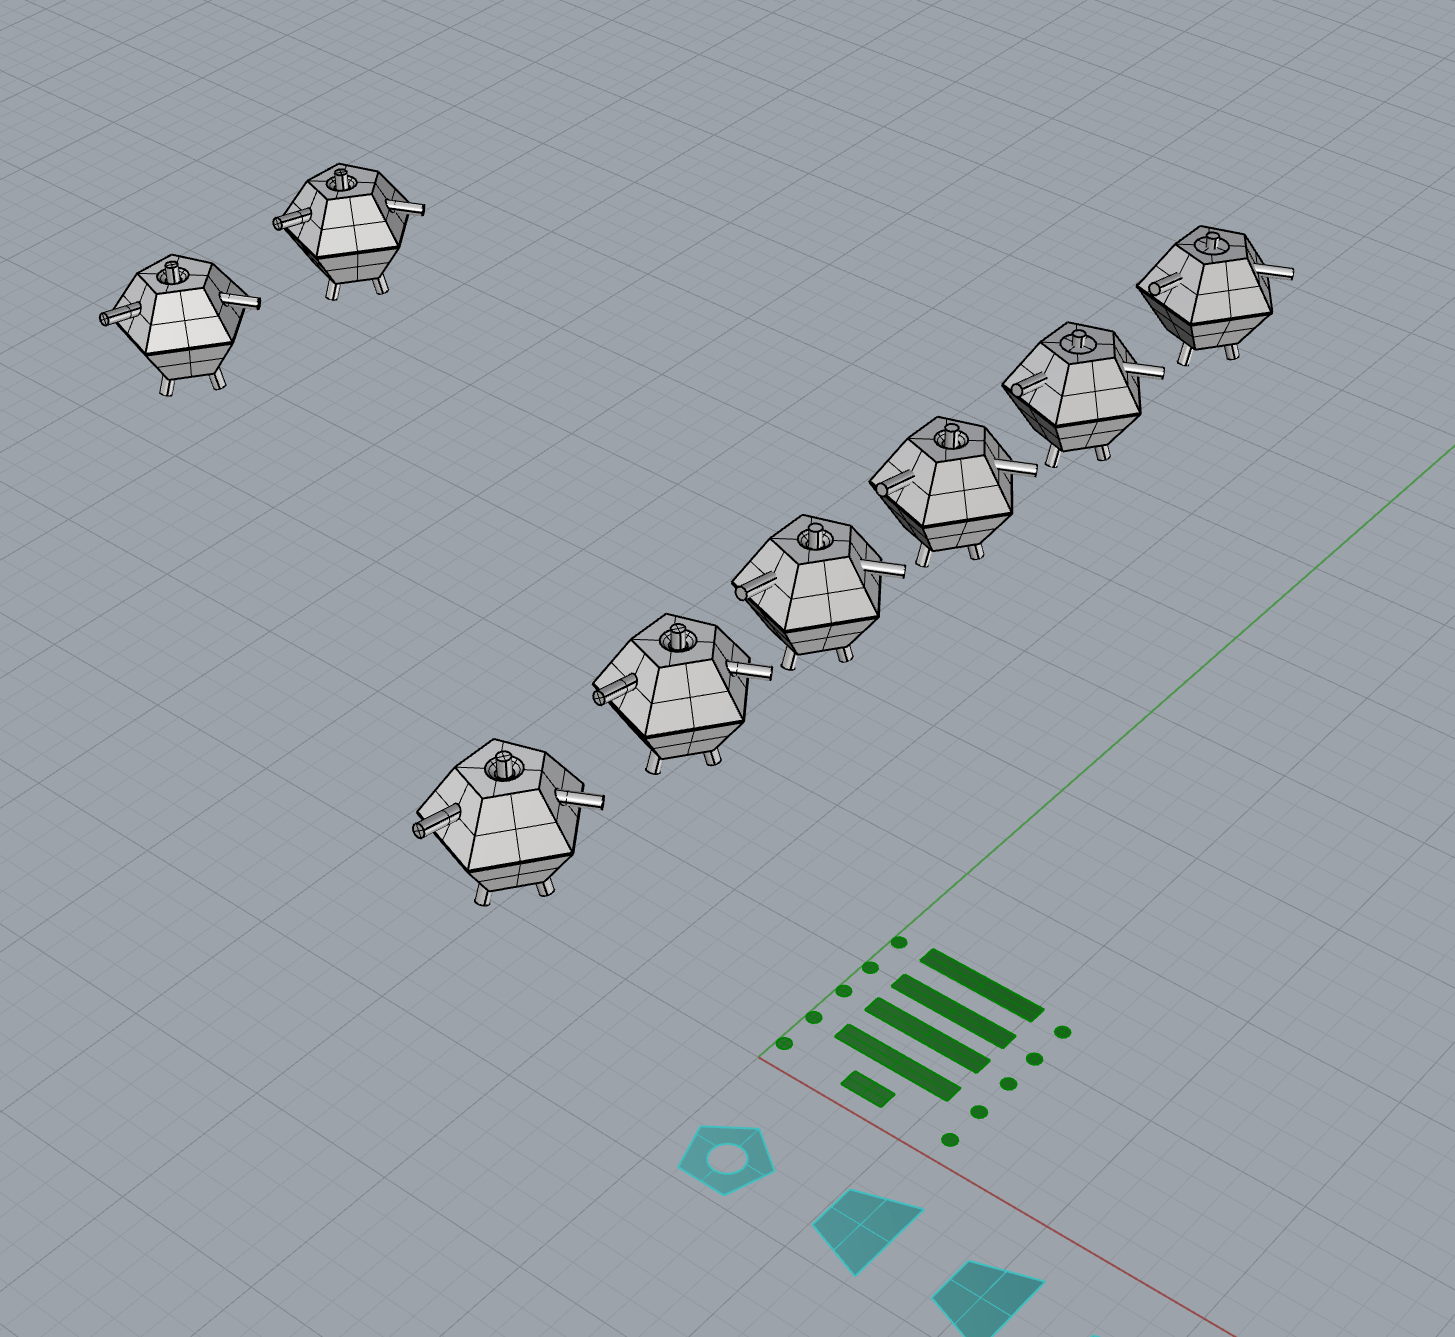
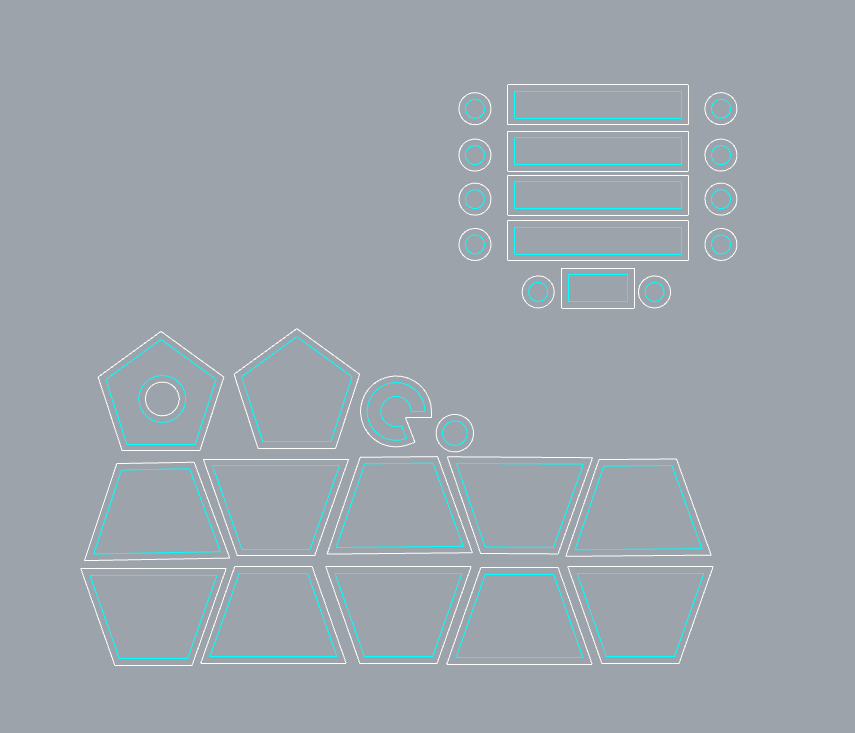
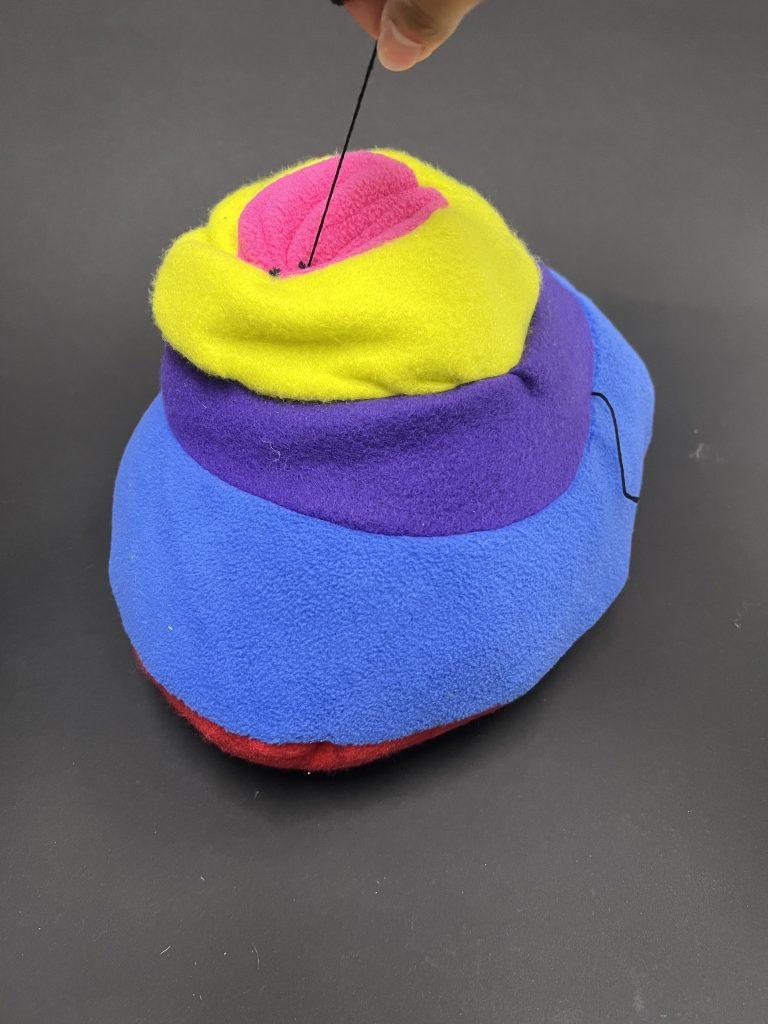
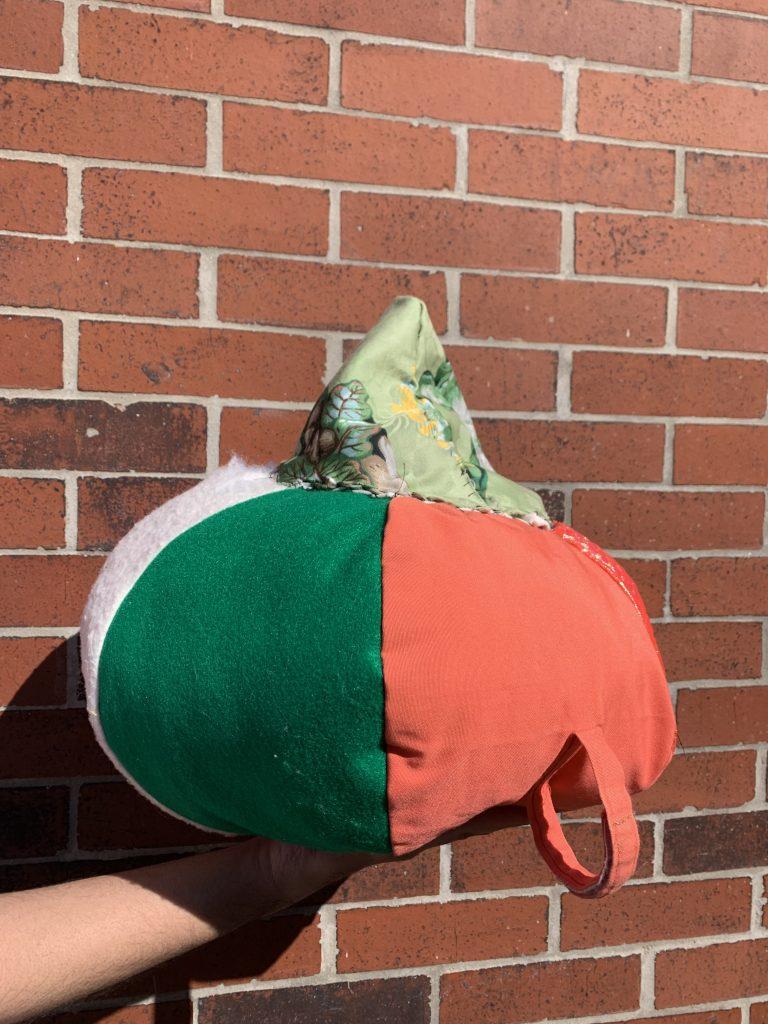
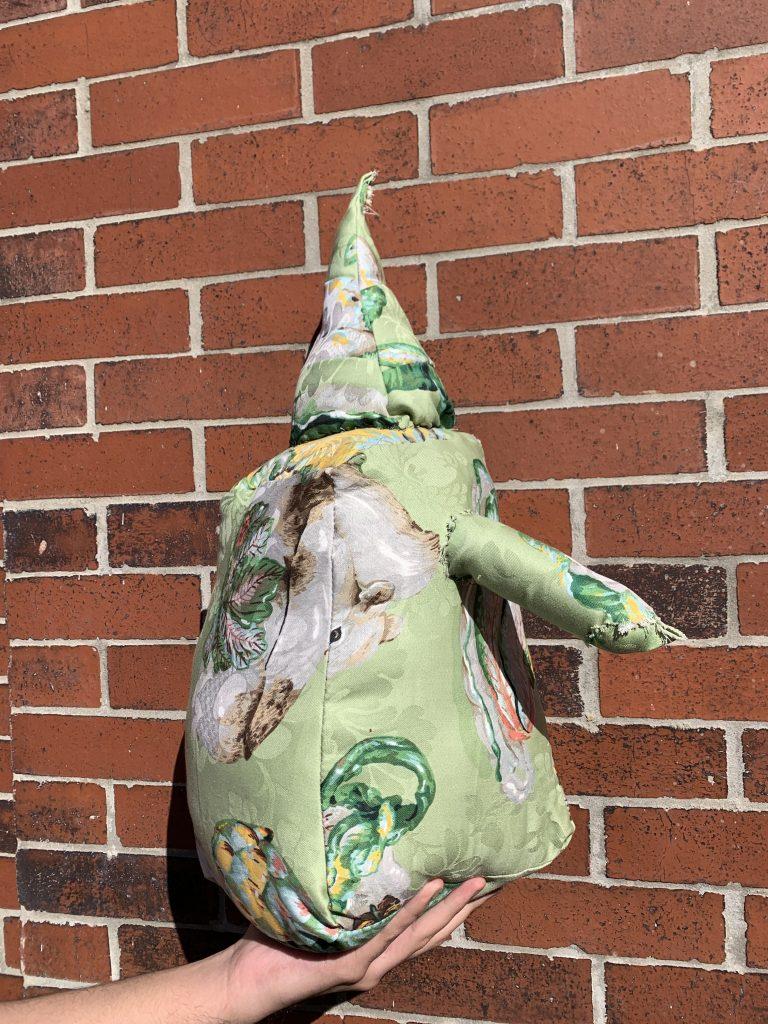
I also modeled the body of the blueberry junimo in Rhino, but instead of deforming a sphere, I used boolean operations between basic forms. Originally, I intended for my second character to be an apple, however after learning how difficult it was to include smaller details with my pear junimo, I realized the indent at the top of the body would likely be lost (and it was). I attempted to anchor the center of the top face (under the stem) to the bottom of the body, however I did not make the anchor an appropriate length and had to overstuff the body to see any difference.
Similar to the pear junimo, I attached arms, eyes, and a stem. I used the same methodology for these.
Ultimately, I found the blueberry junimo to be somewhat easier than the pear junimo, as the vast majority of the the seams were straight lines. However, the conical indent at the top (which was ultimately lost) had to be hand-sewn because it was too small to be stitched by a machine. I found the hand-sewn parts of both projects to be the most tiresome, as I often felt very little progress was made for the amount of time I spent.
Object 3 – Beach Ball Pillow
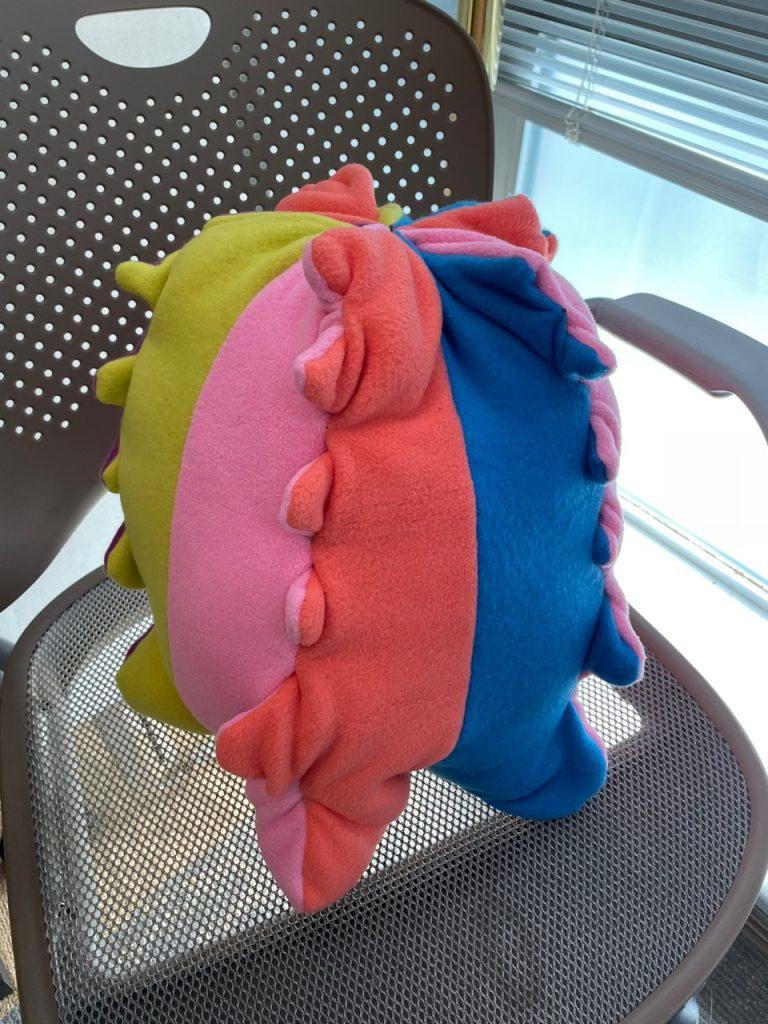
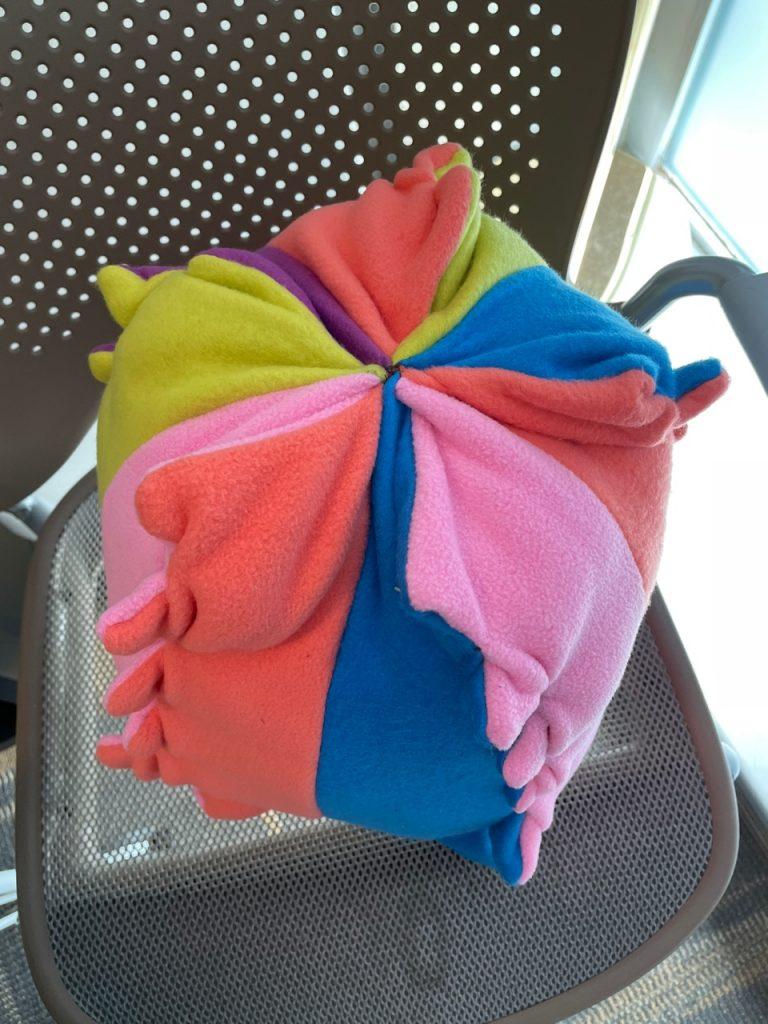
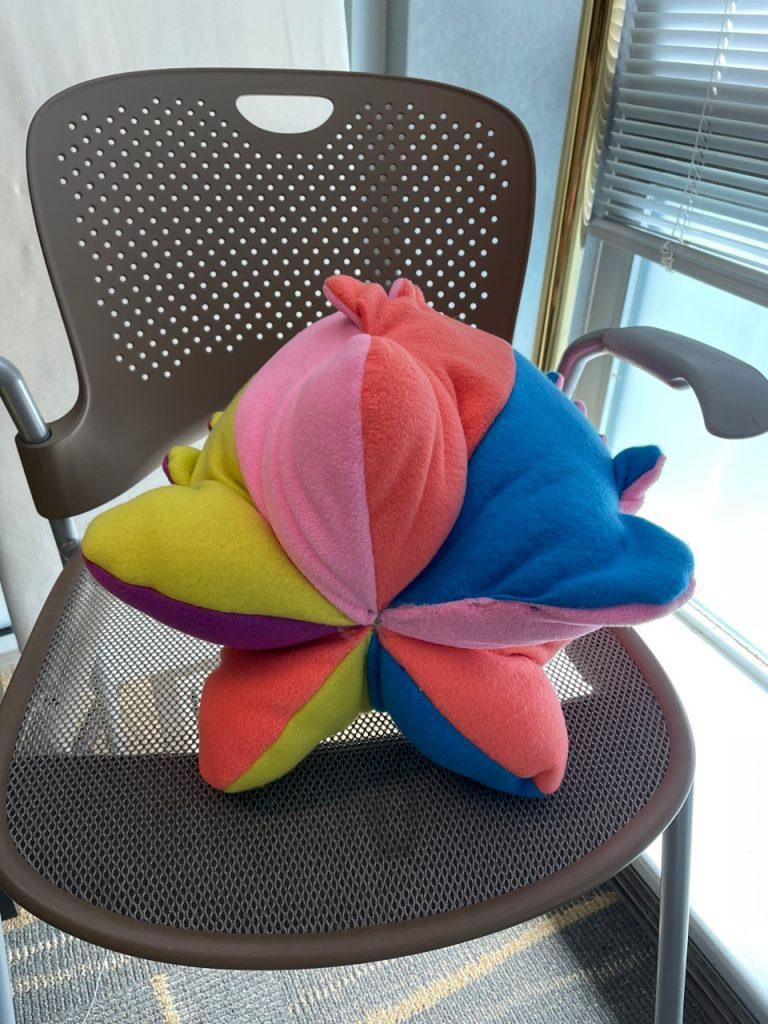
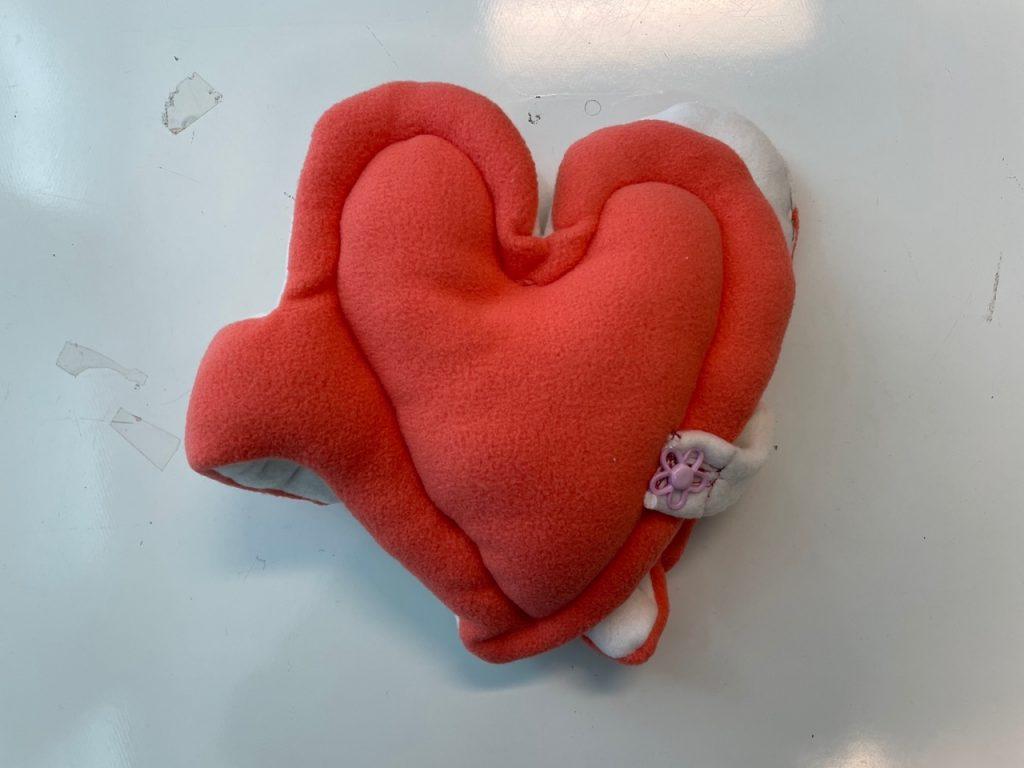
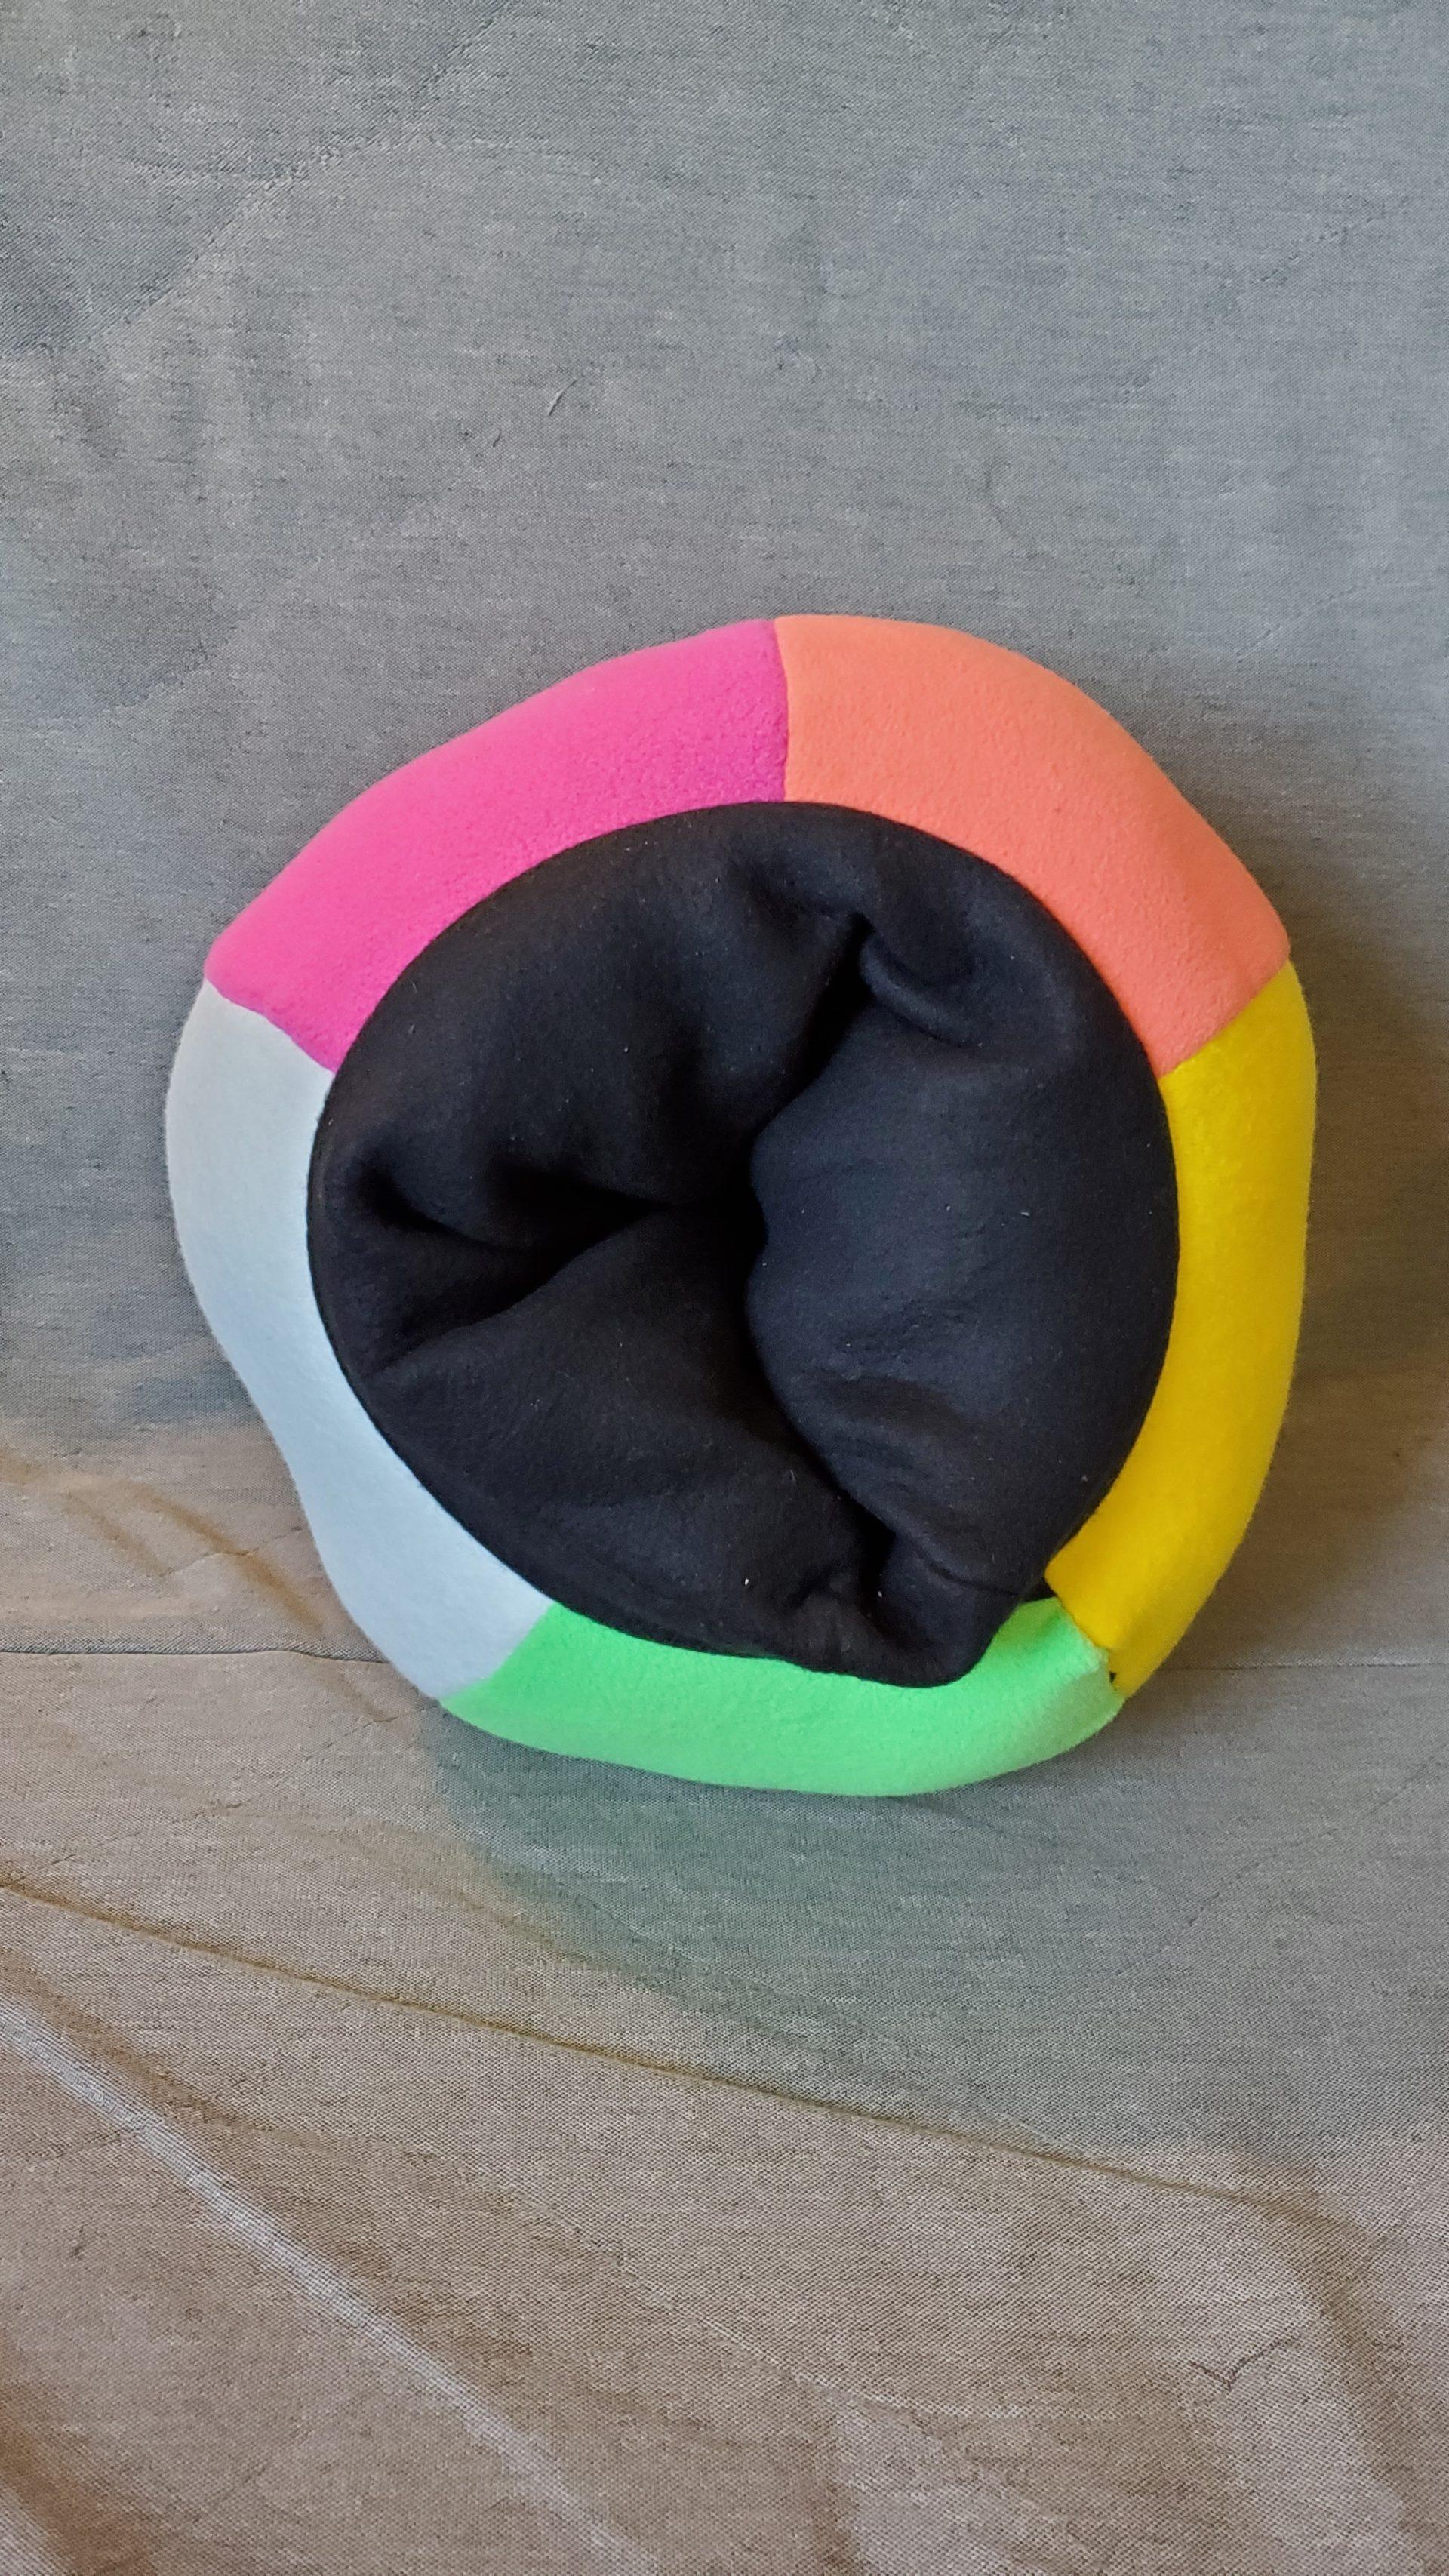
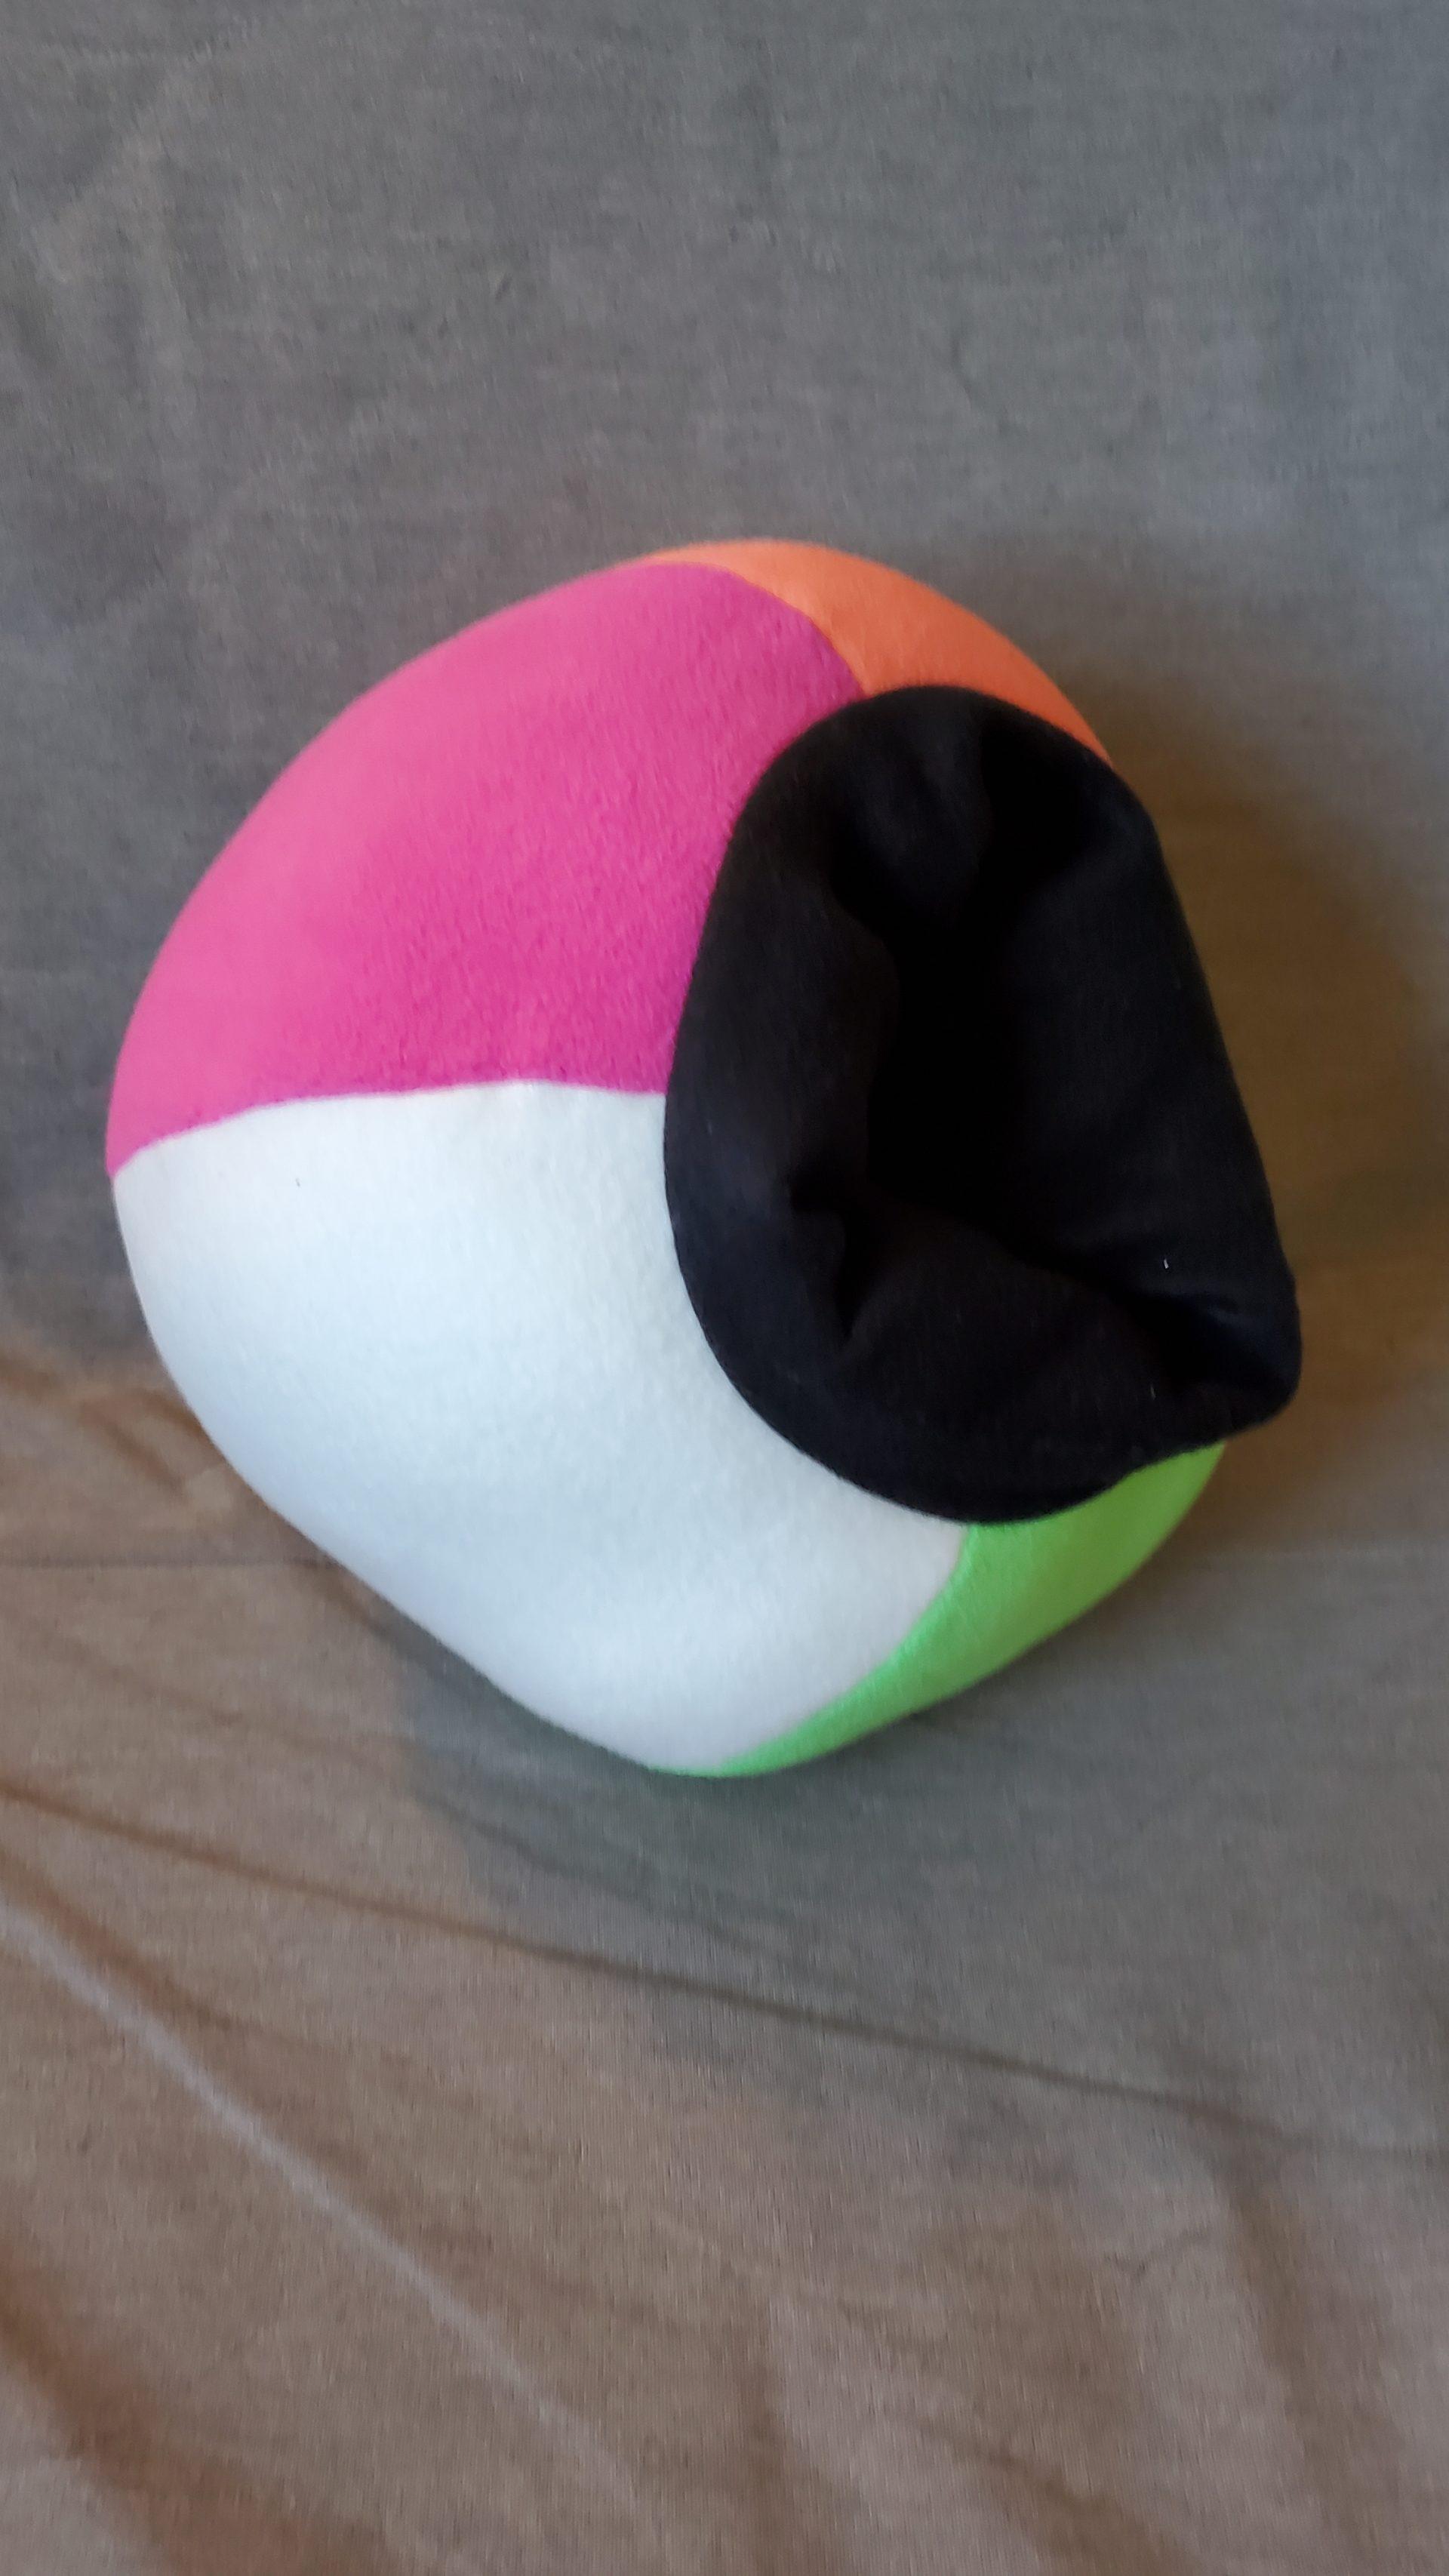
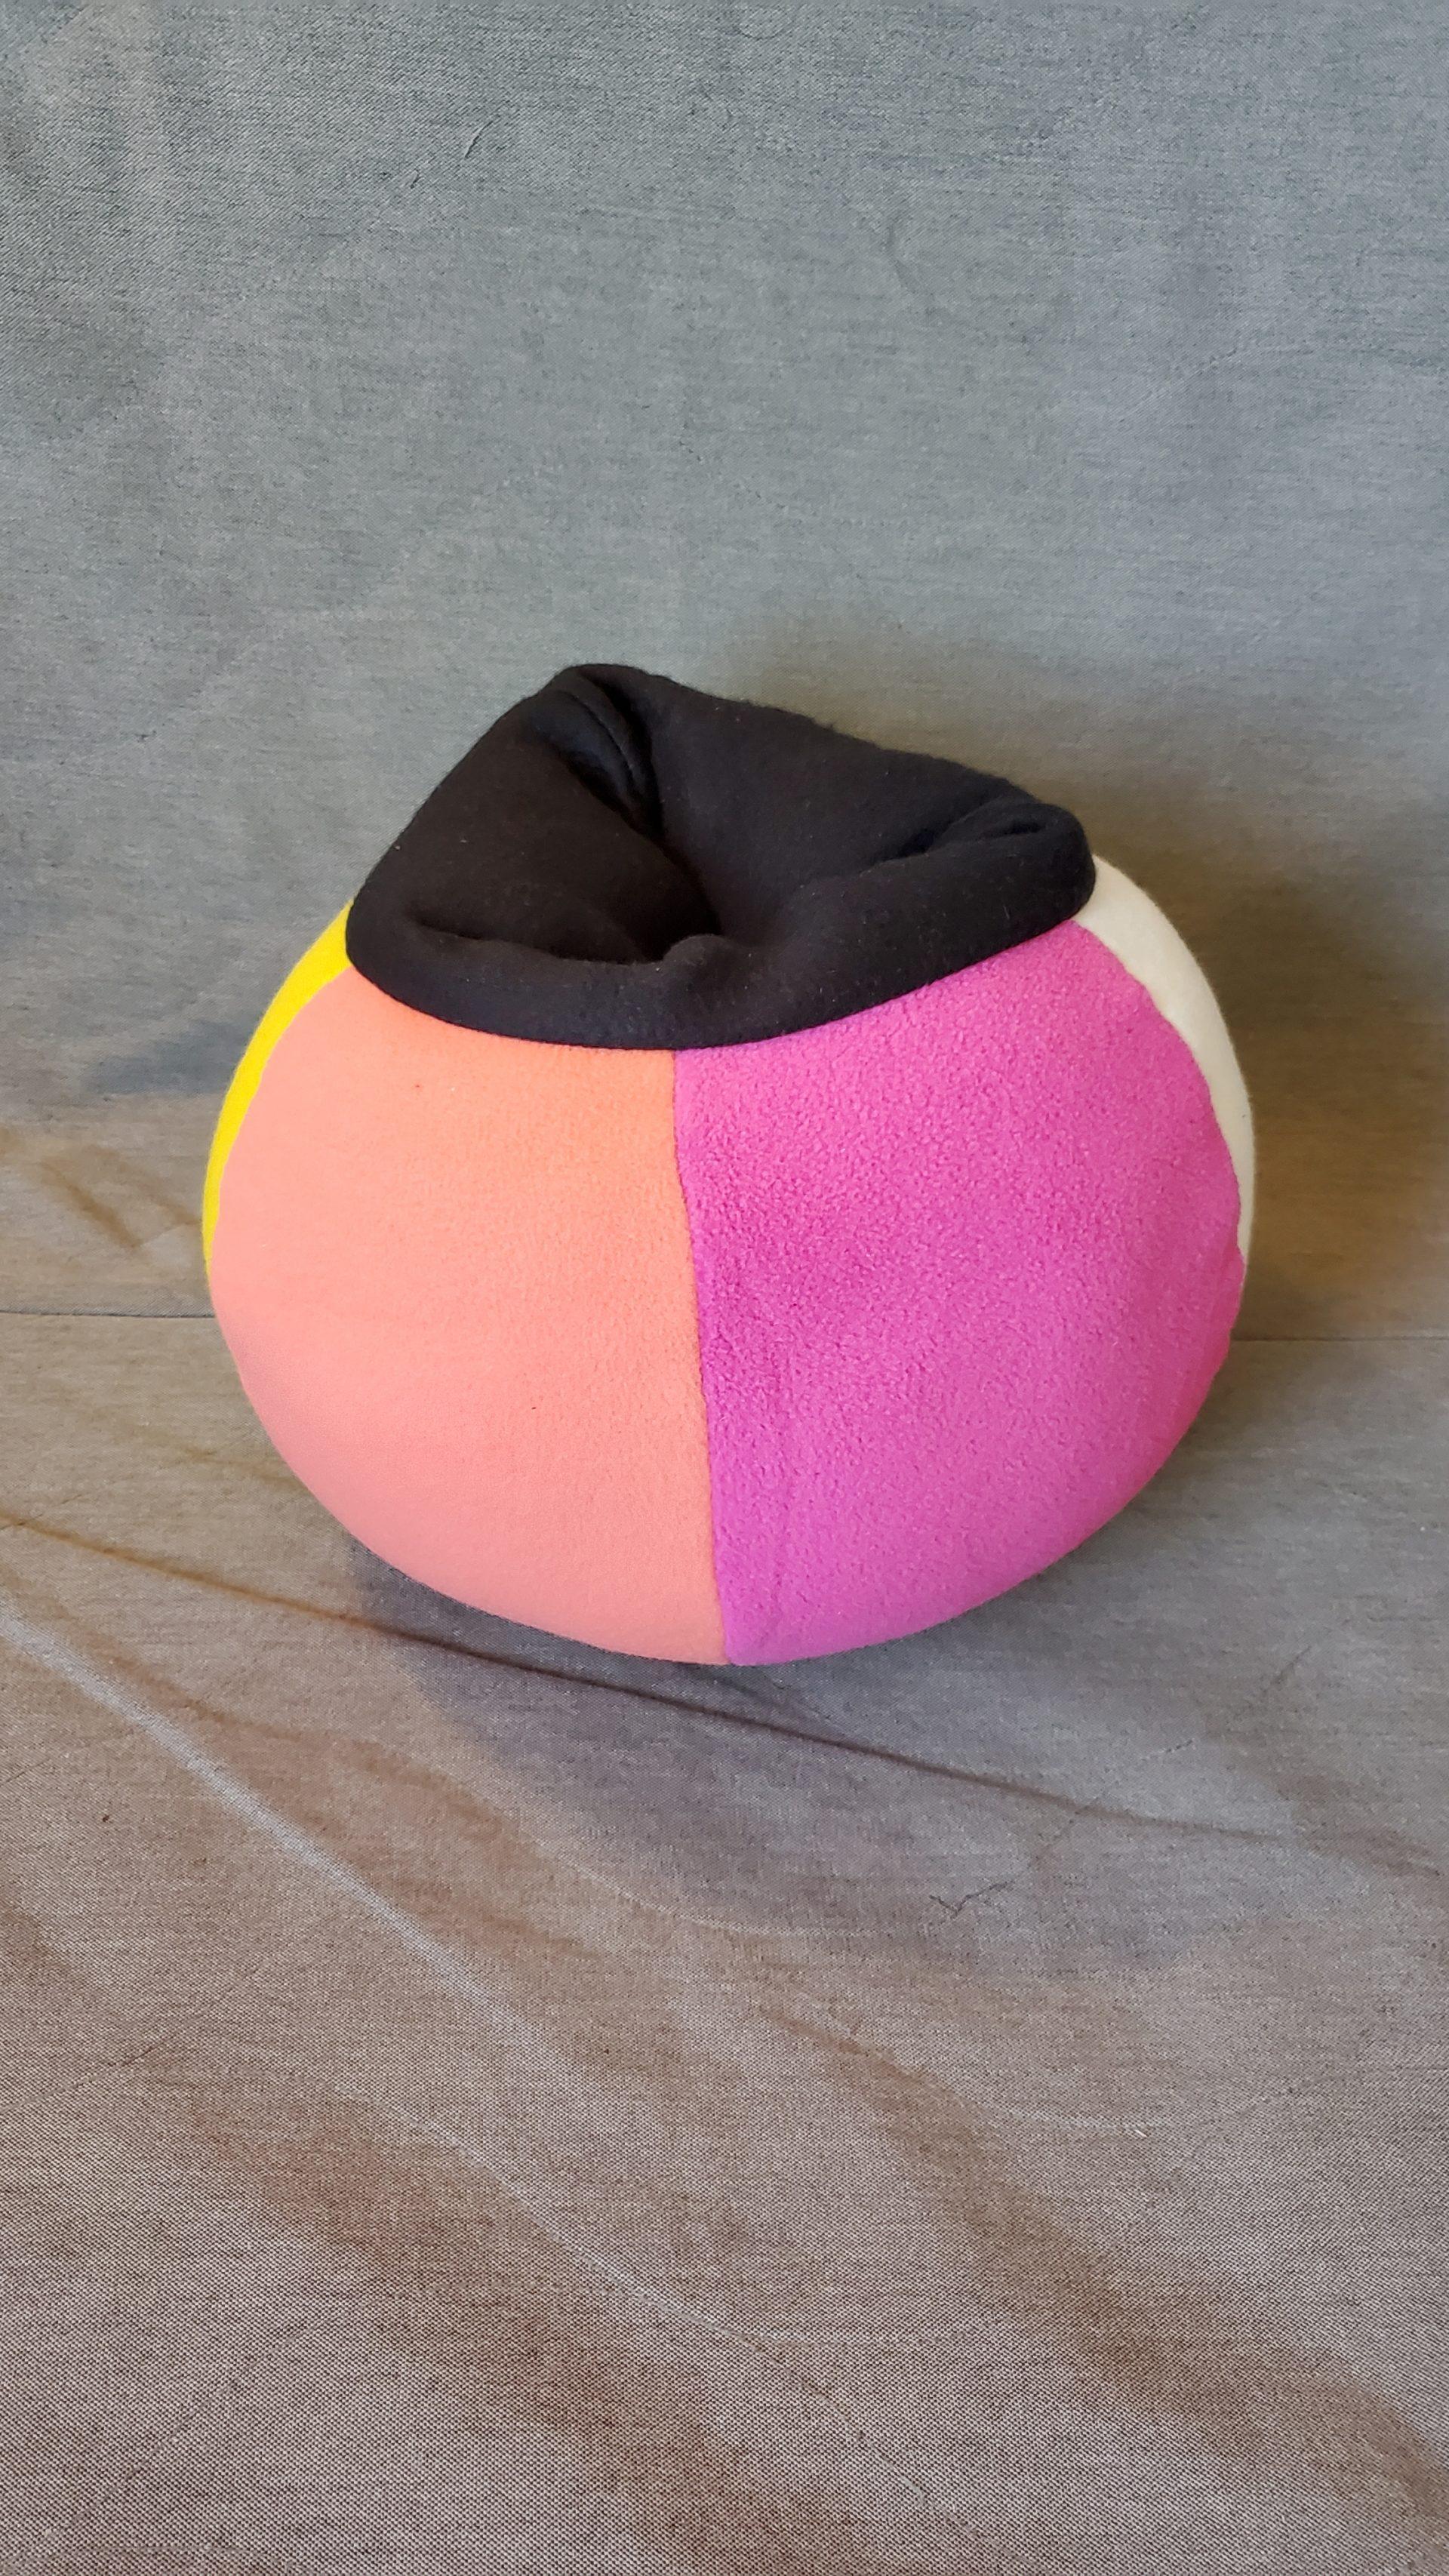
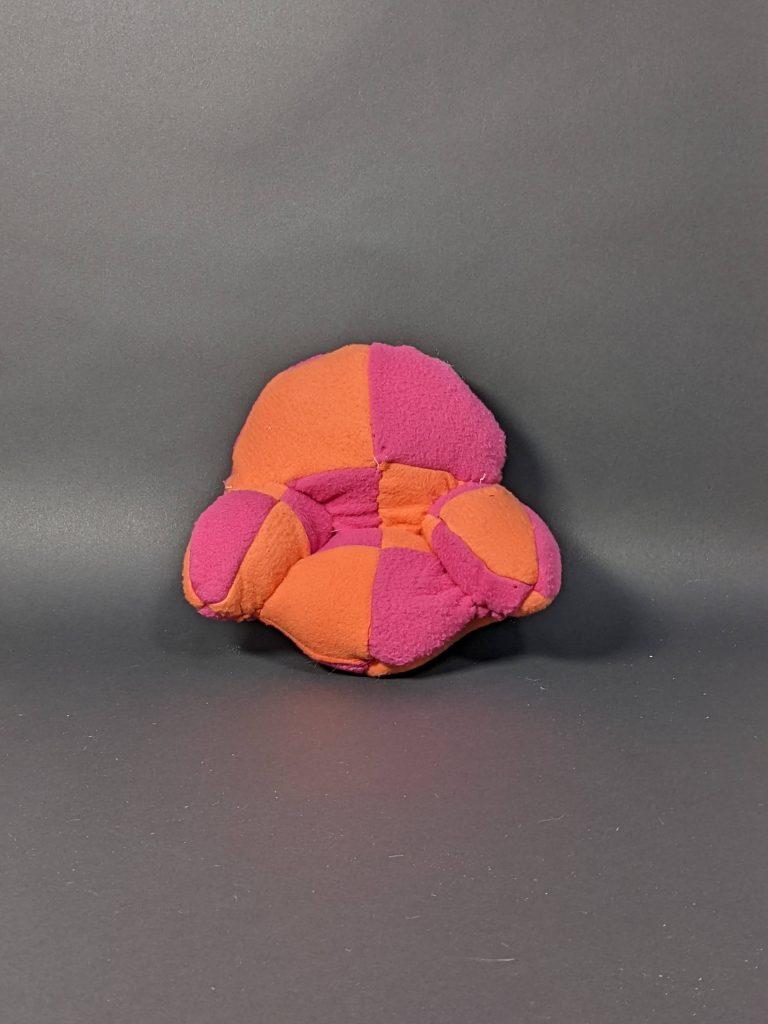
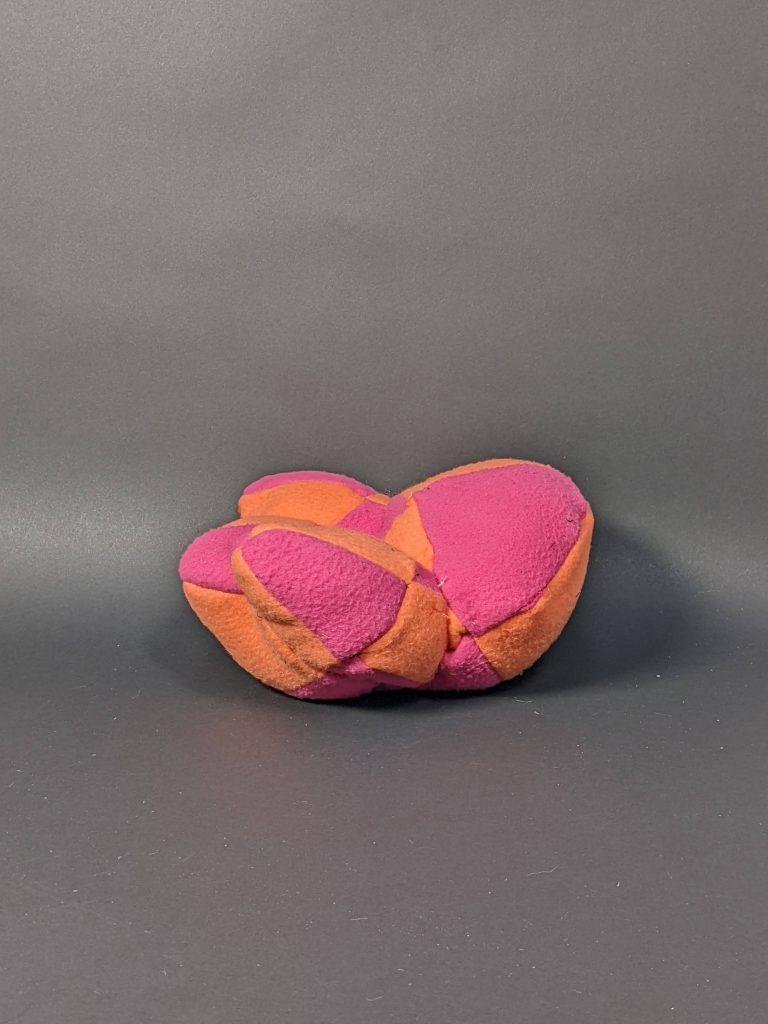
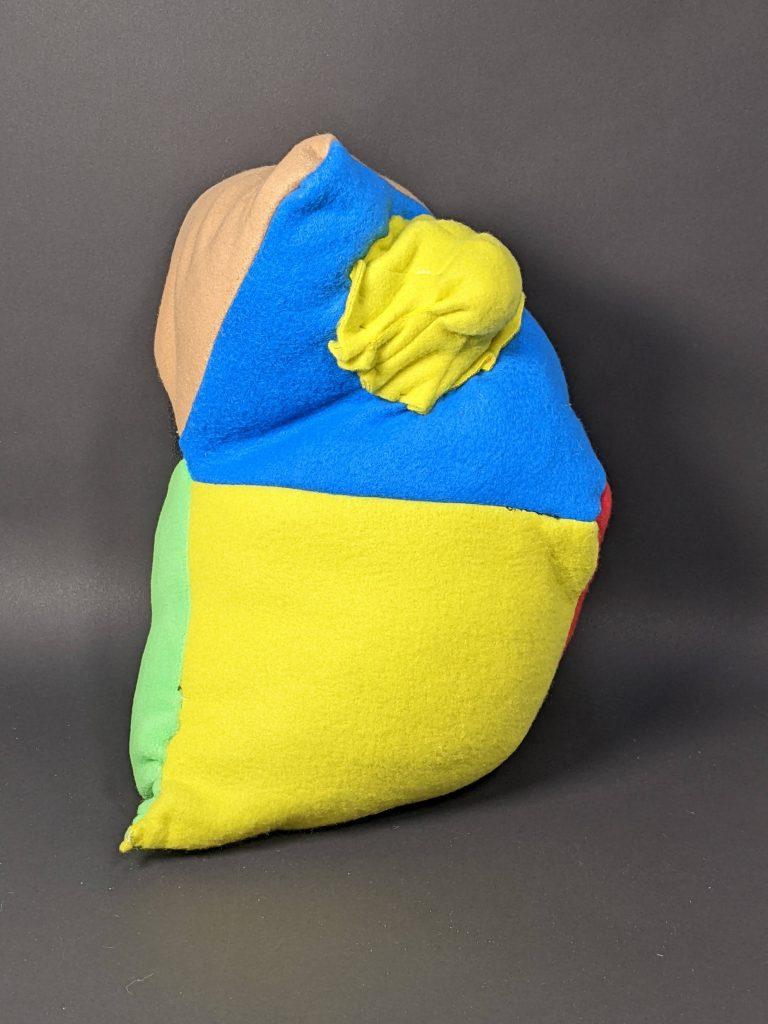
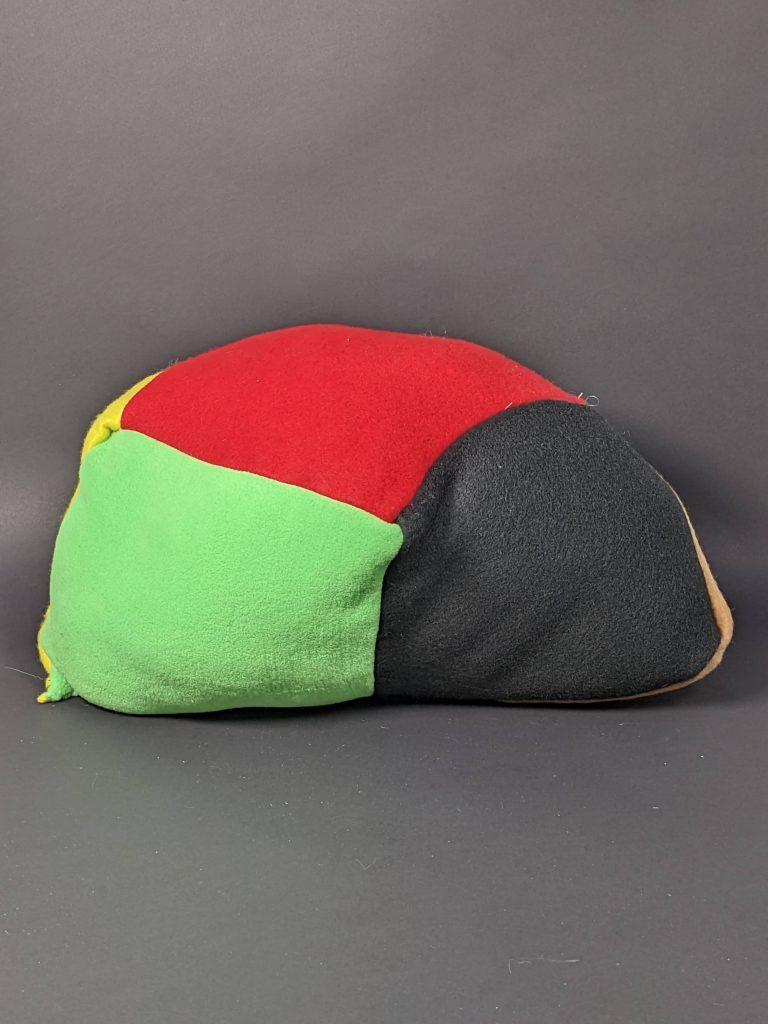
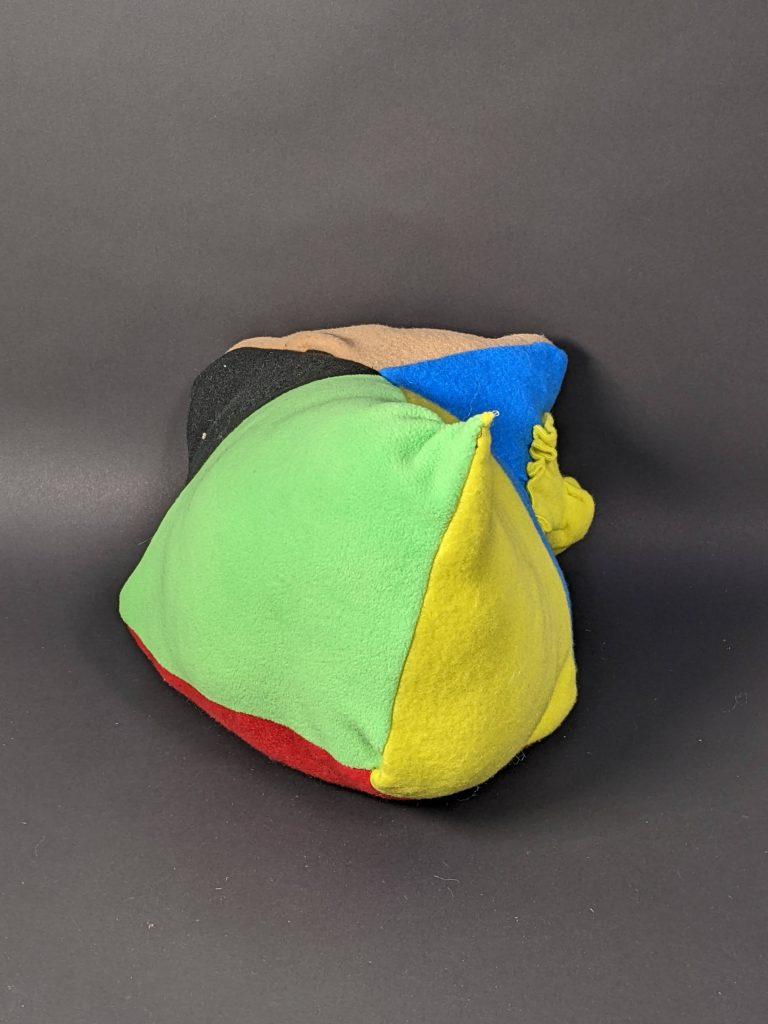
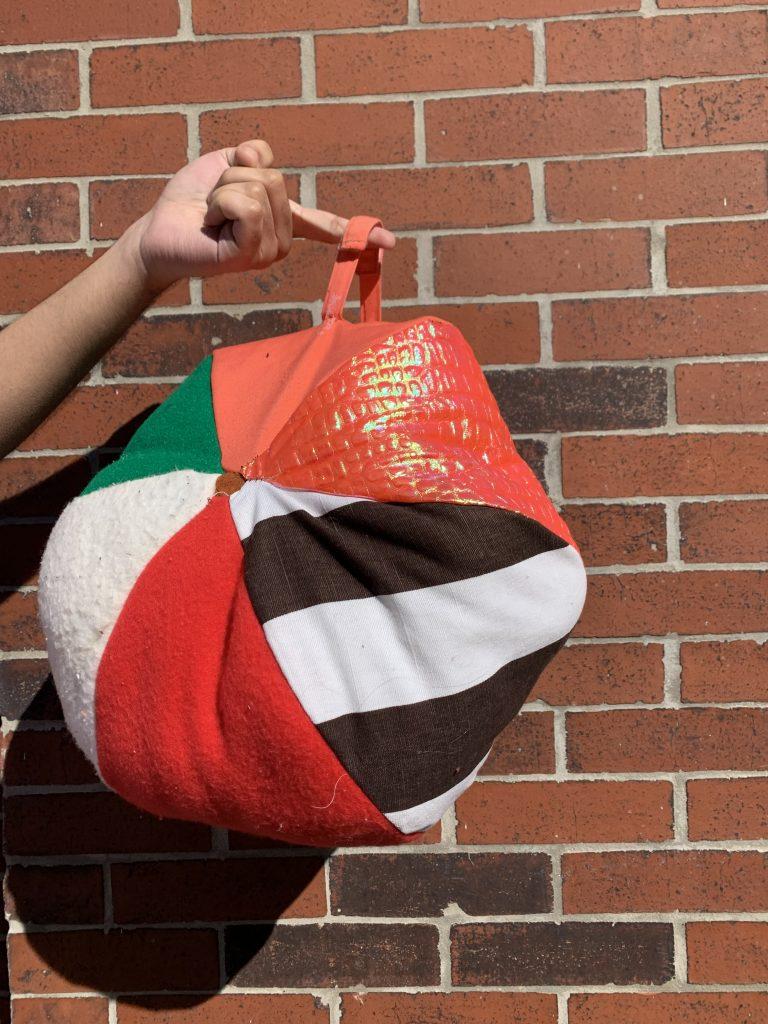
Unlike my first two fruit characters, for my third object I decided to create something functional. Inspired by Heeyun’s handwarming cube, I created a beach ball-patterned pillow for taking desk naps. The inner black tube extends through the beach ball and is sized for two arms, as if you were taking a nap on your arms. This was also the only object I made without using Rhino, as I wanted to try my hand at patterning without the assistance of a program.
I started with the provided beach ball-style sphere pattern. For the pillow, I wanted to use vibrant colors, which actually resulted in me using a combination of the fleece fabric and a more felt-like fabric. The felt fabric (white and yellow) did not stretch as much or in the same way as the fleece (pink, orange, and green), ultimately resulting in a somewhat irregular shape once I stuffed it. To make the cylinder, I used the rectangular portion of the provided cylindrical pattern, and then cut curves around the top of the five sphere pieces that together would make the circumference of that cylinder.
This form proved to be the most difficult to assemble; I struggled to figure out how to insert the black cylinder while keeping the right sides facing each other. Determining the assembly of the form proved to be the hardest part out of all three objects, as I ended up having to rip seams a couple times before figuring out that the trick was to sew the edges of the black cylinder after fully attaching it to the rest of the material.
