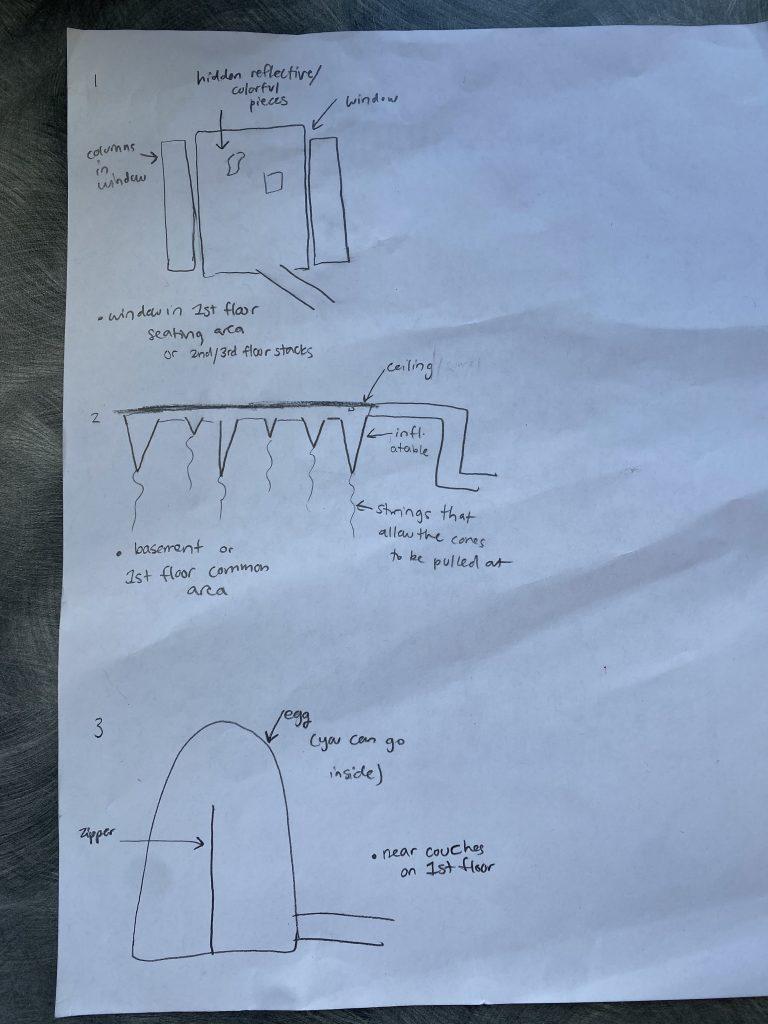
Our first idea was to constrain and play with the element of surprise with our inflatable, similar to how we did in our push/pull part 1 pieces. We were thinking that this piece could be constrained between two columns of a window on the first floor and could have hidden reflective or colorful pieces that only appear in daylight as an element of surprise on a piece of white fabric.
Our second idea took the cone/spike shapes we both used in part 1 and expanded the idea to be like stalagmites protruding from the ceiling. We would somehow hang our inflatable from the ceiling using hooks or loops and we were thinking of having strings that could pull these cones out to make the inflatable interactive with passersby.
Our third idea again uses our interest in interactivity, surprise, and large round shapes. We were thinking of making a freestanding egg-shaped inflatable in one of the open areas by the couches on the first floor. The inflatable would be hollow on the inside, with a zipper attached so that when opened up, a person could go inside.
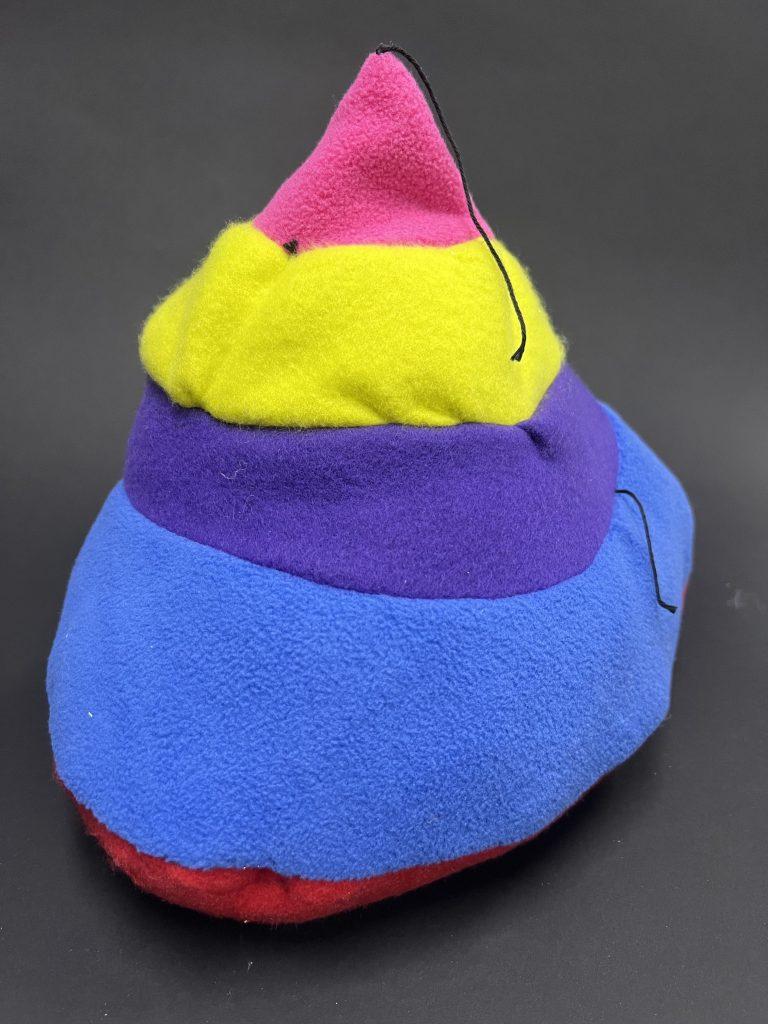
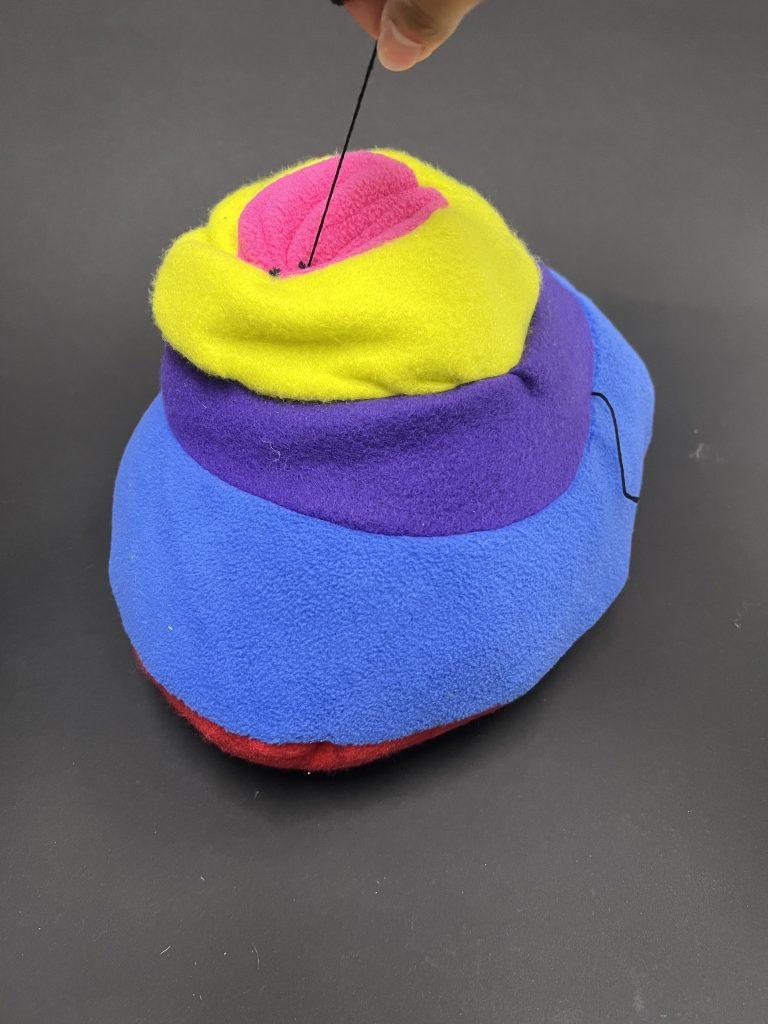
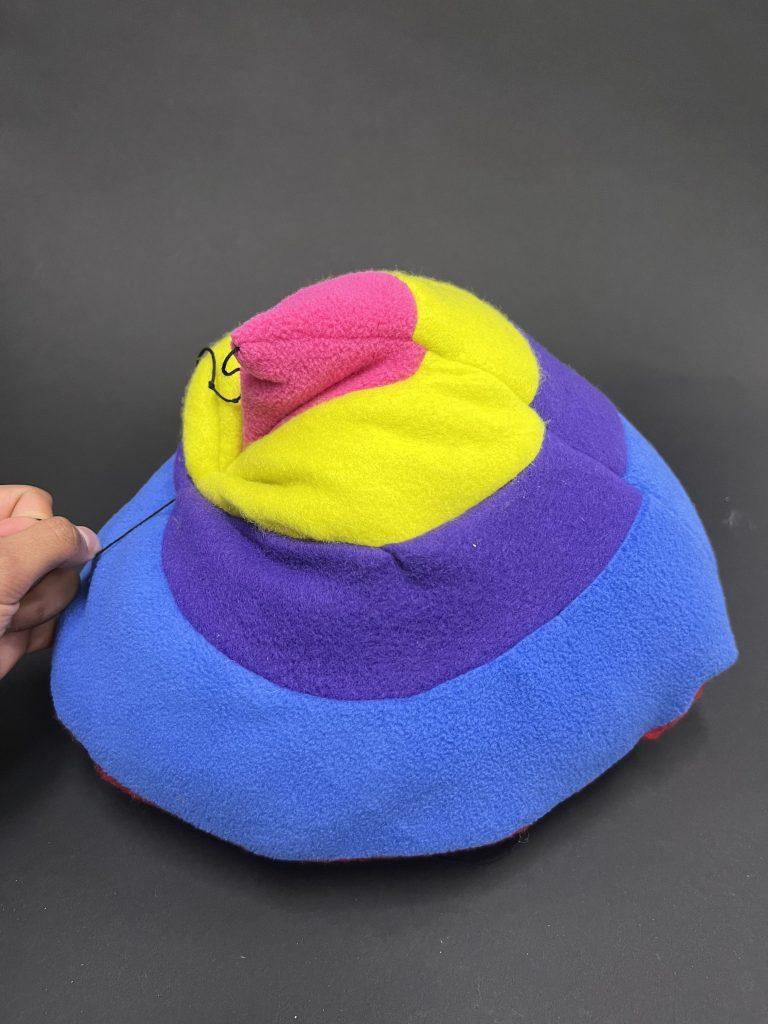
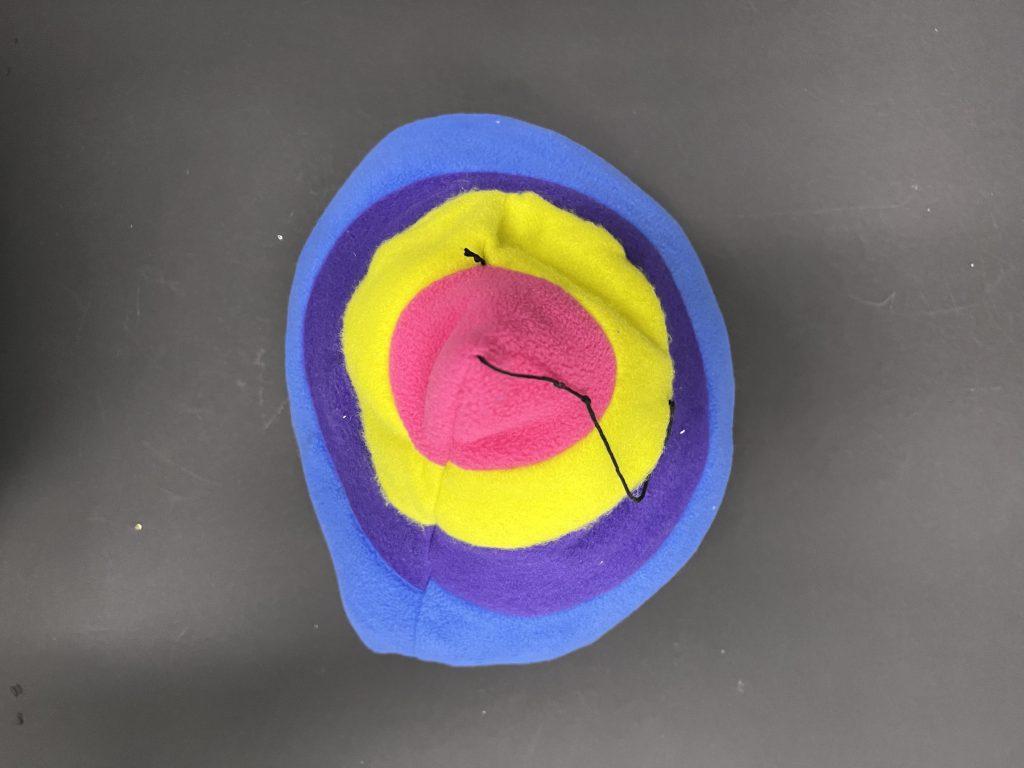
When we presented our progress in small groups, I was really fascinated by Charlotte’s object with the strings attached in certain places, pulling the object in interesting ways. I decided to do my own take on it, adding an element of surprise with strings coming out of arbitrary places and pulling at other random places when tugged at. I realized after I had closed the piece that I should have stuffed it less because it made interacting with the object harder when it was fully stuffed, which I took forward to consider when stuffing the last two objects. I also enjoyed the color combination in the end; even though I initially just wanted a rainbow, it looked more vibrant and stood out in the arrangement I ended up with.
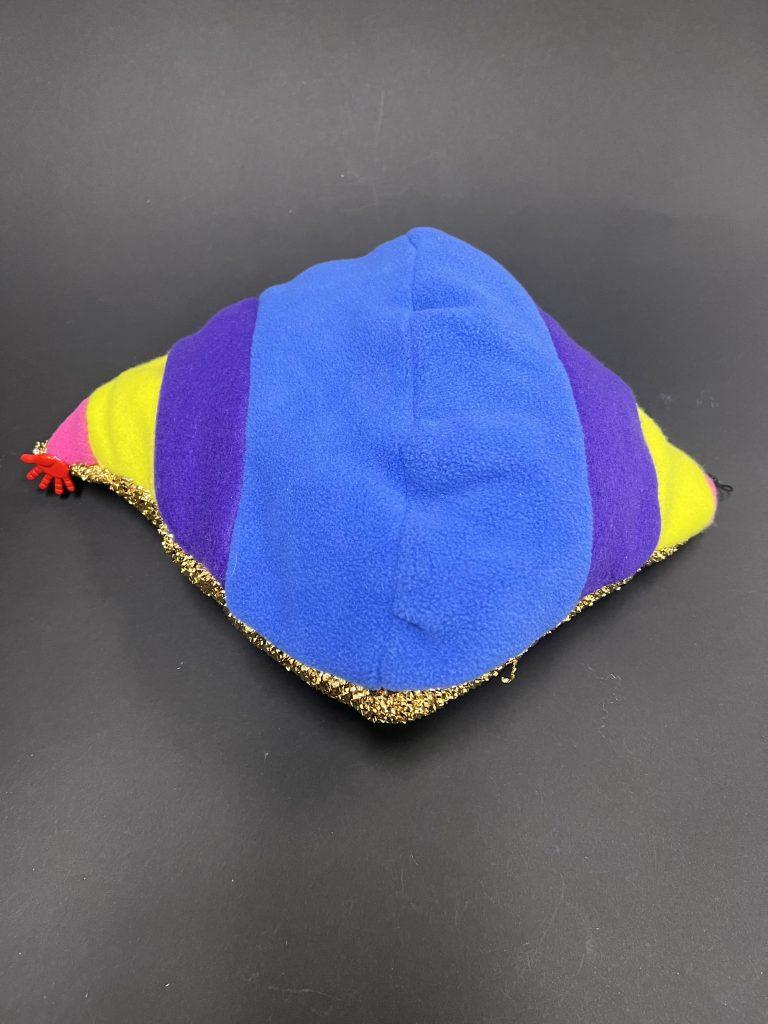
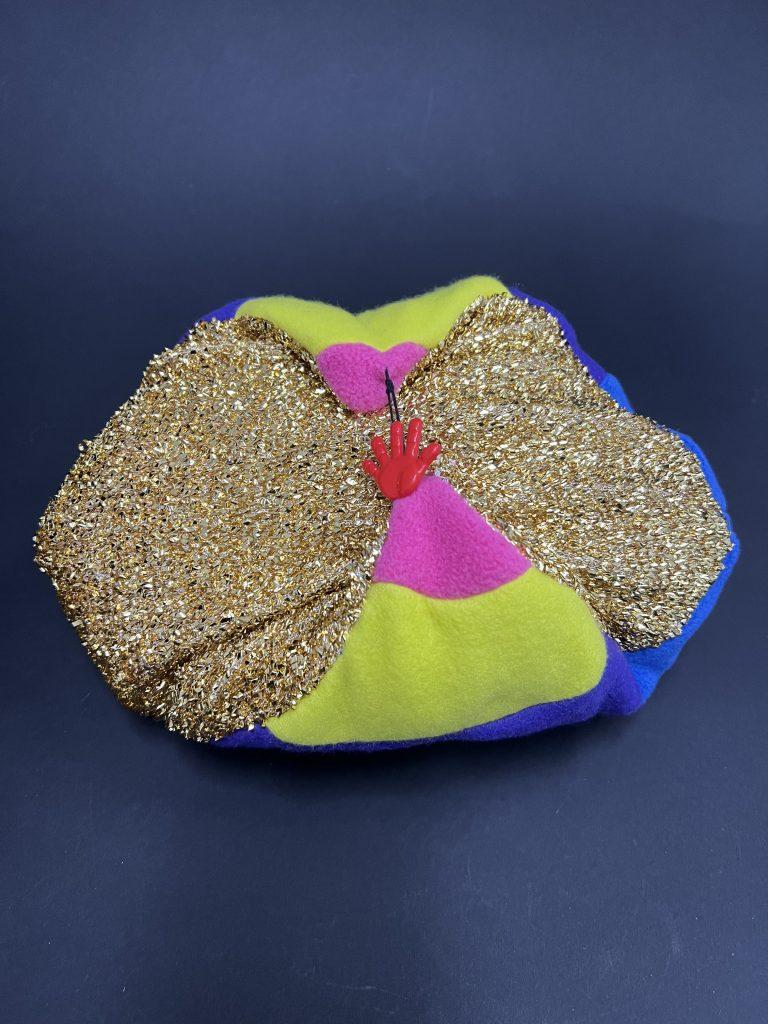
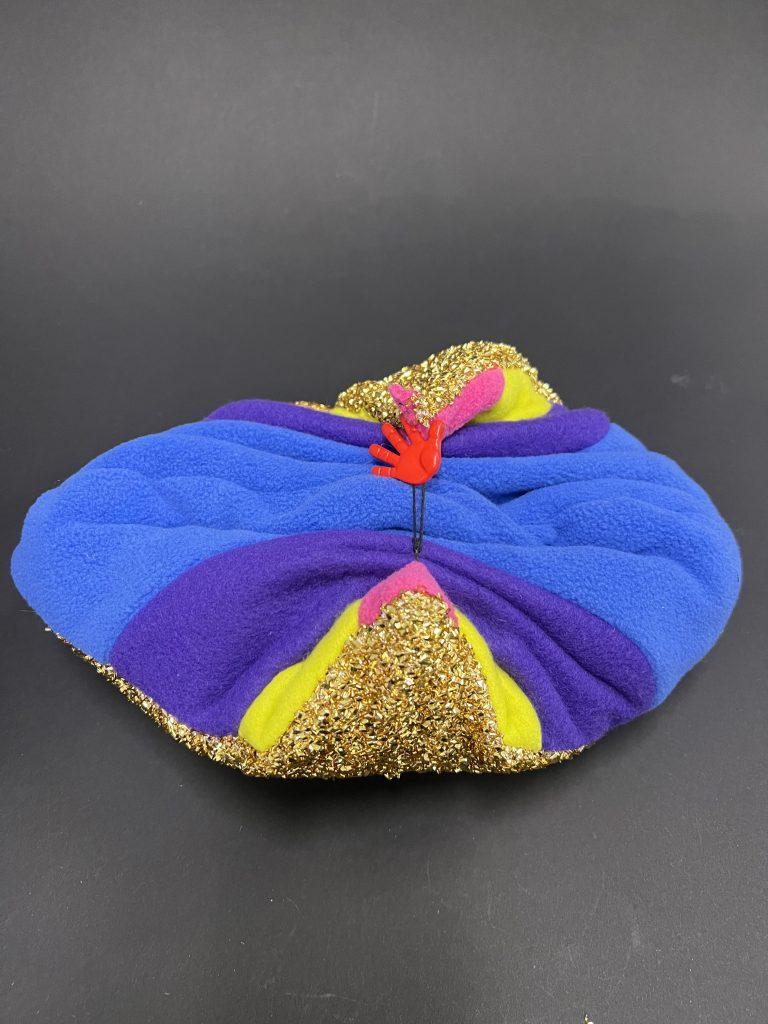
This object came about on a whim because I had seen buttons when looking for the zippers and wanted to play around with those. I also cut out the entire circles for my cone in the previous object, so I had a lot of that fabric remaining and wanted to put it to good use. I immediately thought of a book or journal and the button as the clasp keeping it open or closed. I think it would be interesting to have it open to reveal one type of fabric and closed concealing it, but as you can see from the pictures I again stuffed it too much and it had a scrunched up look reminding me of a dumpling with the button holding it together at the top. Though it didn’t end up like a book, I liked the way it turned out when the colored fabric was on the inside and it gave it a unique feel, again allowing people to interact with the object to reveal a new form of it.
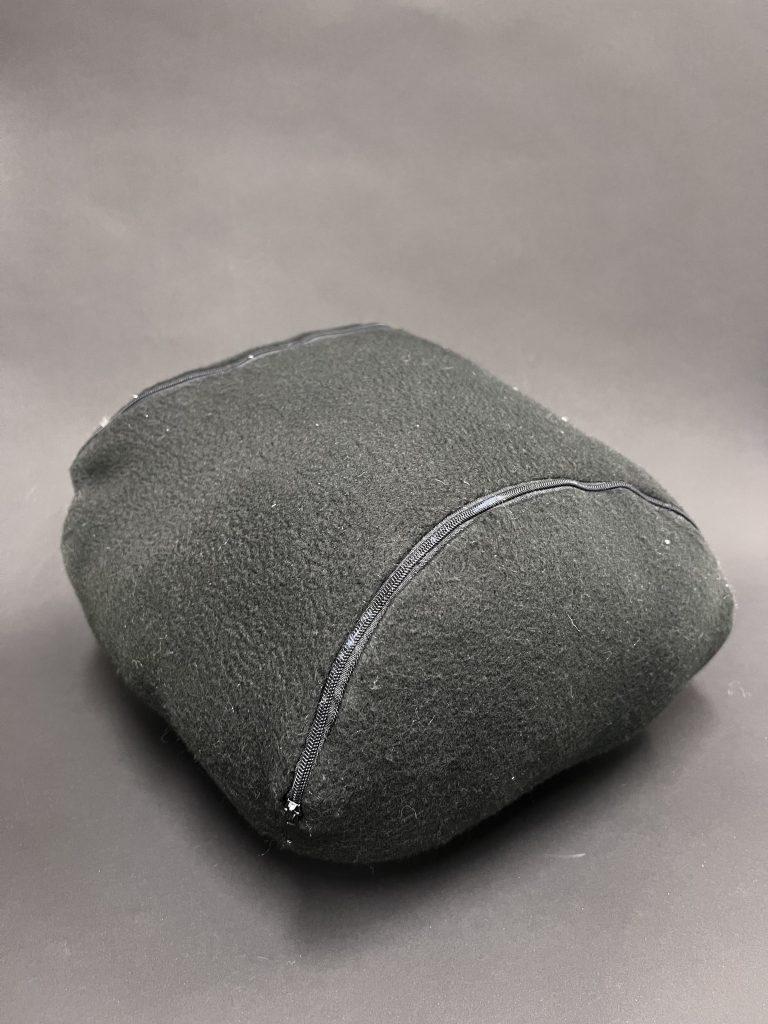
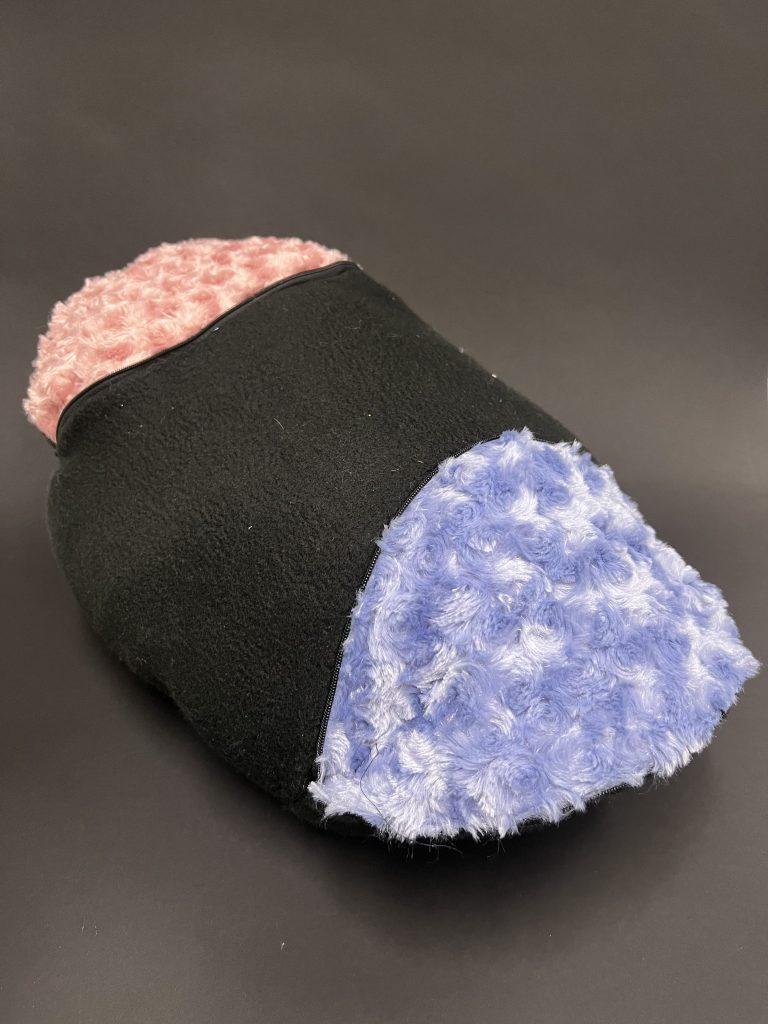
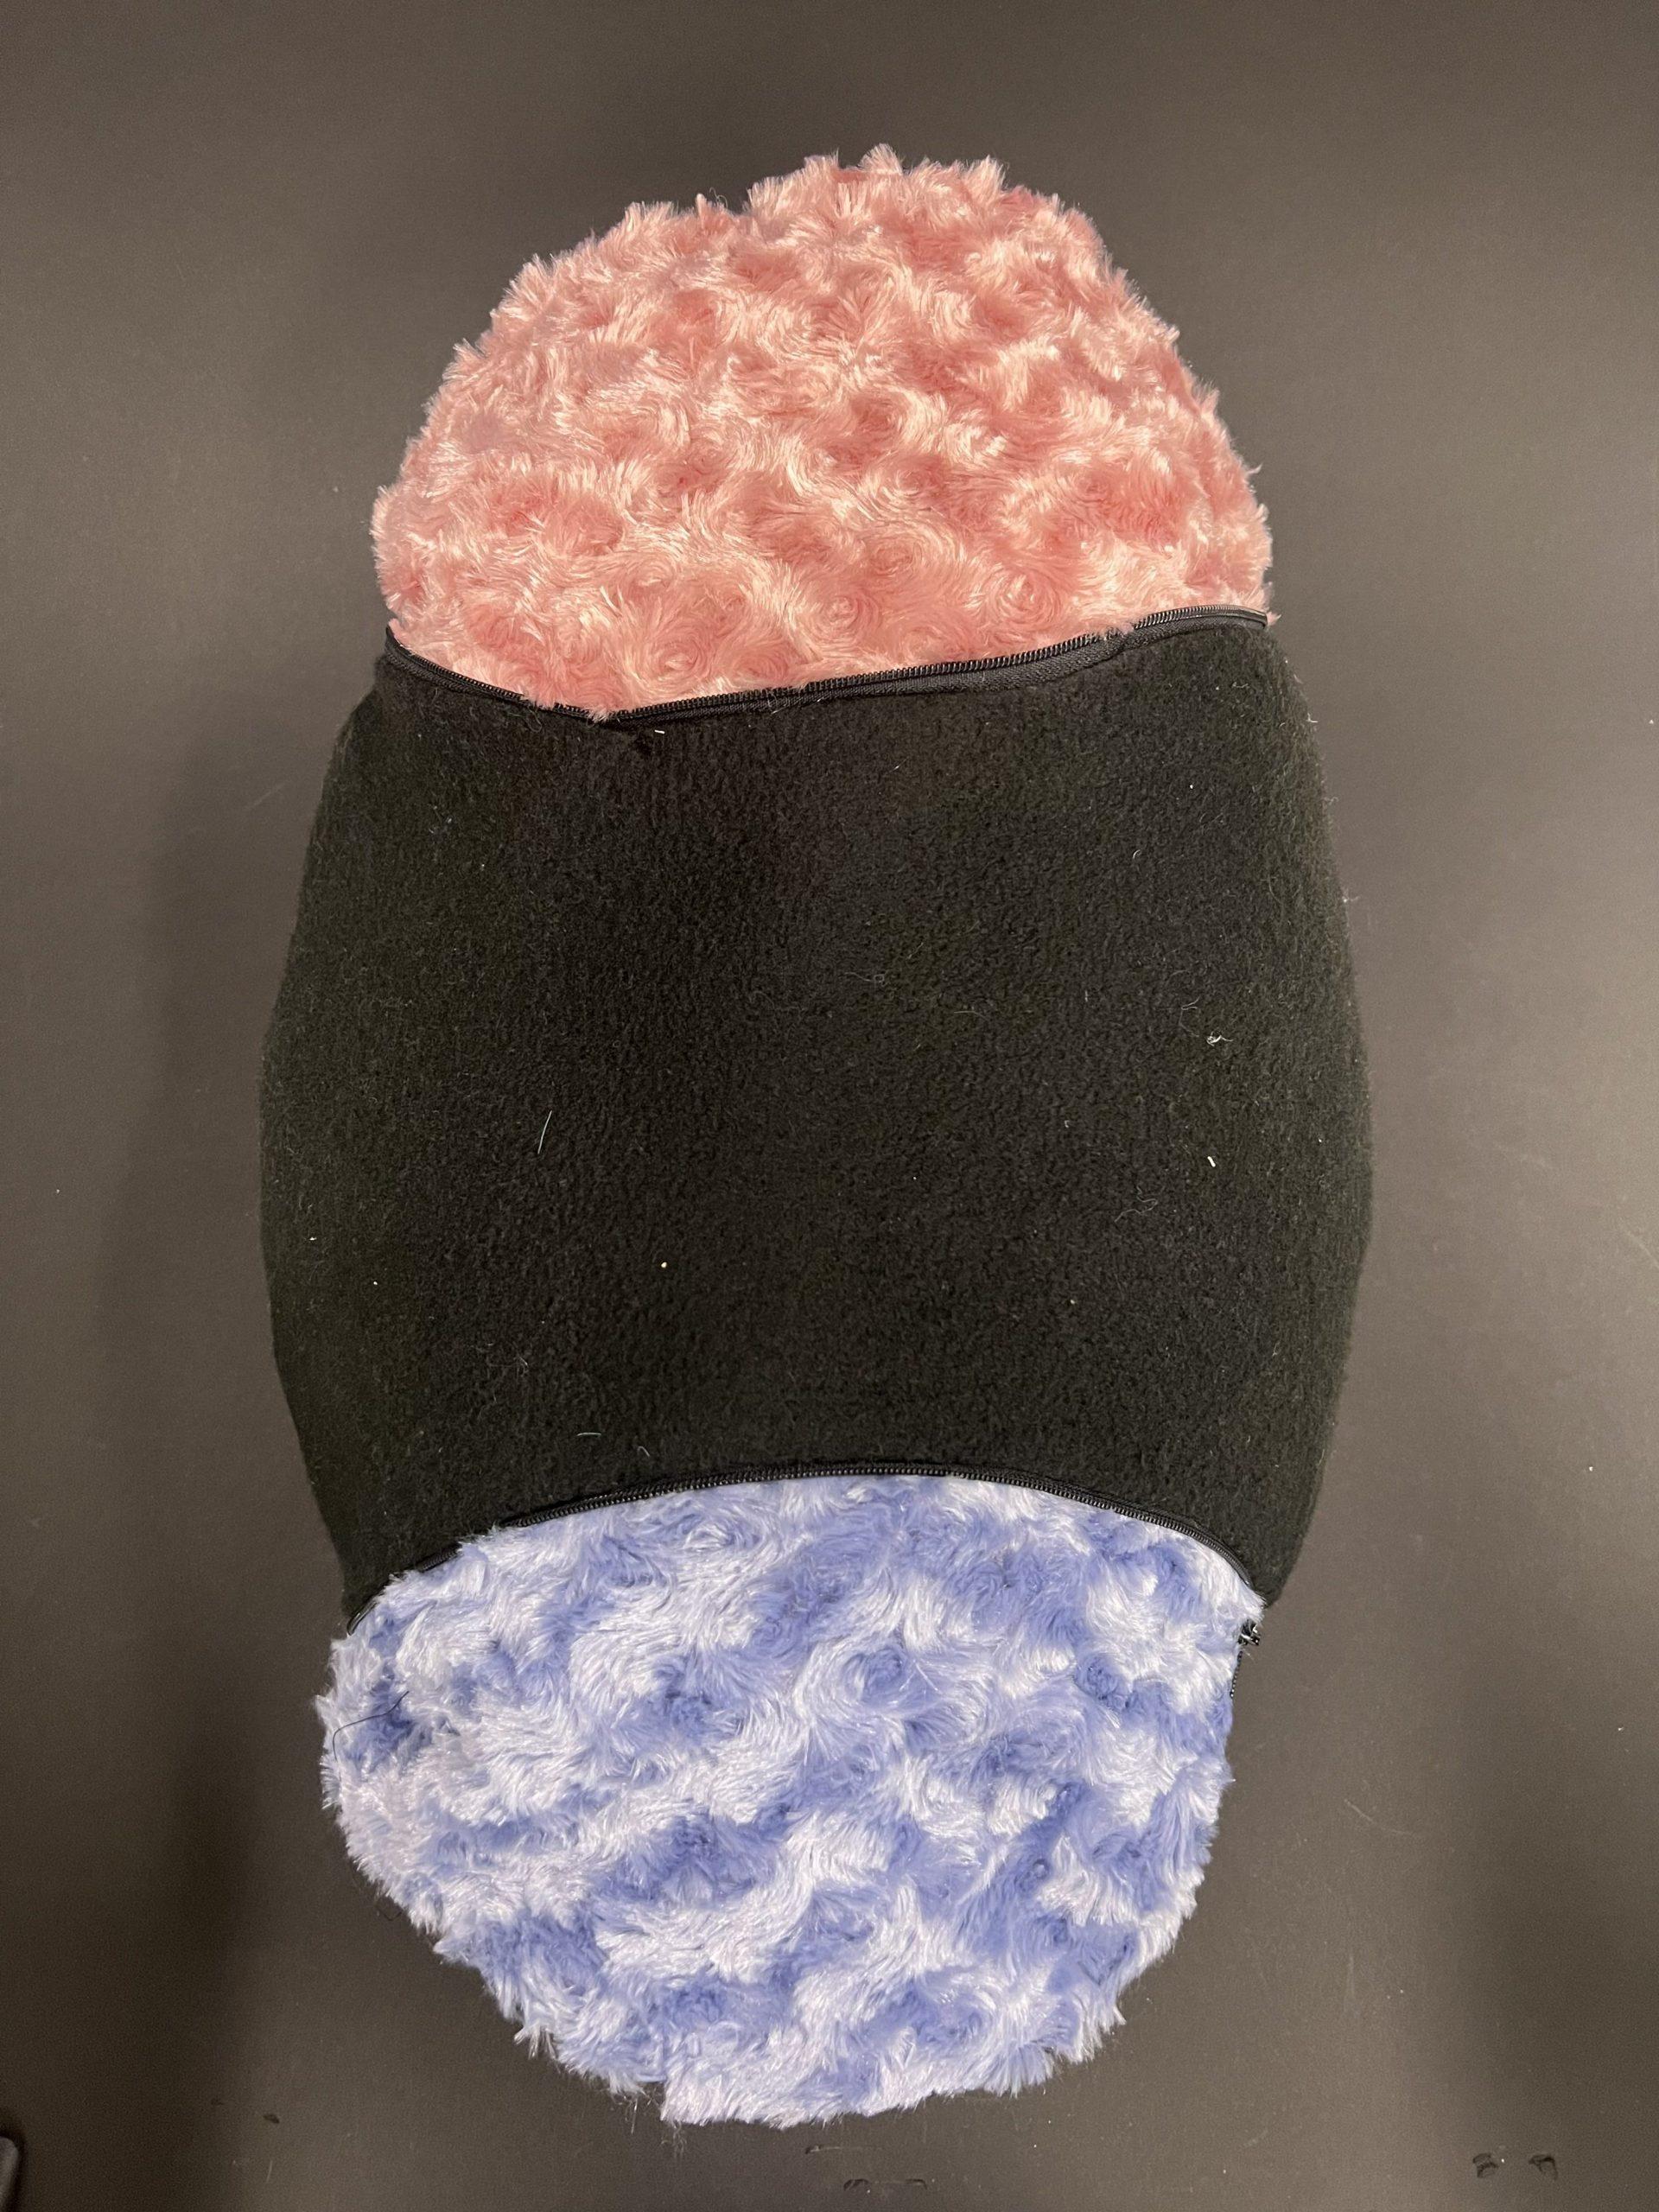
When we were going over earlier years’ examples in class, one student’s design that really stood out to me was their object with zippers revealing unique colorful fabrics on the inside. I knew I wanted one of my pieces to be similar in design. I started out with black felt and black zippers to keep the piece as dull and uninteresting to the eye. I then found a rose fluffy fabric in both pink and blue and decided to use these as the surprising pops of color when the zippers opened. I wanted to do this on a sphere object and used the baseball pattern as this was the largest sphere pattern I could find in the precut patterns. This ended up in an interesting shape as it turned into more of a duffel bag shape when opened rather than a larger sphere, which I realized may have been achieved if I used the beach ball pattern instead. However, I still loved how the object turned out and am excited to continue to use zippers to play with the designs of my future inflatables.
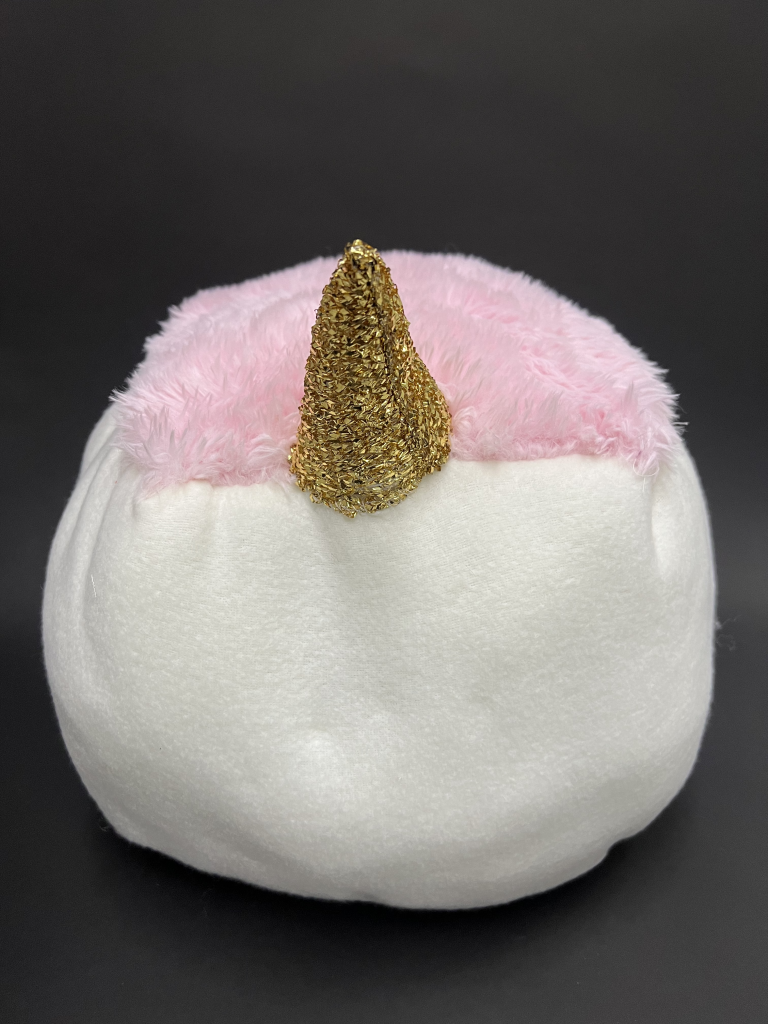
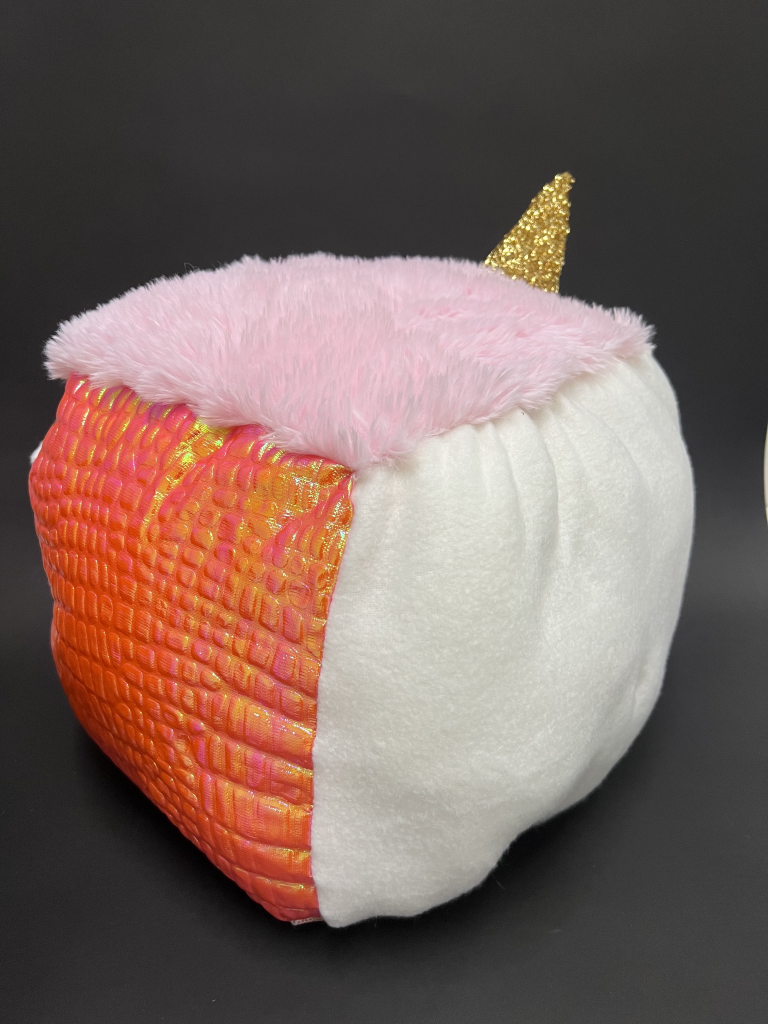
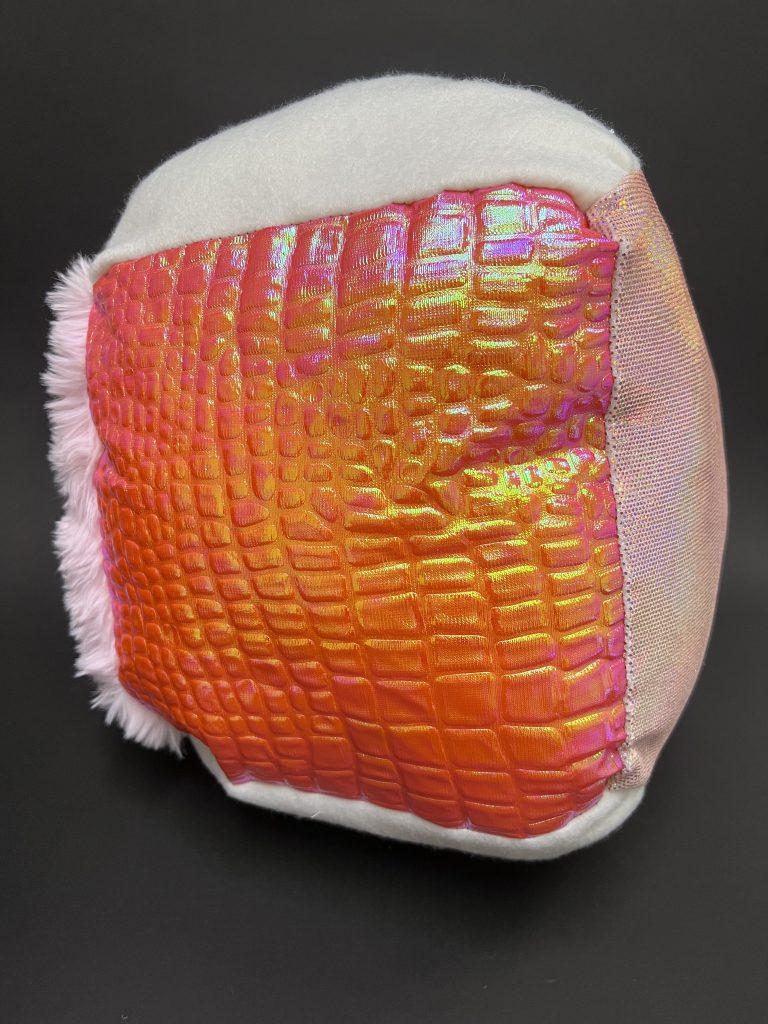
When this assignment was first introduced, what immediately came to my mind was the soft, huggable squishmallows often seen in stores. I’ve always wanted one so I thought this assignment would be the perfect excuse to make myself one. I wanted to use interesting fabric finds, so when I found three different textures of pinkish fabrics, it reminded me of a magical creature so I decided to create a unicorn with the cube pattern. I made the cut of white felt much longer than the cube pattern desired so that I could add some gathering (although it didn’t show that much once I put the stuffing in) and I added a golden horn to keep the design abstract but recognizable. I also didn’t stuff the object as fully as some of my others to preserve that squishable, huggable feeling of a stuffed animal.
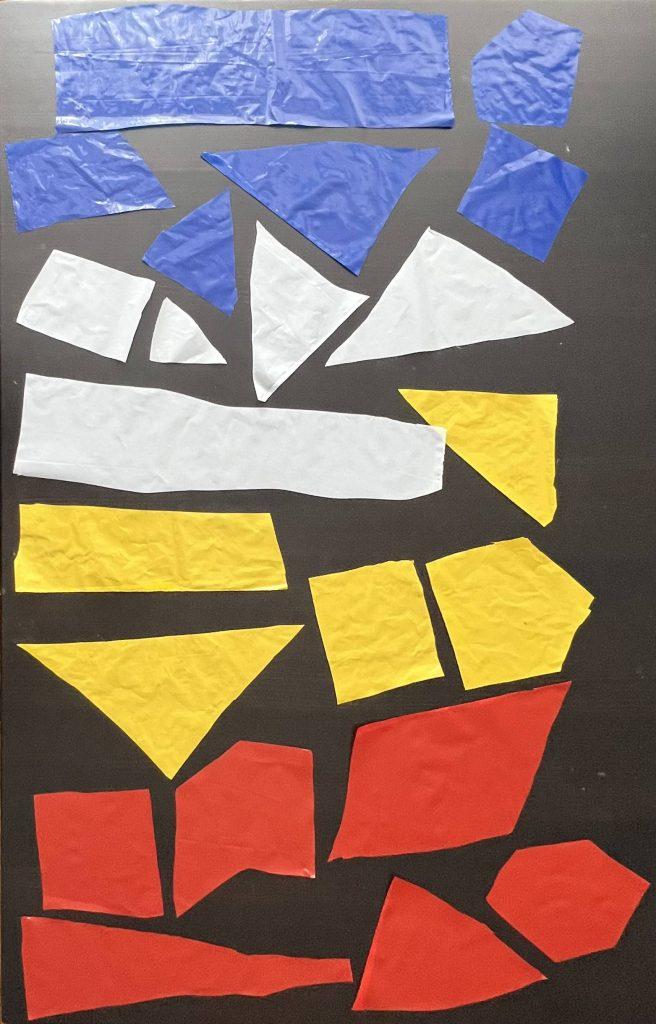
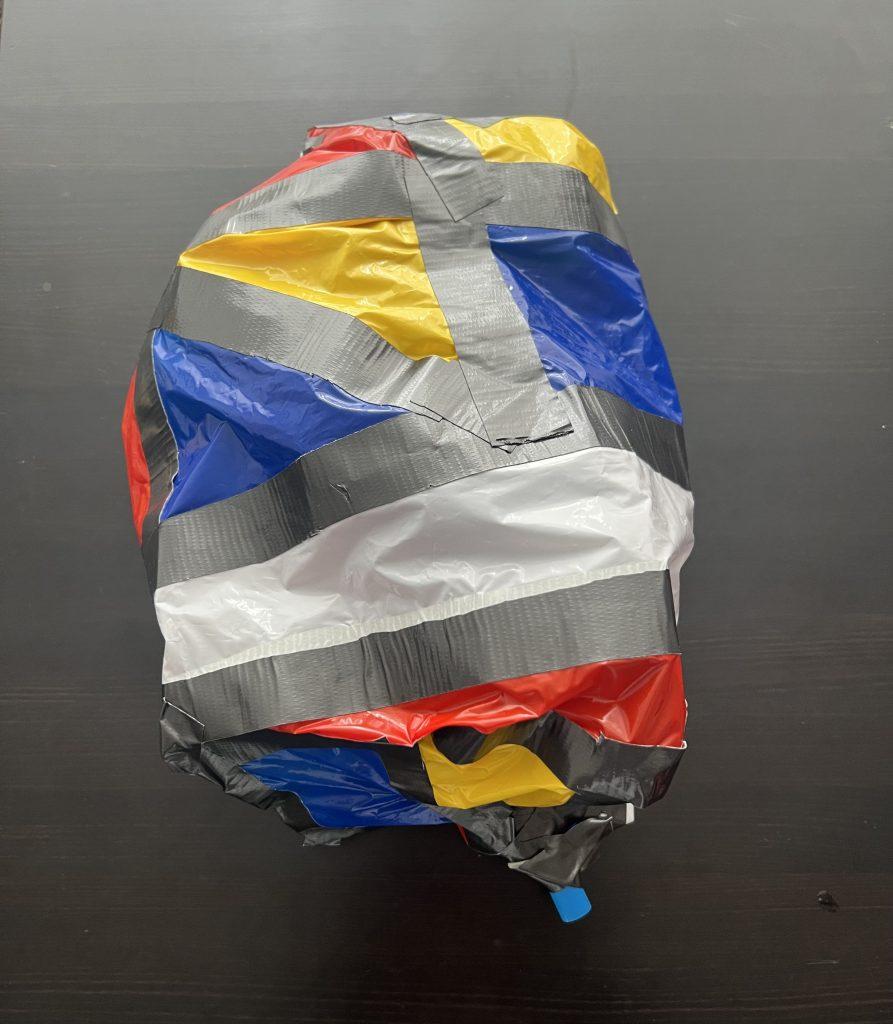
For my first inflatable, I had no idea how to start as I had never worked simply with plastic bags and tape before, nor did I know much about inflatables, so I just wanted to try random things and see where it went and critique and improve on the second and third pieces. What I did was start by picking a few colored bags that I thought went well together, and then cut arbitrarily sized and shaped pieces out of these bags. Then came the hard part: actually trying to tape these pieces together to create a full inflatable. I decided to use black duck tape to keep with the color scheme, which I learned quickly was tiring to cut to workable pieces. The taping was much more challenging than I expected, and one obvious lesson I took away from this was bigger is better. Trying to tape 20 small pieces together was not only hard with my clammy fingers as I got stressed, but also resulted in a super small inflatable that didn’t feel correctly sized for the time and effort endured. However, I really liked the final result and the process of experimentation I used in the first piece.
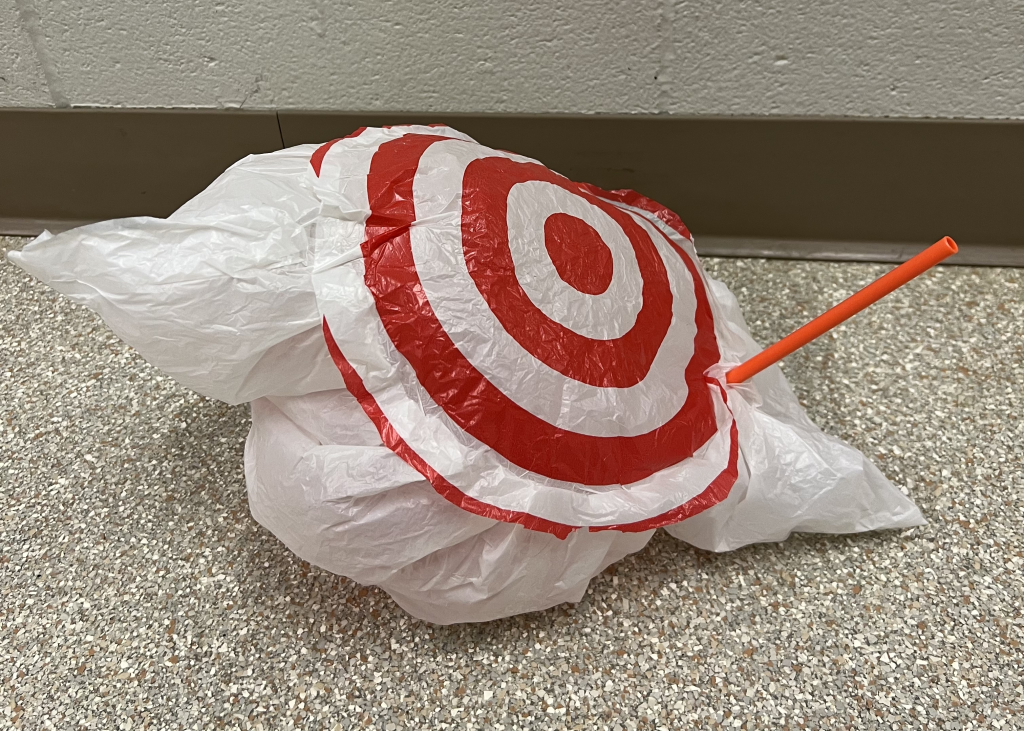
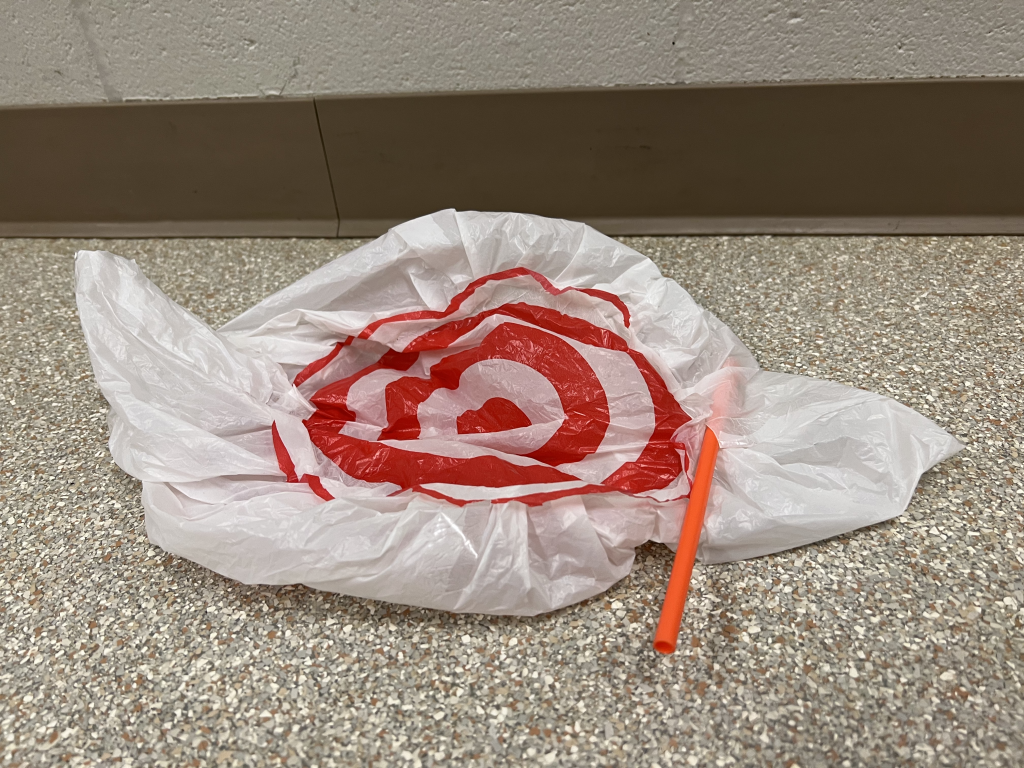
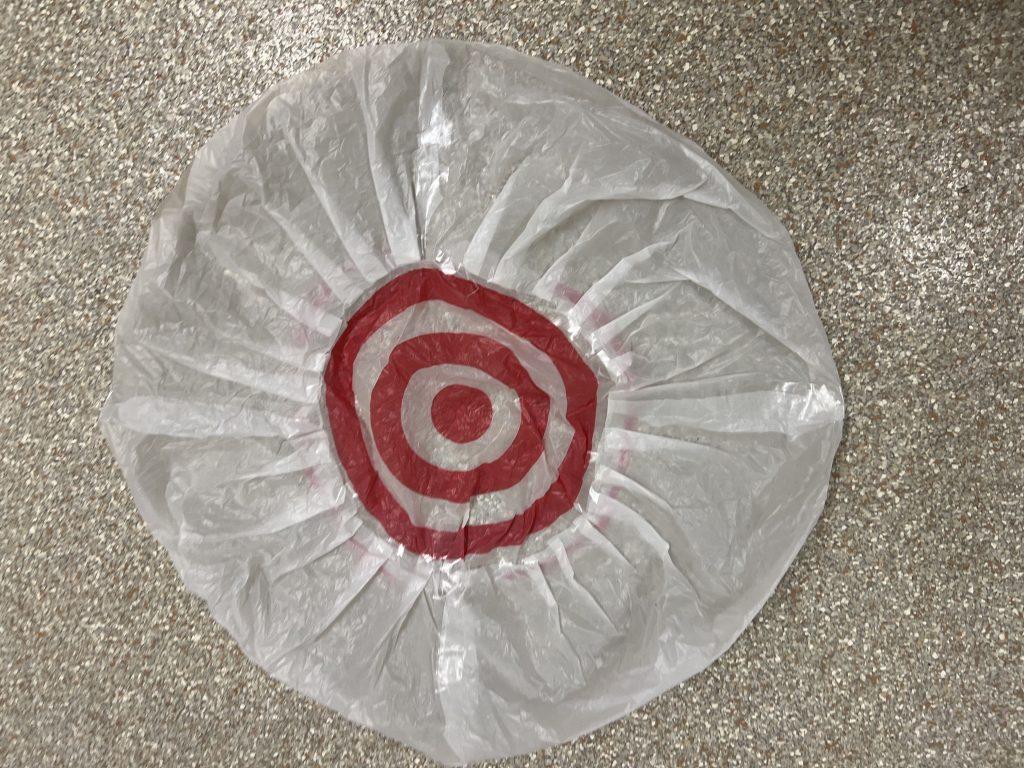
Ready to start the next piece, I now knew planning is key. I was not ready to sit there for hours figuring out what piece fit well with which as I did the first time, so before I started I planned out what I wanted to make, what pieces were needed, and which pieces would tape to which. I wanted to try out different types of materials, so my next challenge was working with target bags and scotch tape. I really wanted to use the target circles so I cut two of those out, and decided I would make a symmetric connector between these two targets which would be what was inflated. This took 4 white rectangles of the target bags taped together into one long strip. I was unsure how well the scotch tape would perform at first, but it held on to the target bags well. I also was uncertain about the quality of the target bags as they kept getting small holes in them, so I was very gentle with the plastic and recut pieces when necessary. I also experimented with a pleating technique which I thought looked pretty during the taping process, but it wasn’t really visible when inflated so I wasn’t sure it was worth the extra effort. What I liked about this piece was how easily it inflated despite the flimsy plastic and being able to experiment with new taping techniques.
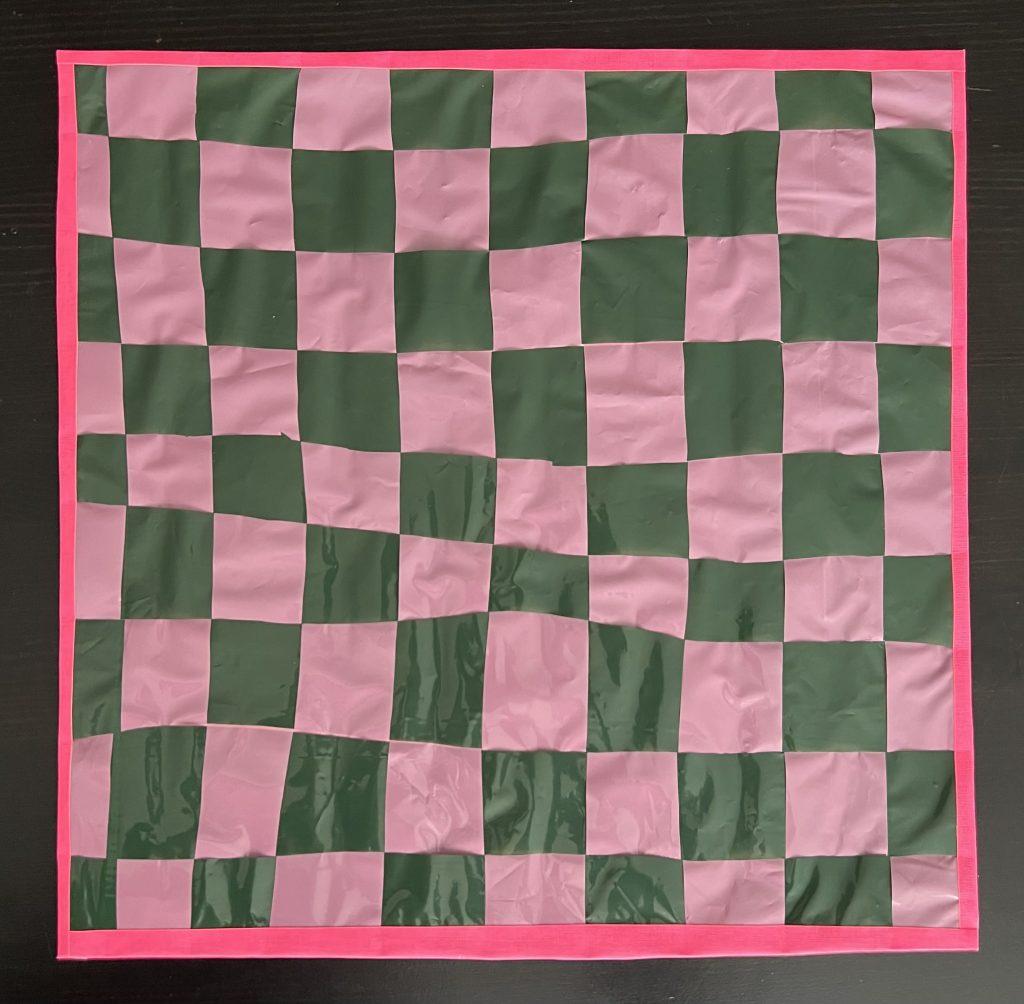
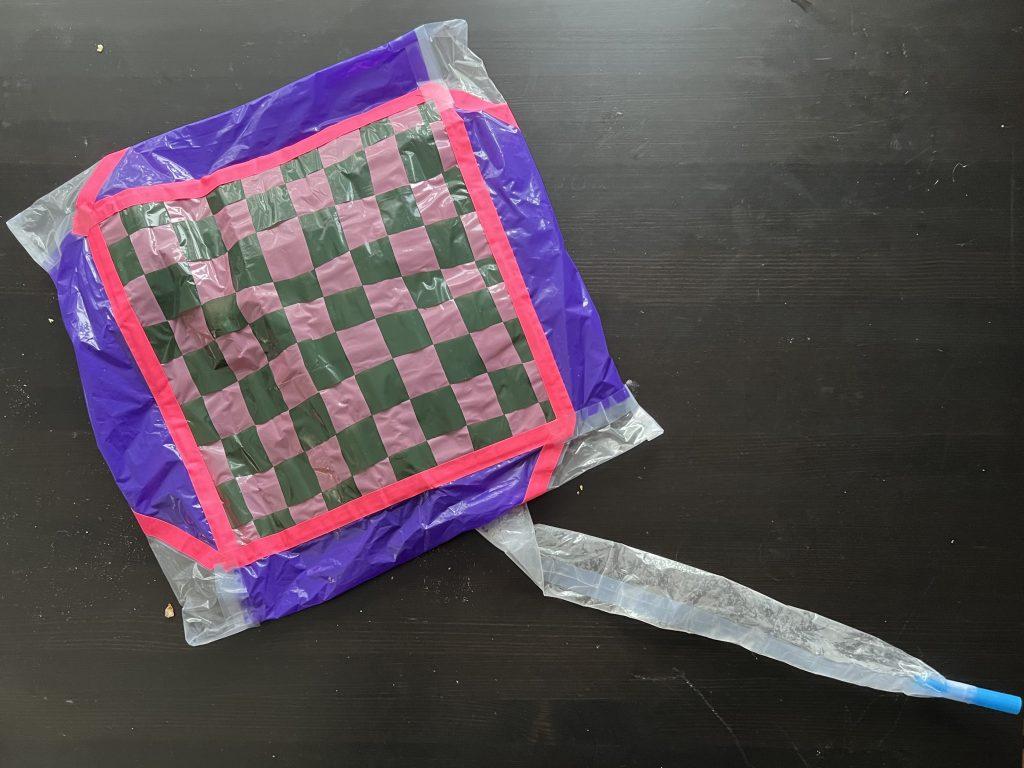
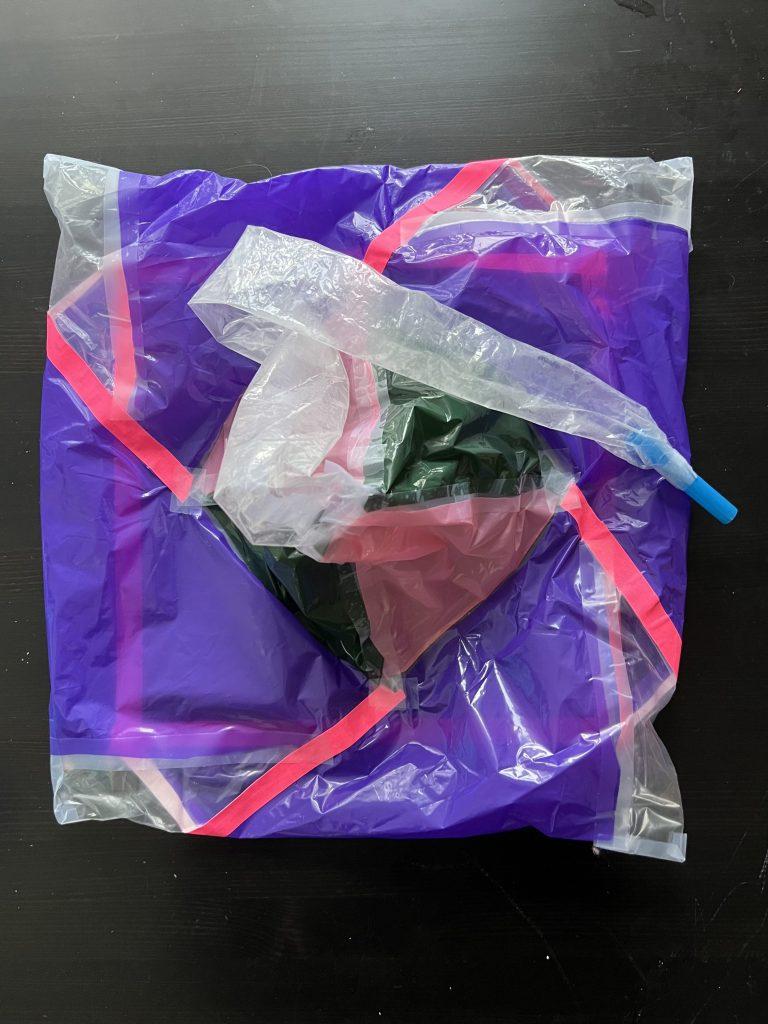
Going into my third inflatable, I wanted to continue experimenting with different sizes, shapes. and patterns. As a person who loves patterns and symmetry, I wanted to create a checkerboard design with the plastic and make it sort of like a hot air balloon or parachute for the inflatable. What I did not realize was how much tape would be required to secure the design, and this ended up being a flop as the checkerboard square had a lot of weight to it by the end and it could no longer be the top of my design. I then thought about how I could change my design to extend horizontally instead of vertically. I created elongated pieces from the plastic in layers, connecting the large square to a small radius tube that would connect to the straw. Some problems I ran into were reducing the radius which I achieved with some pleating techniques to bunch the wider fabric into a smaller size. I also ran out of the pink tape pretty quickly, so had to work with different styles of tape and their different thicknesses and stickinesses. Overall, I liked how this inflatable turned out despite learning tape is heavy and can impact the inflatable-ness of the plastic. I was glad I got to try a variety of techniques and work with many different materials during this process and going forward. I will take all the lessons I learned from this assignment when we start to make larger inflatables.
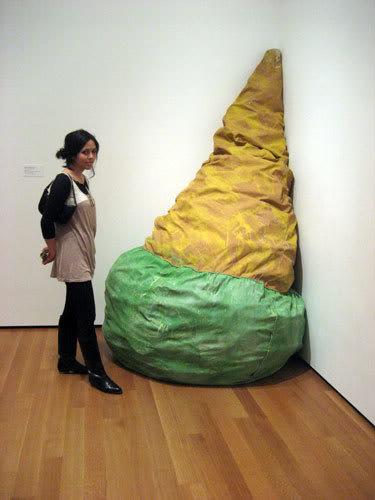
When looking around for soft sculptures in the world, I came across Claes Oldenburg’s works. He takes objects we see in our everyday lives such as food and appliances and creates enlarged soft sculpture representations of them. What I found most interesting about Oldenburg’s works is how he takes simple objects that we all recognize but lets gravity and size portray them in a new, unique perspective. I also liked how versatile these objects were, such as the floor cone that can be placed in multiple orientations to show different aspects of the work. This pertains to the work we are doing in class because our next assignment Push/Pull-Part 1: Objects works more with the techniques Oldenburg used because we are stuffing rather than inflating our objects, so without a constant flow of air holding certain parts up, the size, weight, and orientation will become important factors we must consider with our own objects.