For my first inflatable, I was aiming mostly just to get a sense of the material, what works, what doesn’t, what techniques are best, etc. I started out by choosing a few colors, cutting out some shapes, and taping sides/pieces that fit together. I learned quickly that curves are significantly harder to put together than straight edges, they require the “stitching” method and multiple pieces of tape. This one took quite a while, as I was really figuring it out as I went, and the inflatable ended up being just a bit bigger than the size of my head. For the second the third inflatables, I began to play more with scale, and color. I switched to clear tape I had lying around, as I had begun to run out of the pink cloth tape provided. Also, for the second inflatable, I flipped it inside out so that most of the tape was on the inside, creating a more seamless look– almost like a quilt, whereas the first one exhibited more prominent edges and borders. I learned that how you close up the pieces together especially impacts the shape of the inflatable, for example, taping a long piece into a sort of cone shape makes for a pointy cone extrusion out of the inflatable.
Category: Gallery
Yiyang Lai — Improvisation Inflatables
I create three improvisation inflatables.
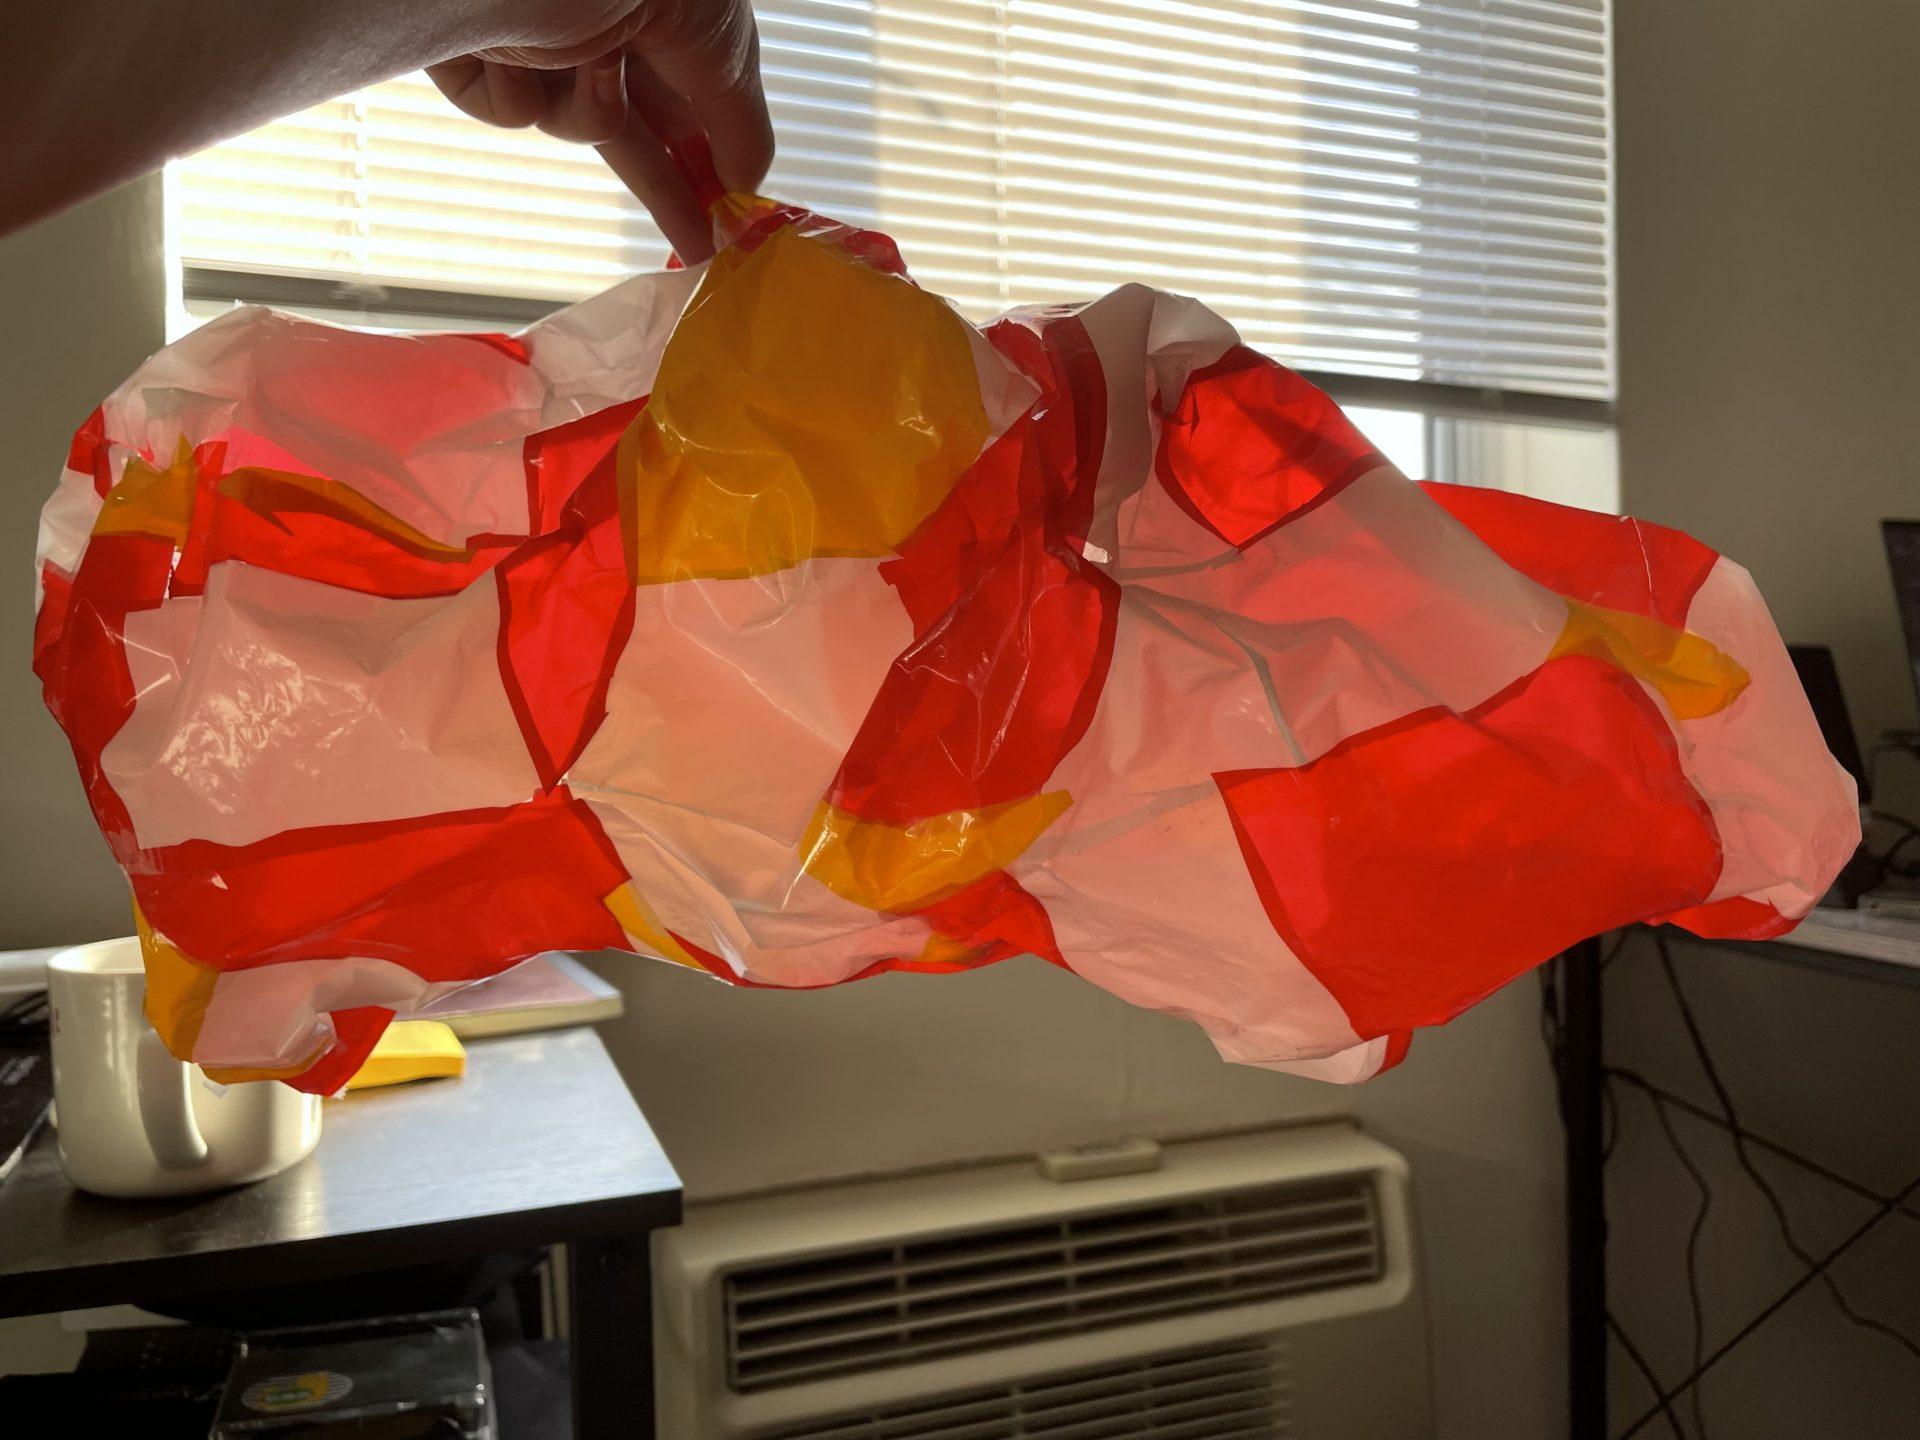
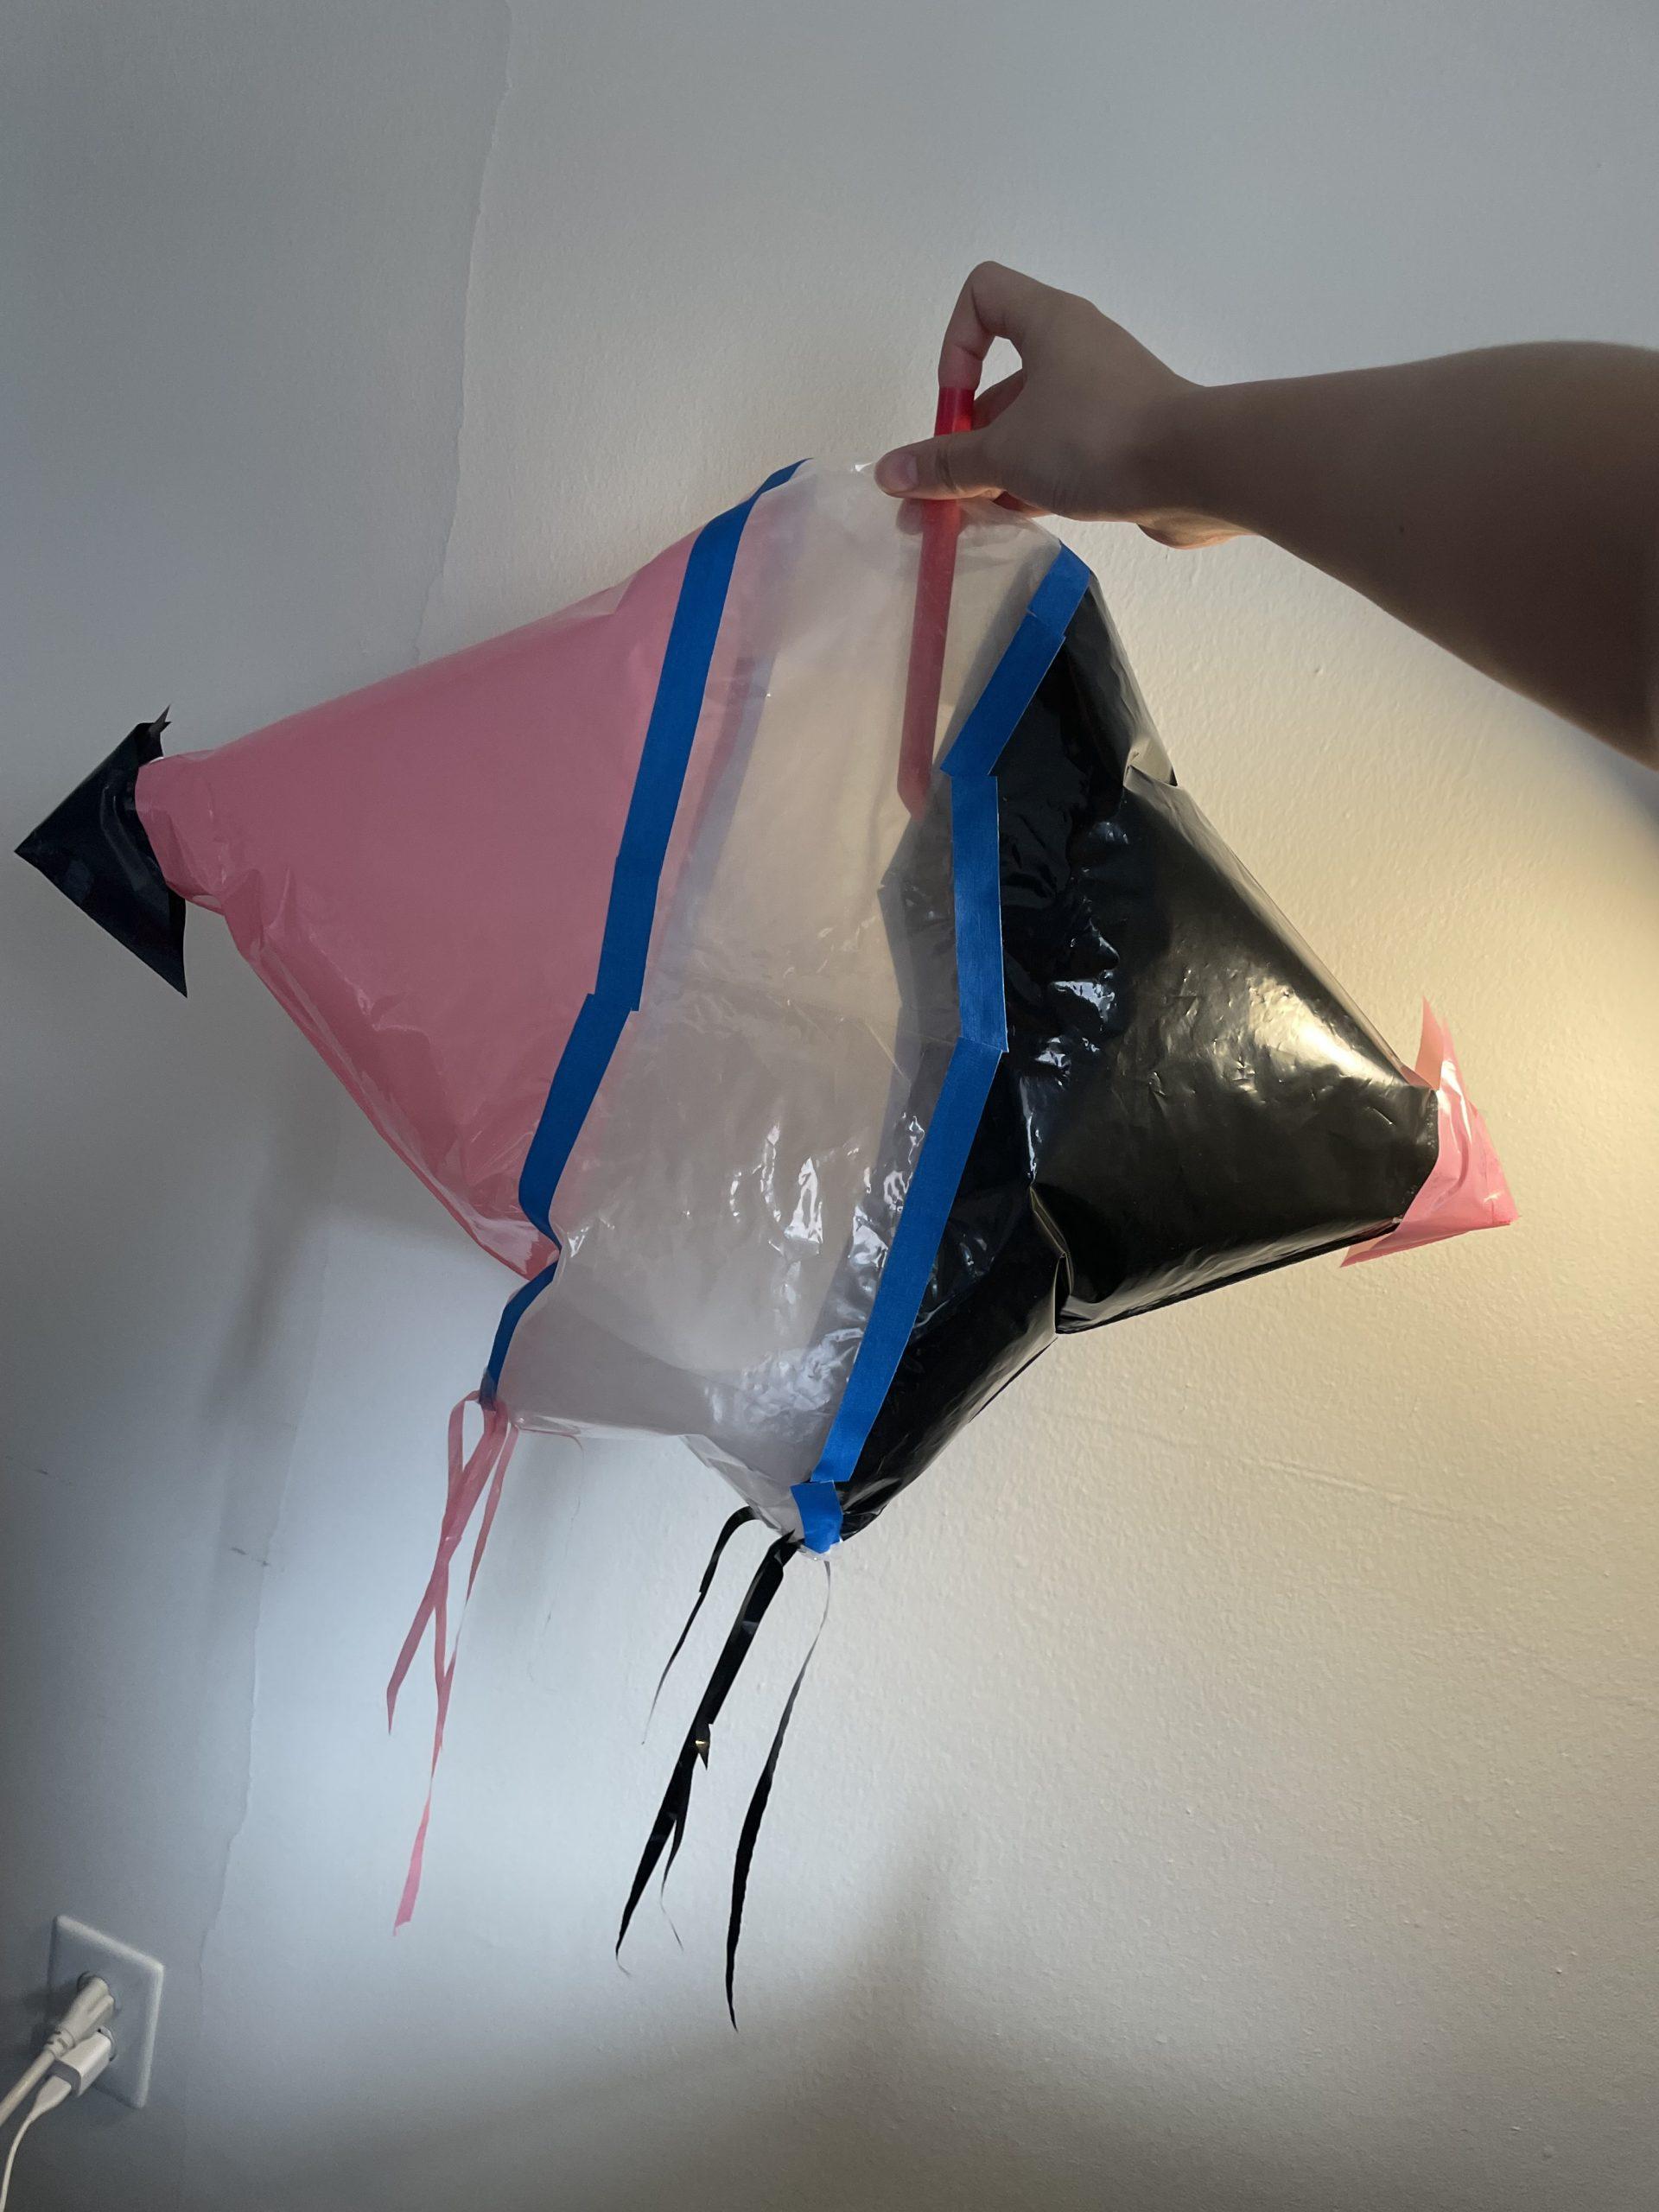
No.1 is made of totally randomly cut pieces. I find it is hard to tape these pieces together because they are too random and too small. It took me over four hours to just fit them all together. I also used my own tape for No.1 and this tape was not very steady. I put it on my floor overnight and the next day I woke up, all those tapes fell off and I had to re-tape them again to take photos (and that was painful).
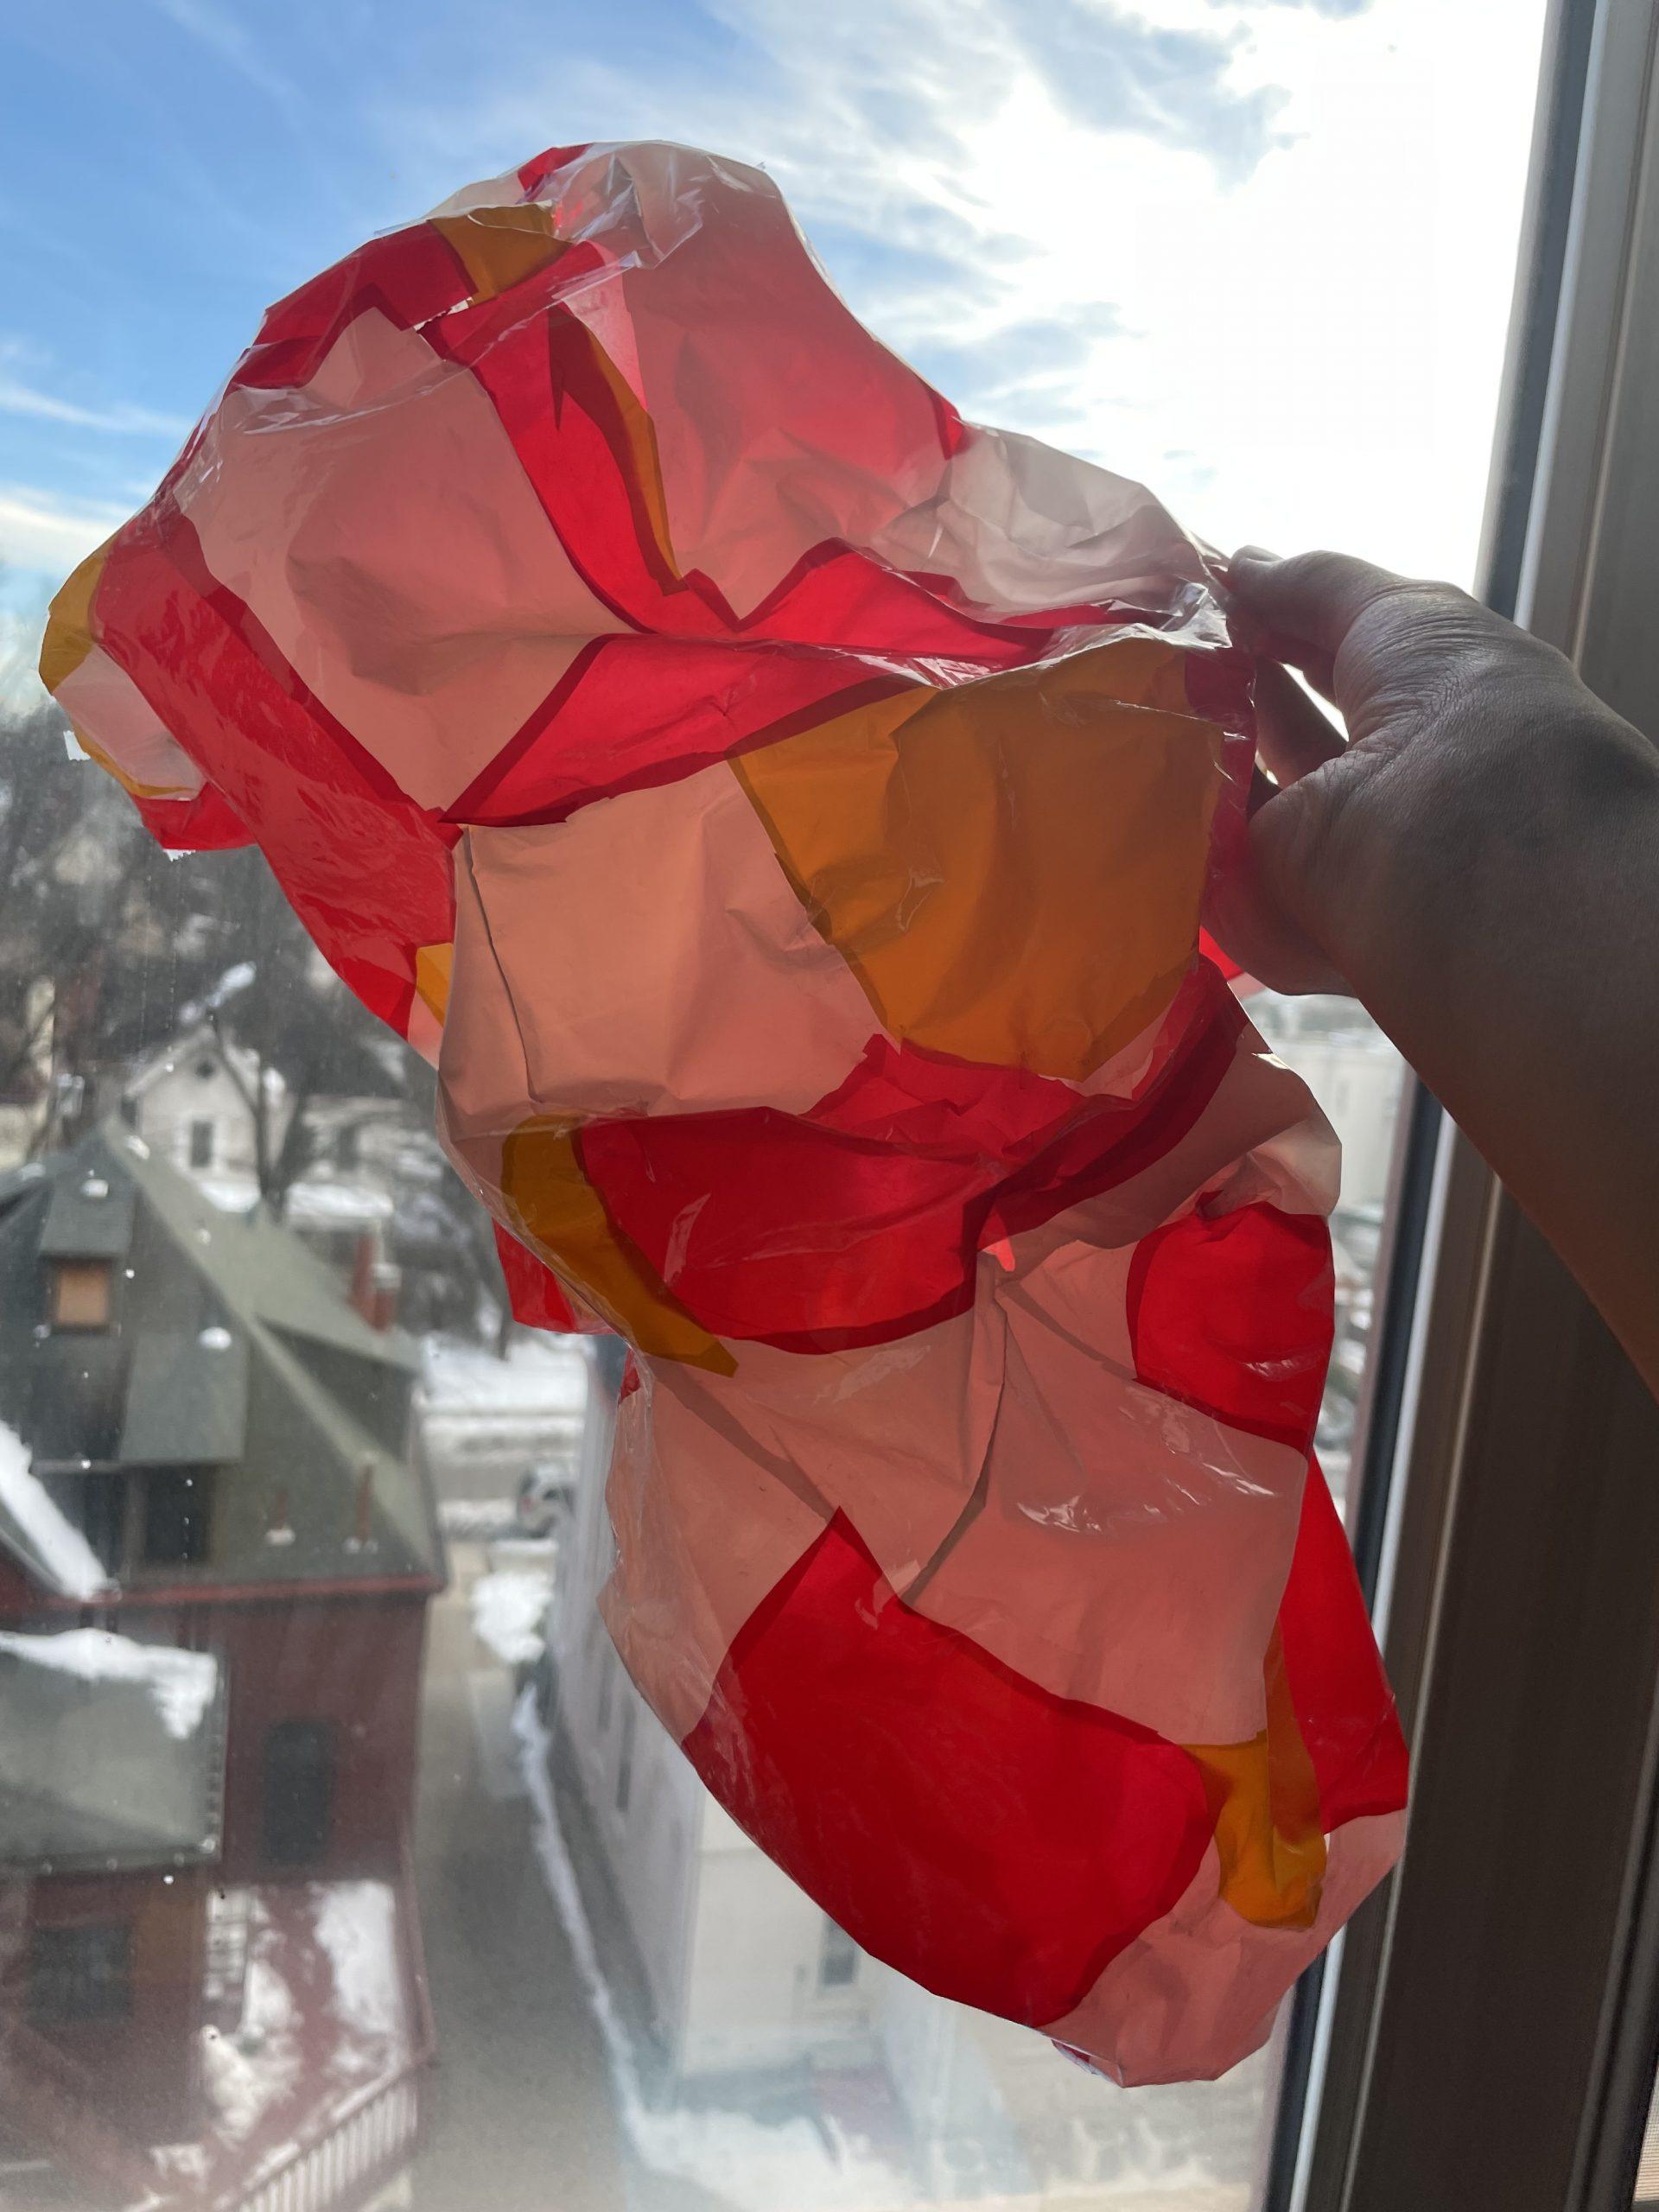
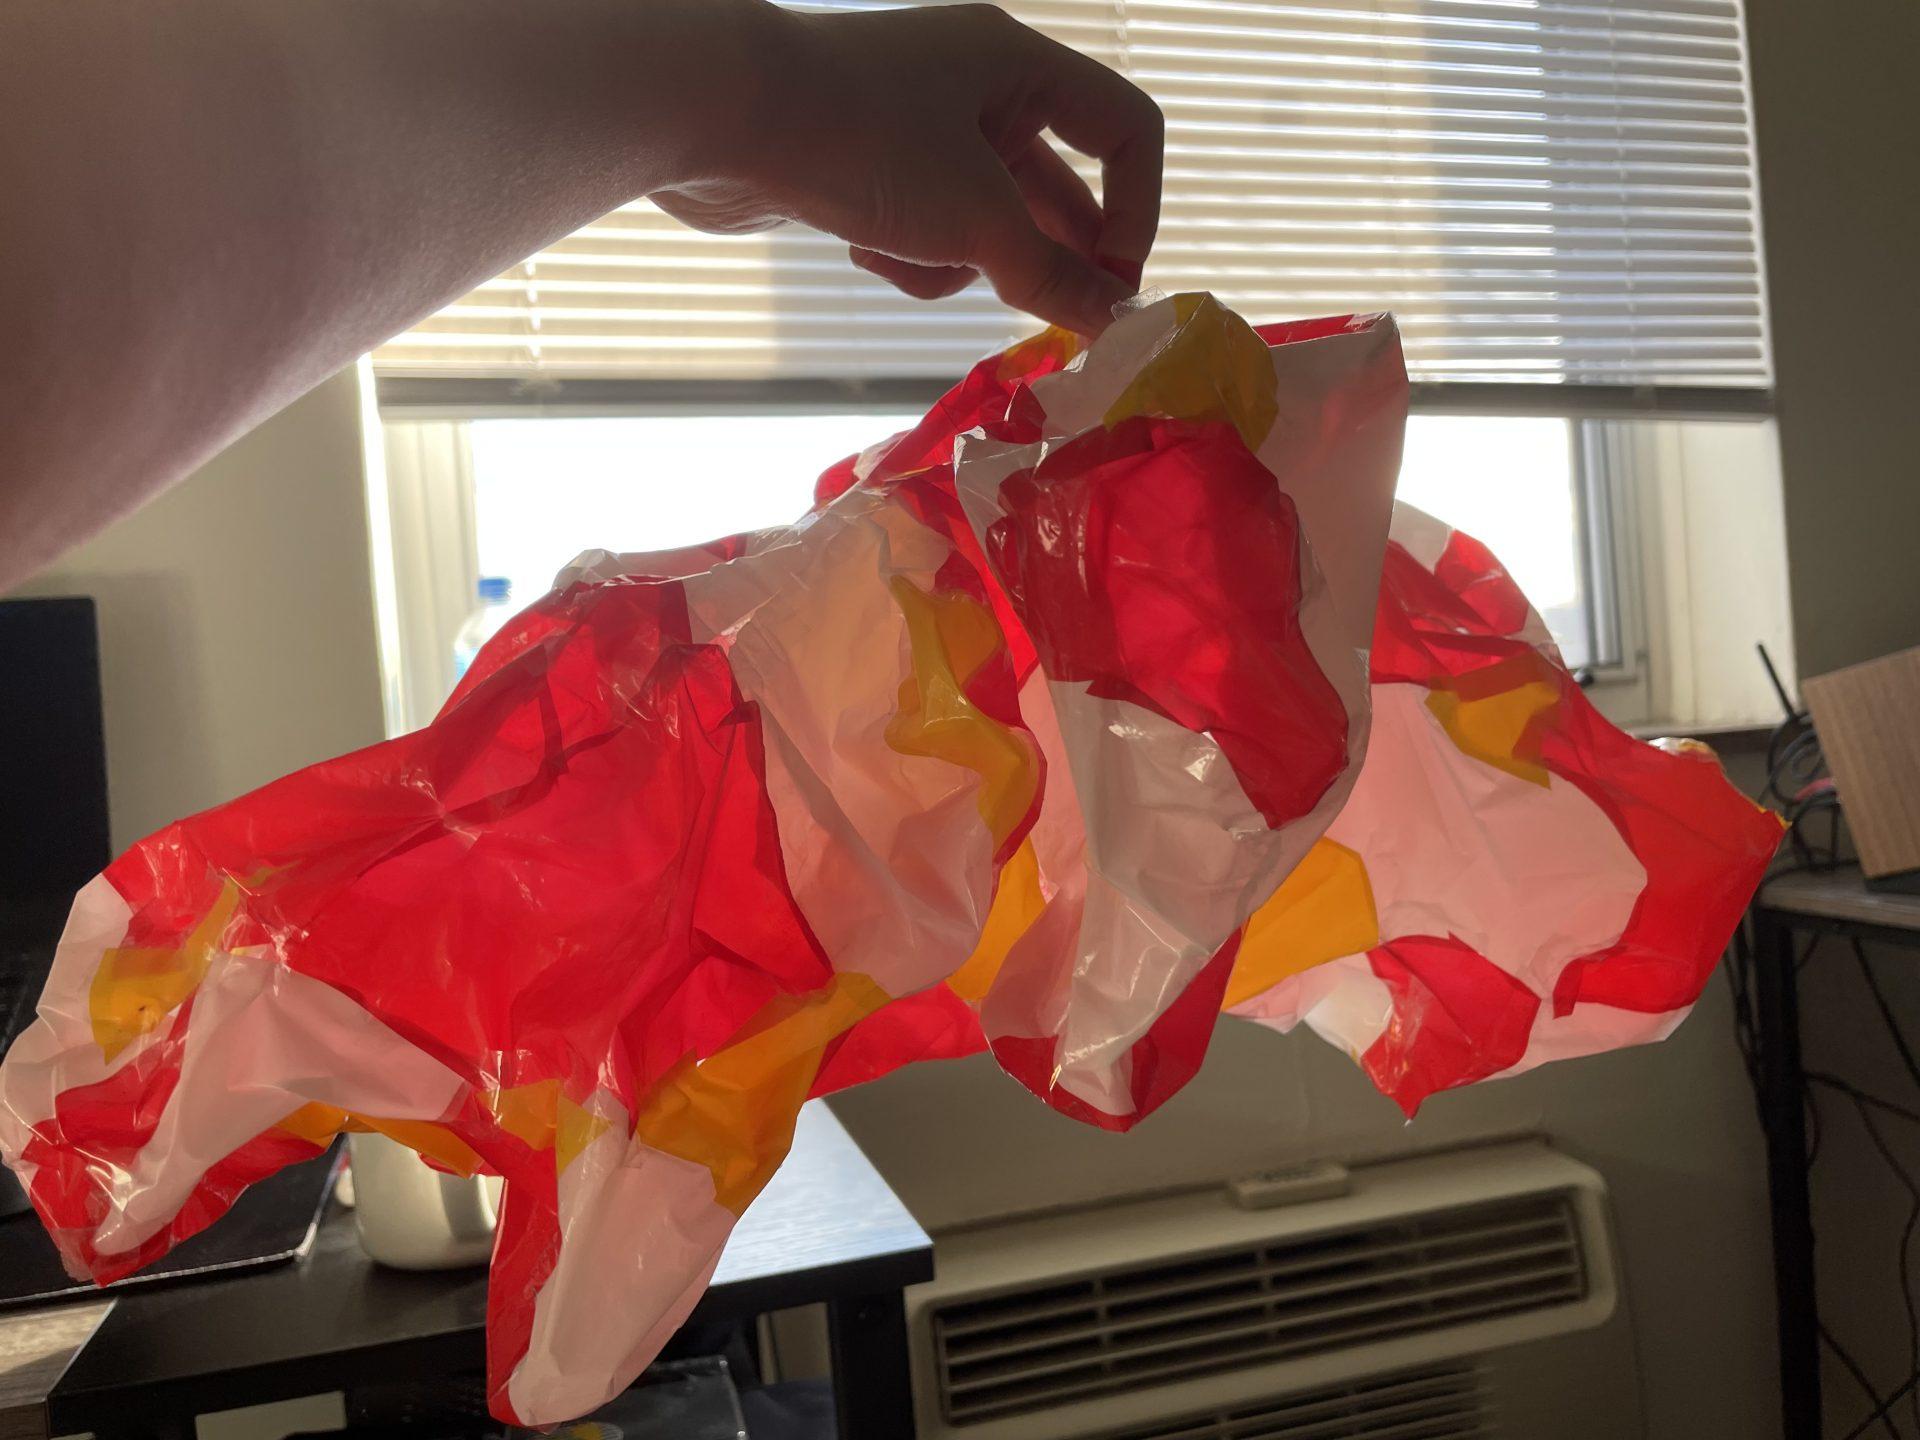
No.1 was not very ‘successful’ since its inflatability is not as good. Due to the bad tape quality and too many small pieces, it was hard to have it sealed. Air leaked out pretty quick and I failed to having it as expanded as I desire. But still, this one is my personal favorite. I love its colour and how it reacts under light. Since I used transparent tape, the overlapped area gives No.1 a different taste under sun light. At the same time, No.1 is the most usual shape among all my works. It looks like a shoe under certain angle.
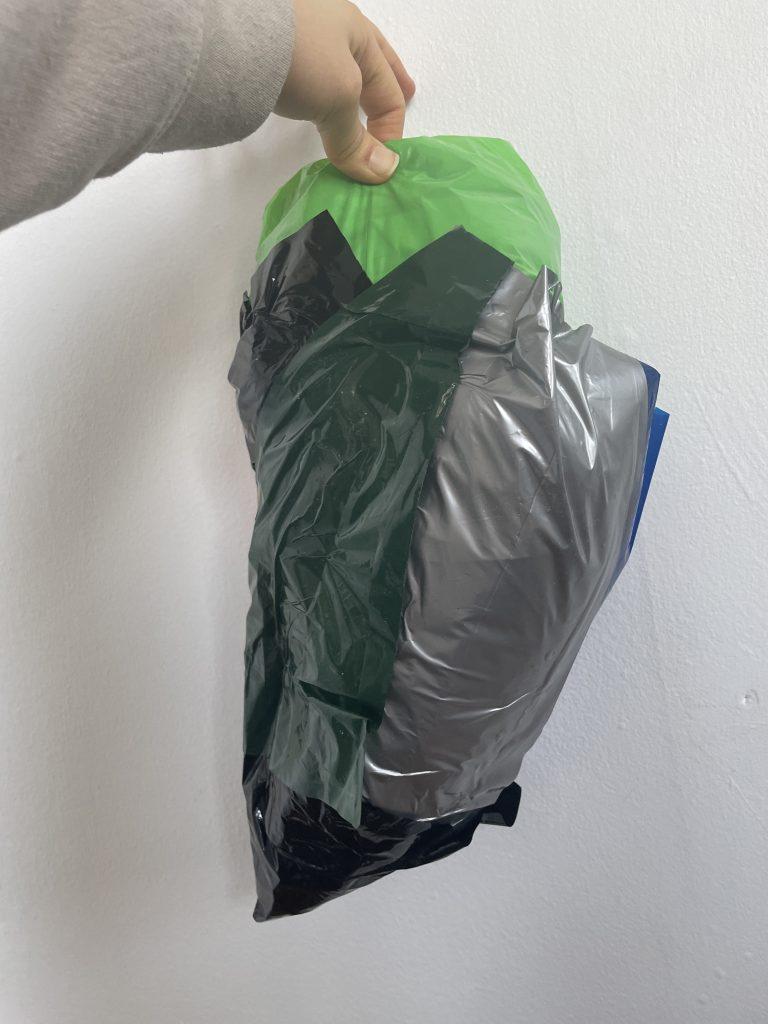
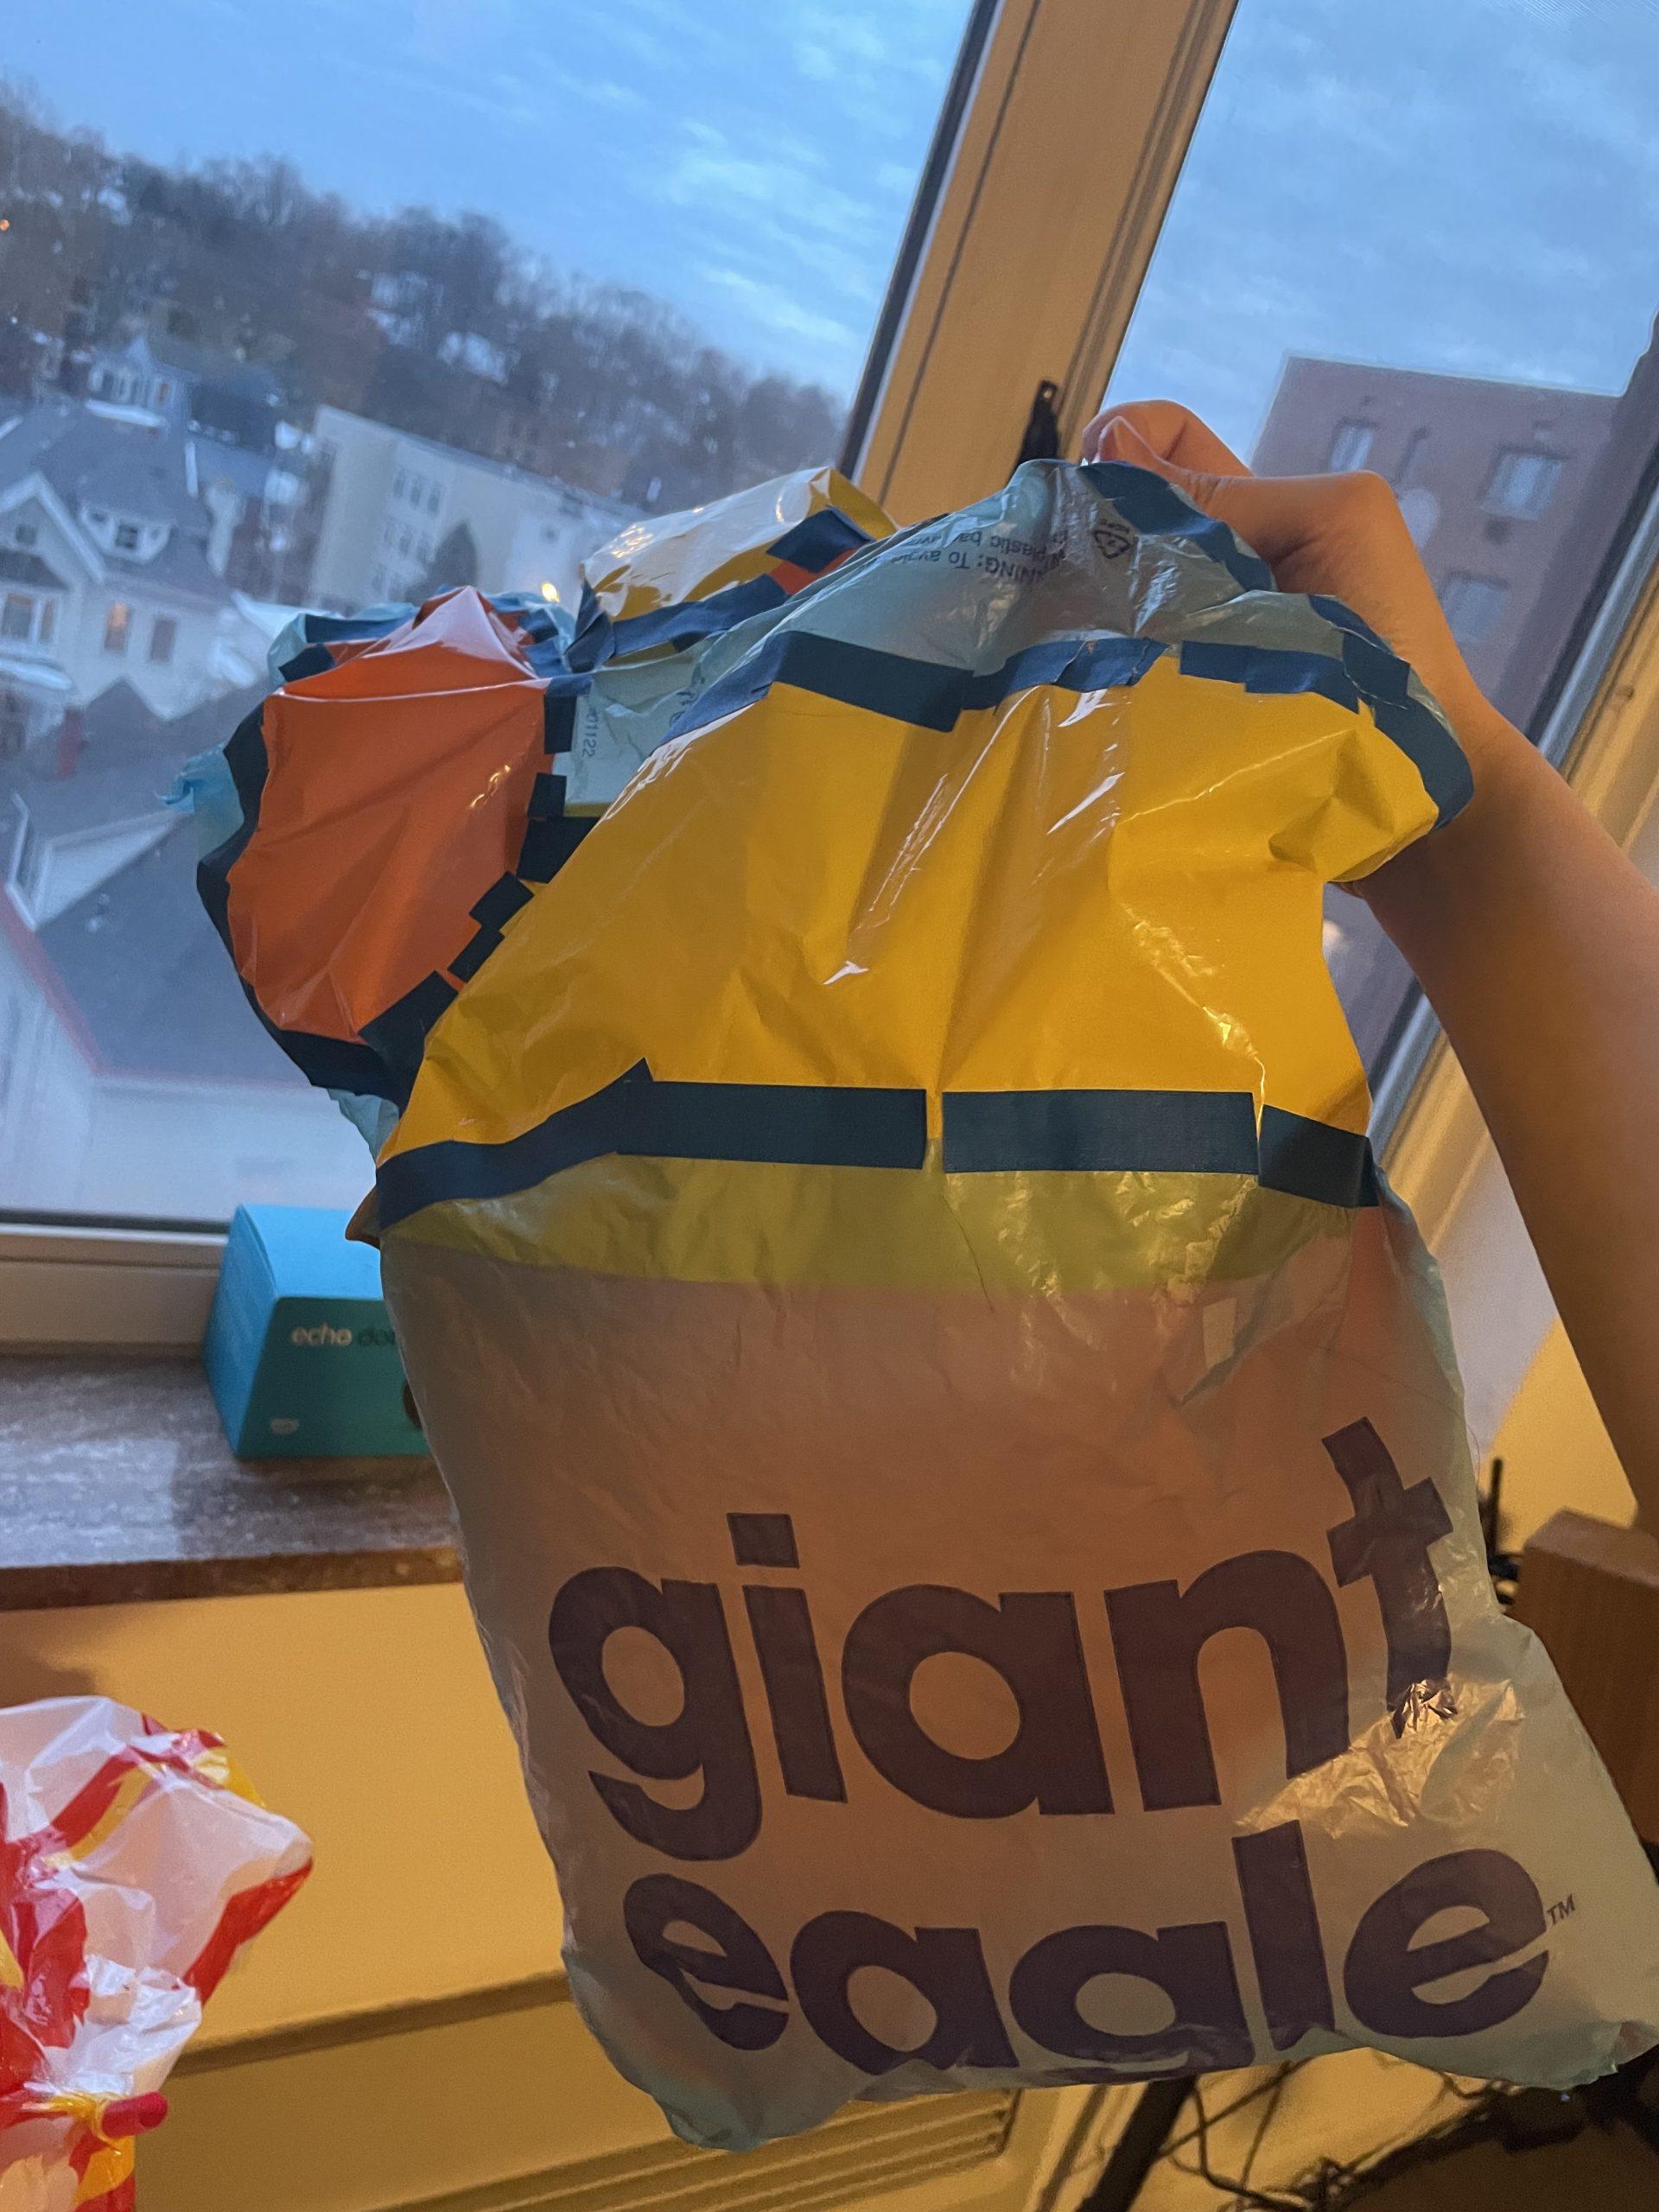
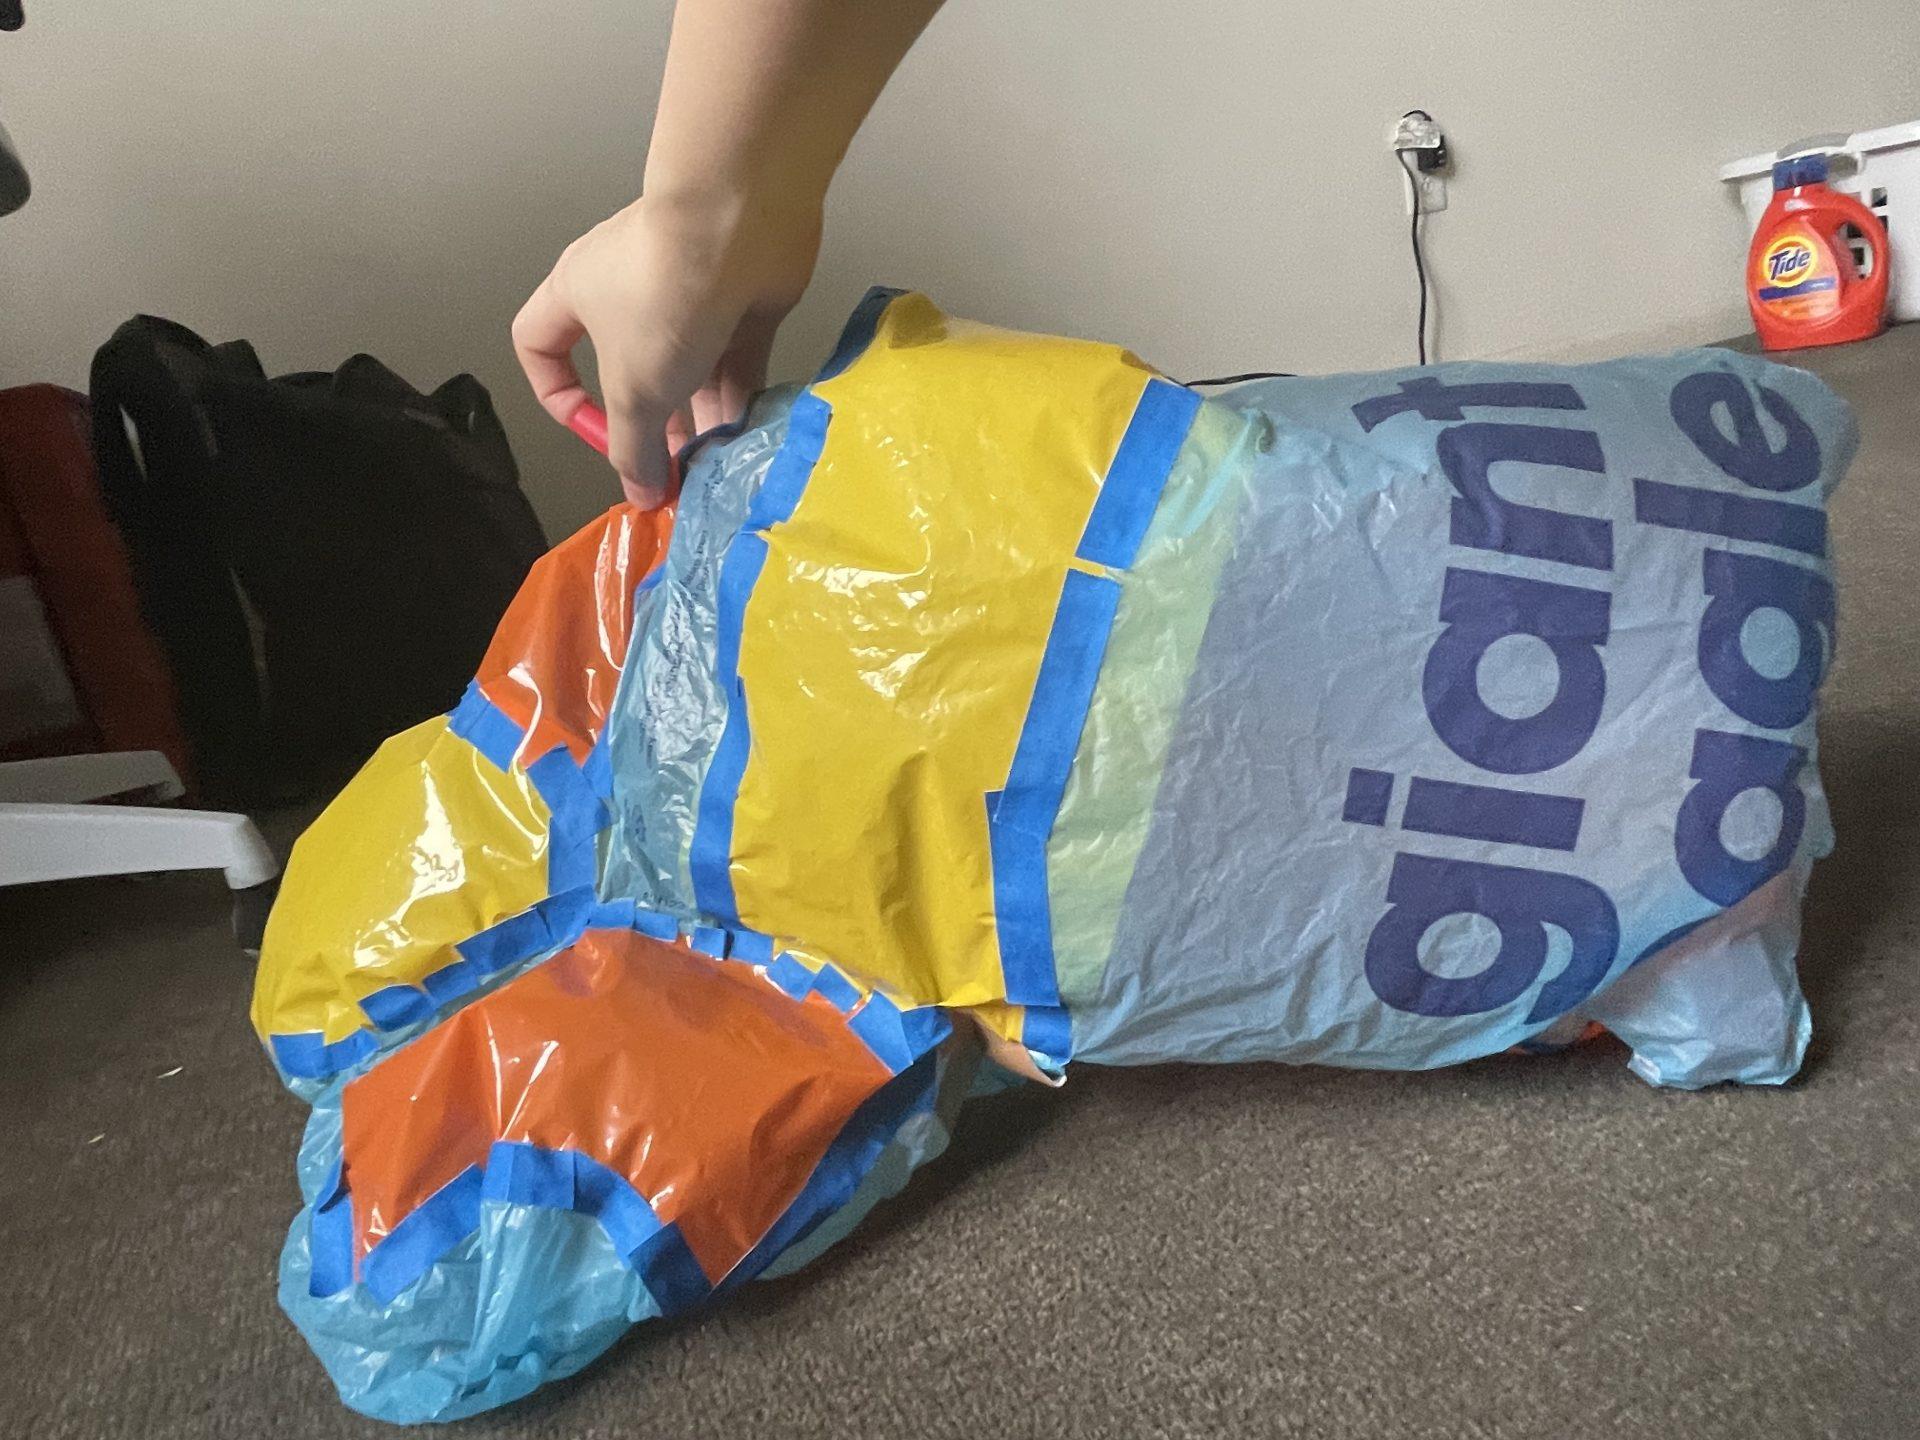
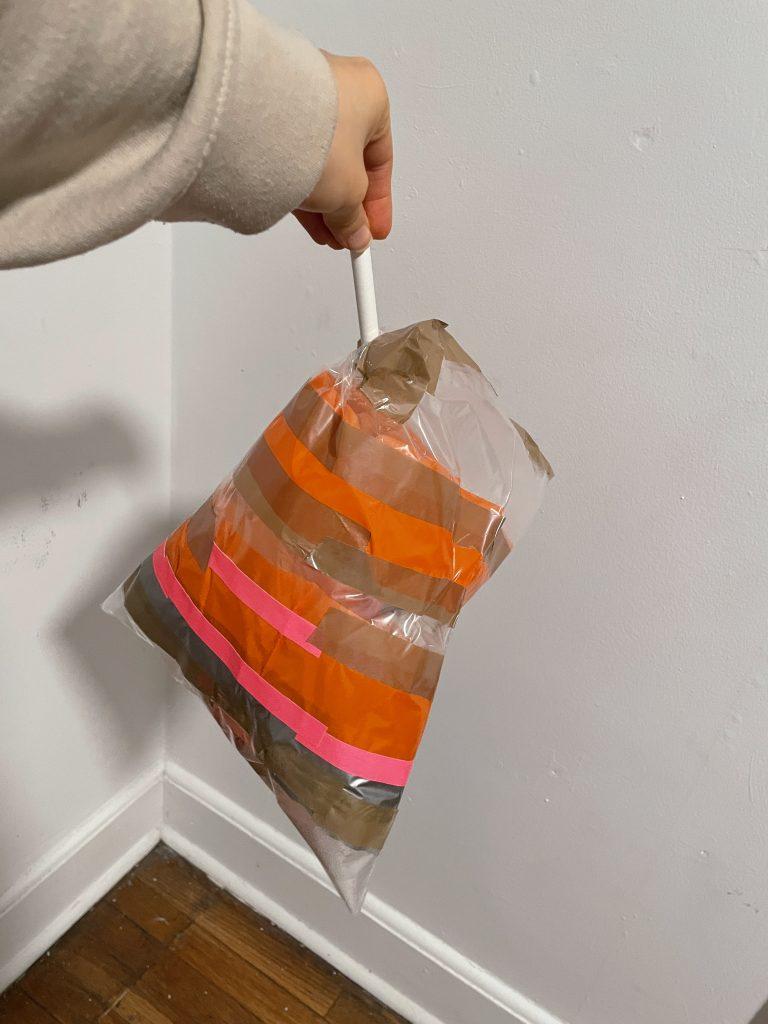
I used some plastic bags from Giant Eagle on No.2 (I live somewhere near Giant Eagle and I have tons of bags at home). Plastic bags from Giant Eagle have a very different texture than those given bags. I learnt from No.1 so this time I cut pieces much larger than the first one. And I intended to keep the word ‘Giant Eagle’ visible. I also used some band-aids on No.2 because there are holes on plastic bags. This one expanded larger than No.1.
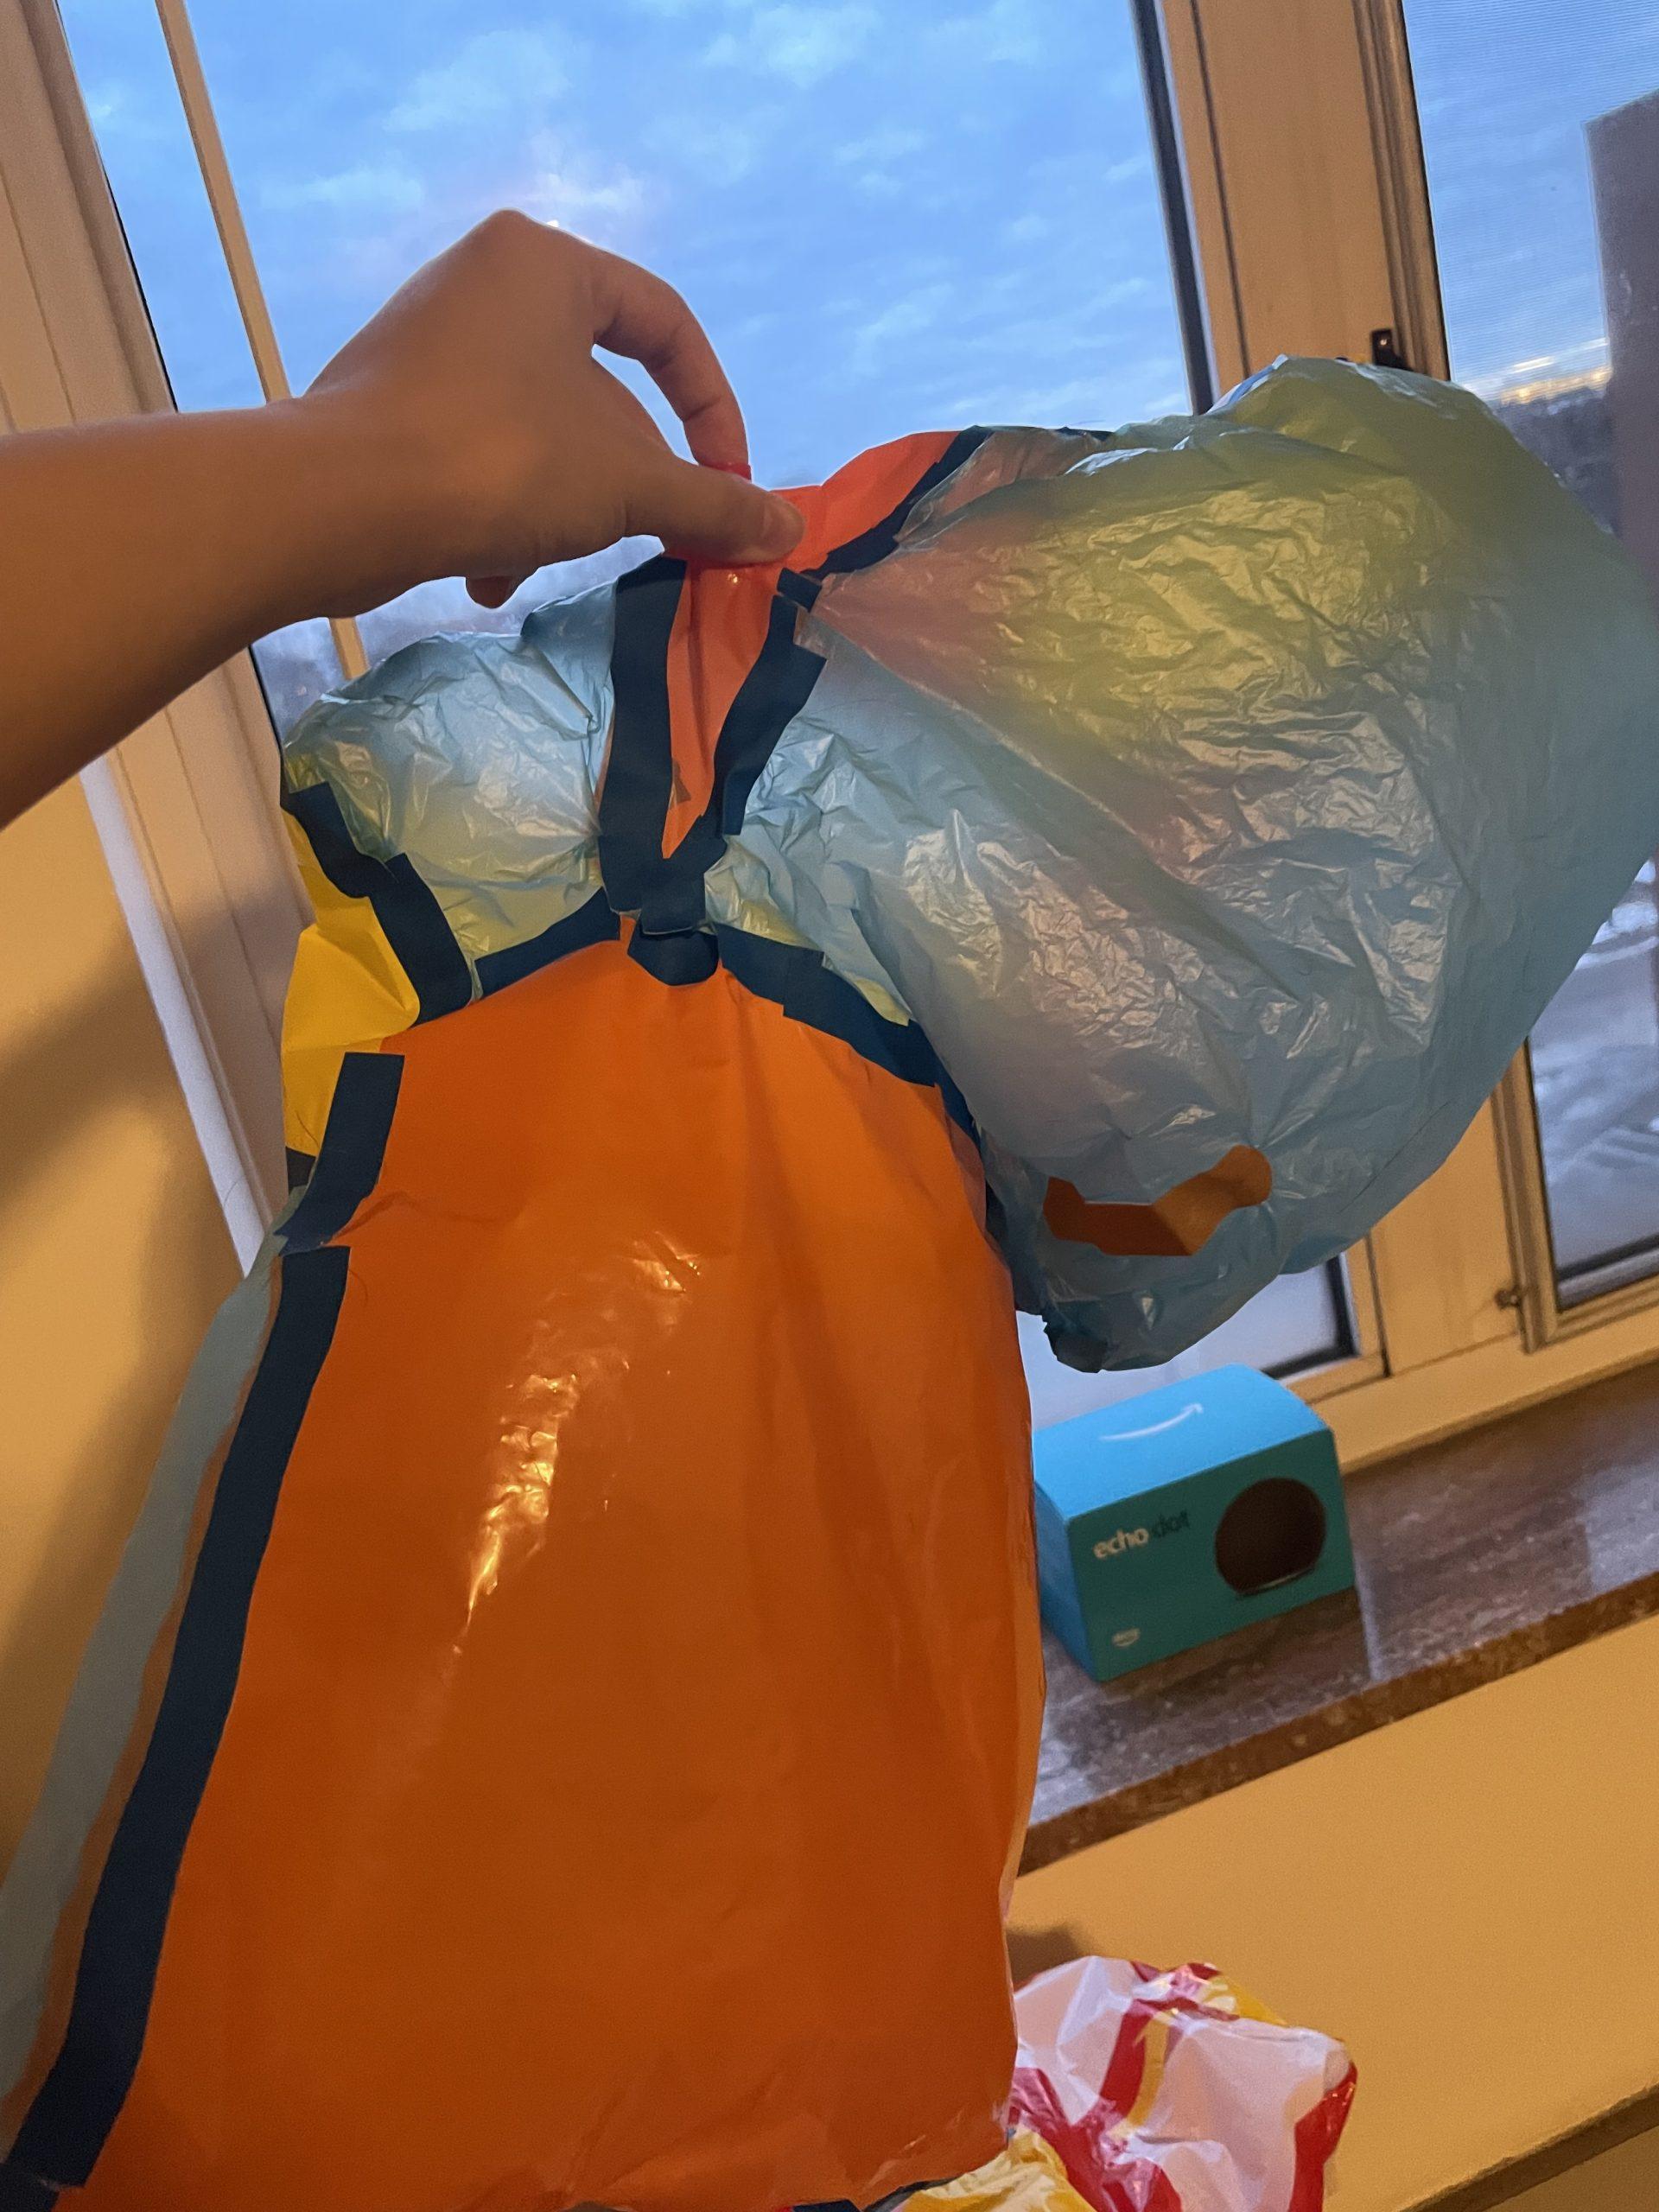

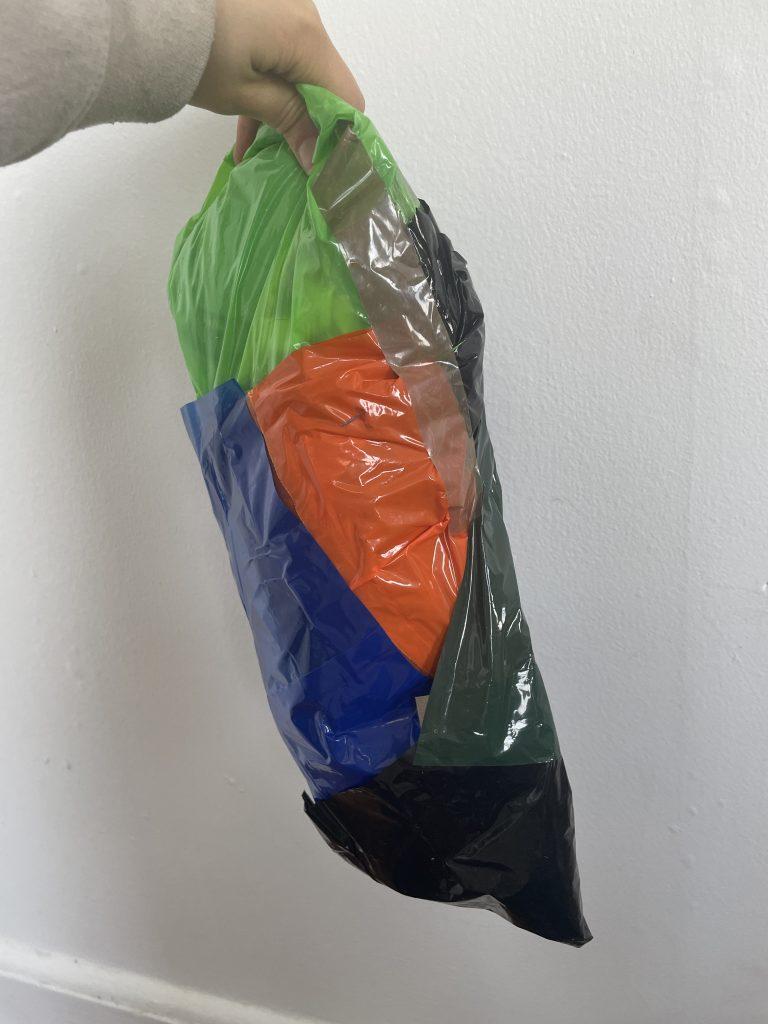
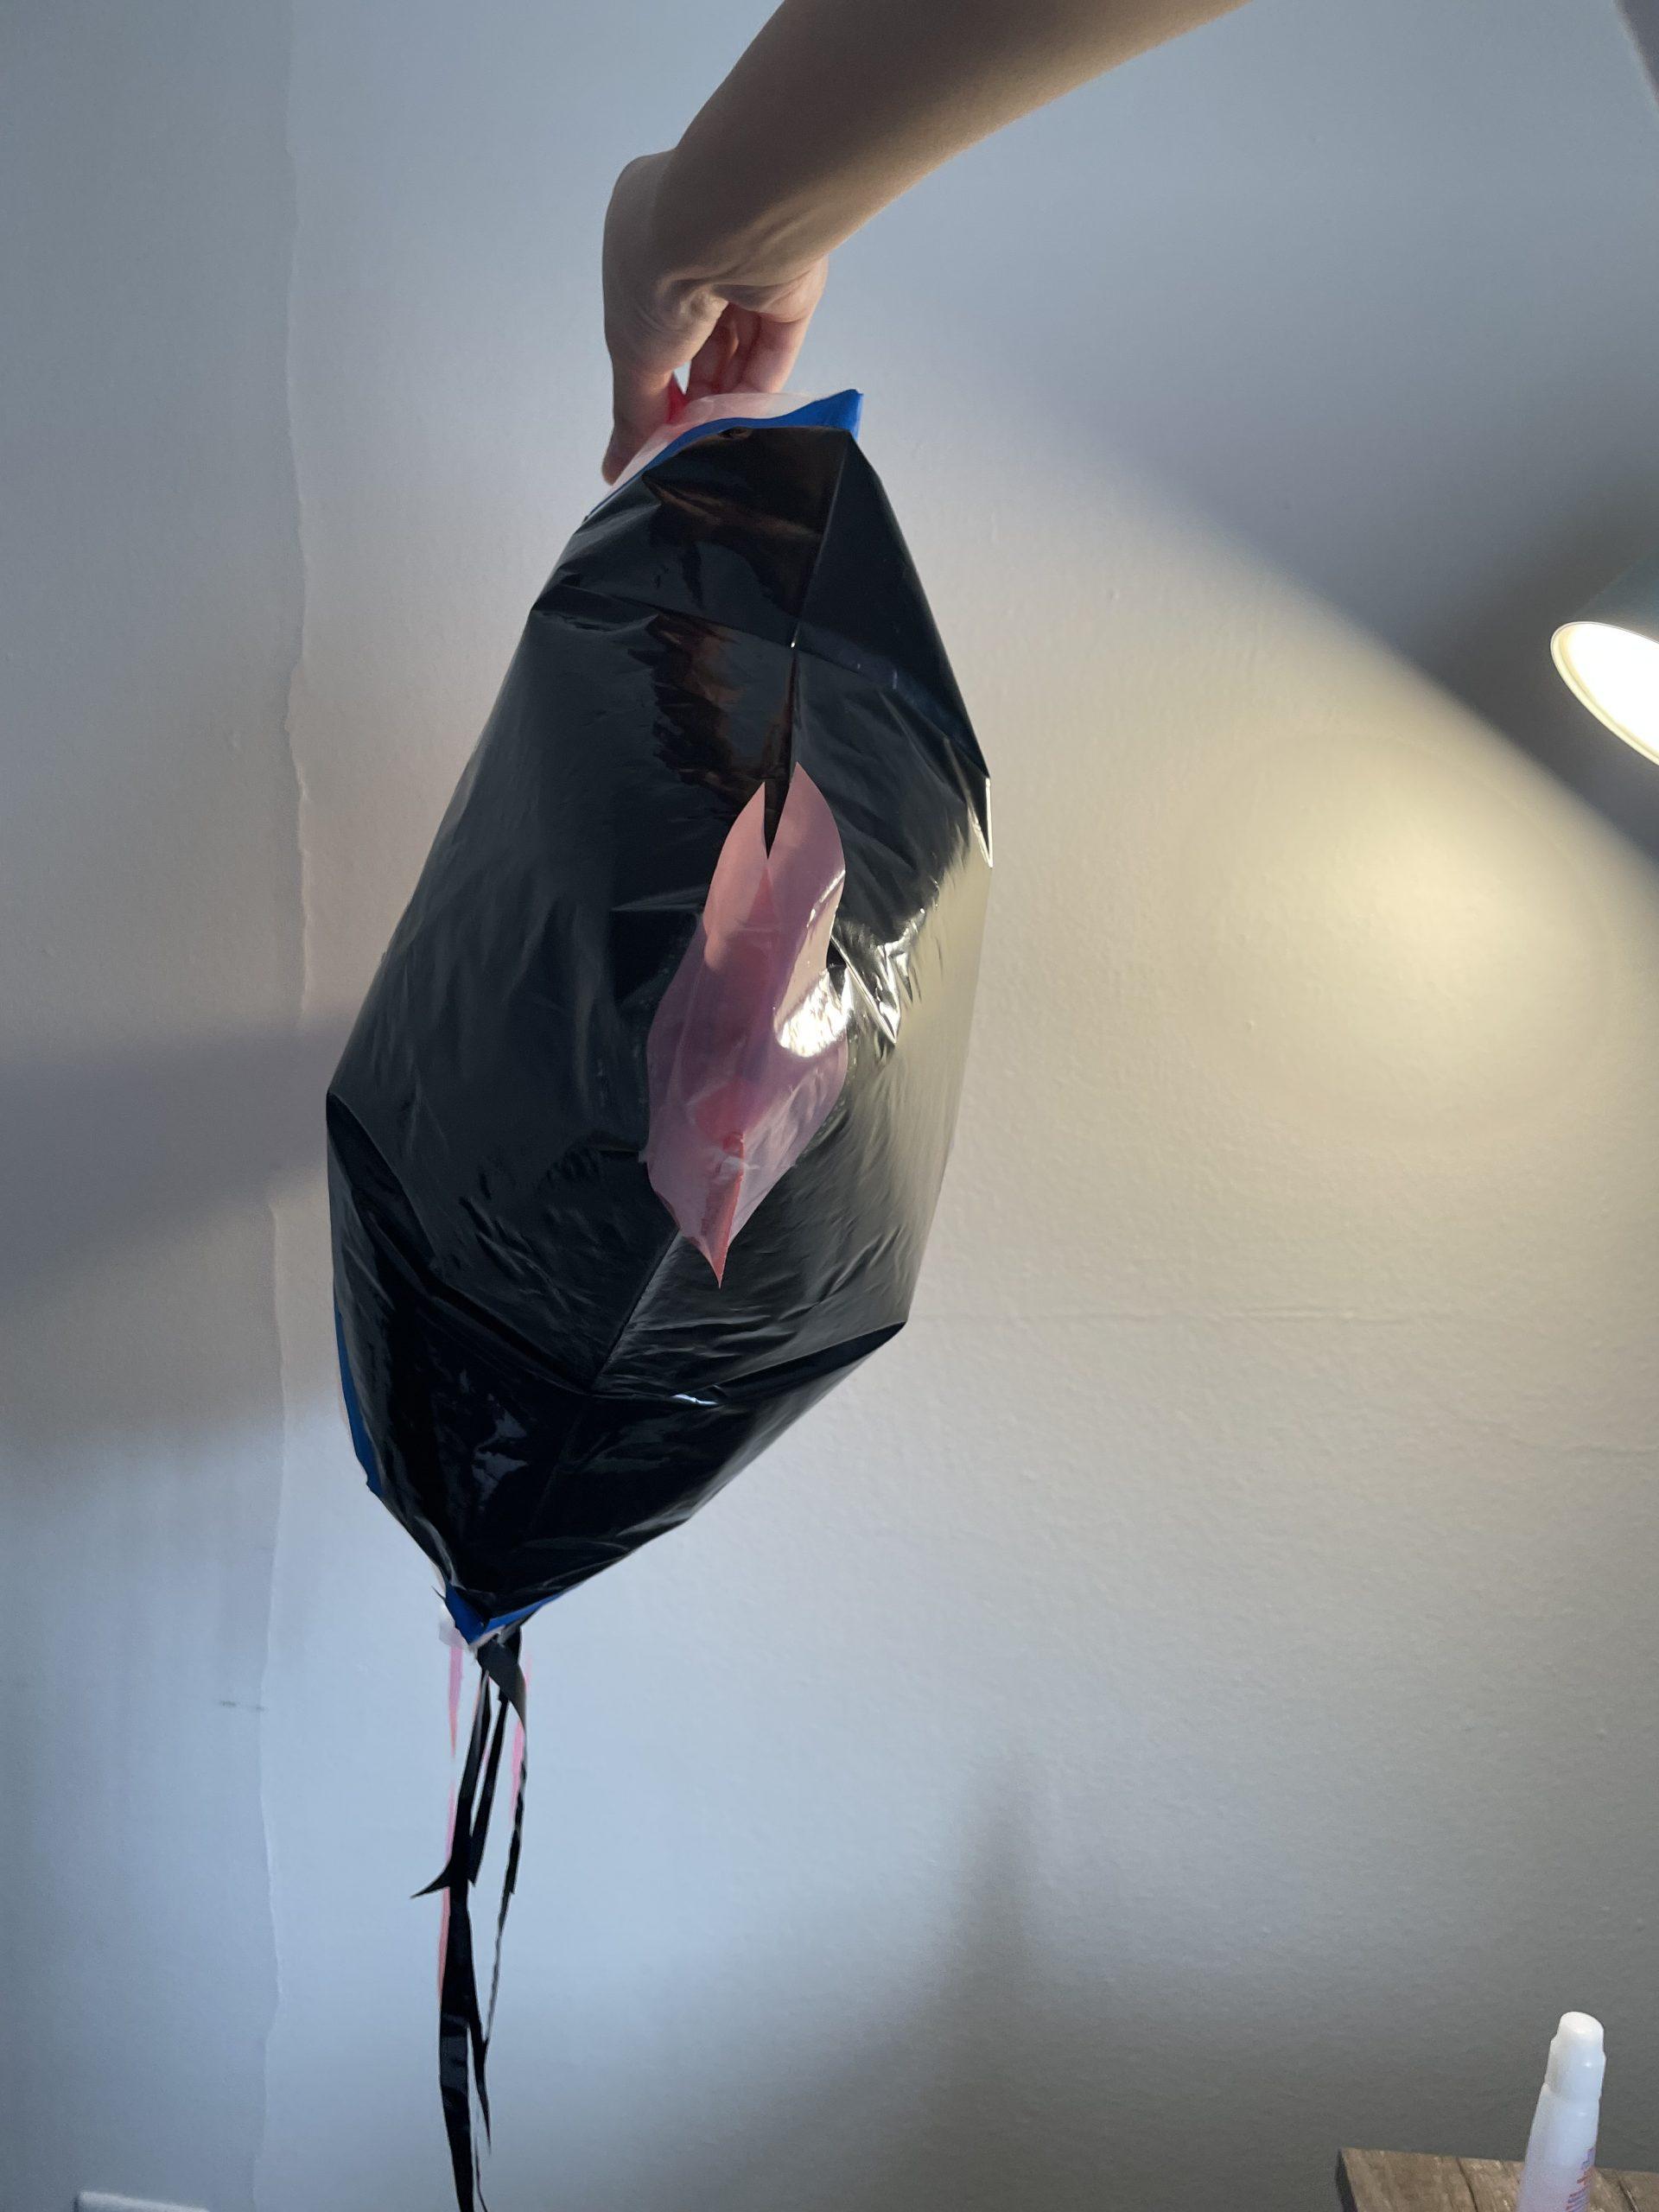
I ran out of tapes for No.3 so I used a mix of blue duck tape and my own transparent tape. Since I want to record a video of expanding process, this one had a much simpler shape and made of four pieces in total. It turned out to be really successful! It looks like a jellyfish.
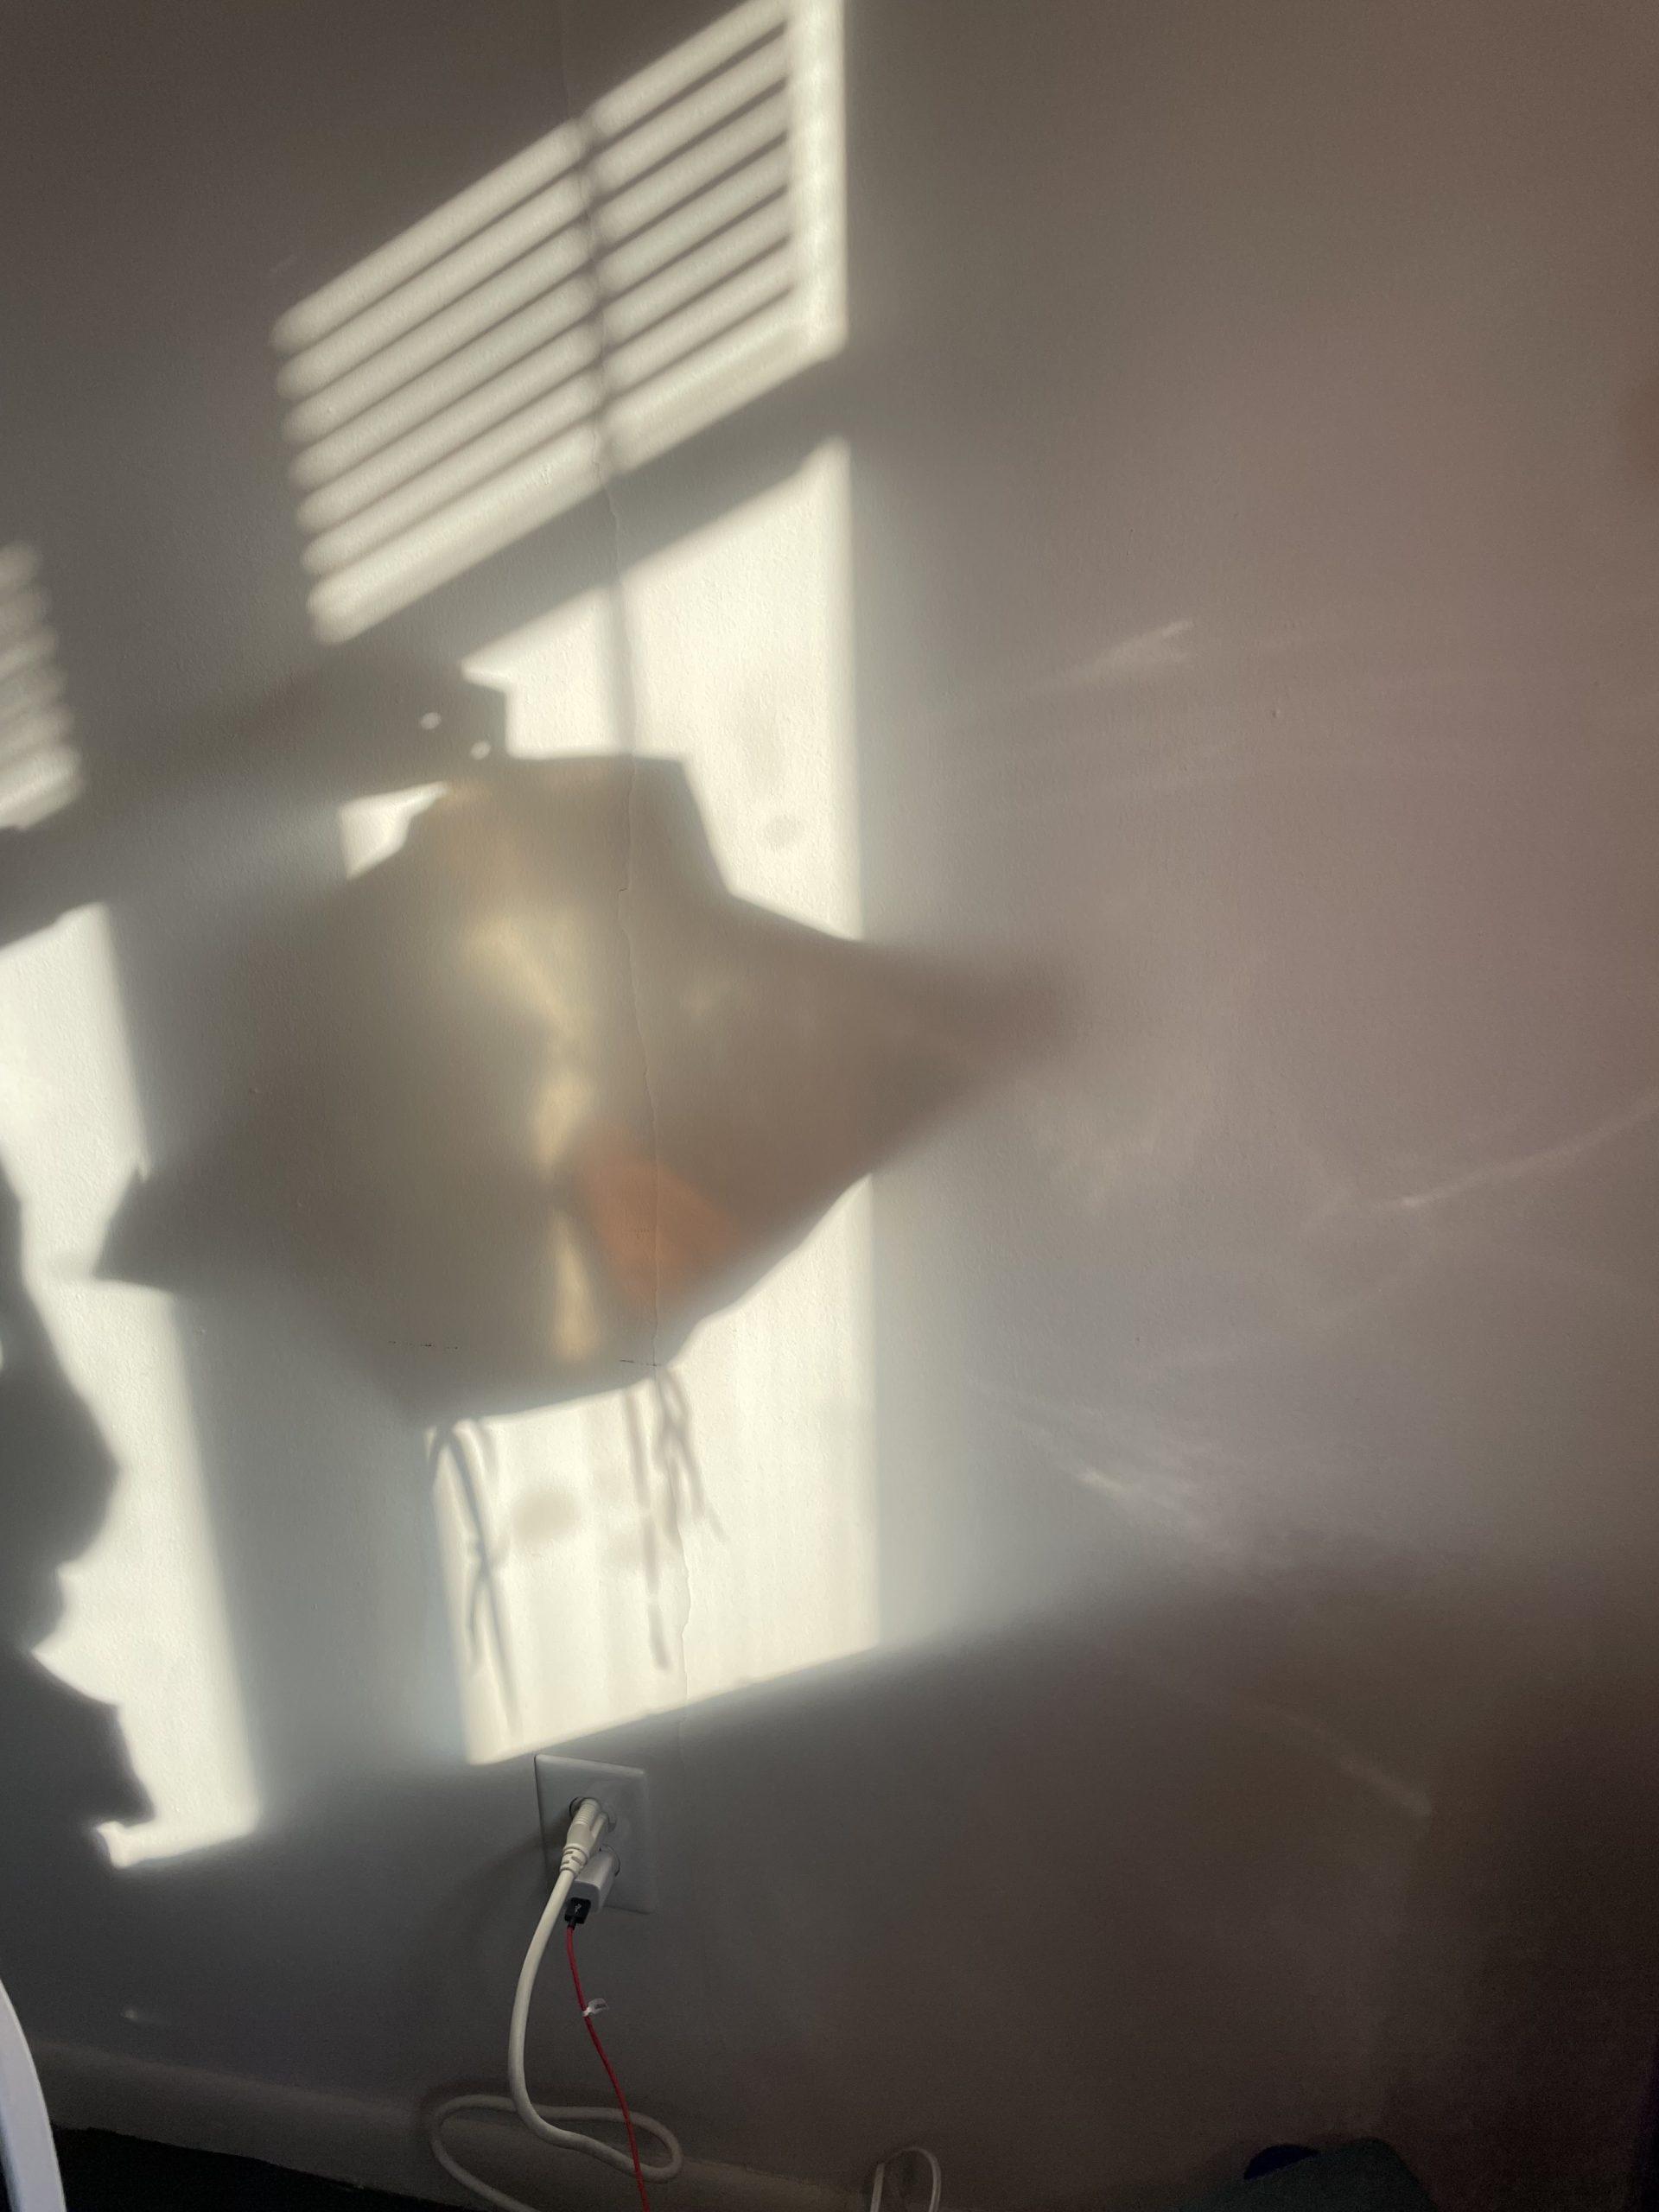
Today’s weather is great so I take a picture of sun light piercing through No.3 (it is probably not related to this but I hope you enjoy it).
The biggest challenge is mainly on No.1. It had air leaking issue and too many irregular pieces. The biggest takeaway from these three inflatables is its unpredictable shape. I intended to make No.3 look that way but I did not plan anything for No.1 and No.2. It is just amazing to see them forming into random shapes.
Catherine Yu – Improvisational Inflatable
I First started with just two colors and cut into small pieces of irregular shapes. I was curious to see the effect of connecting irregular shapes together.
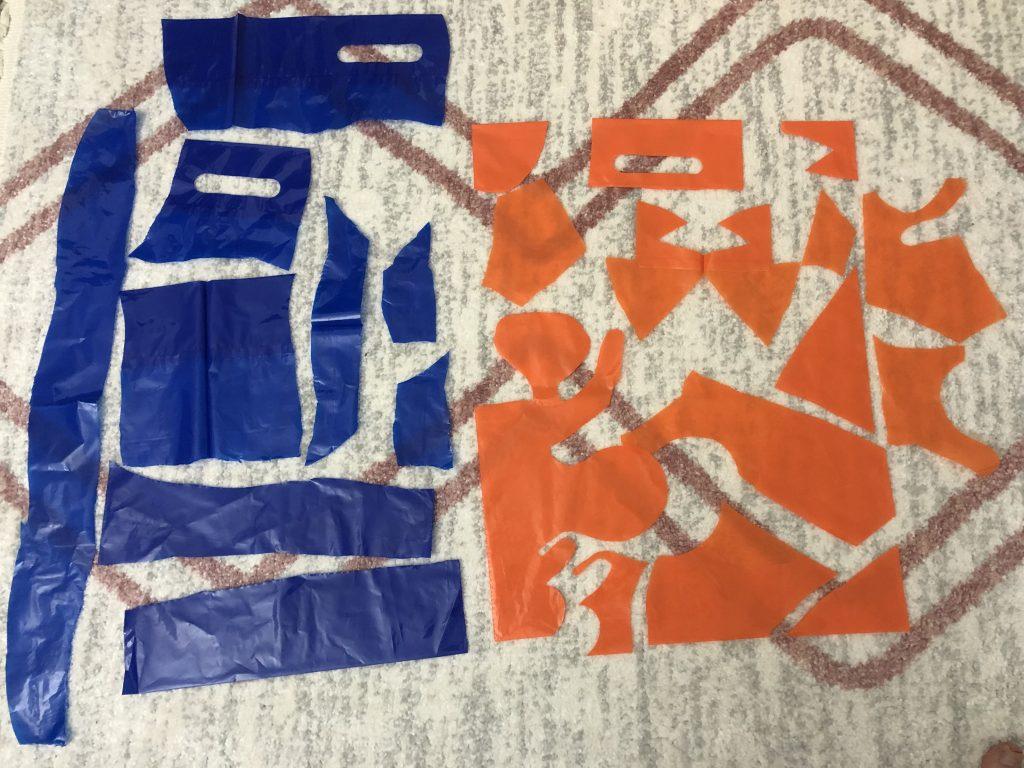
But I soon realized that it is very difficult to connect and tape irregular shapes together, and in order to close it, I added a piece of red plastic to it. This piece turned out to be more “regular” than I expected. I also ran out of the given tape during the first piece, so I used packaging tape for the rest of the assignment.

Original Speed 
2x Speed
For this second piece, I cut the plastic into much larger pieces, and also cut strips to connect the larger ones. I wanted to explore the overall shape so my goal was to make a letter “C”, but not the perfect “C”.
I really like how this turned out to be, and how the corners affect the overall shape after inflation. I also find it interesting that there is a repeatable directional change when inflated/deflated.
Original Speed
For this last one, I wanted to create a irregular 3D shape. Learned from the first inflated piece, I cut the plastic bags into larger pieces instead of smaller pieces. This time if was lot more successful and I specifically really enjoyed the final breathing effect.
Original Speed 
Original Speed

3x Speed 
3x Speed
The biggest overall challenge that I had was the air leaking. I tried to use an air-pump to inflate my closed-up pieces, but because I have so many leakages, the small air-pump that I had was not pumping fast enough.
Another challenge that I encountered was the packing tape being too rigid. As a result, the parts that had too much tapes weren’t inflating as well.
Lea Emerlyn – Improvisational Inflatable
I started off by cutting random shapes off the bag. Attaching the different shapes together was easy until I needed to merge edges to form angles in order to turn them into a 3D shape. I tried going slowly and cutting off small pieces of tape. After getting the general attachment strategy down, I used a longer tape to attach the entire edge together.
Another difficulty I ran into was closing off the shape. After the hole of the inflatable gets smaller as I attach more pieces, I needed to start thinking about what piece to cut off next in order to fit it into the remaining space.
I started exploring how to take advantage of the different transparencies of plastic. When I was using the clear bag, I thought that it would be interesting to put scraps inside the inflatable so that viewers can see what is inside. As I was doing that I also had an idea of inflating my next object with scrap fabric/yarn instead of air.
For the inflatable that had tape on the inside, I found it really challenging to tape on the inside. I think I would have been better off trying to tape on the outside, then turning the entire thing inside out. The most challenging part is closing off the inflatable because I could not think of a way to not have tape showing for the final edge.
Inflatable 1
Inflatable 2
Inflatable 3