
For my three push/pull objects, I wanted the common thread to be interactivity. I wanted the forms of the objects to be inviting to touch and explore the different possible ways to play and interact with them.
Object 1: Hand-warming Cube
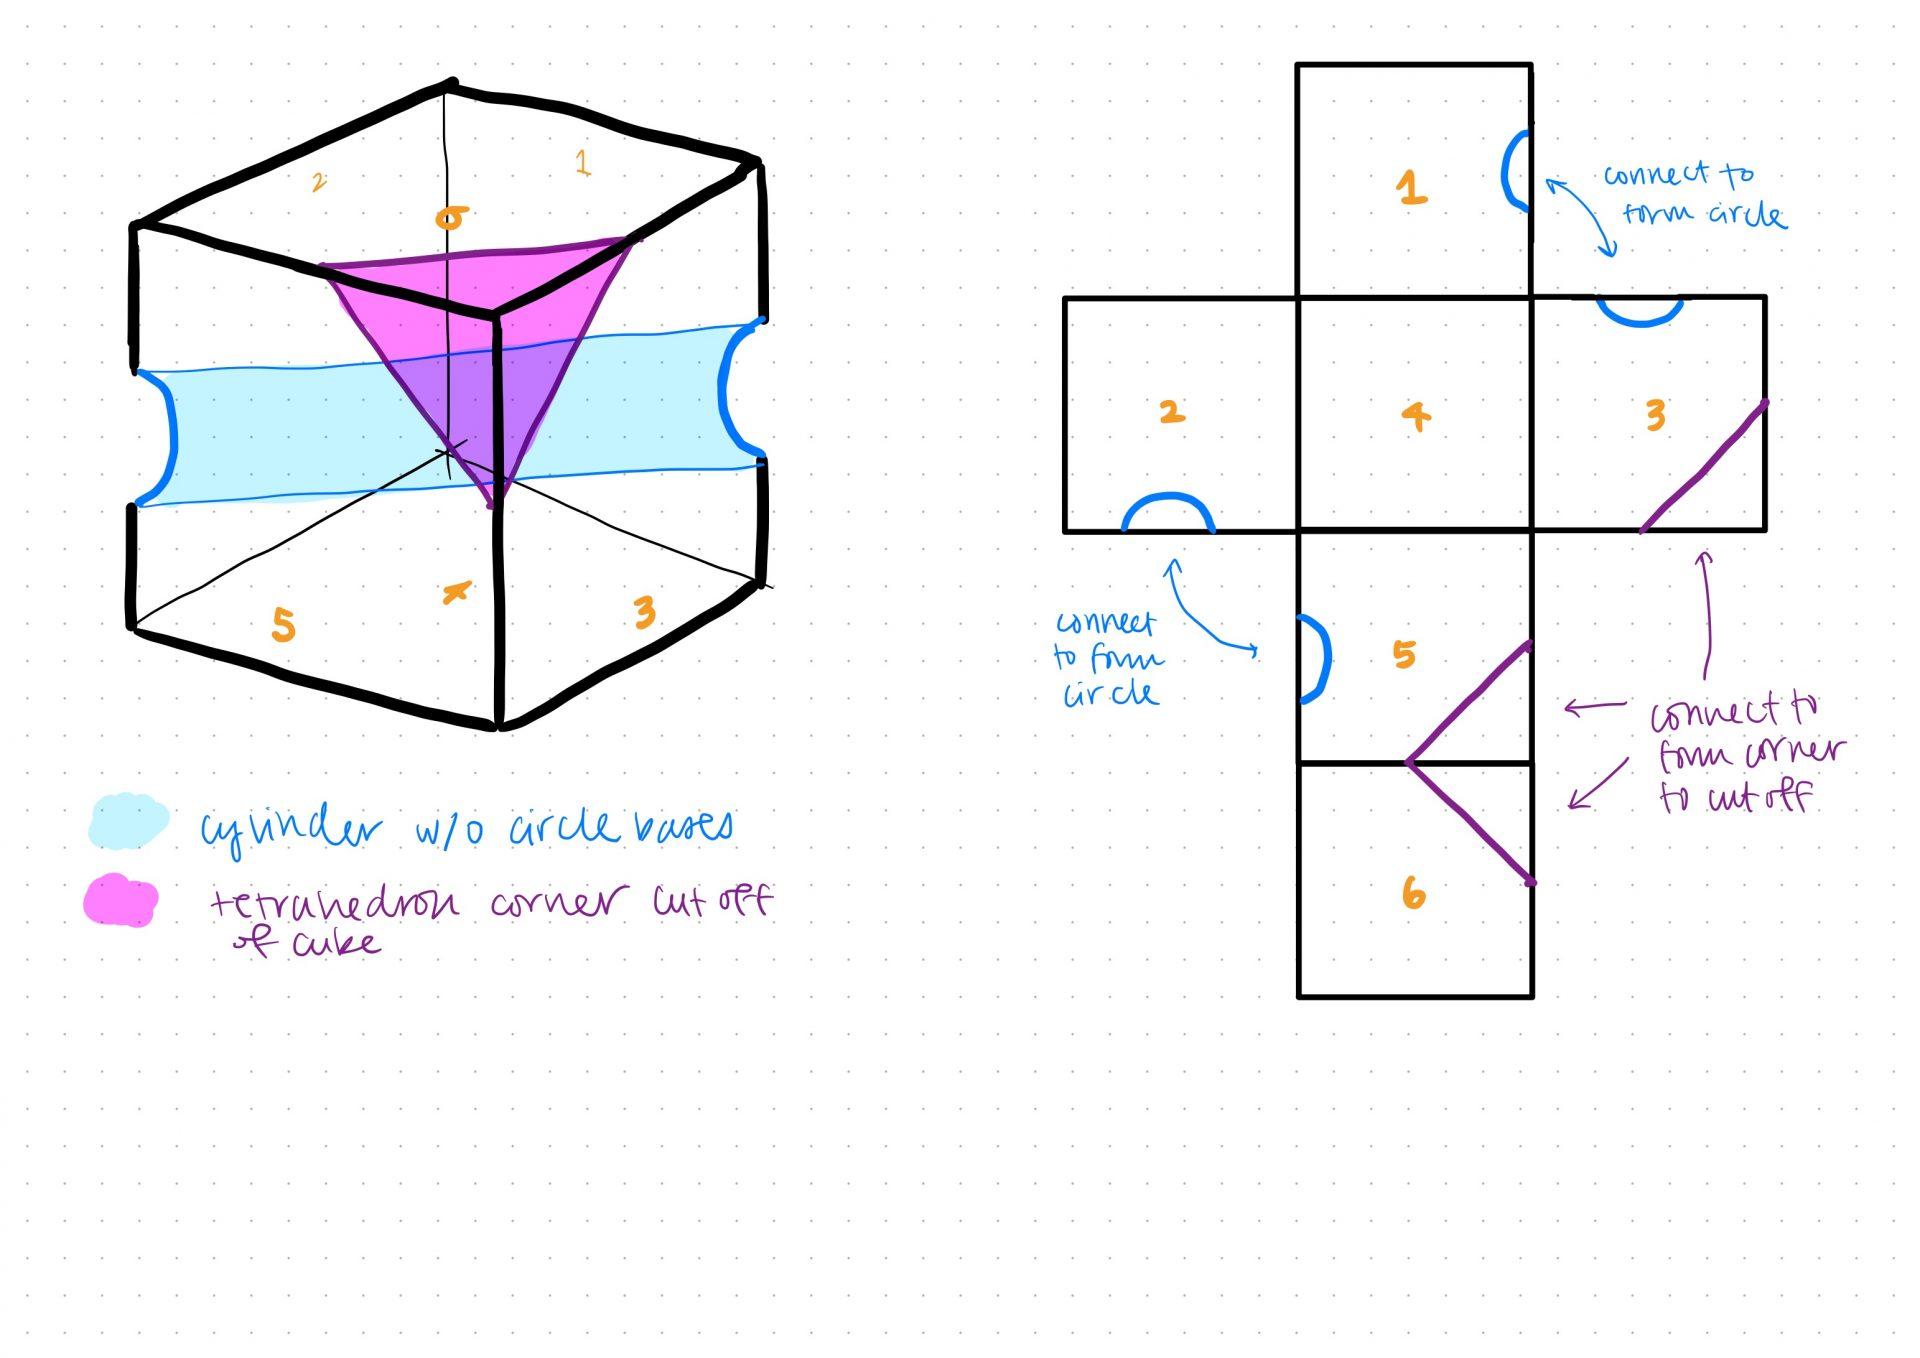

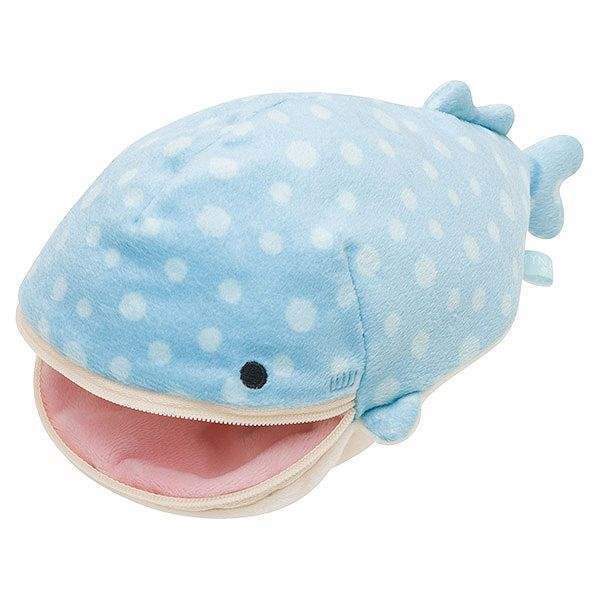
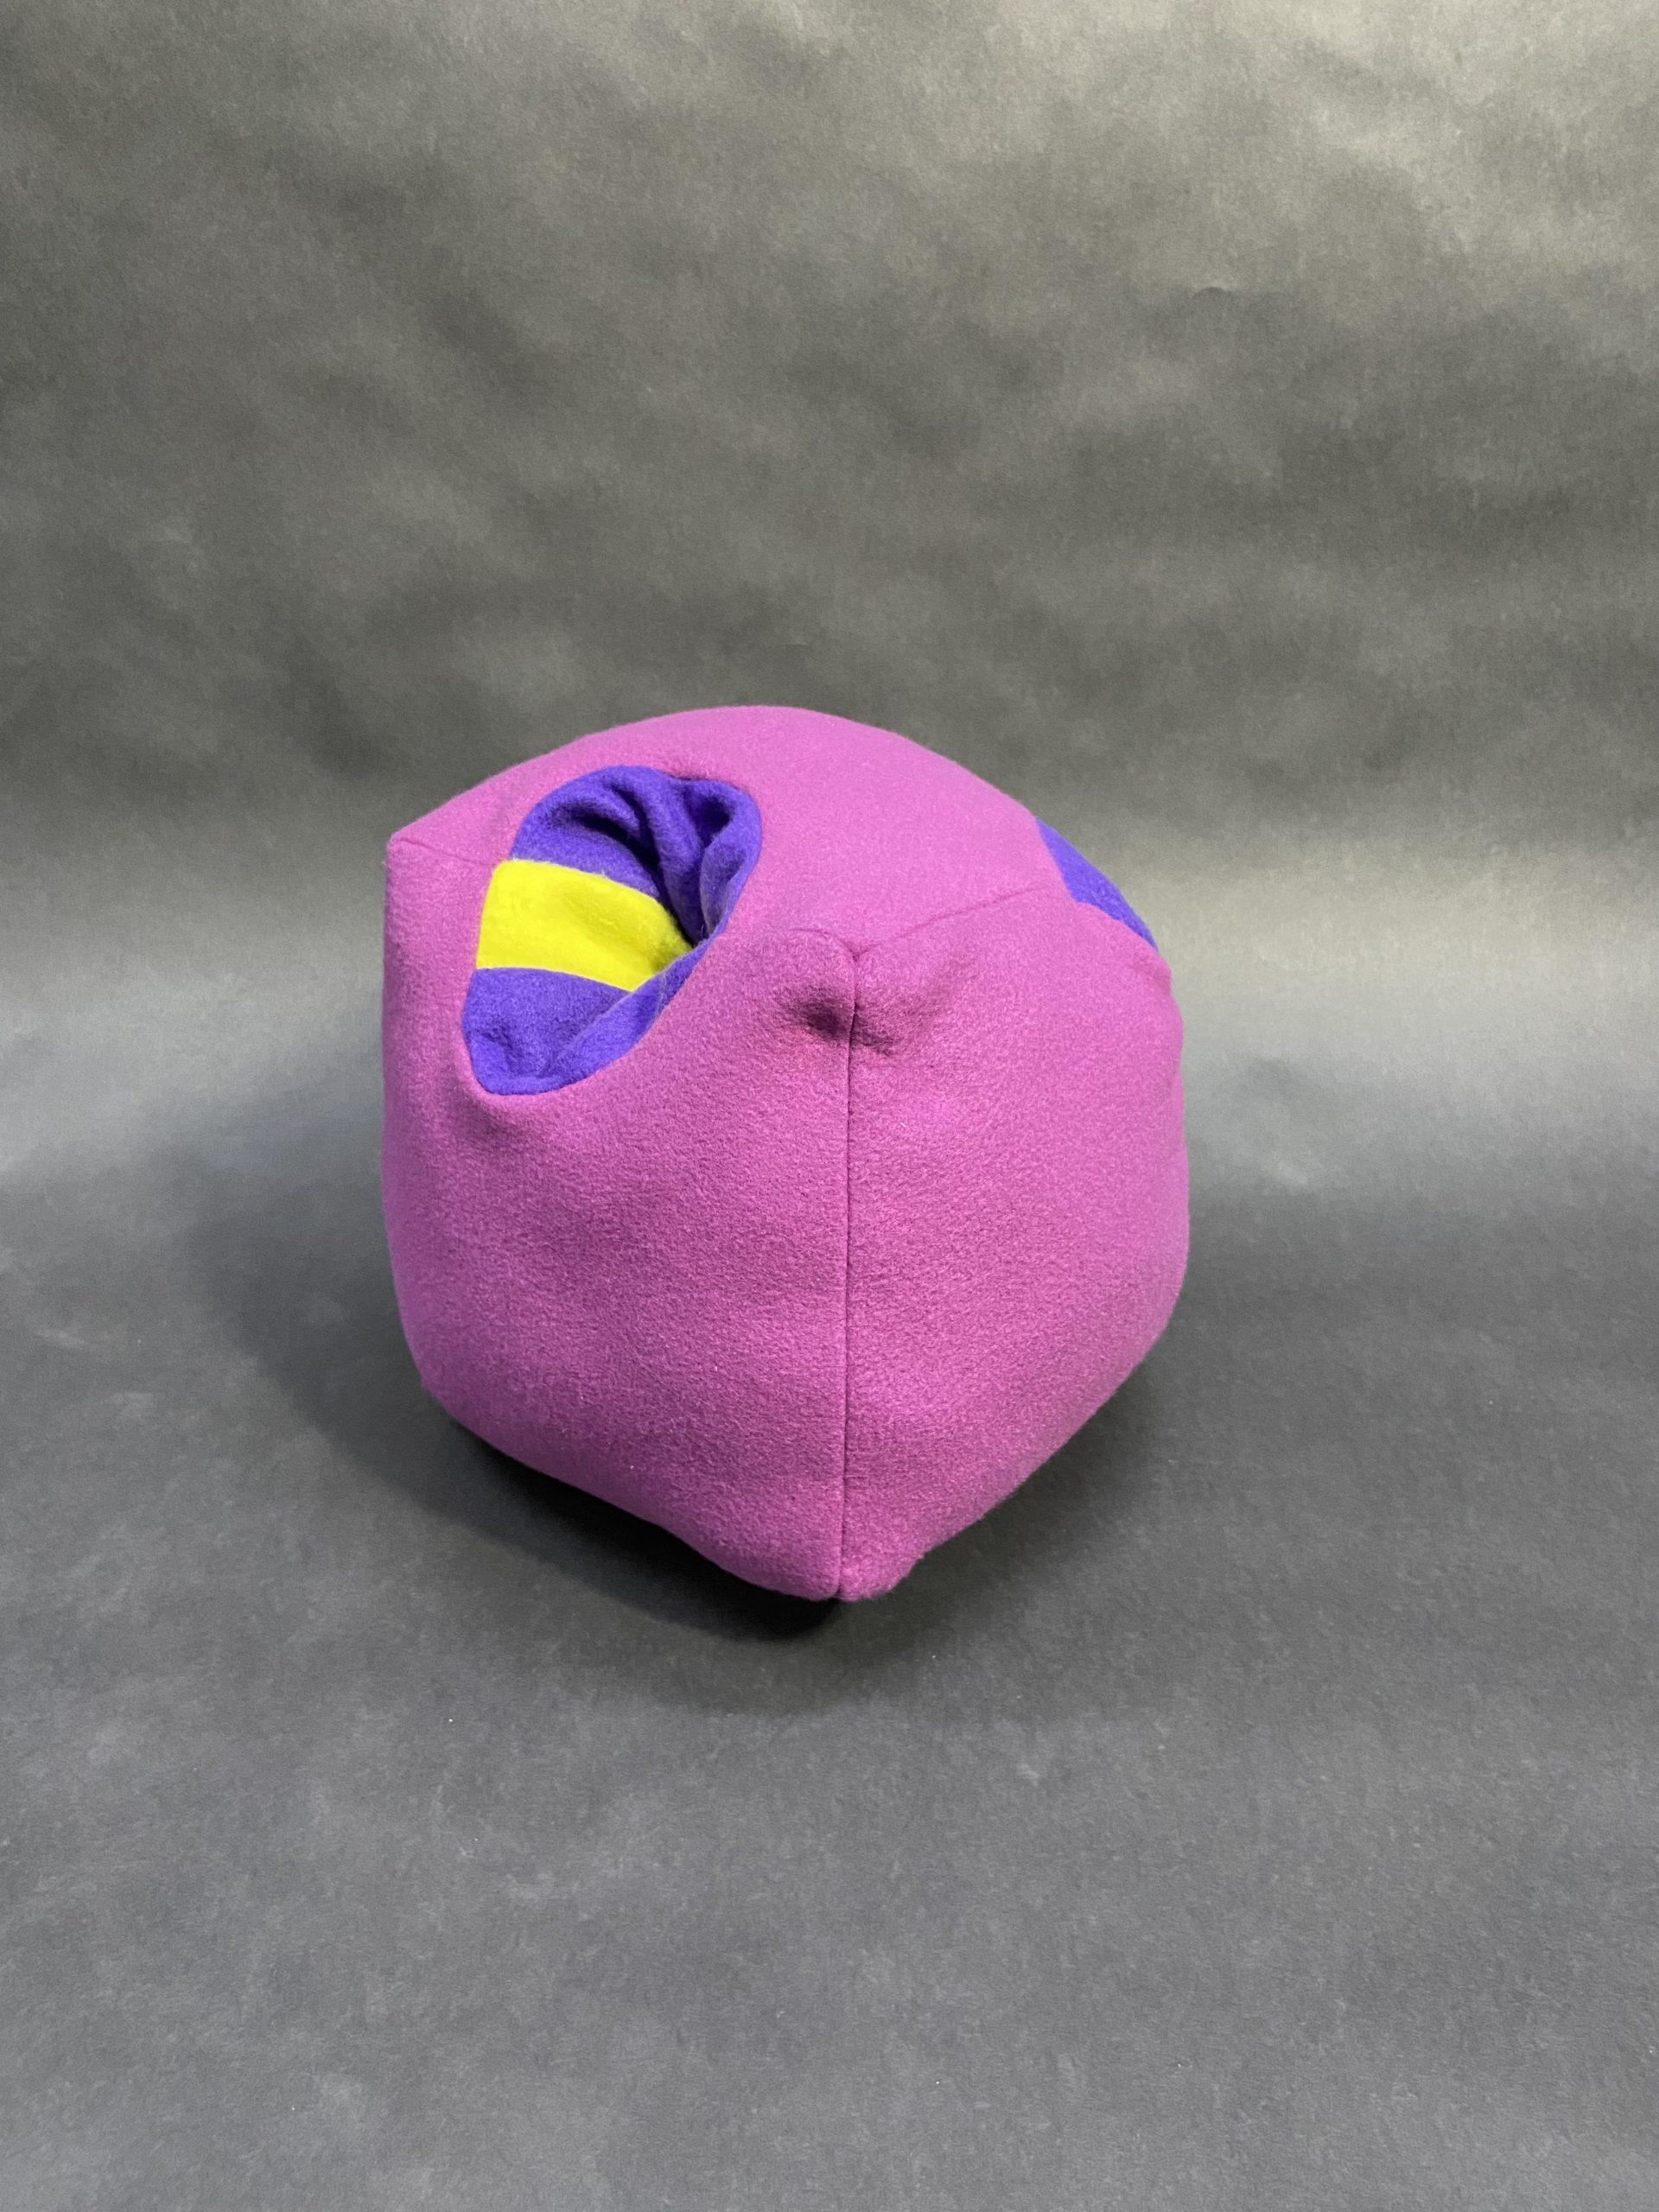
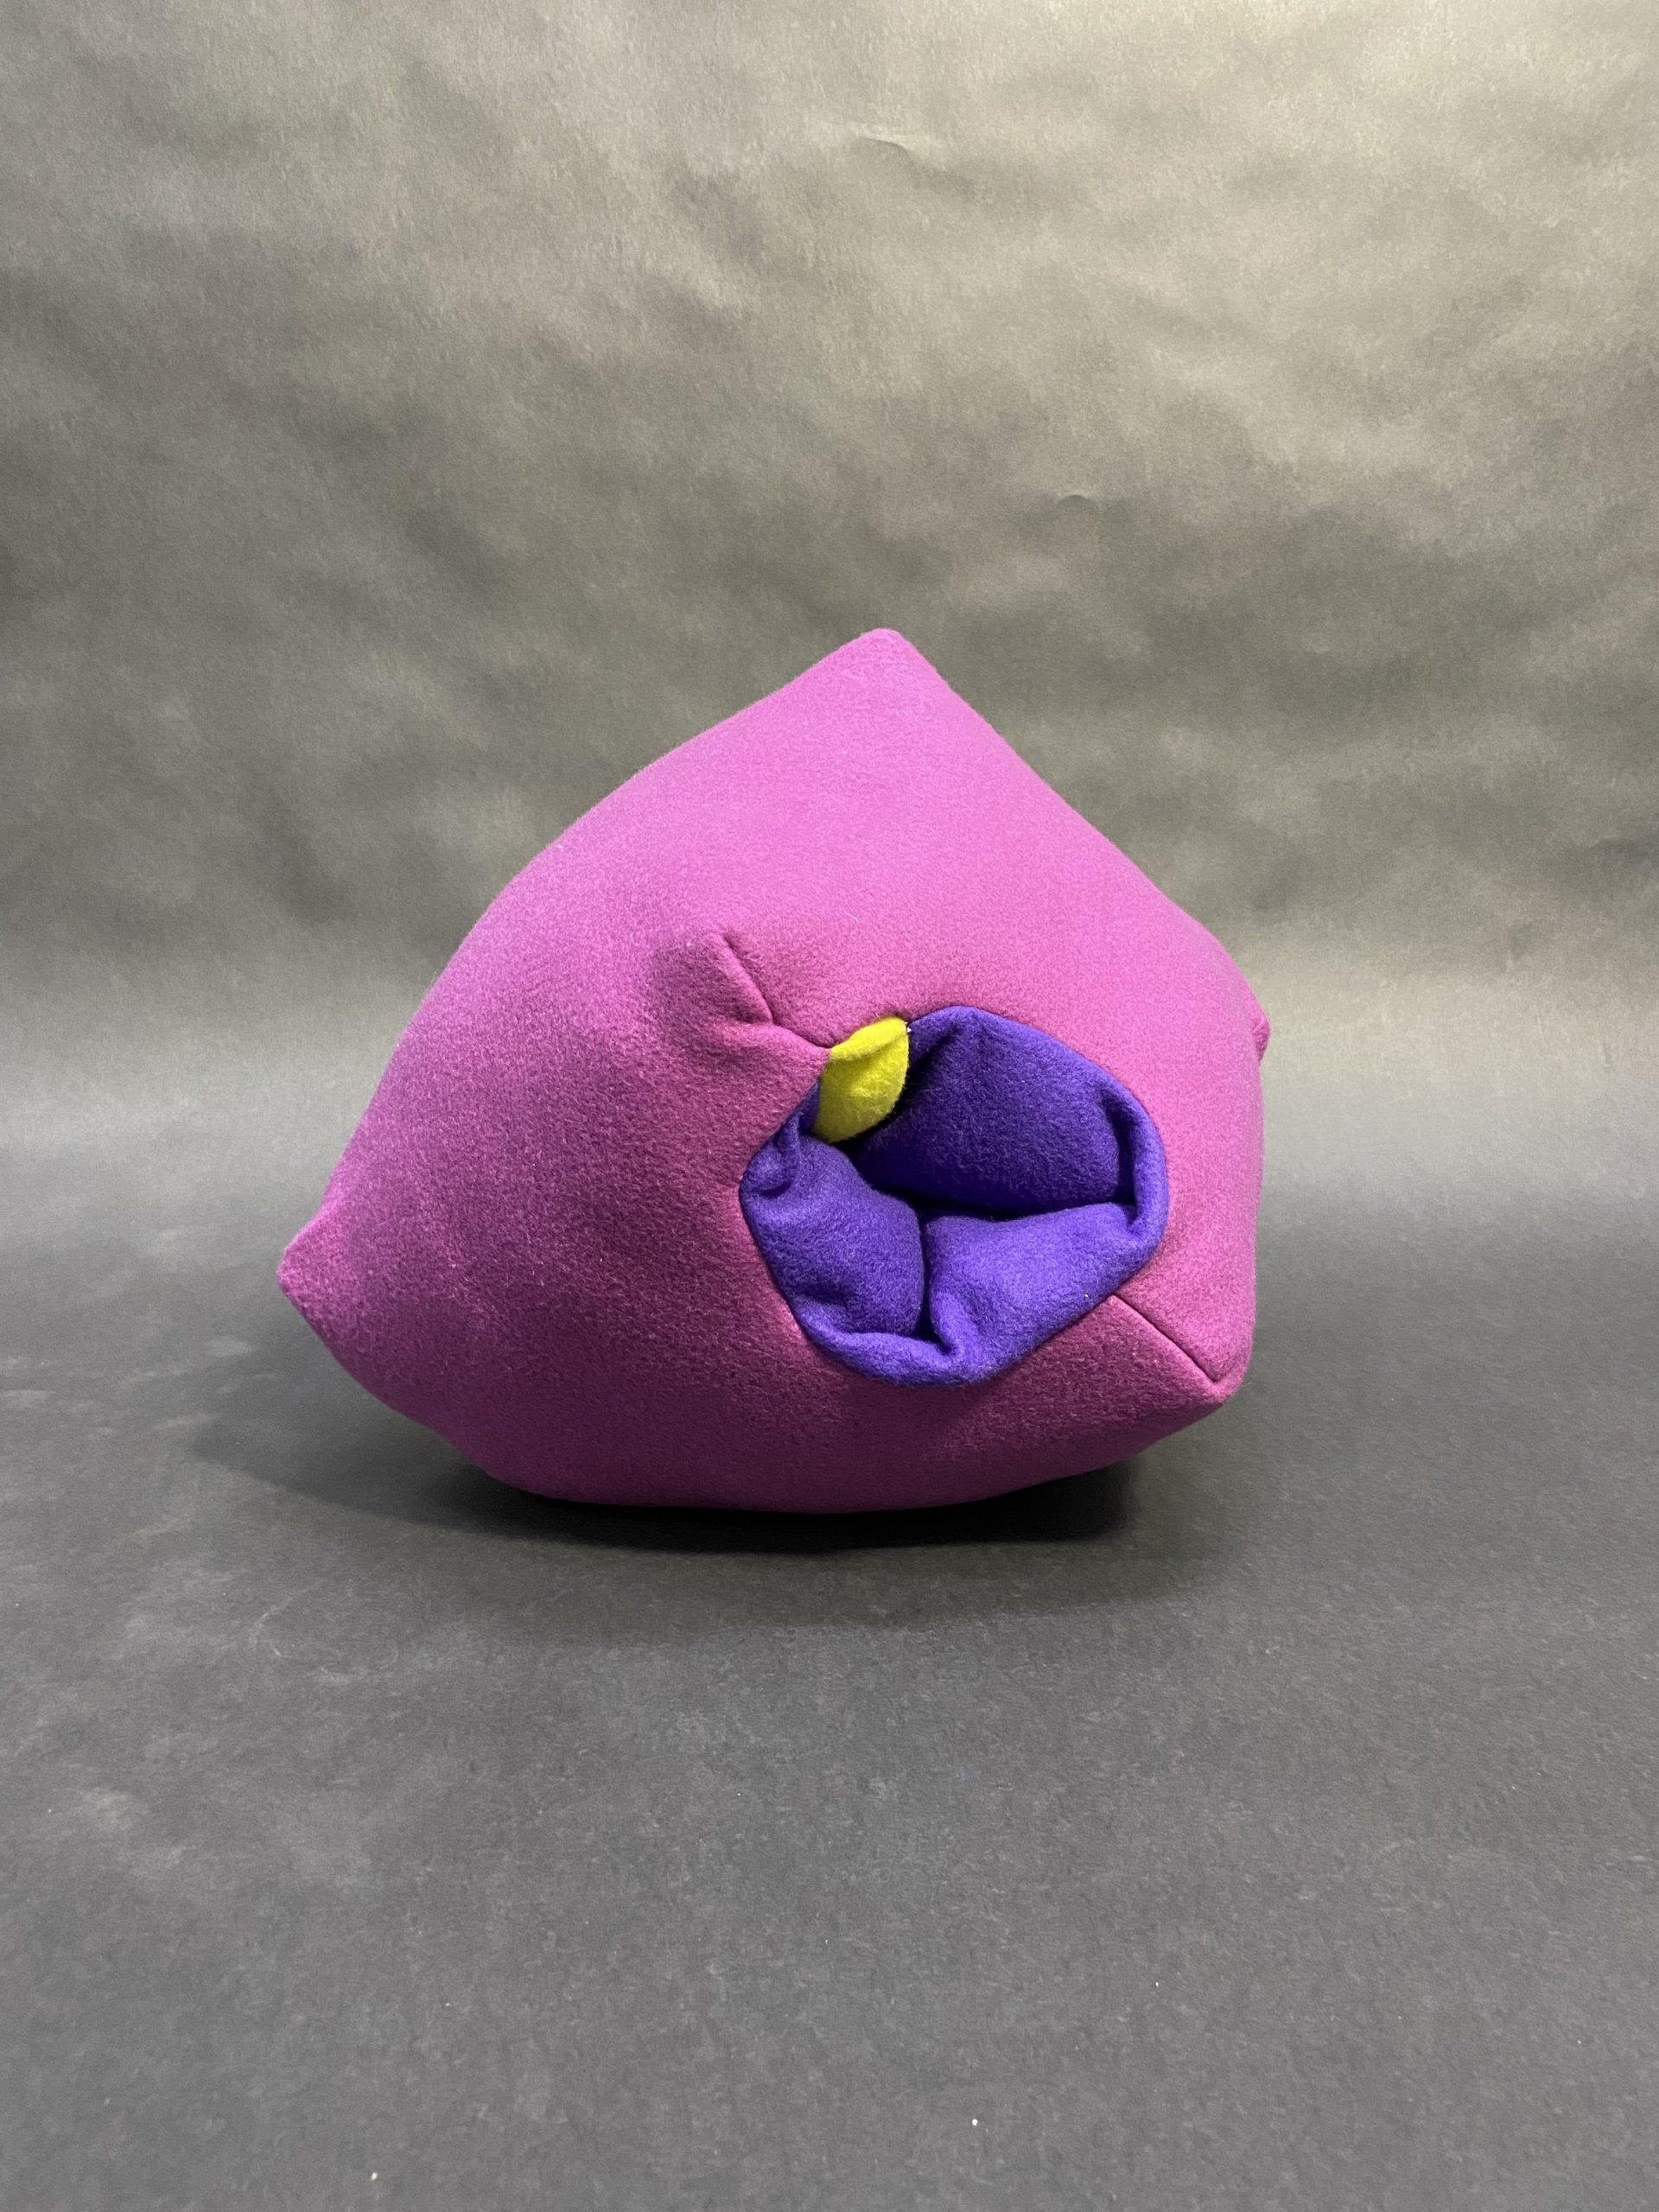
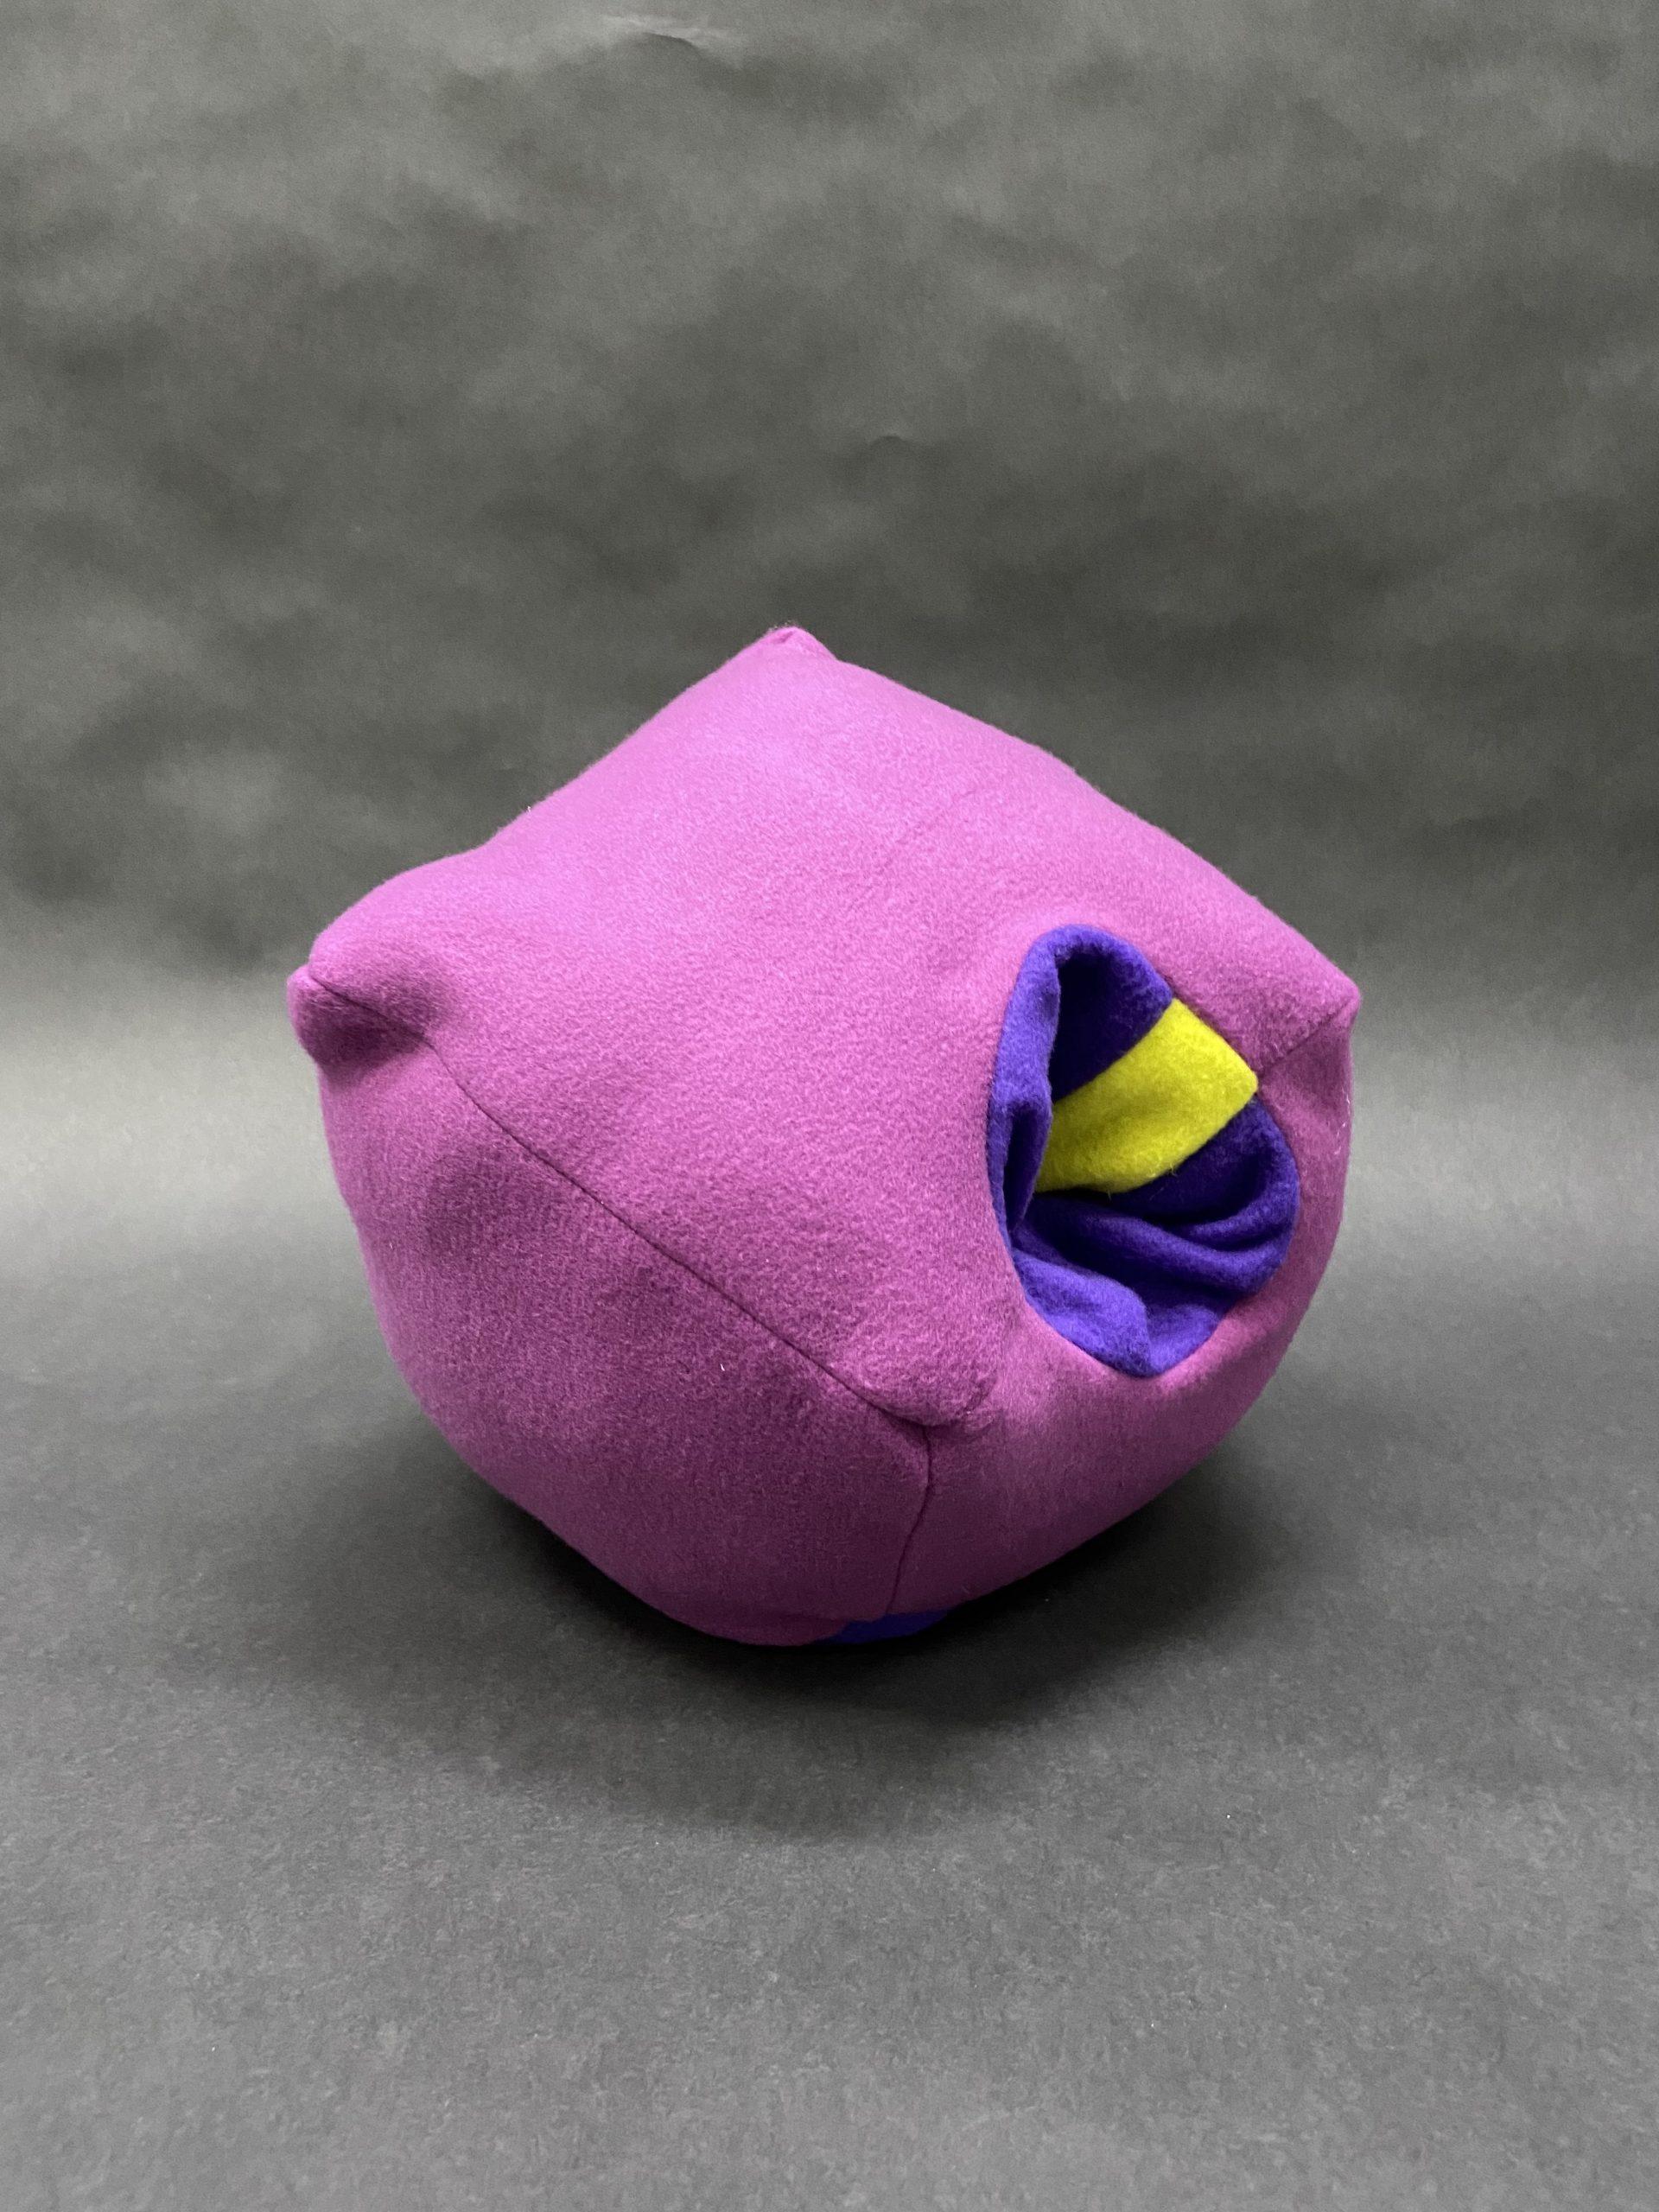
The first object I made was the cube with a truncated corner and cylinder-shaped hole going through it. This was my first exploration of taking a basic form, like a cube, and manipulating it. One of my friends has a whale plush with a hole in its mouth that allows one to put one’s hand in it. I have very cold hands, so having my hand get engulfed by the soft, warm plush made me want to create something similar for one of my push/pull objects. I decided to create a “hole” going through the entire cube so that one could stuff both hands inside and comfortably sit with the object on one’s lap or on a table in front. I then also truncated one of the corners so as to indicate that that surface should be placed on the bottom as a stable, flat base. However, because it is a soft plush, there really isn’t much “flatness” to it.
I noticed that because the template for the cube shape was a single piece of fabric folded and stitched together, rather than six different squares sewn together, the edges where the fabric was continuous were much rounder than the other edges, which were already quite round to begin with. This then distorted the shape of the truncated corner and made it look less like a triangular surface and more like a triangle with rounded edges. I also miscalculated the rectangle piece of fabric I needed to make the cylindrical hole and made it too short, so I added a bright green streak so as to highlight the “mistake” rather than trying to hide it by using another piece of dark purple fabric. Even though I had actually done some calculations to keep some symmetry and plan to make it very clean and as “machine-fabricated” as possible, I still made mistakes and encountered issues I did not think I’d face.
Object 2: Sprout-Flower-like Structure
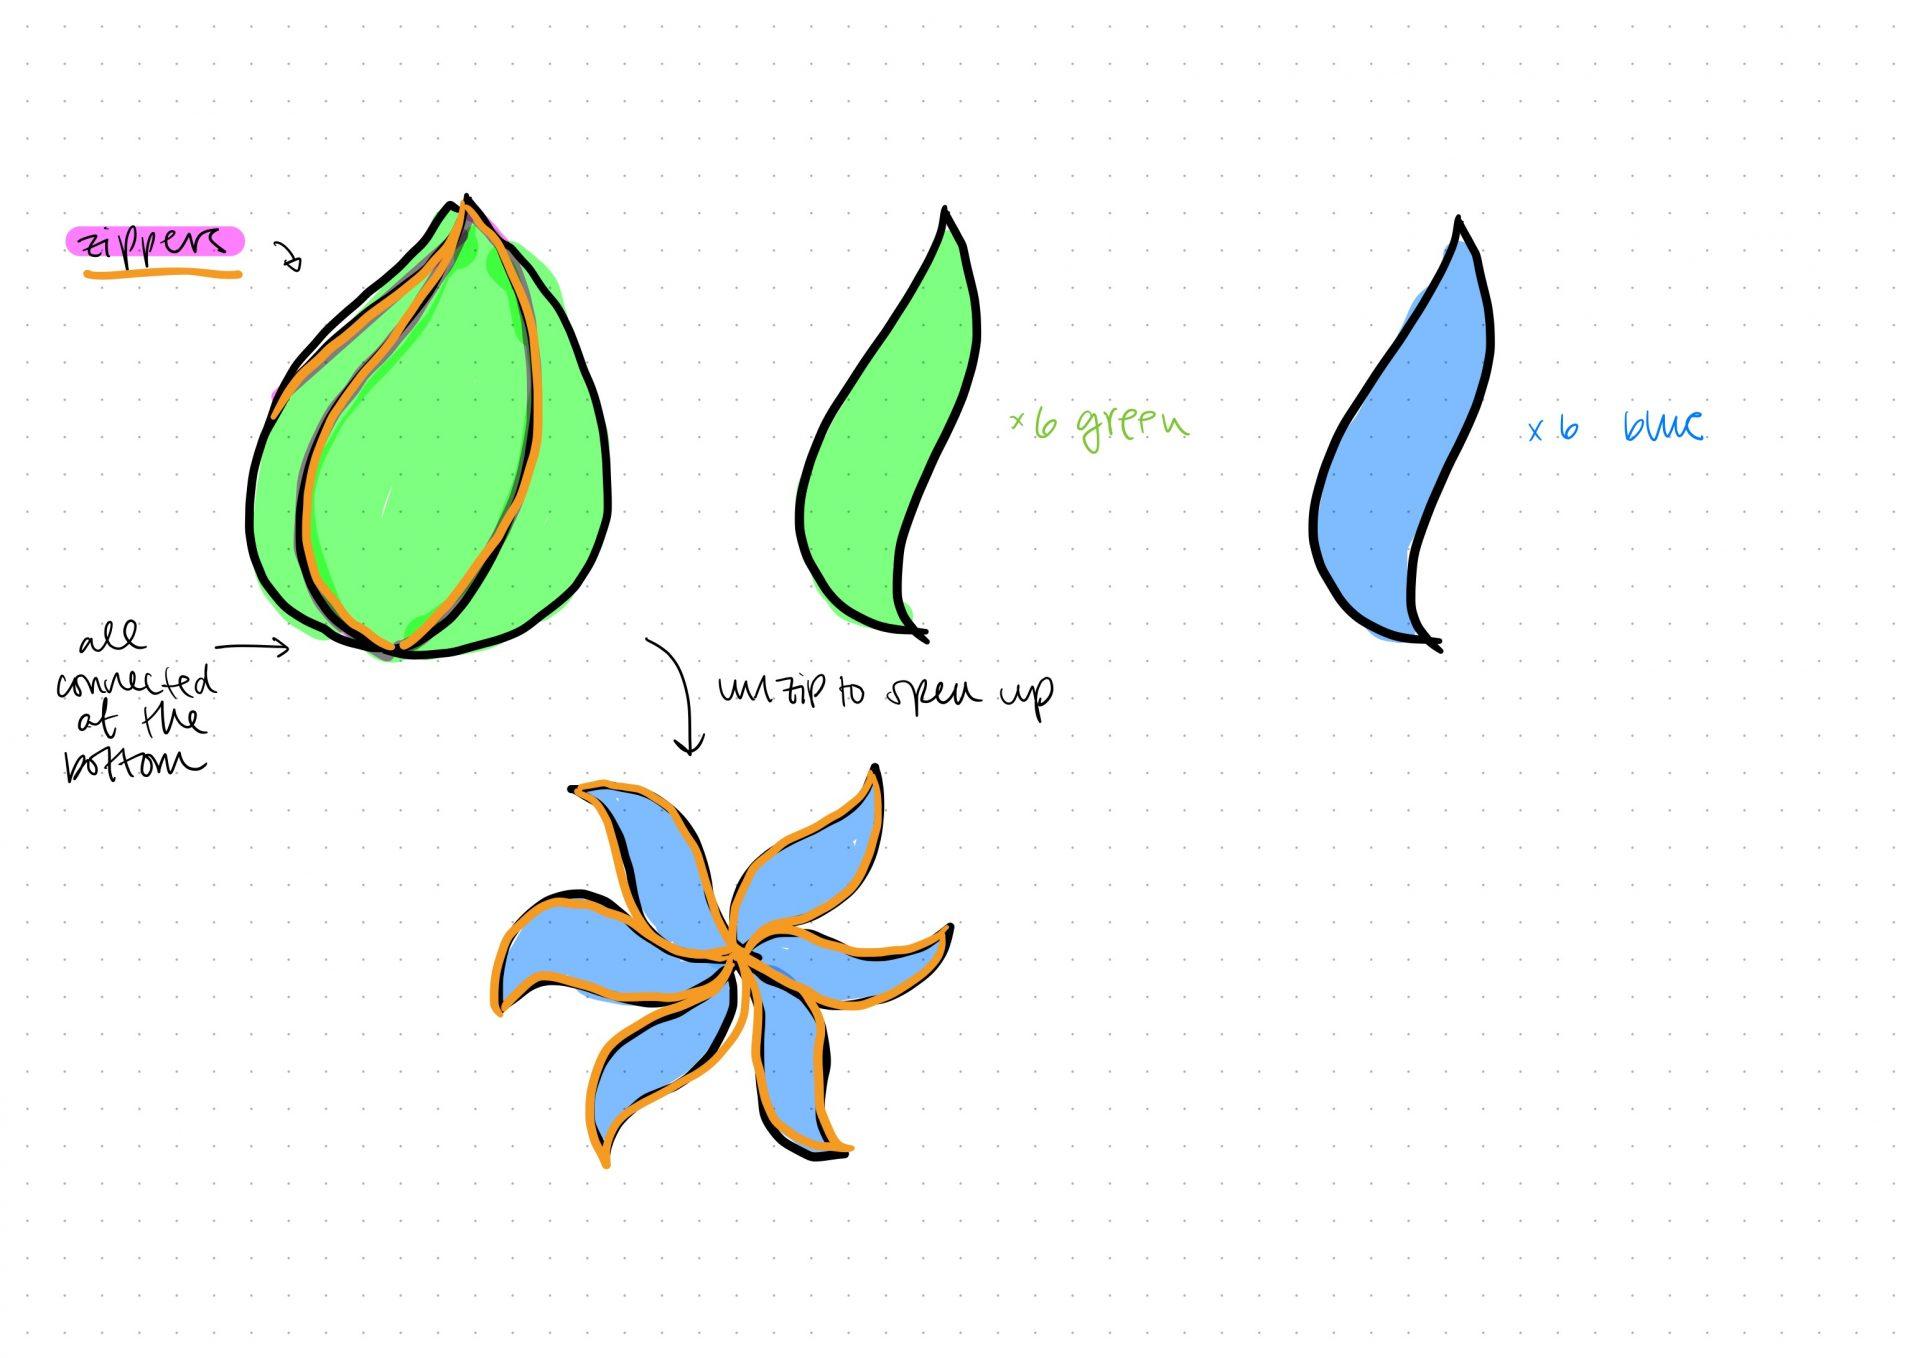

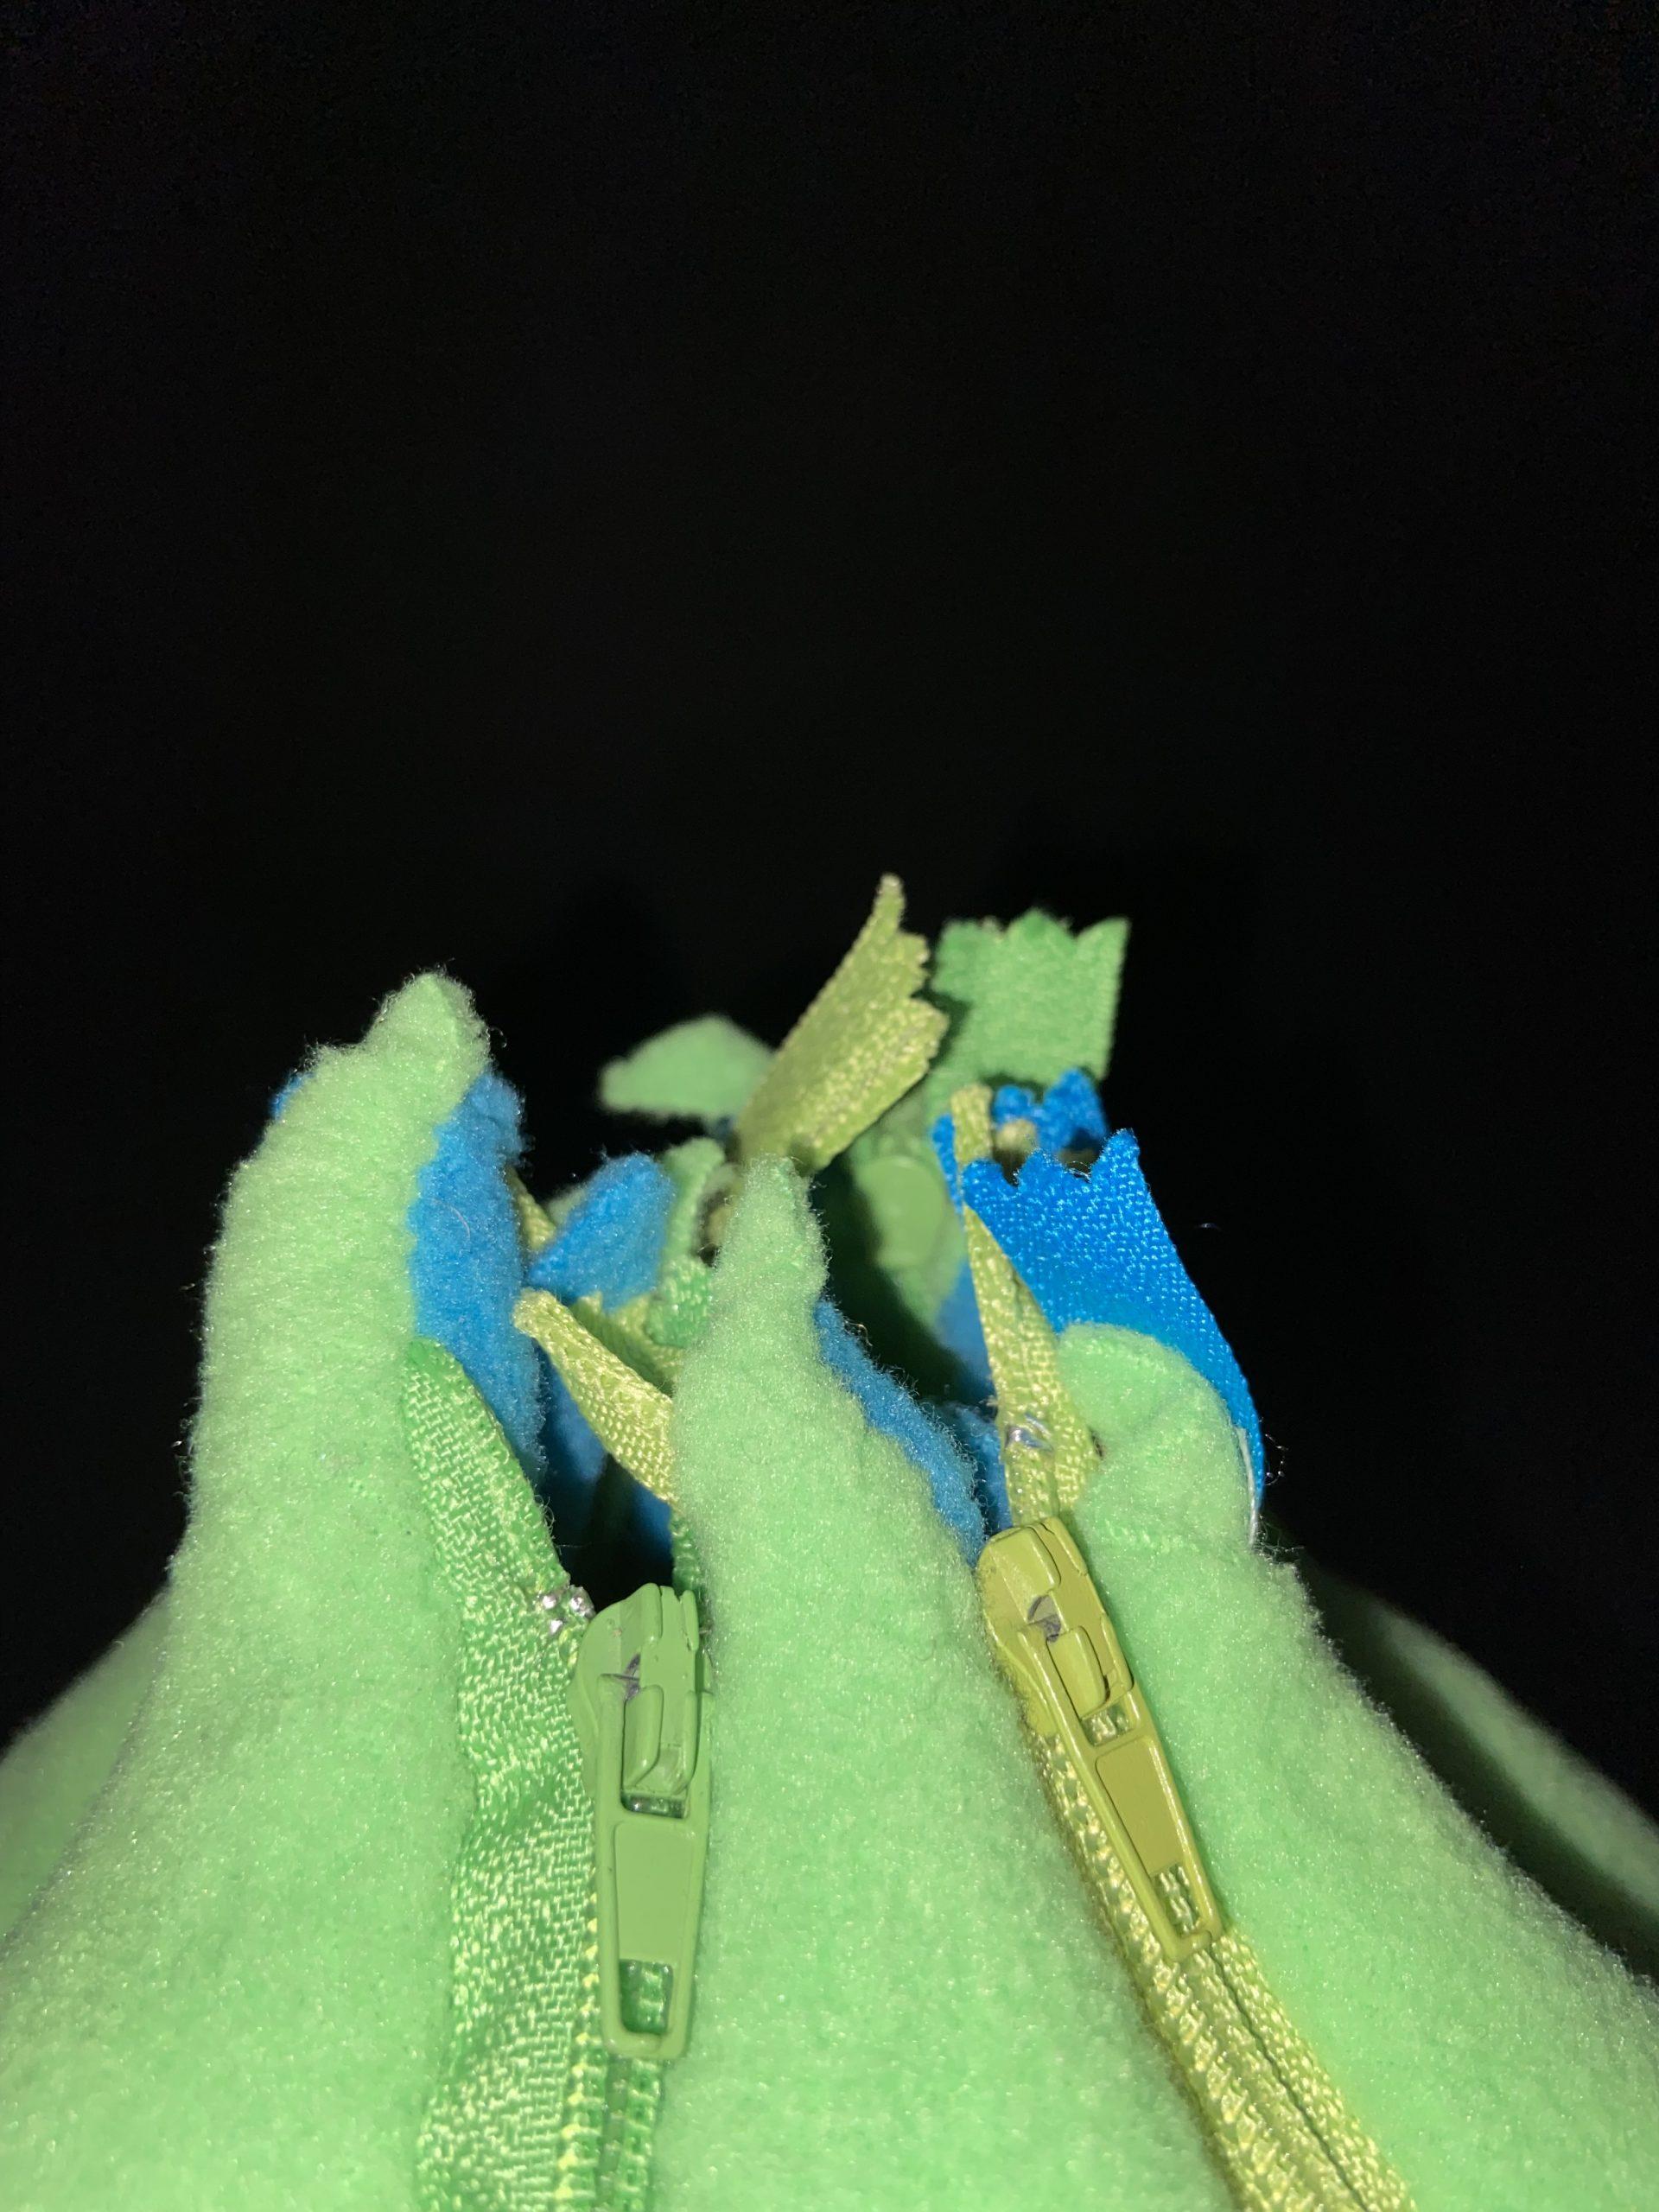
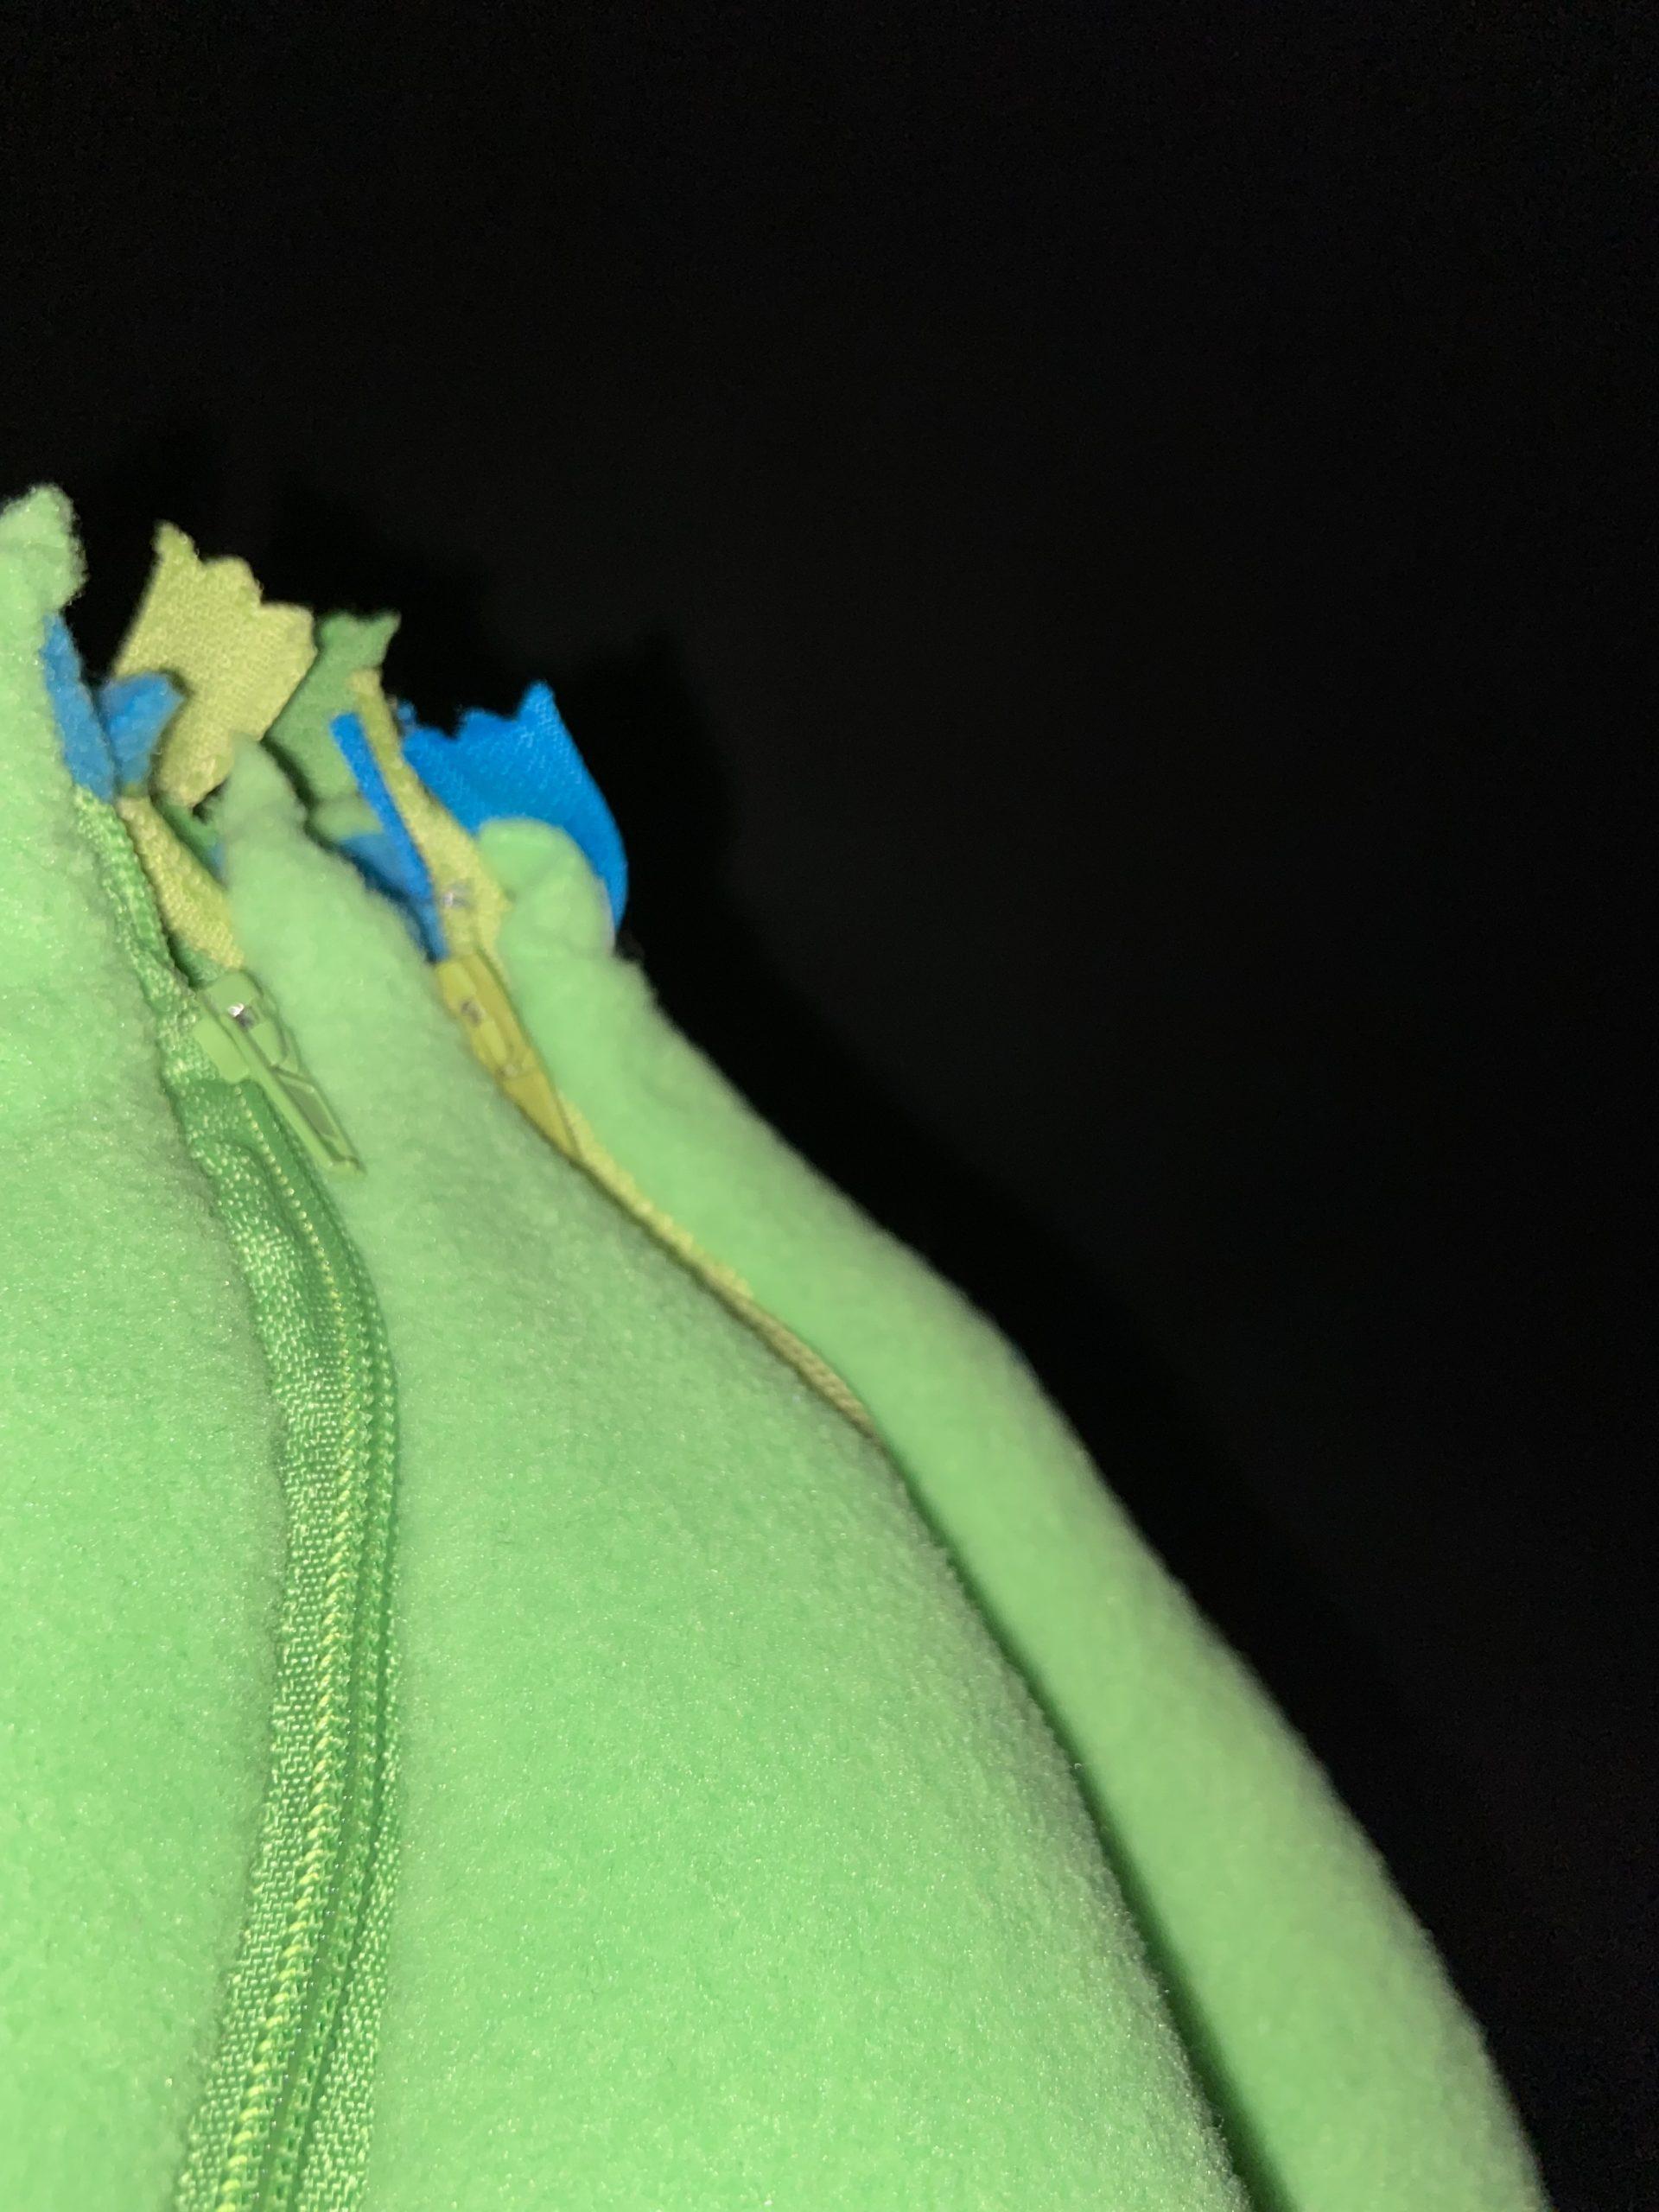
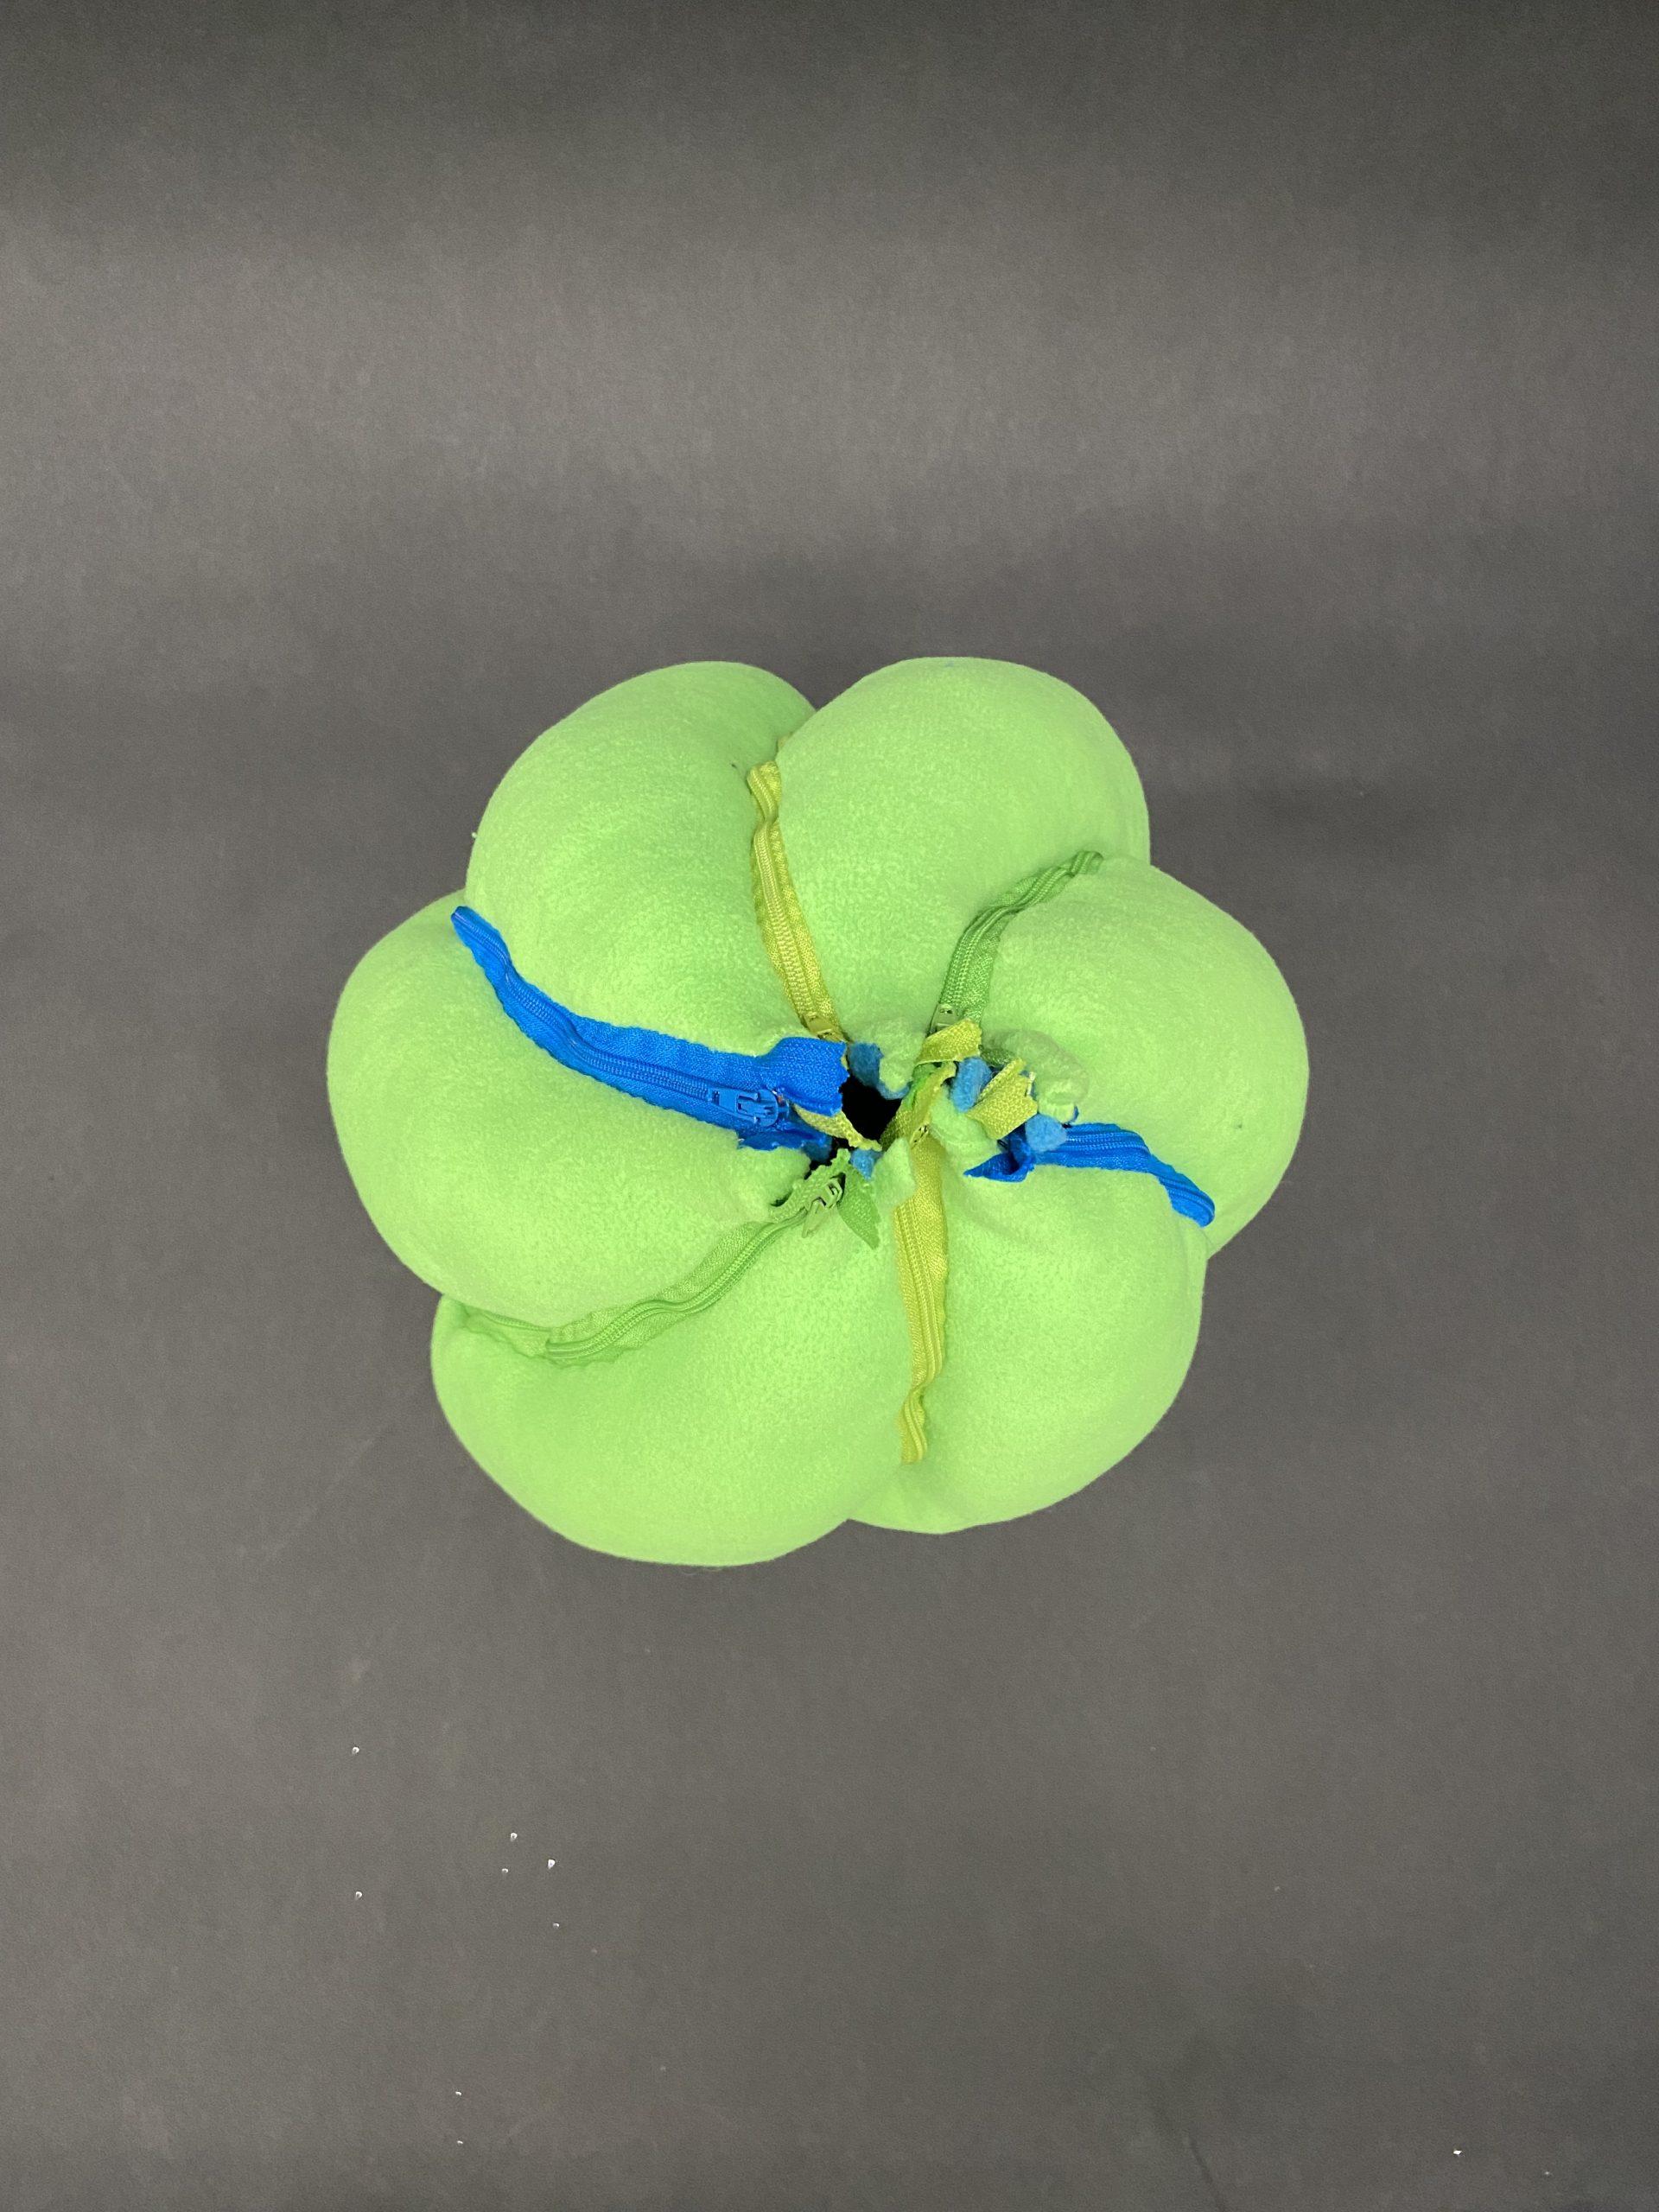
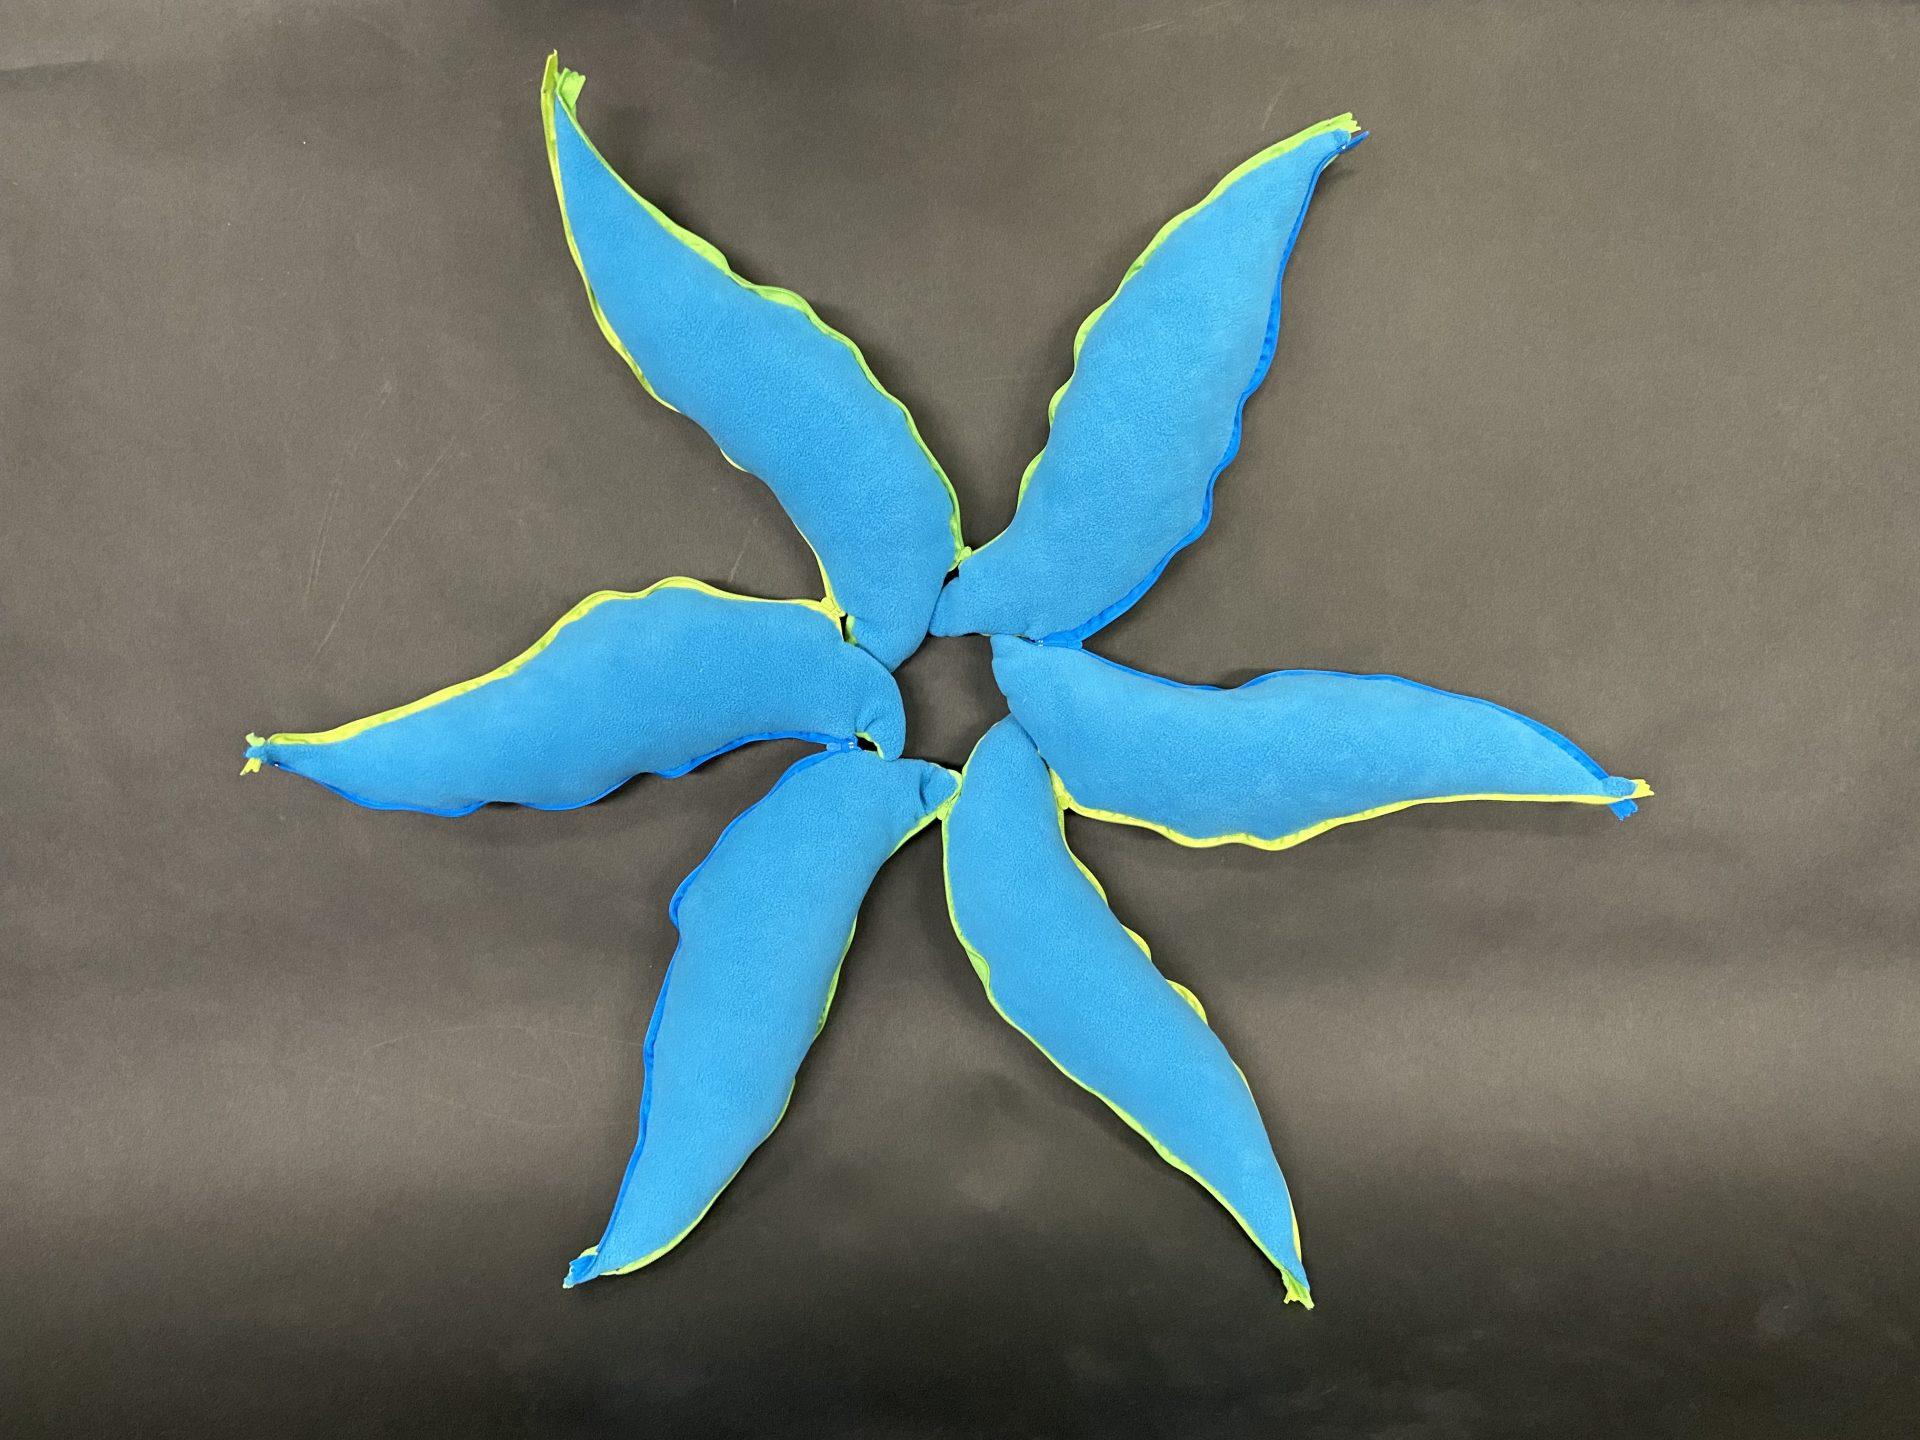
The second object I made was the reversible sprout-like structure. I took the basic beach ball template for making a sphere and elongated the ends and twisted the wedges so that the wedges would swirl around. In order to make it reversible, I first thought of just flipping the structure, but this would mean that I wouldn’t be able to stuff it too much with polyfil. This would then mean that the form wouldn’t hold upright very well, though I wanted my object to be able to hold more of its shape. As such, I thought of adding zippers and connecting each wedge with them. This meant I could stuff each wedge with even more polyfil and thus create a structure that would stand up better. I had never sewn with zippers, so I was very confused trying to visualize how to sew the pieces together so that the “good” sides of the fabrics would be out with the zipper sandwiched between them. Sewing these wedges after stuffing them was also very challenging and time consuming, since I had to connect three pieces together simultaneously with the seams tucked inside and with all the stuffed wedges attached together interfering with my hands while sewing. Because of the zippers and the reversibility of the object, I created an object with a much larger number of different forms that it can take.
Object 3: Cone with Many Cones
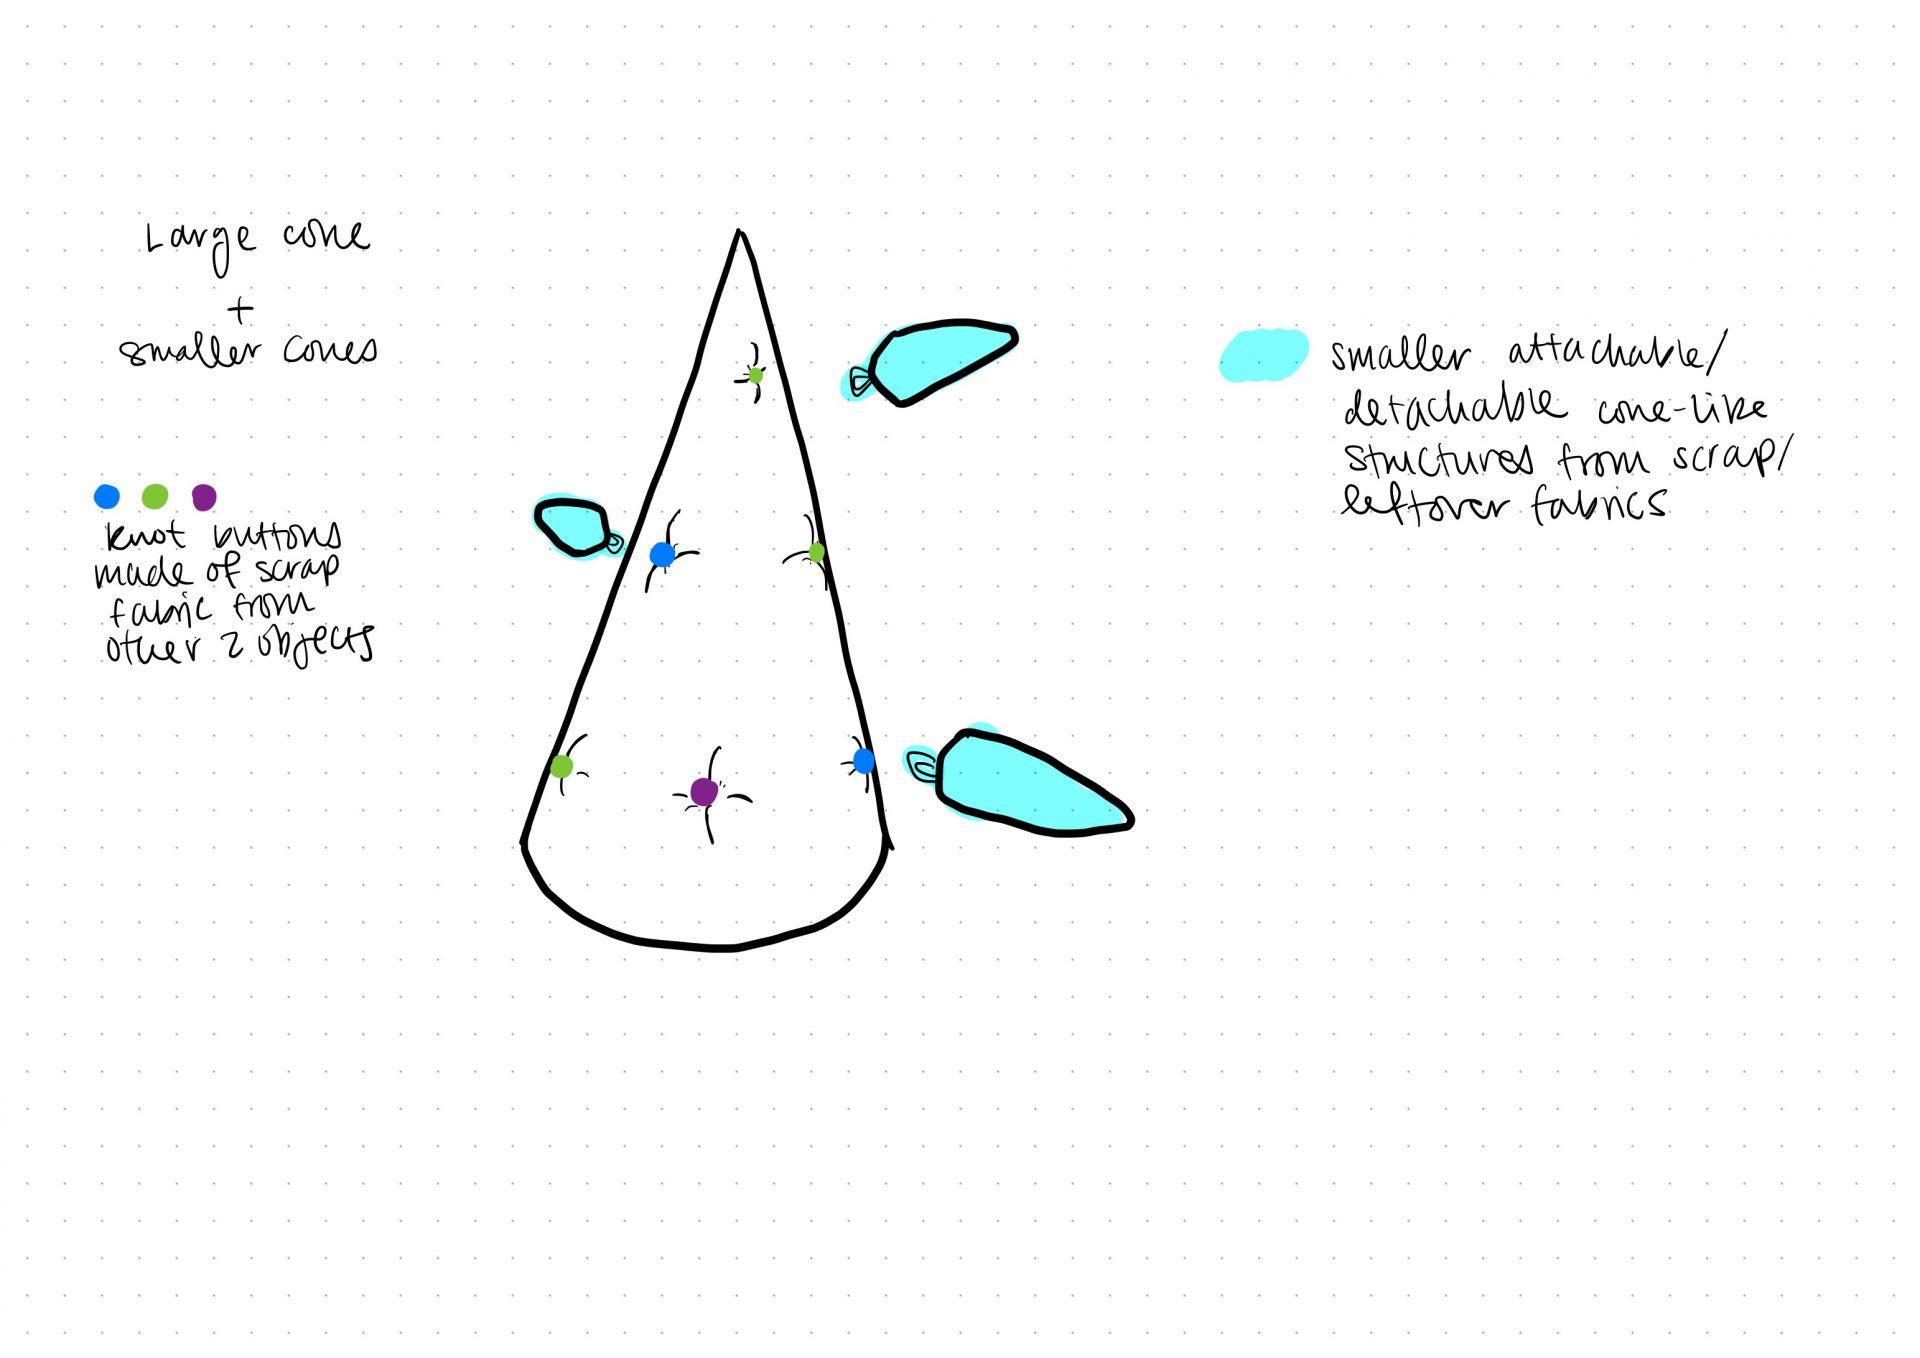
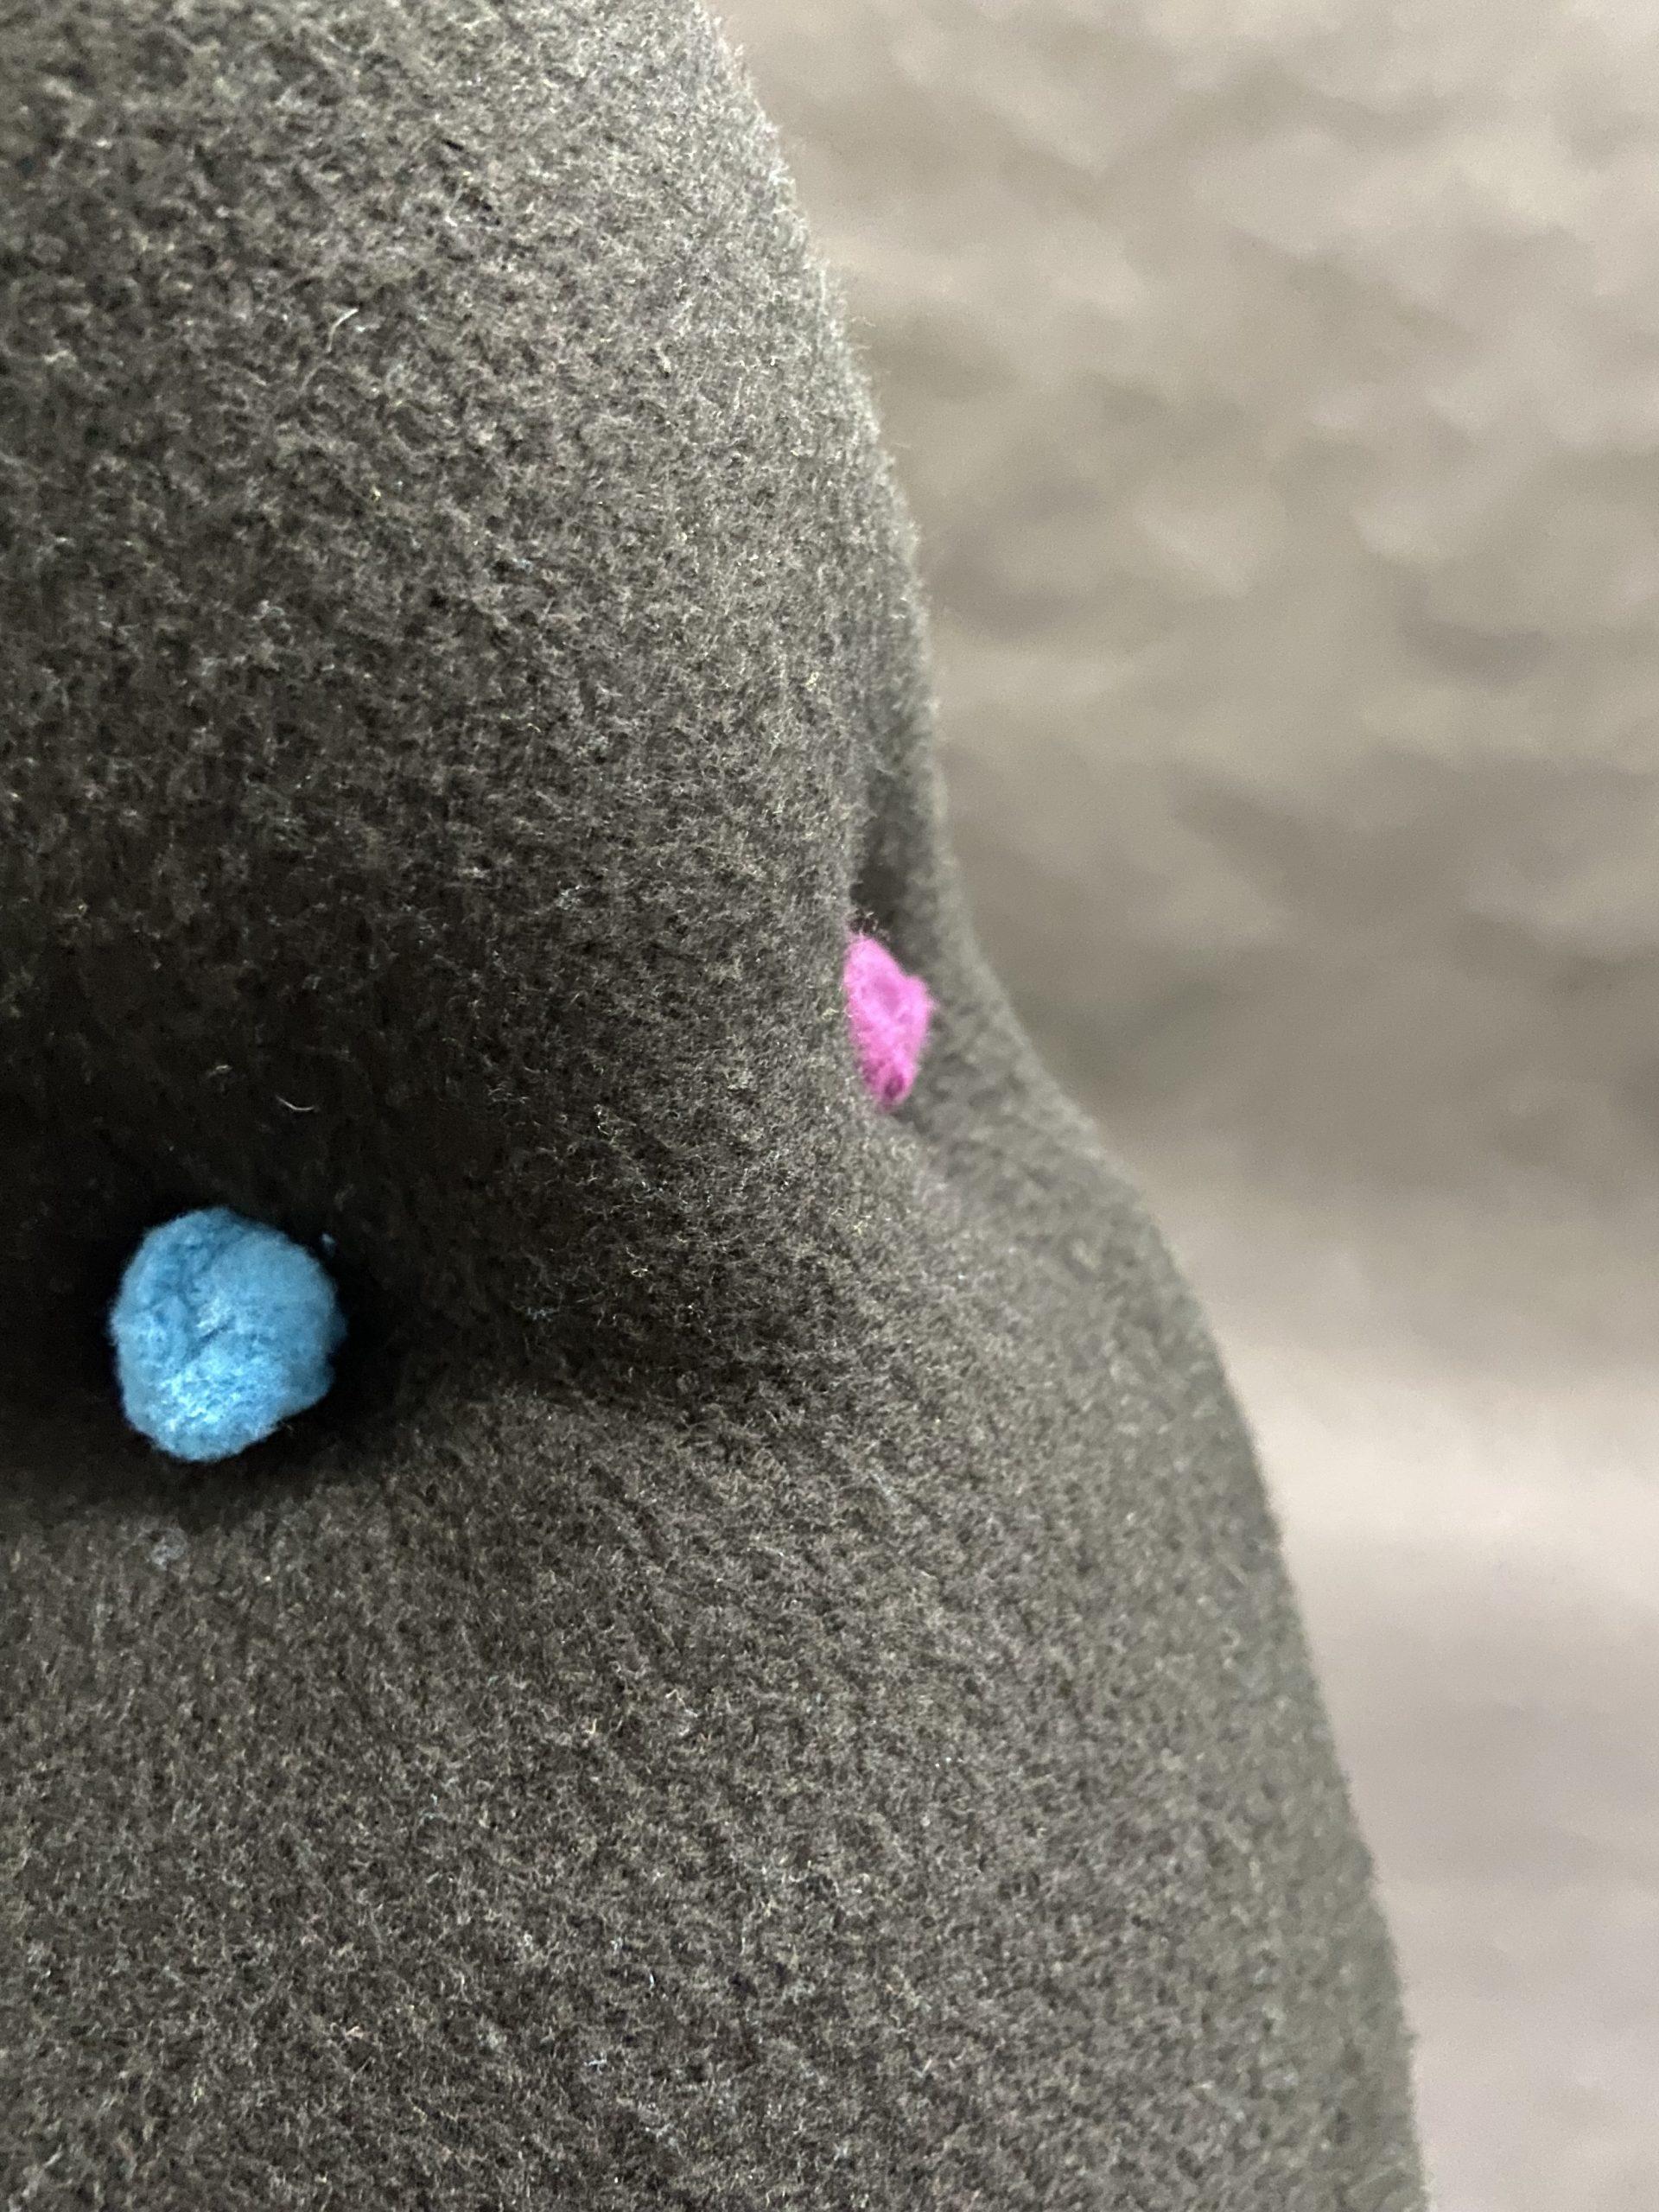
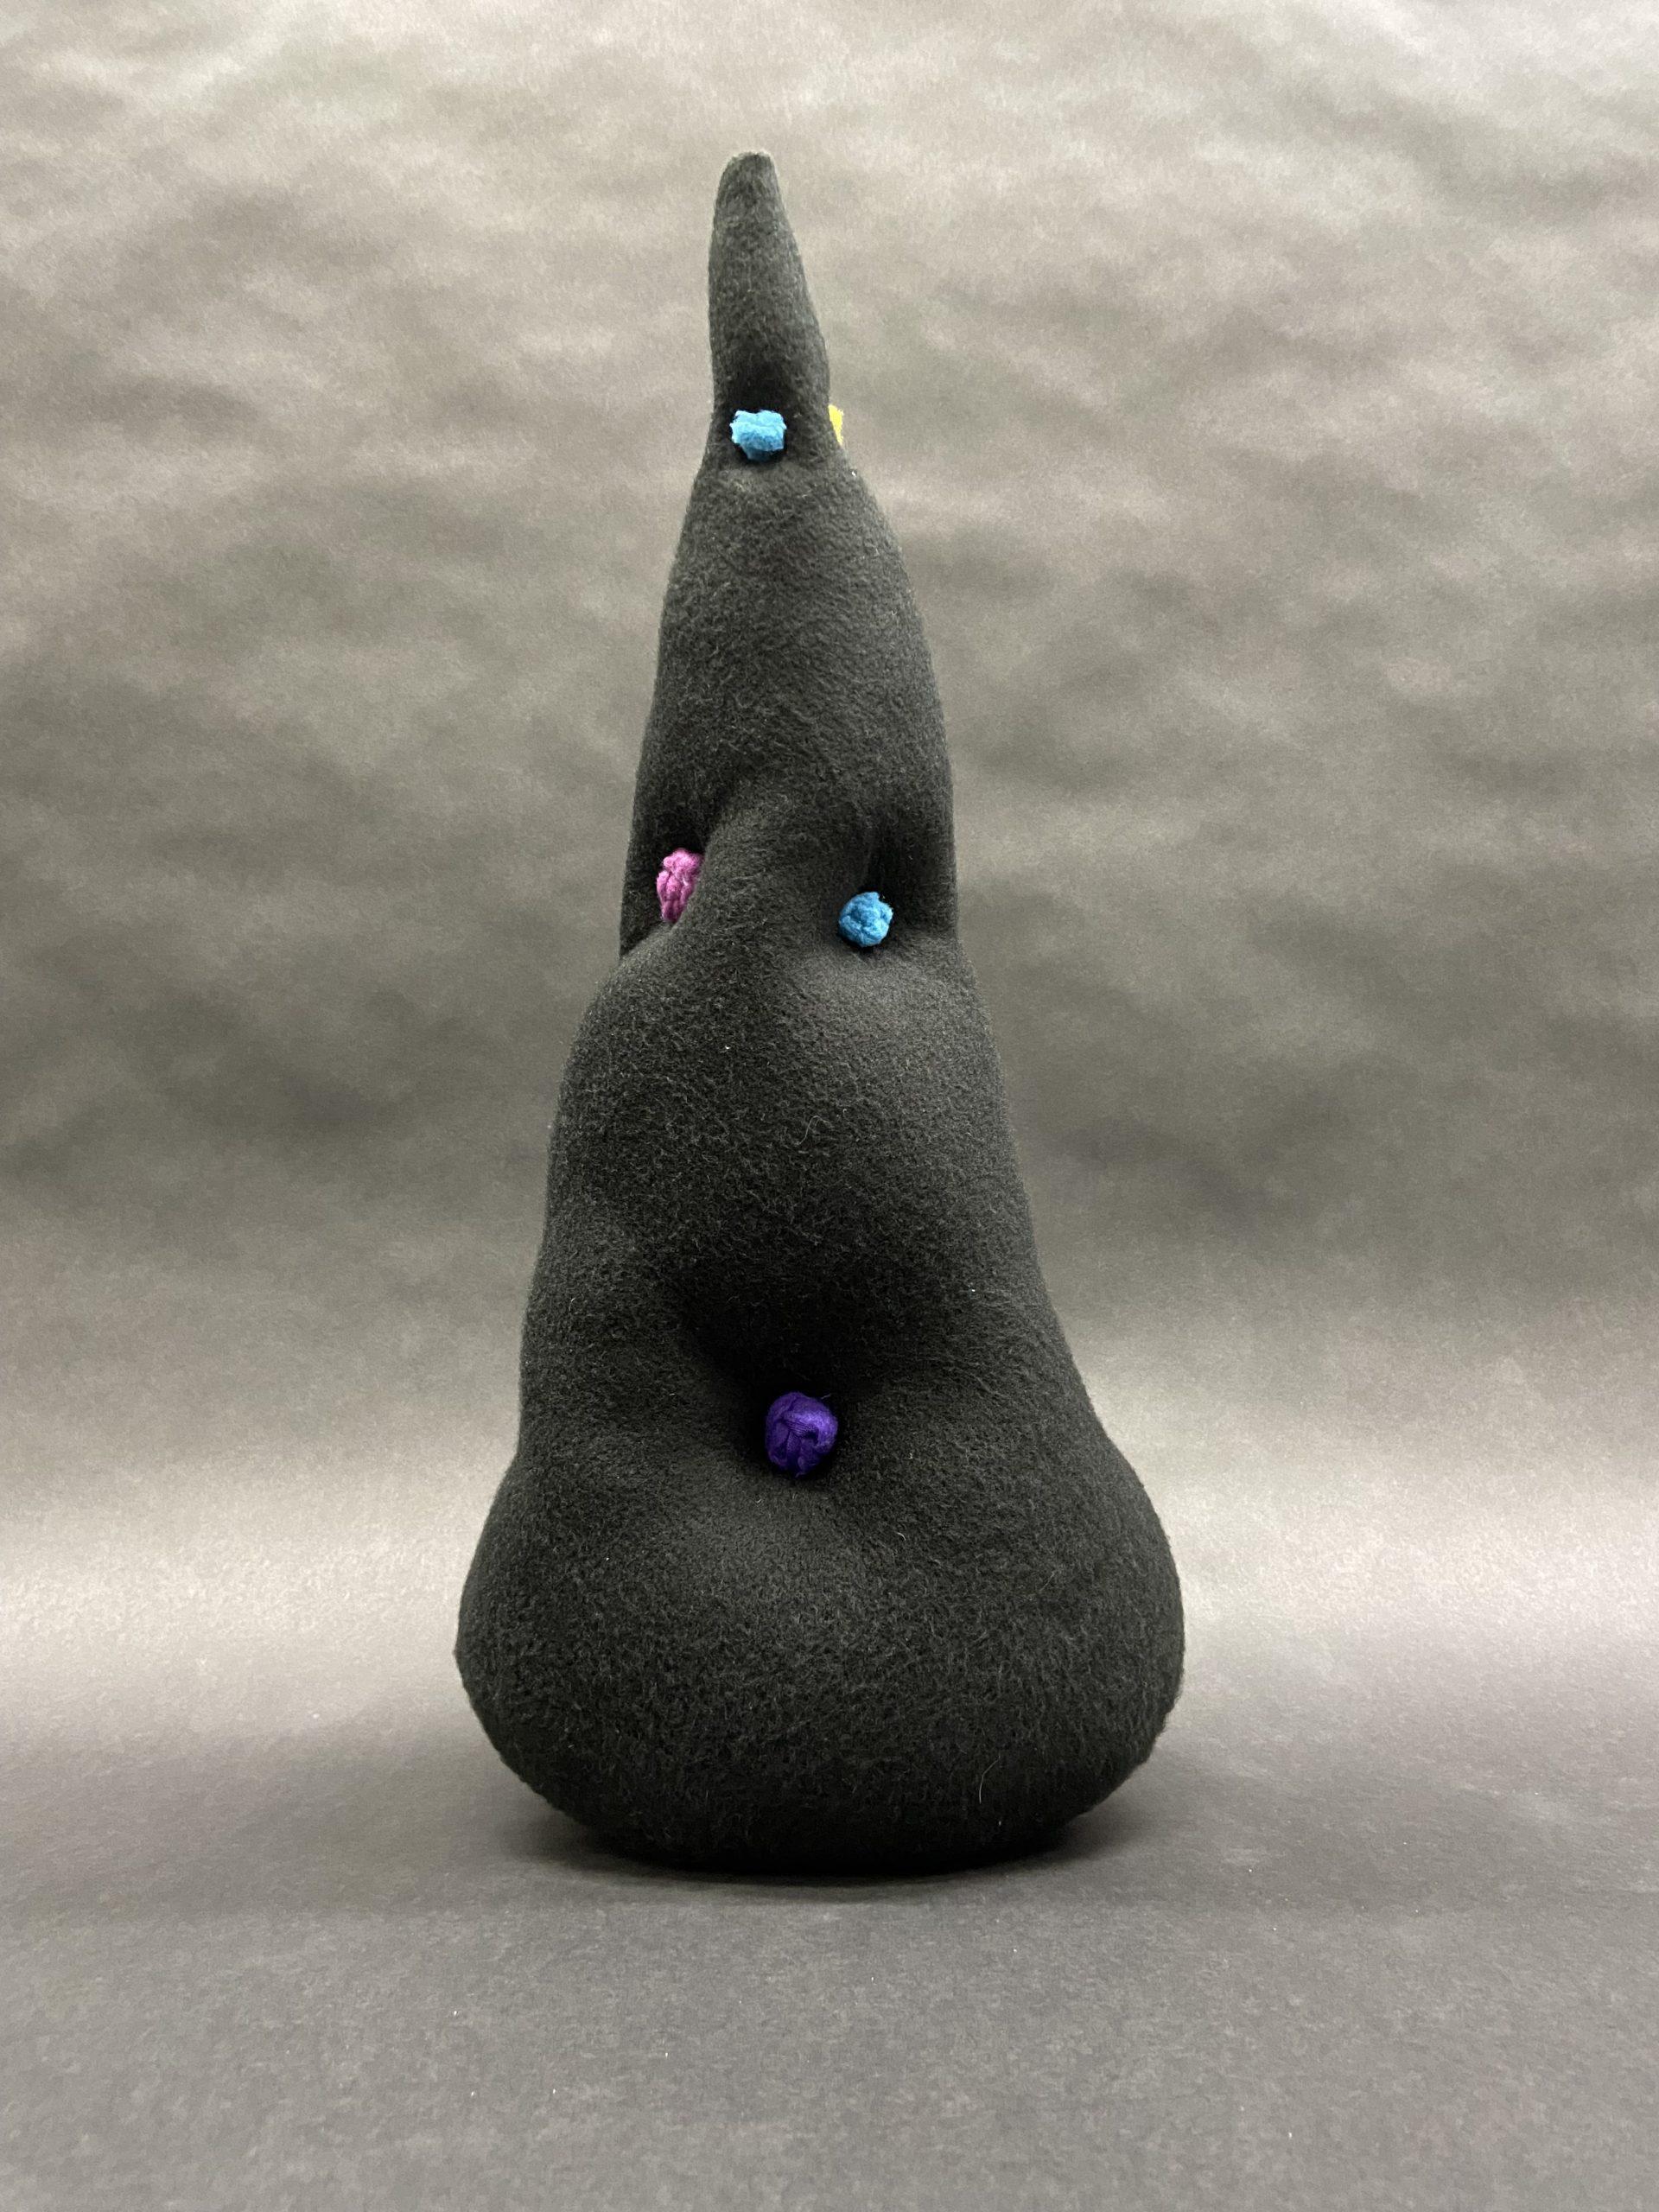
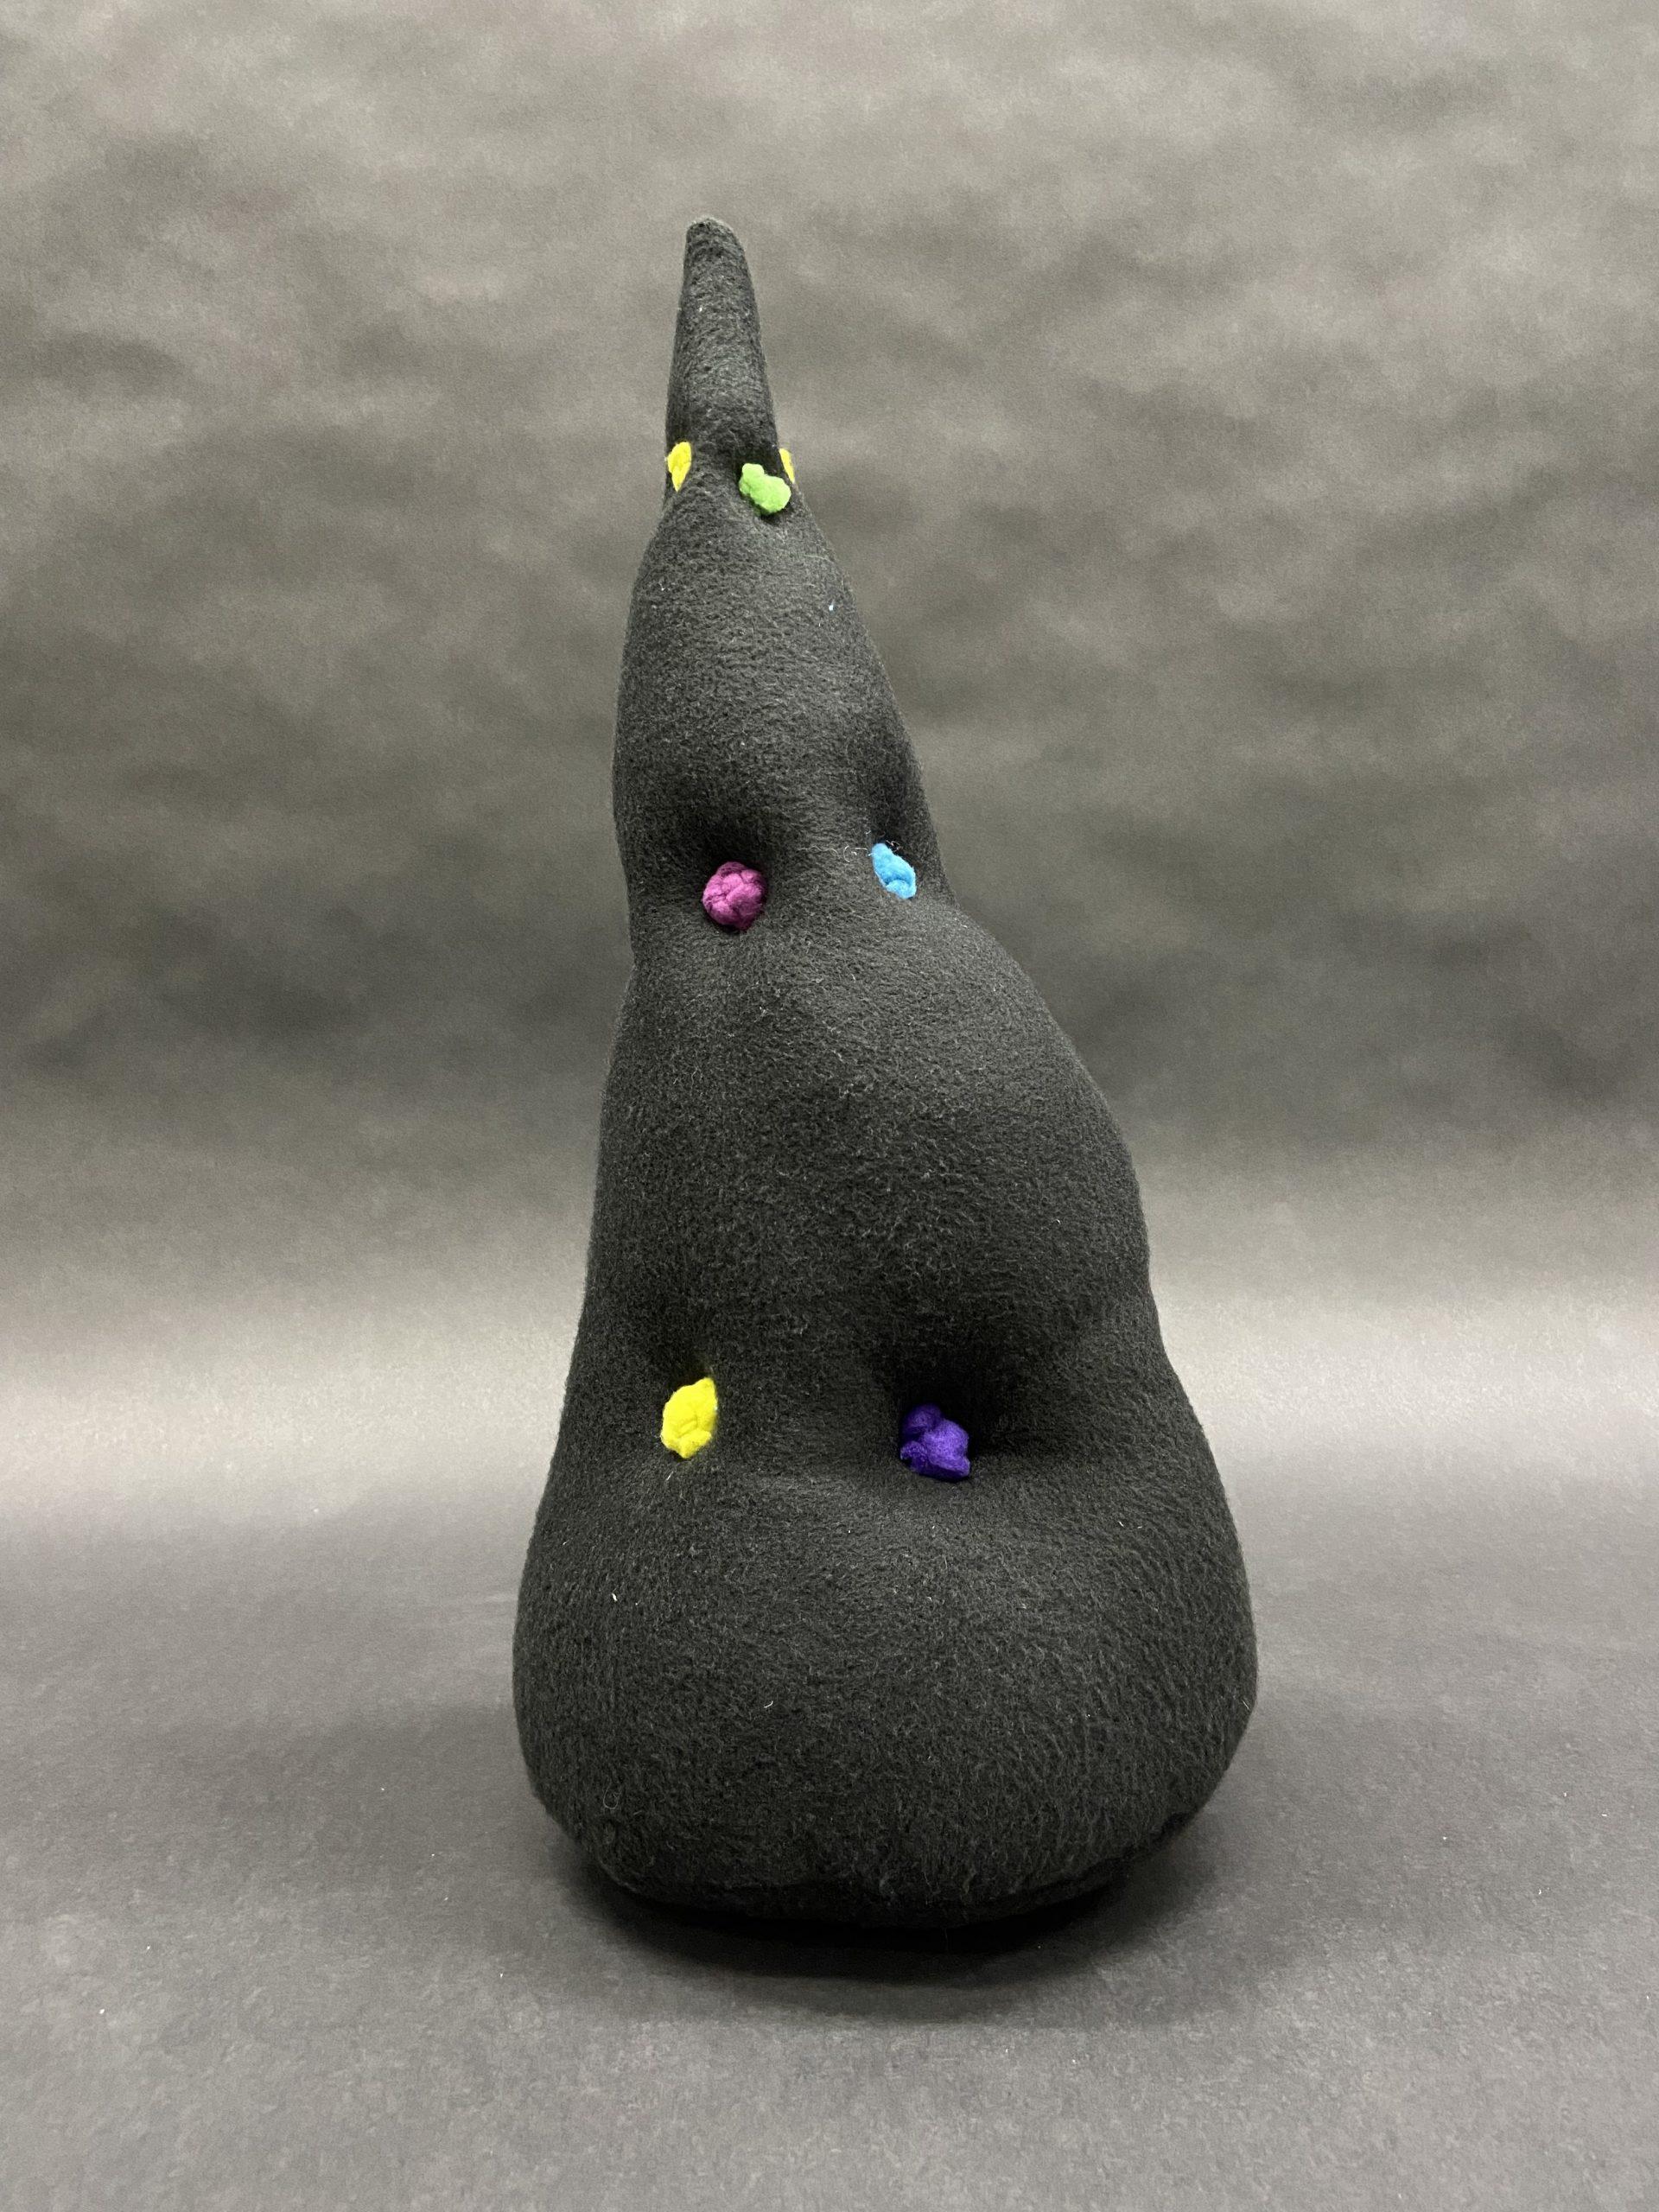
Finally, my third object was inspired by pinecones. I planned to make a large cone with buttons going through it, and then smaller cones covering the main body by being attached to it through the buttons. I used the remaining scraps and leftover fabrics from the first two objects to add the knot button details and the smaller cones. Although for the in-class critique, I was unable to prepare the smaller cones, I later made a few to fully realize what I had envisioned for this object. I really had to think about a way to make stable buttons from the scraps I collected, and even more challenging was thinking of how to pinch the structure with thread to add the buttons and cinch it. I eventually realized that I could just partially fill the structure with polyfil so that it wasn’t too thick and therefore impossible to accurately and comfortably get my needle through it. I was able to get the knot buttons through and place them where I wanted, but the smaller cones were not so successful. I didn’t make the straps that wrap around the buttons smaller enough so that the small cones wouldn’t dangle like Christmas tree ornaments; I wanted the small cones to attach as closely as possible to the main body. If I used velcro, for instance, I may have been able to achieve this, but the roughness of this material makes it less inviting (albeit very slightly) to touch and hug the cone.