Textile Traditions- Adire

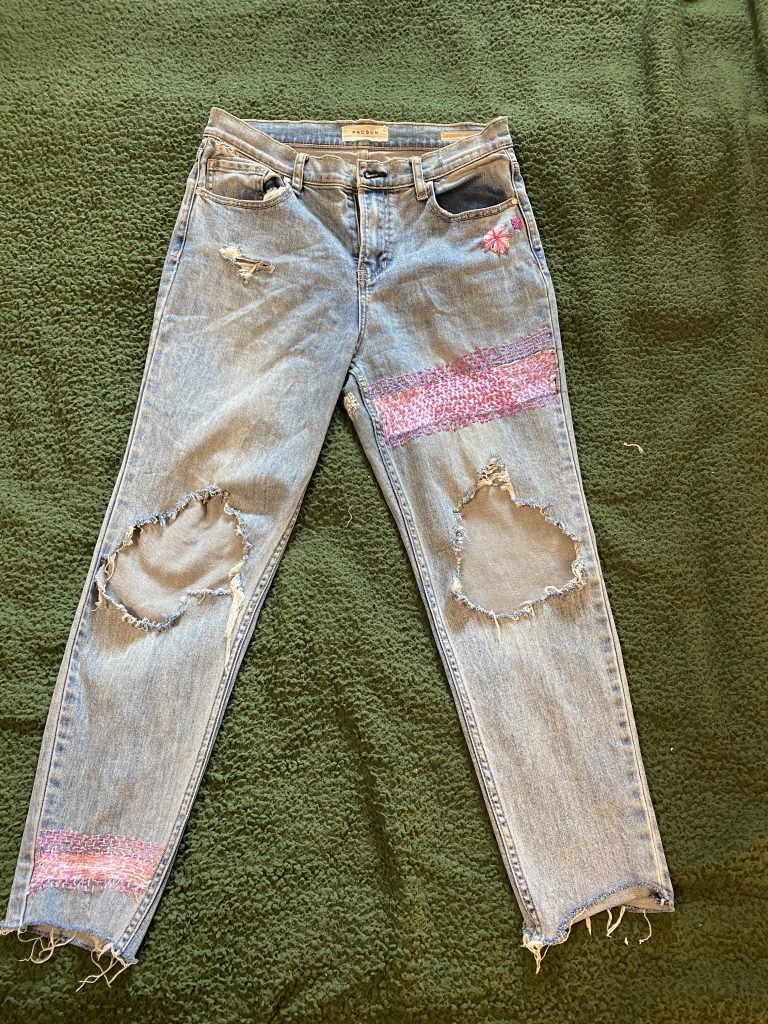
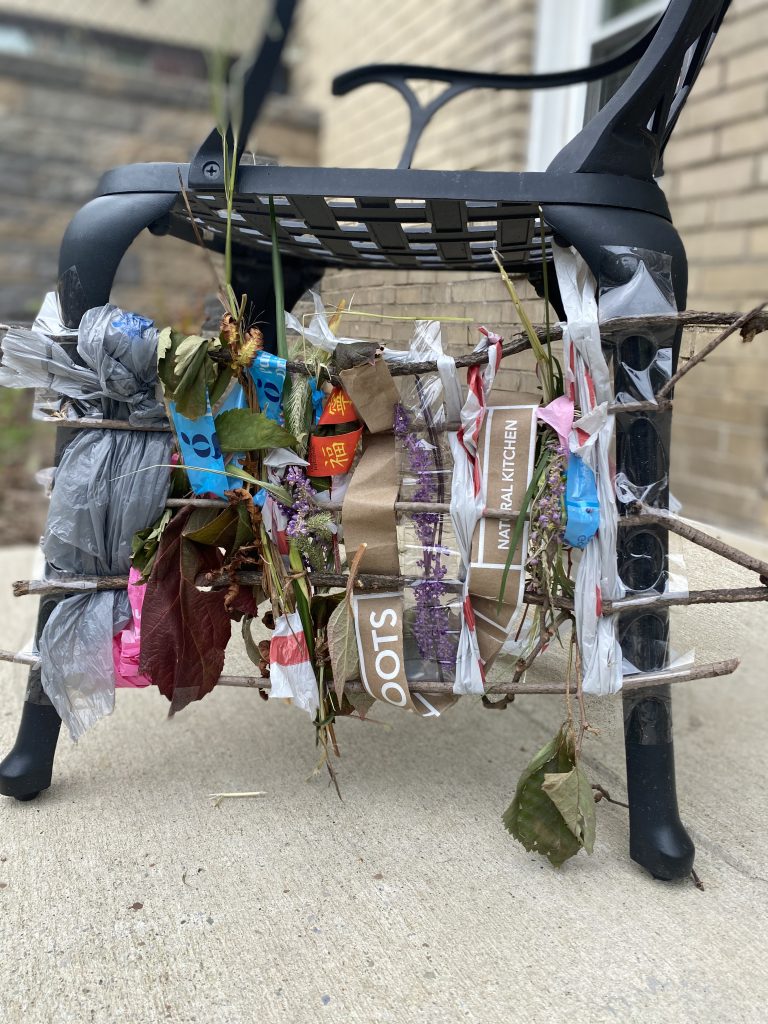
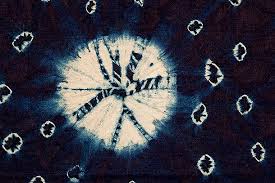
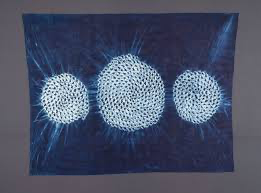
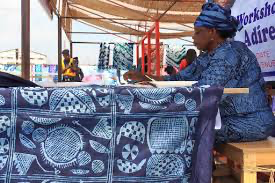
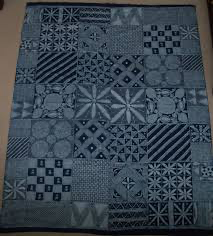
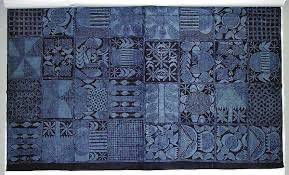
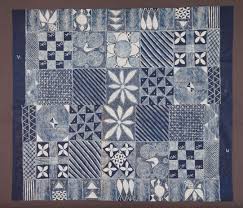
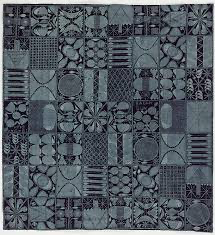
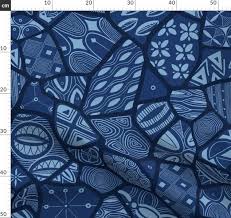
The textile tradition I wanted to focus on was Adire of the Yoruba tribe in Nigeria. This textile tradition are cloths that are dyed using indigo and traditionally worn by women as wrappers but also were began to be used as textiles for other garments.

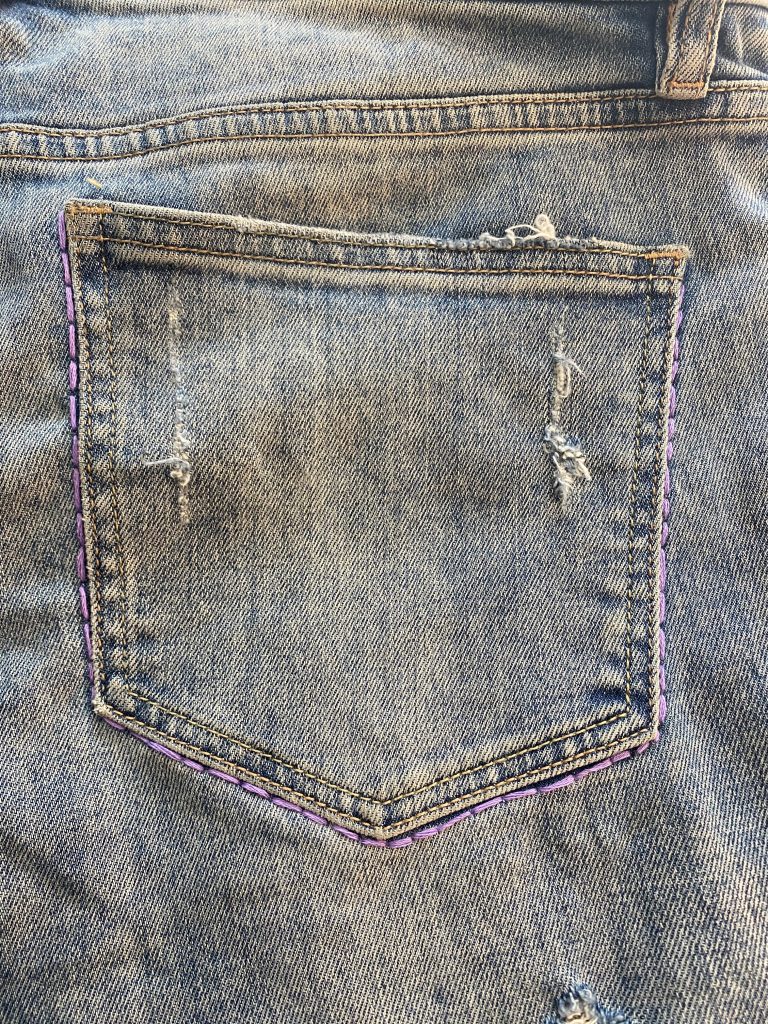
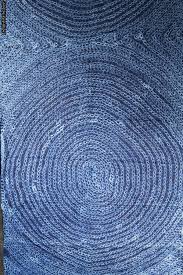
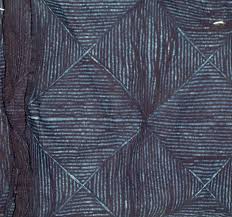
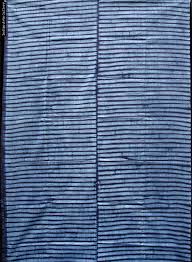
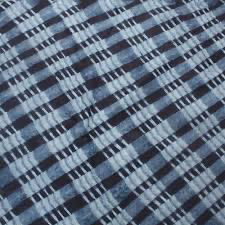
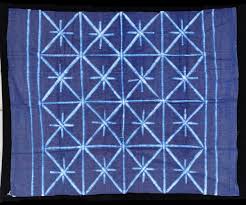
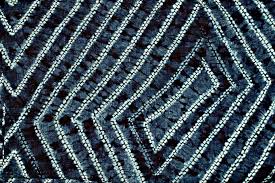
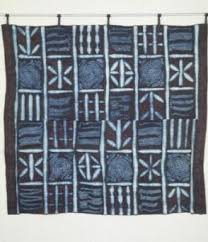
The dying process would usually include indigo from leaves that were locally grown or grains that were imported. The leaves are collected and left to ferment. The dying was done in large pots that are sunken into the ground. The cloth was dipped and then given time to oxidize until it turned blue. If a sheen effect was intended it would be beaten with a mallet.

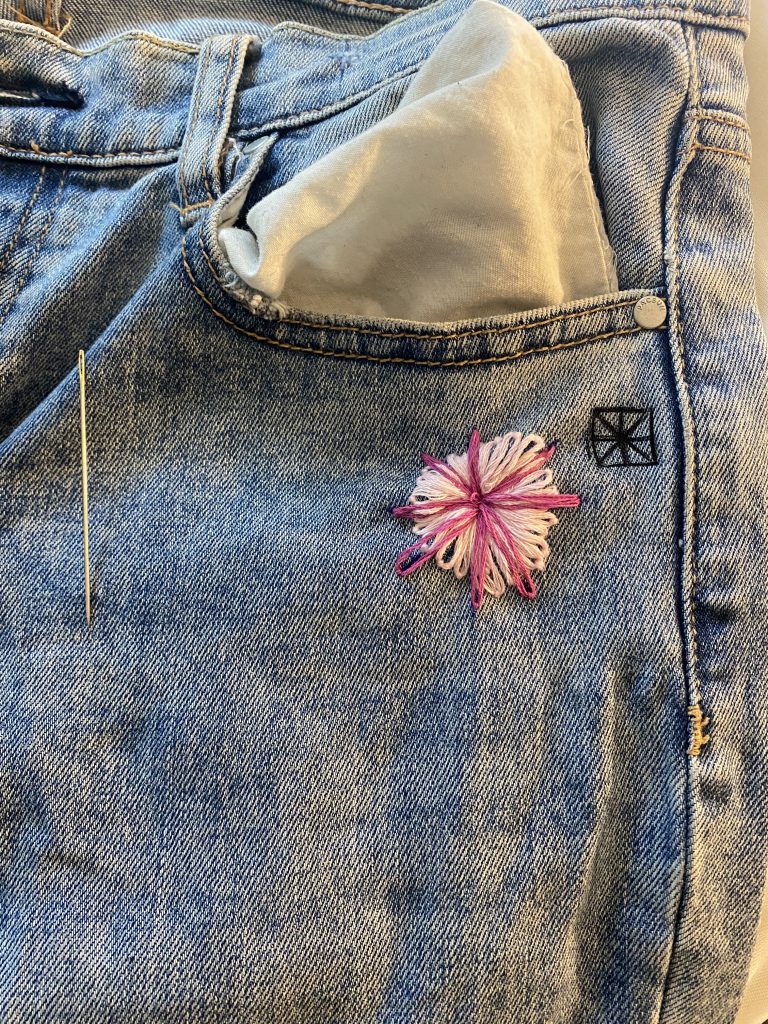
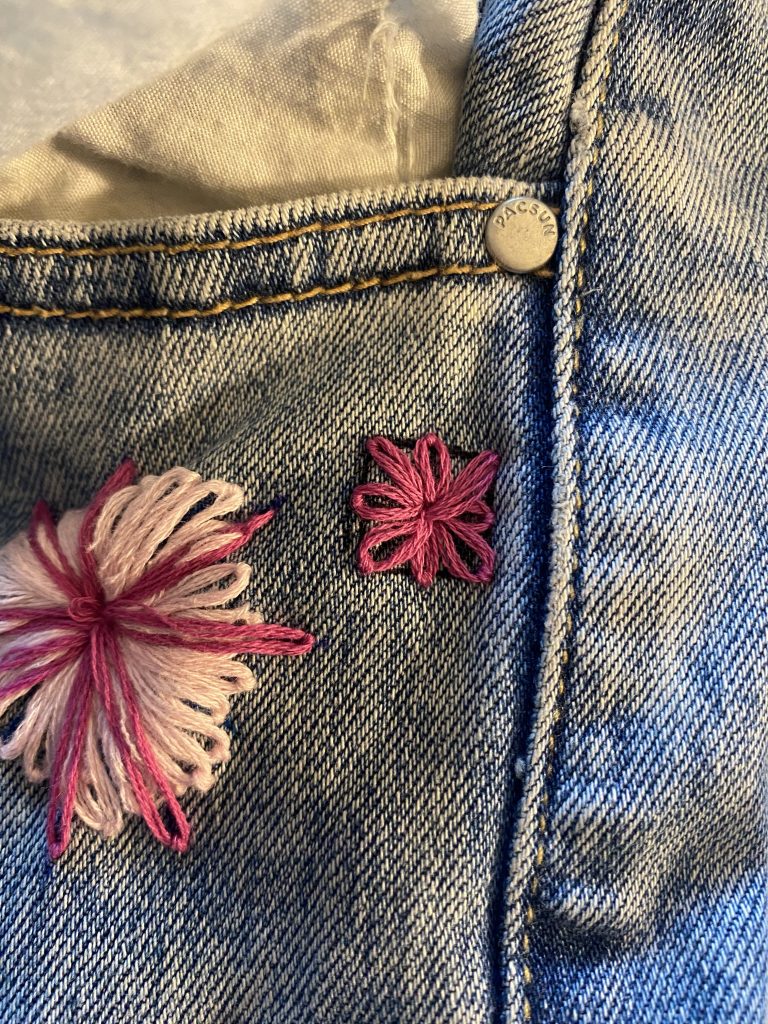
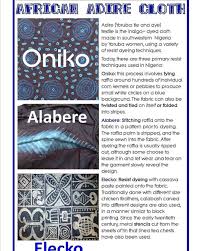
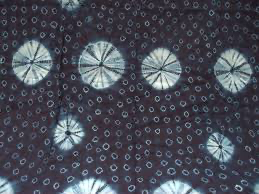
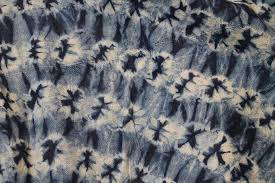
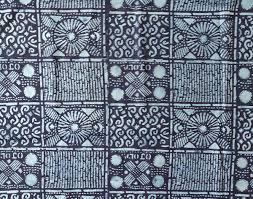
Adire Oniko is a type of Adire traditional dying that uses raffia as resists. There are specific patterns that have names but those names would range from town to town. Other resists were used to create patterns like Adire Alabere (stitch resists), Adire Eleko (starch resists), and the practice of hand painting which used chicken feathers, palm leaves, and match sticks.

Adire production was most popular in Ibadan. There is even a pattern to celebrate the city called, Ibadun dun (“Ibadun is good”.)

I chose this tradition because I’m Yoruba, so seeing the name got me interested because of connection to the tribe. Then looking at the textiles, I realized that the name and methods to get the intended textile were unfamiliar but the cloth itself was not. I’ve seen Adire cloths in closets at home, old family pictures and at parties/gatherings. I got my information from the Victoria and Albert Museum.

Mending

By Remi Adeoti

The jeans I decided to work on are a few years old and they started to thin (between the thin) last year until both sides had ripped. From there I decided to play with them, so I distressed them, cut them shorter, and changed the shape of the holes in the knee. These jeans just became practice for me to learn techniques so that I could thrift other jeans and apply what I learned.

For my mending project I used three methods mentioned in class and also found on YouTube. I was interested in the lasy daisy embroidery style, with this method, I struggled with my first attempt. I found that tension was my biggest challenge and that I tend to pull too much. I also feel like this was as frustrating as having a perfect wing with eyeliner. The first petals weren’t the same length and I could tell so I kept adding more but it never ended up what I intended it to look like/ symmetric. I tried again but instead of just drawing lines to follow I drew a box and used a ruler hoping it would be better, which I feel it was.

Backward Stich

The second method I attempted was the back stitch. This stitch was relatively easy. I added it as a highlight of the back pocket because I had spent so much time on the front that made the back and front of the jeans look like strangers than any two parts that could be related. For the future I would like to continue the sashimi stitching I used in the front so that it resembles a strip of mending that continues to the back of the thing and calf.

The final method I used was Sashiko visible mending which I followed a YouTube tutorial I found on the internet. With this method I tried to play with different pinks and purples and also density of the stitches. My biggest challenge here is that cloth I used to cover the cut in the jeans was very thin and with the tension from the stitching and stretching it started to break down. The repetition of this stitch made me confused and dazed at times, so there are places where I made mistakes. However, I am still satisfied with the results, for next time I would choose a different cloth, take some strands away from the embroidery floss and choose a thinner needle.

Tapestry Weaving

By: Remi Adeoti

When creating this weaving I didn’t have a plan in mind nor an intended shape that I wanted to display through the weaving, I was lost on what to create. Rather than focusing on a specific shape I decided to use this project as an exploratory one that allowed me to practice different techniques.

Some of the techniques I utilized were dovetails (single regular/irregular, group regular/irregular), interlocking, rya nots, bubbling, horizontal rows, vertical rows, wrapping, twining, diagonal slits, and soumak. Using all of these techniques I was able to explore and figure out which methods I liked and others I didnt.

I found Rya knots and wrapping tedious and somewhat annoying, only because they required alot of attention and required a good amount of effort for small outcomes. However I did enjoy dovetails and vertical rows although both were still tedious I liked the neatness of the rows and the feeling of fighting for control when looking at the dovetails.

Textile Based Artwork

By: Remi Adeoti

The Artwork I that I came across, that interested me the most, was this piece by Vanessa Barragáo. She is a Brazilian artist who was commission to do a piece for Heathrow Airport. I thought this piece was interesting because of the variety of methods she used to get different textures, and different levels to create her interpretation of the world. She used techniques including latch hooking, felt needling, carving, and crocheting to get textural difference but also to discern the different aspects of her piece. For example she crochet ridges to represent South American and Asian rain forests while using yarn to represent the deserts in Australia and Africa. My favorite aspect of this piece is her choice of colors and how she places them next to each other.Looking at how she represents the ocean, she uses multiple shades of blue that are cool but at times have purple undertones, and when put together actually does remind you of the different blues of the oceans in the world, some are darker, brighter, cooler and she is able to include that in her piece.

Improvisational Weavings

By Remi Adeoti

The first weaving I attempted was inspired by the idea of natural vs synthetic. As I started the process I wanted the synthetic/plastic materials to look like they were choking the plastic. One surprise was how many methods I had to try in order to use the natural items, that ended up being my biggest challenge. The biggest challenge I had was manipulating the natural items in order to weave it through, whether that was bending them beforehand, tying them together or folding them. I think I did get the look of nature not having room to flourish because of the presence of synthetic materials and I was also able to play around with the materials at the same time, fo example I used bottle caps to put the stems of leaves together and I used a chopstick wrapper to tie around a leaf.

life is ringed out of the flower that had yet to bloom

Materials

  1. pre-bloomed flowers
  2. leaves
  3. loose branches
  4. plastic water jug
  5. chopstick wrapper
  6. plastic bags
  7. dead/loose plat stems
  8. dead plant
  9. roots brown paper bag
  10. weeds

The second weaving attempt was intended to be more traditional with the use of paper. There were some elements I tried to explore like using quotes regarding misogyny in Hip-Hop but unfortunately they did not make the final piece. The intended effect of this project was to emphasize the clash in hip hop, specifically rap, between artists. The rap industry has notoriously welcomed and celebrated vulgar and hyper-sexualized messages from male artists but then have also turned around to chastise female artists who have done the same. A challenge and a surprise was trying very hard to not be confused by the weavings. There are about 3 layers of weavings and I got lost a few times because it was more than just one weaving I was trying to do correctly. A discovery that I made was that I needed more materials for how ambitious I wanted to be. I believe the use of so much paper was making it very flat and one dimensional, that is why instead of using paper as a border I tries to crochet one that wasn’t uniform. And is also why I attempted to weave the outline of the female genitalia through the entire project upon. A success I had was getting some of the more vulgar words to stick out, however I wish I did more of bolding them and increasing the font size so that those words could be seen more.

Materials:

  1. Paper
  2. Yarn
  3. Foam sheets

Improvisational Weaving

In each project I tried to use different tools in order to play with weaving softer and different textured materials.

My first project was with yarn, a cup and twine to weft in a circular pattern. This was more traditional than the other with the exception of the cup as a loom. It was difficult to get my hand through the tiny spaces, which I again found to be challenge when I was weaving my scarves through my pencil in the later project. However I think It was pretty successful because my twine didn’t really slip after utilizing tape.

The easiest project was with the paper and for that one I tried to play with different widths of paper to see if it added a visual affect to the project. The paper weaving project was alot easier to accomplish and took the least amount of time gathering and setting up. I at first did try to use Olivia’s method with the ruler to place the paper, but that didnt work too well so I opted for taping the paper down to my desk.

My third project used scarves, pencils and tape to create the loom, warp and weft. The biggest challenges were weaving the scarves through the pencils and also spacing the pencils out evenly while making sure they don’t move. I think the scarves I used were too big for the spacing I left in between the pencils. I wanted to play with different patterns on a very similar fabric but it did not work well with the use of pencils and tape.