OBJECTIVE
Provide a physical item that illustrates your ability to develop a 2D Geometry file, prepare the CAD file in secondary laser application, and utilize laser cutting, engraving and scoring techniques.
CRITERIA
- Prepare a CAD File that utilizes application options, 2D Curve/Polyline geometry, layers & editing tools within Rhinoceros 3D
- Geometry must be prepared for laser cutting, engraving and scoring processes
- Successfully export from Rhino as [.dxf] file-type, and import into LaserCut
- Properly prepare LaserCut file settings/preferences
- Exhibit understanding of Equipment Policy & Procedure
- Participate in Fire Extinguisher Identification and Use Training, provided by Environmental Health & Safety
- Provide documentation of your work (Rhino File, LaserCut File, Images)
SUGGESTED PROJECT
*READ ME* The following is a suggested project. You are NOT required to follow these guidelines. You may create your own original project if you prefer:
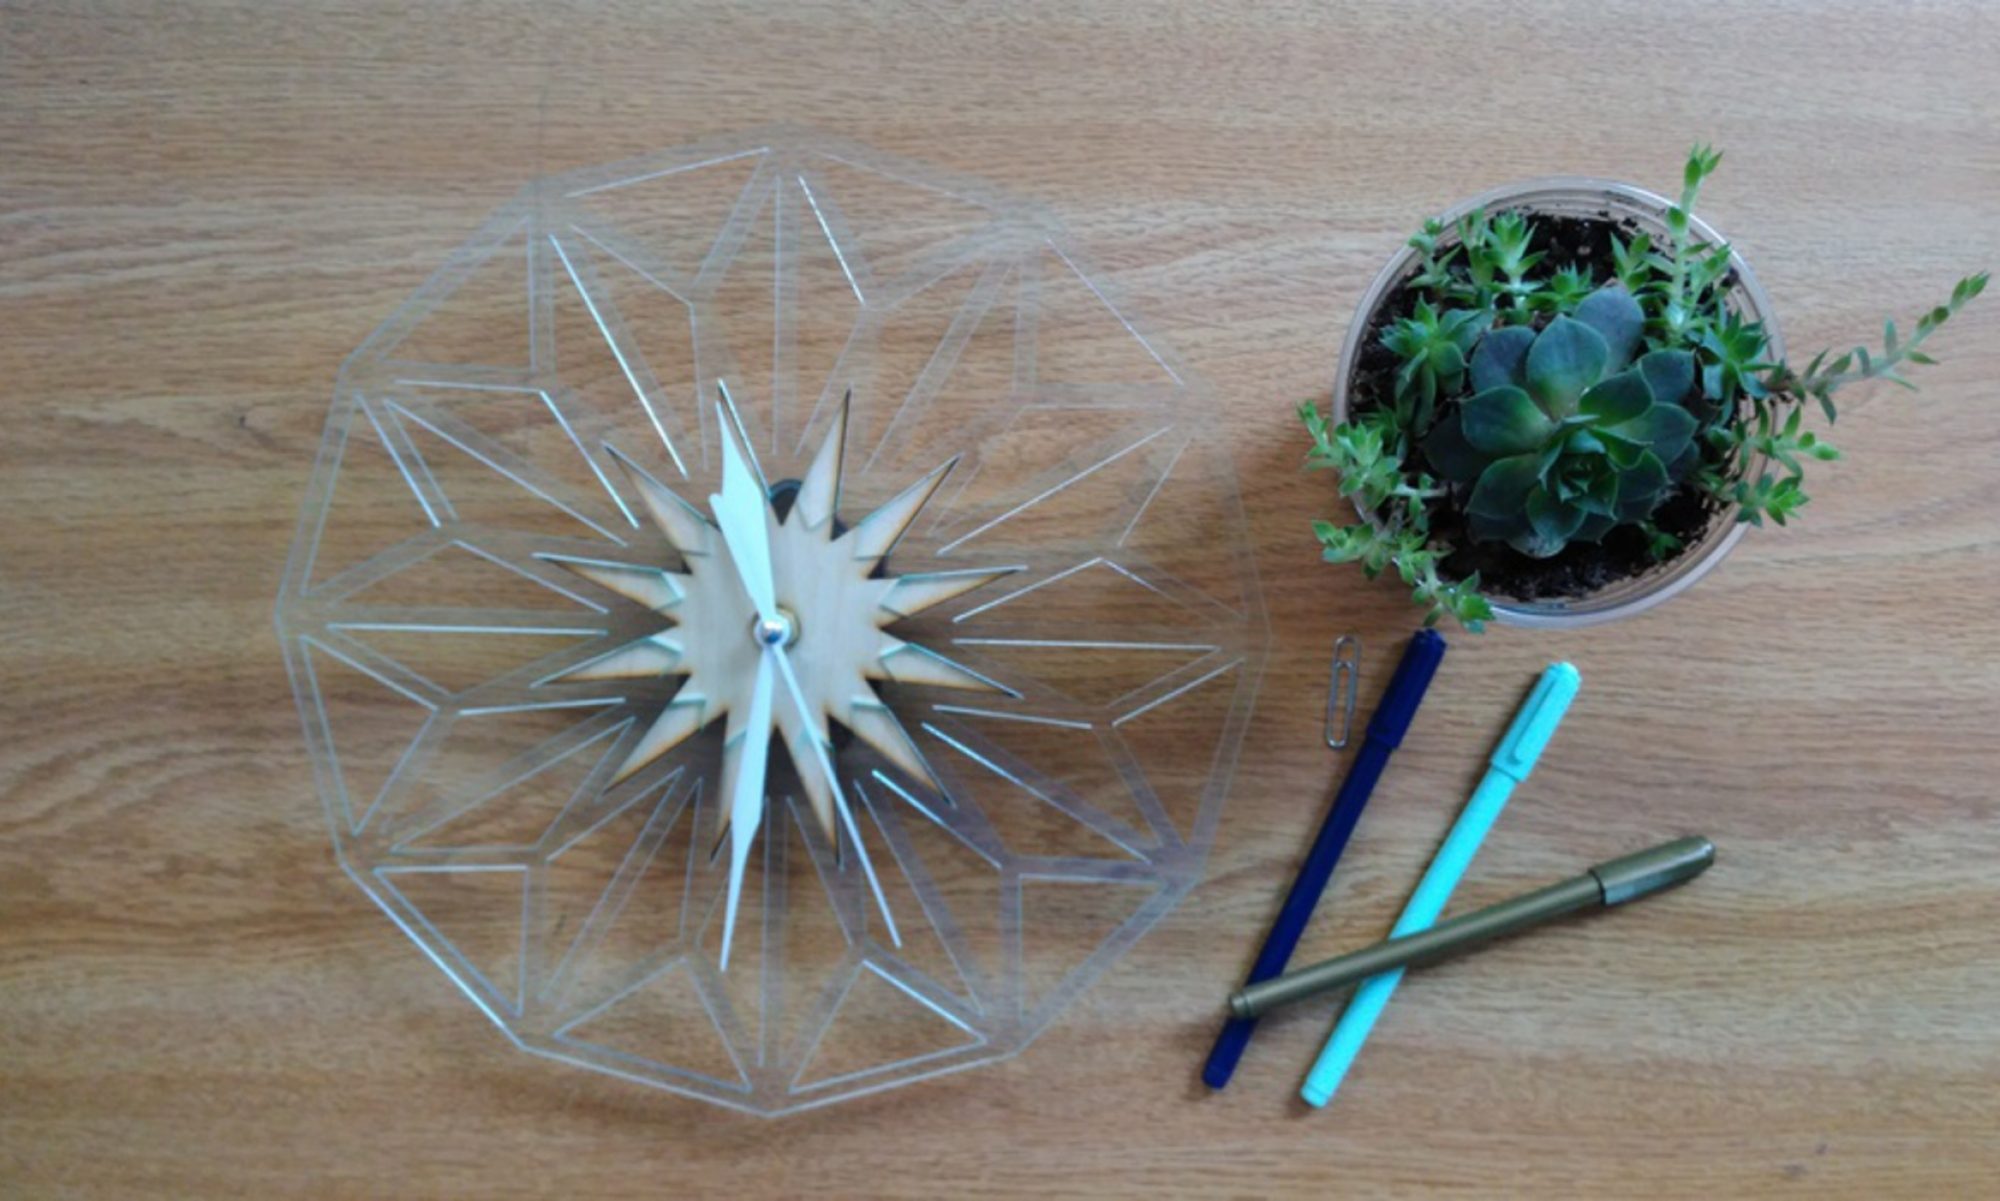
Using a Clock Kit, and Acrylic Sheet- utilize Laser Cutting, Engraving and Scoring Techniques to create a functional Clock. This Project should illustrate the User’s ability to properly prepare a CAD File within Rhinoceros 3D for Laser Processing.
TOOLS
SUGGESTED MaTERIALS
- (1) 12″ x 12″ x 1/8″ (305mm x 305mm x 3mm) Acrylic Sheet
- (1) Clock Kit
RESOURCES
- Project Submission Guidlines
- Rhino Introductory Tutorials
- File Prep Instructions (for suggested clock project)
- Rabbit Laser Policy
- Rabbit Laser Procedure
- Rabbit Laser Settings
STEPS
1
Step 1
1. Begin by determining your Tools, Application Environments and Materials :
i. Tools: Rabbit Laser System
a. Power: 80 Watt
b. Bed Size: 1200mm x 900mm (47.25in x 36.43in)
ii. Applications: Rhinoceros 3D, LaserCut
iii. Materials: Available for purchase from IDeATe Lending (A29)
a. Suggested: Acrylic Sheet : 12″ x 12″ x 1/8″ (305mm x 305mm x 3mm)
b. For Suggested Clock Project: 12″ x 12″ x 1/8″ (305mm x 305mm x 3mm) & Clock Kit
2
STEP 2
2. Prepare your CAD File
i. 2D Geometry: Begin drawing and outlining your CAD file with Curve/Polyline creation and editing commands. Rhinoceros 3D Tutorials, Rhino File Prep for Clock Kit
ii. Organization & planning: Create Layers, and label them as ‘CUTTING’; ‘SCORING’ & ‘ENGRAVING’. Make the layer geometry identifiable by changing the layer color. Transfer geometry to these layers as necessary, to keep your file organized and understandable.
3
STEP 3
3. Export your CAD File
i. SELECT the geometry you would like to export. (DO NOT USE ‘Save as..’)
ii. Go to the FILE drop-down menu, and select the EXPORT SELECTED option.
iii. Export your file (preferably to a USB Flash Drive) as an AutoCAD [.dxf] file format.
4
STEP 4
4. Import, prepare, & send your file: LaserCut Tutorial
i. Find an open/available Laser System- using the computer, transfer your AutoCAD [.dxf] file to the desktop.
ii. Open the LaserCut Application.
iii. IMPORT your AutoCAD [.dxf] file into LaserCut. (use IMPORT, not OPEN)
iv. Unite Lines, and begin setting your preferences for each grouping/layer.
v. Download the file to the Laser Equipment.
5
STEP 5
5. Complete the process *see note 5
i. Prepare your material for Laser processing.
ii. Properly set the Z-Axis, and power ON the Lighting, Laser Power, and Socket Switch buttons.
iii. Close Lid, and use TEST to draw outline of Laser file.
a. IF all is aligned properly: Close lid and push START
b. IF TEST outline goes over your Material boundaries, adjust settings and/or file, re-download, and re-TEST.
*Note 5: The following should be completed and exercised to achieve & retain access to IDeATe Laser Equipment:
1. User must review and follow Laser Equipment Policy
2. User must review and follow Laser Equipment Procedure
3. User must participate and complete Environmental Health & Safety’s Fire Extinguisher Identification and Use Training
i. Fire Extinguisher Identification Training is offered in-class
ii. If you missed class on this day, you should schedule/reserve a spot in the next offering.
6
STEP 6
6. Submission/Documentation/Review: Guidlines
i. Provide (5) Semi-Professional Photographs of your work.
ii. Submit all relevant files:
a. Rhino File [.3DM]
c. LaserCut File [.EPS]