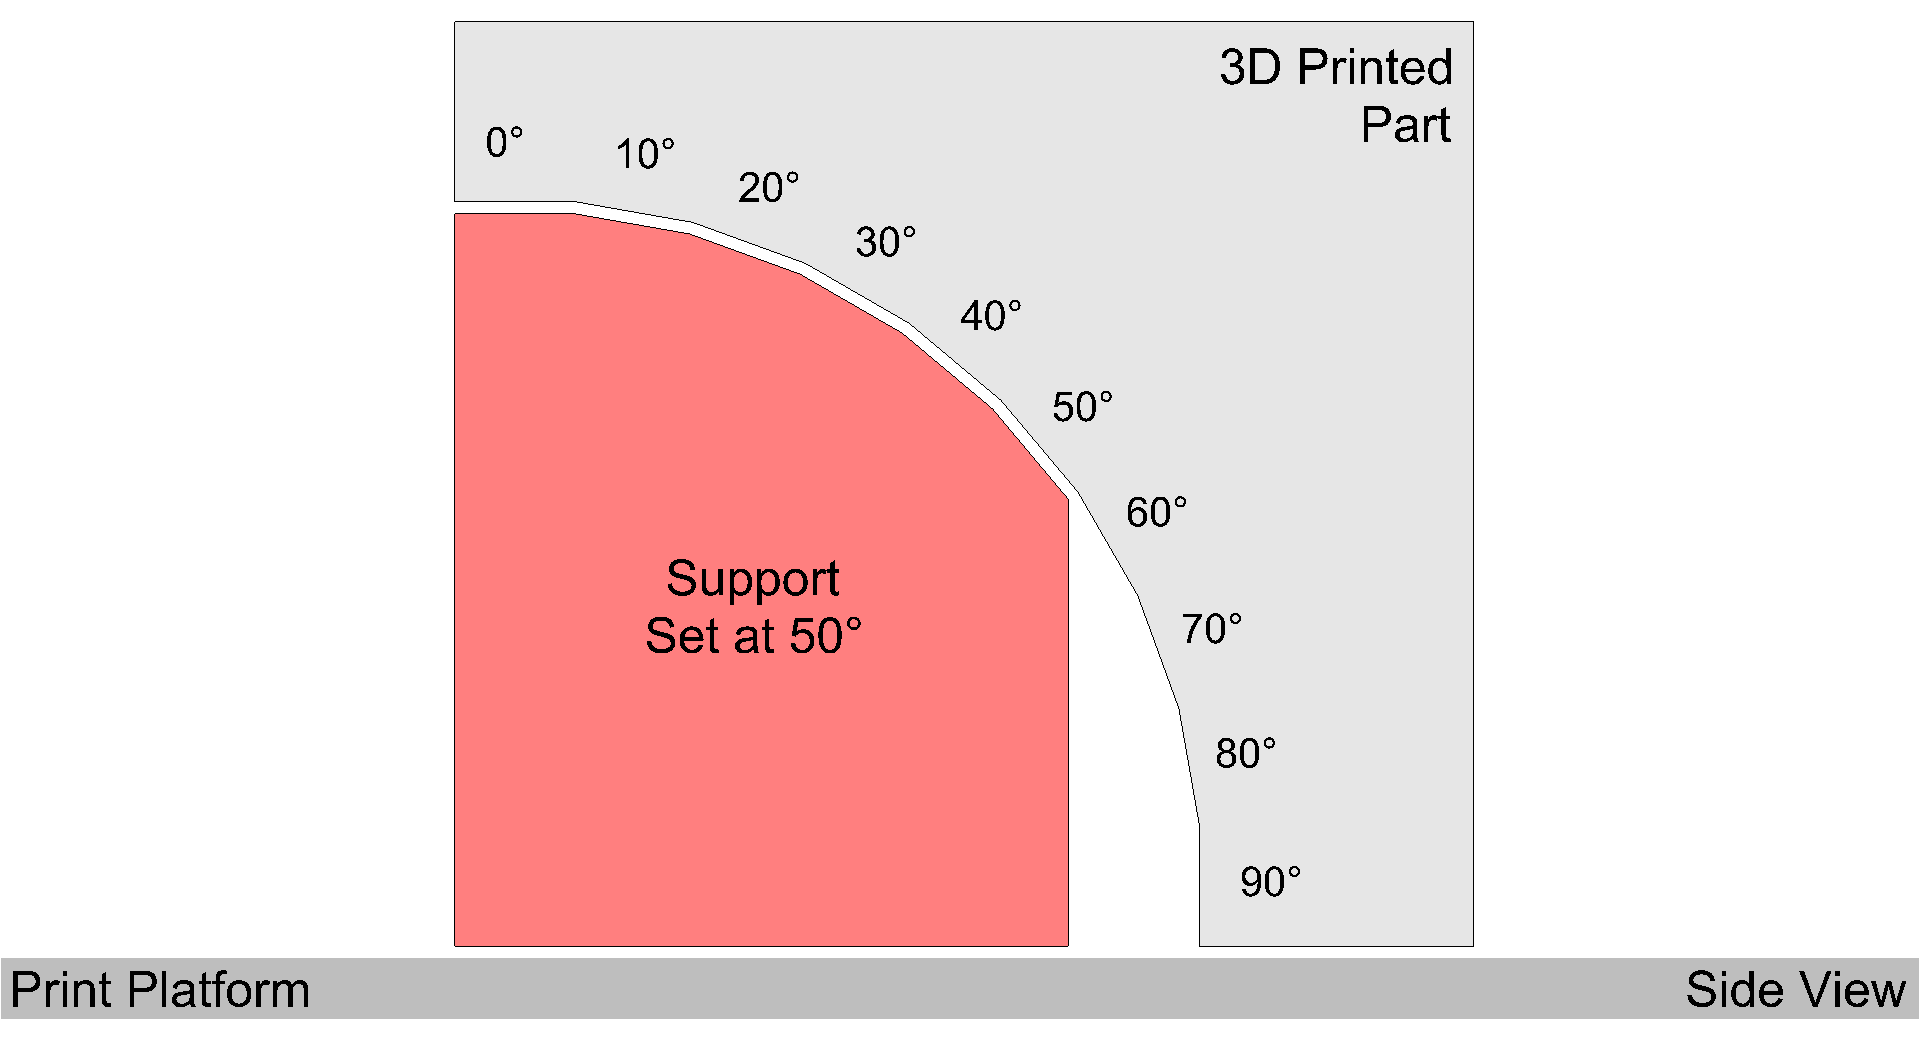
After adjusting your Print Settings, submit your file by following these steps:
|
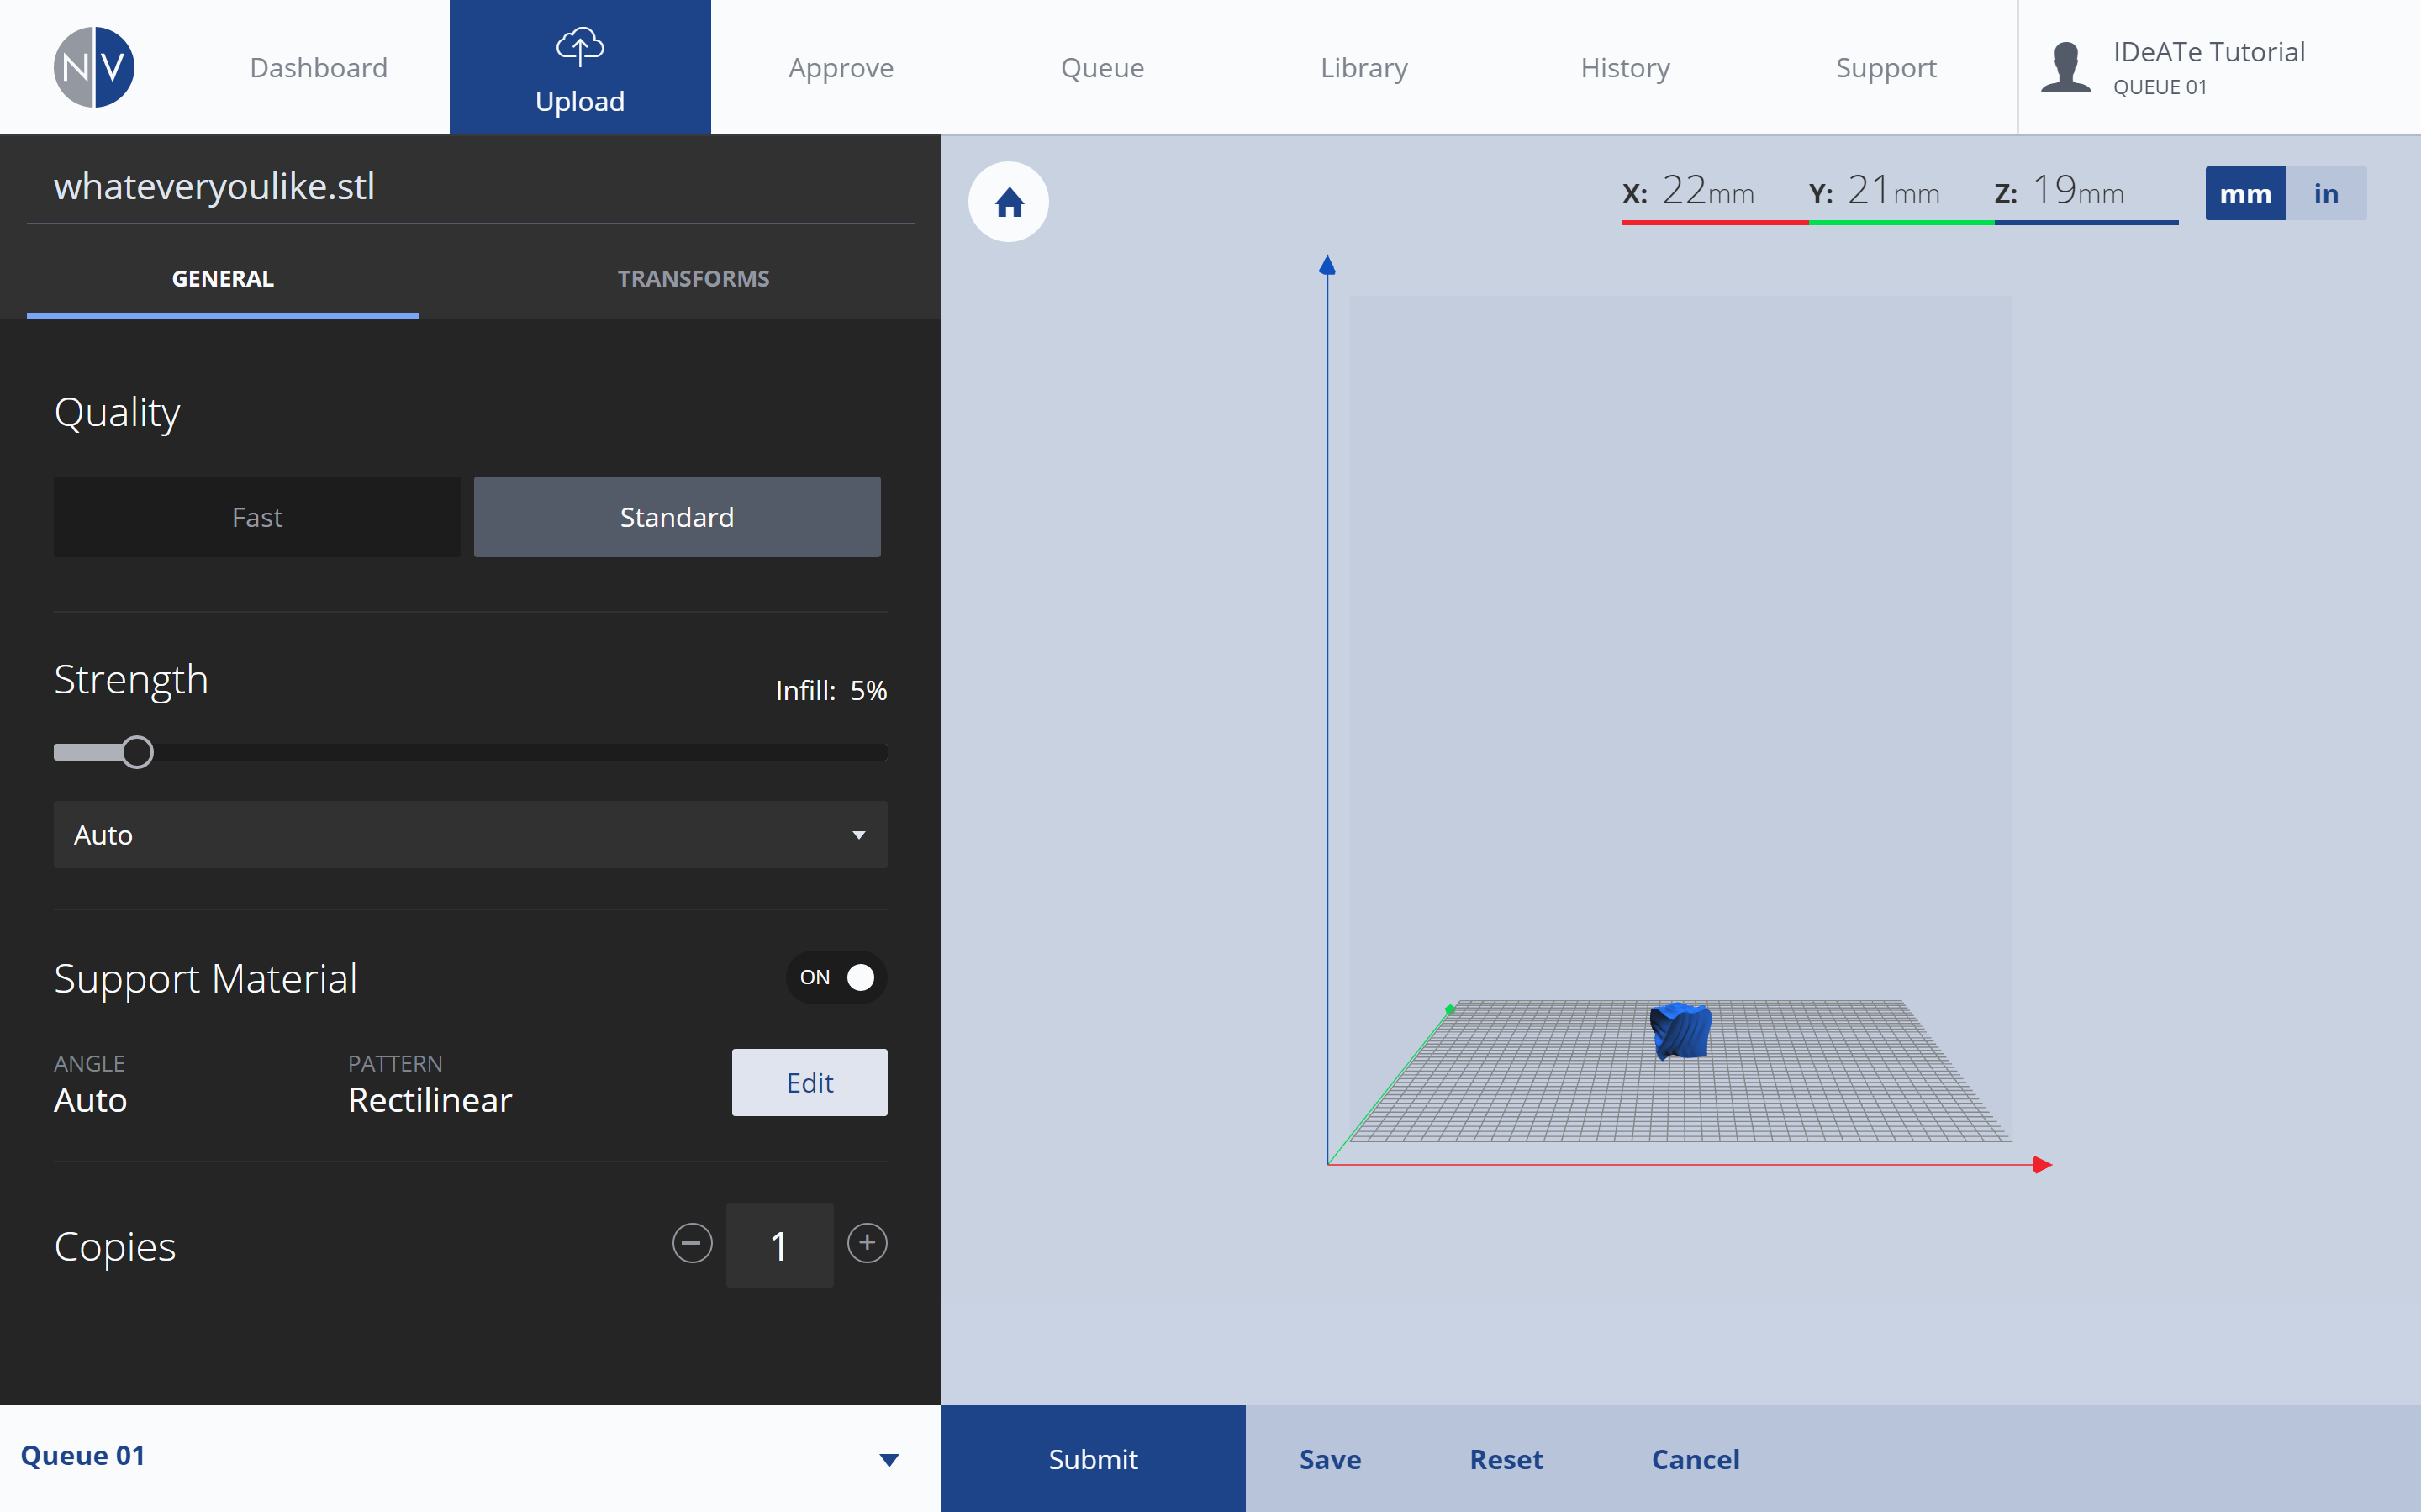
1. Copies |
|
|
|
 |
|
|
|
The COPIES setting is available from the Print Settings: General menu. COPIES affects the number of copies to be printed. If you plan on printing more than (1), adjust your desired quantity here. |
|
|
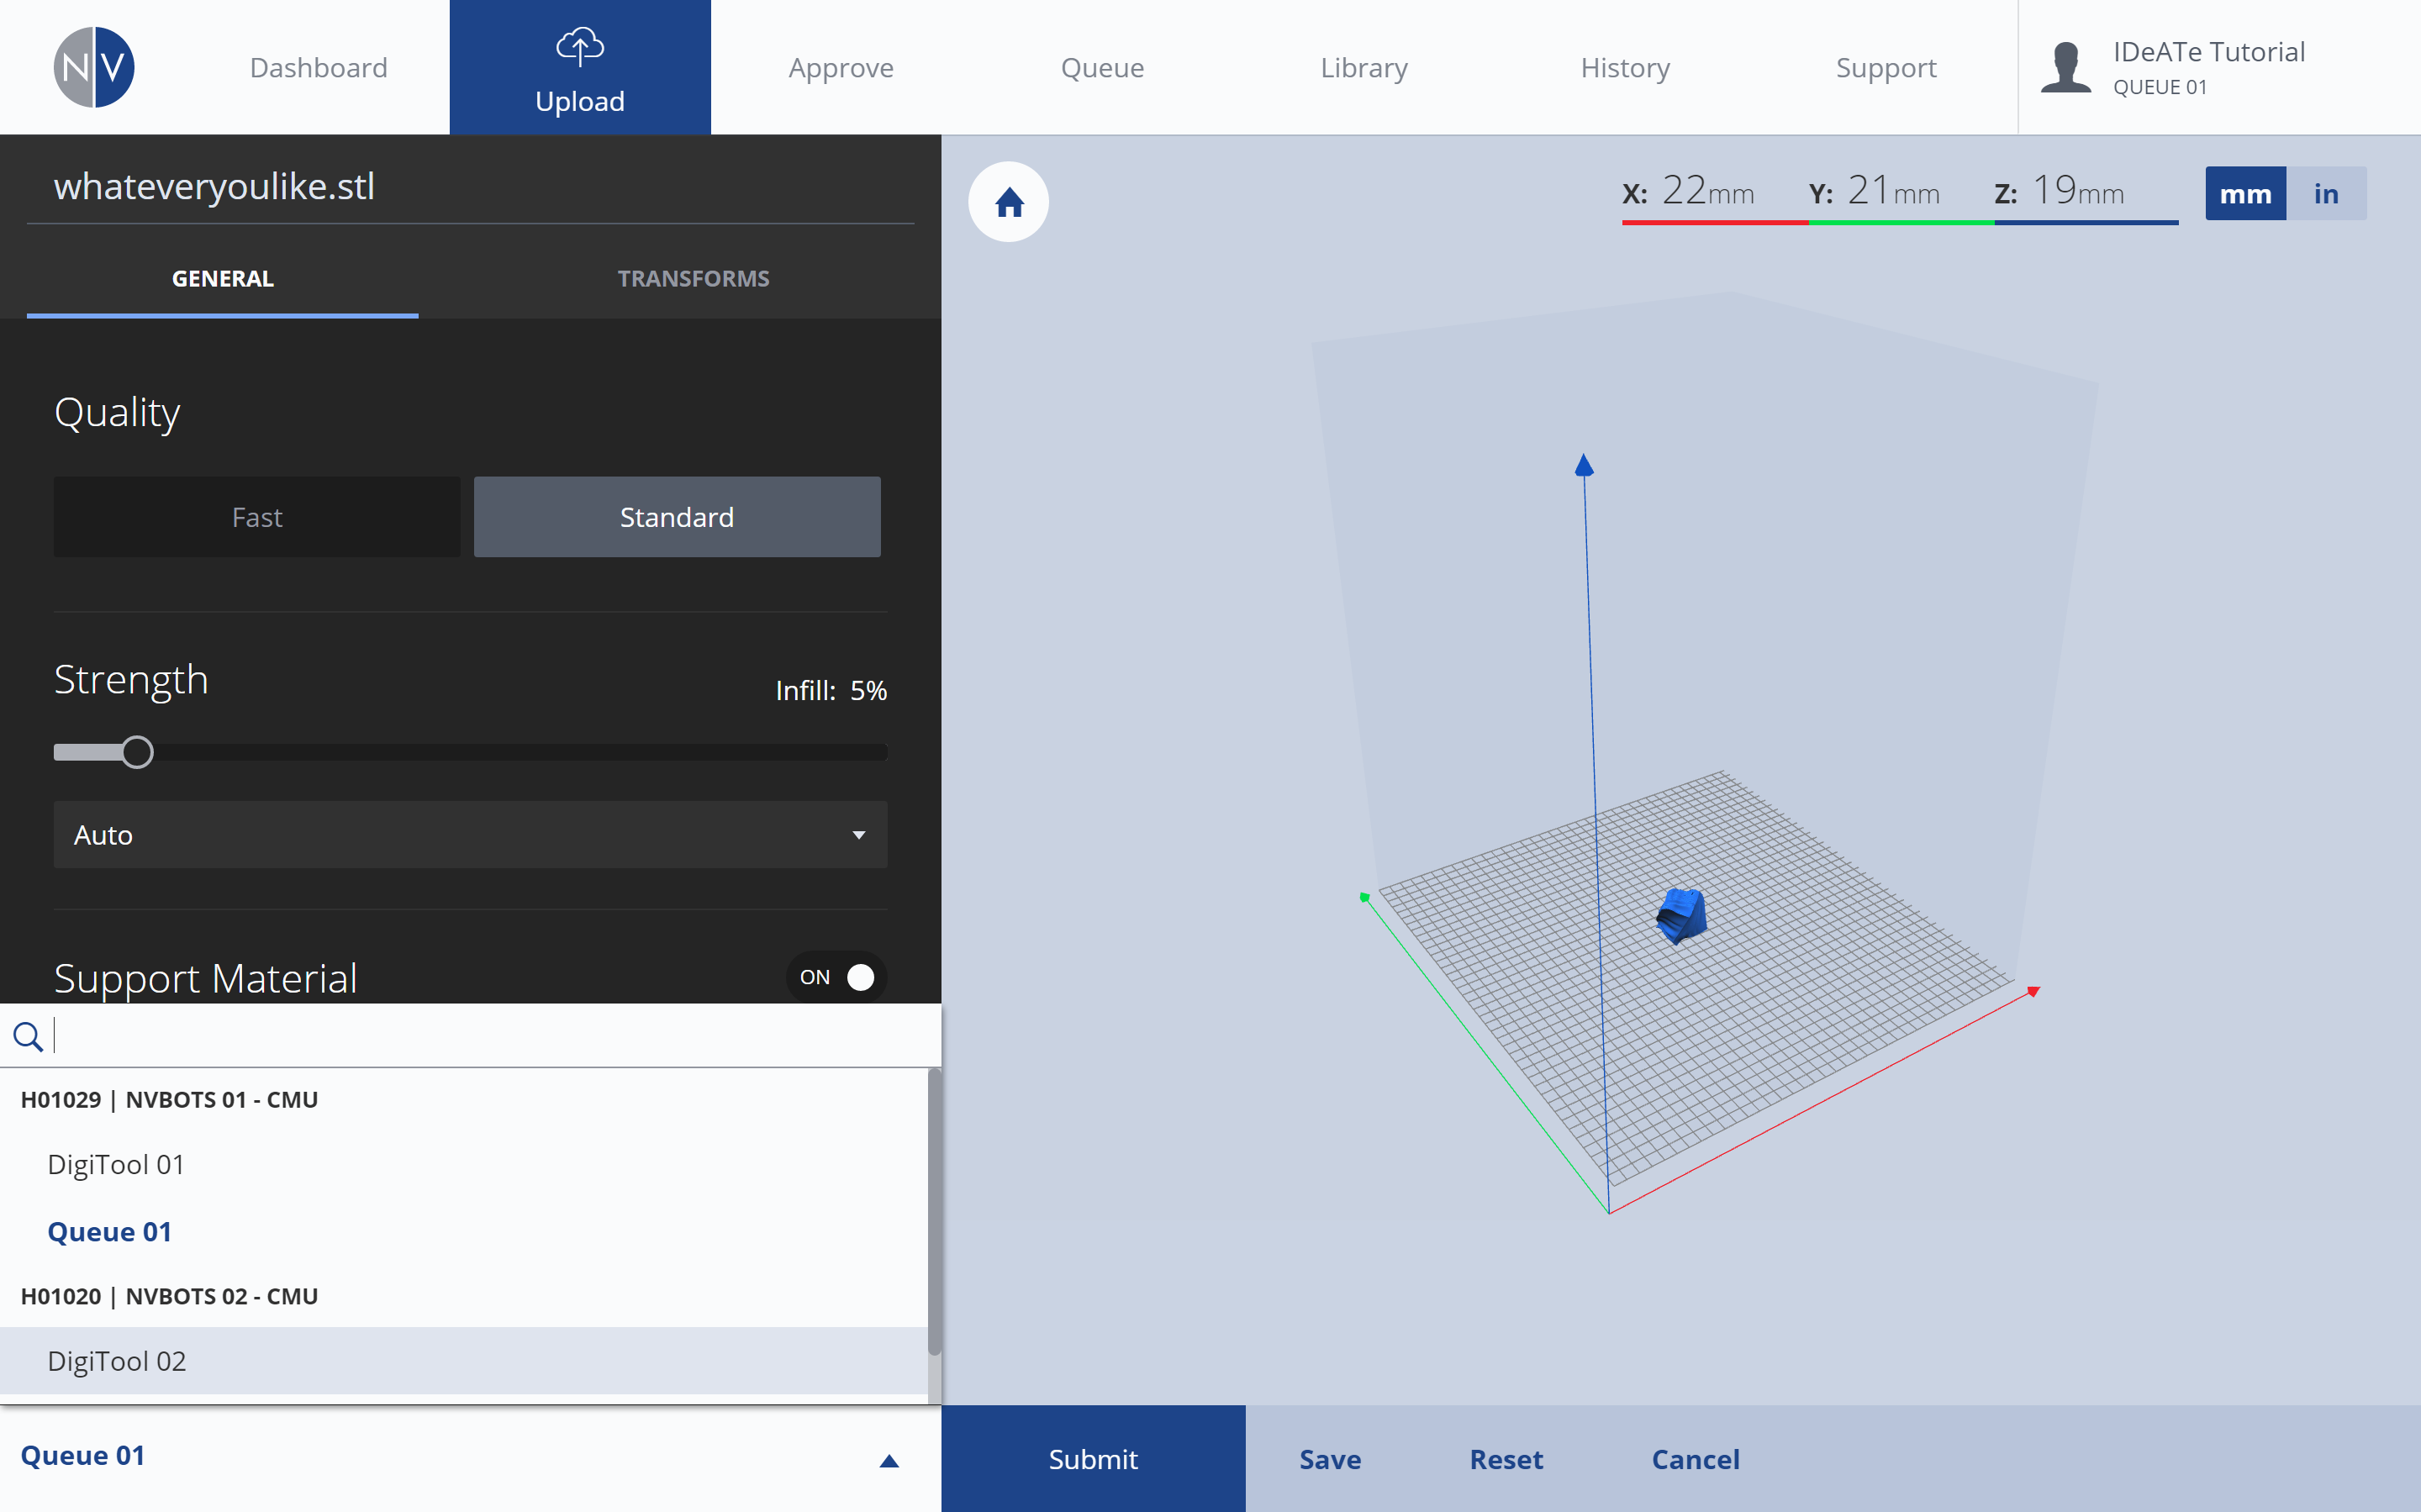
2. Group |
|
|
|
 |
|
|
|
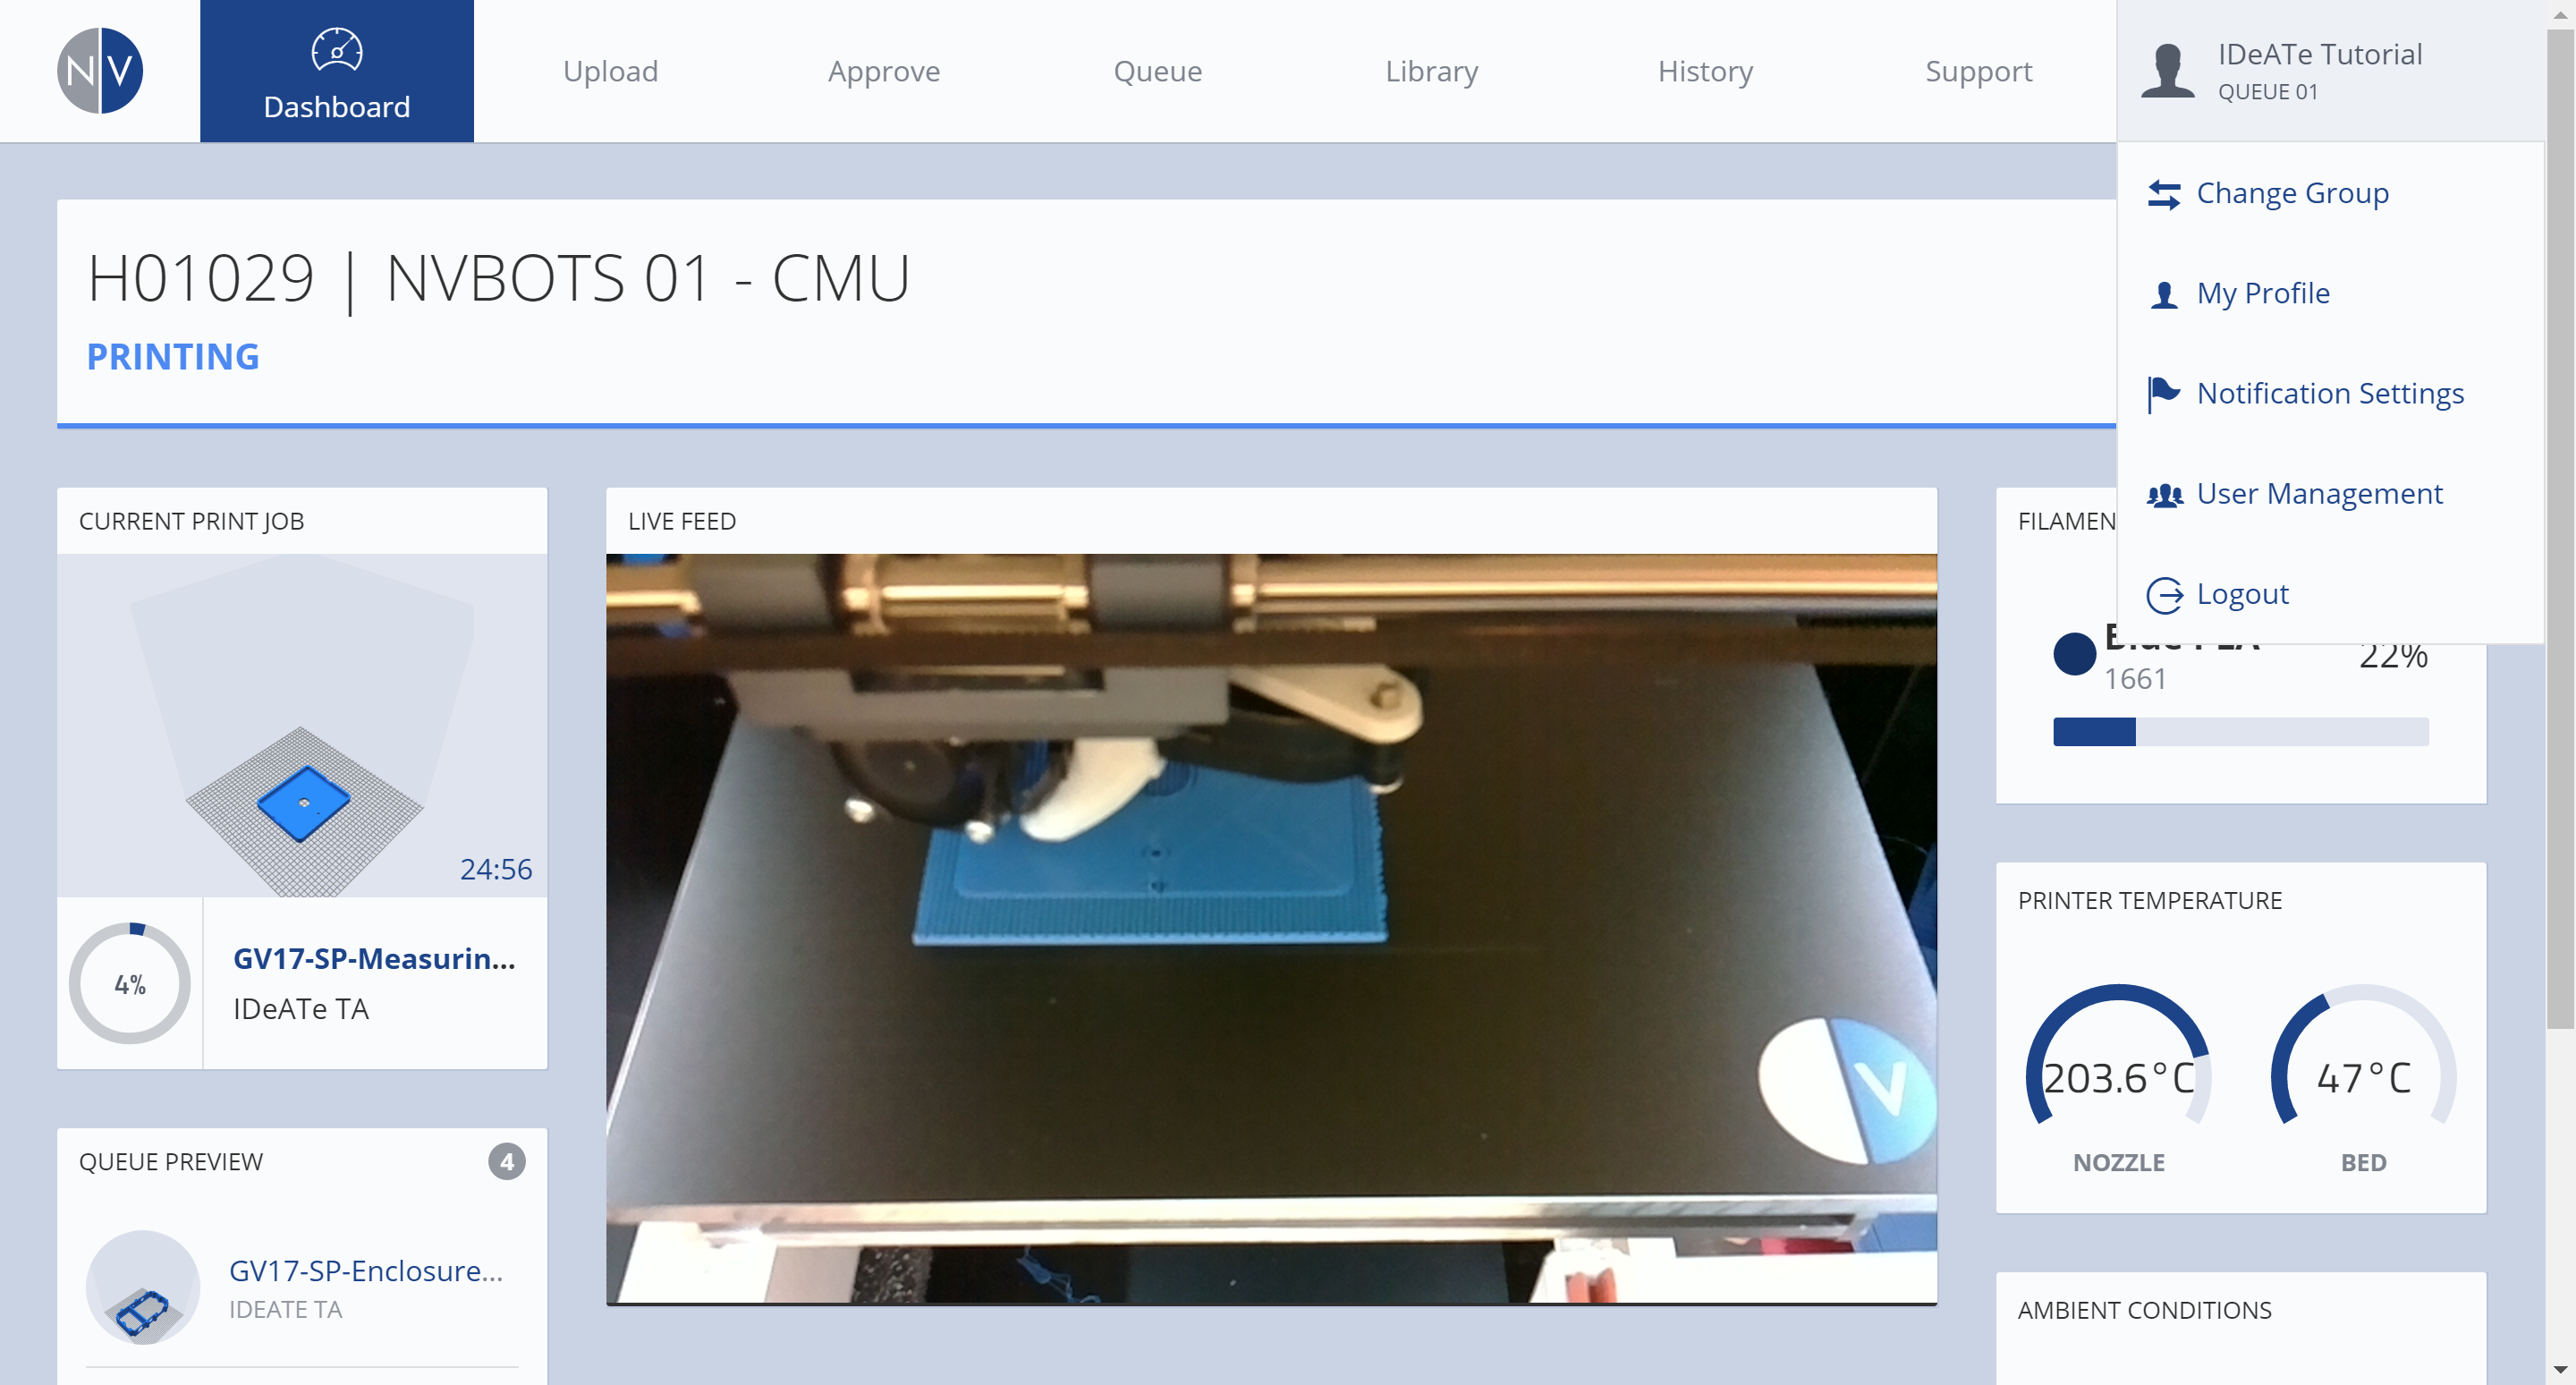
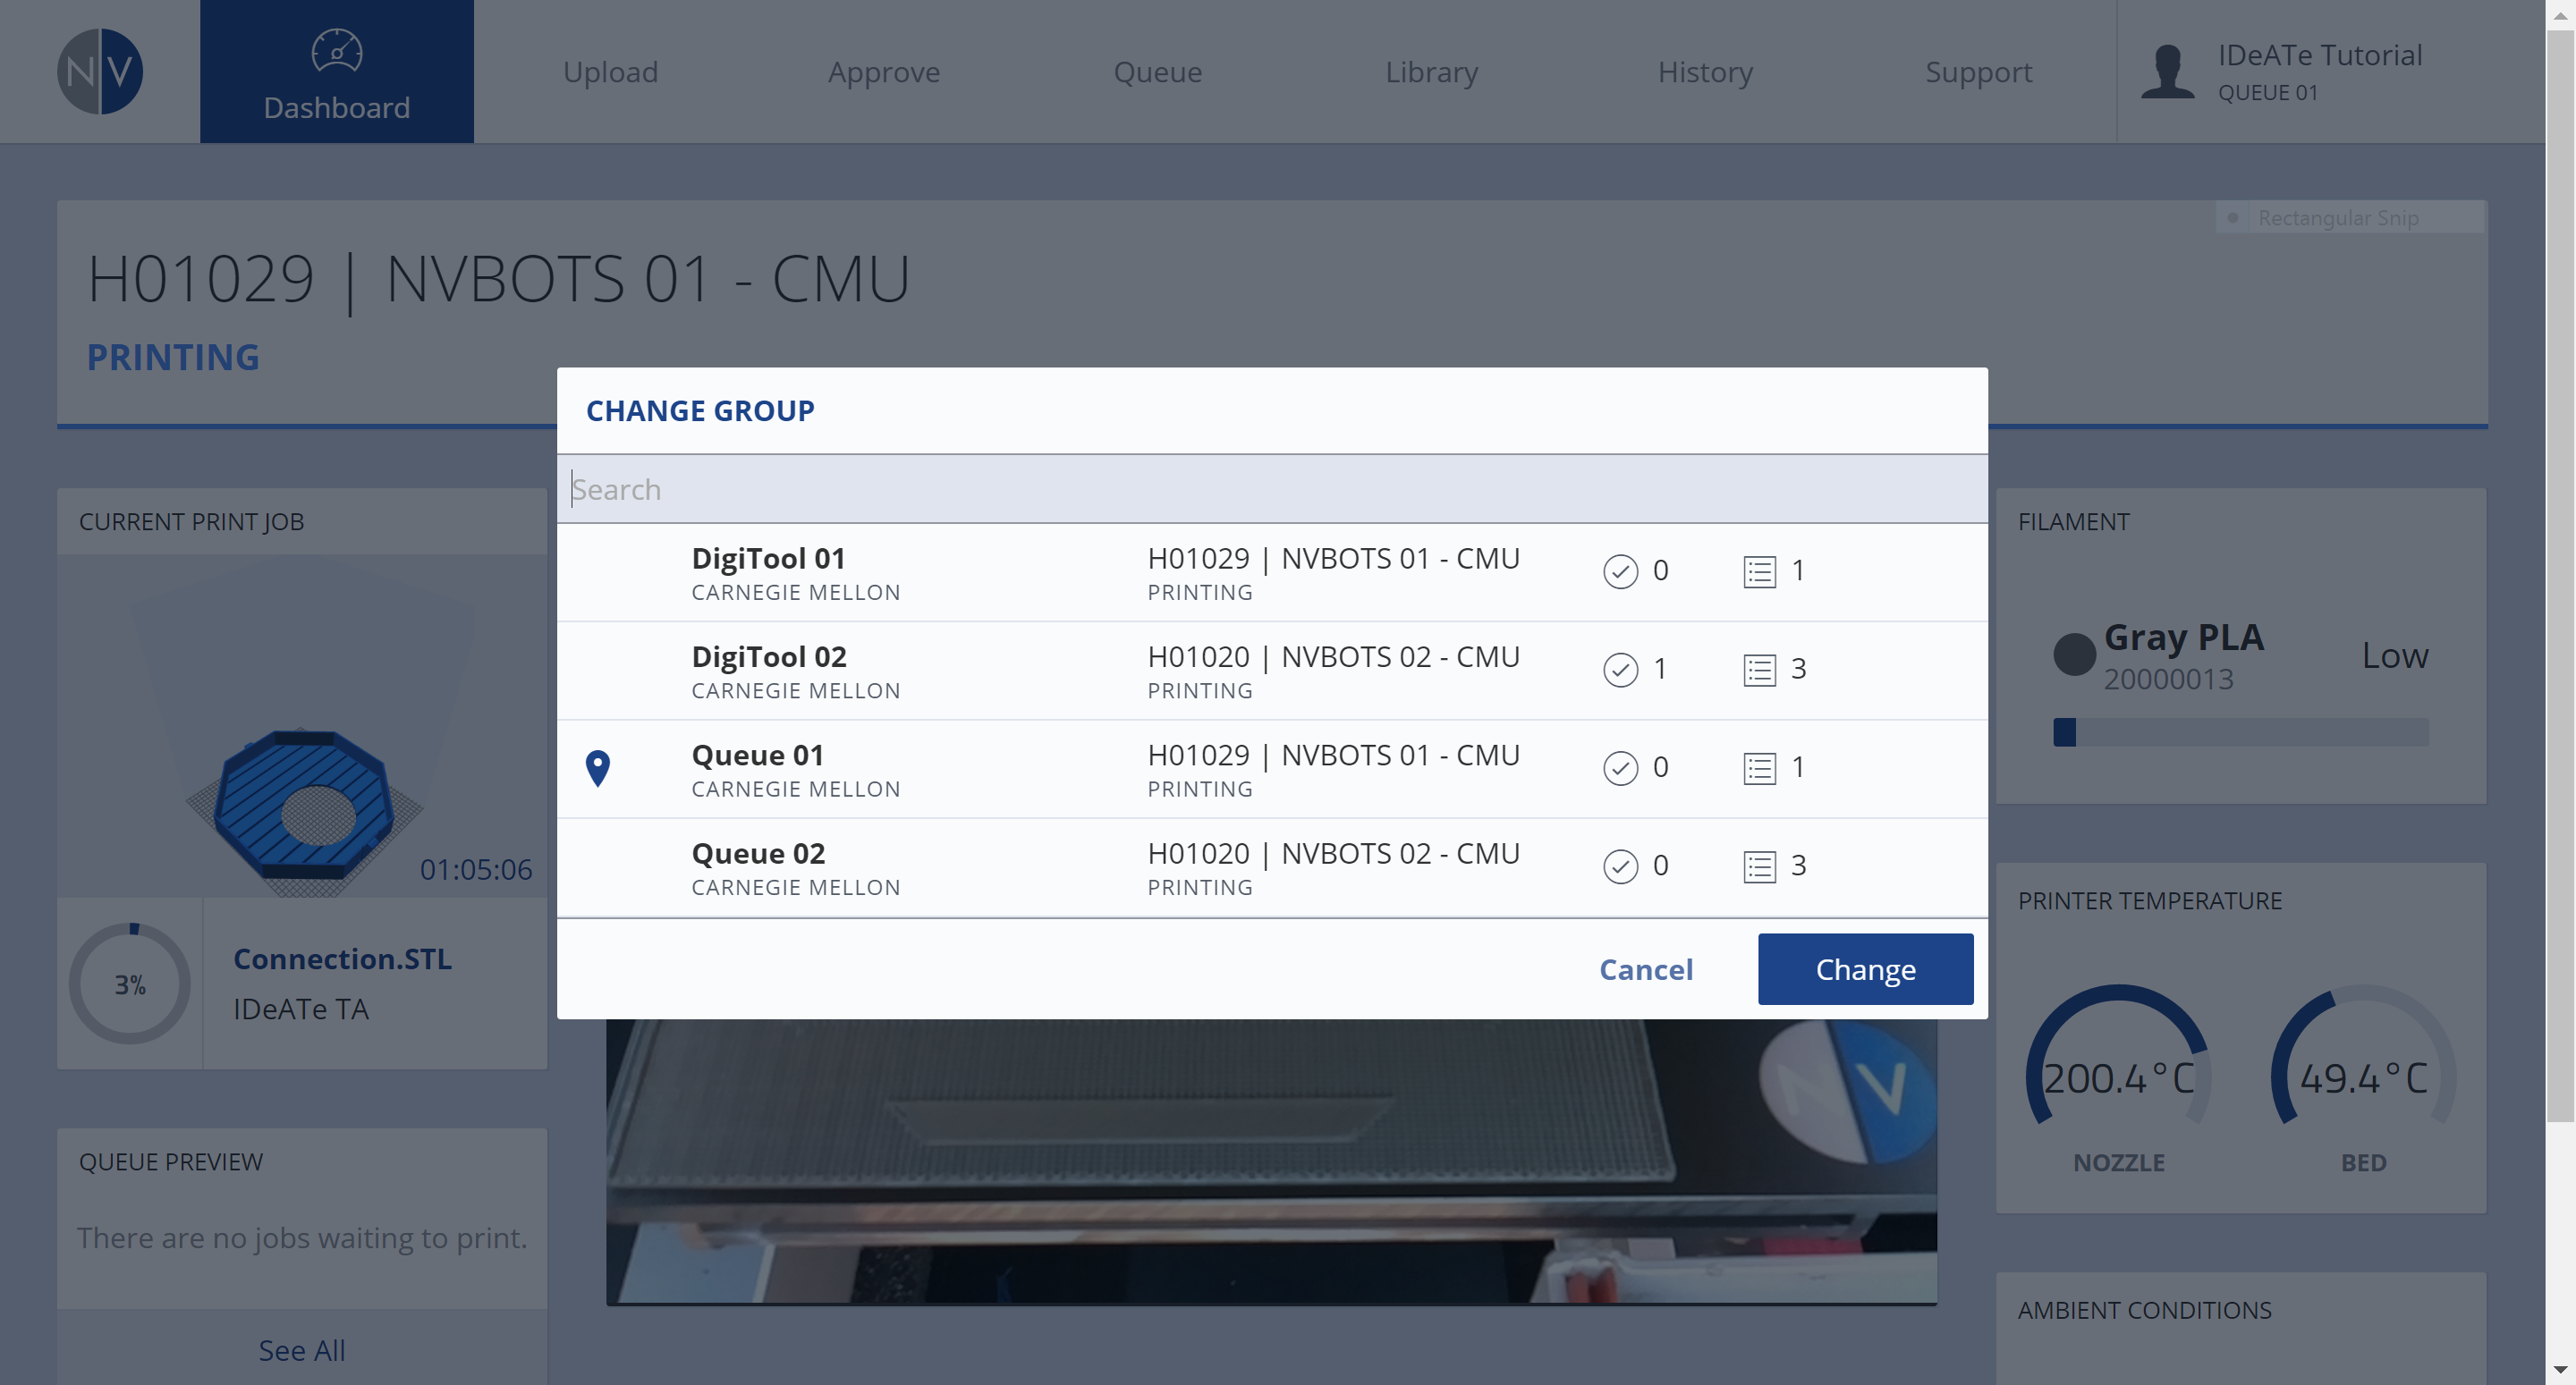
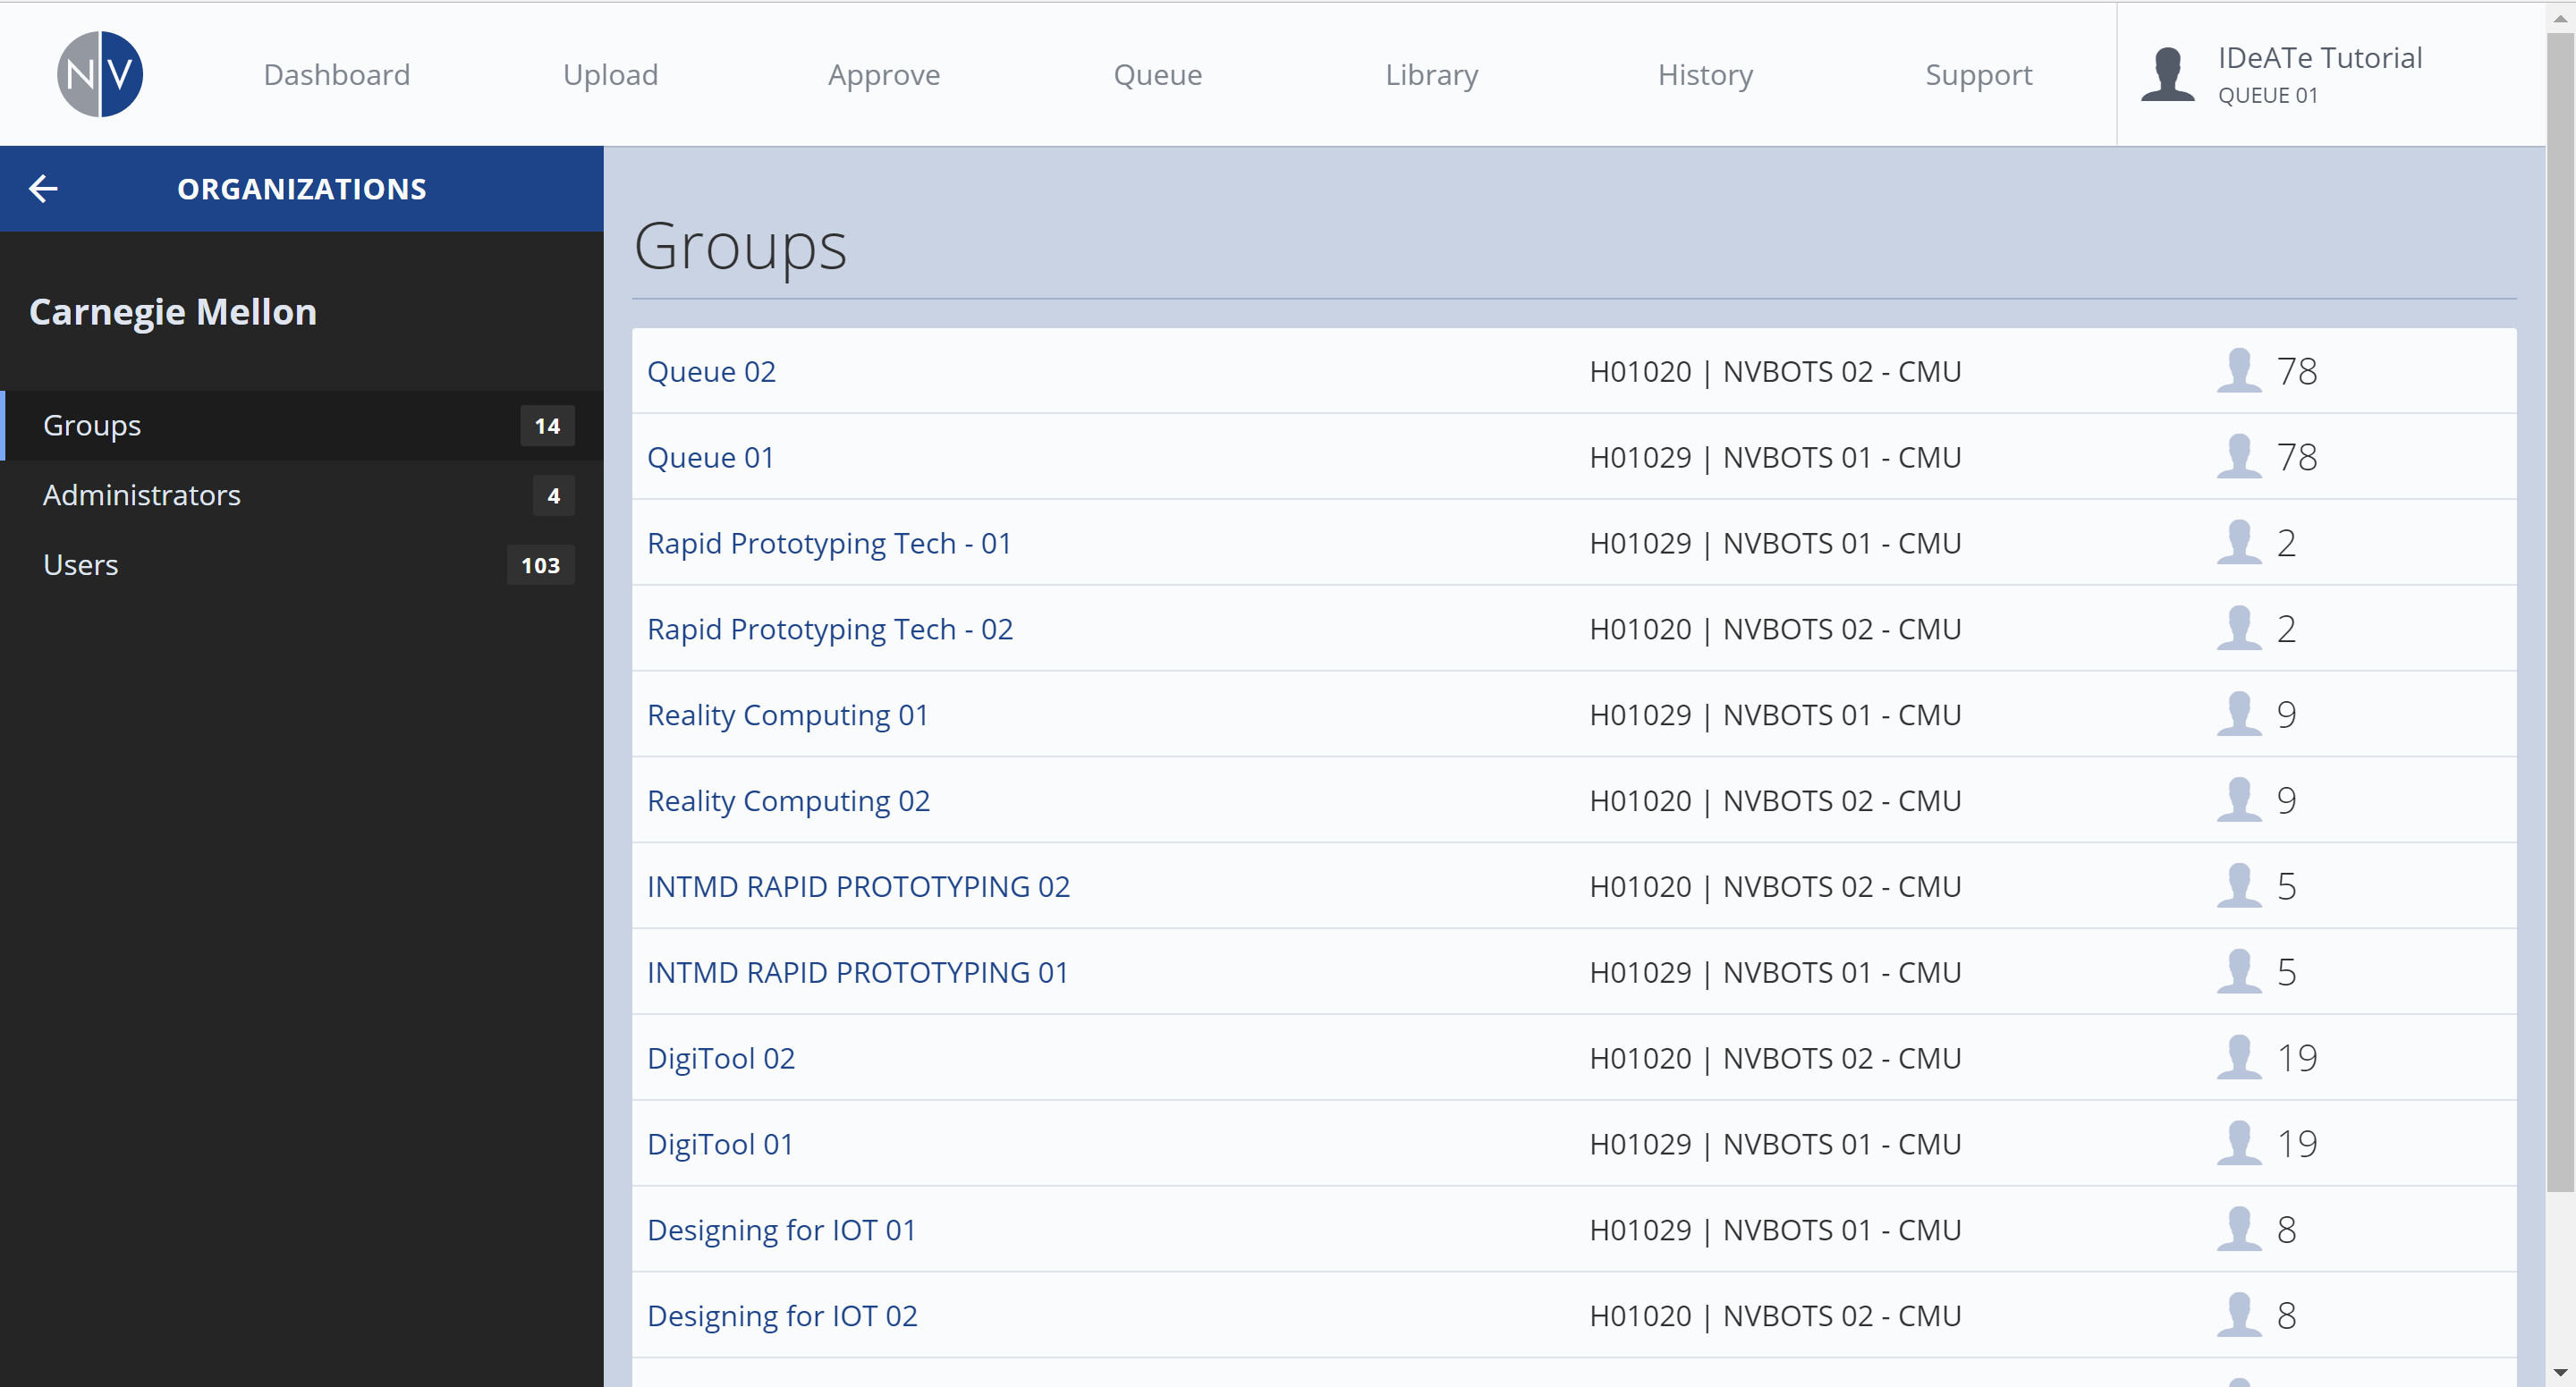
Near the bottom-left corner is your GROUP MENU. Selecting the arrow will expand this menu, allowing you to select which print group (and printer) the print should be sent to. The list is limited to print groups you’ve been invited to print from. *For more information on GROUPS, see NVBot: NVCloud Interface. |
|
|
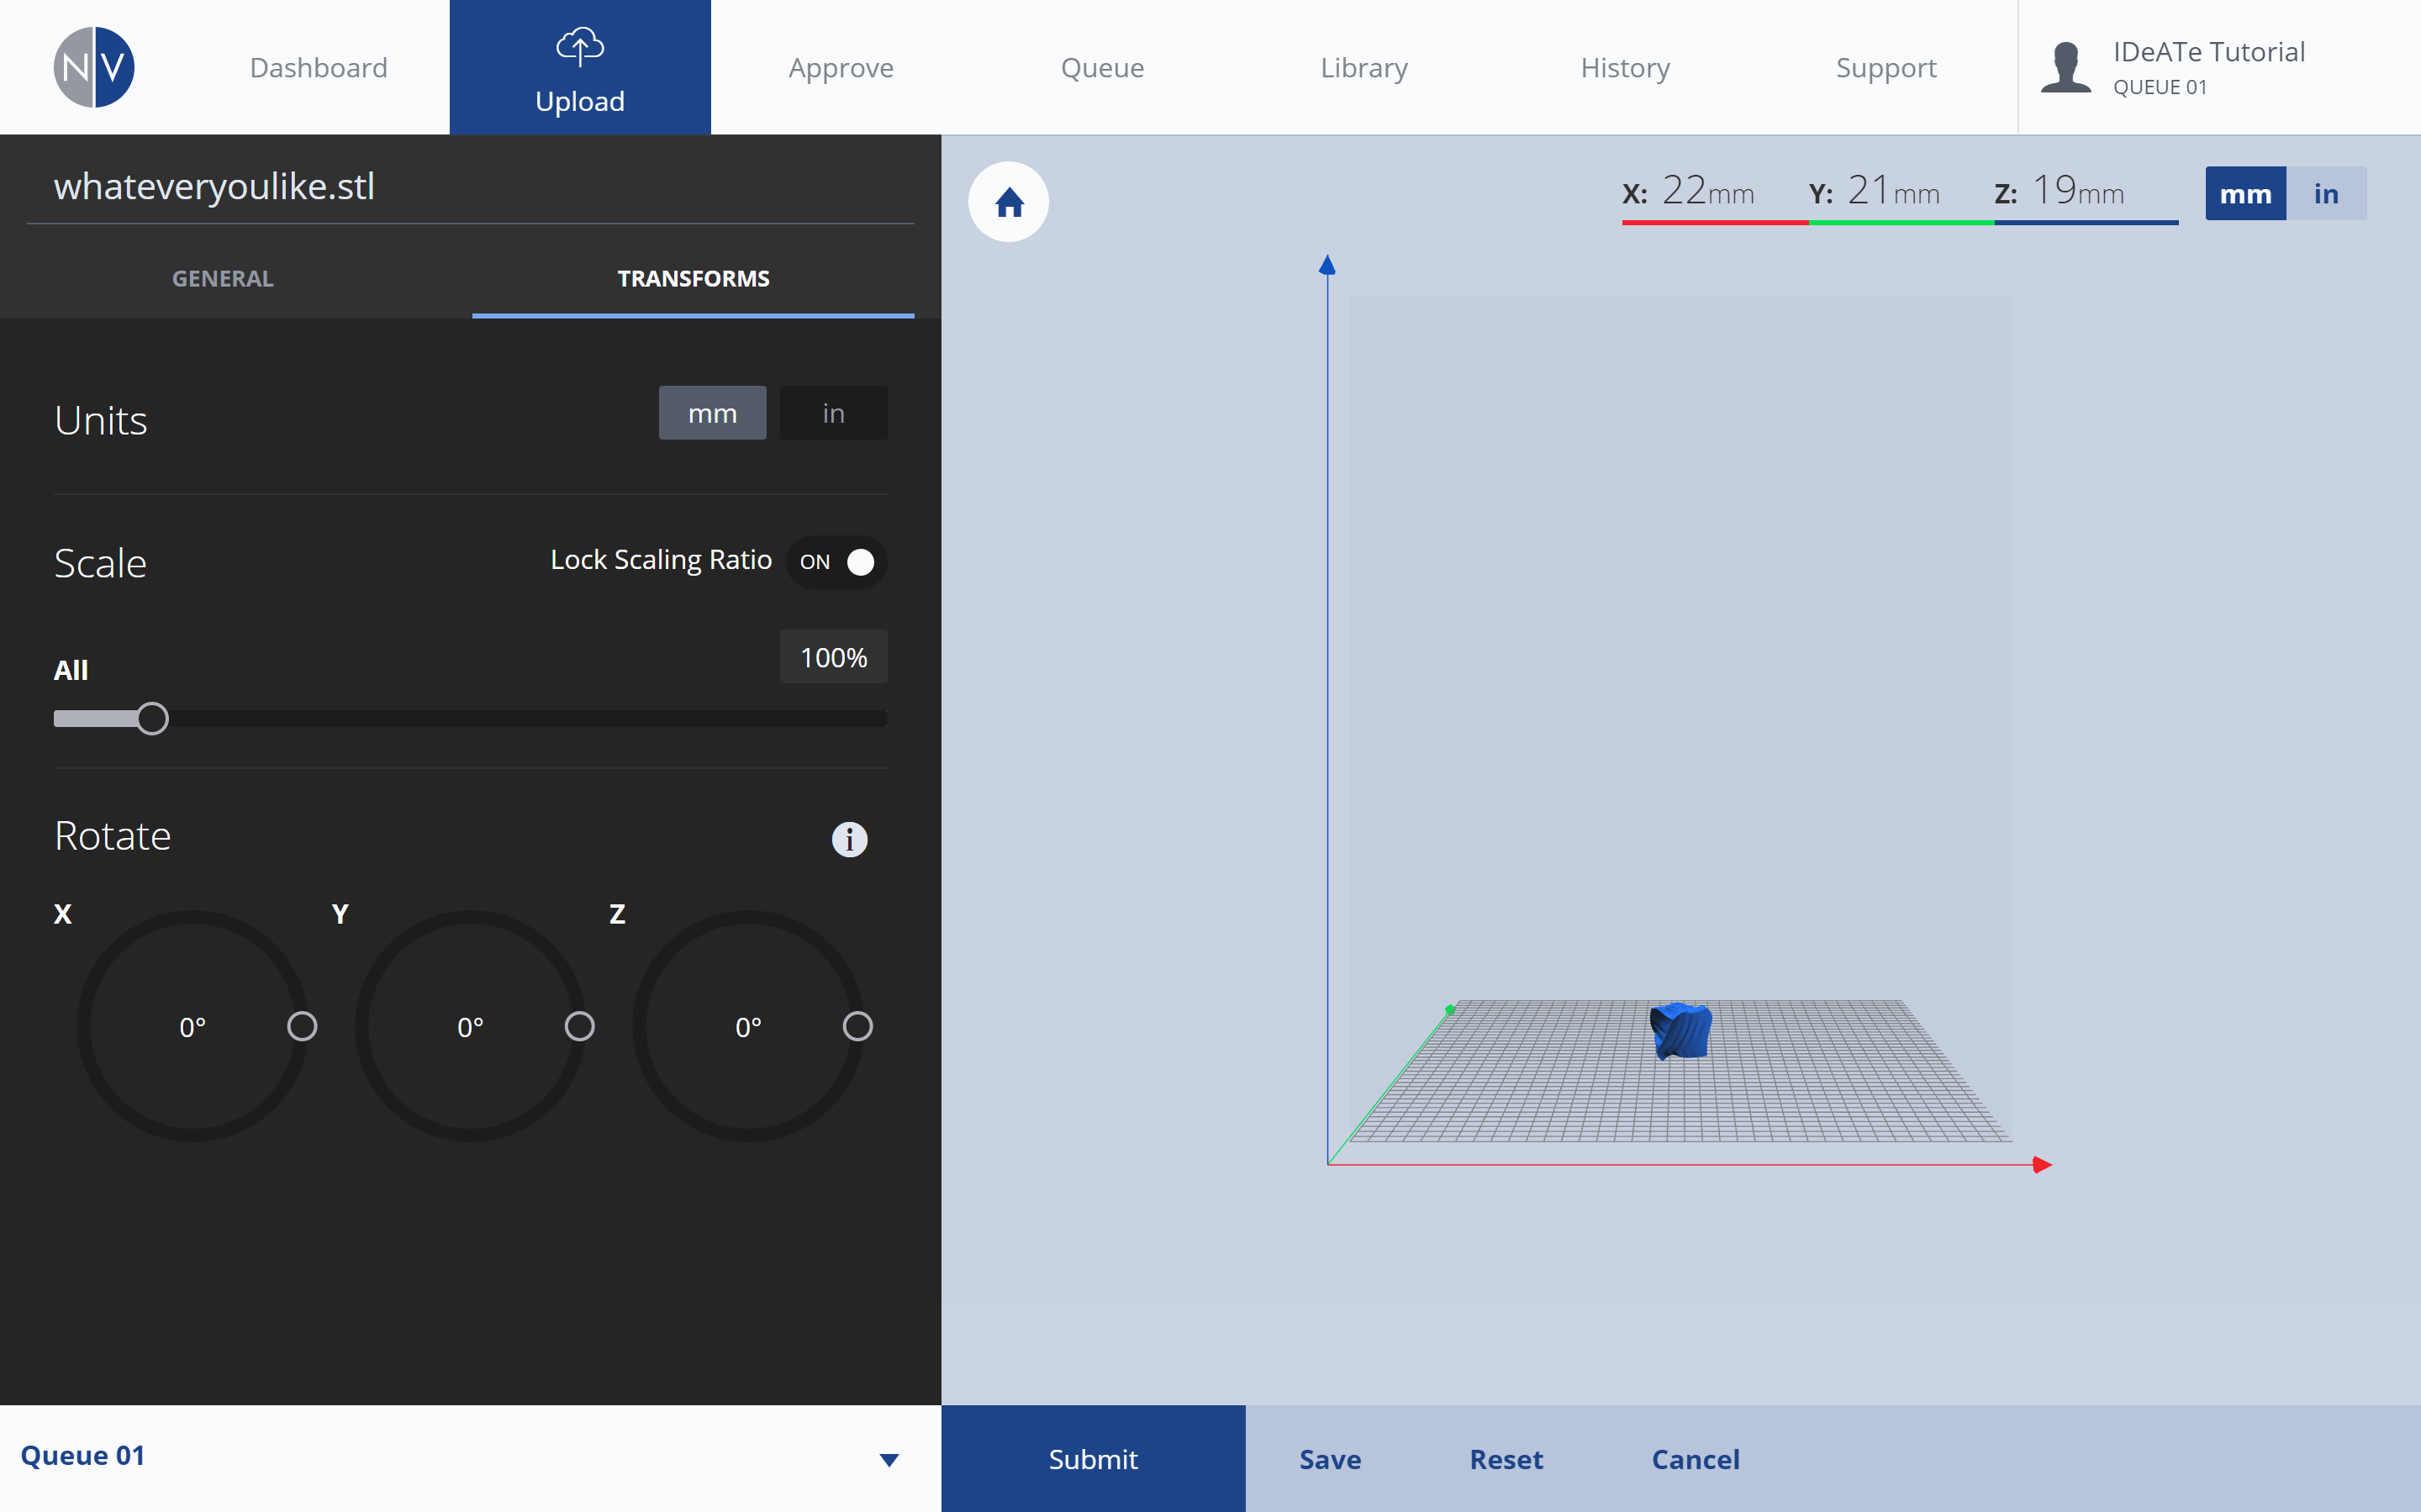
3. Submit |
|
|
|
 |
|
|
|
Submit your prepared print by selecting the SUBMIT button in the bottom-center of the NVCloud interface. |
|
After submitting your file, review relevant print job details to make sure all settings are correct and print cost is affordable.
|
1. Review: Approve Queue |
|
|
|
 |
|
|
|
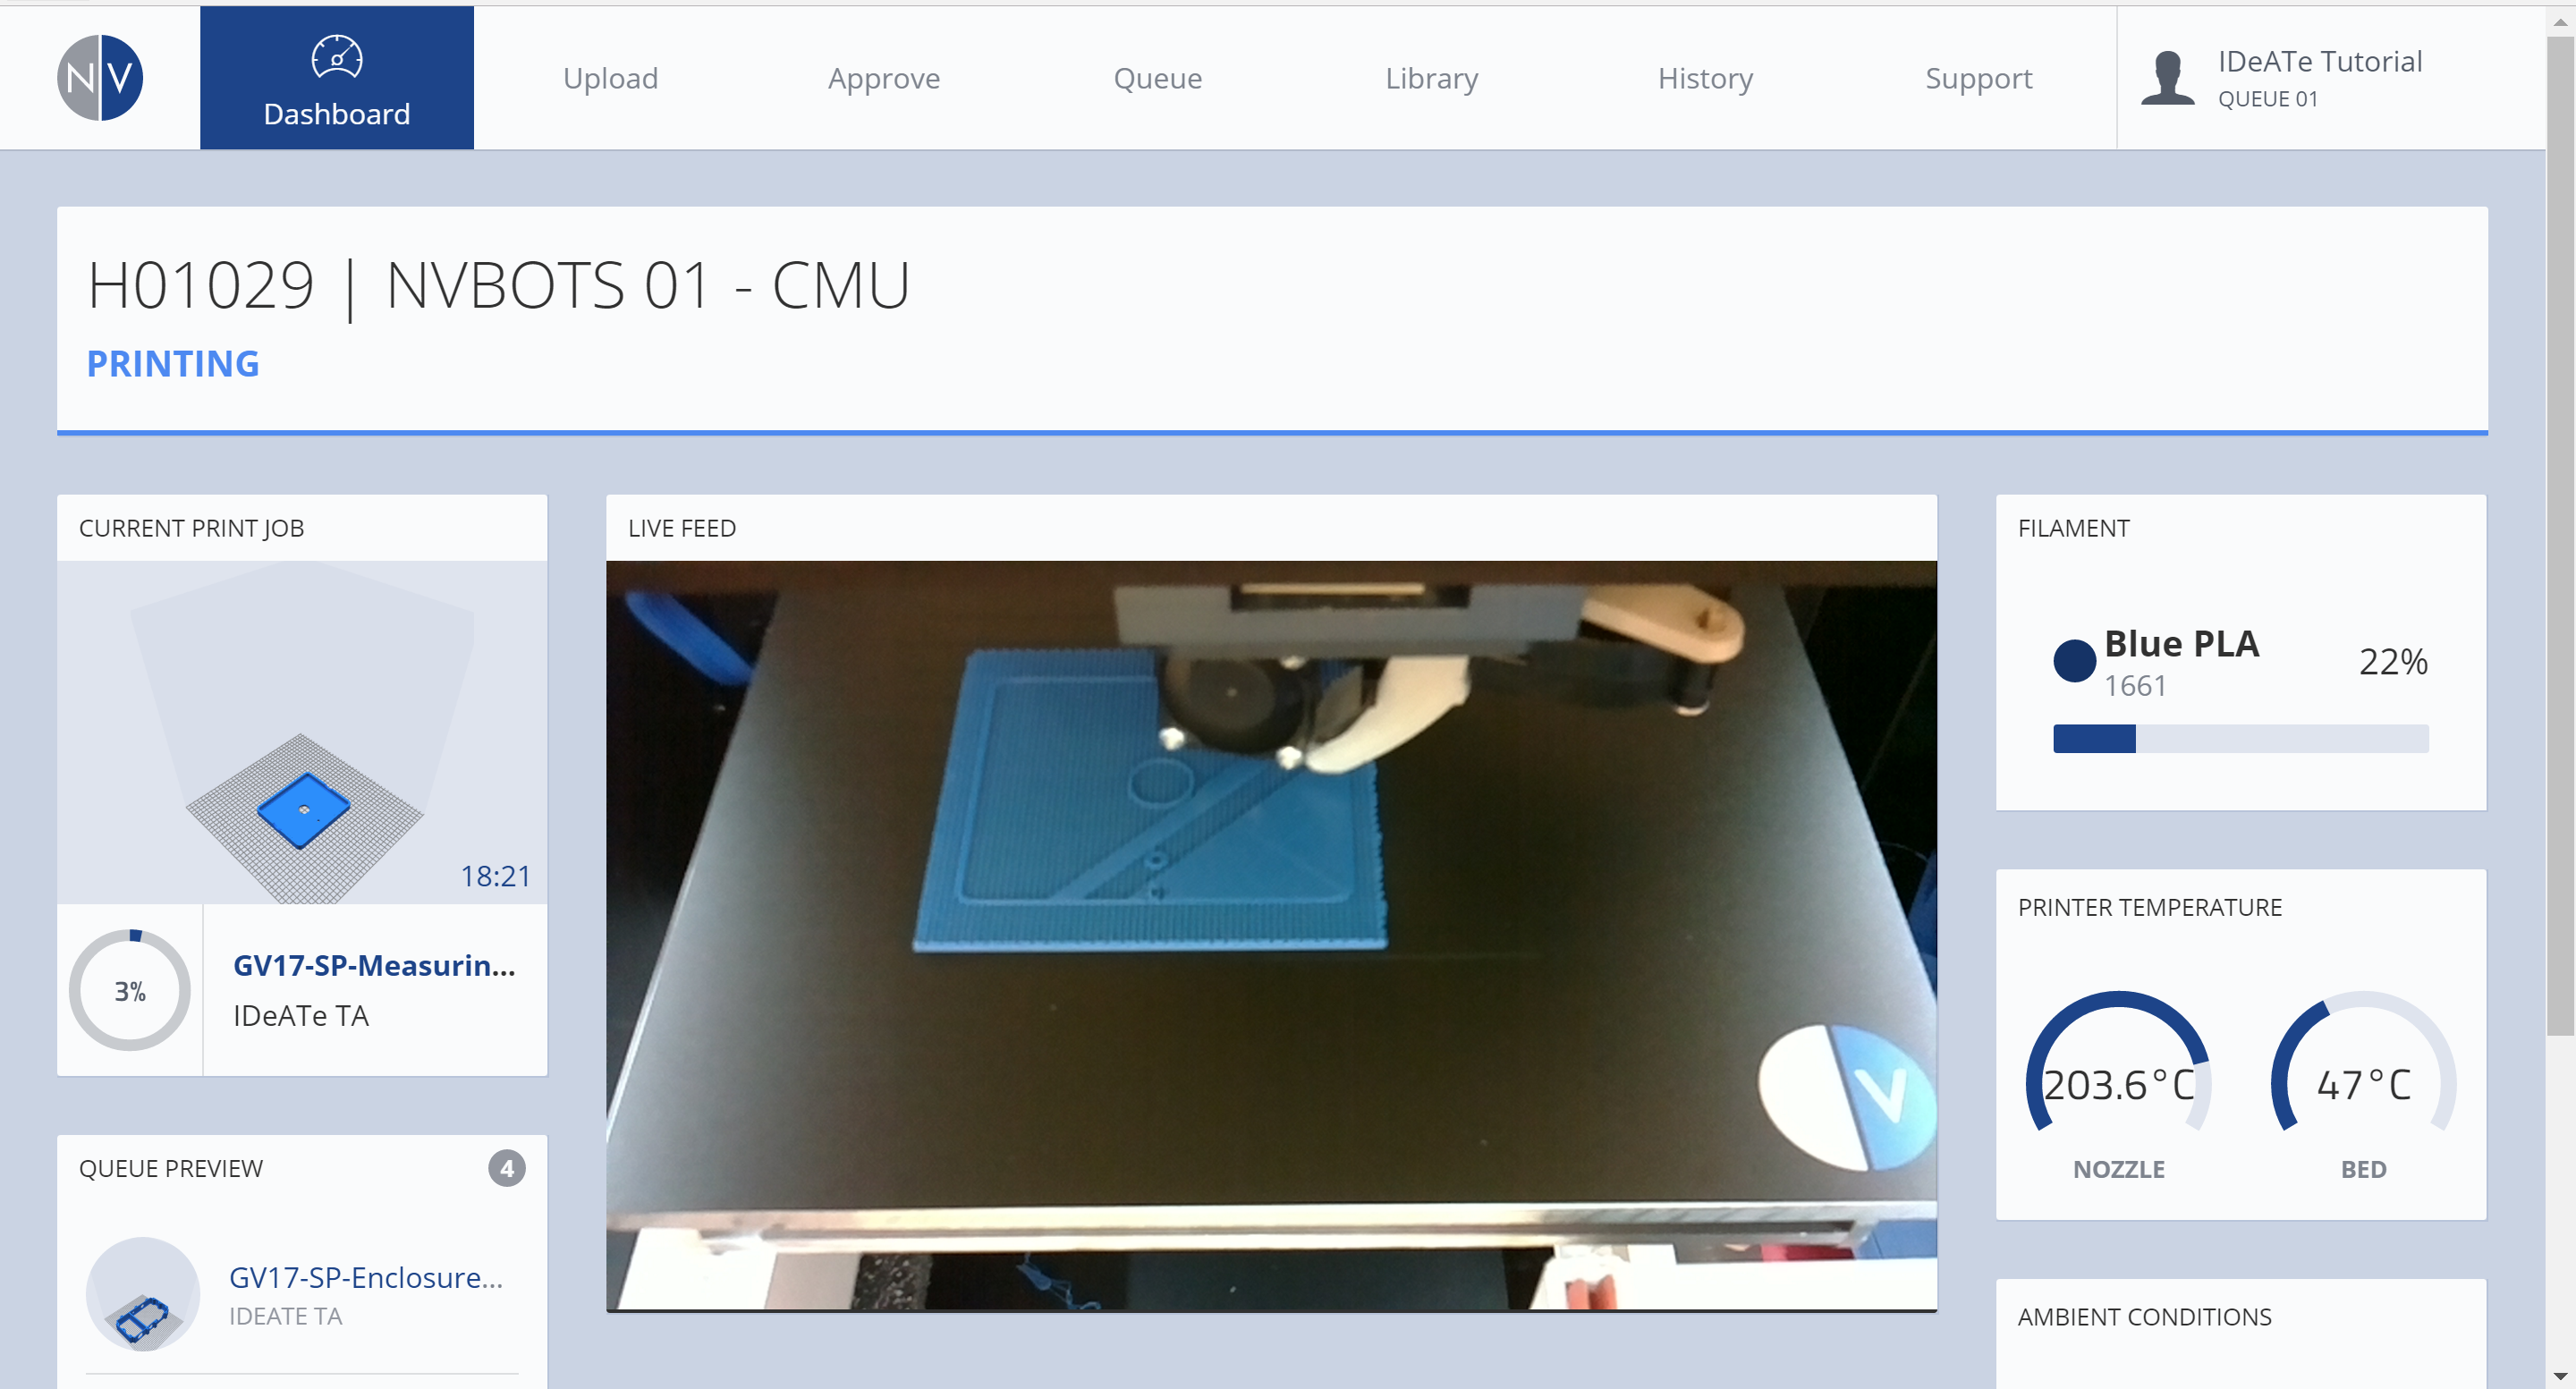
After submitting a print job, your file is moved to the approve queue. Selecting the APPROVE tab will provide you with a list of 3D Prints waiting to be approved (ordered by submission time/date), with your recent submission included.
Immediately after submitting a print job, the right-most column of your print job listing, will indicate the file is ‘SLICING’. This process may take some time, as the toolpaths for the print job are being generated. |
|
|
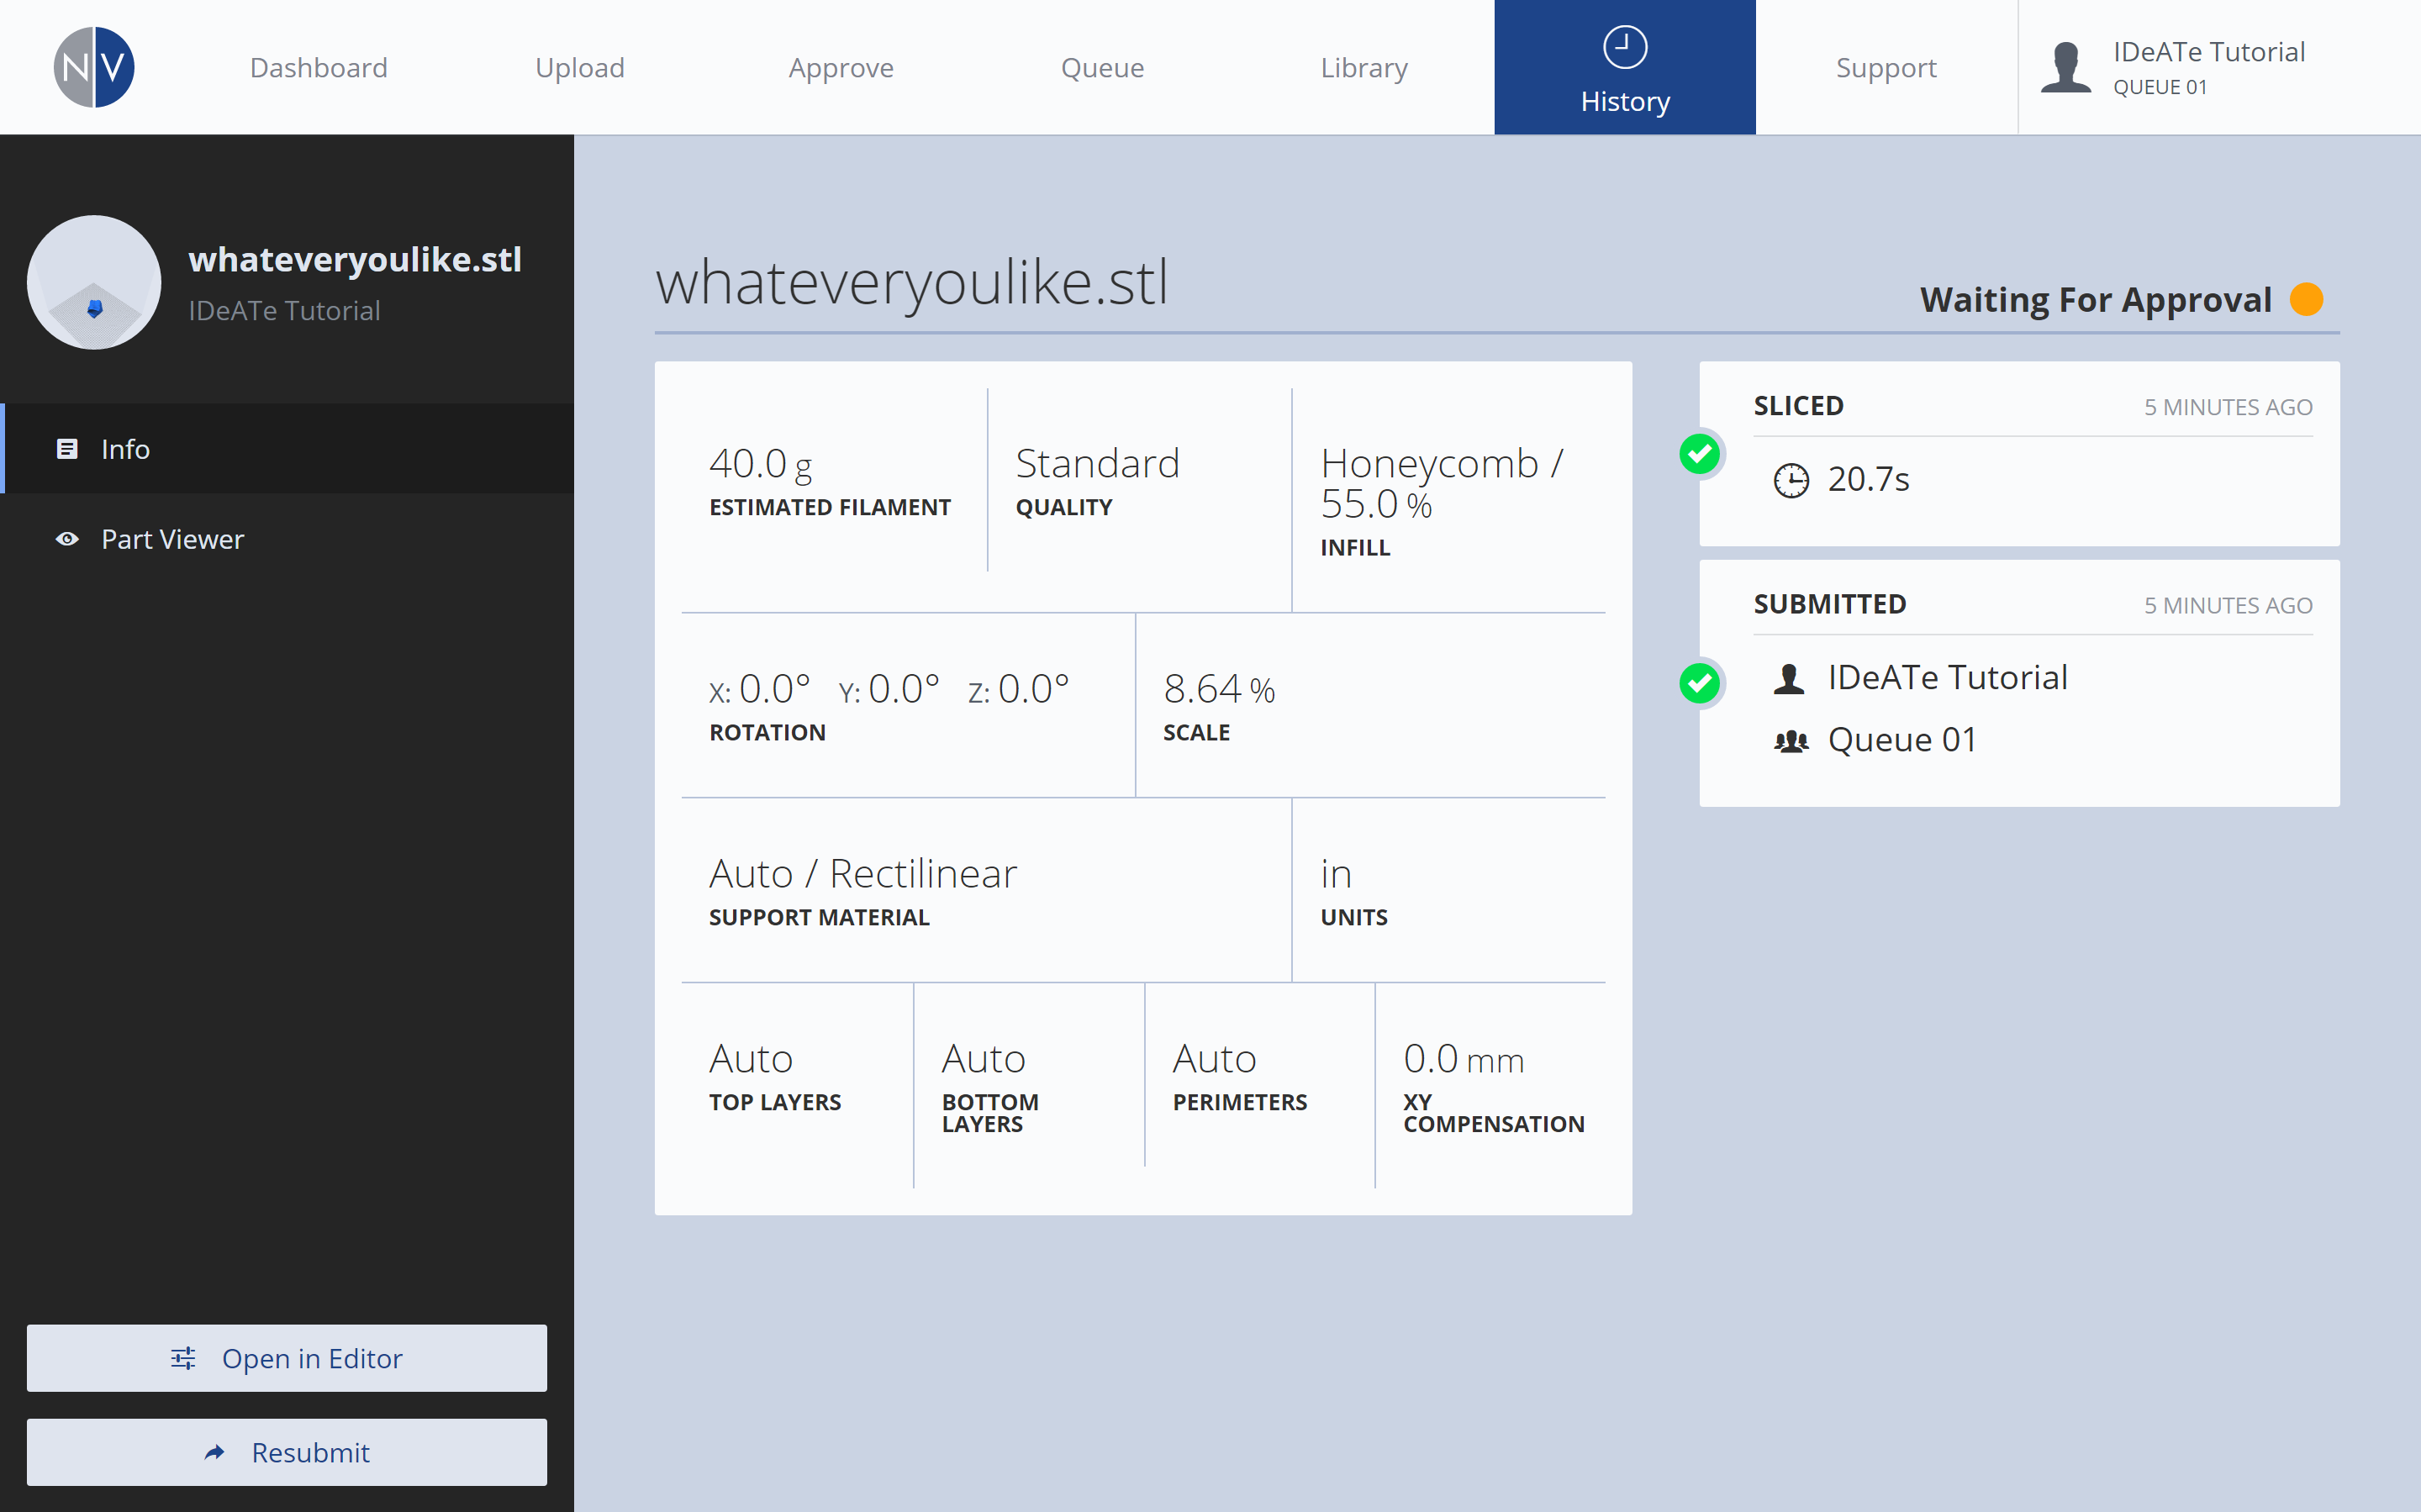
2. Review: Print Details |
|
|
|
 |
|
|
|
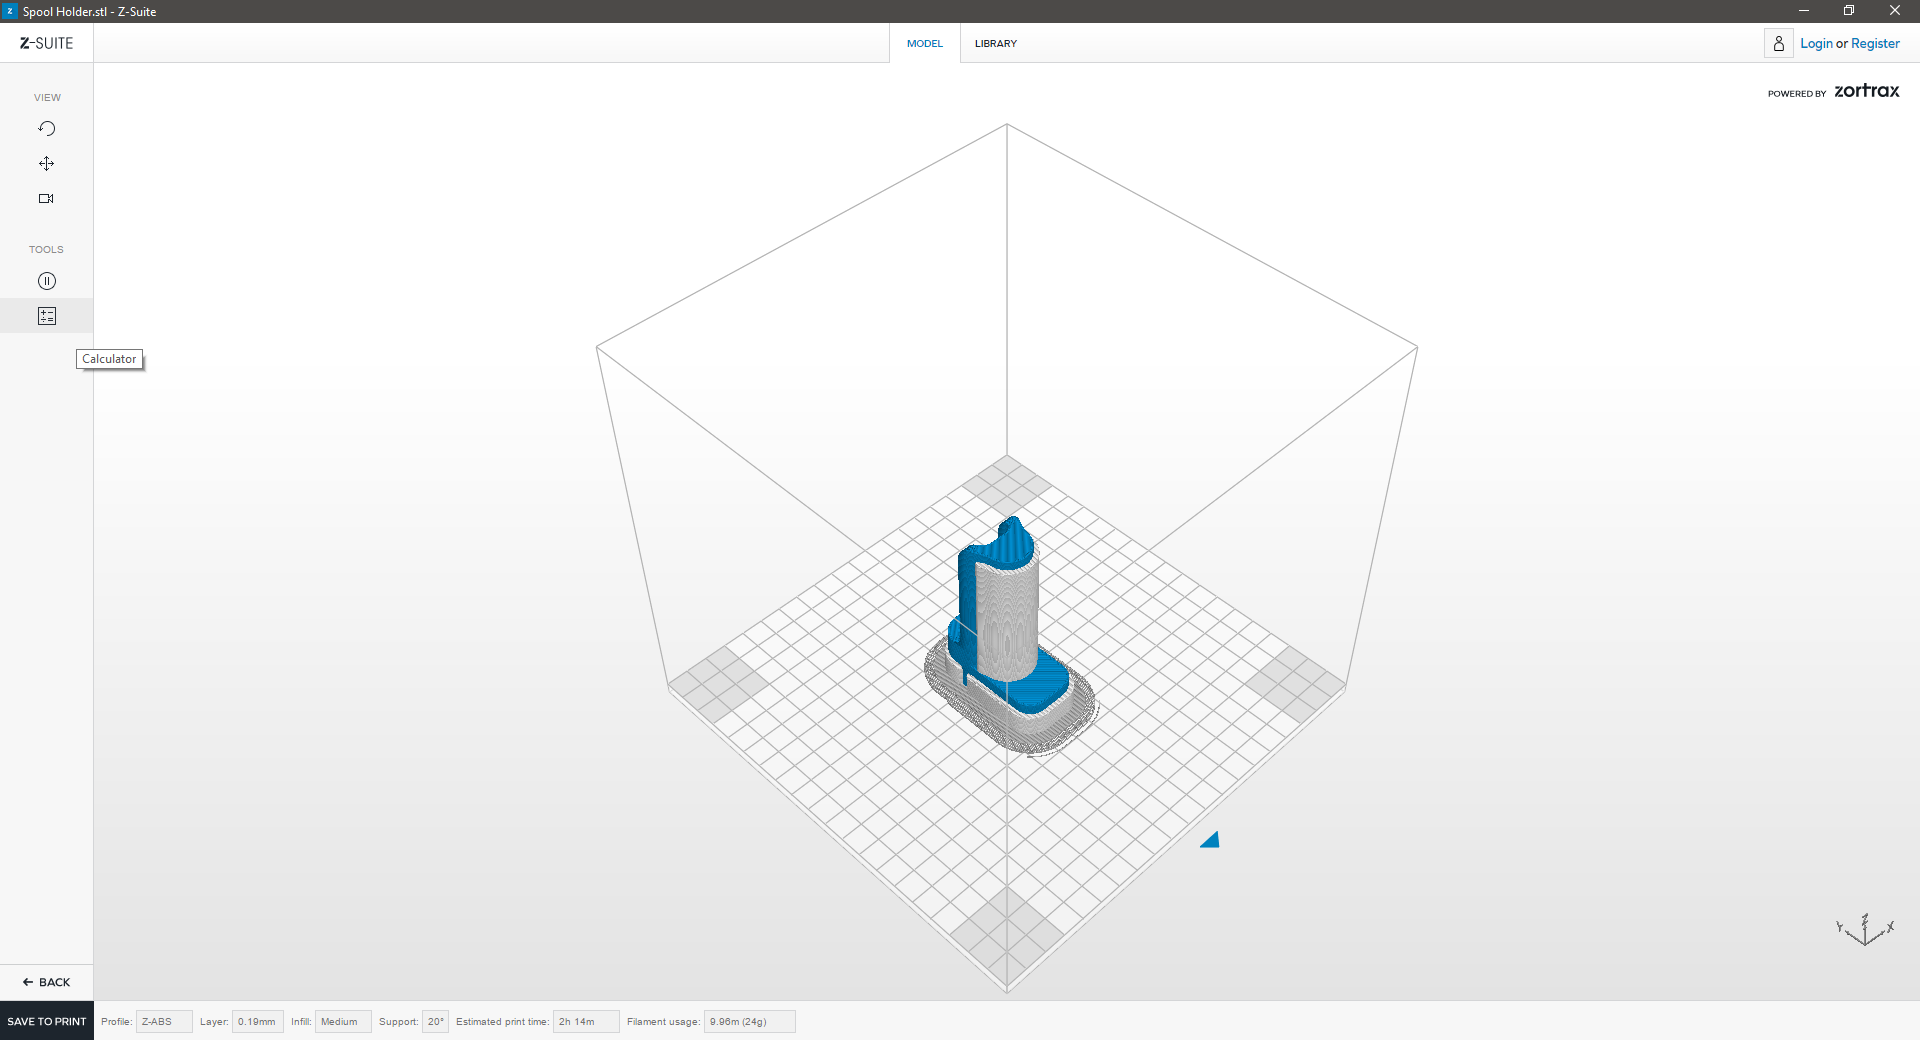
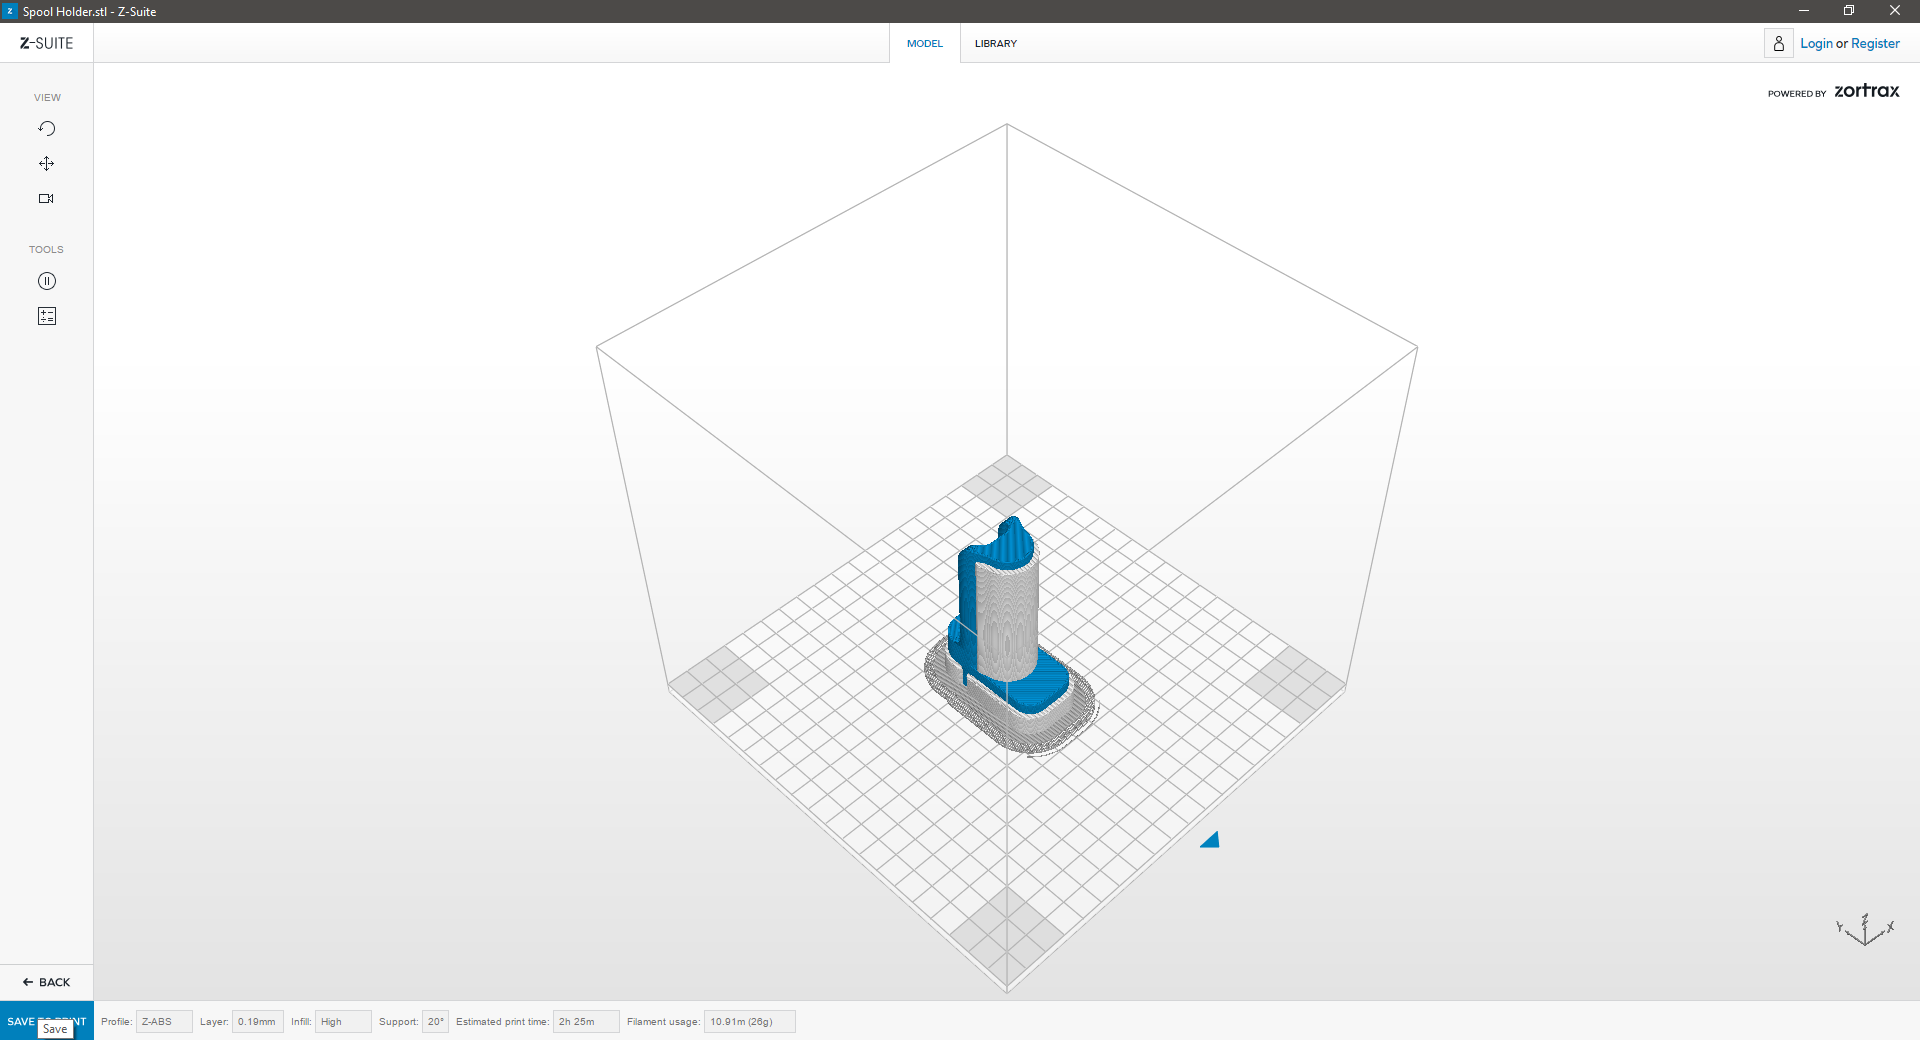
After the print job finishes the SLICING process, selecting the print job title or thumbnail will guide you to a new window with the print details. Review the following:
Estimated Filament/Cost: An estimate on the job’s filament usage is provided. Multiplying this number by IDeATe’s 3D Printing price, will provide you with an estimated cost for your print job. e.g. (IDeATe 3DPrint Price) x (Estimated Filament) = (Estimated Cost) Make sure you’re ok with the estimated cost!
i. *IDeATe 3D Print Pricing = $0.10/g (*Fall 2016 & Spring 2017)
ii. *Estimated Filament = 40 grams (example only)
iii. Estimated Cost Example: ($0.10) x (40g) = $4.00
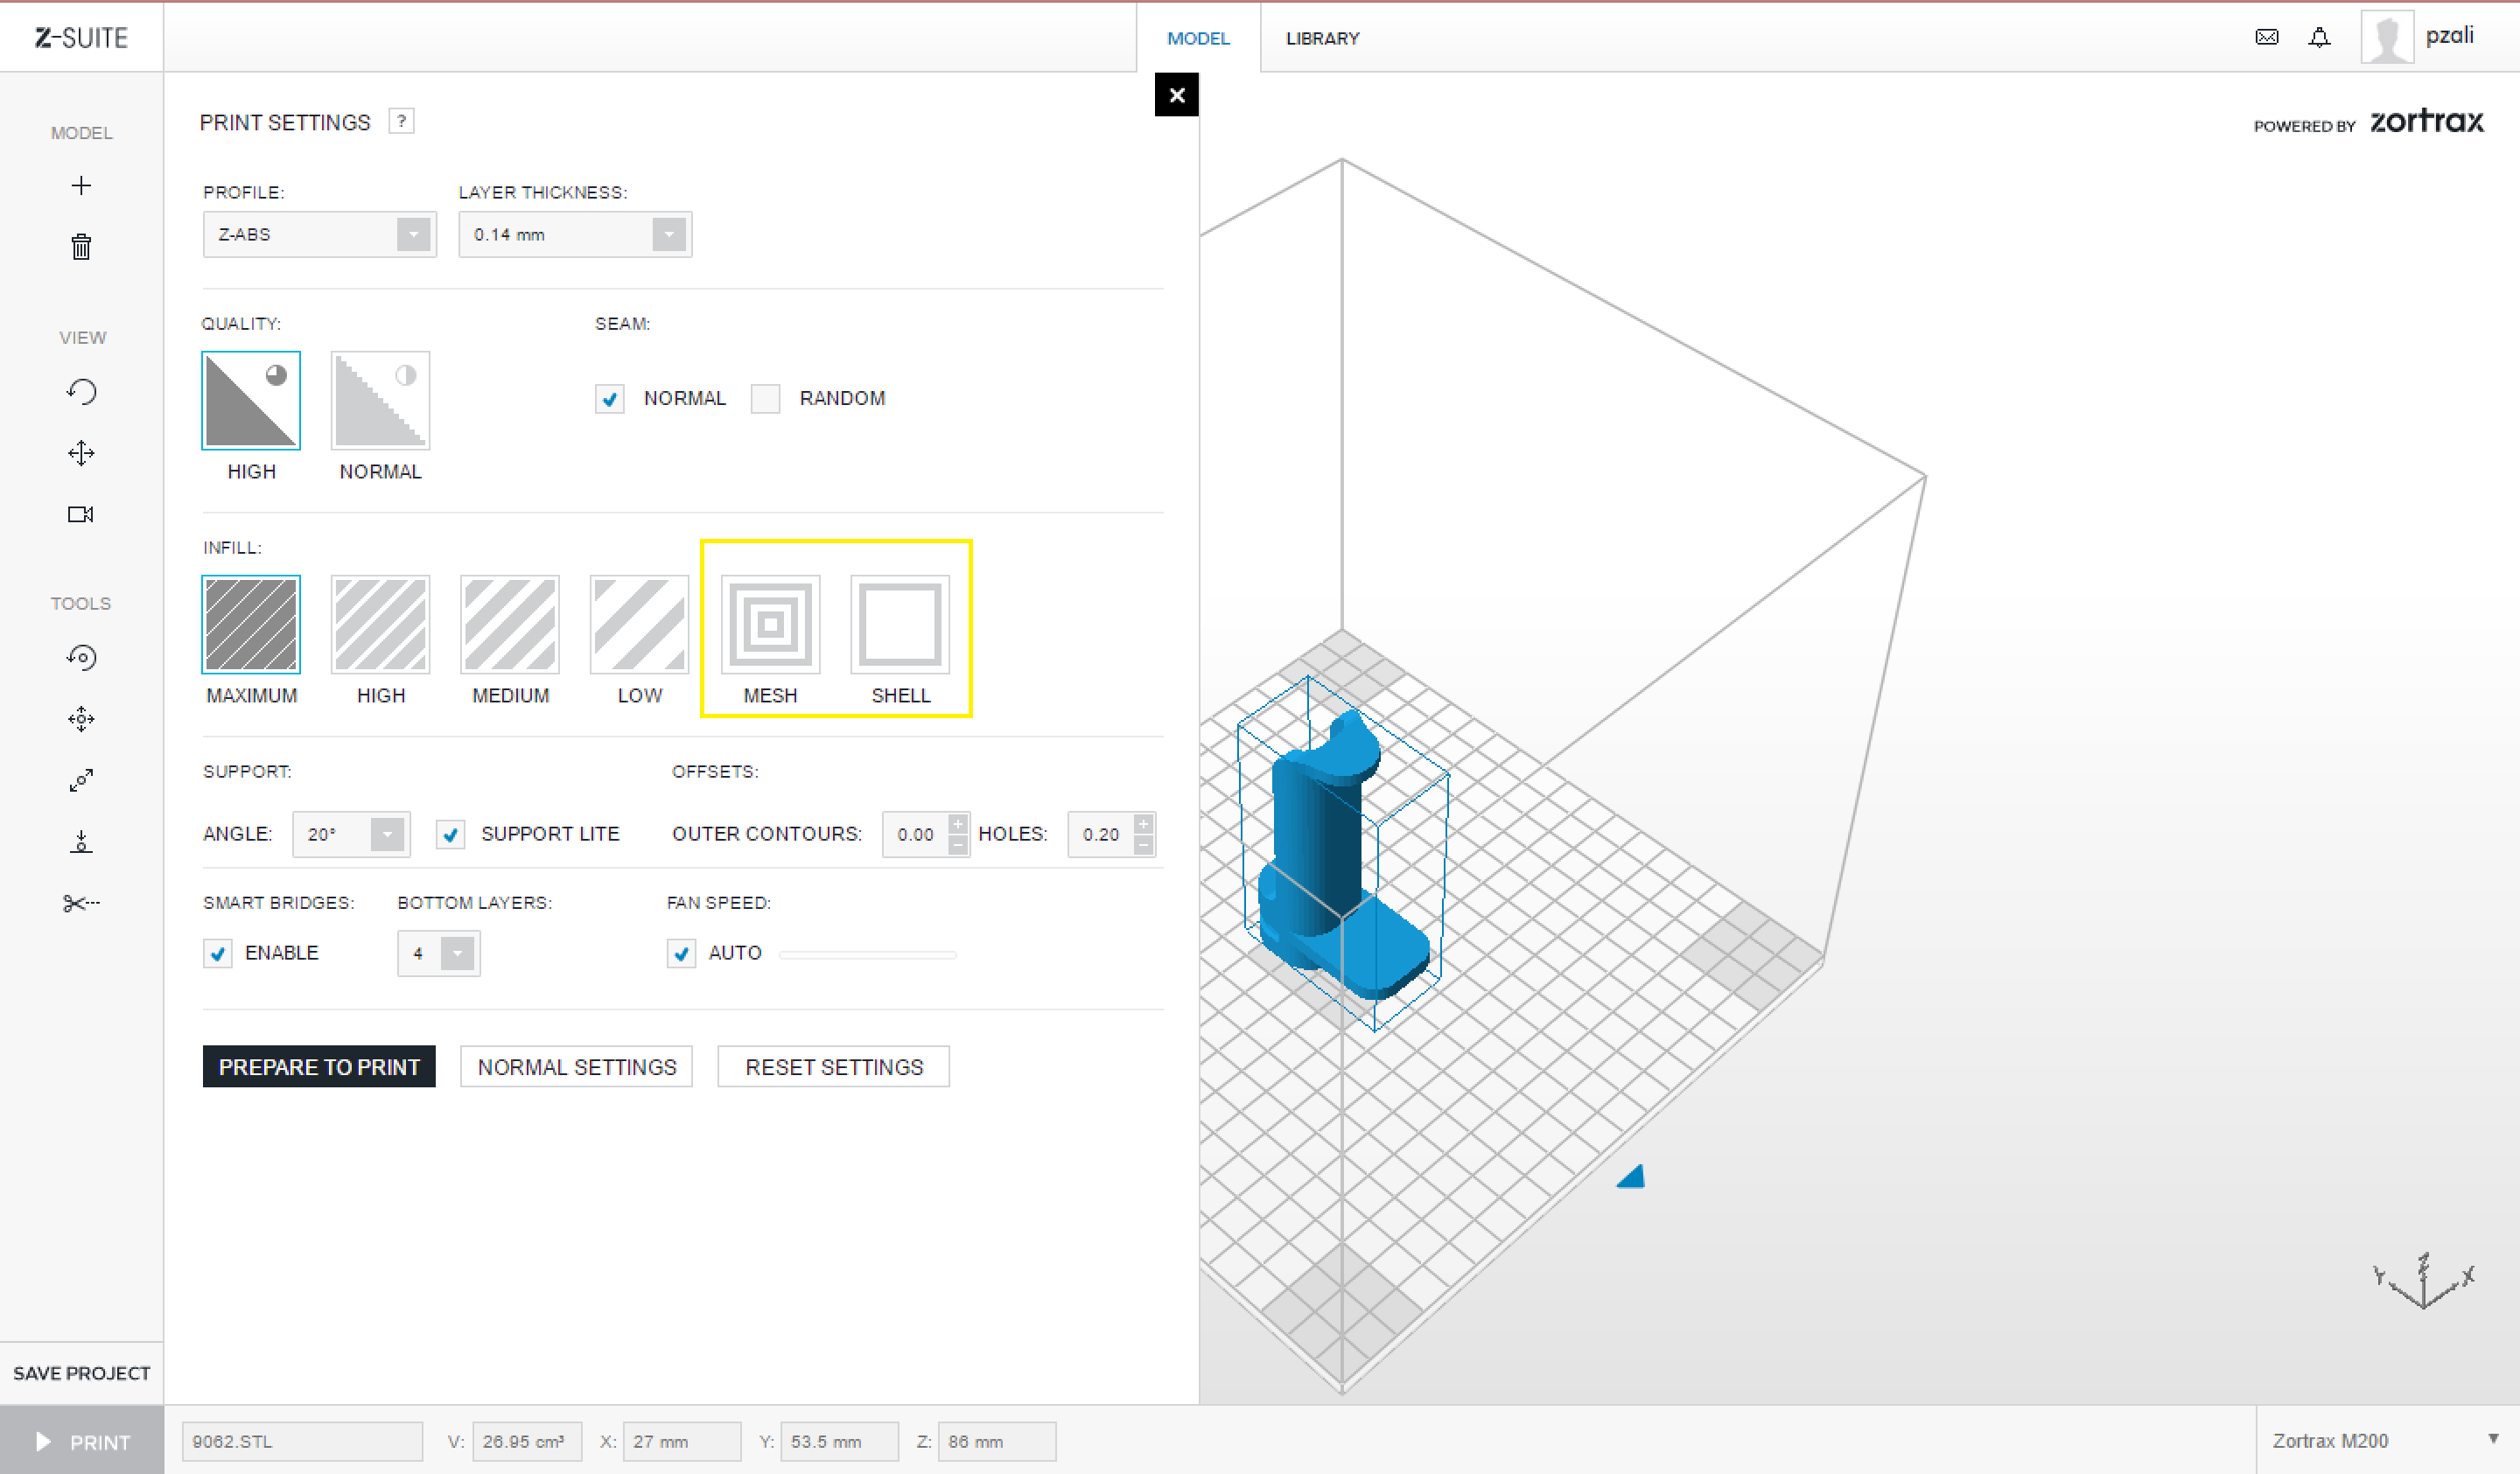
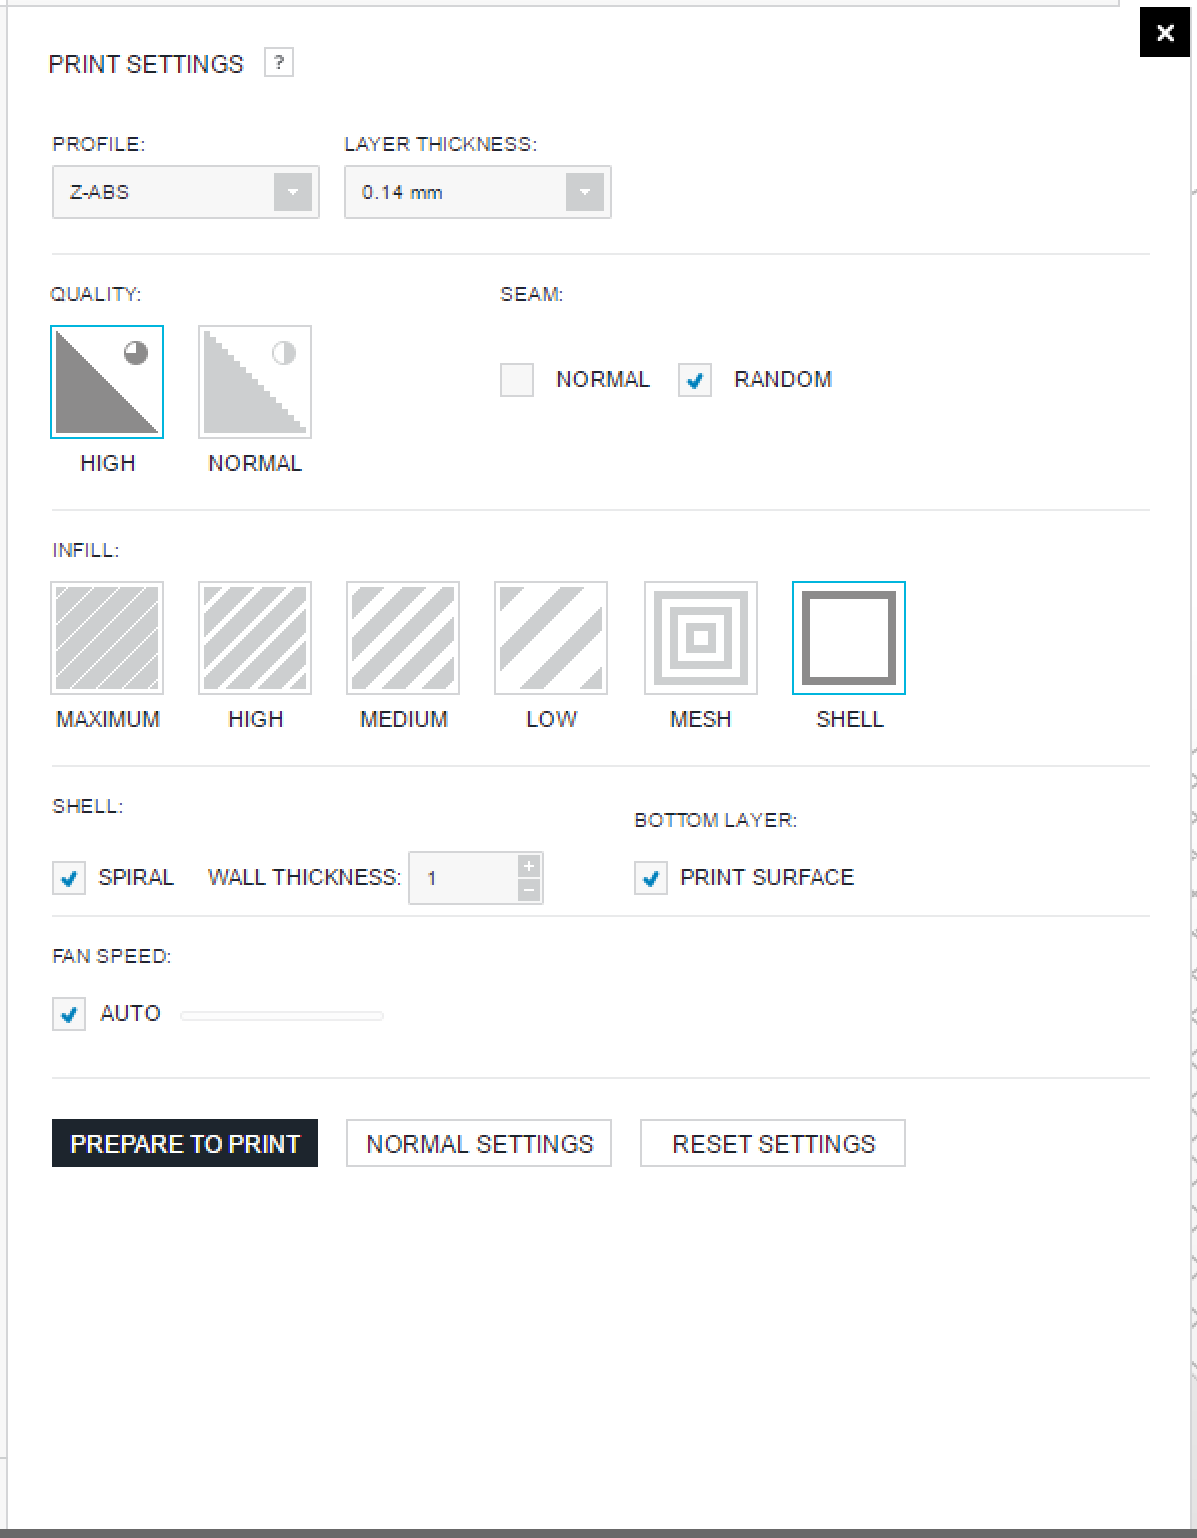
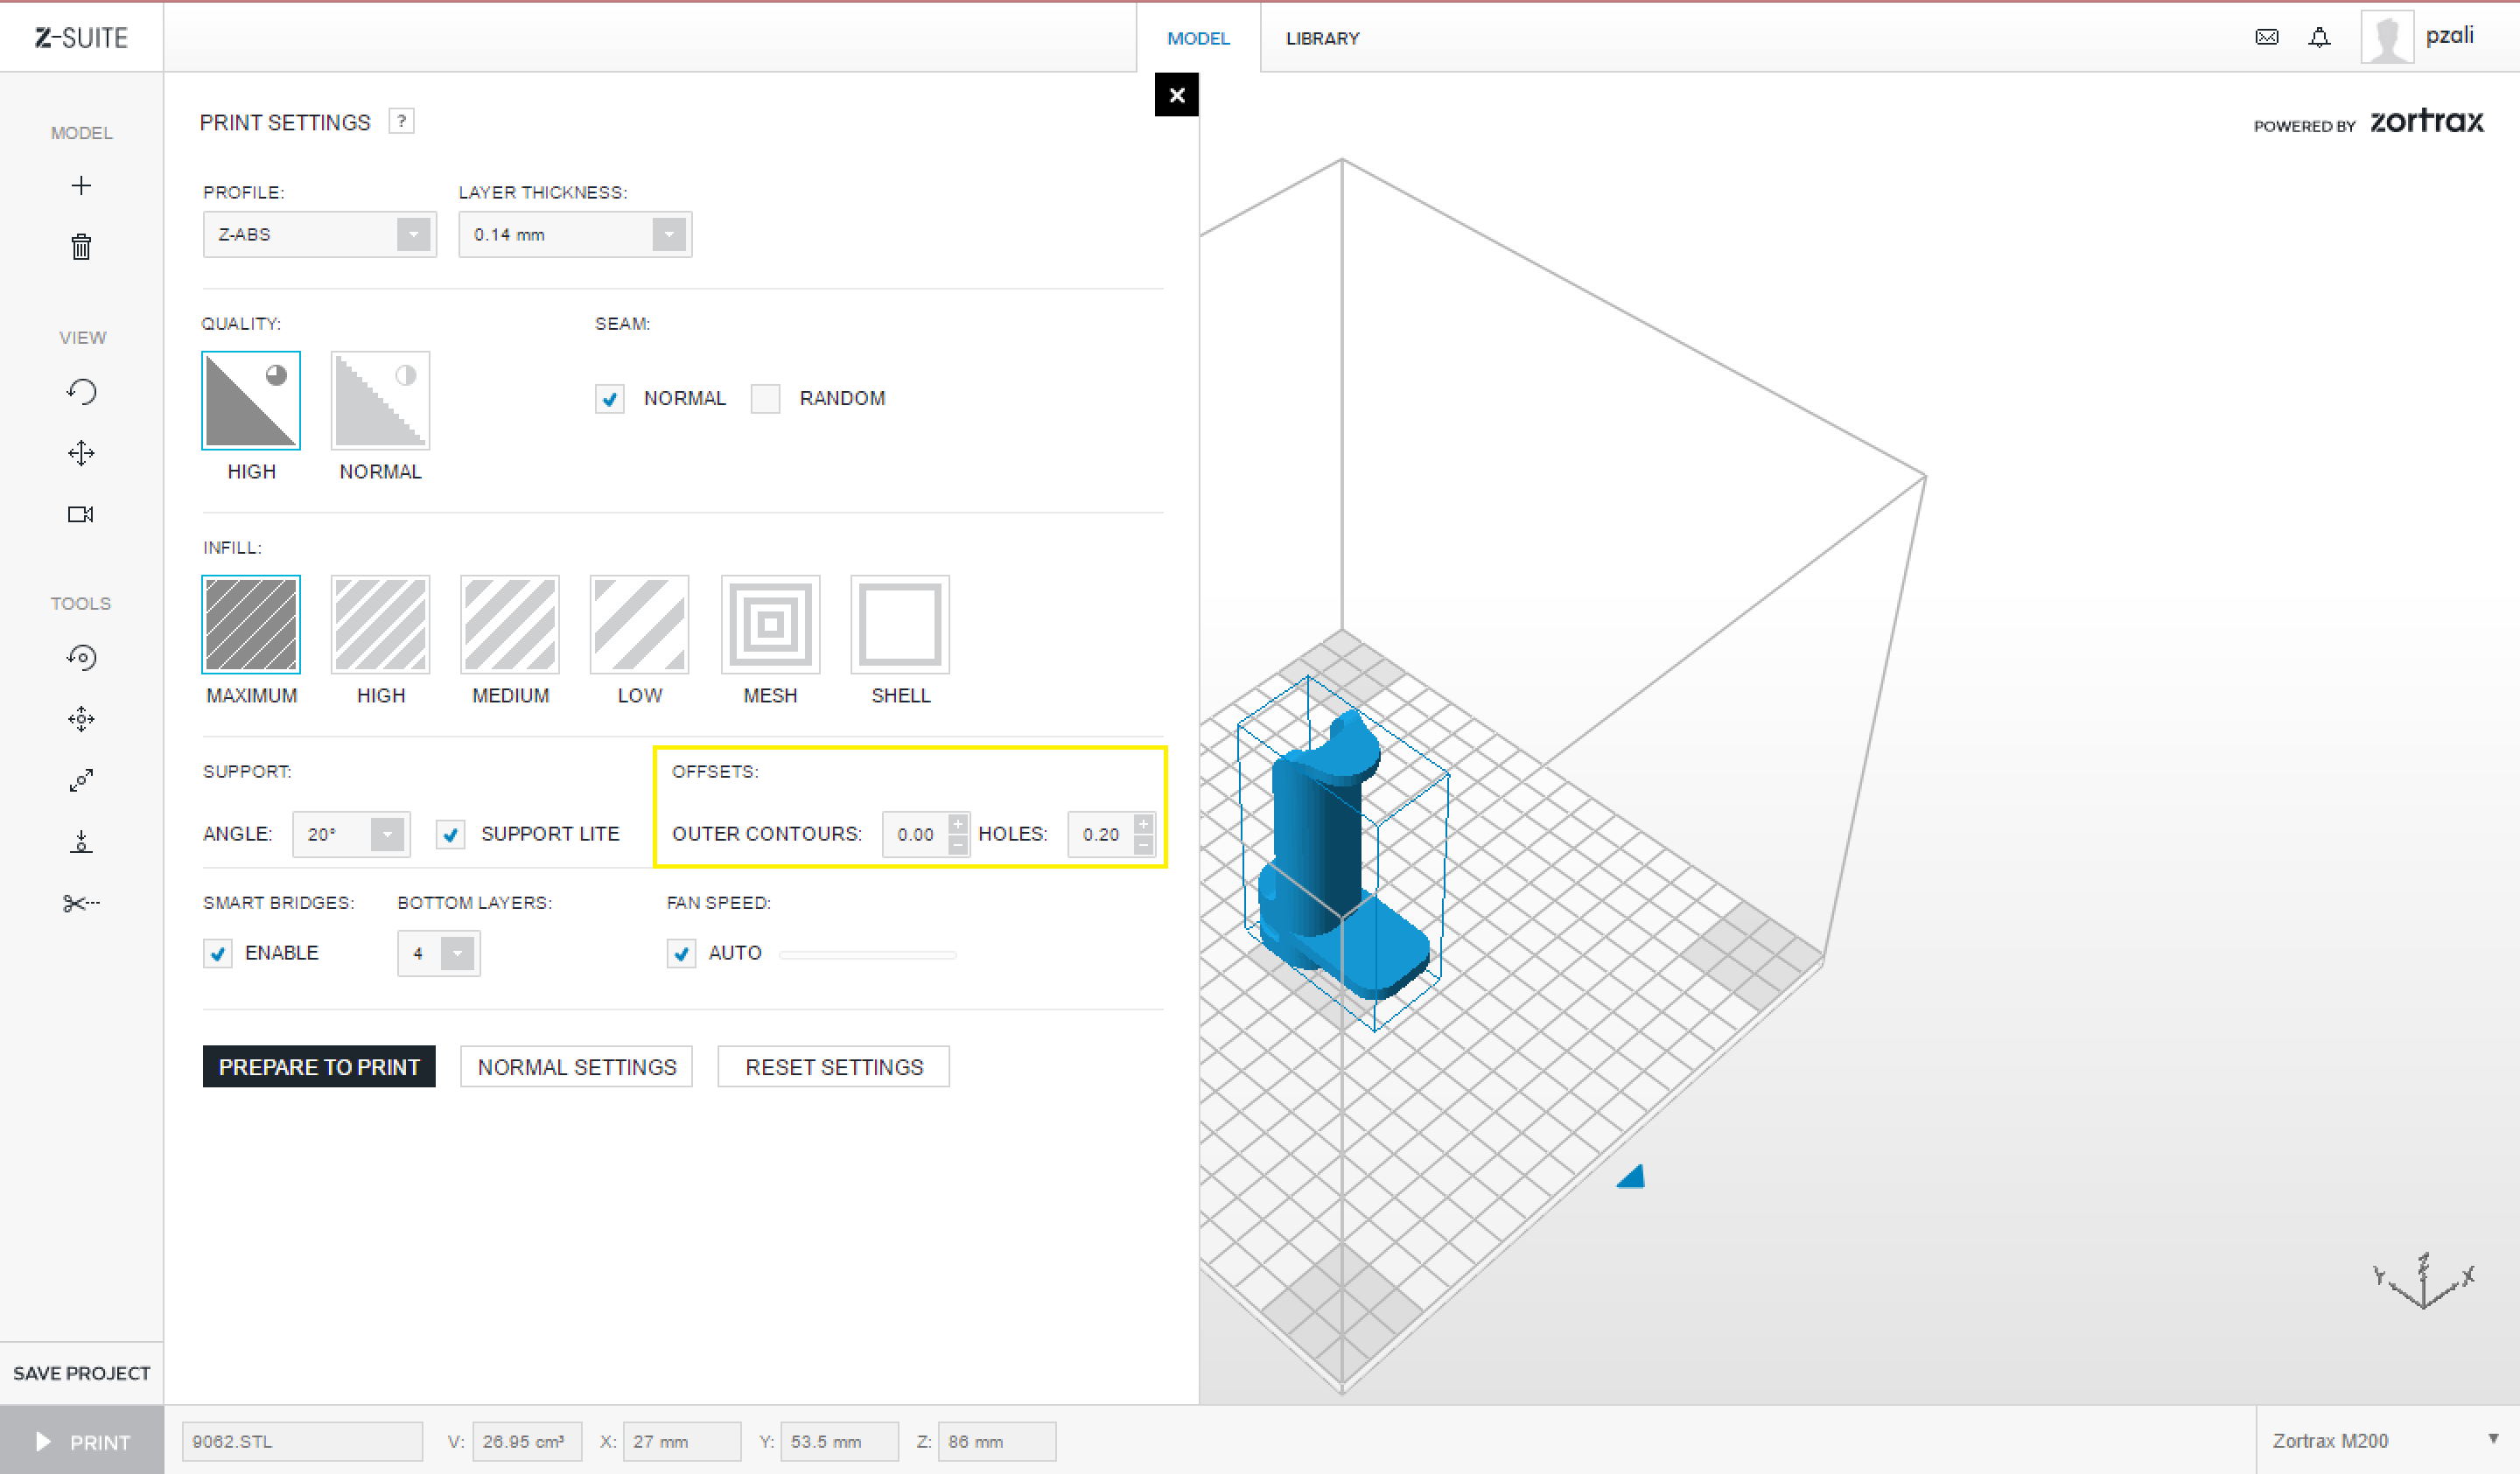
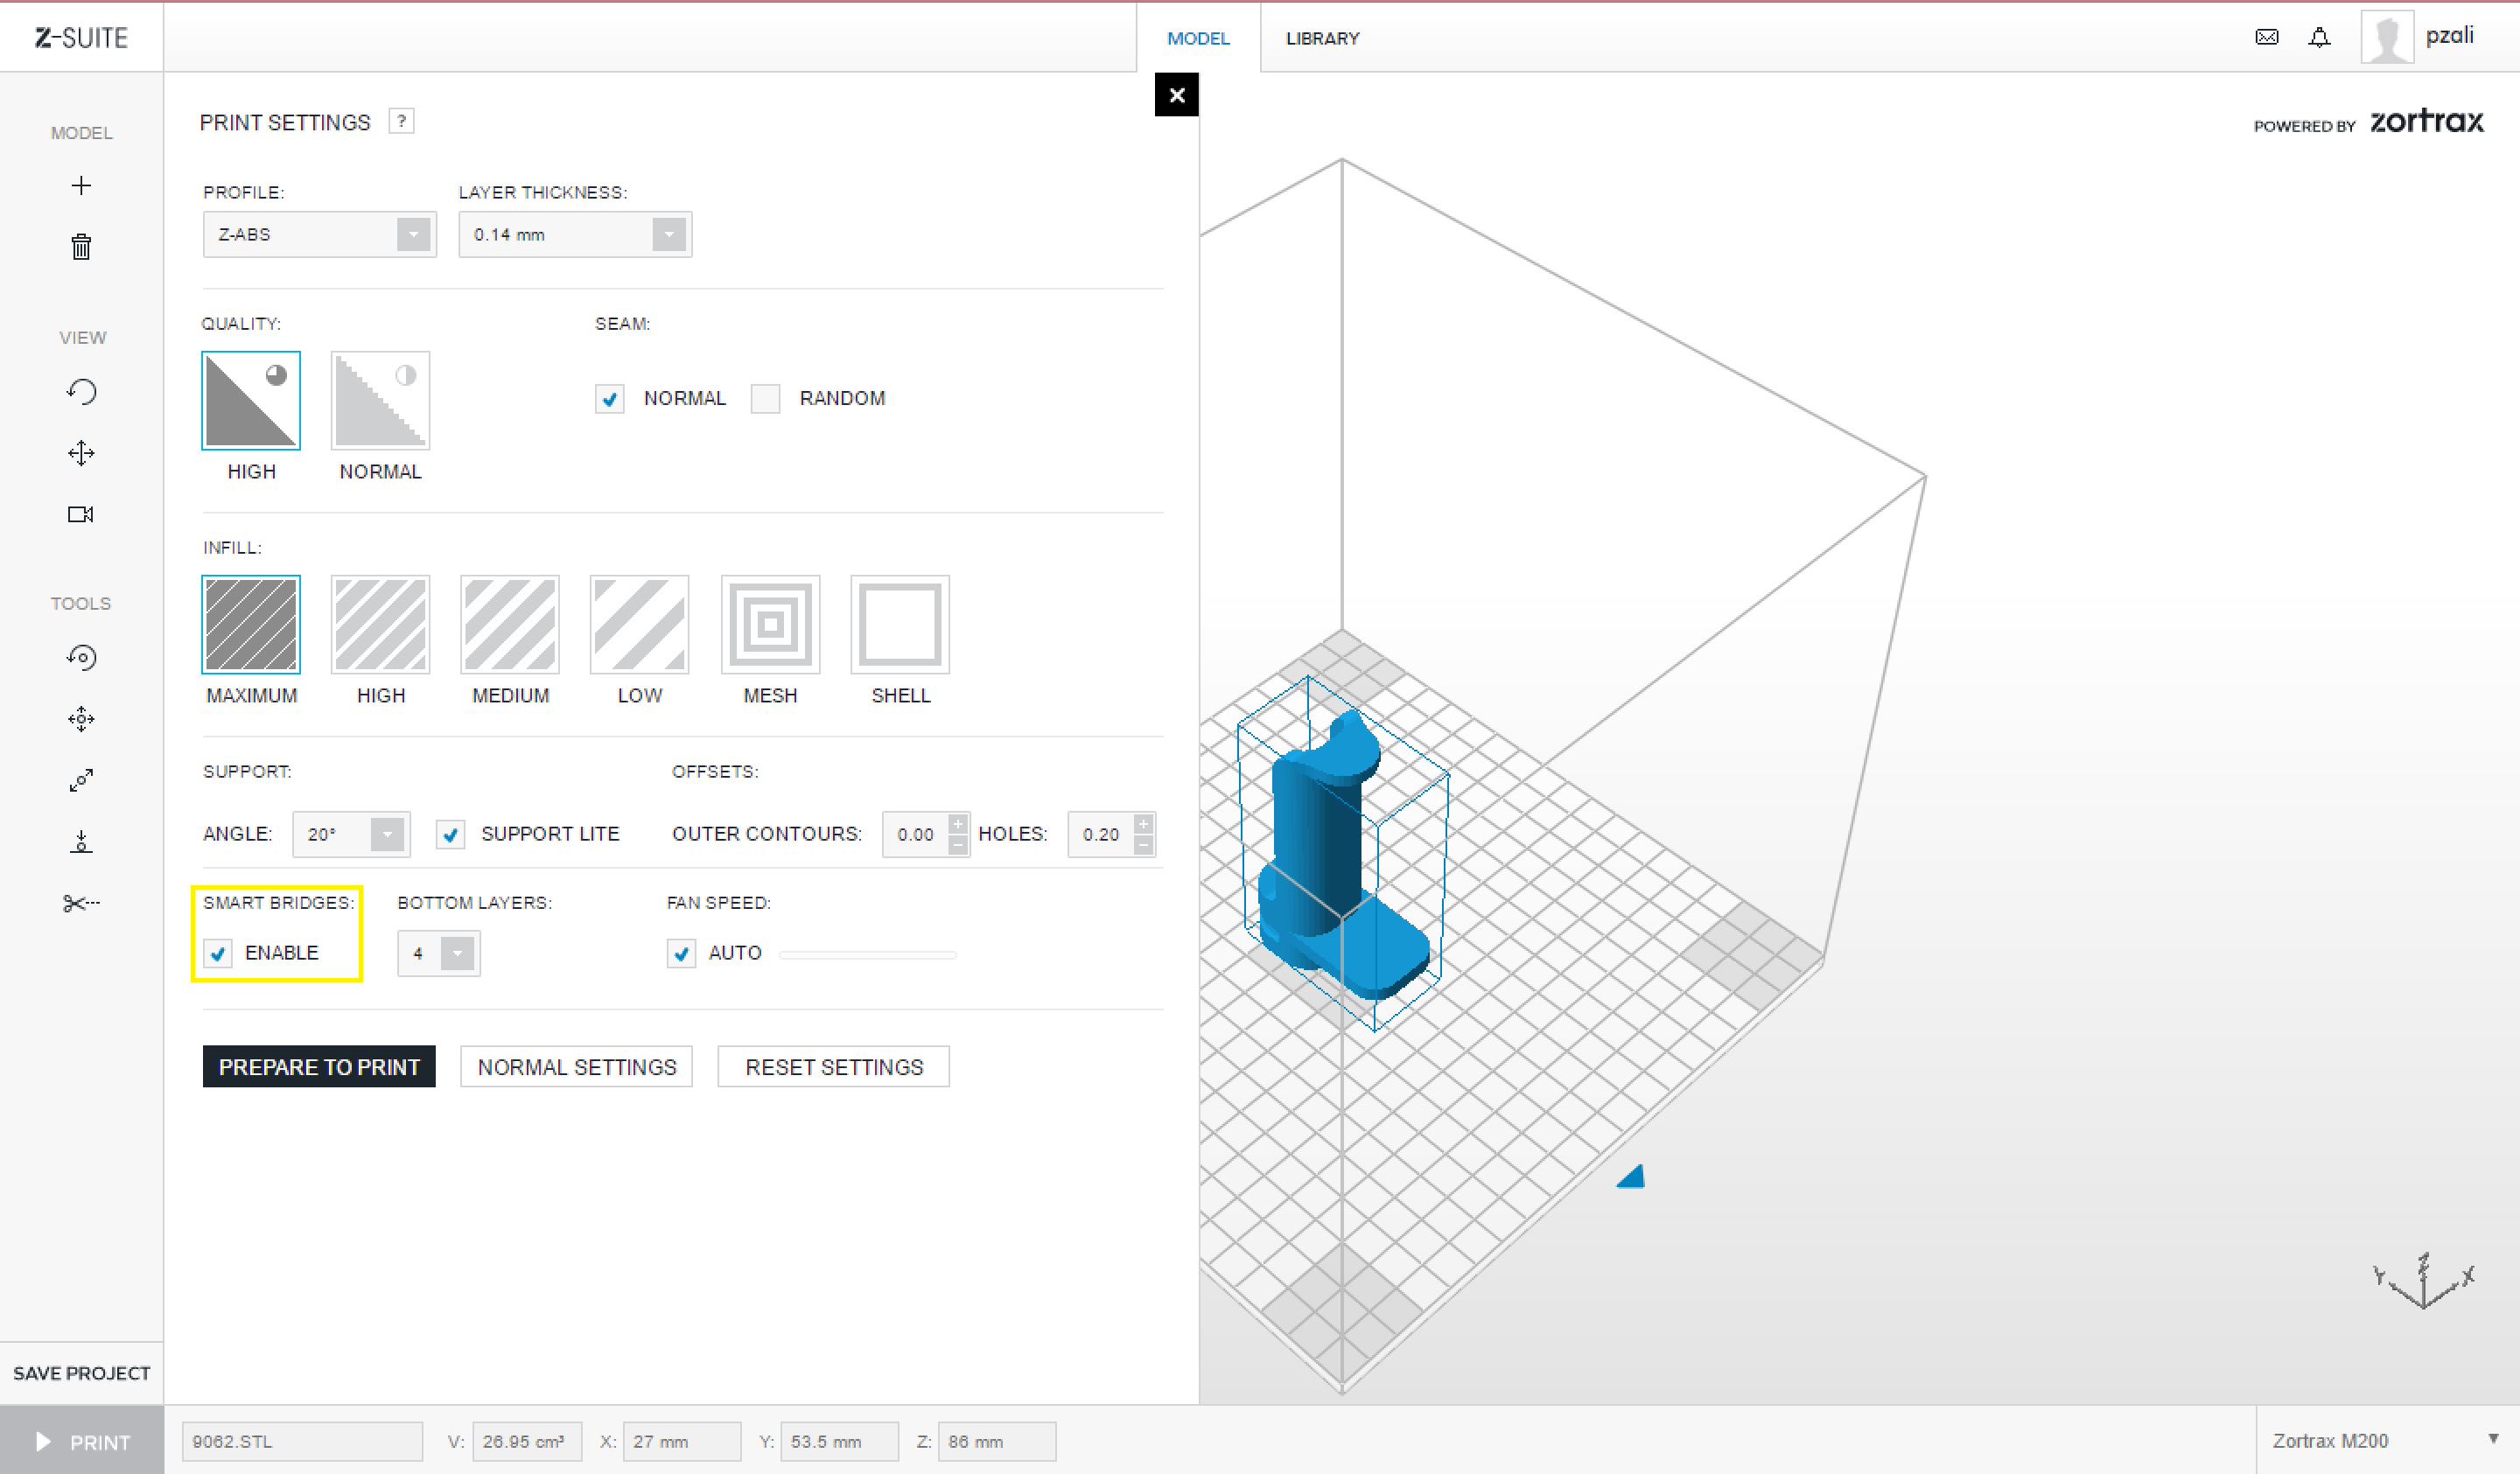
General Settings: Make sure the QUALITY, INFILL, UNITS, SUPPORT, ROTATION, SCALE and other miscellaneous settings are correct. |
|
|
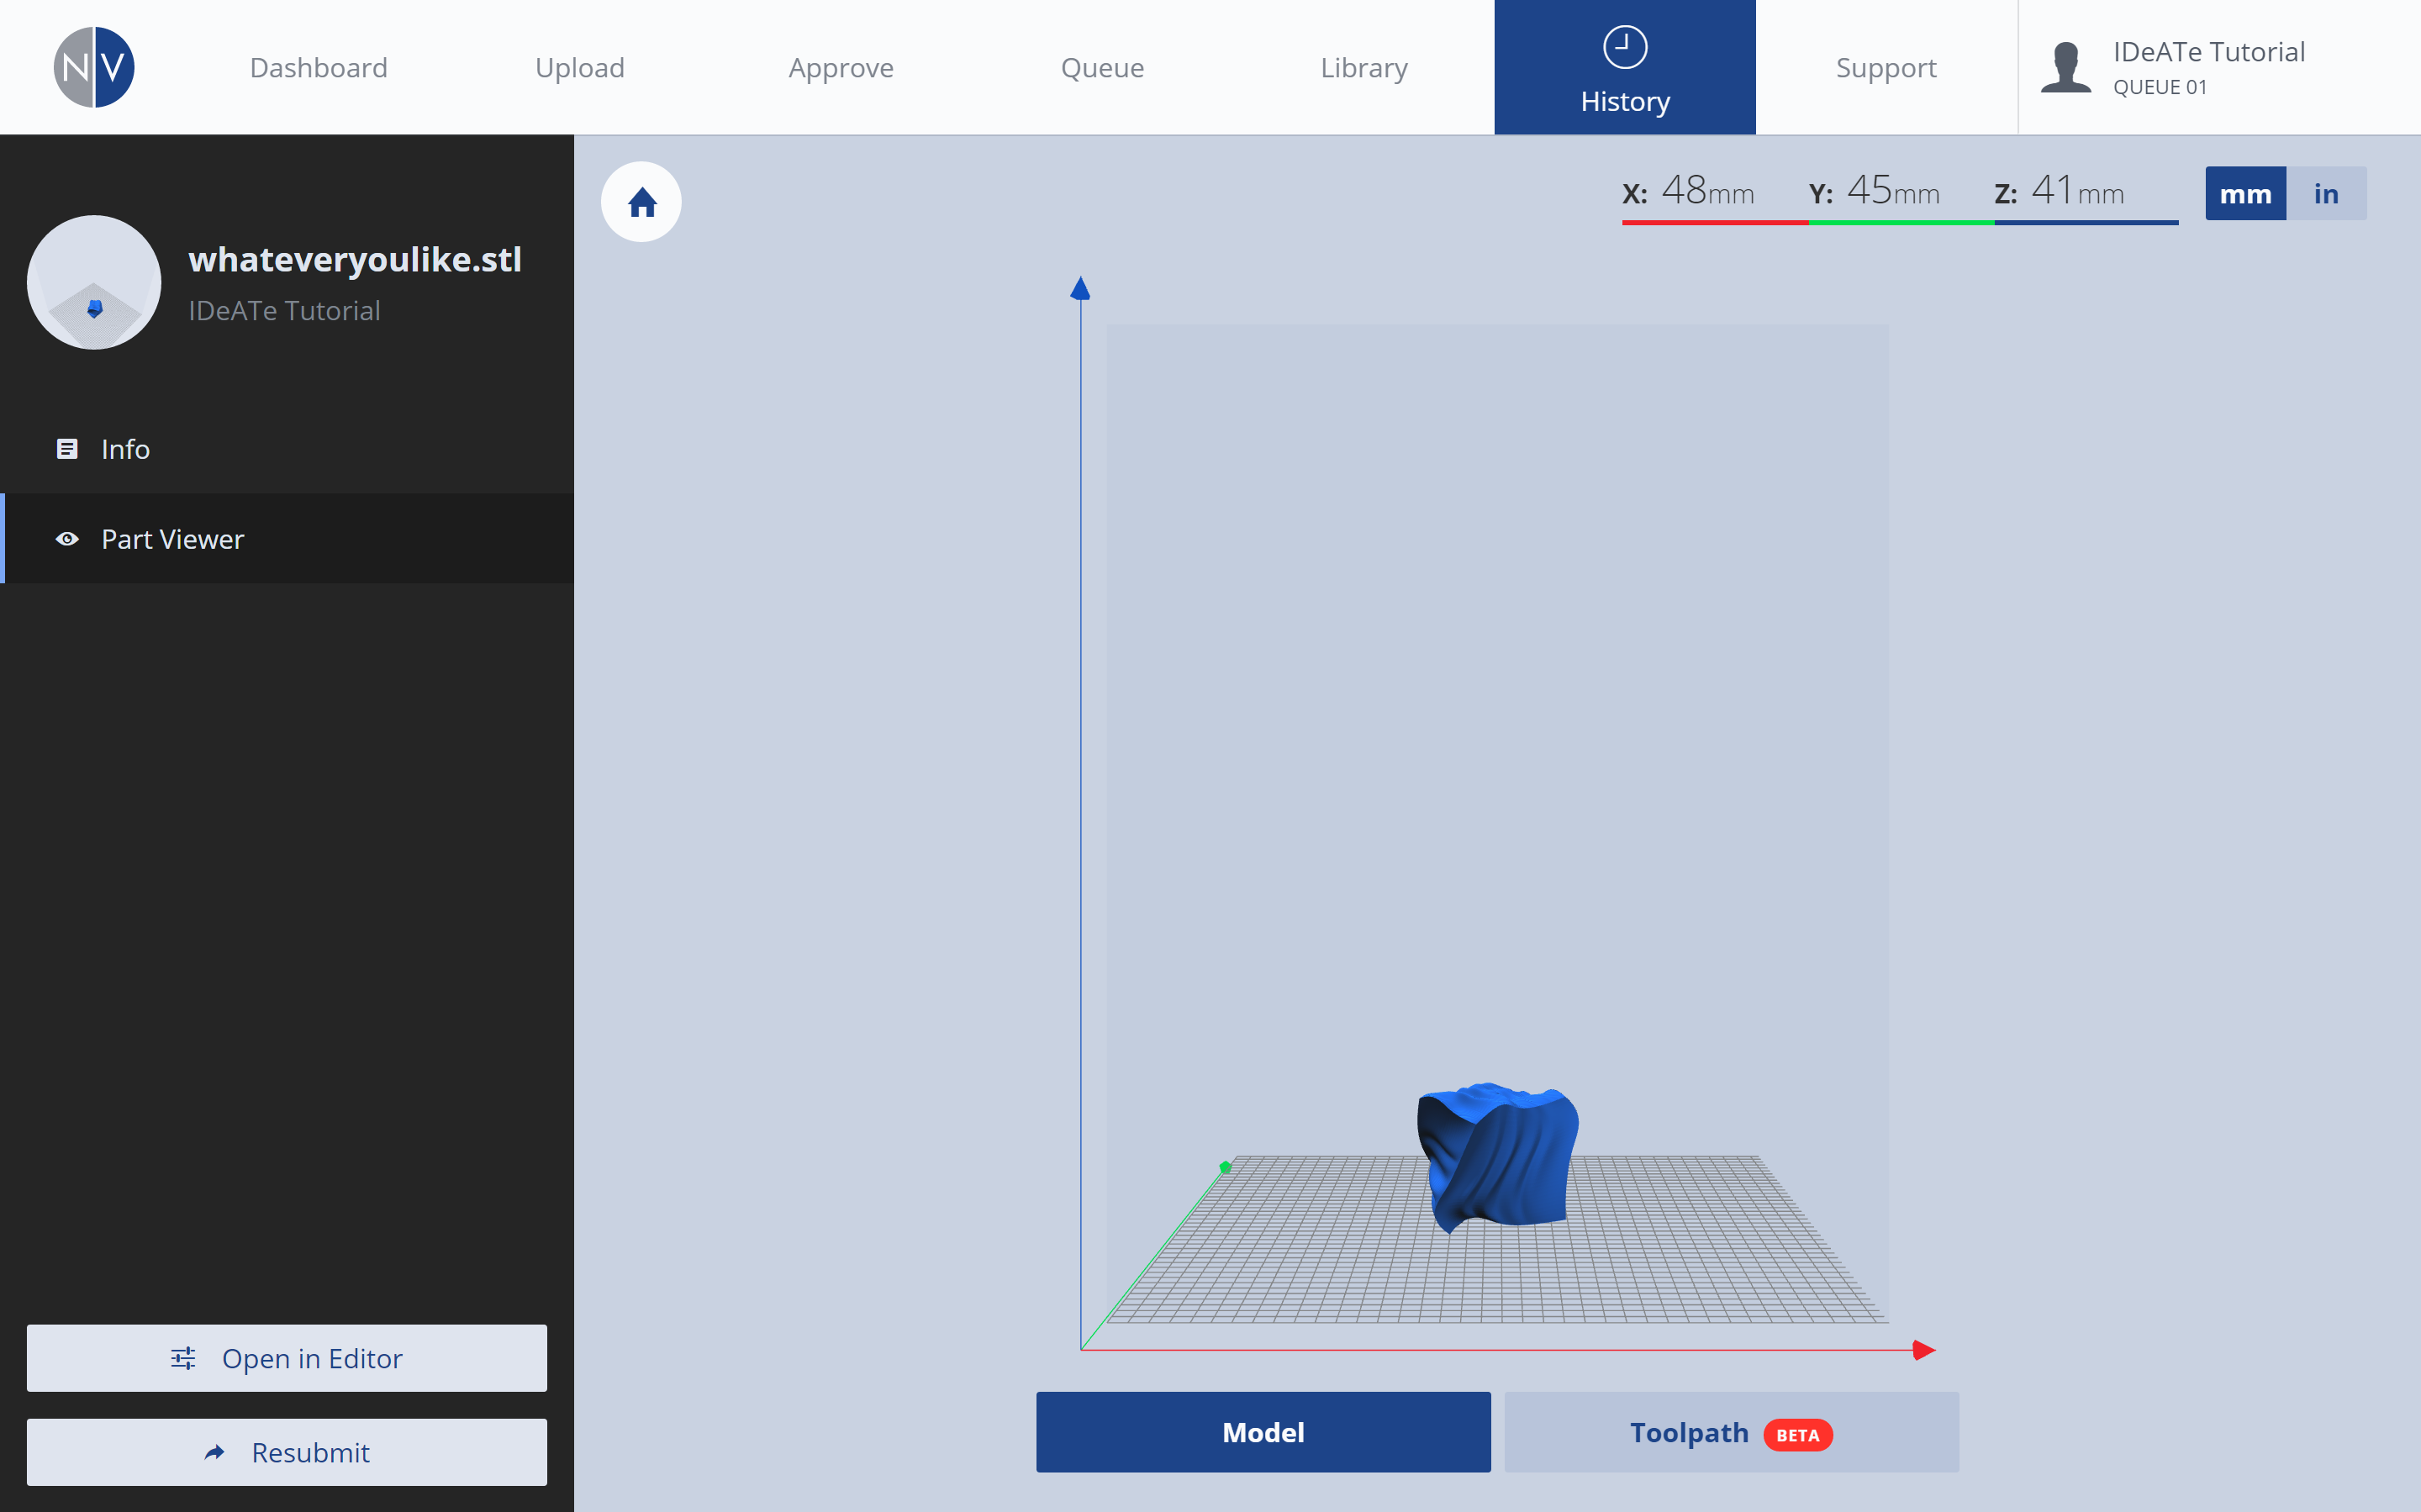
3. Review: Part Viewer – MODEL |
|
|
|
 |
|
|
|
From the left-menu, selecting the PART VIEWER option, will provide you with a preview of your print job geometry. This is the default MODEL view. |
|
|
4. Review: Part Viewer – TOOLPATH |
|
|
|
 |
|
|
|
Selecting the TOOLPATH button, near the bottom-right of the screen, will present a visual representation of the toolpaths for your print job. |
|
|
5. Review: Adjustments |
|
|
|
|
|
|
|
If you find any errors with your print job, select the OPEN IN EDITOR button, from the bottom of the left menu. This will re-open the PRINT SETTINGS menu. From this menu, you can make any required adjustments to your print job, and re-submit.
*IMPORTANT: if you resubmit a print job with revised settings, your original print job will still exist in the approval queue! Revisit the APPROVE tab and delete any print jobs you do not want! |
|
After you’ve reviewed your print job details, the job will remain in the approval queue until it is approved by IDeATe Faculty or Staff.
1. ORDER: Print jobs are approved on a first-come, first-served basis.
2. REVIEWERS: Print jobs may be reviewed and approved by IDeATe Technical Staff, Technical Advisors, Faculty, or Teaching Assistants.
3. WAIT TIME: Print jobs are approved in small batches. This eliminates any queue problems when a print job fails or if the printing equipment requires maintenance. It is normal for print jobs to remain in the approval queue for a short period of time (1-3 days) before being approved and moved to the print queue.
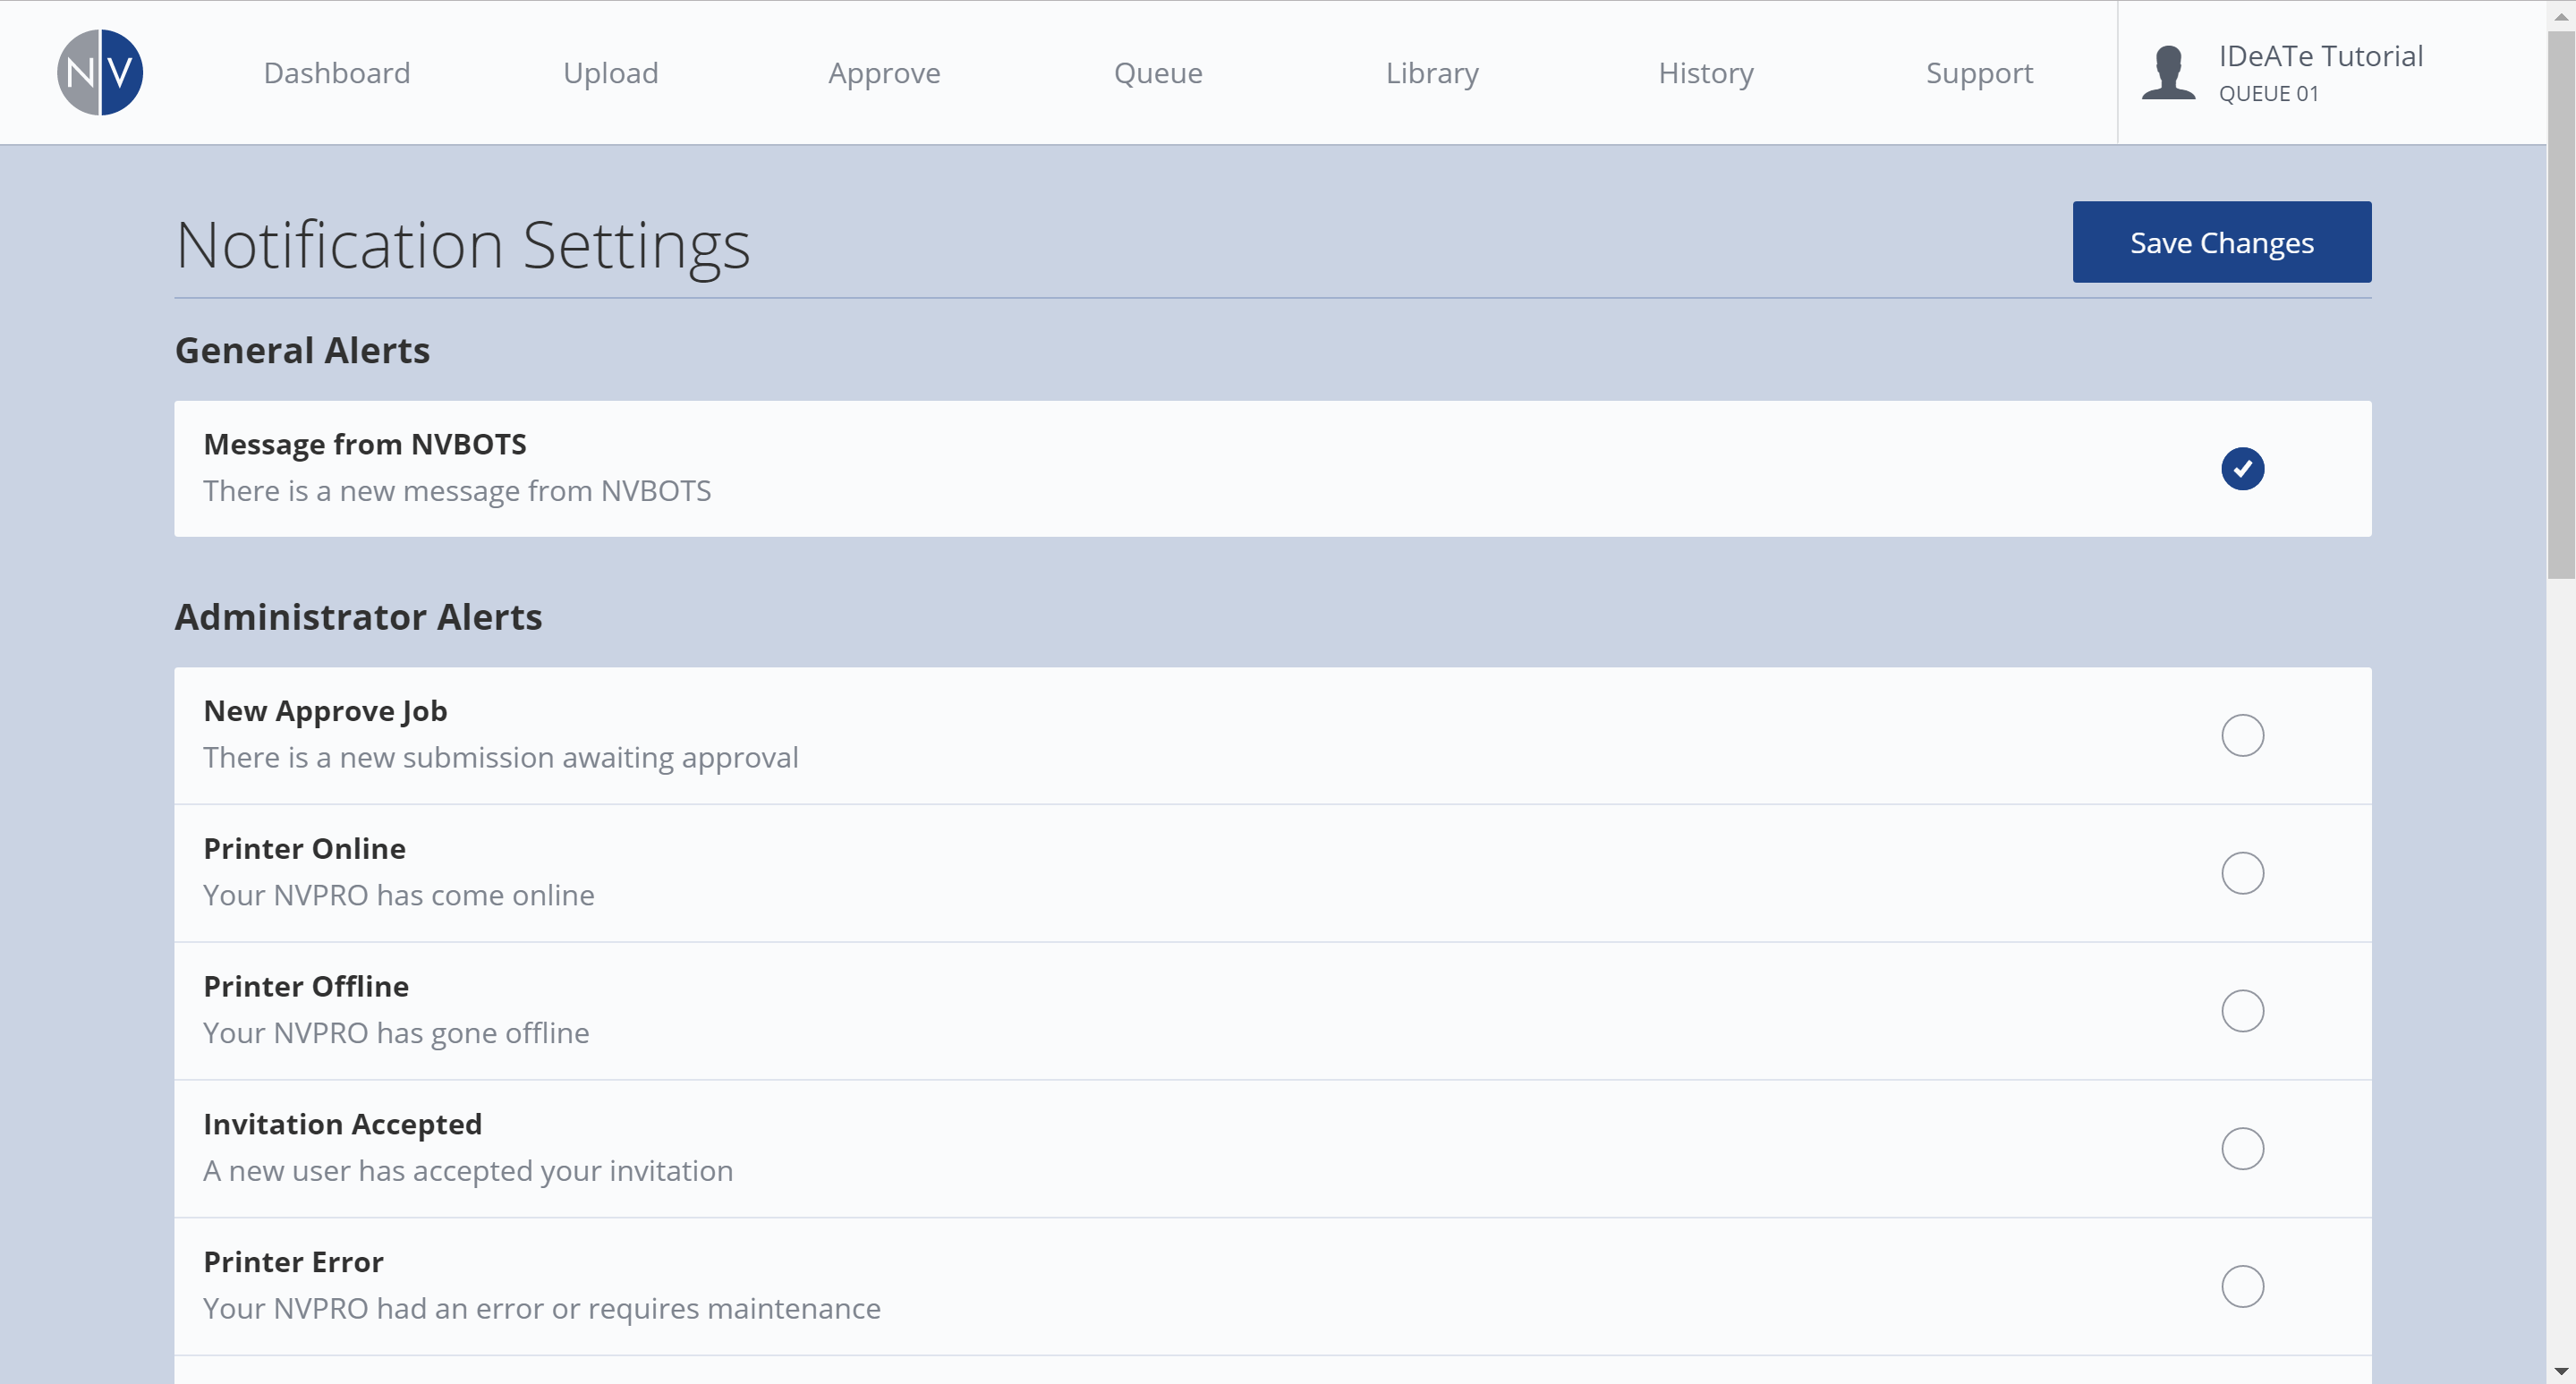
4. NOTIFICATION: *You will receive an email notification when your job is approved or denied. Please read the email, as it may include relevant notes or questions from the person who approved or denied your print. *If you aren’t receiving emails, you may need to adjust your personal notification settings (opens in new tab, login required).
After approval, your print job transitions to the print queue.
1. ORDER: Print jobs are completed on a first-come, first-served basis.
2. PRINT ERRORS: If a print job fails due to equipment failure, you are not charged. The equipment will be fixed, and your file will be resubmitted as first in the print queue.
3. PRINT FAILURES: If a print job fails due to file preparation or geometry errors, you are not charged for the first instance. You may resubmit your print job after reviewing the errors with your Instructor or IDeATe Technical Staff. Any print failures occurring after this review are charged to your student account.
4. NOTIFICATION: *You will receive an email notification when your job begins and completes. Additional notifications are sent if a print is stopped or fails. *If you aren’t receiving emails, you may need to adjust your personal notification settings (opens in new tab, login required).
5. RETRIEVAL: Your print job will be scraped from the print platform, and dropped into the bin on the right-side of the equipment. Open the equipment door and retrieve your print.
6. CONTACT: If you’re encountering issues or you have general questions that are not included in the NVBot Tutorials, please:
a. Ask your instructor! If he/she isn’t available, then….
b. Ask a friend! I’m sure one of them will know. If you don’t have any friends, or you’re friends don’t know, then….
c. Make some friends who do know! Ask an IDeATe Tech Advisor! They wear the blue shirts that say: “Tech Advisor”- usually available on weekdays 4:30-7:30pm.
d. Email us: HELP@ideate.cmu.edu