 |
||
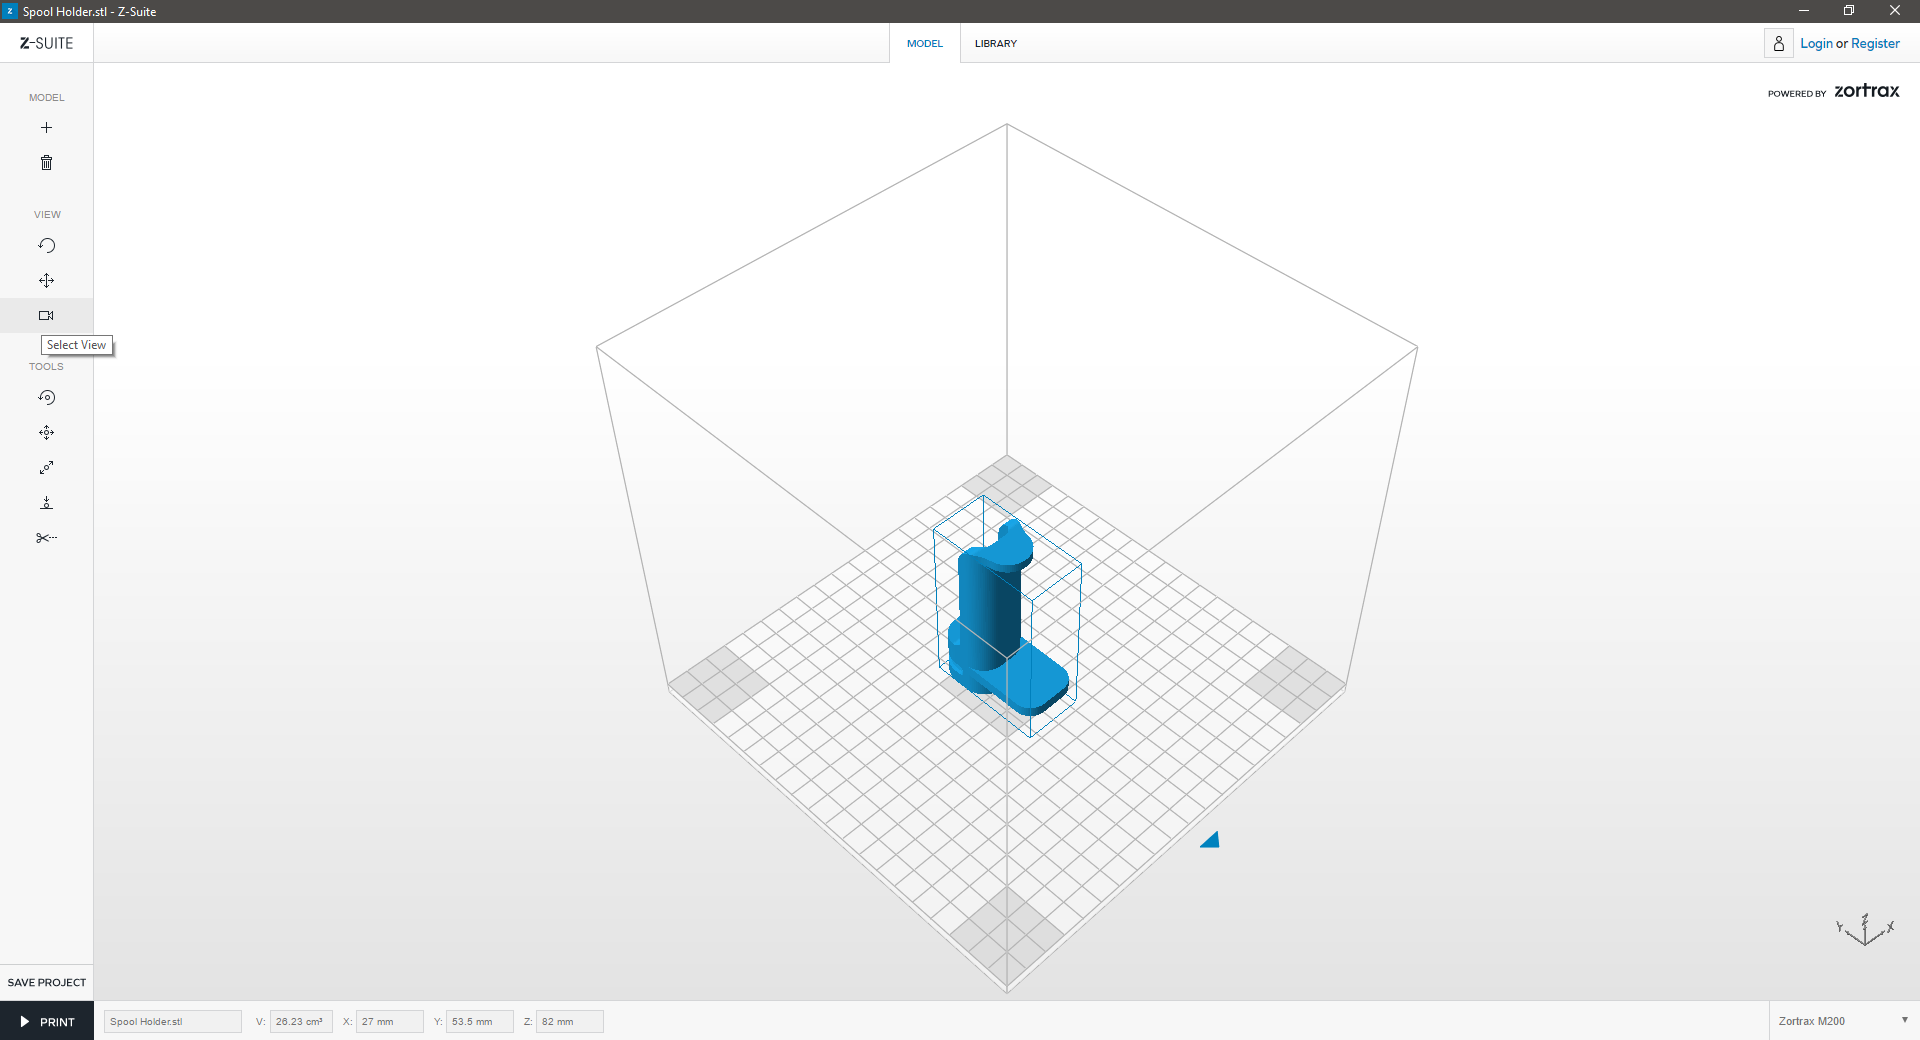
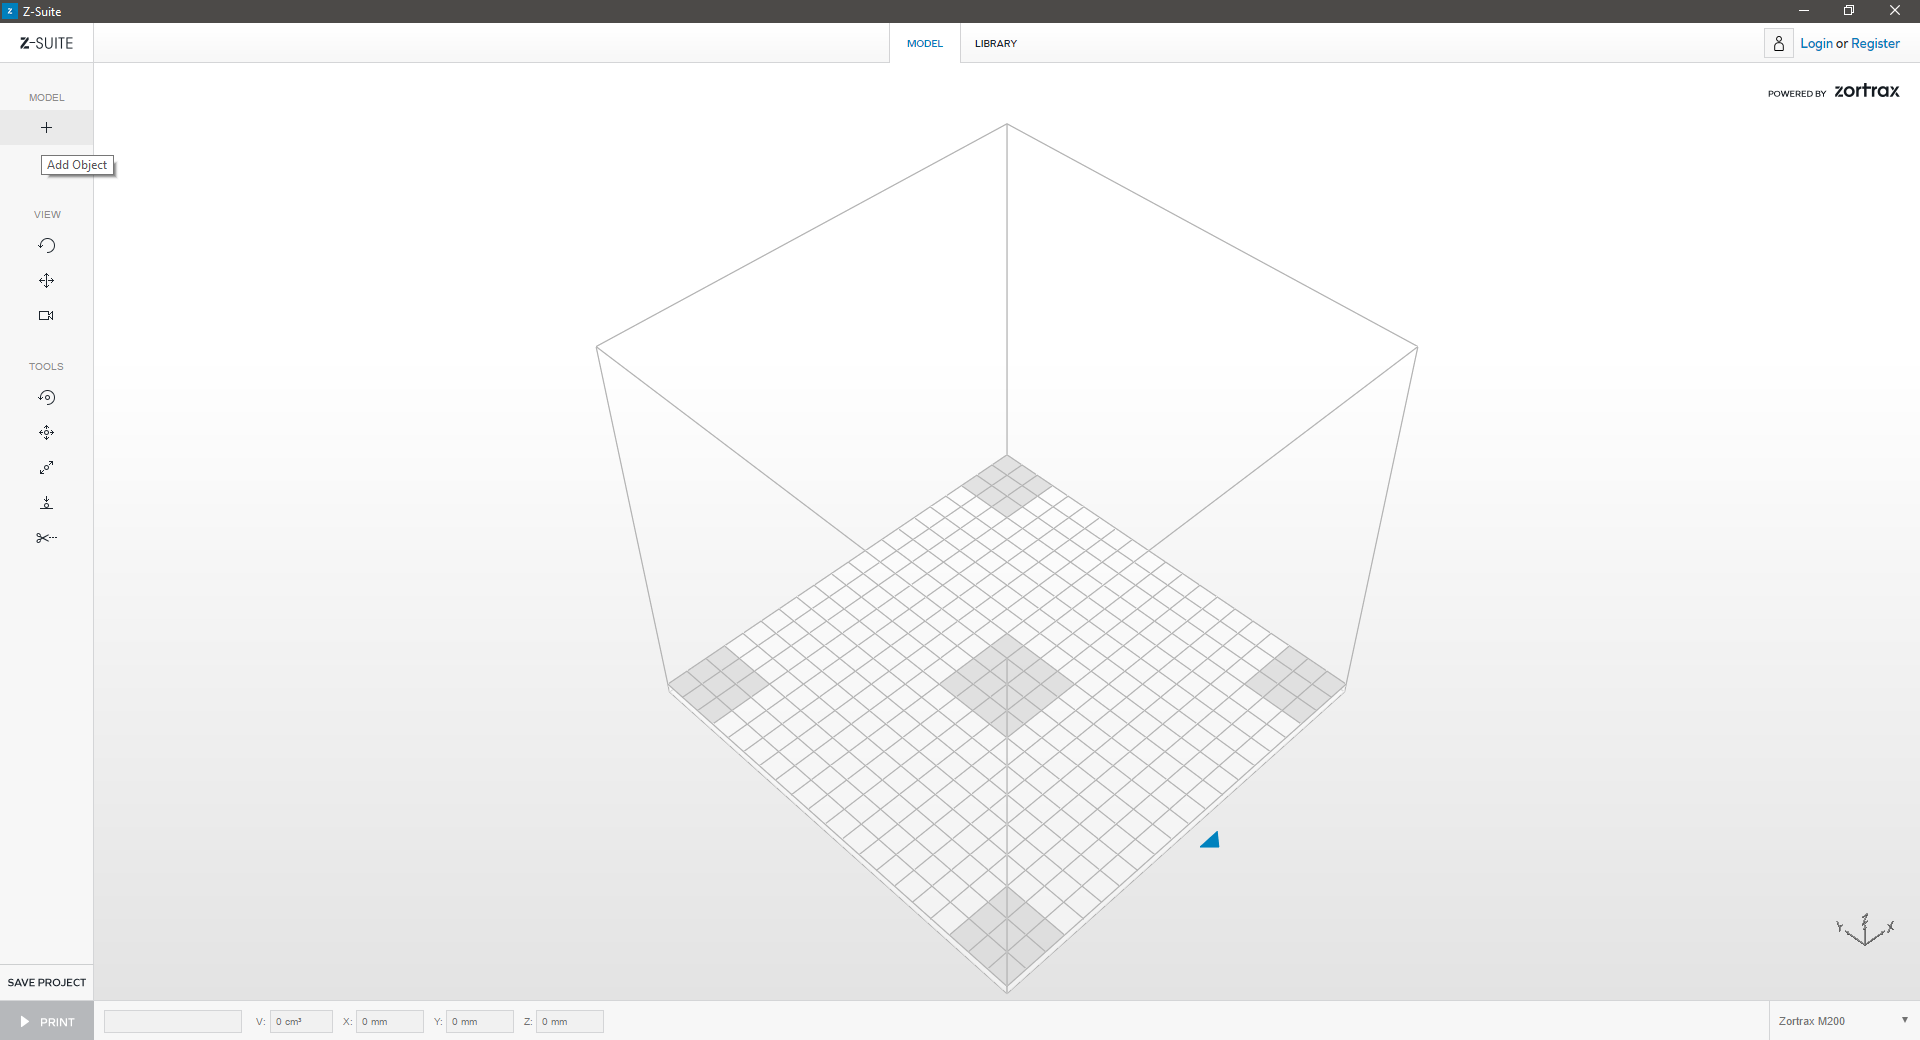
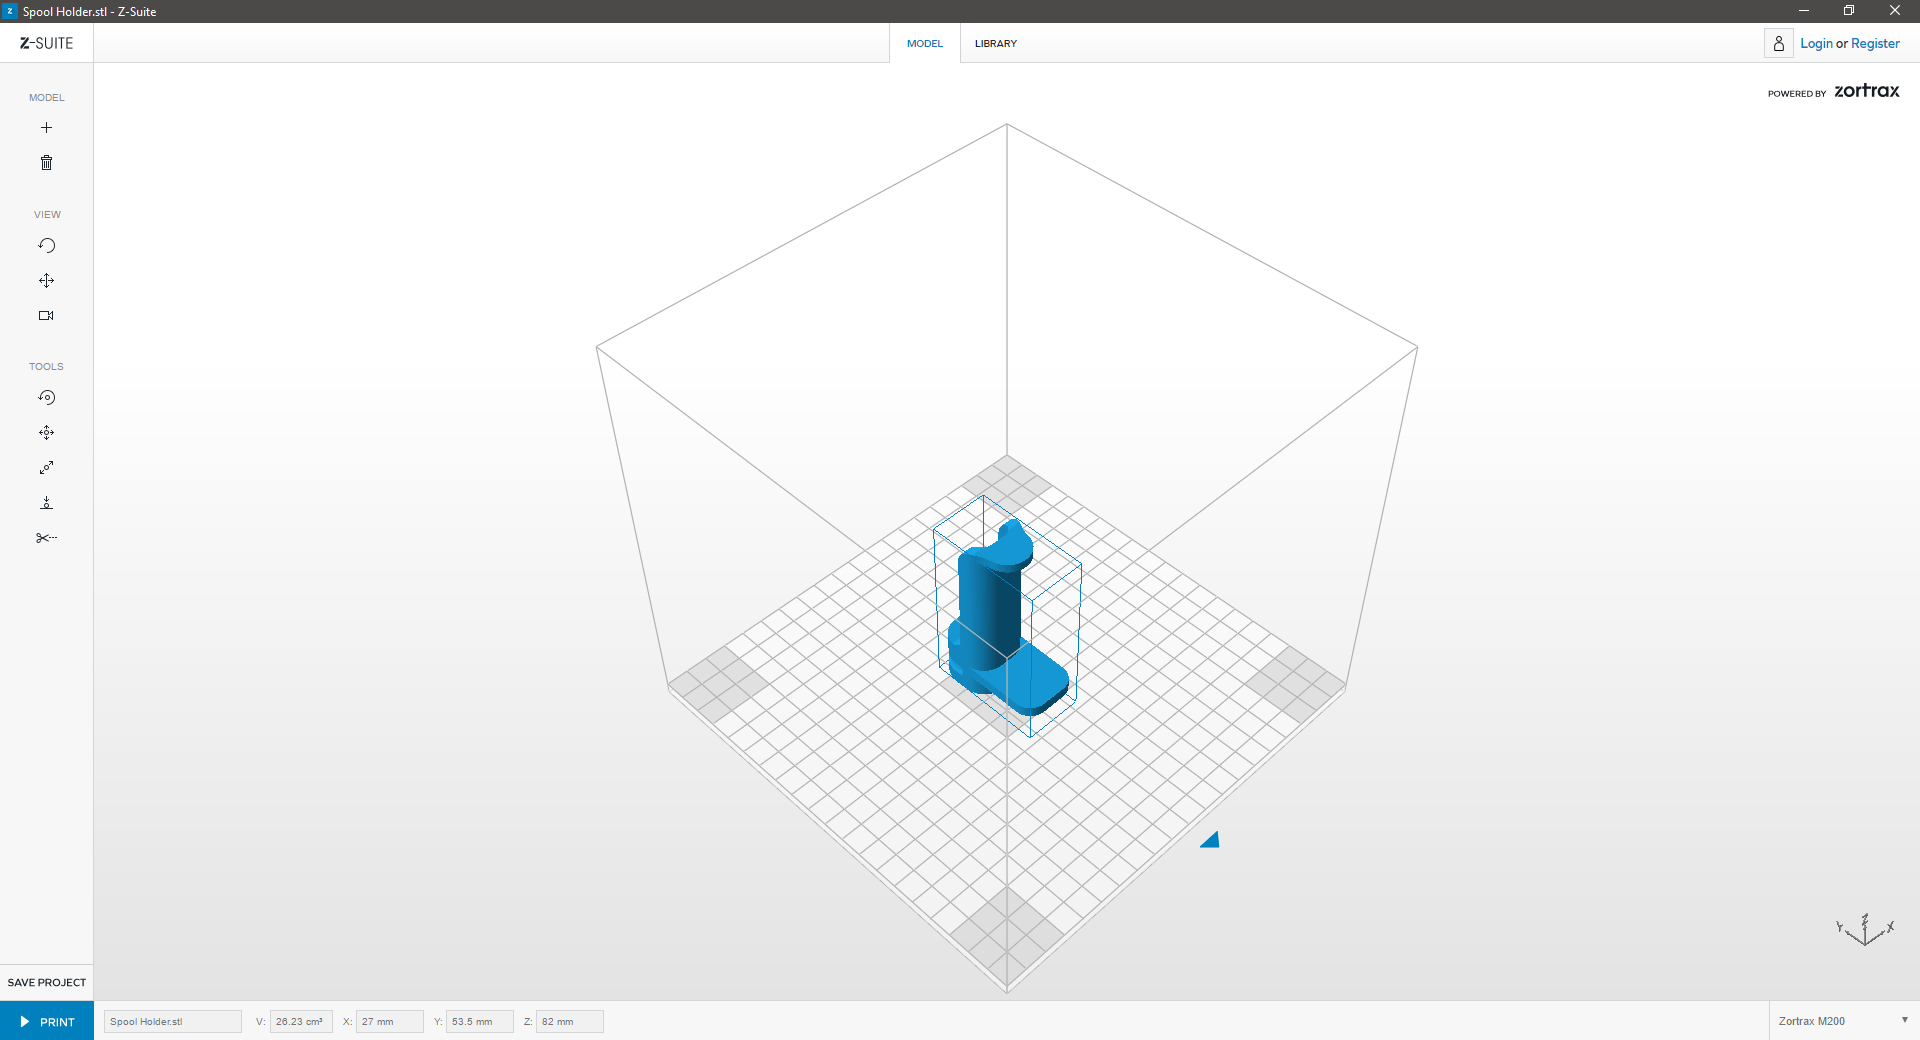
| If your model is ready to be printed, click “Print.” | ||
 |
||
| This will expand a side window, allowing you to adjust some basic print settings and preferences for your 3D Print. | ||
Profile
| Profile | ||
|---|---|---|
 |
||
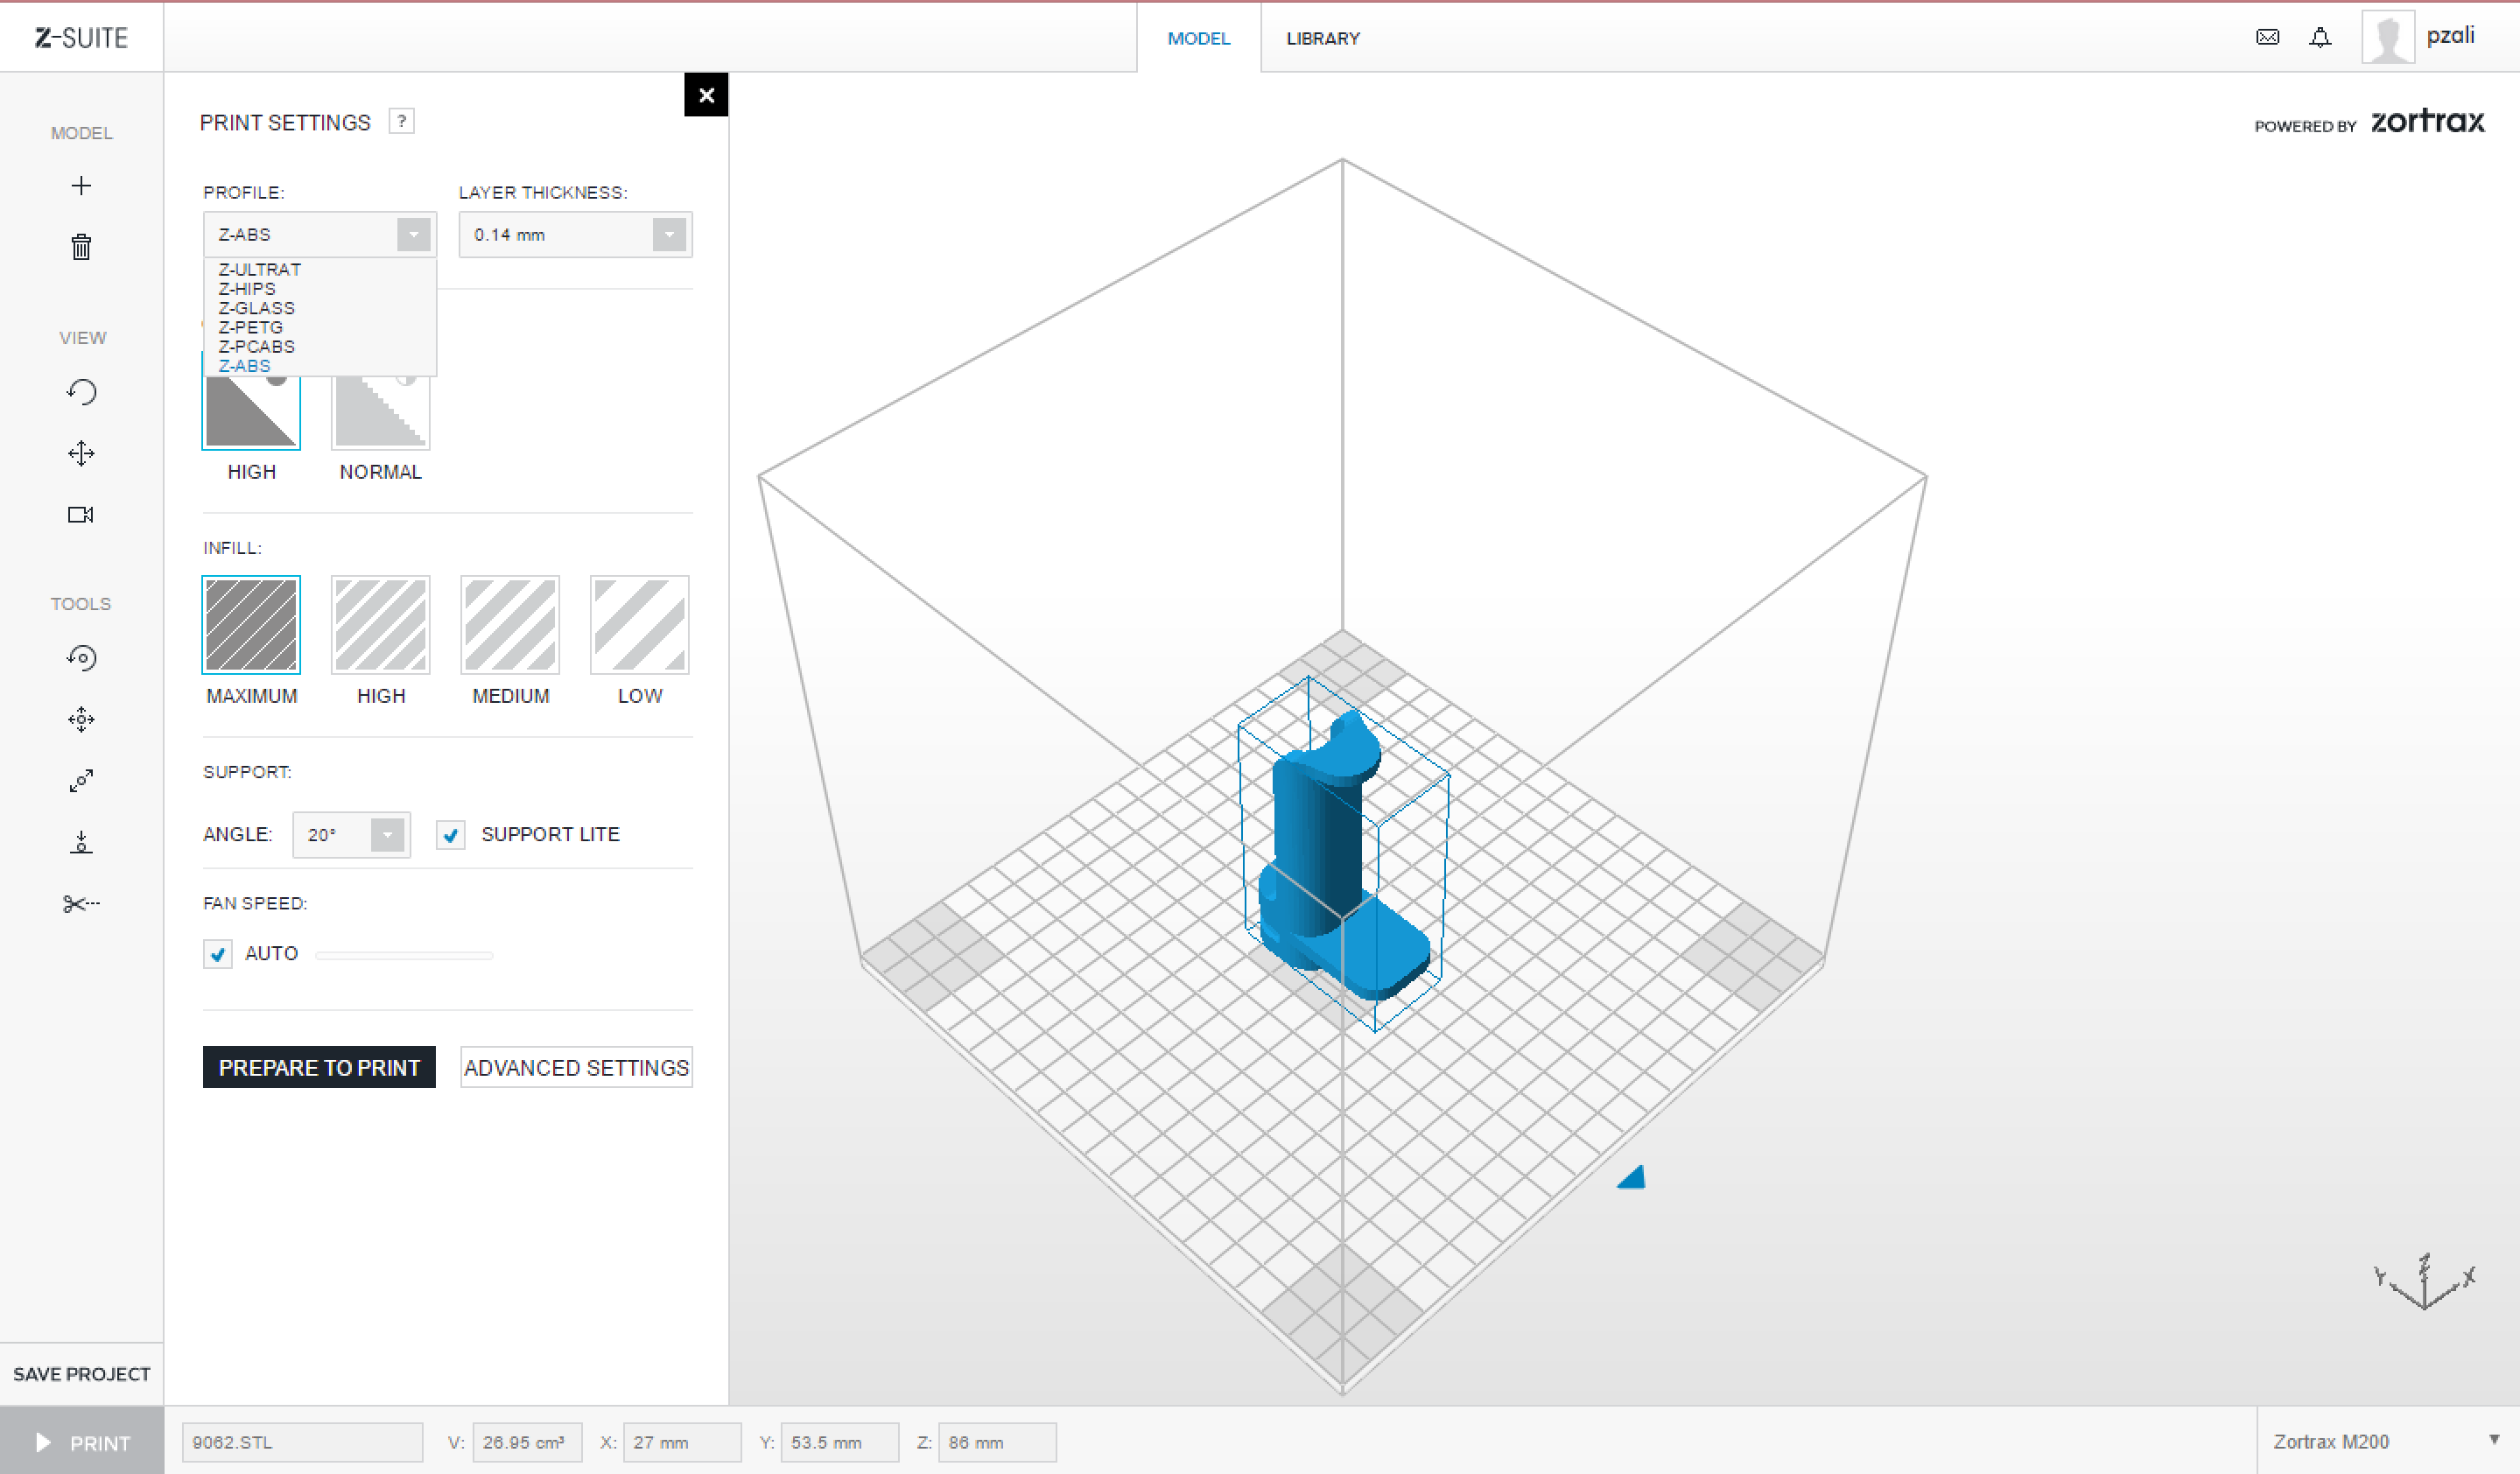
| The PROFILE drop-down option, allows you to select which material is currently loaded. Material selection is limited to Z-ABS only, for safety and technical related concerns. The material will always be pre-loaded by IDeATe Tech Staff. You should always select Z-ABS. | ||
Layer
| Layer Thickness | ||
|---|---|---|
 |
||
|
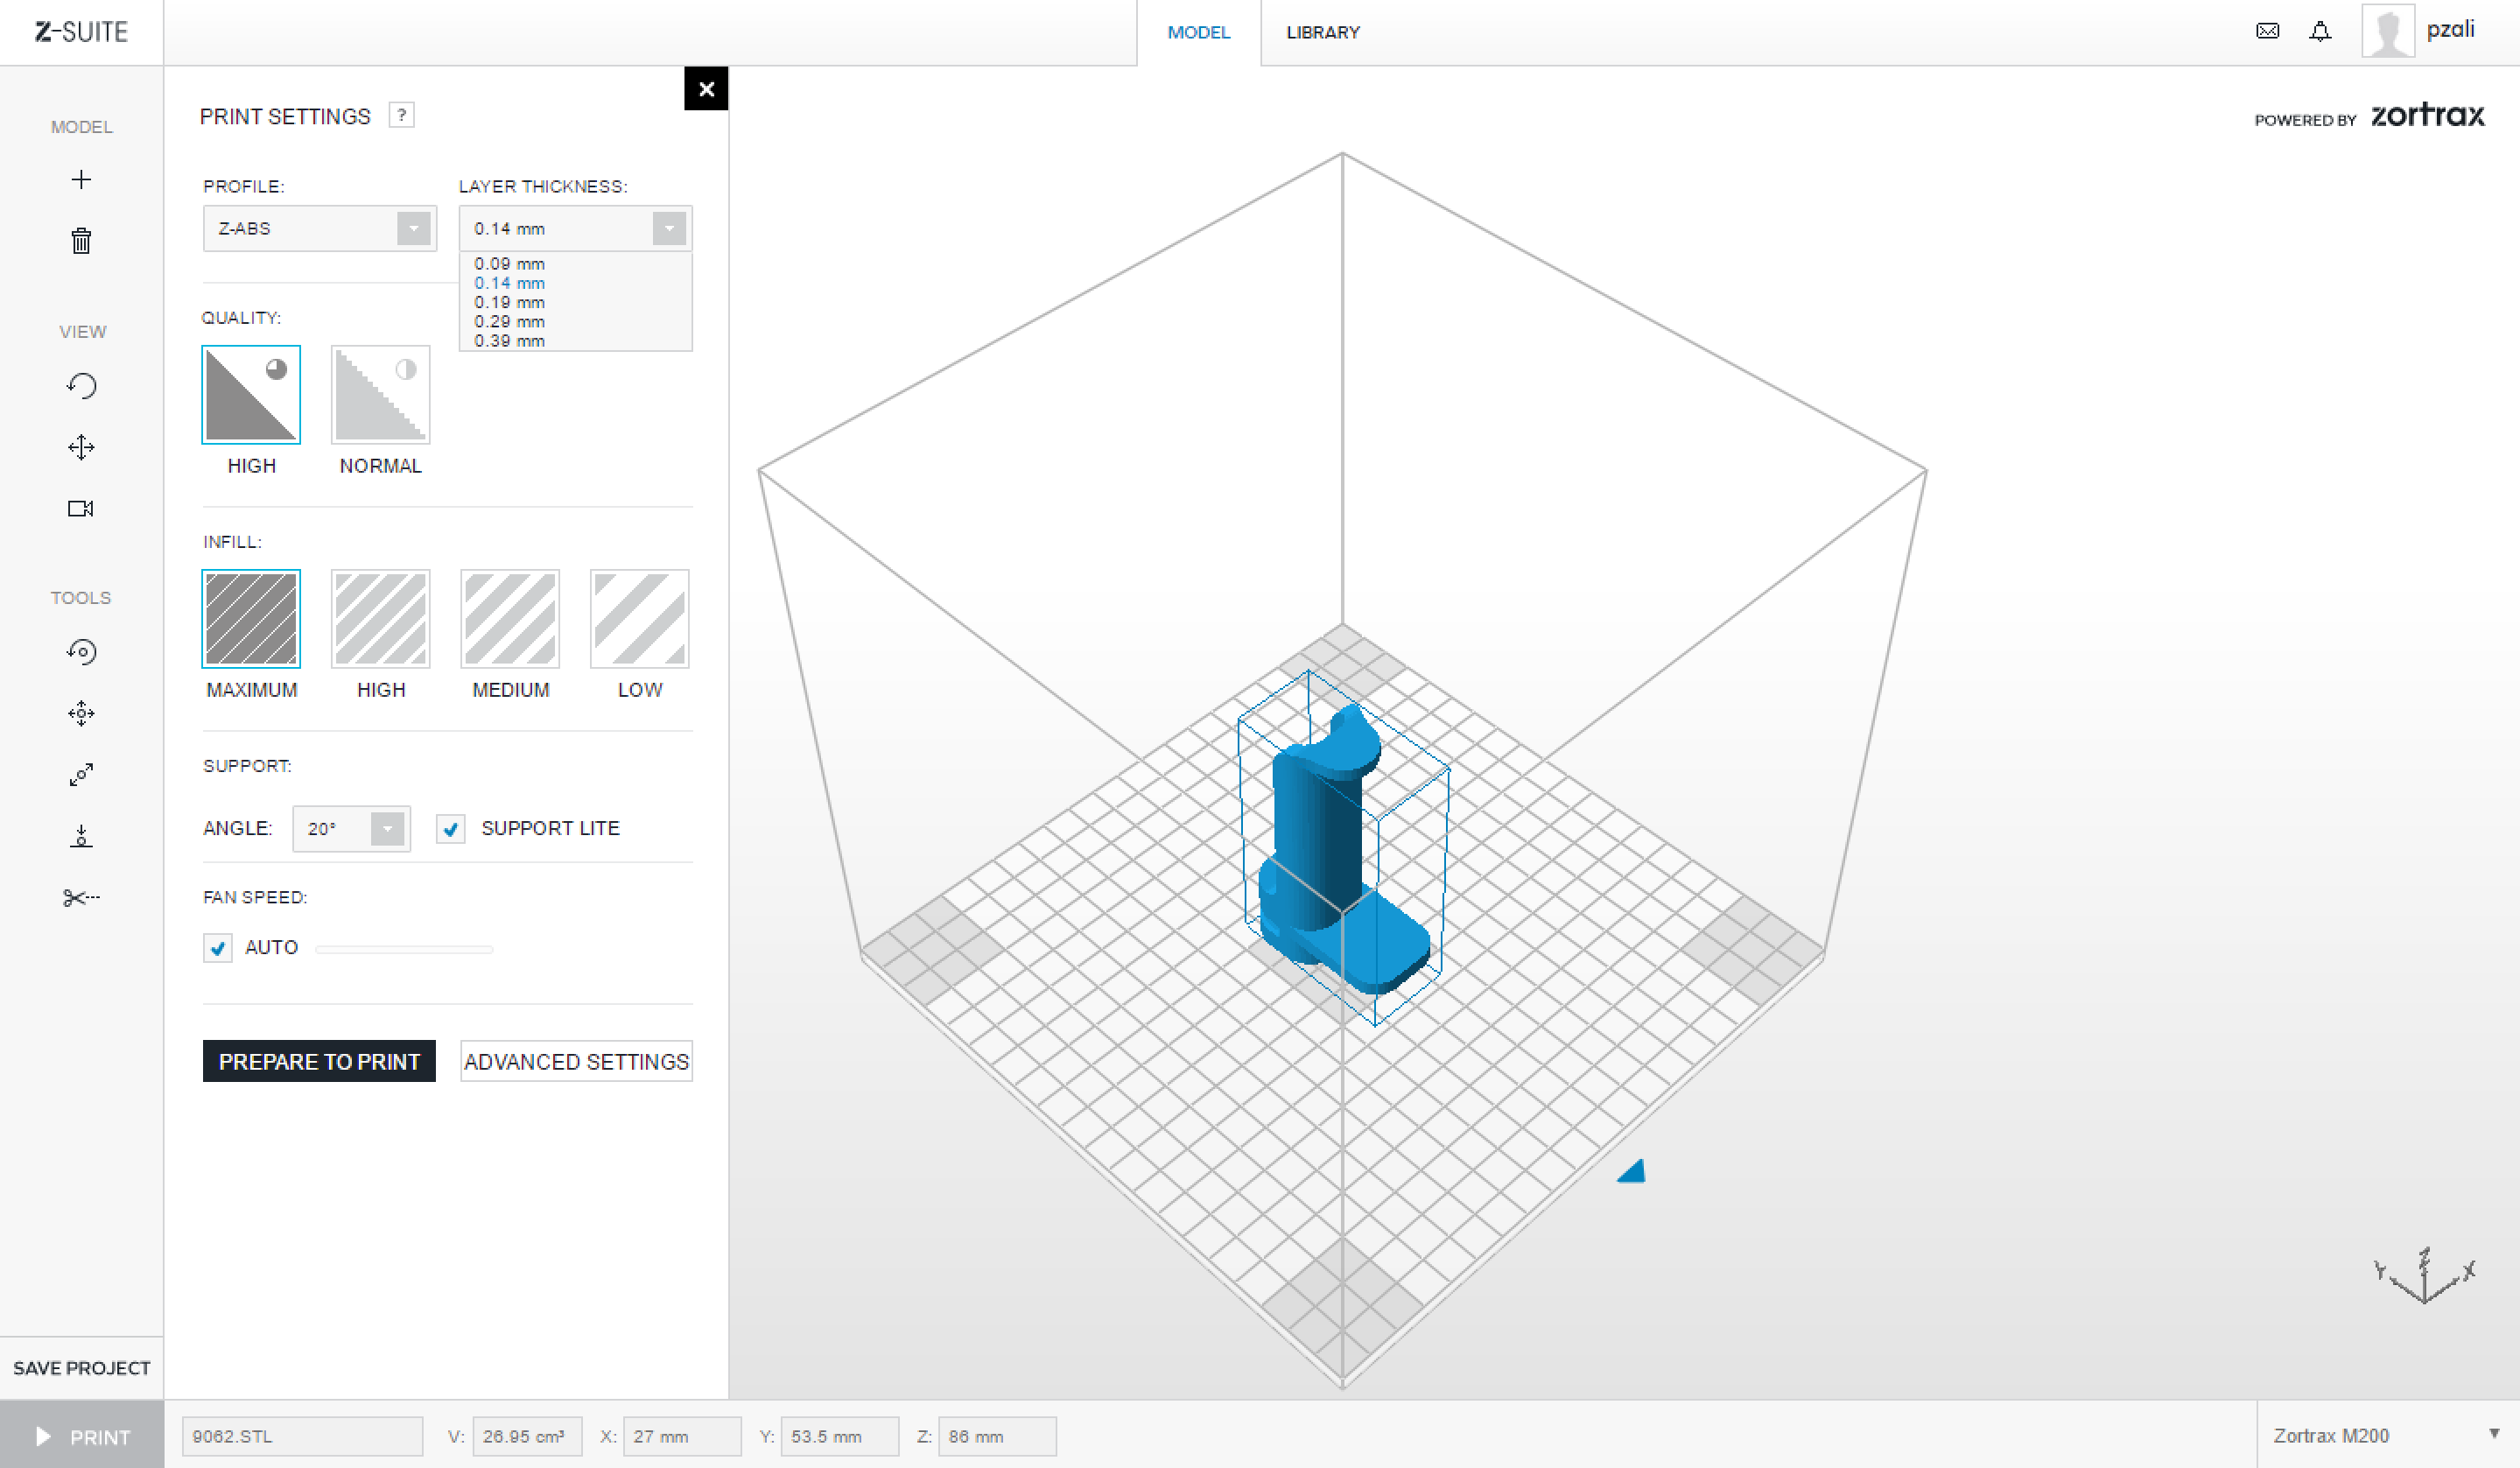
LAYER THICKNESS: this drop-down allows you to choose the height of one printed layer. (0.09mm/0.14mm/0.19mm/0.29mm/0.39mm) Your material selection may affect the available selection choices. a. Finer layers (0.09mm/0.14mm) = Better surface quality + increased printing time + increased material usage. This is recommended for parts that are intricate/highly-detailed/organic/curvilinear. b. Average Layers (0.14mm/0.19mm) = Average surface quality + average printing time + average material usage. These settings work well for most shapes and forms. c. Thicker layers (0.29mm/0.39mm) = Less surface quality + decreased printing time + decreased material usage. These settings are recommended if your part is simple/rectilinear/square. You can also use these settings if your part is a first-stage prototype, or if you’re in a rush! |
||
Quality
| Quality | ||
|---|---|---|
|
||
|
QUALITY: This drop-down option allows you to adjust the speed and quality of the 3D Print. High Quality = decreased speed + increased code output + increased print time. This is recommended for organic or curvilinear shapes. Normal Quality = average speed + average code output + average print time. This will work well for any form. |
||
Infill
| Infill | ||
|---|---|---|
|
||
|
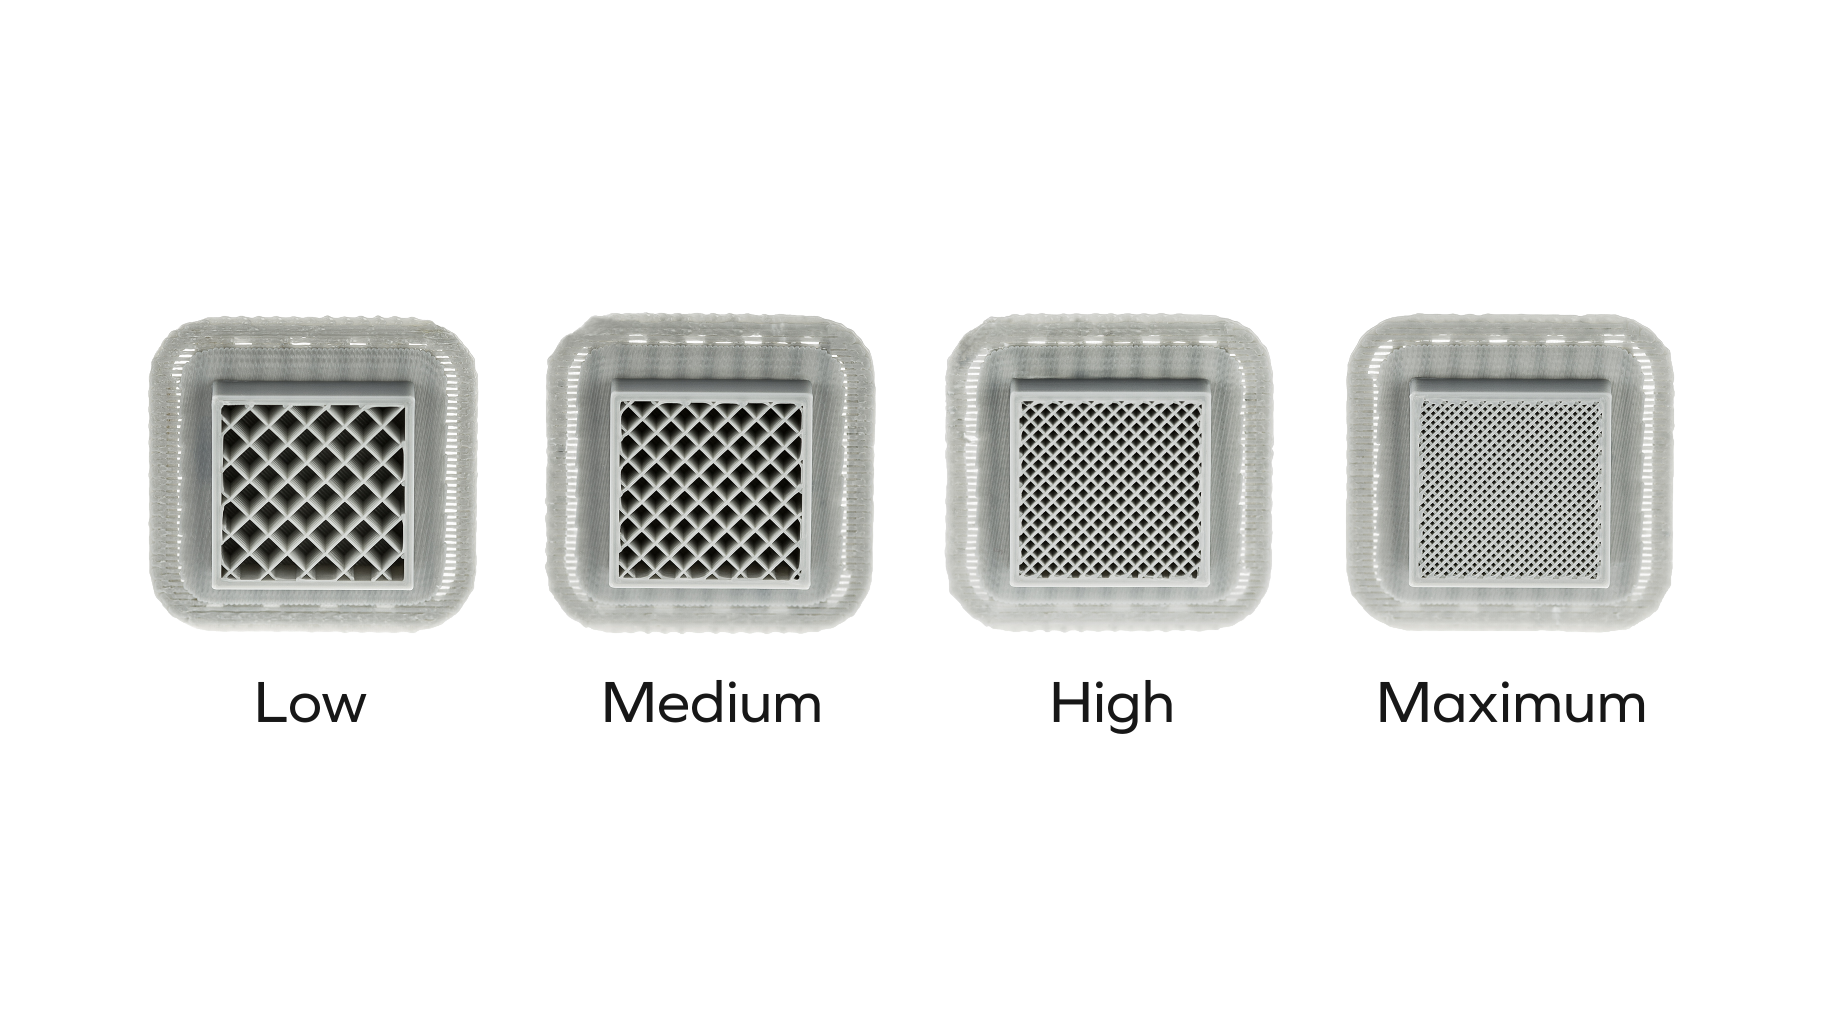
INFILL: Allows you to adjust how the interior of your model is printed. *See the image below and continue reading for extended description.
|
||
 |
||
|
Maximum = High strength + increased print time + increased material usage. Use these settings if your part requires strength and durability; or if you plan on drilling/screwing screws or bolts into the part. High = Average strength + average print time + average material usage. Use these settings if your part requires average strength; or if you plan on sanding the part afterward. Medium = Sufficient strength + lower print time + lower material usage. Use these settings if your part is for show, study, or research. Low = Minimal strength + minimal print time + minimal material usage. Use these settings if the interior of your object or strength doesn’t matter; or if you’re in a rush! |
||
Support
| Support | ||
|---|---|---|
|
||
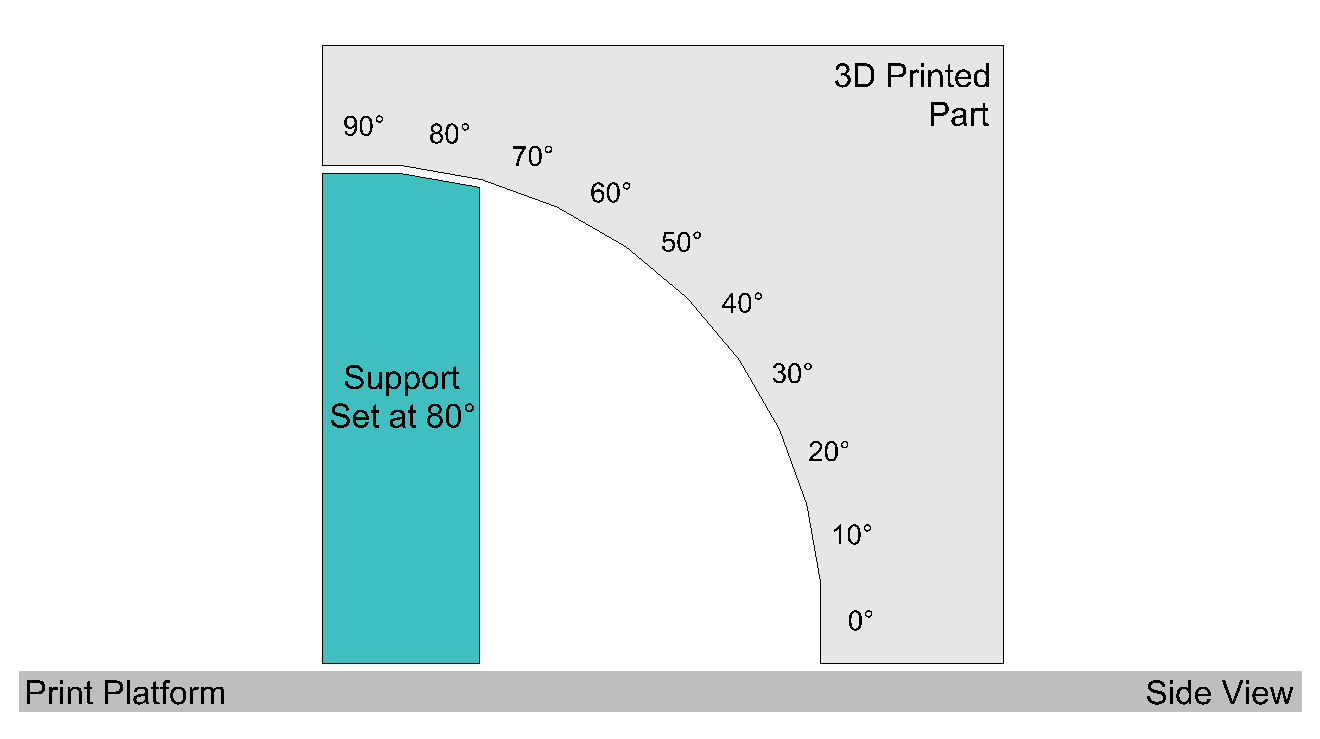
| SUPPORT: Allows you to select the angle at which support structures are generated for over-hanging or undercut geometry. If your 3D Model includes over-hangs or undercuts; we’ll have to define when the 3D Printer creates support structures to support these features. By default, this option is set to 20 Degrees. This setting is safe as it provides extensive supports for your model. | ||
 |
||
|
For instance, a support setting of 40 Degrees would print support structures for overhanging geometry that is greater-than or equal-to 40 Degrees. An example is provided in the image above. Lower Support Setting Values = increased print time + increased material usage + increased success + increased post-processing time (removal/clipping of support material from final model) |
||
 |
||
|
As a second example, a support setting of 80 Degrees would print support structures for overhanging geometry that is greater-than or equal-to 80 Degrees. An example is provided in the image above. This setting would provide limited support for over-hanging structures, and the likelihood your model will print successfully is minimal. Higher Support Setting Values = decreased print time + decreased material usage + decreased success + decreased post-processing time (removal/clipping of support material from final model) |
||
|
||
| SUPPORT LITE: Choose this option to generate the support structure without the outer perimeter. Support Lite consumes less material, is easier to remove, and decreases print time. However, this option can cause problems with complicated Support structures. | ||
Fan
| Fan Speed | ||
|---|---|---|
|
||
| FAN SPEED: Should be set to Auto. | ||