 |
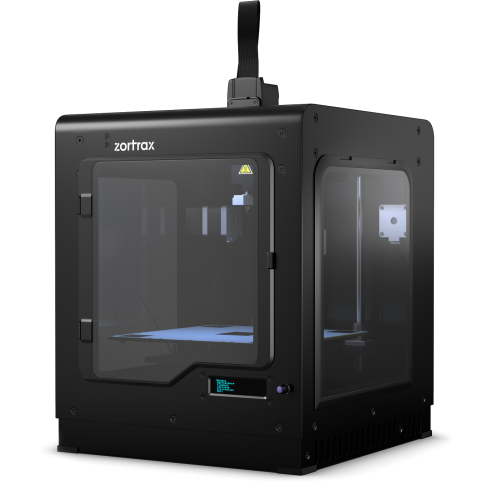
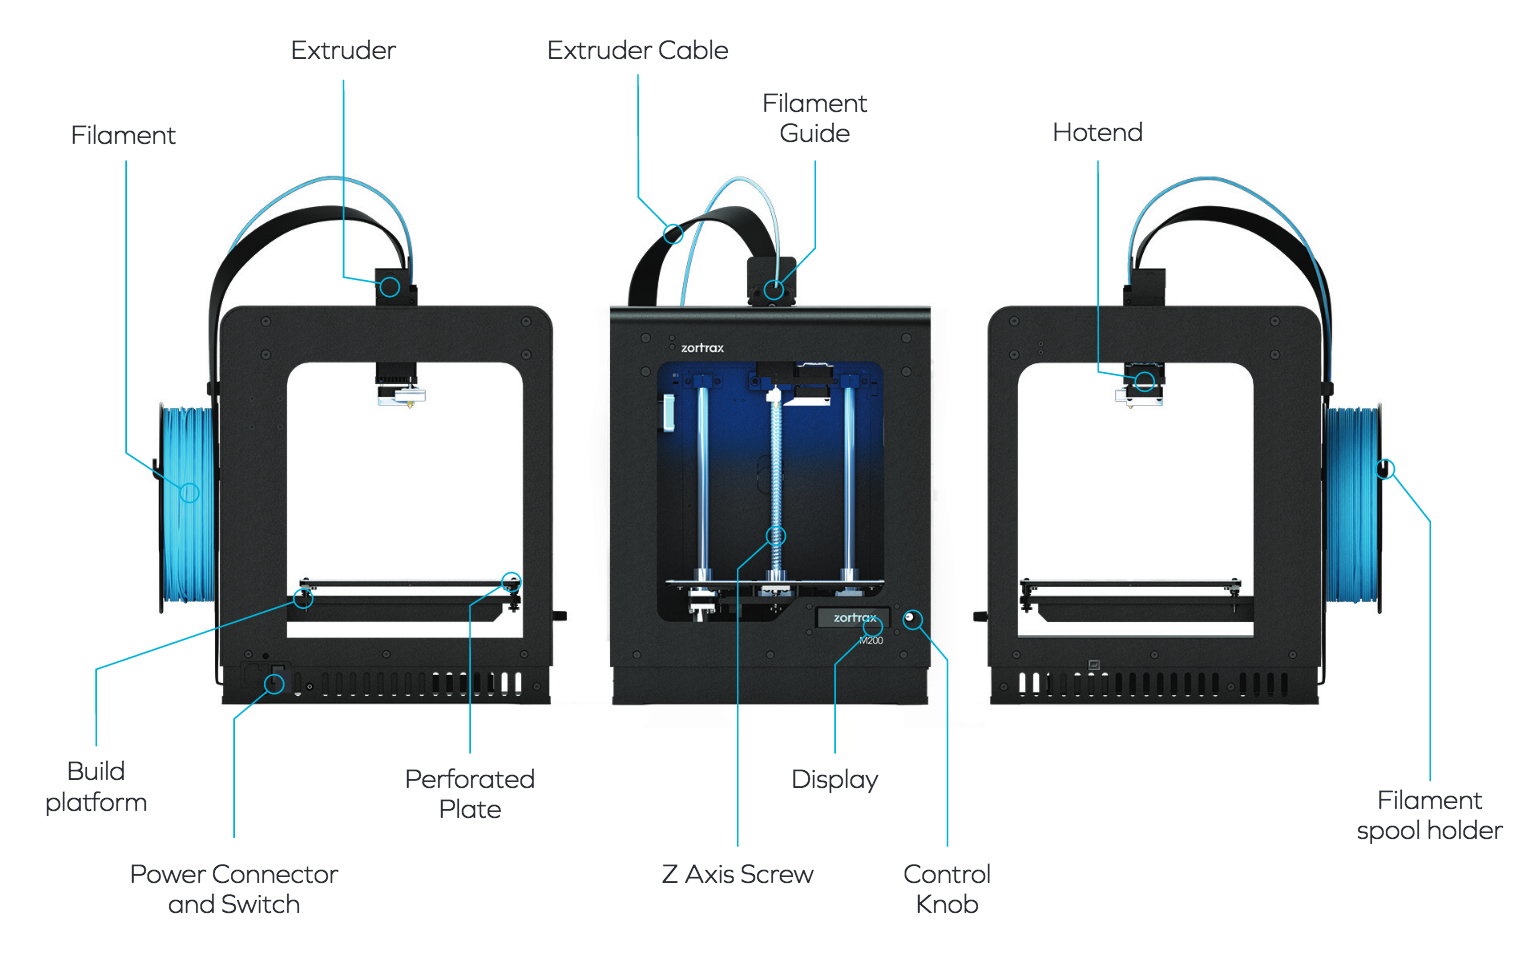
There are (2) Zortrax M200 Desktop 3D-Printers available for Student use, in IDeATe Print Lab (A5b). The information below, provides relevant safety information, equipment specifications, and a 3D printing guide for the Zortrax M200. |
SAFETY
The following information provides details on known equipment hazards. Please, review and use the equipment safely!
| HEAT HAZARDS | |
|---|---|
| Print Head | Print Head operates at a Maximum Temperature of 380° C [716° F]. Do NOT touch the print head/nozzle! |
| Print Platform | Heated print platform’s operating temperature is 110° C [230° F]. Allow 10-15 minutes of cool-down time before removing and/or handling the print platform! |
| CUTTING HAZARDS | |
| Print Removal | Removing 3D Printed parts from the print platform, may require the use of a scraper. Always wear thick rubber or leather gloves and scrape AWAY from your body, to prevent injury. |
| BREATHING HAZARDS | |
| ABS Plastics | Heating and extruding ABS Plastics emits 200 billion nano-particles per minute. A fume-extraction hood removes these particles, thus reducing breathing hazards. Please, keep the sliding doors in a closed position as frequently as possible. |
| PLA Plastics | Heating and extruding ABS Plastics emits 200 billion nano-particles per minute. A fume-extraction hood removes these particles, thus reducing breathing hazards. Please, keep the sliding doors in a closed position as frequently as possible. |
| CMU Resources | 3D Printing Safety Fact Sheet |
SPECS
The following information provides details on equipment specifications.
| PRINTING | |
|---|---|
| Print technology | LPD – Layer Plastic Deposition |
| Workspace | 200 x 200 x 180 mm [7.87 x 7.87 x 7.086 in] |
| Layer resolution | 90-400 microns |
| Material container | Spool |
| Wall thickness | Optimal: 800 microns |
| Resolution of a single printable point | 400 microns |
| Material Diameter | 1.75 mm [0.069 in] |
| Nozzle diameter | 0.4 mm [0.015 in] |
| Minimum single positioning | 1.5 microns |
| Positioning precision X/Y | 1.5 microns |
| Z single step | 1.25 microns |
| TEMPERATURE | |
| Extruder maximum temperature | 380° C [716° F] *See Safety: Heat Hazards |
| Heated platform | yes *See Safety: Heat Hazards |
| Heated platform maximum temperature | 110° C [230° F] *See Safety: Heat Hazards |
| Ambient Operating Temperature | 20°-35° C [68°-95° F] |
| Storage Temperature | 0°-35° C [32°-95° F] |
| 3D PRINTER | |
| Support Material | Printed from the same material as the model. Supports must be cut and/or trimmed away by hand. *See Safety: Cutting Hazards |
| Print Head(s) | Single |
| Connectivity | SD card (available for check-out from IDeATe Lending – A29) |
| Available materials | Z-ABS, Z-ULTRAT, Z-HIPS, Z-GLASS, Z-PETG, Z-PCABS. *IDeATe only provides Z-ABS! All other materials can be purchased from Zortrax Shop. ** See Safety: Breathing Hazards |
| SOFTWARE | |
| Software Bundle | Z-SUITE® – Loaded on Desktop Computers, available in Print Lab (A5c). |
| File types | .stl, .obj, .dxf, .3mf (Stereolithography [.stl] file types are preferred) |
GUIDE
The following is a “quick” step-by-step guide, on how to use the Zortrax M200. Included are links to extended information & tutorials.
| 1. FILE PREPARATION | ||||
|---|---|---|---|---|
| i. | Export | Export your 3D Model as [.stl] or [.obj] file-type.(Stereolithography [.stl] file types are preferred) | ||
| ii. | Import | Import your [.stl] or [.obj] into Z-SUITE® | ||
| iii. | Modify | Use the Z-SUITE® Interface & Tools to prepare, arrange or modify your model geometry for 3D Printing. | ||
| 2. SETTINGS | ||||
|---|---|---|---|---|
| i. | Print Settings | Adjust standard print settings & preferences. | ||
| ii. | Advanced Print Settings | Adjust advanced print settings & preferences | ||
| 3. PROCESSING | ||||
|---|---|---|---|---|
| i. | Slicing | Process any modifications and print preferences by slicing your model. | ||
| ii. | Cost Calculator | Get an estimate on printing cost using the Cost Calculator | ||
| iii. | Save | Save your [.zcode] to an SD Card. | ||
| 4. EQUIPMENT | ||||
|---|---|---|---|---|
| i. | Inspect | Inspect print platform, making certain the platform is plugged-in & the printing surface is free from debris. | ||
| ii. | Load | Load your file via SD-Card. Find, select and begin your print from the equipment interface. | ||
| iii. | Remove | Allow cooling time, remove print platform. | ||
| iv. | Clean | Remove 3D Print and clean the print platform. | ||
| v. | Replace | Replace the print platform and return borrowed items to Lending (A29). | ||