Overview
Inspection
| 2. Inspect the Perforated Plate | ||
|---|---|---|
| WARNING: HEAT HAZARD | ||
 |
||
|
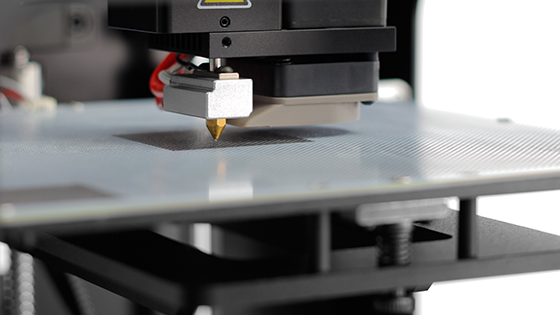
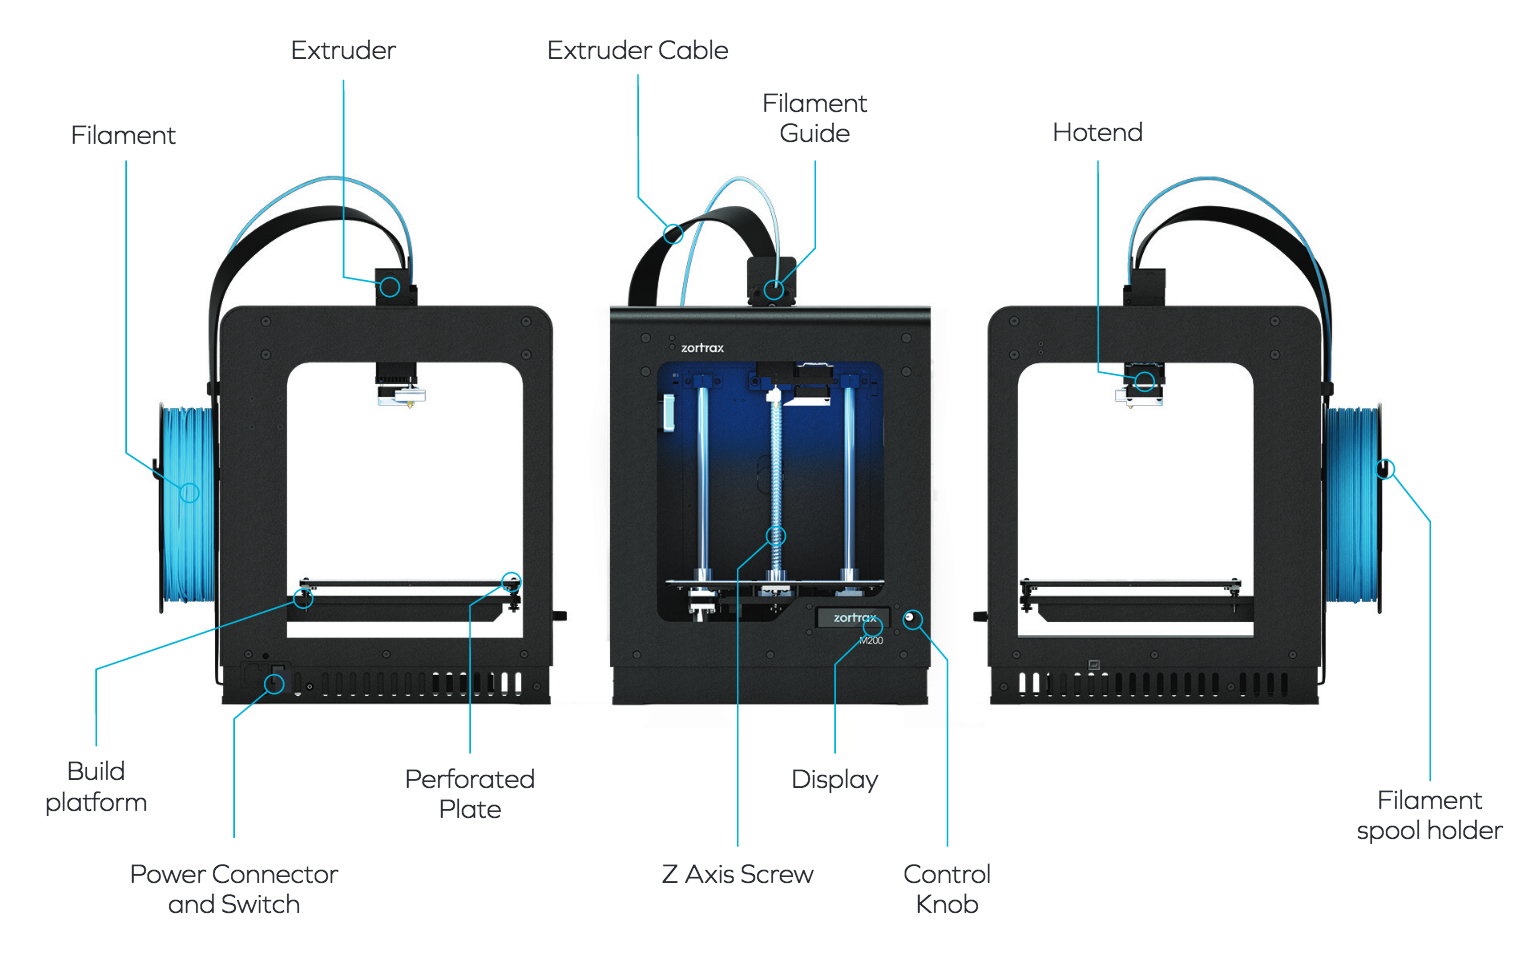
The perforated plate is mounted (with screws) to a heated build plate that attaches magnetically atop the build platform. Before printing, inspect the perforated plate; make sure the plate is free from large debris and leftover material. It is normal to have leftover material embedded within the perforations. If the perforated print platform is sufficient, continue on to the next step below. If the perforated print platform requires cleaning, follow the instructions on removing, cleaning and replacing the Zortrax M200: Printing Platform. |
||


