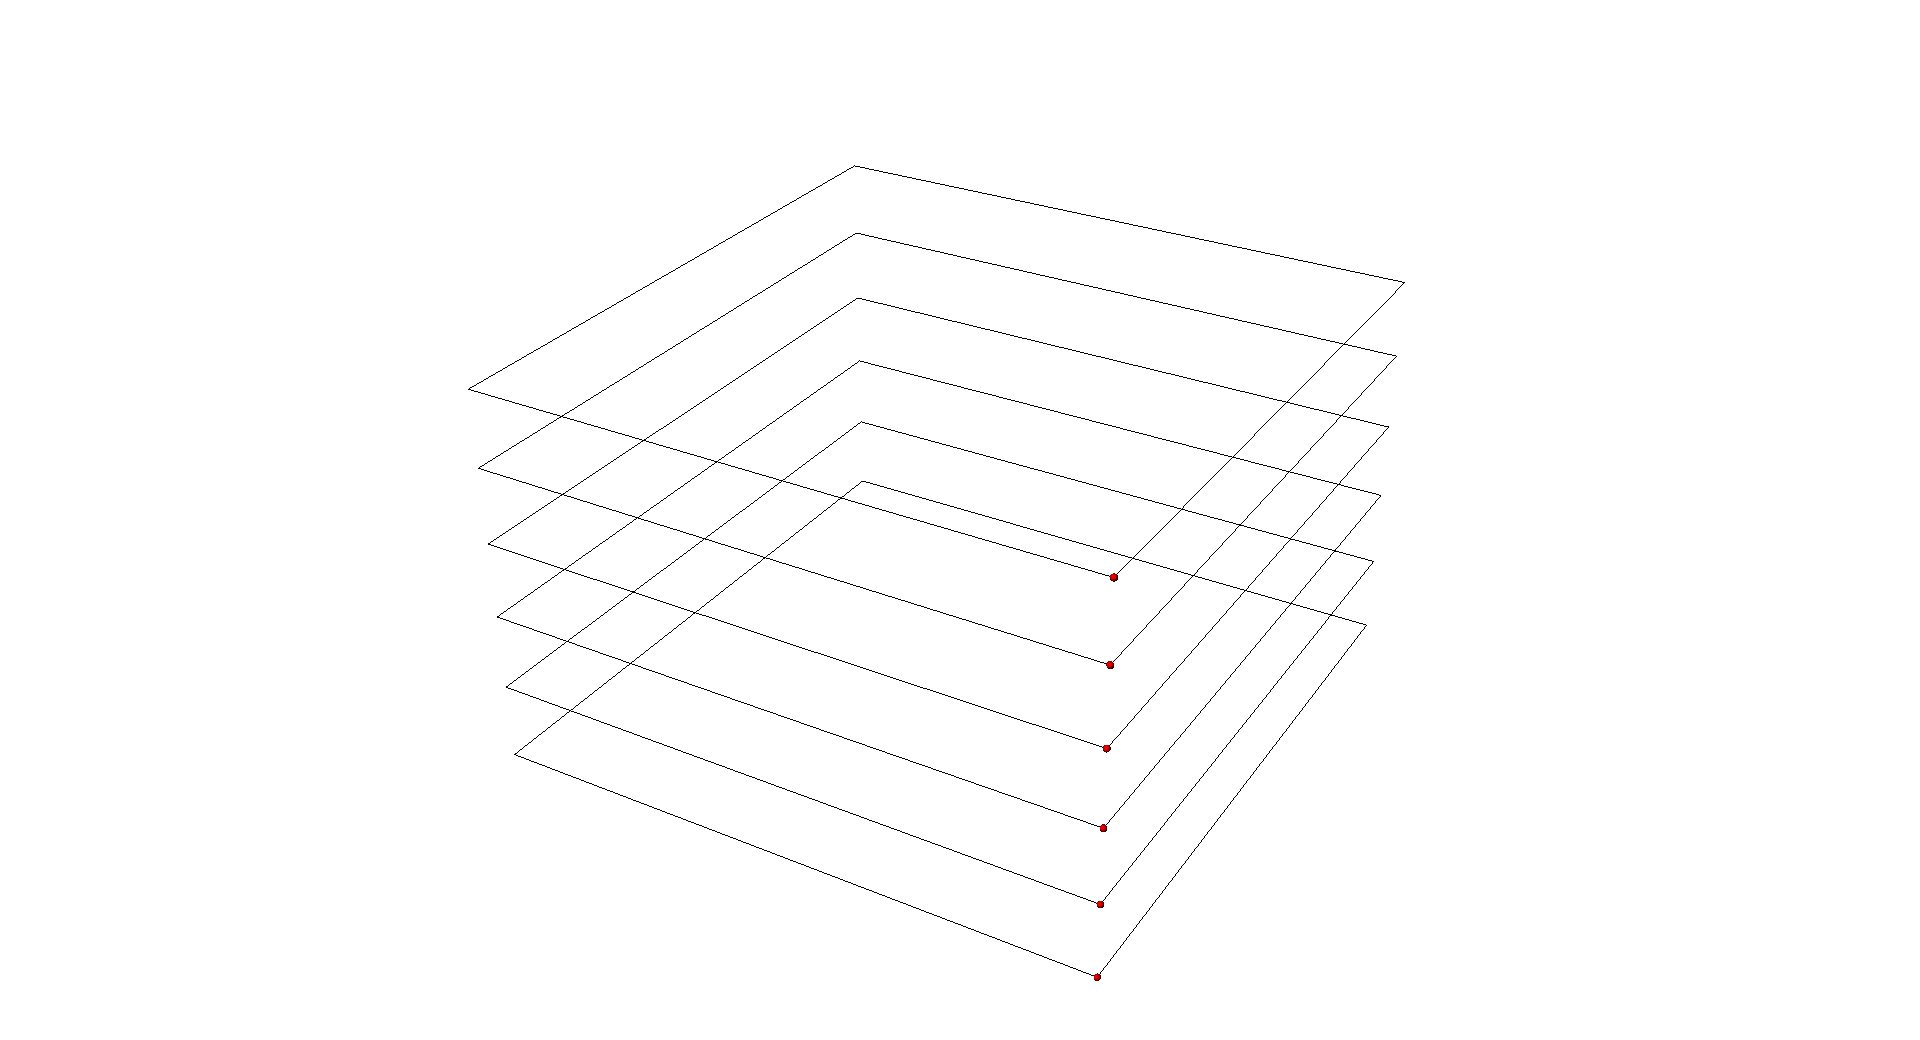
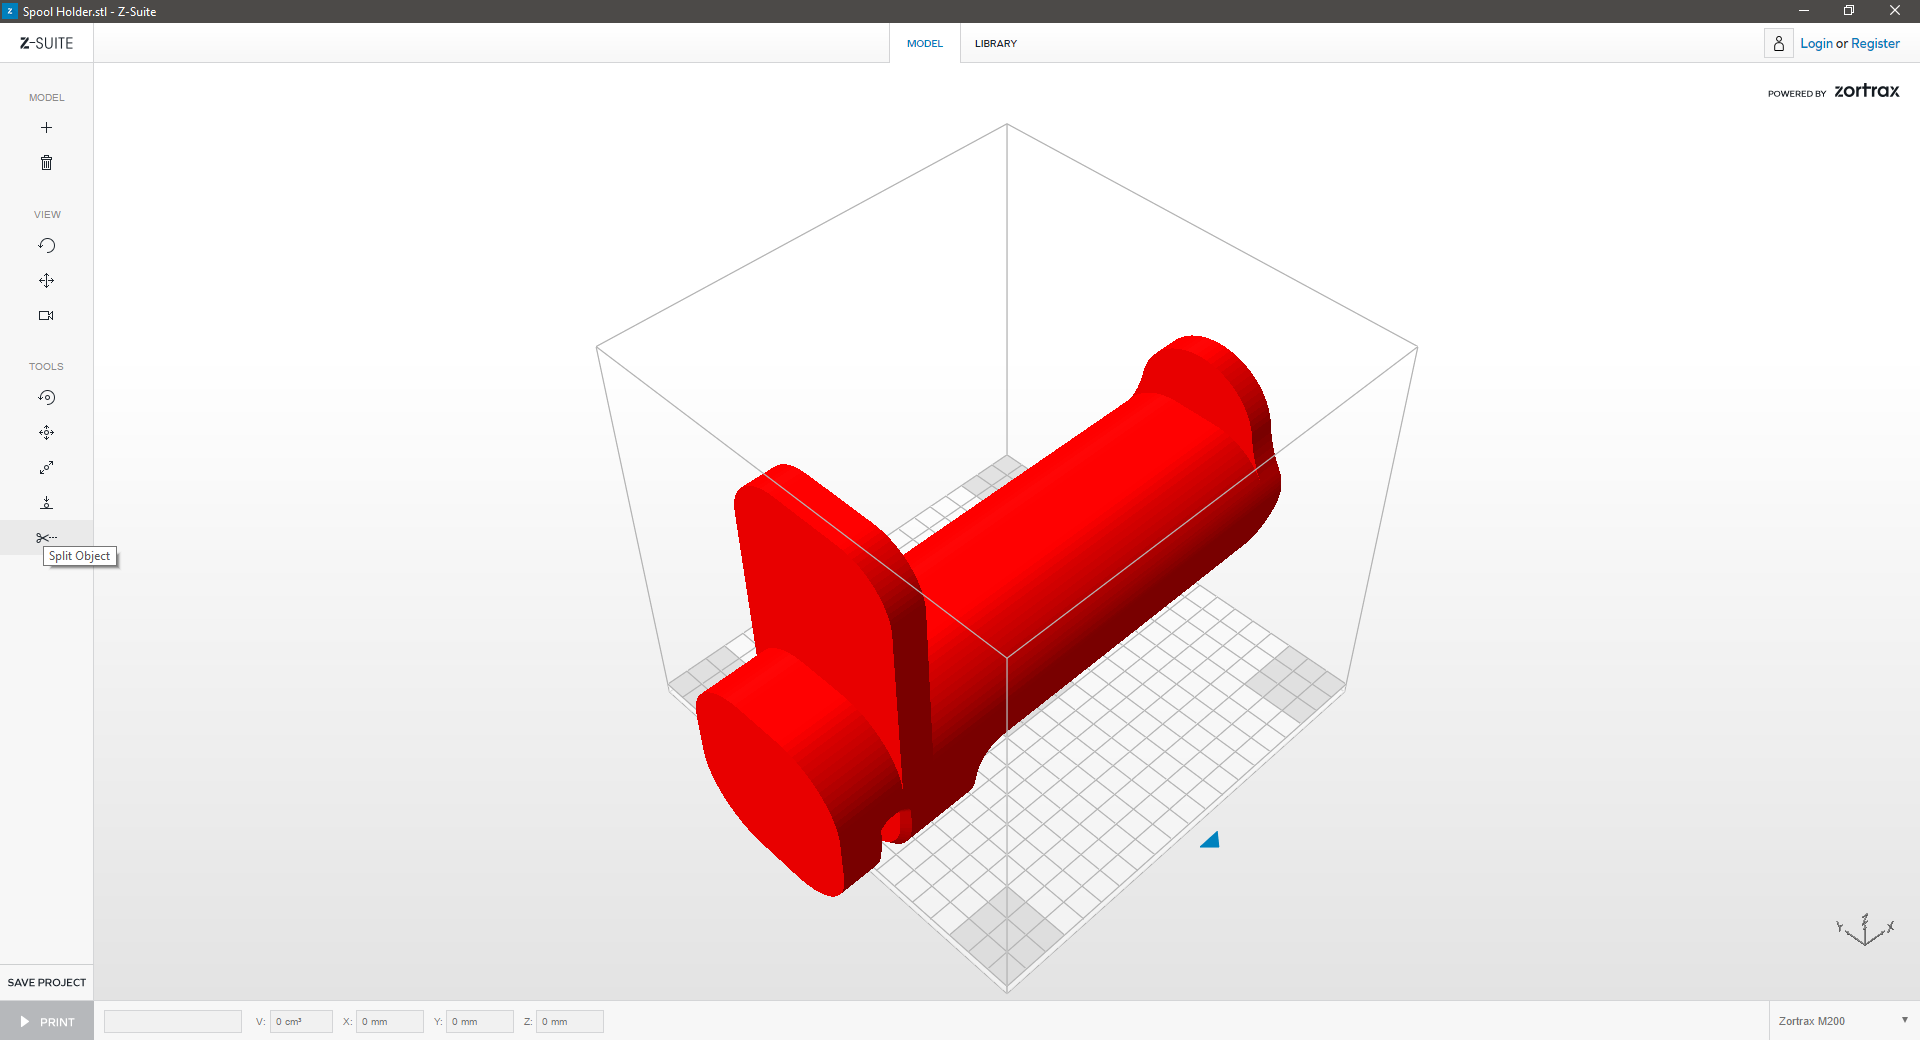
Is your model too large? Z-Suite can split your model into multiple, smaller print-jobs that fit on the print platform:
|
1. Split |
|
|
|
 |
|
|
|
Click “Split” icon to split the model. |
|
|
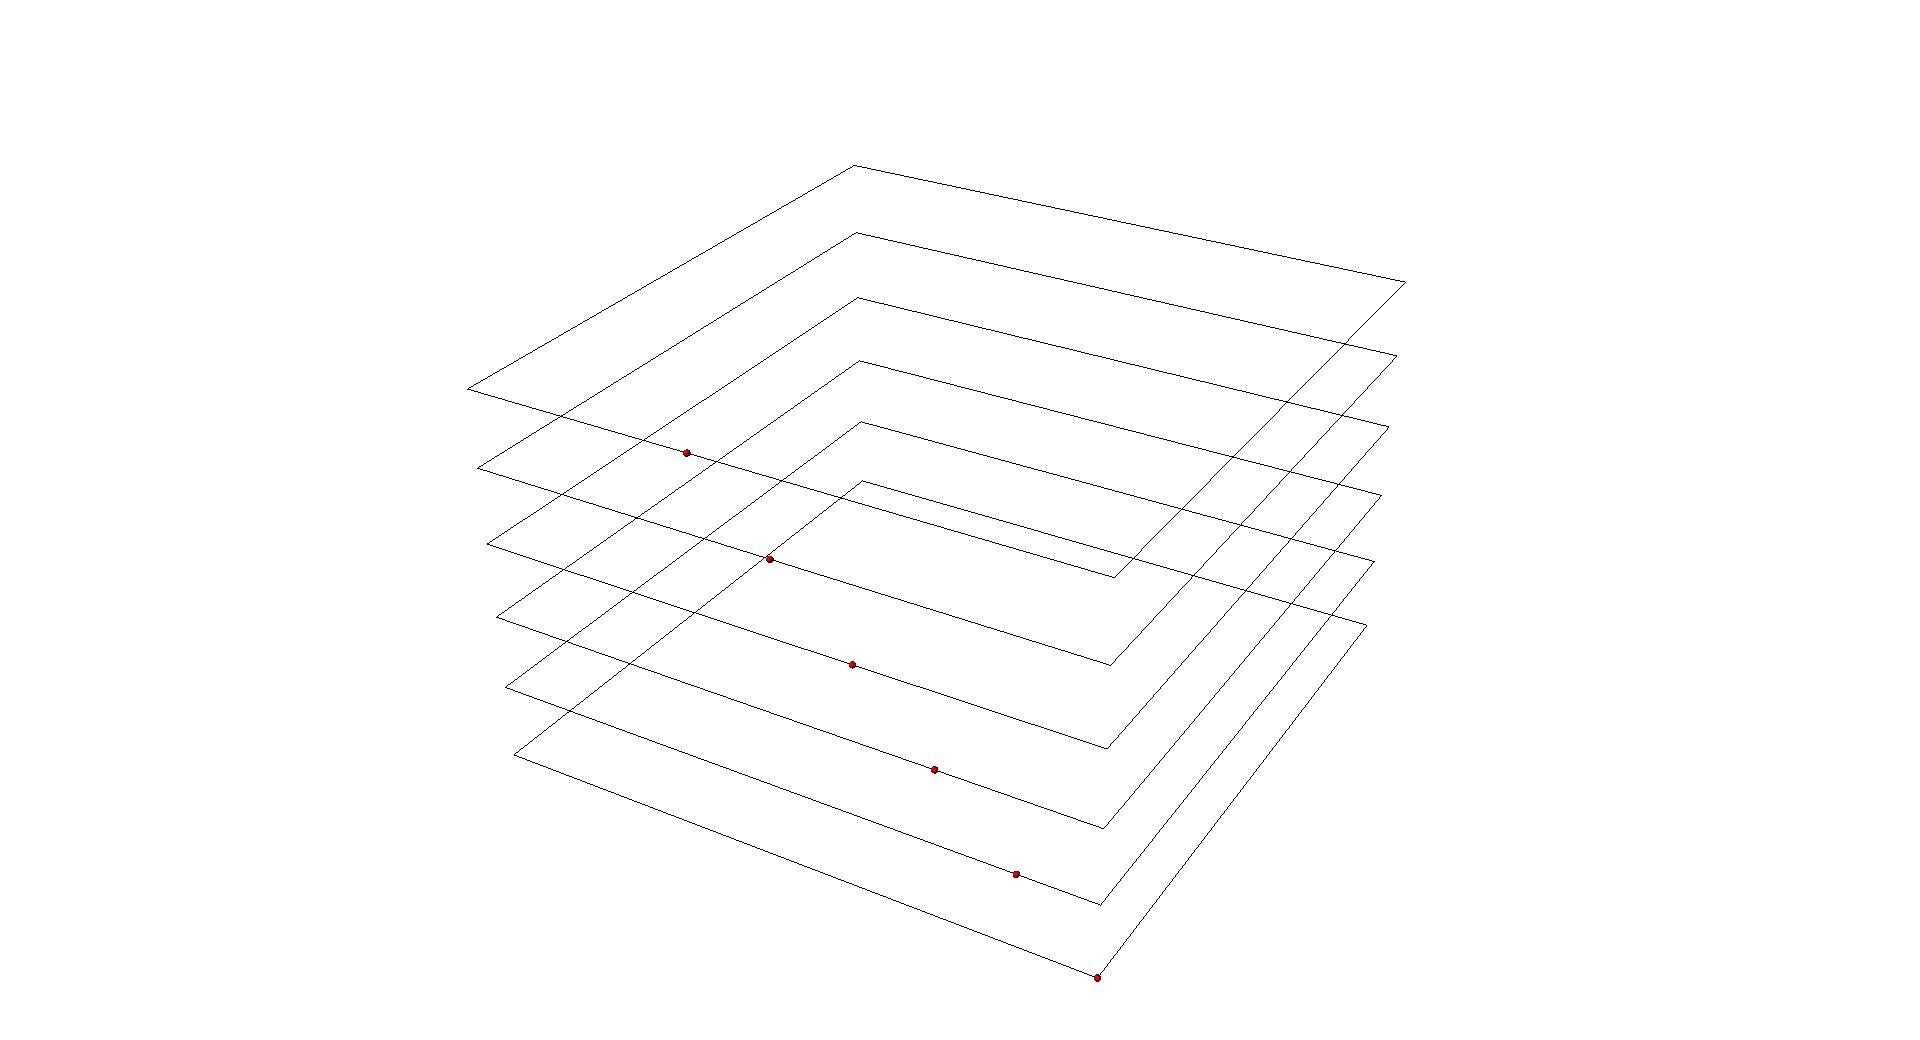
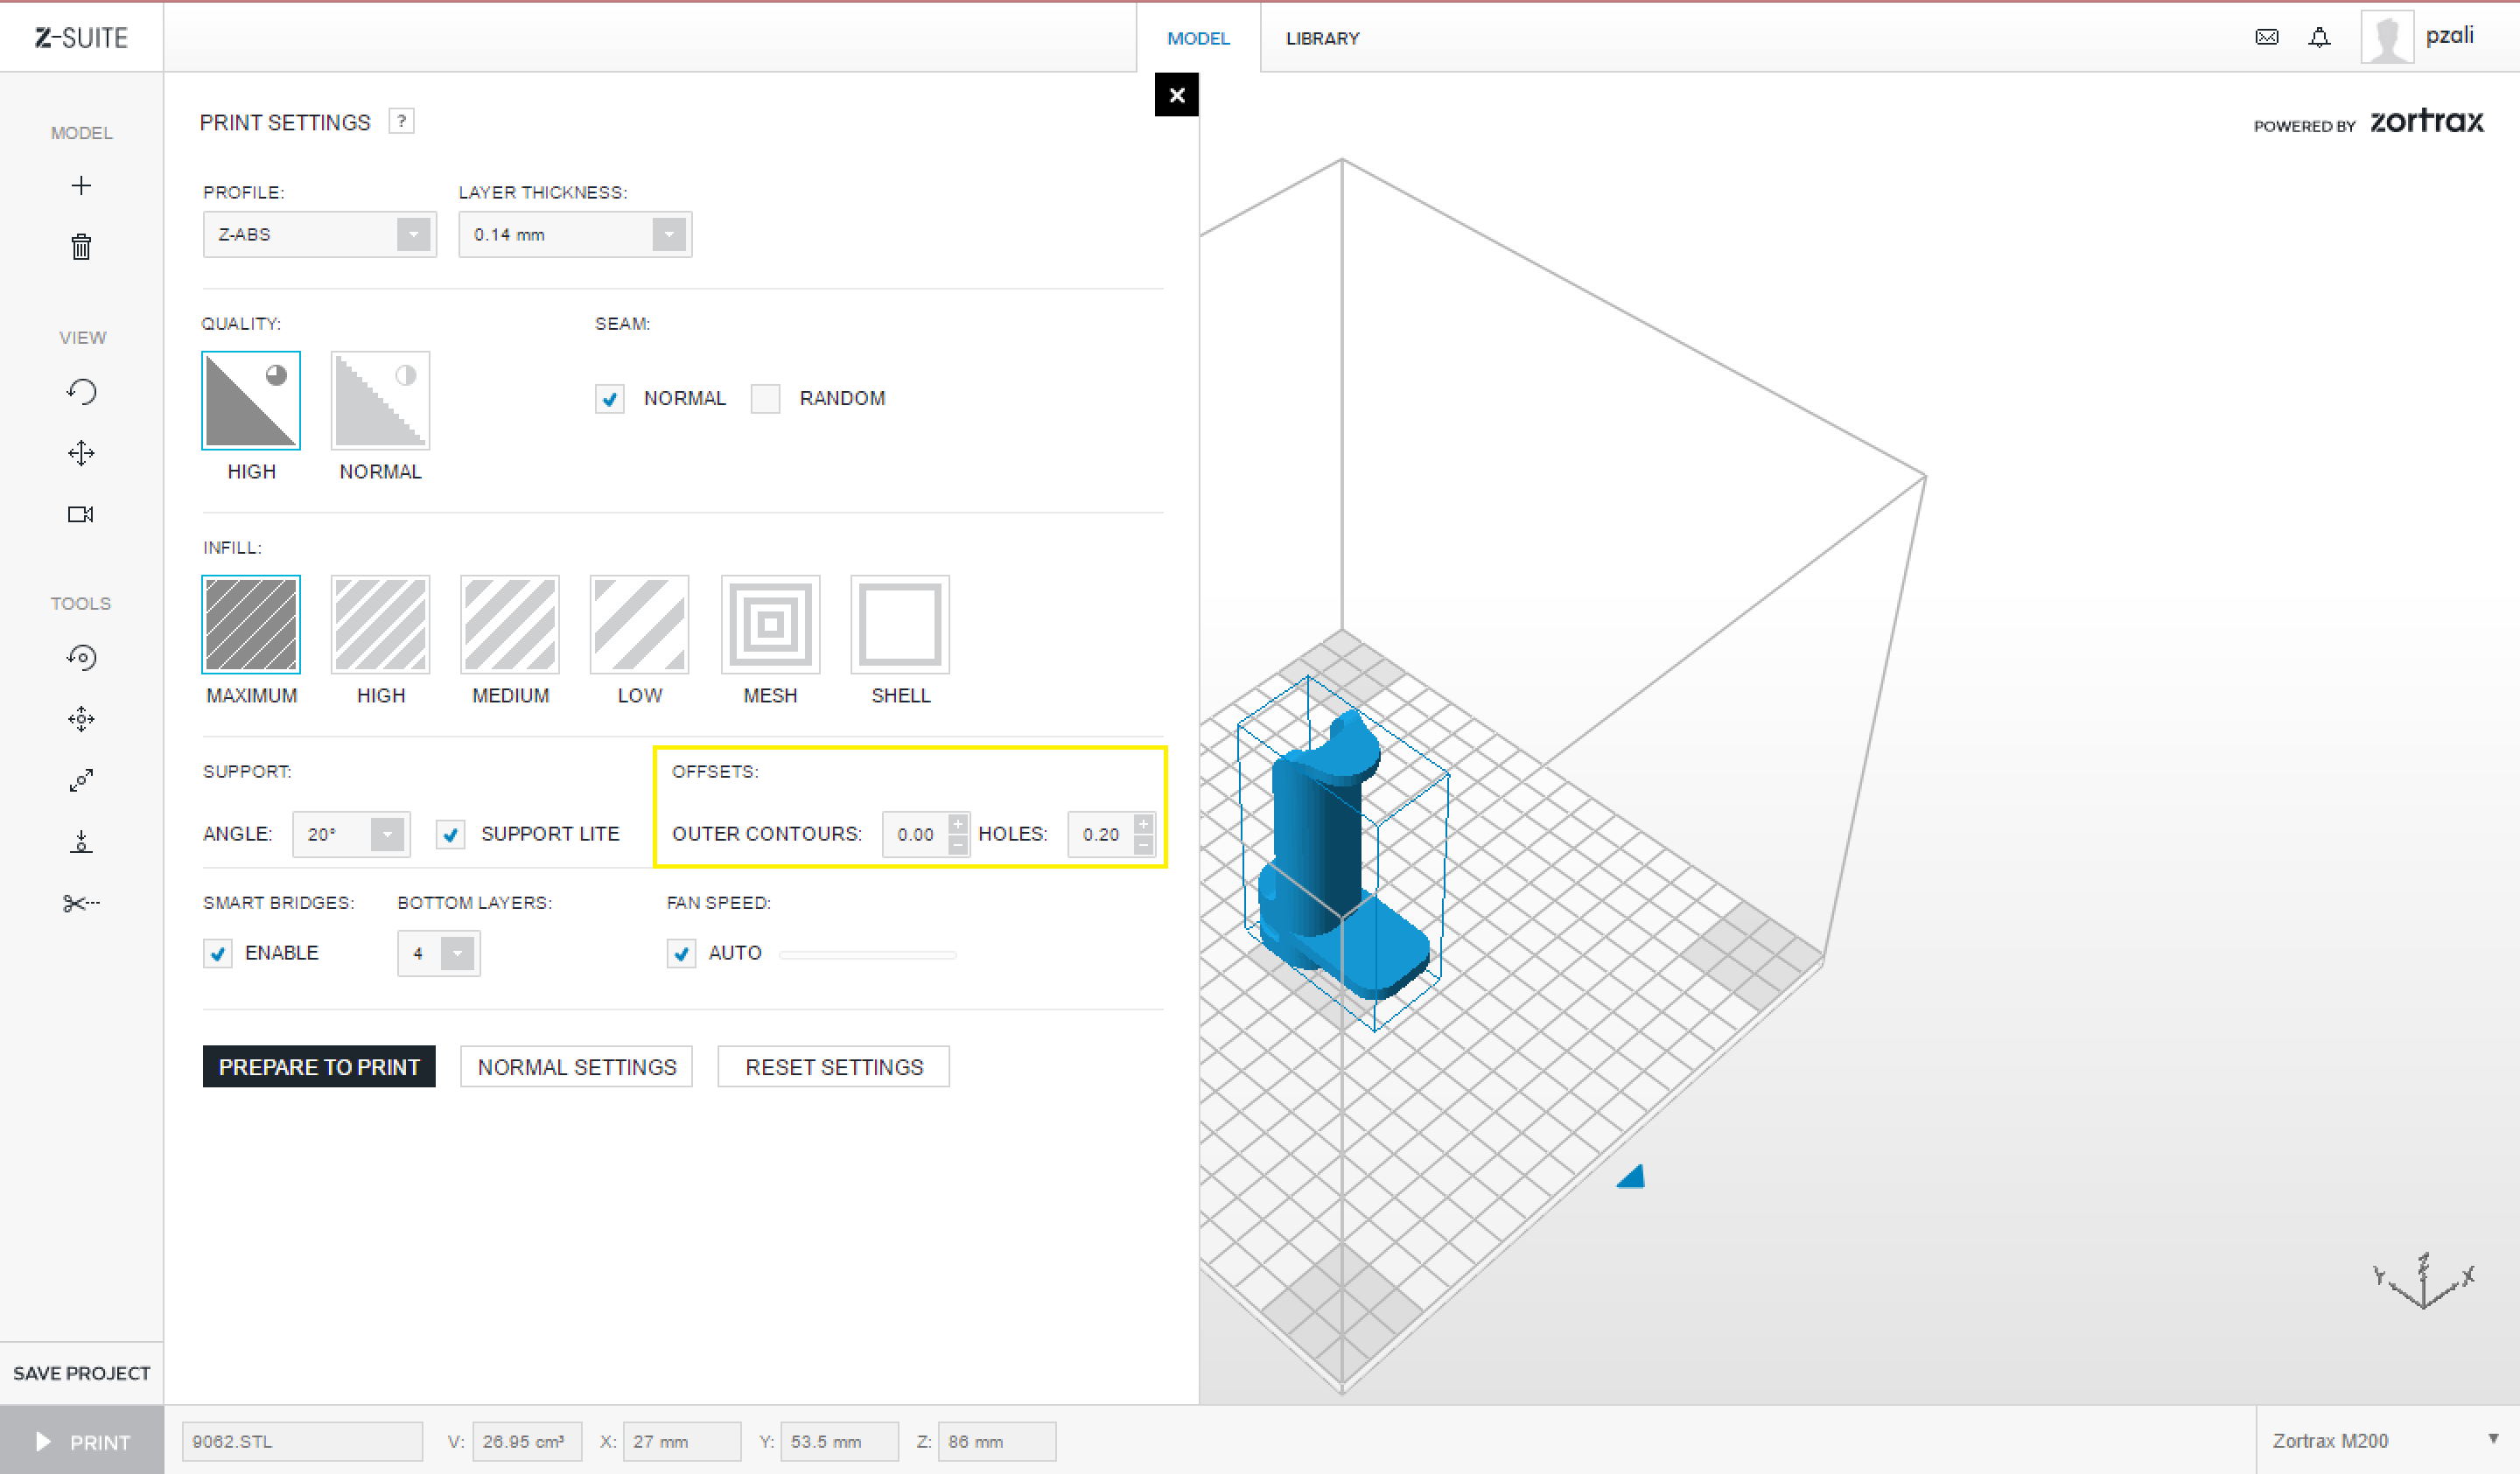
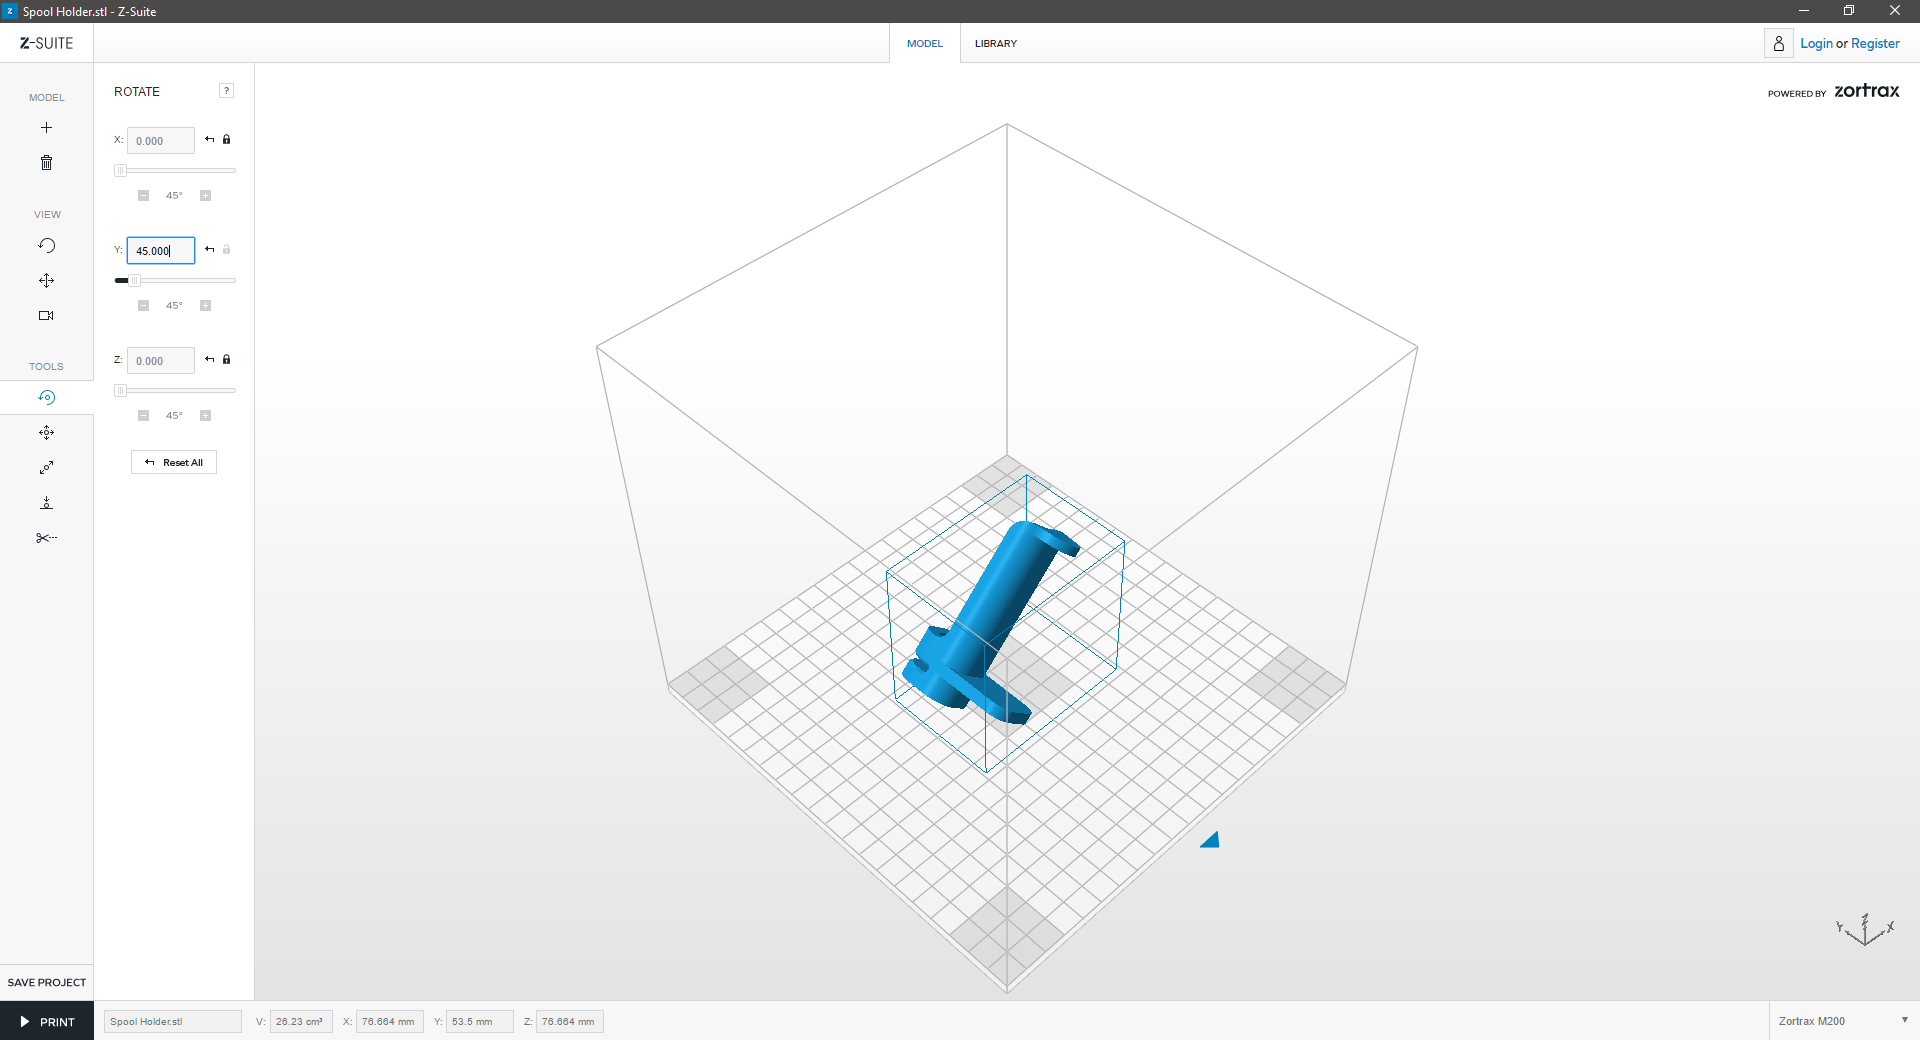
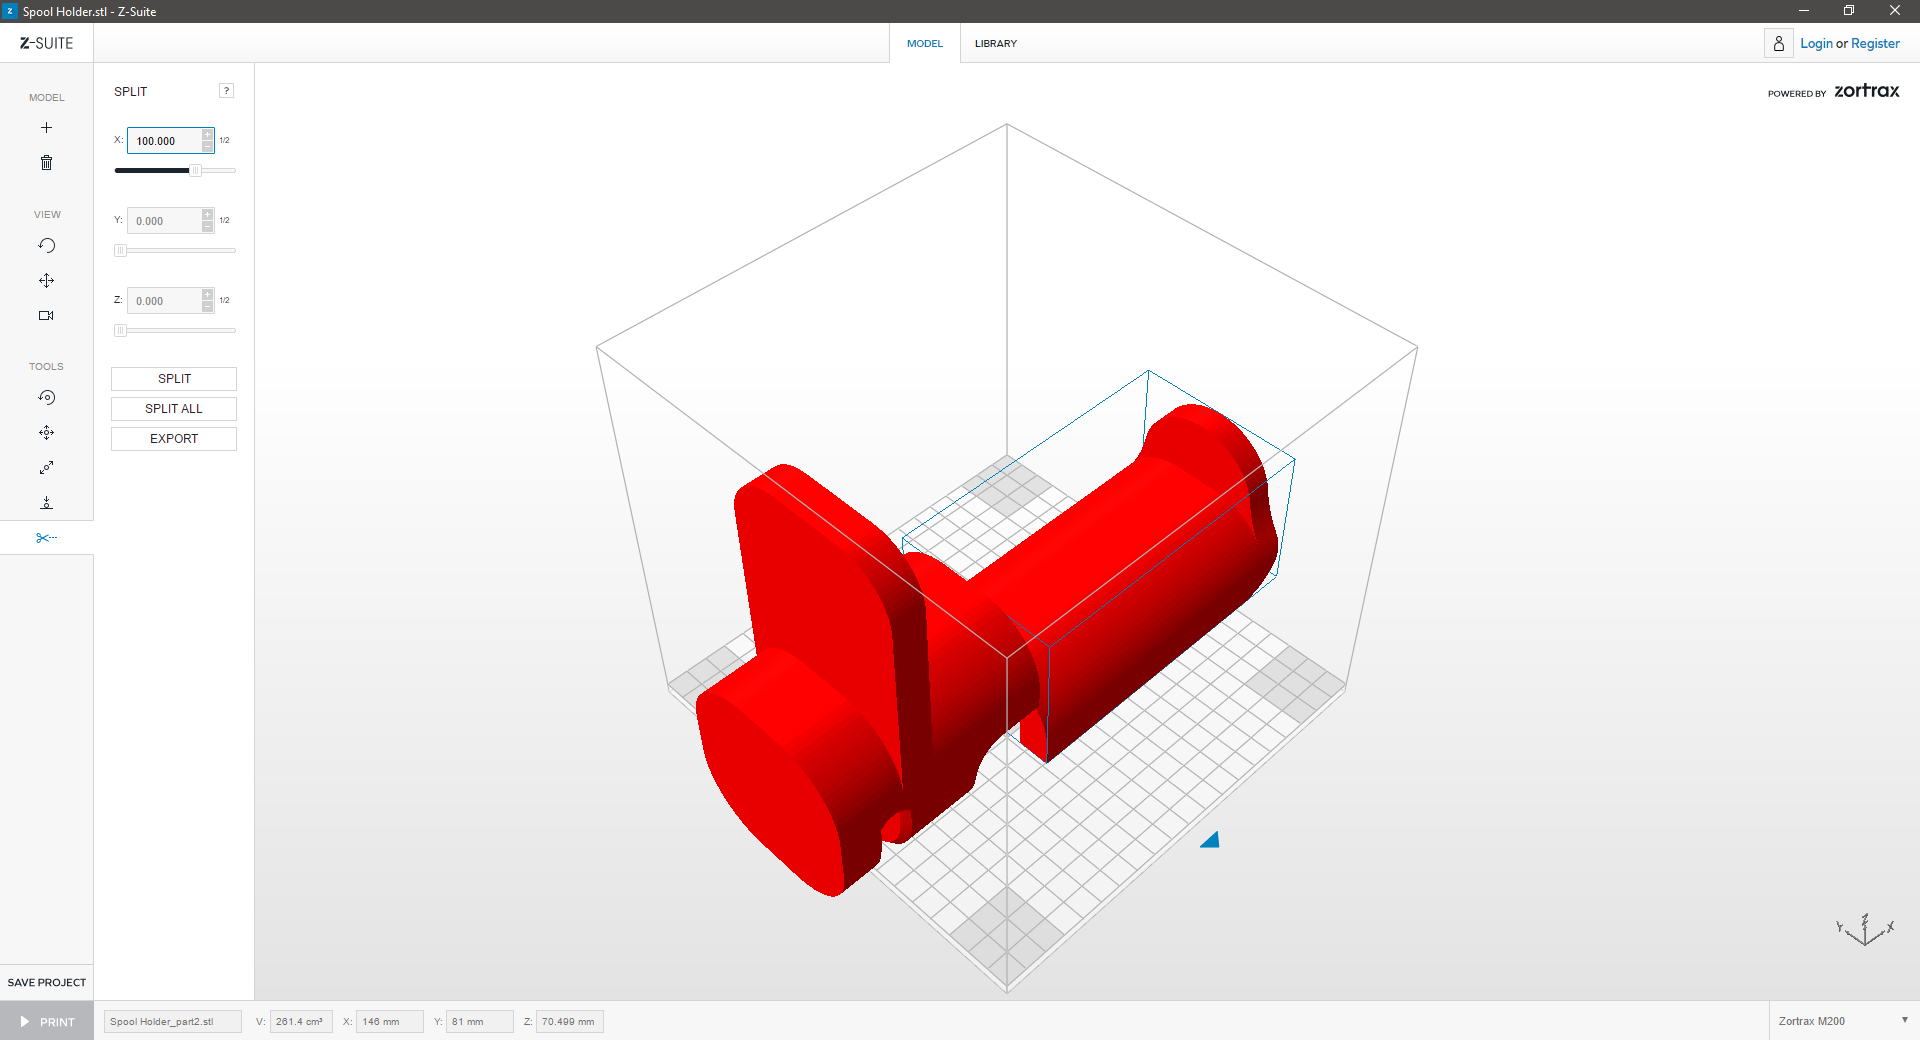
2. Cutting Plane |
|
|
|
 |
|
|
|
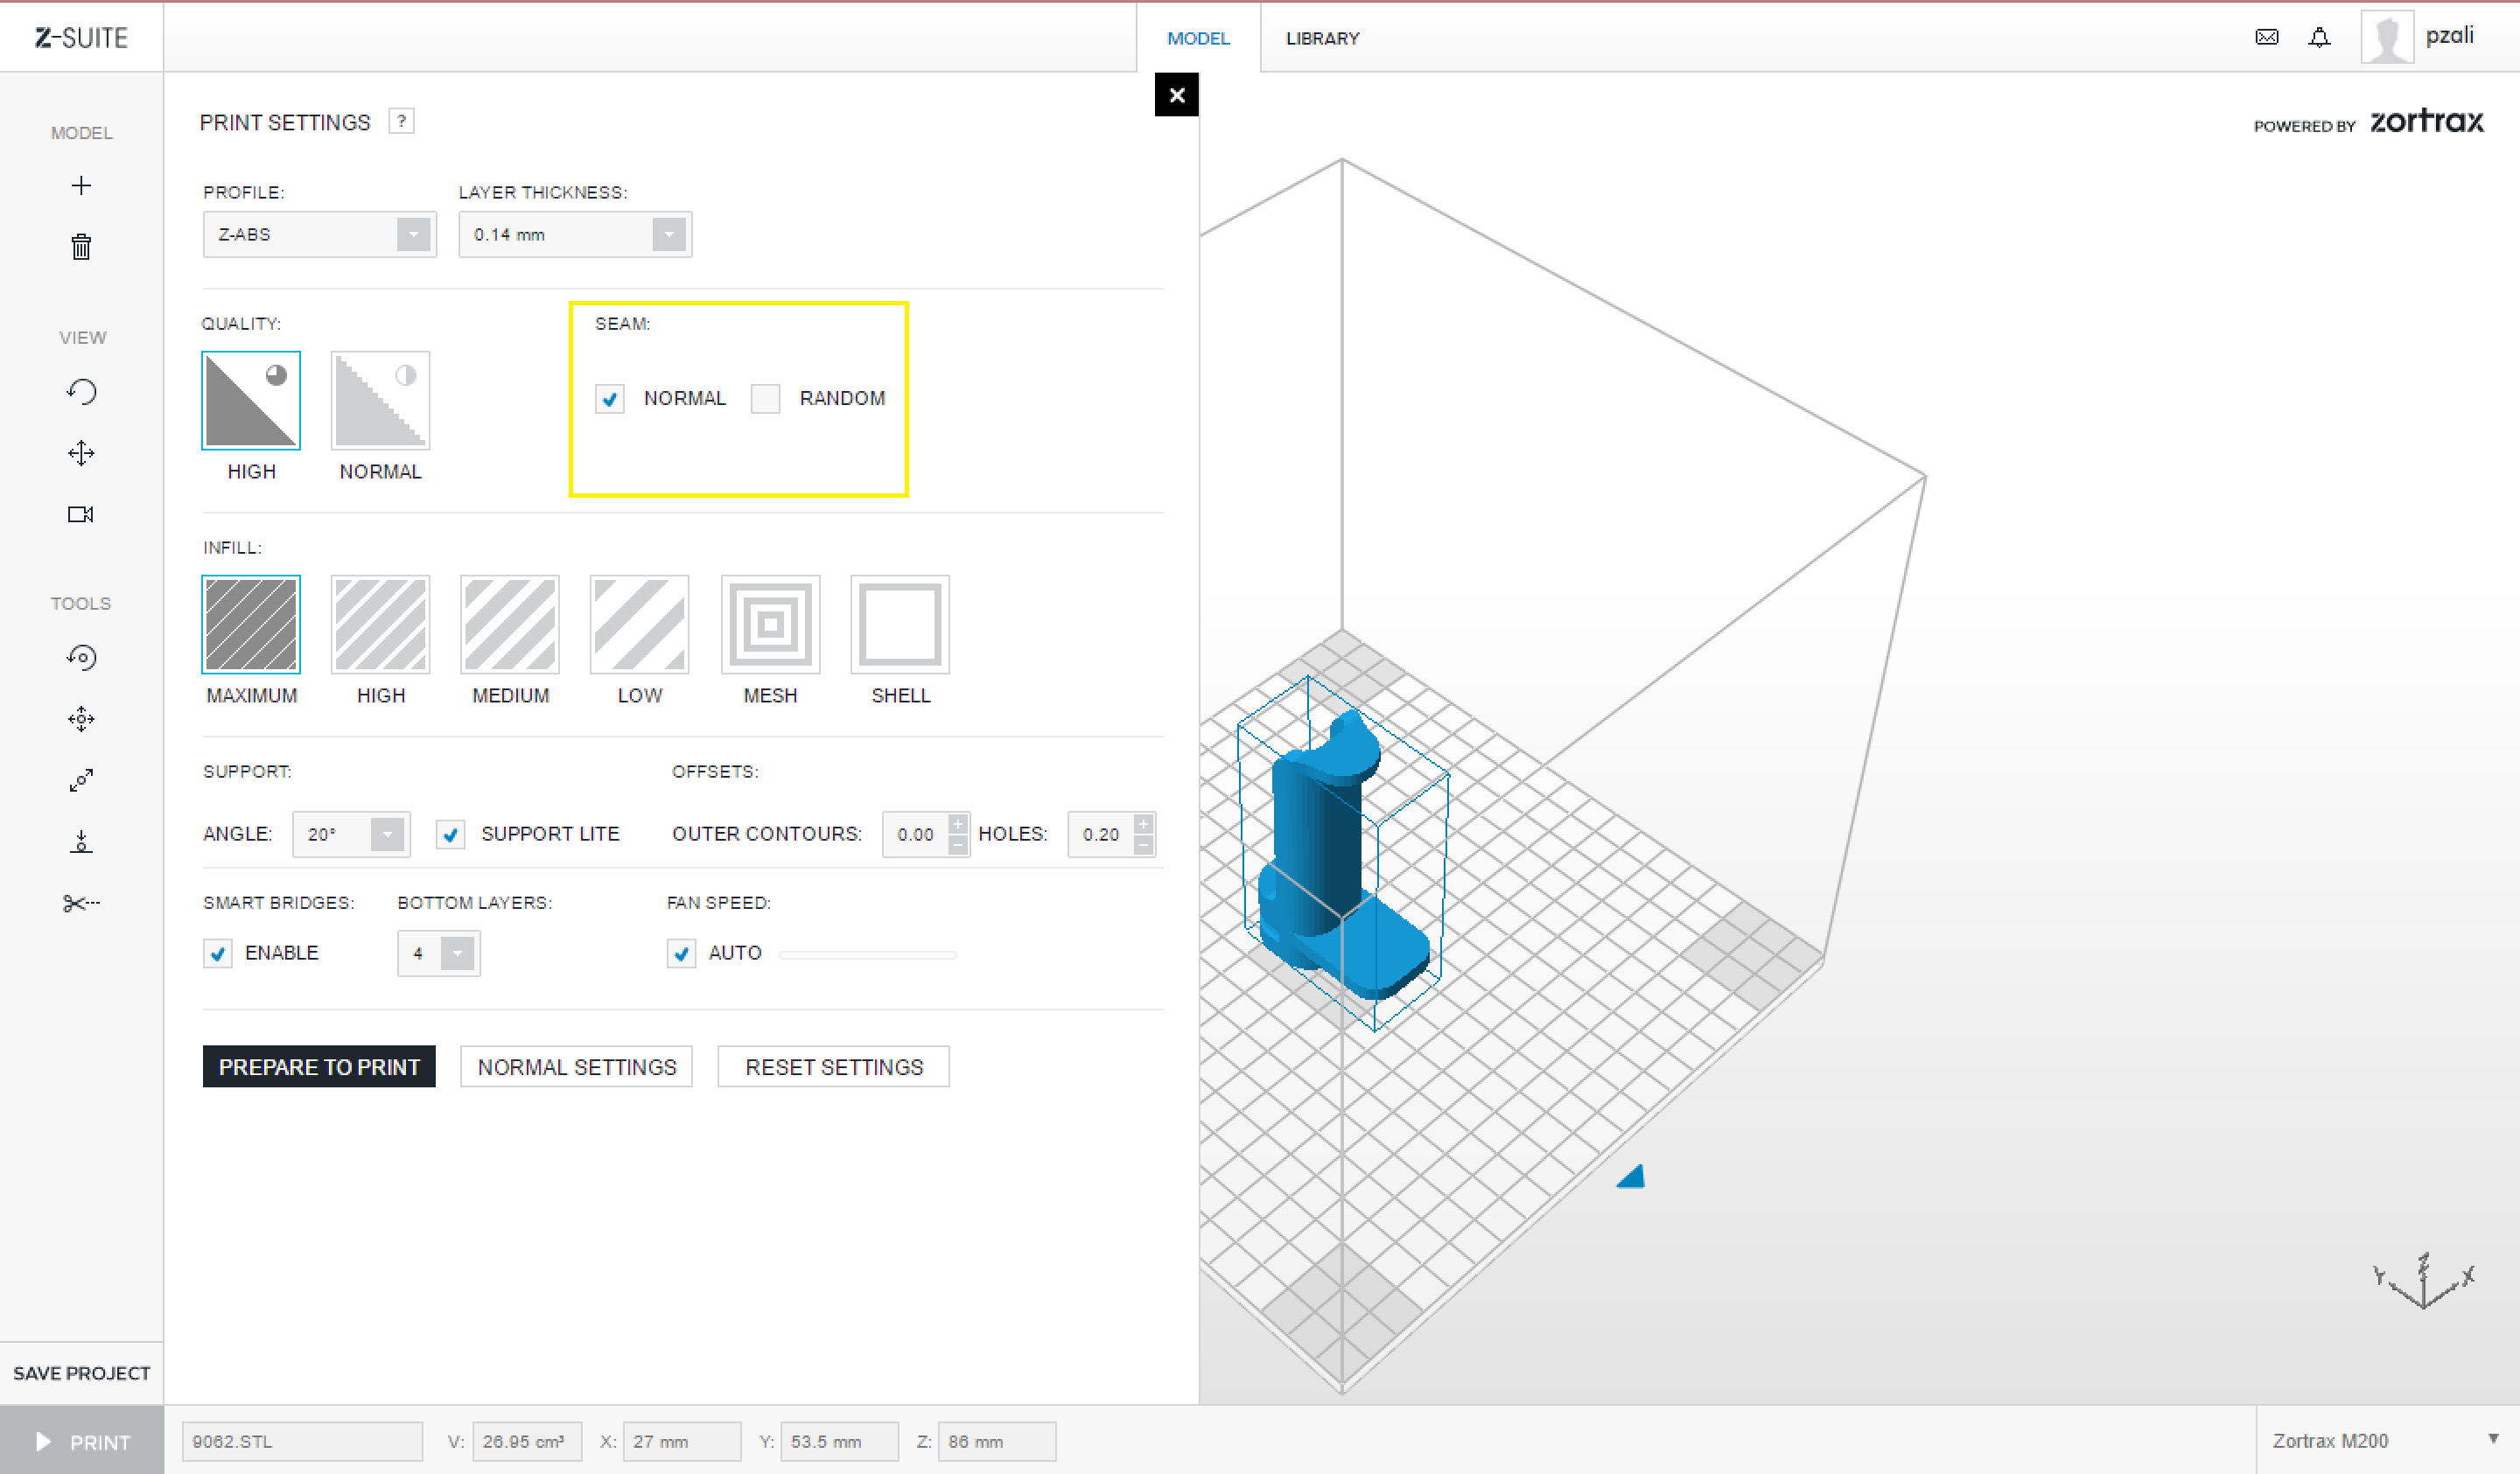
Choose the position of the cutting plane. You can change the parameters manually or adjust the slider and click “Split” or ”Split All.” Each separate part can be saved by clicking “Export”. |
|
|
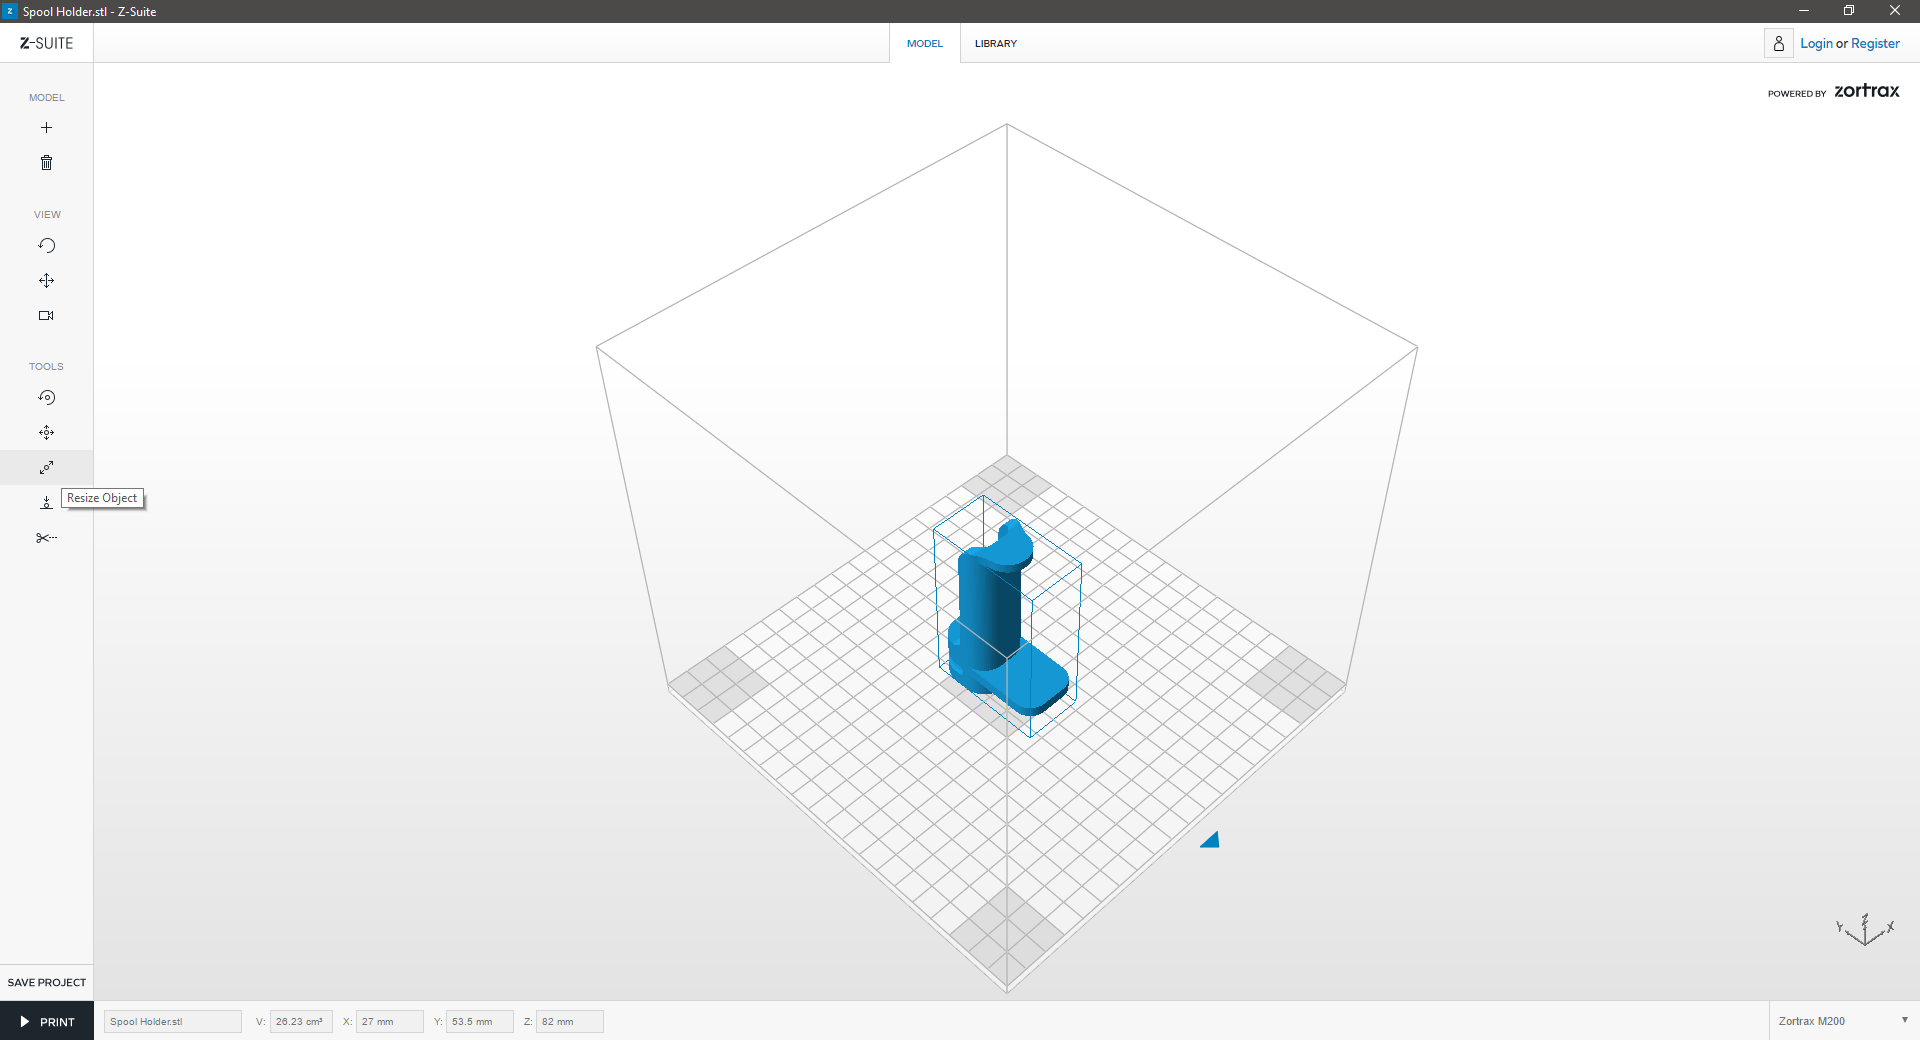
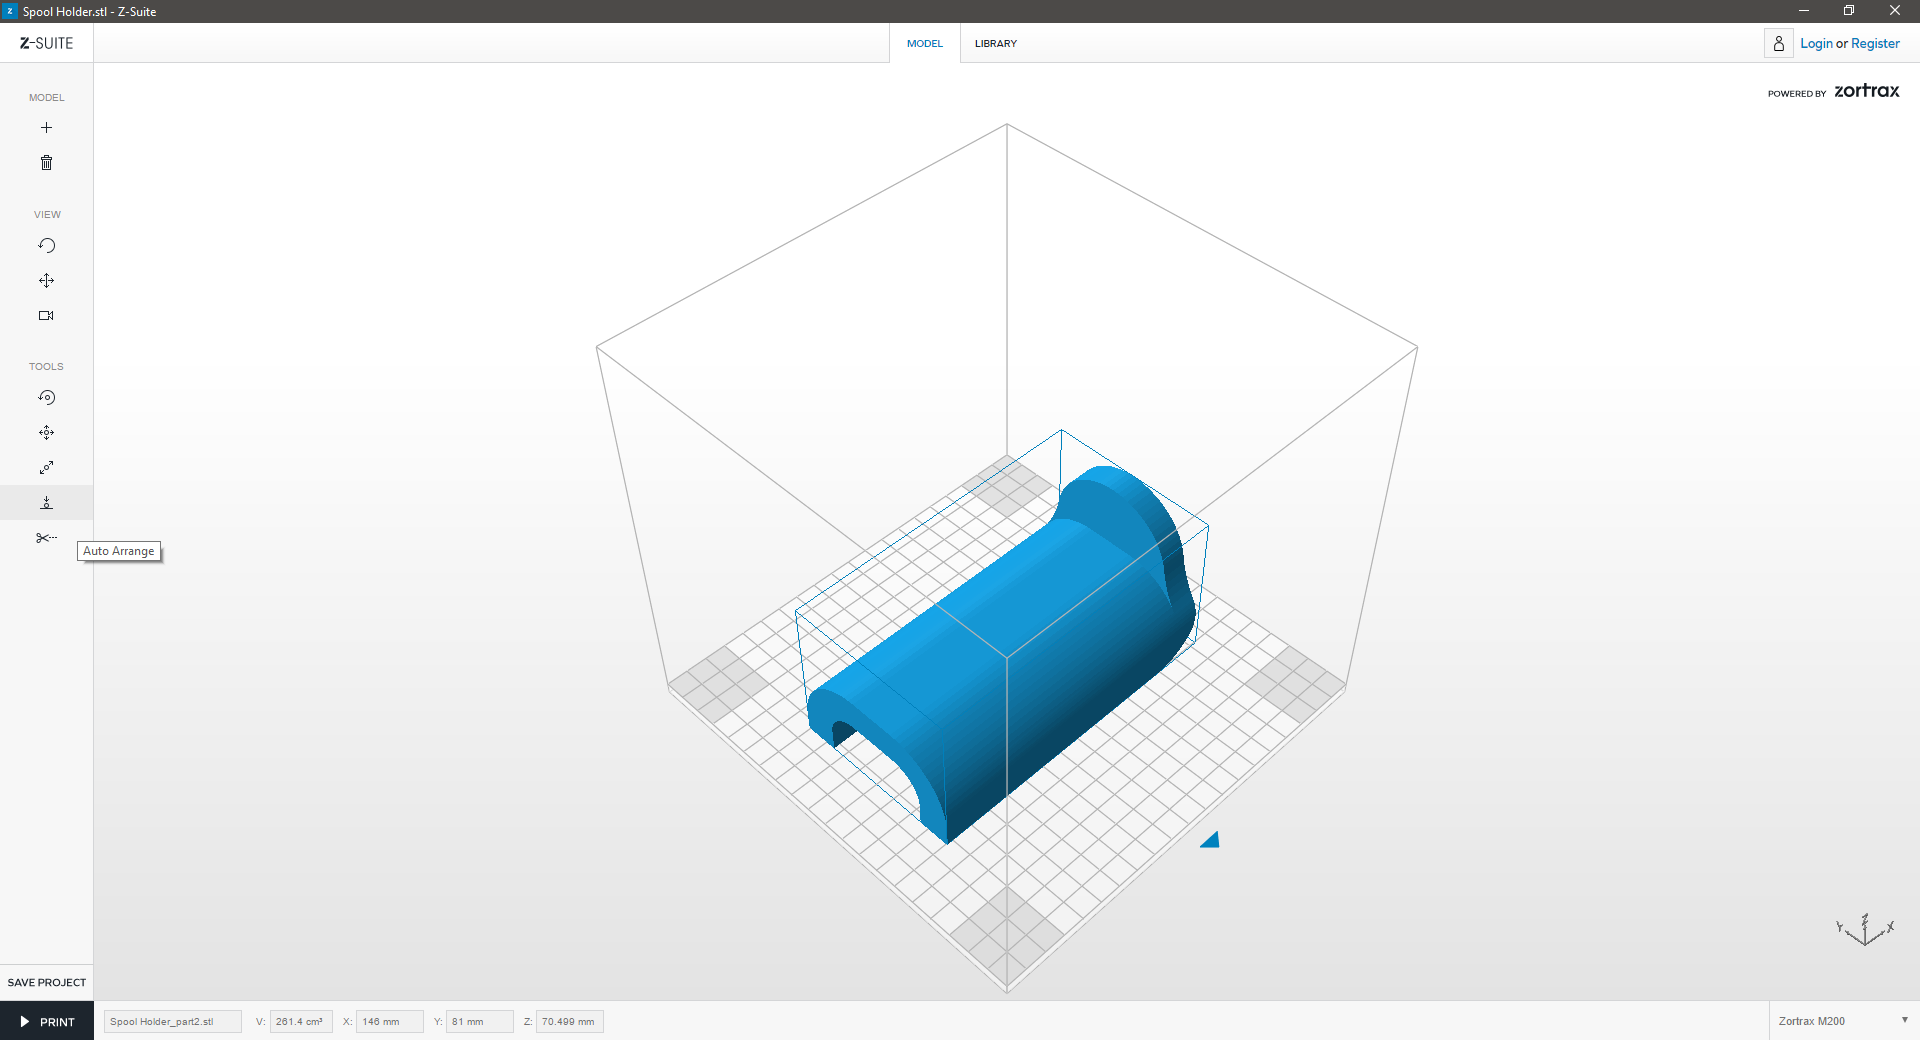
3. Arrange |
|
|
|
 |
|
|
|
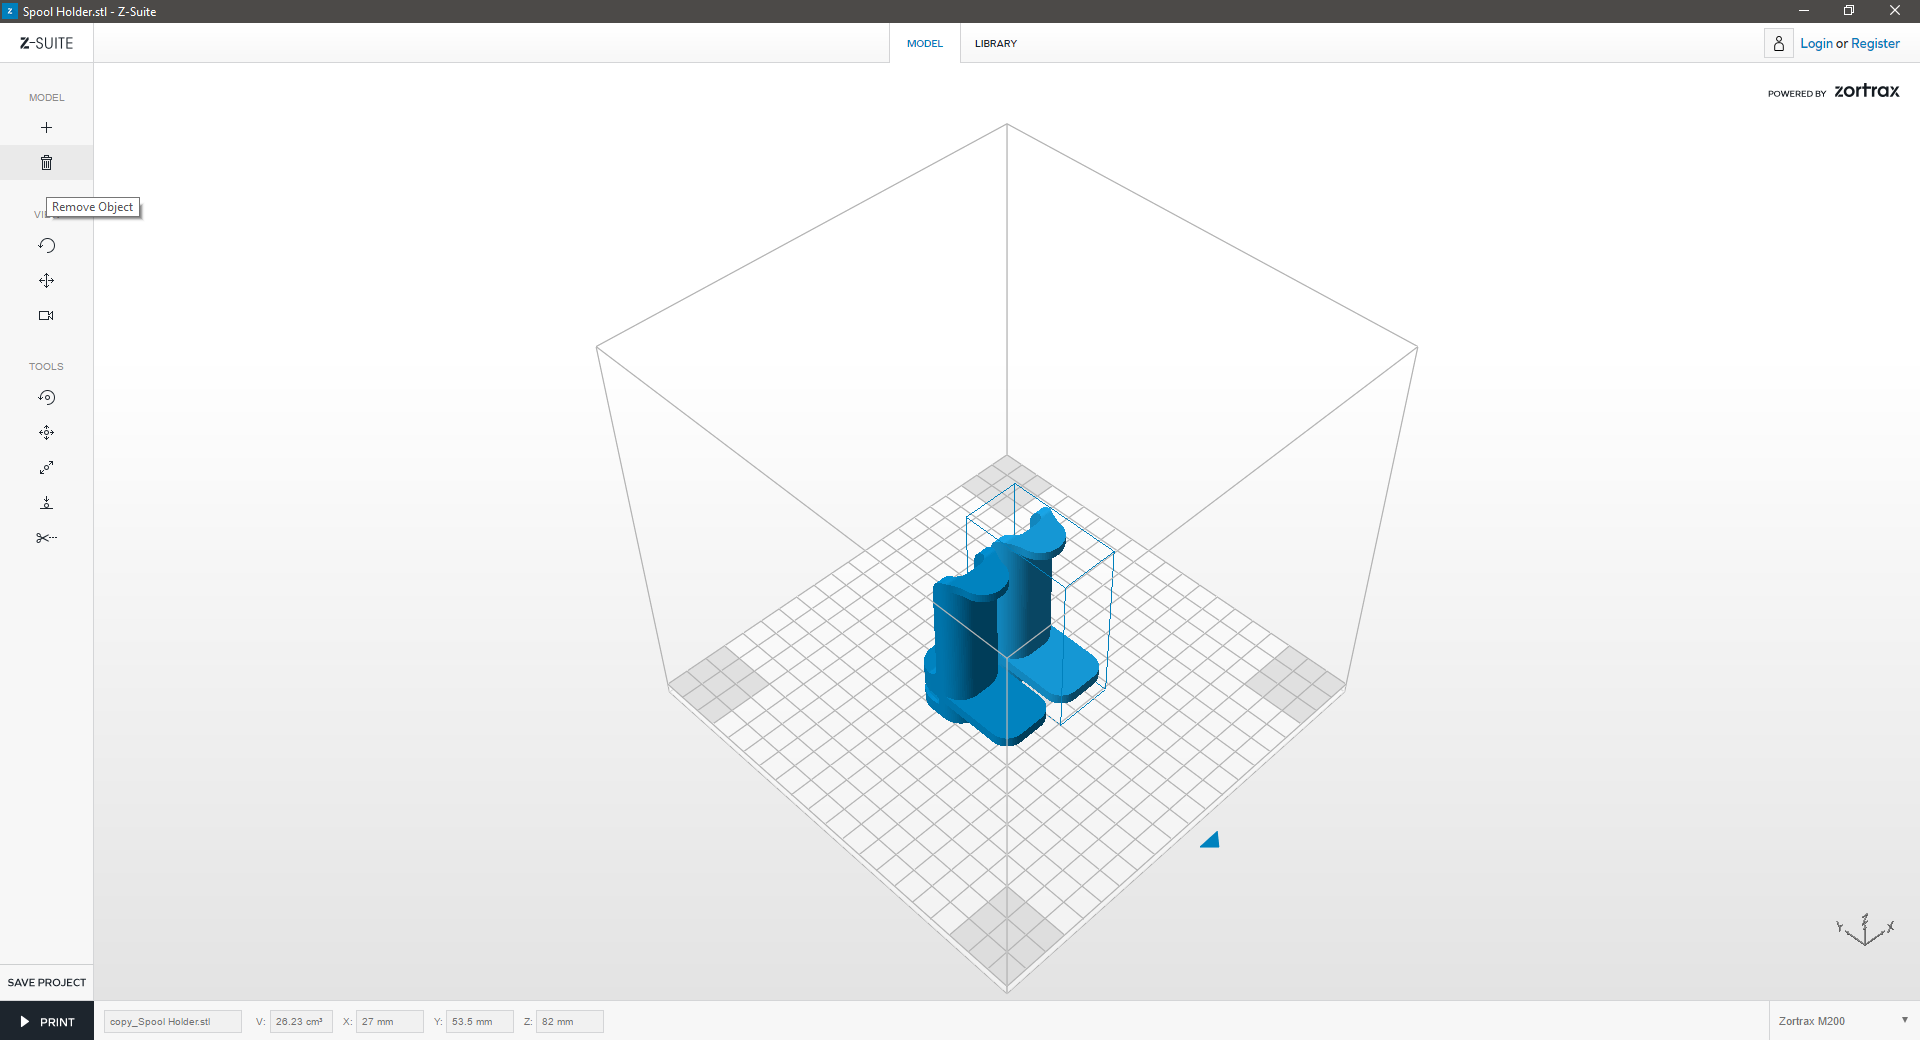
Delete one part of the model and “Auto Arrange” the other part in the workspace to prepare it for printing. |
|
|
|
 |
|
|
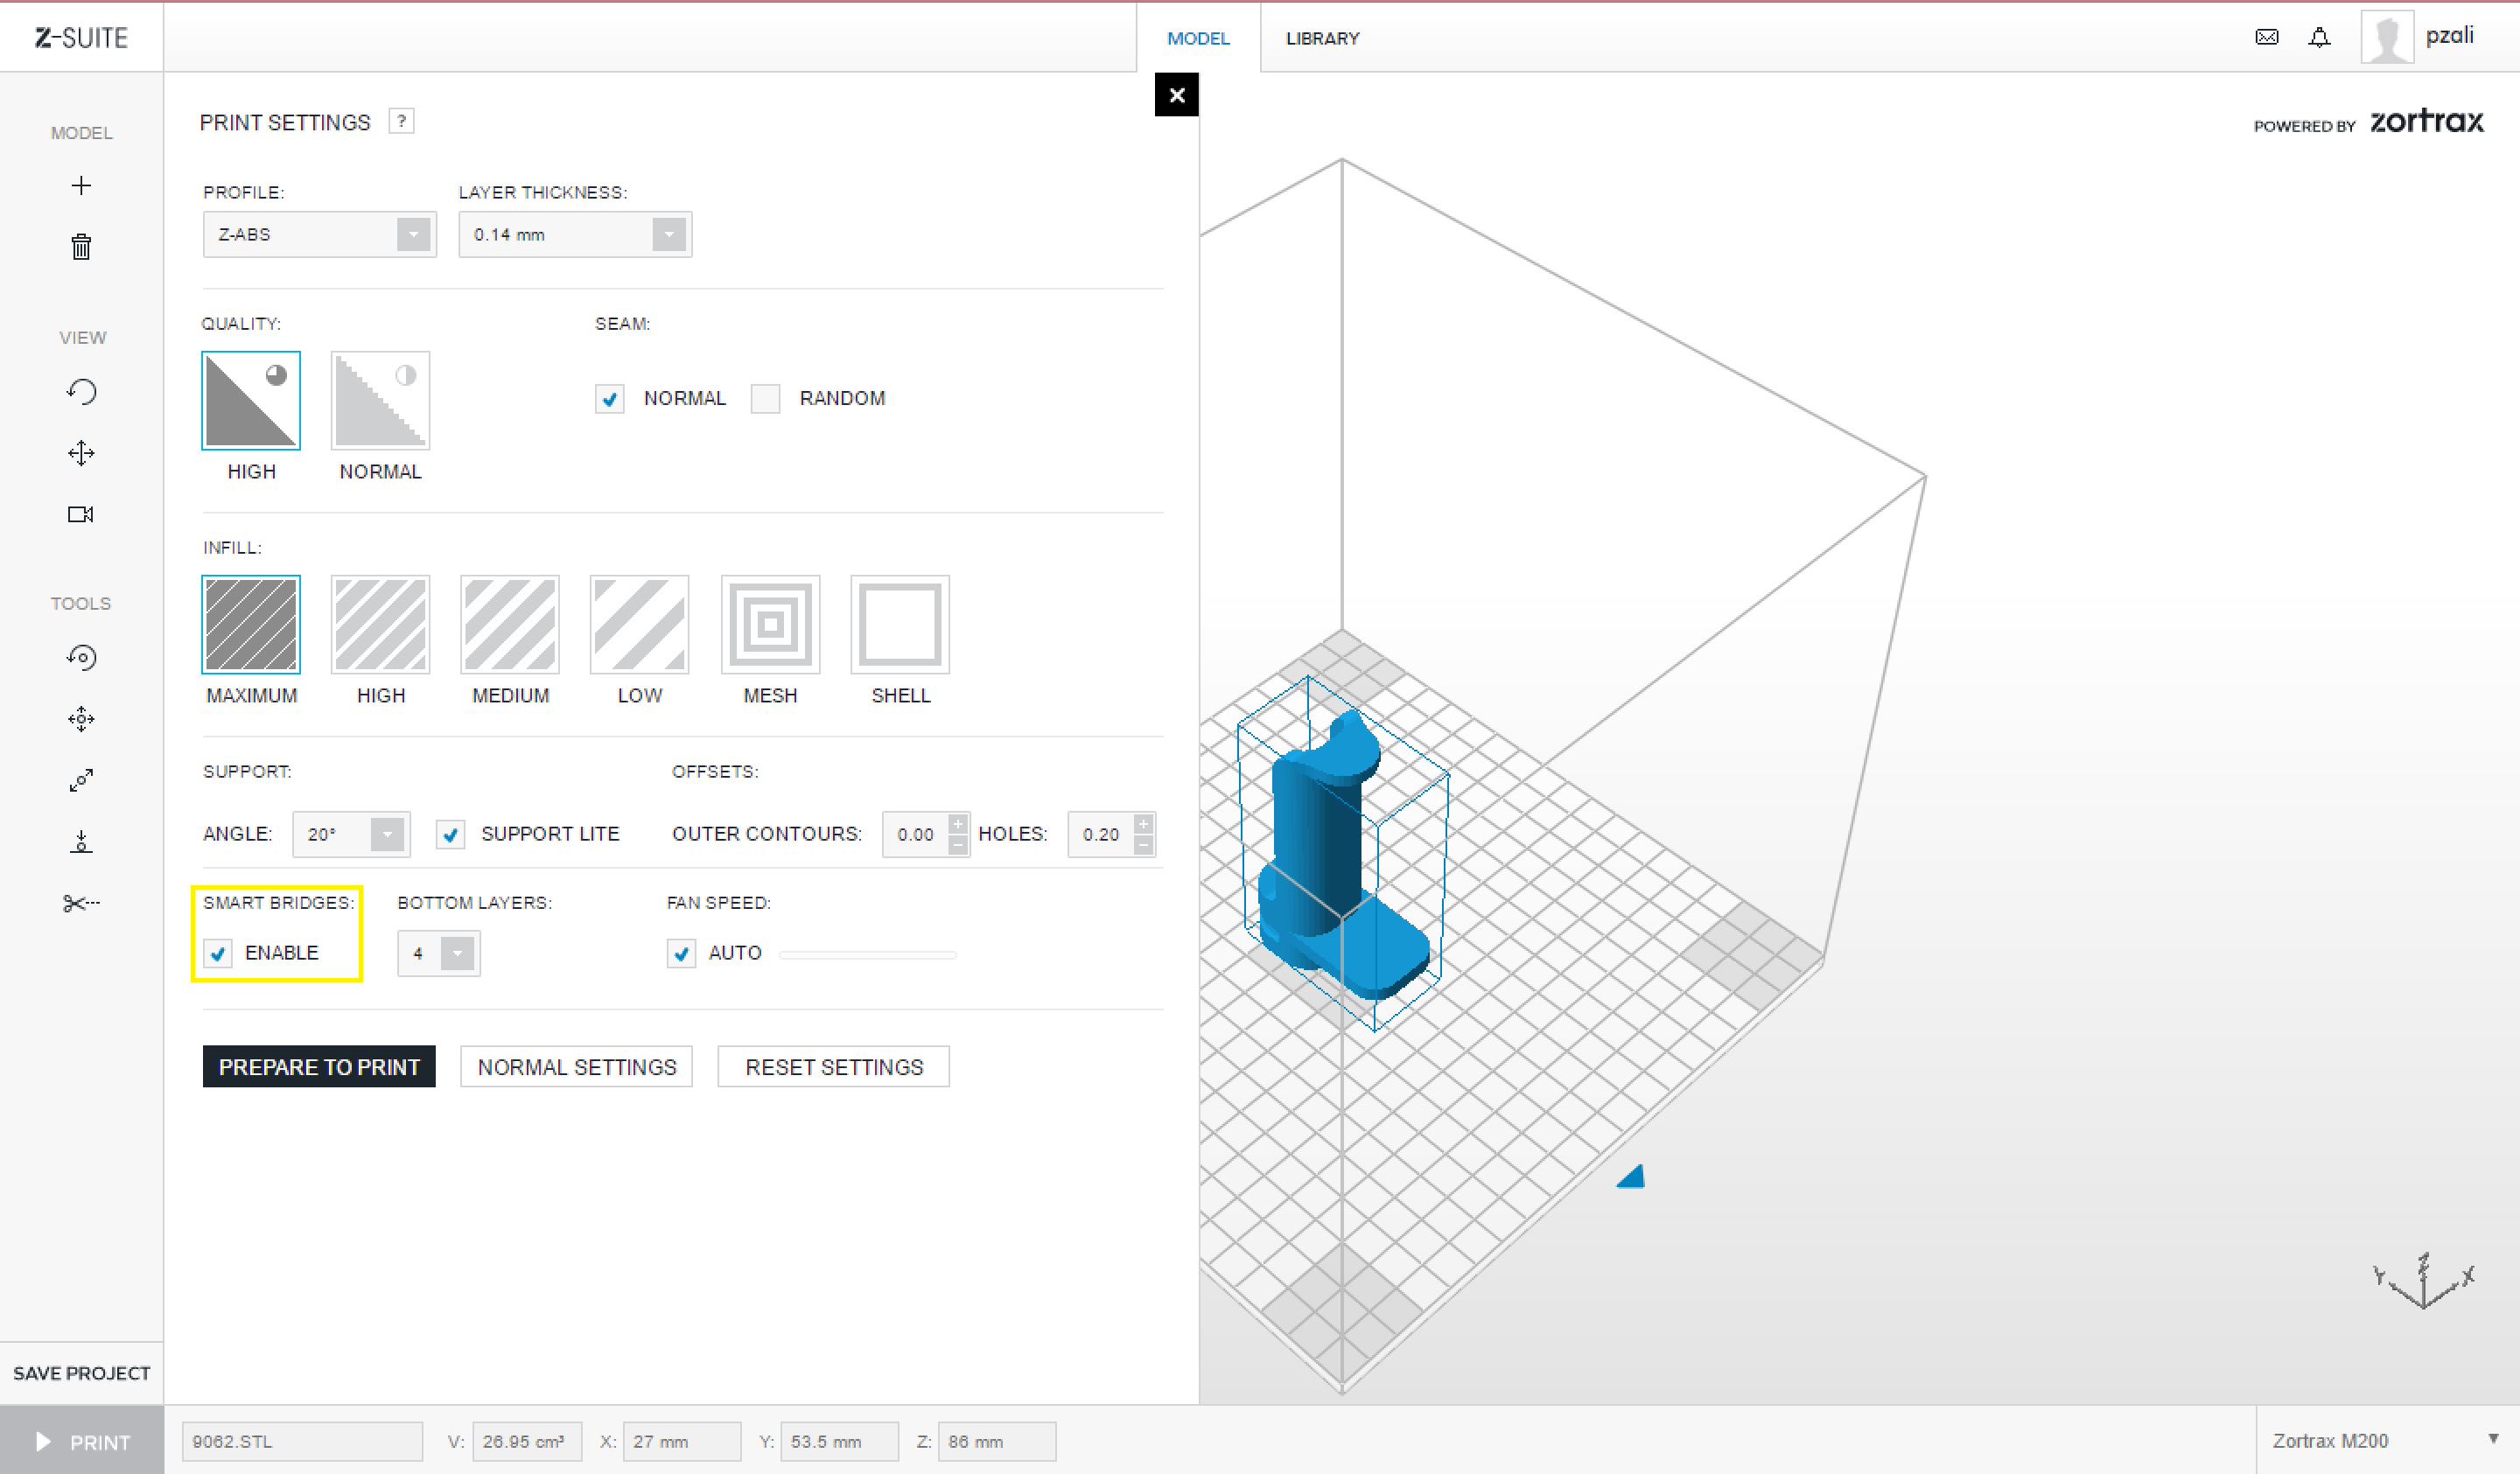
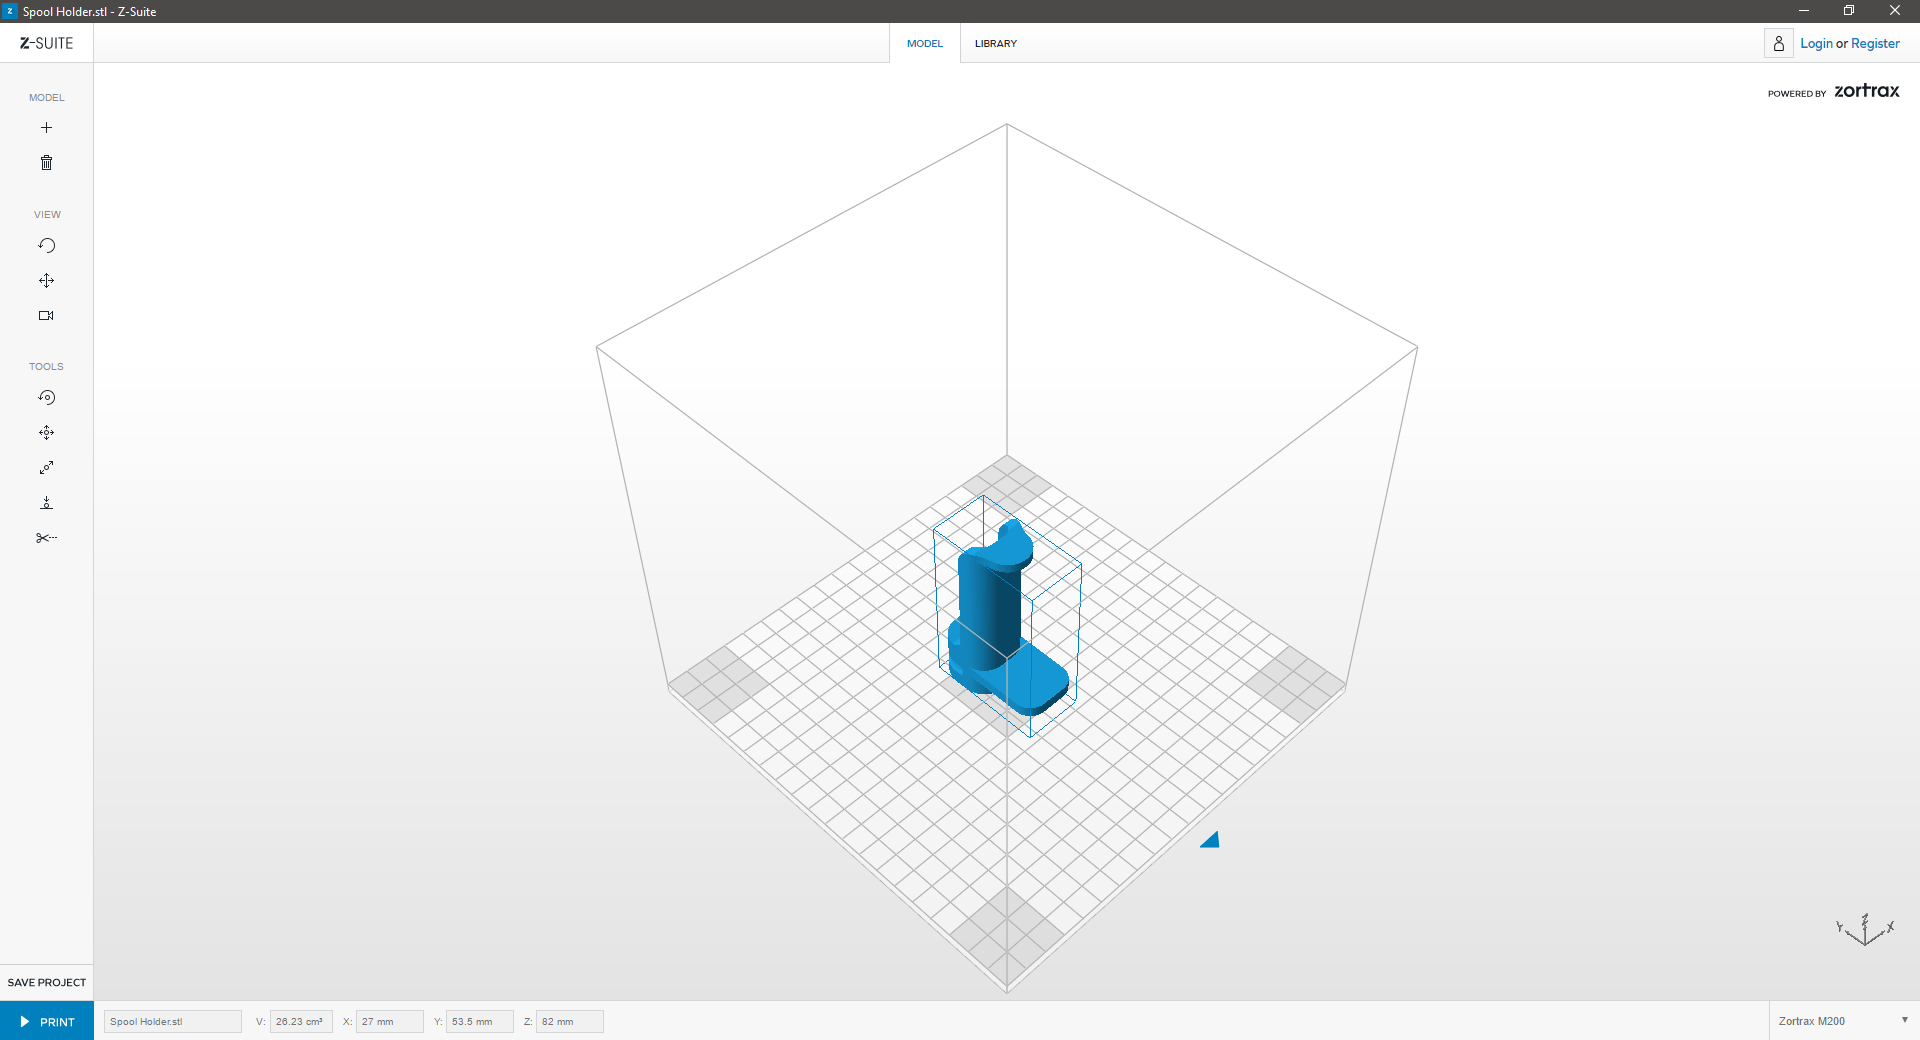
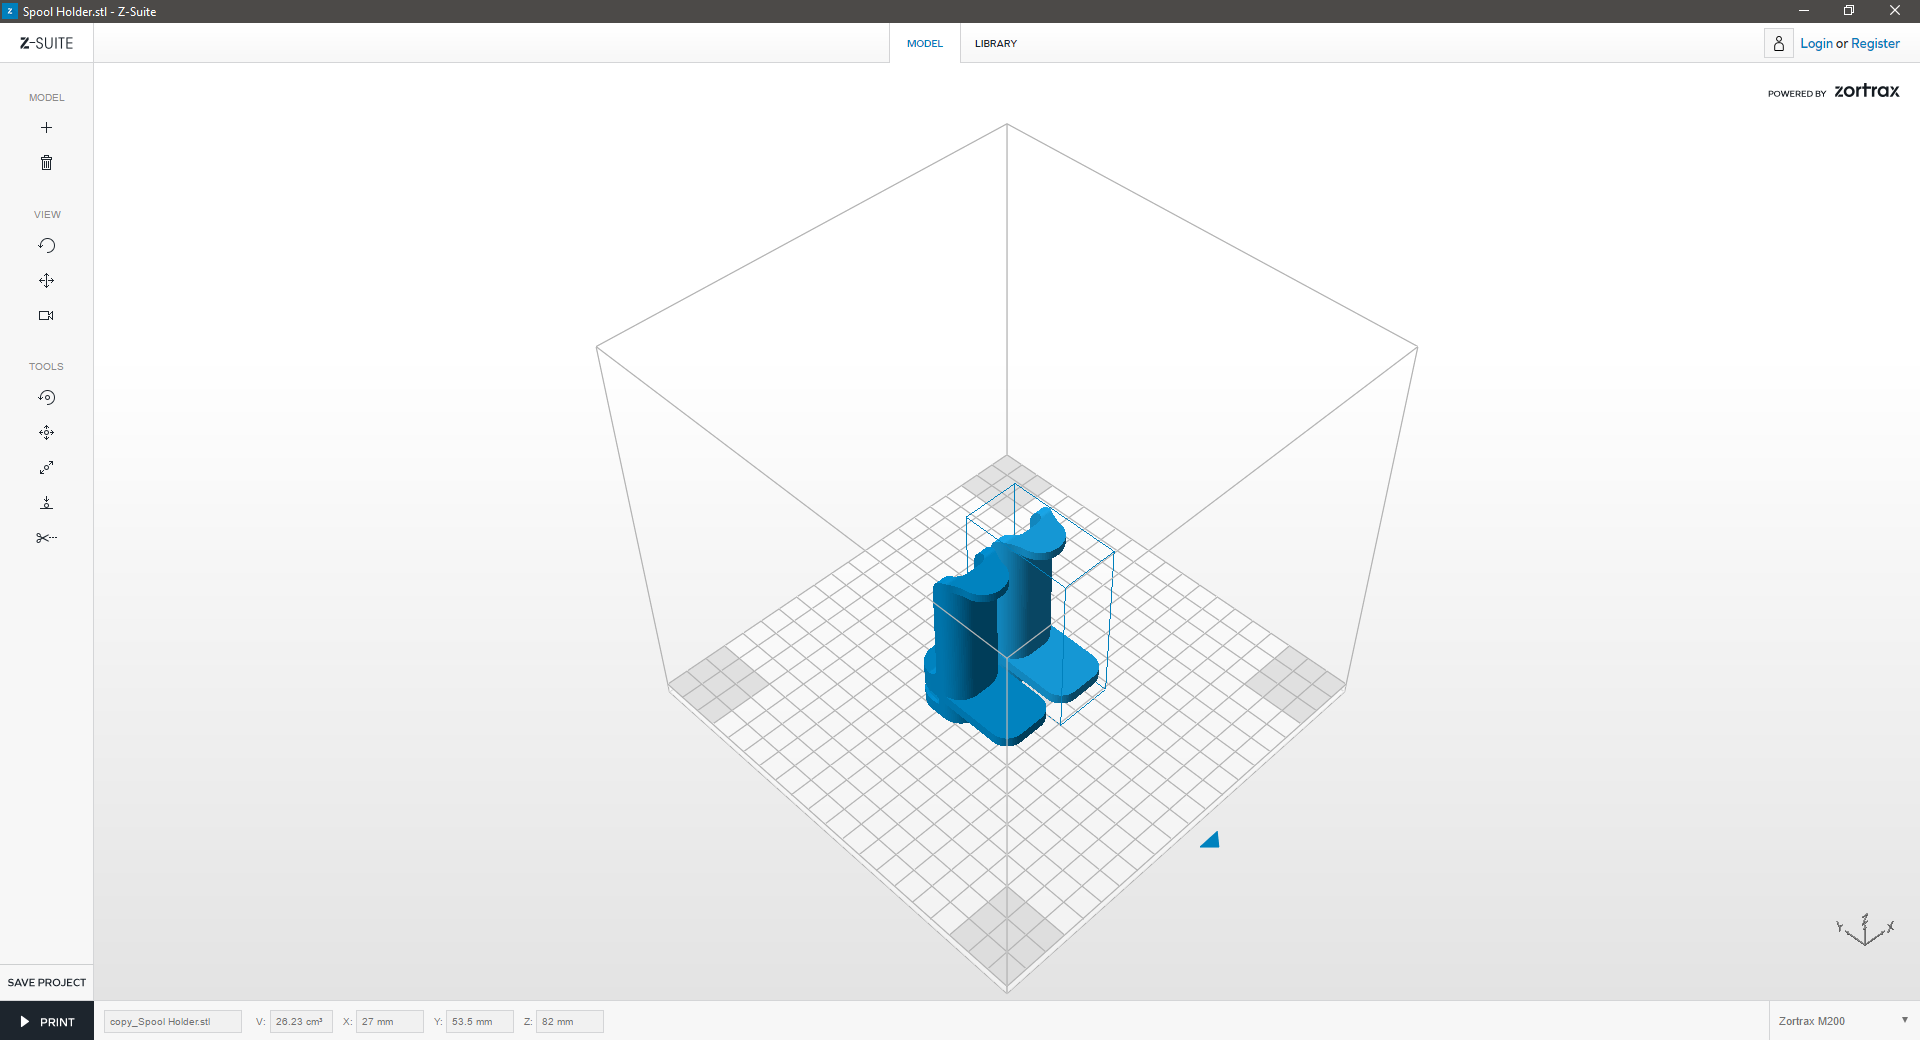
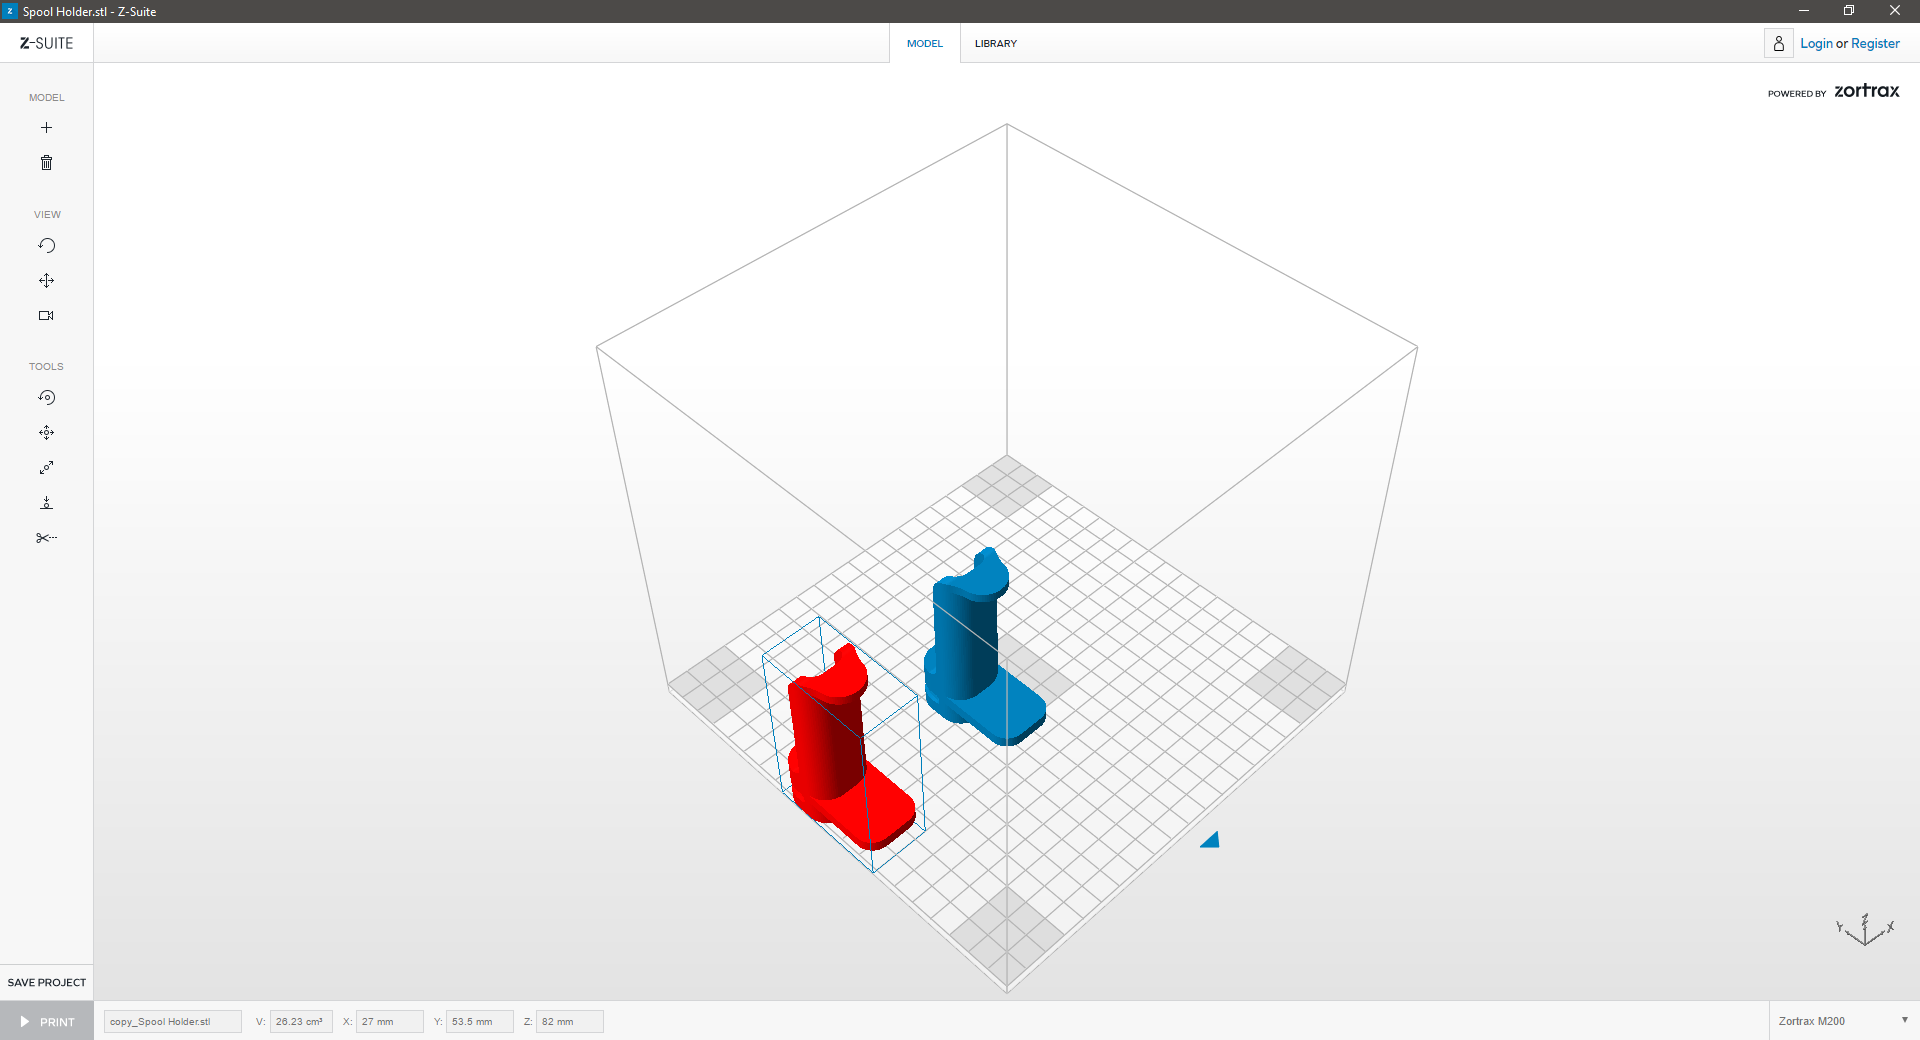
Do you have a multi-part print? If you’re uncertain how to arrange all the items on the print platform, use the Auto Arrange tool:
|
1. AutoArrange |
|
|
|
 |
|
|
|
Click on the “Auto arrange” icon in the left menu bar to auto arrange your model in the workspace. |
|
|
|
 |
|
|
|
2. RED Geometry |
|
|
|
 |
|
|
|
If the model turns red, it means that your model is outside the workspace. Resize or move the model to mould it to the workspace. |
|
|
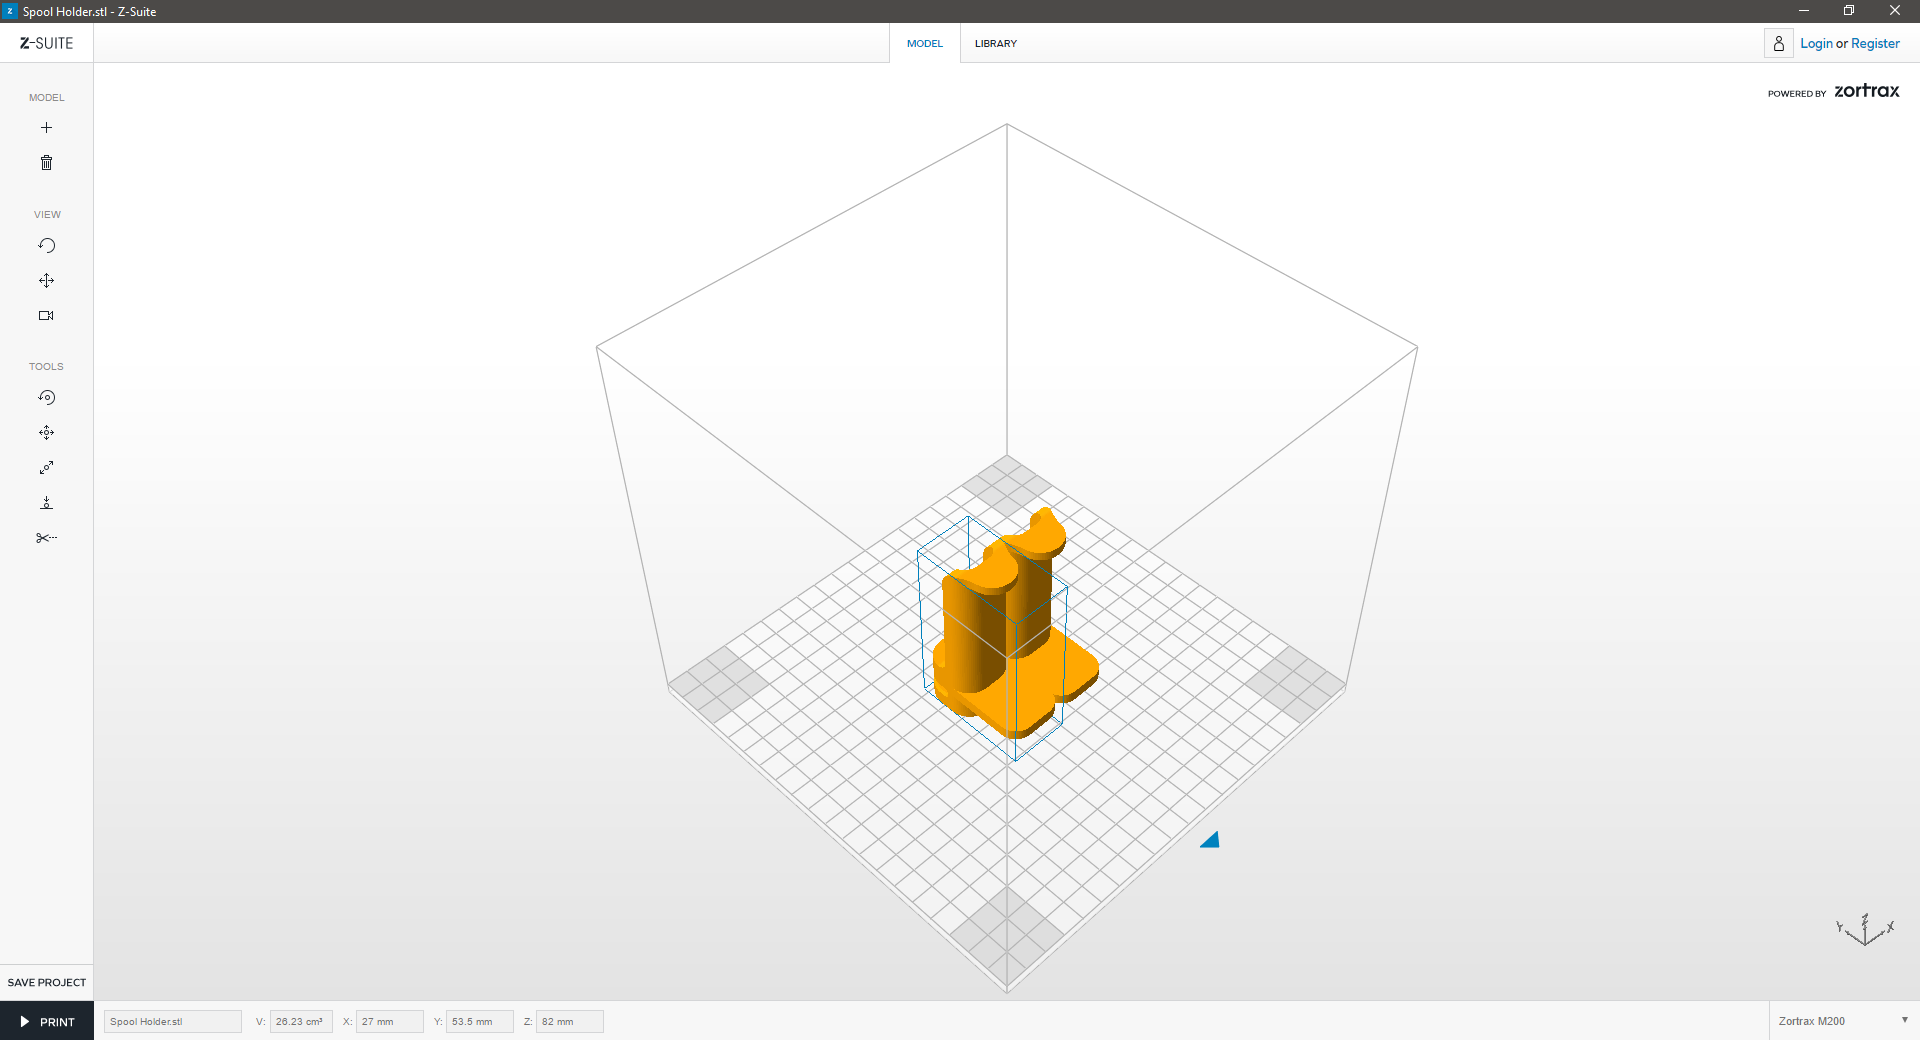
3. Orange Geometry |
|
|
|
 |
|
|
|
If the model turns orange, it means that a collision between the two models has been detected. You can still prepare them for print. The models will be merged together and printed as a one piece. If you don’t want them to be printed as a one piece, resize or move the models around the workspace. |
|