Tapestry Weaving

By: Remi Adeoti

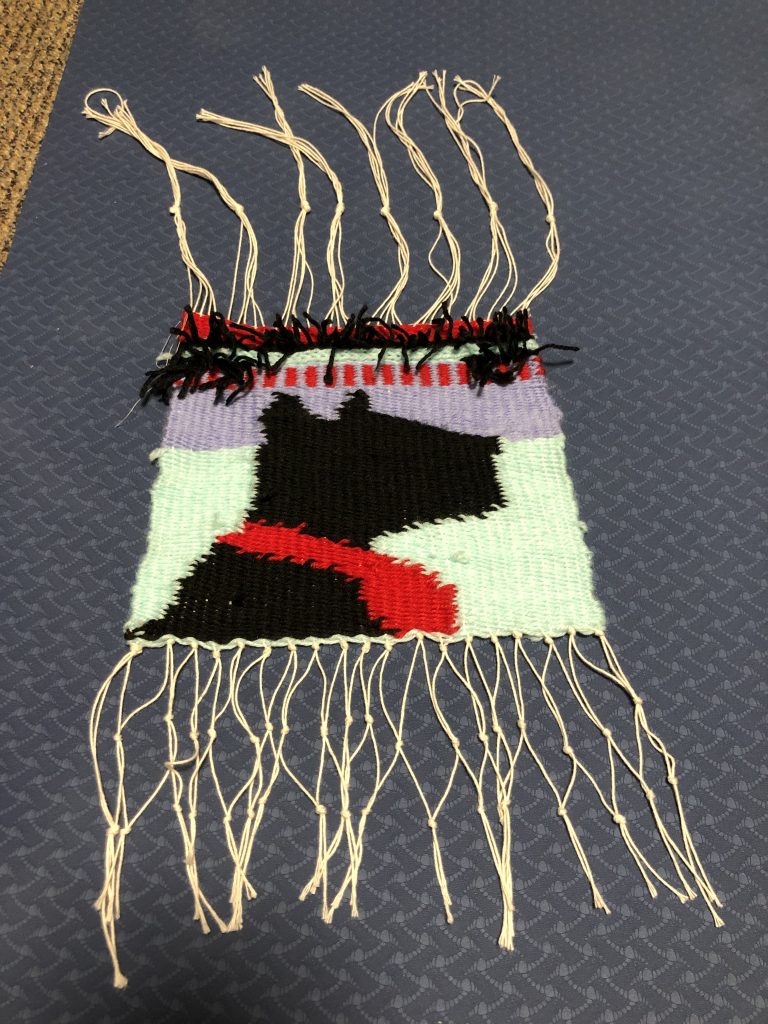
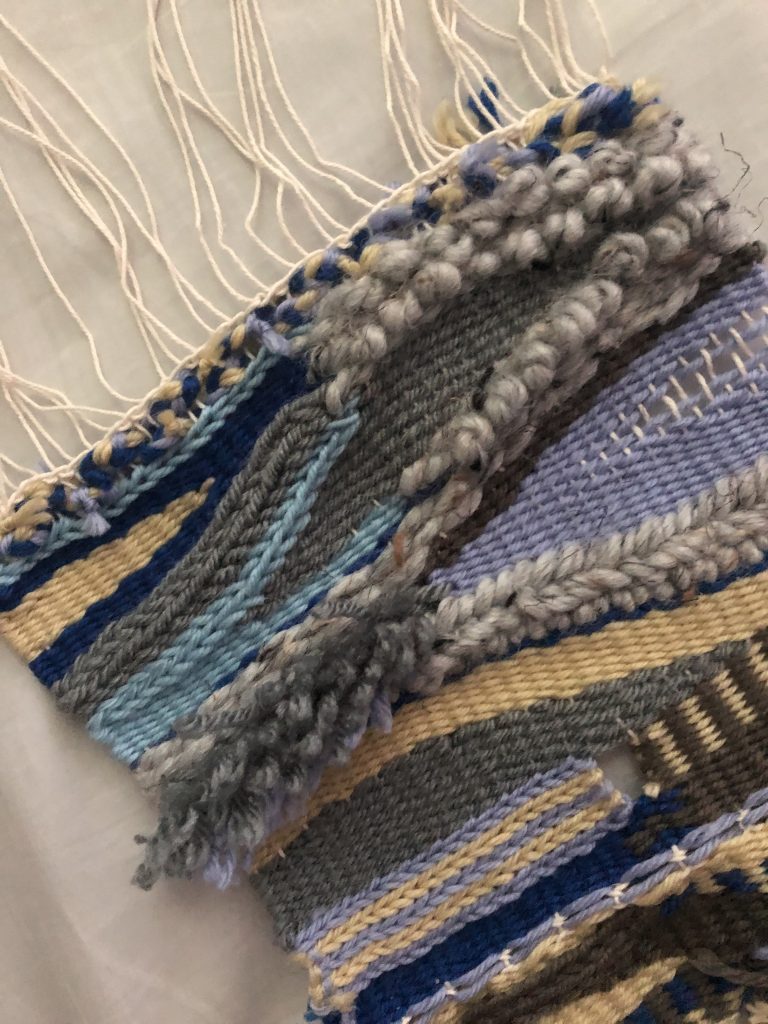
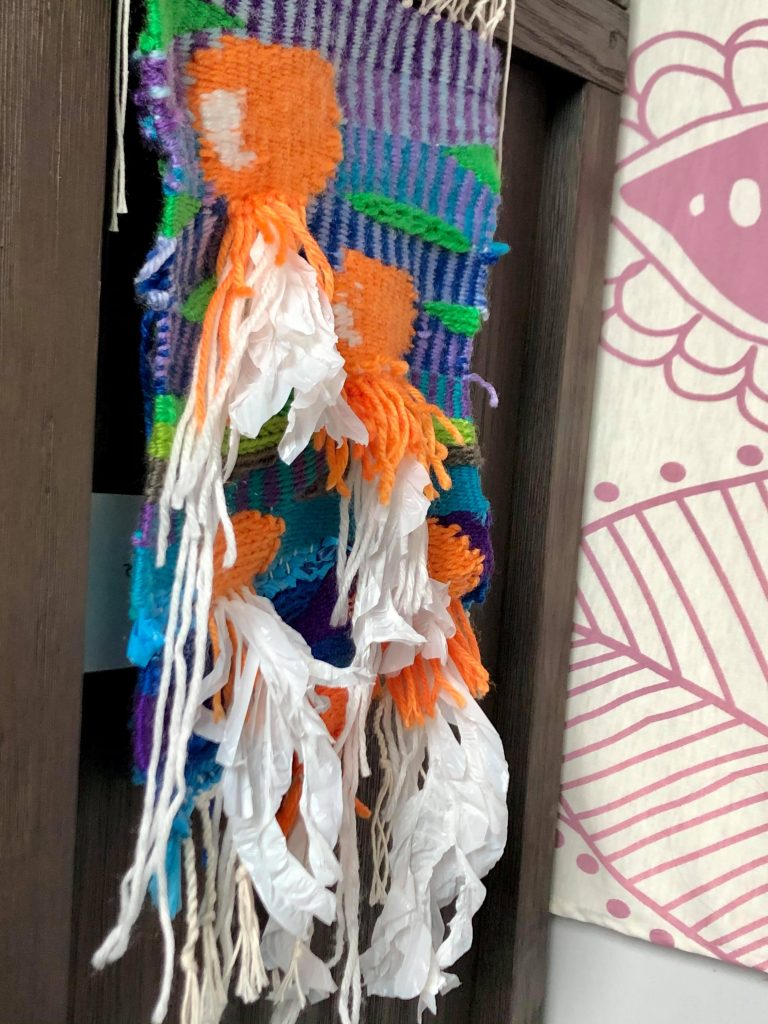
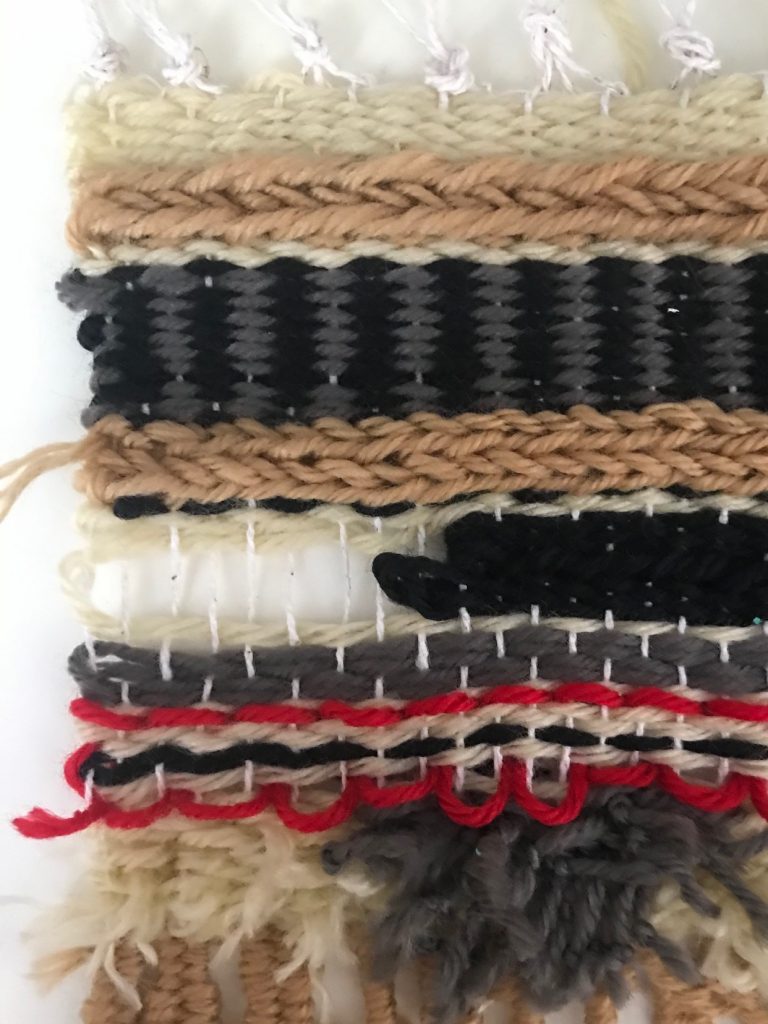
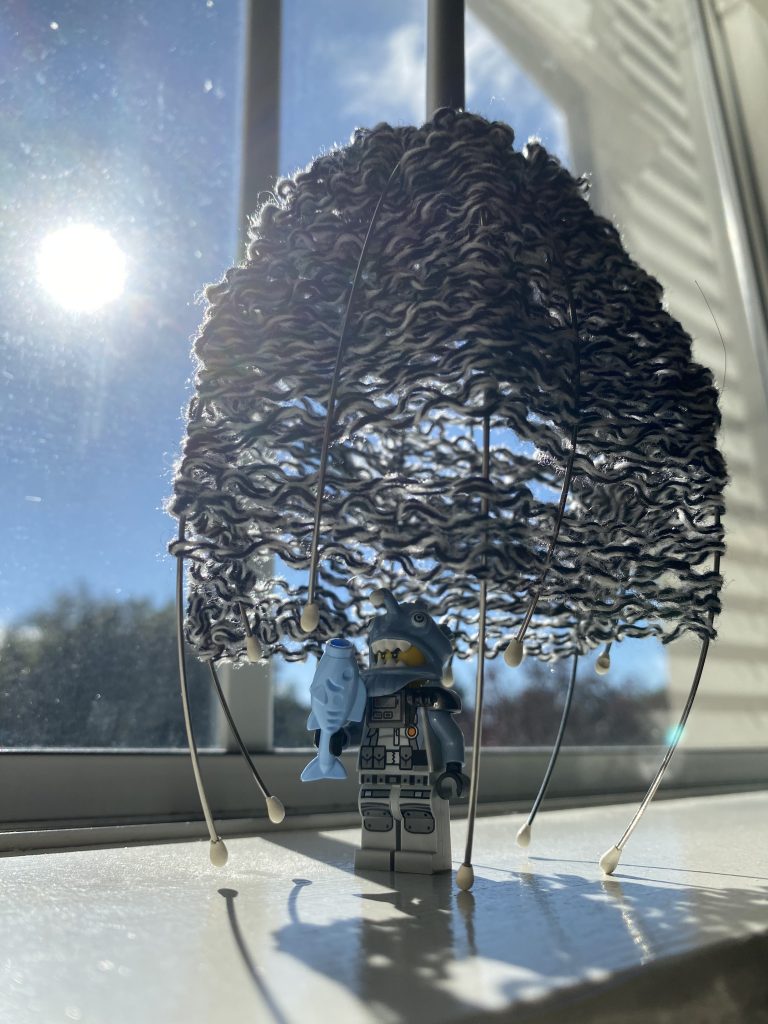
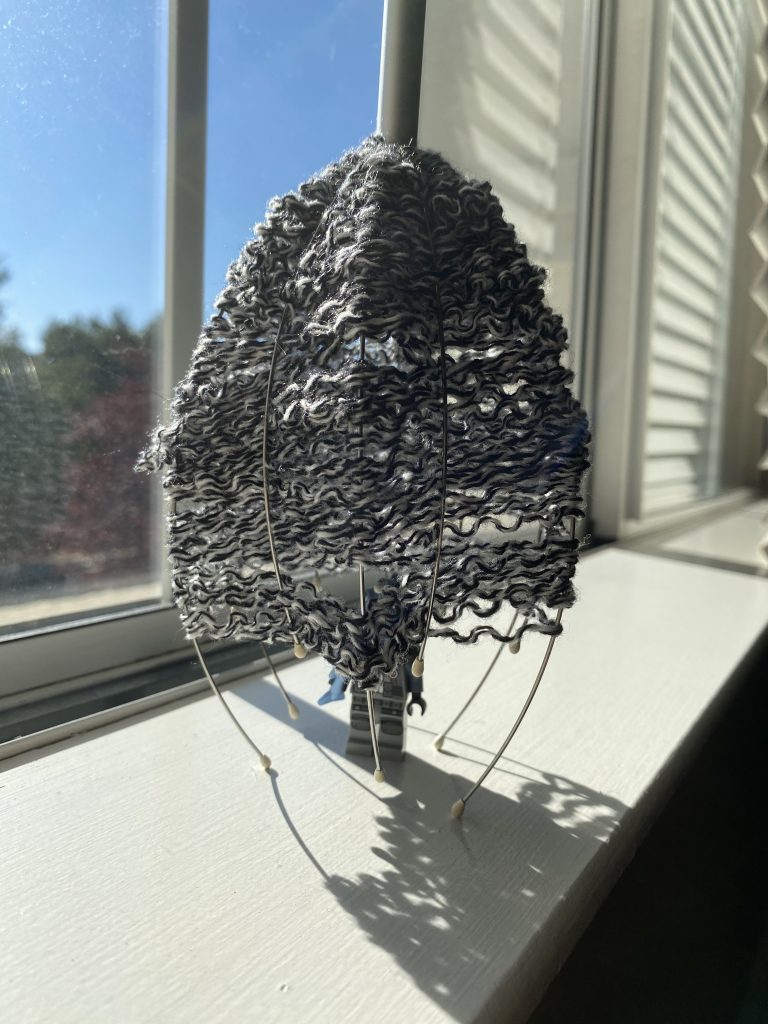
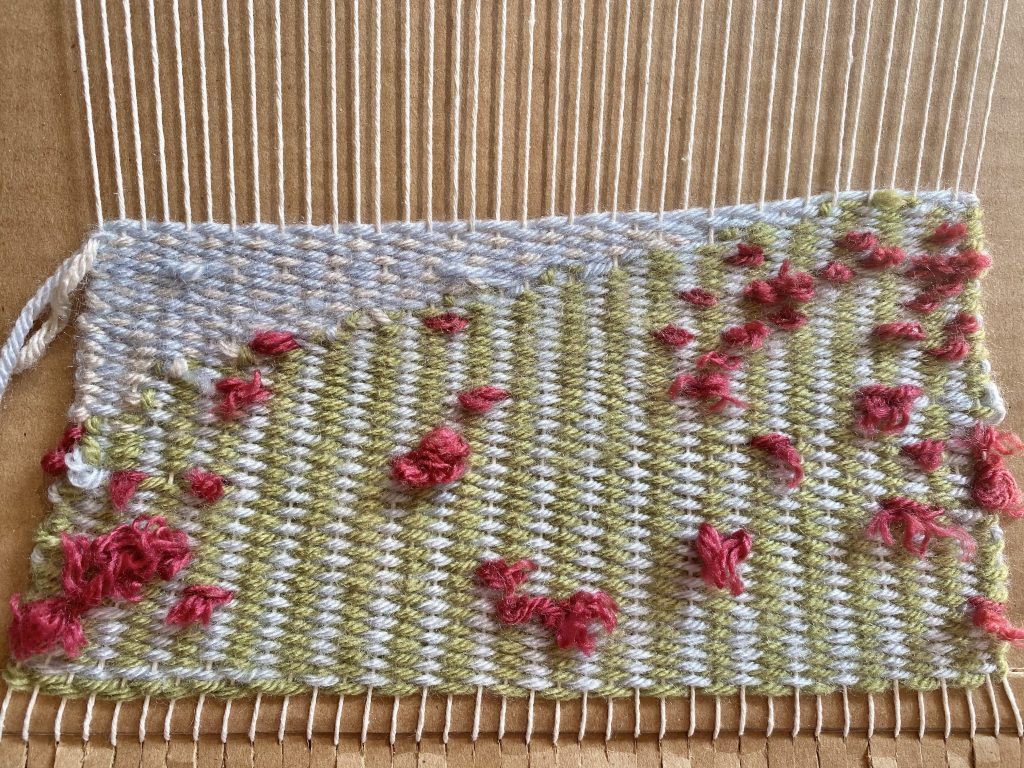
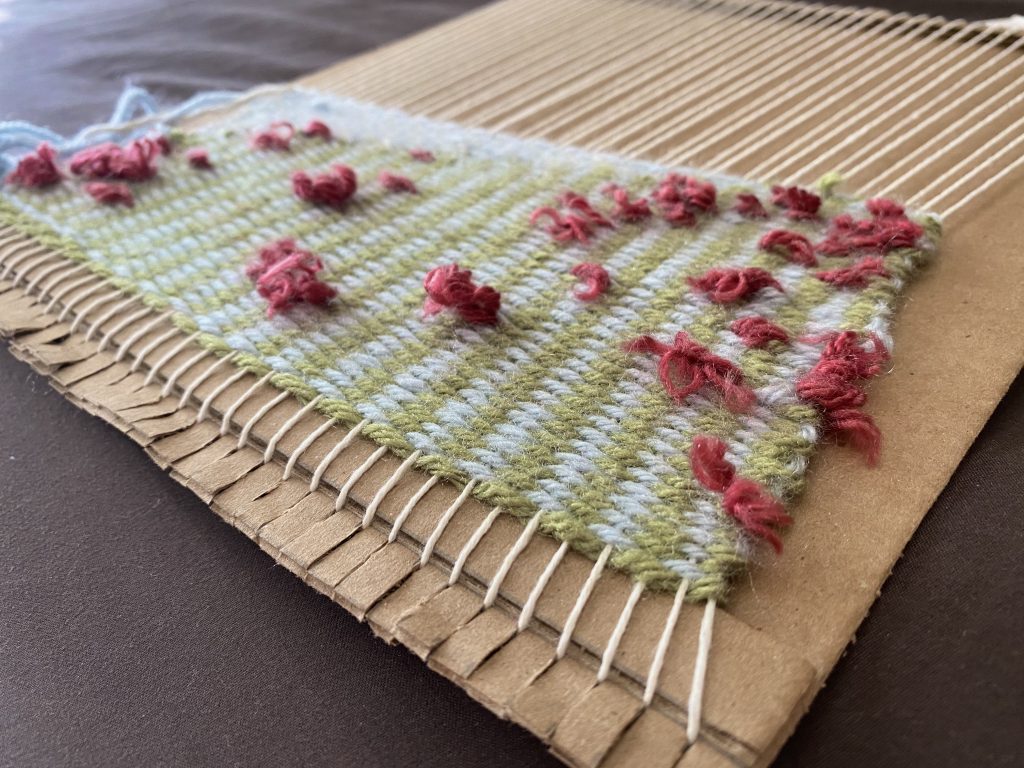
When creating this weaving I didn’t have a plan in mind nor an intended shape that I wanted to display through the weaving, I was lost on what to create. Rather than focusing on a specific shape I decided to use this project as an exploratory one that allowed me to practice different techniques.

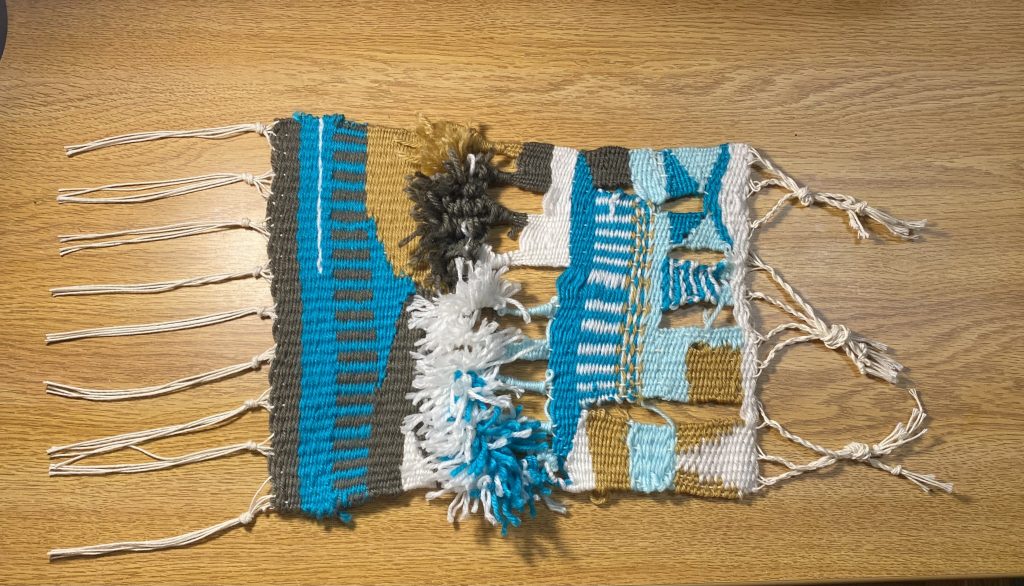
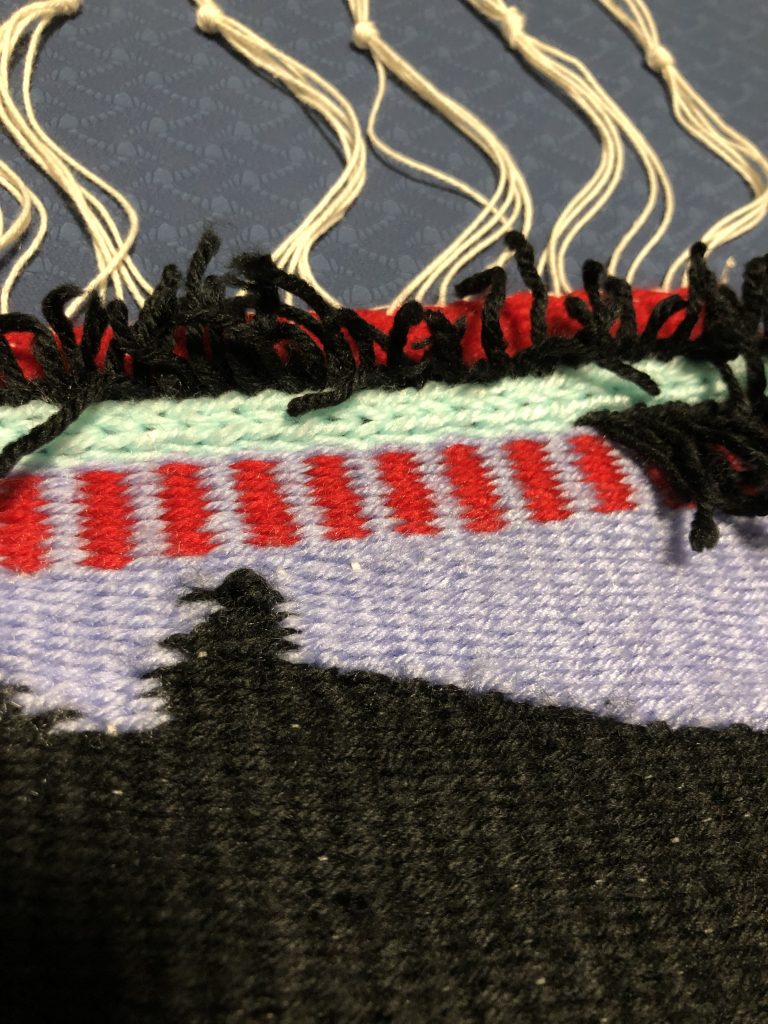
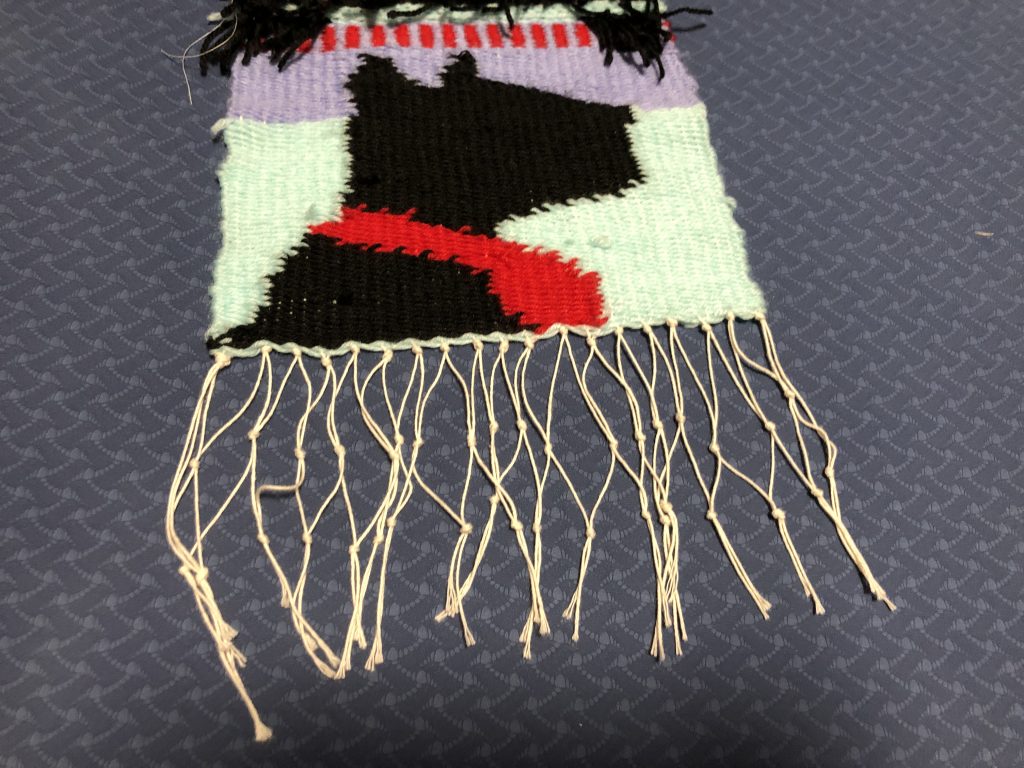
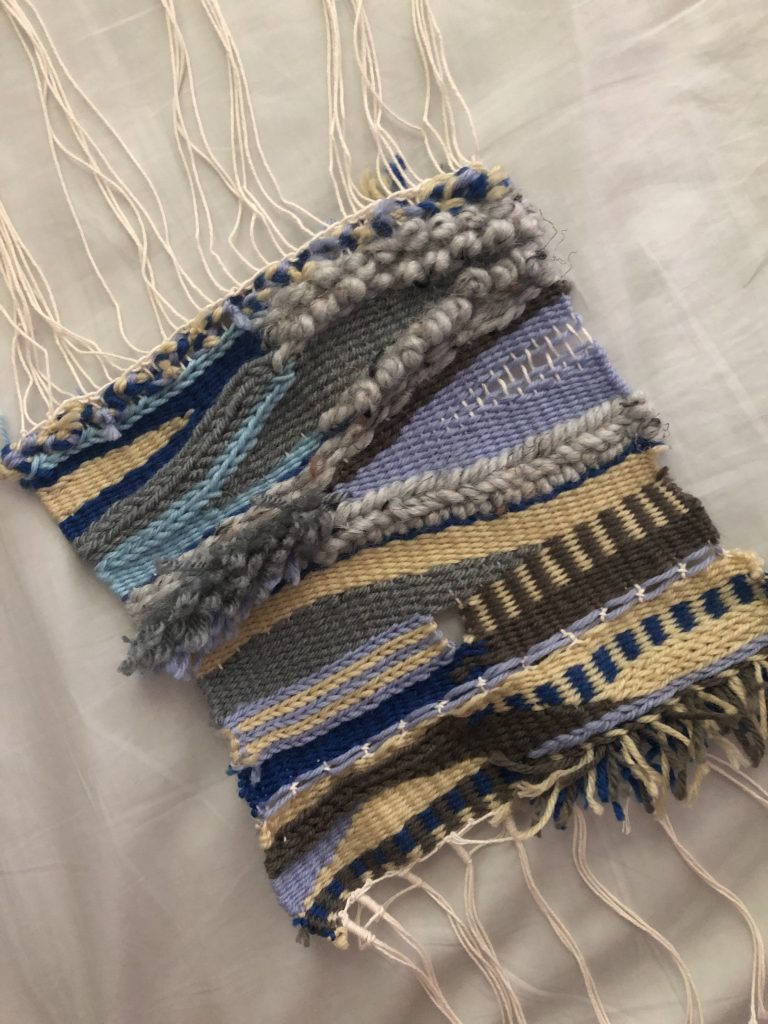
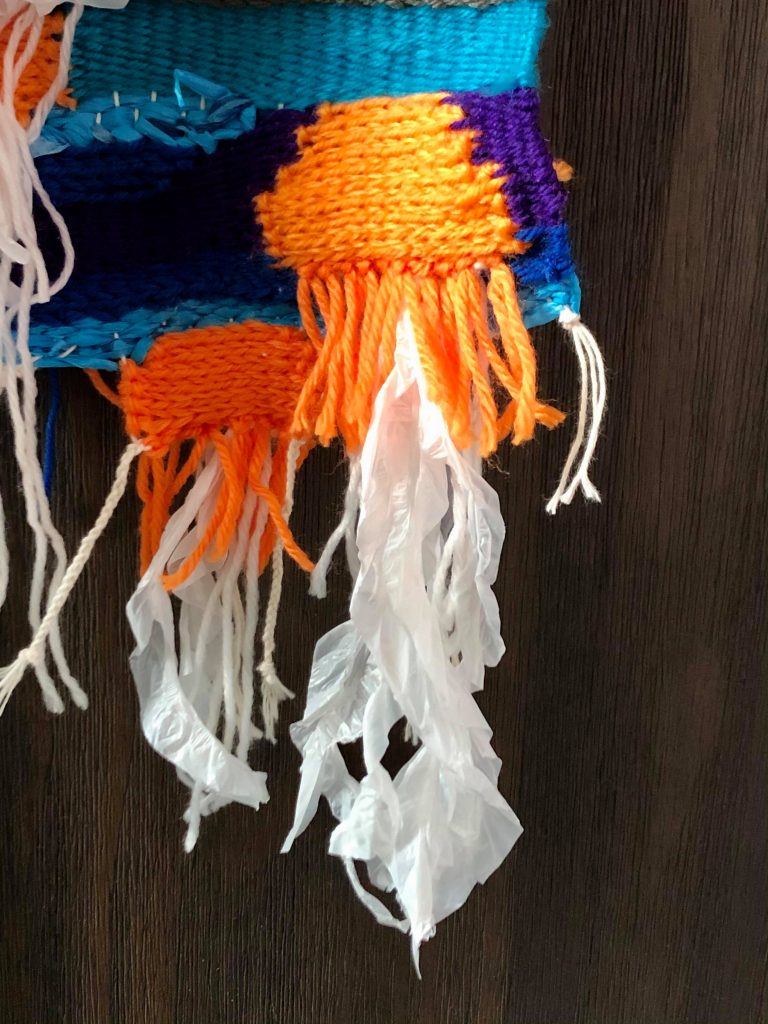
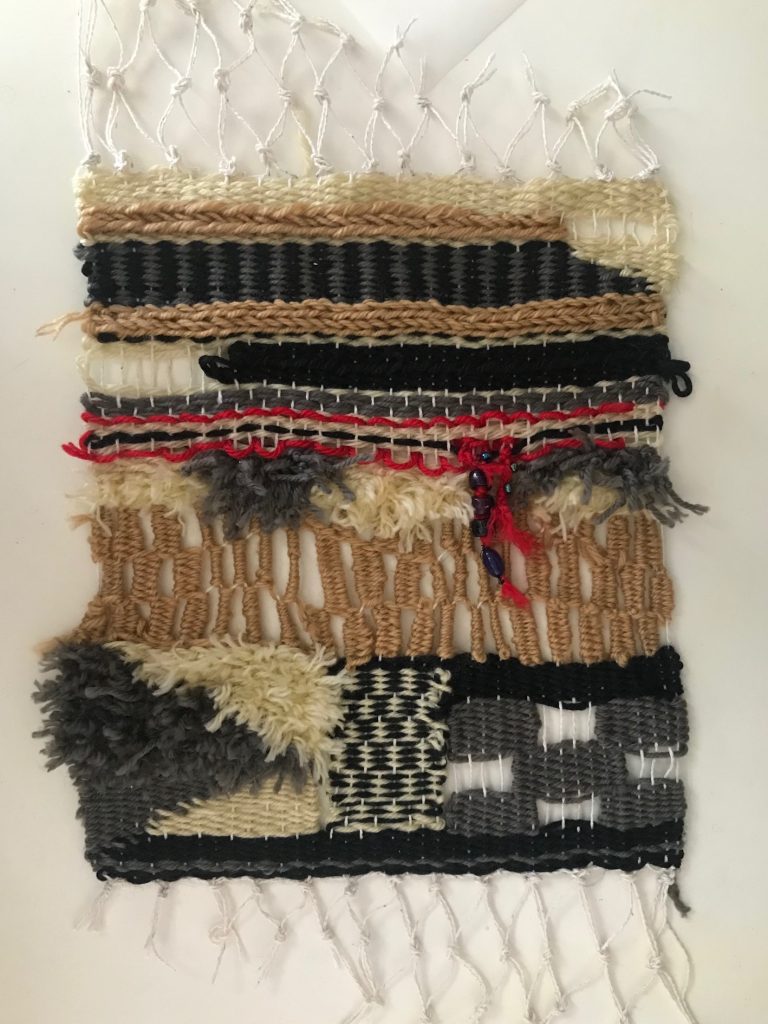
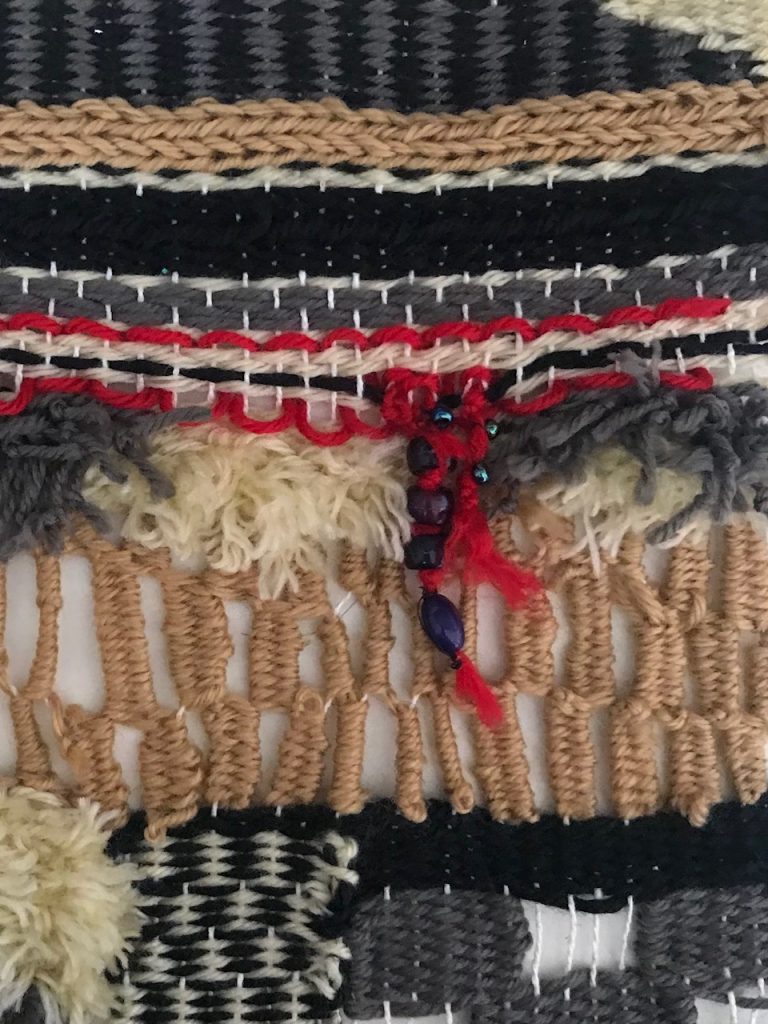
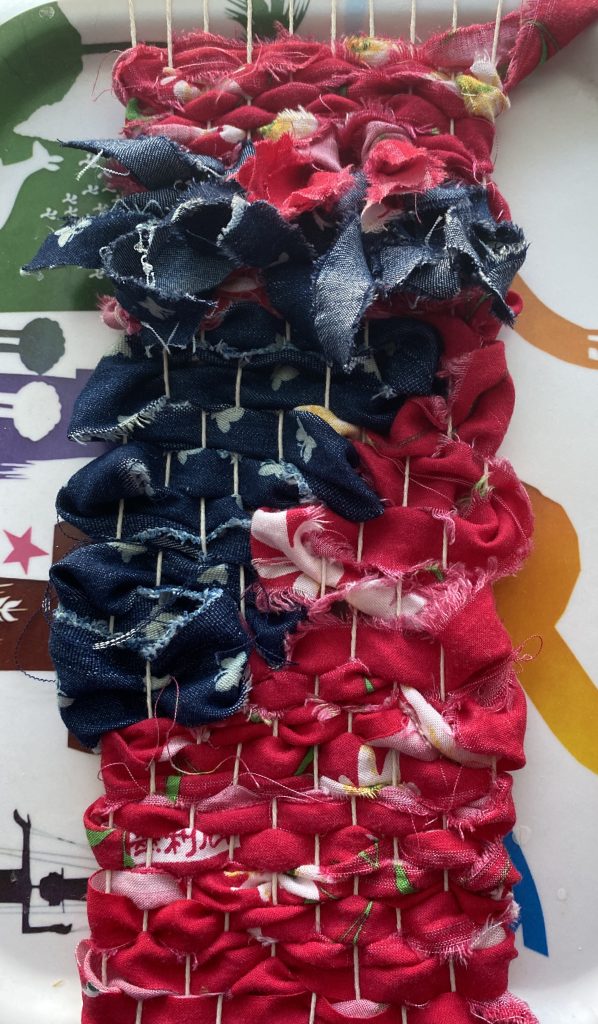
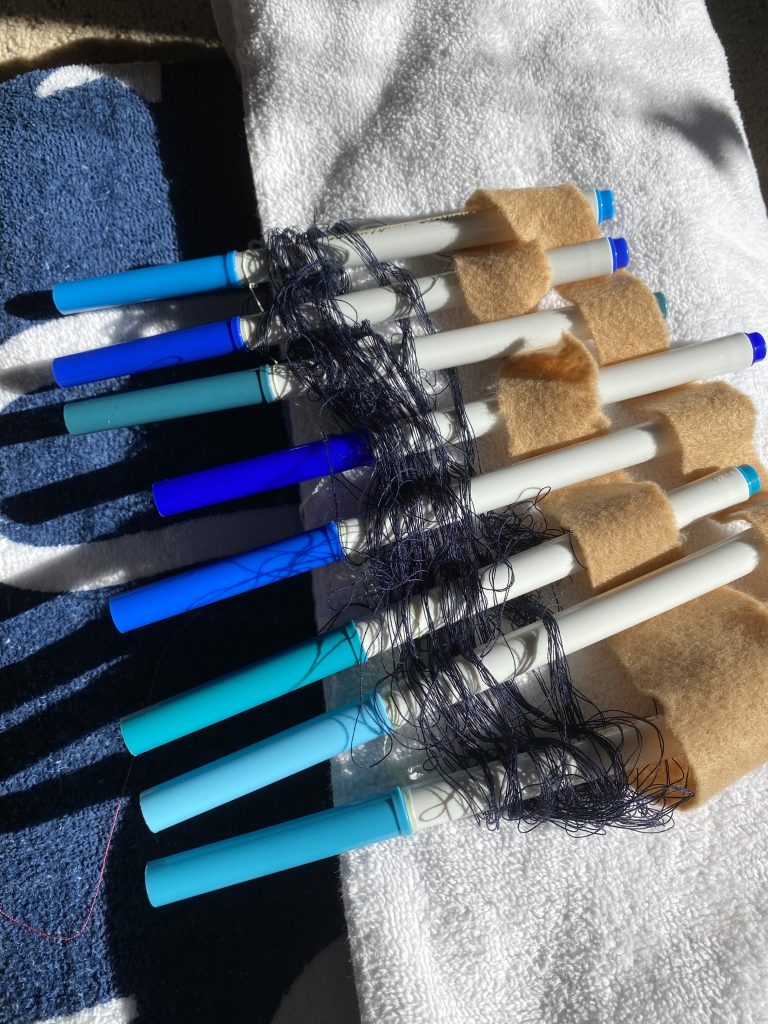
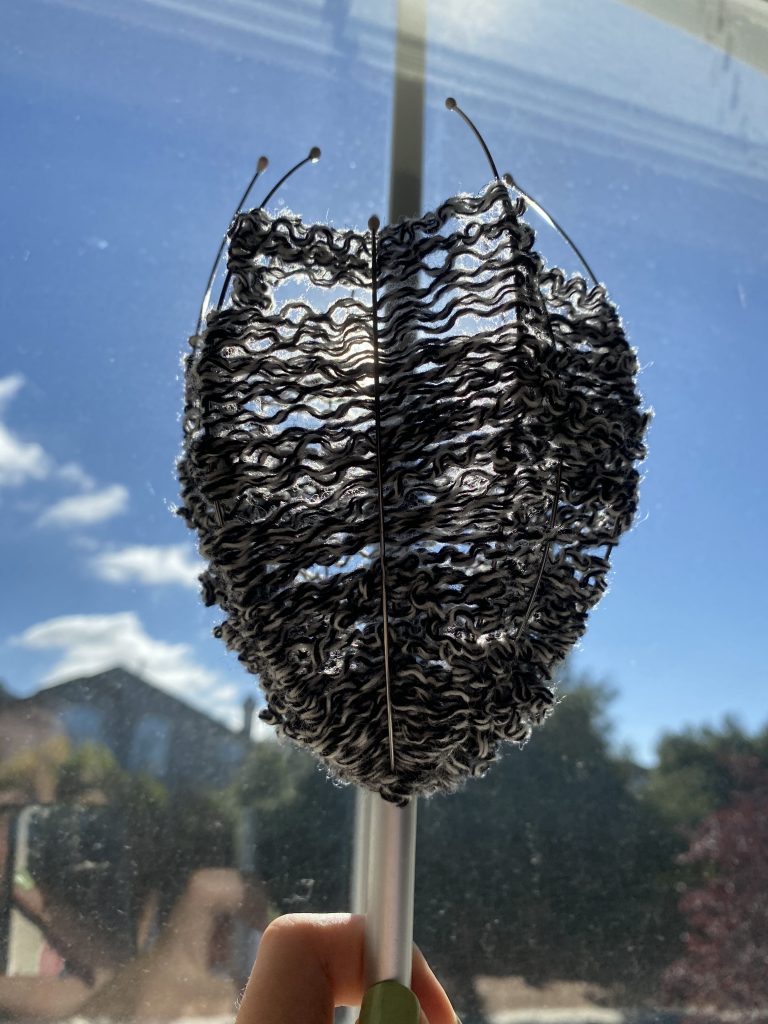
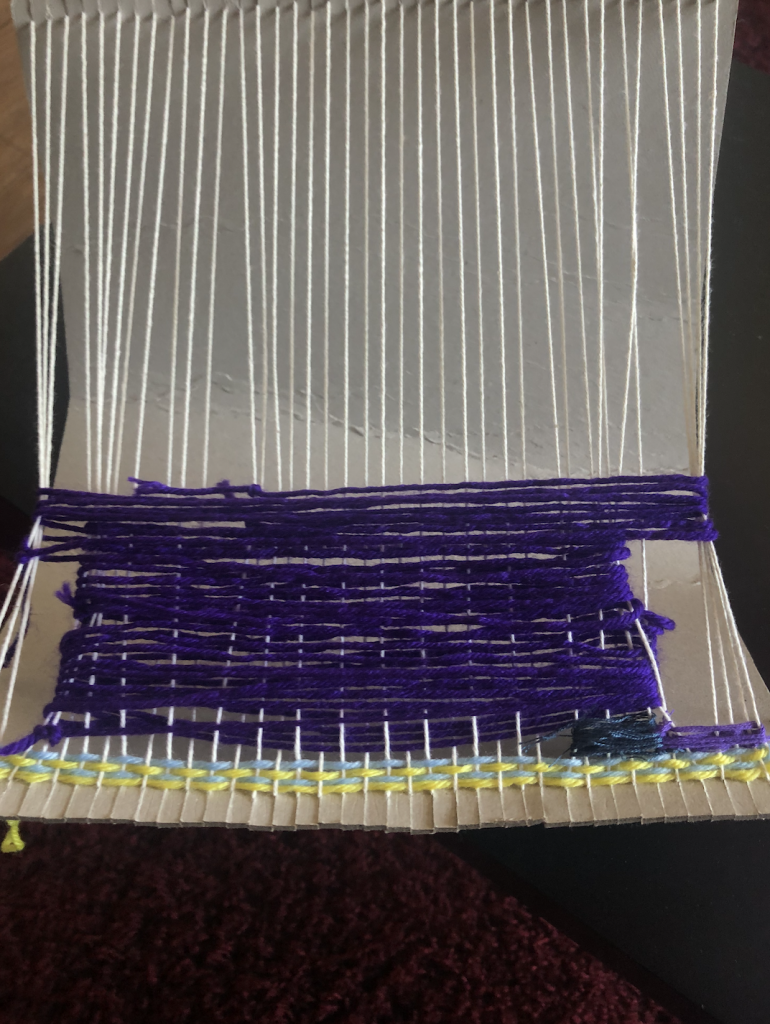
Some of the techniques I utilized were dovetails (single regular/irregular, group regular/irregular), interlocking, rya nots, bubbling, horizontal rows, vertical rows, wrapping, twining, diagonal slits, and soumak. Using all of these techniques I was able to explore and figure out which methods I liked and others I didnt.

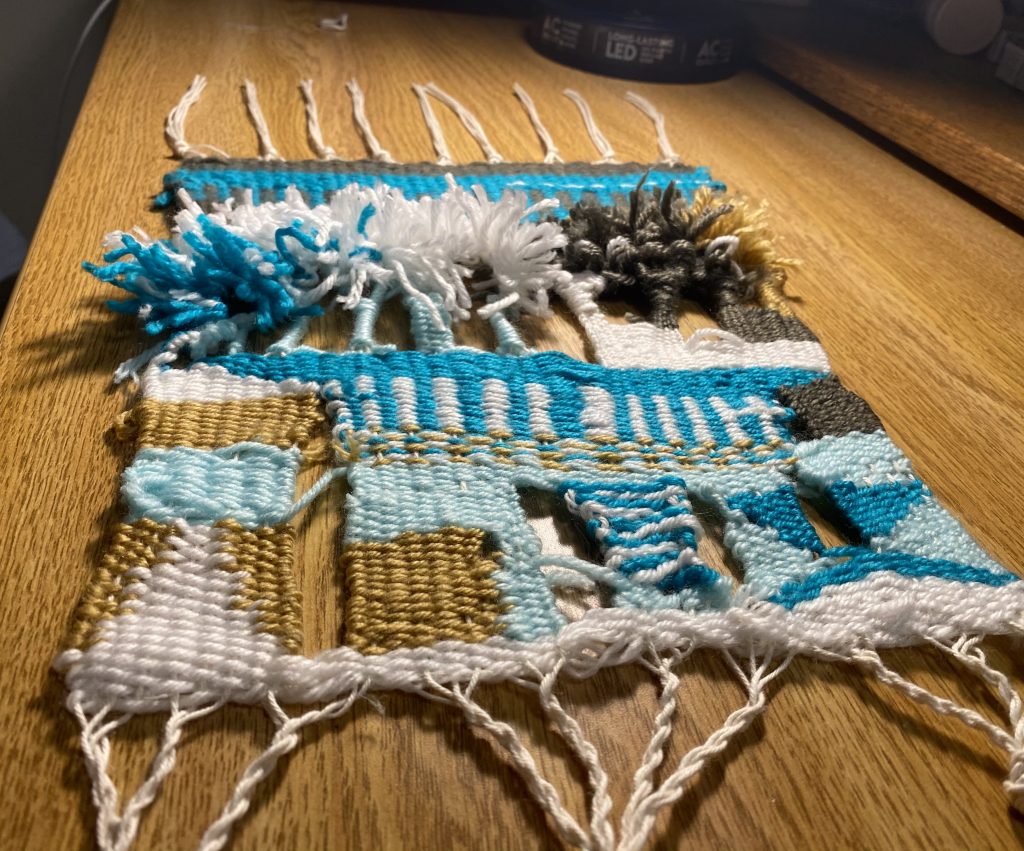
I found Rya knots and wrapping tedious and somewhat annoying, only because they required alot of attention and required a good amount of effort for small outcomes. However I did enjoy dovetails and vertical rows although both were still tedious I liked the neatness of the rows and the feeling of fighting for control when looking at the dovetails.

Tapestry Weaving – Maddie

Completed tapestry weaving

This is my finished tapestry weaving! I wanted to make Scotty as the main focus so I started the weaving with a few rows of the background color, then began to implement the different colors for the Scotty design. I found that it was difficult to work with 3 or 4 different balls of yarn and often confusing to make sure that each row lined up correctly and balanced each color. The Scotty part came out much better than I expected, but it isn’t perfect. Making the Scotty, I used the interlocking weft techniques to have multiple colors and make the different diagonal lines. It was especially challenging in the ears because they were so small.

close up of upper details

After the Scotty, I experimented with doing vertical lines using the purple and red color. Then, I used the rya knots to make some fringe on the outer edges then did a few rows using the Swedish knot technique. This made an interesting texture and almost looked like a chain link. I followed up with more rya knots across the entire row and finished with a plain weave of red.

Bottom finish of warp threads

To finish at the top, I used thread to sew it closed and tied knots in bunches of five. At the bottom, I tied knots in bunches of three and then tried to do the netting knots, but I found it hard to have balanced knots and they turned out a bit long.

Tapestry Weaving – Rachel

Here is the finished tapestry weaving taken off of the loom. In general, I was trying all of the warp techniques from the glossary that I could figure out. In the beginning, I stuck to four colors, and just tried to keep it interesting by not using large blocks of one color, but patterning instead. It seemed quite stiff and technical.

However, after class last week and seeing more curved and textured examples, I started going in that direction. For me, I was just trying to compose something that was spontaneous and free. In architecture, we rarely do that – everything must be planned and the stakes are high with mistakes. So I wanted to use this project as a way to just relax and go where the yarn takes me. I ended up including more colors, and thicker yarn. The more wavy/curvy look takes your eye up and through the piece better than the base does. Given the colors and the techniques, it seems like a storm is coming on top of a calmer base.

I have noticed that the pulling of the hourglass shape of the weave is not as bad when you take it off the loom, something I was worried about before. To finish after taking it off the loom, I used a Damascus Edge on each side, and then a Bound Warp Protector for the bottom part.

For the last weft on the top, I used the scraps after I cleaned up the edges of the weave. I left tails of around 6 inches each when weaving, and I did not want to just discard them, so I tied them together and braided them to use as a weft.

Tapestry Weaving – Annie

Through this tapestry, I wanted to explore how humanity has affected the ocean. I wanted to make it vibrant, as we usually see images of coral reefs and through media, but interweave bits of plastic through both the jellyfish and the ocean to symbolize the effects of littering such as the Great Pacific garbage patch. The bits of green which are slowly being swallowed up by the expanse of blue and purple show the effects of rising oceans as climate change gets worse and worse.

Using soumaks to create a piling up effect and adding depth, lonzenges to create movement within the tapestry, rya knots to create jellyfish tentacles, and diagonal interlocks to create the round shapes were some successes. I also really liked how the fish net effect turned out on top. I had a difficult time figuring out how to keep my edges even during the vertical striped segment, and also had a hard time figuring out how to incorporate the ending techniques so they would look like part of the jellyfishes. I was surprised by how well the plastic worked for the jellyfish.

Total Time Spent: ~12 hrs

Tapestry Weaving – Jasmine Lee

This is my complete tapestry weaving after taking it off of the loom.

Full view of the tapestry weaving

When I first started this weaving, I focused on using learning the different techniques. I started out with creating horizontal lines, then a diagonal interlock, and vertical bars. I divided the three sections by leaving them separated by a slit. I also used rya knots to create the piling above the diagonal interlock.

Close-up of the weaving, showing the attached beads.

One of the biggest challenges in this weaving was the brown section with the braided/wrapped warp threads. Even though the piece was done on a cardboard loom, this technique made it hard to keep the warp threads even due to how tight the weft had to be wrapped. It was also challenging to keep the weft tight, because when pushed down it would pile up and create some bunching. I learned how to better overcome this in the wrapped section on the right (which is slightly neater) by always having the thread in my left hand, and doing the weaving completely with my right hand. This helped me keep an even tension.

While it did take an especially long amount of time, this section ended up being one of my favorite parts of the tapestry. I think the negative space it added really helped to balance out the more visually heavy parts on the top and bottom.

Close-up of tapestry showing gaps in the weaving.

I tried to echo the gaps by leaving some rows unfinished as I was near the top of the weaving. I was able to test out soumak knots and ghiordes knots (uncut) in this section. The red and the beads were also added for visual interest, as I thought the weaving was feeling a little too neutral and unbalanced due to the very visually heaving piling in the lower left.

Overall, I spent about 13 hours on this piece. I really like the asymmetry and how the colors came out. I am very happy that I was able to try so many techniques in one piece.

Testing, Tinkering, Toying – Erica Fu

In these three test weaves, I tried to first create something more standard to get used to the process of weaving, then something that was a little more experimental and less neat, and finally one that was 3D.

For the first weave, I tries to simply experiment with colors and textures to create something familiar to me. The tray is something I usually use for watercolor, a medium I have been using for over 5 years. The reddish pink fabric is from one of my old blankets, and the butterfly denim is the first fabric I bought for when I tried to sew in middle school. I think that the colors of the two fabrics complement each other very well and the roughness of the denim in contrast to the softness of the sheets, while harder to work with, created some nice juxtaposition.

My next work was based on the choose something of your favorite color for the scavenger hunt. Since I chose blue, I wanted to create something loosely based on a shoreline, incorporating more blue, white, and tan within the weave. The markers were hard to work with and I should have reinforced them with something stronger instead of simply tying them all together, but I really enjoyed the unpredictability of the threads that created a unique sense of movement.

This last piece was completely based on my unusual loom. I thought it would be very fun to create a 3D basket-like weave, so I used the head-scratcher tool and wrapped string. My favorite aspect of this is how I can flip the loom and the piece becomes completely changed: it goes from a cotton candy like object to a shelter for a little toy.

Items gathered from scavenger hunt.

Beginning the Tapestry- Marissa

Trial and error in the makings of a yarn tapestry

I had issues ensuring that my cardboard loom had even tension. I had to redo the warp for a few inches, but it’s working fine now.

My latest issue is that I made the mistake of weaving an entire section of color while attempting to interlock two yarn wefts. This divided my loom and made it impossible for me to use the center warp to weave the other half. The picture above is what it looks like now as I’m currently “un-weaving” the rest of the orange so that I can try again 🙂

I’m excited to incorporate more techniques, textures, and fabric types as I progress through my tapestry.