Final Project Update 4/4 – Lori, Douglas, and Yiyang

For Monday, we determined how we would pattern and construct our project in order to model it and slice it in Rhino. We also finished our full model in Rhino and have finished squishing/unrolling almost all of our pieces.


We also finished the timeline and major/minor goals outline for our project, as included below:


In class Monday, we decided that we will try acid dye for the iris of our eye, since we were really taken with the patterns we could create by gathering/scrunching the fabric.

Collaborative Spaces Proposal – Lori, Douglas, and Yiyang

Visual Portfolio, Posts & Image Gallery for WordPress

Brain & Cloud Inflatable References

Something phantasmagoric may feel or appear to be the product of a crazy dream. Our ideation leads us to a peculiarly literal fit within this theme, attempting to create a larger than life consuming, interactive, nightmarish experience. Our inflatable would span from the floor to the ceiling, with a large brainlike inflatable reaching about eye level while a large dream cloud hangs ominously and massively above, suspended from the ceiling. We wish to illuminate the brain with LED light sources, giving the impression of engaged neurons or simply an artistic representation of the brain. The cloud(s) (there may be multiple) would be white or black depending on future discussions on effective creepiness, with the largest having a large flat section on which the animators can project their phantasmagoric animations. 

Picture of a brain with small clouds leading up to a large cloud, as if a thought bubble

Early ideation of the brain-cloud idea

A few challenges we see are the multiple inflatables that are being created and thus the need for multiple fan sources This will make installation very difficult, with the ceiling cloud a particular challenge since it is not safe for us to install this piece ourselves. We will have to work with the staff at WQED in designing this inflatable to make sure it will not only work as intended but also be safe to install. Also, we would like to make this an interactive experience, embedding a chair into the brain, or roughly achieve some seated arrangement such that it appears to be the individual’s dreams/nightmares being projected above while the viewers watch in awe. Ideally, we would like the inflatable to envelop the chair, with the structure inside the inflatable. However, more realistically, we may just place a chair or stool in front of the inflated brain to achieve a similar effect.

Our proposed layout/construction of the brain-cloud structure

Bird’s eye view of our proposed installation

To construct our project, we will need white and black nylon fabric, LED light sources (could be programmable) [1 or 2], fans [2], and a chair/stool [1].

Link to our Google Drive folder

Push/Pull Part 2 – Lori and Asad

Visual Portfolio, Posts & Image Gallery for WordPress

We began this project by ideating different elements of our designs of our push/pull part 1 objects and how we could combine them. For this design, we combined the arms of Lori’s fruits with a modified version of the twists from one of Asad’s objects. We knew we wanted to make a piece that was interactive in some way, and we decided that an archway with hanging, movable components was the best way to provide an interactive experience while still within scope. Once we decided to make an archway, we were looking for locations to put our object where people could walk through it but it wouldn’t interrupt traffic flow. We found the doorway in Studio A and figured that it was the perfect spot to put our inflatable.

Our project was completed entirely asynchronously due to both of our crazy schedules before, during, and after spring break due to other commitments. As we designed our inflatable, we were mindful of designing an object that could easily be split into components that each of us could work on.

To create the archway, we first took the beach ball sphere pattern and enlarged it by extending the length of the pattern. After cutting out over 40 beach ball patterns, we then sewed the tops of one beach ball to the bottom of another beach ball with enough overlap so that there would be enough room in between each sphere to allow for airflow. After sewing vertical strips of connected spheres, we then sewed each vertical strip to create the bubbled effect of the elongated spheres when they finally came together.

To create the tendrils, we took inspiration from the arms of Lori’s fruits and created small cylinders of fleece. In the interest of using recycled or scrap materials, we cut rectangles from three different colors of fleece fabric – blue, yellow, and red, which were a bold contrast to the blue/green acid-dyed nylon. One of each of these rectangles were sewn together and flipped inside-out to form the long tendrils structures, and then stuffed with polyfil.

Because we were working asynchronously, the tendrils were added to the structure after the majority of the archway had been sewn. We learned that the tendrils were too heavy for the inflated arch to support alone, and so when we installed our piece in the final space, we used a rod and string to help carry some of the weight.

We found that people really enjoyed moving through the archway, and that the physical weight and softness of the fleece tendrils was particularly engaging for some. We are ultimately very happy with the interactivity and physicality of our final structure, and are proud of what we were able to accomplish working asynchronously.

Lori Kipp – Push/Pull Part 1

For my set of Push/Pull objects, I intitally wanted to focus on creating characters; I wanted to explore how different forms could lead to different expressions. My first two objects are loosely based off of Junimos, which are small, helpful creatures from the game Stardew Valley, and were created in Rhino, while my third object was patterned by hand and was intended to serve a specific purpose.

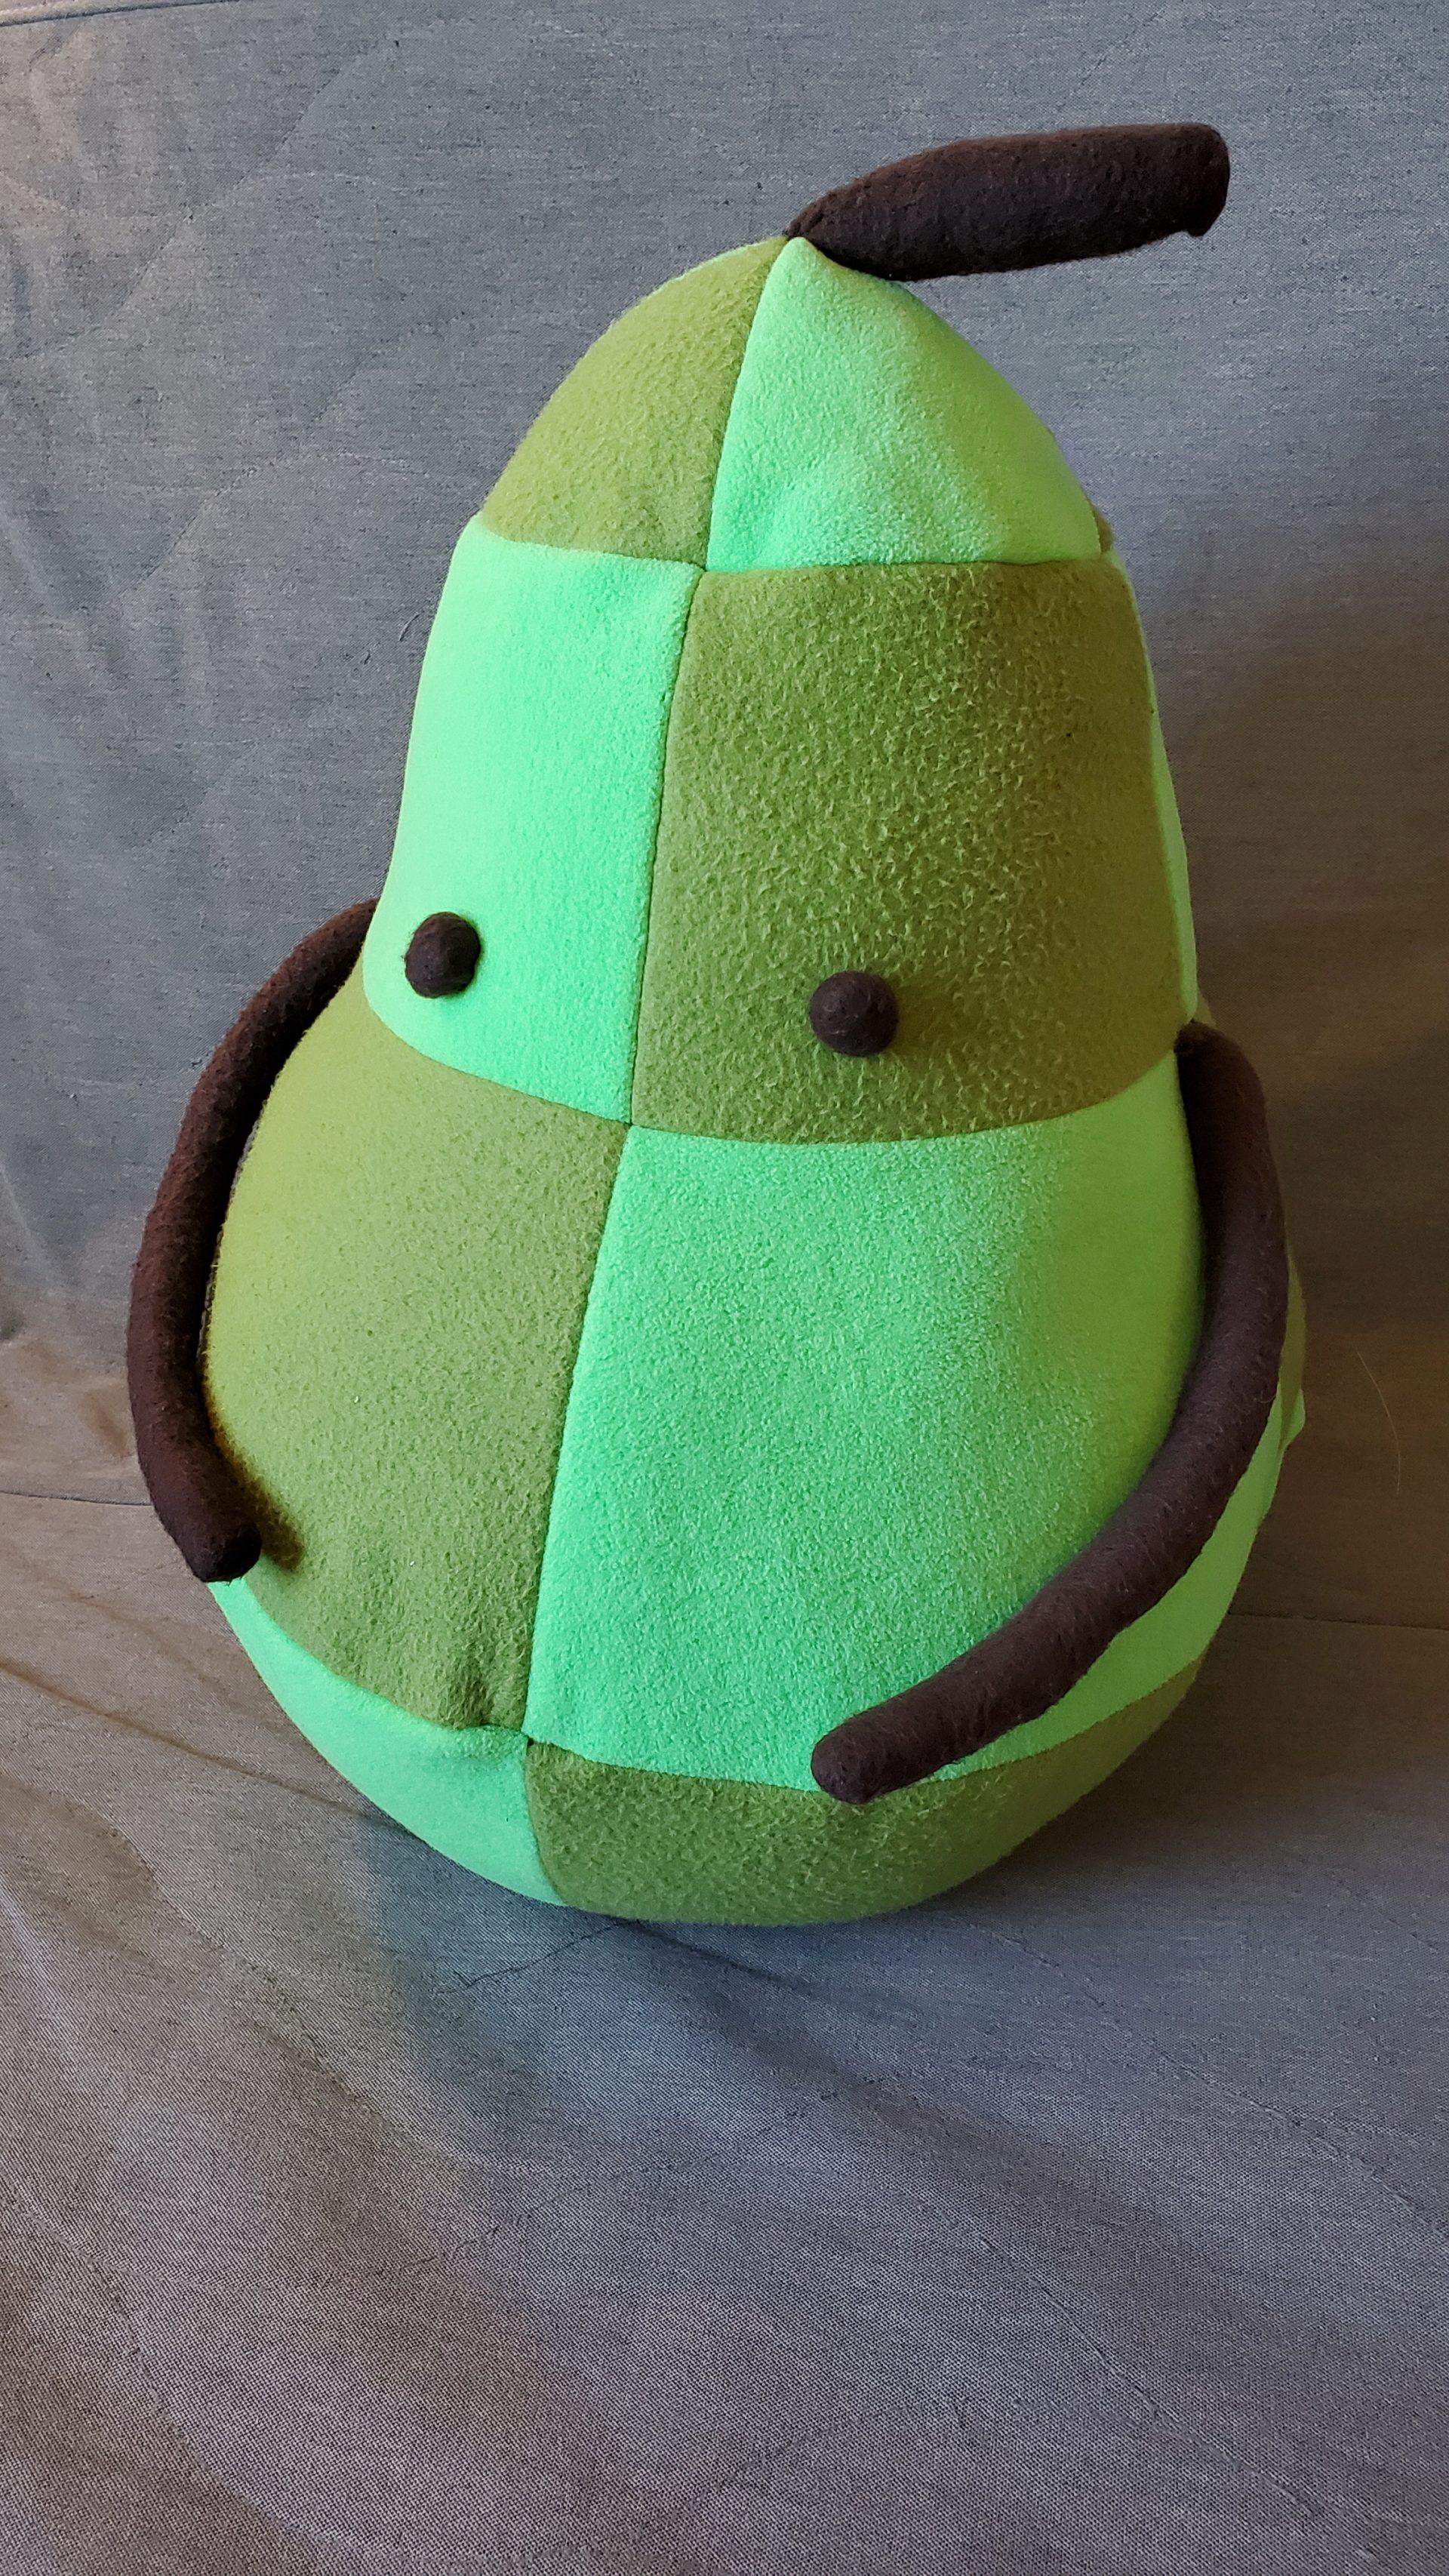
Object 1 – Pear Junimo

Visual Portfolio, Posts & Image Gallery for WordPress

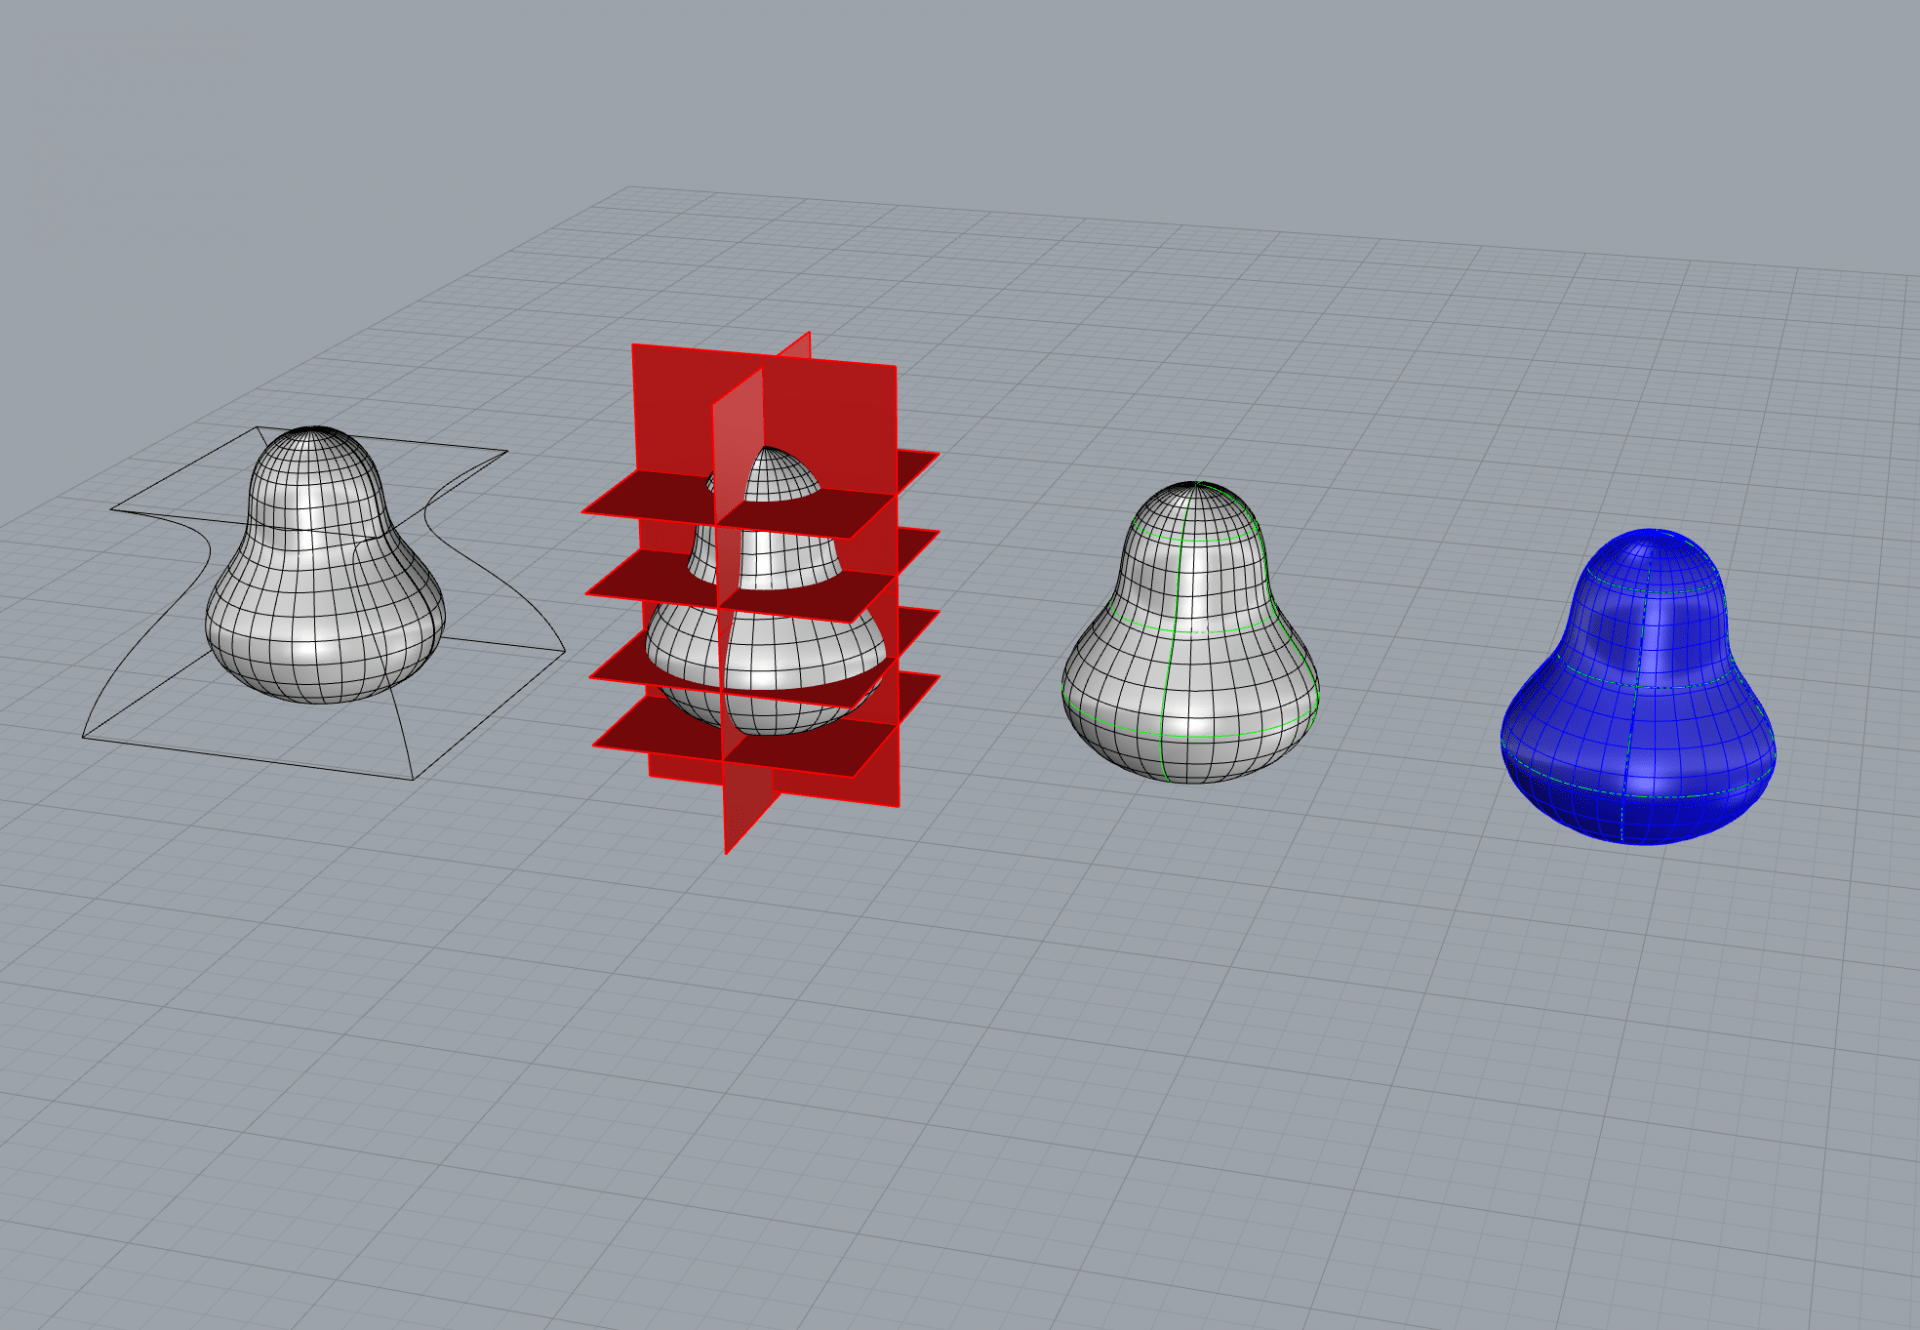
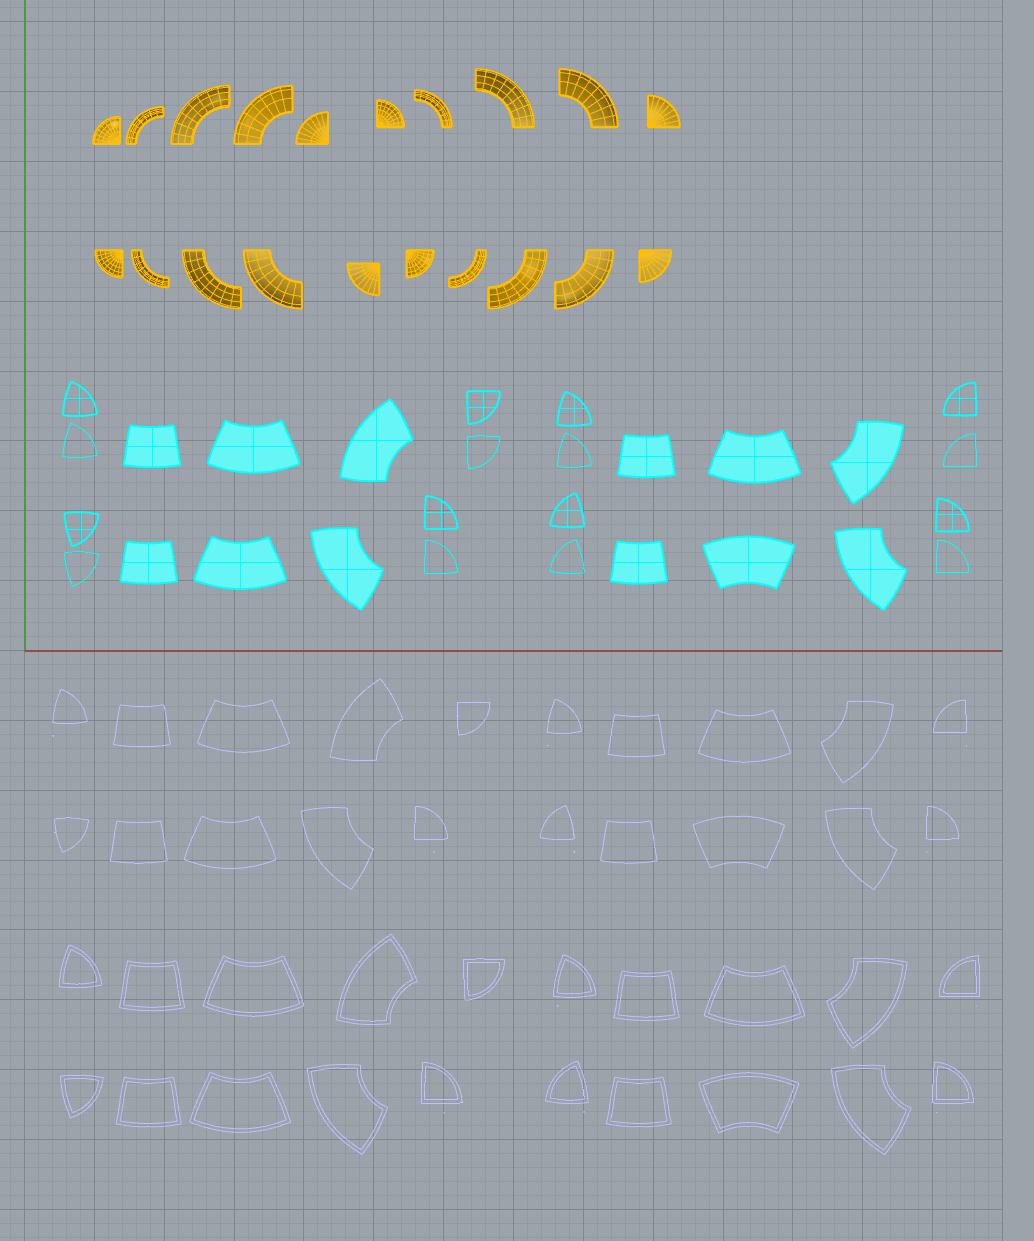
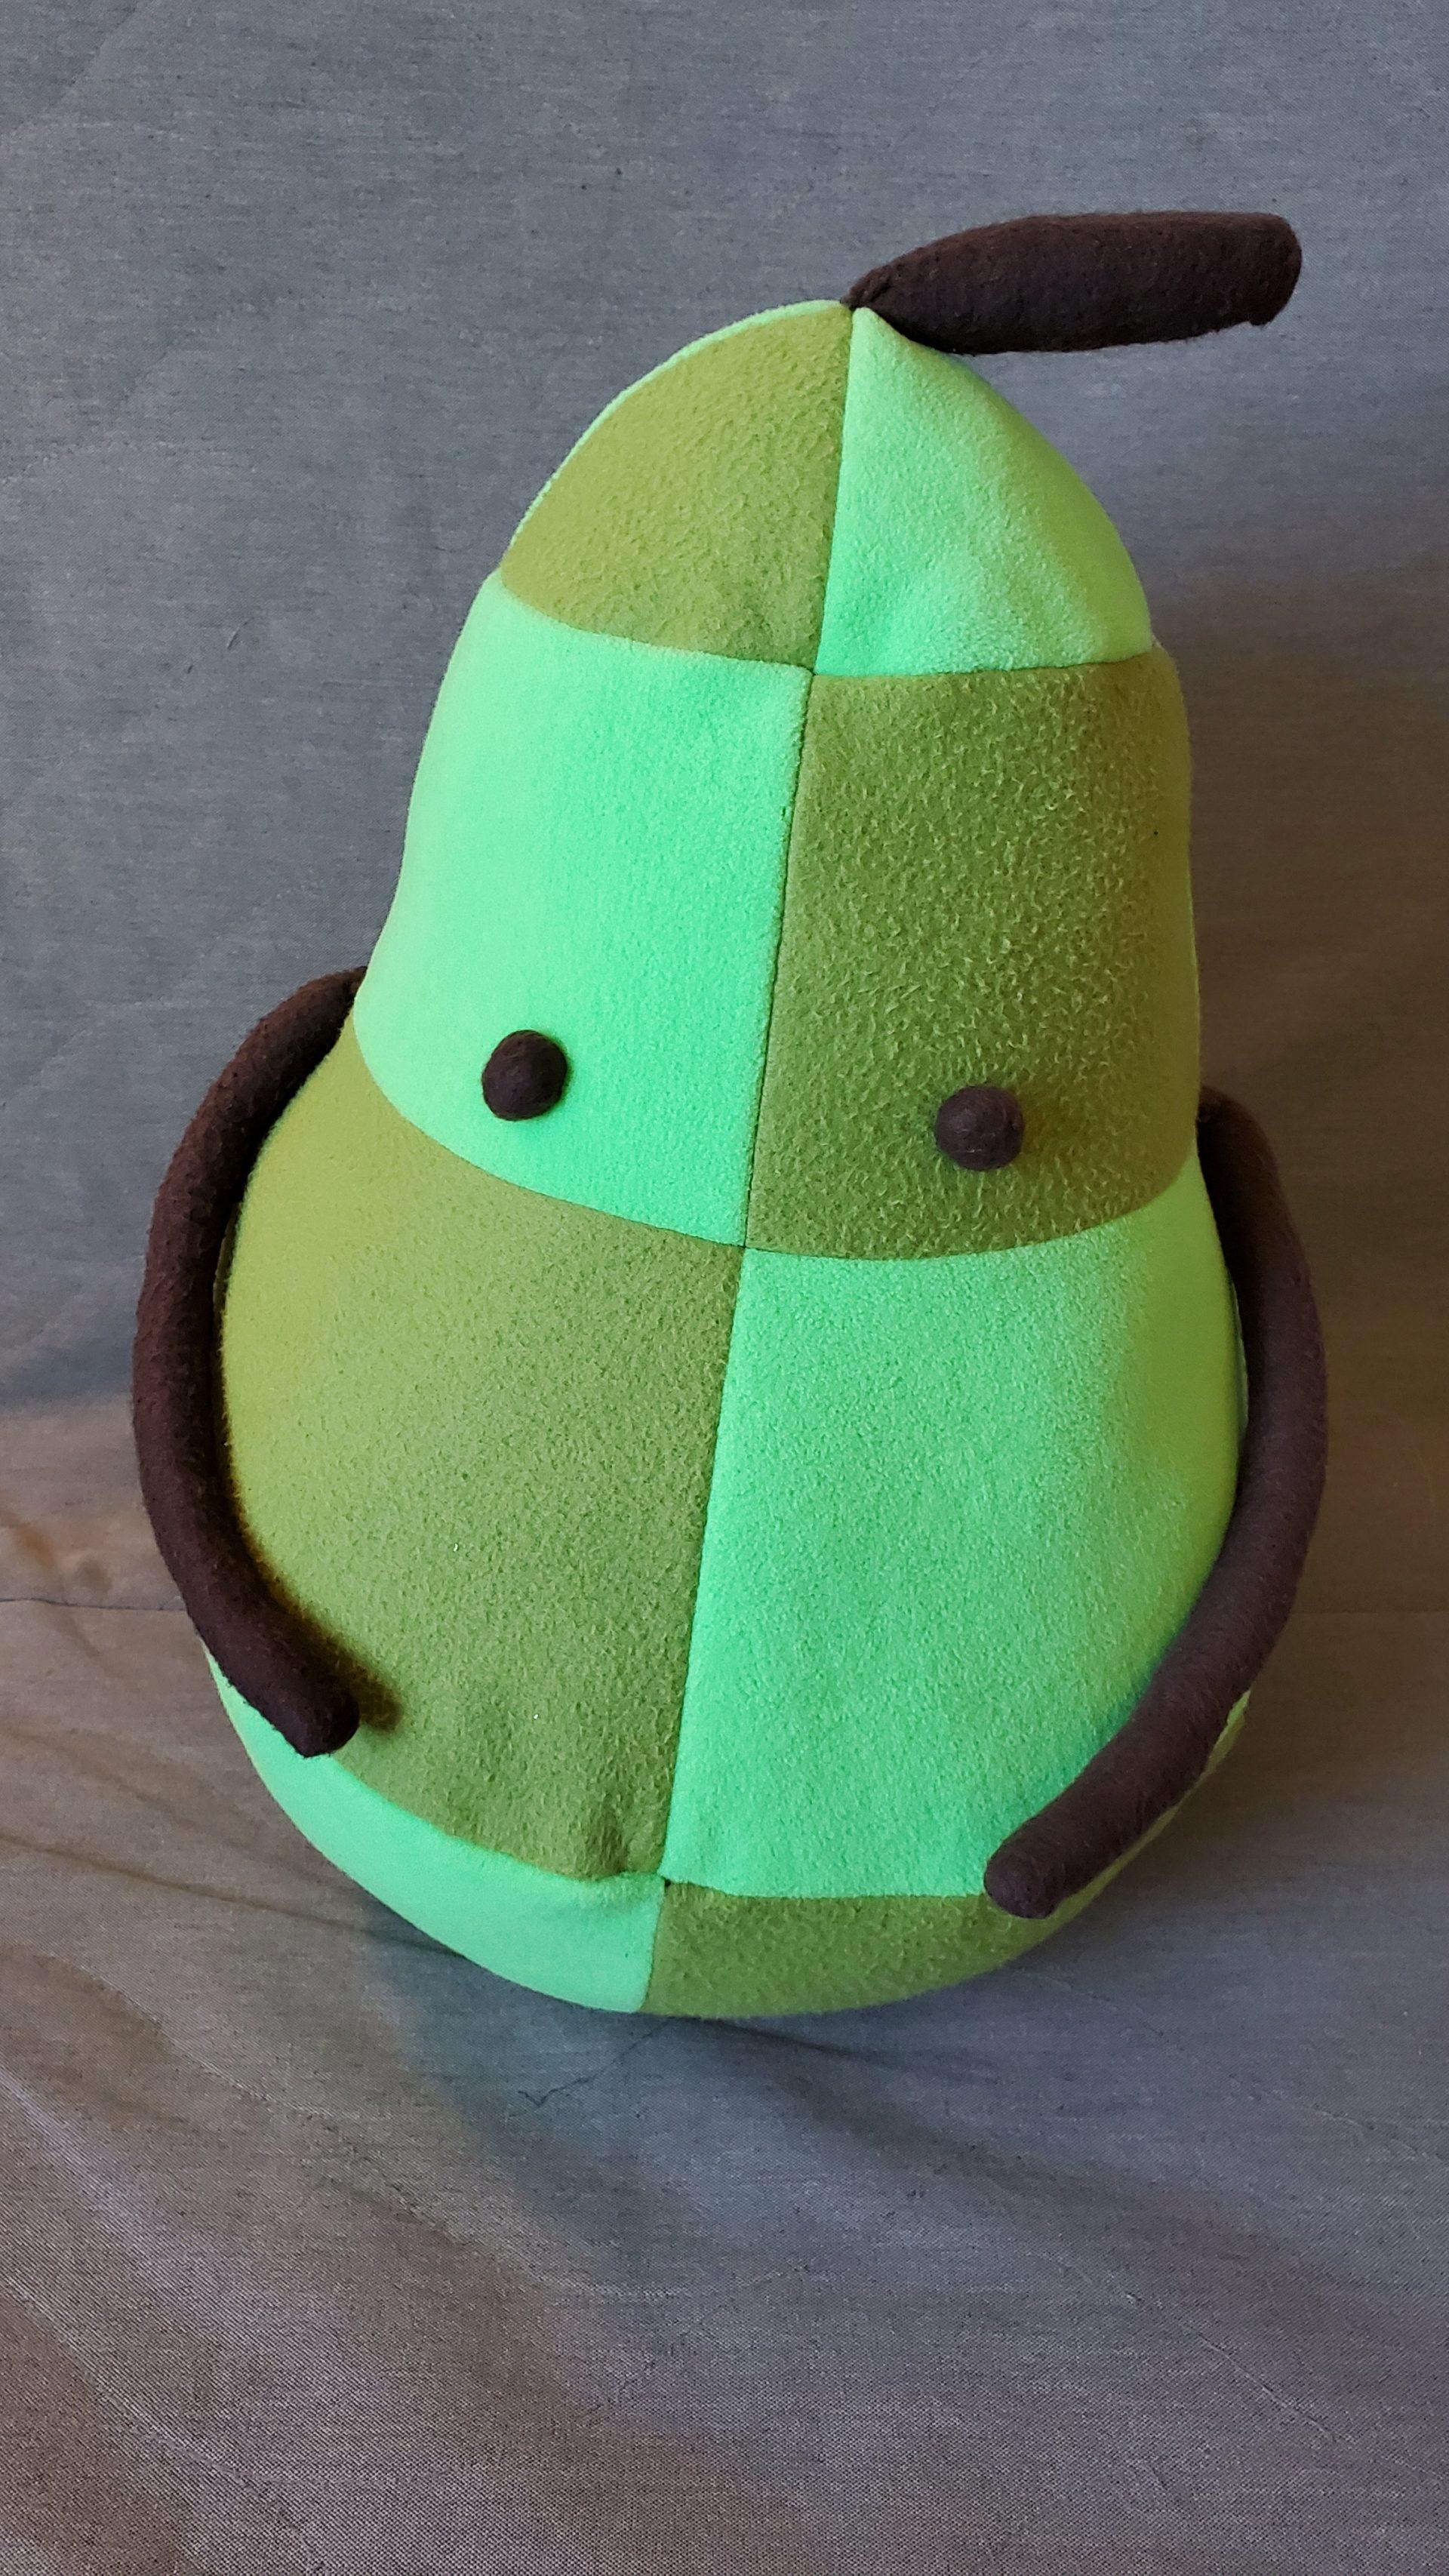
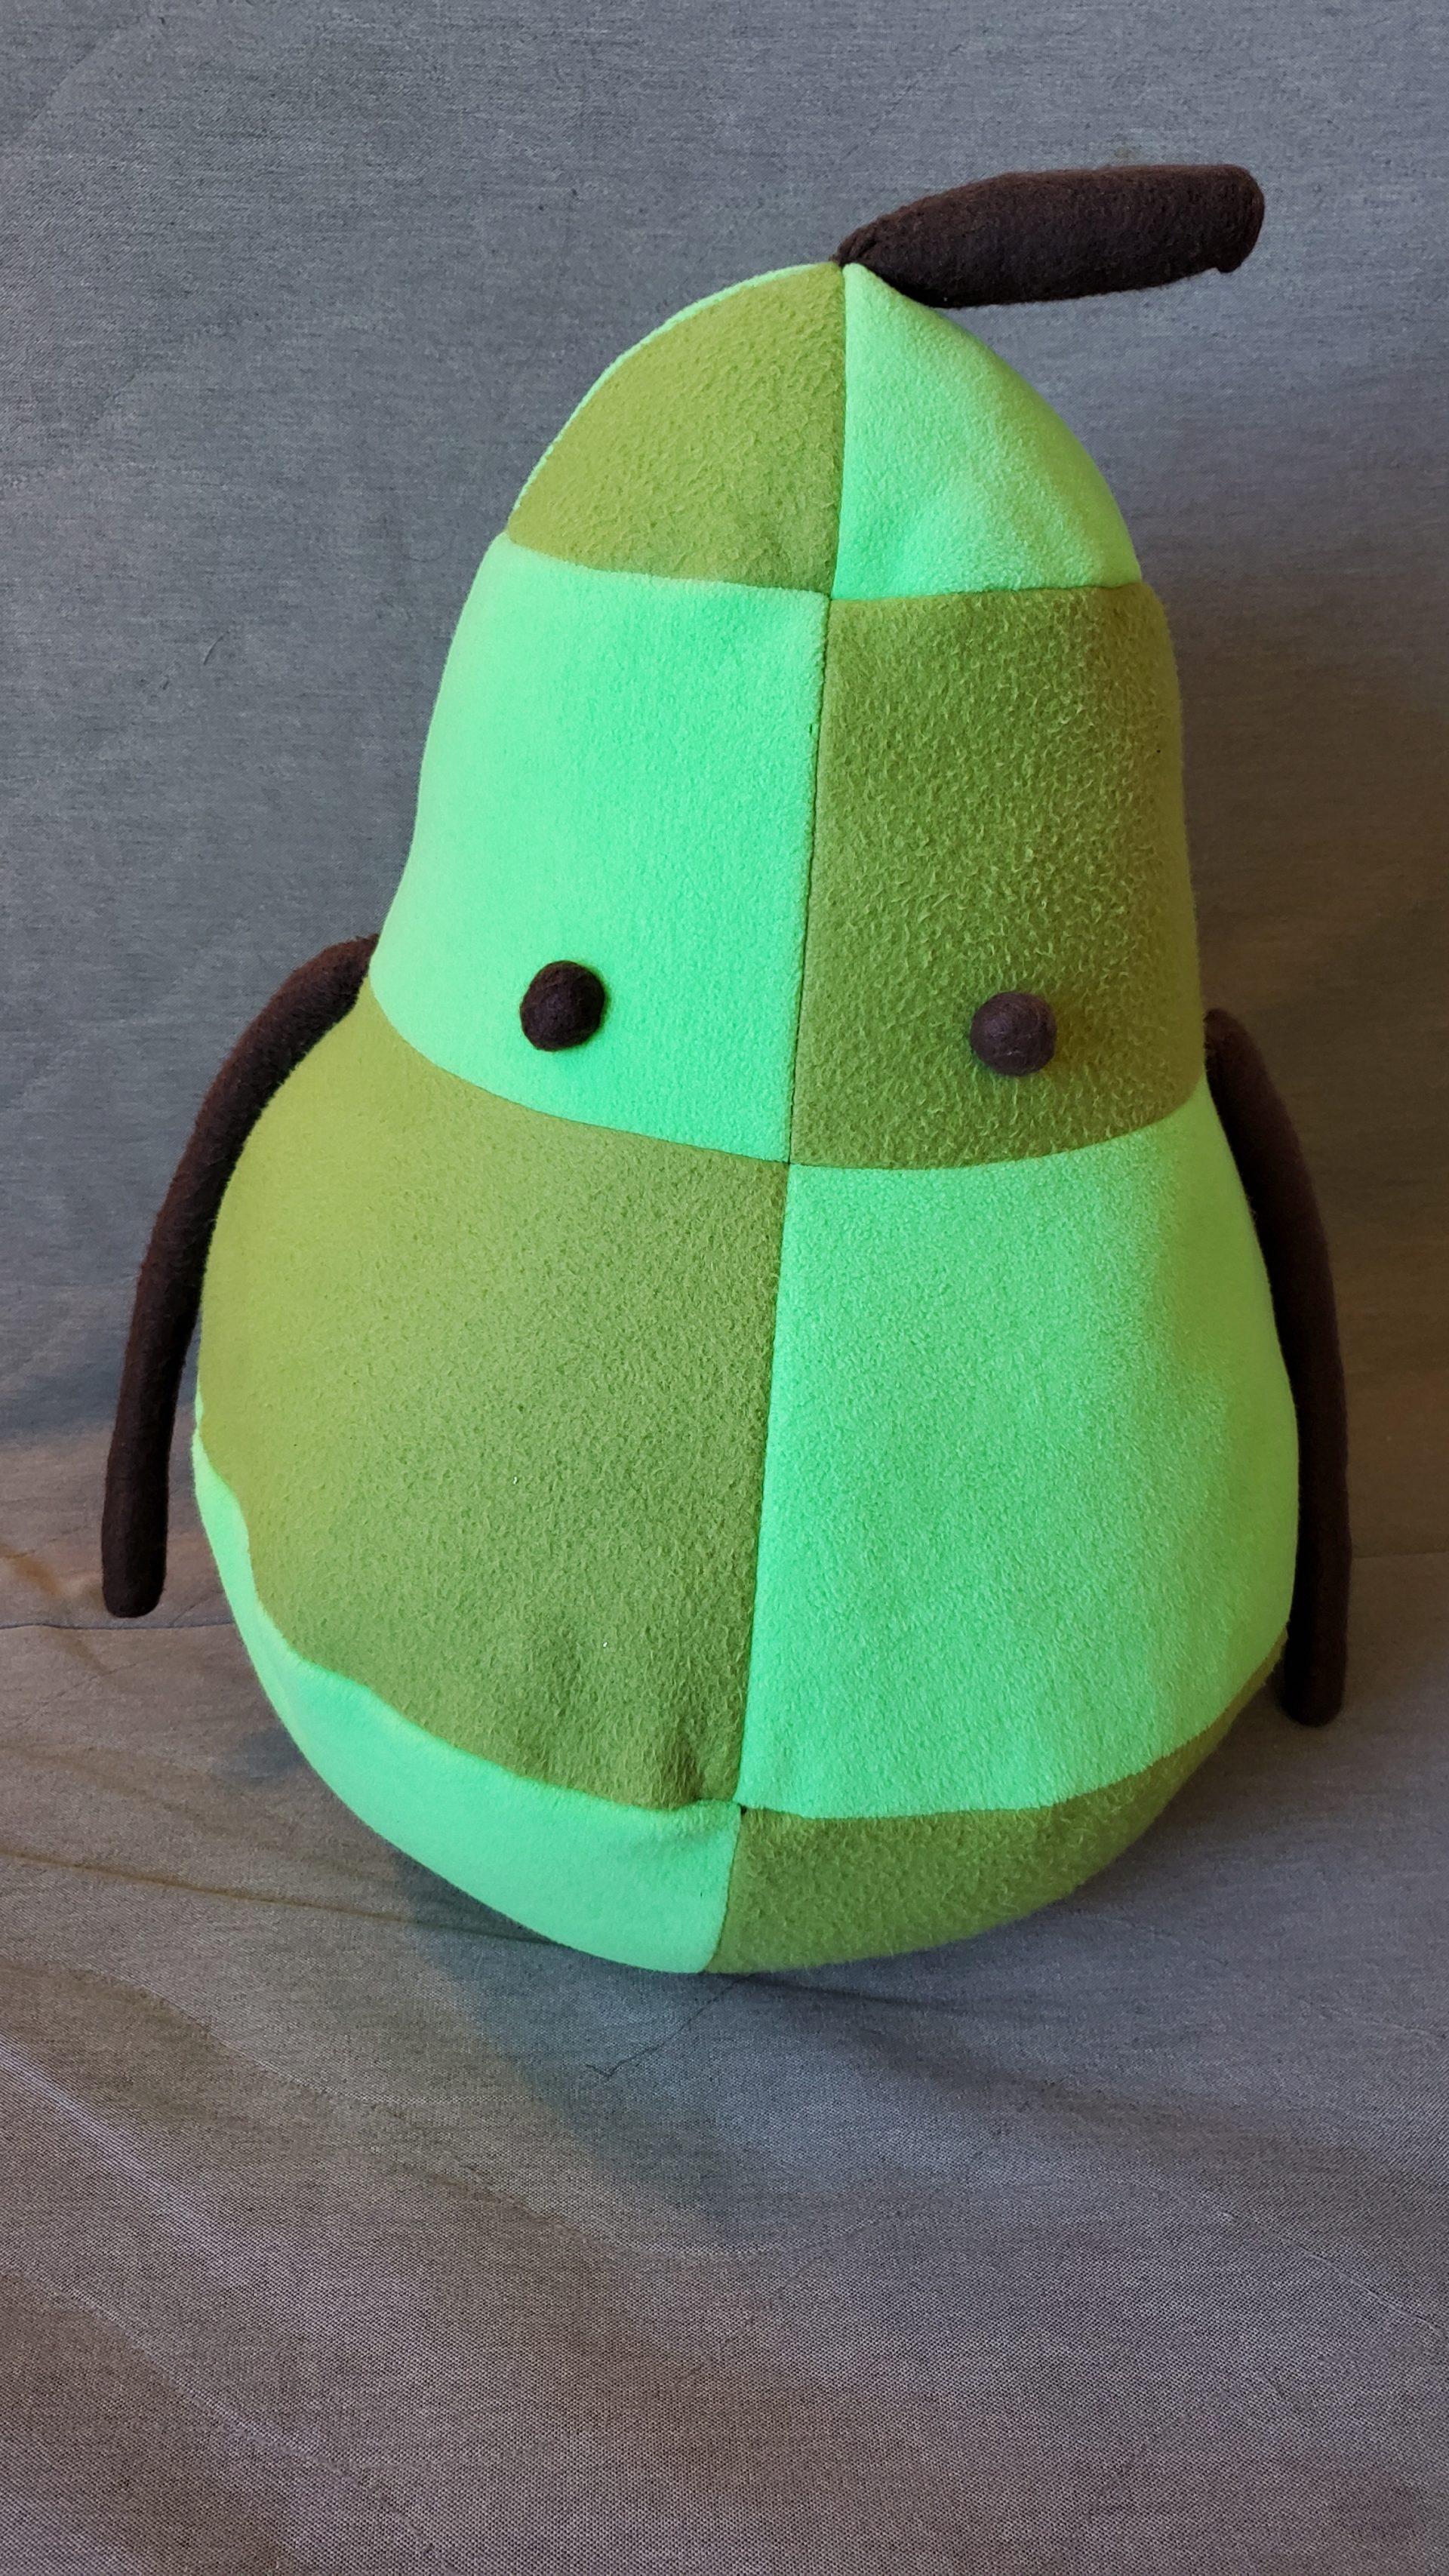
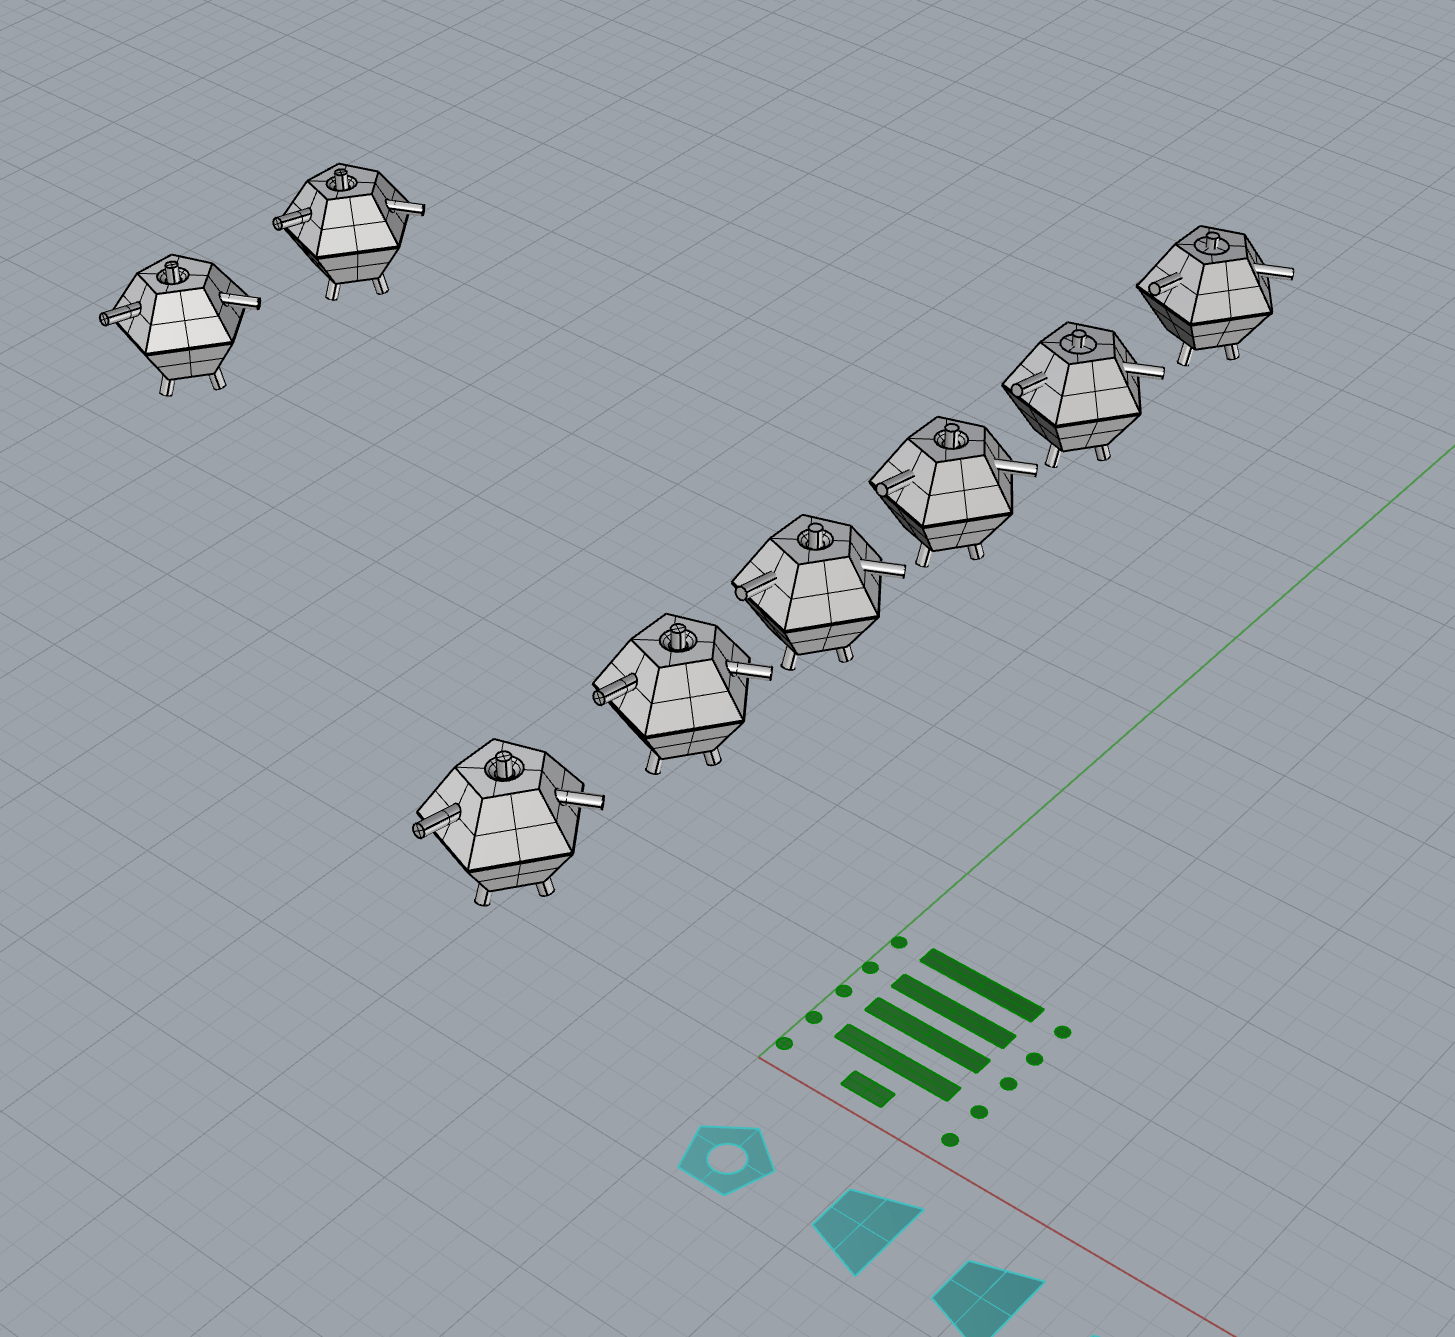
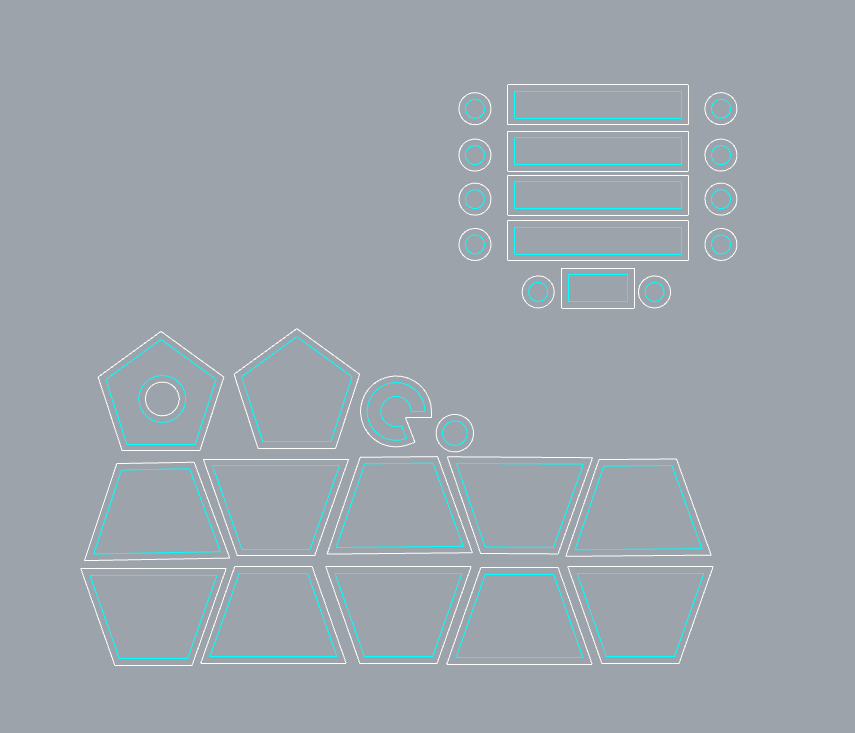
I modeled the pear-shaped body in Rhino by symmetrically deforming a sphere. In Rhino, I was able to explore how various alterations to basic forms resulted in new forms, and I was particularly interested in how they squished to being represented by 2D curvature. Because the Pear Junimo is rotationally symmetric, each of the surfaces in the same patterned ring squished down to the same geometry. The arms and stem were originally intended to be cylindrical, with defined circles on the ends, which I intended to form small domes on the ends of the arms. However, when I actually sewed up the pieces, the arms were much too small to accomodate adding the circles as I had modeled in Rhino. I turned these fleece circles into the small button-eyes on the figure.

I also found that the arms had a natural curvature at the seamline, which I had not anticipated. I believe this to be due to the fleece fabric stretching slightly more where there were no seams when I stuffed the arms. Although because of this, I did learn that when working with stretchy fabric, the location of seams actually changes the form of the final figure. I also found that hand-sewing smaller additions – the arms and eyes, was much more time consuming than stiching the rest of the form by machine. In hindsight, for the arms, I should have stuffed them and sewn them into the seam on the large figure directly rather than handsewing them on afterwards, although I am still incredibly pleased with the result.

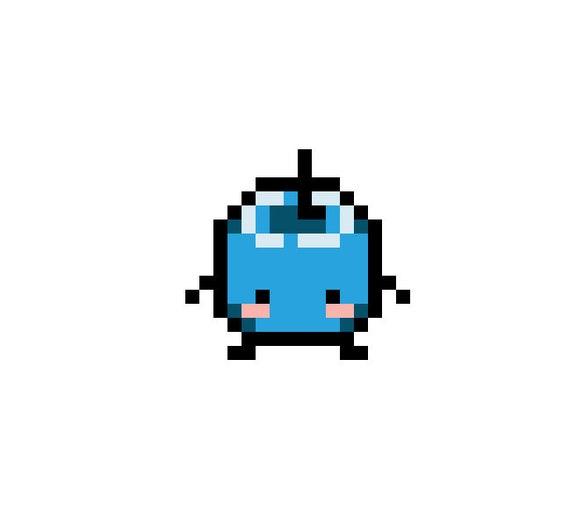
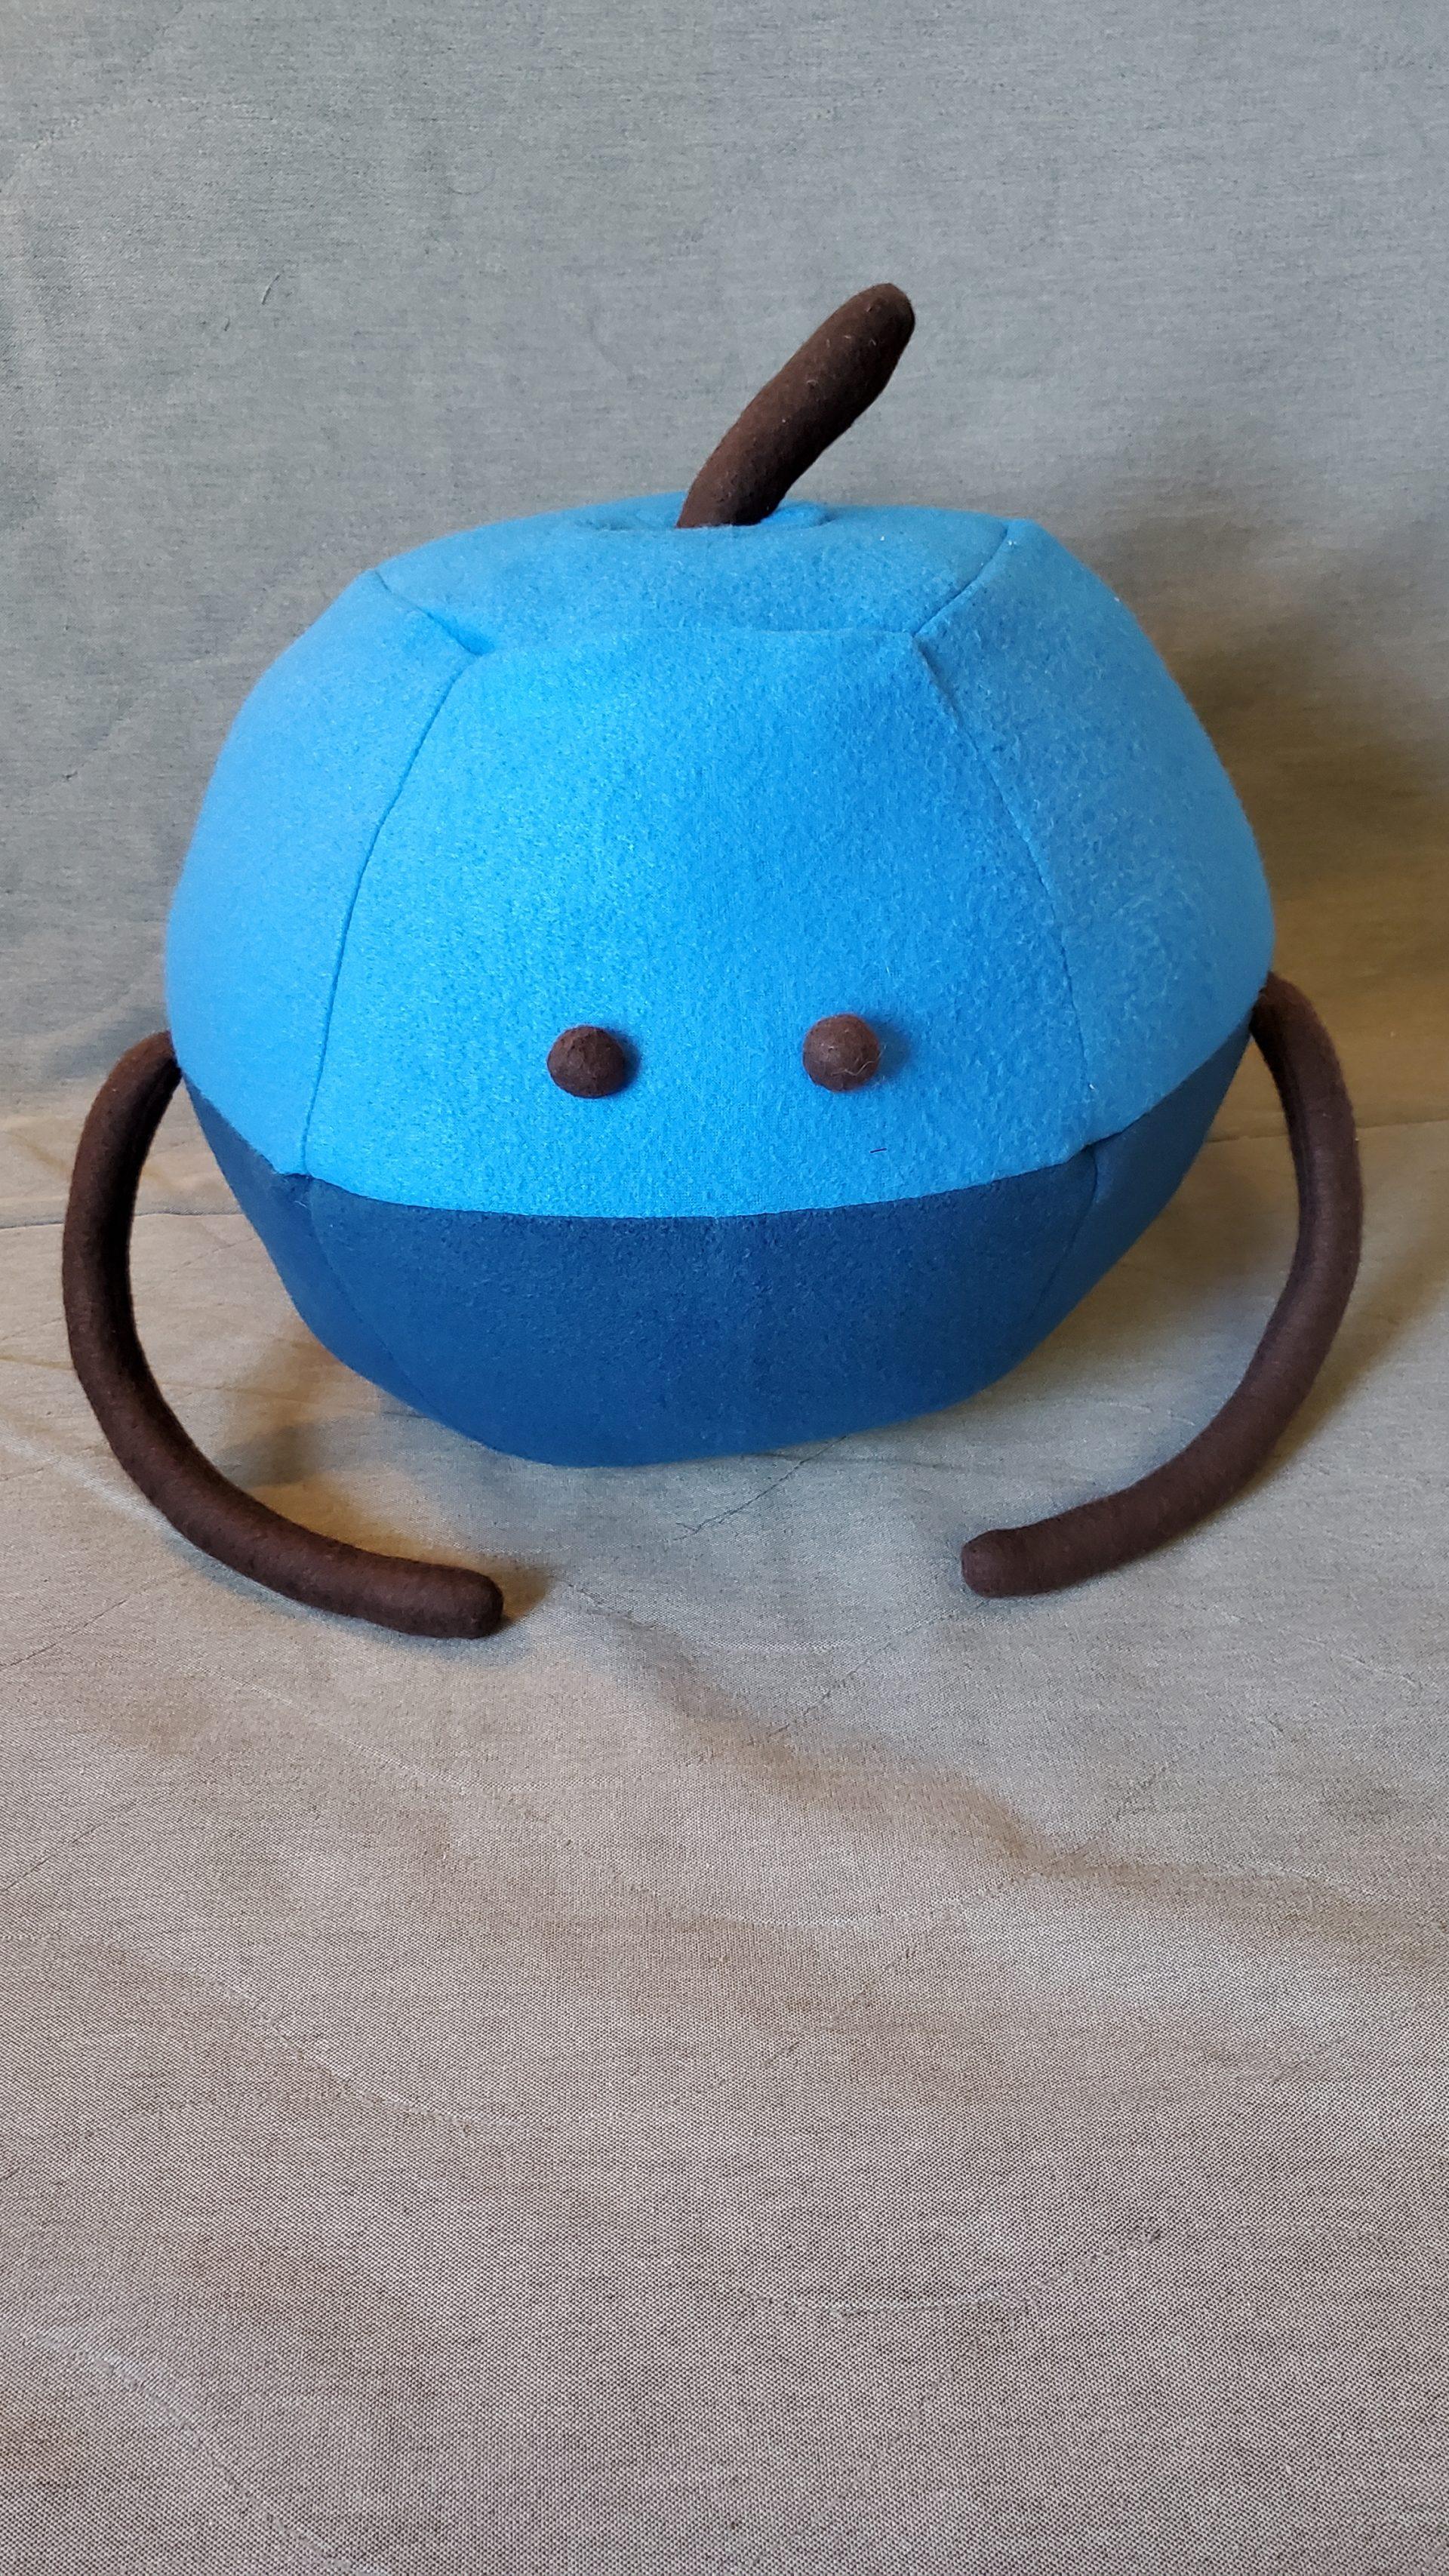
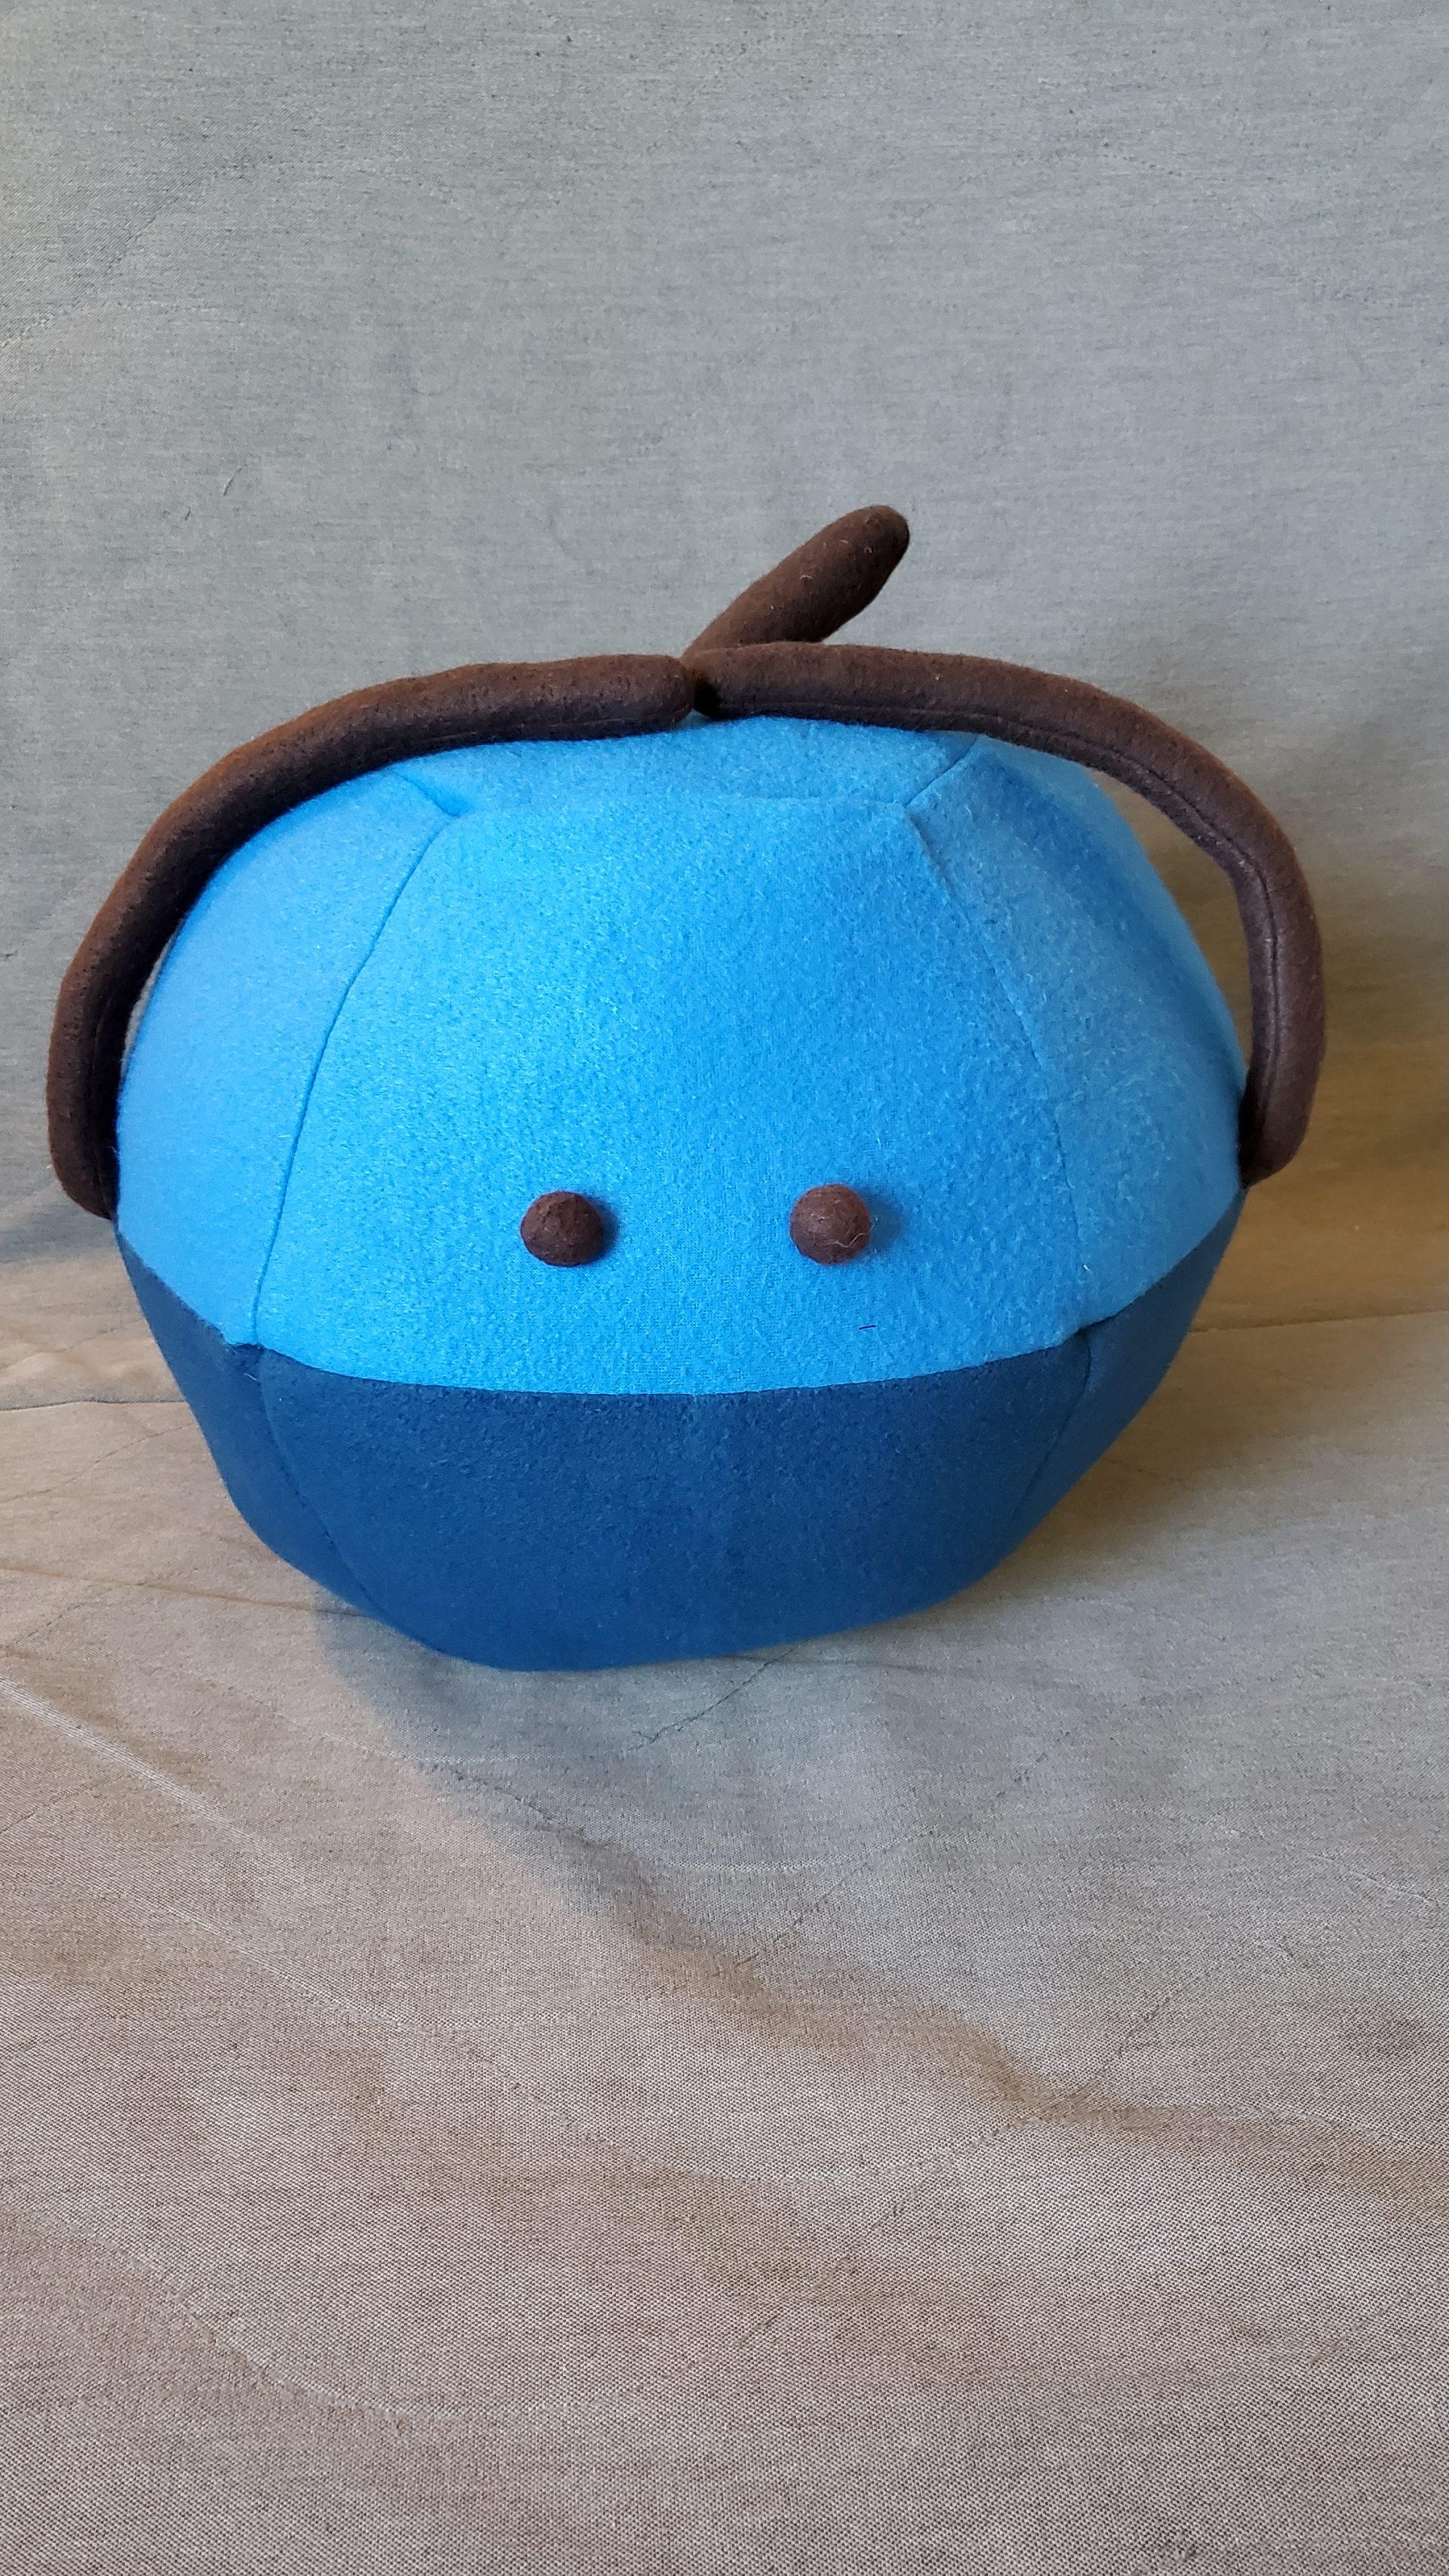
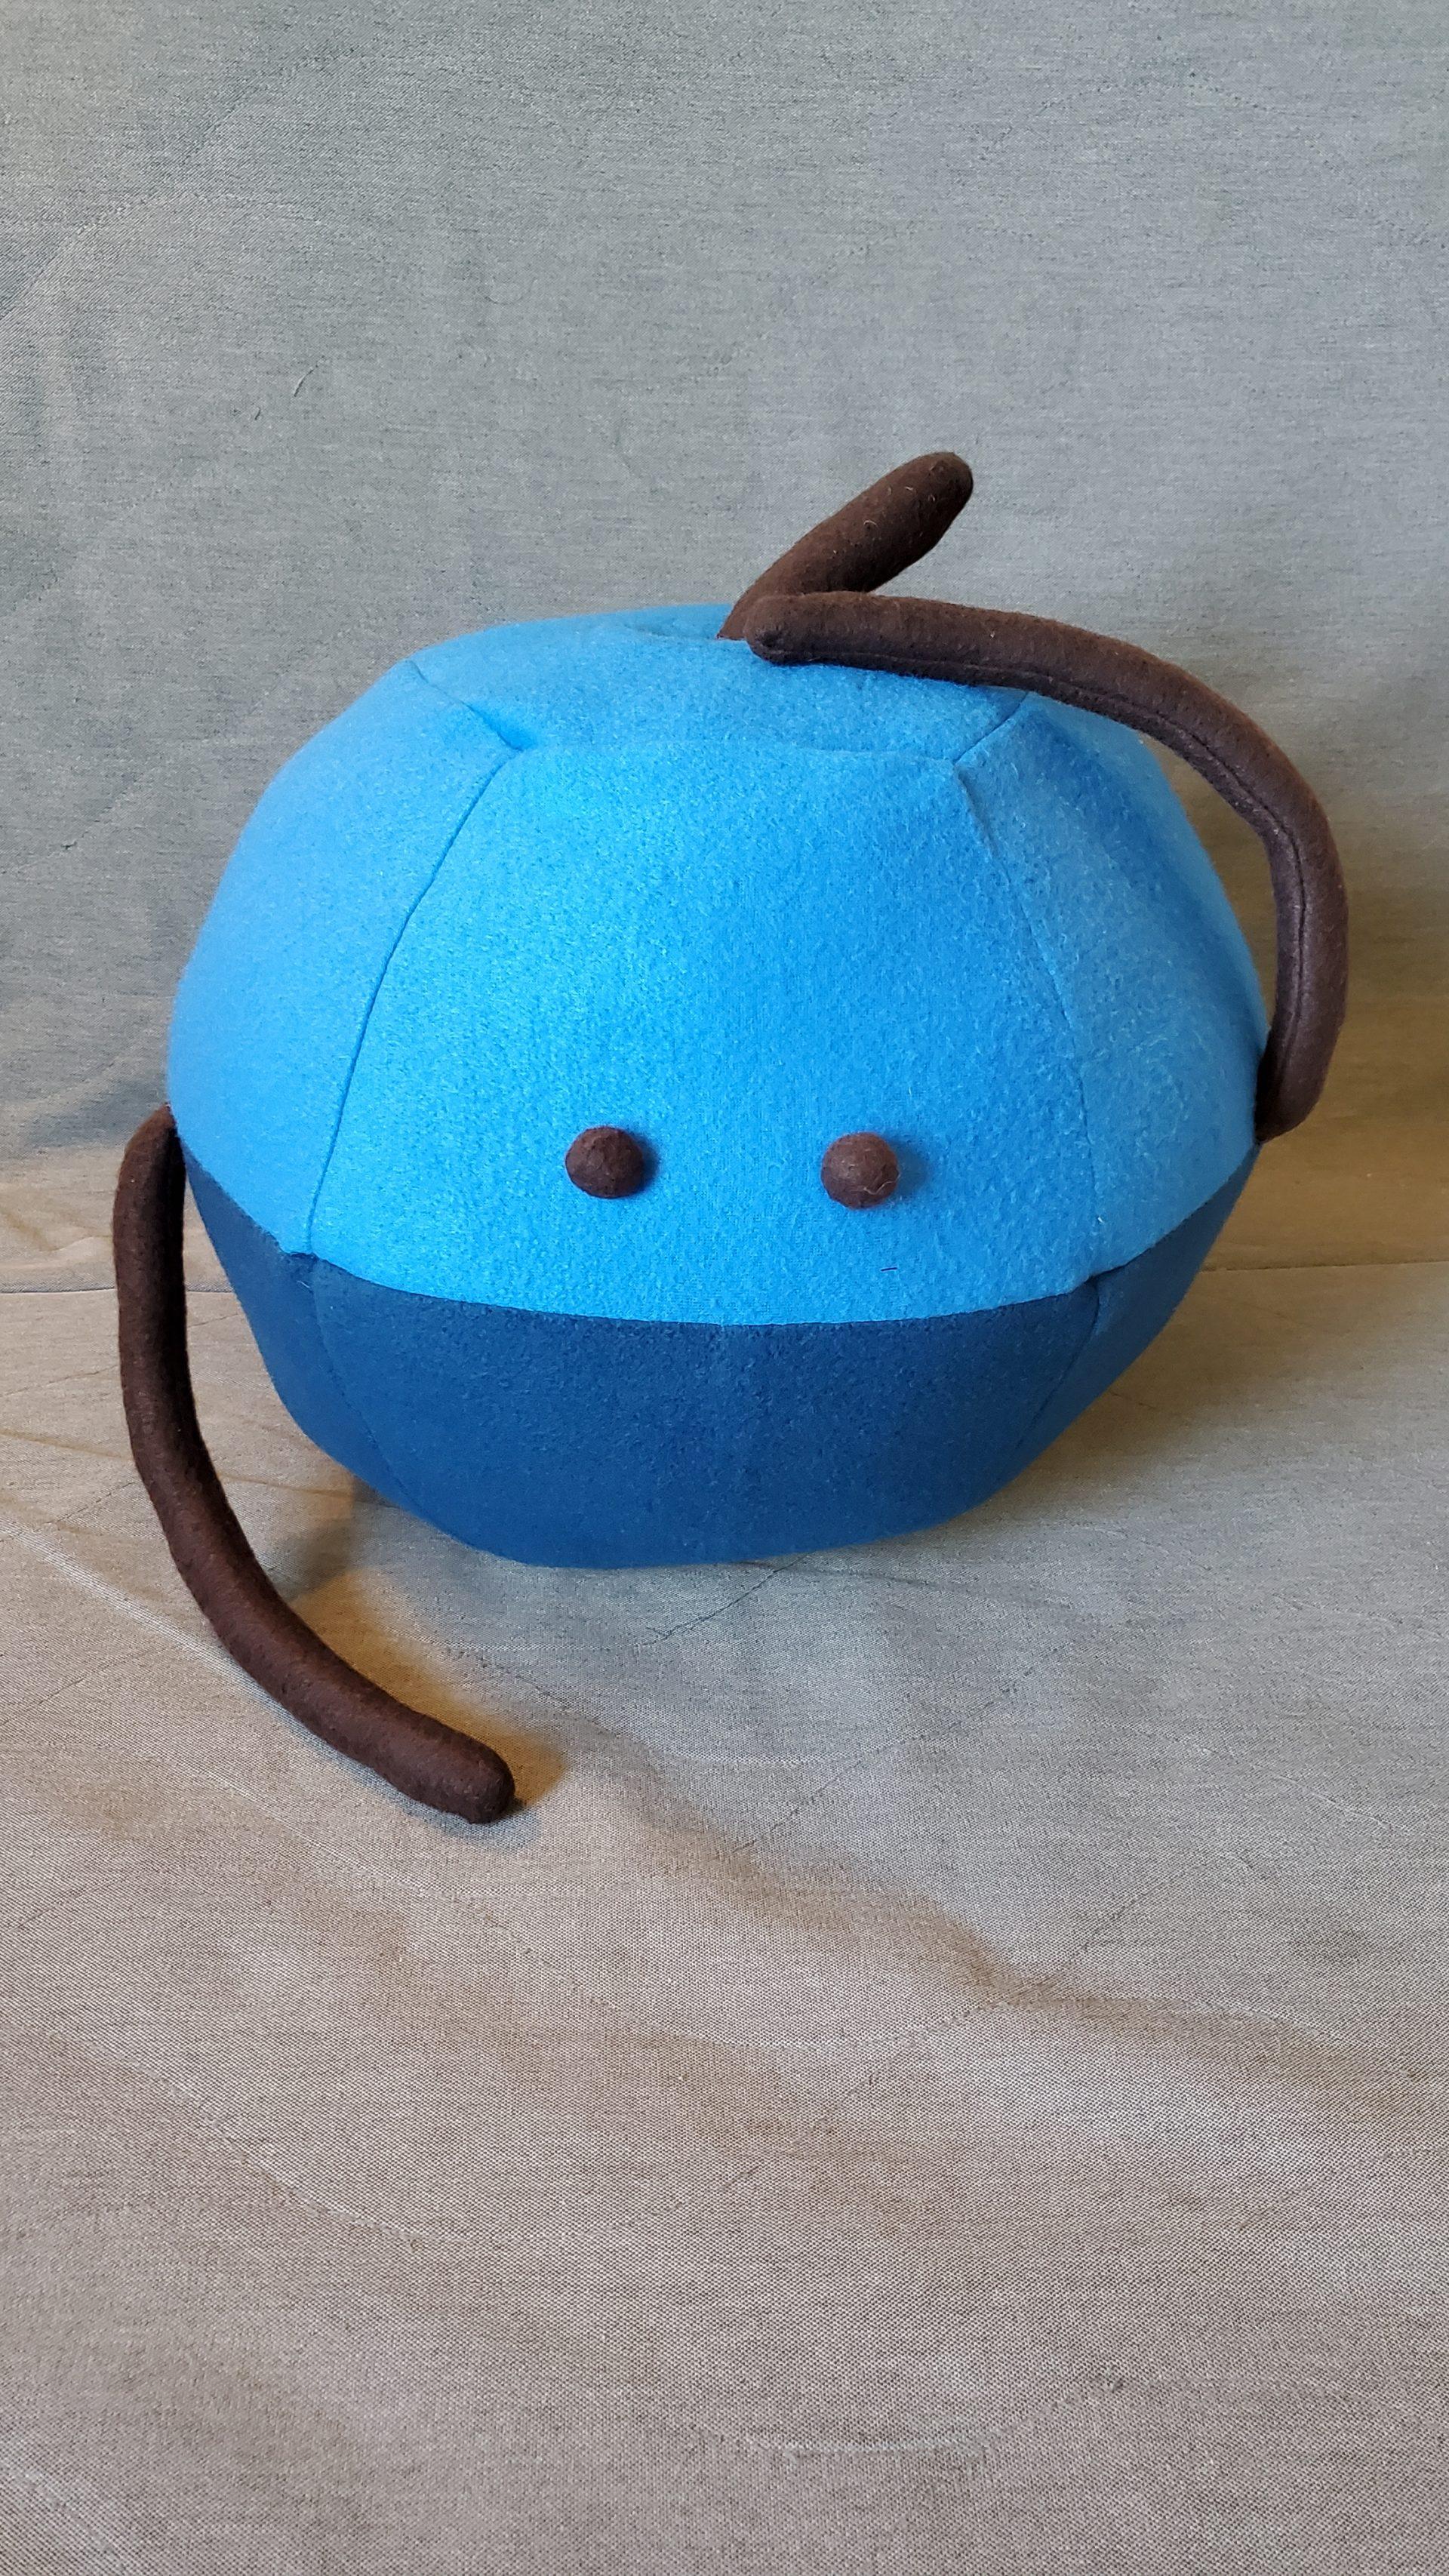
Object 2 – Blueberry Junimo

Visual Portfolio, Posts & Image Gallery for WordPress

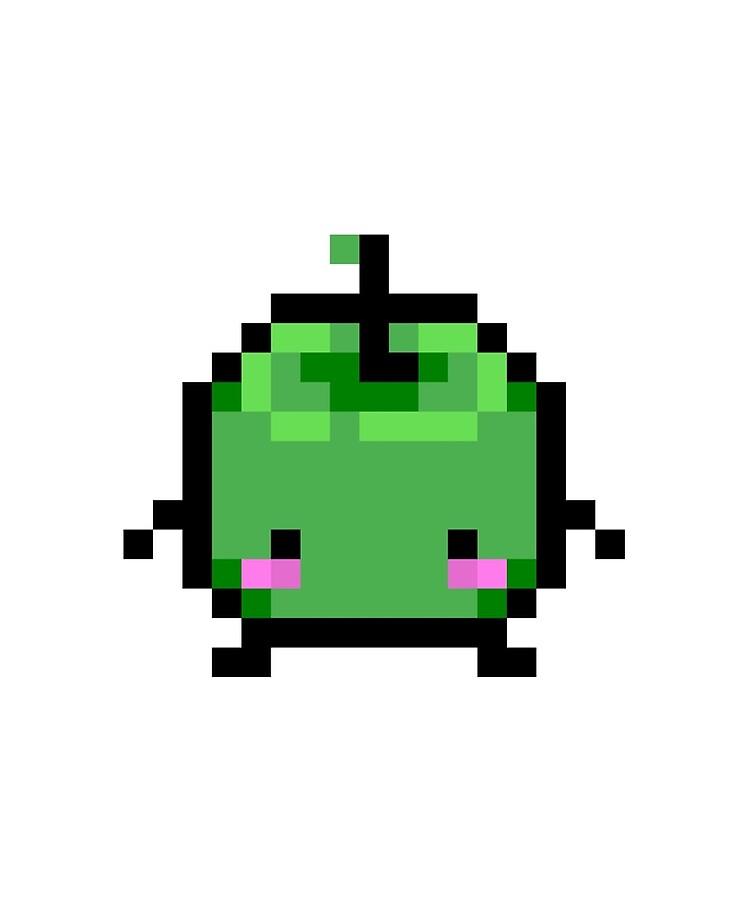
I also modeled the body of the blueberry junimo in Rhino, but instead of deforming a sphere, I used boolean operations between basic forms. Originally, I intended for my second character to be an apple, however after learning how difficult it was to include smaller details with my pear junimo, I realized the indent at the top of the body would likely be lost (and it was). I attempted to anchor the center of the top face (under the stem) to the bottom of the body, however I did not make the anchor an appropriate length and had to overstuff the body to see any difference.

Similar to the pear junimo, I attached arms, eyes, and a stem. I used the same methodology for these.

Ultimately, I found the blueberry junimo to be somewhat easier than the pear junimo, as the vast majority of the the seams were straight lines. However, the conical indent at the top (which was ultimately lost) had to be hand-sewn because it was too small to be stitched by a machine. I found the hand-sewn parts of both projects to be the most tiresome, as I often felt very little progress was made for the amount of time I spent.

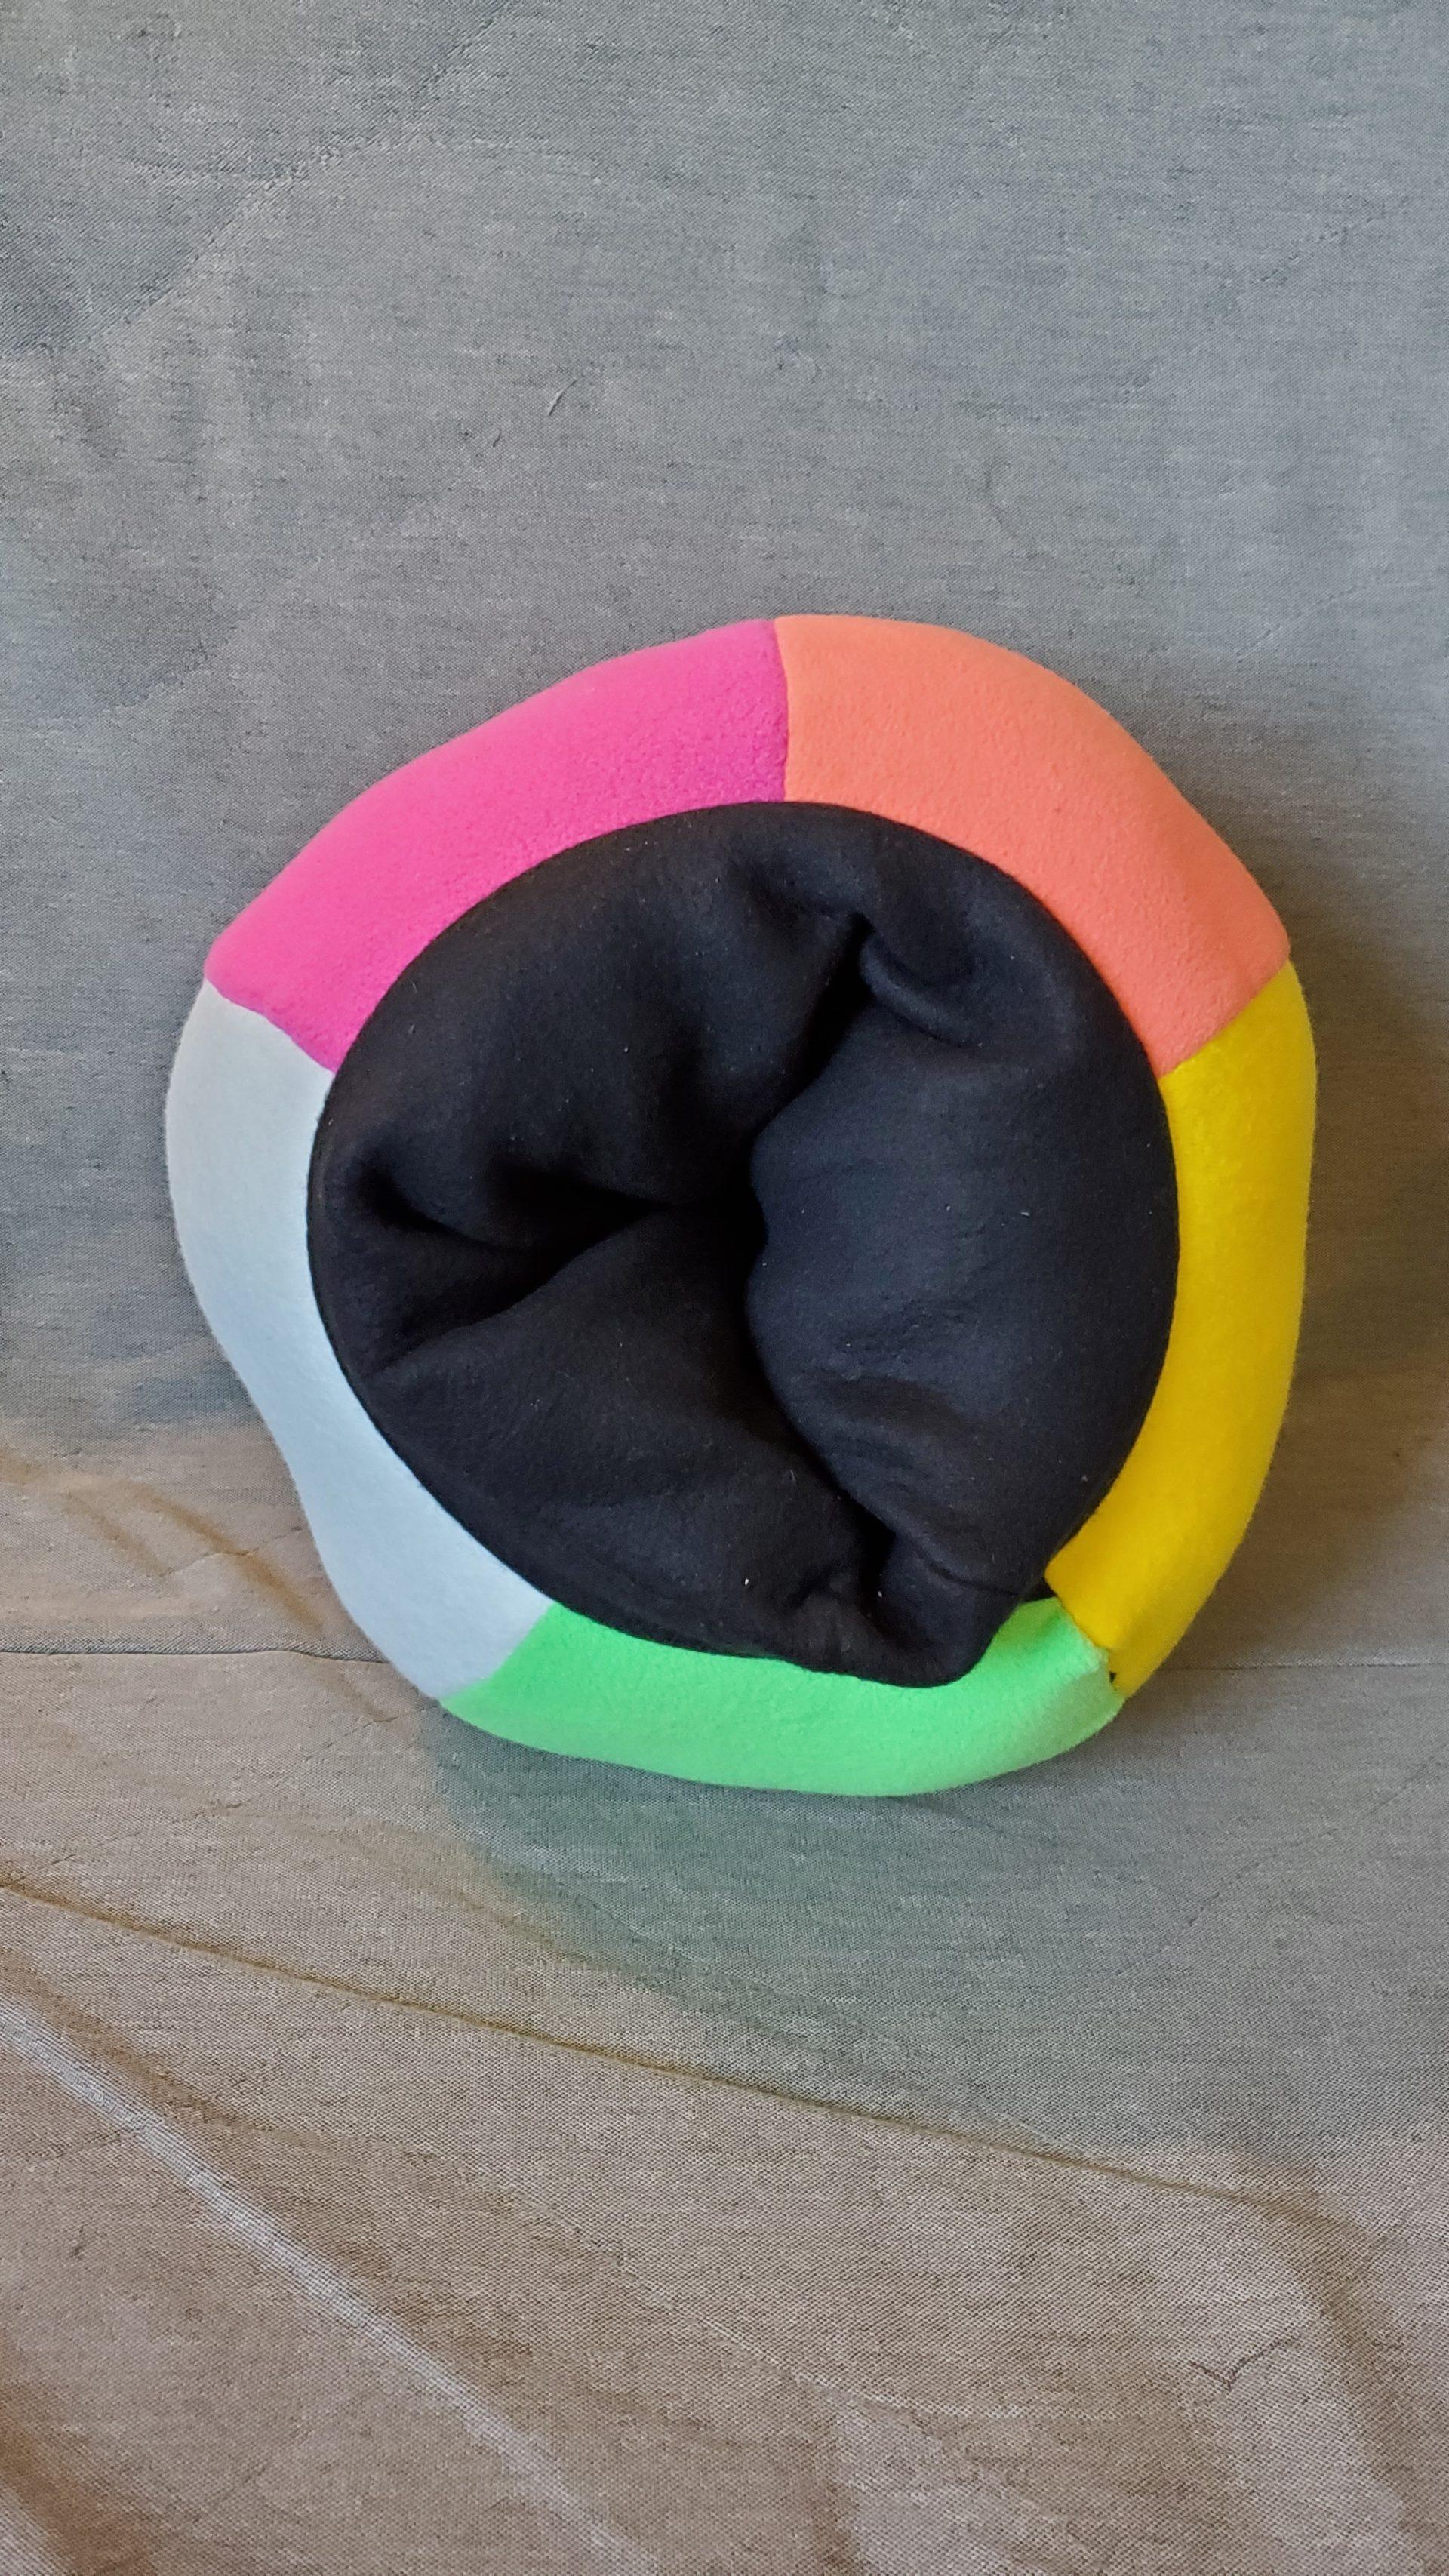
Object 3 – Beach Ball Pillow

Visual Portfolio, Posts & Image Gallery for WordPress

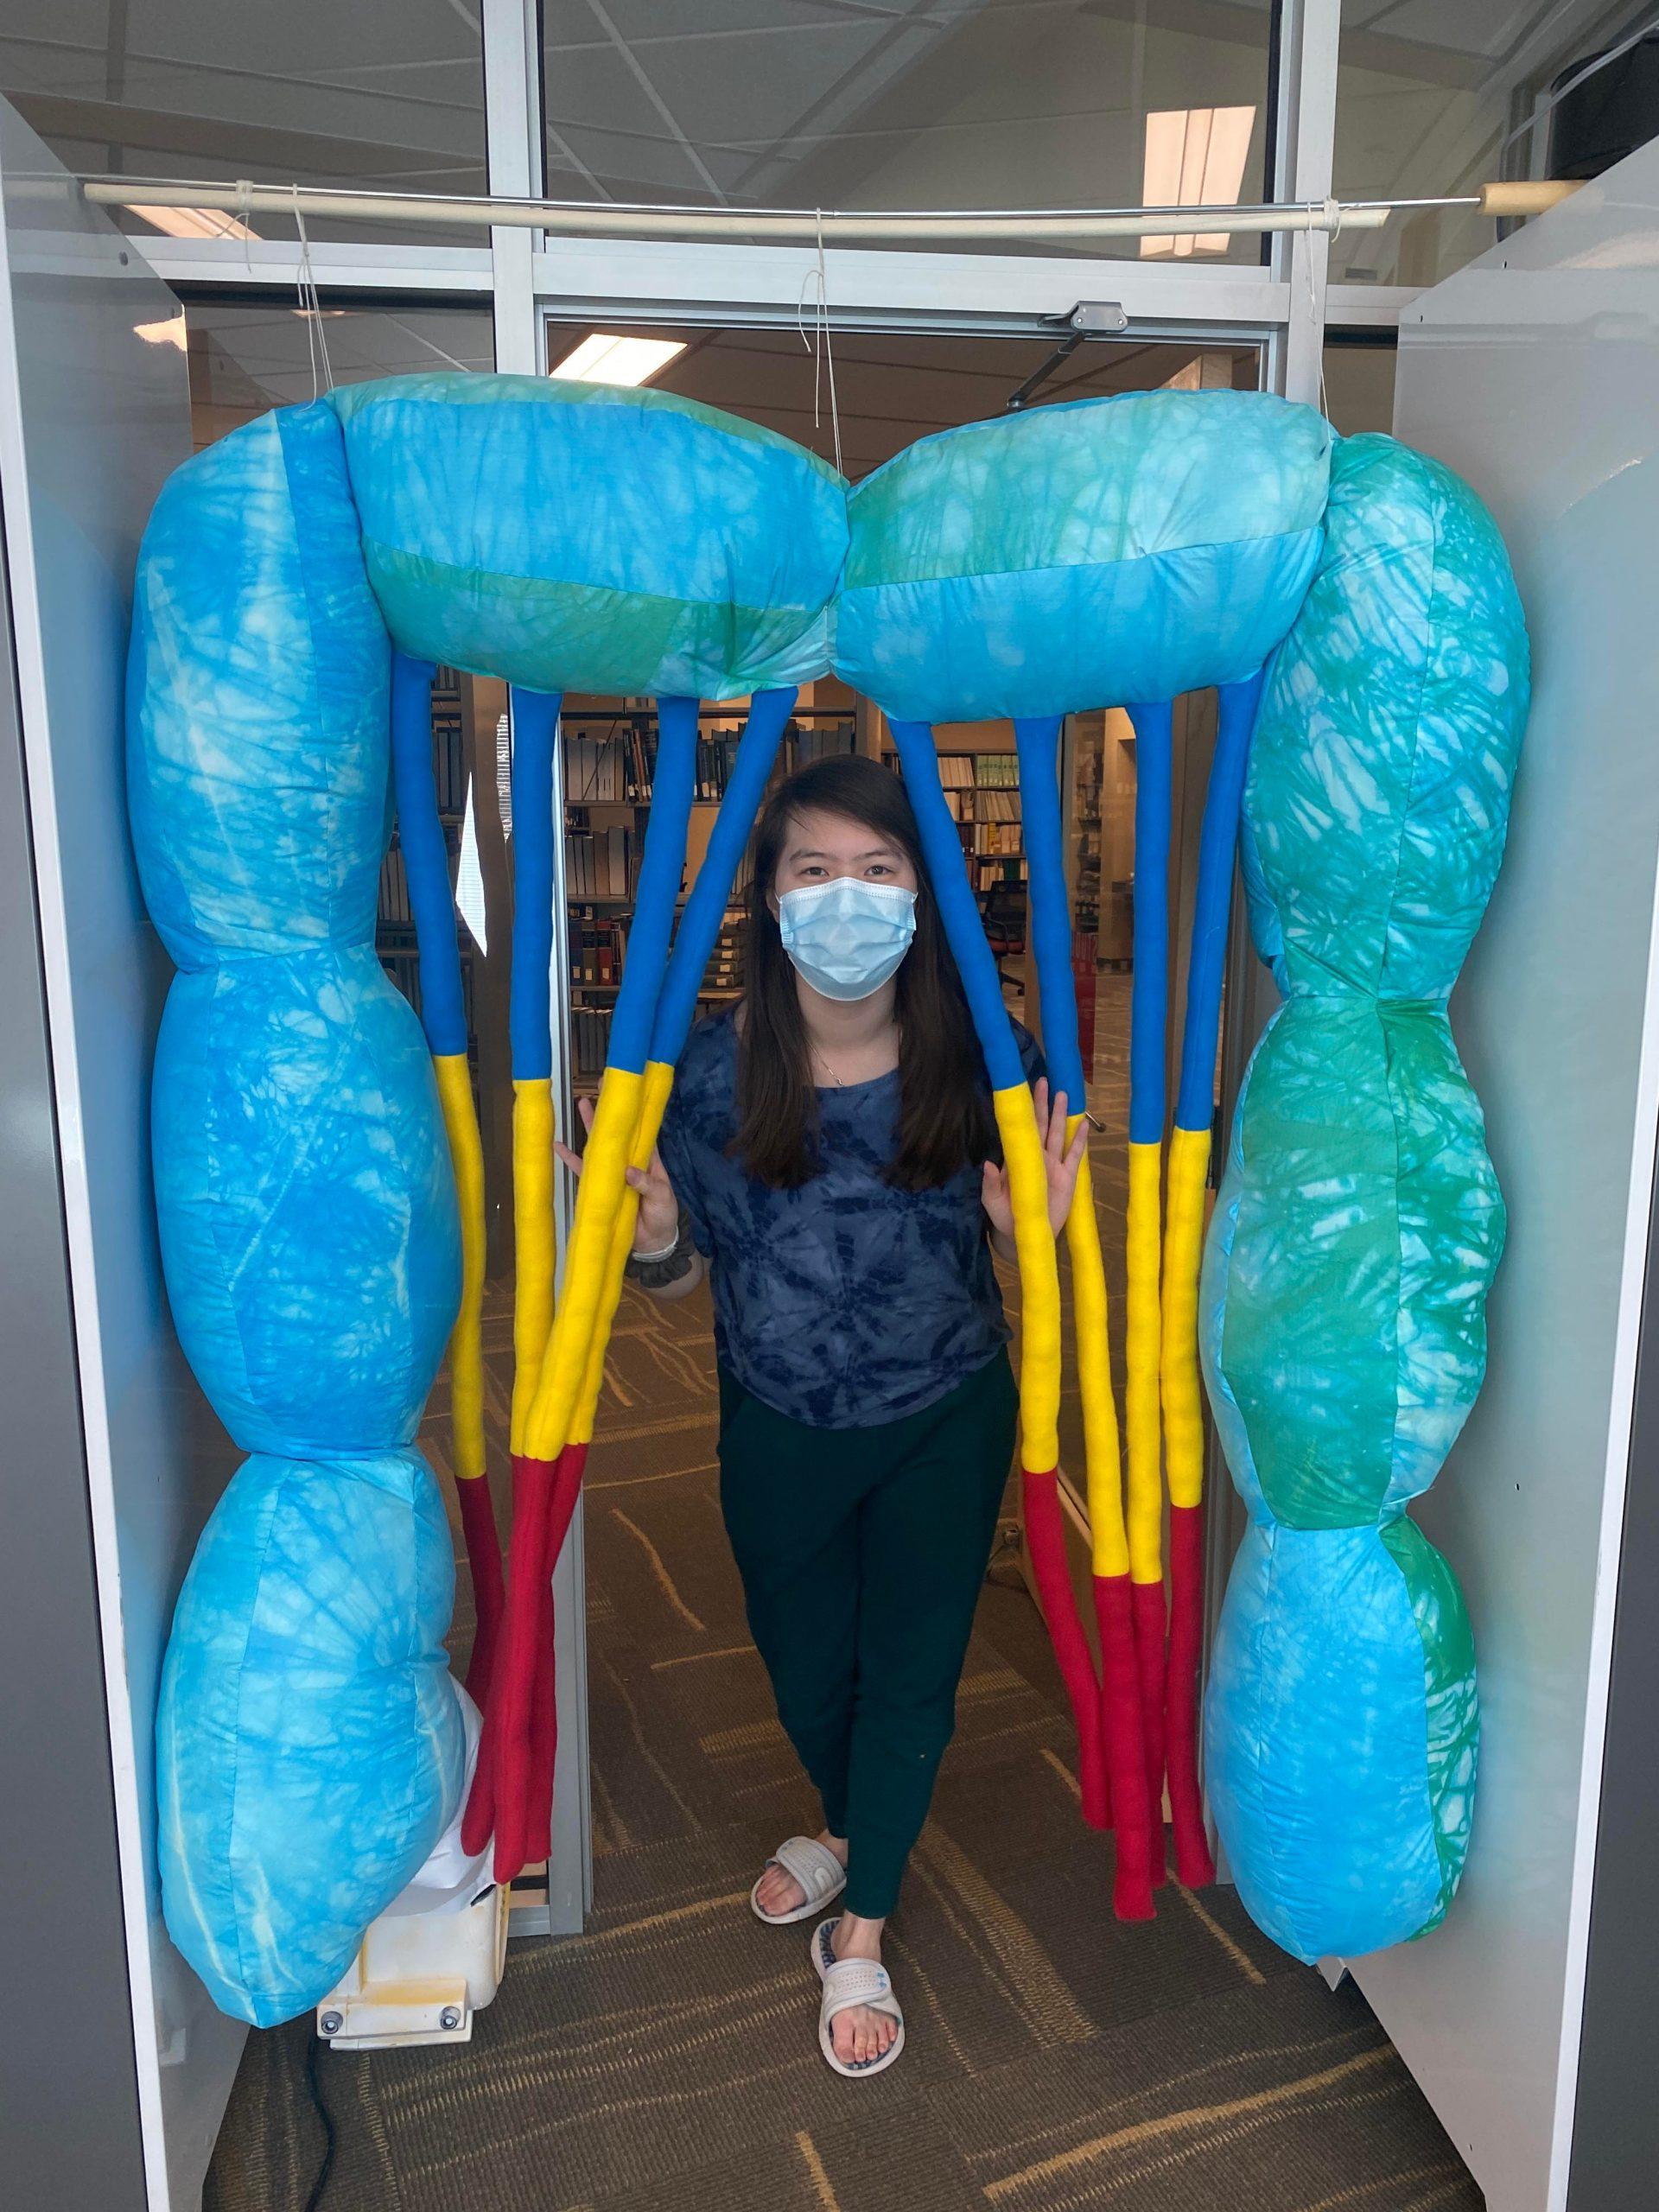
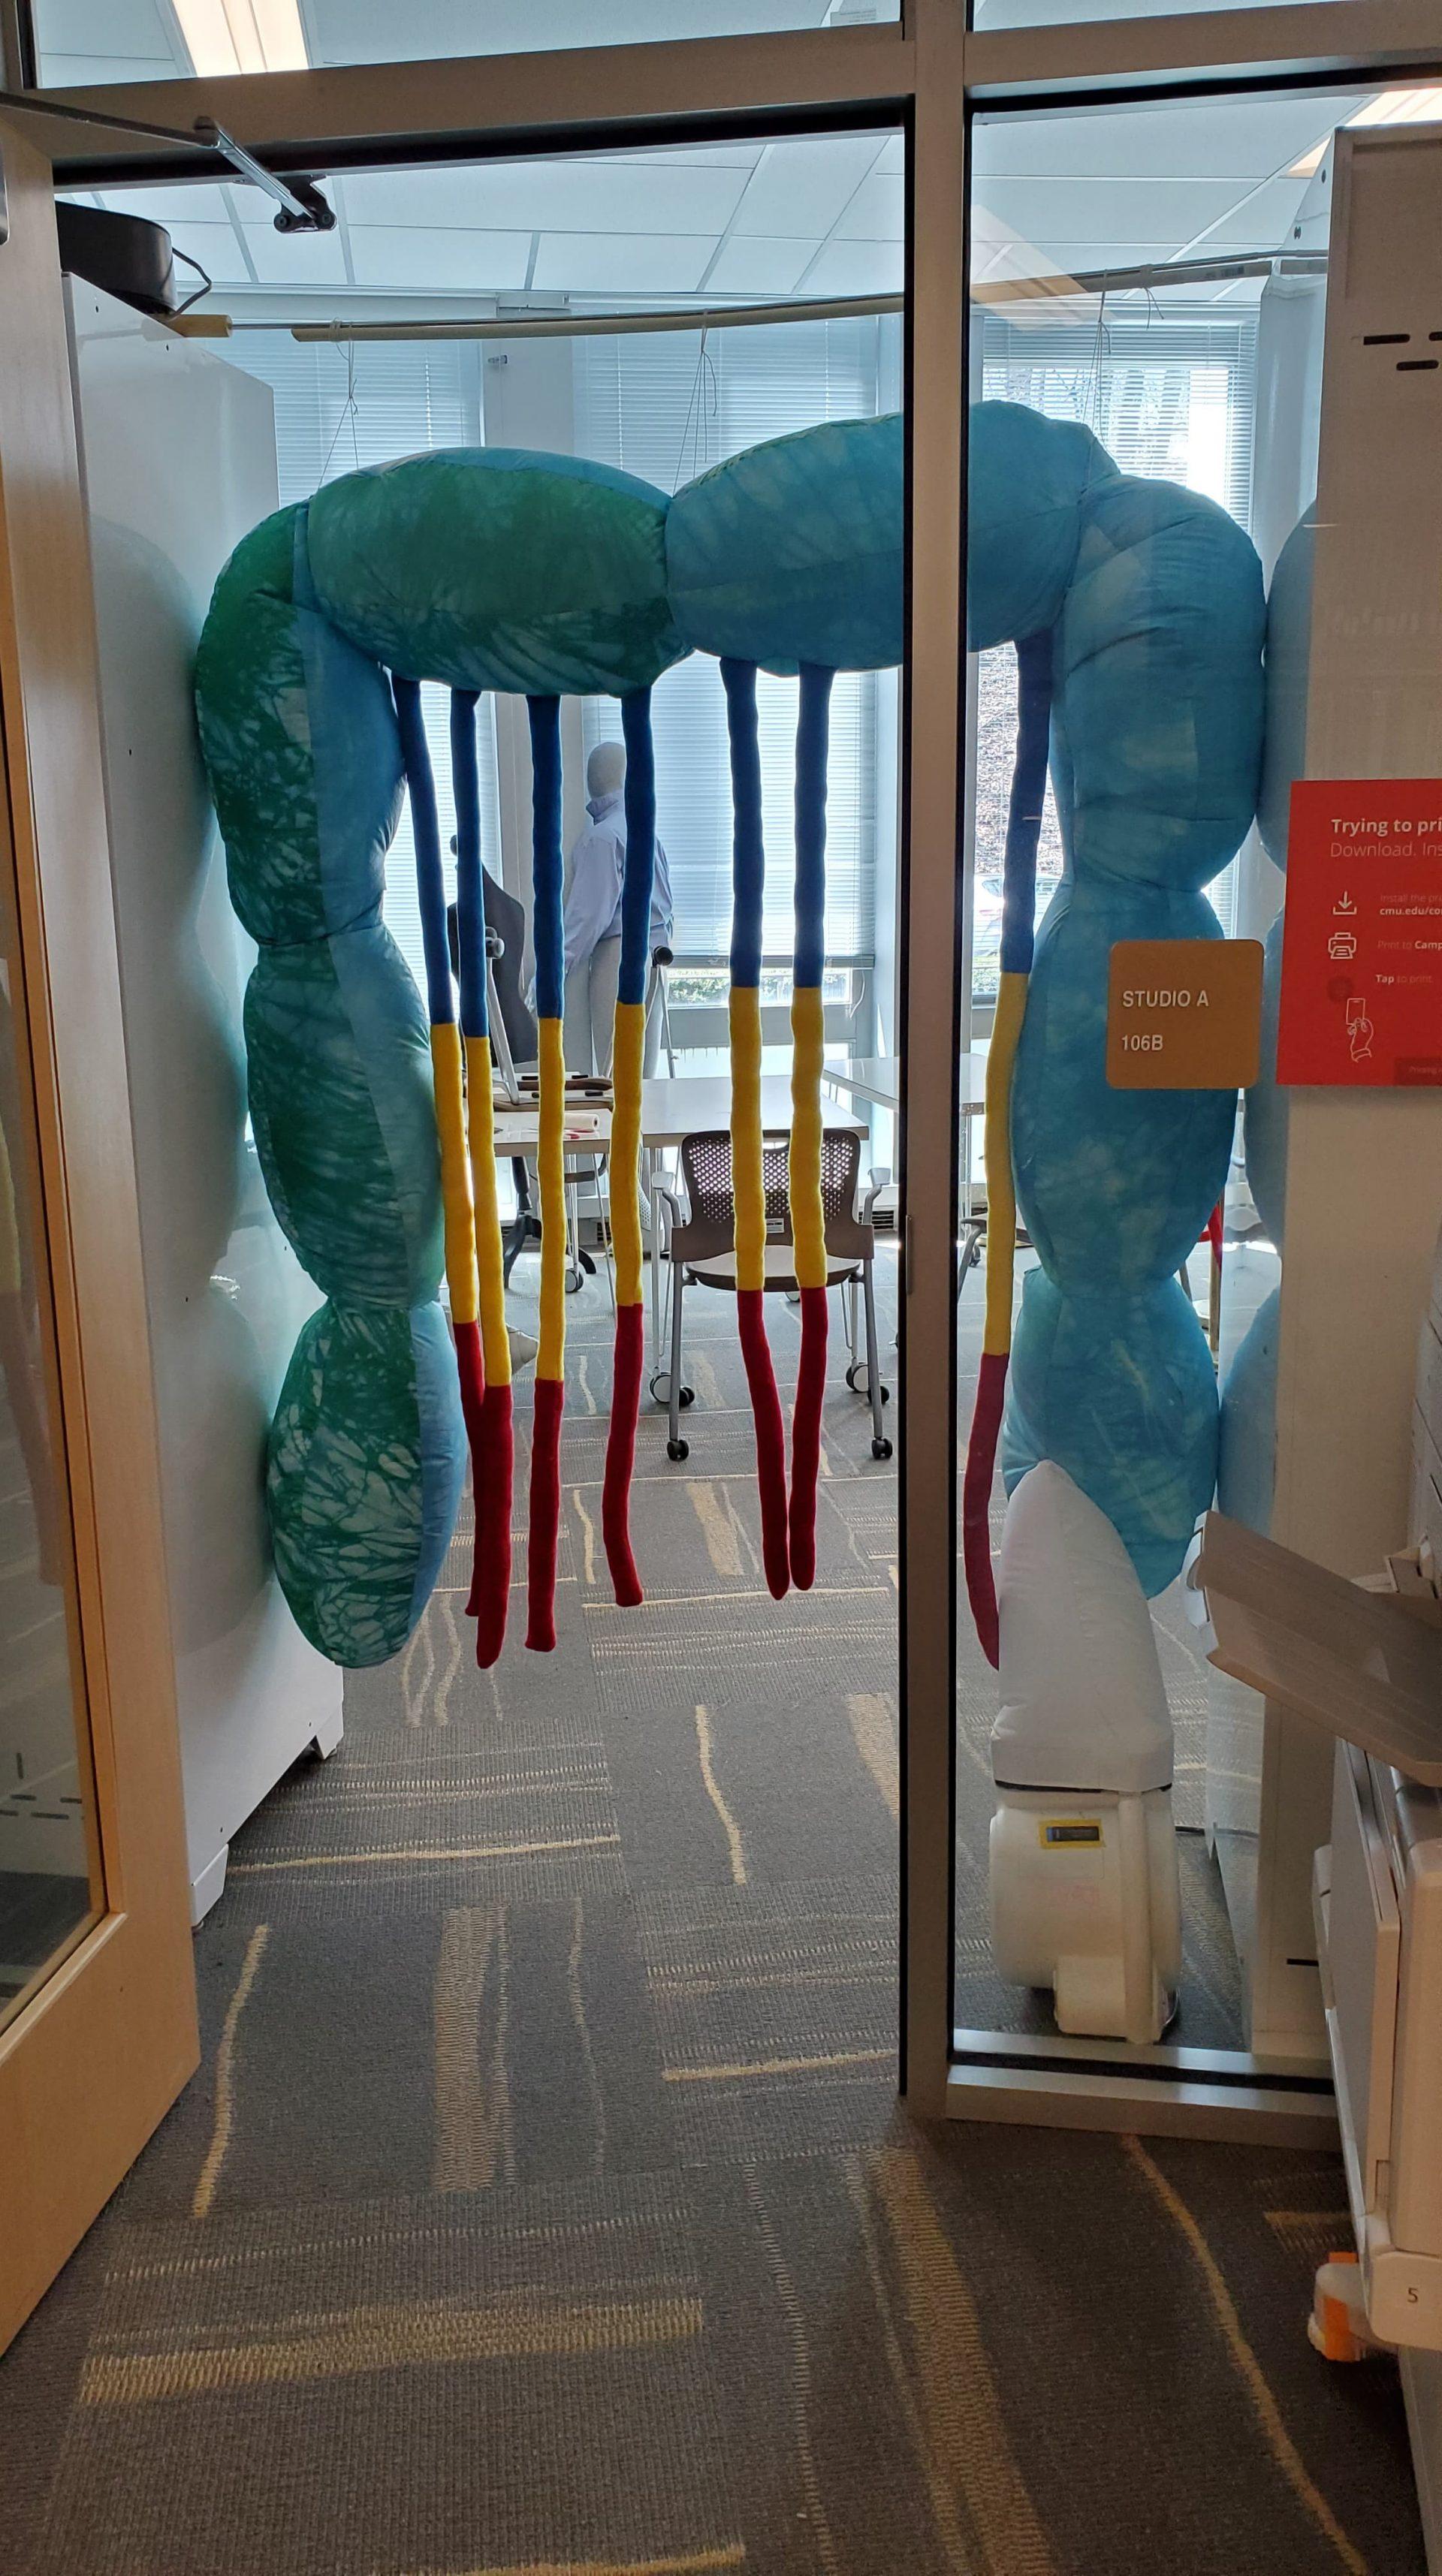
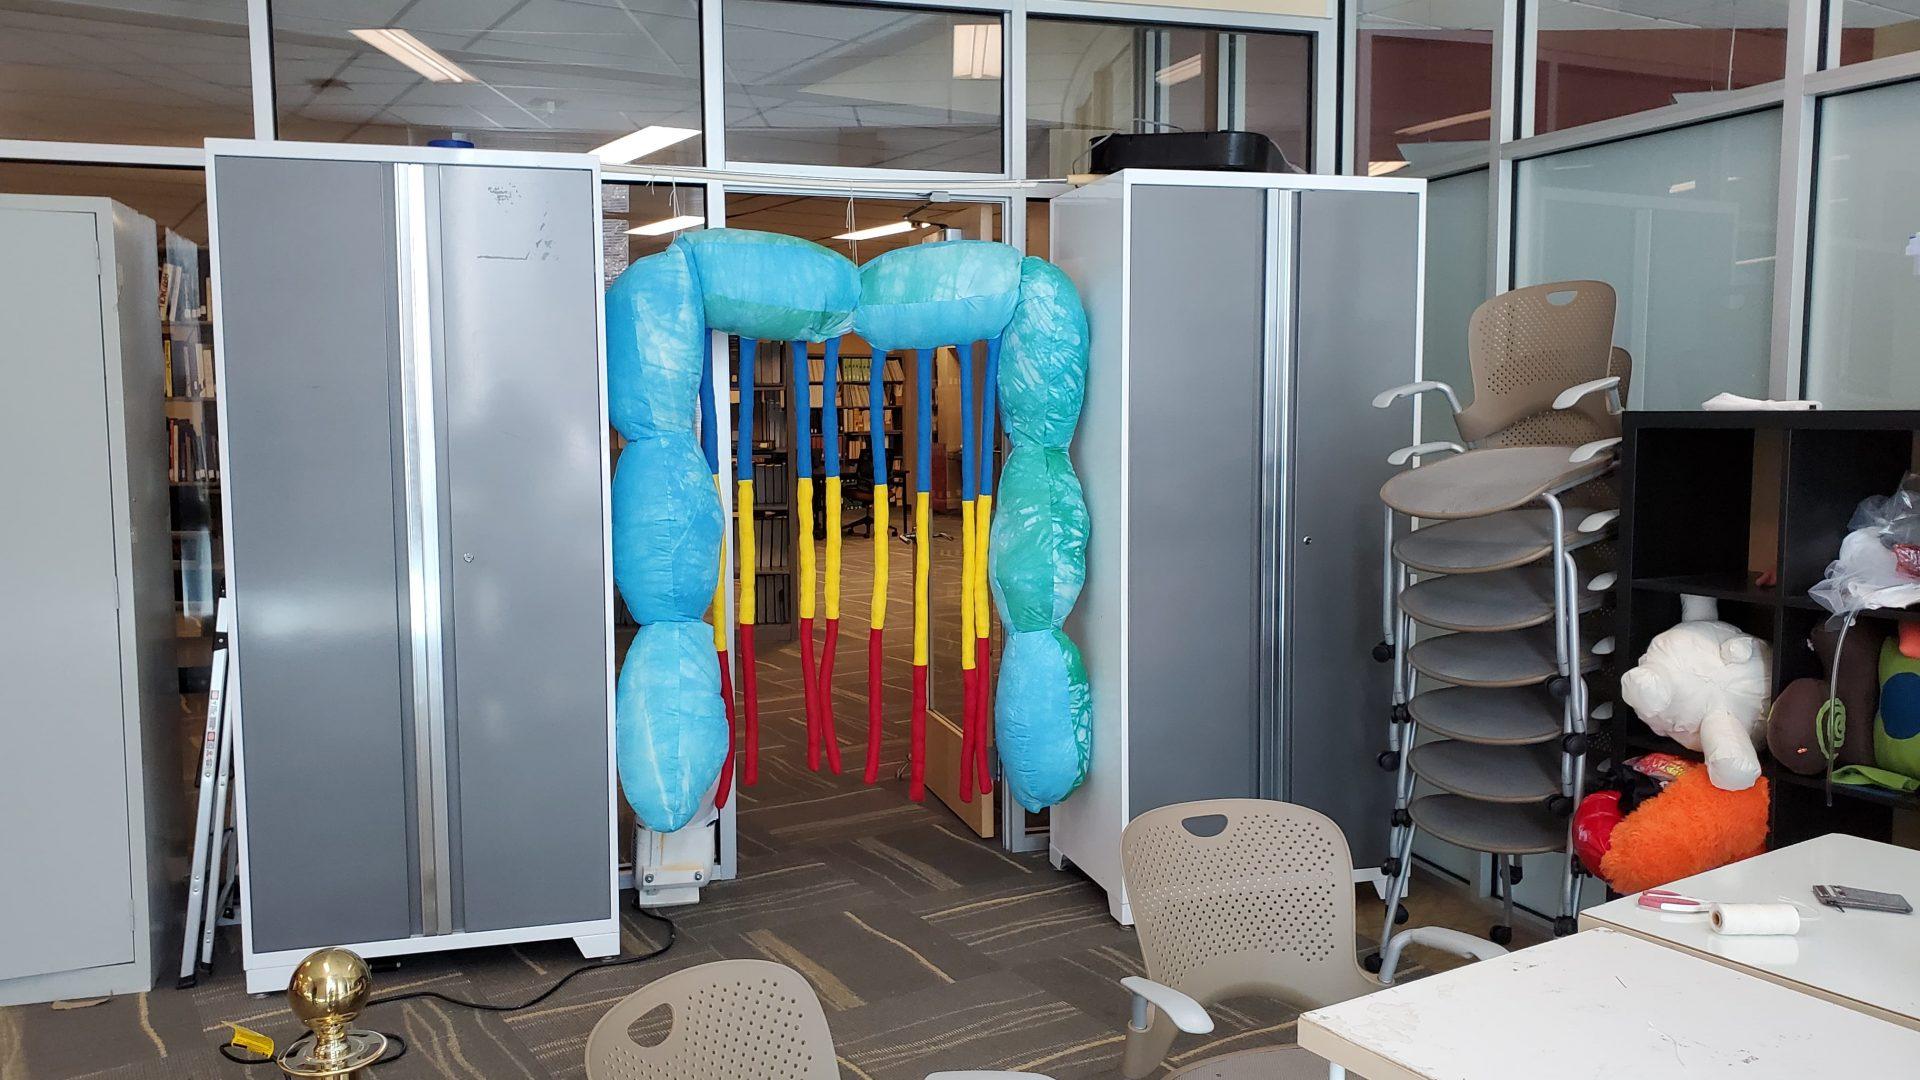
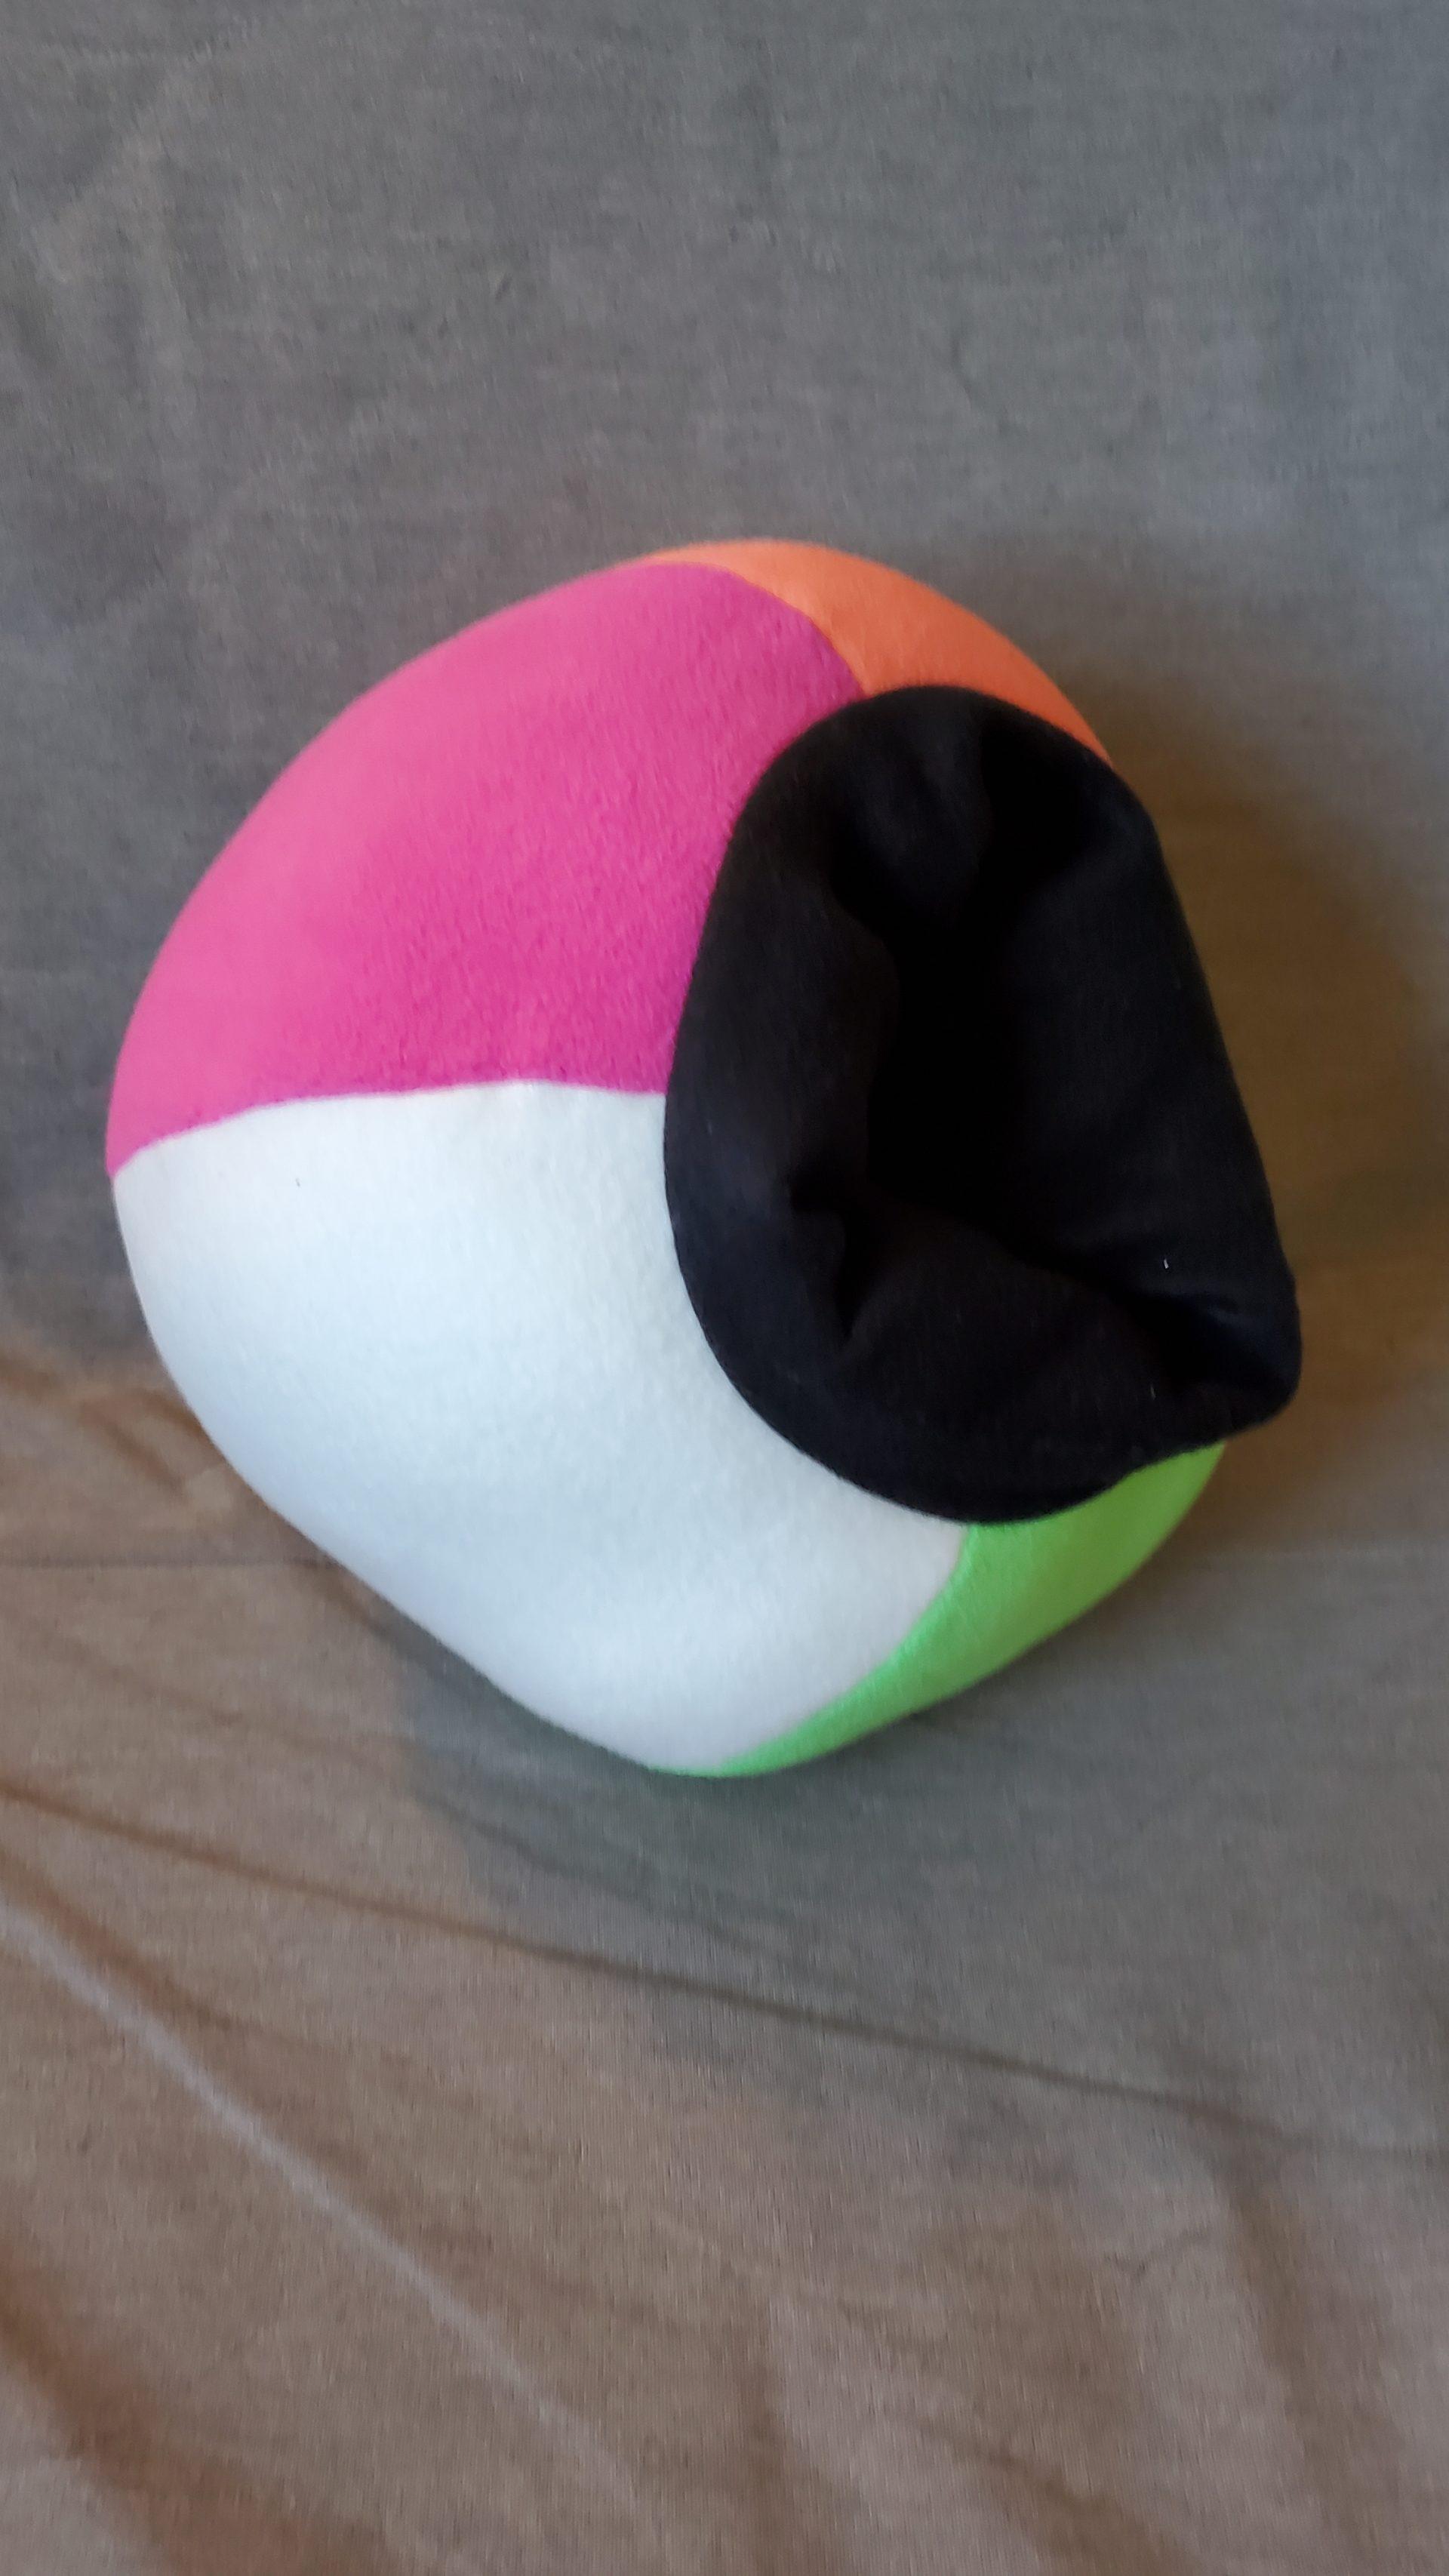
Unlike my first two fruit characters, for my third object I decided to create something functional. Inspired by Heeyun’s handwarming cube, I created a beach ball-patterned pillow for taking desk naps. The inner black tube extends through the beach ball and is sized for two arms, as if you were taking a nap on your arms. This was also the only object I made without using Rhino, as I wanted to try my hand at patterning without the assistance of a program.

I started with the provided beach ball-style sphere pattern. For the pillow, I wanted to use vibrant colors, which actually resulted in me using a combination of the fleece fabric and a more felt-like fabric. The felt fabric (white and yellow) did not stretch as much or in the same way as the fleece (pink, orange, and green), ultimately resulting in a somewhat irregular shape once I stuffed it. To make the cylinder, I used the rectangular portion of the provided cylindrical pattern, and then cut curves around the top of the five sphere pieces that together would make the circumference of that cylinder.

This form proved to be the most difficult to assemble; I struggled to figure out how to insert the black cylinder while keeping the right sides facing each other. Determining the assembly of the form proved to be the hardest part out of all three objects, as I ended up having to rip seams a couple times before figuring out that the trick was to sew the edges of the black cylinder after fully attaching it to the rest of the material.

Lori Kipp – In the World

When my friends and family ask “What kind of a class is inflatables? What does that have to do with Entertainment Technology (my major)?“, the first subject I bring up is bouncy houses. Bouncy houses combine the world of inflatable sculpture with physical intractability, enticing active kids and kids-at-heart with their colorful, elastic forms.

For my In the World inflatable, I have selected the largest bouncy house in the world, officially named “The World’s Biggest Bounce House”. The house is an enormous one-of-a-kind structure produced by Big Bounce America, boasting a footprint of over 13,000 square feet. Along with its posse of showrunners, the House moves across the country, setting up in a new location nearly every weekend (although it has somewhat longer residency in Florida and California).

Bouncy houses are perhaps the prototypic complex inflatable structure, but certainly are the chief example of inflatable location-based entertainment. Learning to design environments that are so adaptable, portable, and whimsical is one of the primary reasons why I chose this class, and seeing our course material reflected in the design is very fulfilling. Although massive, the House is still composed of our fundamental 3D forms – cylinders, spheres, prisms, and cones. Vibrant colors even call attention to these fundamental structures, highlighting how the forms are connected.

Link

Lori Kipp – Improvisation Inflatables

Visual Portfolio, Posts & Image Gallery for WordPress

For my first inflatable, I began by cutting random shapes from the provided silver and white plastic bags. These shapes included a mix of polygonal forms (often triangles or quadrilaterals) as well as longer strips and curves. I assembled them together using a combination of pink gaffers tape on the outside and clear scotch tape on the inside, observing observing the difference in appearance when seams are highlighted or hidden. At no point did I know what the final shape would look like, but I observed about 2/3 of the way through assembly that I had a tendency (though unintentional) to try to make my inflatable spherical. To combat this, I explicitly made a portion of the inflatable protrude which gives the form a snail-like appearance. I followed the process demonstrated in class most closely for this inflatable and had reasonable success making it airtight.

Initially, I struggled with having absolutely no direction for my first inflatable, so for my second, I decided to create two halves and join them together, each with a different prescribed rule. For one half, I had all of my starting pieces cut to the same shape (light and dark greens) while for the other half I kept everything one color (purple). I also flipped my inflatable inside out so that at first, the taped seams were not visible. However, I struggled to join the two halves of the form, and when I did the seal was not very airtight and I was unable to inflate the form completely. To remedy this, I used the pink gaffers tape to cover leaks in the inflatable, which intentionally disrupts the seamless look I had been trying to maintain. I found the second inflatable to be the most challenging because I tried to be the most ambitious in my assembly.

After completing the first two inflatables, I found that I was nearly out of tape – both the supplied gaffers tape and my own personal tape. Consequently, I chose to experiment with constricting the shape of a default inflated shape, such that I could use very little tape. I sealed two gallon-sized Ziploc bags together to create a base shape, then cut thin strips of red, yellow, and blue plastic. I tied, braided, and weaved these strips into other forms, then attached them around the Ziploc bags in various ways to shape the final inflated form. While I had the most fun creating this inflatable, I felt restricted by the inherent shape of the bags; I would have enjoyed restricting a less predictable shape.