Final project update -Skylar, Jules, Heejin

Yesterday + sunday we test inflated the big mushroom, big flower, dinosaur, and butterfly. we also have two mini flowers with stems, five flowers, a leaf, and a bug sewn, and the pieces for the second mushroom cut. we decided the final layout and amount of dyeing we need to do. next steps are:

  1. finish second mushroom and big flower
  2. connect small flowers
  3. make extra vines and bugs
  4. dye plant material + mushroom stems brown
  5. dye butterfly and dinosaur purple
  6. attach all pieces together

Push/pull part 2 – Skylar + Kavya

We decided to make a large rectangular form that would be constrained by the bookshelf/window space it was placed in and have hidden elements that interact with the light from the window. Here are some photos of our piece:

We originally weren’t sure what we were going to add beyond the rectangle, and we thought it would not be in the bookshelves. We decided something colorful would be a good use of the light and decided to add the panels, and then decided the front should have windows so you could see the colors. We were worried you wouldn’t be able to see the colors otherwise. Also, we thought that we would keep it in the window frame using tape, but then realized we wouldn’t be able to use tape, but it actually worked out perfectly that we ended up with the space on the second floor in the bookshelves and made the inflatable way bigger than the window frame, because the bookshelves ended up being the constraints. Here are some photos through the window:

We really liked how the windows gave a view into the structure and ended up creating a very cool effect of showing a different color reflection on the floor than the color you could see through the window. We also were happy with how big the space inside appeared even though from the outside it doesn’t look like much. We added the criss-crossing yarn last and were also pleasantly surprised at how it divided the space inside, and was kind of reminiscent of kites.

p.s. I also brought it to my art show this weekend and put in it a different space and let people go inside it and it was a lot of fun and very peaceful to be in there even though the colors weren’t catching the sunlight like they were supposed to. 🙂 Here are some of my friends inside it. -Skylar

Visual Portfolio, Posts & Image Gallery for WordPress

Skylar – Push/Pull Part 1

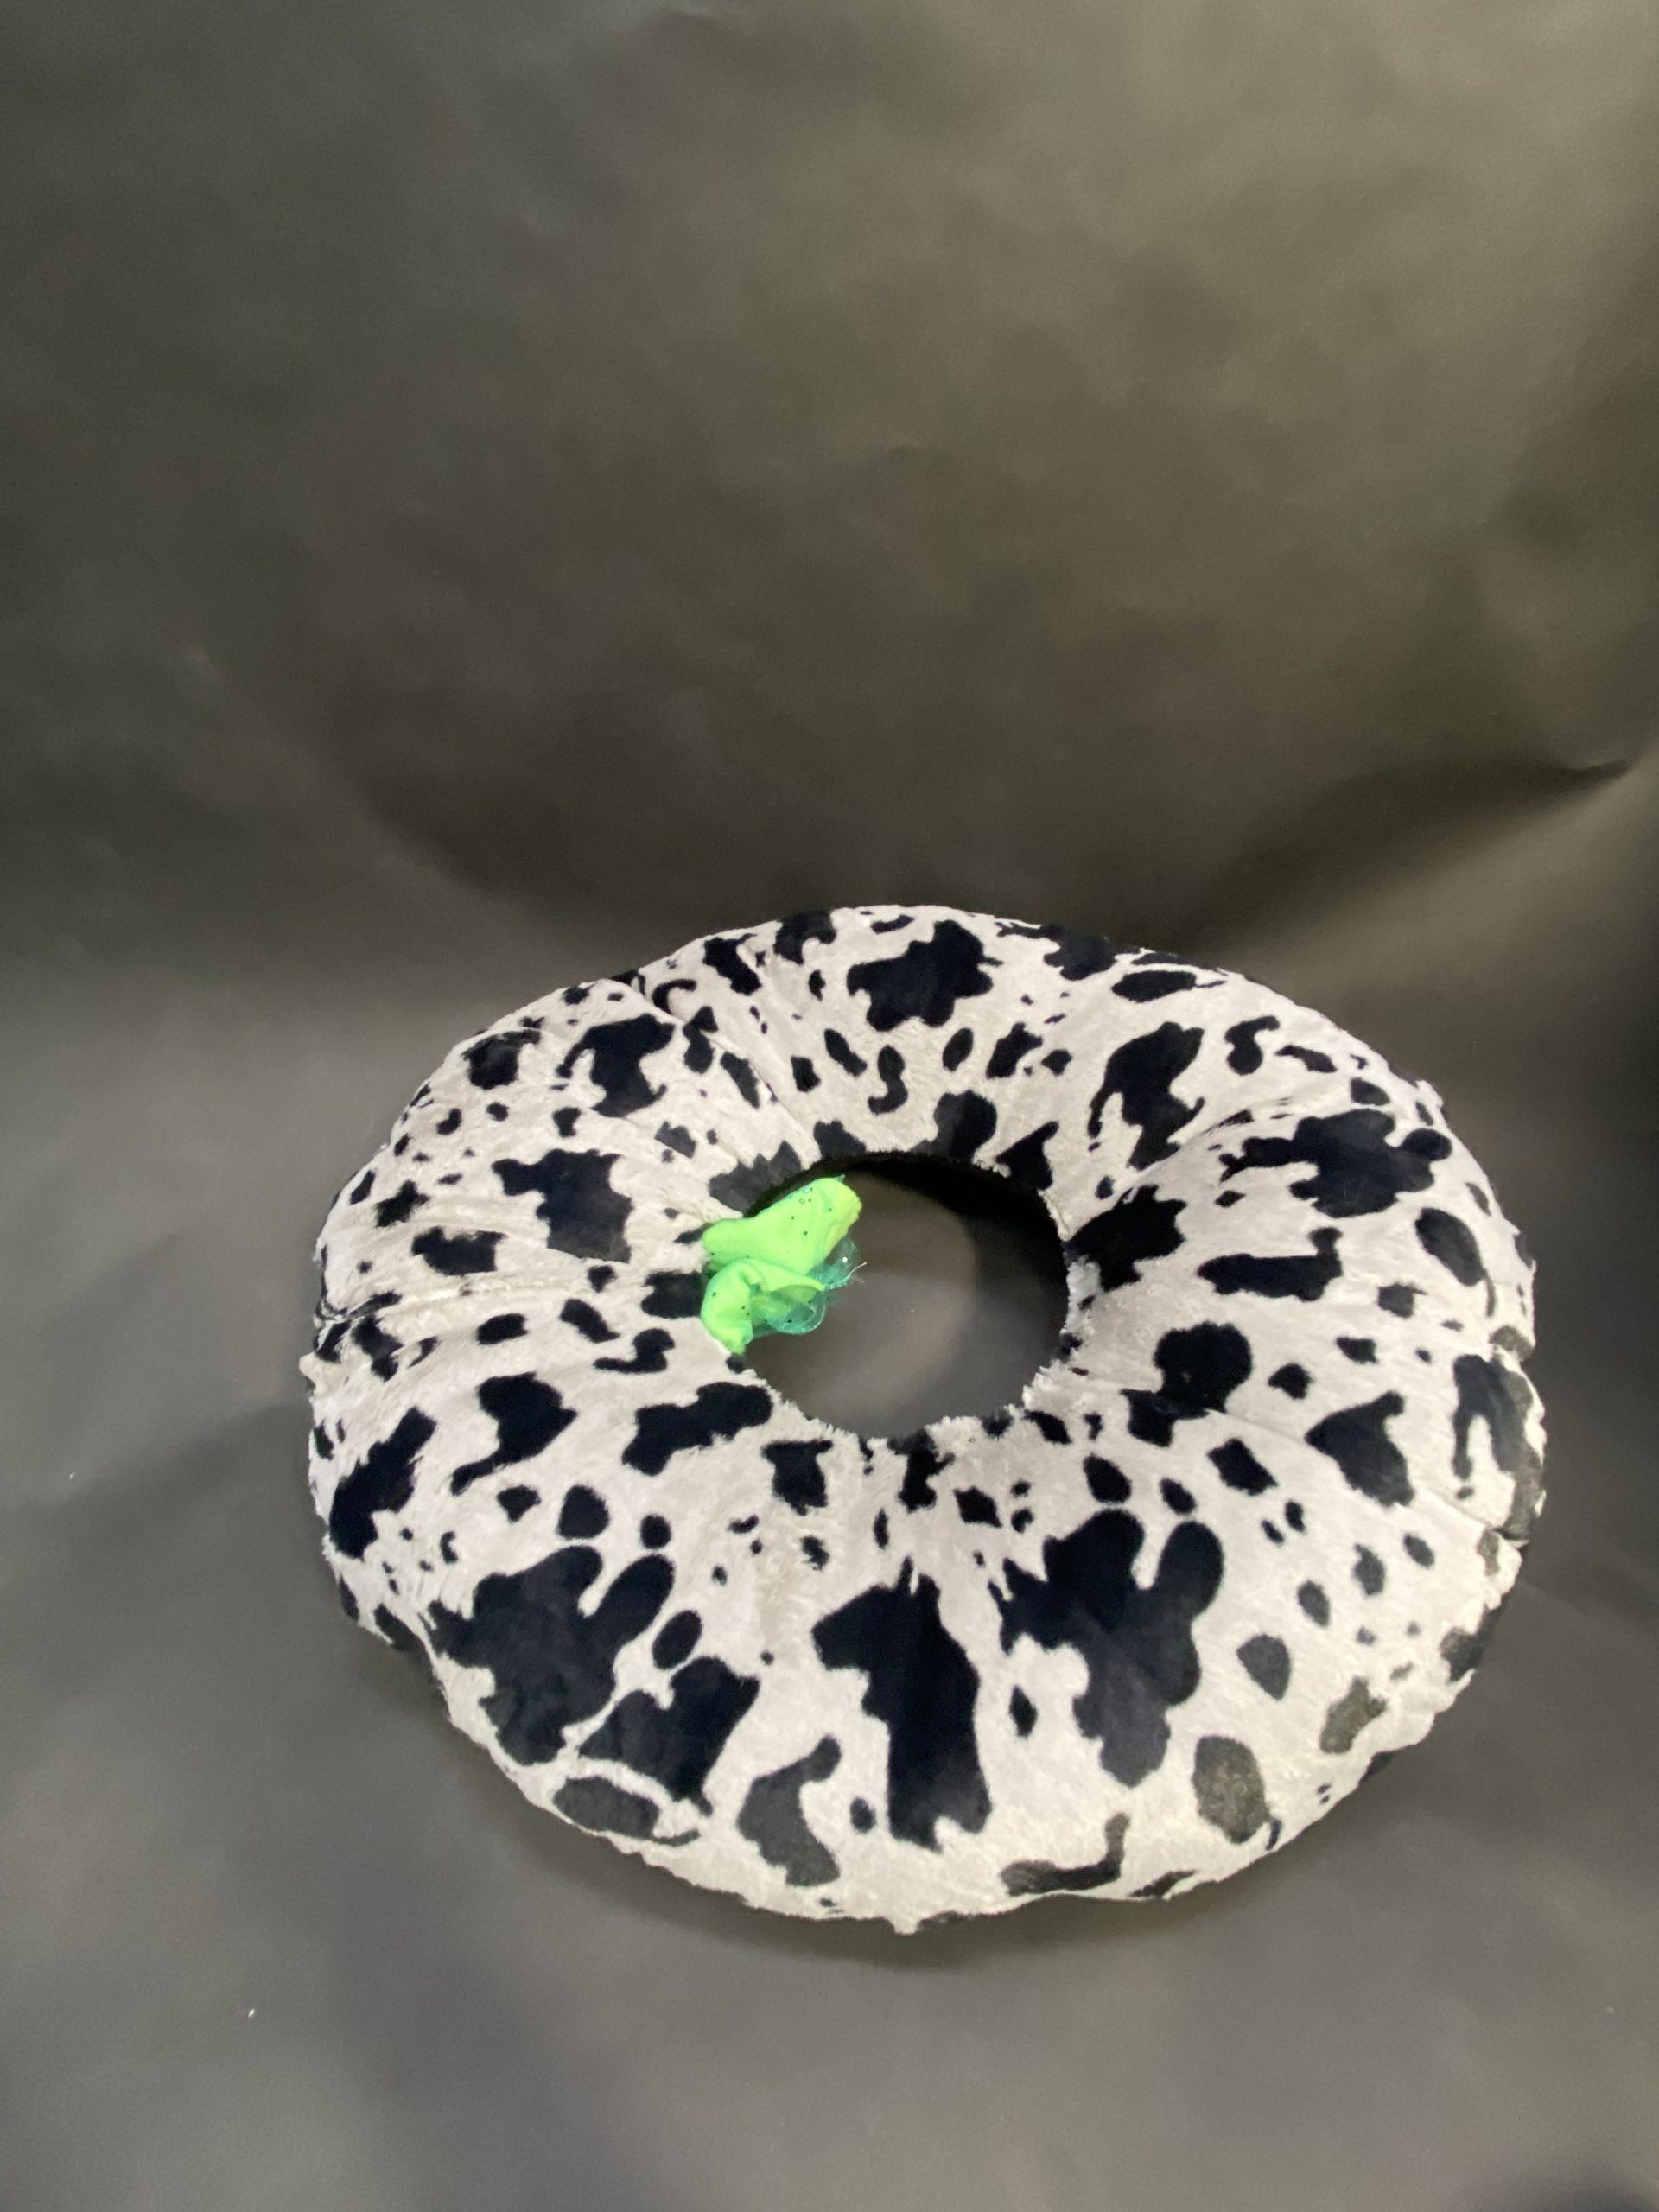
This is the first piece I made and the last one I finished! I had to figure out the best way to turn the donut inside out. I left it as a donut for a couple weeks and when I came back to it to sew it up and make additions I felt really uninspired. I liked the versatility and simplicity of just a donut and each modification I tried just seemed unnecessary or distracting, so I finally decided to see what it would be like to put a tie through the central seam. I really liked how the shape ended up and made this still a comfortable, useful cushion, but with the ability to change shape and be slightly more rigid than the unfurled donut.

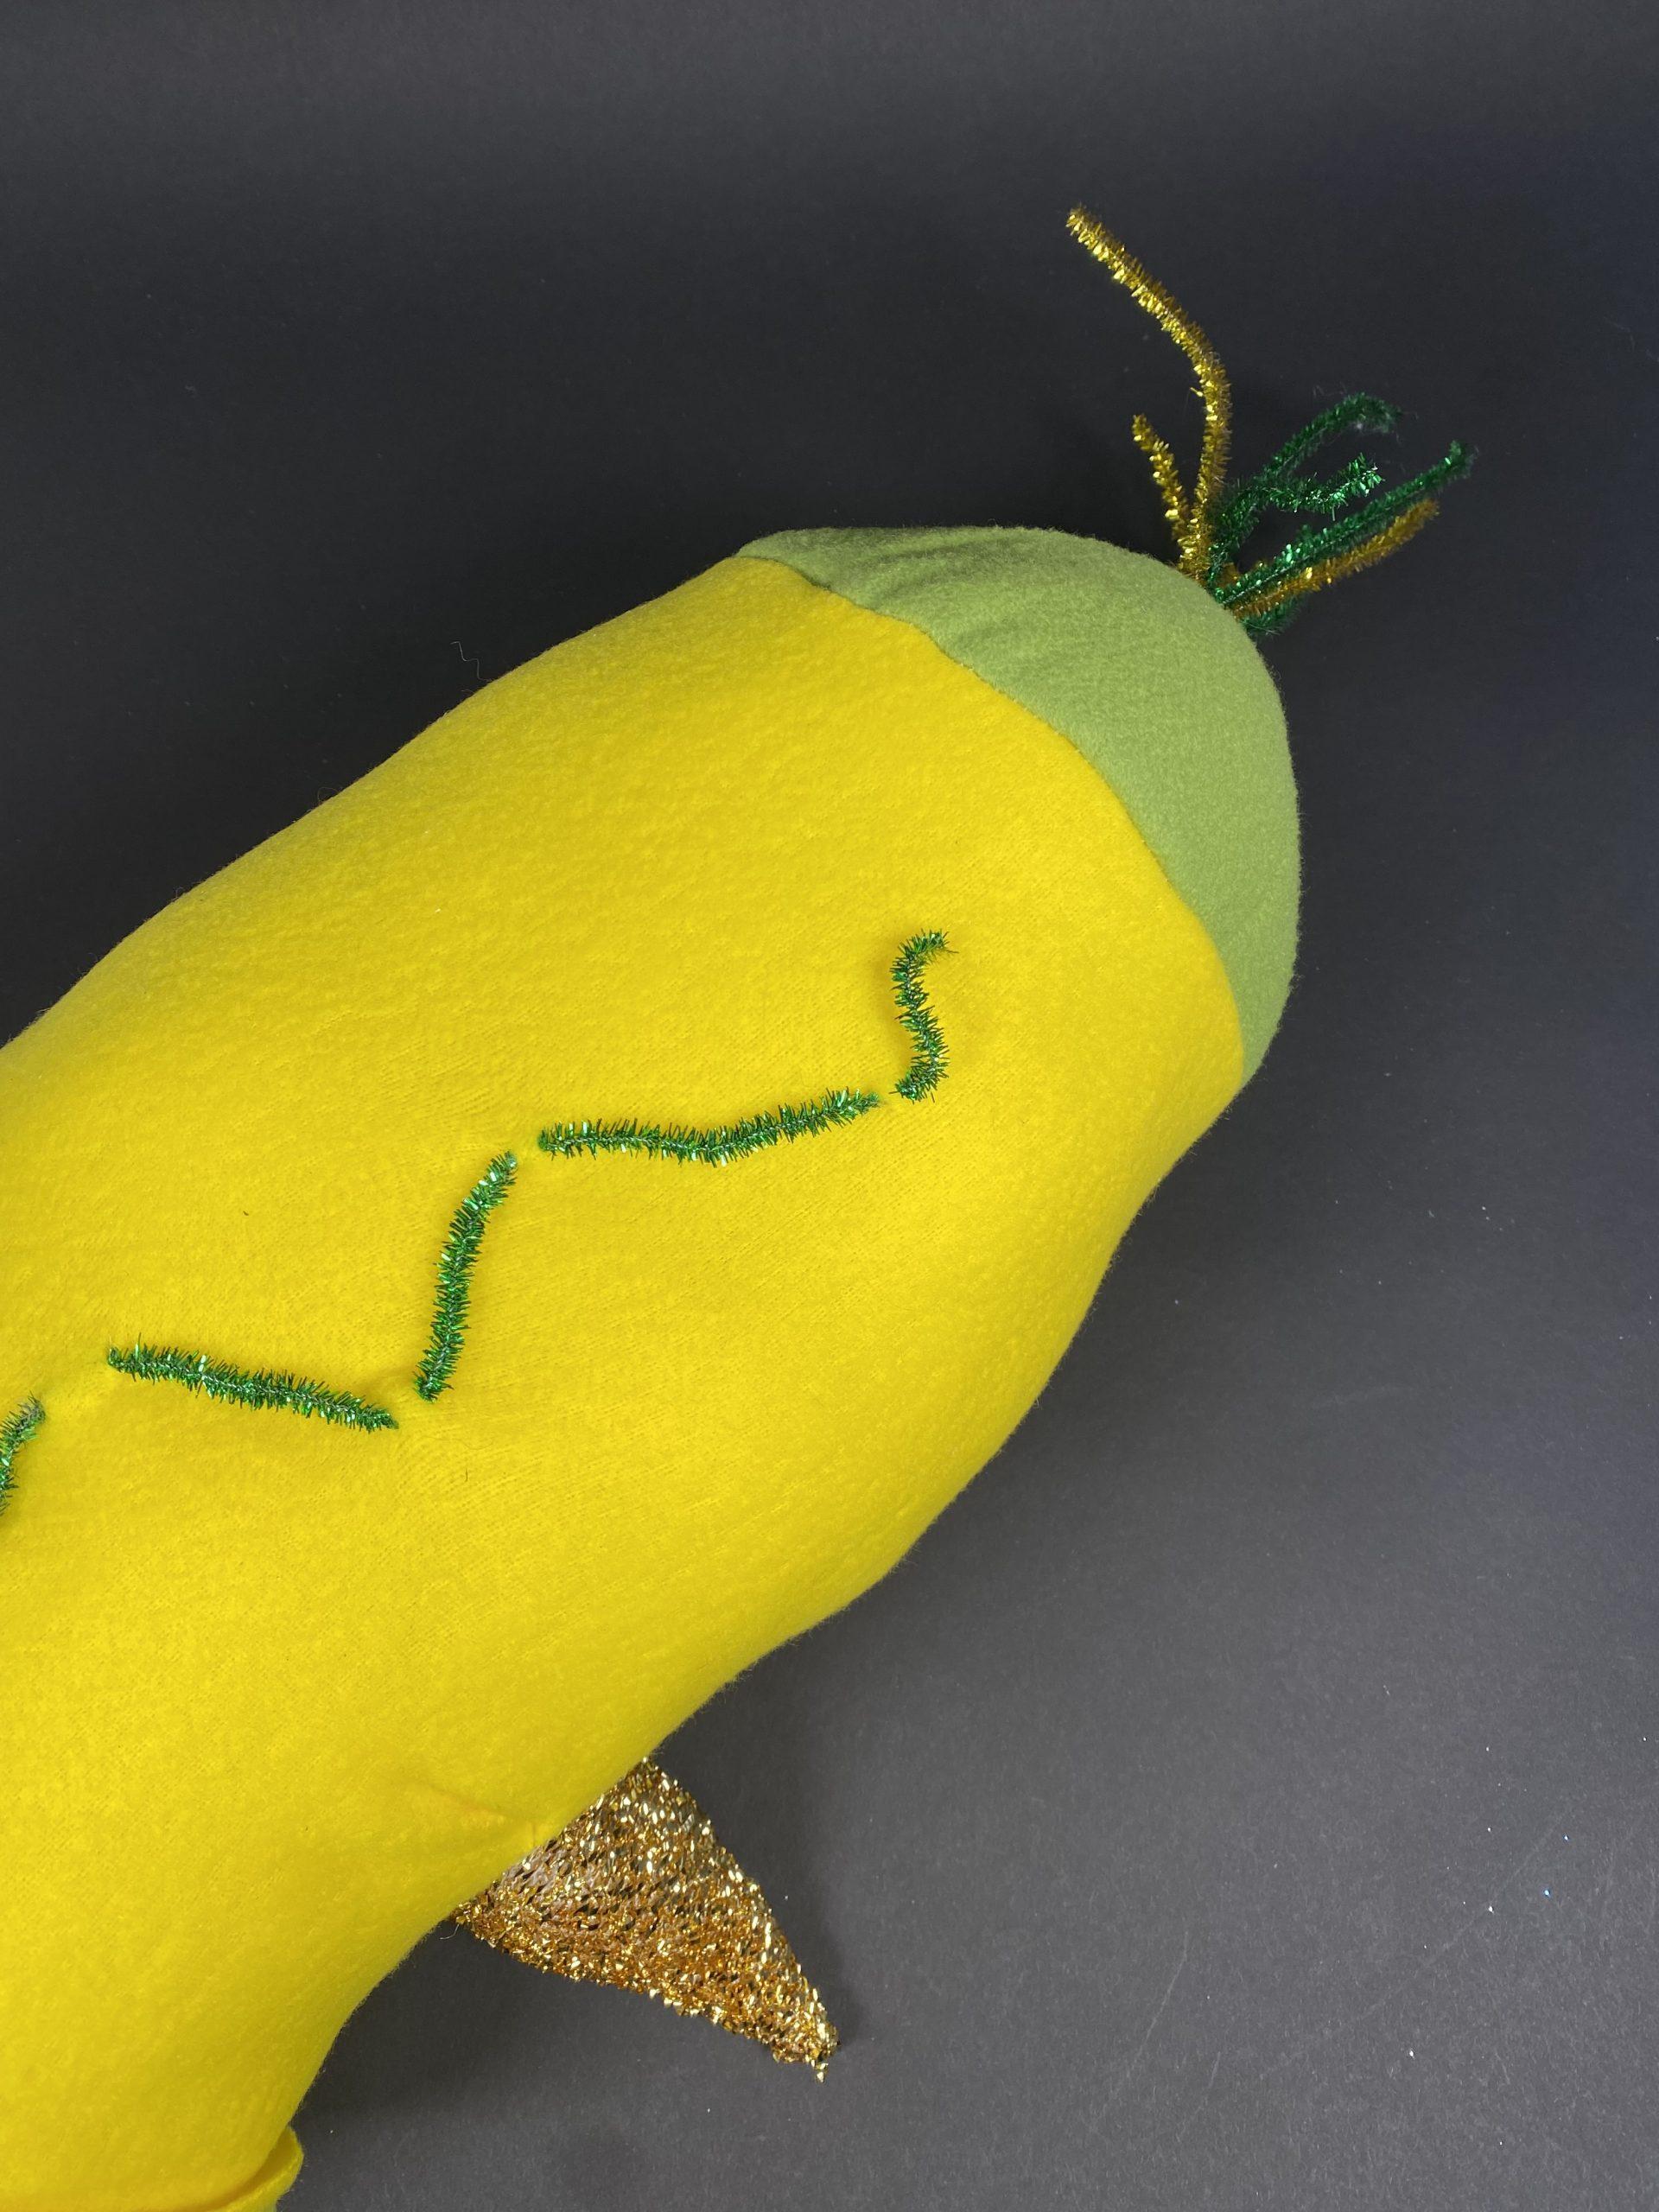
This is the second one I made. I spent time trying to make the donut a donut and then didn’t know where to go, so I figured I would go with a more improvisational approach on this one. I started with the cylinder pattern and tried some darts and cone additions which ended up being more difficult than I thought it would be. It was especially hard to make sure the darts were evenly spaced but I also refused to get out a measuring tape or anything so I might try that next time. It was quicker and more fun to just see what it turned into rather than being frustrated when something doesn’t go according to plan.

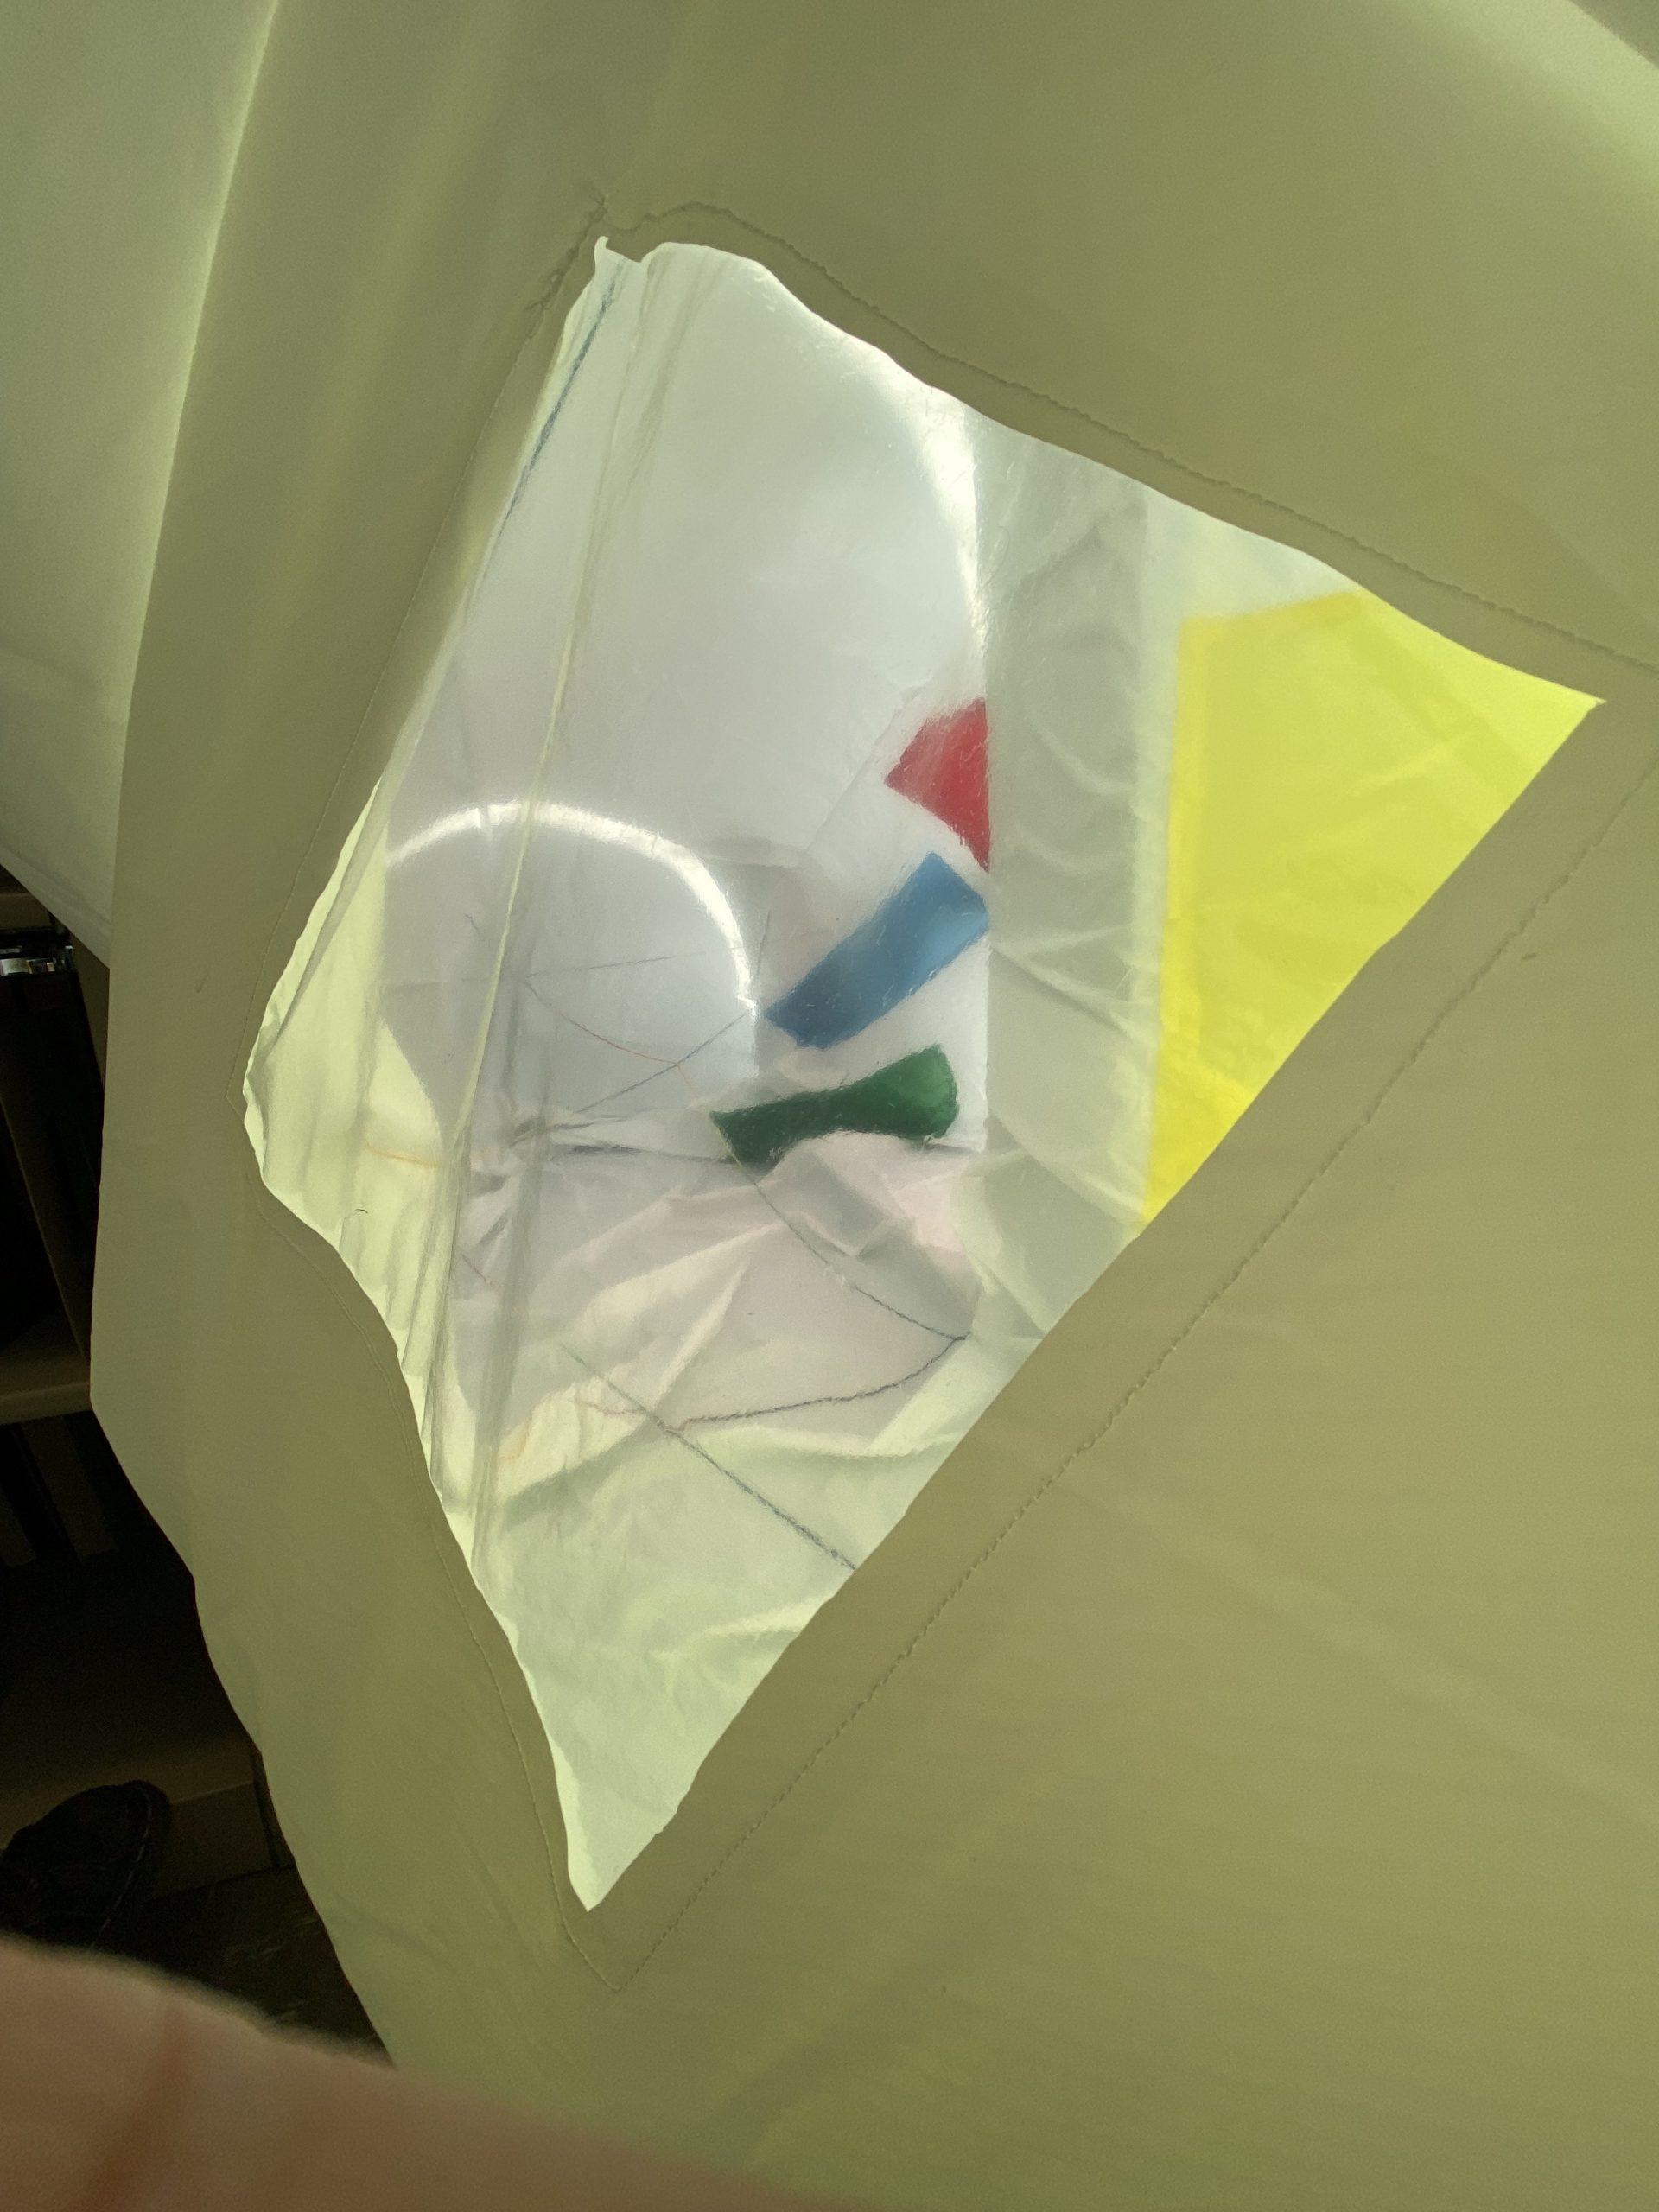
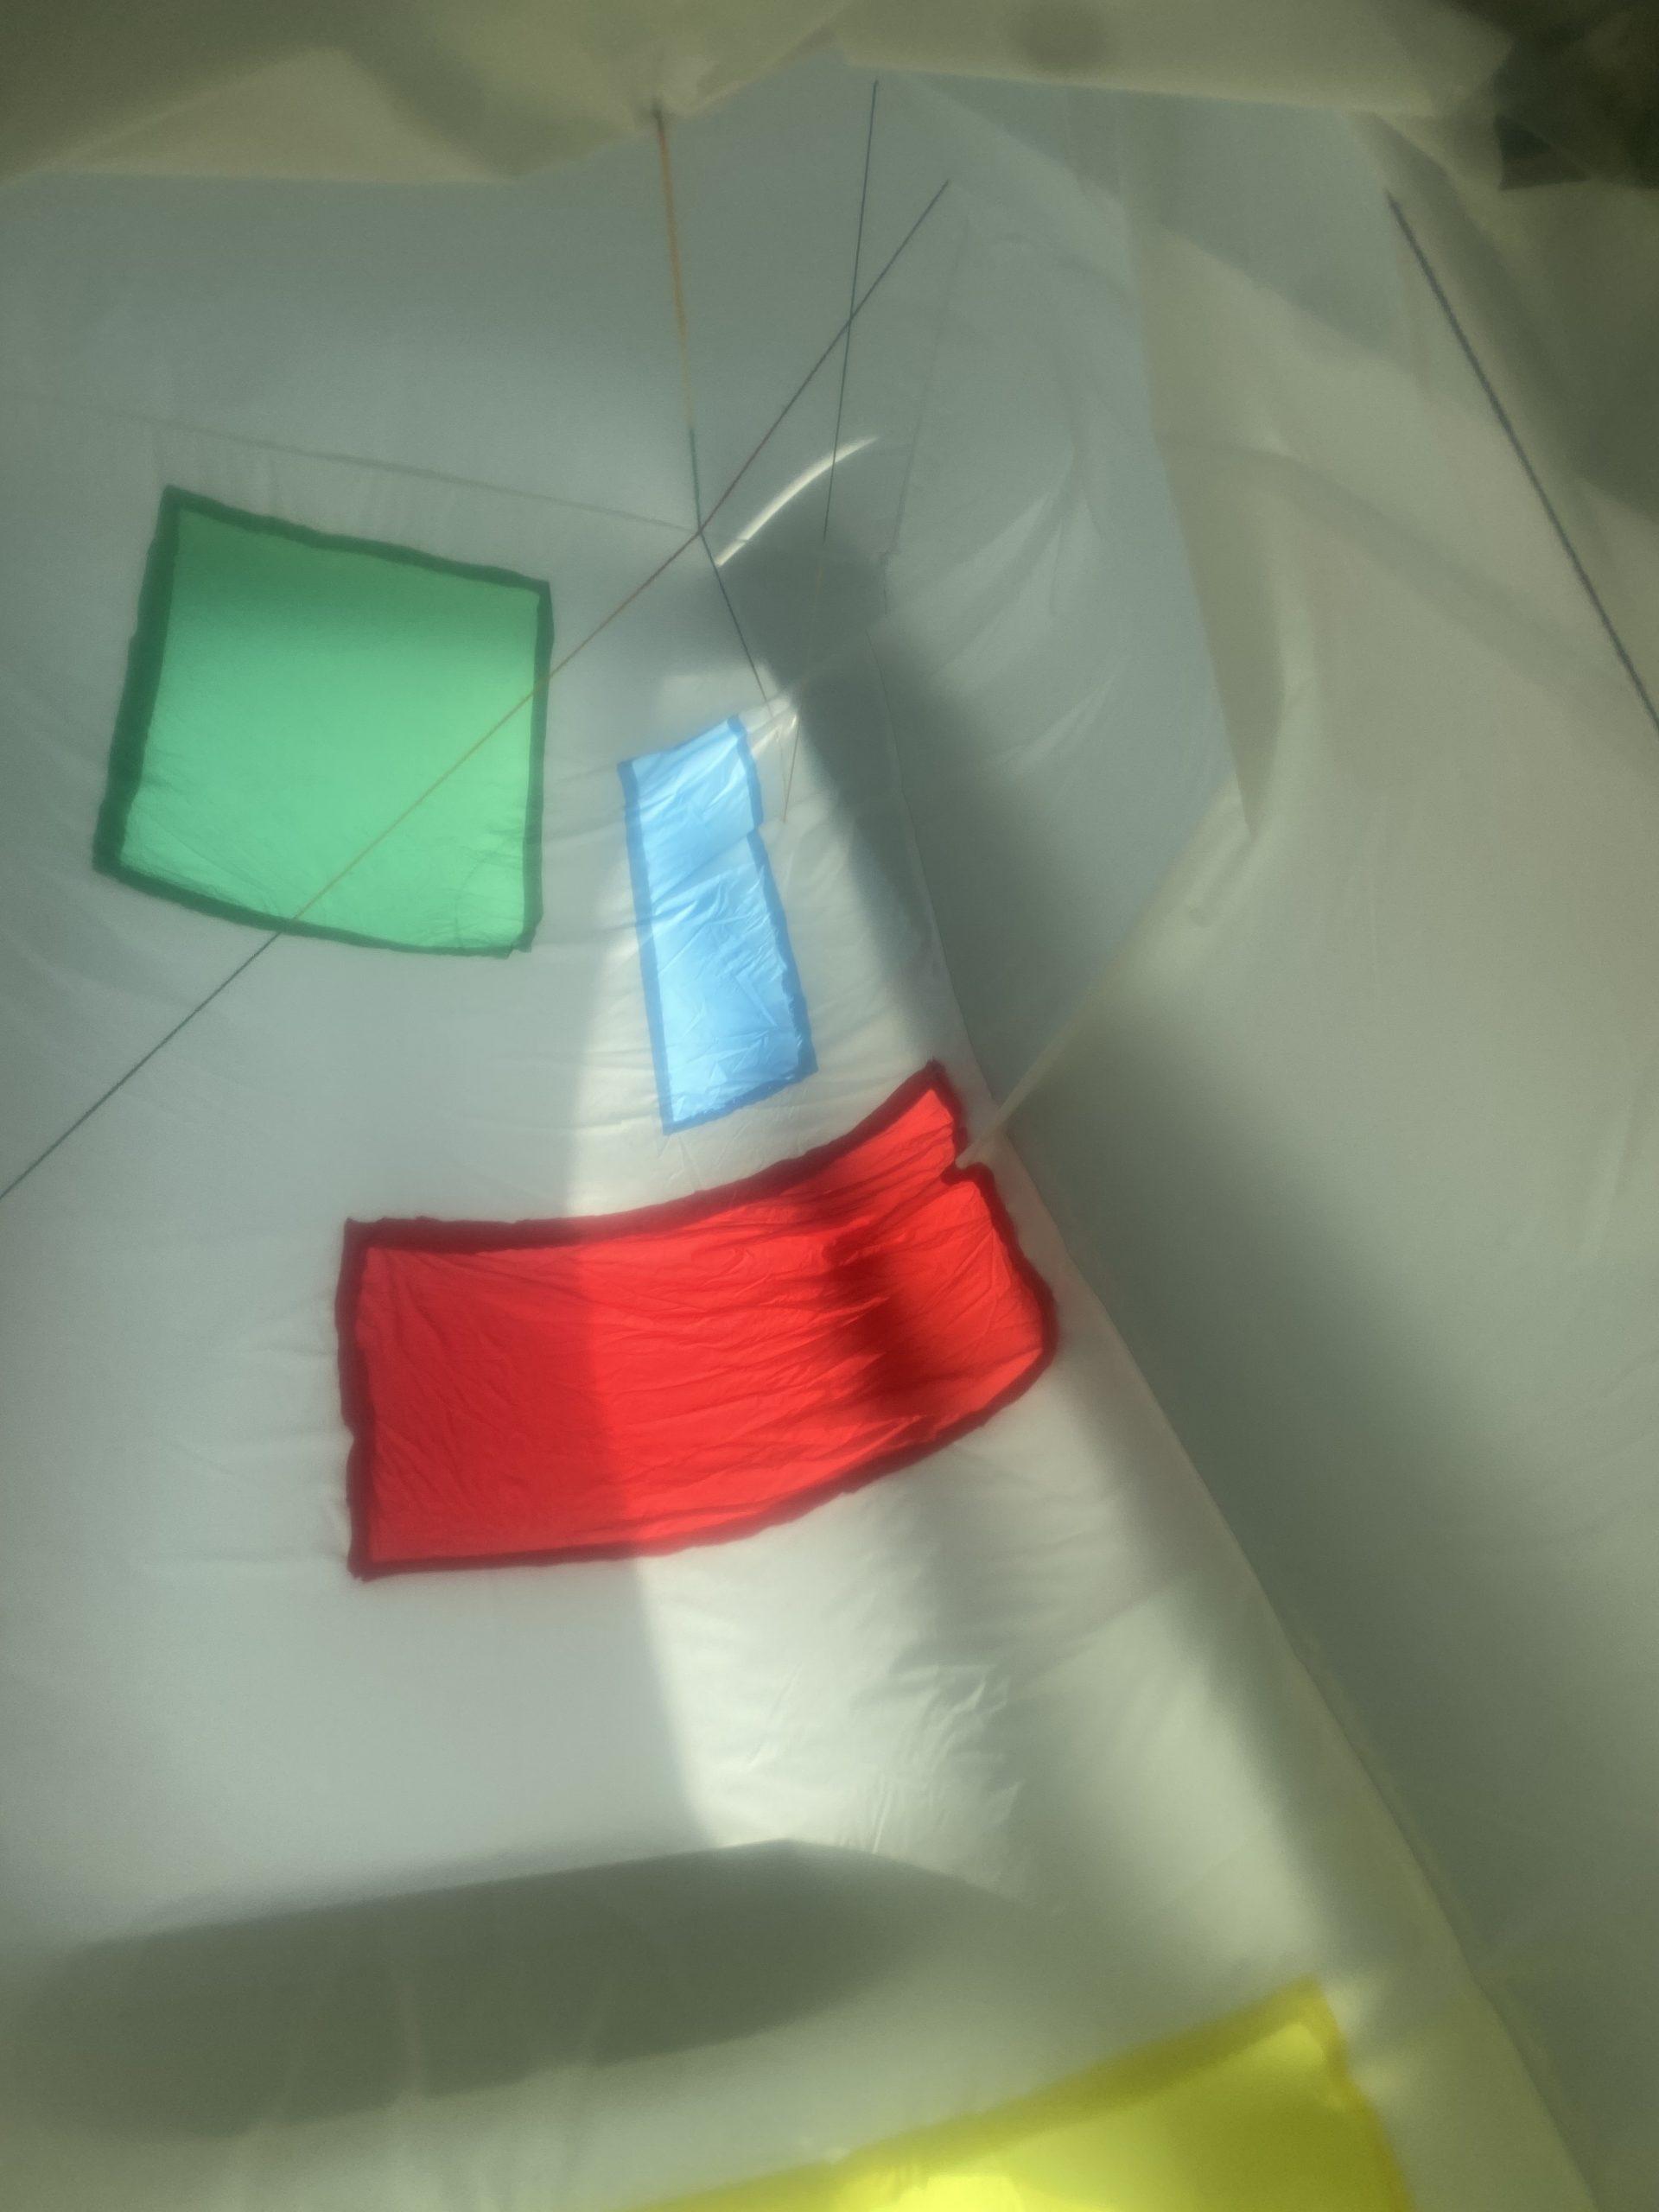
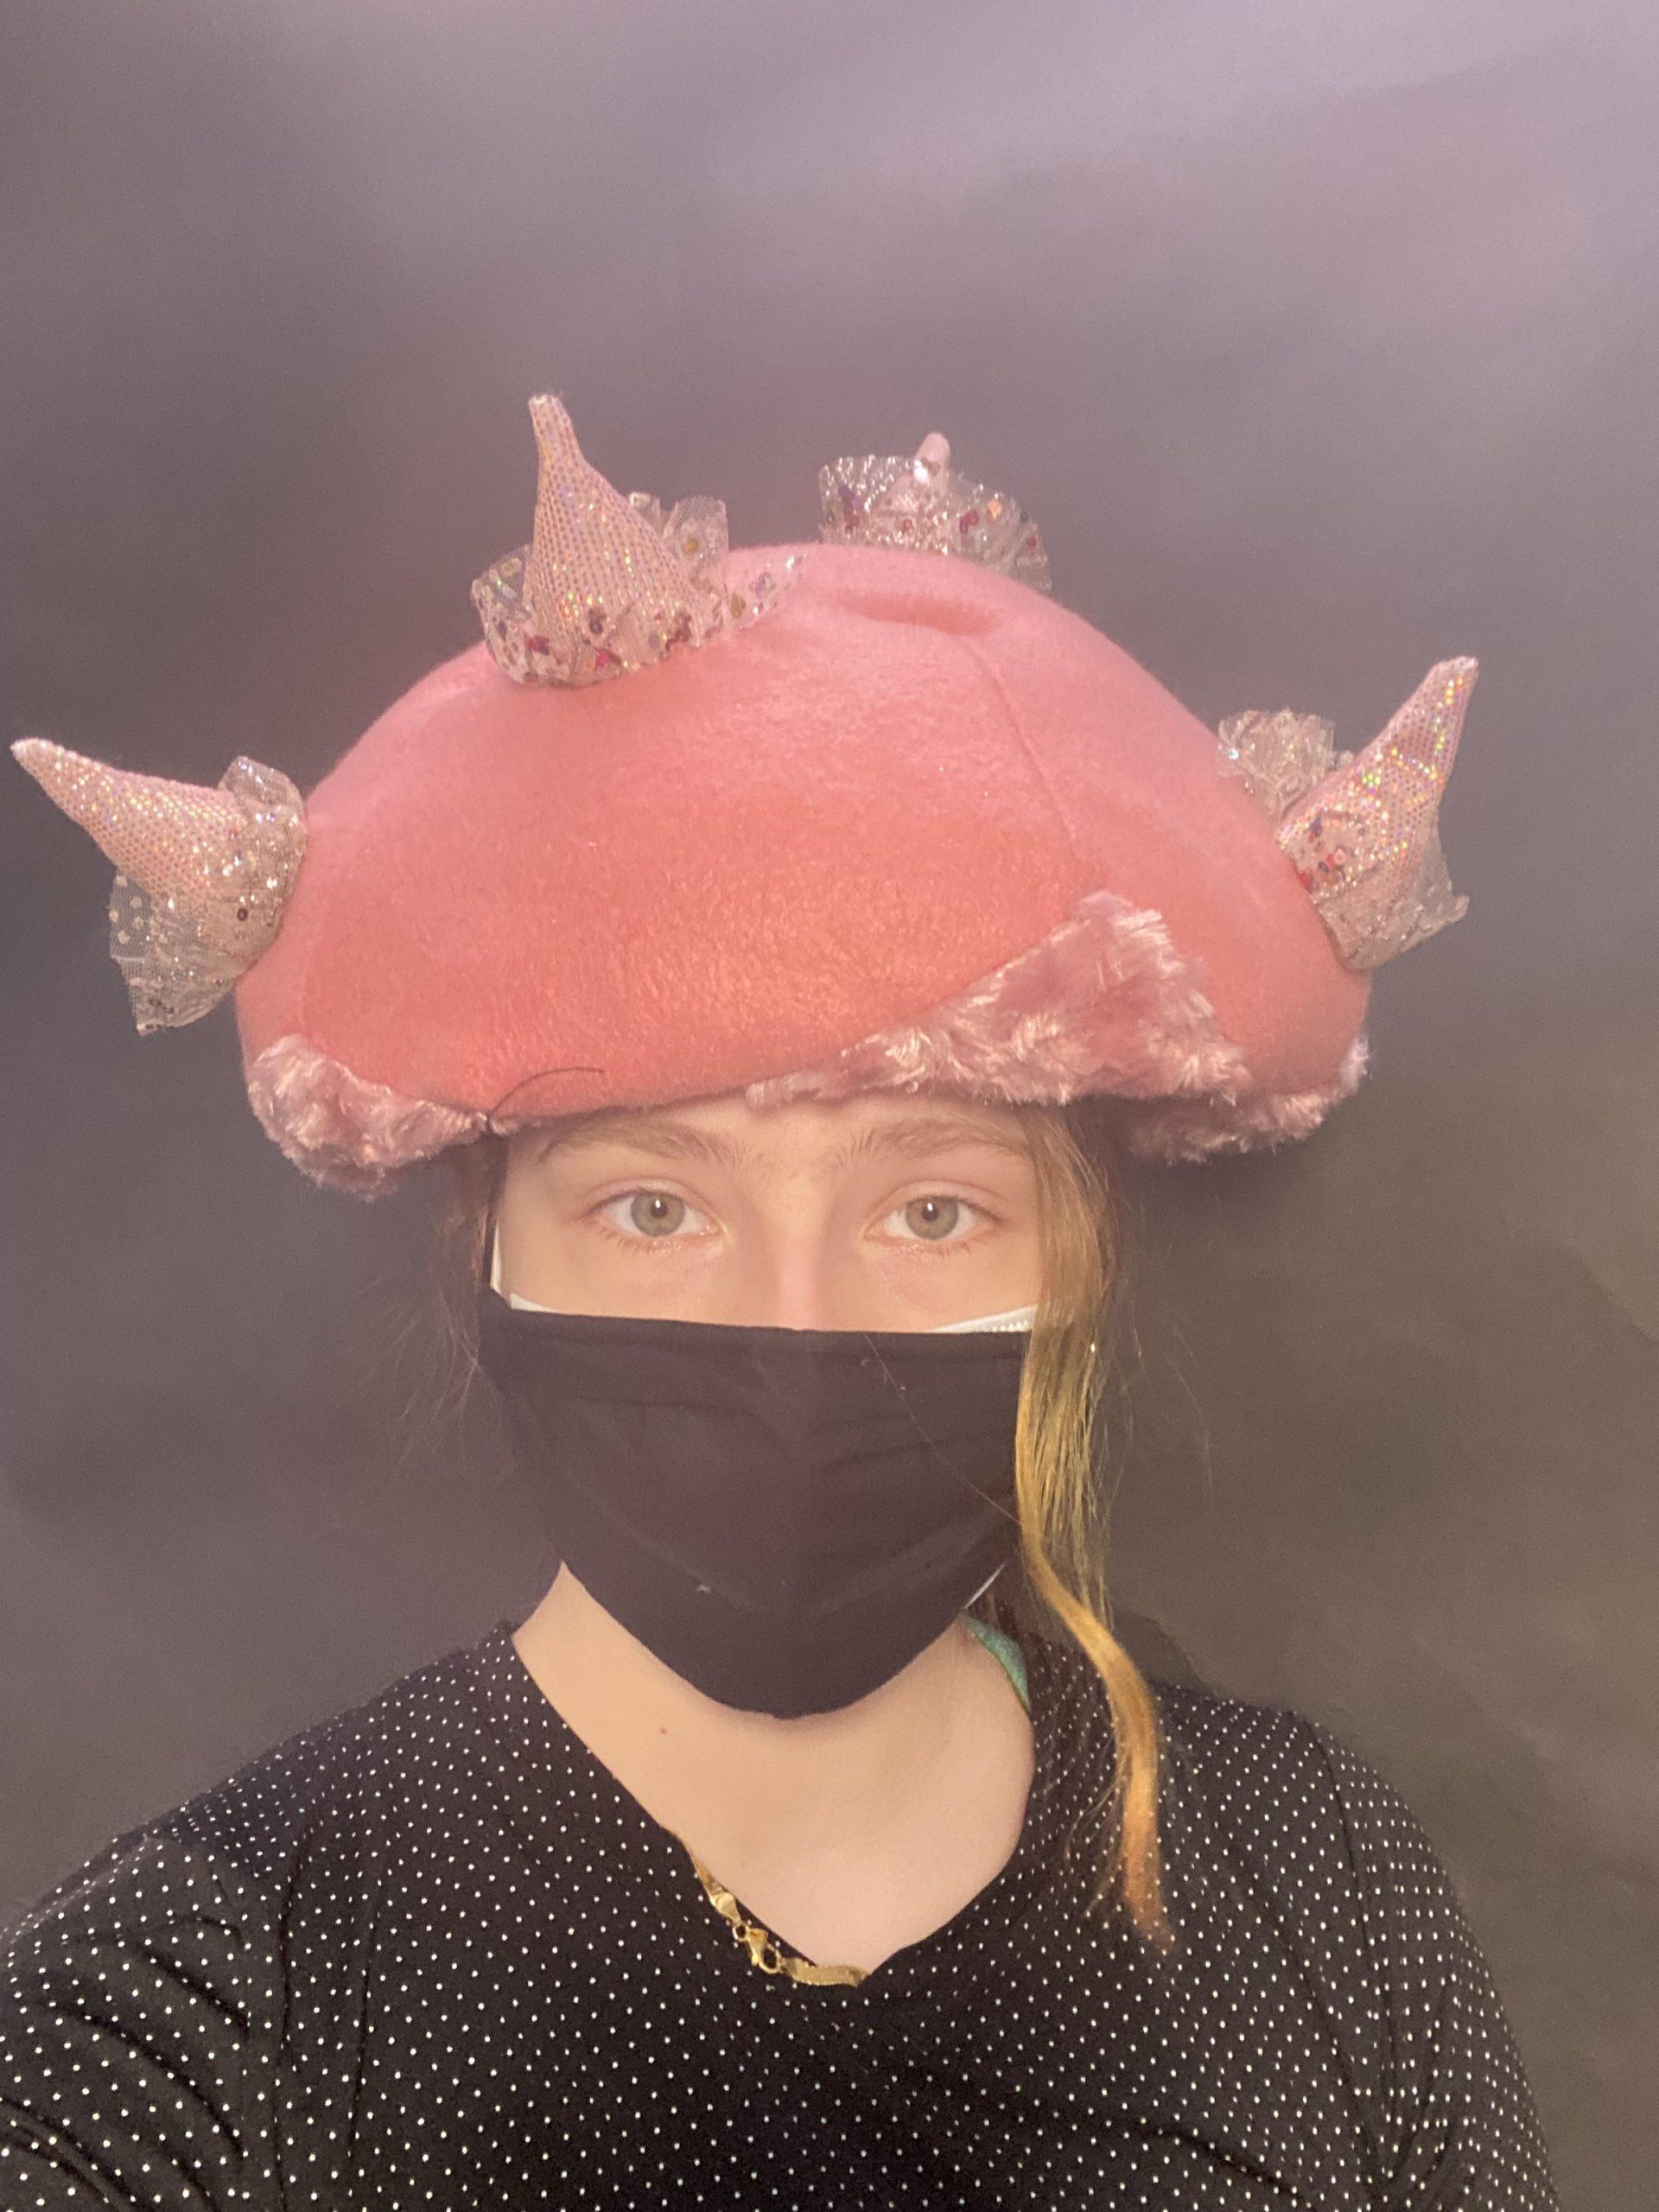
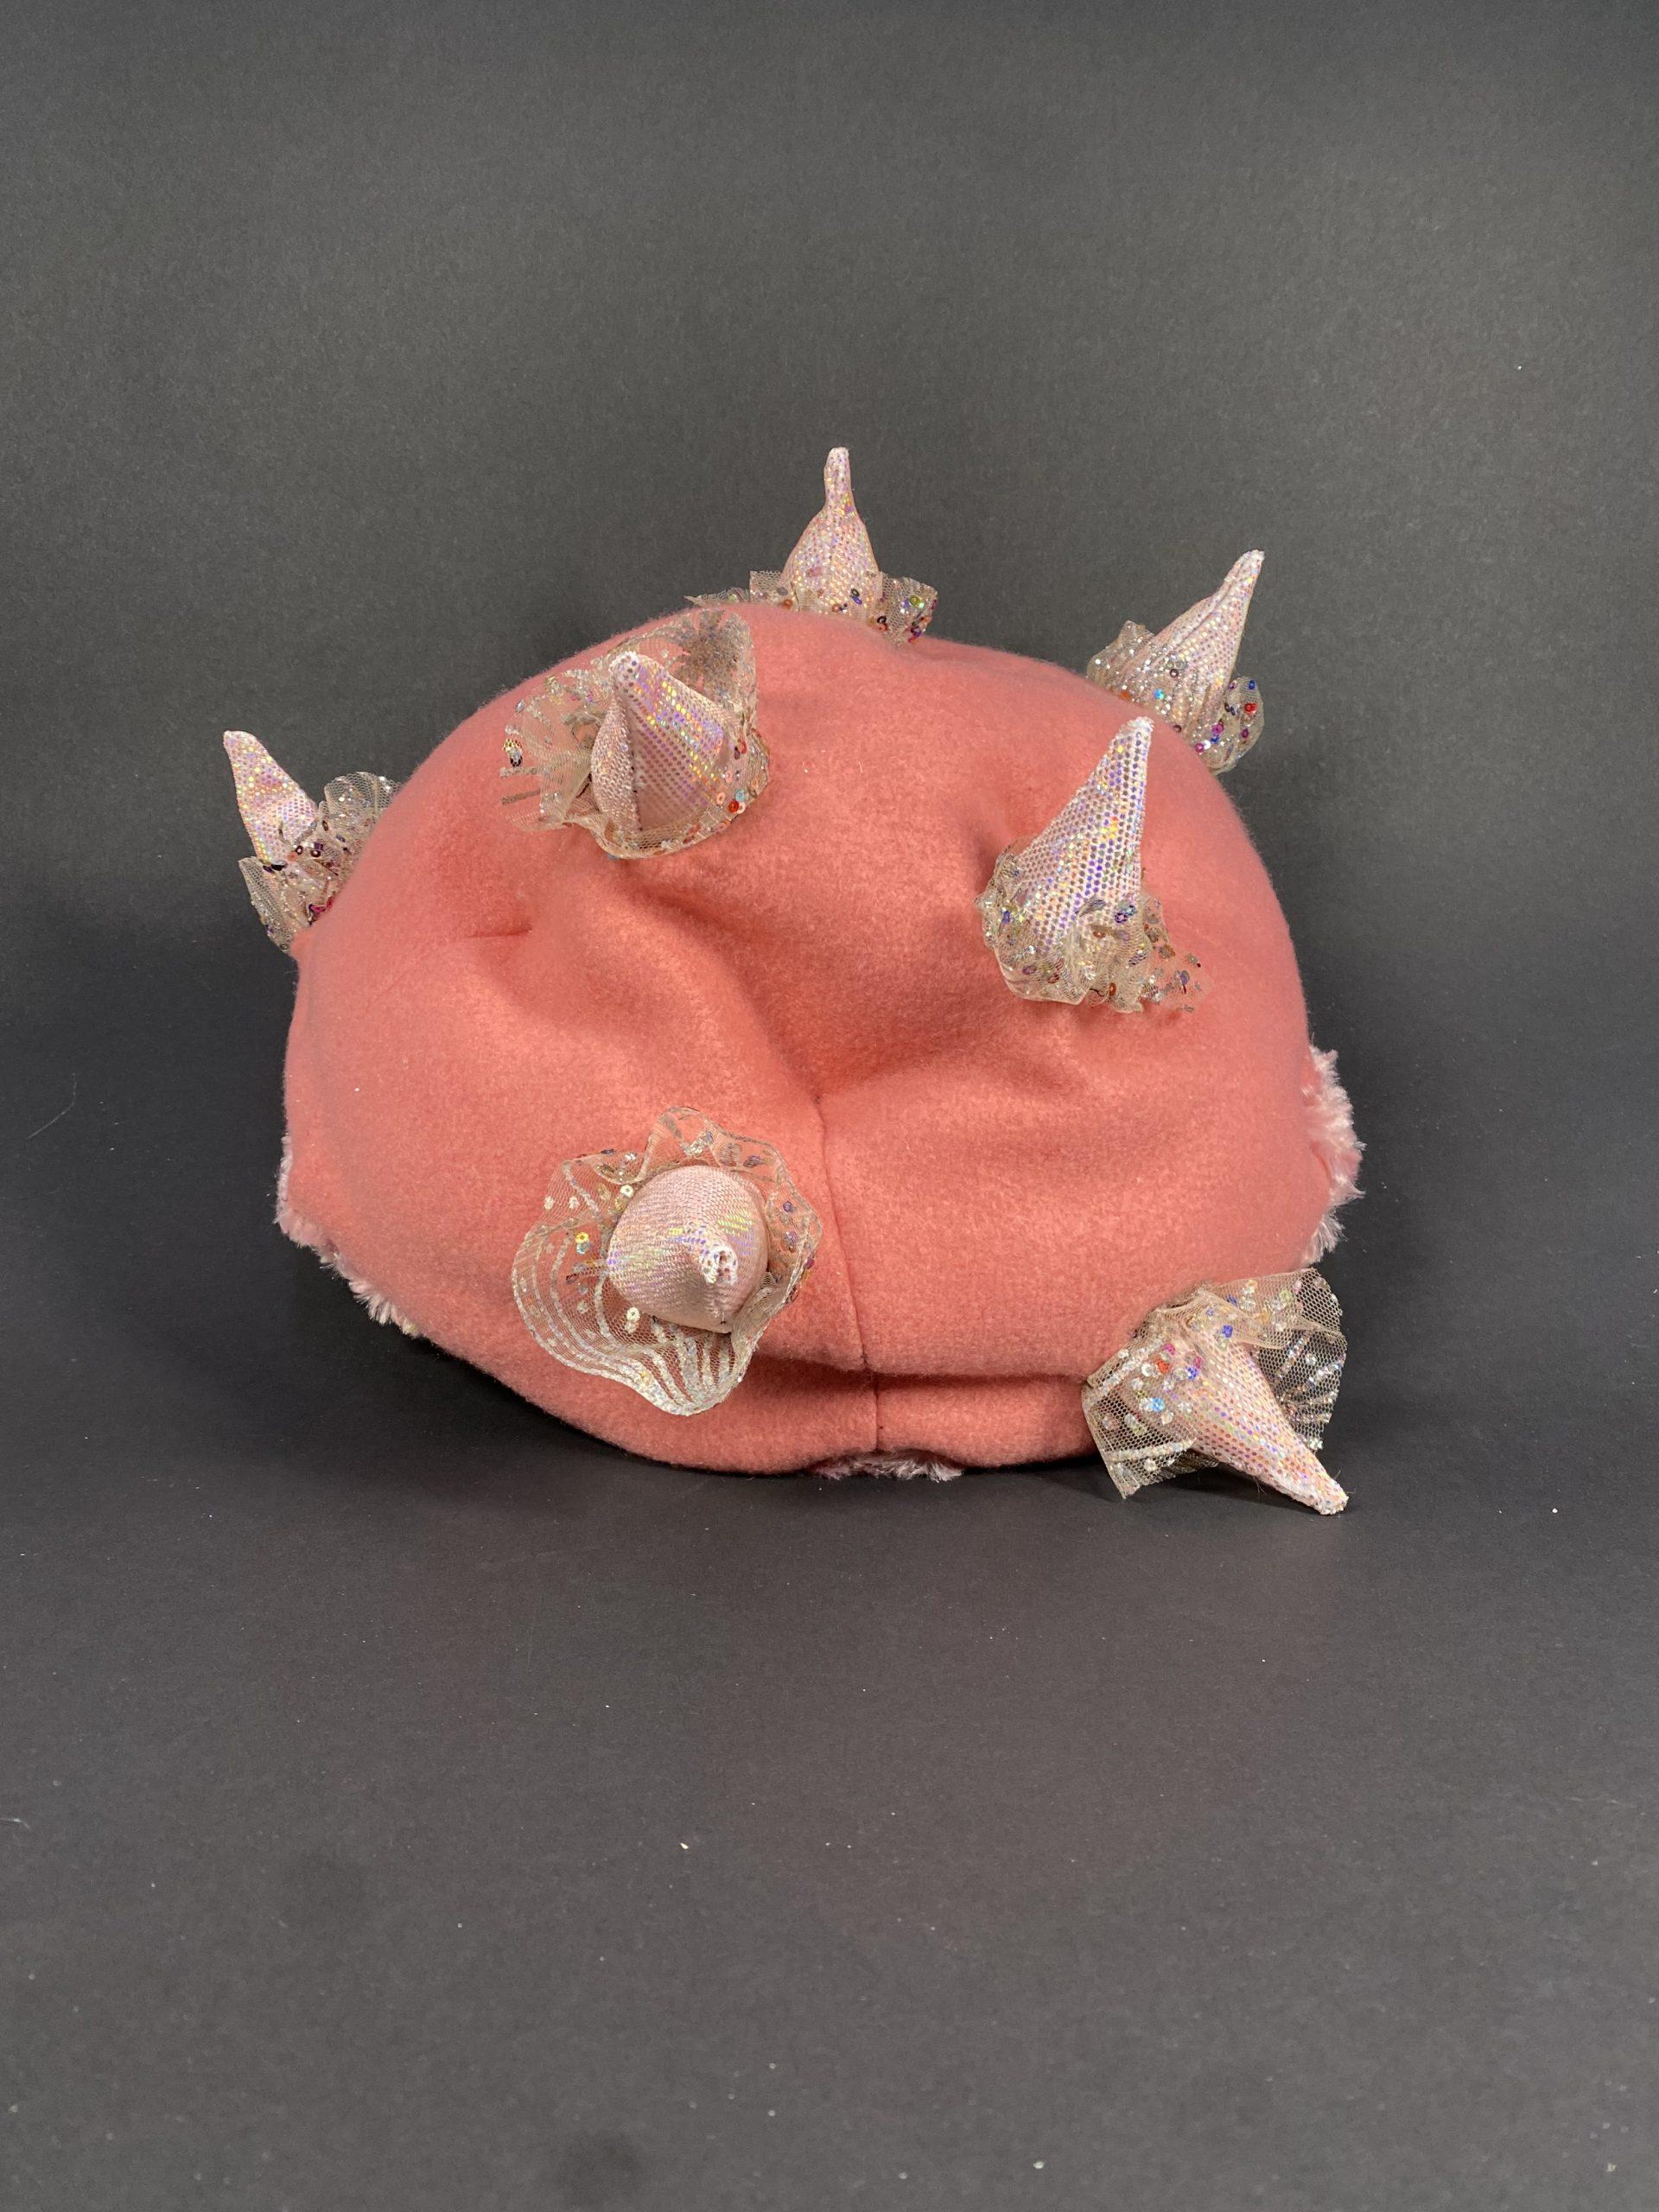
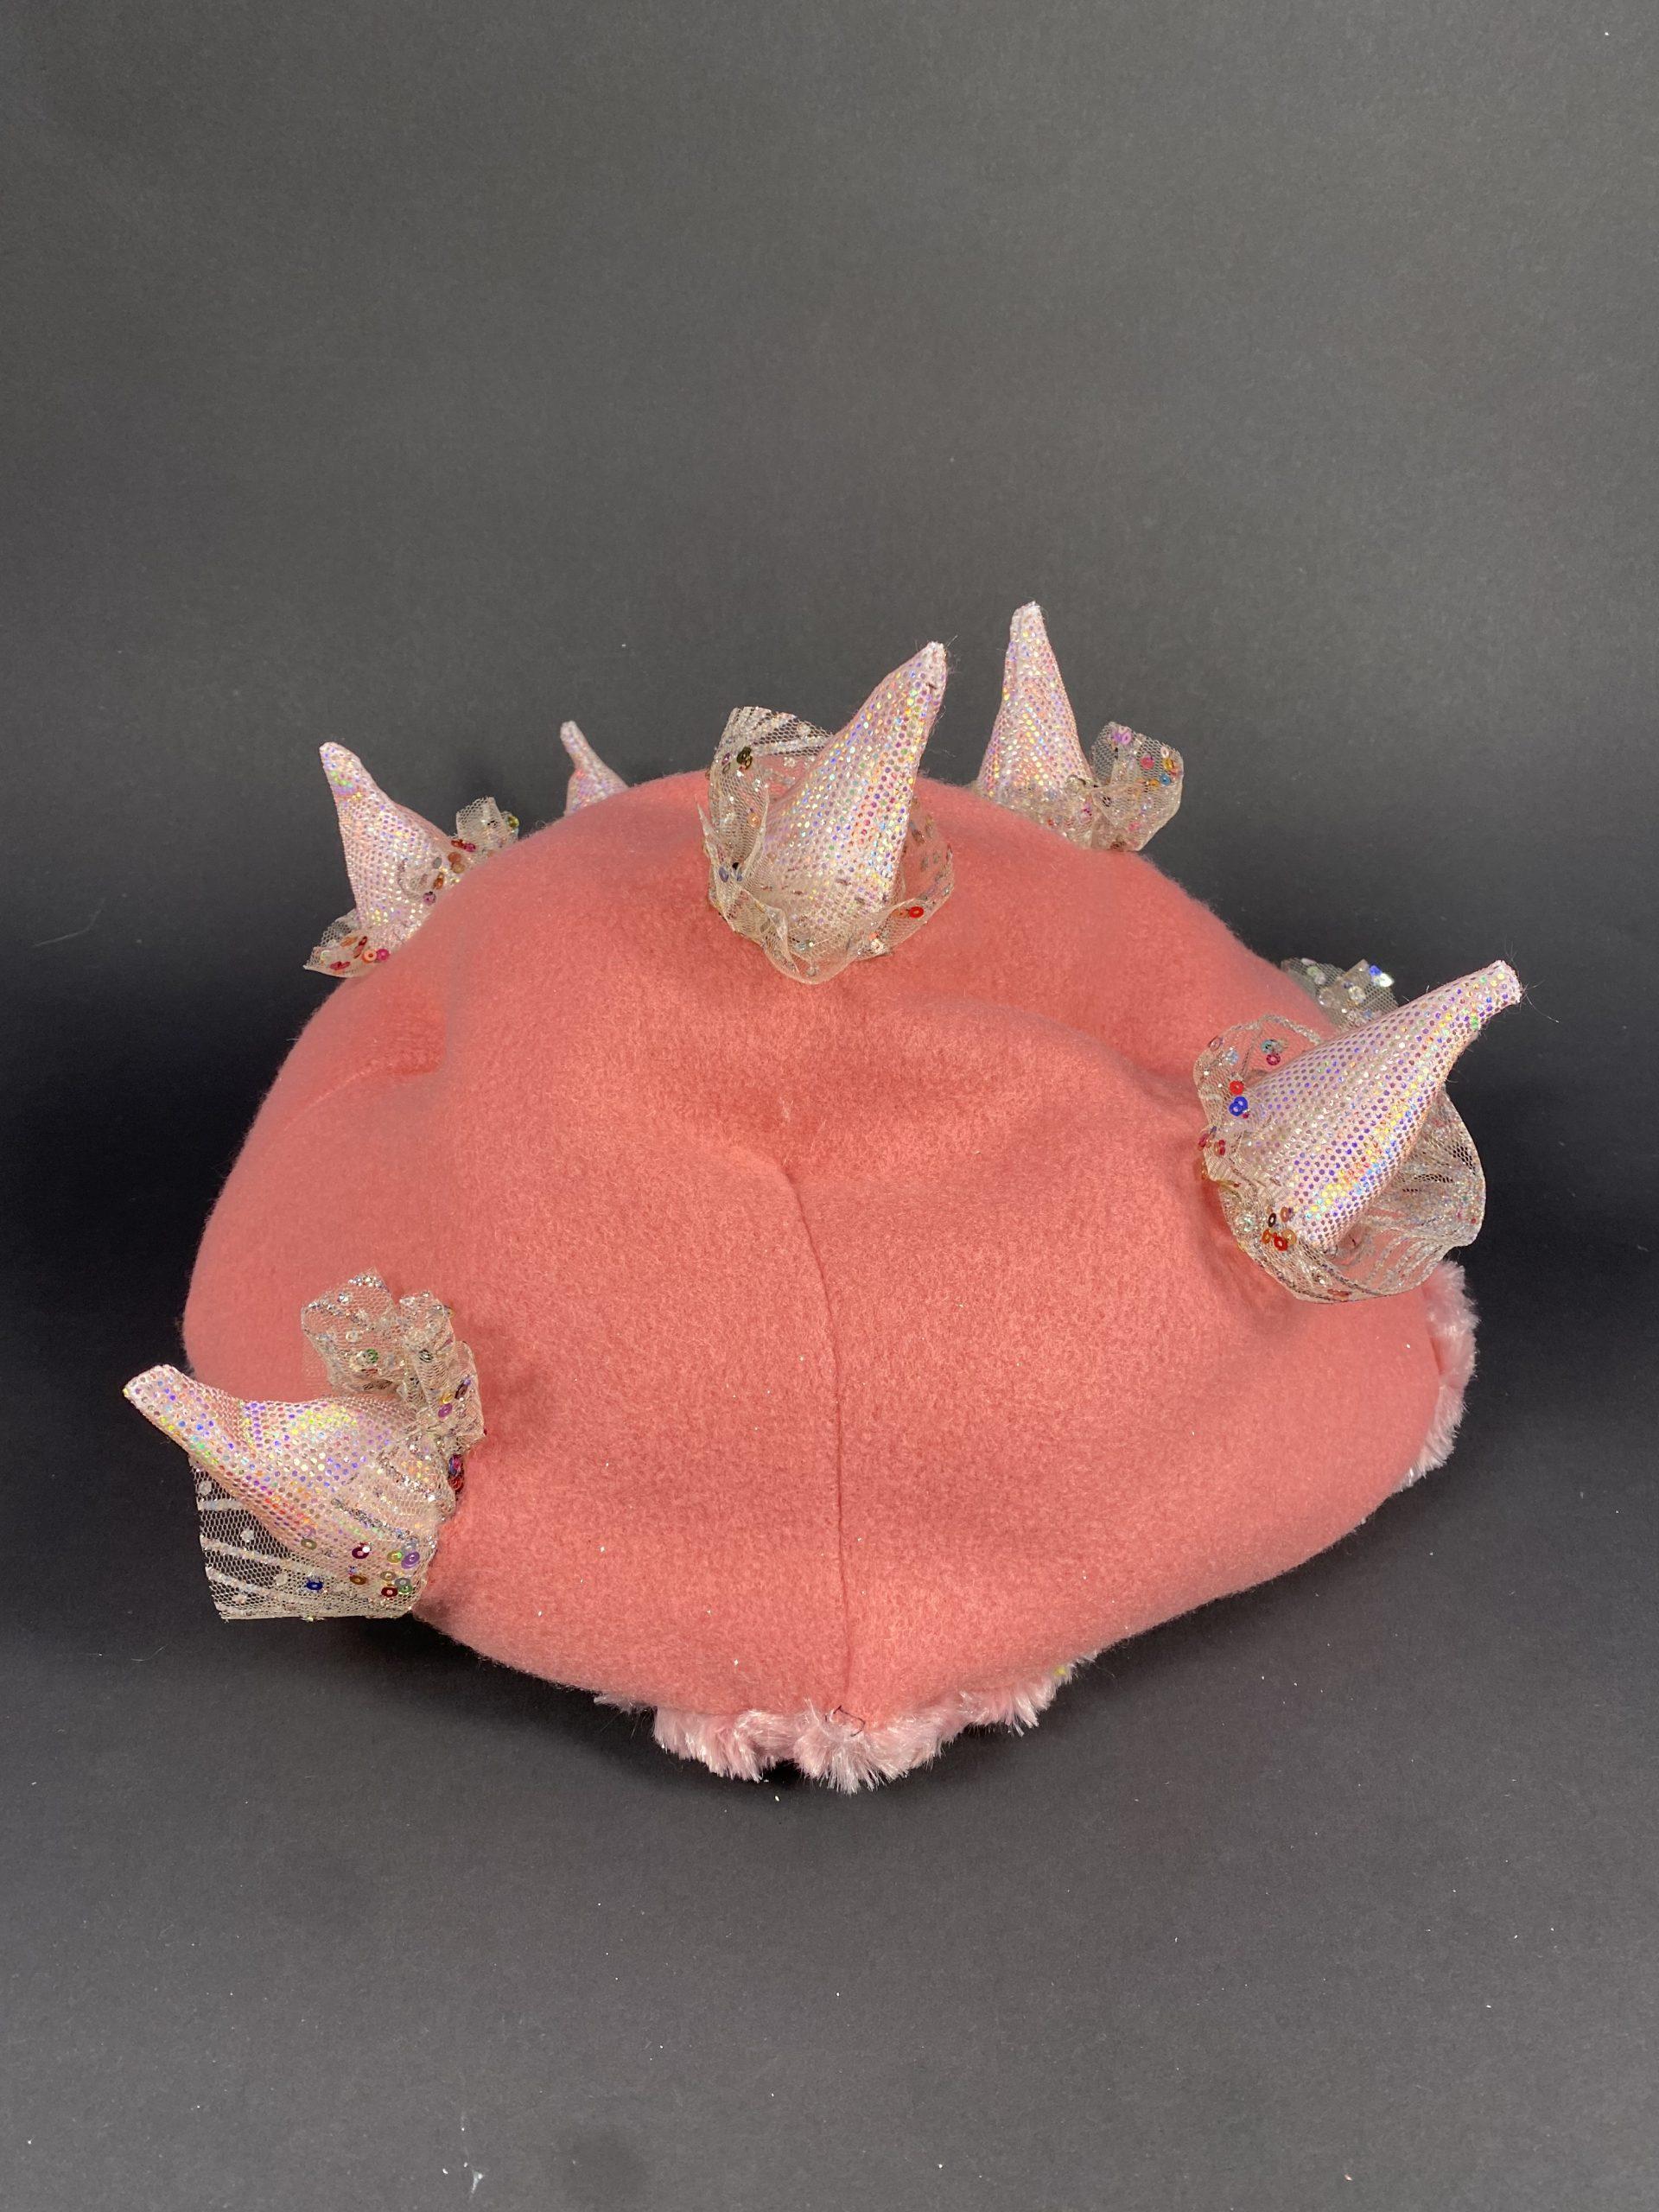
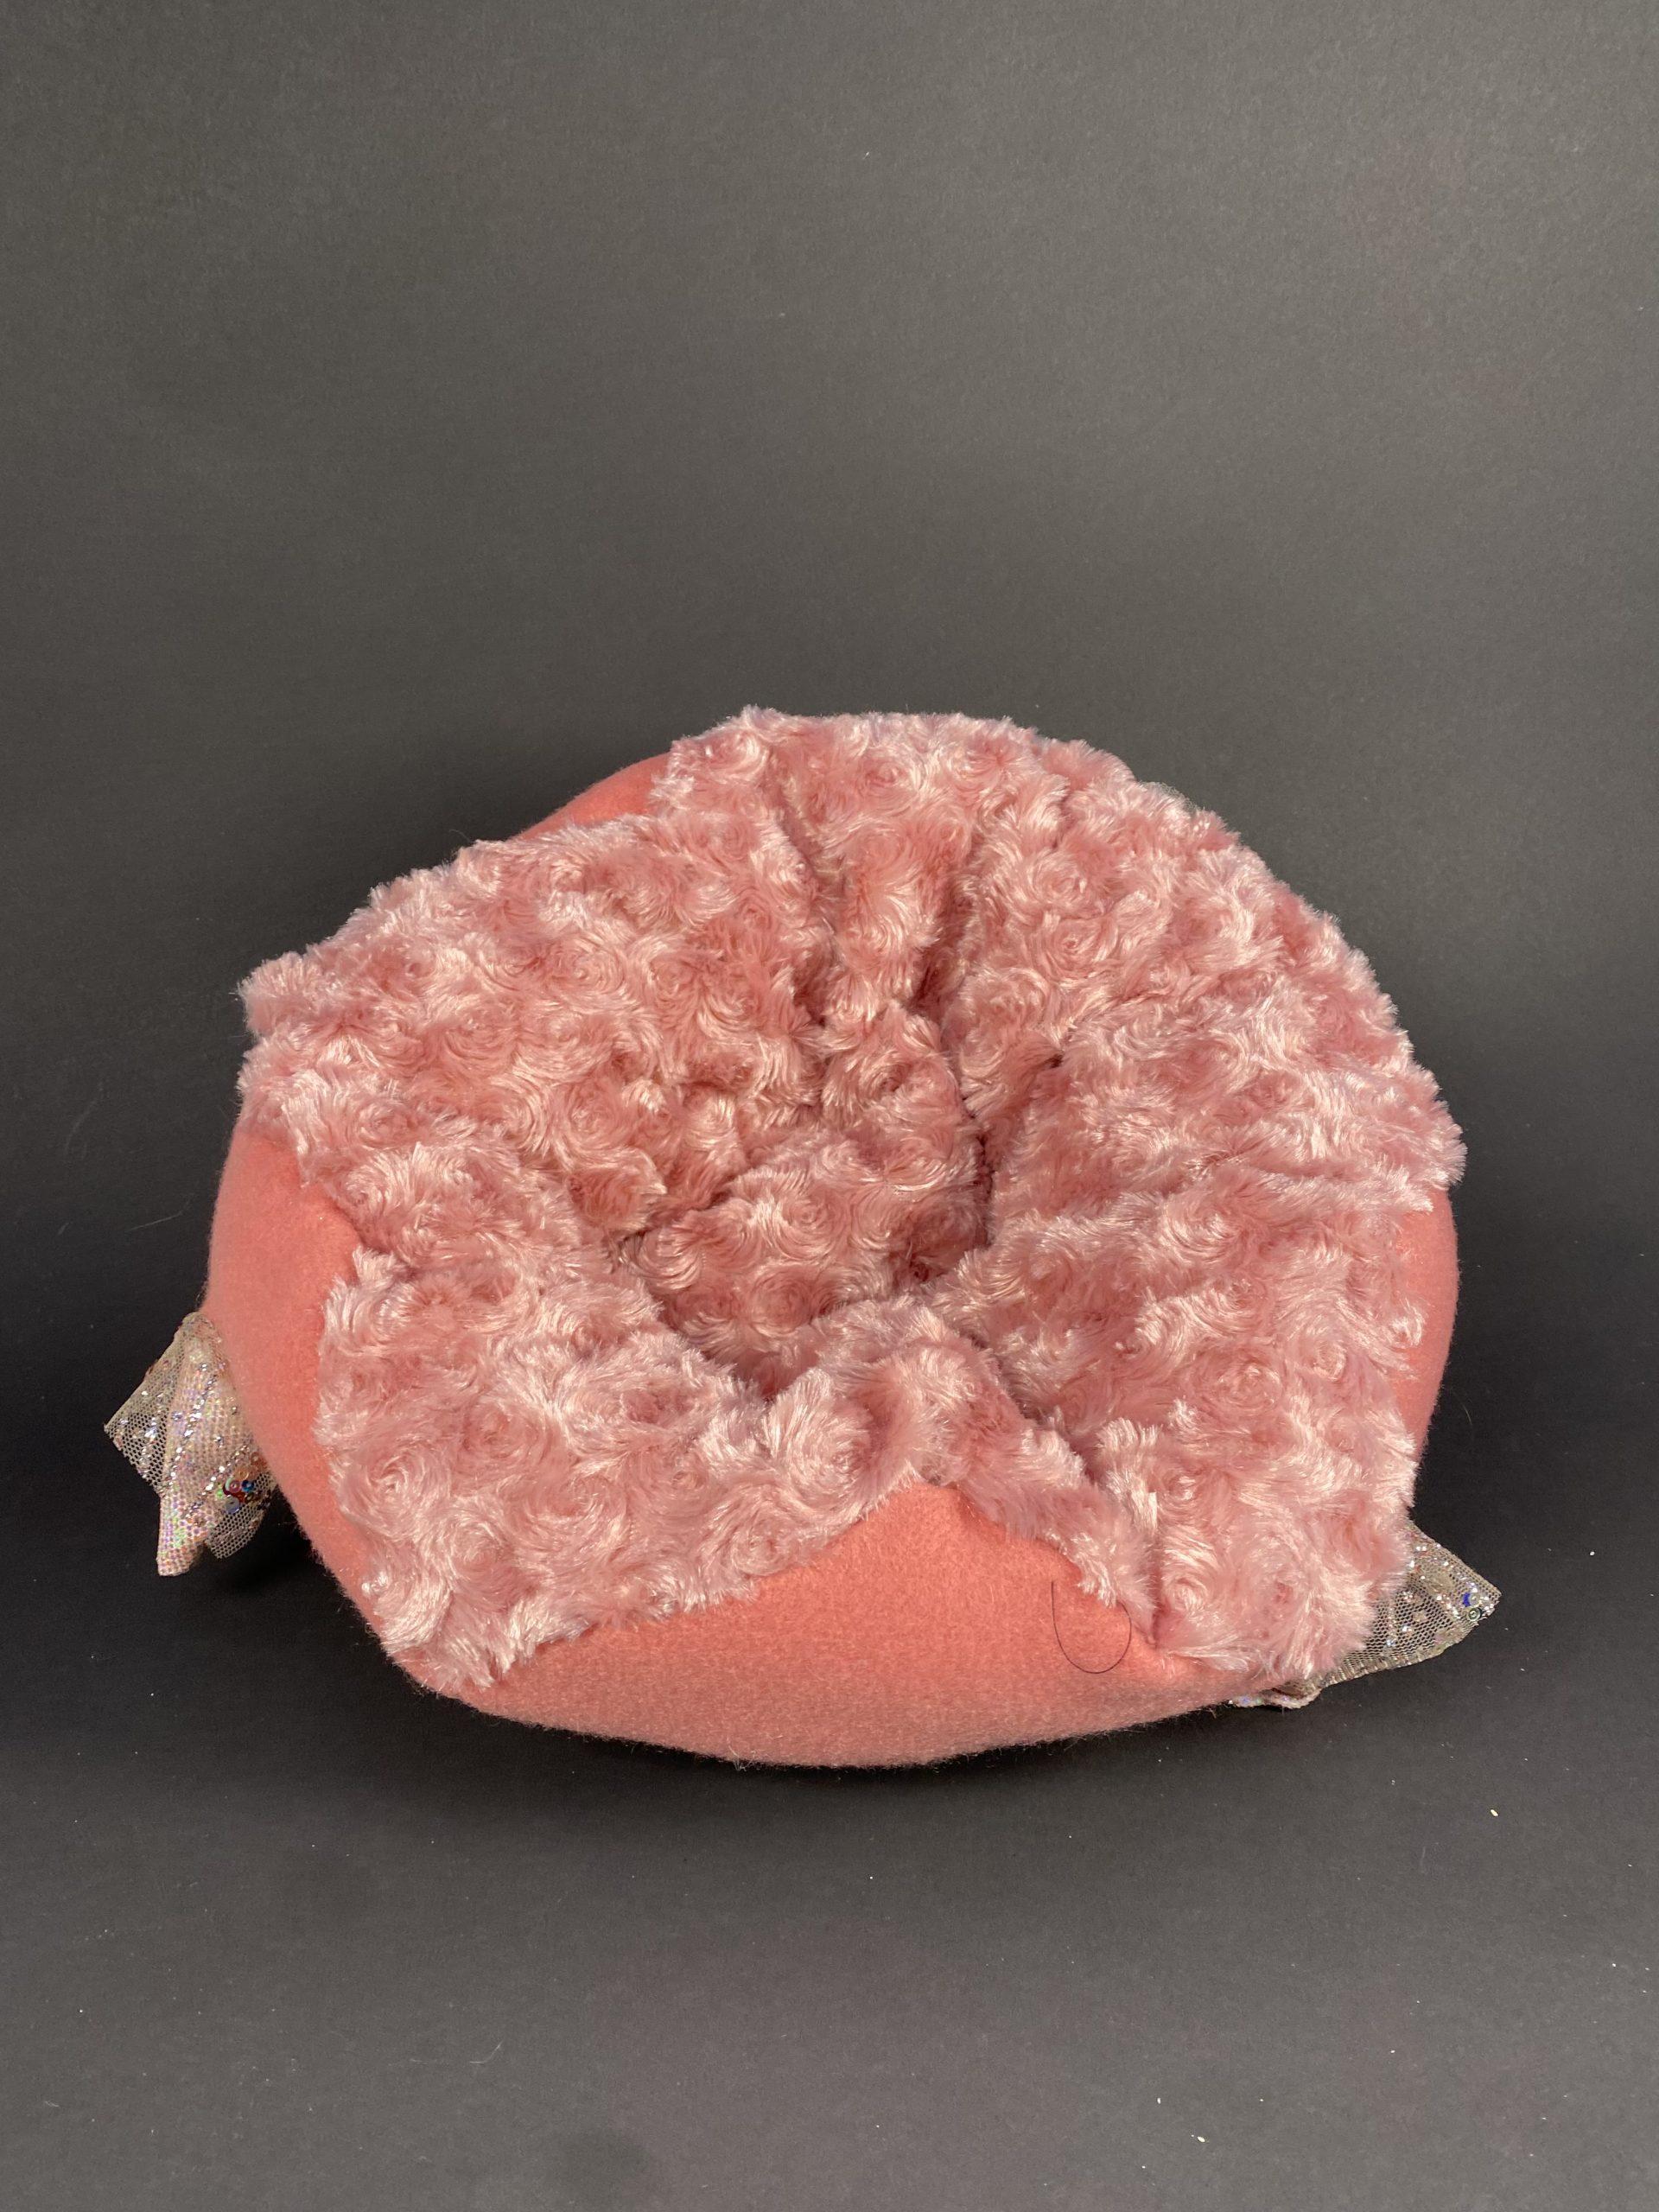
This is the third one I made. I really wanted to try out some of the fun fabrics so I finally got to here. I modified half of the sphere pattern when making it so that the inside sphere would be smaller than the outside one, which kind of worked but it was hard to keep it symmetrical and to stuff it evenly. I like that it is a soft hat though. I put a lot of thought into how I was going to create this and I was able to follow the process I thought of pretty well, so that was nice, but it also took a longgggg time, especially because the cones were so small.

Visual Portfolio, Posts & Image Gallery for WordPress

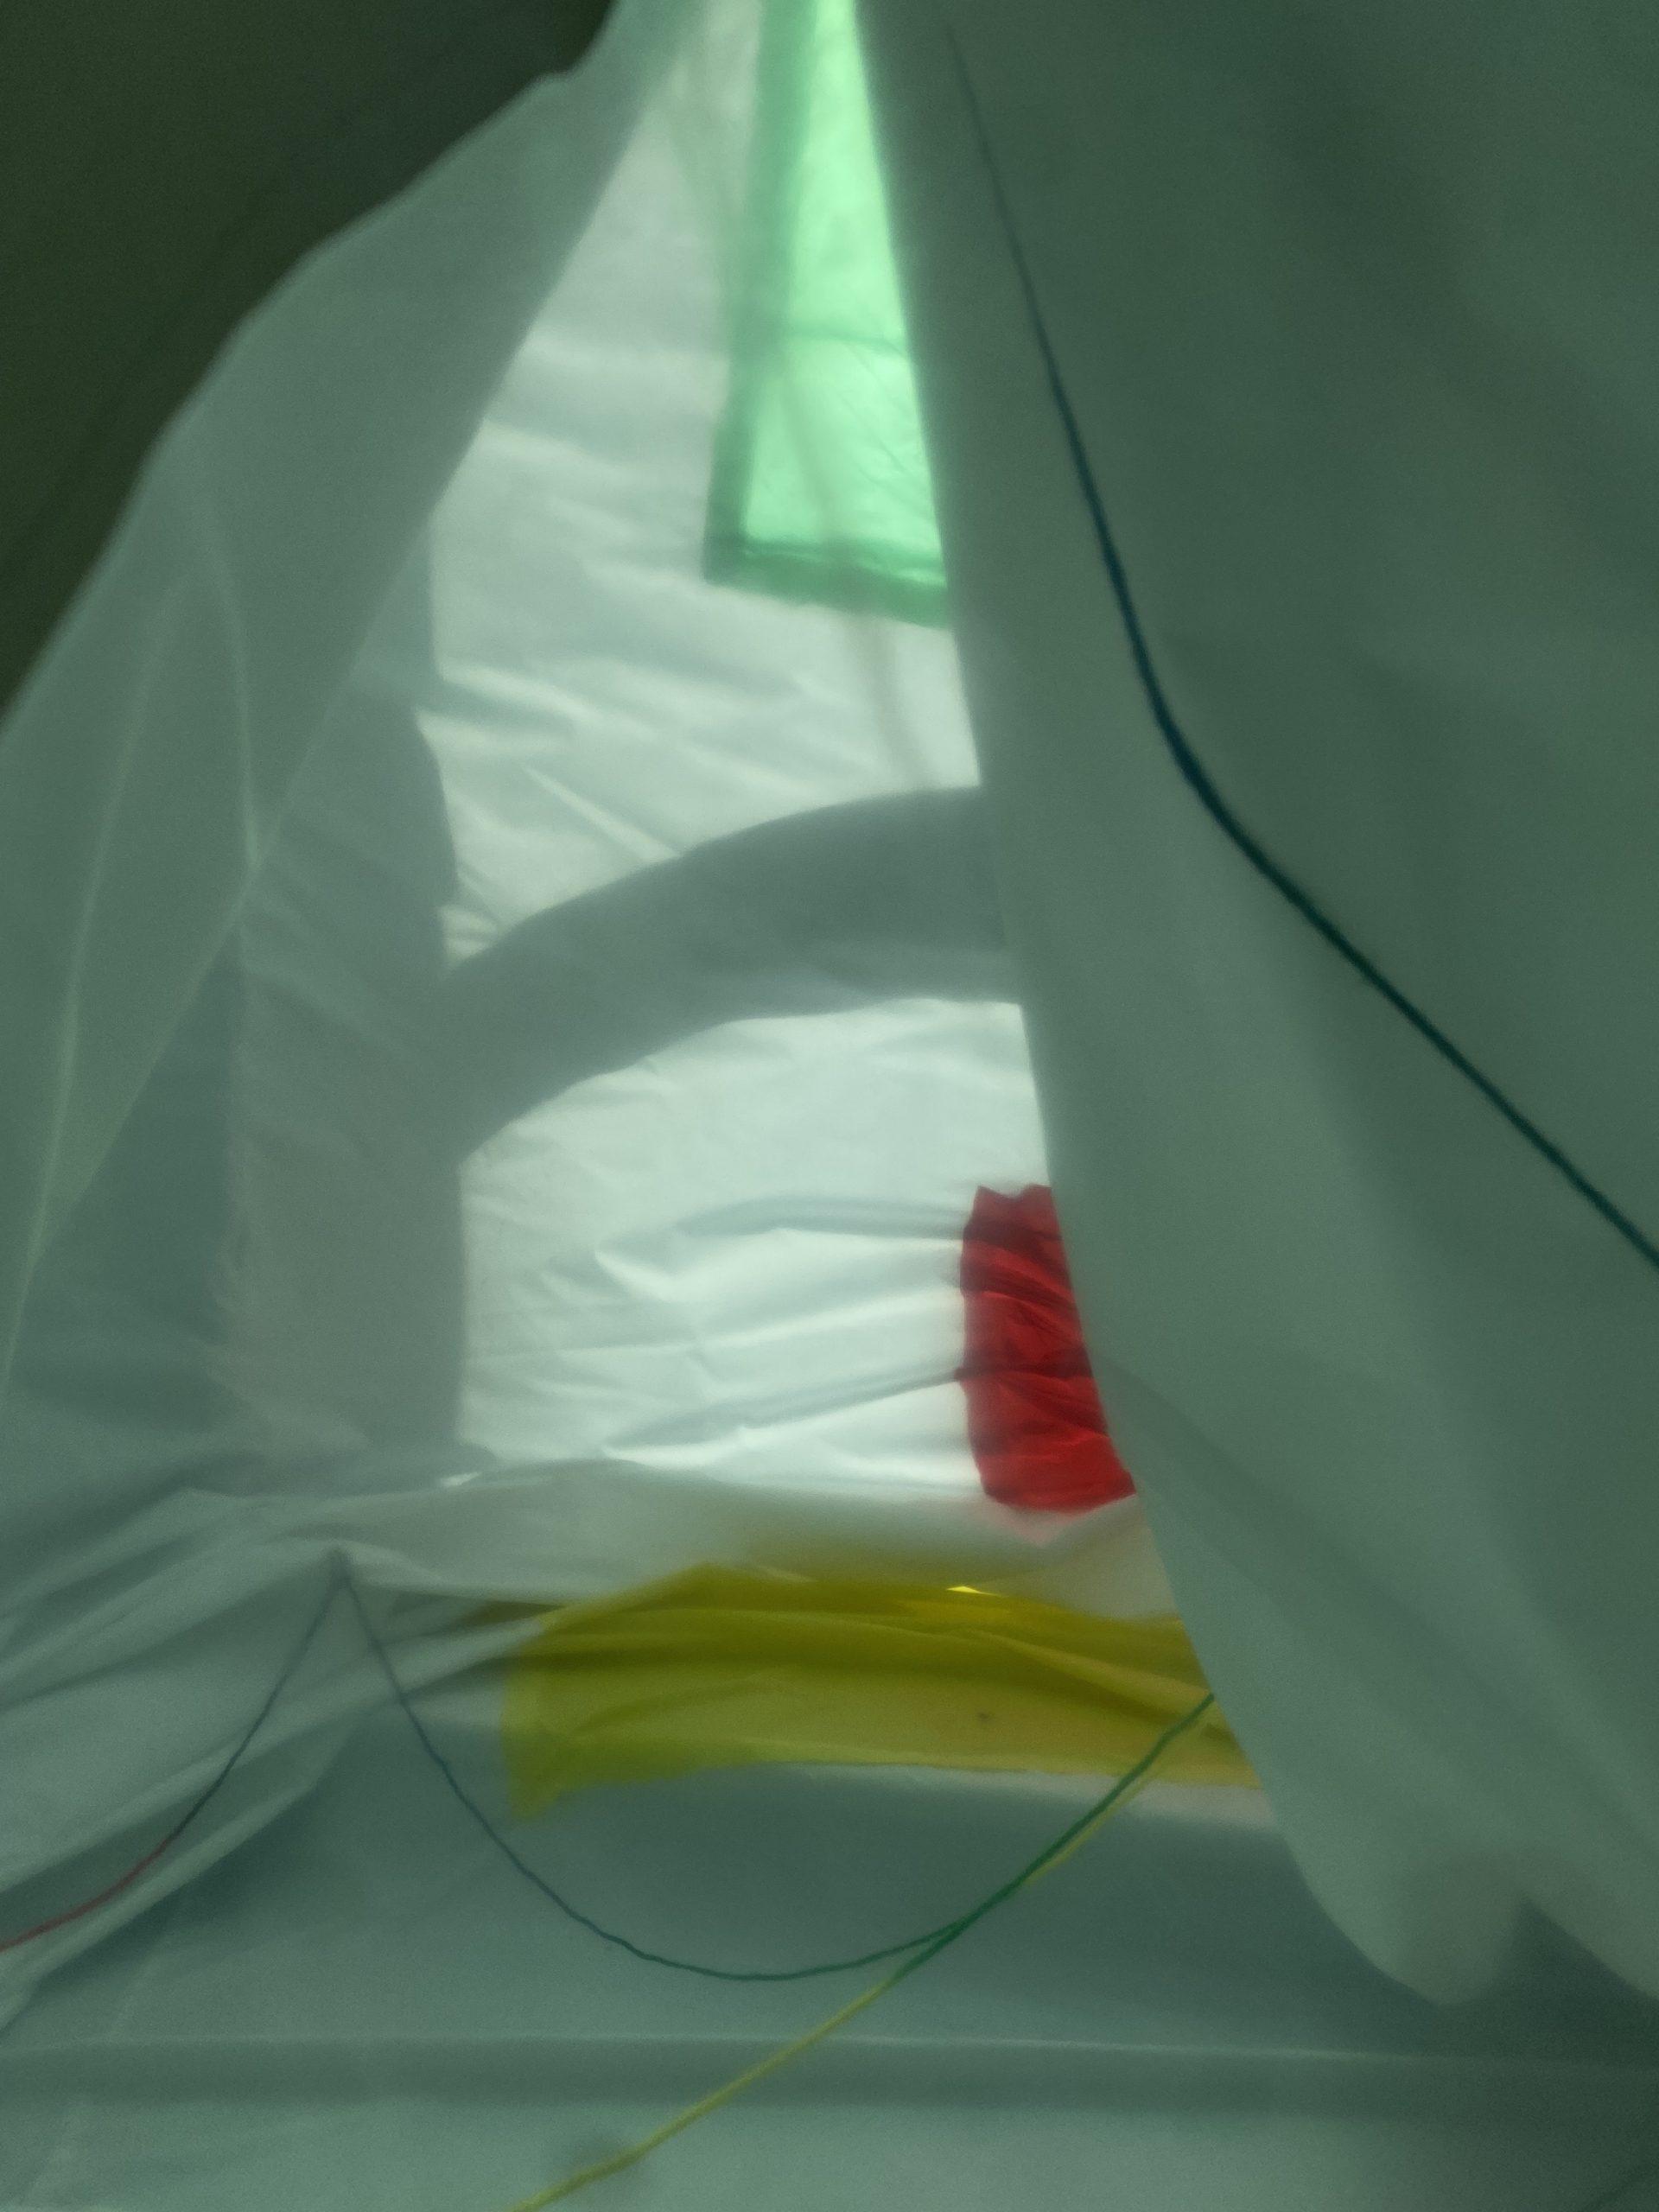
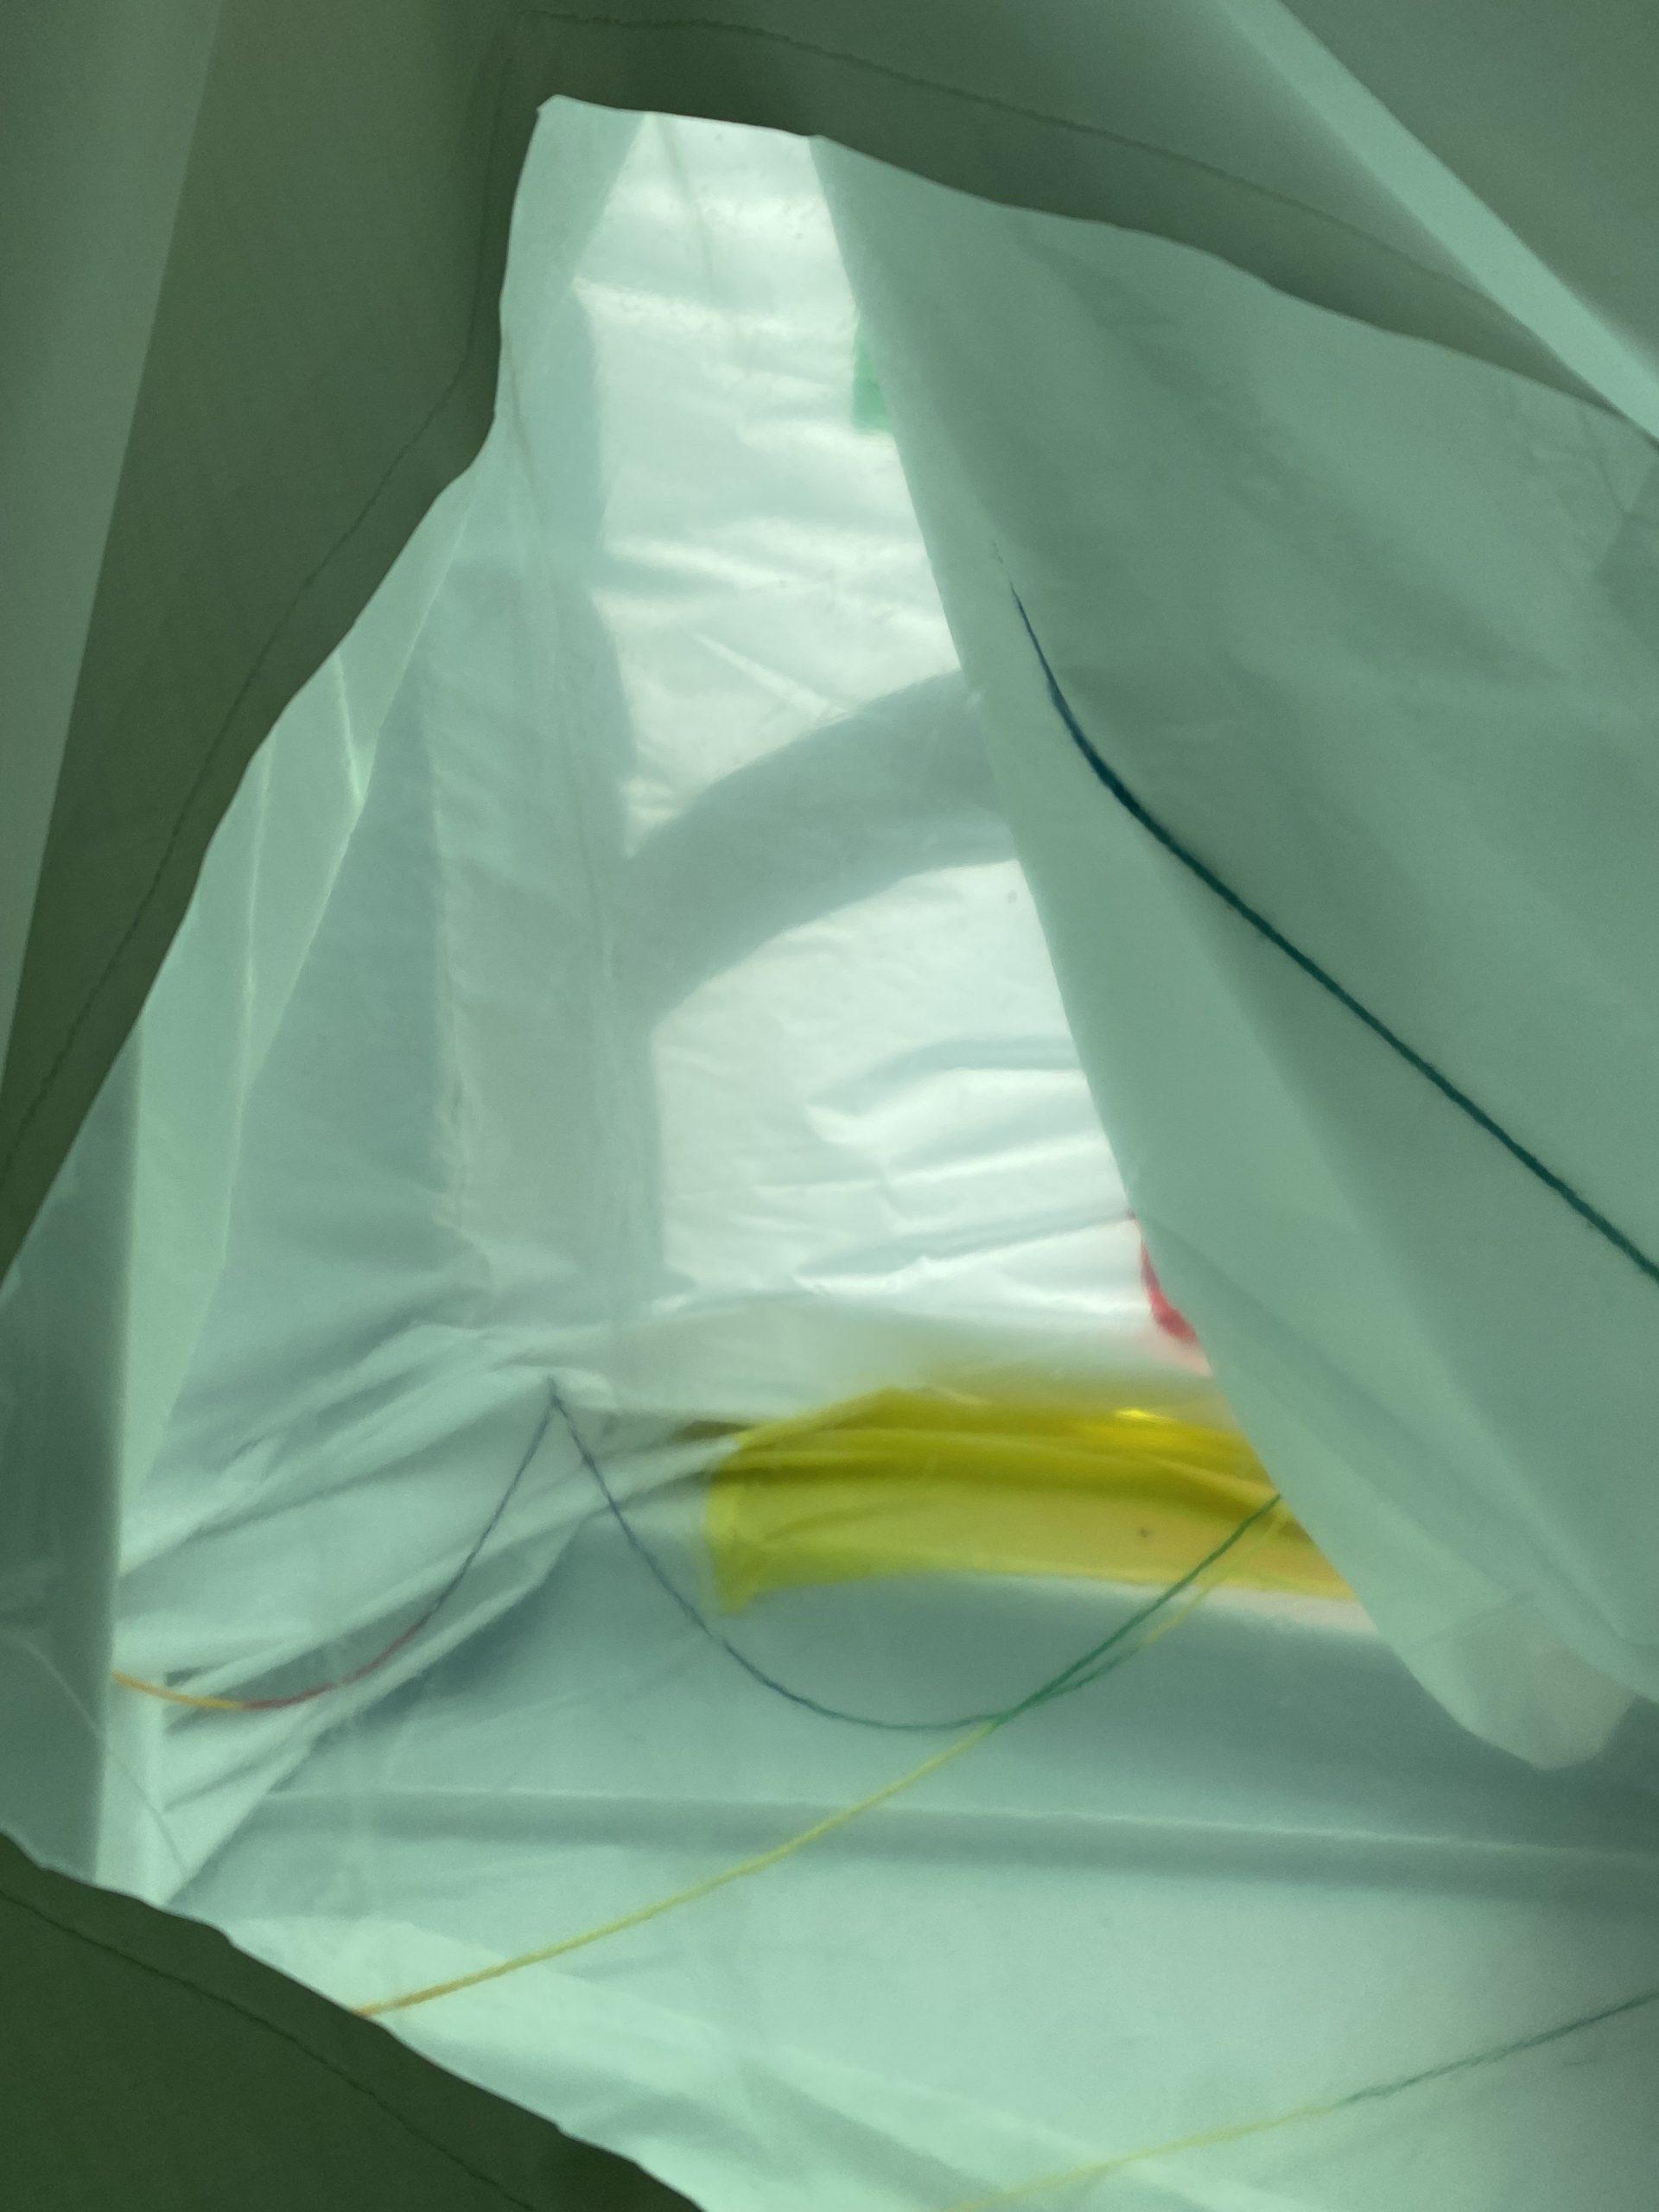
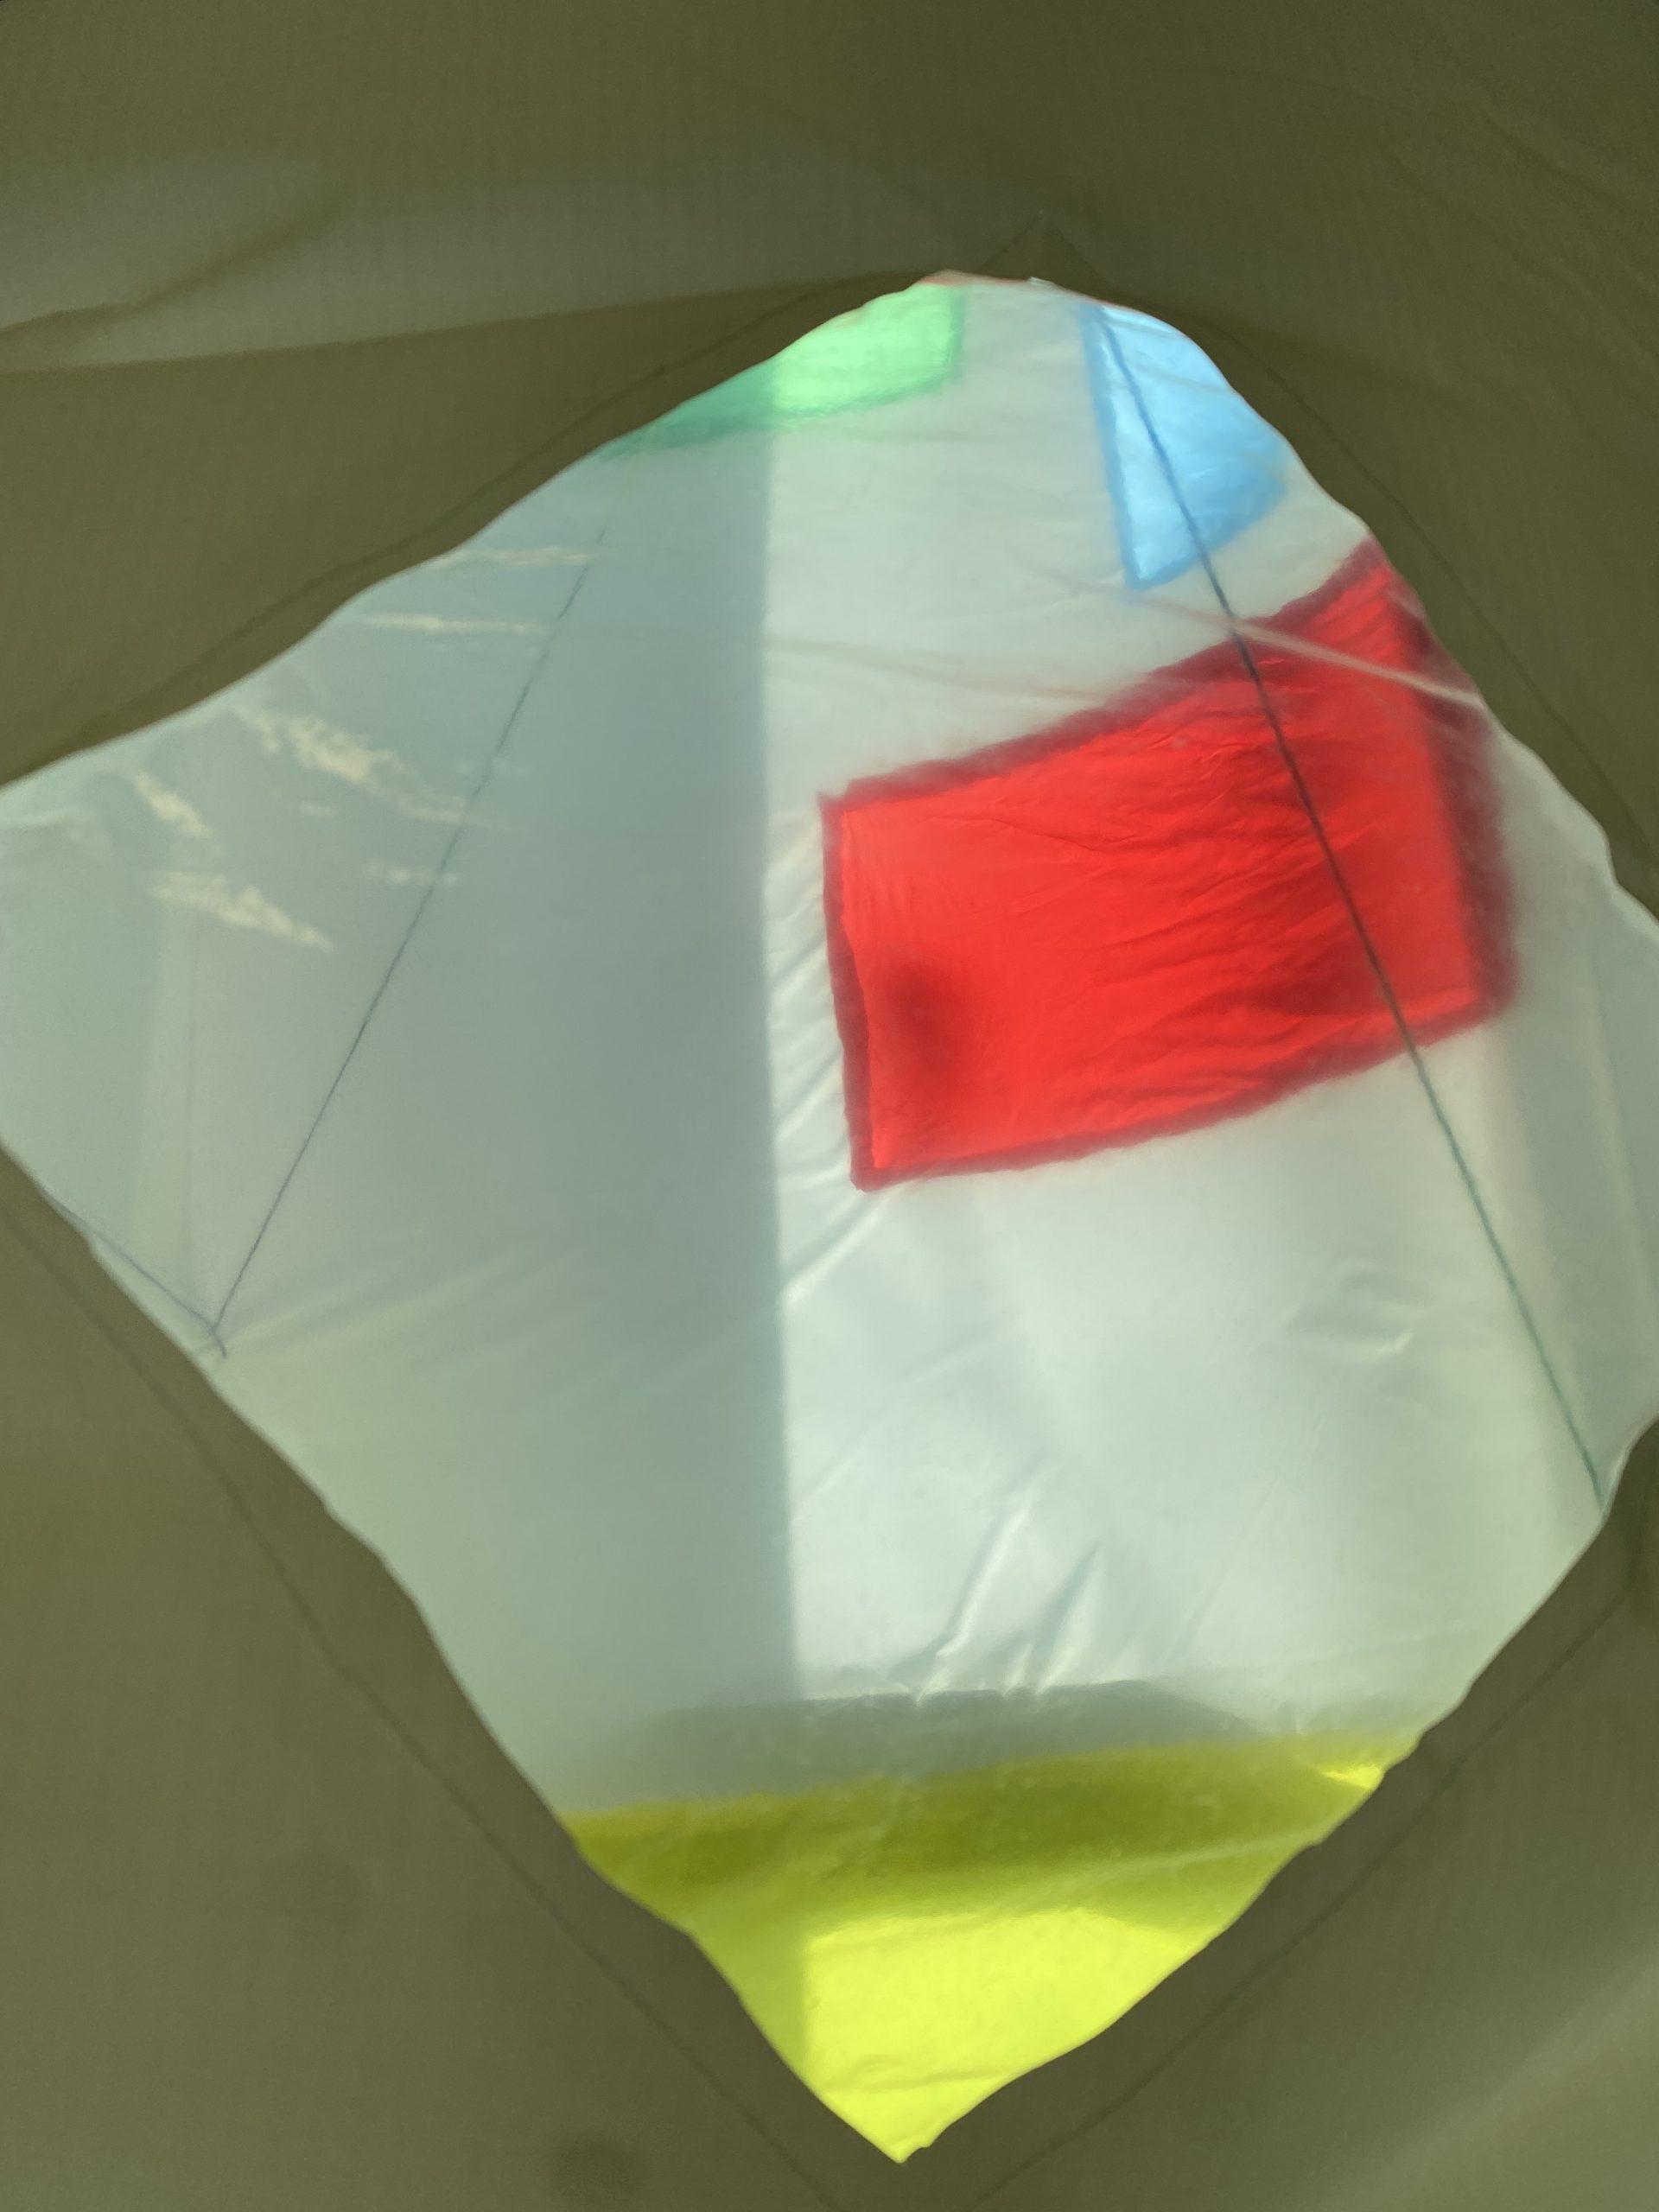
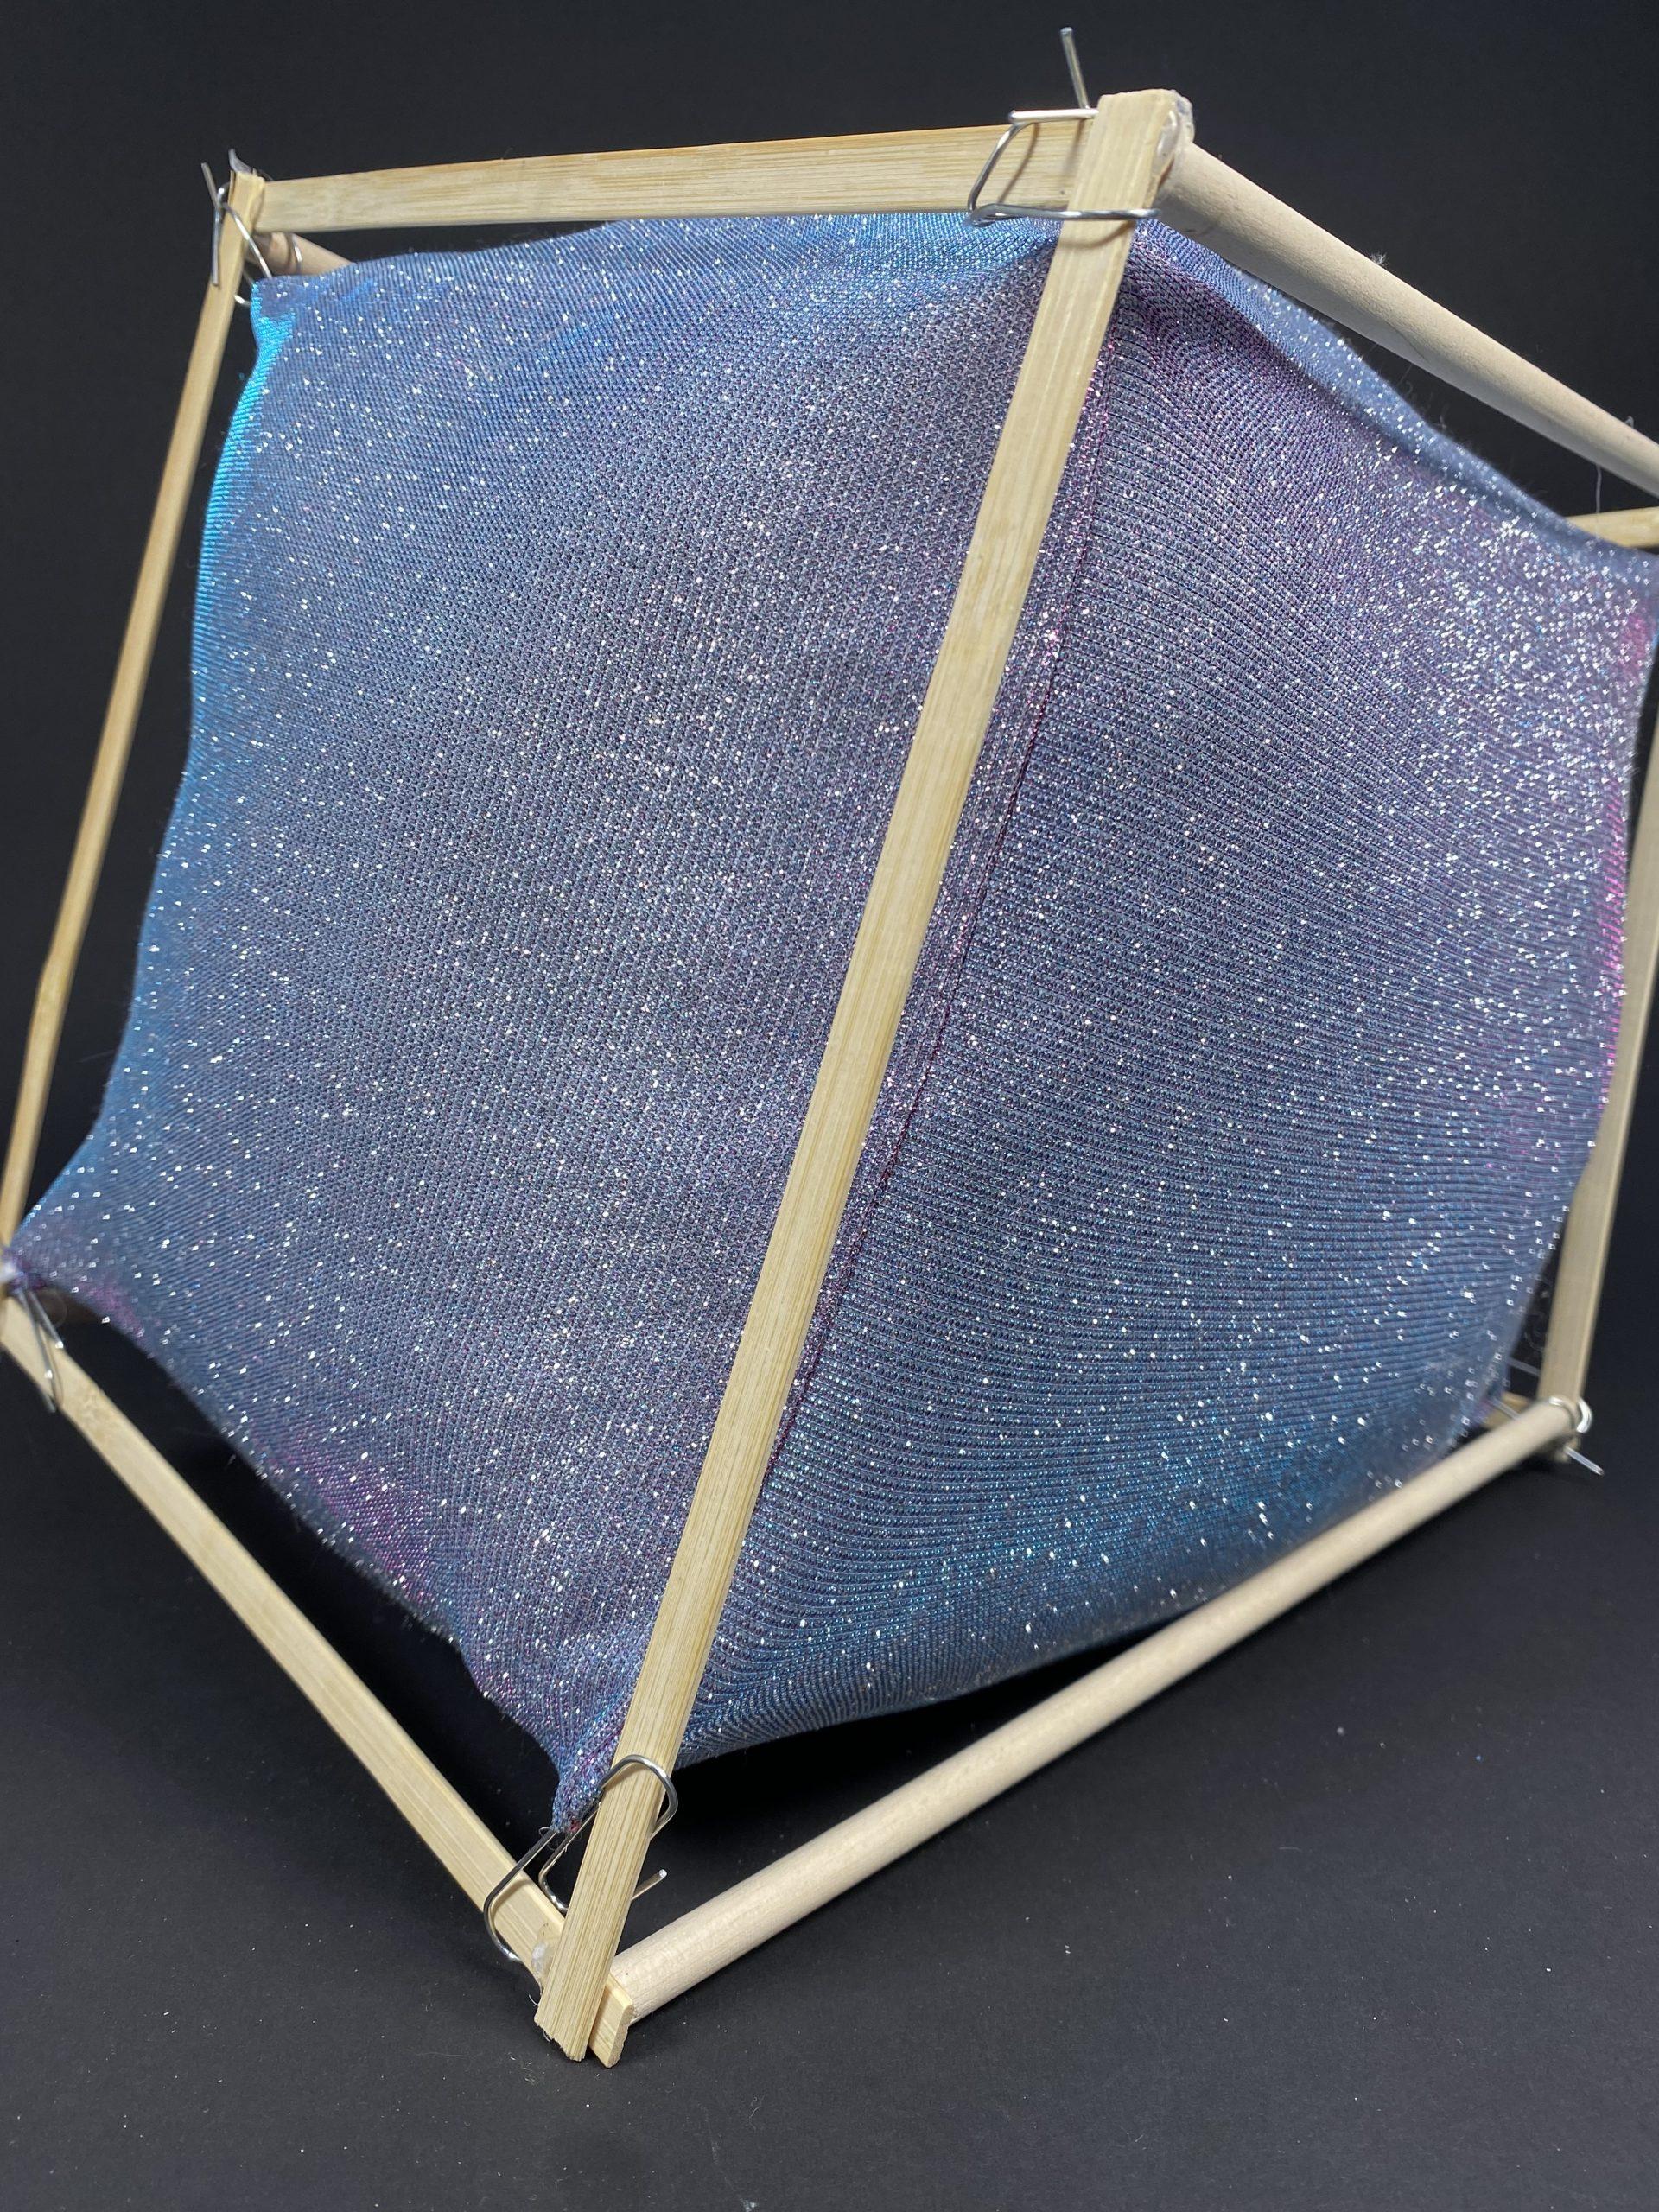
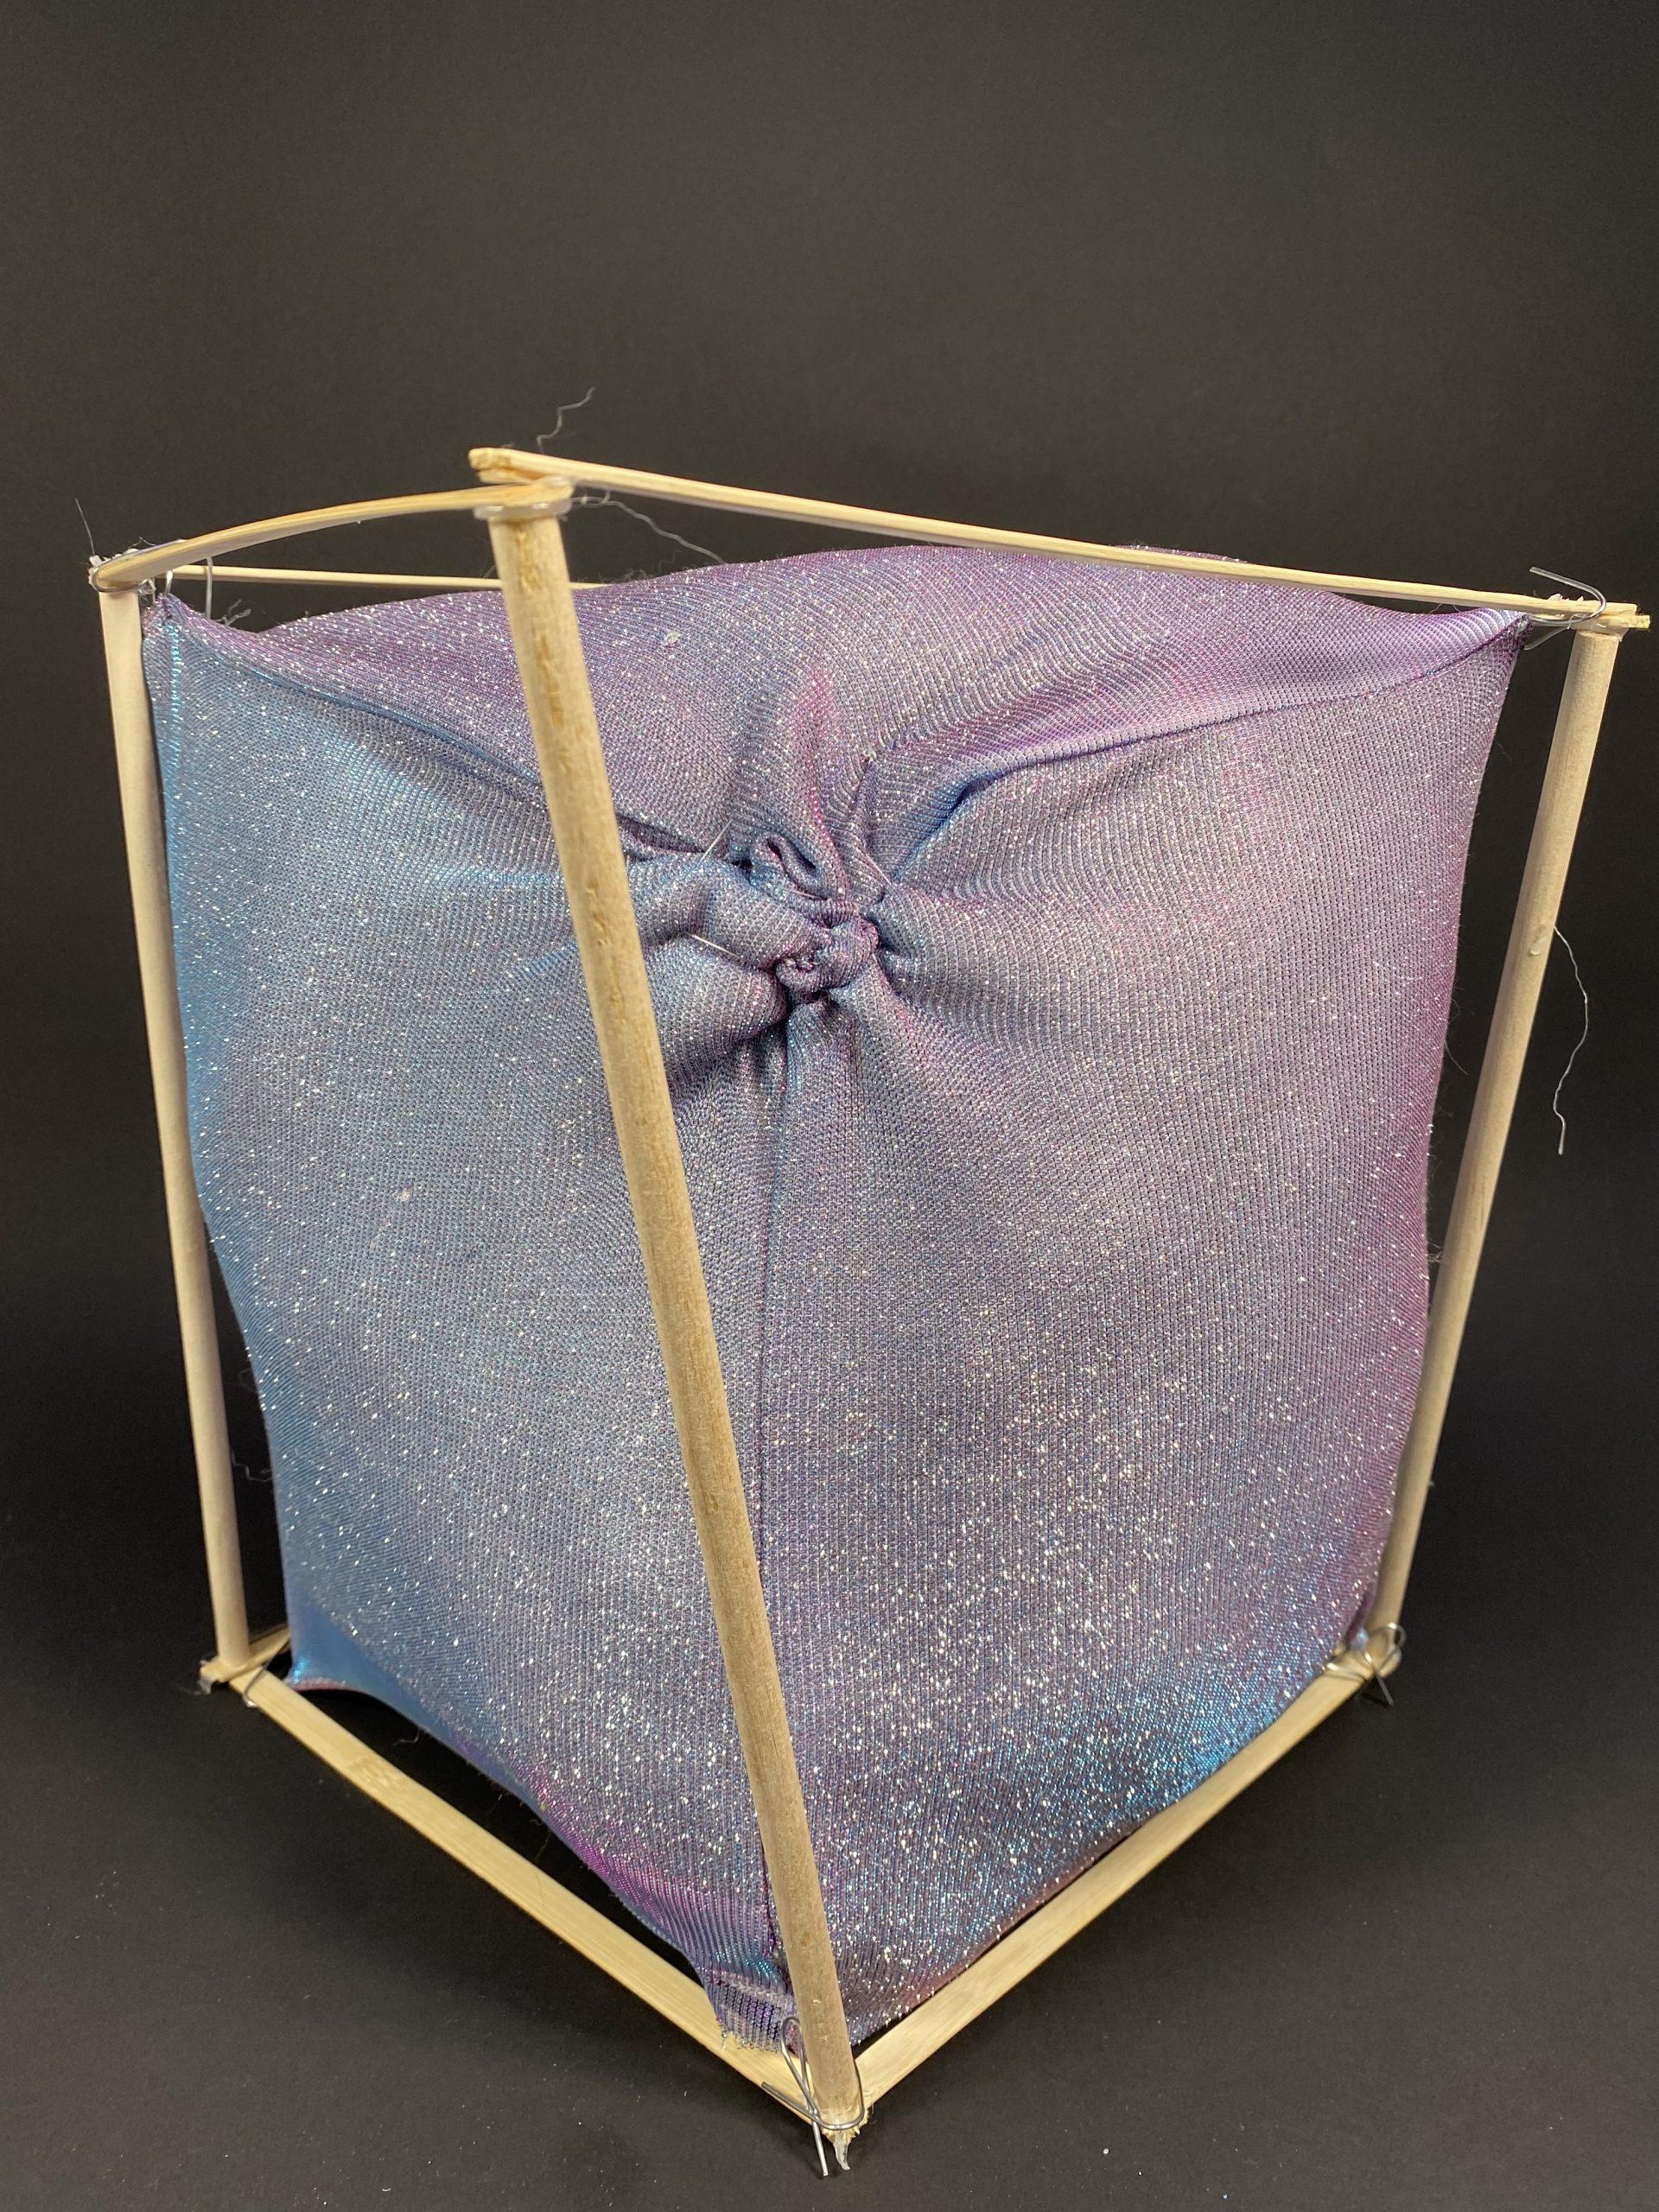
This is the last one I made. I also liked the fabric and I wanted to start with a cube this time since I had used a lot of more circular patterns for the other one. I also noticed that the cube was very un cube like after stuffing it, especially because the fabric was so stretchy, so I tried to experiment with putting a skeleton inside, but there was nothing to hold it together. So, I moved it to the outside. I wish the structure I hot glued had held its rectangular shape a bit better, as it kind of twisted, but overall I still had fun exploring the stretching of the soft shape to a more rigid body. I also liked the stitching I did on the outside – it kept breaking so I had to do it several times, but I got to try out different textures. I think it would have been fun to do it to the whole shape.

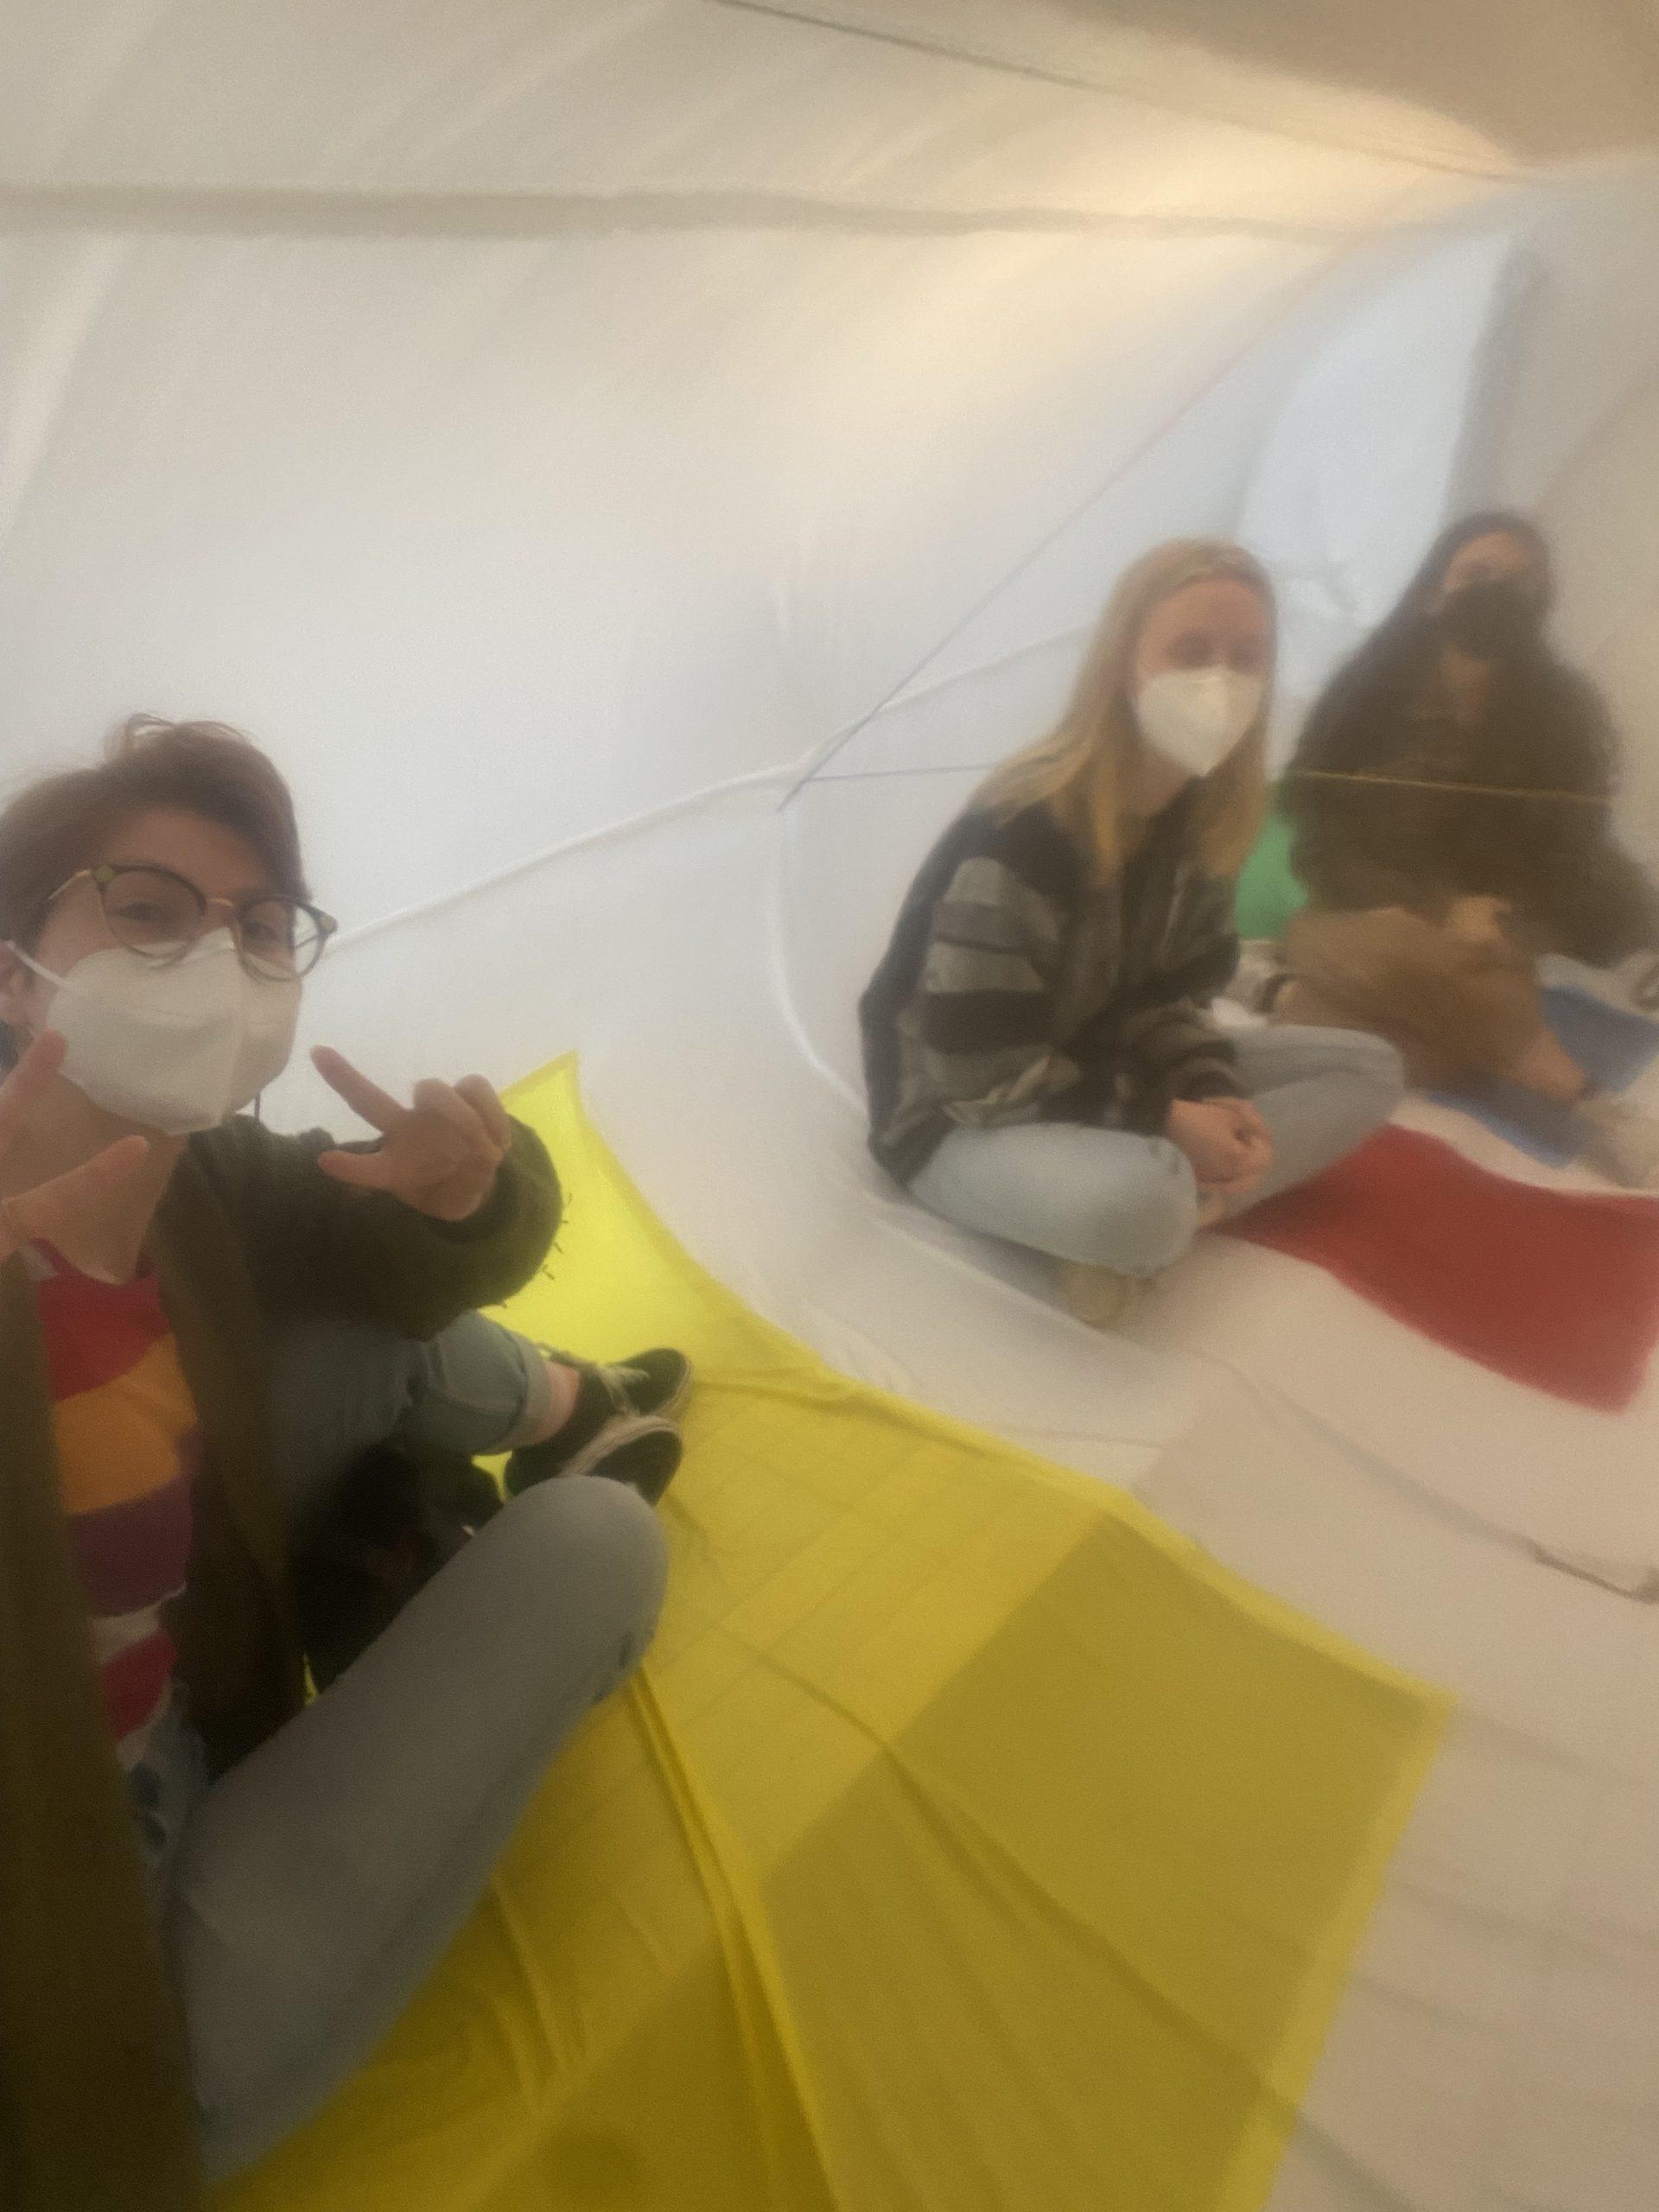
Overall, I really liked the assignment and would gladly keep doing assignments about sewing small stuffed things if that were what the class was about. 🙂 But I am excited to translate what I learned and practiced to inflatables!

Skylar – In the World

Visual Portfolio, Posts & Image Gallery for WordPress

I saw these bunnies in downtown Pittsburgh last Friday. They are by Amanda Parer, an Australian artist, and are intended to represent invasive species “intruding” into areas they shouldn’t be in. The one on the left is huge and you could walk beneath the head and front paws. The one on the right was smaller, at maybe 10 feet tall. I really liked being able to be beneath it; I felt like I was being hugged by a giant bunny, and the fact that it was lit up inside made it feel warm even though it was like 19 degrees at the time. I think it aslo was interesting to see how this massive inflated shape contrasted with the blocky buildings downtown. I’ve included a link to the website where I discovered that the bunnies were downtown!

https://trustarts.org/exhibit/22252/intrude

Skylar – Improvisation Inflatables

This is my first inflatable. I cut out a lot of small shapes and did not try to predict the final structure in any way. This one actually turned out pretty good, I didn’t really have any difficulties other than learning to tape specific shapes. It as actually easier than the other two since all of the pieces I was connecting were flat. I like that it looks kind of like a cartoon creature. My friend said it looks like a pokemon.

Visual Portfolio, Posts & Image Gallery for WordPress

This is my second inflatable. I wanted to make it have a lot of long and skinny pieces, so I cut out a bunch of strips from the bags. I still tried to spontaneously decide the angles at which I was taping the bags to each other. This one was a lot harder to put together, partly because I was using packing tape but cutting it into thirds so it was thinner. It aslo was really hard to get the corners, and I think my final product still had a few holes despite my efforts to patch them. When I finished taping the interior together, I realized there wasn’t enough structure to let it inflate fully, so I taped a couple pieces together on the outside to help. I liked how it turned out but I had to constantly blow into it for it to stay inflated to that’s why the pictures aren’t as good!

This was my third inflatable, which I did several days after the first two. I wanted to try using larger pieces of bag, so I mostly just cut a big shape out of each one. This one was also somewhat hard to tape, because there were a lot of smaller connections as opposed to my first one which mostly came together in one cohesive shape. However, I felt like I figured out some way better strategies for taping all sorts of connections than the first two. I think I was able to get most of the holes taped up, and I got it done more quickly and felt less like I was struggling while doing it. The clear part with the green was also kind of hard (mostly doing the corners), but I put confetti in it which I think makes it more fun! There is also a lindor truffle wrapper that I incorporated. I liked how this one inflated in pieces rather than blowing up like a balloon like my first one. It also held air better than my second one.