Individual:
Heeyun
What aspects of your project or process were most successful? I think the fact that our inflatable even inflated is a huge success for us. The sheer size and complexity of our doors made it really nerve racking for us to wait and see if the structure would fully inflate the way we intended it to, especially since we modeled it on Rhino and not all CAD models turn out to be what one expects in real life (because of physics and stuff). The doors inspired by PneuHaus were super successful on their own because it was a bit of a last-minute addition to our inflatable. Thinking about how PneuHaus built it and then adapting it to fit our dome was a huge challenge, as we weren’t sure it would successfully keep our domes inflated. We couldn’t even get it right on our first try –we had to resew and cut off some parts– so the satisfaction of it not only working but also looking decently presentable was euphoric.
What were a few of the challenges you encountered and how did you overcome them? One of the earlier challenges I faced was preparing the Rhino model and file for the tracing and cutting of the pieces. I wasn’t super highly experienced in Rhino at the time, so I had to go over a bit of a learning curve for some of the Rhino functions and commands in order to build the model of our structure. Then, fixing the dome dimensions was another huge setback that delayed our group a bit on our track to building the inflatable, but because by then I was already so much more familiar with Rhino, I was able to relatively quickly make the corrections. I also felt like my spatial and visual awareness were being highly challenged, as we had to imagine how the structure looked like based on the cut out pieces we had; the pieces were huge and sometimes a bit of a struggle to assemble. Our system of numbering the edges of the pieces was very helpful, though, so having had the foresight of keeping track of them this way made it easier for us to tackle this challenge later on.
What are the three top things you learned from this experience that you will take with you into future project experiences?
1. Double, triple, fourple-check the dimensions of any models/drafts I make before taking any action to bringing the model to life.
2. Constructing a large structure that people can enter and walk in made me think more critically about space, our environments, and how we navigate them. It made me think in a way so differently from my usual STEM-y approach/mindset to viewing the world; I had to think more with a “psychology or human-centered lens” to think about how a visitor would feel and move in the dome we planned to build.
3. How to use walking feet for sewing materials like ripstop nylon. I definitely want to keep sewing and working on more textiles-based projects in the future, so knowing about this tool will be useful and expand the possibilities of what I could achieve in future works.
What have you observed in yourself regarding your collaboration with teammates who bring different skills and experiences to the creative process? I noticed that we naturally knew what our strengths and weaknesses were and harmoniously adjusted accordingly. For instance, I had the most experience using Rhino, so I took charge of making and preparing the model, while Sophia had more sewing experience so she took the lead of sewing and Sandy pinned and organized our materials together so that it would be easier for us to continue working on the project. We barely needed to talk about how to distribute work since we knew what had to be done and what we knew we could contribute to the most with our skillset.
What is your number one piece of advice you would give to future students in this course? Be prepared to spend long, long hours for this class pinning and sewing. You think you know you’re going to be spending a lot of time in this class, but it’s actually even MORE time than that.
Sandy
What aspects of your project or process were most successful? The overall dome structure was very successful. It was also the smoothest part of our process because the sewing was straightforward. Although the doors were hard to make, they were also successful in the end too.
What were a few of the challenges you encountered and how did you overcome them? The greatest challenge was making the doors because they took us an extremely long time since we didn’t calculate the dimensions correctly. The curvature of the ceiling of the dome also made it difficult to match the rectangular door we create. In the end, we had to cut the tubes of our door off and re-sew them in a way that fit the shape of our ceiling.
What are the three top things you learned from this experience that you will take with you into future project experiences? The top three things I learned from this experience are stress management, sewing skills, and flexibility to adapt to emergency situations.
What have you observed in yourself regarding your collaboration with teammates who bring different skills and experiences to the creative process? I observed that I am usually the one that is rational and conservative in making decisions. I always tend to fact-check or reality-check before we make major decisions because I want to ensure feasibility on top of creativity.
What is your number one piece of advice you would give to future students in this course? I would advise students to start early and DON’T GIVE UP!
Sophia
What aspects of your project or process were most successful? I am really proud about the overall end product. Althought I had many sewing experiences in the past, it was still really scary making something three dimensional, not to mention making it large and walkthroughable. I think having the final product come together and actually turn out to be a dome that is what we originally hope it would look like was a success. I also think the entrance door was successful. We were able to imagine what it would look like but there are many small sewing challenges to actually make the door. We were able to figure it out and successfully make a door that would hold up the structure.
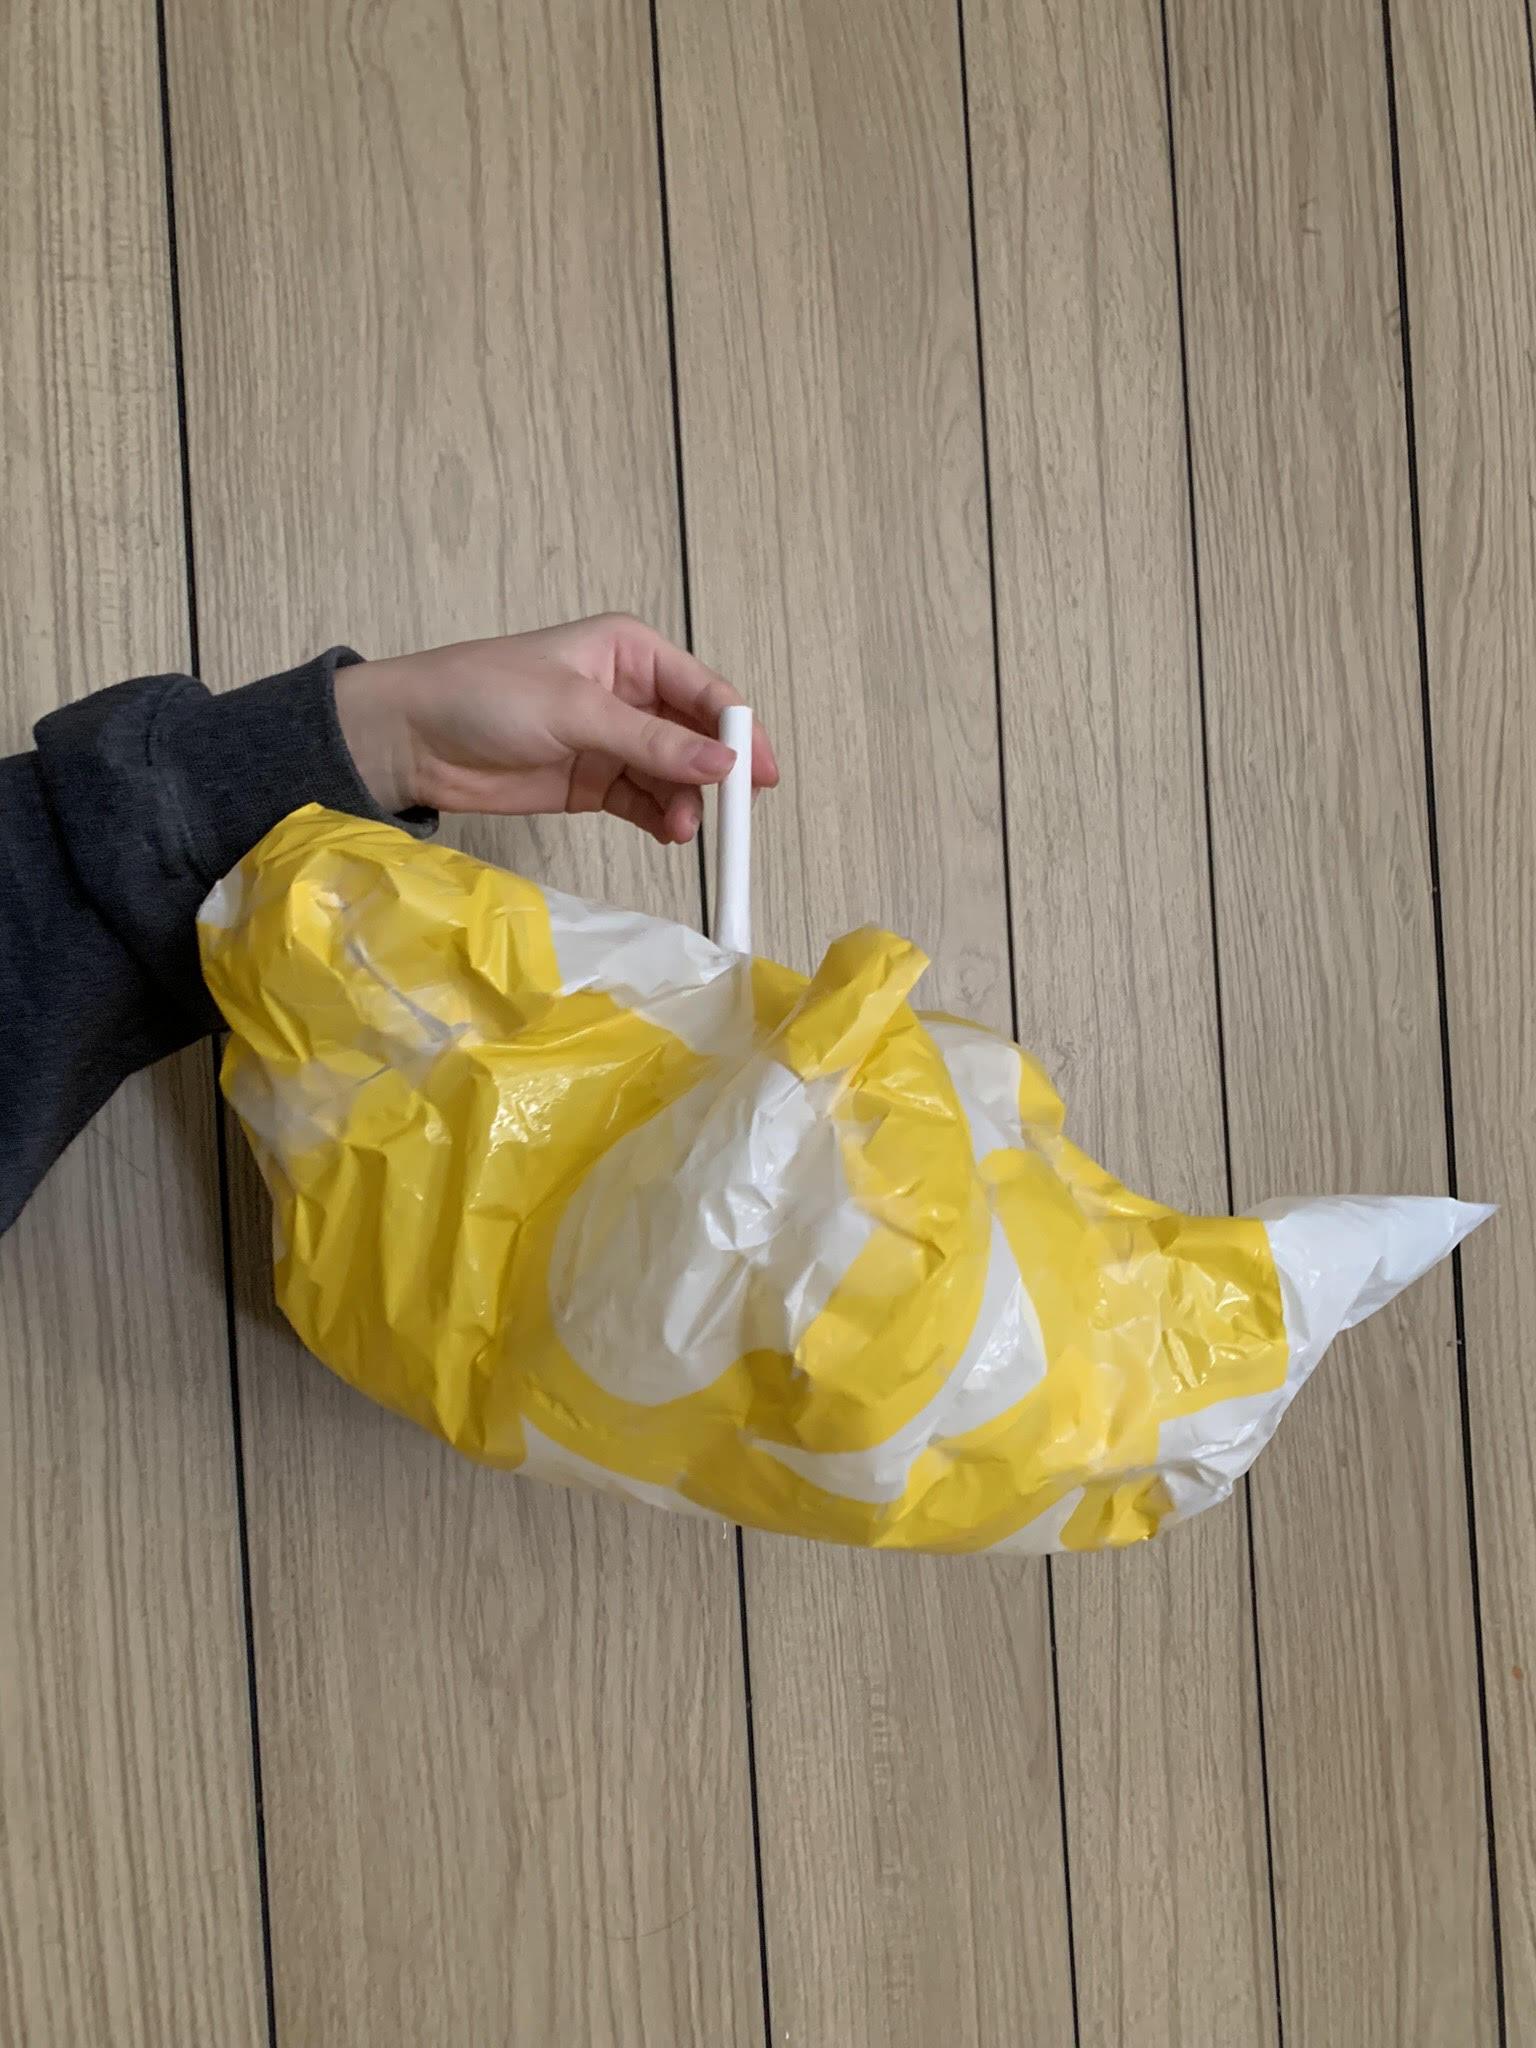
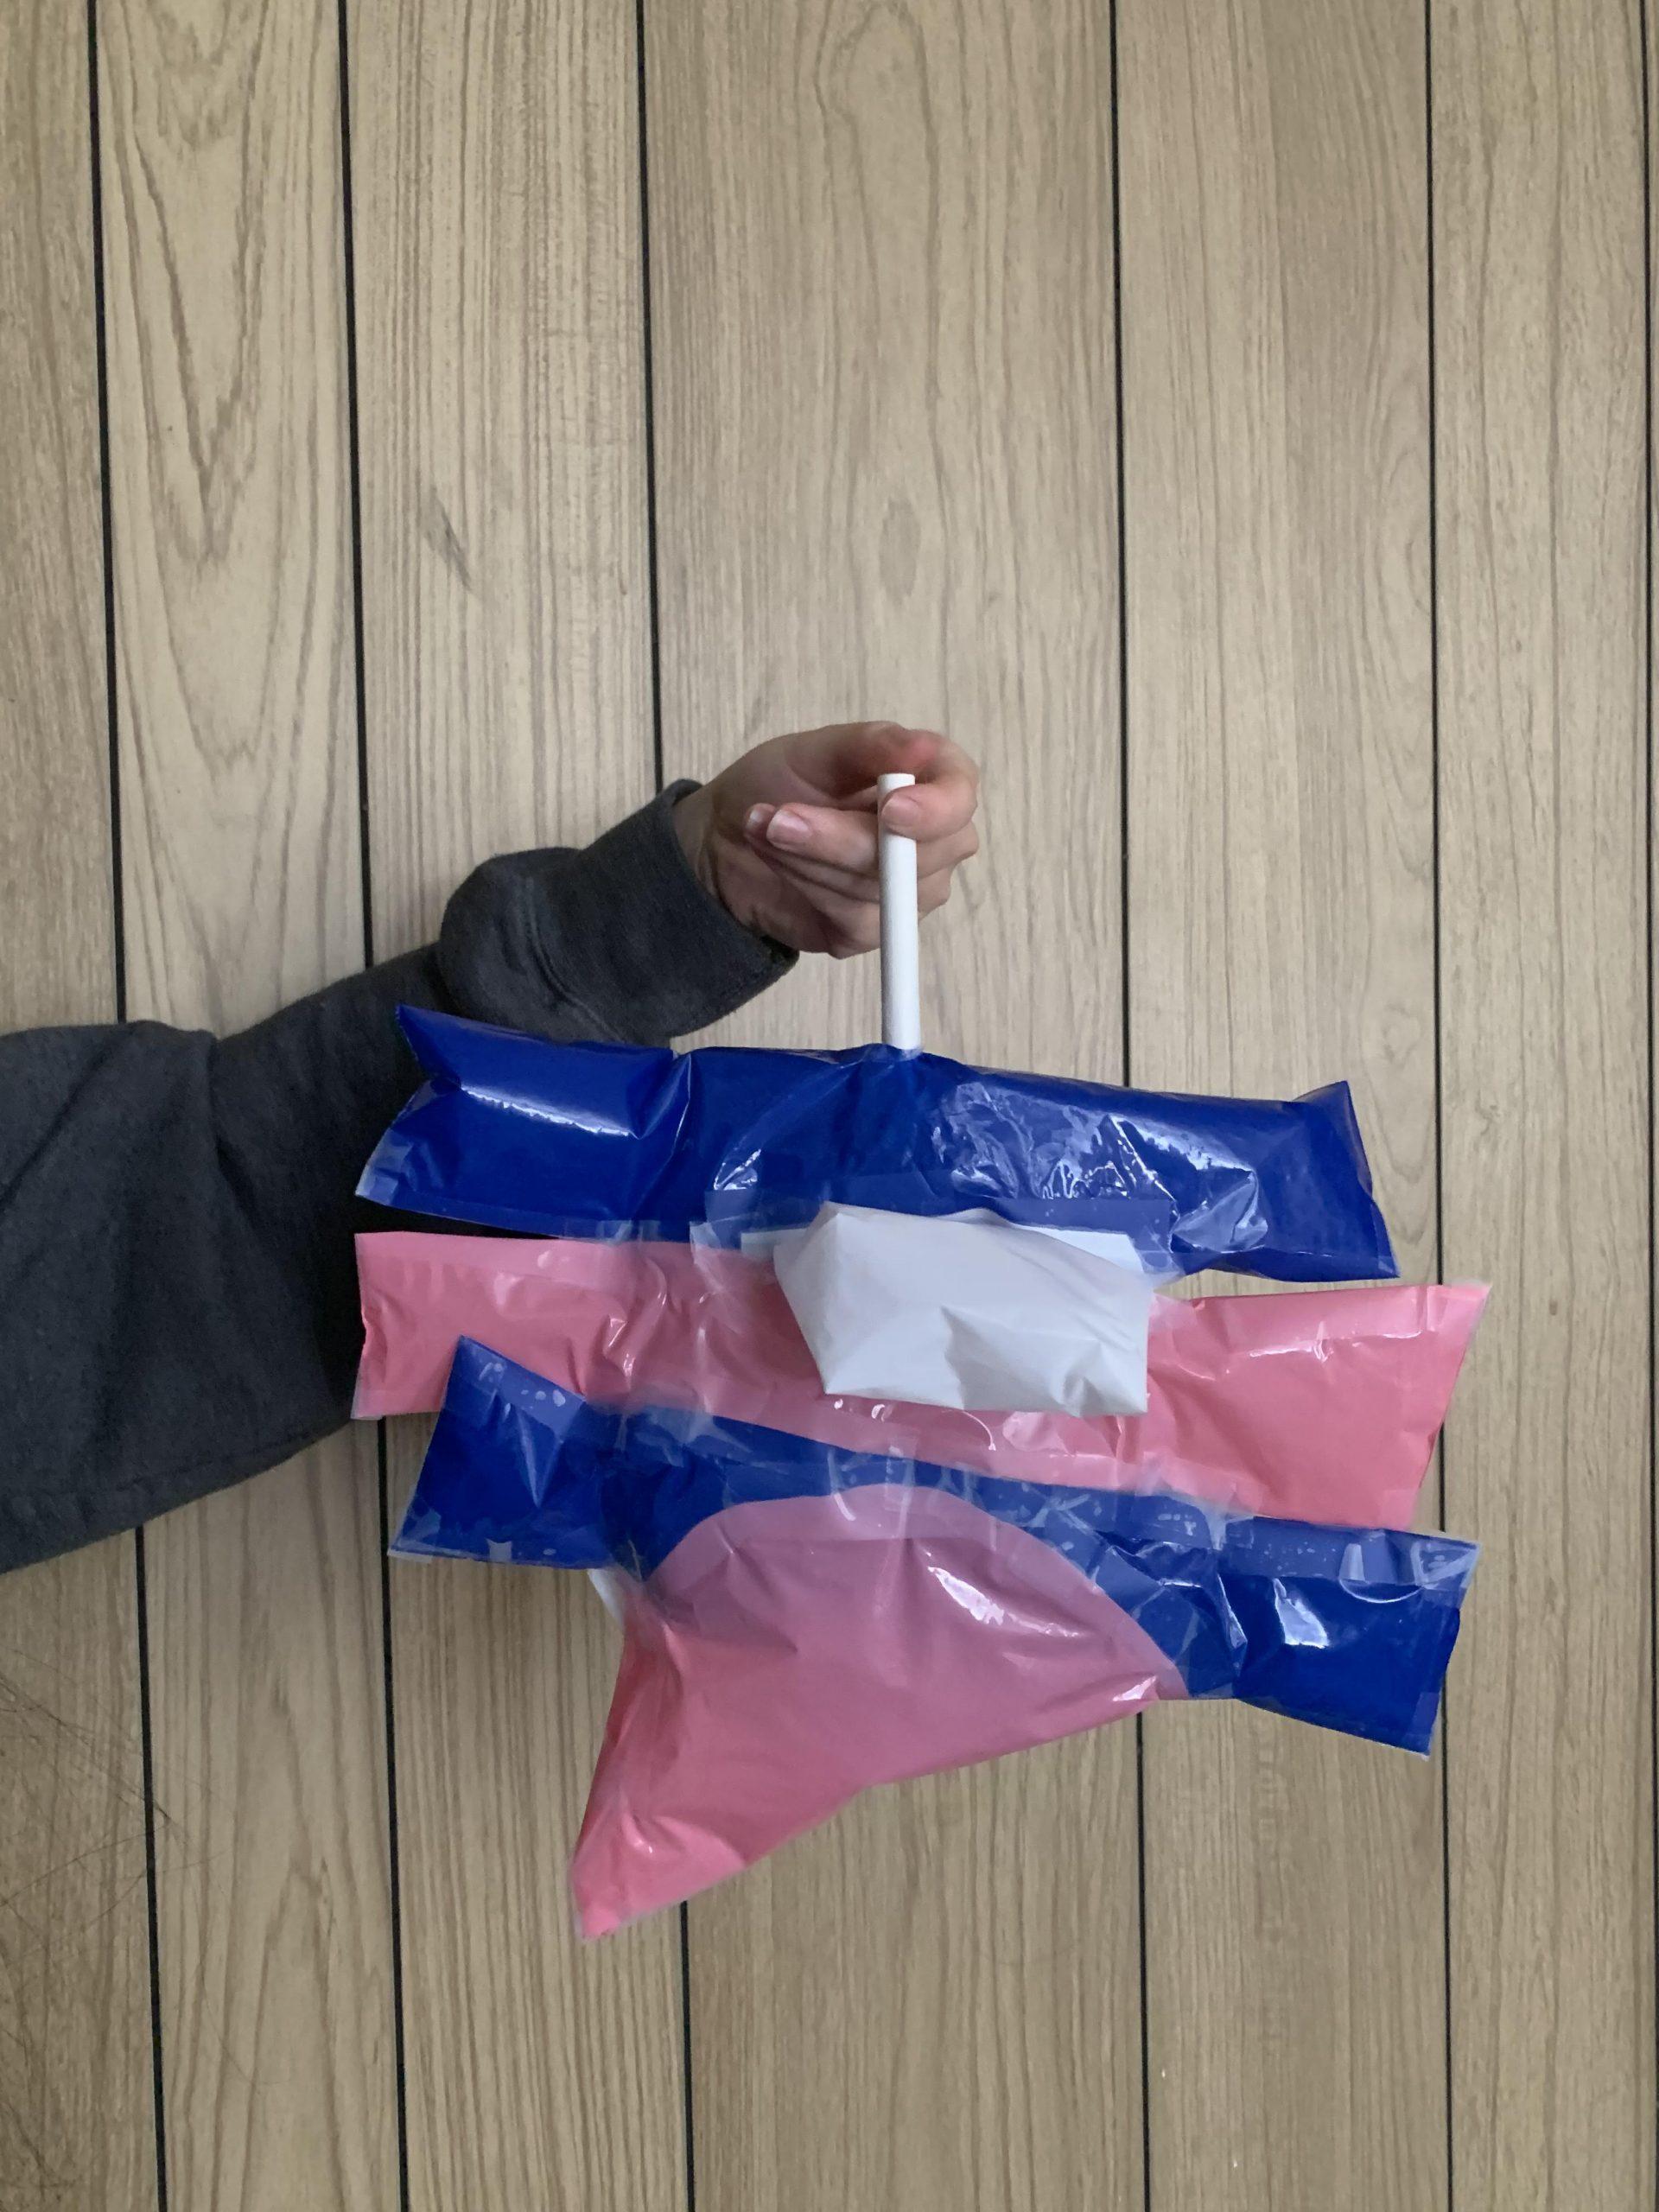
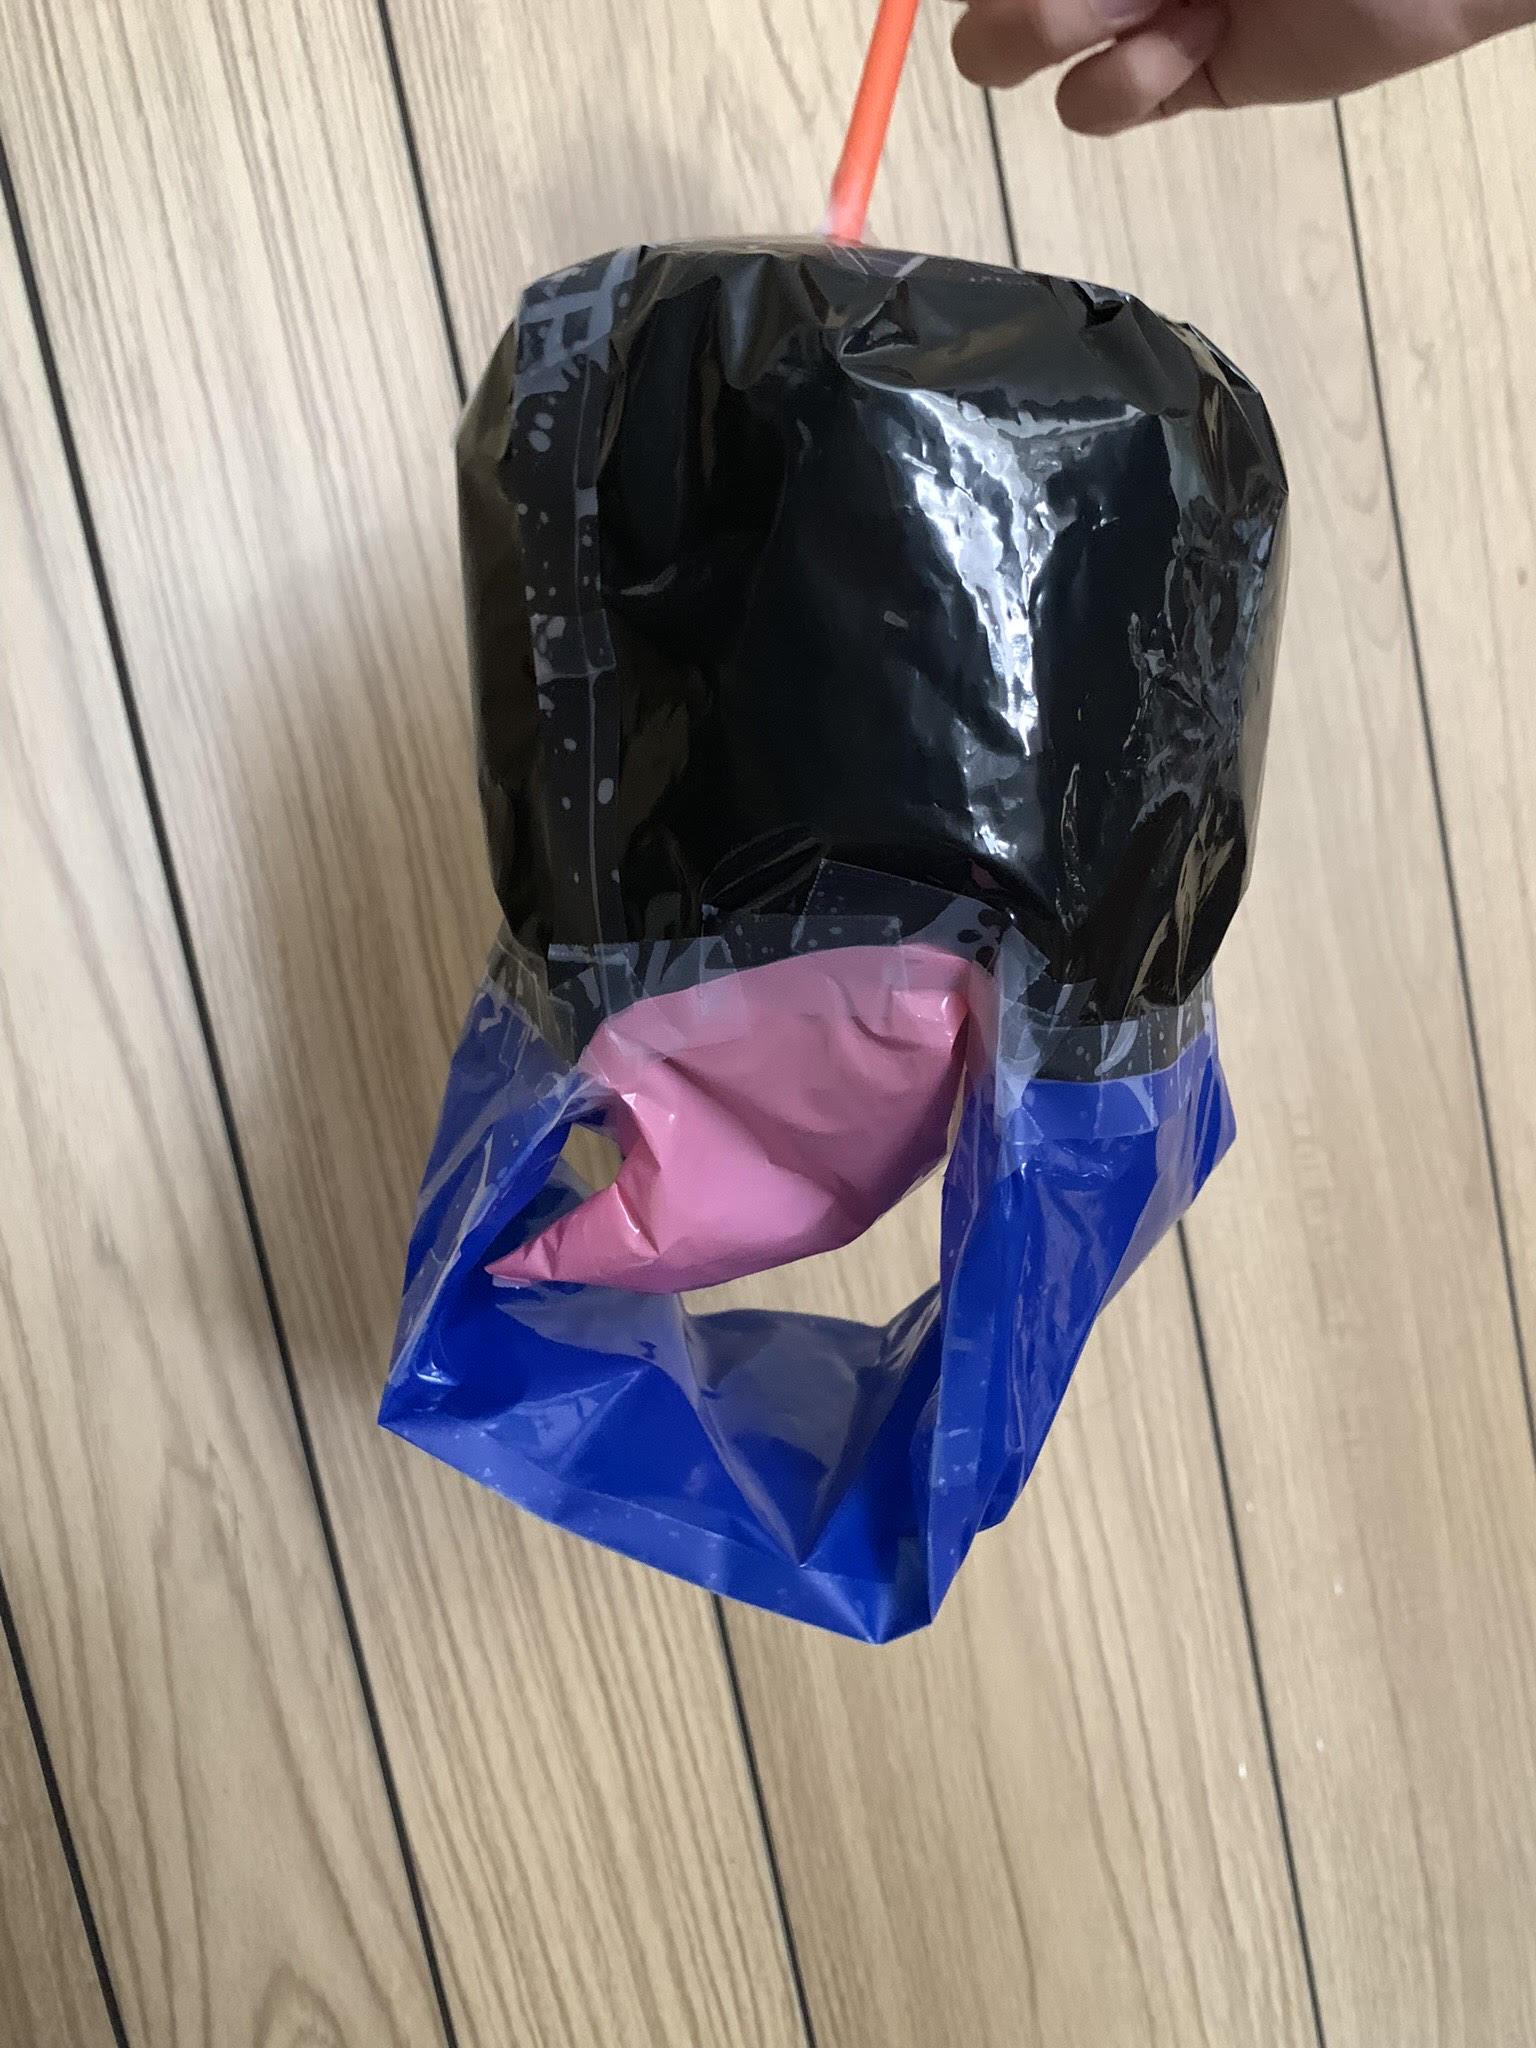
What were a few of the challenges you encountered and how did you overcome them? I encountered many sewing challenges throughout the process. I had a lot of sewing experience in the past but they are usually for 2d items that are small. Sewing something at a large scale and making it inflatable is a big challenge for me. We overcame this by sewing small individual pieces together first to eventually make a bigger piece. Making the doors was also a challenge because I understood the idea but was unsure how exactly to sew them together to allow the air to flow between the tubes while being separated and still have a clean finish. We overcame this by drawing out how to make the individual pieces and planning what pieces would be required to make the final product. I also made a smaller version to test out if the idea would work.
What are the three top things you learned from this experience that you will take with you into future project experiences?
- how to work efficiently and split up tasks according to everyone’s skillsets
- how to use a walking foot on a sewing machine
- how to sew a straight line without using pins and other sewing tricks that I did not know it the past
What have you observed in yourself regarding your collaboration with teammates who bring different skills and experiences to the creative process? I realized that I really enjoy working on group projects where everyone brings something different to the table and that I often focus on the thing I know I can do best. For example, Heeyun is really good at Rhino, I am good at sewing and Sandy is really good and efficient at tracing and pining. After knowing this, we split up tasks accordingly. I found that this an efficient approach.
What is your number one piece of advice you would give to future students in this course? Know what everyone is good at and delegate tasks accordingly.
Group
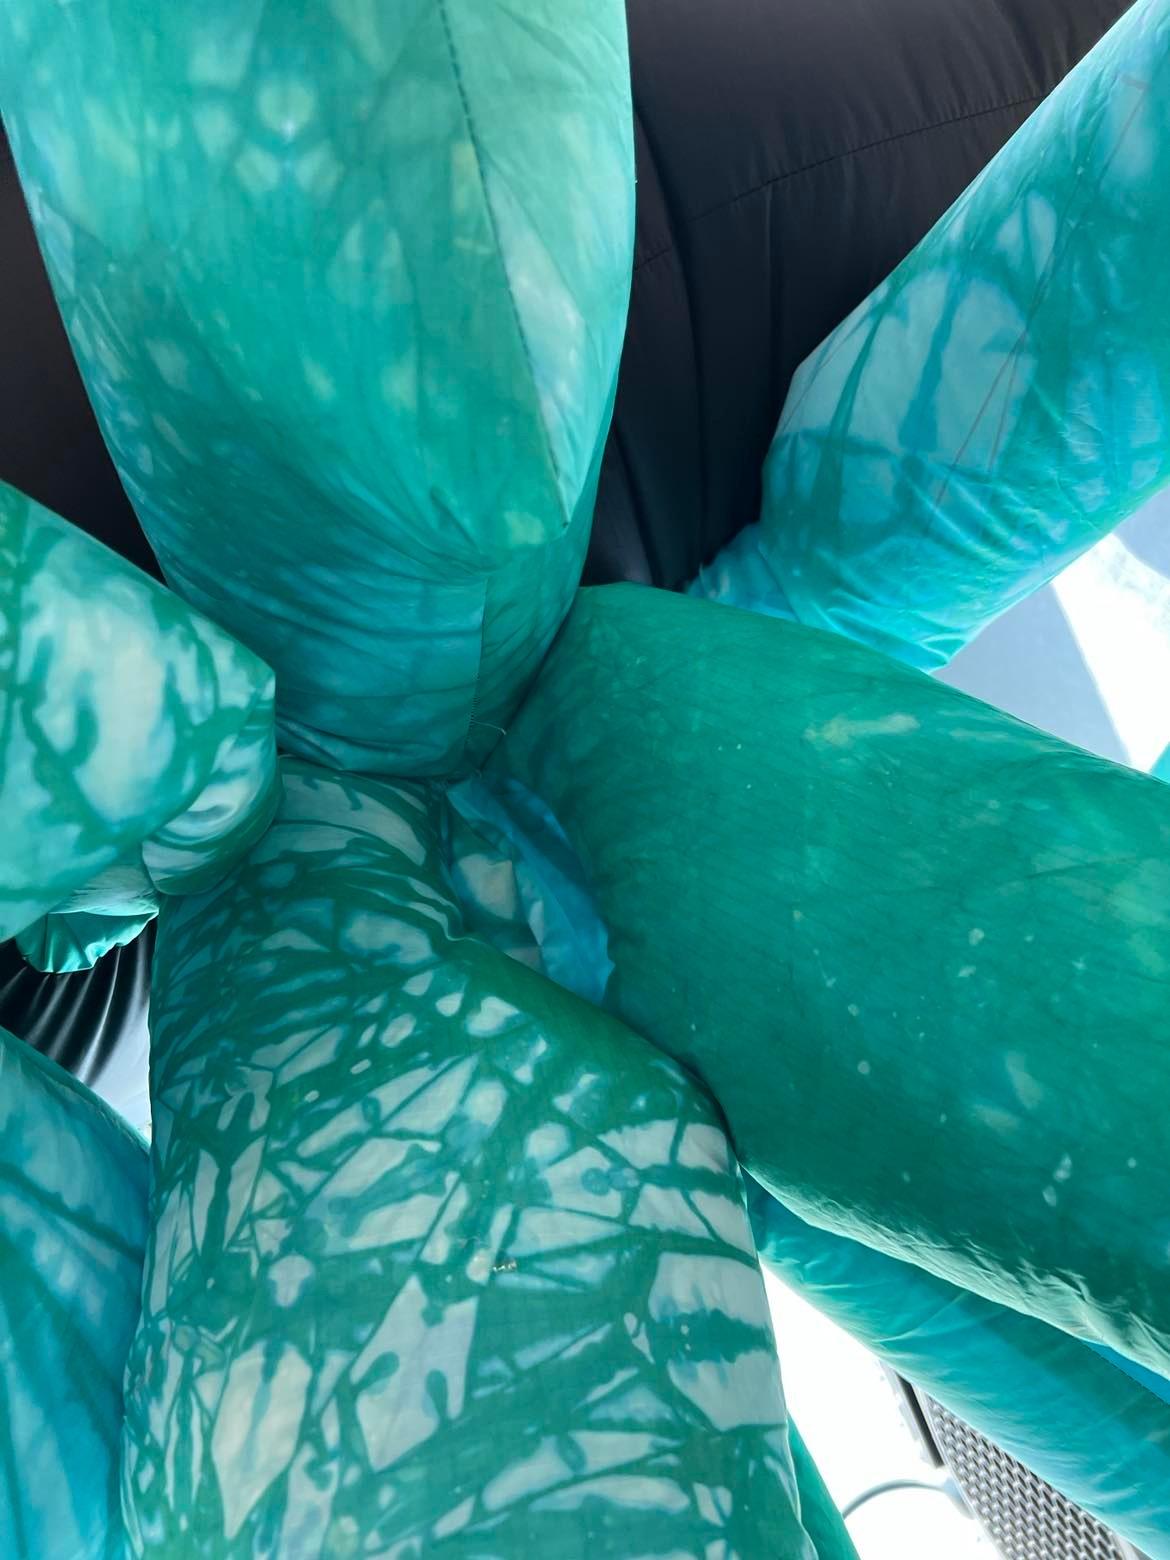
How did you generate the idea and starting point for the project? We were inspired by other inflatables we found online which were dreamy abstract concepts. We wanted our project to be an enclosed shape, so a dome was an ideal shape compared to a rectangular rigid box. It ended up being two domes because our concept is being confused in the first dome and then beginning to reflect in the second dome. Our ideal project was a double-walled dome shape, however, we realized that we didn’t have much time or fabric, so we had to alter our plans.
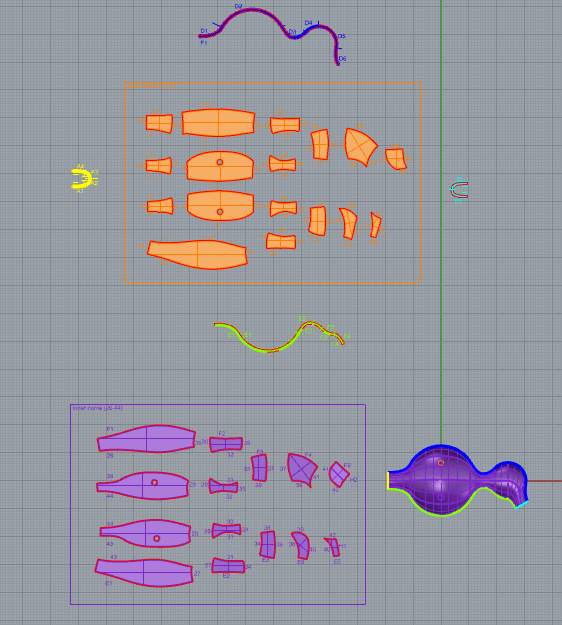
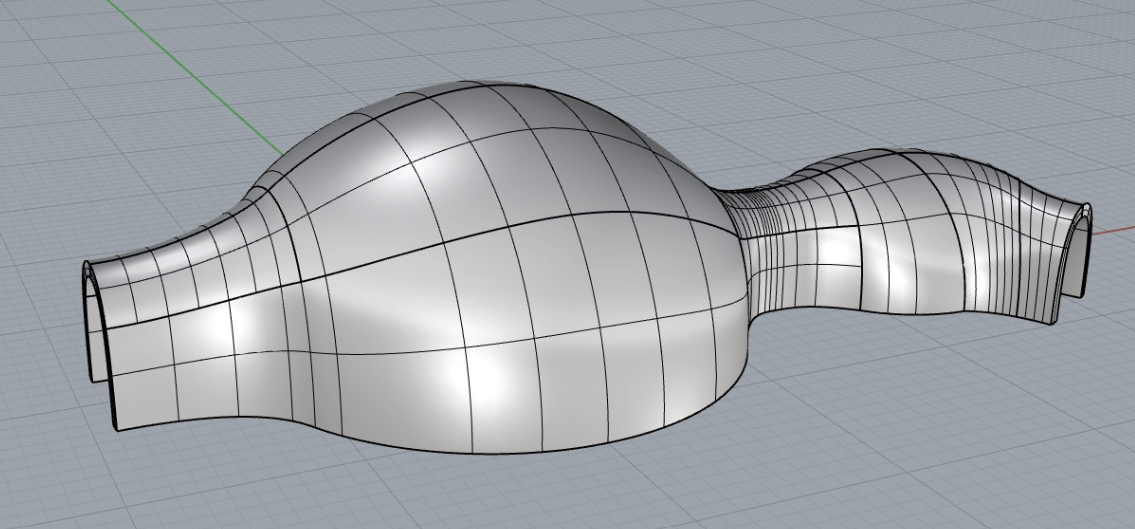
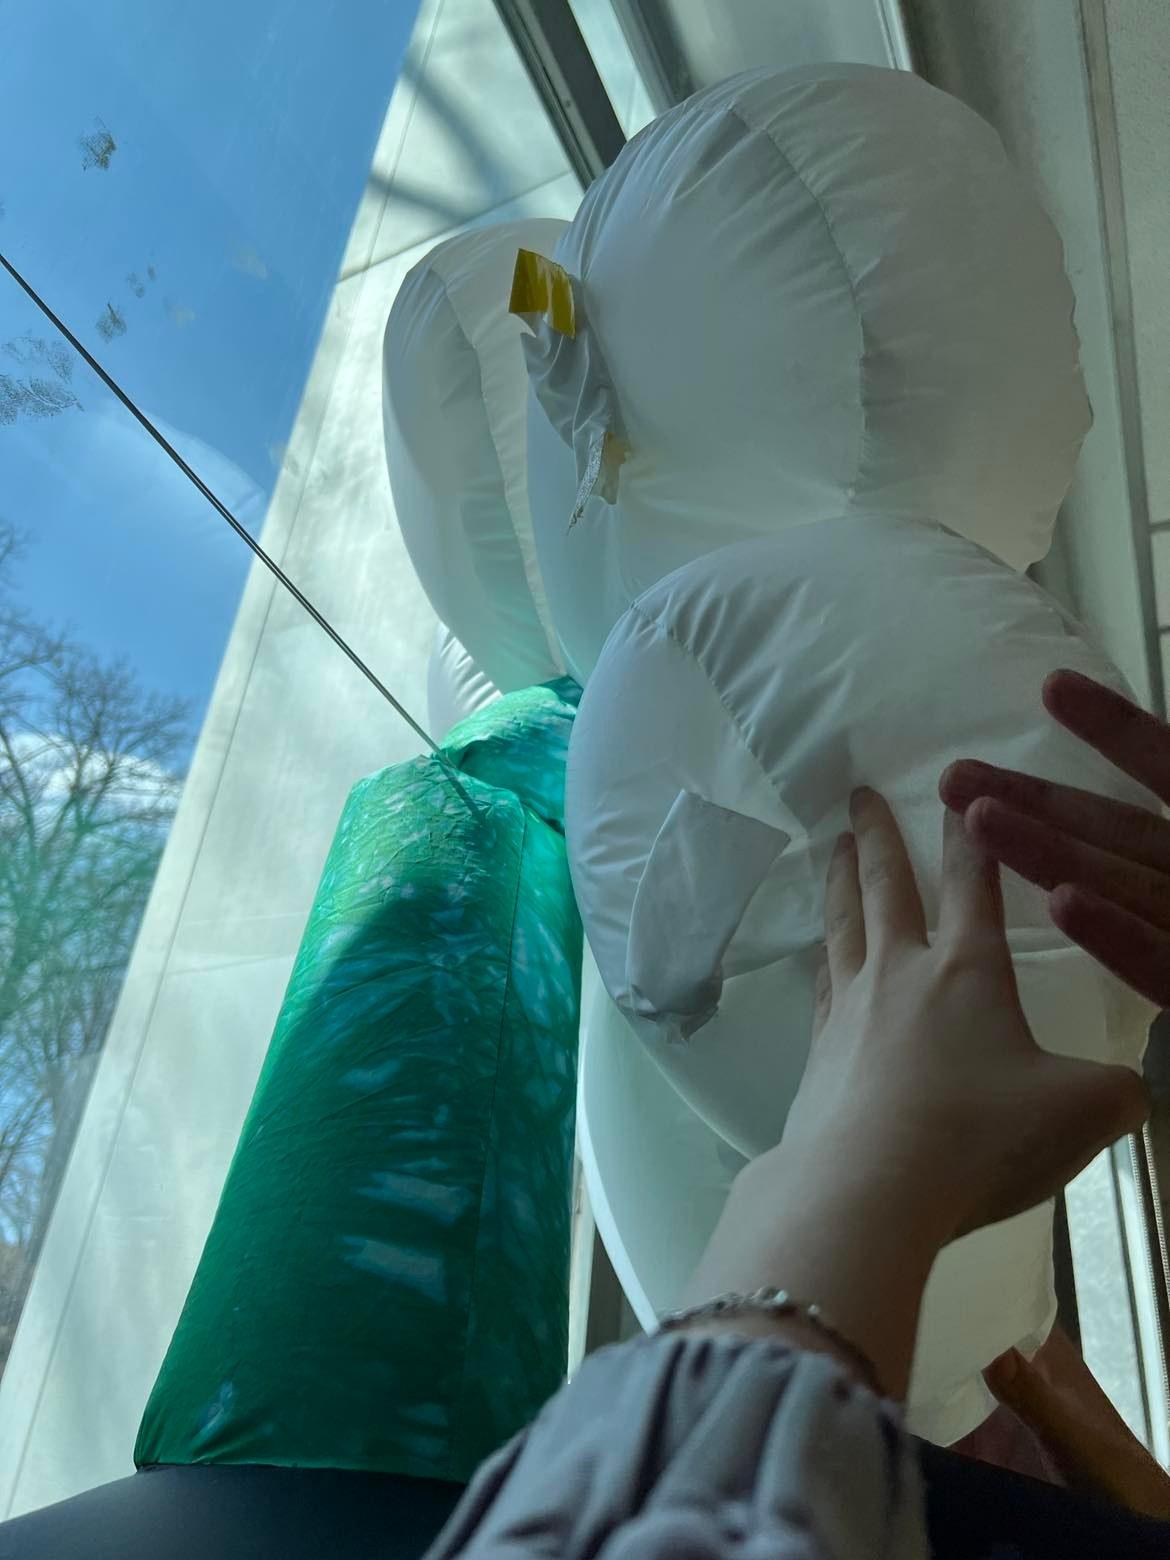
What was the path that you took from beginning to end to accomplish the project? Please upload 5-10 photos to illustrate your story. We started out accidentally ambitious, creating a Rhino file that was 4 times bigger than our planned project. It was a hassle to even begin the tracing process. We caught our mistake and were finally able to continue our tracing. We pinned and sewed the pieces starting from whichever pieces matched up first. Then we worked on the doors, which were basically two smaller inflatables that we had to make. Throughout this process, we had to redo many steps to fit our door because we measured the dimensions wrong. Overall, the structure was completed in time for the event and we are very proud of our dream dome.
(We only have pictures of the end result after everything is inflated, the pictures are at the bottom of this post)
What were the challenges you encountered and how do your team overcome them? Our greatest challenge was the lack of time for the project. We were all struggling to find the right time for all three of us to meet. We often missed our benchmarks and had to squeeze more time to meet. It almost always took twice the amount of time we planned to reach our goals. We overcame it by allocating the tasks according to our individual skill sets. The other challenges we encountered were mostly sewing issues and door design issues. It was difficult to imagine the structure being three-dimensional while having to sew in two-dimensional space. The structures also looked different after being inflated.
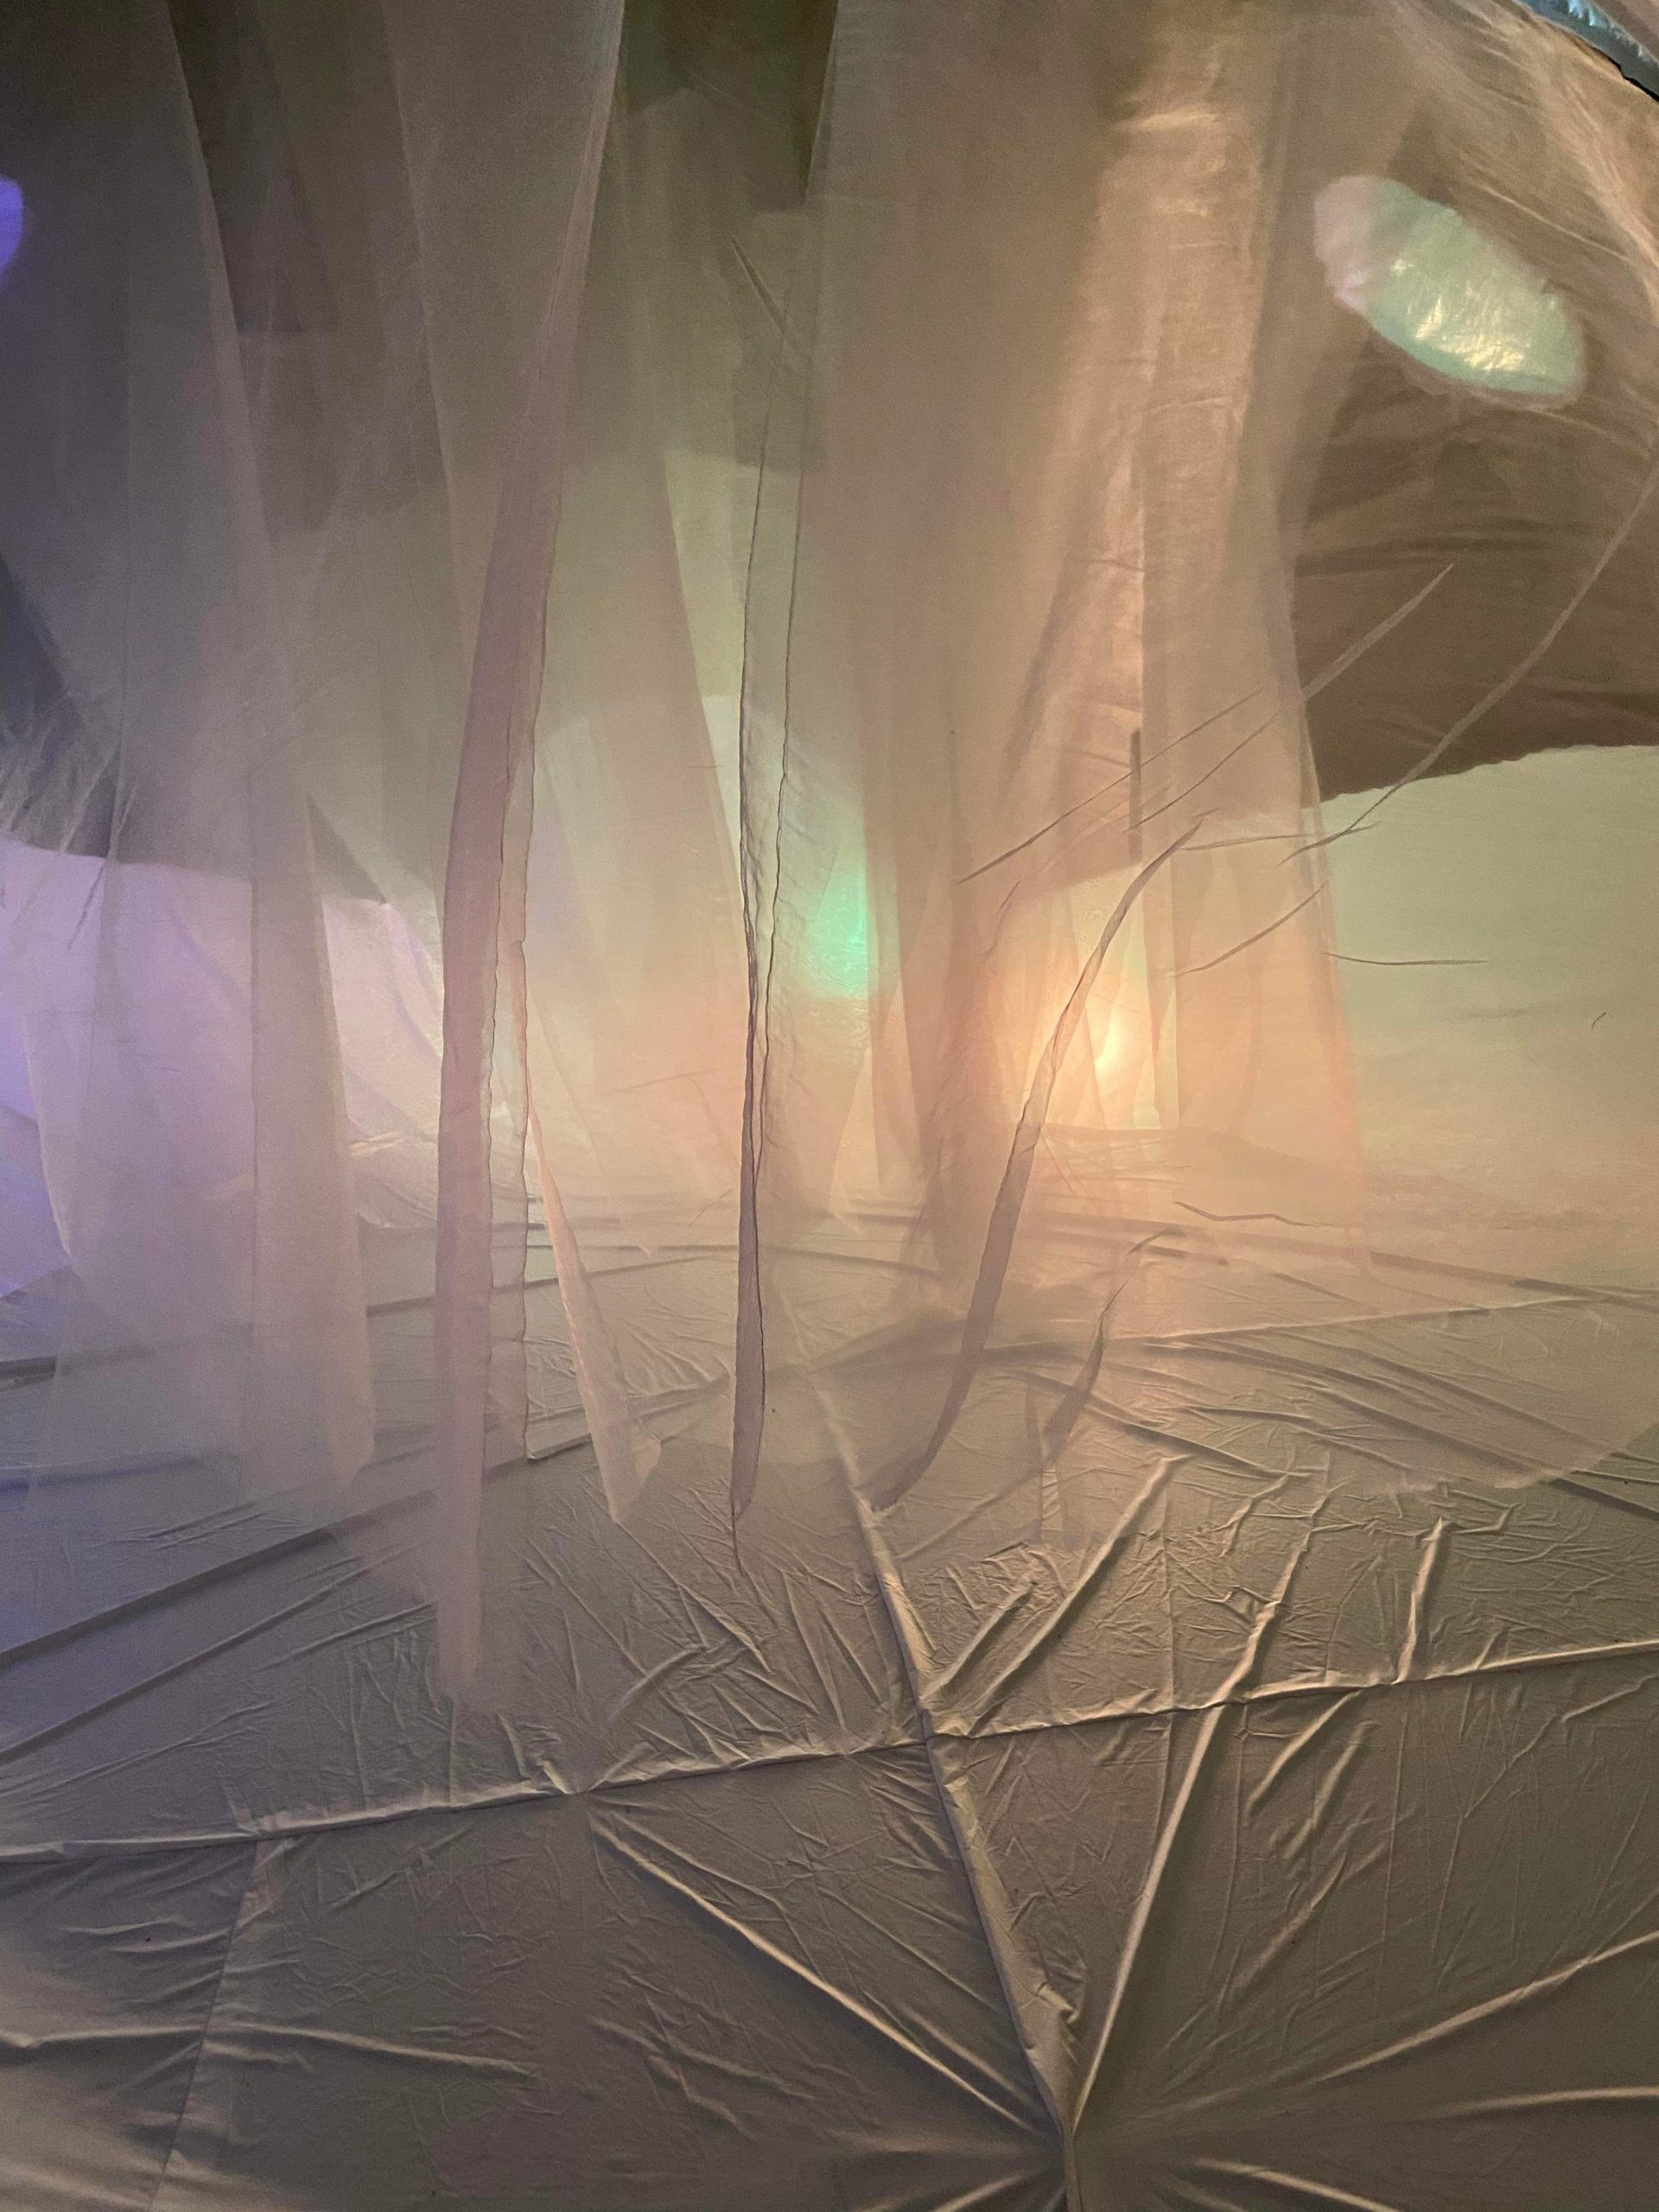
What were the “happy accidents” that you encountered along the way? A “happy accident” we encountered was seeing how the light shined through our windows and created various spotlights on the floor of our dome structure. We were also glad that the seams did not become too ugly and were not too distracting for the visitors. Lastly, the black ripstop nylon seemed to add to the effect of our dome.
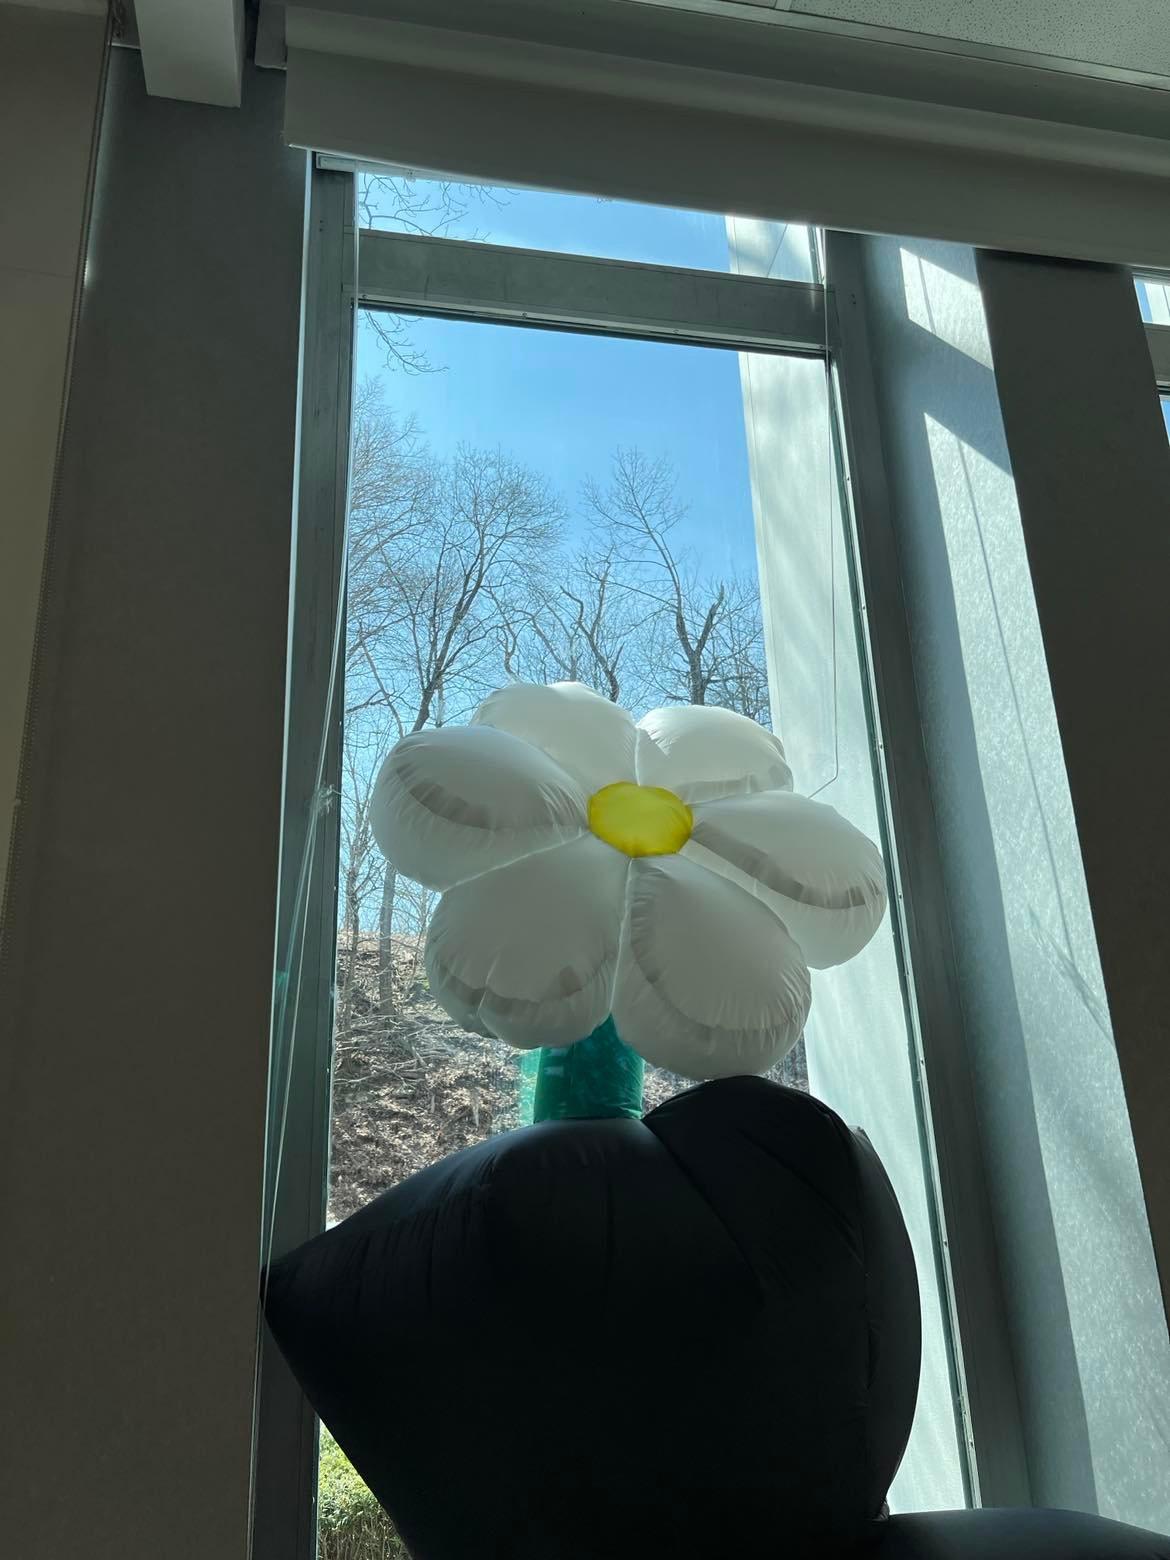
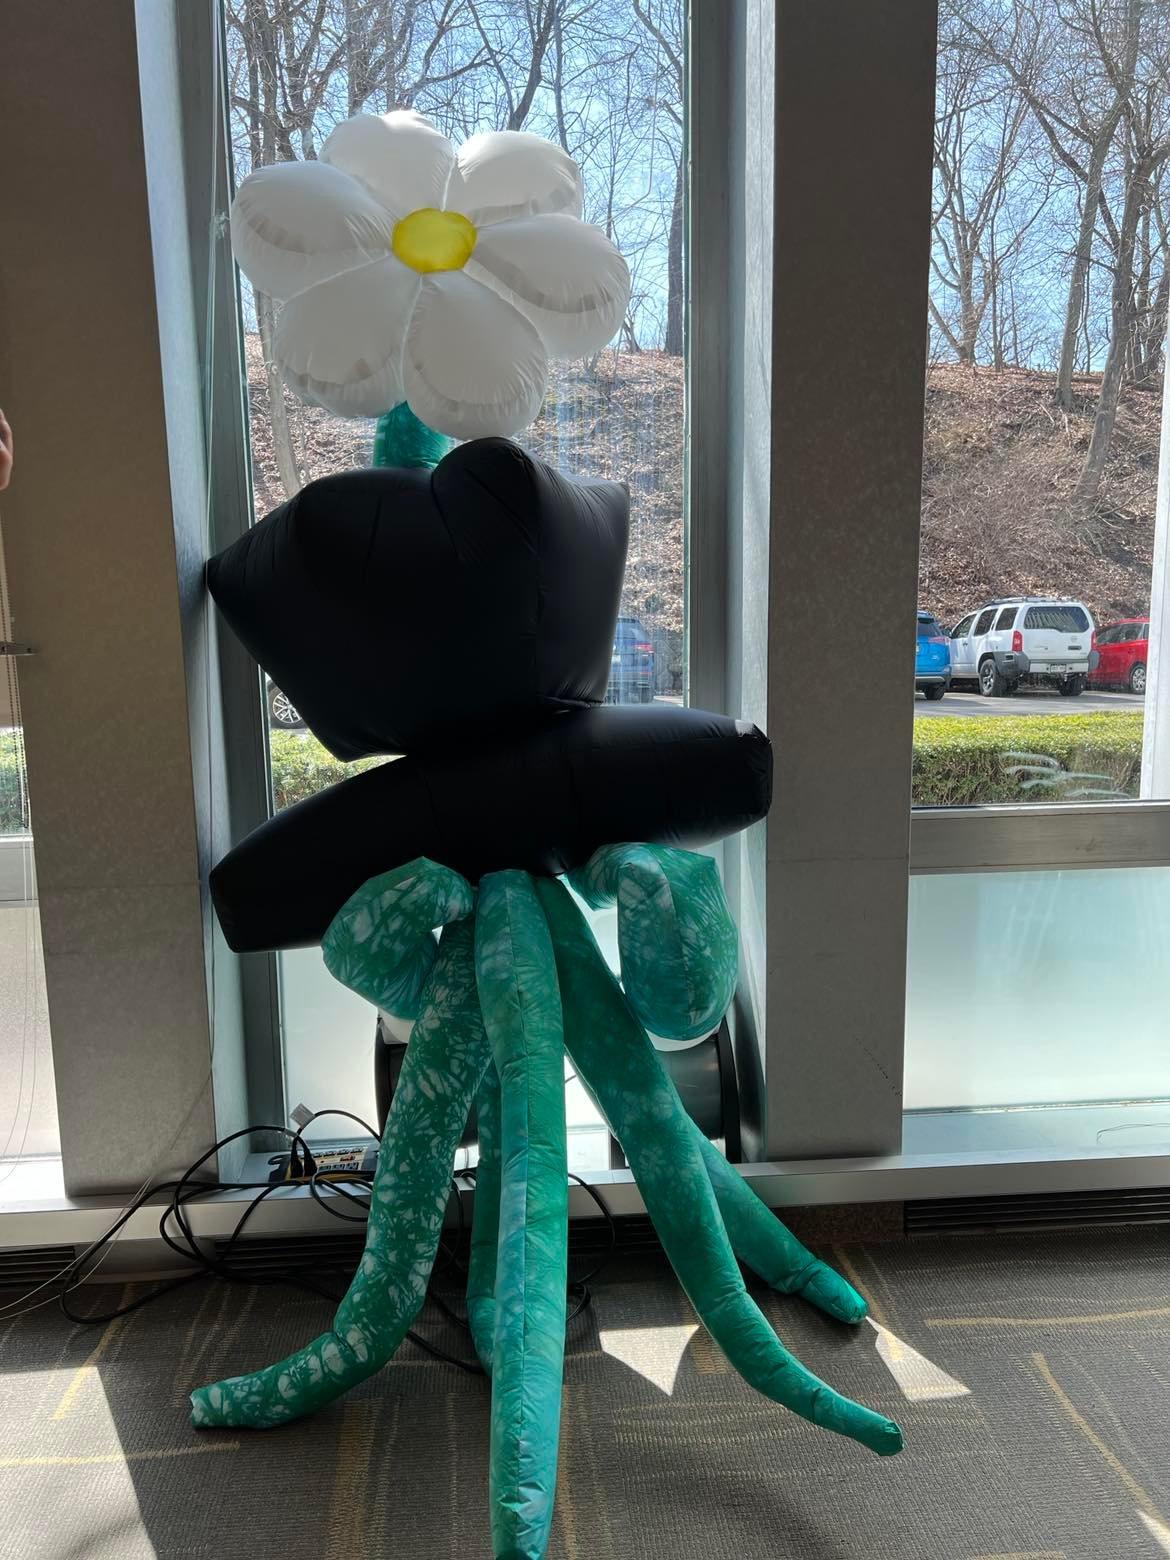
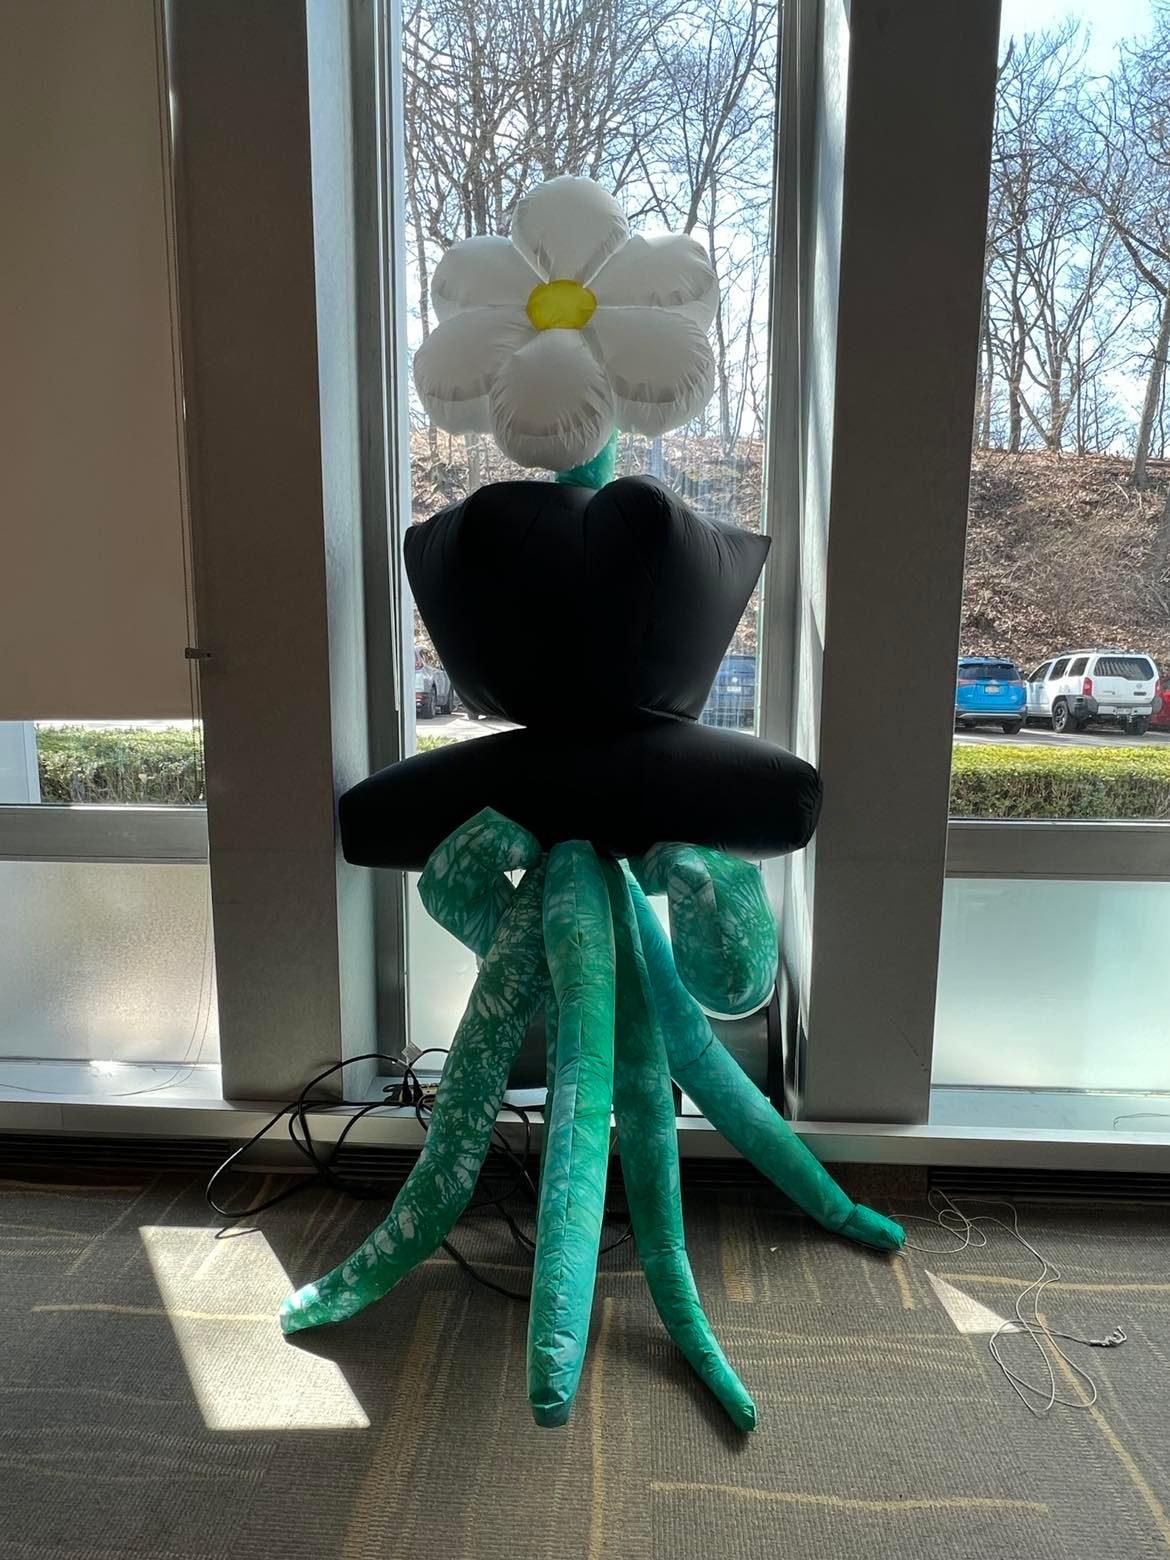
Final Project: please upload 5-10 photos of your final project and 3 sentences that describe what your final project is (not what you intended, but what it is now that it is finished).
The Dream Dome is an immersive experience where people can feel the curiosity and exploration one would get from being in a dream. It is a relaxing and welcoming space that is a mini-getaway from the outside world.