3 Inflatables
Sample 1:
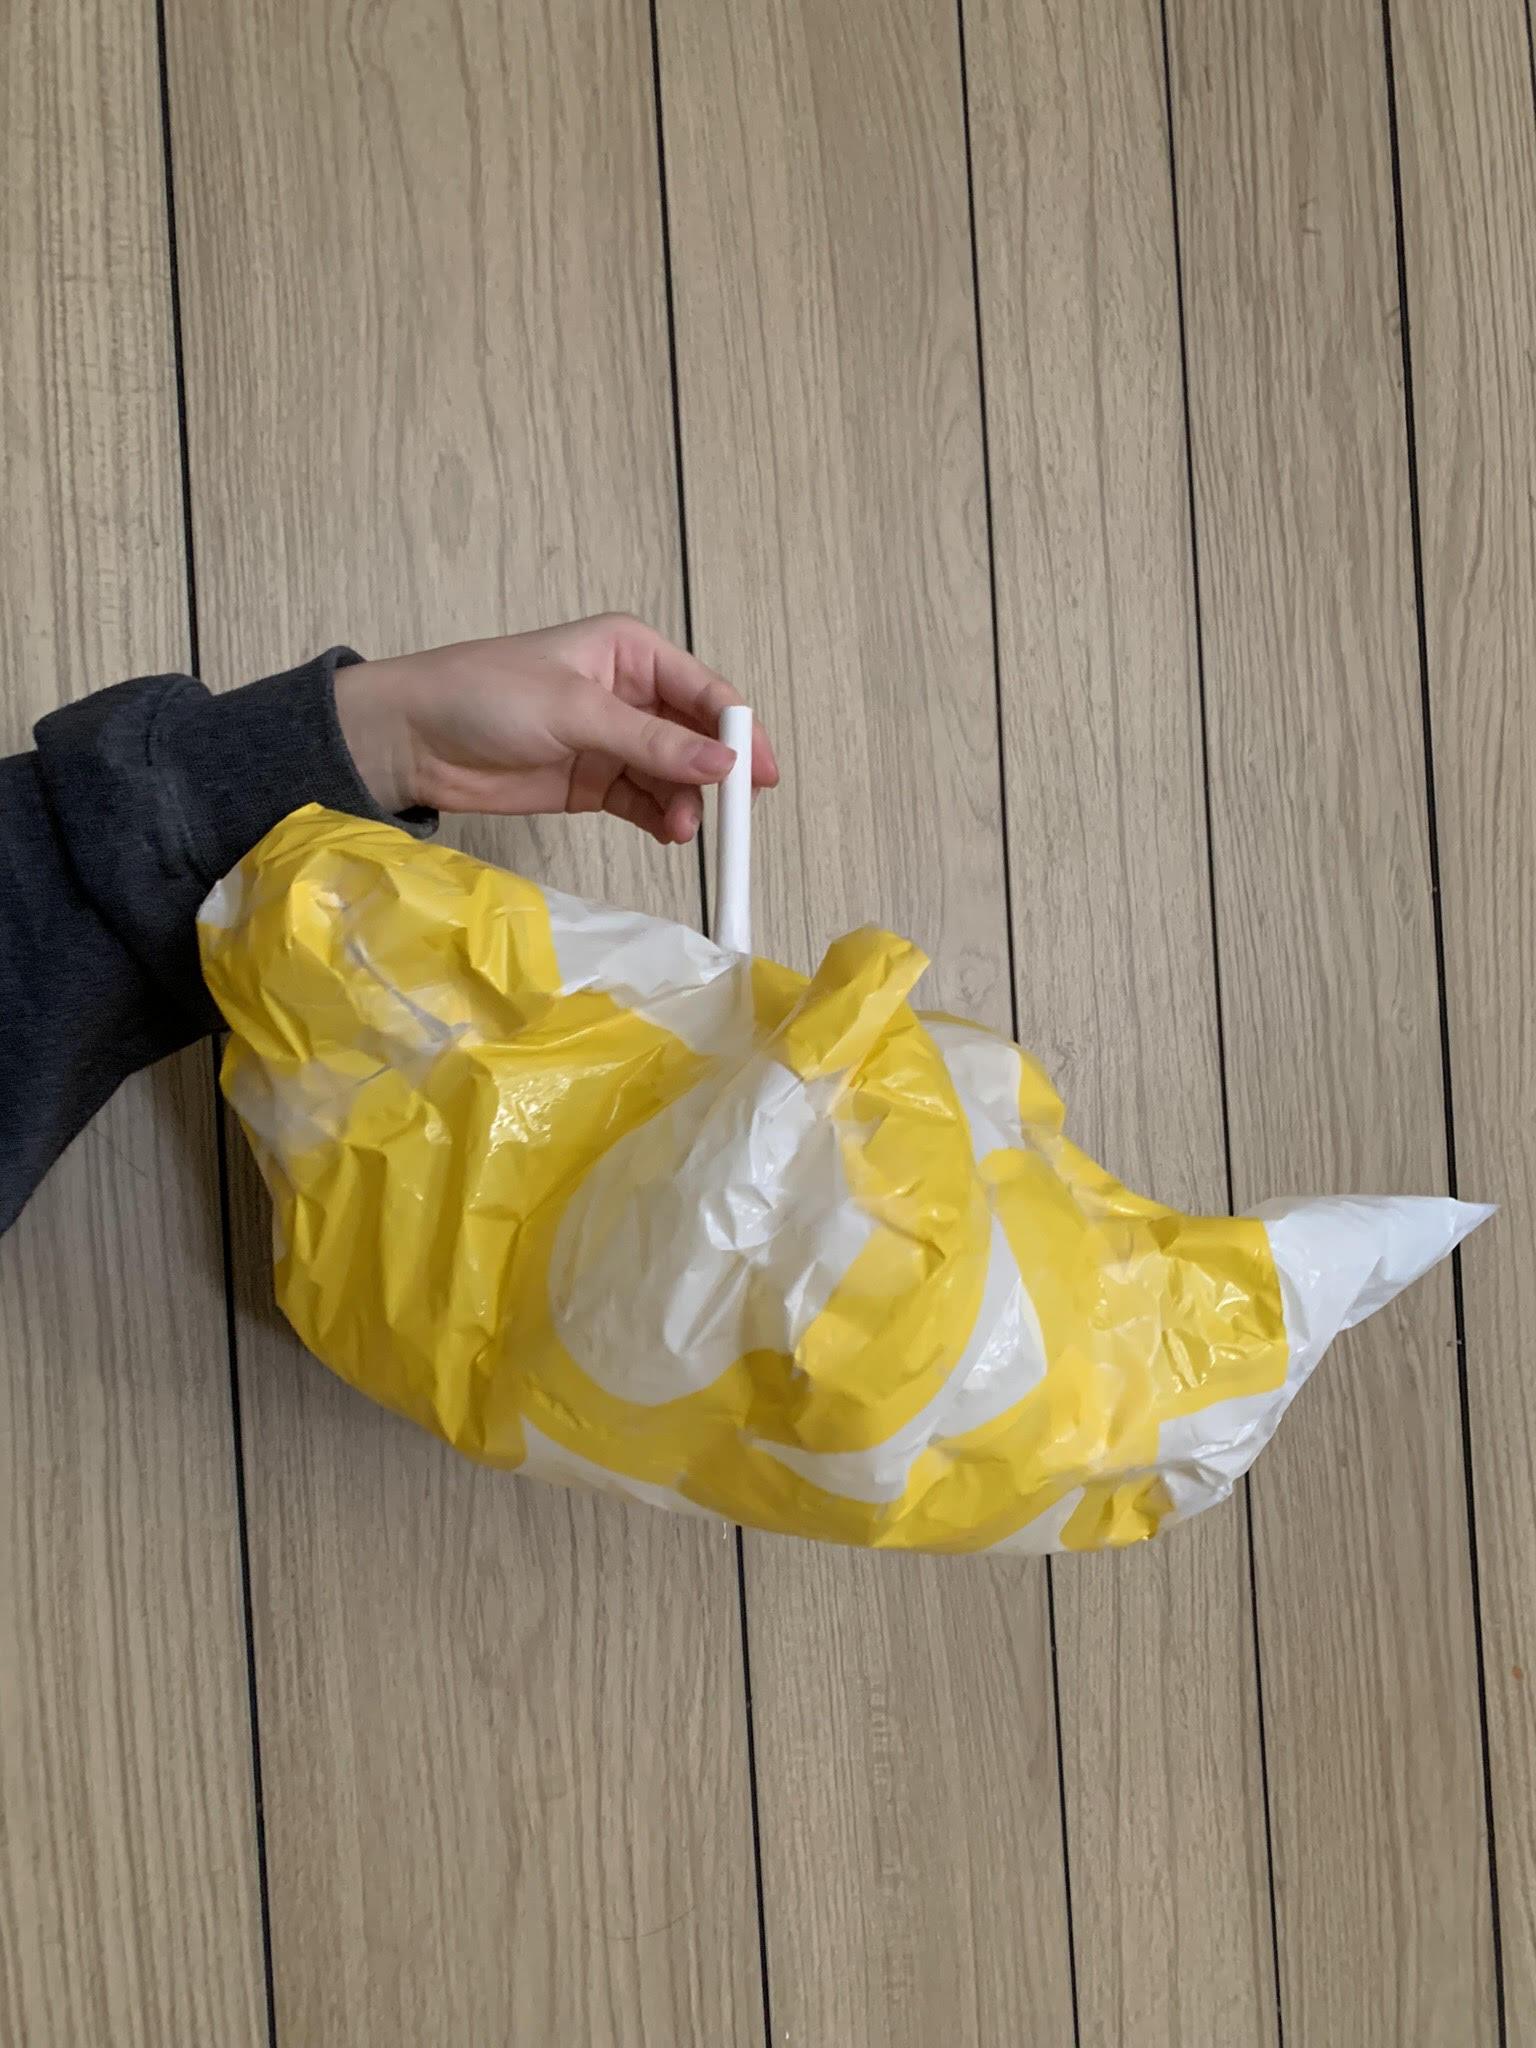
For the first sample, I decided to just cut random pieces and tried to tape them together. I wanted to use this as a chance to explore different shapes and to see what will happen after combining different shapes. I also experimented with using the ends of the bags. I realized that if I were to just cut random shapes, it would be really hard to complete and close the inflatable without making sharp edges. I also realized that the more tape I put, the harder it is to inflate certain areas. Lastly, because I used clear tape, a challenge I had was finding what was completely taped and what was causing the air to leak.
Sample 2:
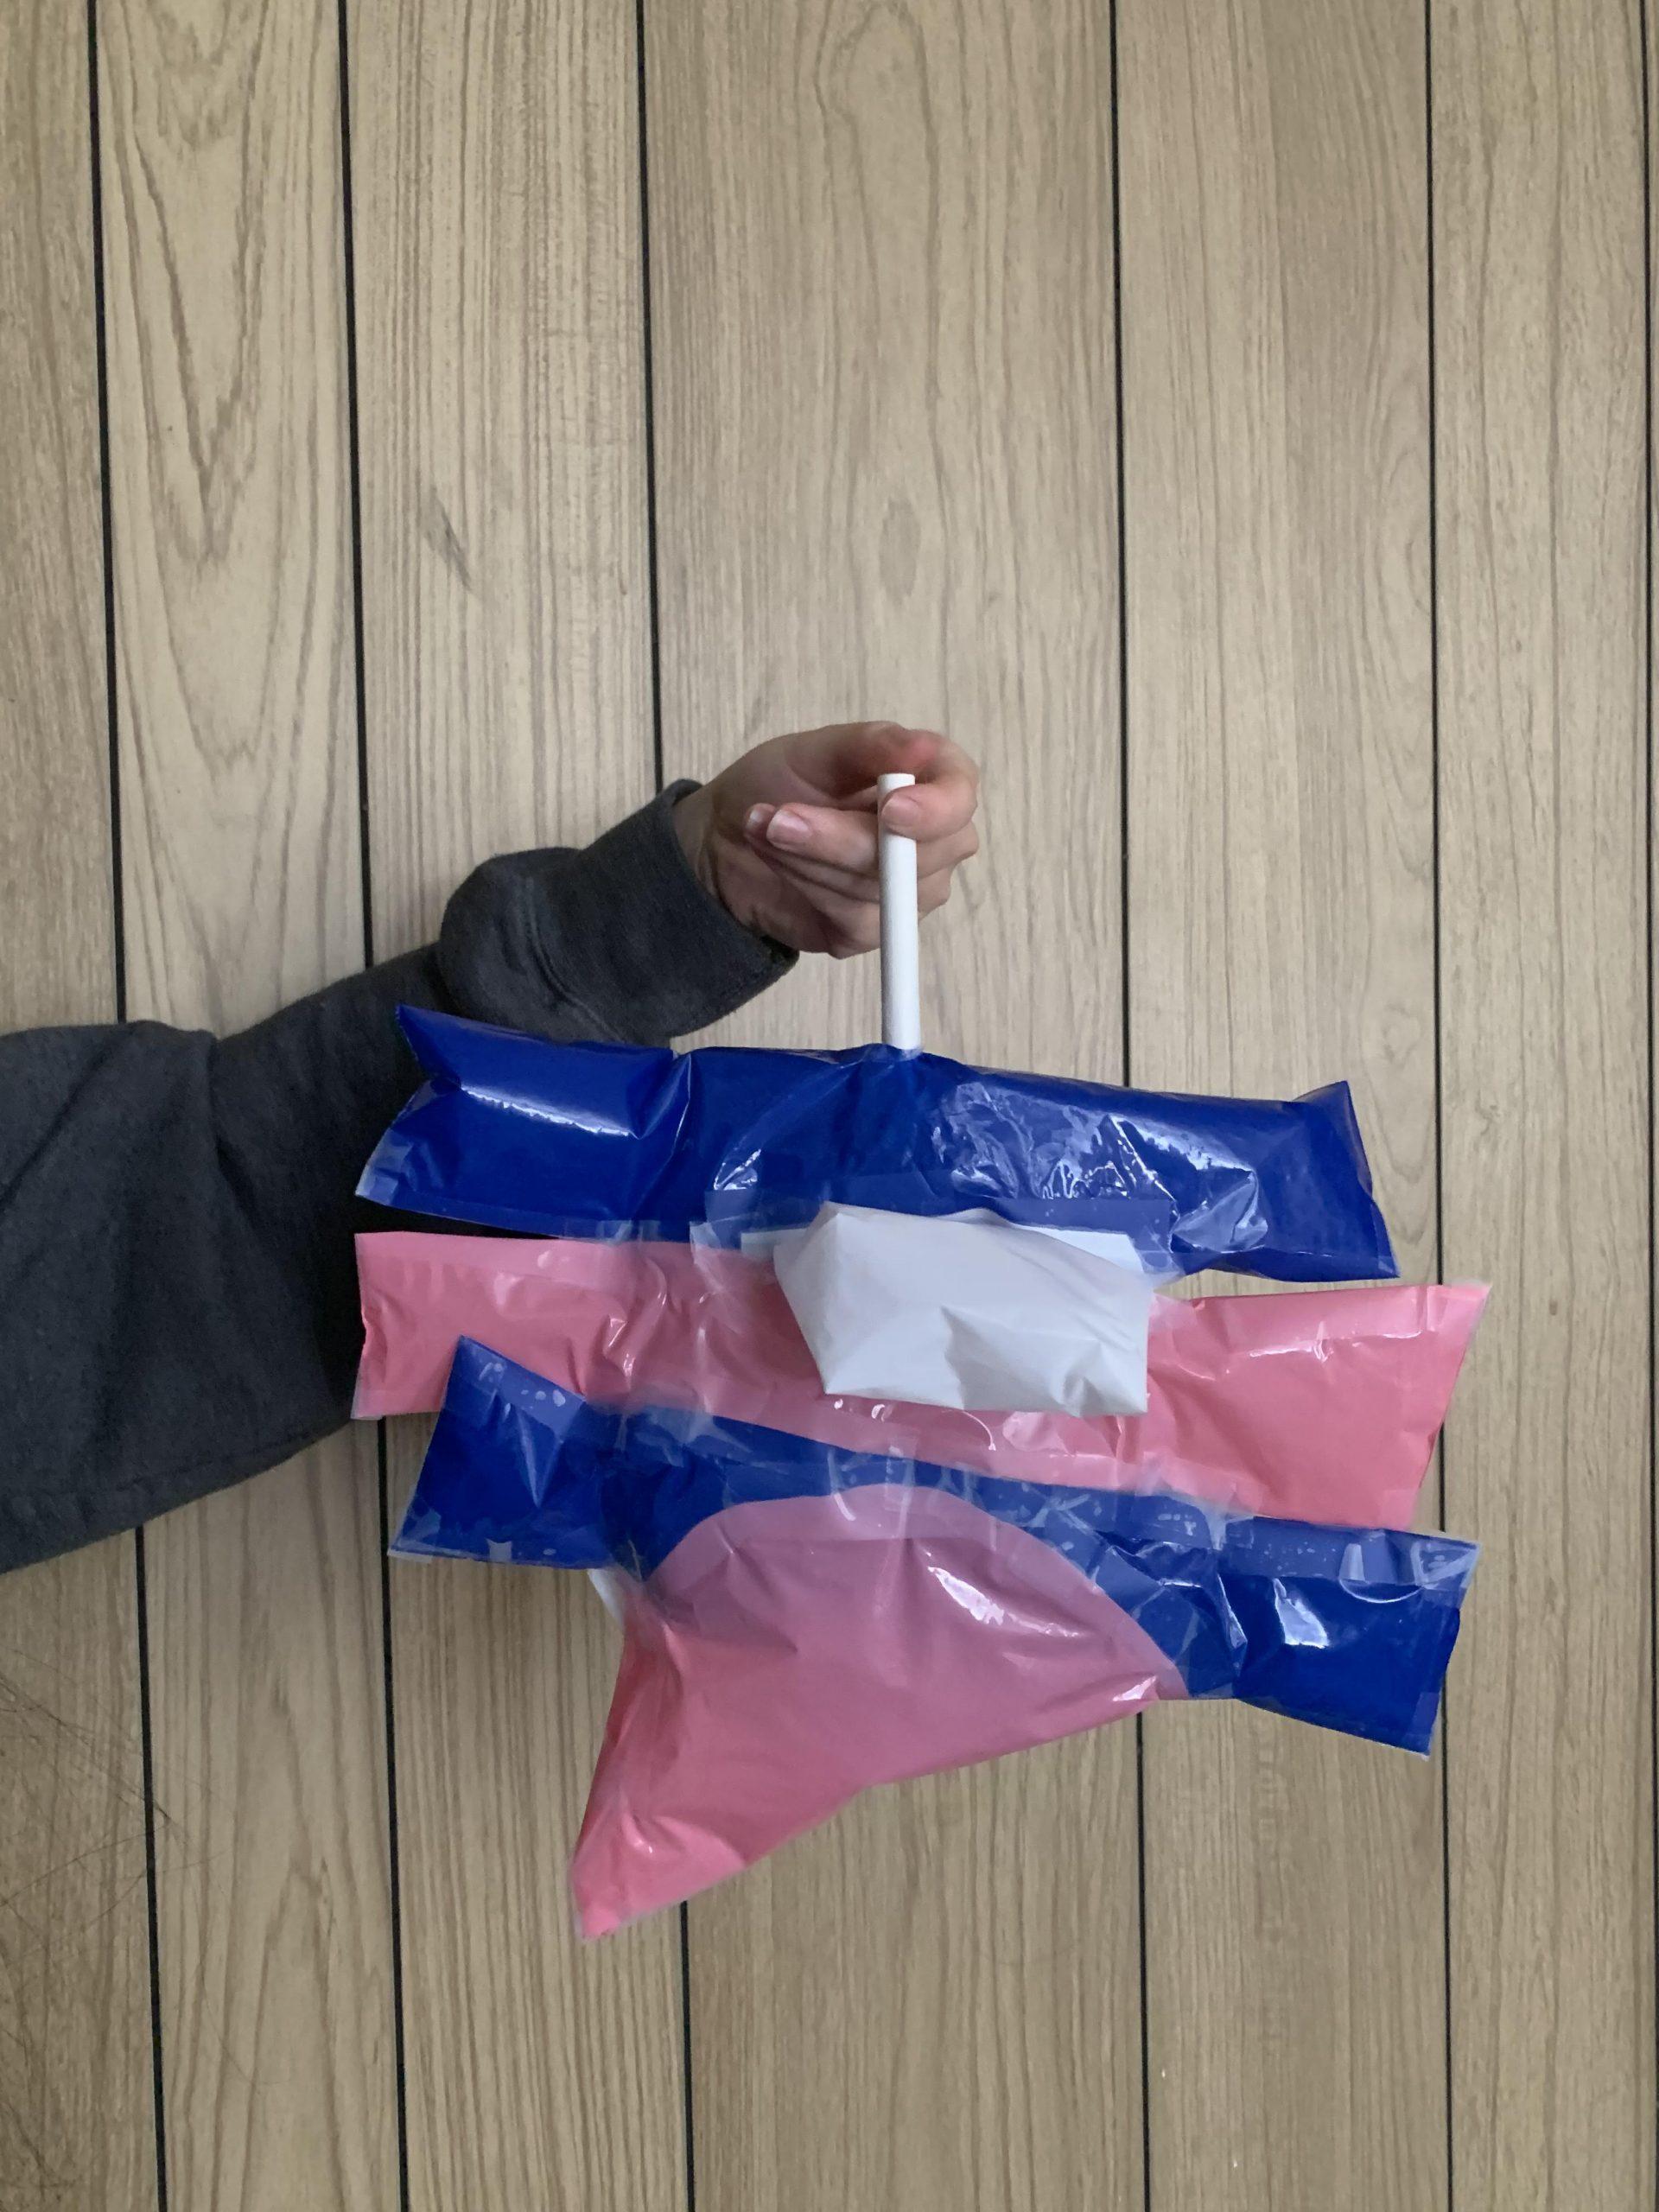
For the second sample, I really wanted to test out making small pockets or just little areas that are not completely connected with the main body. I started by cutting similar shapes and then taping the sides of each piece together and then taping each individual piece to each other. I was able to successfully make these small pocket-like shapes and I also added an additional small pocket (the white piece). After blowing air into this I realized that the pockets in a way inflate into each other/have separate movements.
Sample 3:
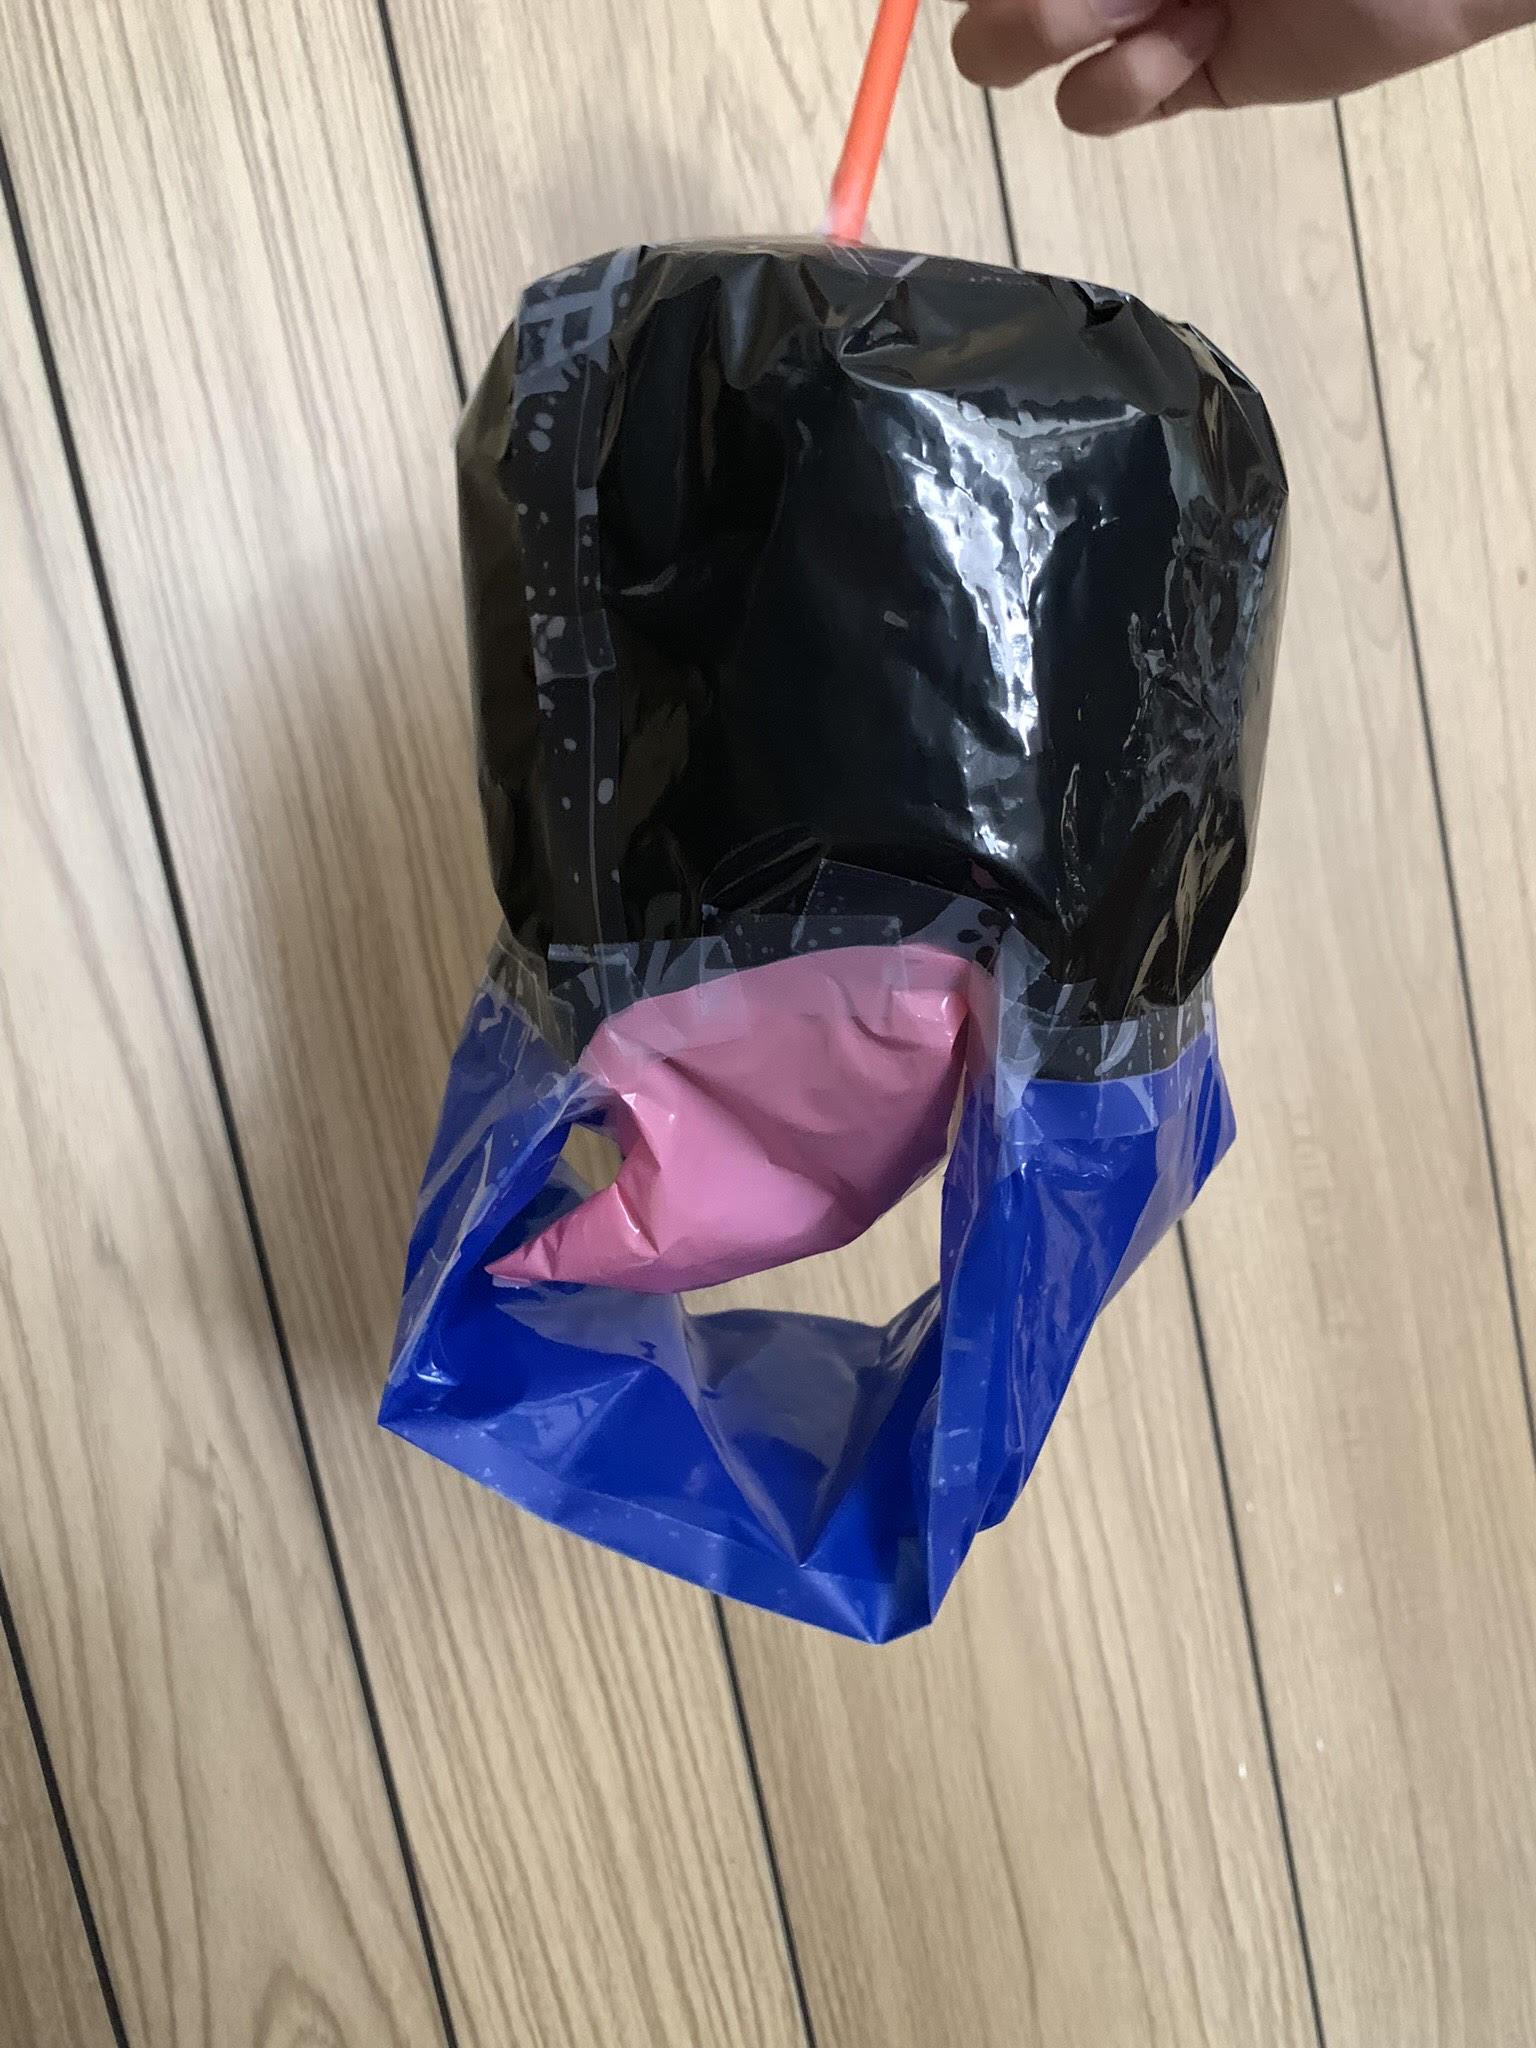
For the last sample, I wanted to explore round shapes. I first made a cylinder. I realized that I have always been taping pieces to separate pieces and so for this sample, I tried taping the ends of the same piece (blue) to the same body (black). A challenge I had was trying to close the cylinder. Because of the blue piece, it was a little complicated to add the pink piece to the original cylinder. The pink piece was also slightly bigger than the size needed to close the piece. That is why there seems to be an extra bubble when inflating this sample.


