First I made this green and purple inflatable. I wasn’t sure how much trouble I would have wrangling the tape and plastic so I kept it simple with some angular shapes. It was helpful to use the corners and sides of the bags as edges because I didn’t have to tape them together, but I was expecting much more angularity from them than I really got. It seems like it is quite difficult to get hard straight edges with inflatables, but you can get soft edges and pretty good points.

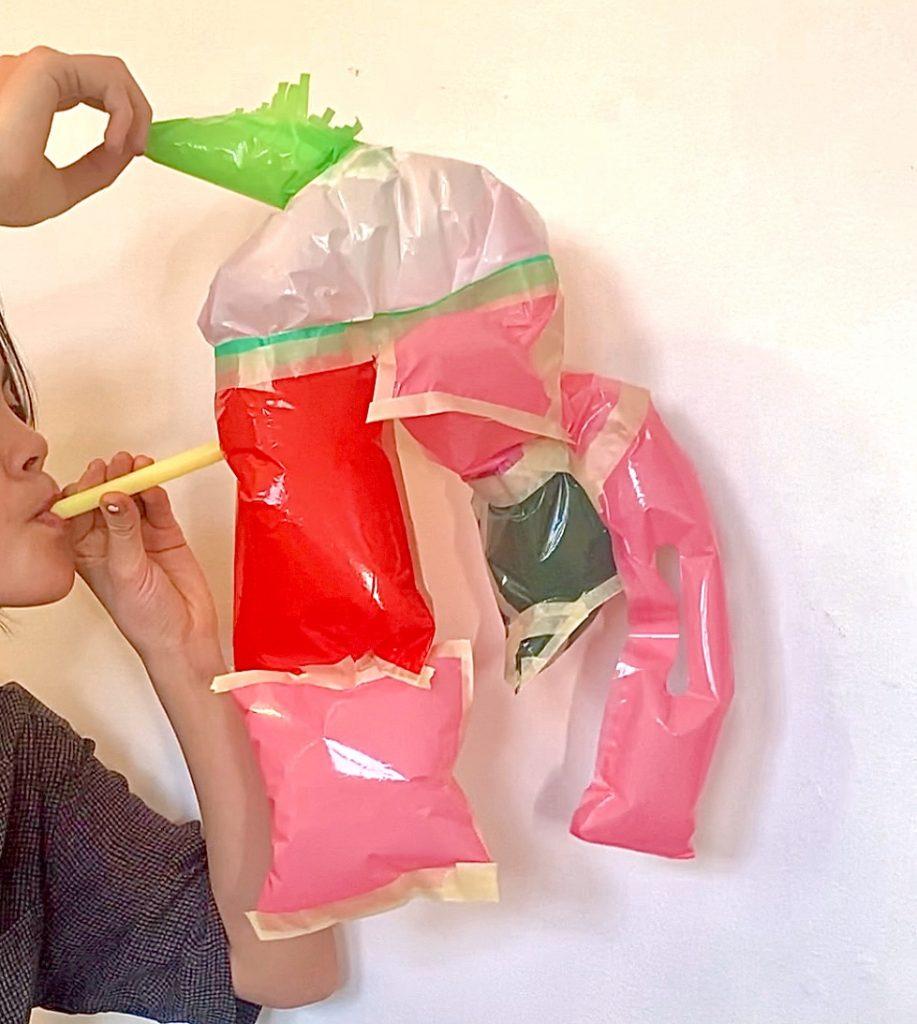
For my next inflatable I wanted to start with something round. I cut a piece of the white plastic into a circle, then ripped off a long piece of tape. I put the edge of the circle at the lefthand side of the tape, then went around the edge of the circle pleating and connecting the pieces to the tape. Once I was finished pleating, I connected the two ends of the tape. This piece looked sort of like a dome, but I was wondering what would happen if you connected two sides of the circle at a small point in between. Looking from the opening of the dome to the very top of it, it looked like the number 8. I thought it would make a cool shape, but when inflated the dome had too many gaps caused by the pleating for it to fully expand and show this shape. In the future, I would like to experiment more with this idea with better understanding of how it would work. The left “leg” of the inflatable was constructed by connecting two basic square shapes but only by part of one edge. By doing this, the shapes can more freely twist about. I thought this was cool. On the other “leg” of the inflatable, I was mostly just trying to practice taping cleanly. I was interested in what would happen if I used the handle of the bag. Again, too much air was escaping for it to fully inflate, but I still think more could have been done here. What about other shapes looping through that hole? Like an inflatable chain? Or an inflatable knot? There is certainly more to explore.

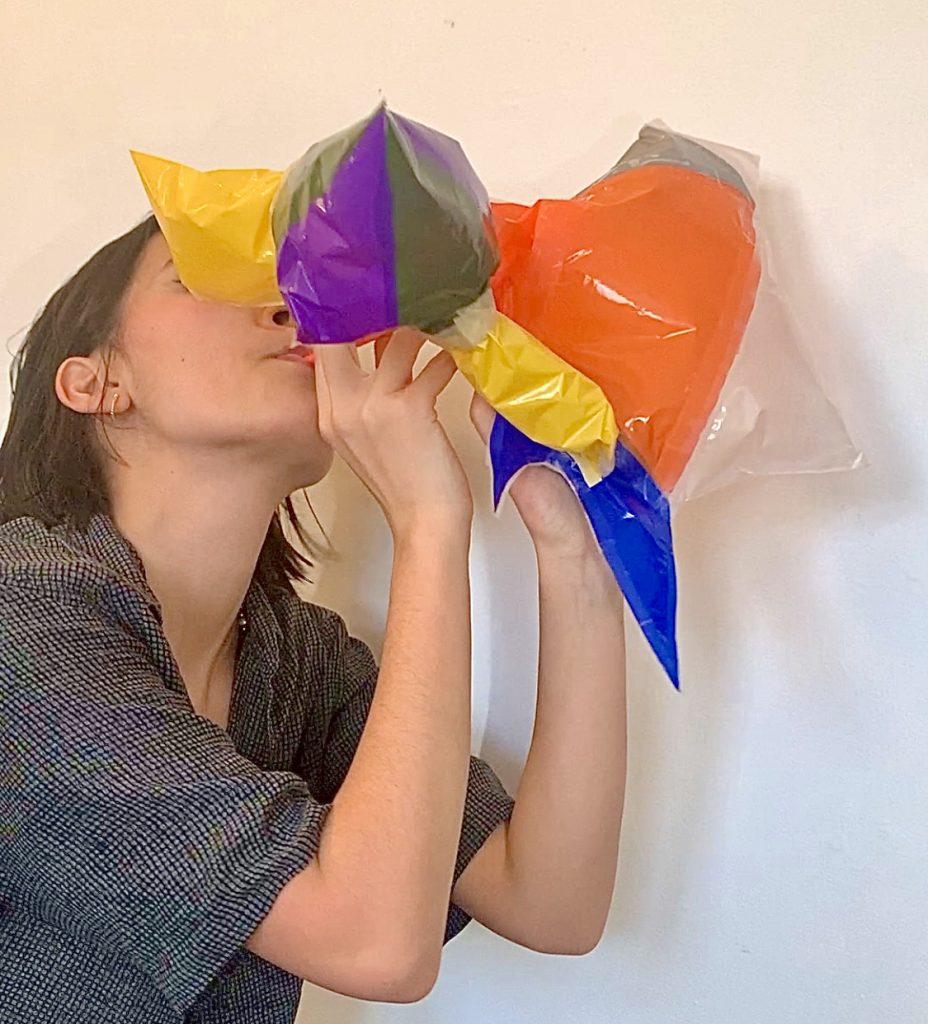
For the last inflatable I constructed, I was thinking a little more about what it would look like in the end. I also tried to be more conscious about the shapes I was cutting out; before, I cut the shapes one by one and tried to make them all fit together. I found that using this method made connecting the last few joints really difficult. I liked the little blue piece at the bottom. It was a little tricky to tape but I love playing with curves and points… and I suppose that’s most of what you can do with things that inflate.
