Object 1: Basic cube
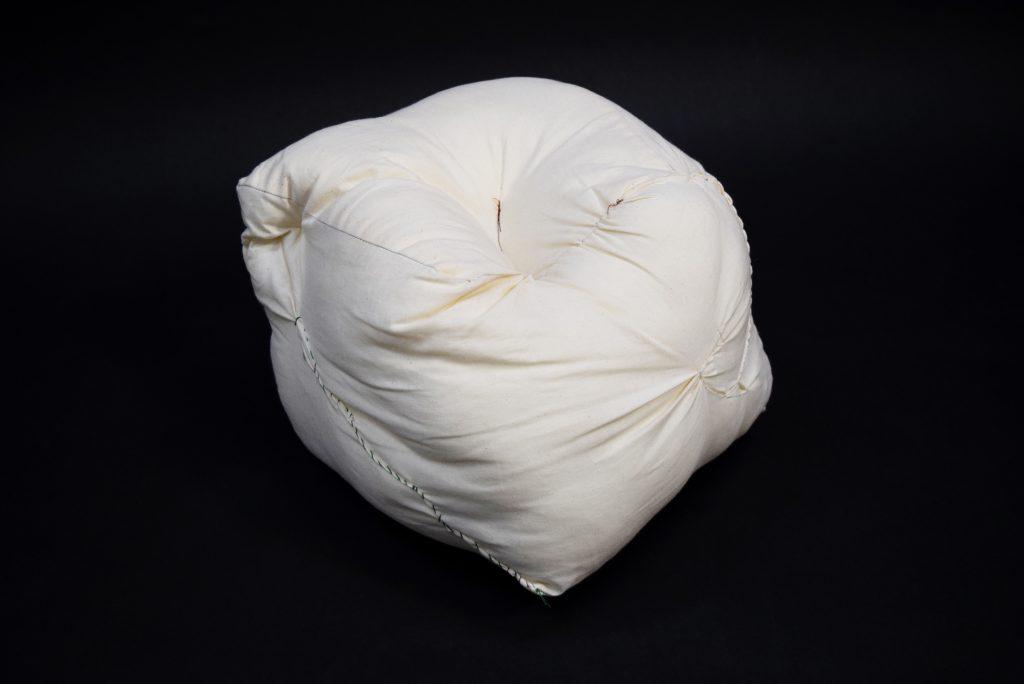
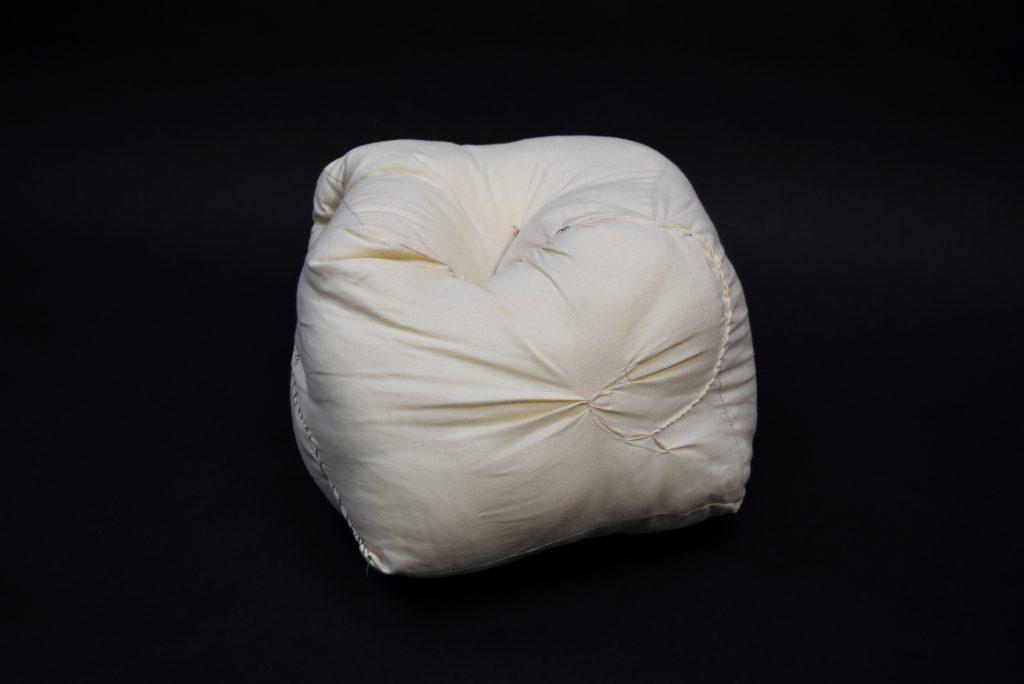
I used my first inflatable as an opportunity to get situated with some of the basic techniques. Object 1 is just a cube with a few added features – baffling using thread once the form was stuffed, a plane of fabric inside the cube also acting as a baffle, and some stitching on the outside to cinch the fabric and add texture. I liked the secrecy of the plane inside the cube, and the thoughtfulness it required when assembling the form.
Object 2: Cone Breast
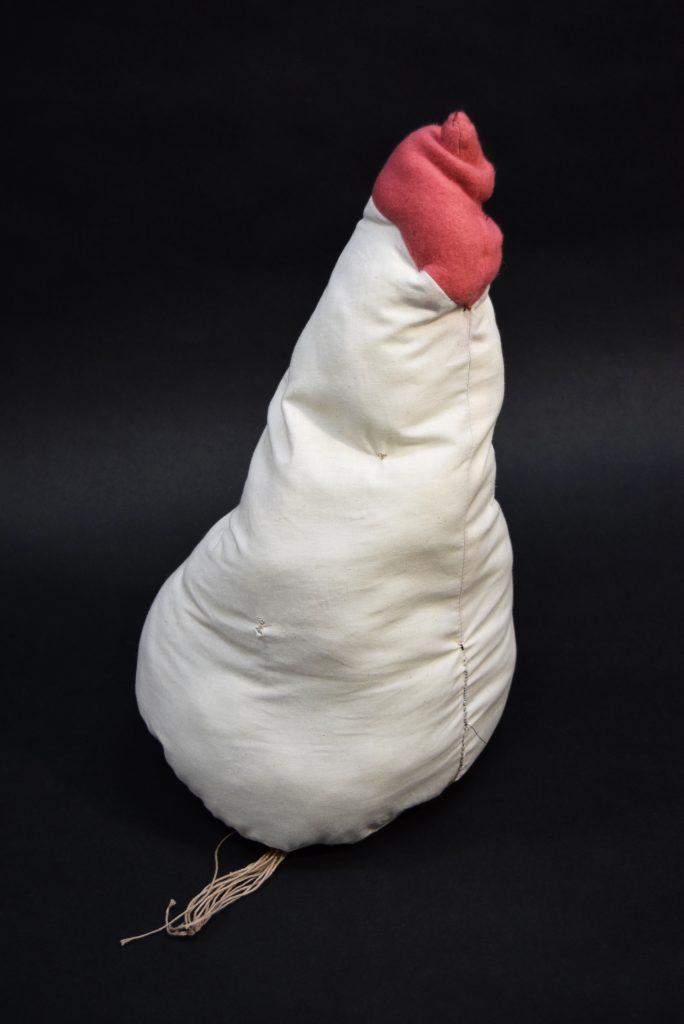
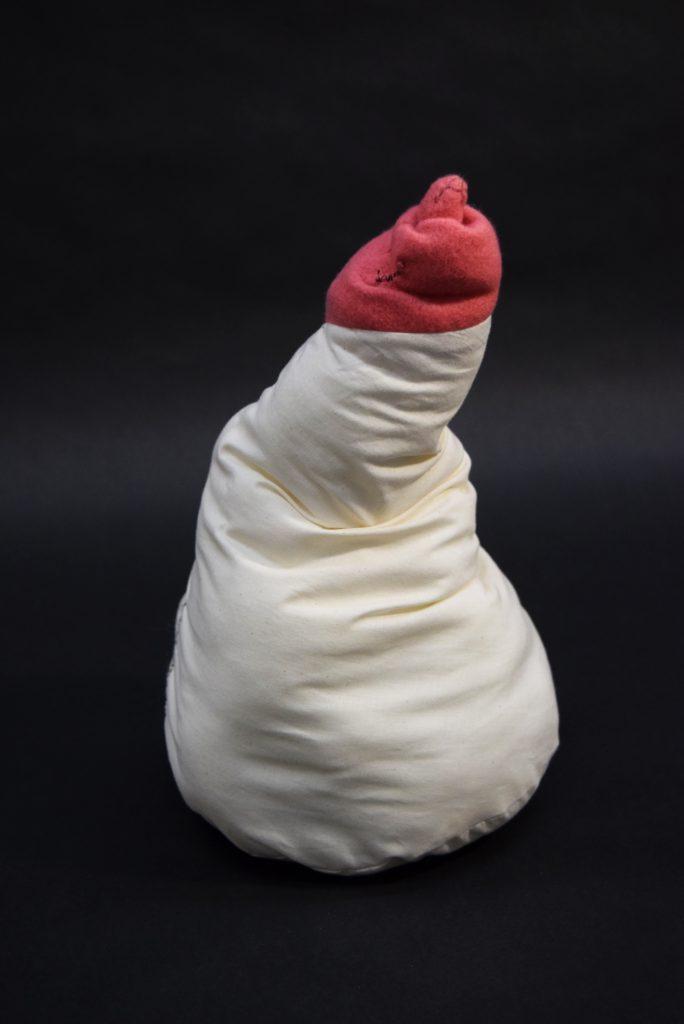
I wanted to construct my second object with a little more intention, so I created a manipulatable cone-shaped breast. My inspiration came from women’s style in the ’50s, when cone-shaped breasts were popular. I was also thinking about how women are constantly manipulating their bodies in order to meet society’s beauty standards. First, I constructed the basic cone shape. Then, I partially filled it, and attached strings to the wall of the cone. I cut holes in the wall so I could tie the string around the fabric (sewing the string in seemed too challenging). Then, I routed the threat out of the inflatable via a hole in the bottom of the cone. When you hold the cone from the bottom and pull on the strings, the cone collapses. Thinking technically about this piece, I enjoyed the interactive feature but also the idea of having elements that are both inside and outside of the object.
Object 3 – Sphere in a sphere

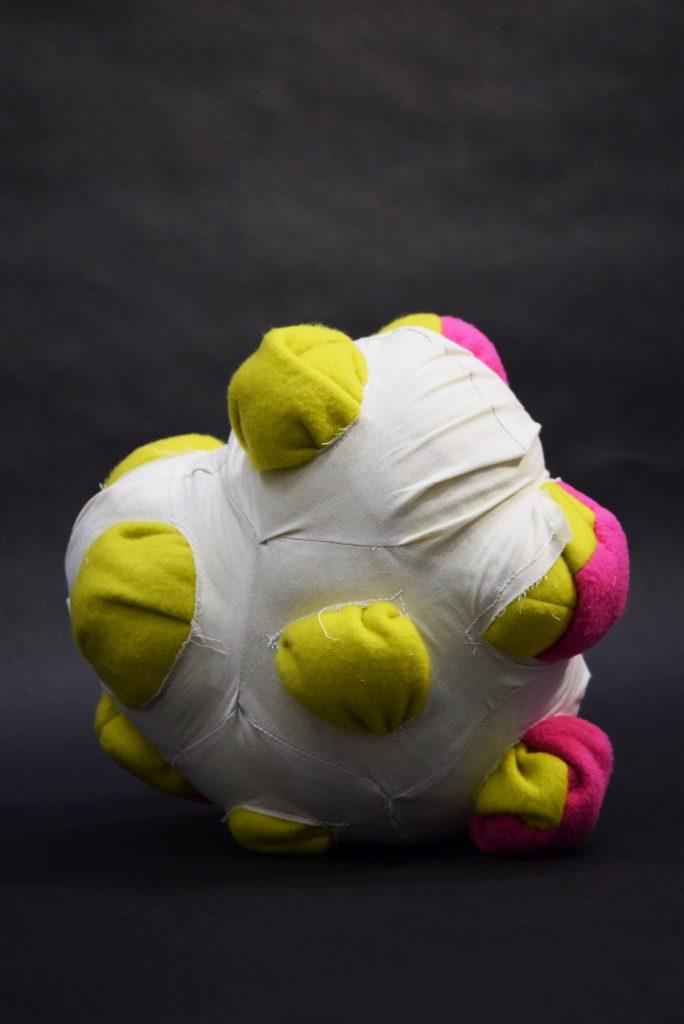
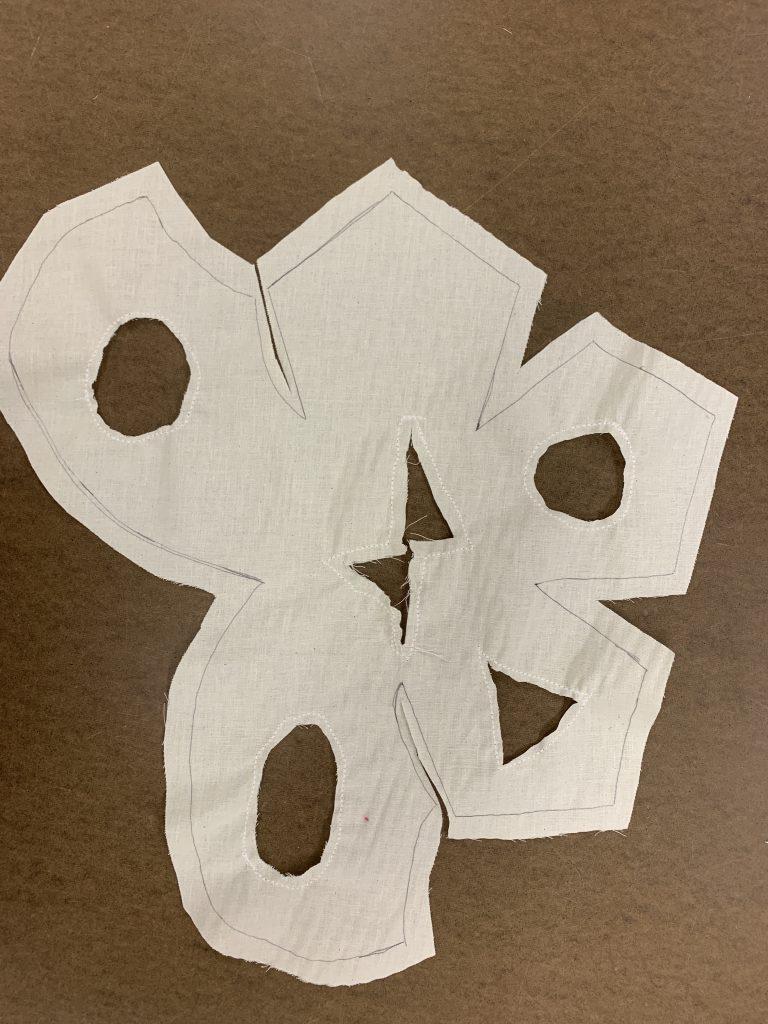
For this object, I wanted to try out the slash and spread technique and also think about how one form can constrict another. I had recently rewatched Vihart’s spherical snowflake video and wanted to expand on the idea. First, I made the pattern for the outer sphere. I made this one out of muslin, because it is a more rigid fabric that I thought would be able to nicely constrict whatever was inside. I then sewed a hole into each of the “pentagons”, and mostly assembled the distorted sphere. Then, I constructed a felt sphere with a larger pattern, stuffed the felt into the muslin sphere, and then stuffed the inner sphere. I chose to use felt for the inner sphere because it would stretch and then bulge out of the holes. I had to do some manual manipulating of the felt and poly-fil to make sure that the inner sphere bulged out of the outer sphere, but once everything was filled and sewn I was happy to observe that the object retained its lumpy shape.
Object 4 – Flower headpiece
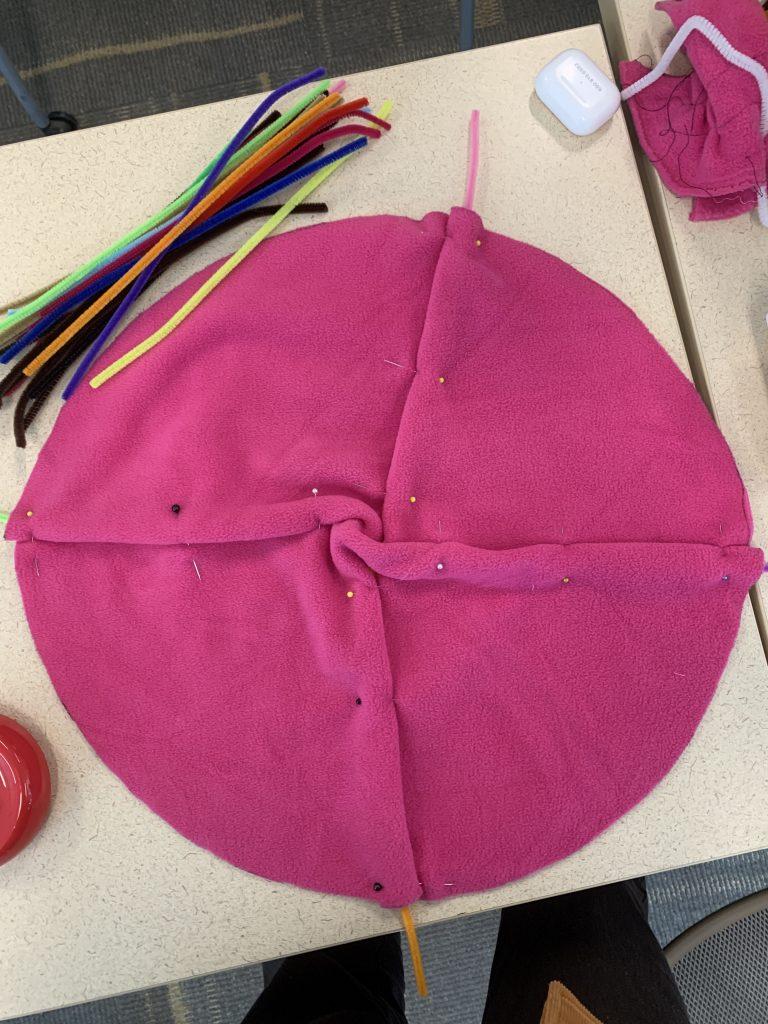
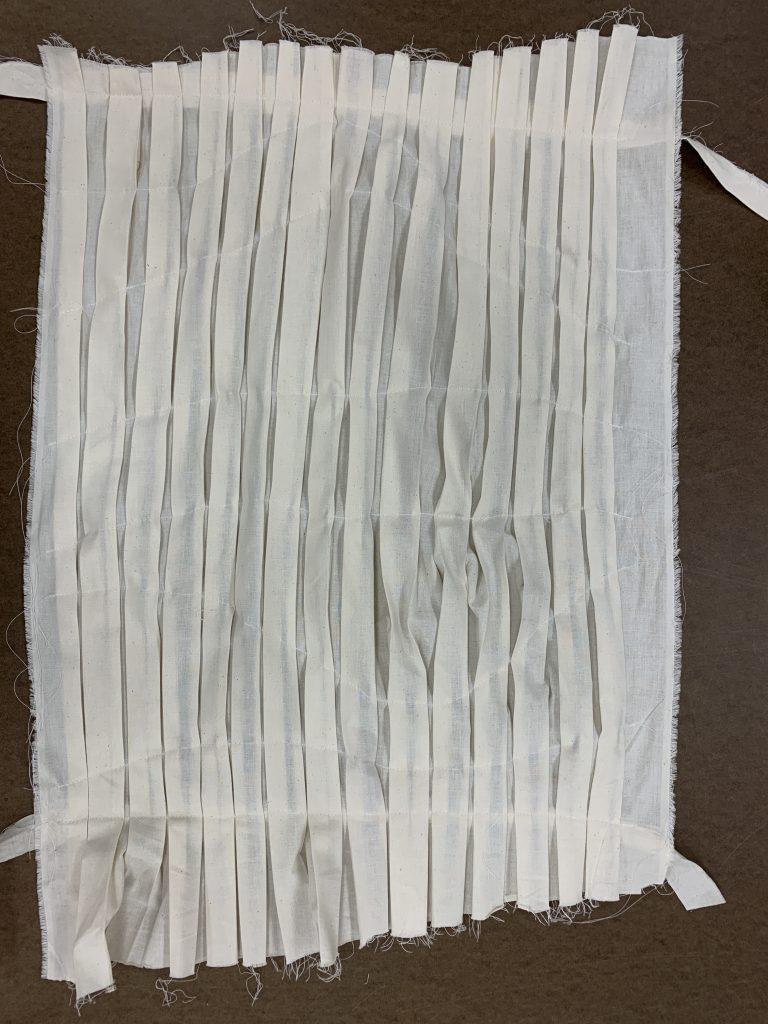
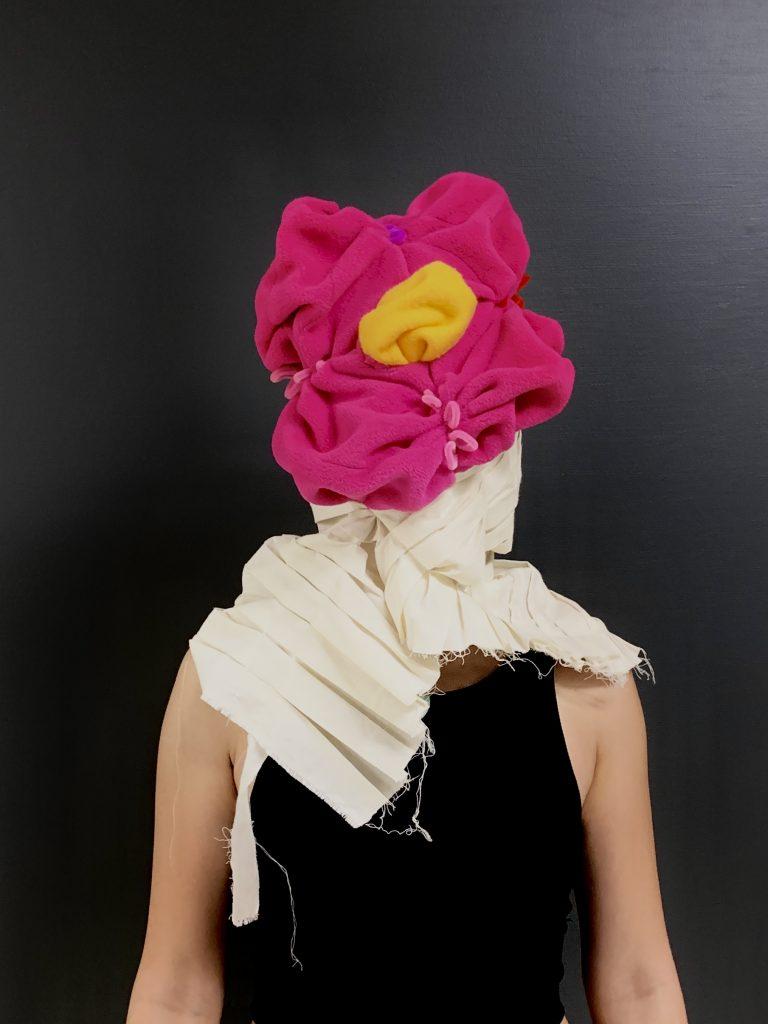
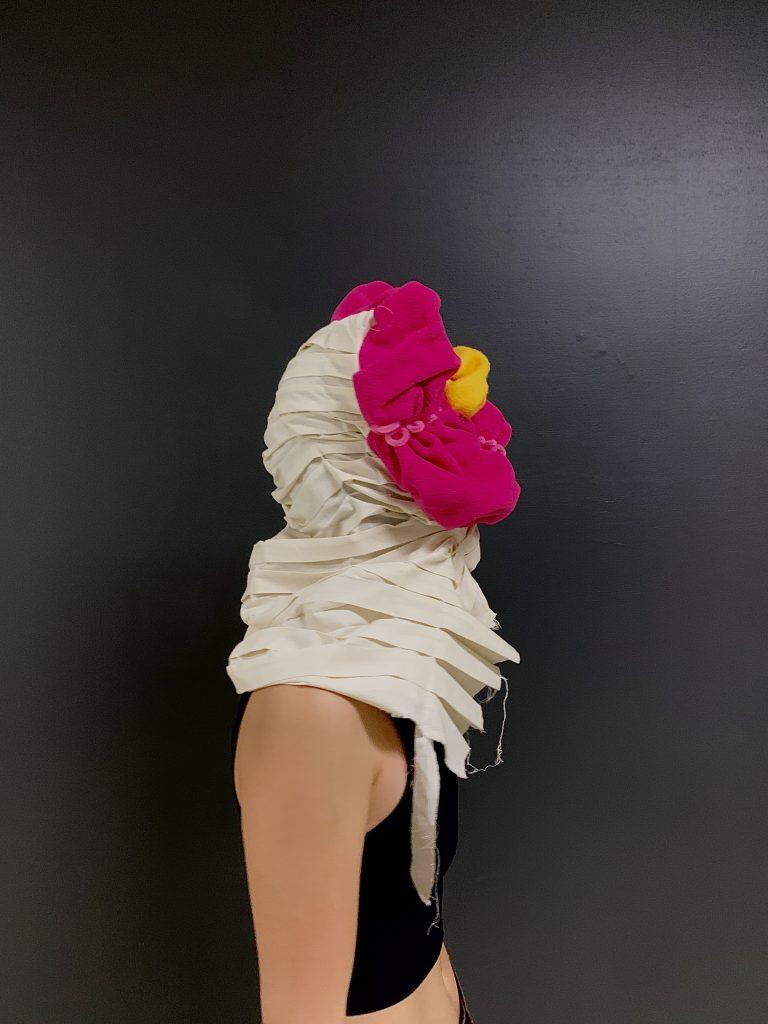
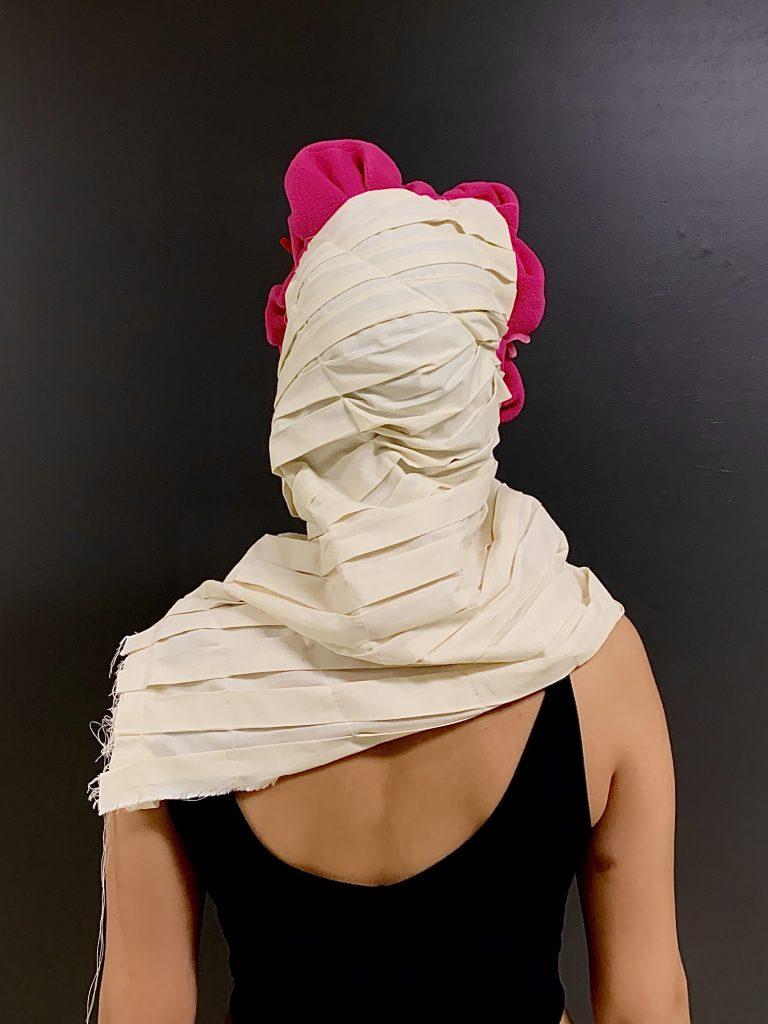
My final object replaced the CAD assignment, so I wanted to create something that reflected my choice not to use CAD. This object was entirely improvisational. I started by sewing pipe cleaners into a felt circle so I could pull the loose parts to cinch the fabric together. When I did so, it looked sort of flower-ish so I added a yellow circle to the center. I knew I wanted to try out box pleating, so I made a sheet of box pleated muslin. I sewed curving lines across the pleats to pin them down in places so the whole sheet wouldn’t just unfold. I found that these curving lines result in the pleats inflating in unusual and unexpected ways – this is something I’d love to explore more in future projects. Once this sheet was completed, I sewed the flower onto the pleated muslin and it just happened to create something that looked like it would fit great on my head. It did fit on my head, so I decided this object would not be stuffed with polyfil. It didn’t much need it anyways – the flower sort of self-inflated because of all the cinching and pleating. I pleated the yellow circle so it would fit in the hole I cut in the pink felt, and I also pleated the pink felt when I sewed it to the muslin. All of this constriction ended up giving the felt some structure. Felt also seems to retain its shape semi-nicely anyways, so that was a nice feature of the fabric that I enjoyed with this project.
