Assignment 2: Traffic Light

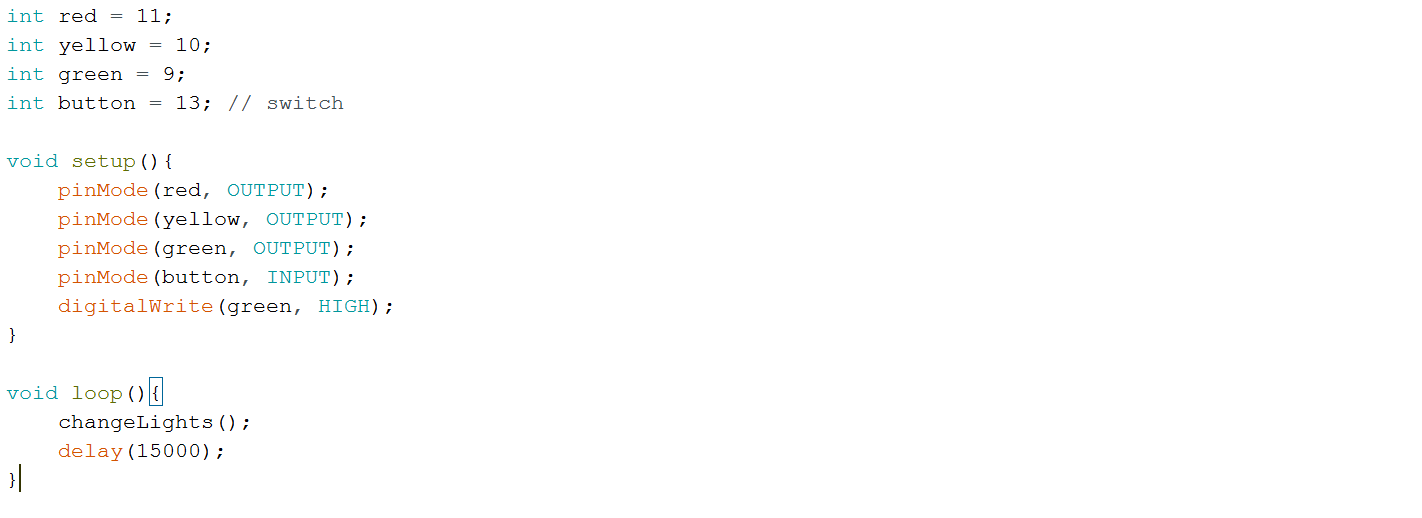
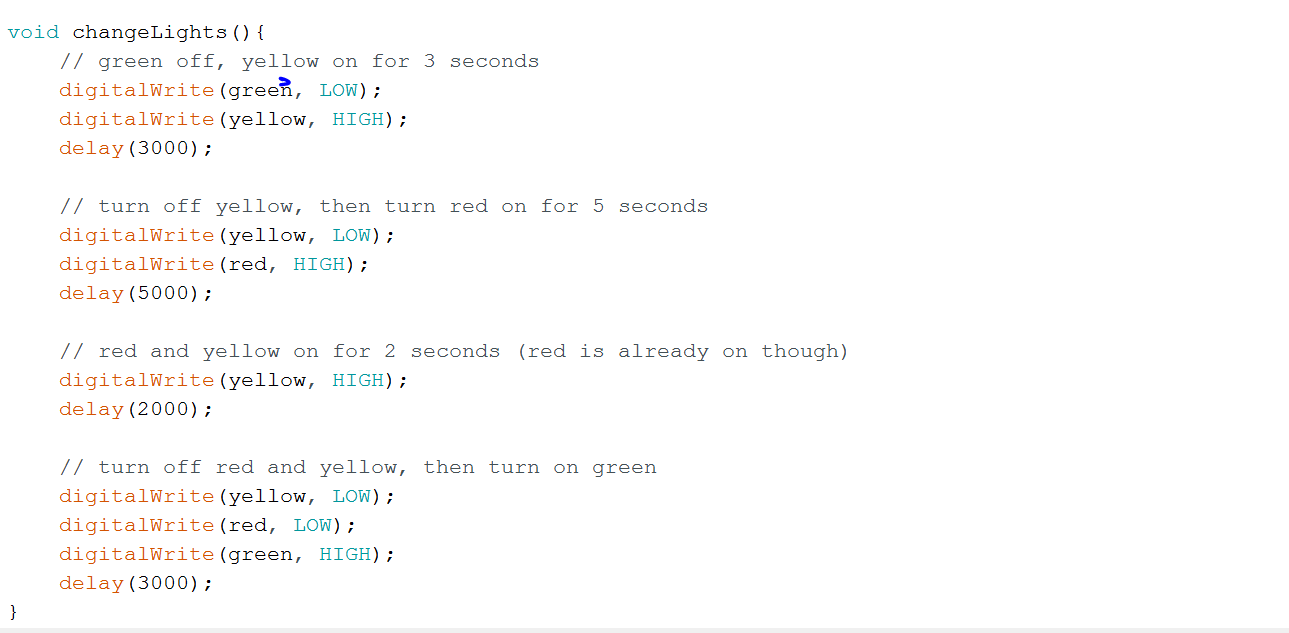
So for Assignment 2, I decided to make a traffic light type thing. It has four states: Red, yellow, green, and off. It automatically changes in the code because of the delay (look below)

Delay working video:

https://photos.app.goo.gl/BcLEGQyPuy652W312


So once I got that working, I changed the loop() to get the leds changing according to a push button switch.

arduino_traffic_light_with_button

https://photos.app.goo.gl/PgdjJLKbqnVqxTE53


Assignment 3: Bright lights and friends

For this assignment, I thought about how I could incorporate light and emotion, simply because I wanted to experiment with LEDs. It got me thinking about how people in your life enhance your emotions and can affect your personality.

“Light up my life”

This then got me thinking about a system that requires another person to work, similar to how friends and people can figuratively light up your life.

The concept: A garment that can be worn and connected to a sensor that when a buddy interacts with it, controls the lights on the garment.

Materials:

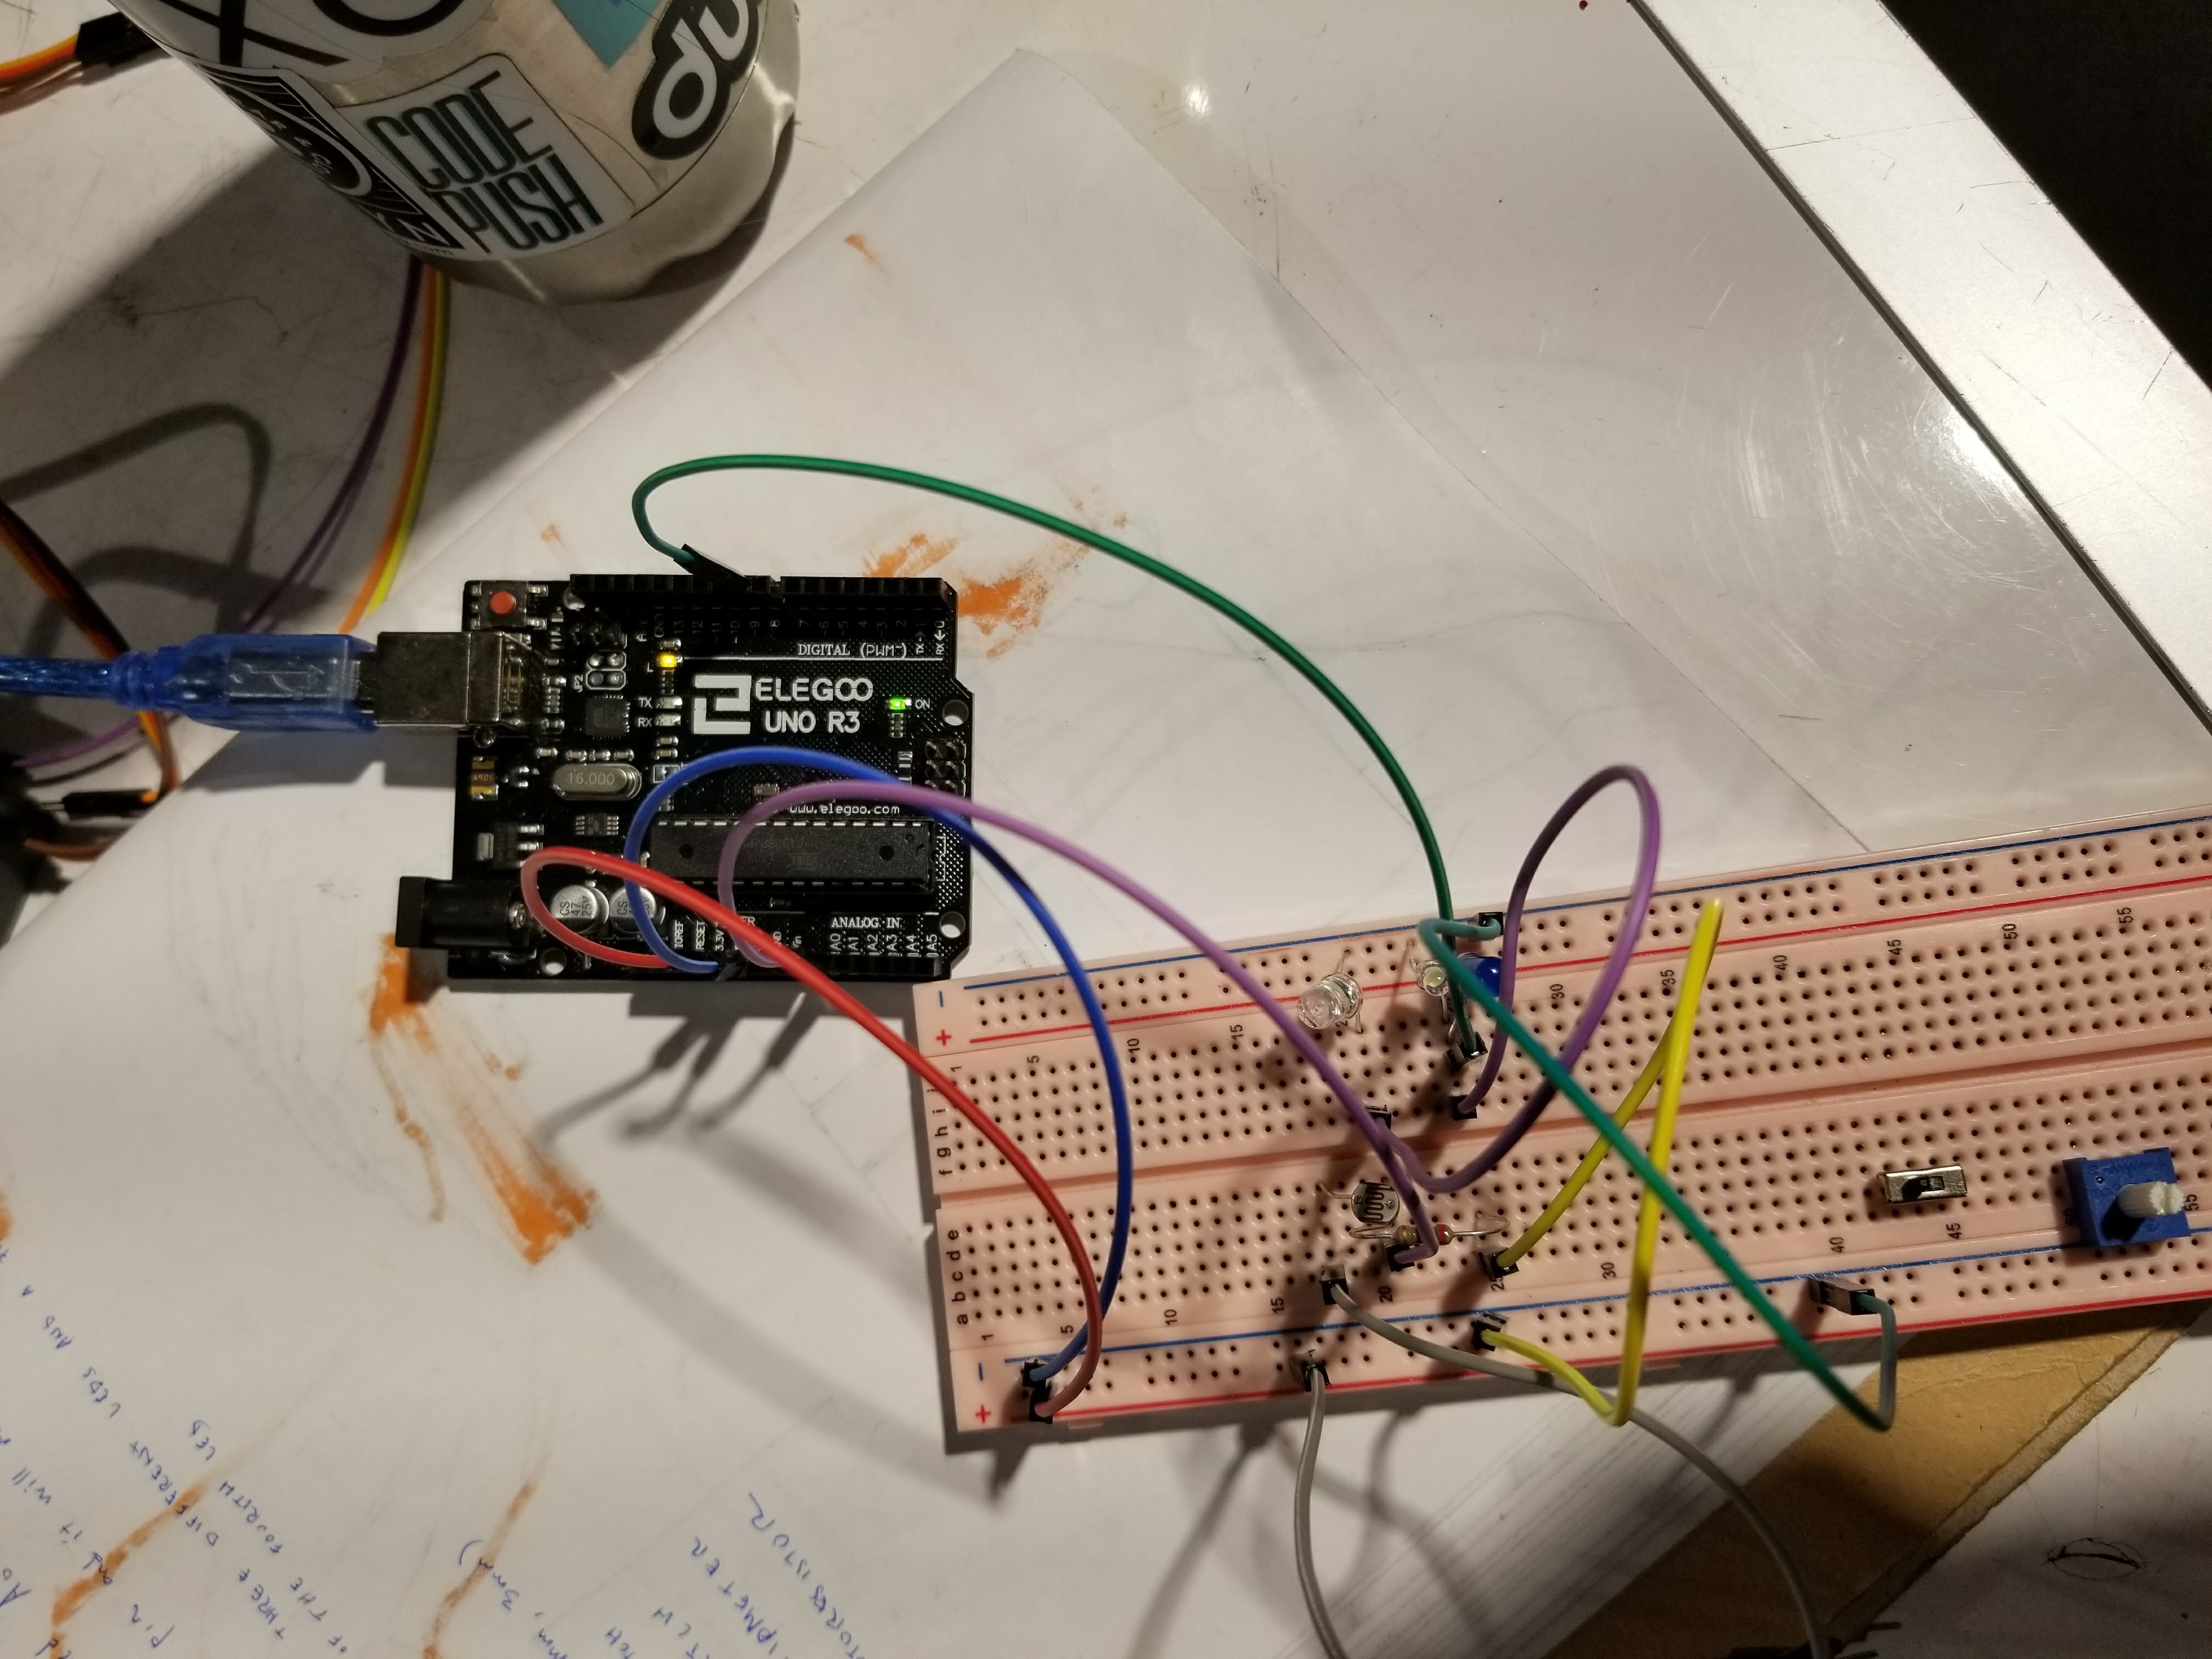
  • White 3.3V LEDs
  • photoresistor
  • breadboard
  • Arduino UNO
  • 10K resistor

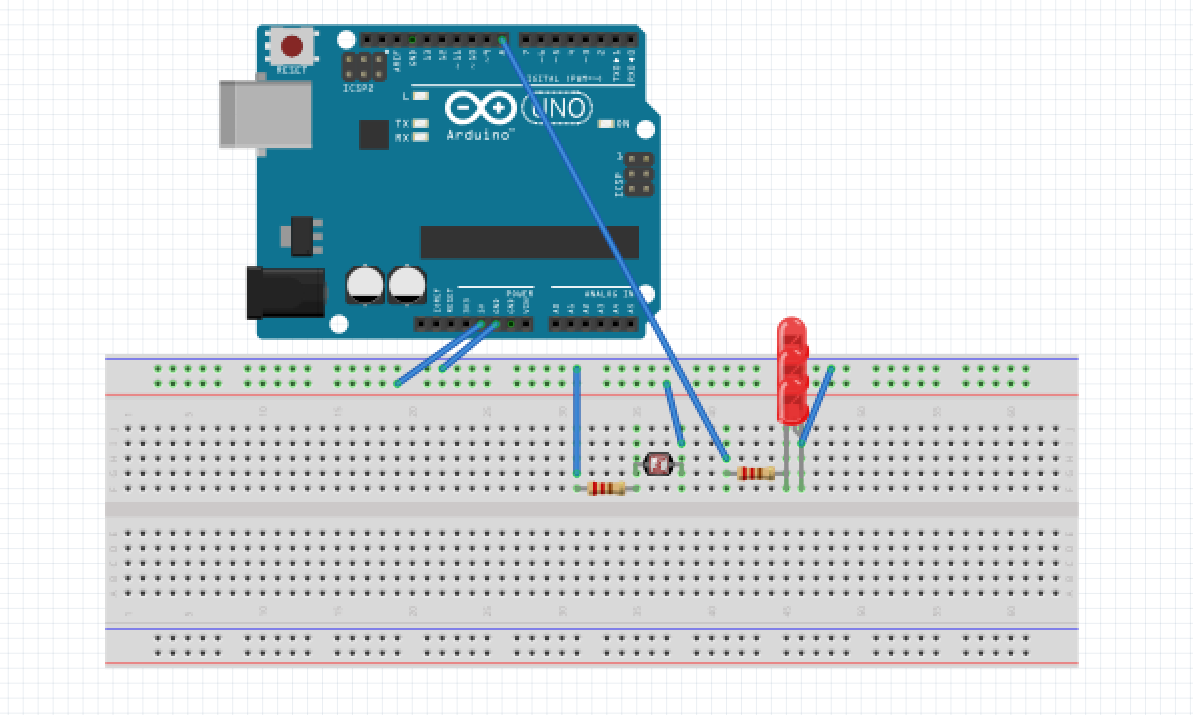
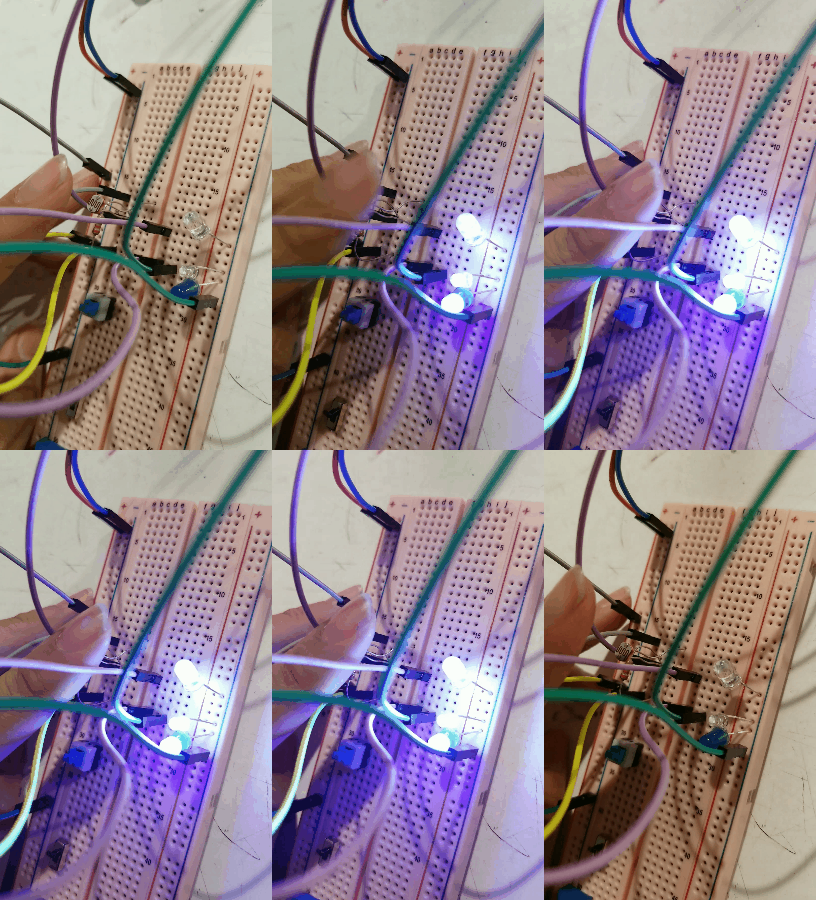
Circuit:


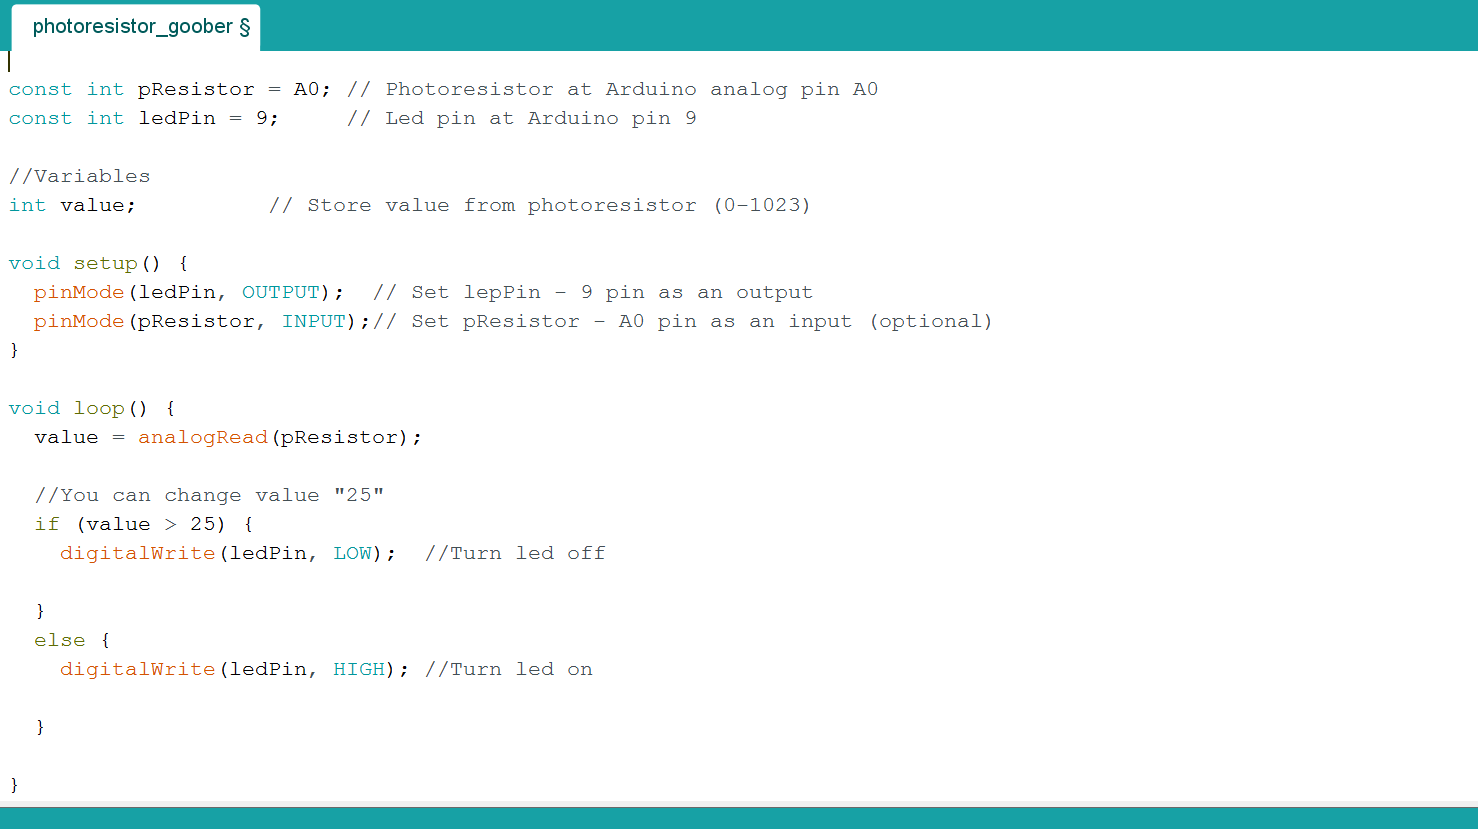
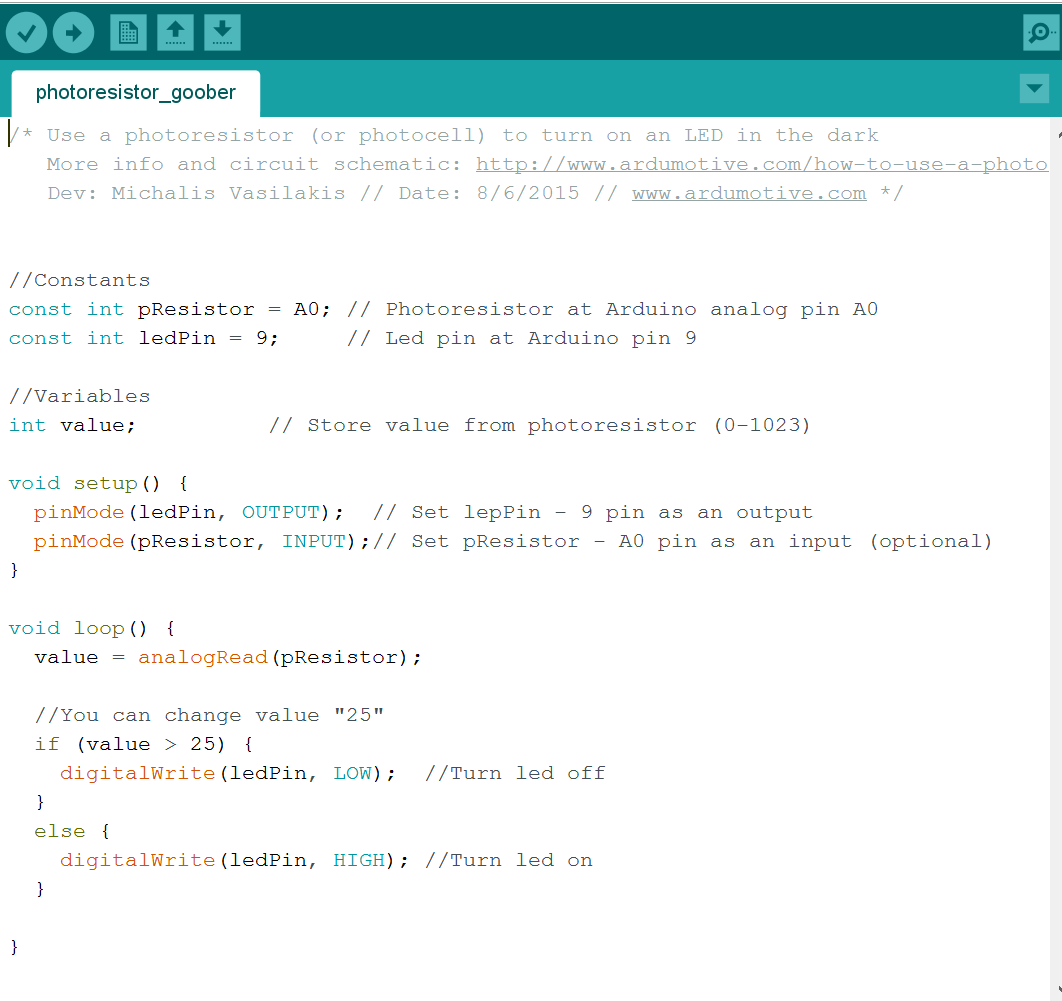
Code:

Final:

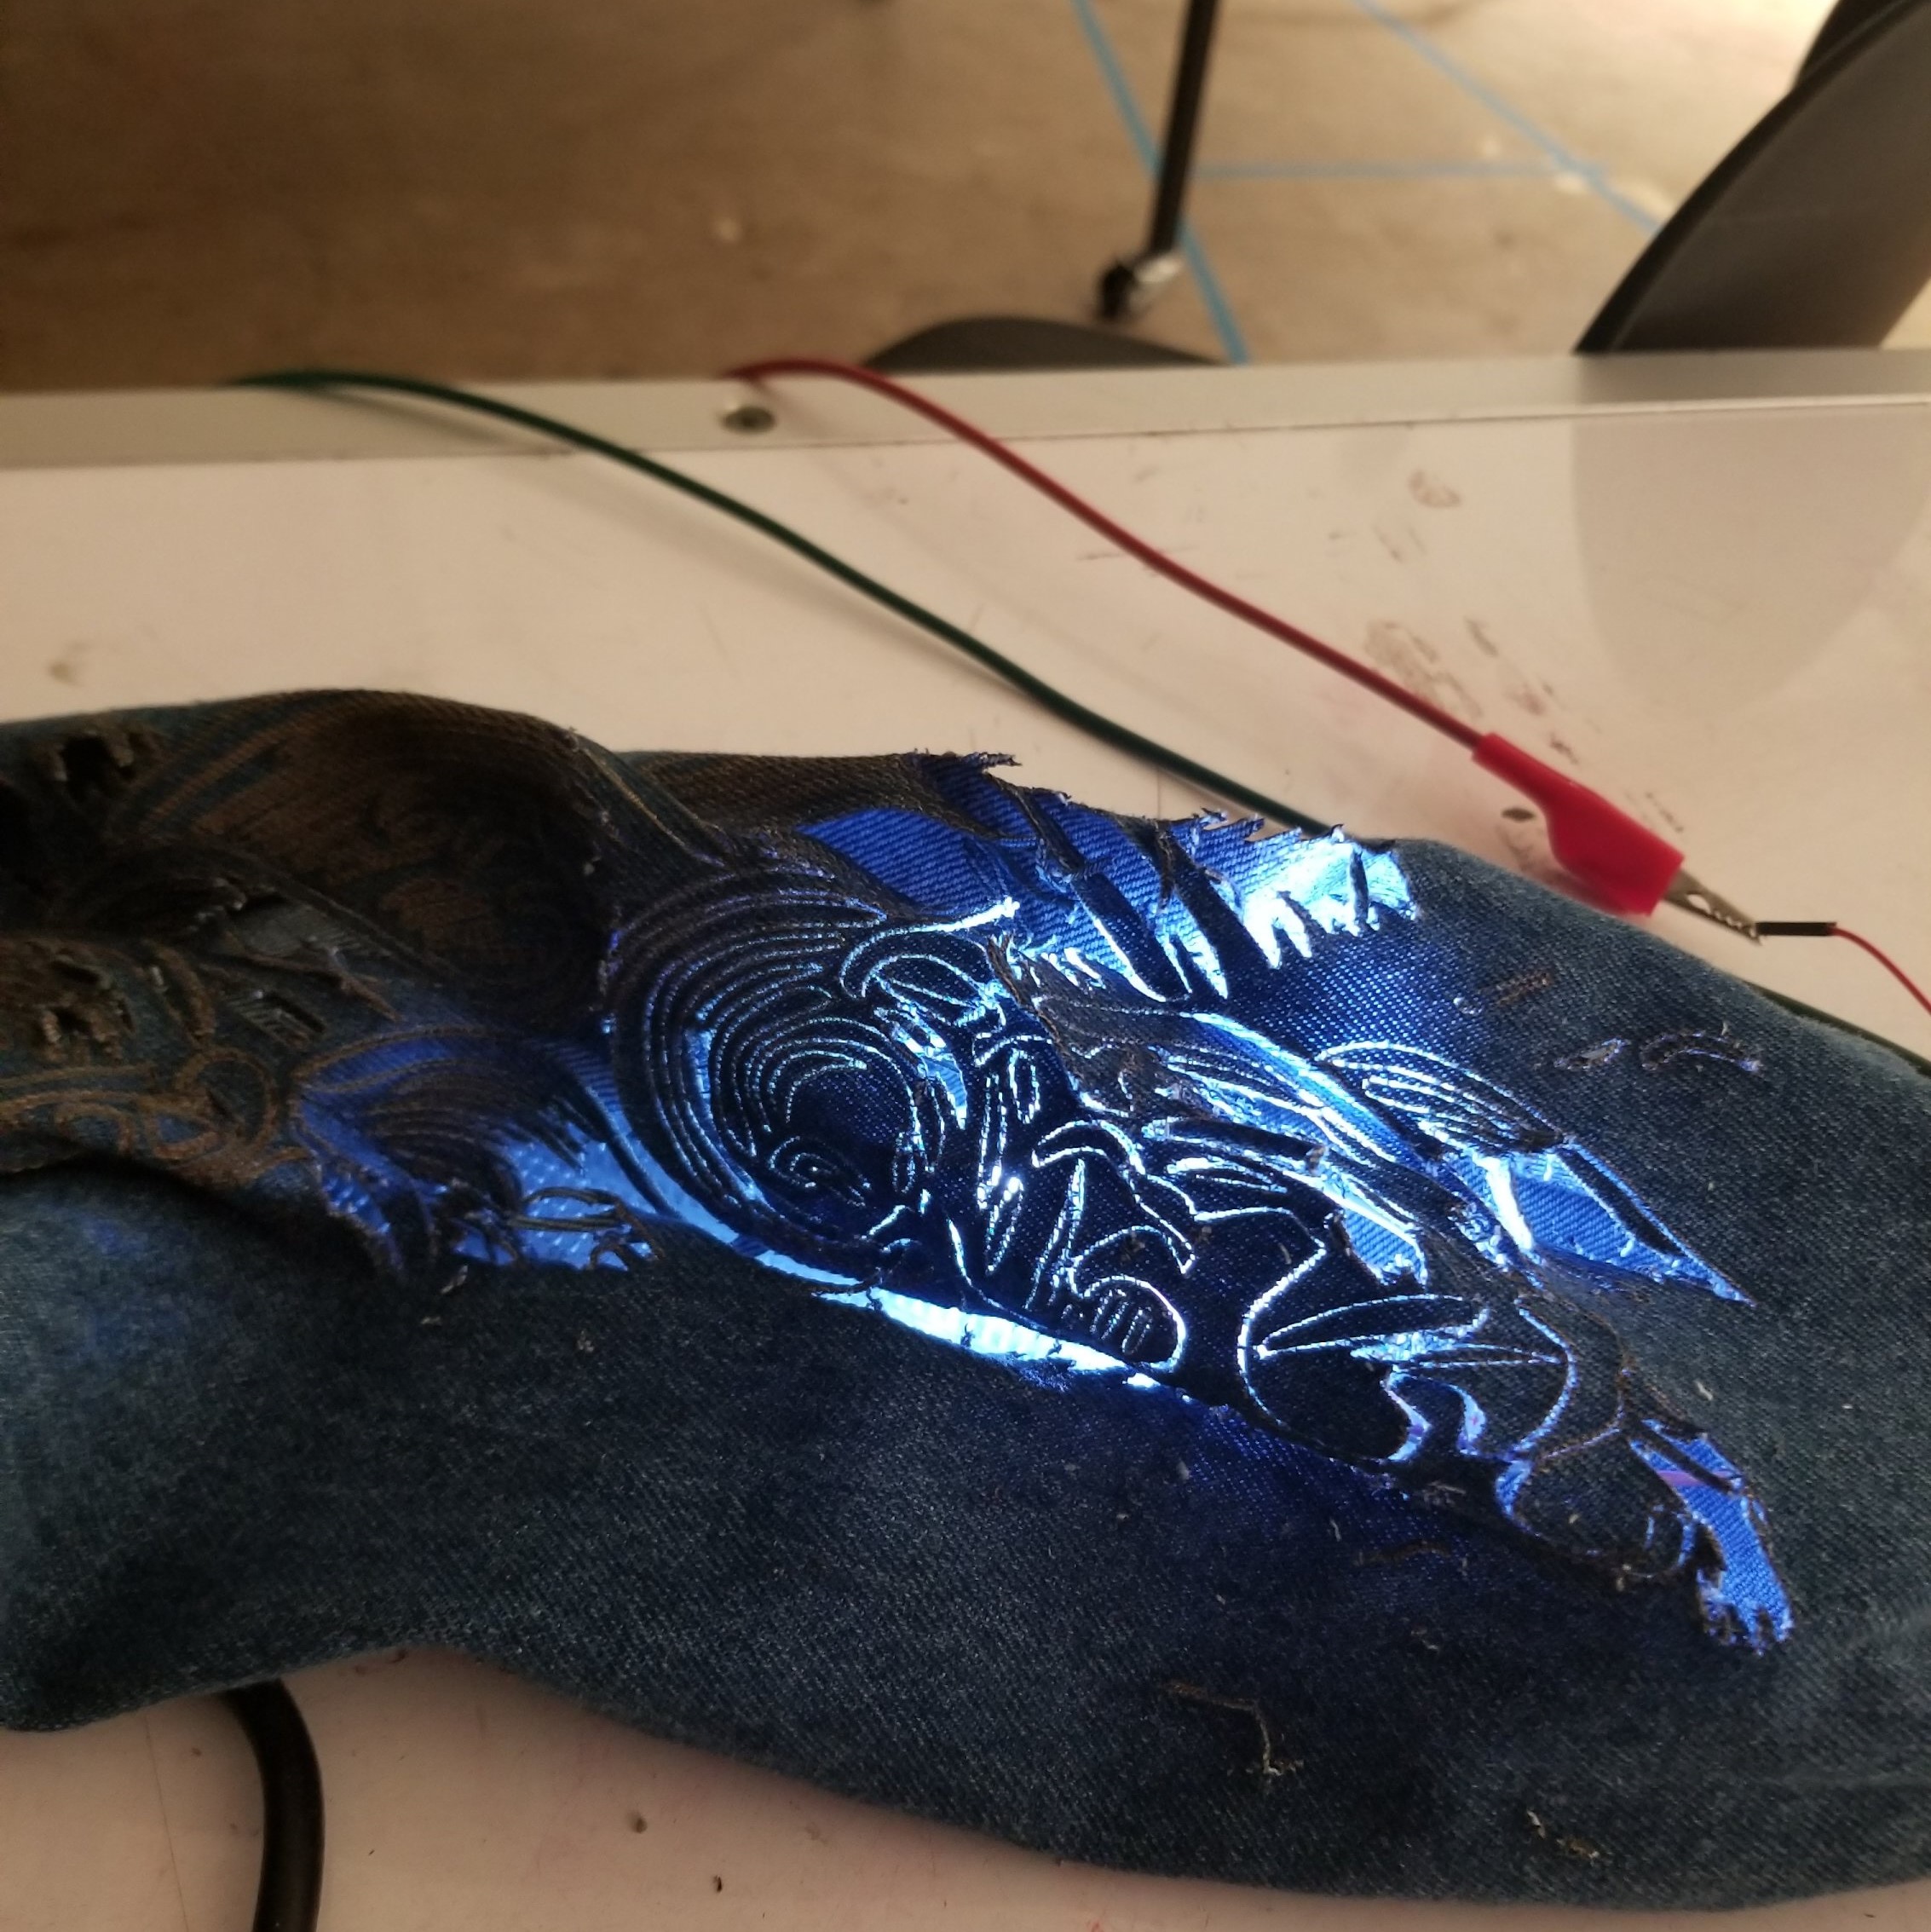
I lasercut a pattern on the sleeve of the garment for the LEDs to backlight and it came out pretty well. It was my first time cutting denim and I definitely learned alot.

Some issues, I came across included how to hook up multiple LEDs and also how to keep the intricate cut from literally falling apart. In the end, I taped the LEDs to the interior of the garment. I then connected the photoresistor to a long cable so it could be used further away.
https://drive.google.com/a/andrew.cmu.edu/file/d/1D7Aqdvy5j_6Vw1Z2MNTsgaQRJGrlnicv/view?usp=sharing
Final Crit: Interactive Shadow Lamp

So at this point, I have all the individual components working separately.

Components:

  • Arduino Uno
  • Solderless Breadboard
  • 12V Lightbulb
  • Analog Photoresistor
  • HC_Sro4 distance sensor
  • servo motor
  • H-bridge
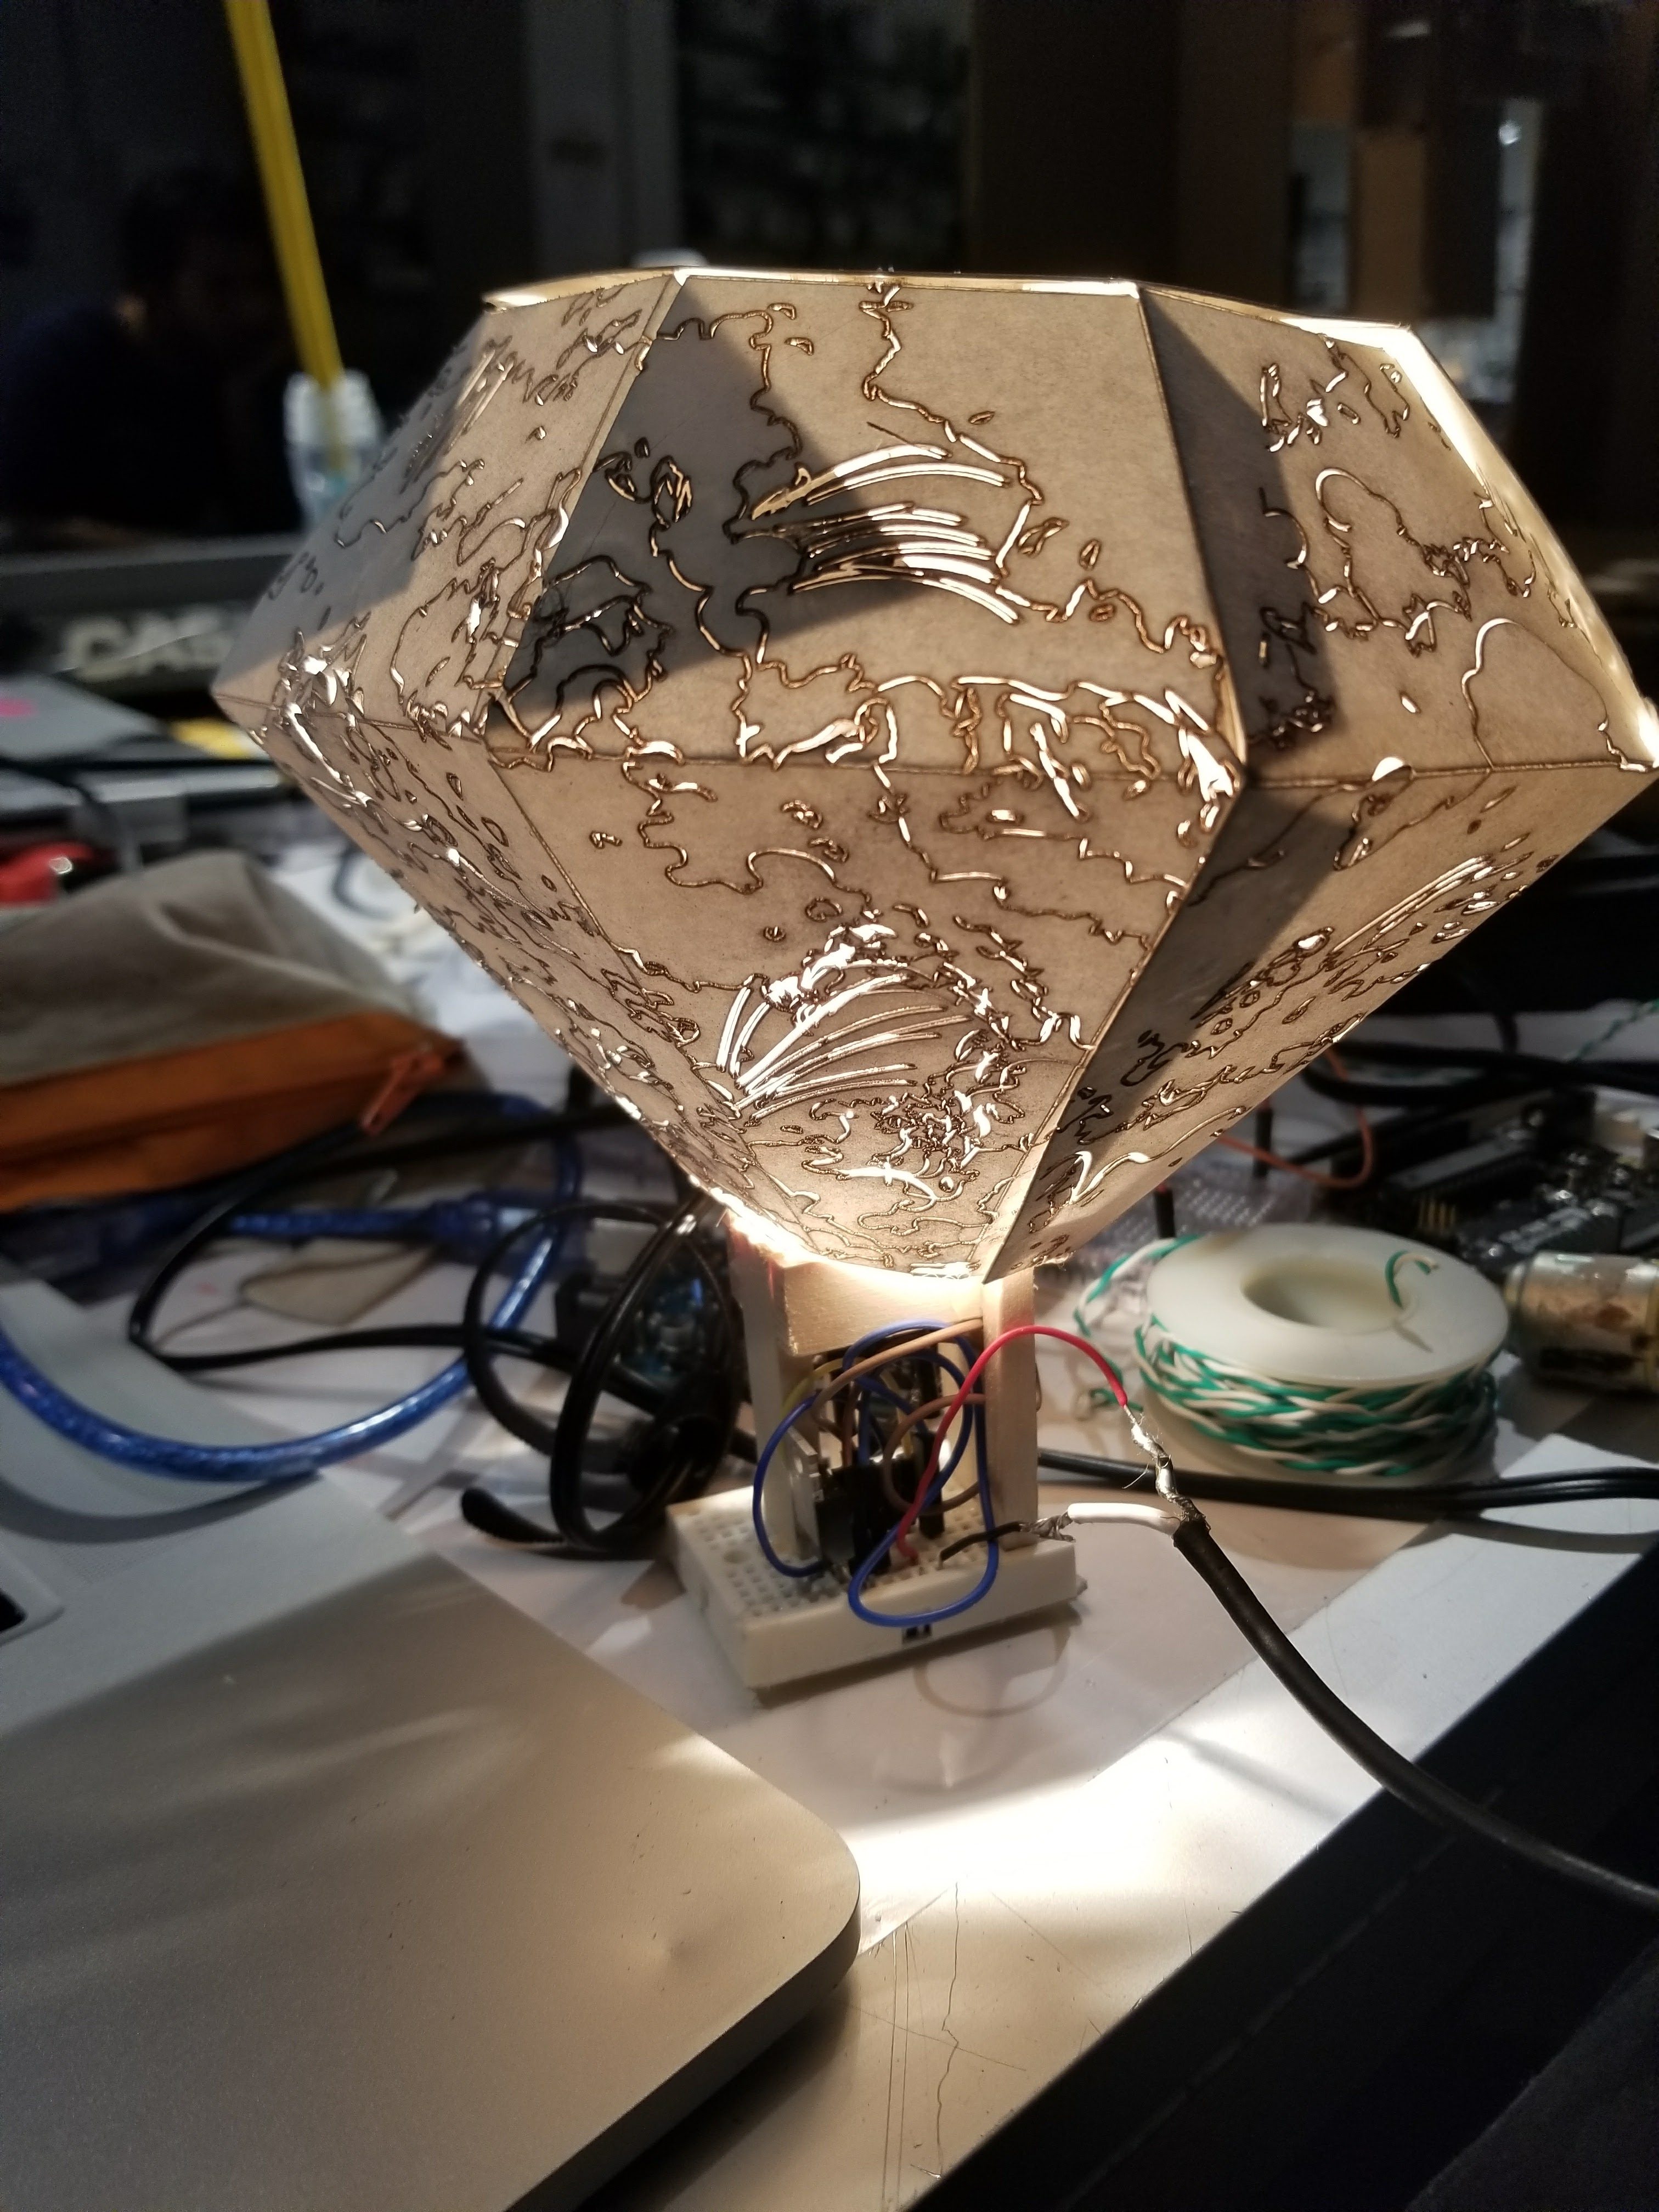
  • Lasercut Lampshade and chassis


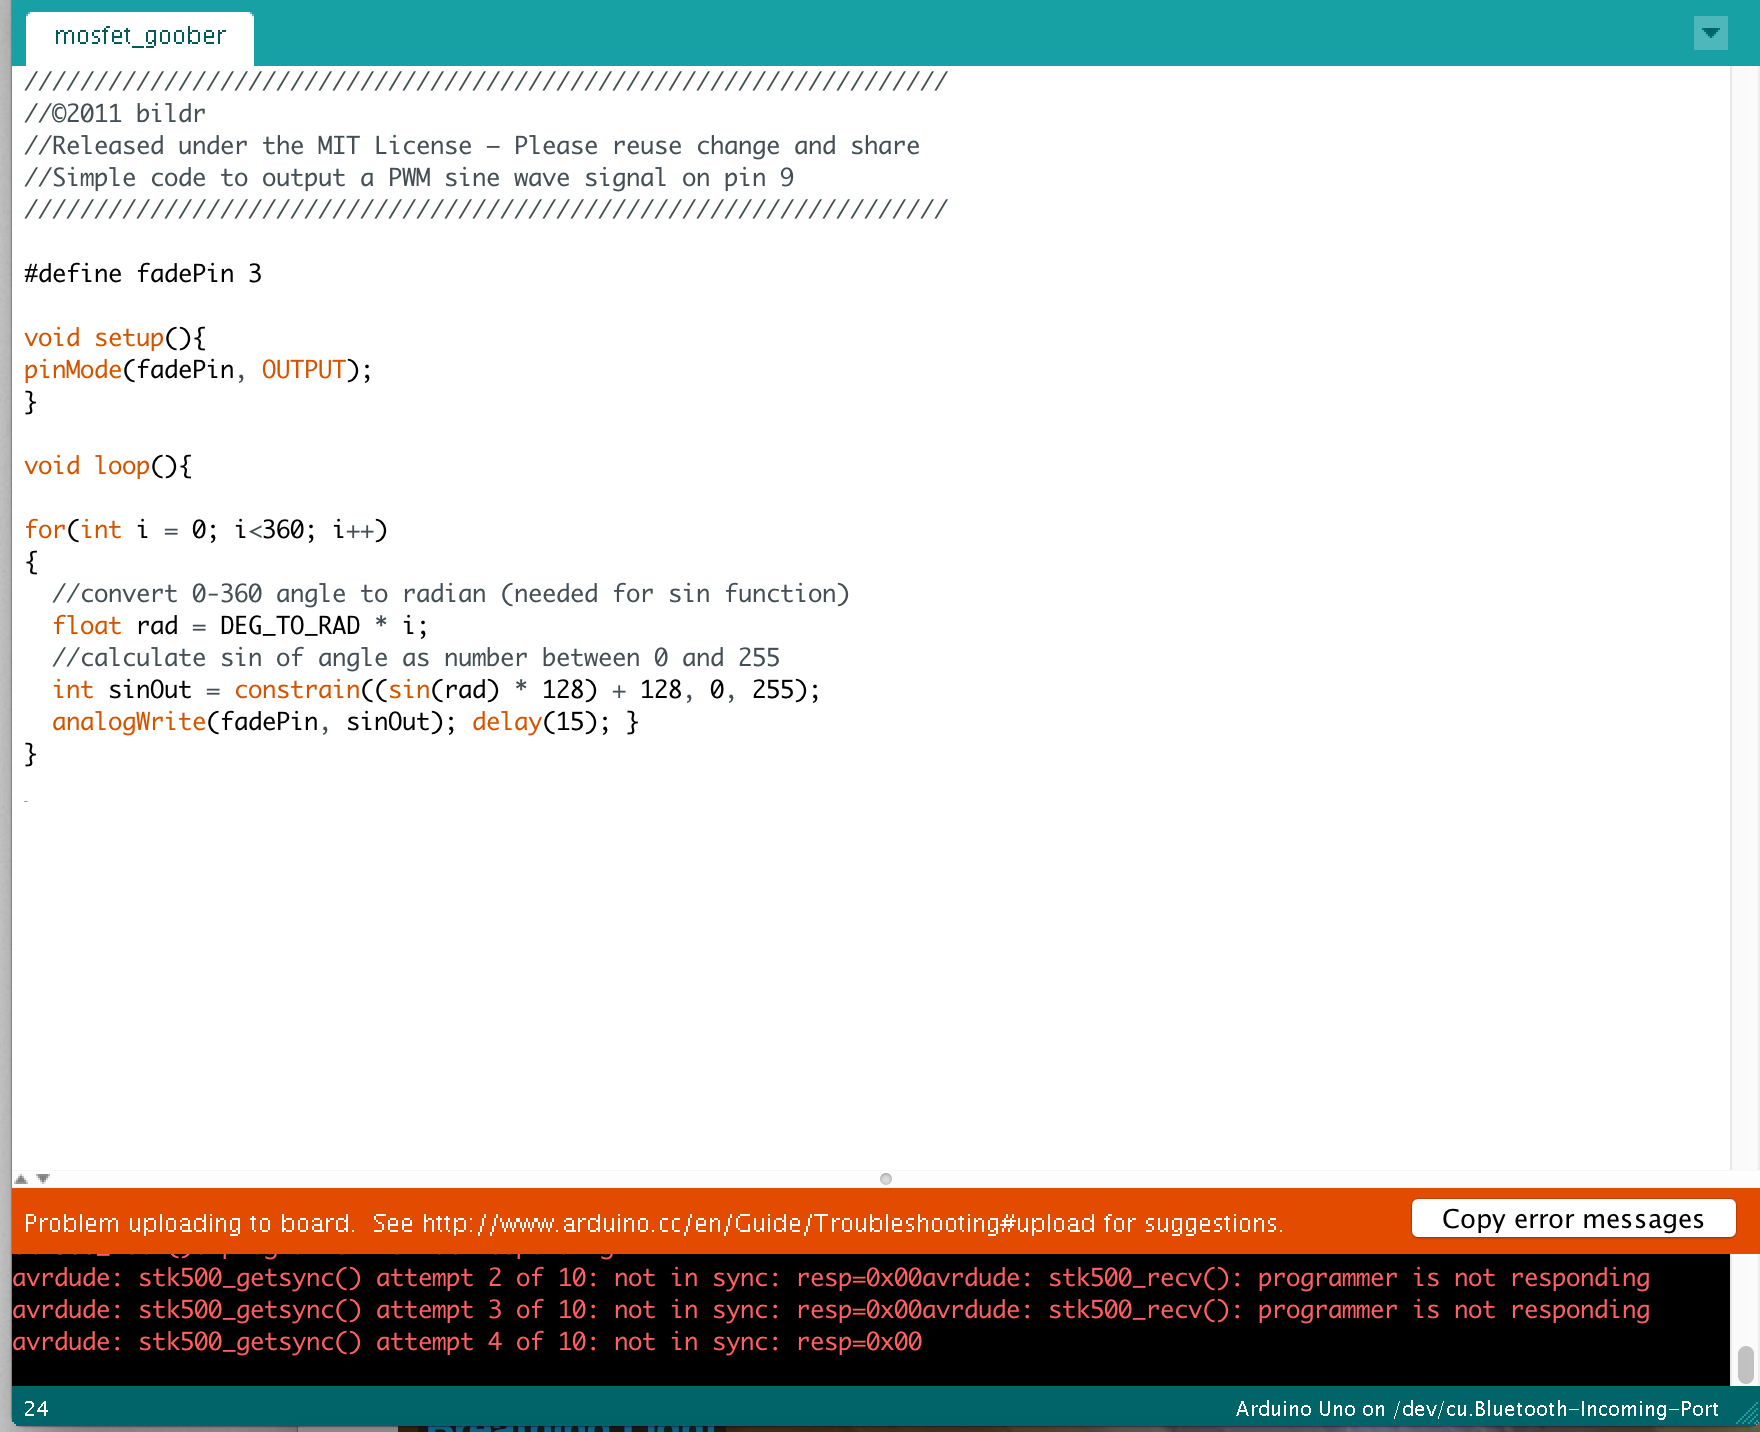
So I’ve now tried to connect the 12V power source with the bulb, hoping to dim it with an H-bridge. After trying to alter a circuit I had with a DC motor for a bulb to no avail, I tried again with a MOSFET.

I tried to just get the bulb working with the MOSFET,  but I reached an issue with that as well!

continuing on

Assignment 1: Lights!

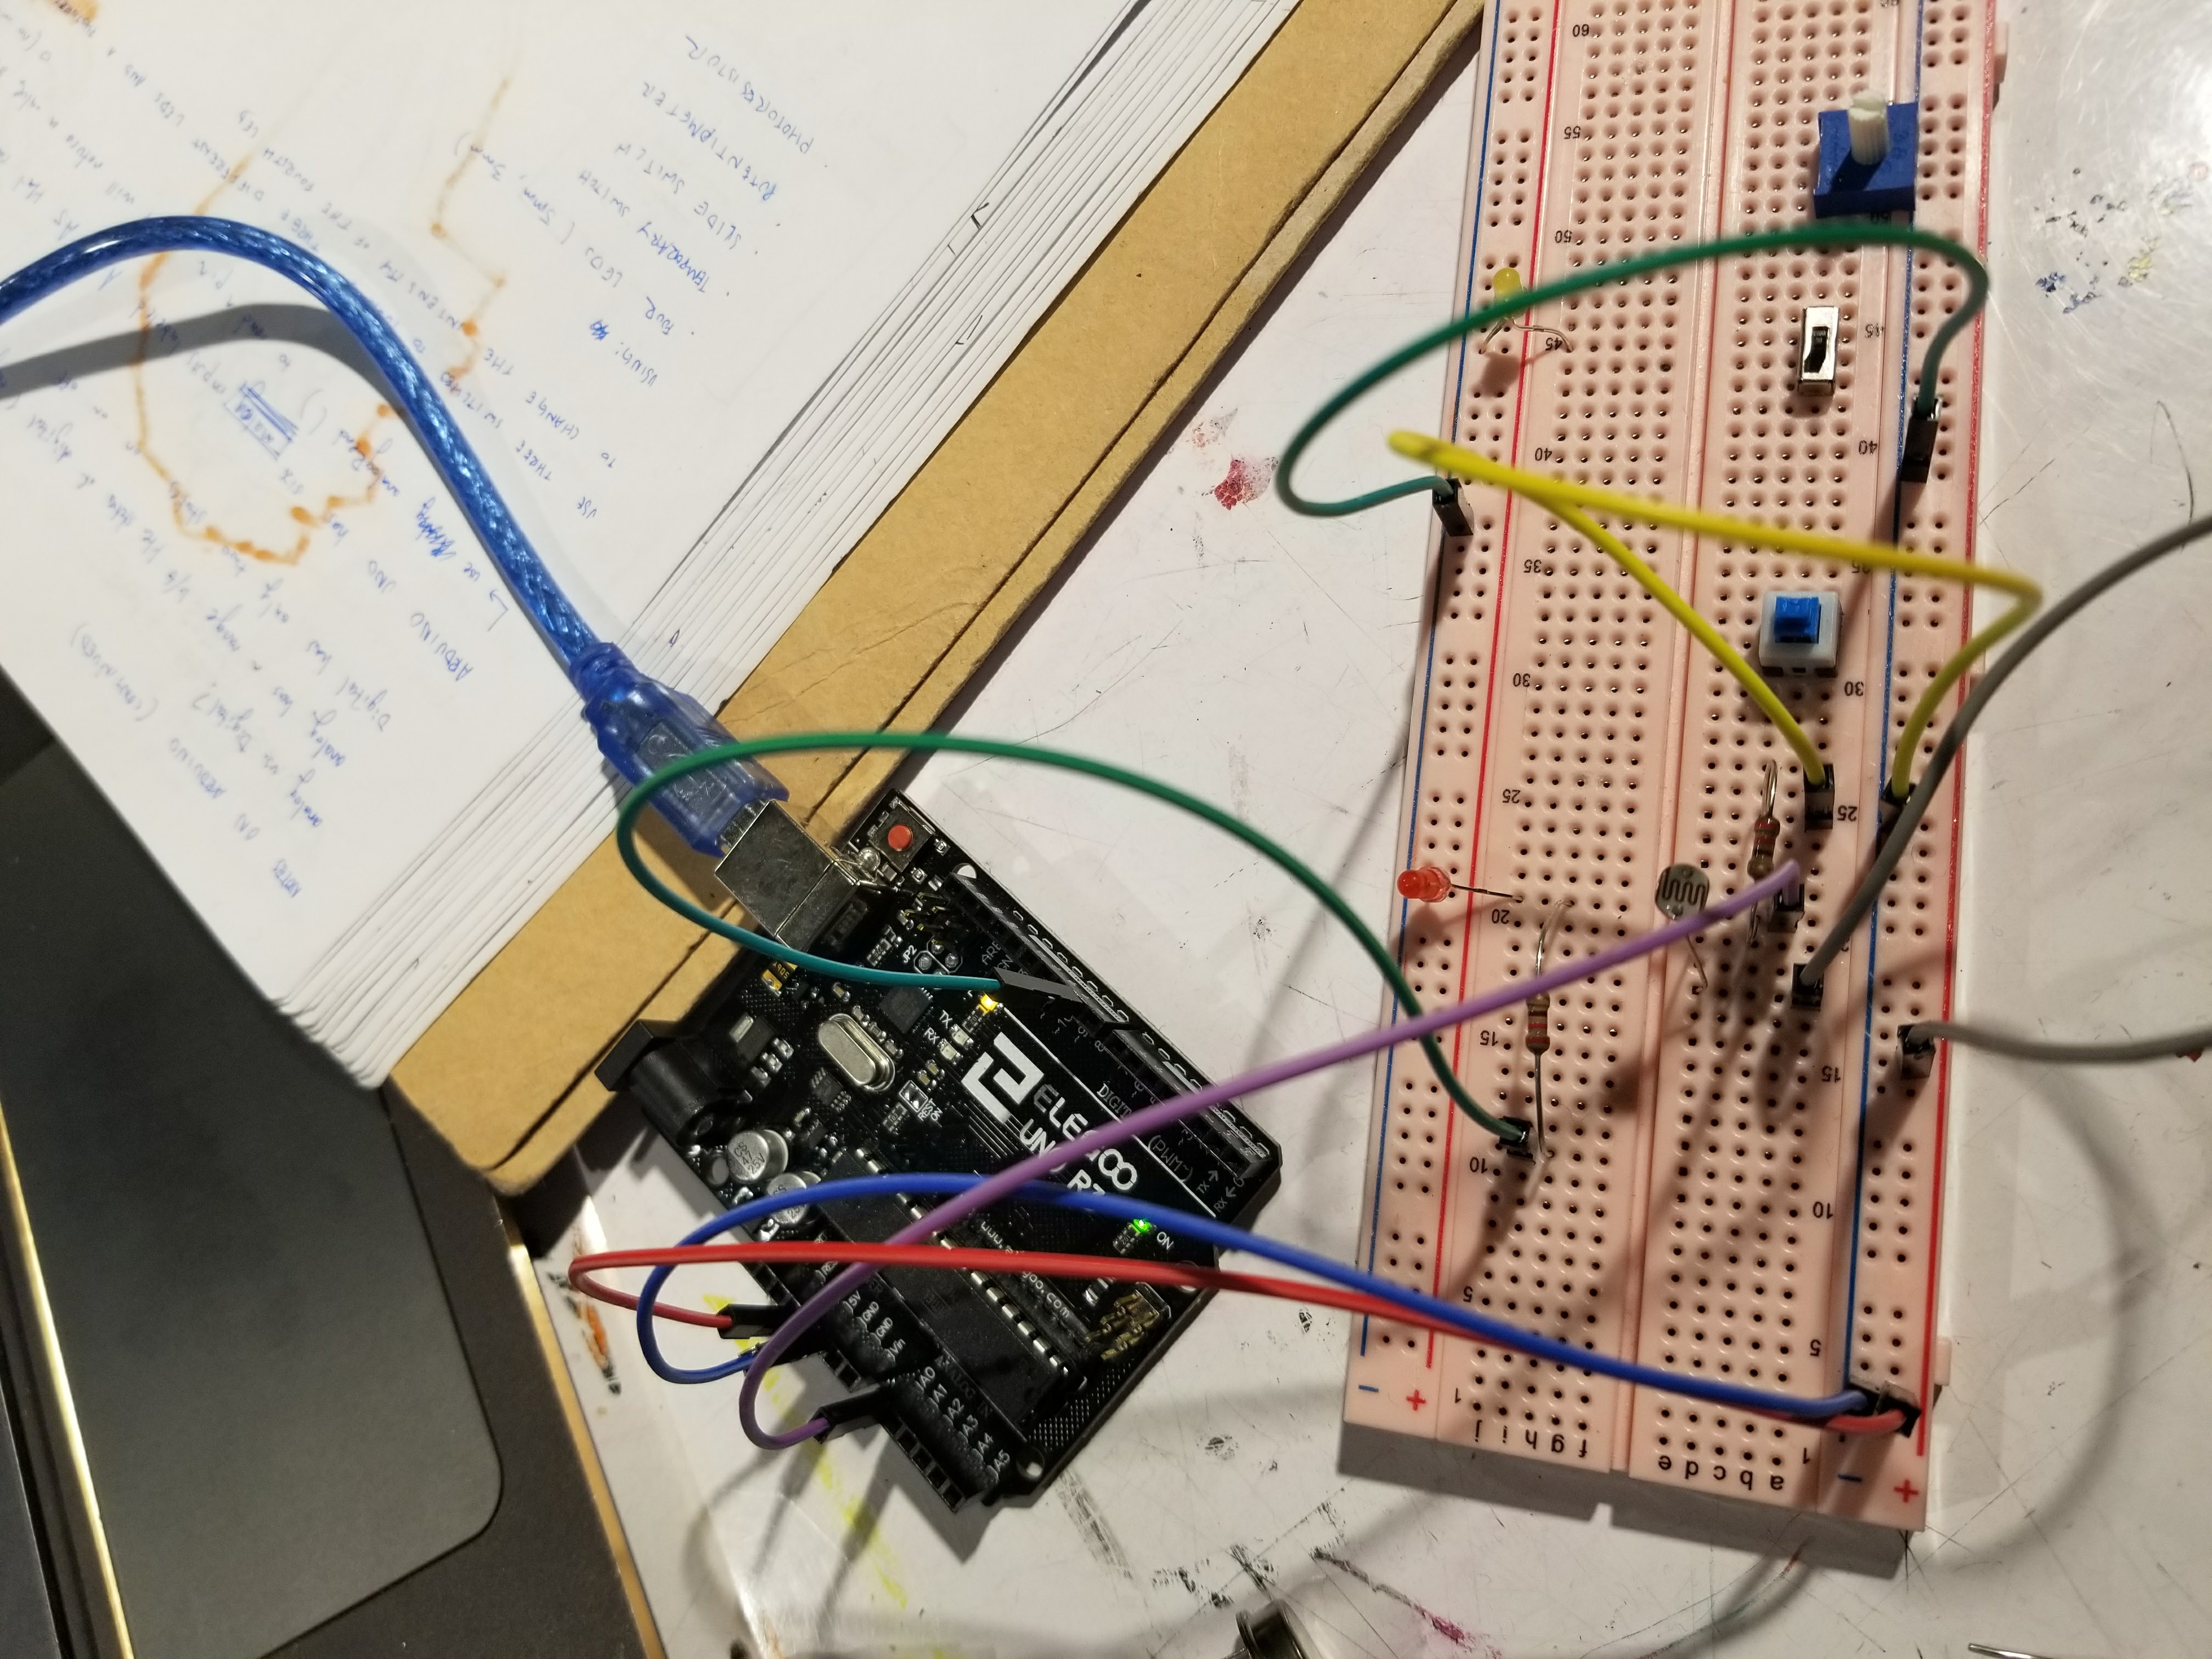
I connected three LEDs  on the breadboard to a three pole switch, a photoresistor, and a 10K ohm resistor.

I found this difficult at first because I didn’t realize that red and white LEDs needed different current run through them. I tried with and without the resistor and adjusted brightness afterwards.

Once I got the simple circuit working, I attached the buttons into the circuit.

This was difficult because I got the photo resistor working independently, but not with the other components.

here are some content!

https://photos.app.goo.gl/Ll0533ktgbJvBoFA3

Assignment 7: Rough Crit of Interactive Shadow Lamp

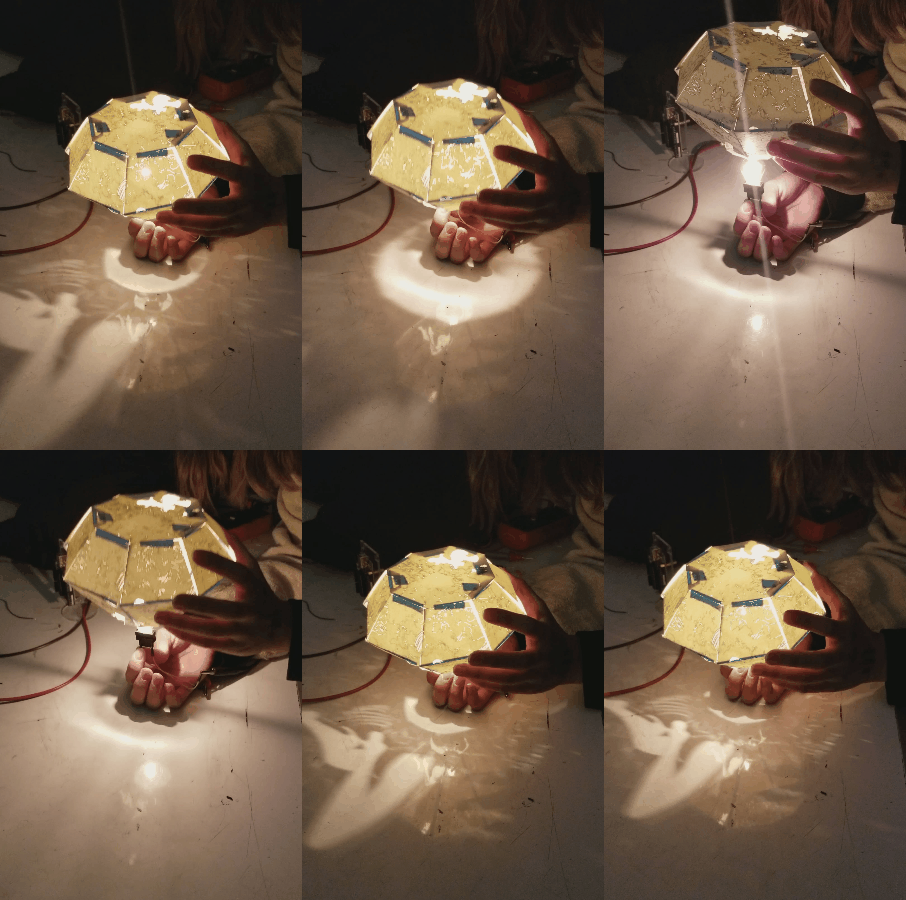
Hi hello, so for my final project, I wanted to create a multi-person interactive experience so I decided to attach both photoresistors and distance sensors to my lamp.

The experience involves two users, one equipped with their smartphone flashlight and the other controlling the Y-height depending on distance.

To begin, I decided to give myself small goals that I should  check off by the time of the rough crit.

  • get servo working
  • get light bulb working
  • lasercut shade, and chassis
  • get the light bulb communicating with the photoresistor

As of now these individual components are working, but naturally the hardest part is getting them to communicate with each other.


Final Project Proposal: One of Two options

I explored a couple other ideas and included them just to show my process.

https://samanthaho.myportfolio.com/final-project

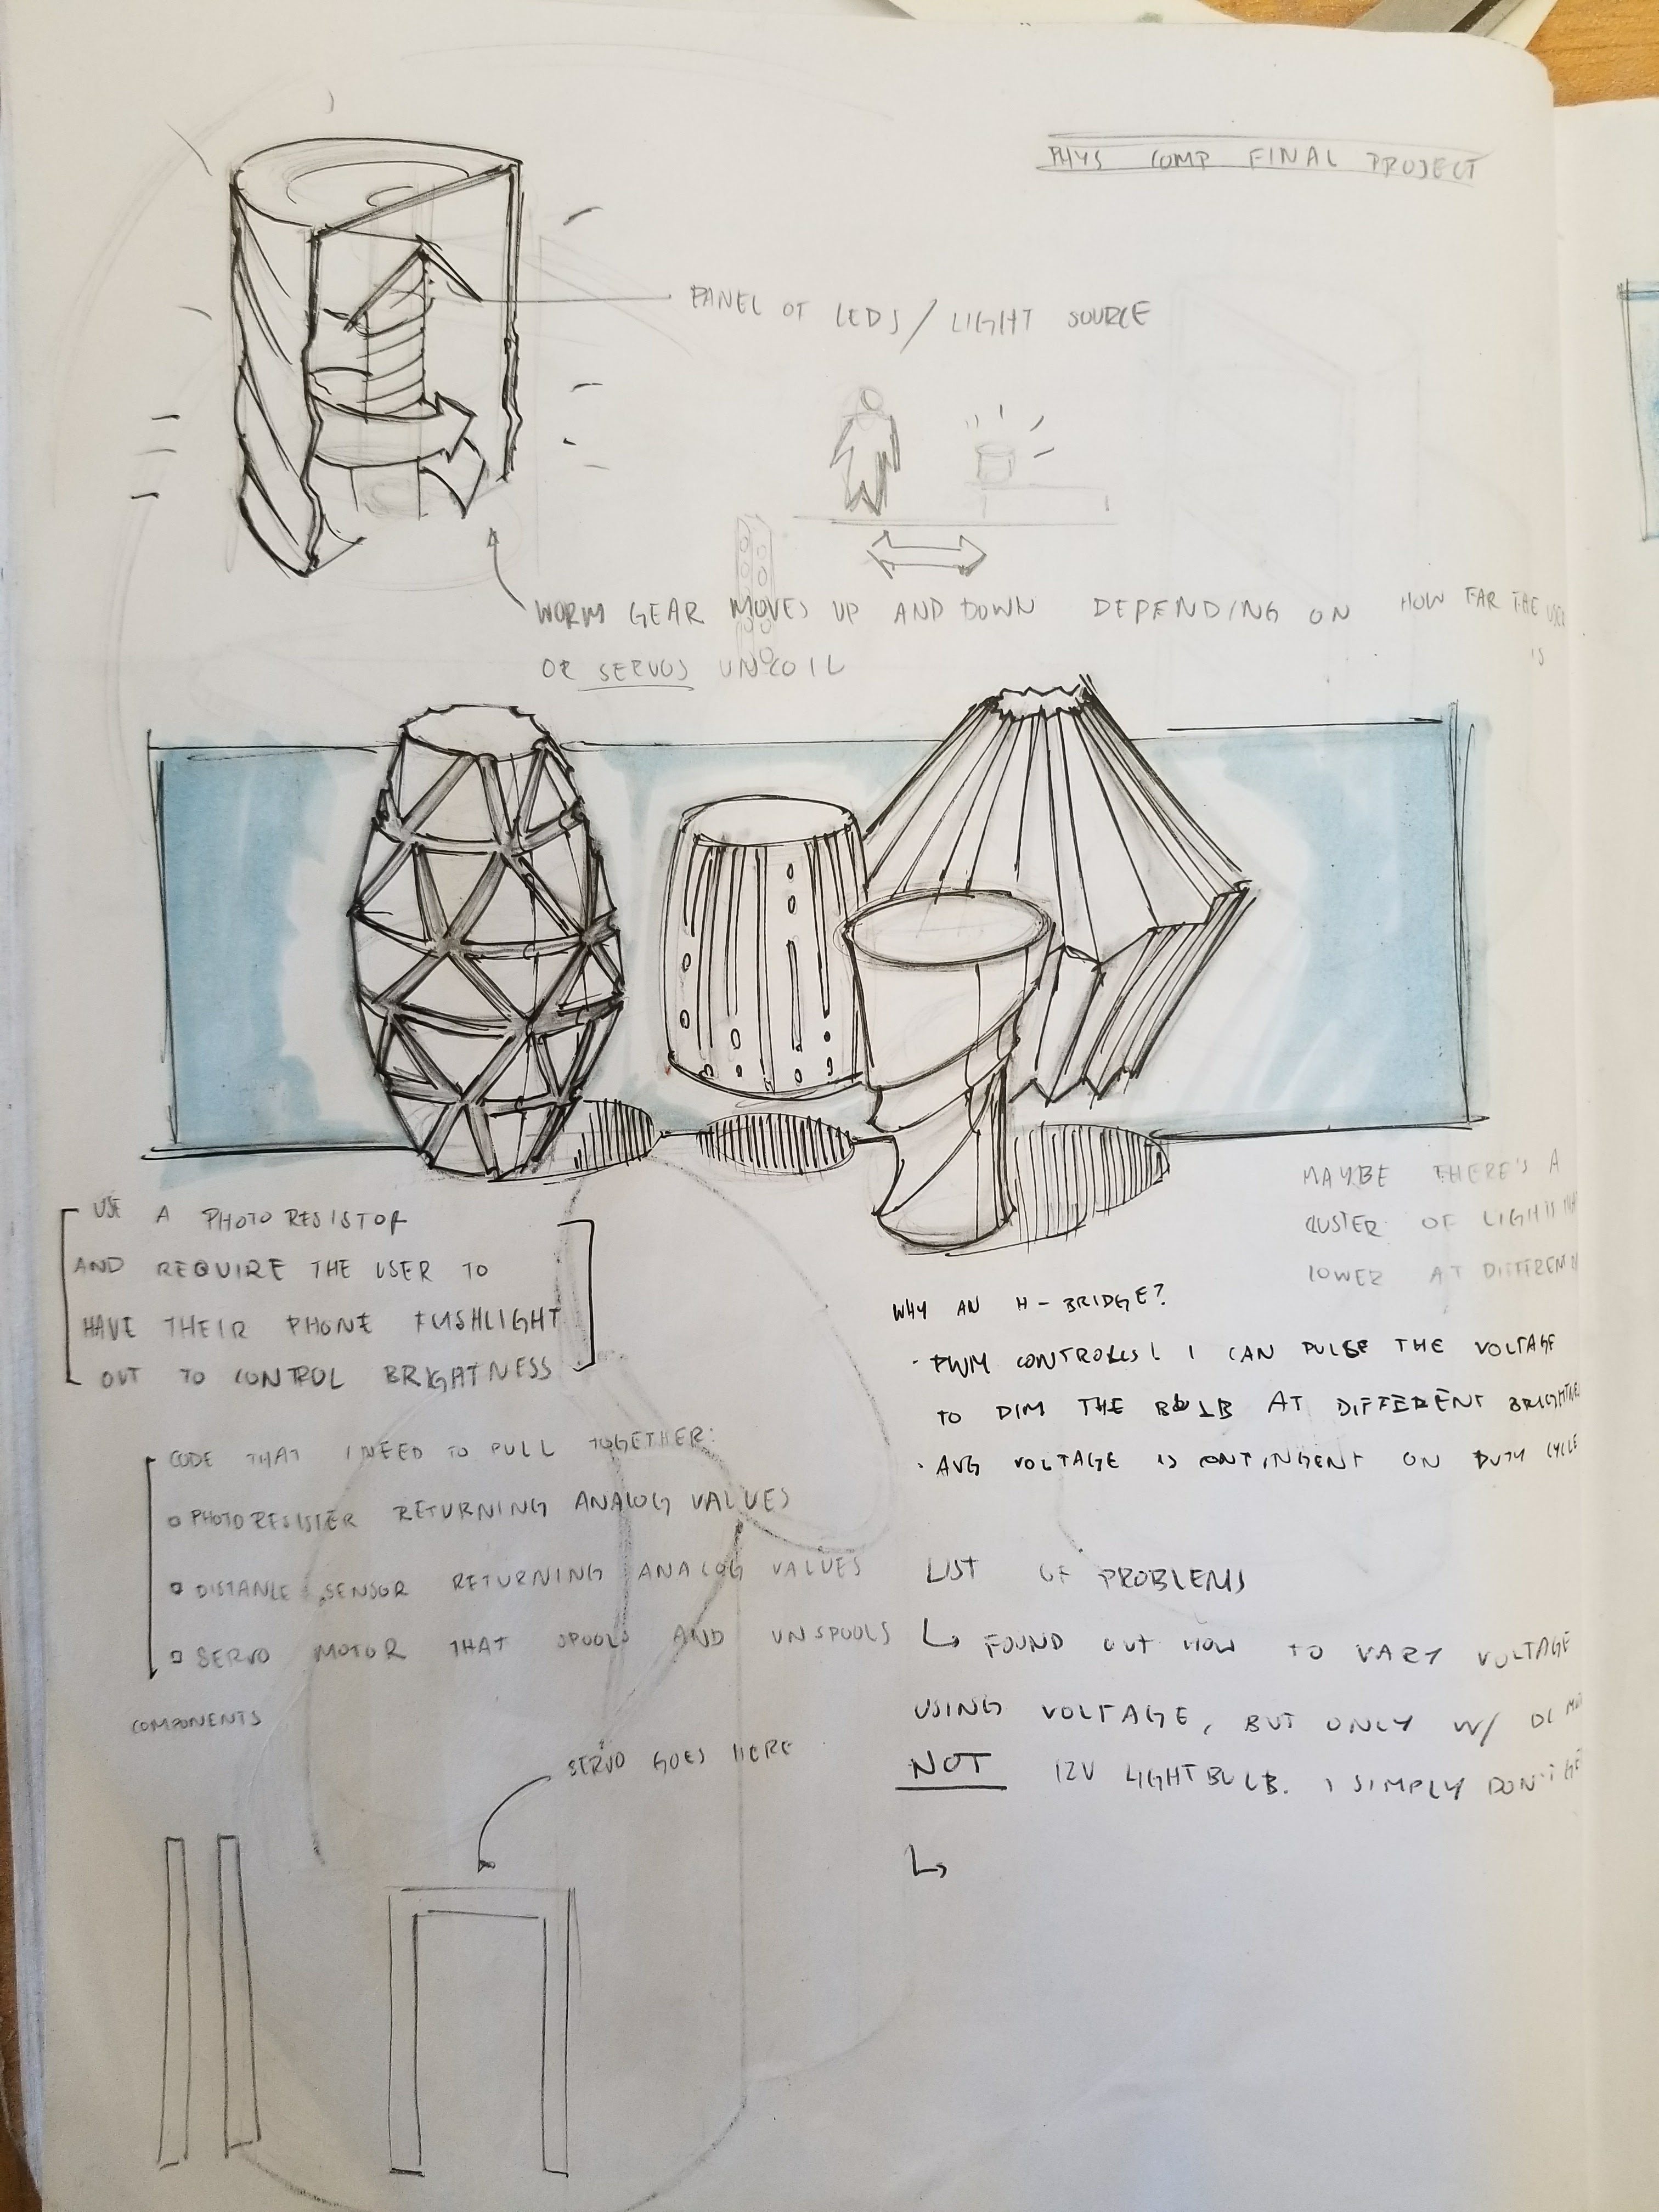
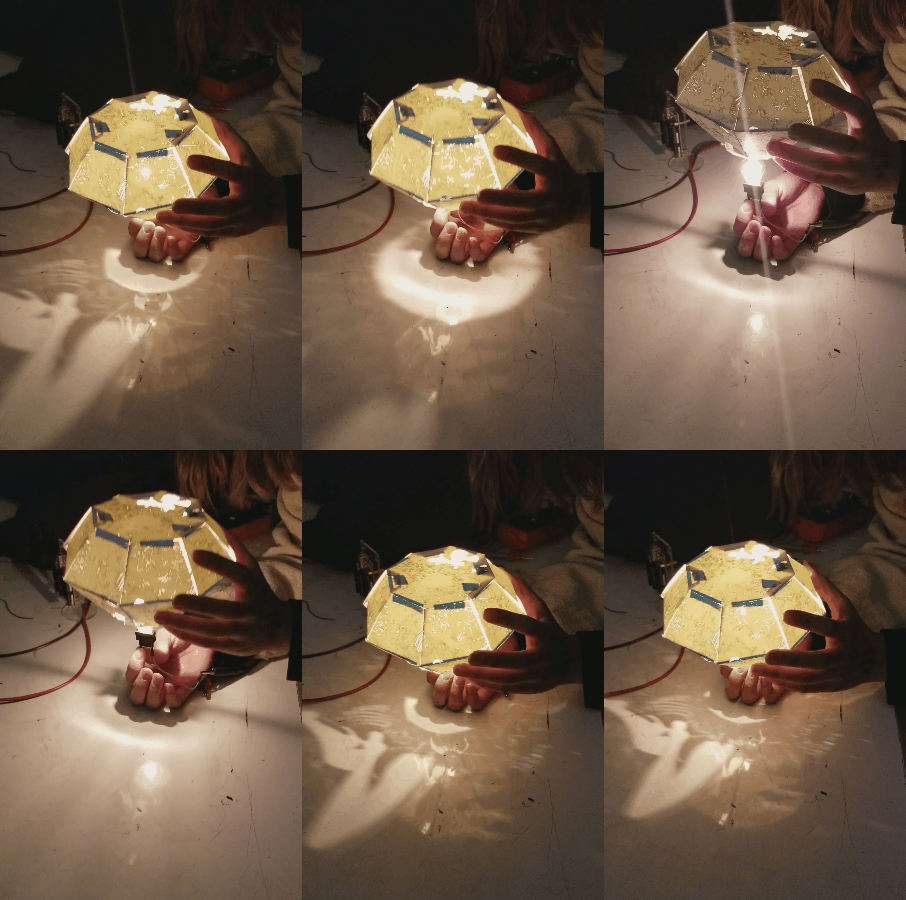
My actual project proposal is to make an interactive lamp that requires a group of people to coordinate with each other. The lamp shade itself will be lasercut be on a vertical track. One person of the team controls the vertical height of the shade and the other, the brightness of the bulb.

The height of the shade will directly correspond with person A and how far away they are from the lamp. Similarly, person B will need to take their phone out and use their phone light to control the brightness of the bulb via photoresistor.

It requires the coordination of  both parties to properly project shadows and silhouettes onto the table.

Assignment 5 Final: Spoopy Buzzer

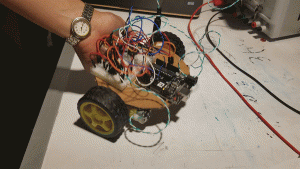
For this assignment, I wanted to explore how speed relates to pitch. I decided to try and create a rolling cylinder that produces a sound. To achieve this I attached my arduino to a shaft and weighted it down. I wanted to use a motor encoder to measure how quickly the cylinder was rolling and then send measurements to the buzzer to adjust the frequency it produces.

FINAL:

After realizing I couldn’t do the above idea, I reassessed how I was going to approach the project. I am now programming my buzzer to play a melody that will speed up depending on how close the user is to the proximity sensor.

Read about it here:

https://samanthaho.myportfolio.com/spoopy-feelings

Happy Halloween 🙂

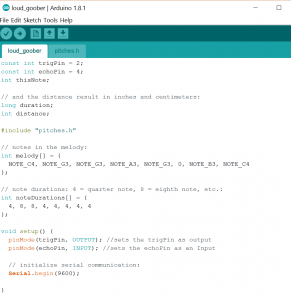
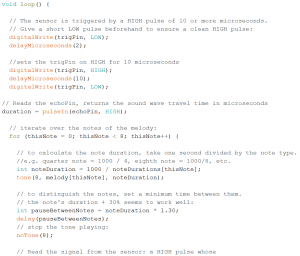
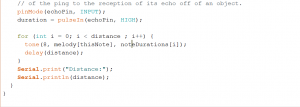
CODE: