Chinese Knotting

Chinese Knotting are created using a single cord or rope that can be tied in endless ways, usually creating a symmetrical pattern, and used for decoration. I chose this textile tradition since I had began seeing it from a young age but did not know much about it.

Chinese Knots

Historically, the knots were used to record information and convey messages before writing systems were developed. Ancient tools, likely for tying and untying knots, have been discovered and analyzed to have originated a hundred thousand years ago. The earliest known transition to artistic expression of knots was during the Tang Dynasty (618-907 CE) and continued throughout the following generations.
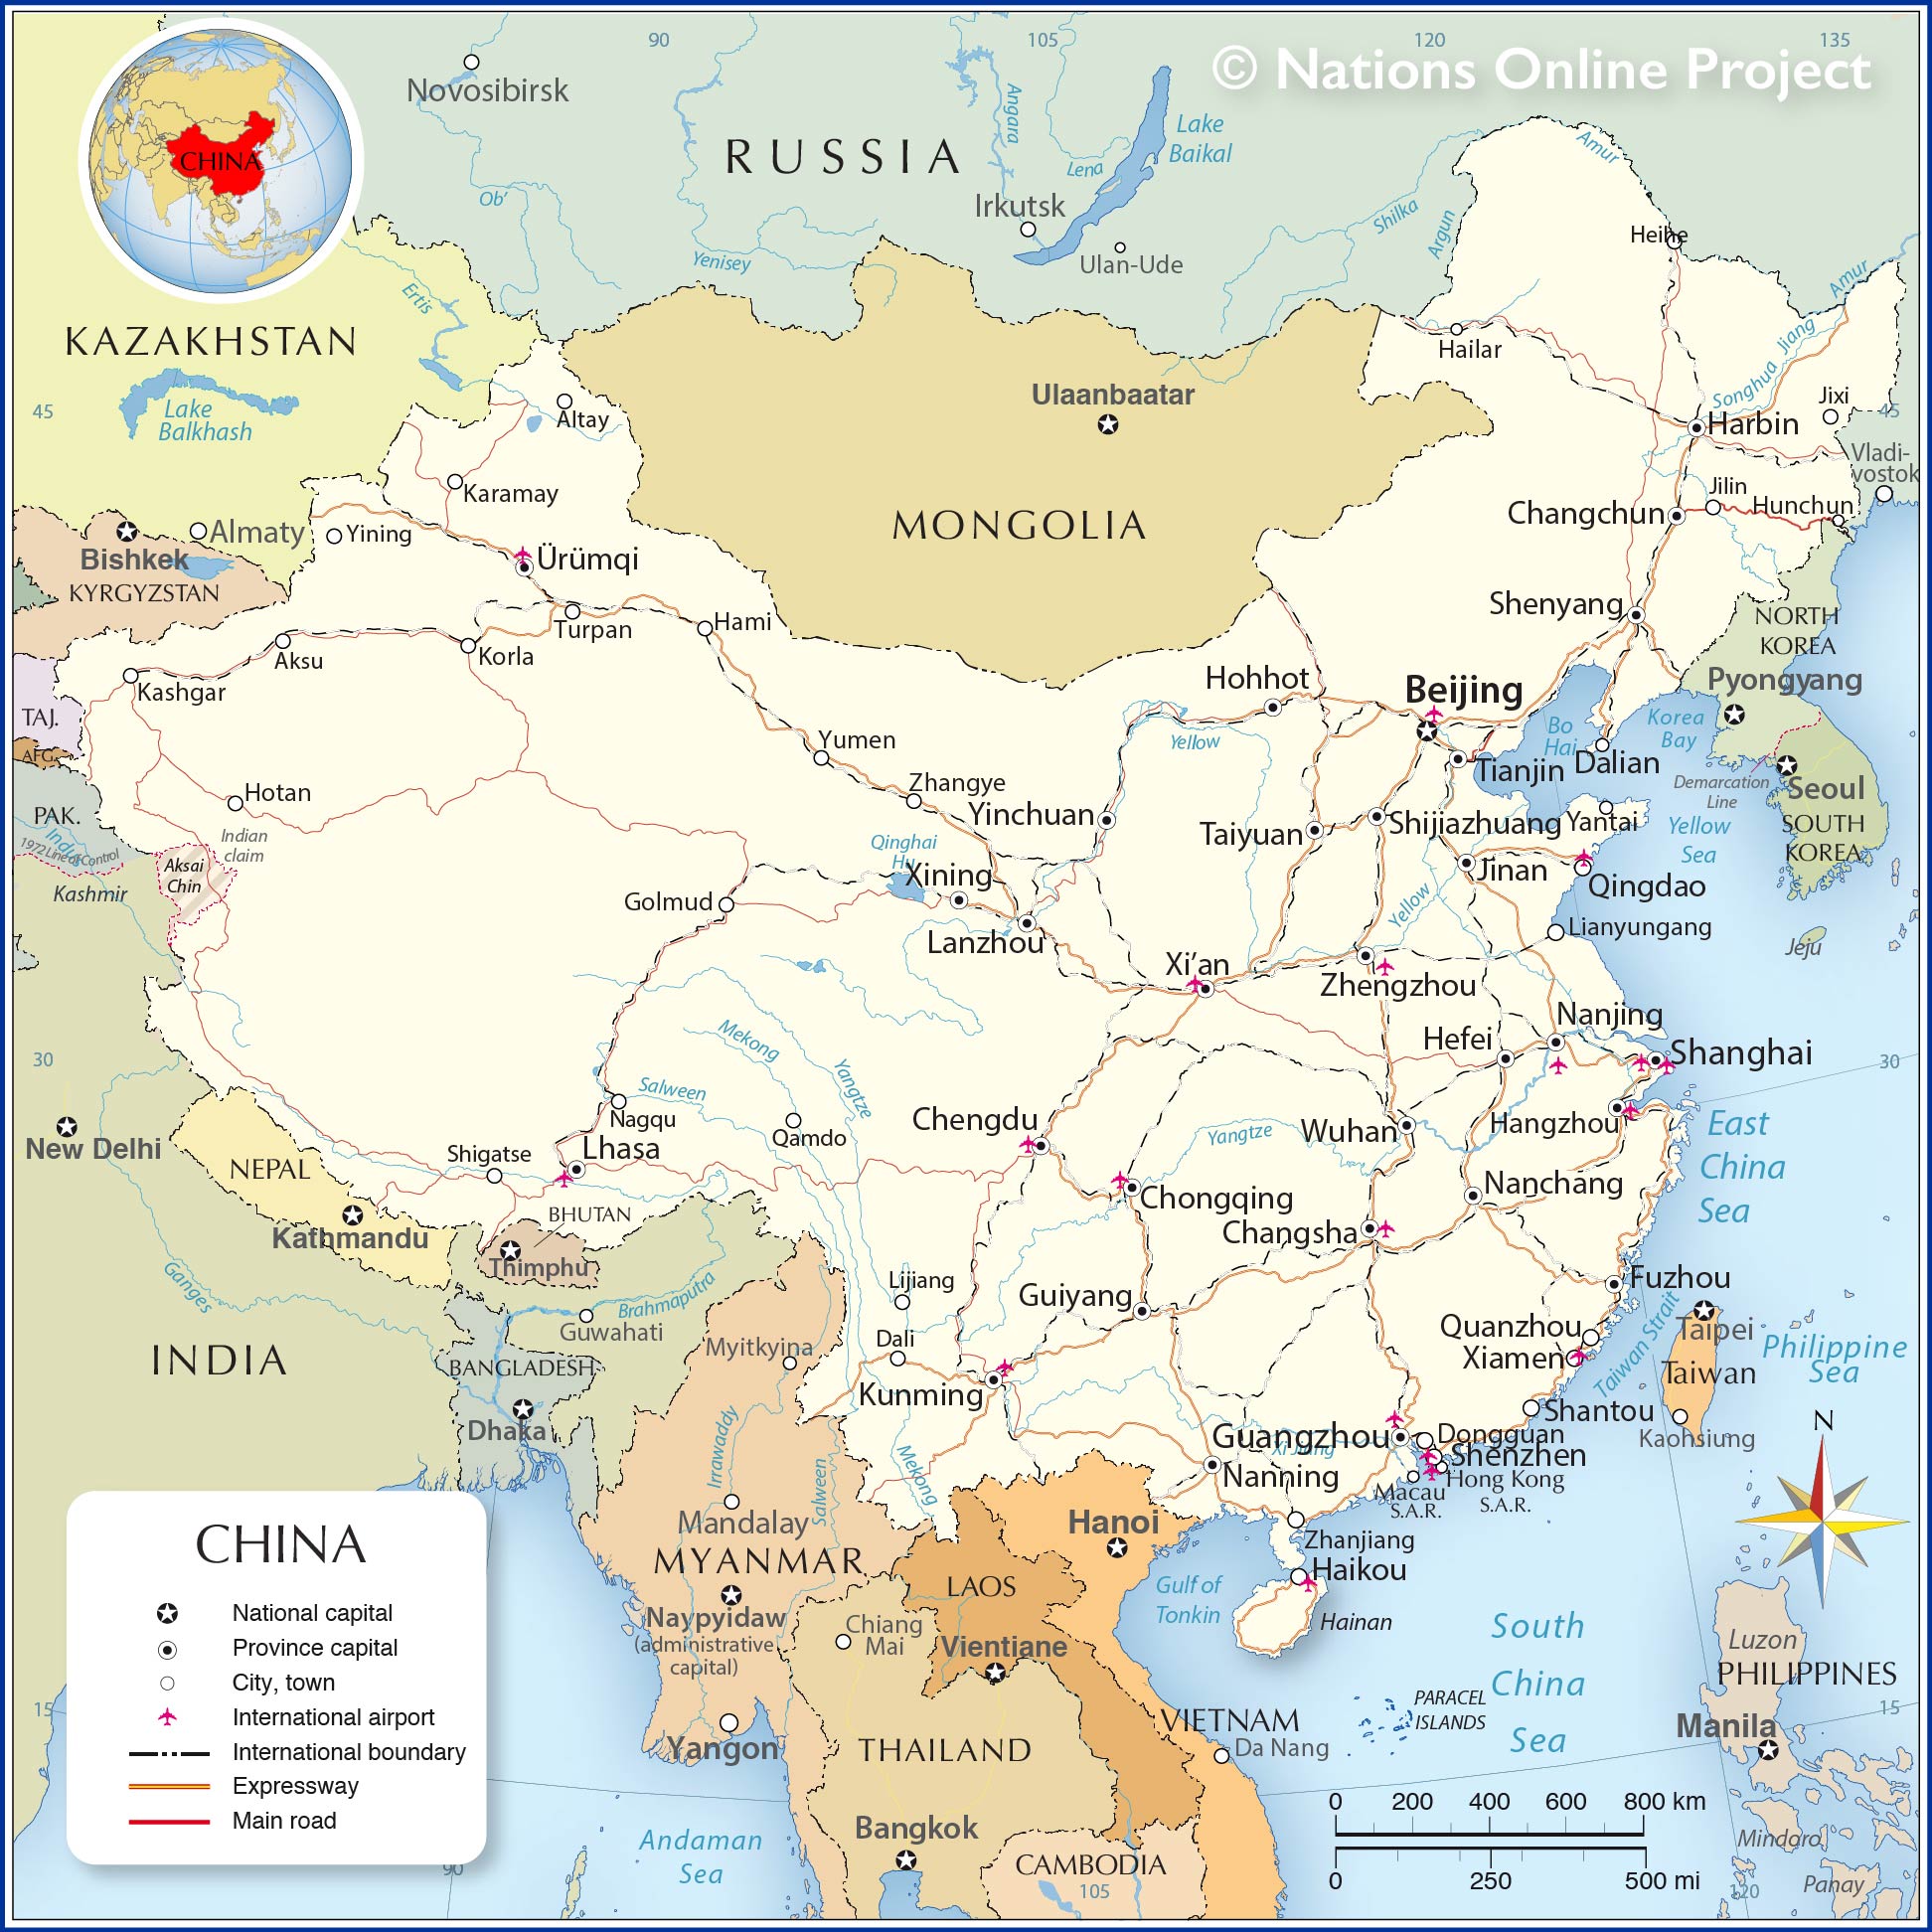
Map of China

In the modern day, different knots hold different meaning and can be implemented on a variety of occasions.

The pan chang knot is one of the most recognizable and symbolizes the cycle of life. Since it has no visible start or end, it is perceived to mean a smooth, long, happy life and is widely popular during the New Year. The double coin knot, resembling a stack of coins, represents wealth and prosperity which makes it more common in jewelry to “wear” a long, successful life. On the other hand, the button knot is used mainly in place of buttons on traditional clothing and has a meaning of the natural cycles of the universe. Additionally, Chinese knotting is deep red to symbolize good fortune, a common theme throughout Chinese culture.

Moreover, the meaning of the Chinese for word ‘rope’ (shèng) is a homonym to words meaning spirit, divine, and life. So knots also had a spiritual meaning in their use. The word for ‘knot’ (jié) also has other meanings in different contexts. For example, ‘tuán jié’ which means ‘to unite,’ ‘jié hūn’ means ‘to marry,’ and ‘jié guŏ’ means ‘bear fruit,’ ‘result,’ or ‘outcome.’ Therefore, a knot given to a marriage partner or a couple means all these things and to have children as well.

Reference: https://www.chinahighlights.com/travelguide/culture/knot.htm

Mending – Kimberly

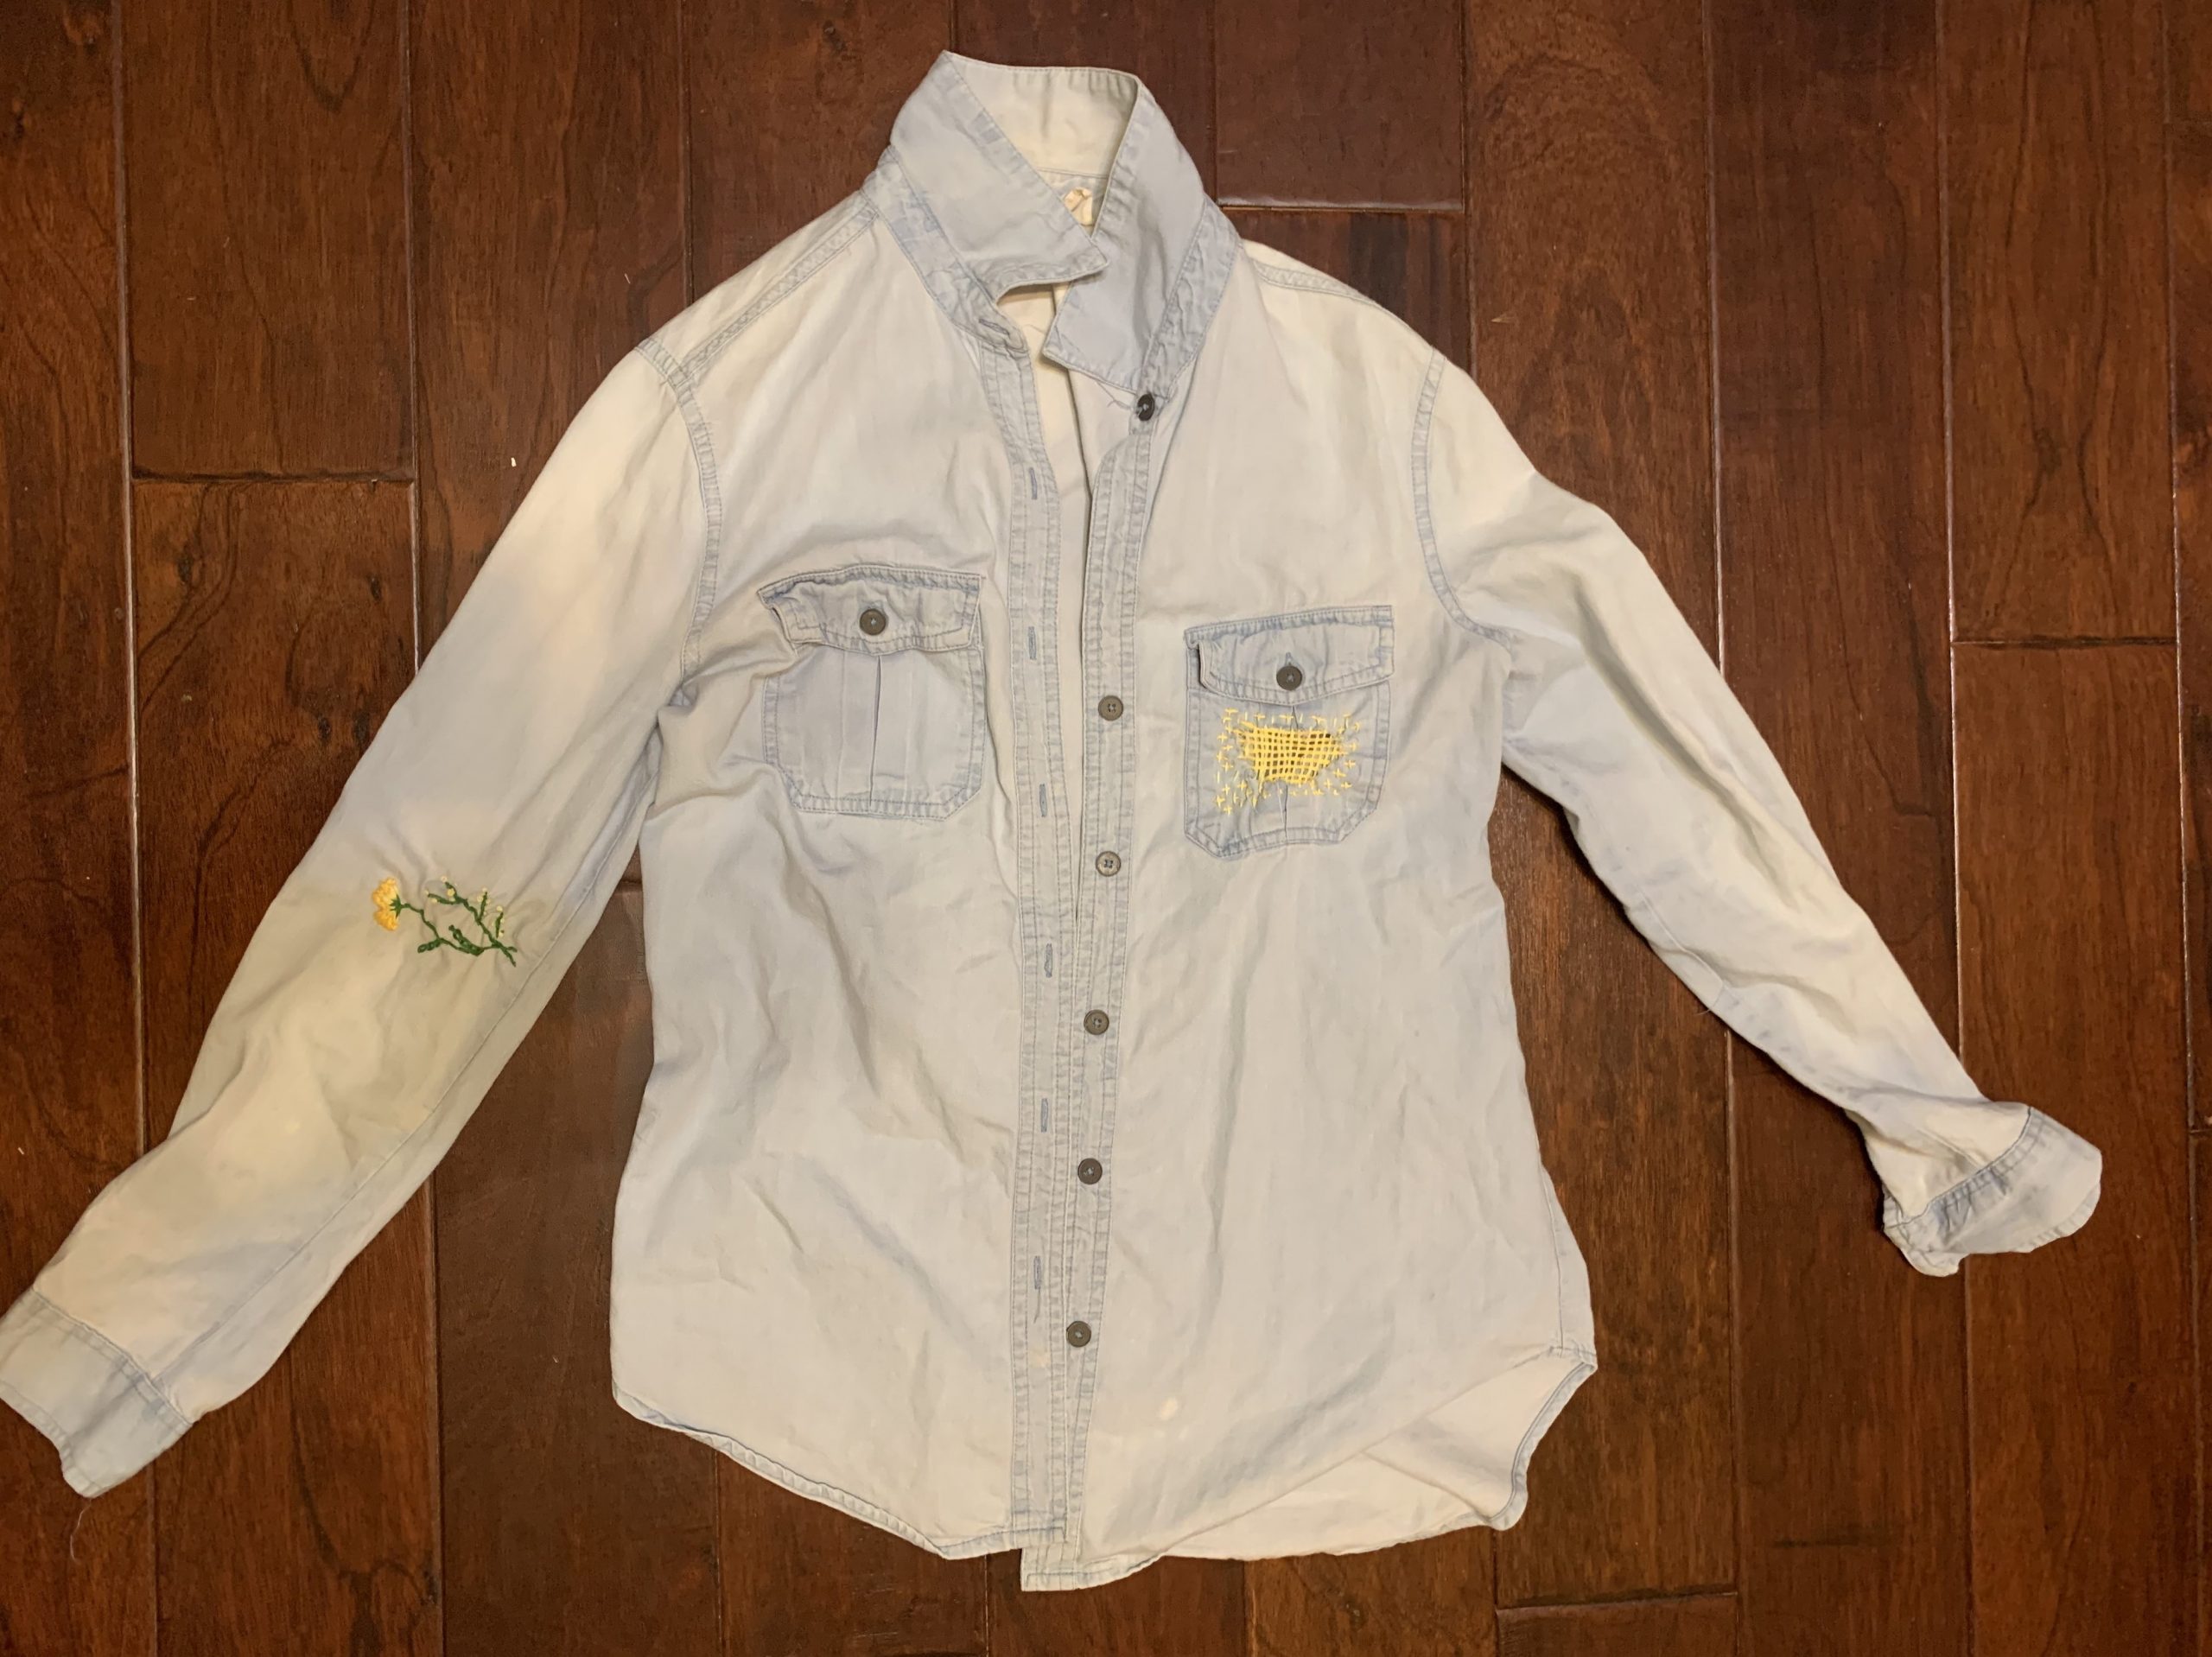
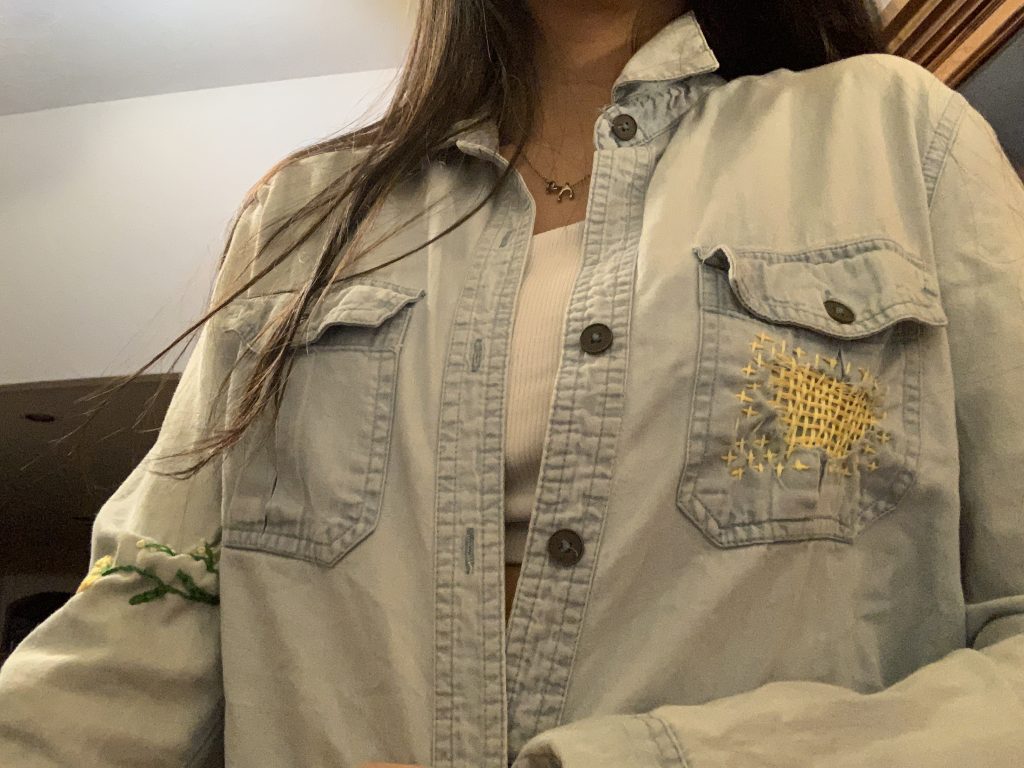
For this project, I decided to mend an old shirt that I used to wear a lot during early high school. I wanted to make it less plain by adding pops of color.

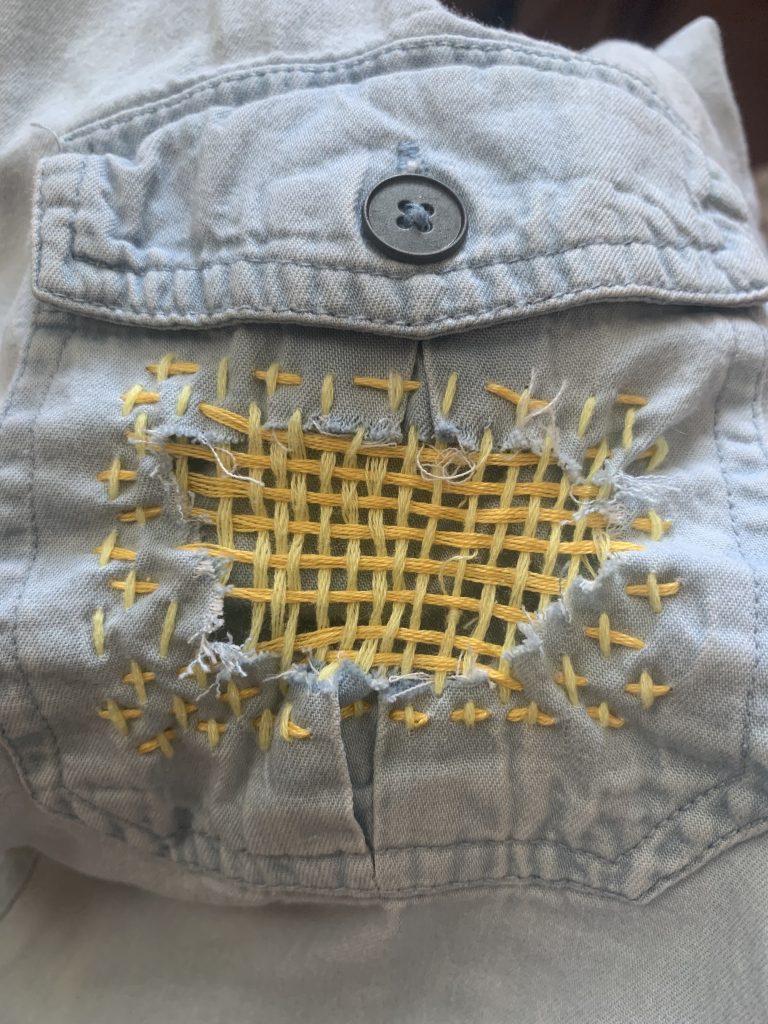
I first did darning on a pocket I cut out. My intention was too make it seamless and very close together but it didn’t quite turn out that way since the fabric was hard to maneuver and the pocket wasn’t flat. Additionally, I sewed through the back part of the pocket a couple times but it didn’t make too much of a difference.

But after looking at it longer, I quite like the jagged and uneven look as it brings more of that worn out feel to the shirt.

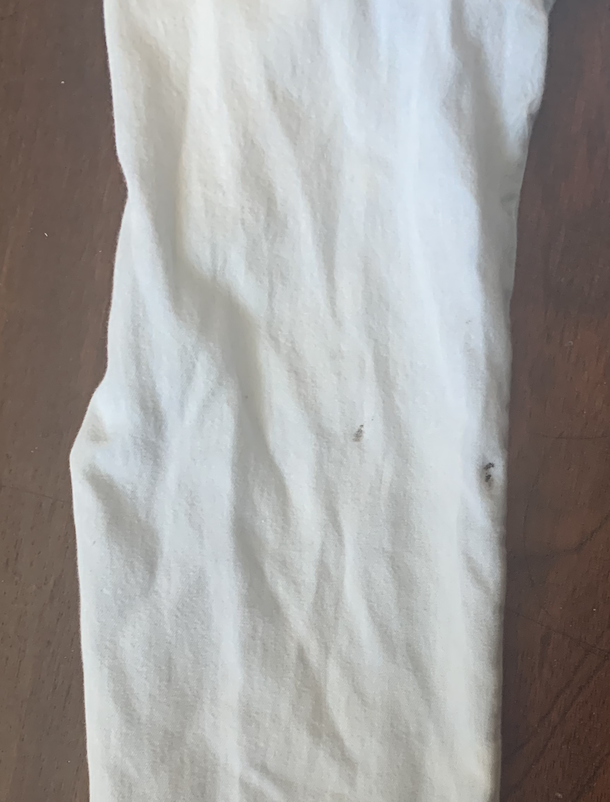
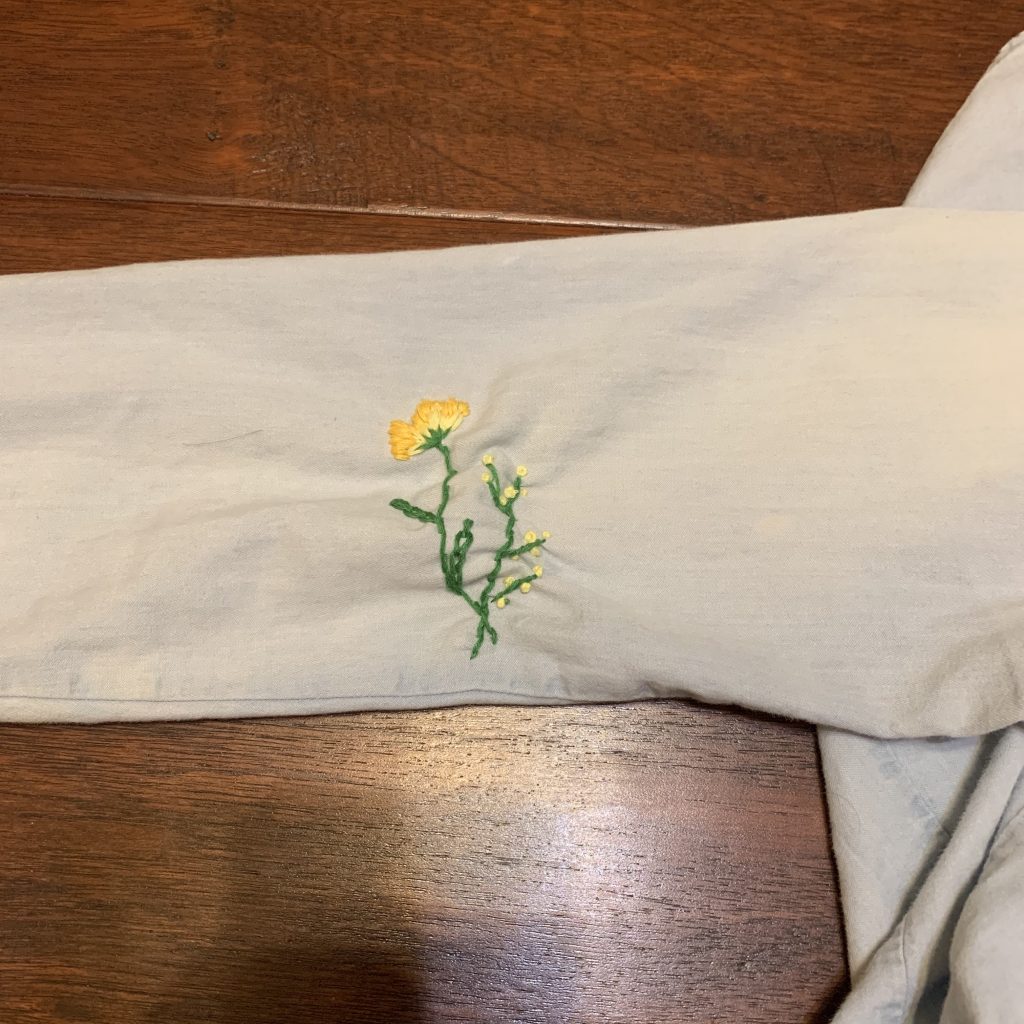
Originally, I did not notice the small black tears/stains on the right arm but when I saw them, I knew I wanted to embroider something over it. I used the yellow & orange + green to create a flower growing out of the side.

I really enjoyed embroidering the sleeve as a small detail and actually put a mason jar on the inside to prevent me from sewing through the other side. I did gather some of the fabric white doing the french knots which were extremely difficult because it was hard for me to hold the string taut and push the needle through since my arm would have to go through the sleeve.

The flowers remain hidden when my arm is bent since it is just at the elbow which is something I actually ended up really enjoying and so it adds an subtle touch to the shirt when revealed.

Final Improvisational Weaving – Kimberly

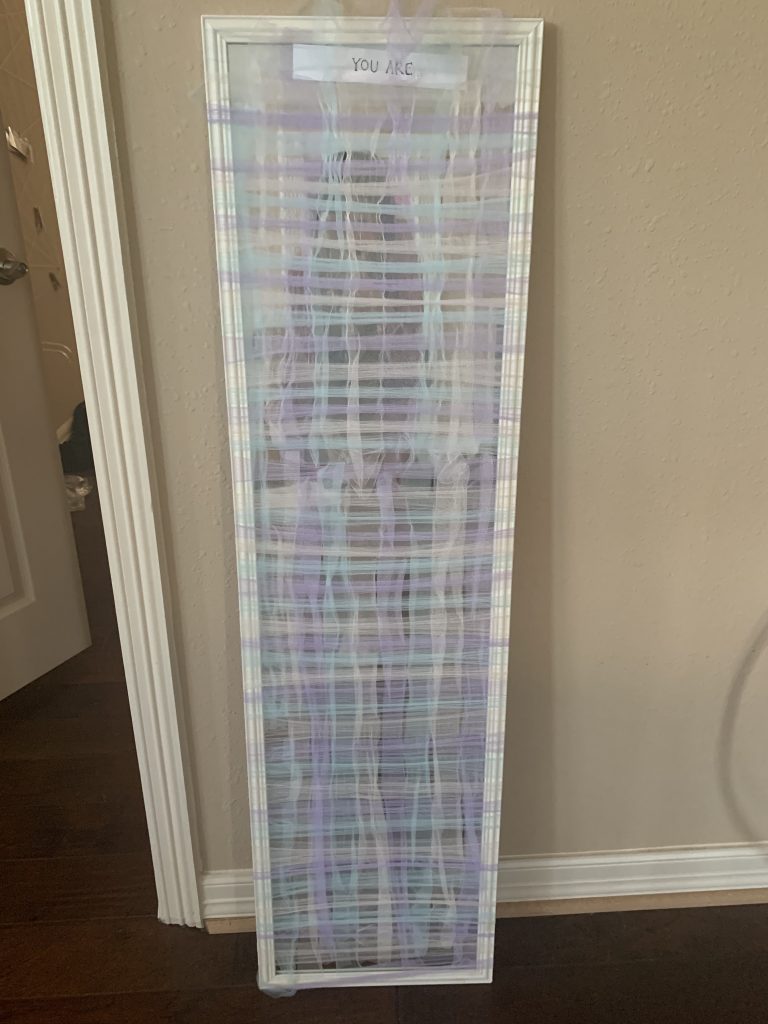
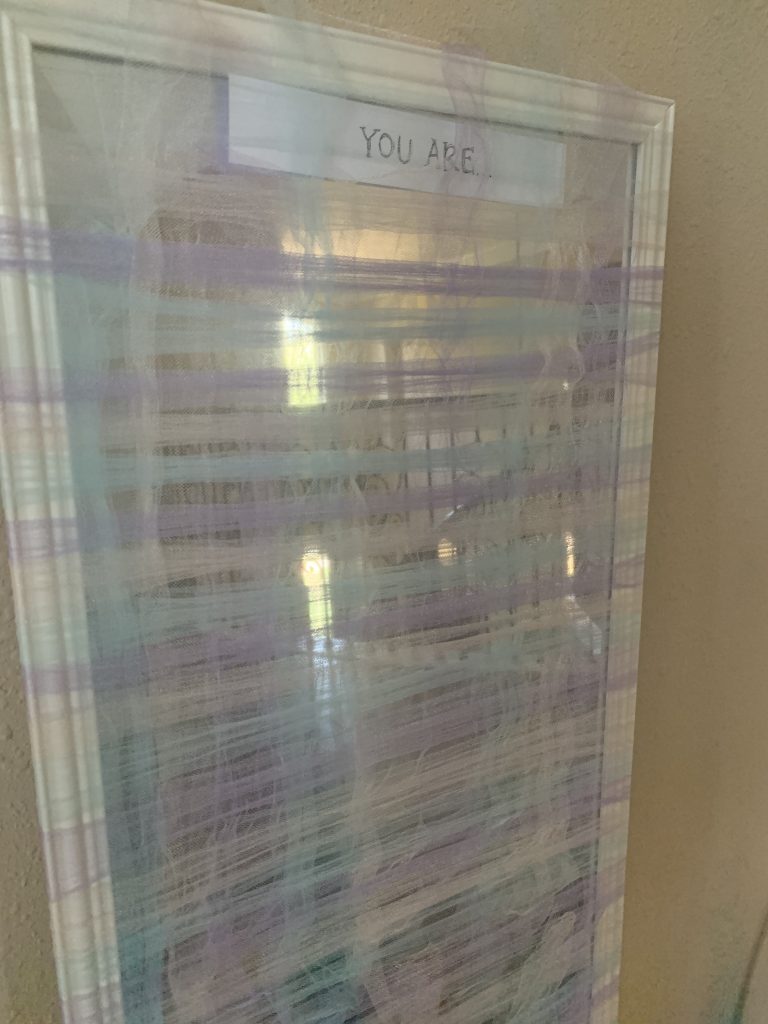
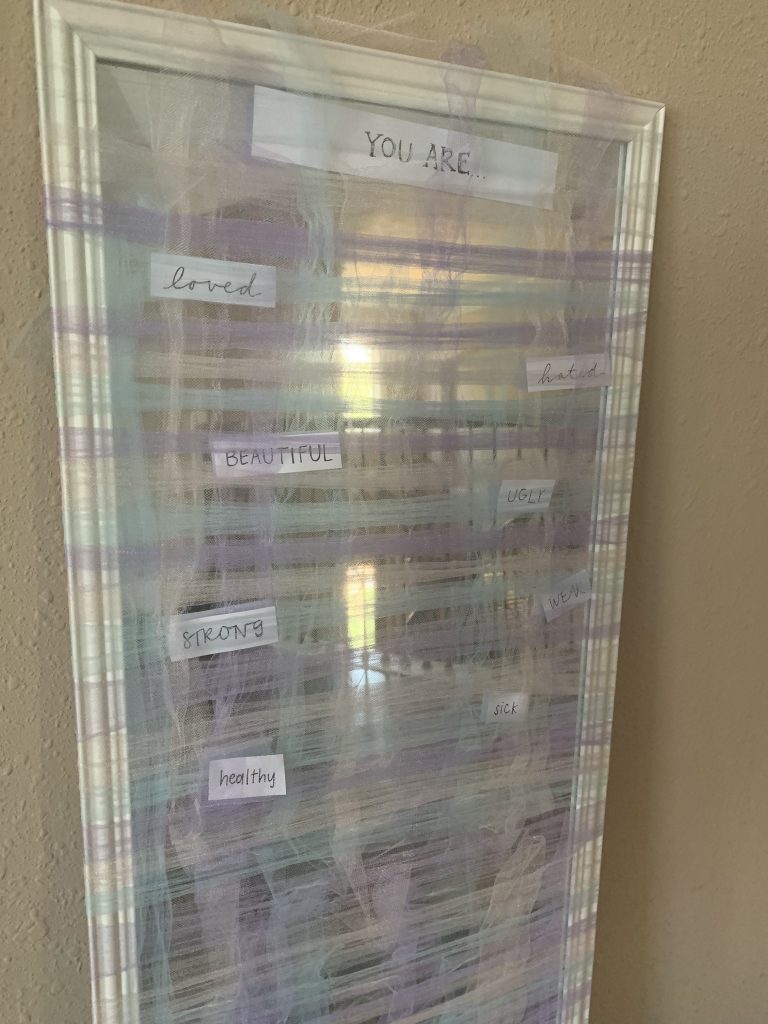
For my final weaving, I was inspired by someone’s discovery of light going through the weft/warp. I decided to use my floor length mirror with tulle (from an old halloween costume) as the warp and weft. I would just like to note that my camera could not fully capture what the weaving looks like in real life and how light plays into the reflections.

In today’s society, body image and self-esteem is an issue for so many people, especially younger girls. By using the tulle to cover the details and somewhat “fog the mirror”. We constantly see ourselves under a microscope where no one else looks this closely so I wanted to emulate how other people see us less harsh than ourselves.

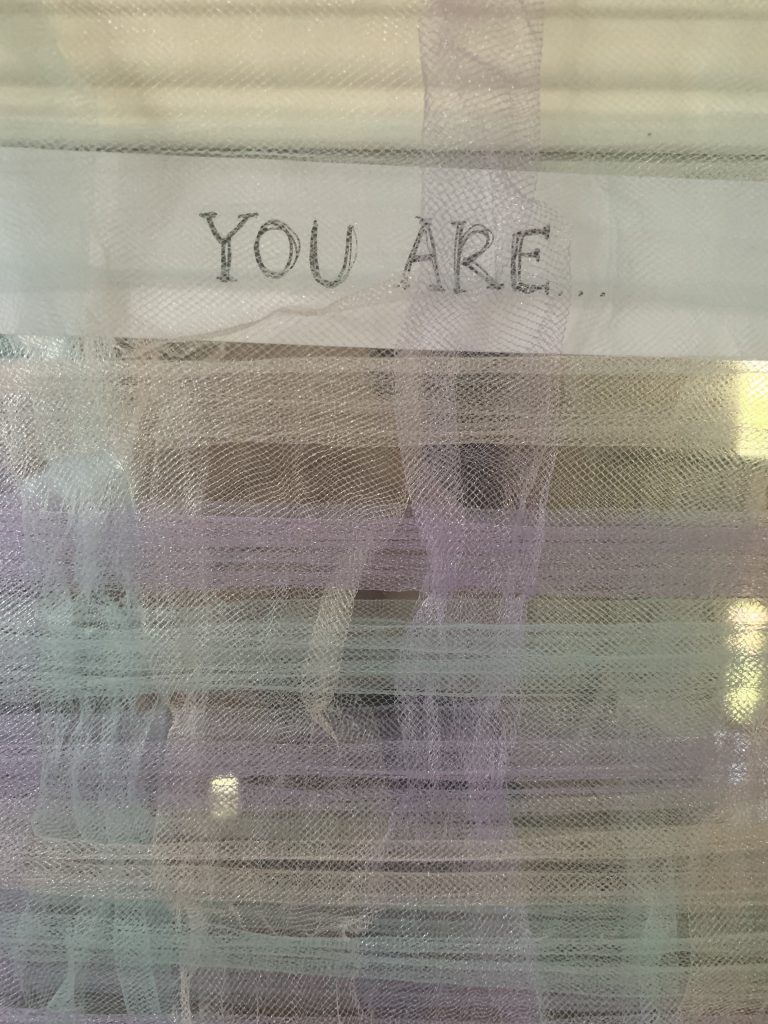
A challenge I faced was definitely the lack of structure in the tulle. As the warp, I had tied each piece of tulle around the back of the mirror which caused each strip to be bunched together rather then spread out like the vertical weft. Although this wasn’t my intention, the spaces between each warp draws attention to the emphasized features, especially one’s eyes.

I added the phrase “YOU ARE…” at the top to prompt affirmation of individual’s about themselves. Rather focusing on what one’s reflection is not, or what my not be good enough, I hope to evoke love from whoever looks in the mirror .

In a non COVID affected class, I would have loved to have each of my peers to write a words and place it within the weaving. But given that I am at home, I decided to give the viewer a decision on how they wanted to approach the mirror. I put opposite adjectives on each side of the mirror in jagged manner so that the viewer’s eyes would be drawn back and forth.

I am still unsure of how I feel about these additions and since they are paper within the weaving, I am able to easily change them if a new idea arises.

Furthermore, while I was walking around taking pictures of my weaving, I noticed that from far away, the reflection in the mirror were very clear but as you moved closer, it became more and more hazy/foggy. I kind of enjoyed this effect since it forces on to take a step back and see different perspectives of the mirror. I’ve attached a video to try and capture this quality but it doesn’t quite have the same effect in real life.

Lastly, I wish I had other materials that provided more texture to my weaving that I could have also used. I think the weaving would be more interesting if I had some sort of lace or ribbon to use.

Tapestry Weaving – Kimberly

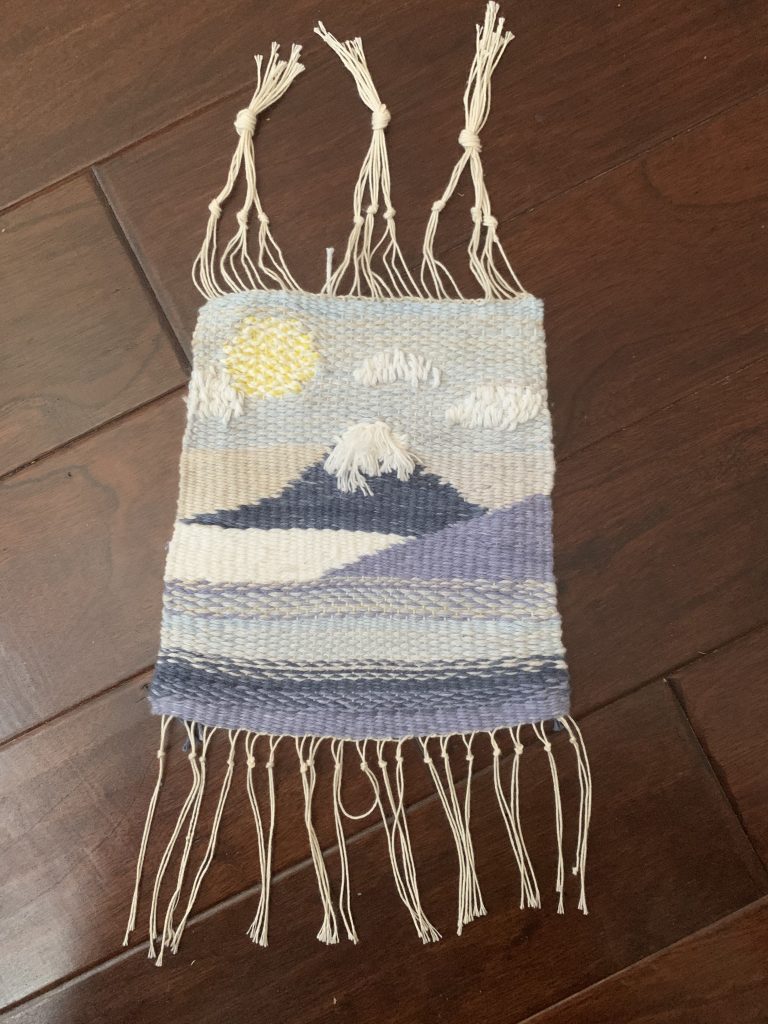
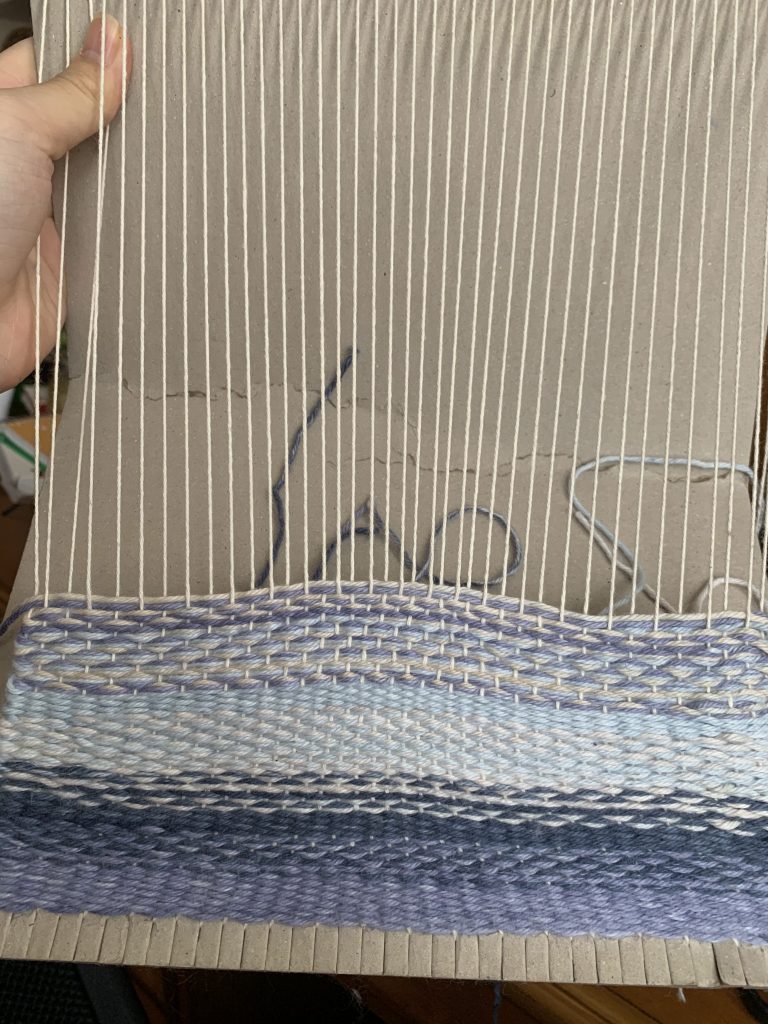
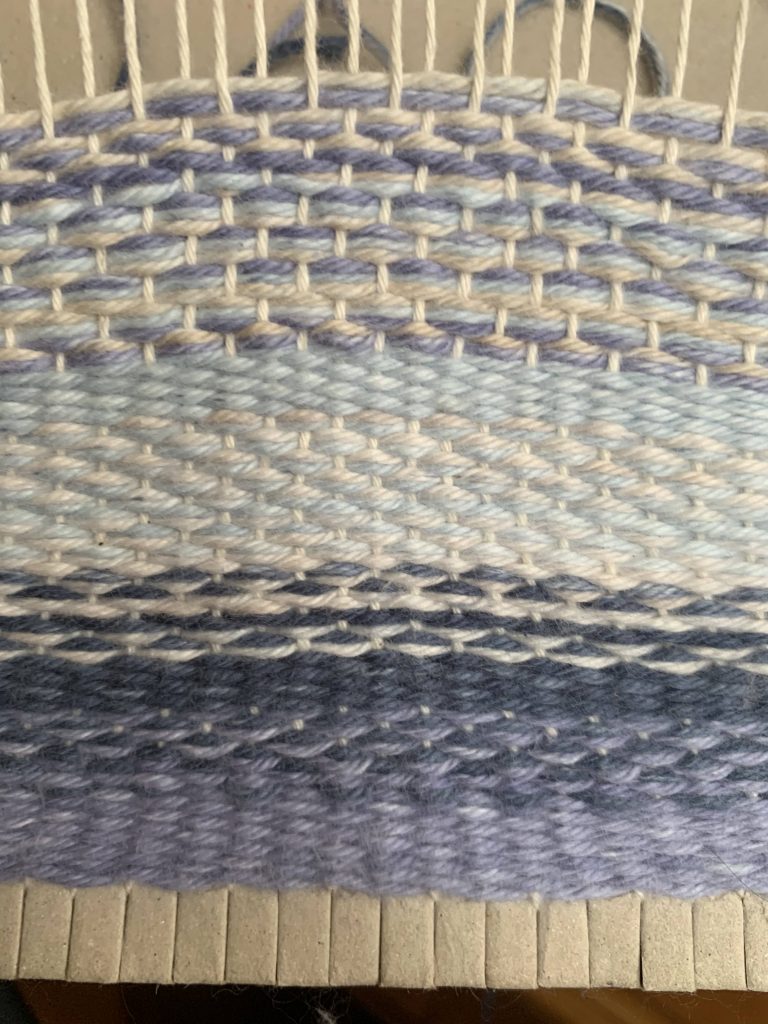
My completed tapestry weaving resembles a water and mountain sky scene. When starting the project, I experimented with color blending which looked somewhat like water to me so continued the color scheme to create this pattern. One of my biggest challenges was when working with more than one strand of yarn at the same time for color blending, it was extremely easy to tug on the warp which distorted the vertical lines on my weaving. This concerned me in the beginning and I tried to fix it multiple times but could not. But after I removed my weaving it became less noticeable and somewhat evened itself out.

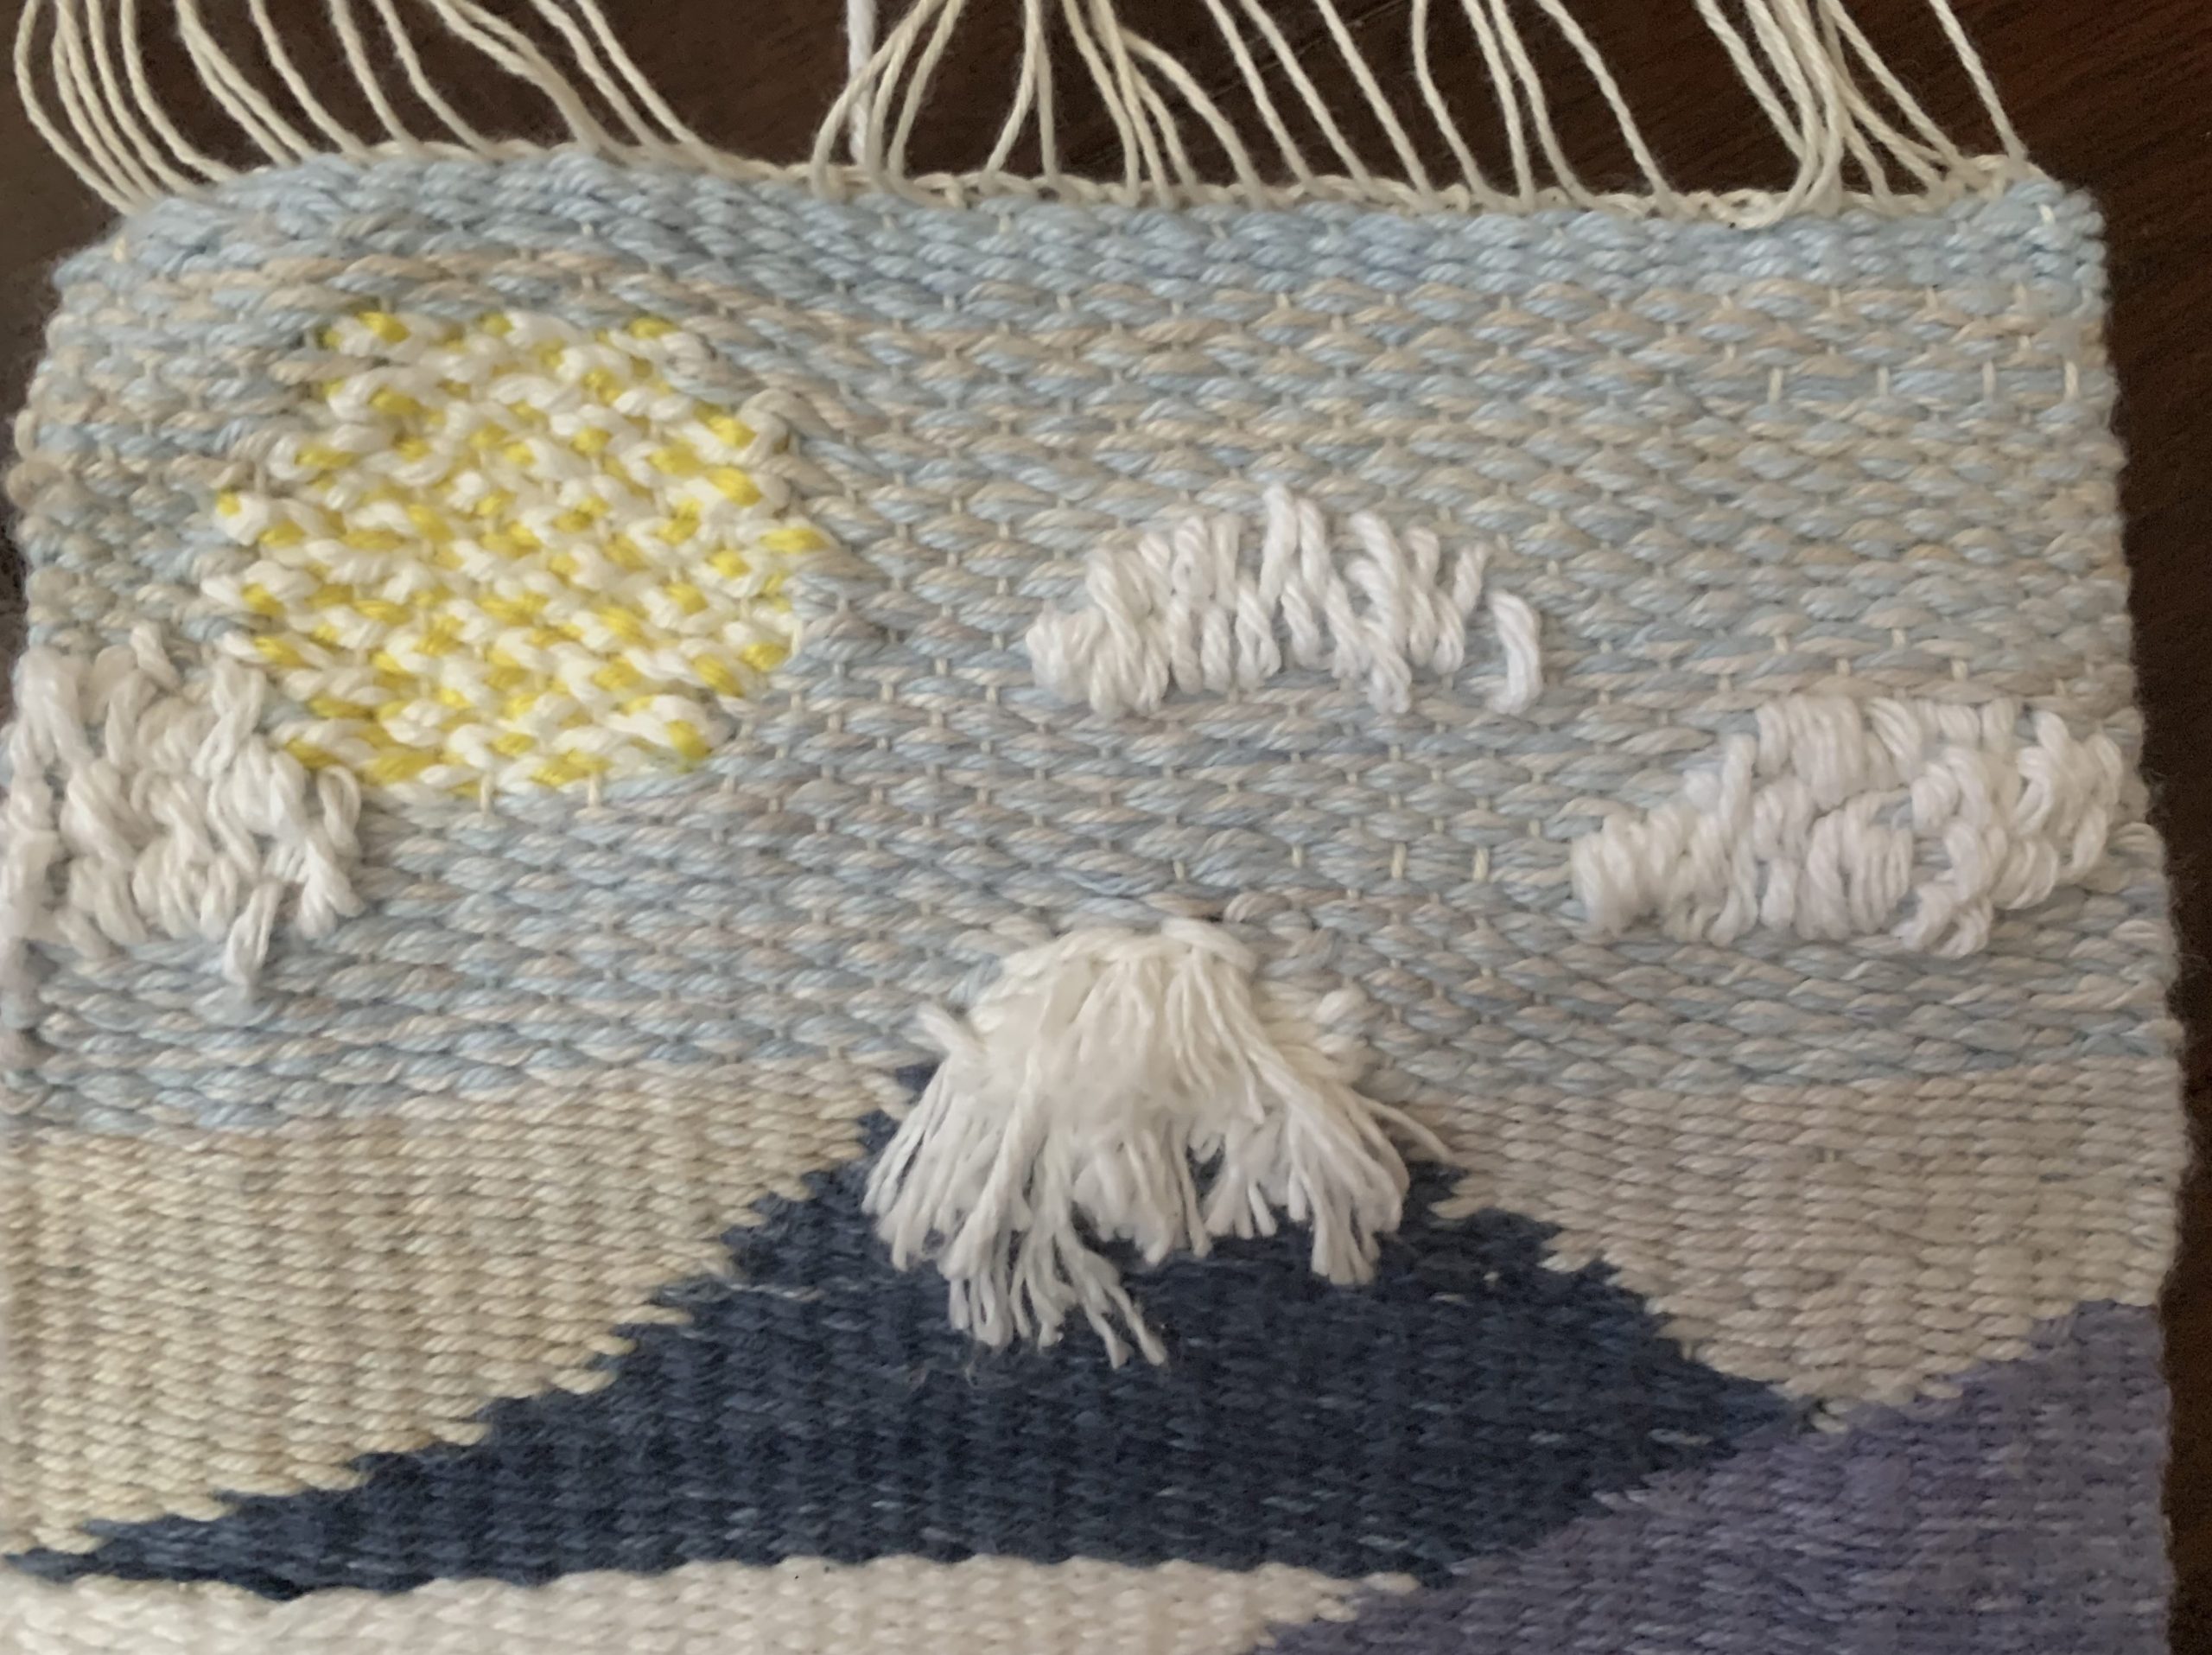
For the mountain, I tried to use rya knots to create a snow effect but when I had piled them onto one another, it became too think. To combat this, I took out those in the center and weaved it with a needle which cannot be seen since the top rya knots covered it!

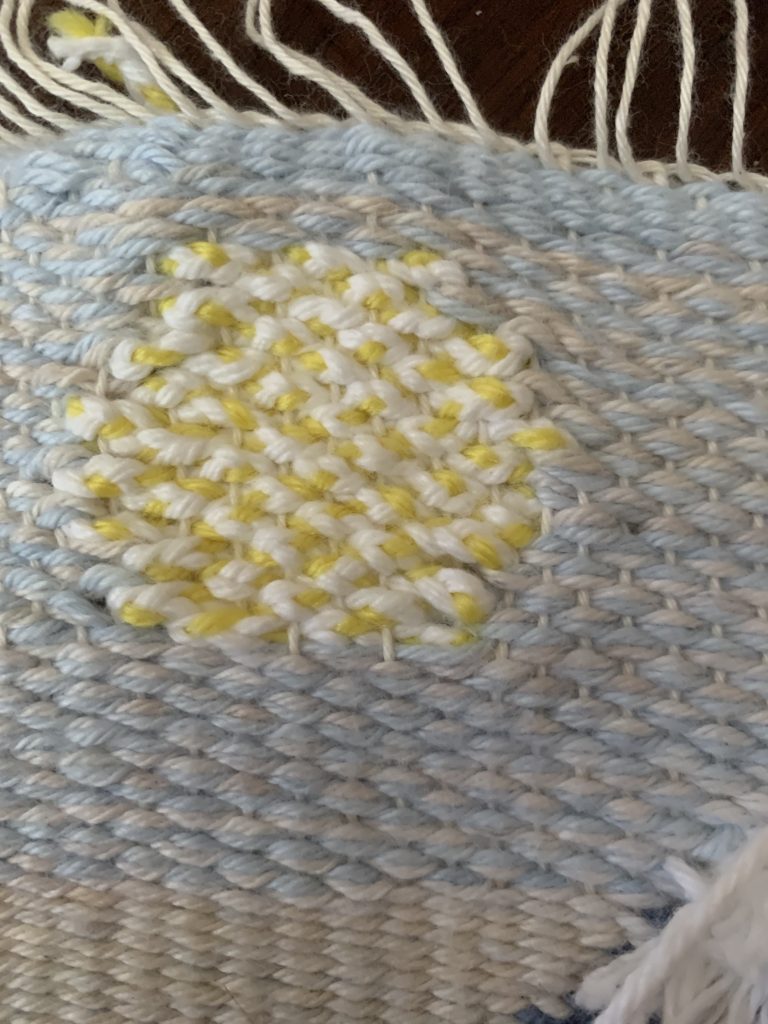
For the sky, I wanted to add a pop of color but thought the yellow was too bright so I braided it with two strands of white yarn which lightened the intensity and added a unique texture when woven.

Additionally, I wanted to include clouds but wasn’t sure on what technique to use so I added them very last by sewing them with a tapestry needle.

Overall, I enjoyed trying to create a picture with the yarn but looking back, I wish I had experimented with more techniques for texture in the water and other flat areas.

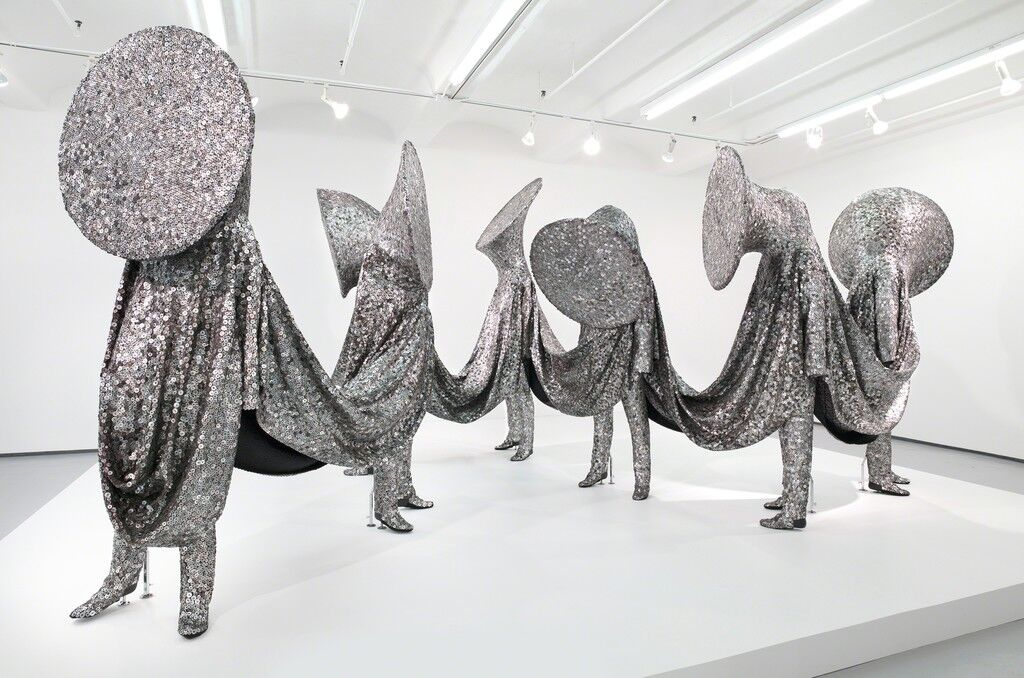
Speak Louder (2011) By Nick Cave

Speak Louder (2017), Nick Cave

I chose this piece of work because I was intrigued to learn of textile artwork that was made to be worn and moved in. Nick Cave creates what are called “Soundsuits” intended to produce sound when moved in and worn by dancers. Because of this, all of his pieces are sewn together and also include recycled materials.

Speak Louder consists of seven Soundsuits connected by one large cloak of buttons depicts tuba like people who’s horns have been silenced. This piece of work is conveys a message of strong communities while acknowledging losses together in the fight for a better future. Because each Soundsuit is facing different directions, there is a unique attributes of the separate entities while still maintaining unity much like the real world.

Details on the artwork can be found here