Mending

By Remi Adeoti

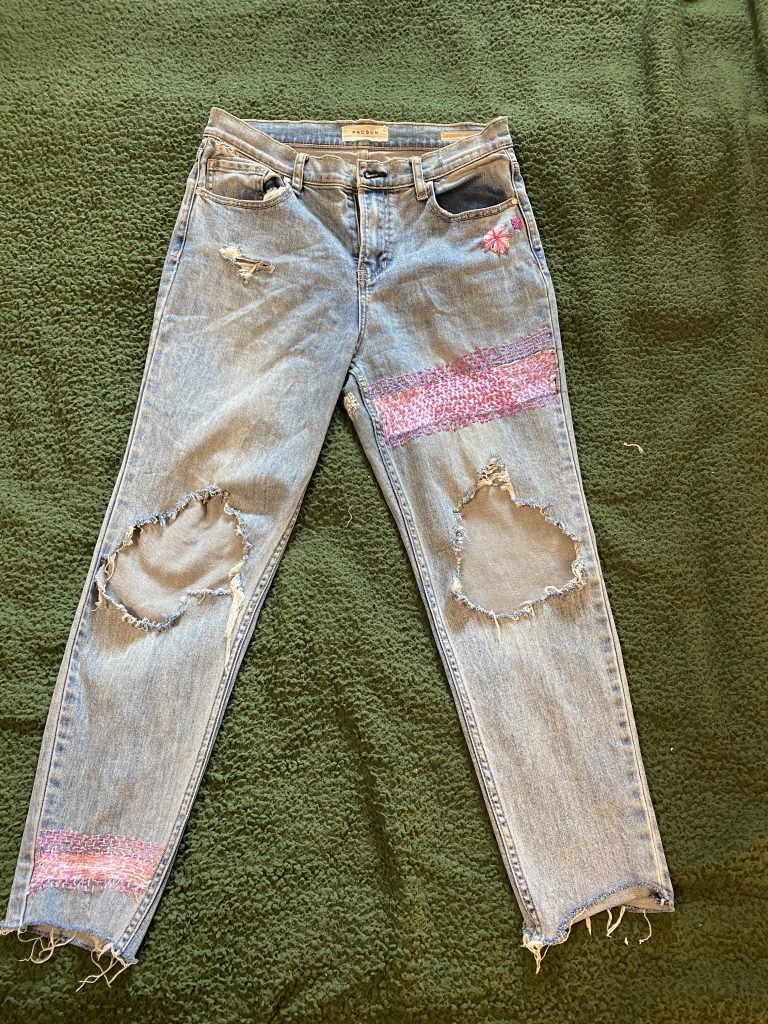
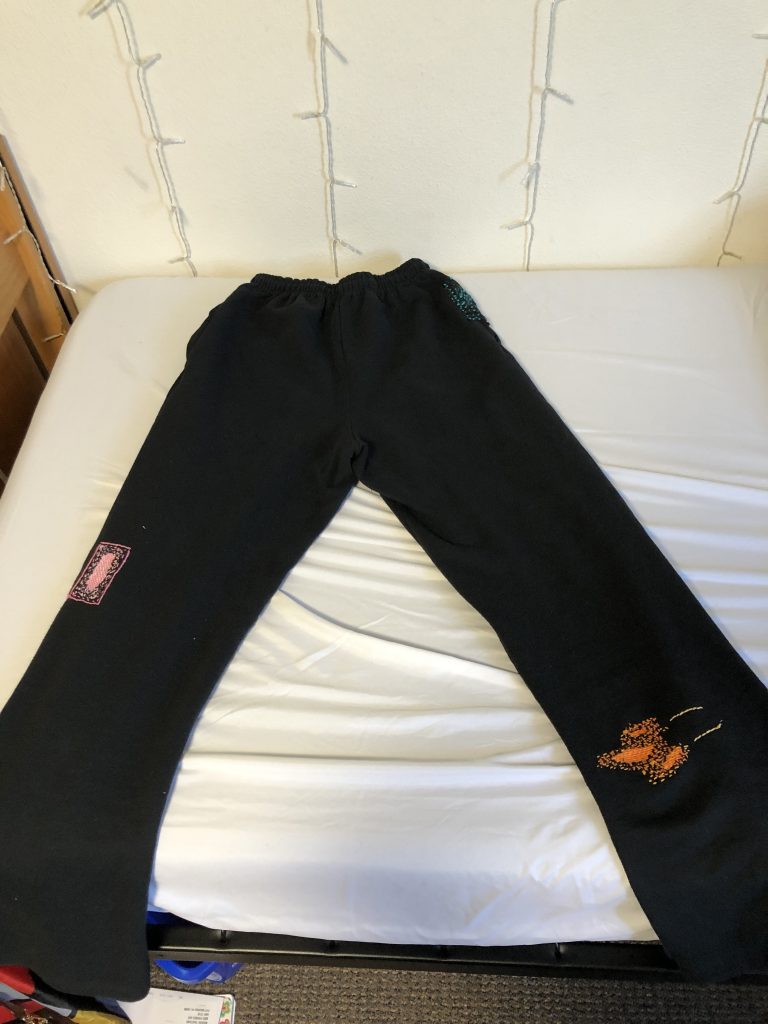
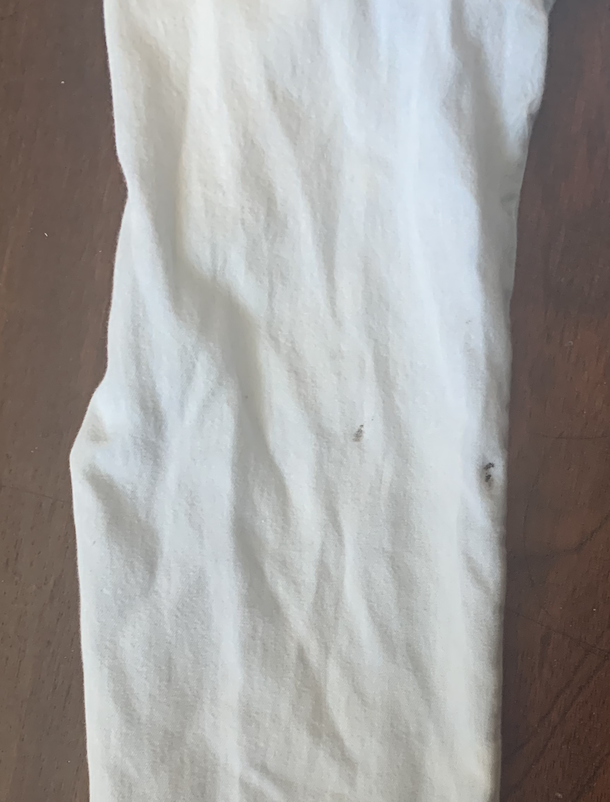
The jeans I decided to work on are a few years old and they started to thin (between the thin) last year until both sides had ripped. From there I decided to play with them, so I distressed them, cut them shorter, and changed the shape of the holes in the knee. These jeans just became practice for me to learn techniques so that I could thrift other jeans and apply what I learned.

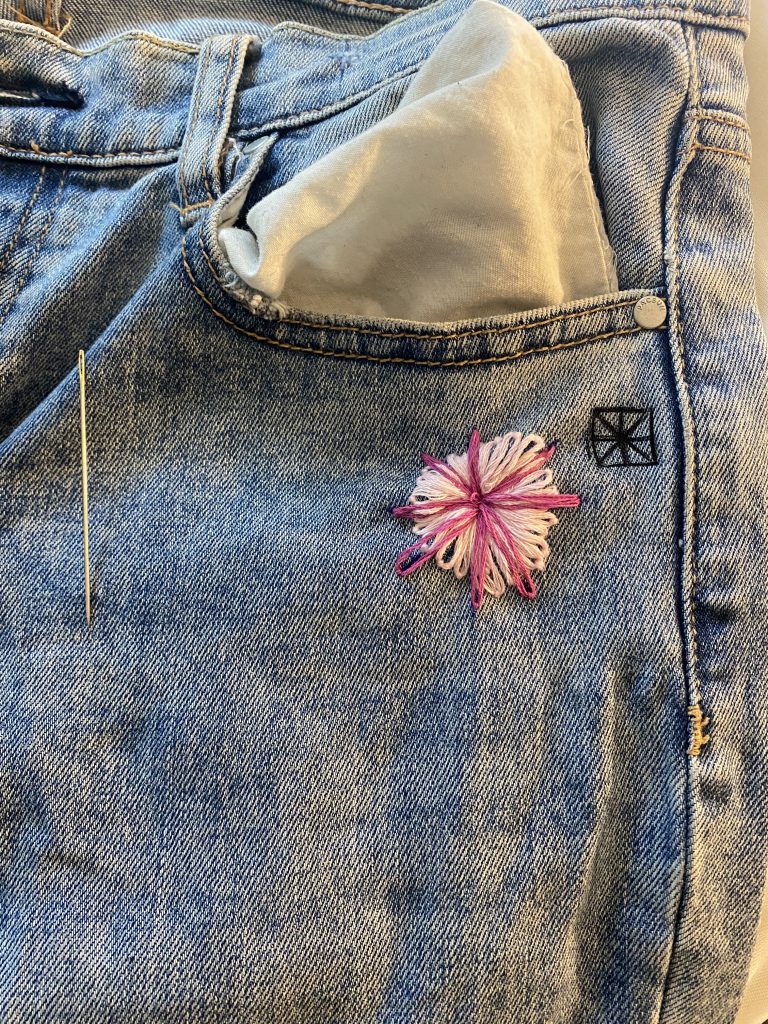
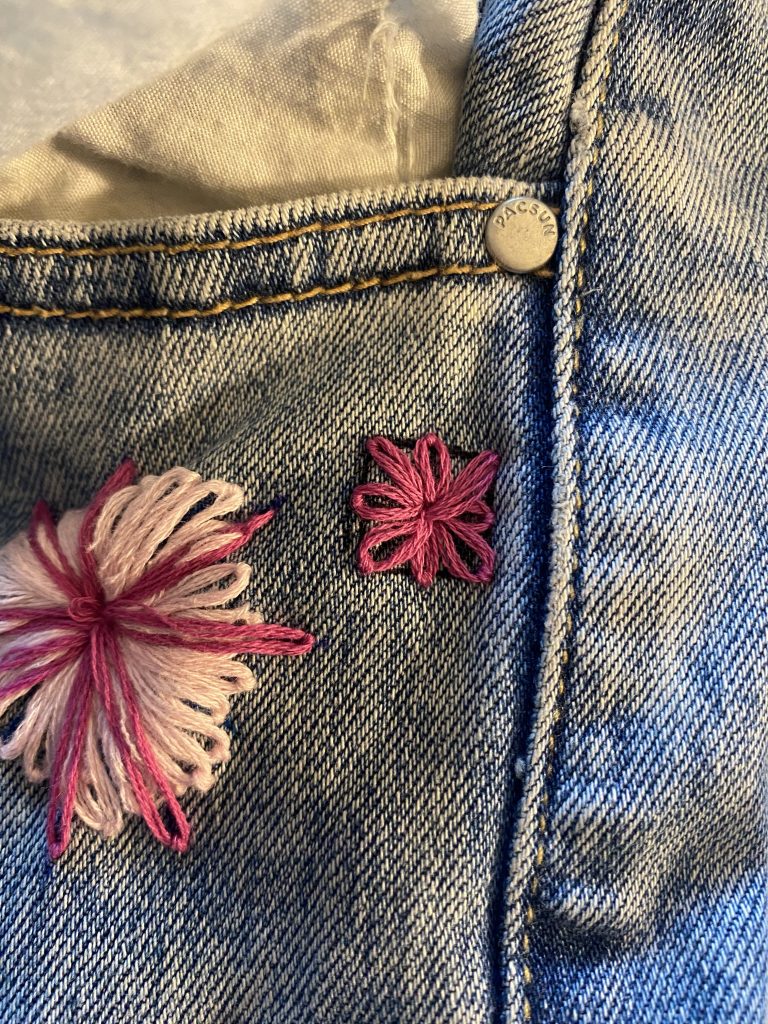
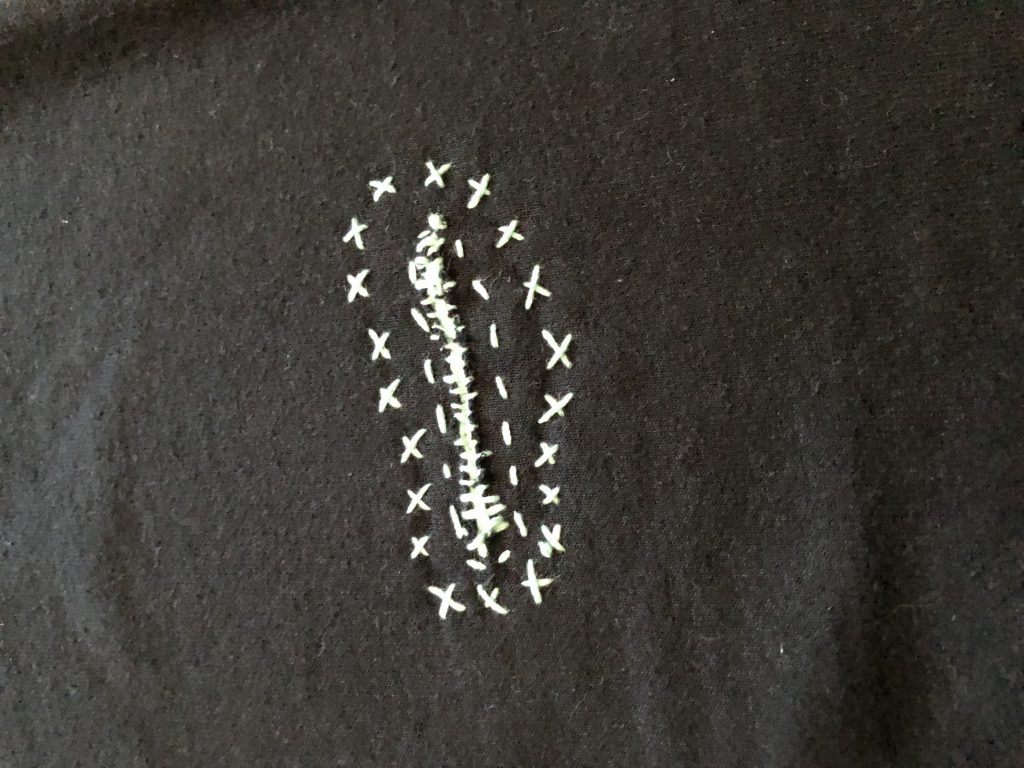
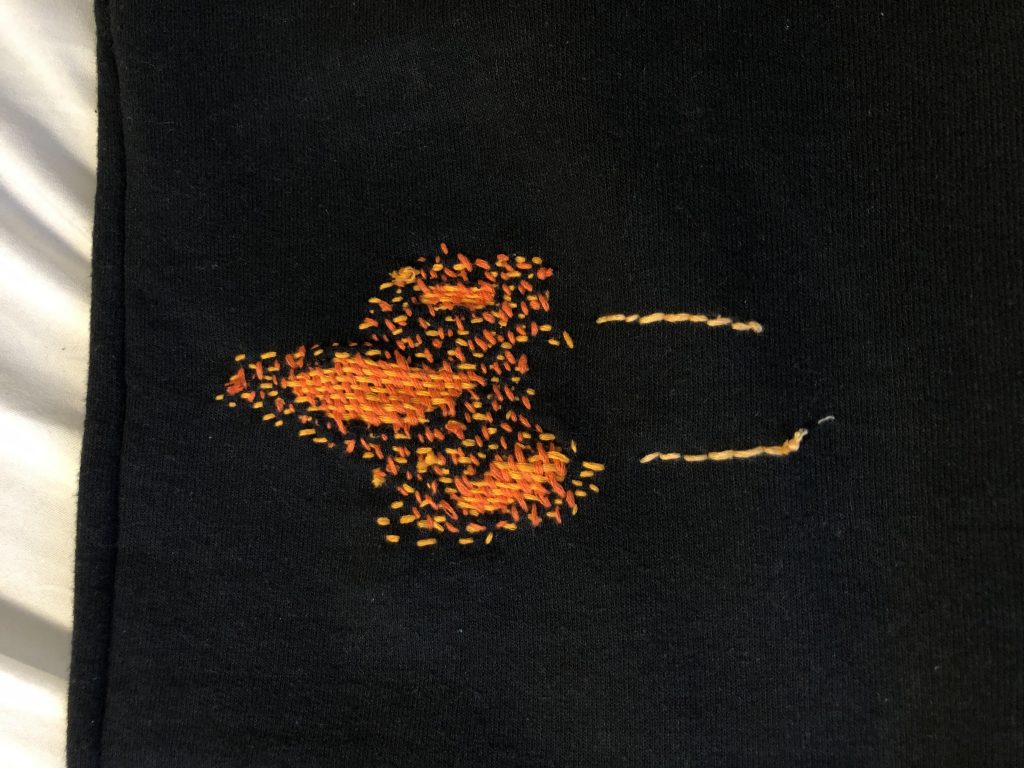
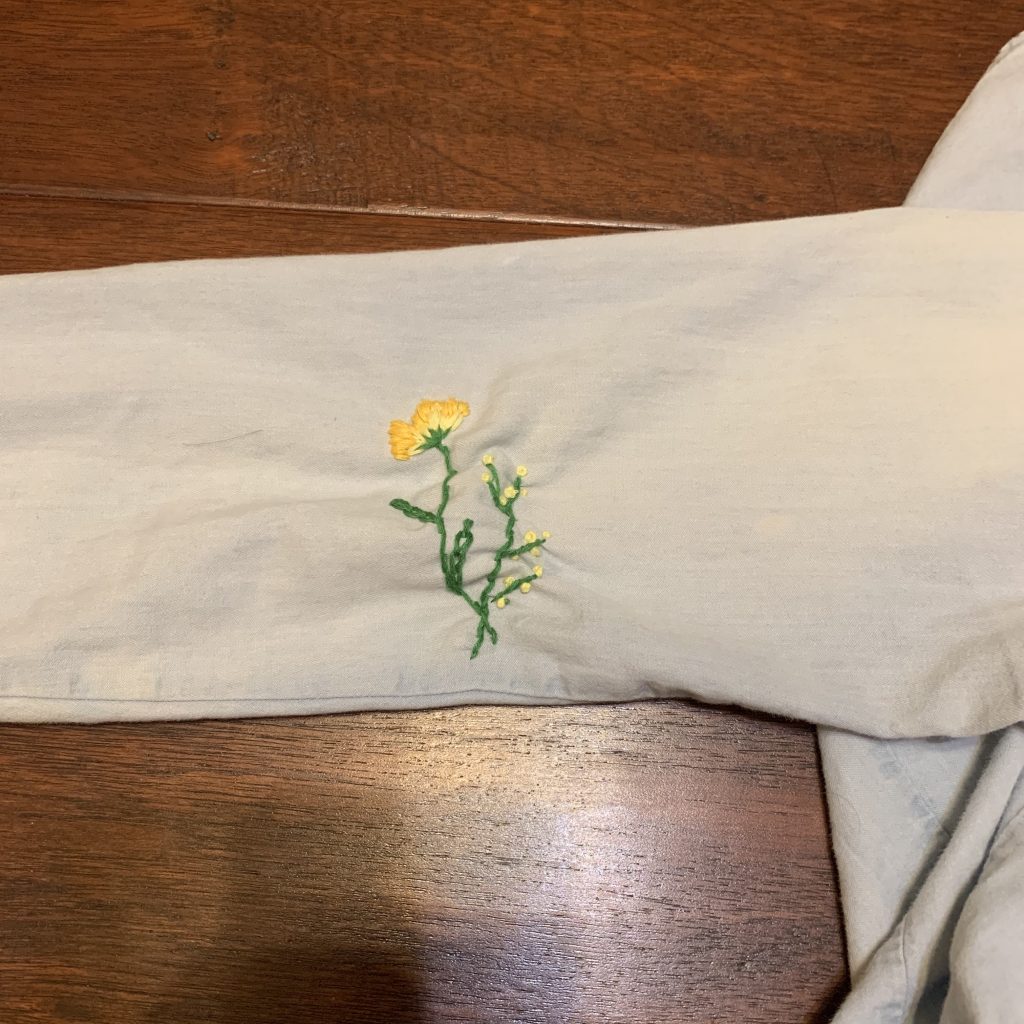
For my mending project I used three methods mentioned in class and also found on YouTube. I was interested in the lasy daisy embroidery style, with this method, I struggled with my first attempt. I found that tension was my biggest challenge and that I tend to pull too much. I also feel like this was as frustrating as having a perfect wing with eyeliner. The first petals weren’t the same length and I could tell so I kept adding more but it never ended up what I intended it to look like/ symmetric. I tried again but instead of just drawing lines to follow I drew a box and used a ruler hoping it would be better, which I feel it was.

Backward Stich

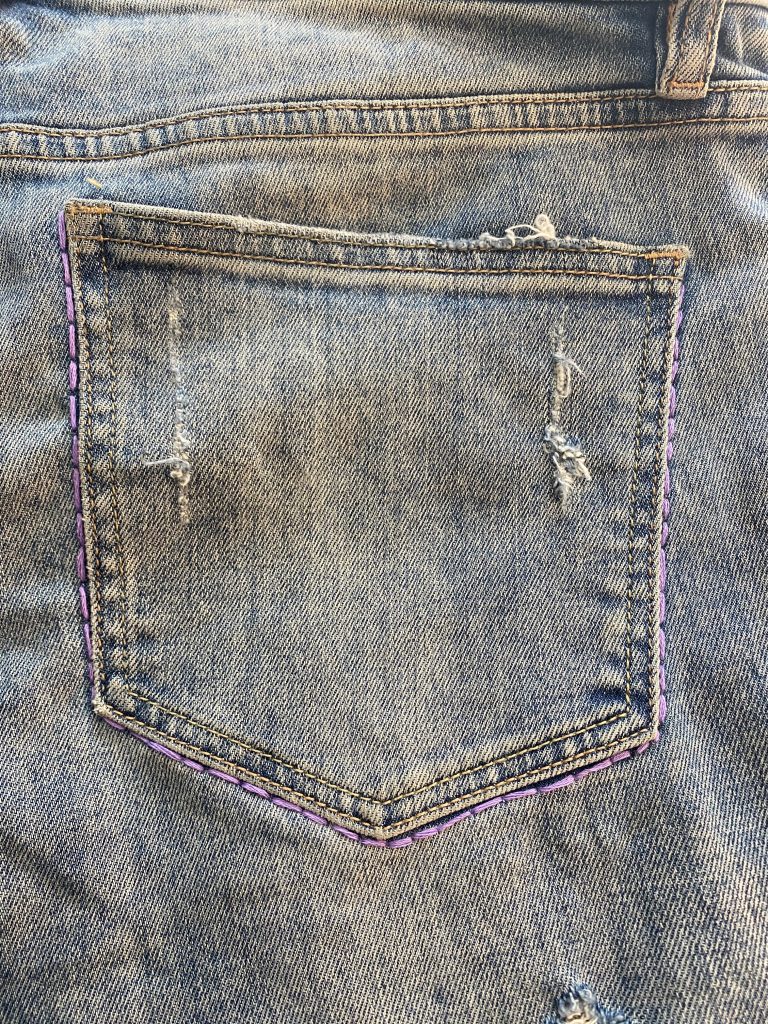
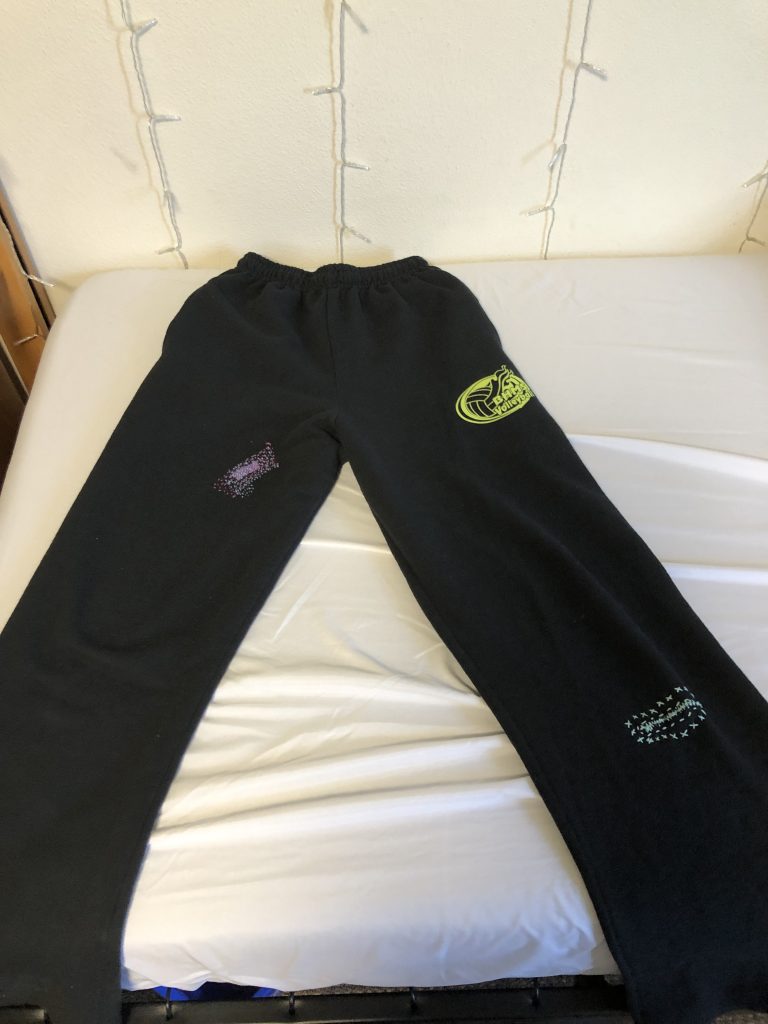
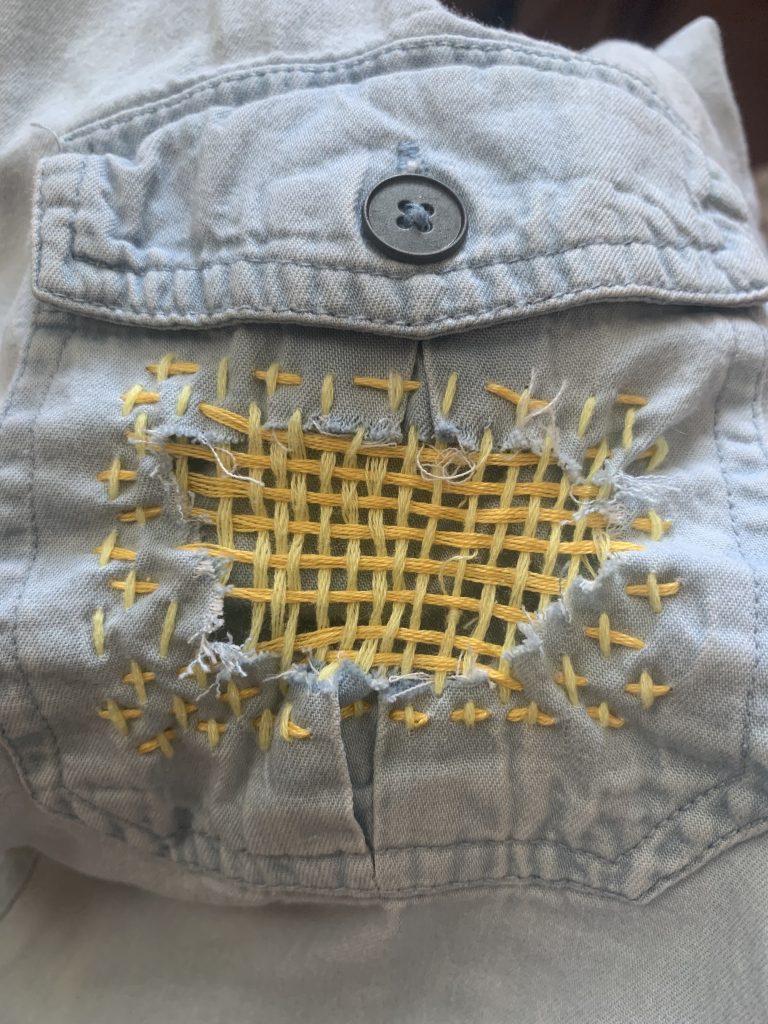
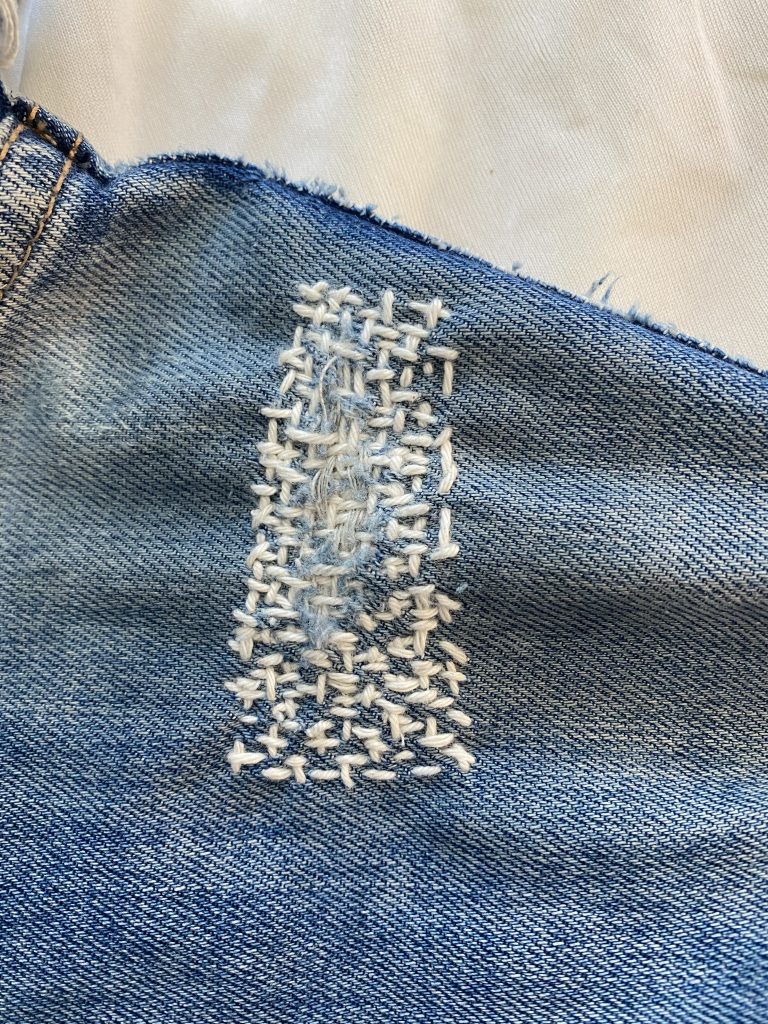
The second method I attempted was the back stitch. This stitch was relatively easy. I added it as a highlight of the back pocket because I had spent so much time on the front that made the back and front of the jeans look like strangers than any two parts that could be related. For the future I would like to continue the sashimi stitching I used in the front so that it resembles a strip of mending that continues to the back of the thing and calf.

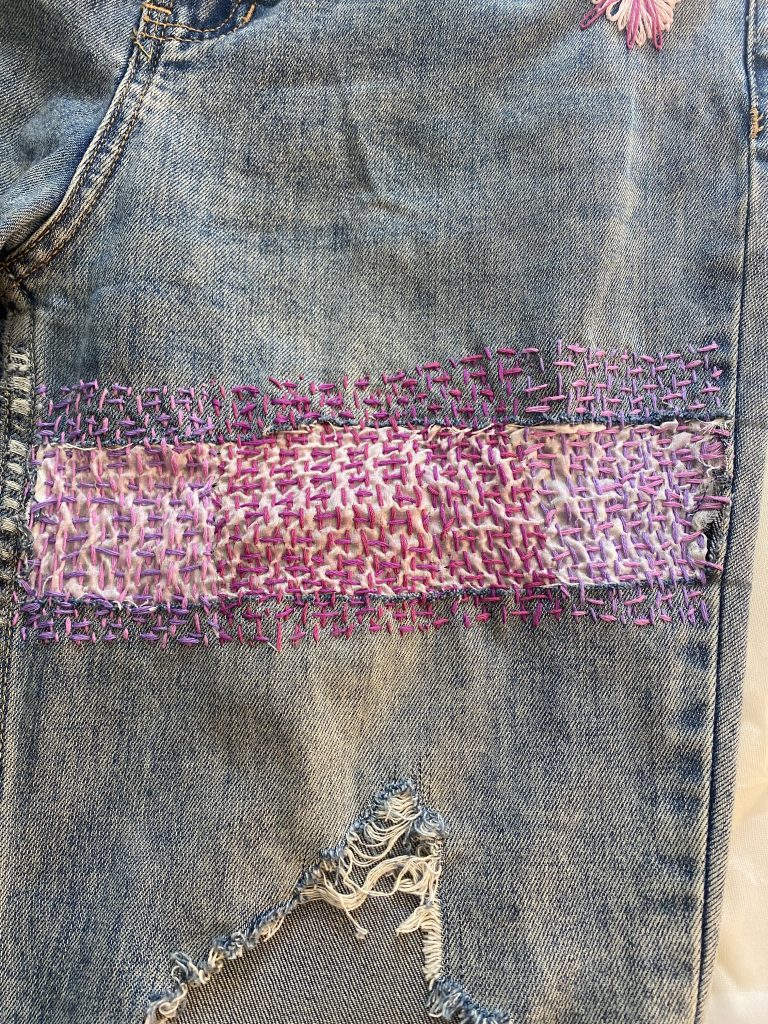
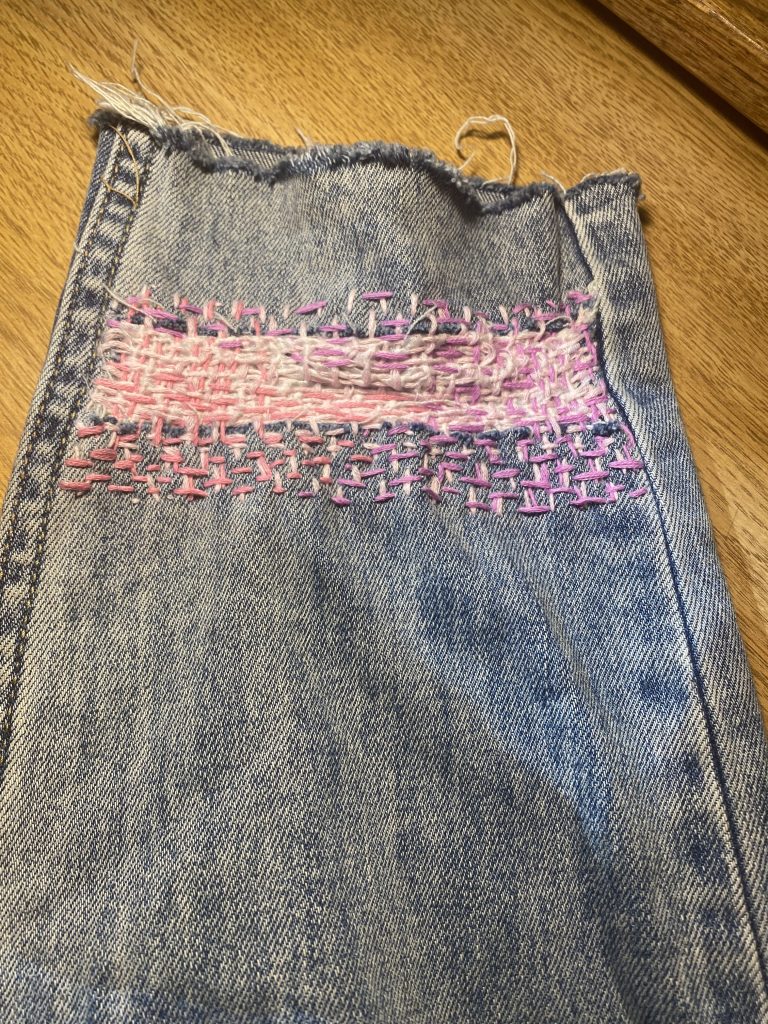
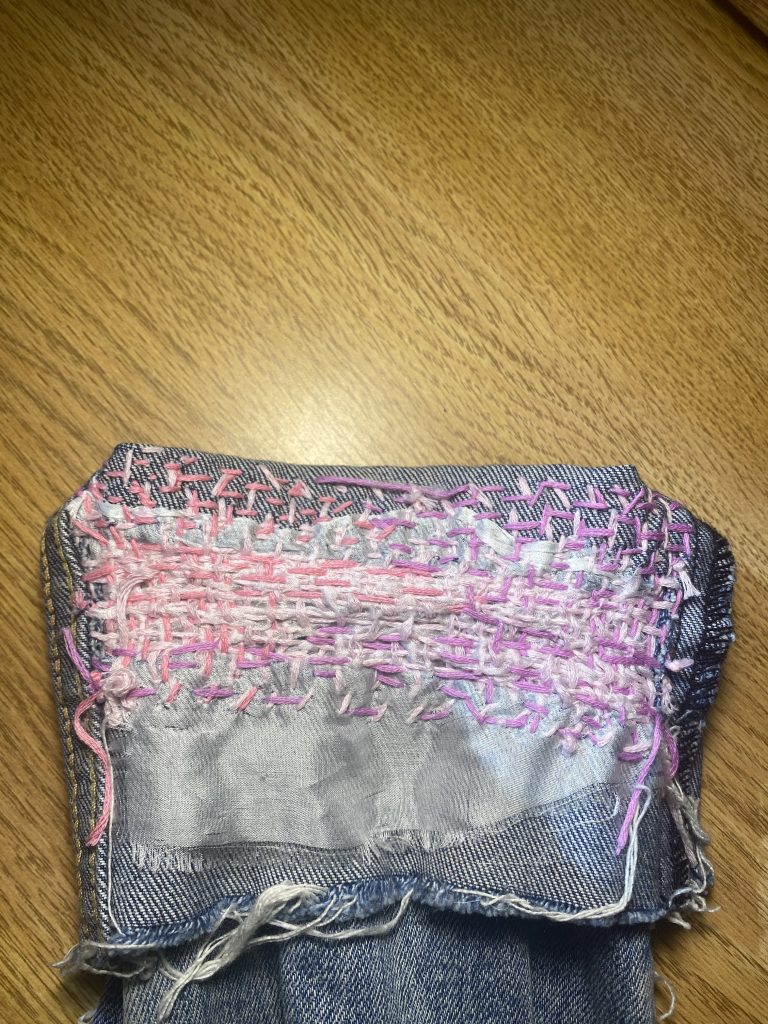
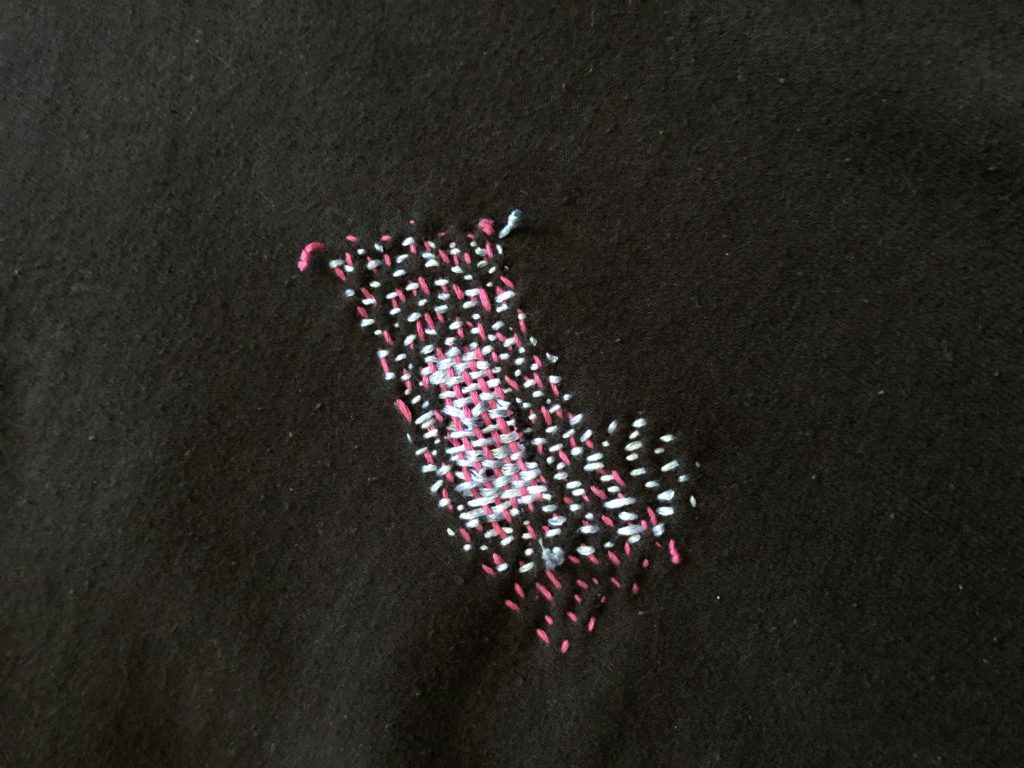
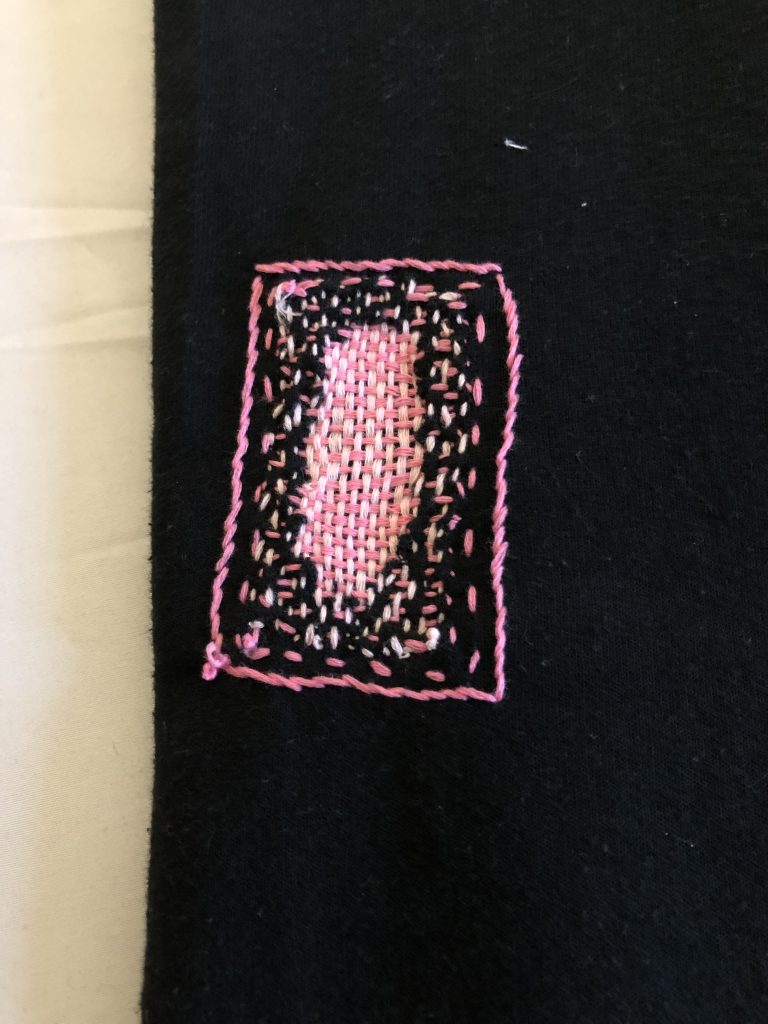
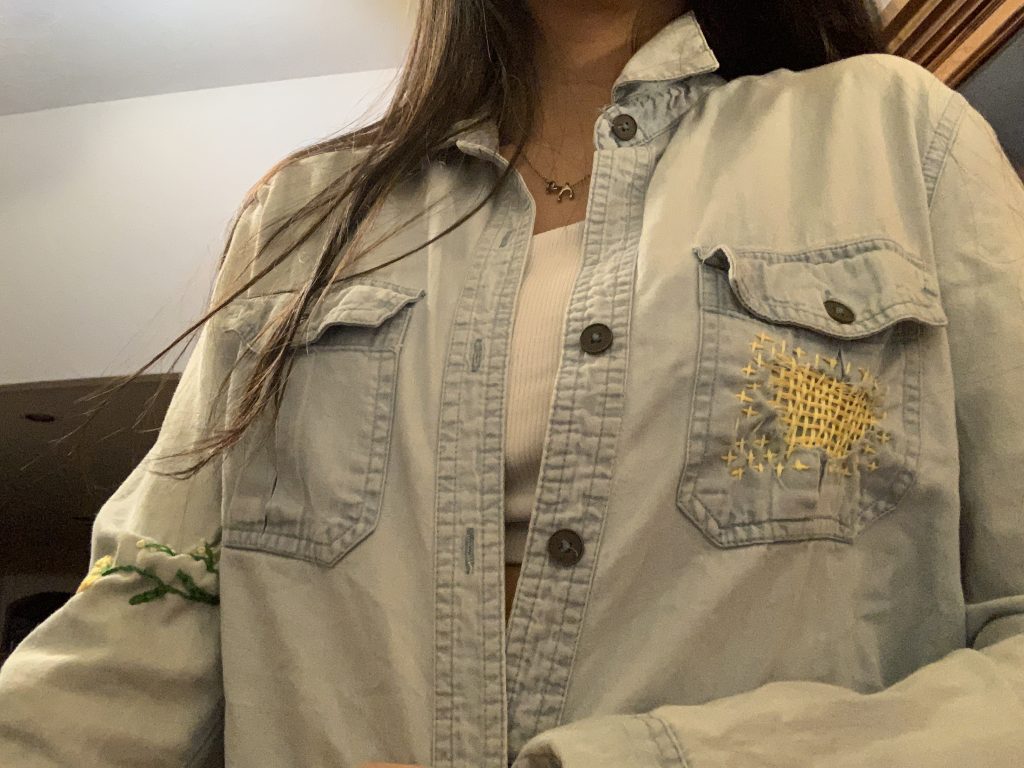
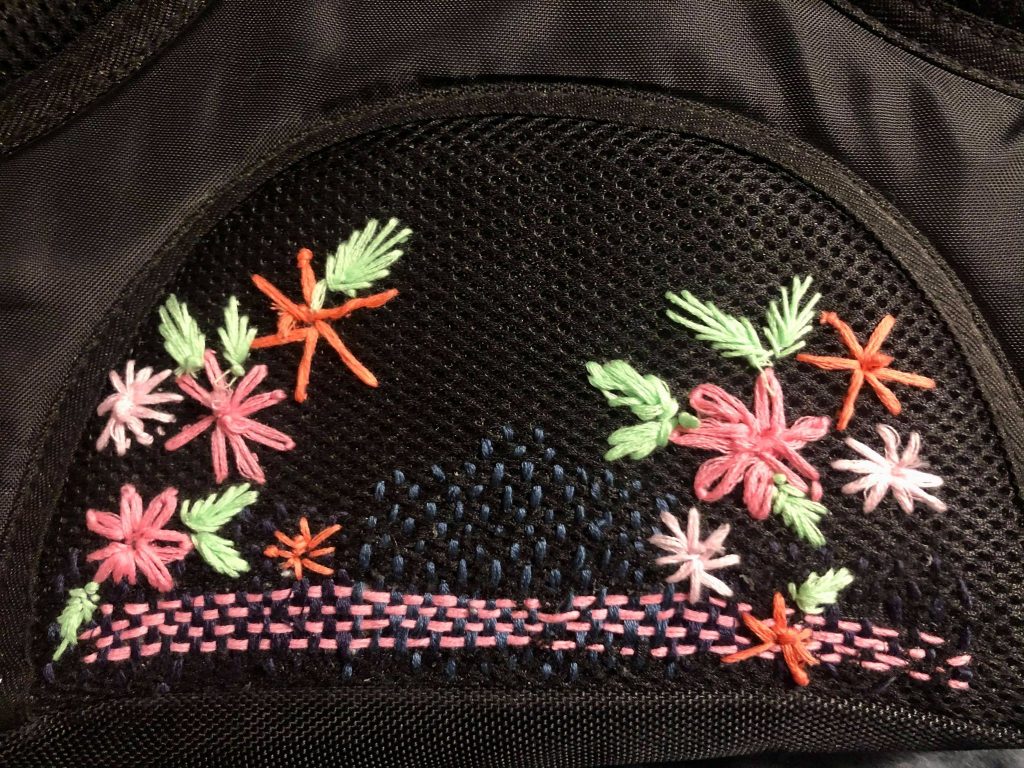
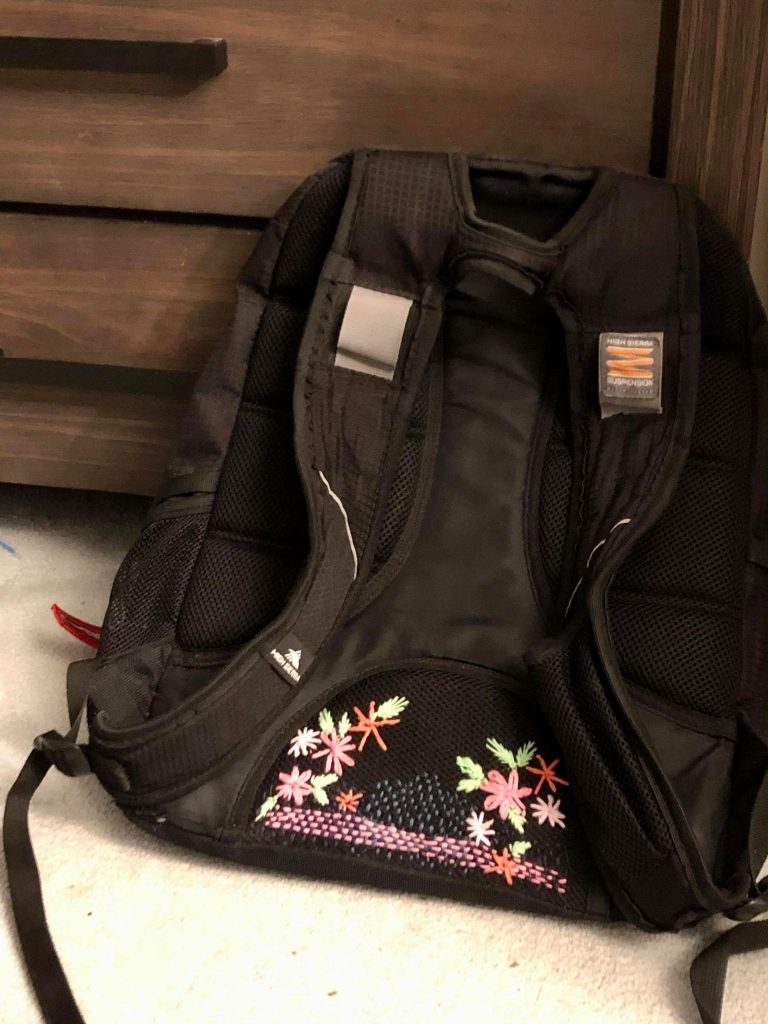
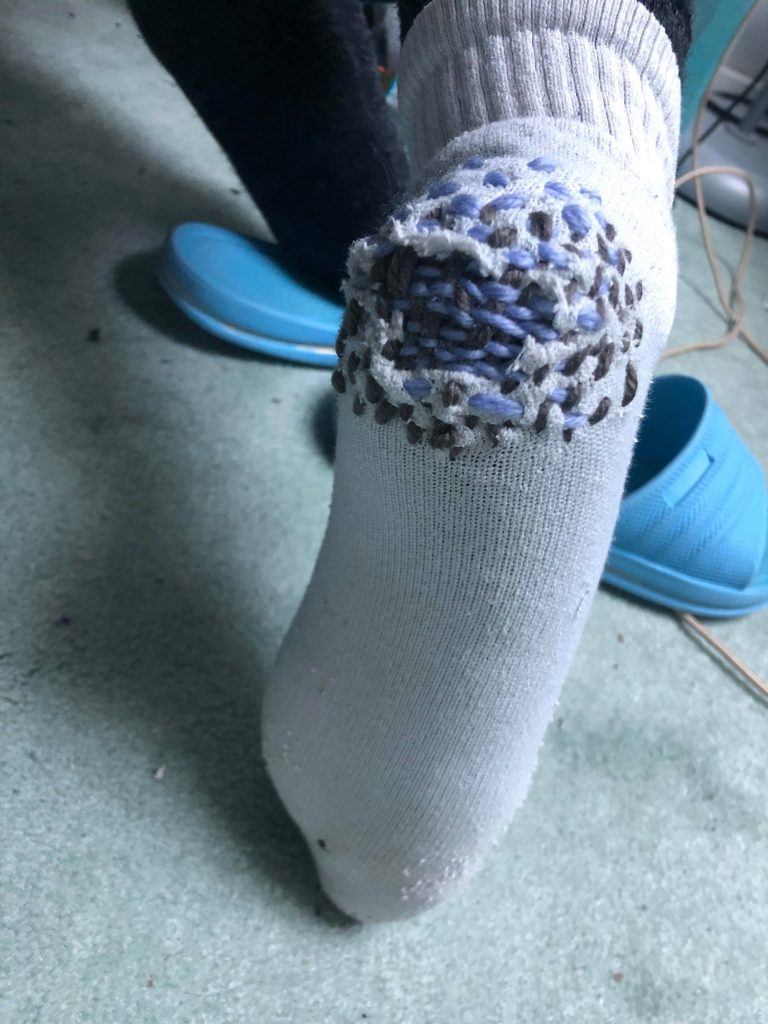
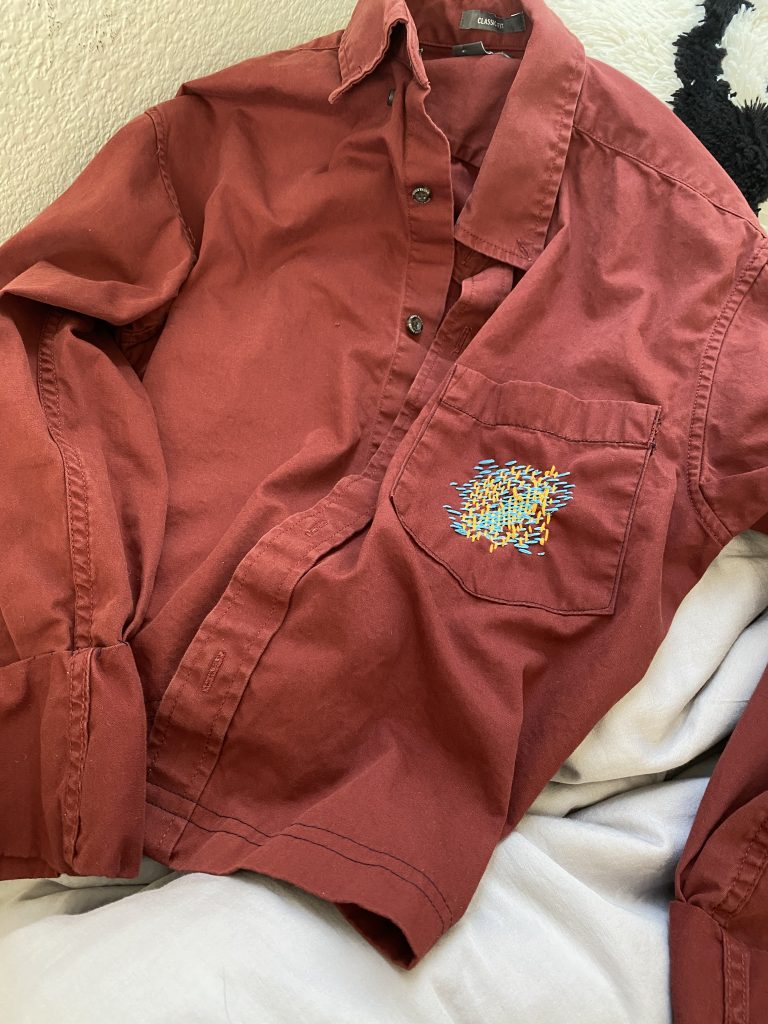
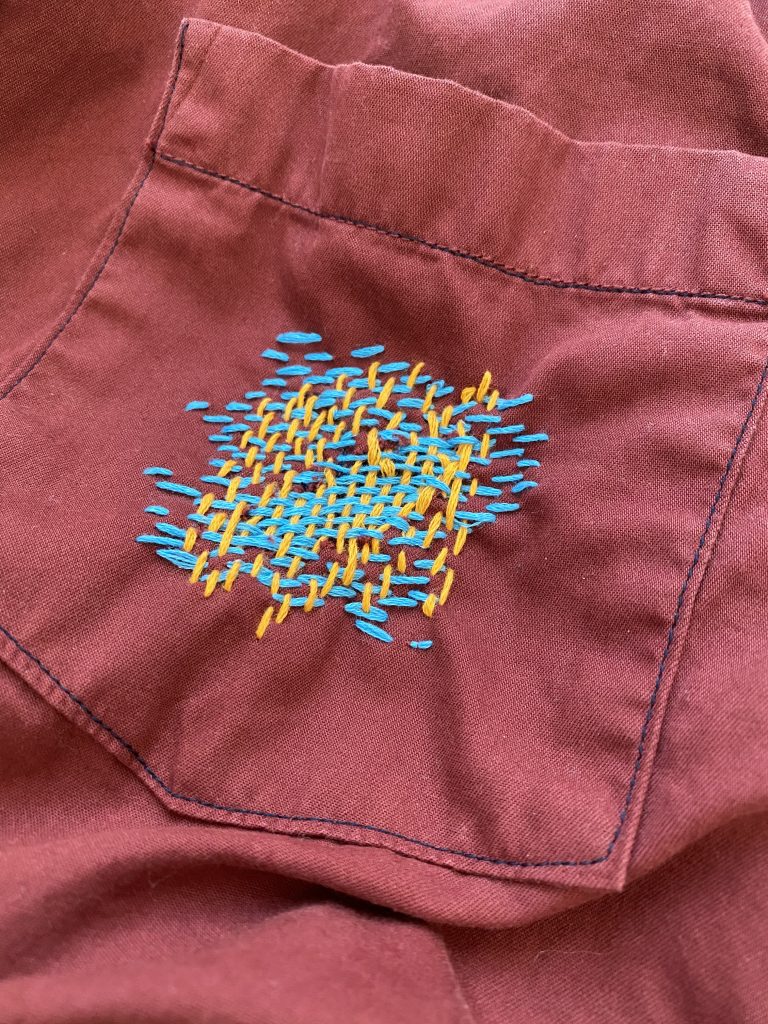
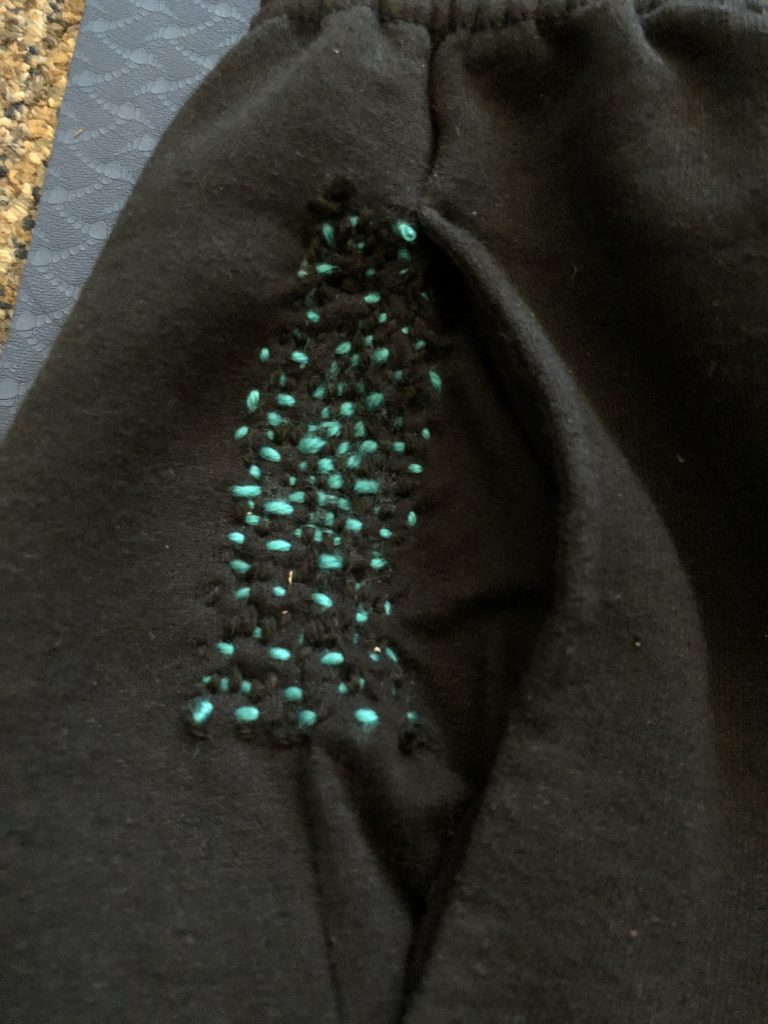
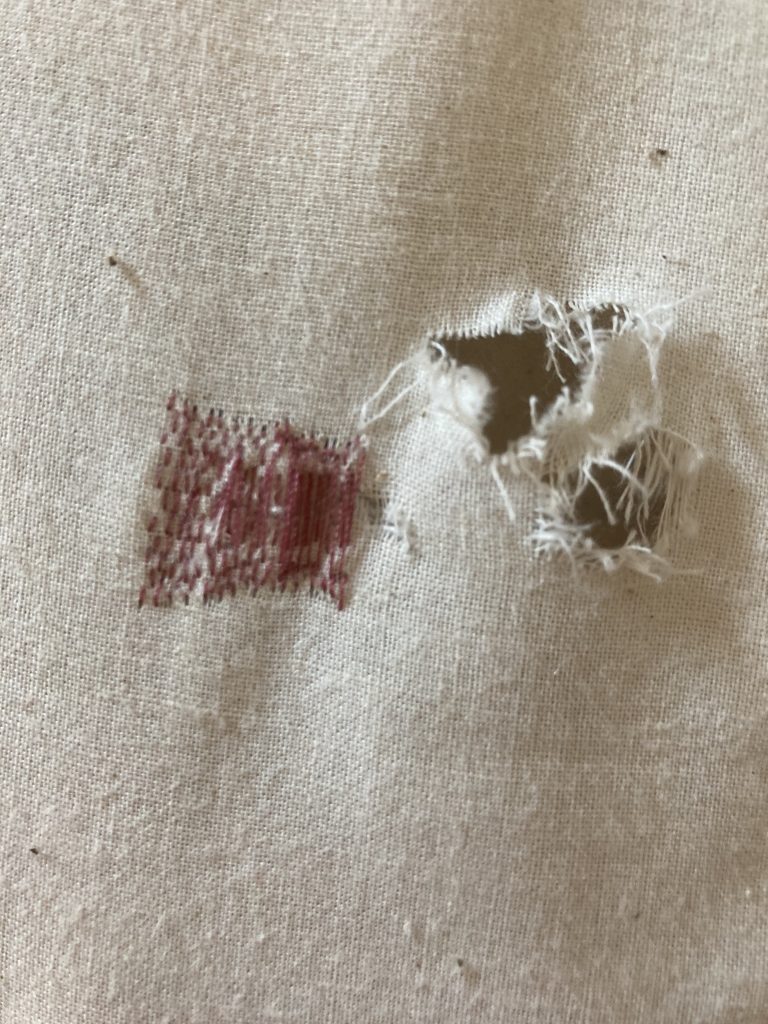
The final method I used was Sashiko visible mending which I followed a YouTube tutorial I found on the internet. With this method I tried to play with different pinks and purples and also density of the stitches. My biggest challenge here is that cloth I used to cover the cut in the jeans was very thin and with the tension from the stitching and stretching it started to break down. The repetition of this stitch made me confused and dazed at times, so there are places where I made mistakes. However, I am still satisfied with the results, for next time I would choose a different cloth, take some strands away from the embroidery floss and choose a thinner needle.

Mending Project – Maddie

Here is the finished product looking at the full scale of the pants. I did five separate mends on the pants. I intended for it to look like a bunch of different colorful patches around the pants. Originally, I wanted to do more decorative areas, but I found that the mending was a lot more time consuming than I thought so I didn’t have enough time to do everything I wanted. Even still, I like the way that they turned out.

Here are close up images of the five patches. The bottom two images are the newest patches that I made. For the pink one on the left, I started by using the stem stitch to make a rectangular border and then began doing the normal darning inside. I tried really hard to make sure that the warps were close enough together that once woven, it would be more opaque, but I found that the embroidery floss wasn’t quite thick enough to ever truly fill the space. For the orange patch on the right, I intended to make an abstract shape that kind of went back and forth, but as I was finishing the mending it started to look kind of like a rocket ship. I was originally planning on doing three shades of orange/yellow and going in three different directions, but I already liked the way it looked with two colors and didn’t want to spend the time adding a third color. At the end, I added the two backstitch lines to act like movement lines for the rocket ship. I think that this one looks most like a patch because it is more pictographic.

Mending – Kimberly

For this project, I decided to mend an old shirt that I used to wear a lot during early high school. I wanted to make it less plain by adding pops of color.

I first did darning on a pocket I cut out. My intention was too make it seamless and very close together but it didn’t quite turn out that way since the fabric was hard to maneuver and the pocket wasn’t flat. Additionally, I sewed through the back part of the pocket a couple times but it didn’t make too much of a difference.

But after looking at it longer, I quite like the jagged and uneven look as it brings more of that worn out feel to the shirt.

Originally, I did not notice the small black tears/stains on the right arm but when I saw them, I knew I wanted to embroider something over it. I used the yellow & orange + green to create a flower growing out of the side.

I really enjoyed embroidering the sleeve as a small detail and actually put a mason jar on the inside to prevent me from sewing through the other side. I did gather some of the fabric white doing the french knots which were extremely difficult because it was hard for me to hold the string taut and push the needle through since my arm would have to go through the sleeve.

The flowers remain hidden when my arm is bent since it is just at the elbow which is something I actually ended up really enjoying and so it adds an subtle touch to the shirt when revealed.

Mending – Annie

I decided to mend a large hole worn in the webbing of the back of my backpack. I decided to darn through it using embroidery thread, but then felt that the pink stood out awkwardly with just a line. After Tuesday’s class, I decided to use some of the techniques we learned in class and add some flowers. The webbing was surprisingly difficult to sow through, especially with access to only one side of the material. I was surprised by how well some of the flowers and leaves turned out. I really liked how bright these are in contrast to my backpack; the colors turned out really well.

While doing this I thought about how useless my backpack was now that COVID is a thing – I don’t think I’ve worn it for over half a year now. It’s just been serving as a decorative piece in the corner of my room, and now it’ll sit a bit prettier. When I get time, I might add more flowers on the side cushions.

Final Improvisational Weaving – Kimberly

For my final weaving, I was inspired by someone’s discovery of light going through the weft/warp. I decided to use my floor length mirror with tulle (from an old halloween costume) as the warp and weft. I would just like to note that my camera could not fully capture what the weaving looks like in real life and how light plays into the reflections.

In today’s society, body image and self-esteem is an issue for so many people, especially younger girls. By using the tulle to cover the details and somewhat “fog the mirror”. We constantly see ourselves under a microscope where no one else looks this closely so I wanted to emulate how other people see us less harsh than ourselves.

A challenge I faced was definitely the lack of structure in the tulle. As the warp, I had tied each piece of tulle around the back of the mirror which caused each strip to be bunched together rather then spread out like the vertical weft. Although this wasn’t my intention, the spaces between each warp draws attention to the emphasized features, especially one’s eyes.

I added the phrase “YOU ARE…” at the top to prompt affirmation of individual’s about themselves. Rather focusing on what one’s reflection is not, or what my not be good enough, I hope to evoke love from whoever looks in the mirror .

In a non COVID affected class, I would have loved to have each of my peers to write a words and place it within the weaving. But given that I am at home, I decided to give the viewer a decision on how they wanted to approach the mirror. I put opposite adjectives on each side of the mirror in jagged manner so that the viewer’s eyes would be drawn back and forth.

I am still unsure of how I feel about these additions and since they are paper within the weaving, I am able to easily change them if a new idea arises.

Furthermore, while I was walking around taking pictures of my weaving, I noticed that from far away, the reflection in the mirror were very clear but as you moved closer, it became more and more hazy/foggy. I kind of enjoyed this effect since it forces on to take a step back and see different perspectives of the mirror. I’ve attached a video to try and capture this quality but it doesn’t quite have the same effect in real life.

Lastly, I wish I had other materials that provided more texture to my weaving that I could have also used. I think the weaving would be more interesting if I had some sort of lace or ribbon to use.

Mending in Progress – Erica Fu

This is a piece of clothing I used to try out using a sewing machine during quarantine. On the pocket, I originally had a navy design that I attempted to make with the sewing machine, but I thought I was not satisfied with that design and thought it would be interesting to add some pops of color instead, continuing on with my introduction of altering clothes with this one jacket.

I decided to go for a primary palette to match with the burgundy cloth. I think I will continue experimenting by adding more threads along different areas of the clothing that are not as complete or satisfactory to me due to my lack of sewing experience and turn those little flaws into places of interest.

Mending in Progress – Maddie

This was the first mending that I attempted with darning. I am using an old pair of sweatpants that I haven’t worn in a while because there were some preexisting holes in them. This hole was on the side right next to the pocket so it was a little bit hard to set up the darning with the pocket hanging over slightly. I used blue and black yarn to make the blue really pop while still looking somewhat cohesive with the fabric of the pants.

This was the second hole that I had on the pants. For this one, I used embroidery floss and meant to have a sort of abstract shape, but I’m not sure how I feel about it right now. I think that I may go back later and expand this shape with the blue. I liked using the embroidery floss more than the yarn because it is thinner and easier to pull through the thick fabric which made the darning as a whole look more delicate.

This was the third hole that I experimented with. For this one, I just cut a slit in the fabric so it wasn’t as large of a hole to cover. I tried to experiment with decorative embroidery using a single color and made X’s around the slit. Then I went in and did horizontal warping across the slit. It ended up looking kind of like a zipper, then once I went through in the opposite direction, it looked kind of like a spine which gave me spooky halloween vibes :)) To finish off the decoration I did a running stitch just outside the slit and inside the X’s.

This is what the pants look like as a whole right now, the pocket mending is on the side so you can’t really see it in the image. Over the next few days, I think that I will try to make bigger darning patches for a nice visual effect and blend more bright colors in to give the pants more personality :))