Push/Pull Part 2 Ideation – Asad & Lori

Here are our 3 ideas:

The first one is a tree. This would be a combination of Asad’s object with the twisted pouches and the twists would instead be Lori’s fruits. Ideally this one would be placed somewhere outside.

Our second idea is a totem pole, where we would combine and iterate on the eye’s from Lori’s fruits and add in the ties from Asad’s object with the cones and rope used to tighten and loosen it. The ties would create different sections and could also be used to open and close the eyes. Ideally this one would also be placed somewhere outside.

Our last idea is to create an archway, where we would combine the twisted pouches from Asad’s objects and the arms of the fruit from Lori’s object. The twisted pouches would be combined into the archway, and the arms of the fruit would drape down from the archway to create a curtain of sorts. This one could be placed either inside or outside.

Timeline

1. Final rhino file – March 7

2. Pattern tracing – March 9

3. Sewing the object together – March 14

4. Testing and inflating – March 15

Push/Pull Part 1 – Asad Sheikh

I thoroughly enjoyed this assignment and had so much fun exploring basic forms and learning different sewing techniques!

Visual Portfolio, Posts & Image Gallery for WordPress

This was the first object that I made. I started by taking a cube pattern but folded it different and then sewed it together. As I was stuffing it, I thought to experiment with twisting the final form to create these pouches that look like dangly bits. I then added more pouches to the form by stitching rectangles and then tying off the top with string that I sewed through the stuffed main form. To me this kind of looks like a mushroom, or a tree with dangling fruits.

For the next form, I started by shirring a cube form that I slightly altered by making each of the slides double the length of the provided pattern; however, as I was putting it together, it seemed more like a pot so I decided to cut off the top and leave it open to add in a plant of sorts. I was going for a cactus kind of vibe as I created the top part of the form but it looks more like a person with their hands up. I really like how the shirring doesn’t completely shrink the blue fabric, almost implying that the form is growing and expanding.

This form was inspired by the squalleye object that Olivia shared with me. I really liked the bulges and the use of color to create a visual effect so I tried to recreate it with this object. I don’t think it was too successful in terms of creating ridges on the object but I do really like the visual effect that is created by using the fabrics that I did. The yellow triangles seem to grow out at the viewer, while the red square appears to almost shrink into the object.

This one was probably my favorite form to make. I started by sewing 2 cones and then connecting them with the cylinder form without the spherical ends. Here I experimented with stitching on the outside of the fabric to create a visual effect – I stitched concentric circles on the cone pattern and free stitched a curvy pattern on the cylinder. After assembling the form, I then sewed in thread into the cones and tied it off using a taut line knot from my Boy Scout days so that you can adjust how tight it is.

In all, this assignment was super fun and I can’t wait for the next part!

Asad Sheikh – In The World

When we were told to find some new version of a soft sculpture or inflatable in the real world, my mind immediately went to Fredrik Tjaerandsen and his inflatable dresses.

He creates these dresses out of latex that first start off fully blown up, which encapsulates the model’s body. Then, the model is able to deflate the dress from inside of it, and as it lets out air, it then transforms into a dress that the model continues to wear.

What I found most interesting about this was the use of both the inflated and deflated shape of the dress. When I was making my improvisational inflatables, I was only thinking about the look of the inflatable in its inflated state and didn’t think of anything else. In this case, it is clear that Tjaerandsen thinks about the design of both the inflated and the deflated state of the dress.

Additionally, these designs also highlight the deflation of the inflatable – you can see the dress appear to grow taller as it deflates and changes shape, eventually falling downwards into a dress-like form.

Here is a video of a fashion show in which Tjaerandsen showcased many of his inflatable dresses. He also experiments with different inflated parts of a look, such as sleeves.

Asad Sheikh – Improvisation Inflatables

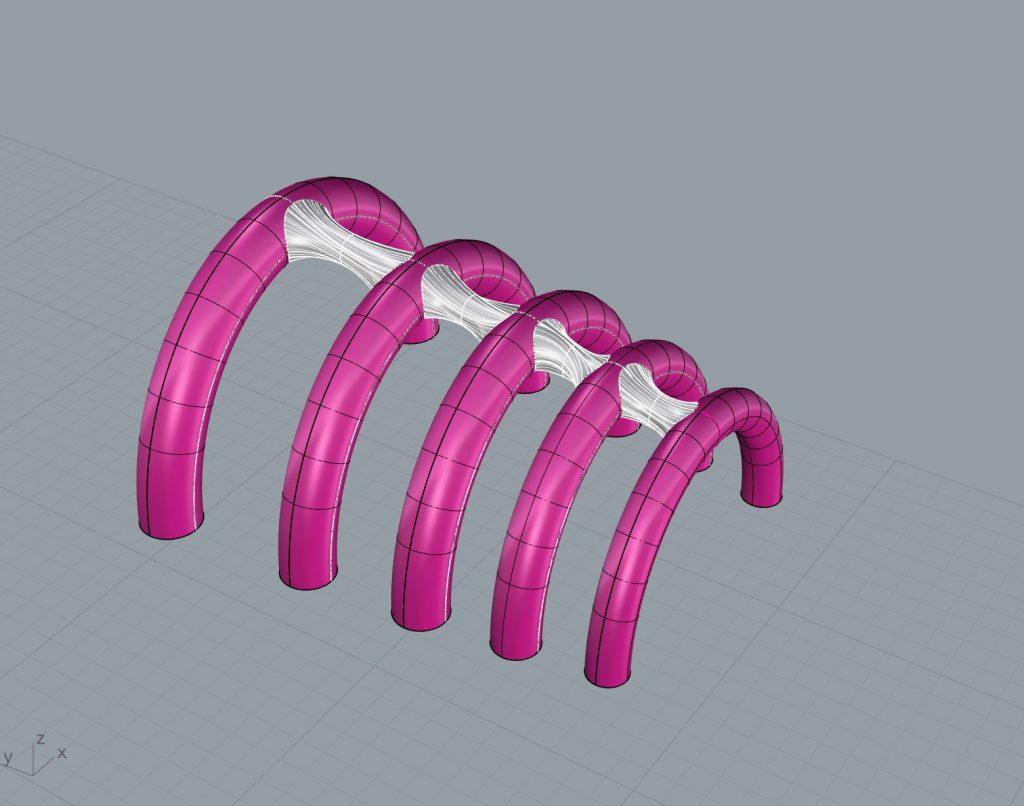
I honestly was a bit nervous to start this assignment. As someone who is so used to assignments having rules and constraints to follow, having this assignment where quite the opposite is true forced me to think (or, not think) in ways in which I was not used to. Nevertheless, I thoroughly enjoyed being able simply sit down, cut plastic, tape it together, and blow it up and see what I made once I finally got into the groove of things.

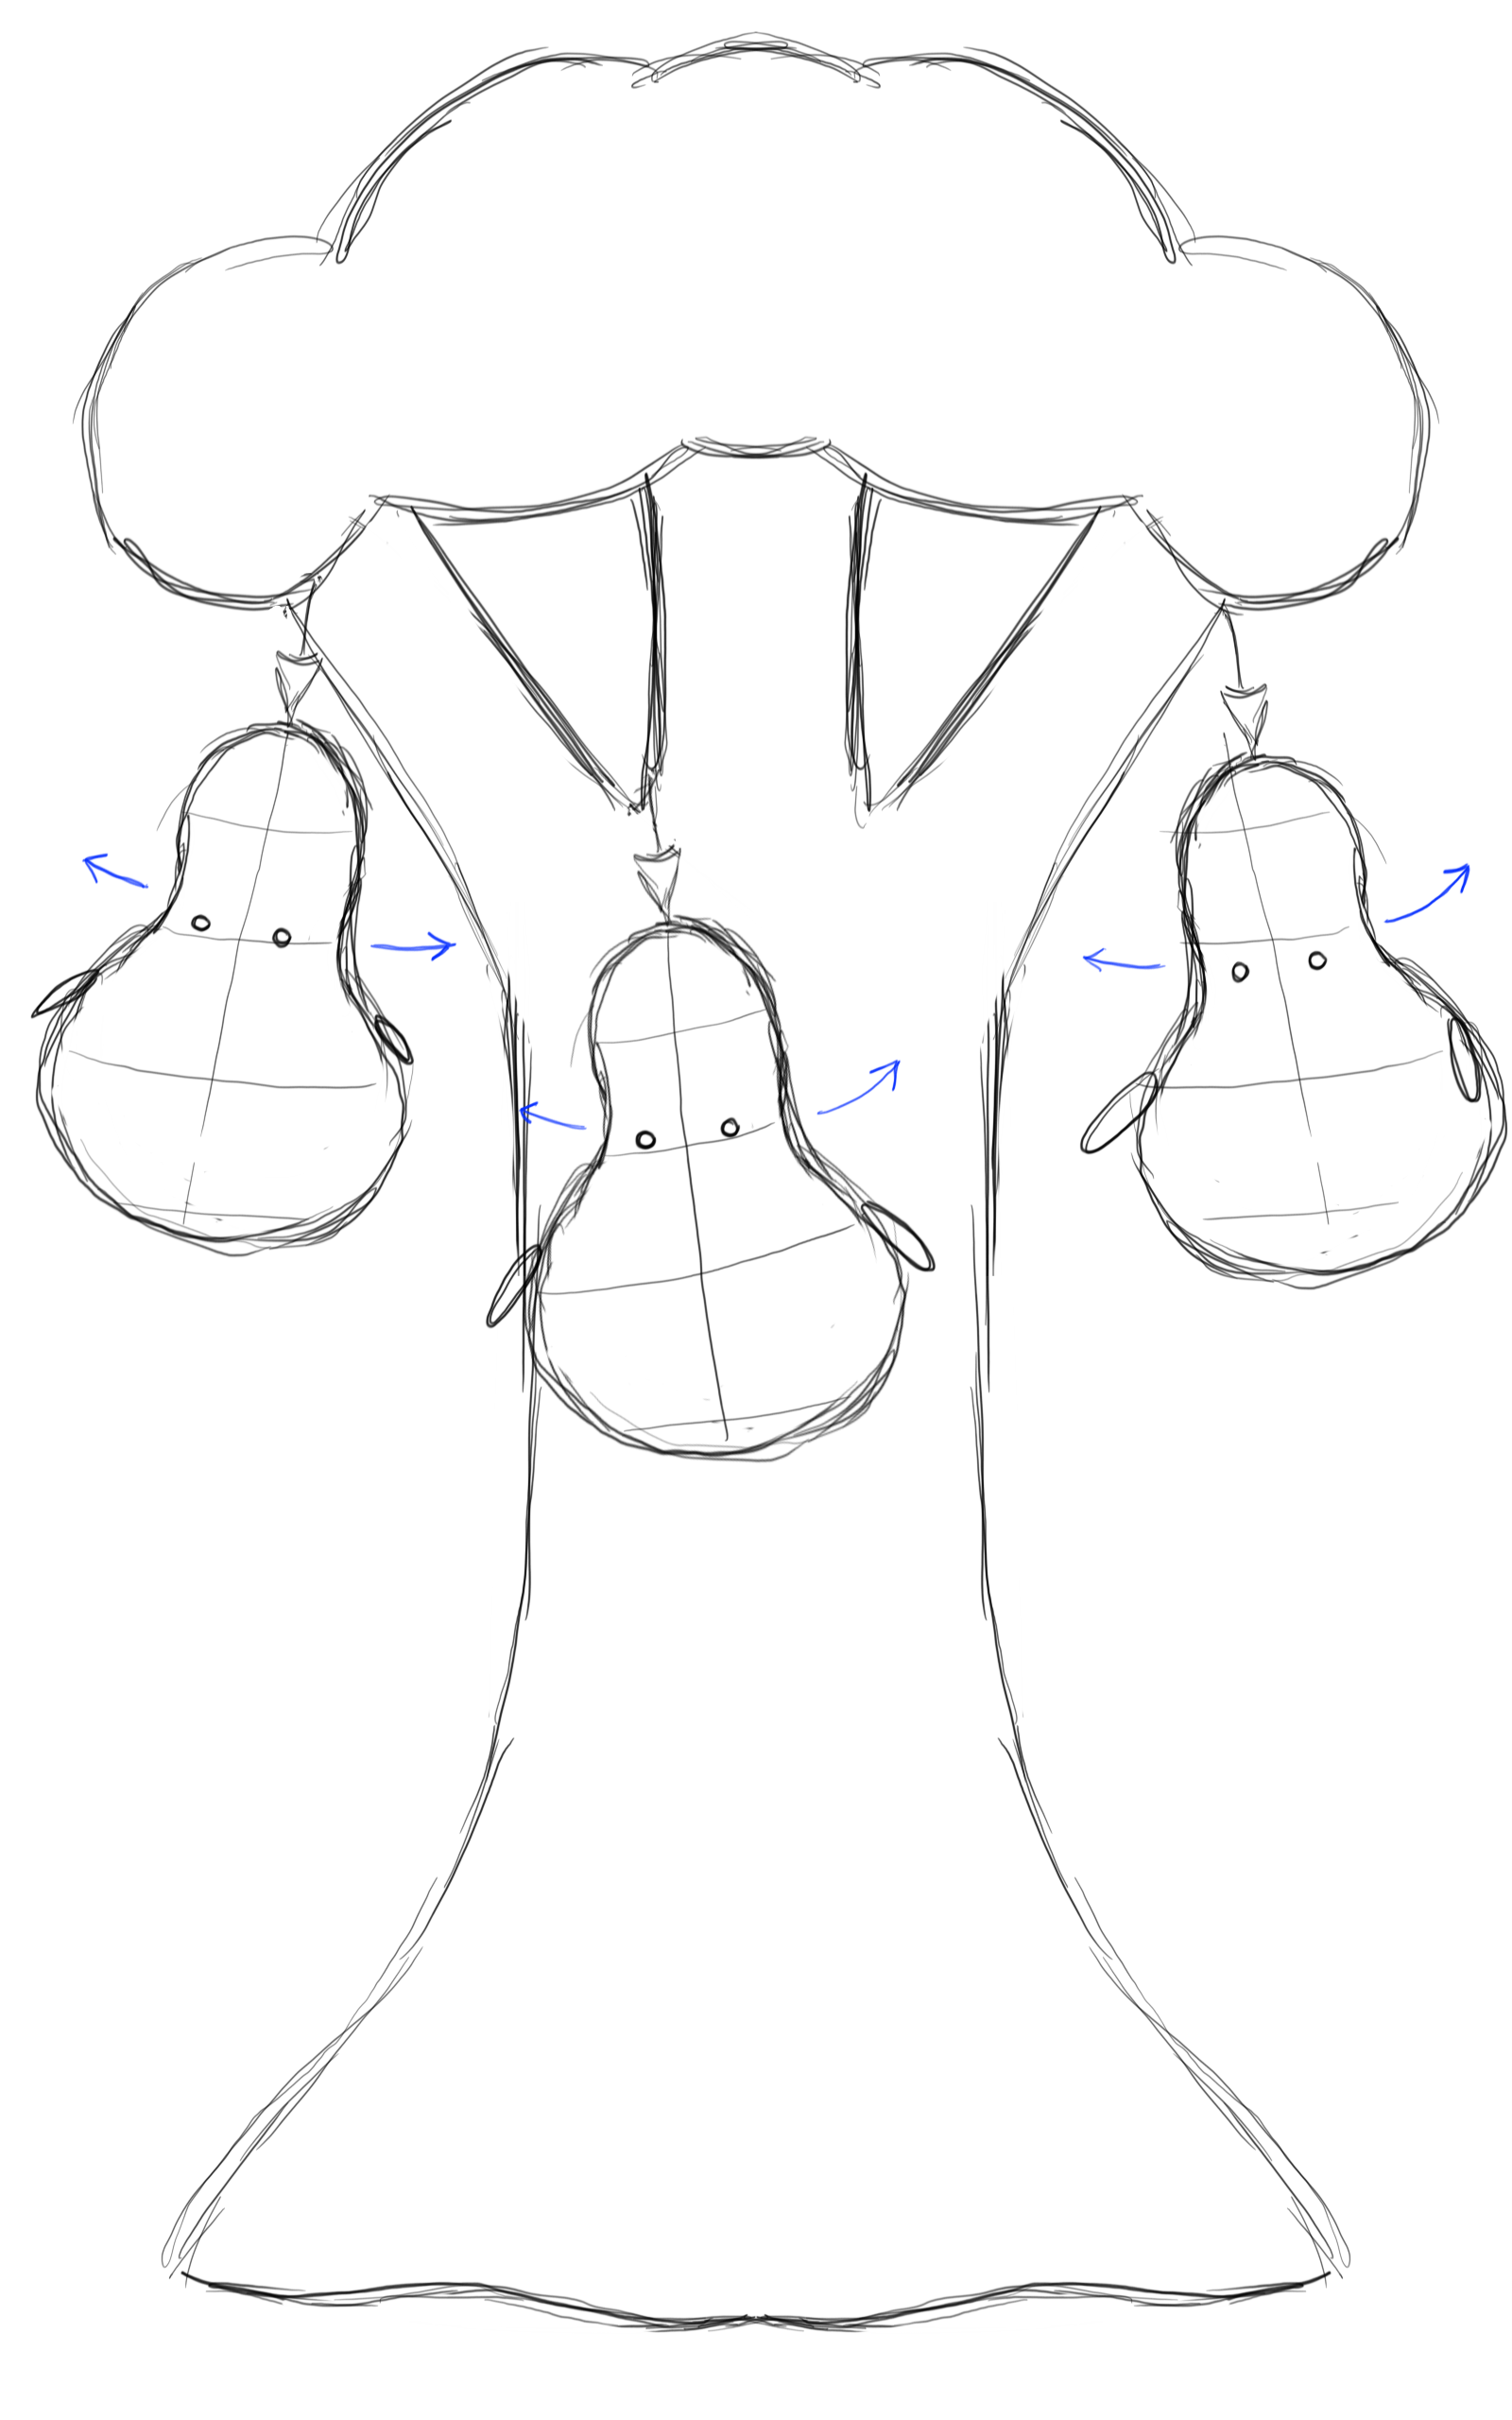
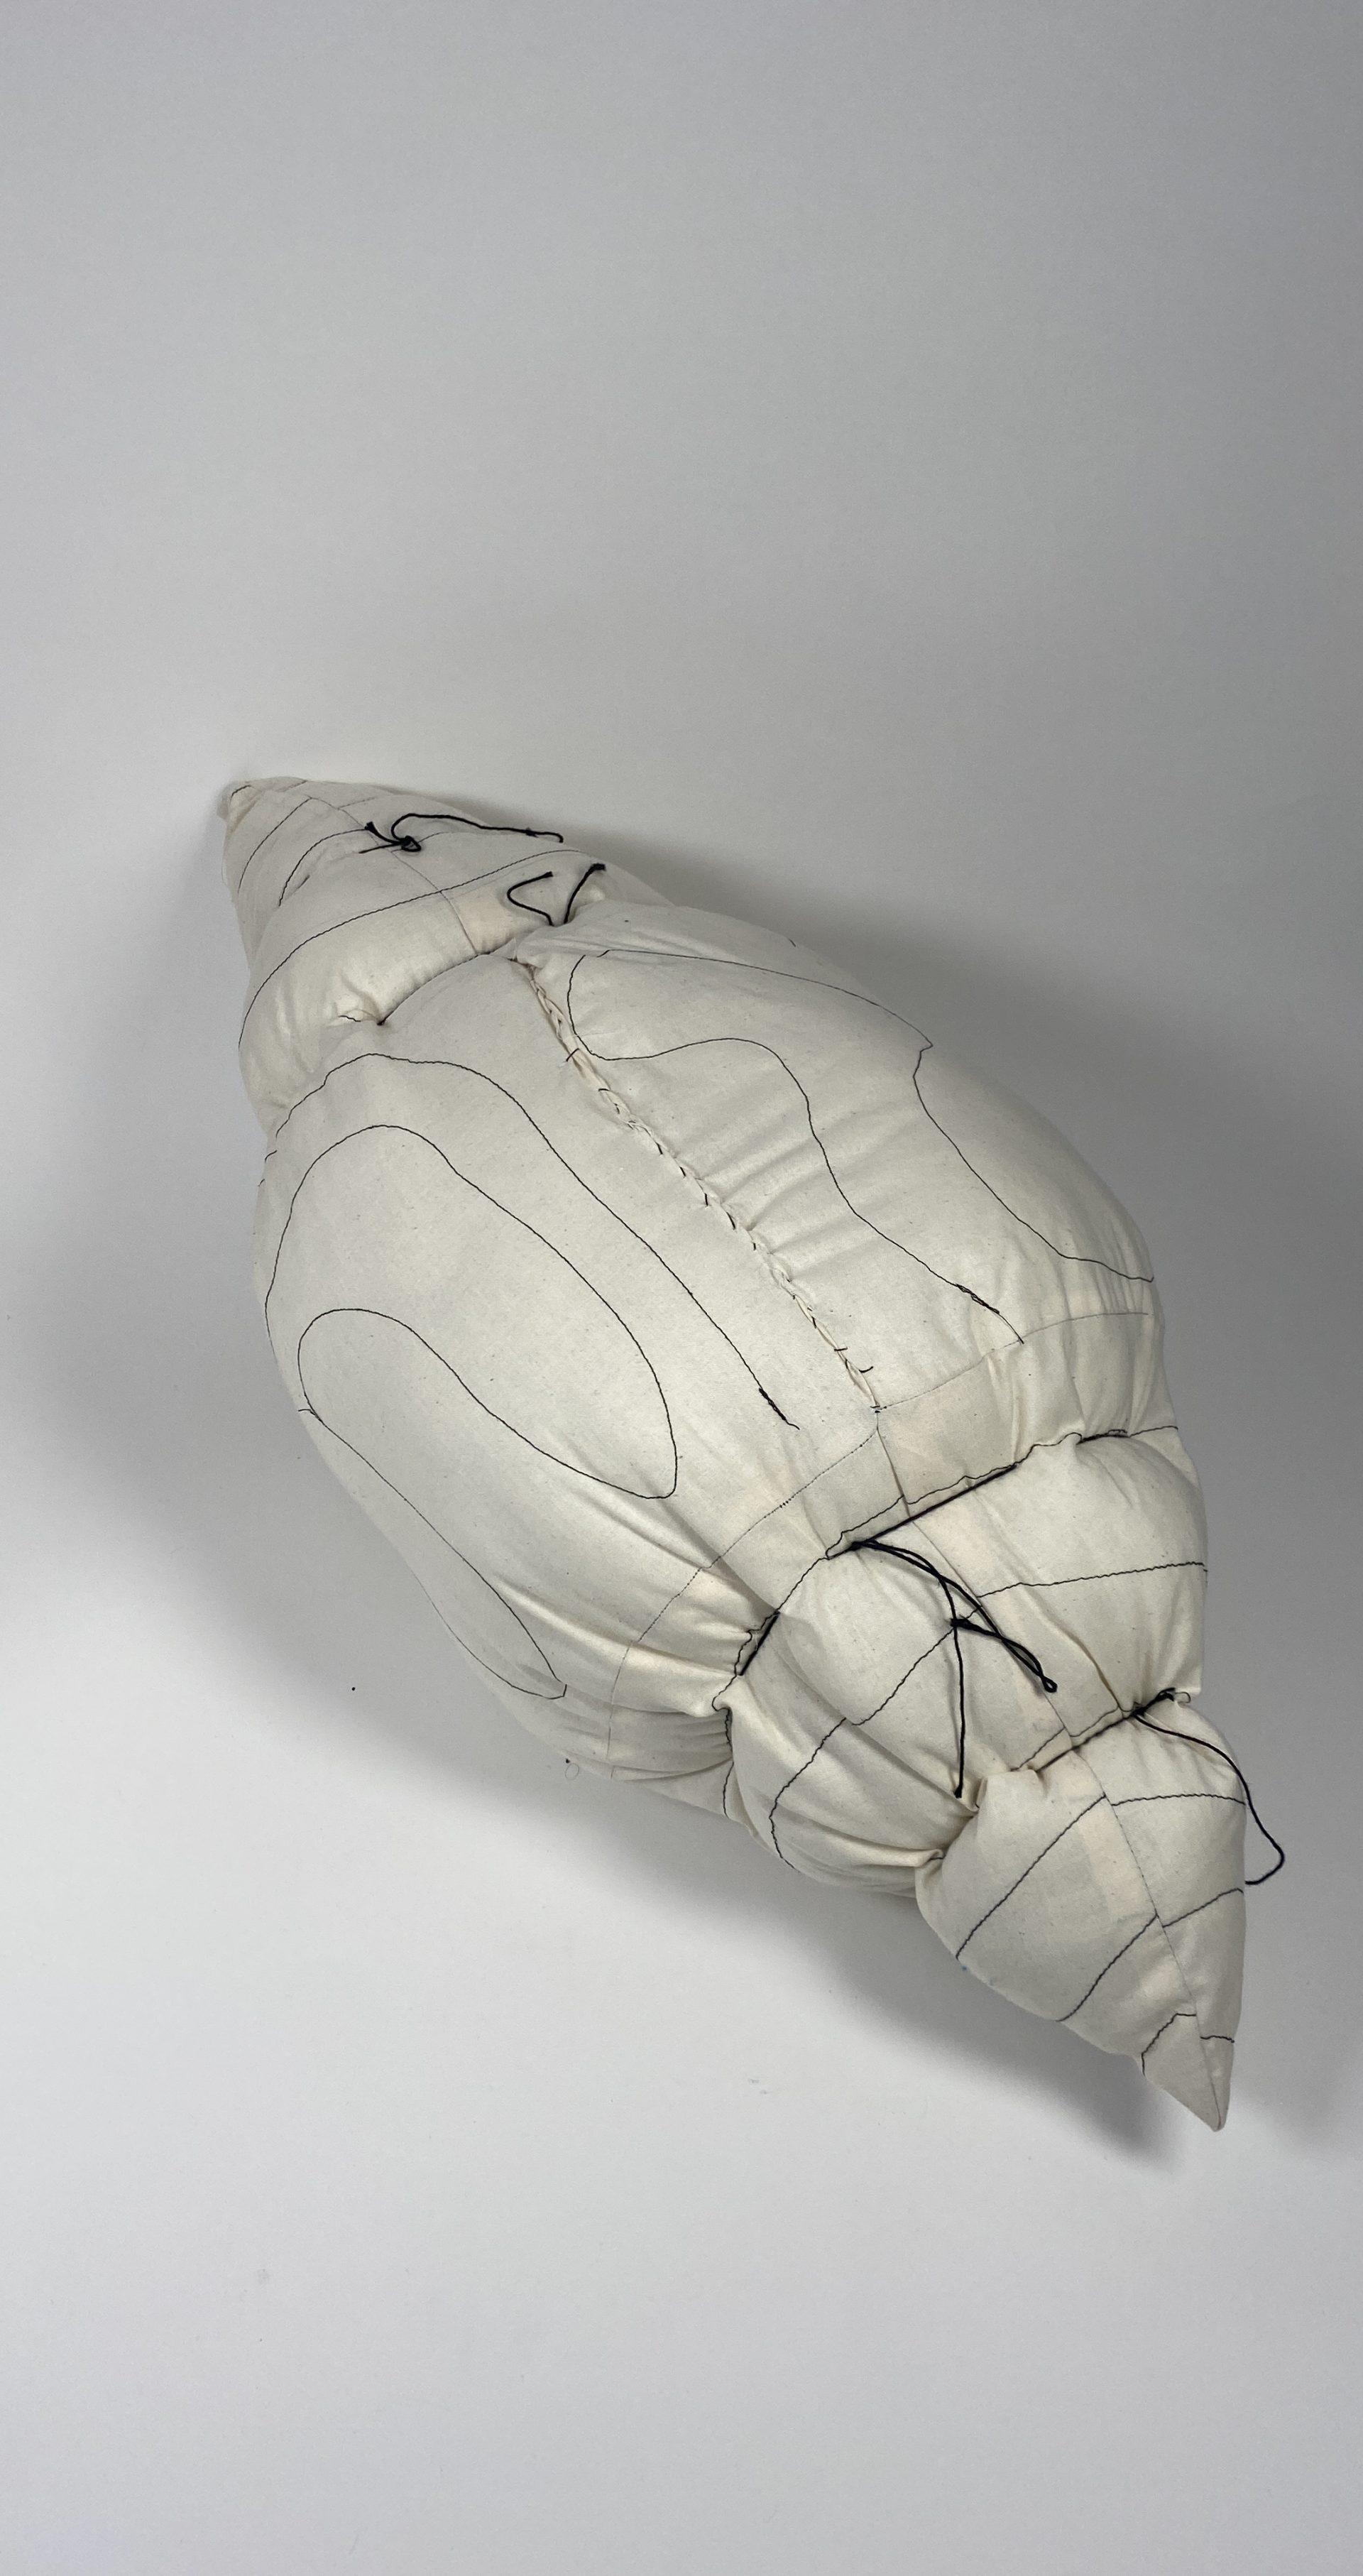
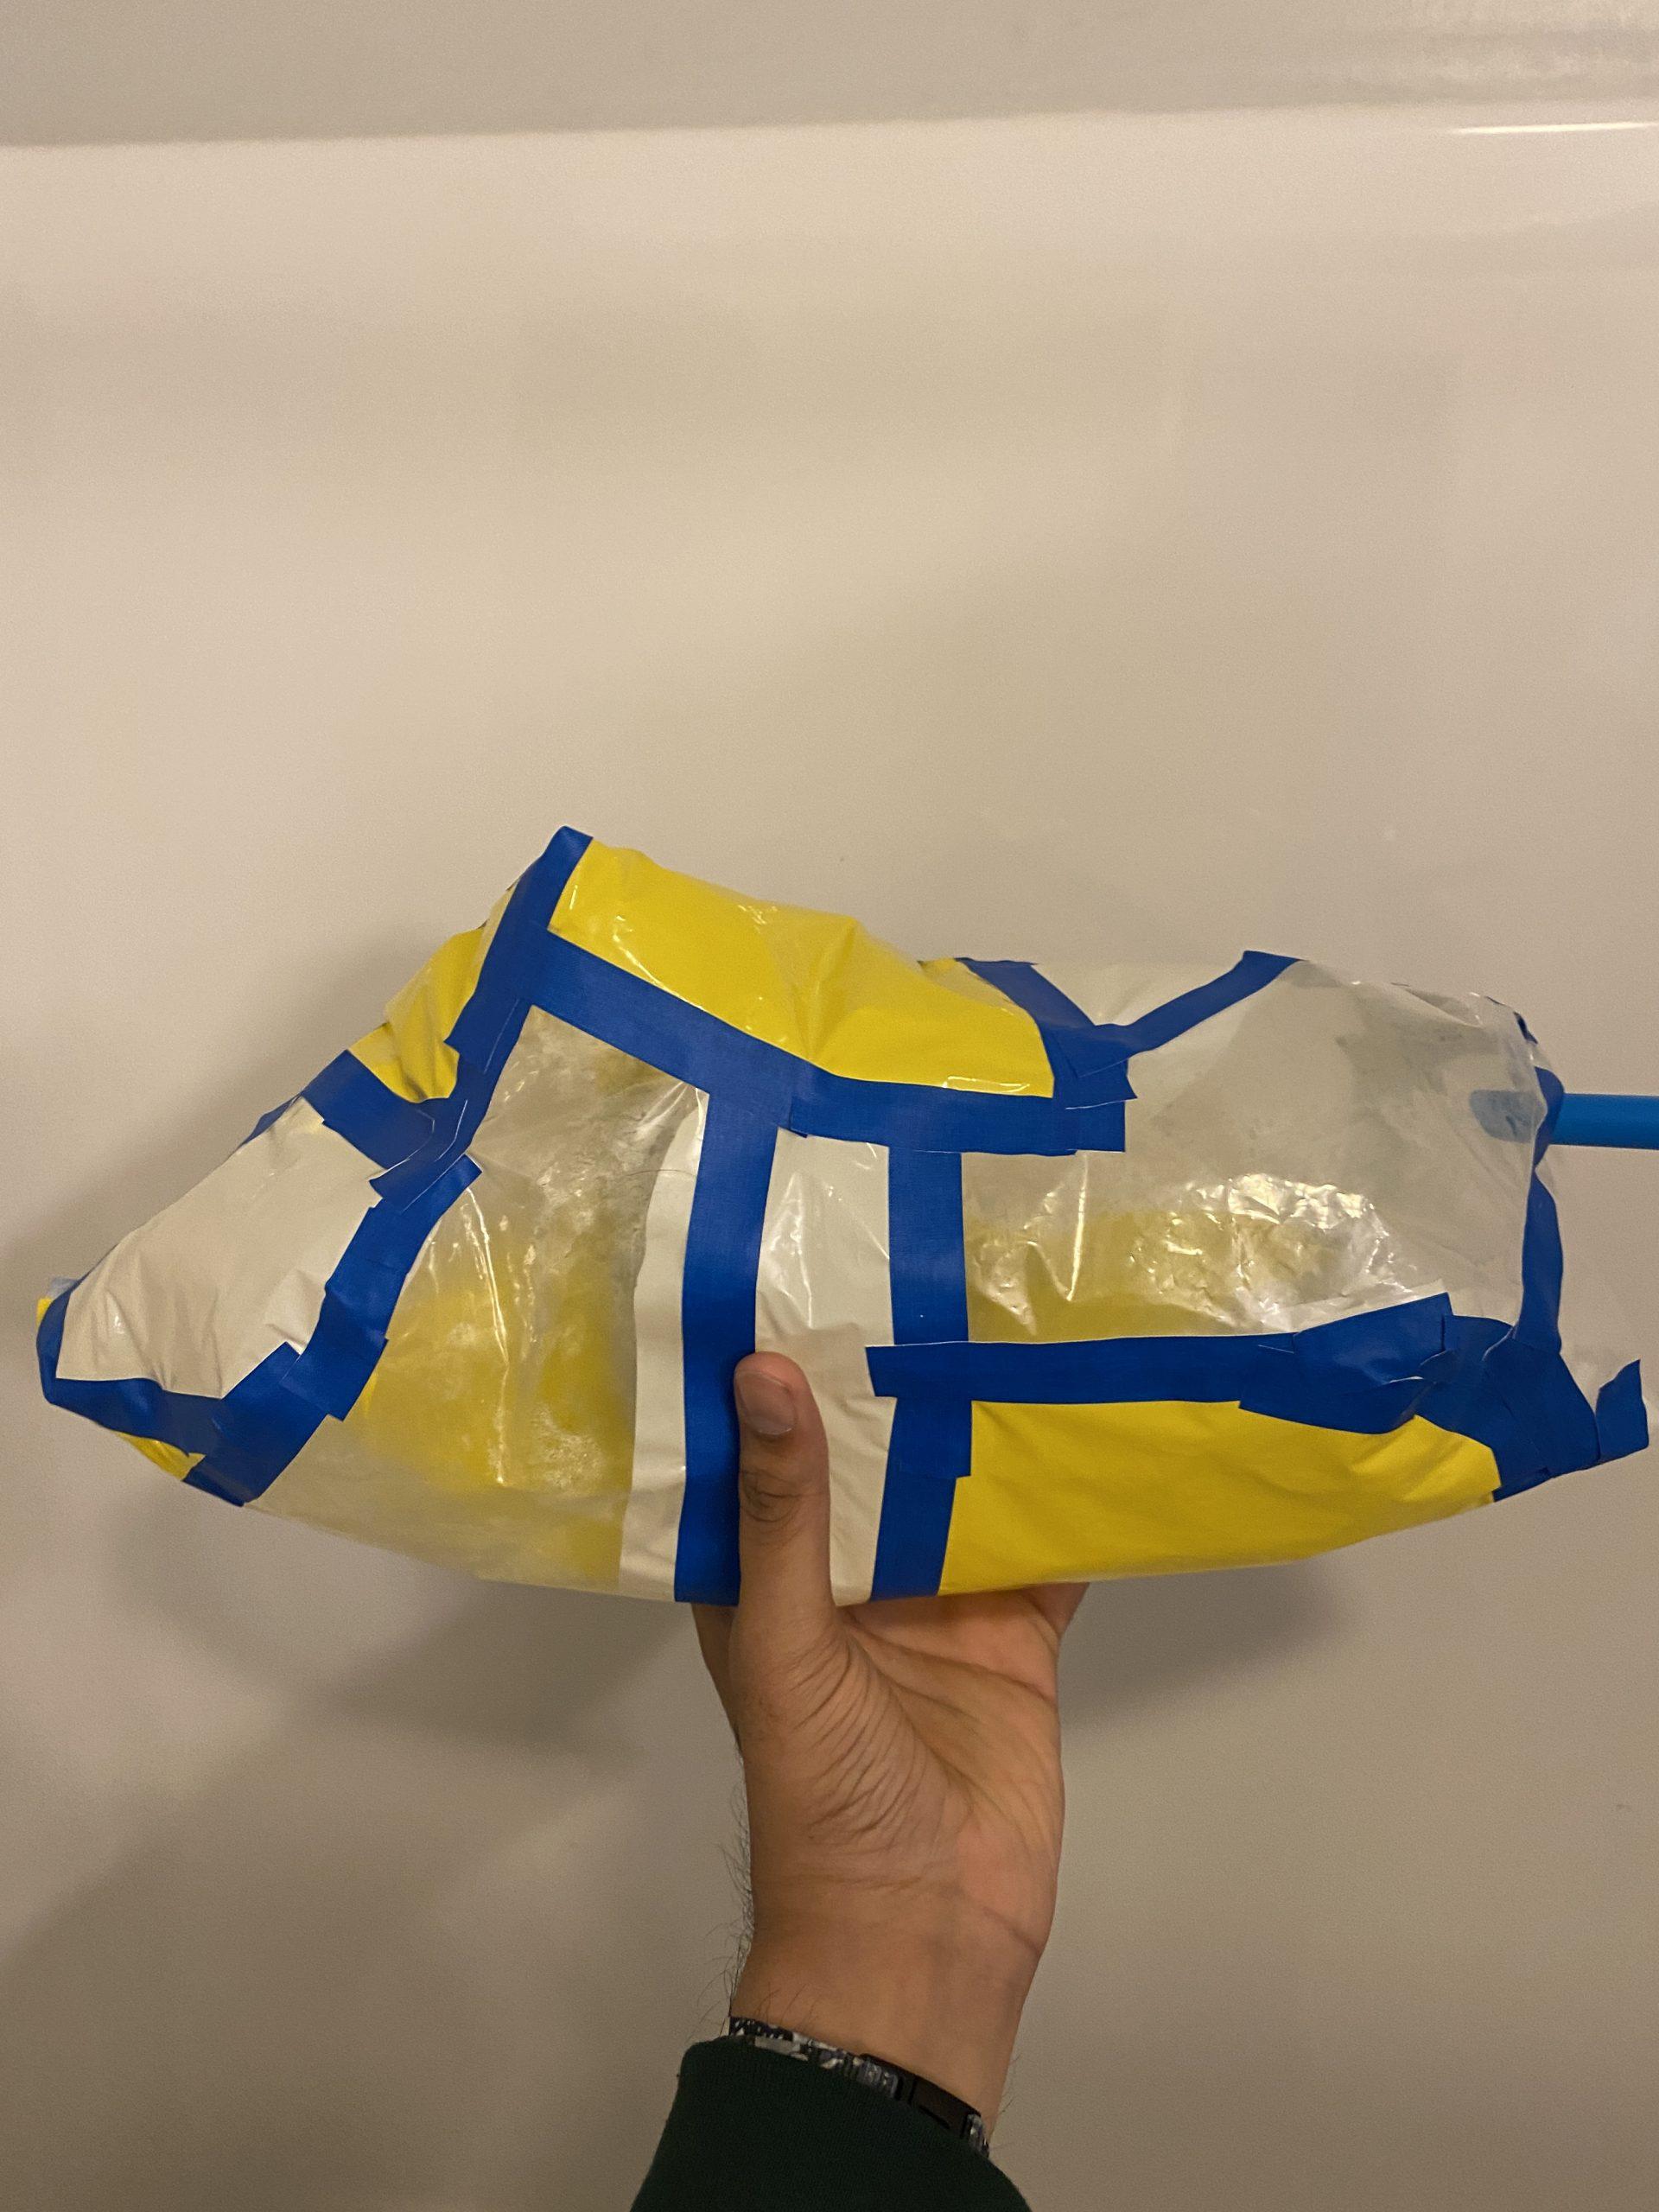
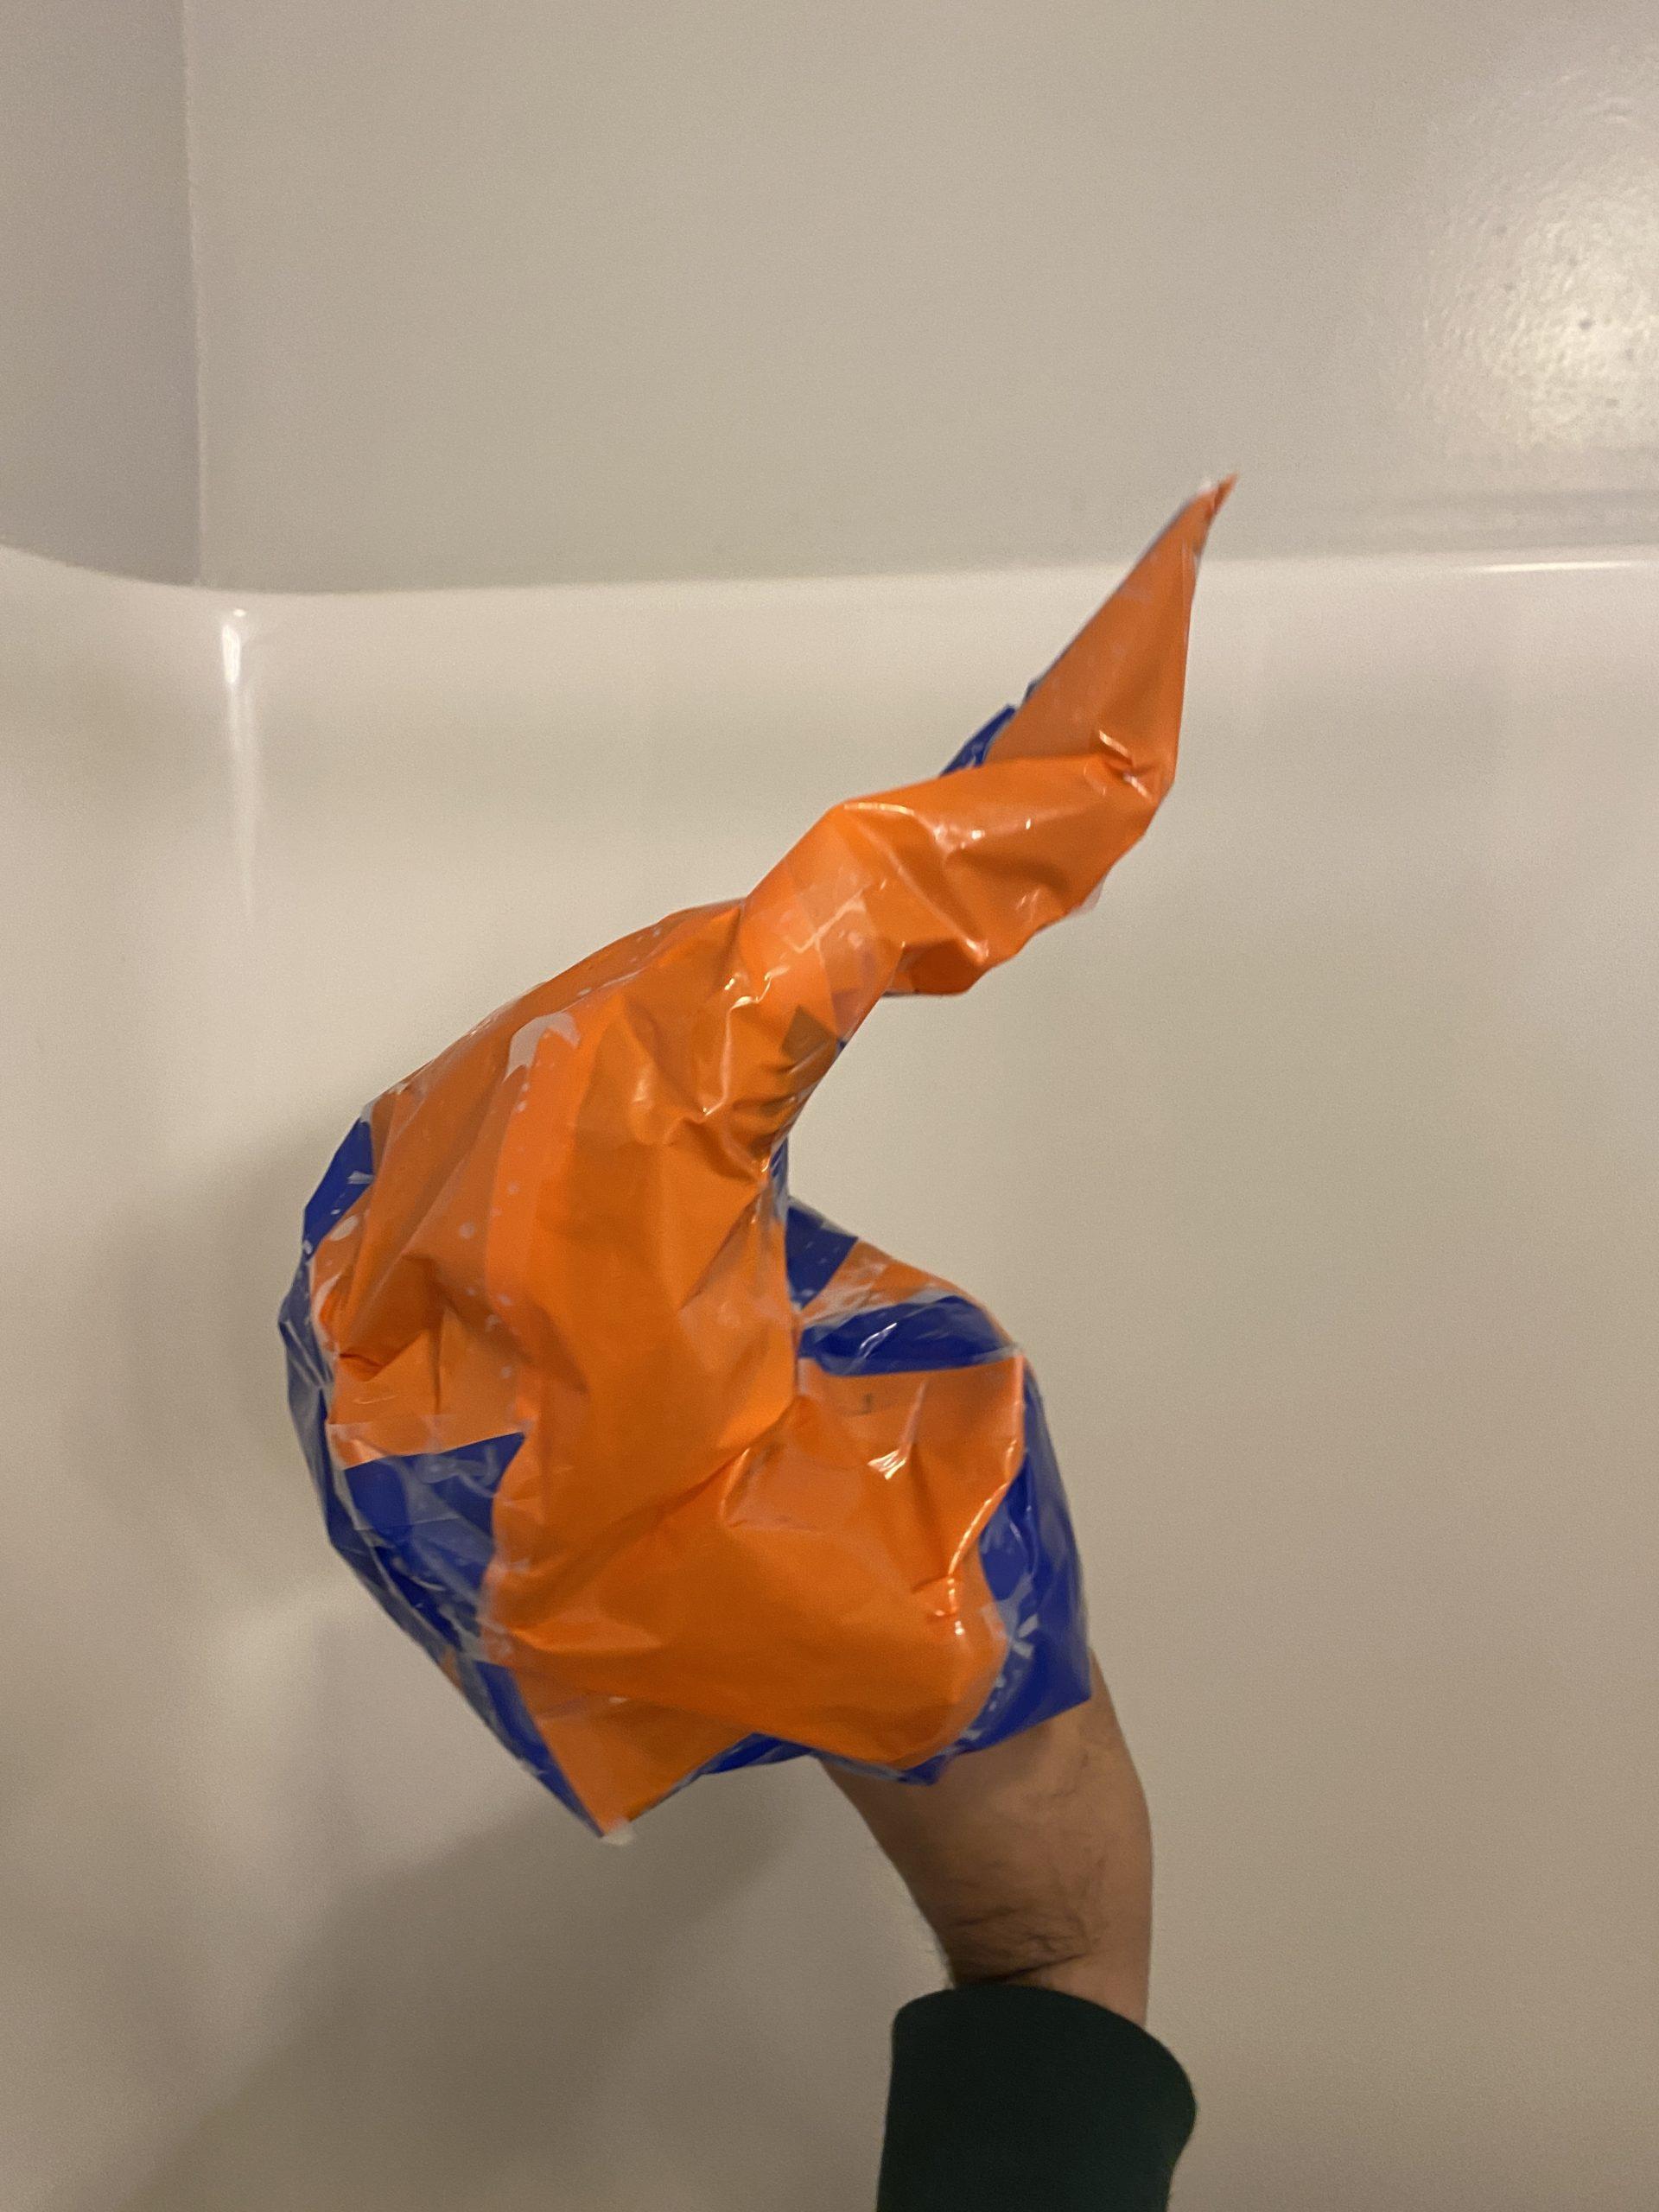
For the first inflatable, I went in with absolutely zero direction and simply cut random shapes out of 3 plastic bags. Then, when I put it together, I tried to put them together in a way such that no piece touched a piece of a similar color, just to see what kind of visual effect that would create.

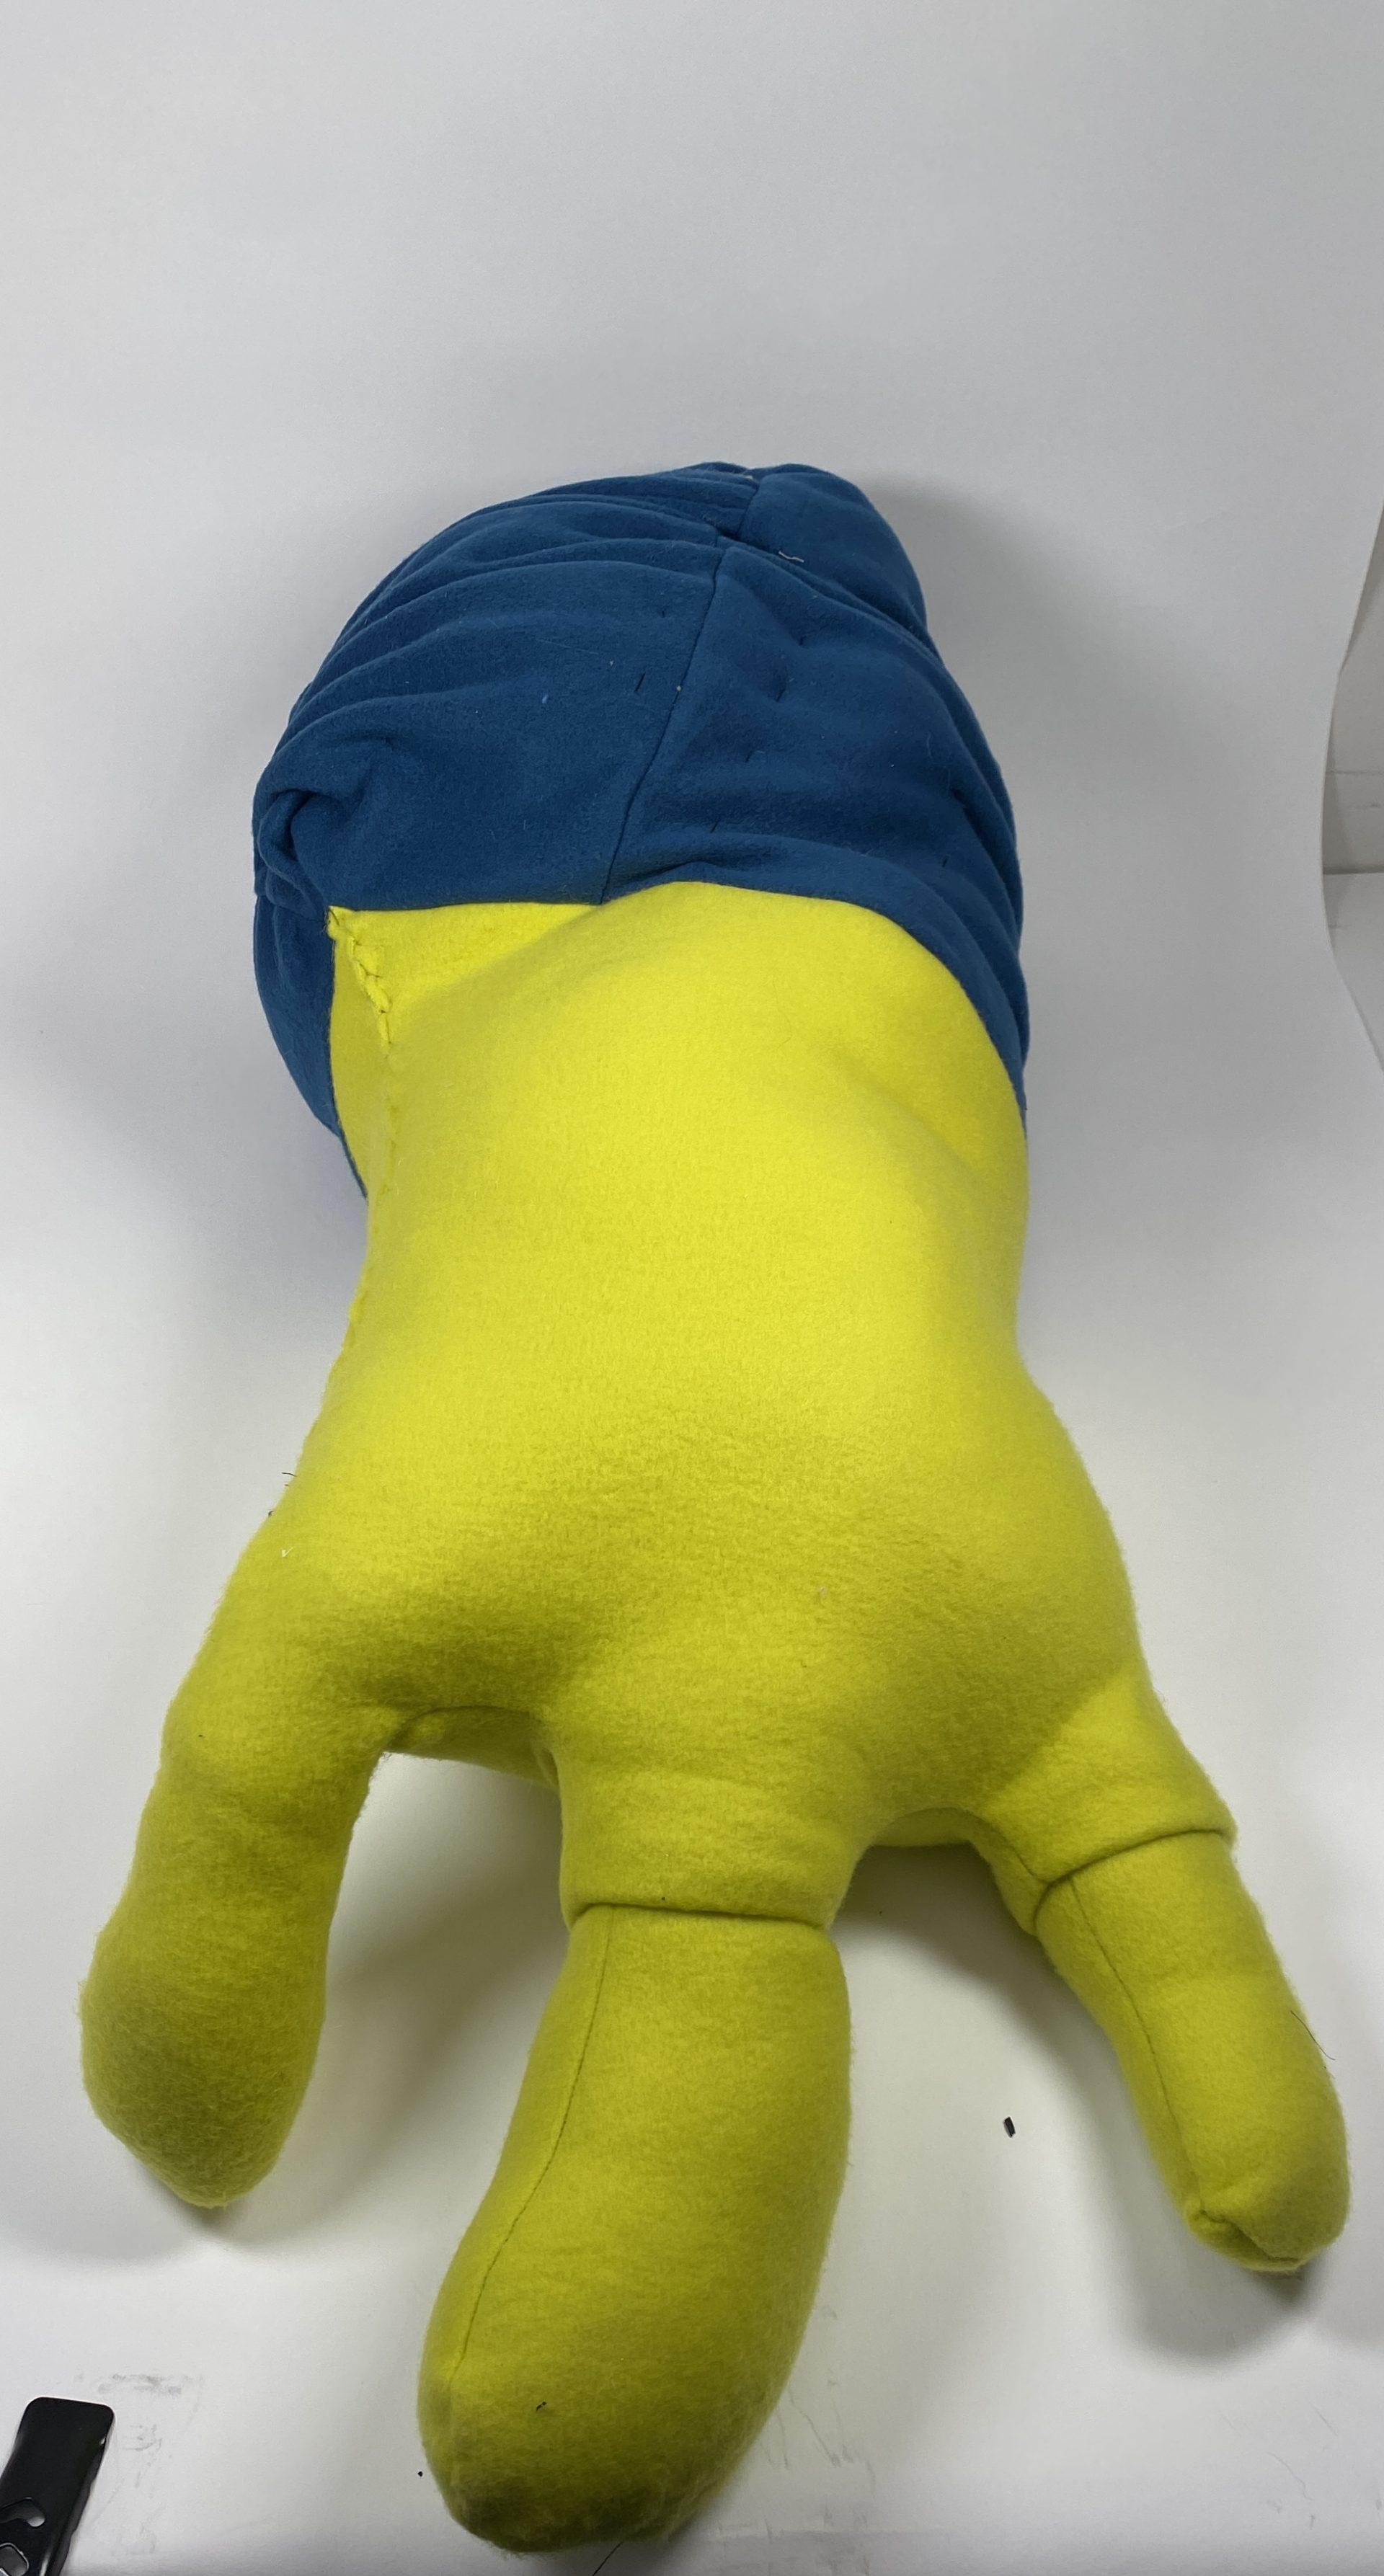
This piece almost resembled a really long fox head, with these 2 ears that seemed to poke out above the body fo the inflatable with a long snout coming out. I thought it was really interesting to see how various edges fit together, namely combining round edges and straight edges to create bends in the inflatable and experimenting with the how much I pulled the inflatable in a certain direction to adjust the tightness and size of it as I put the final pieces together, which seemed to add dimension and bumps to the inflatable.

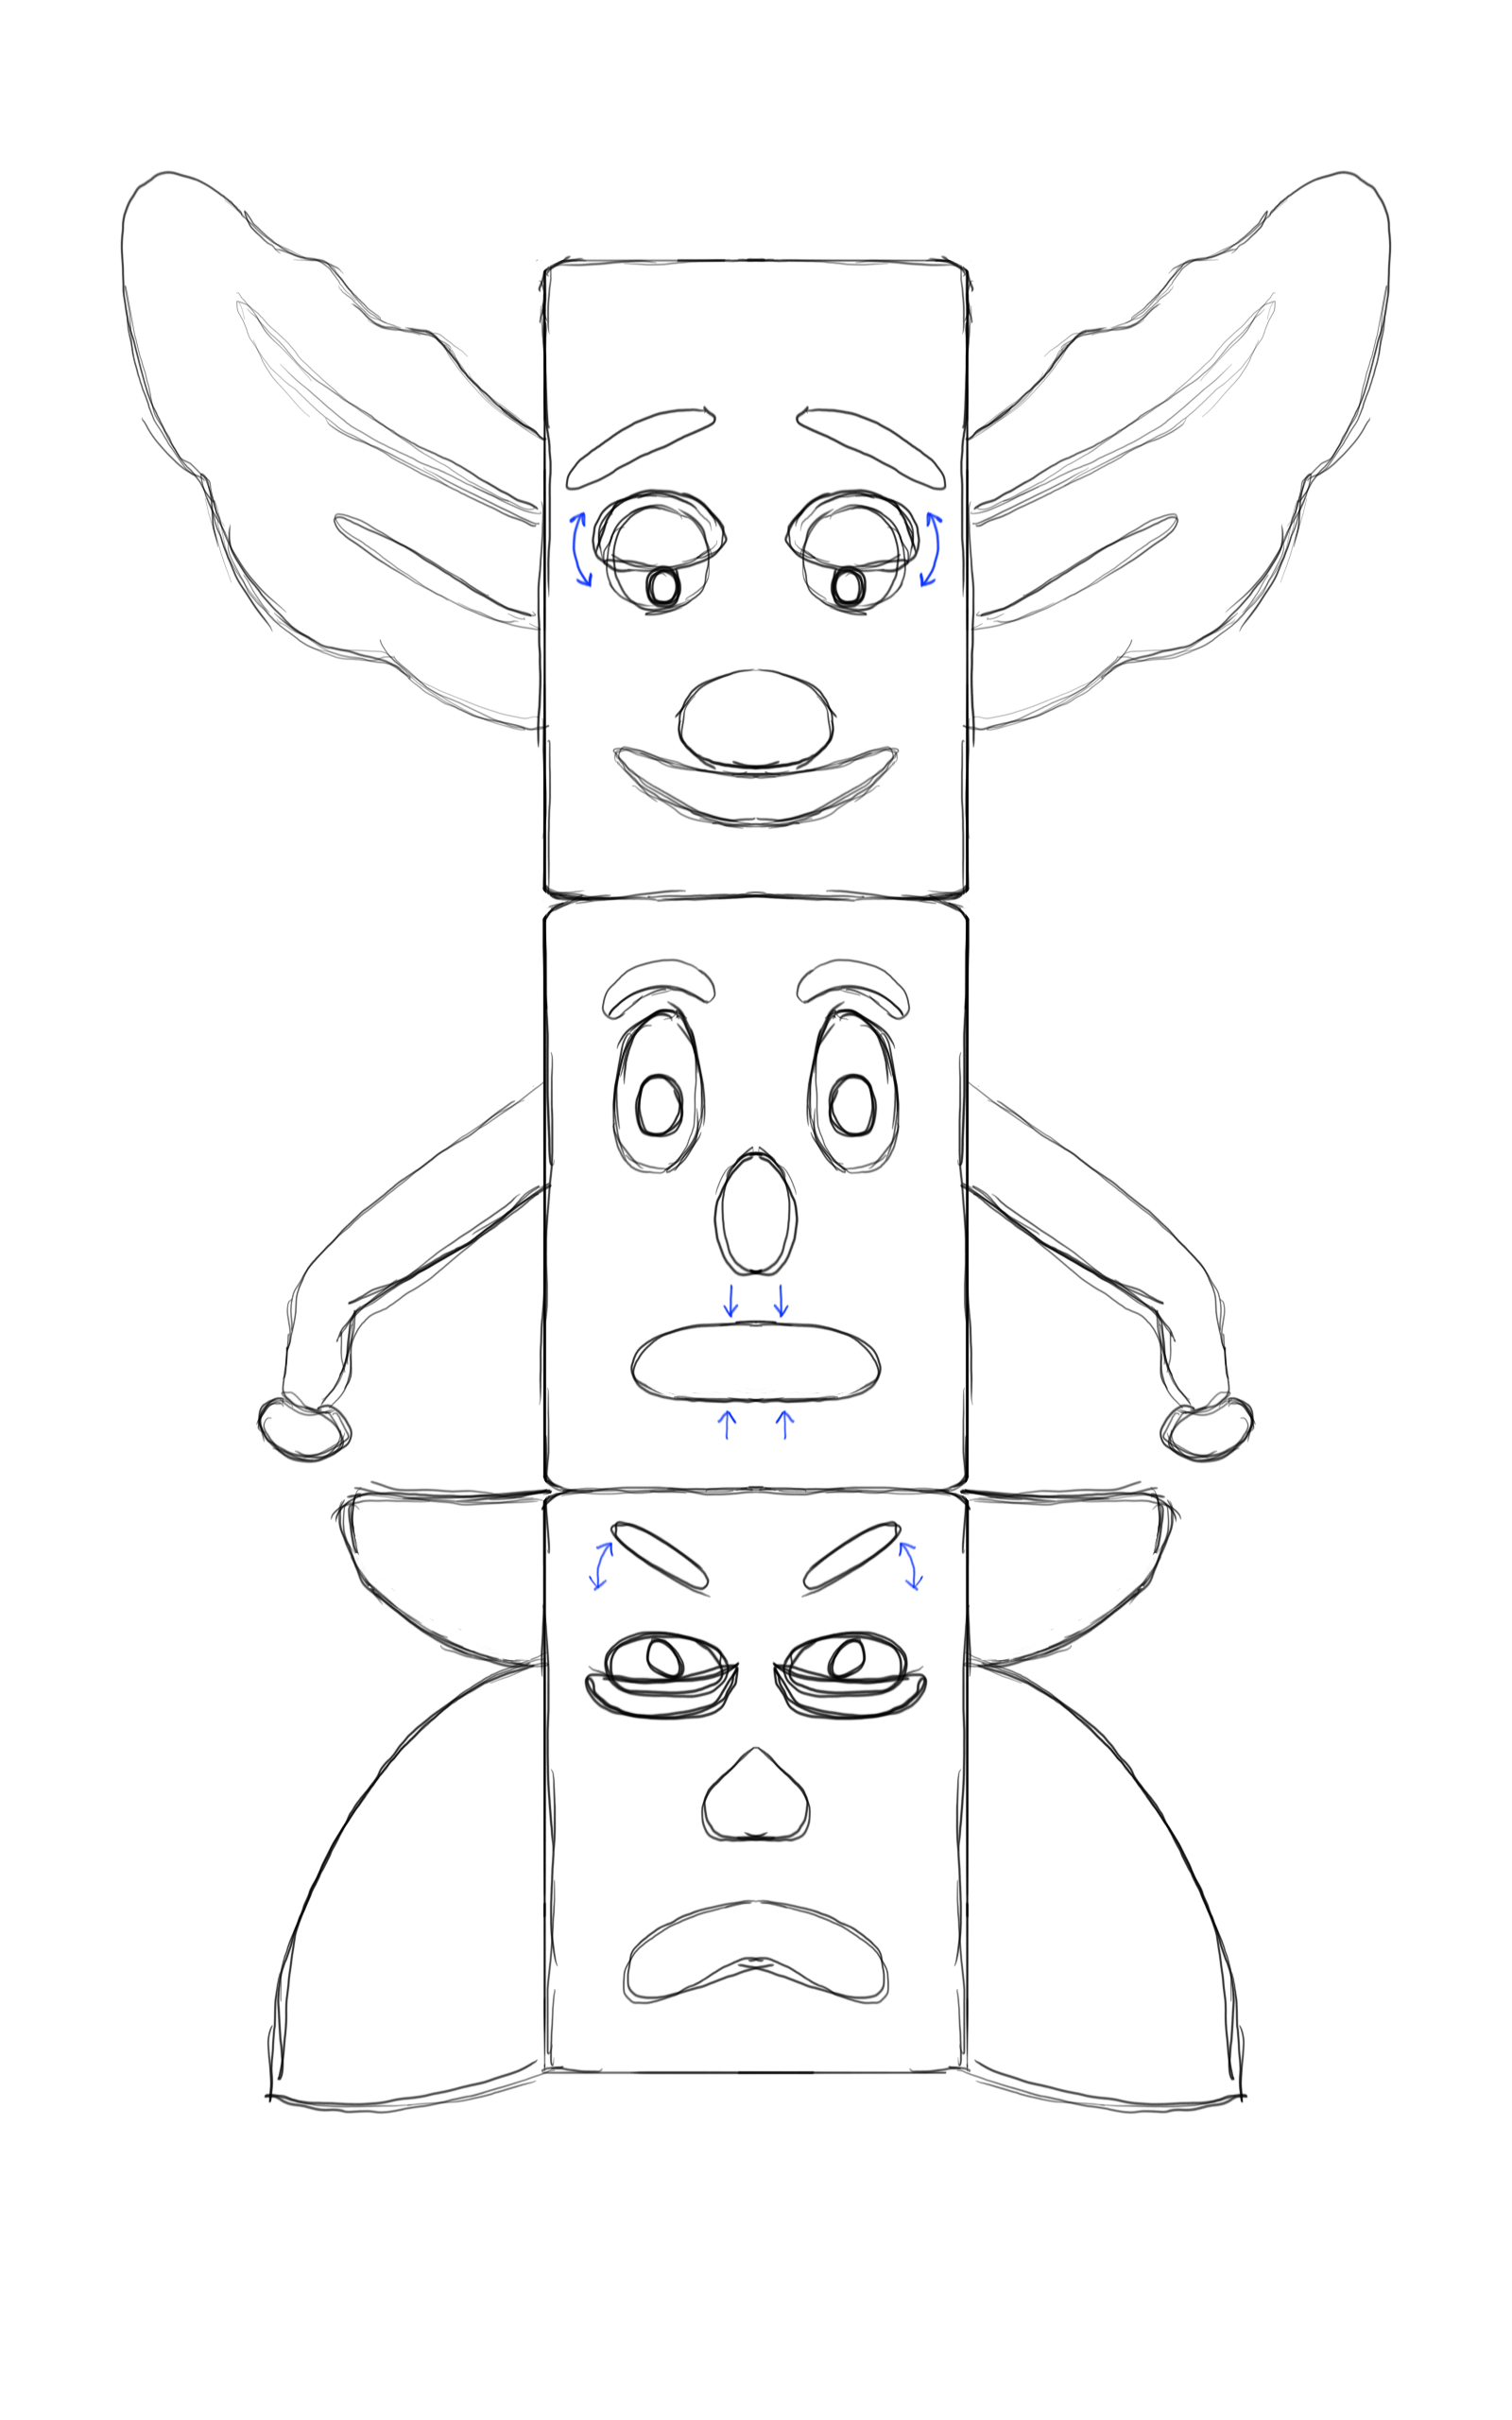
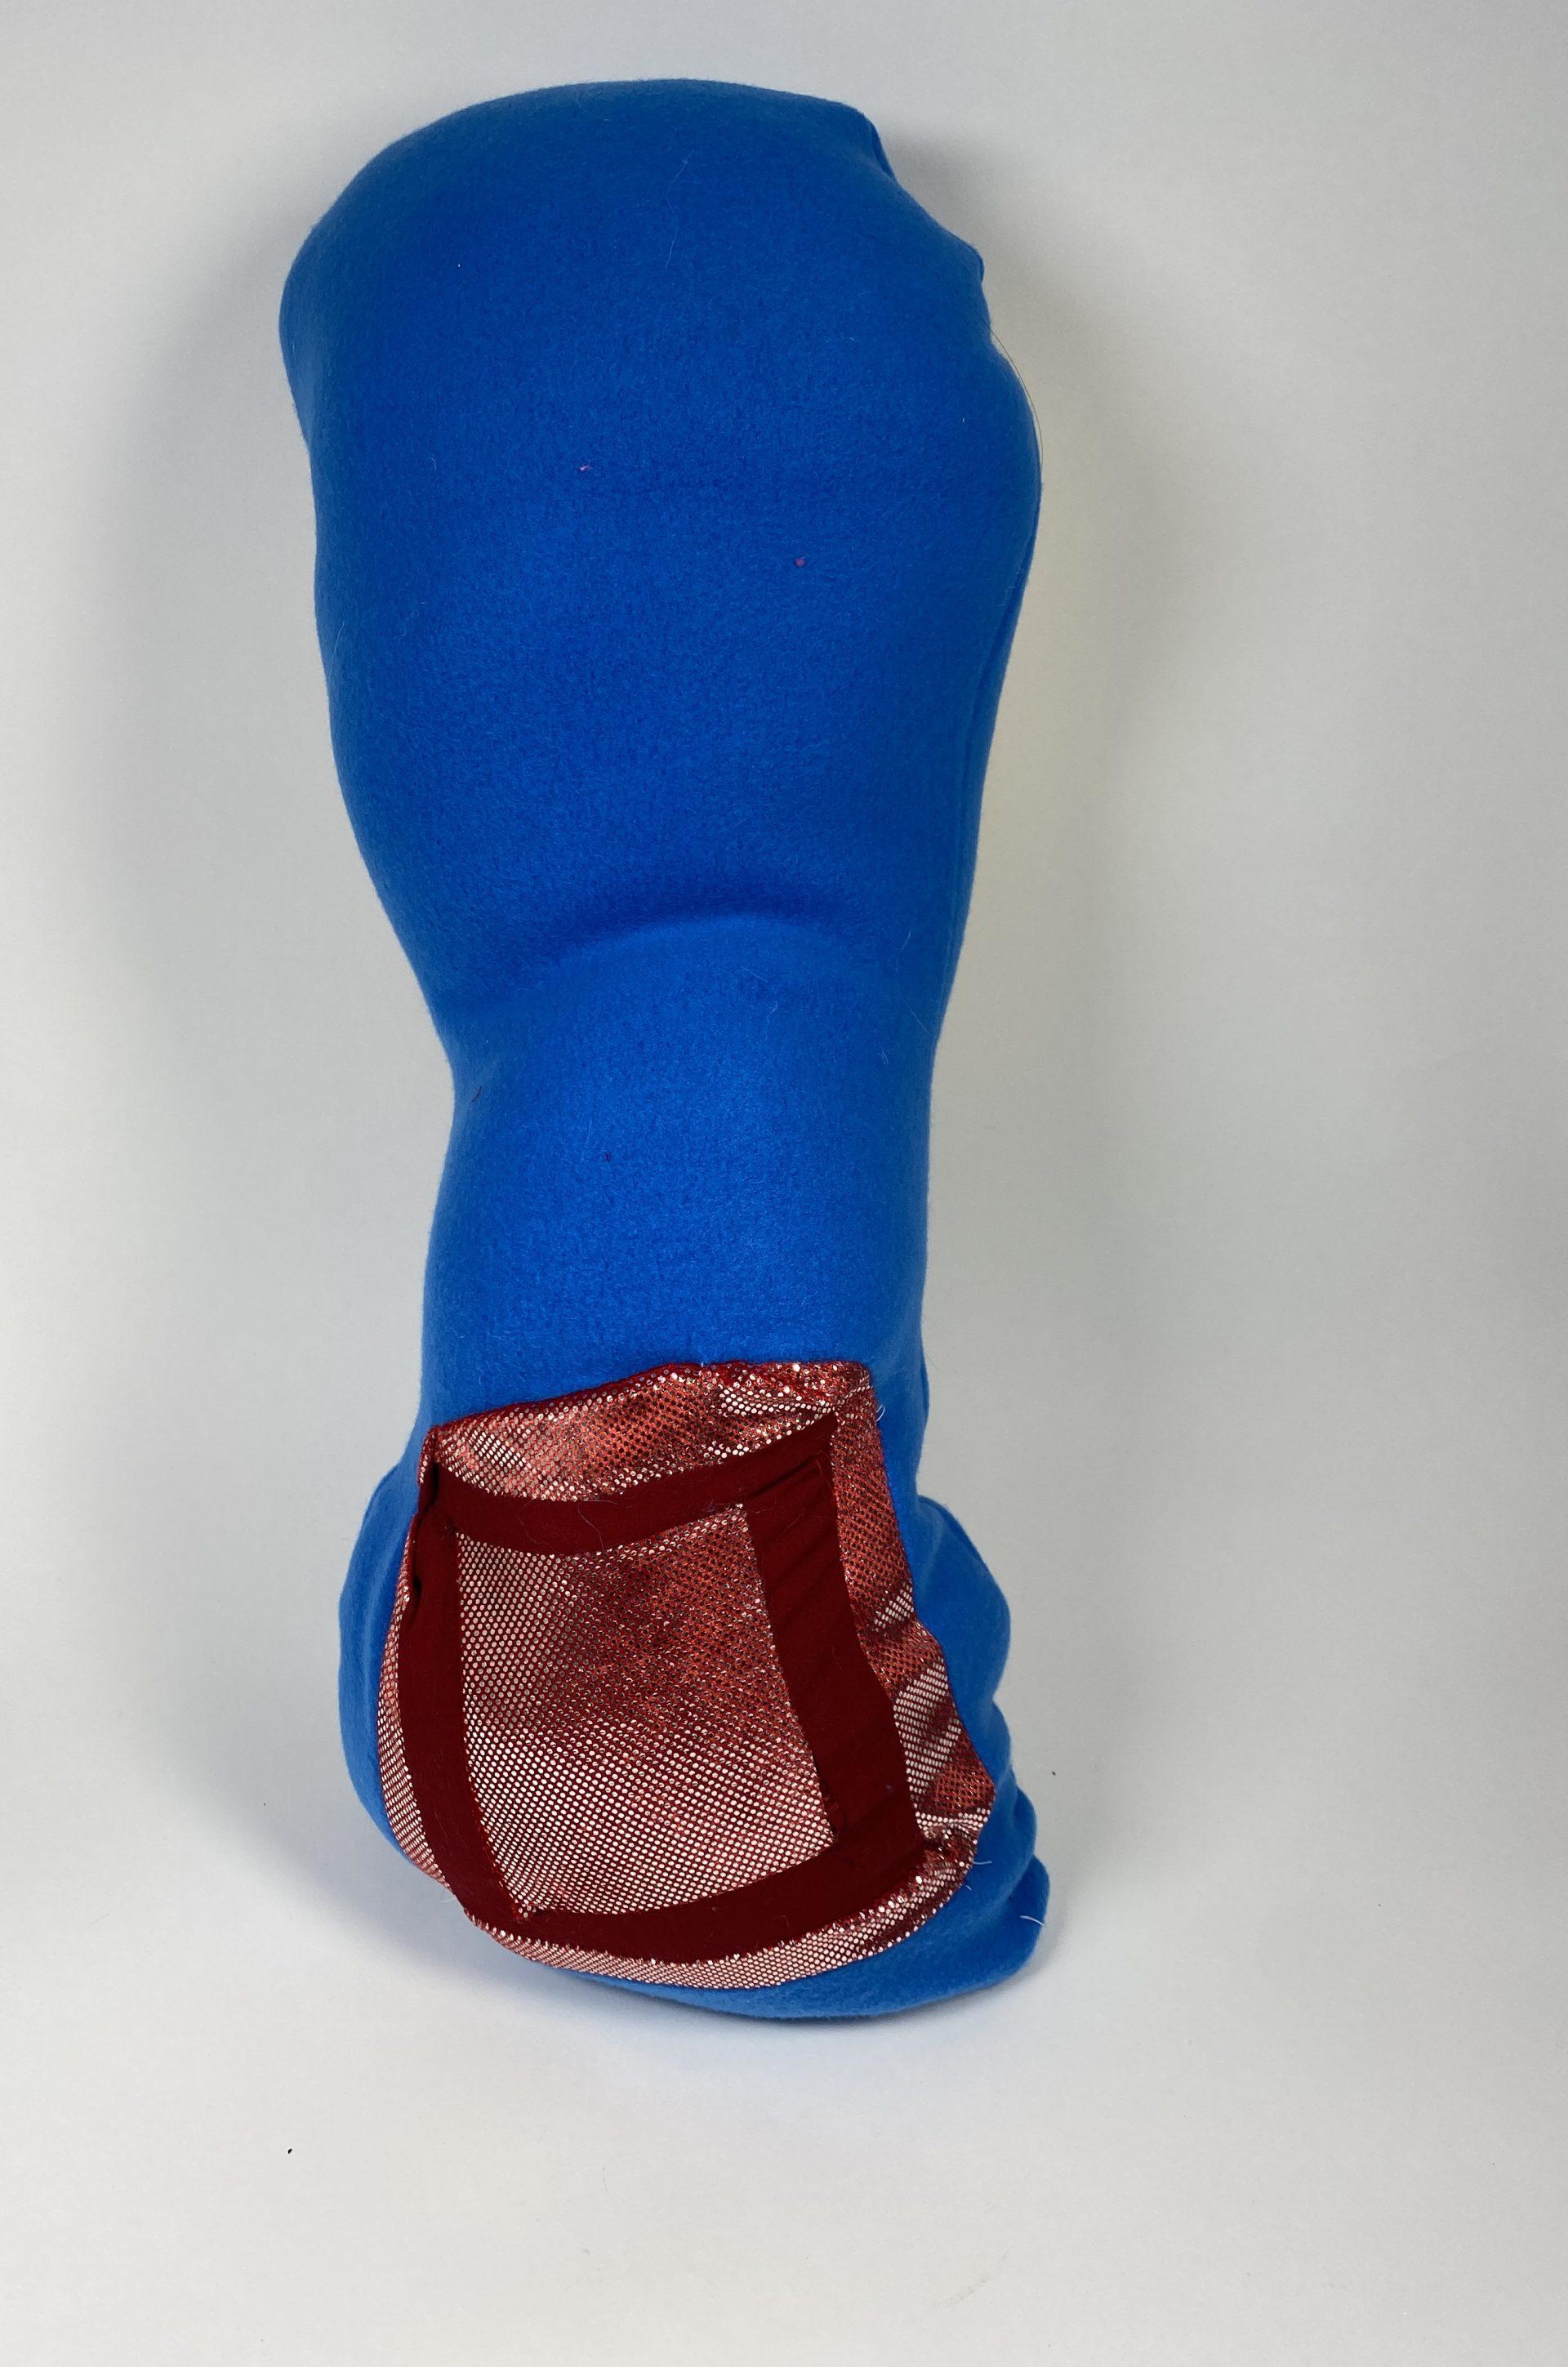
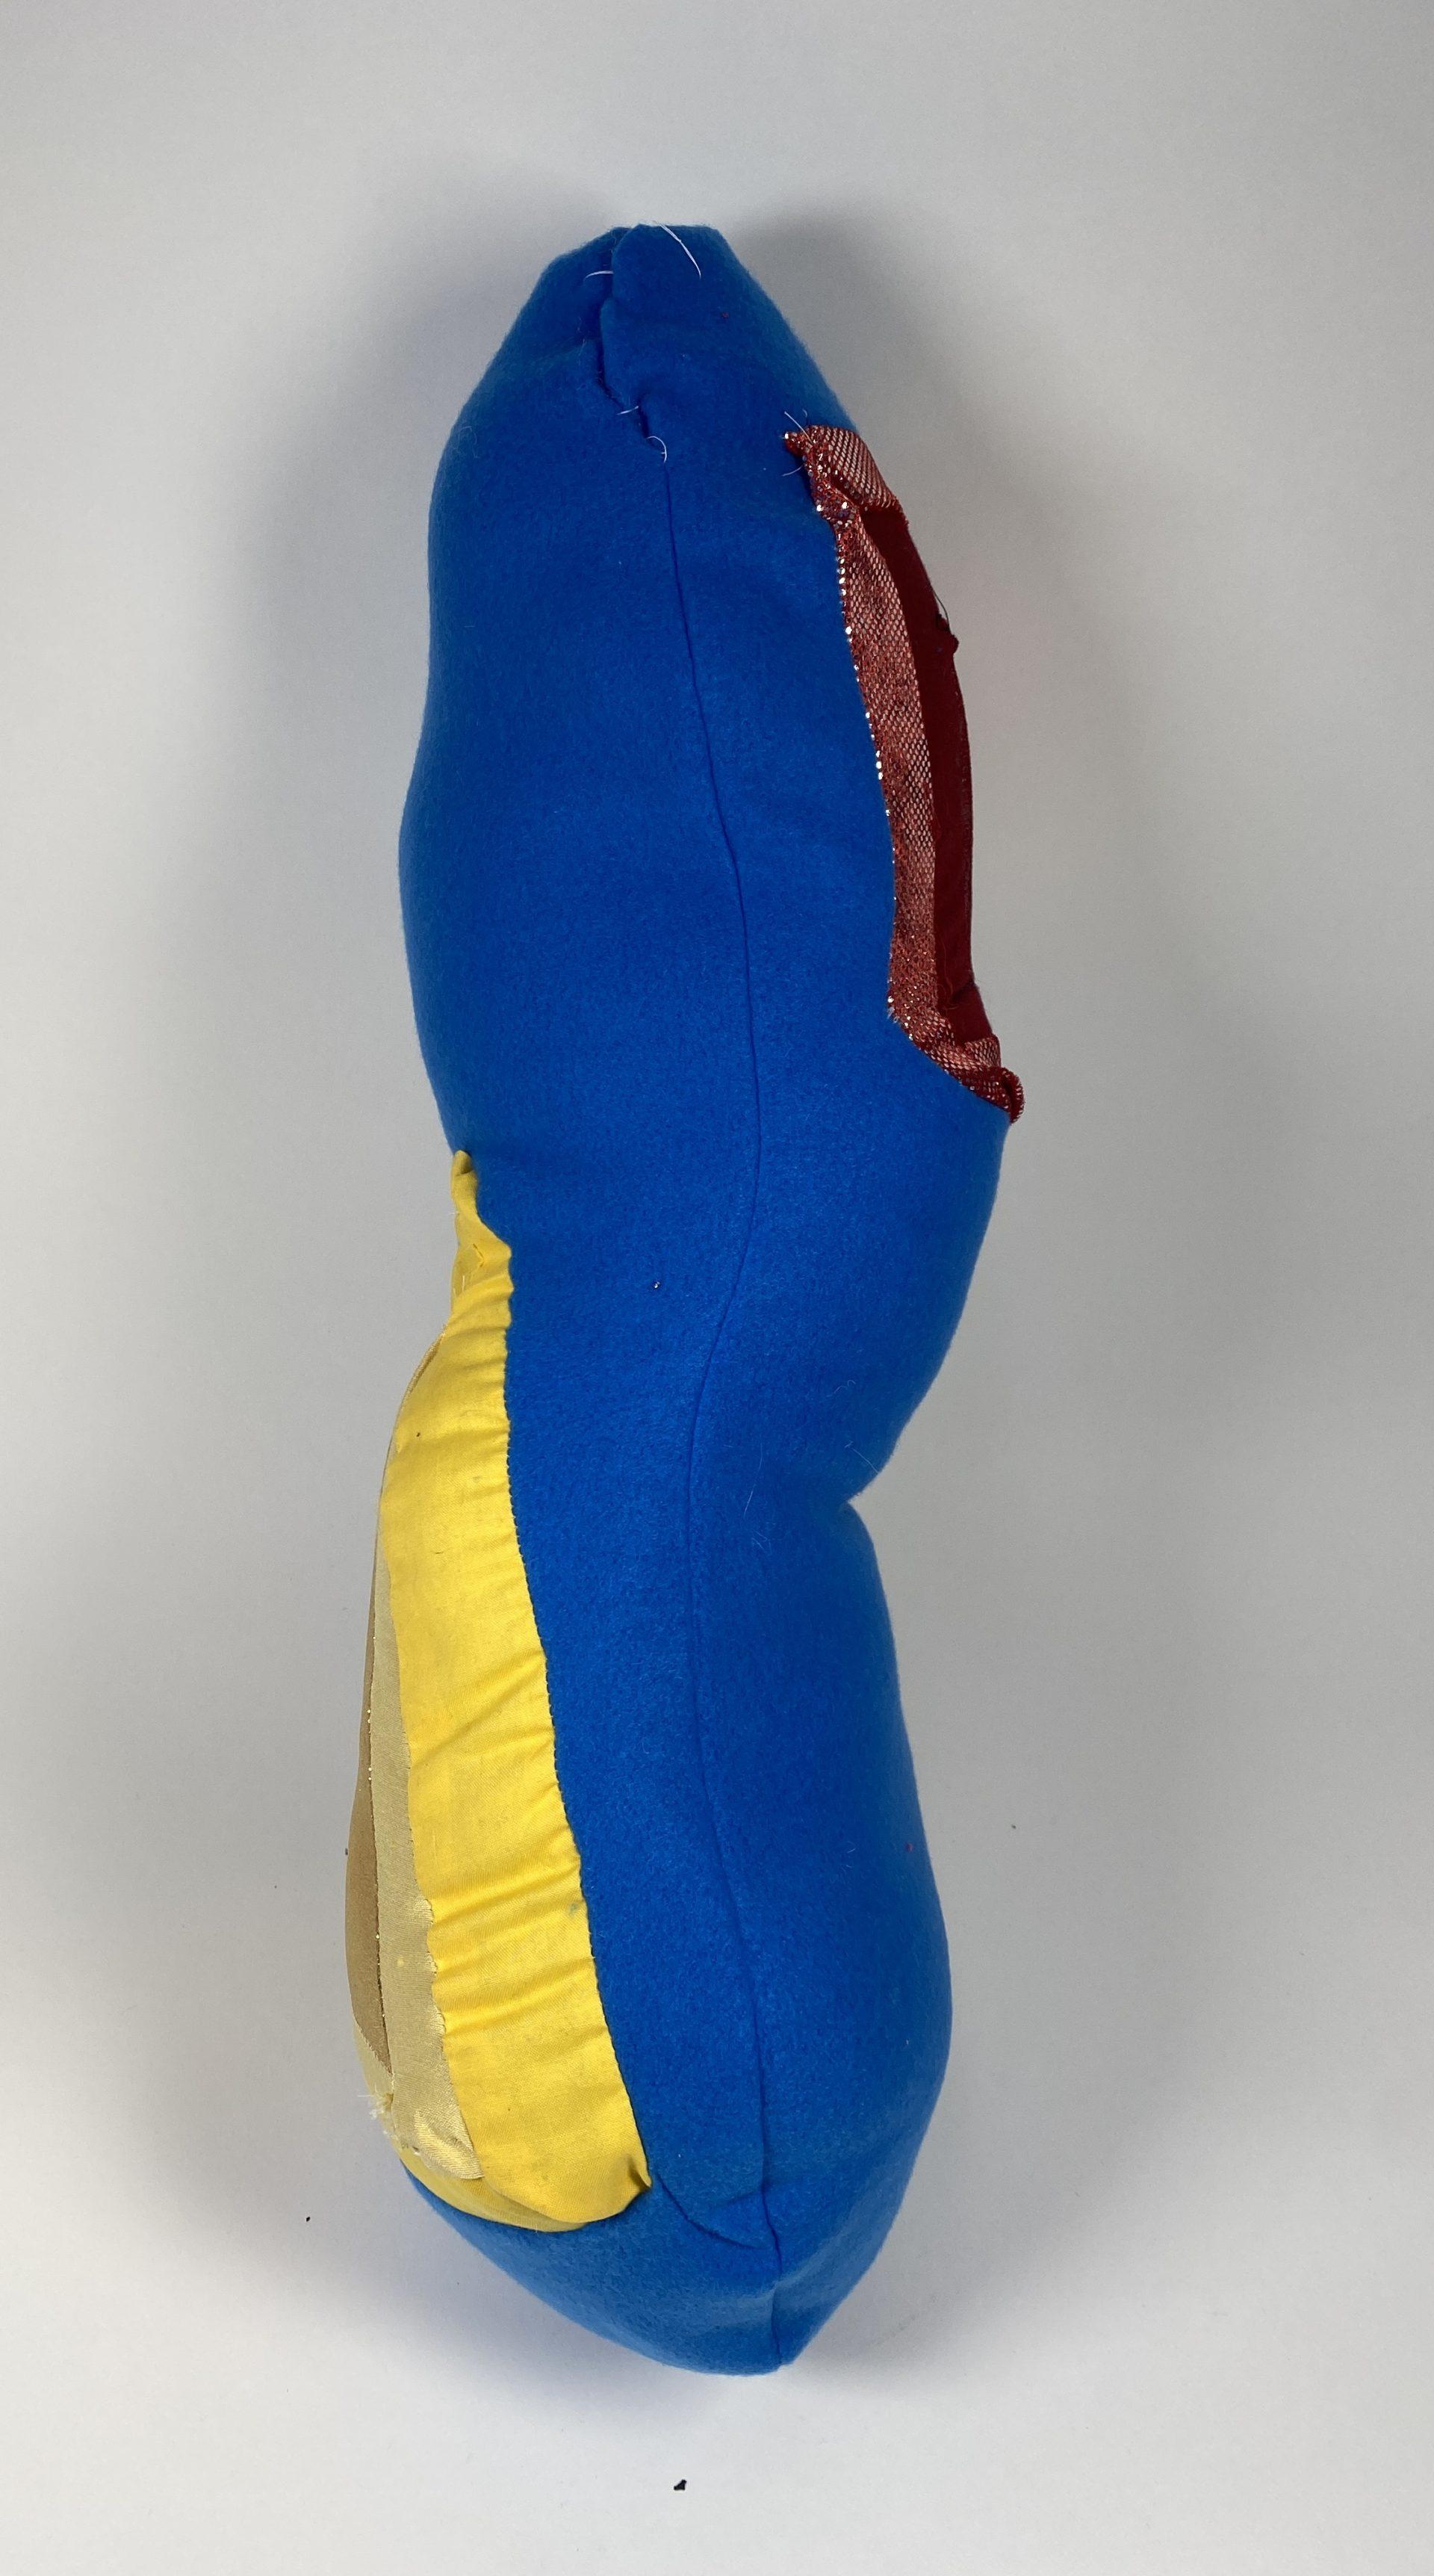
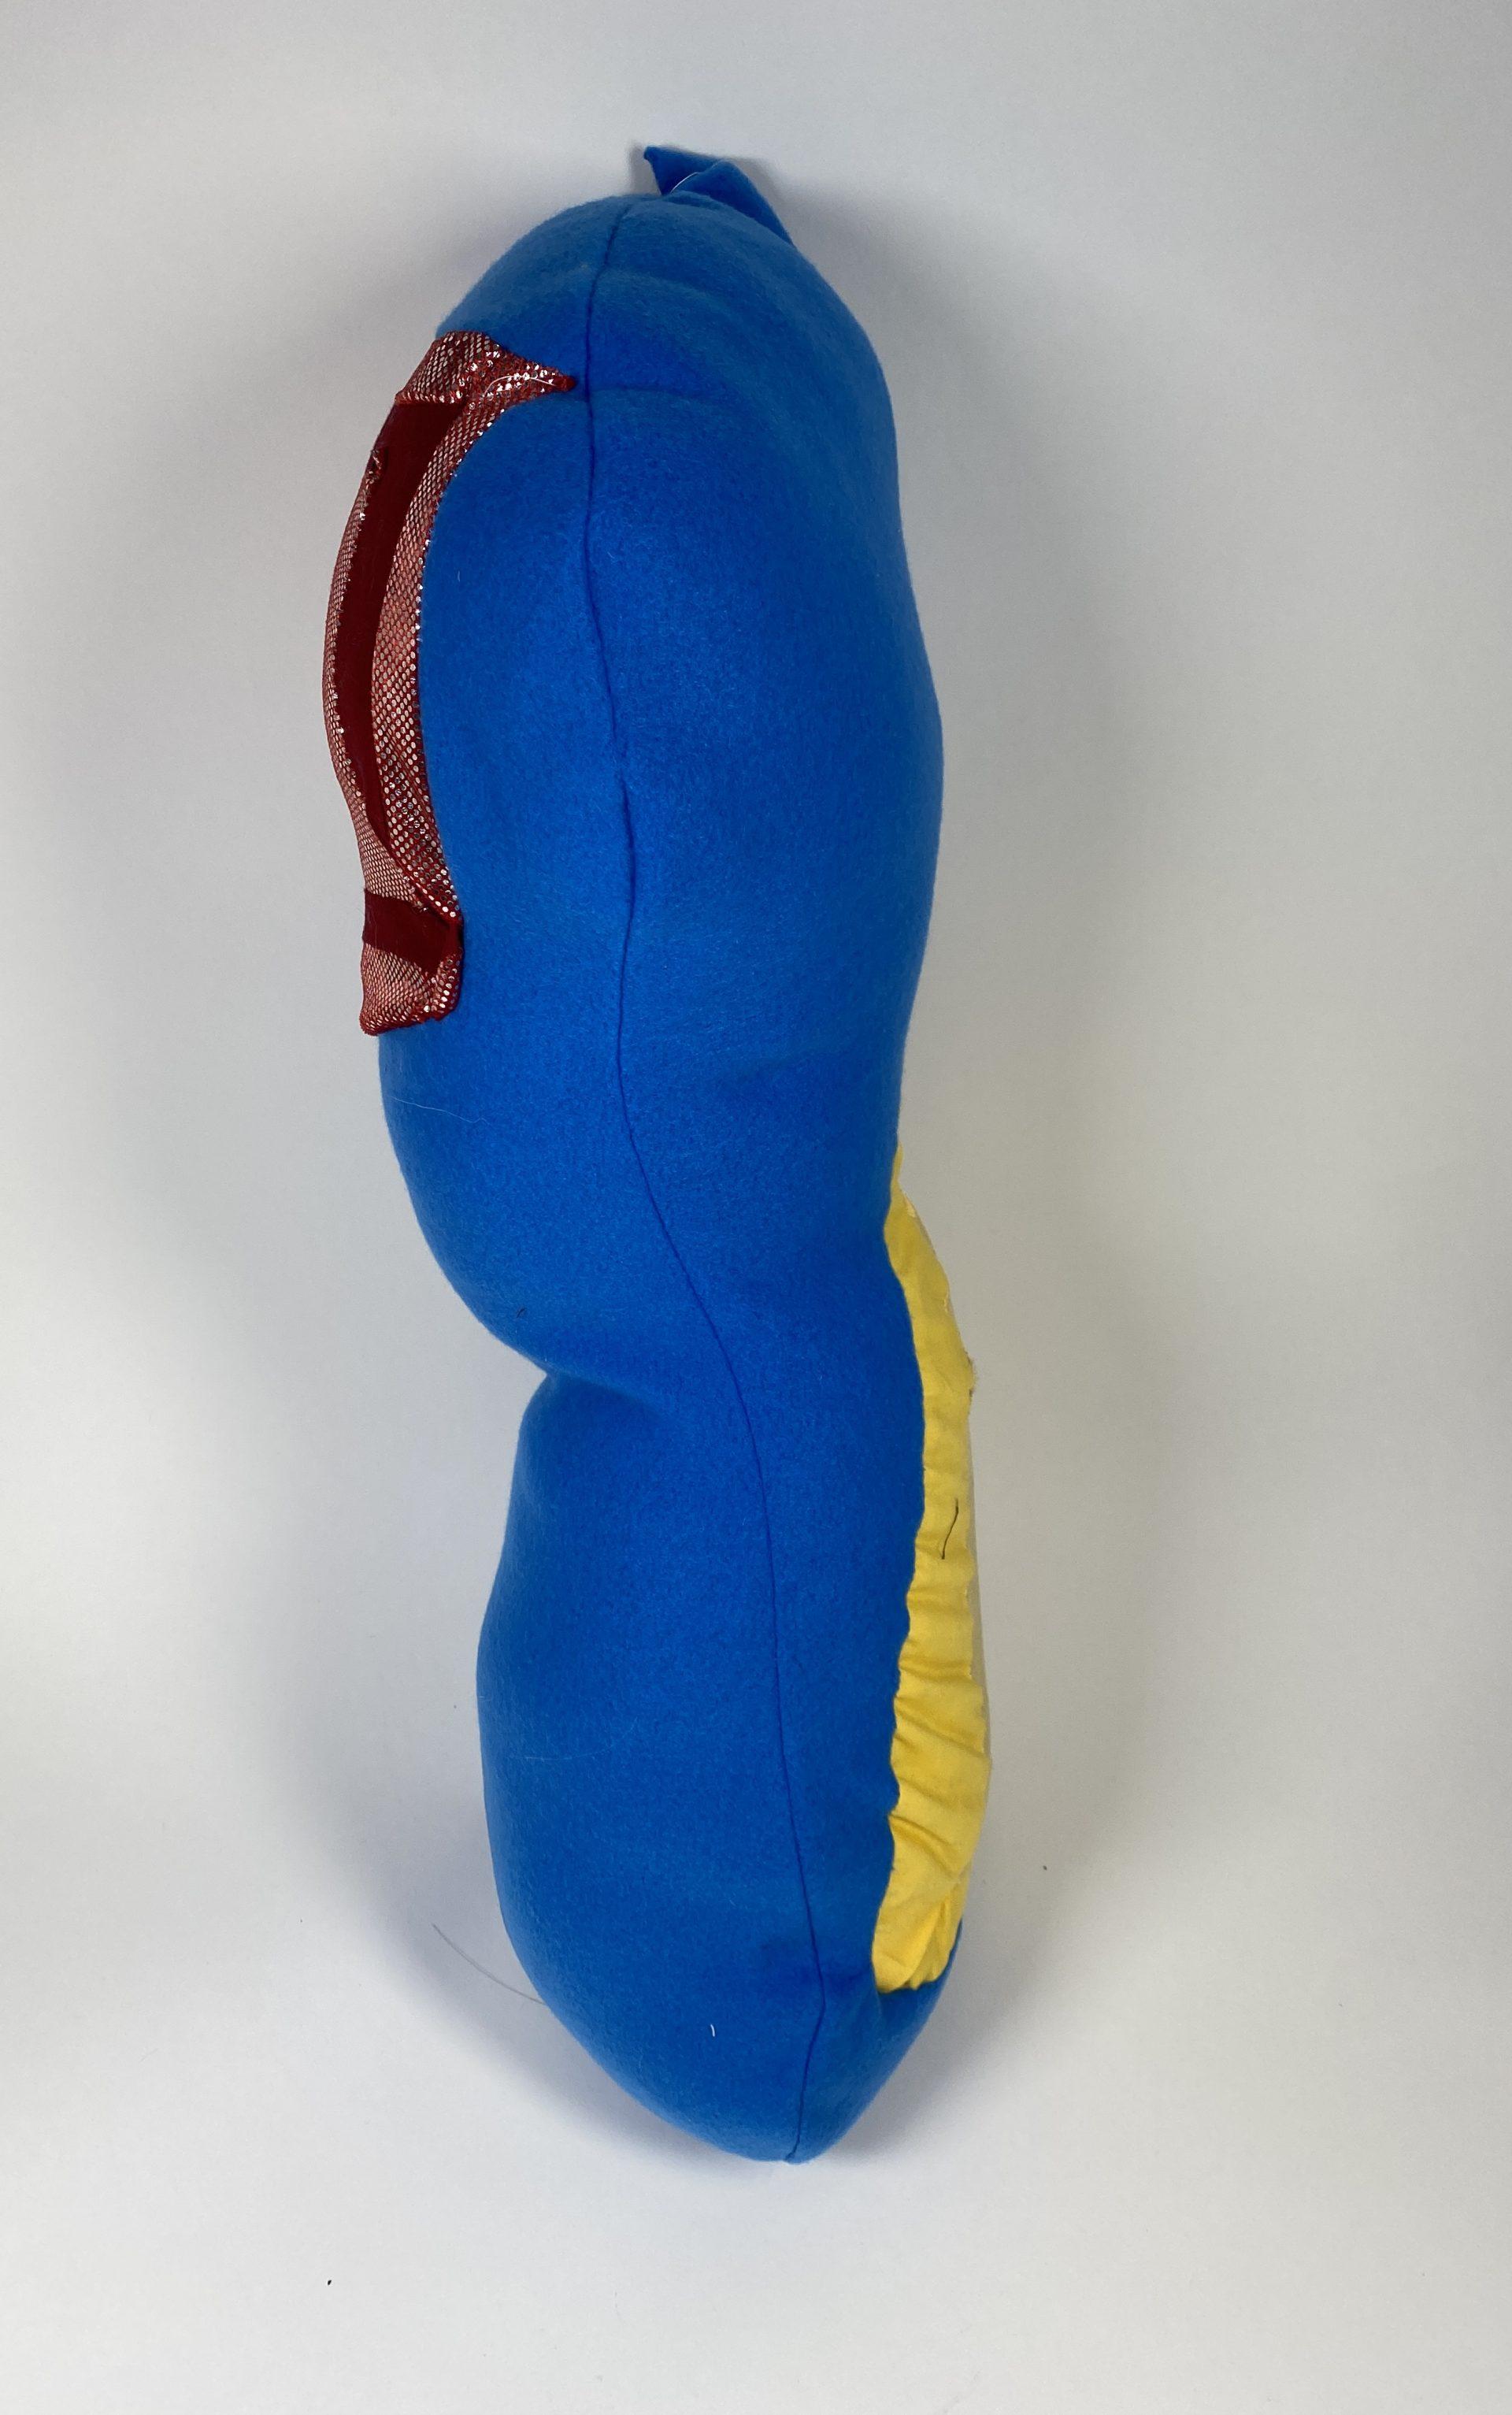
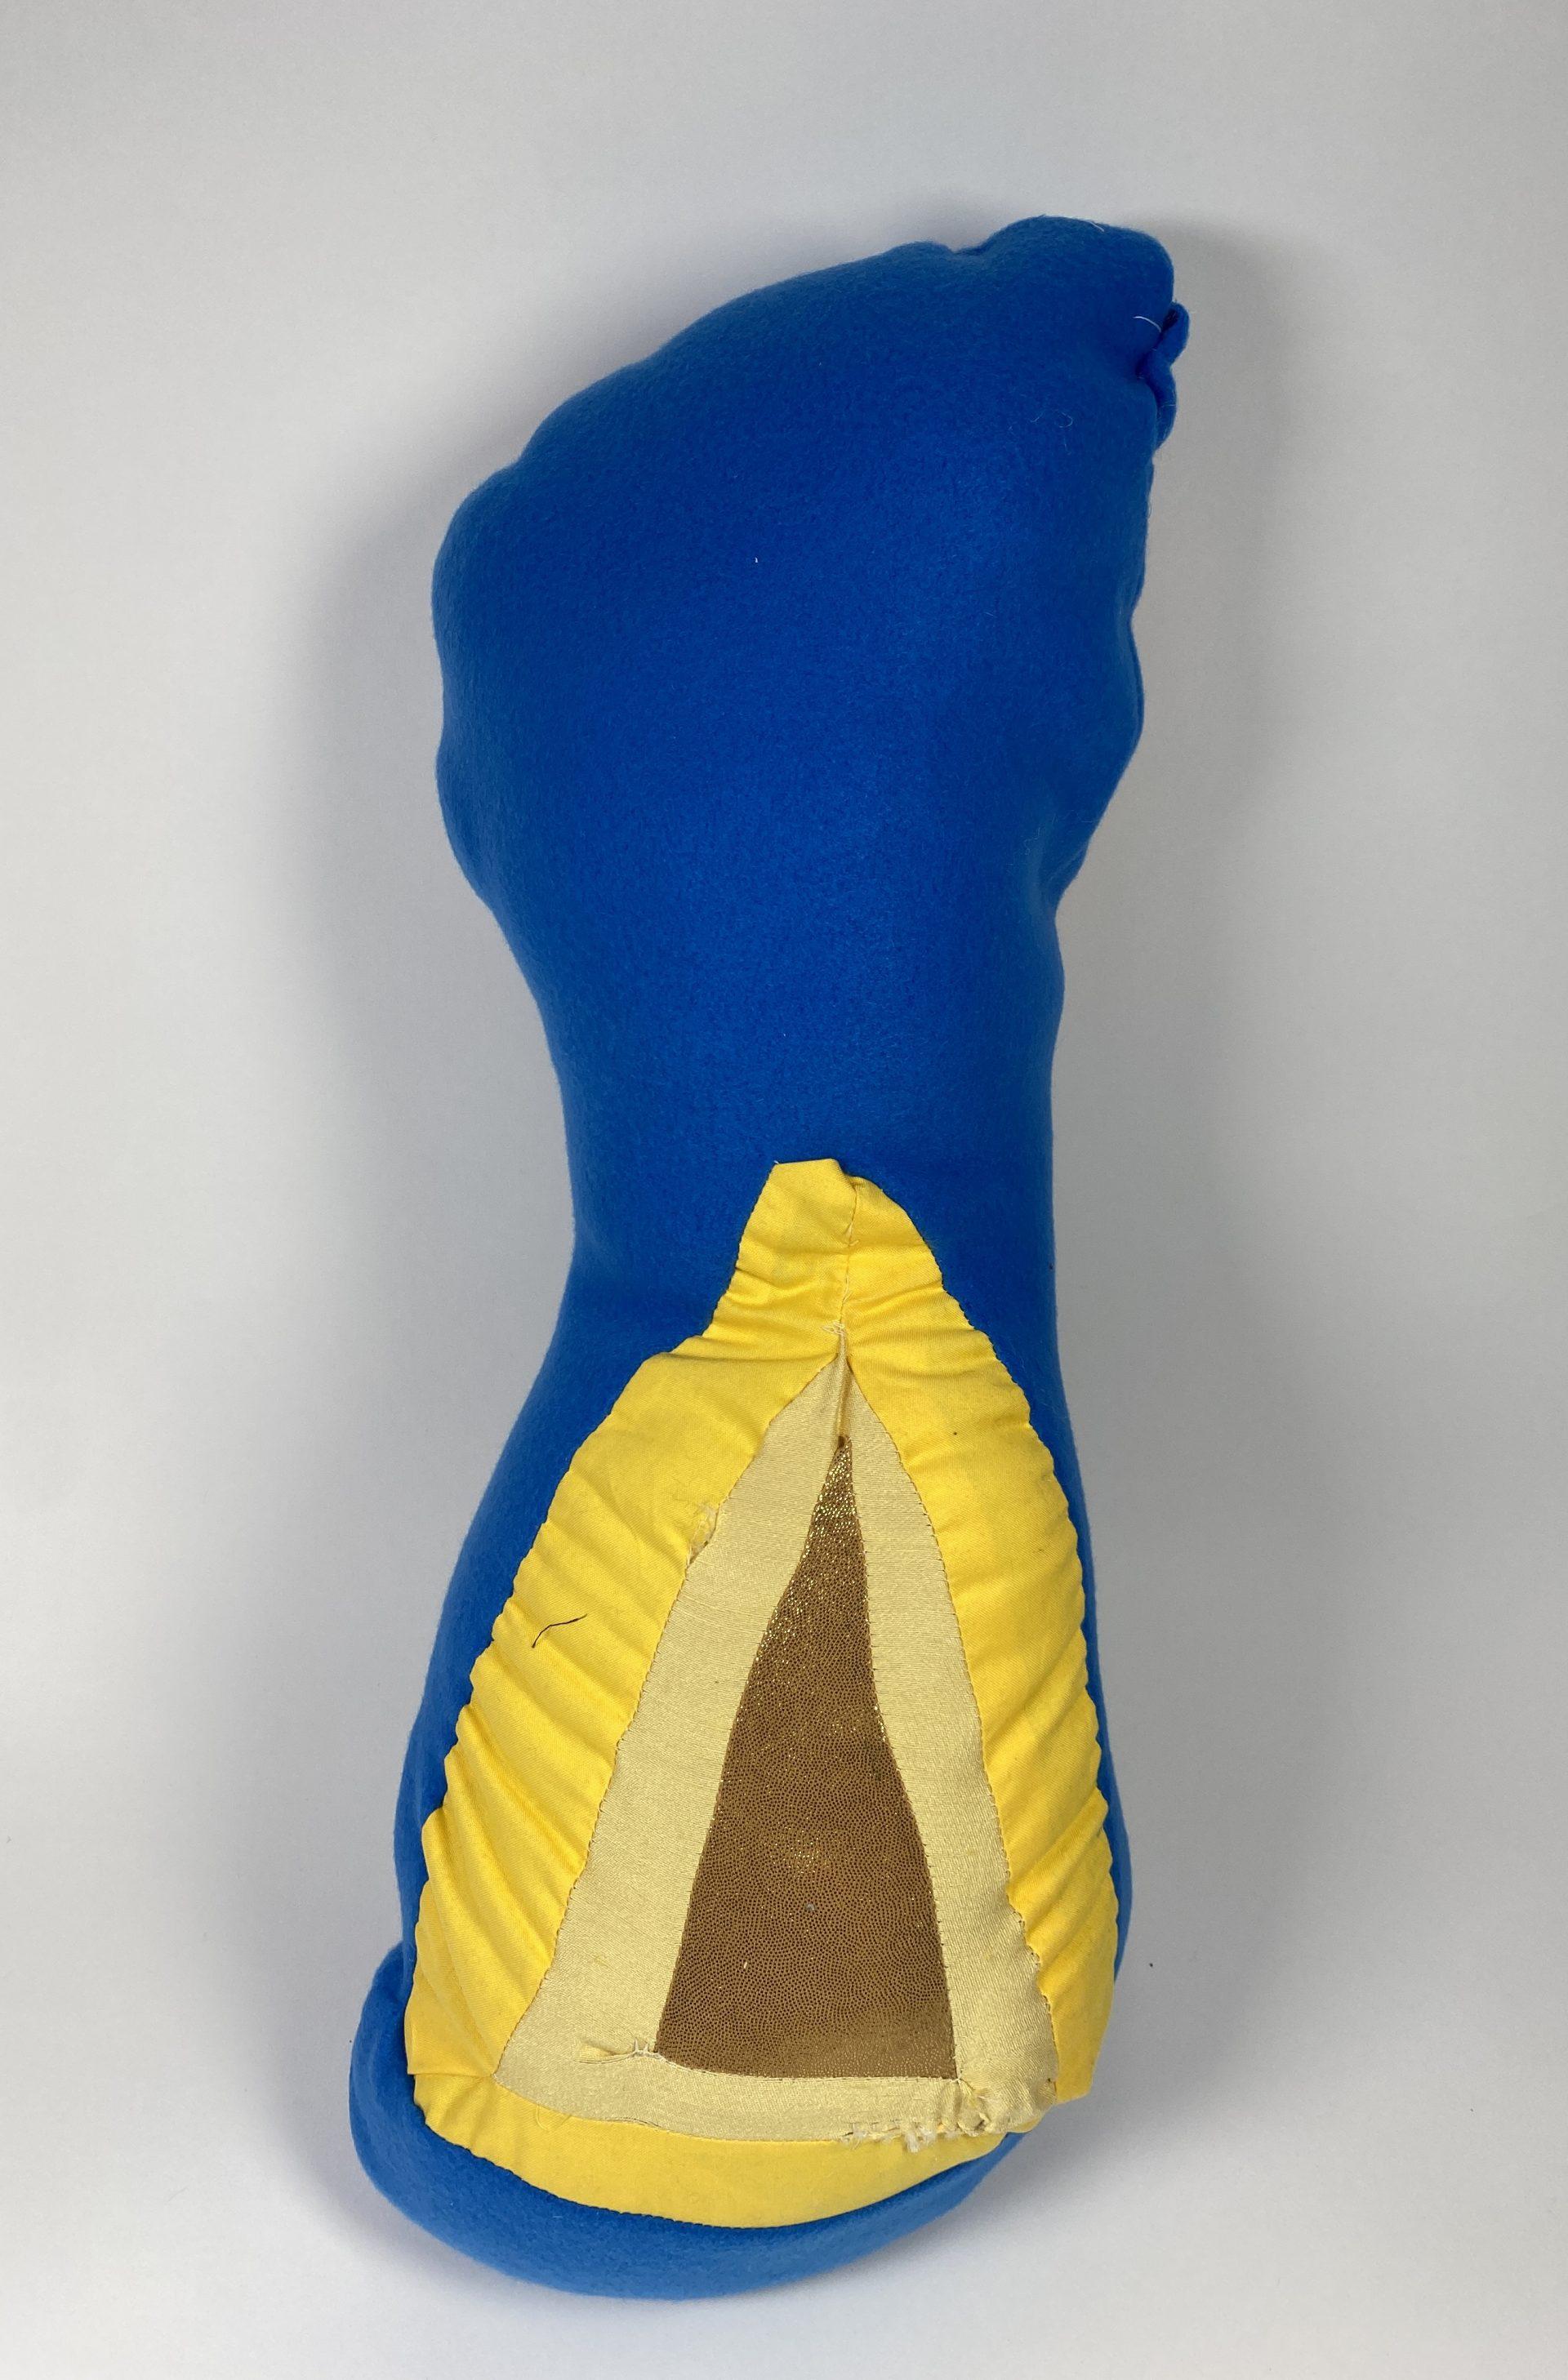
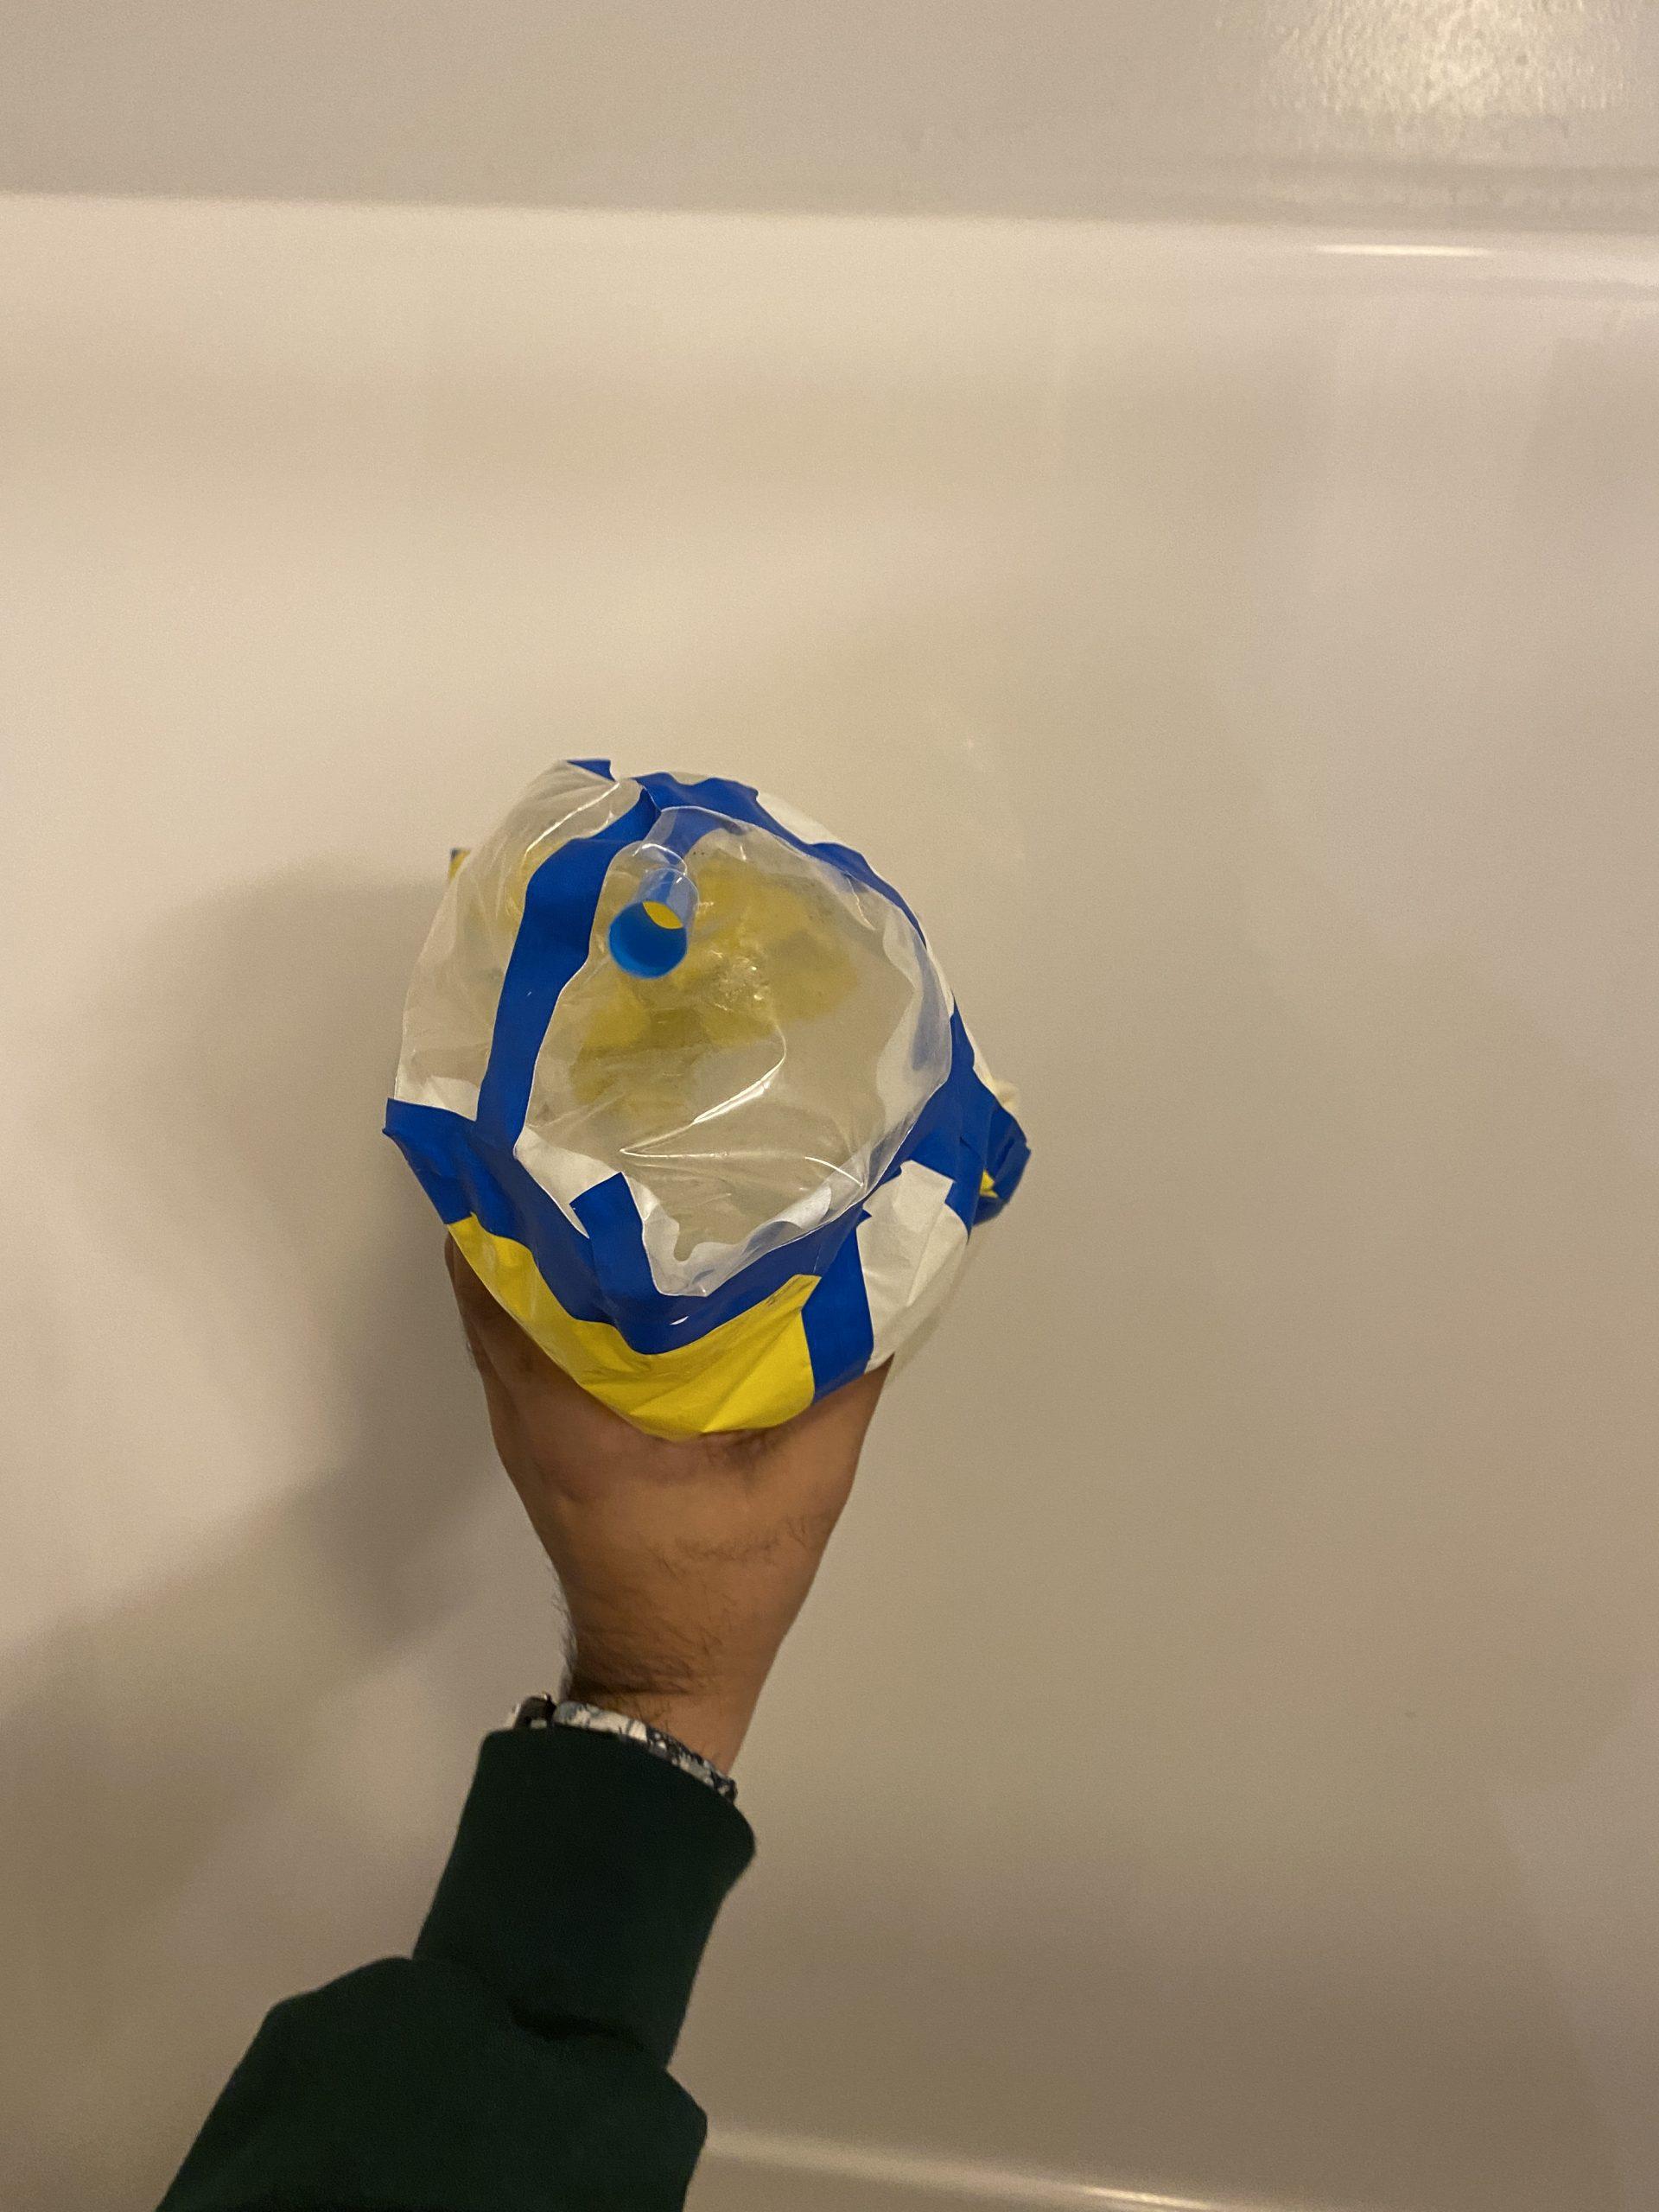
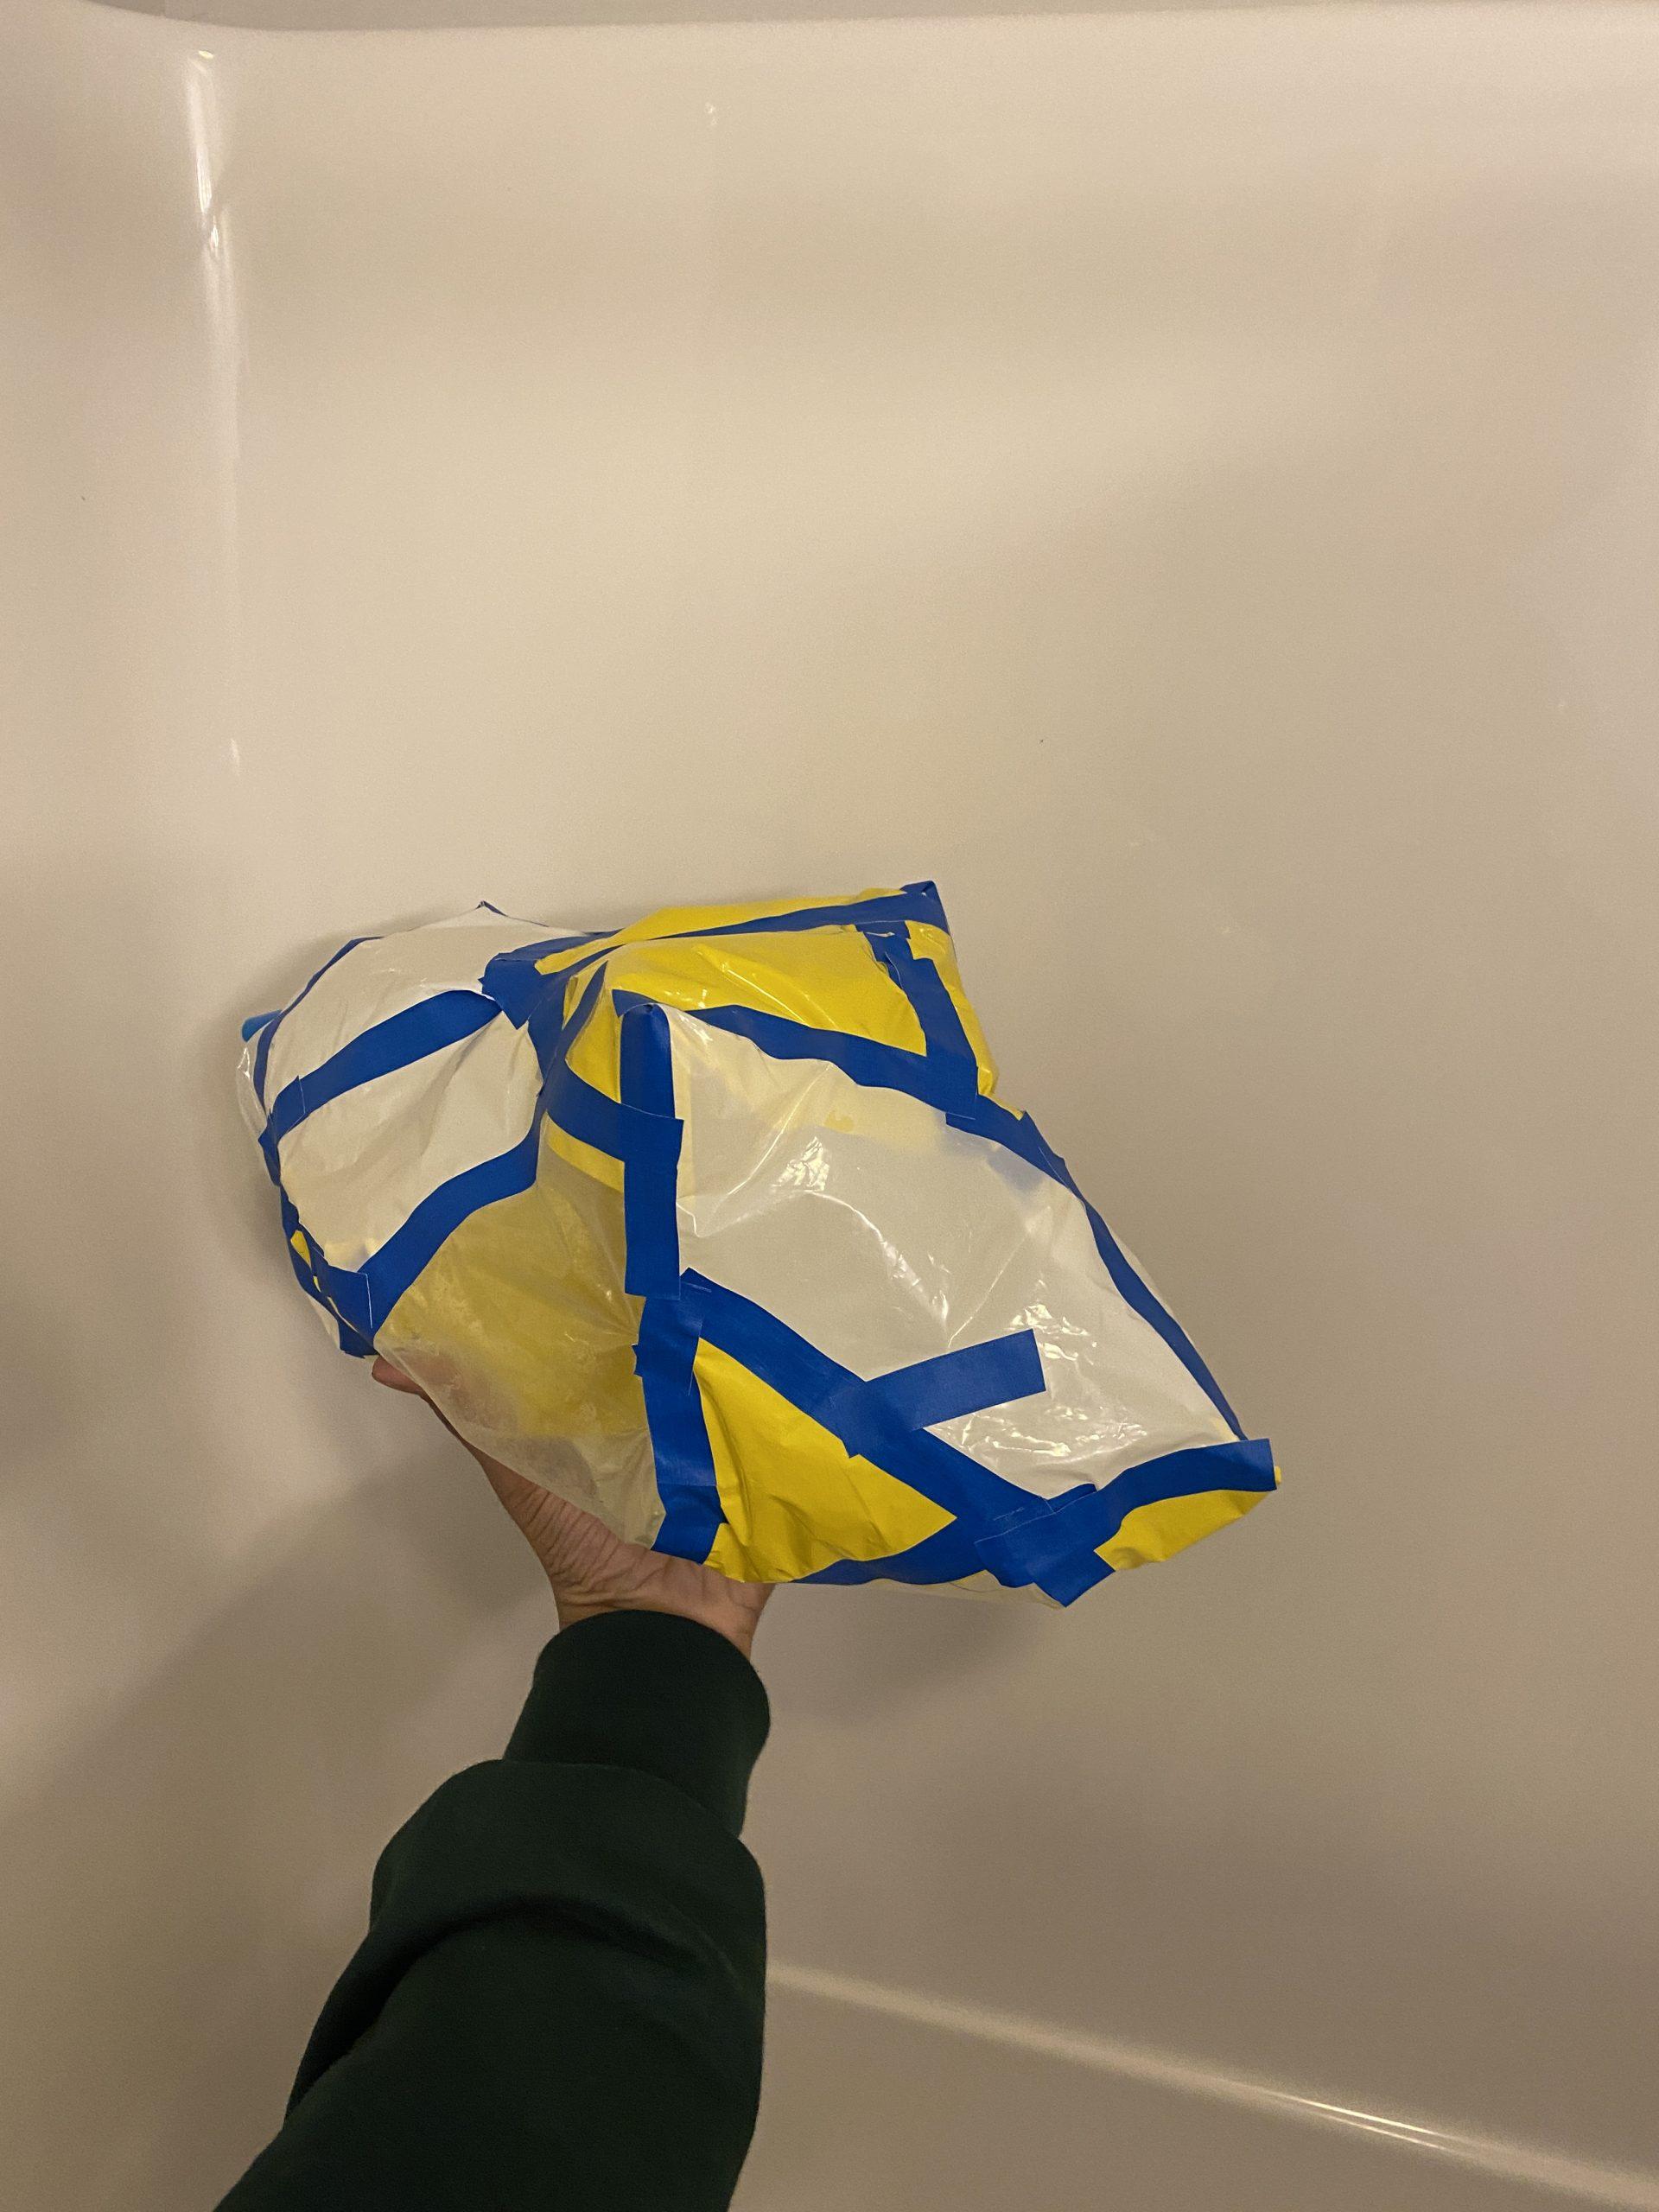
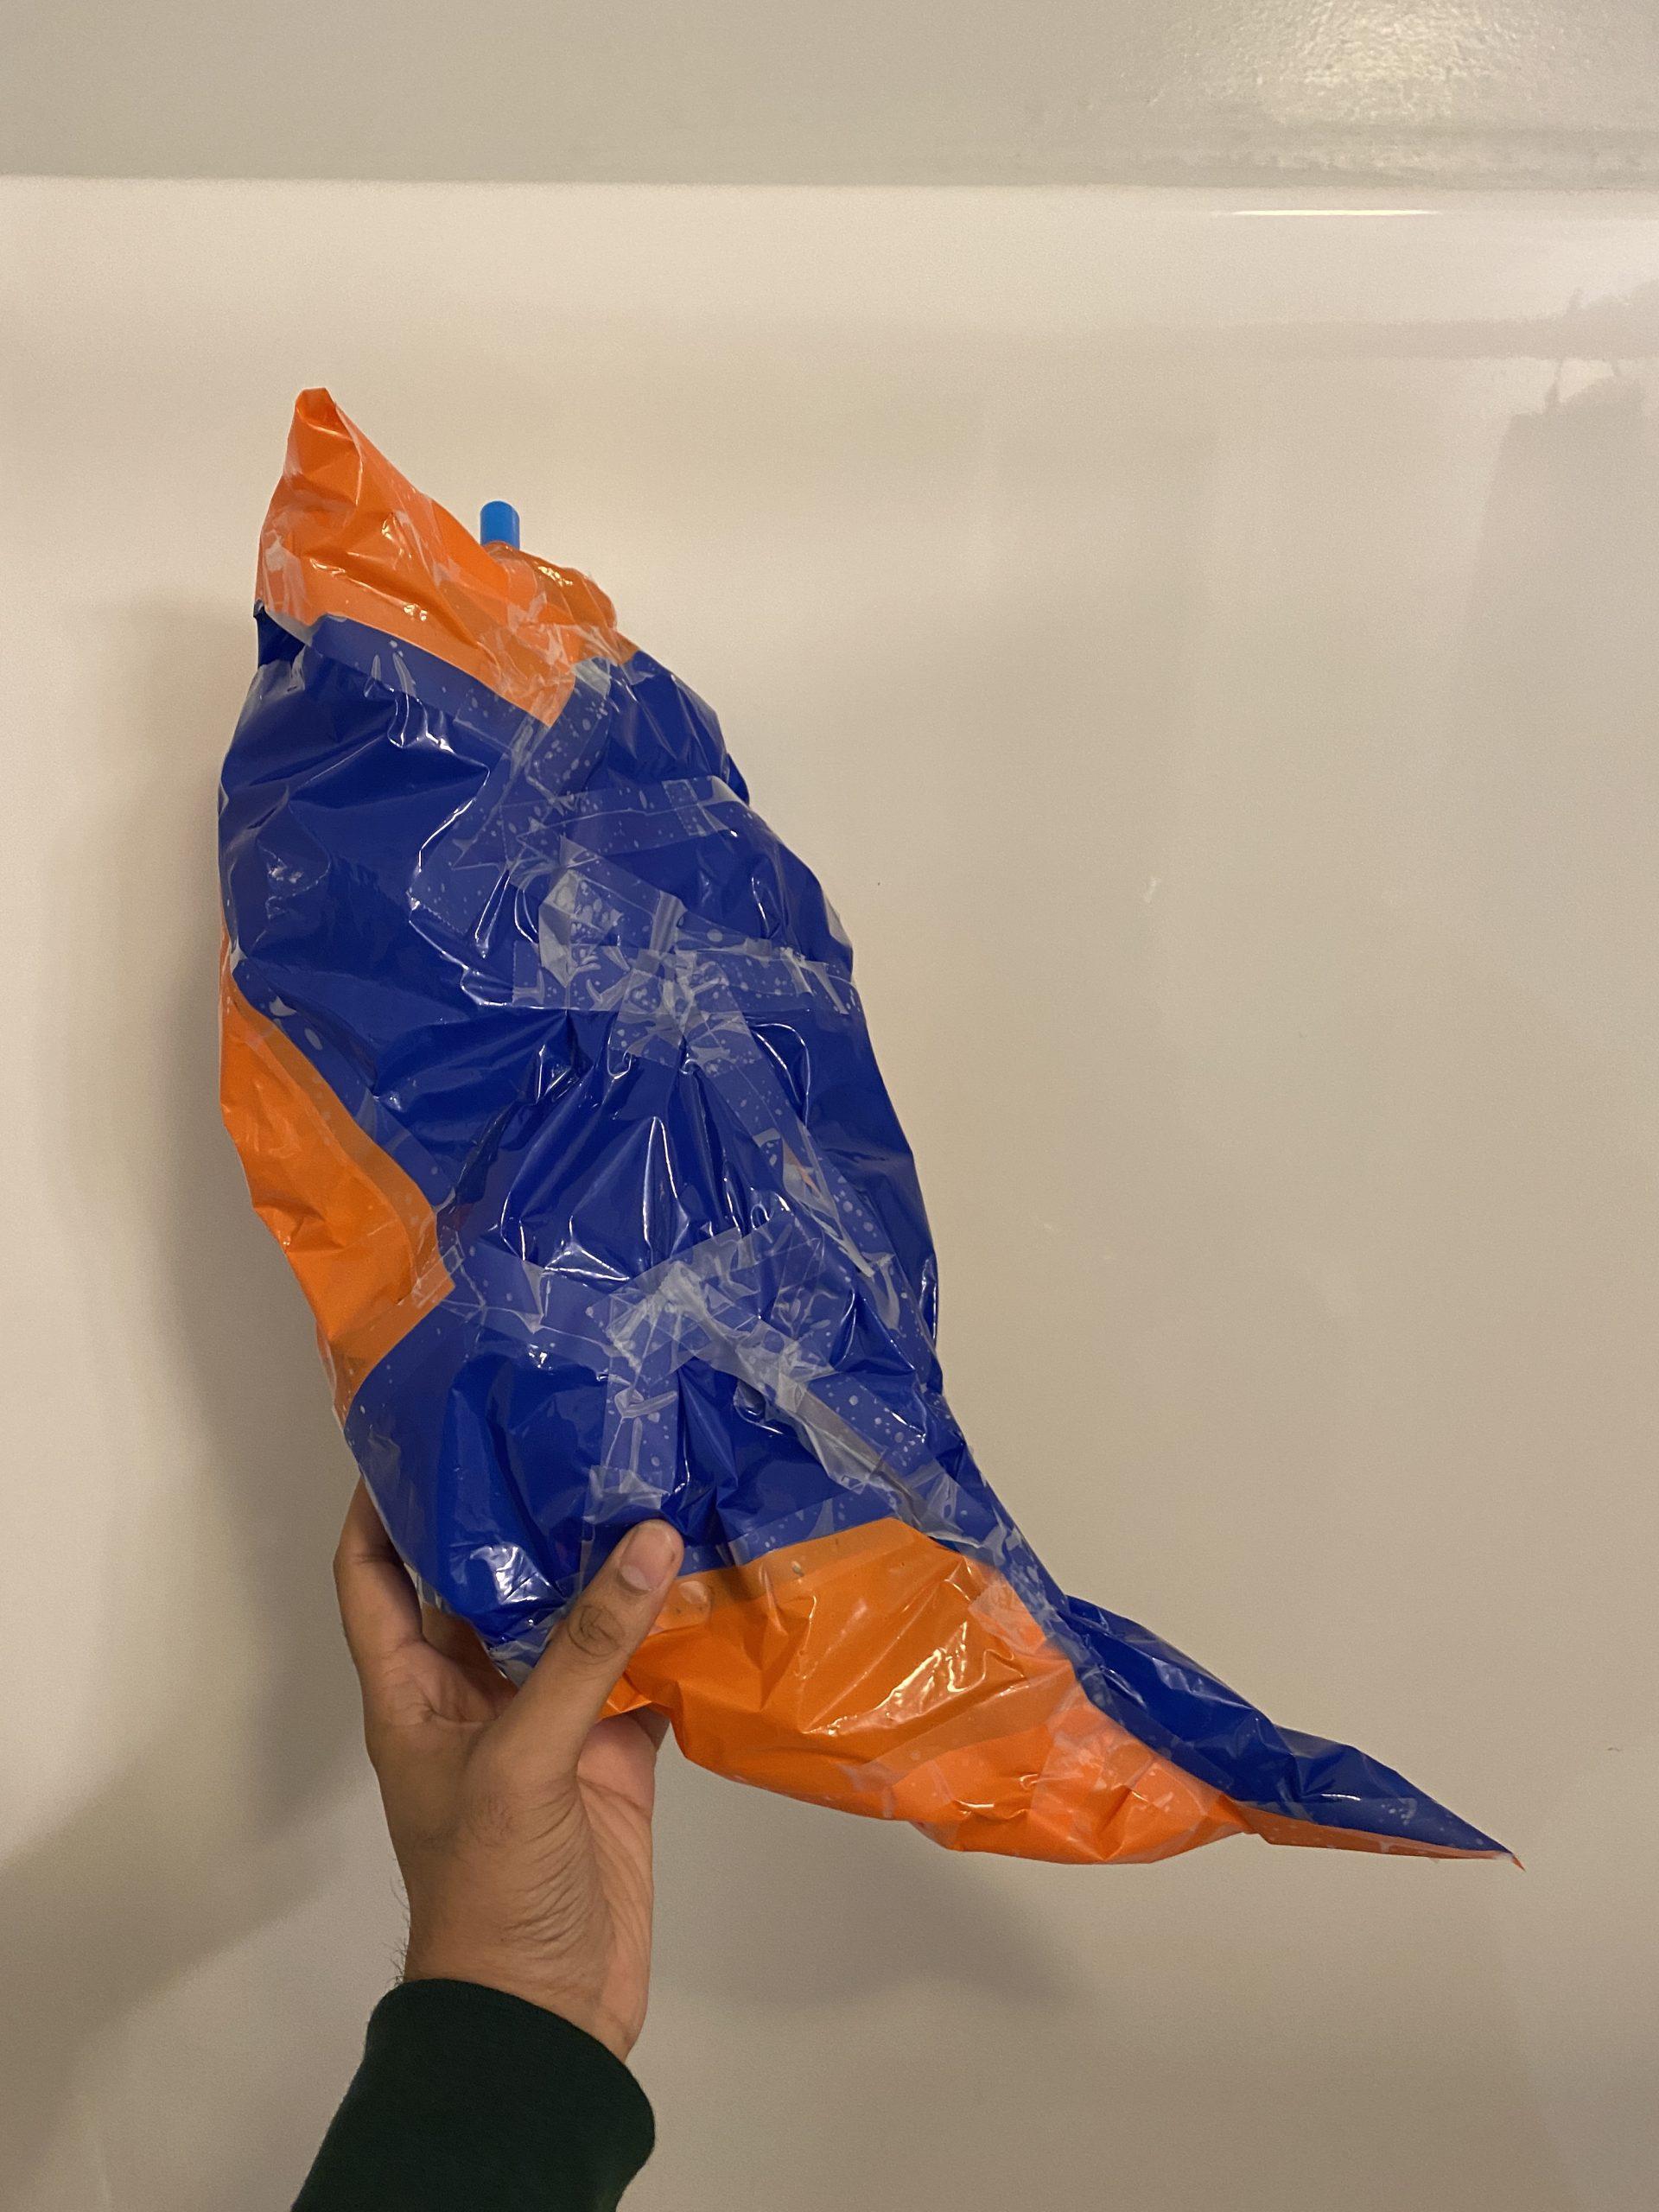
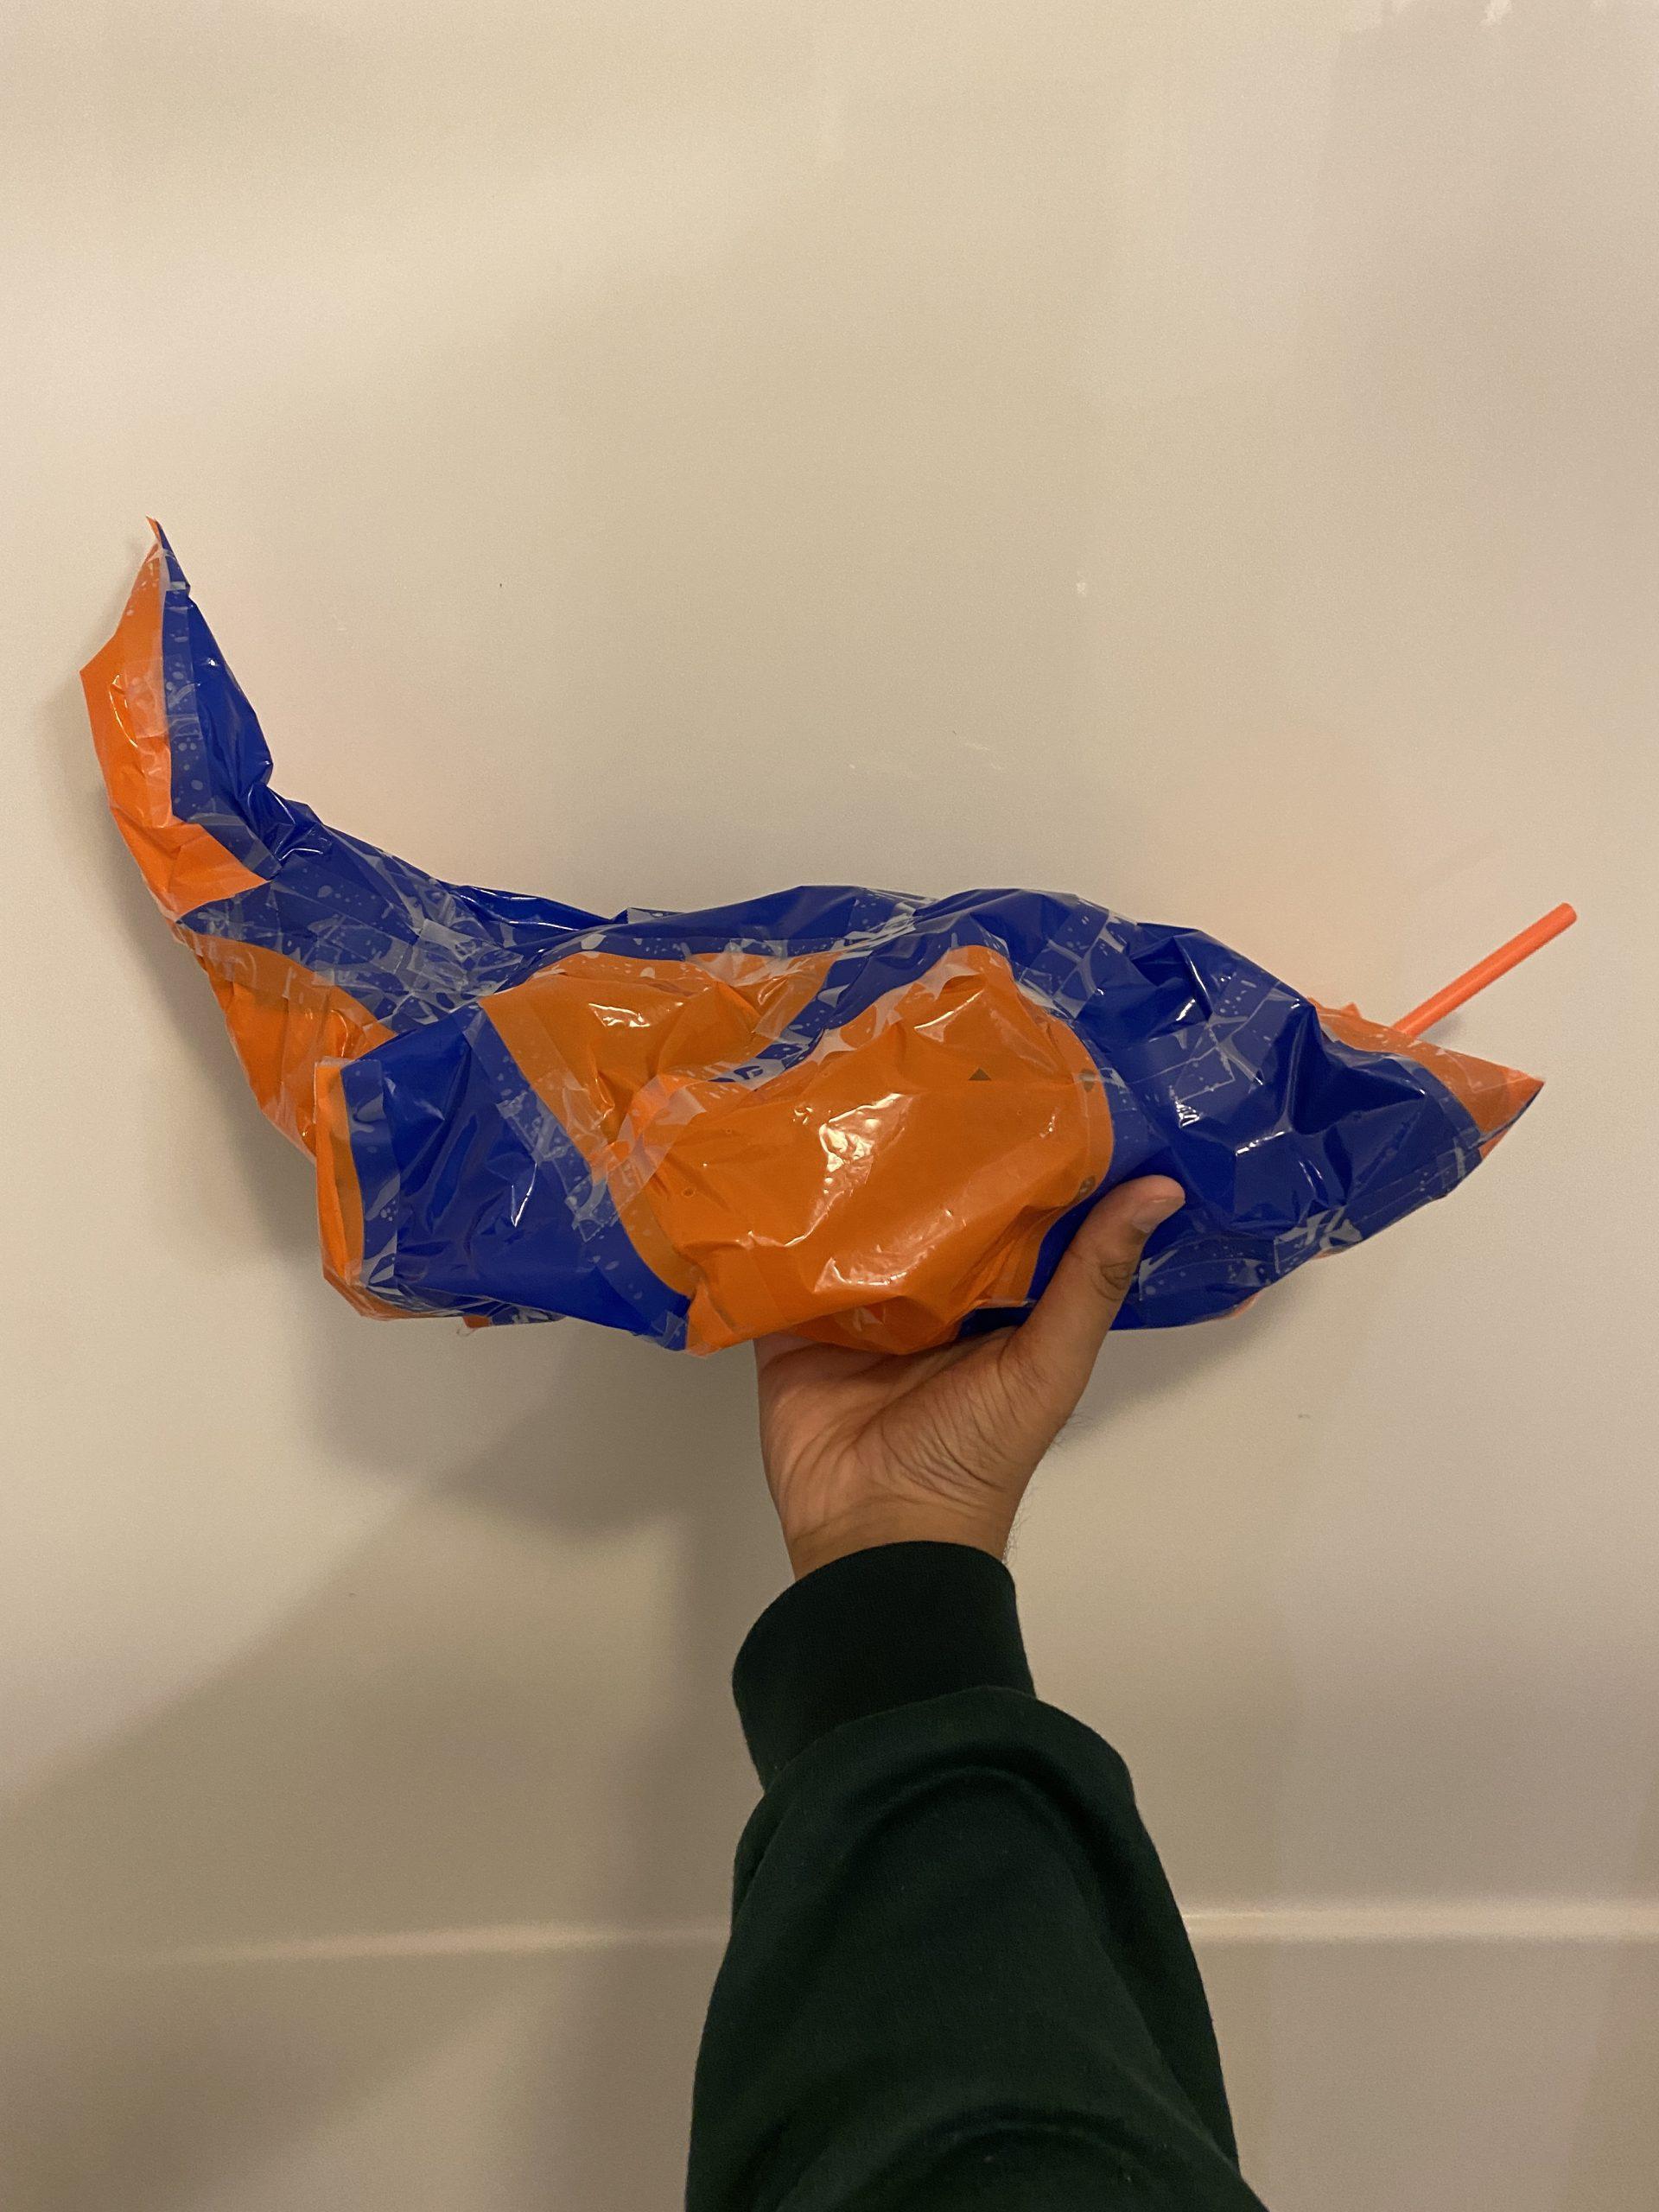
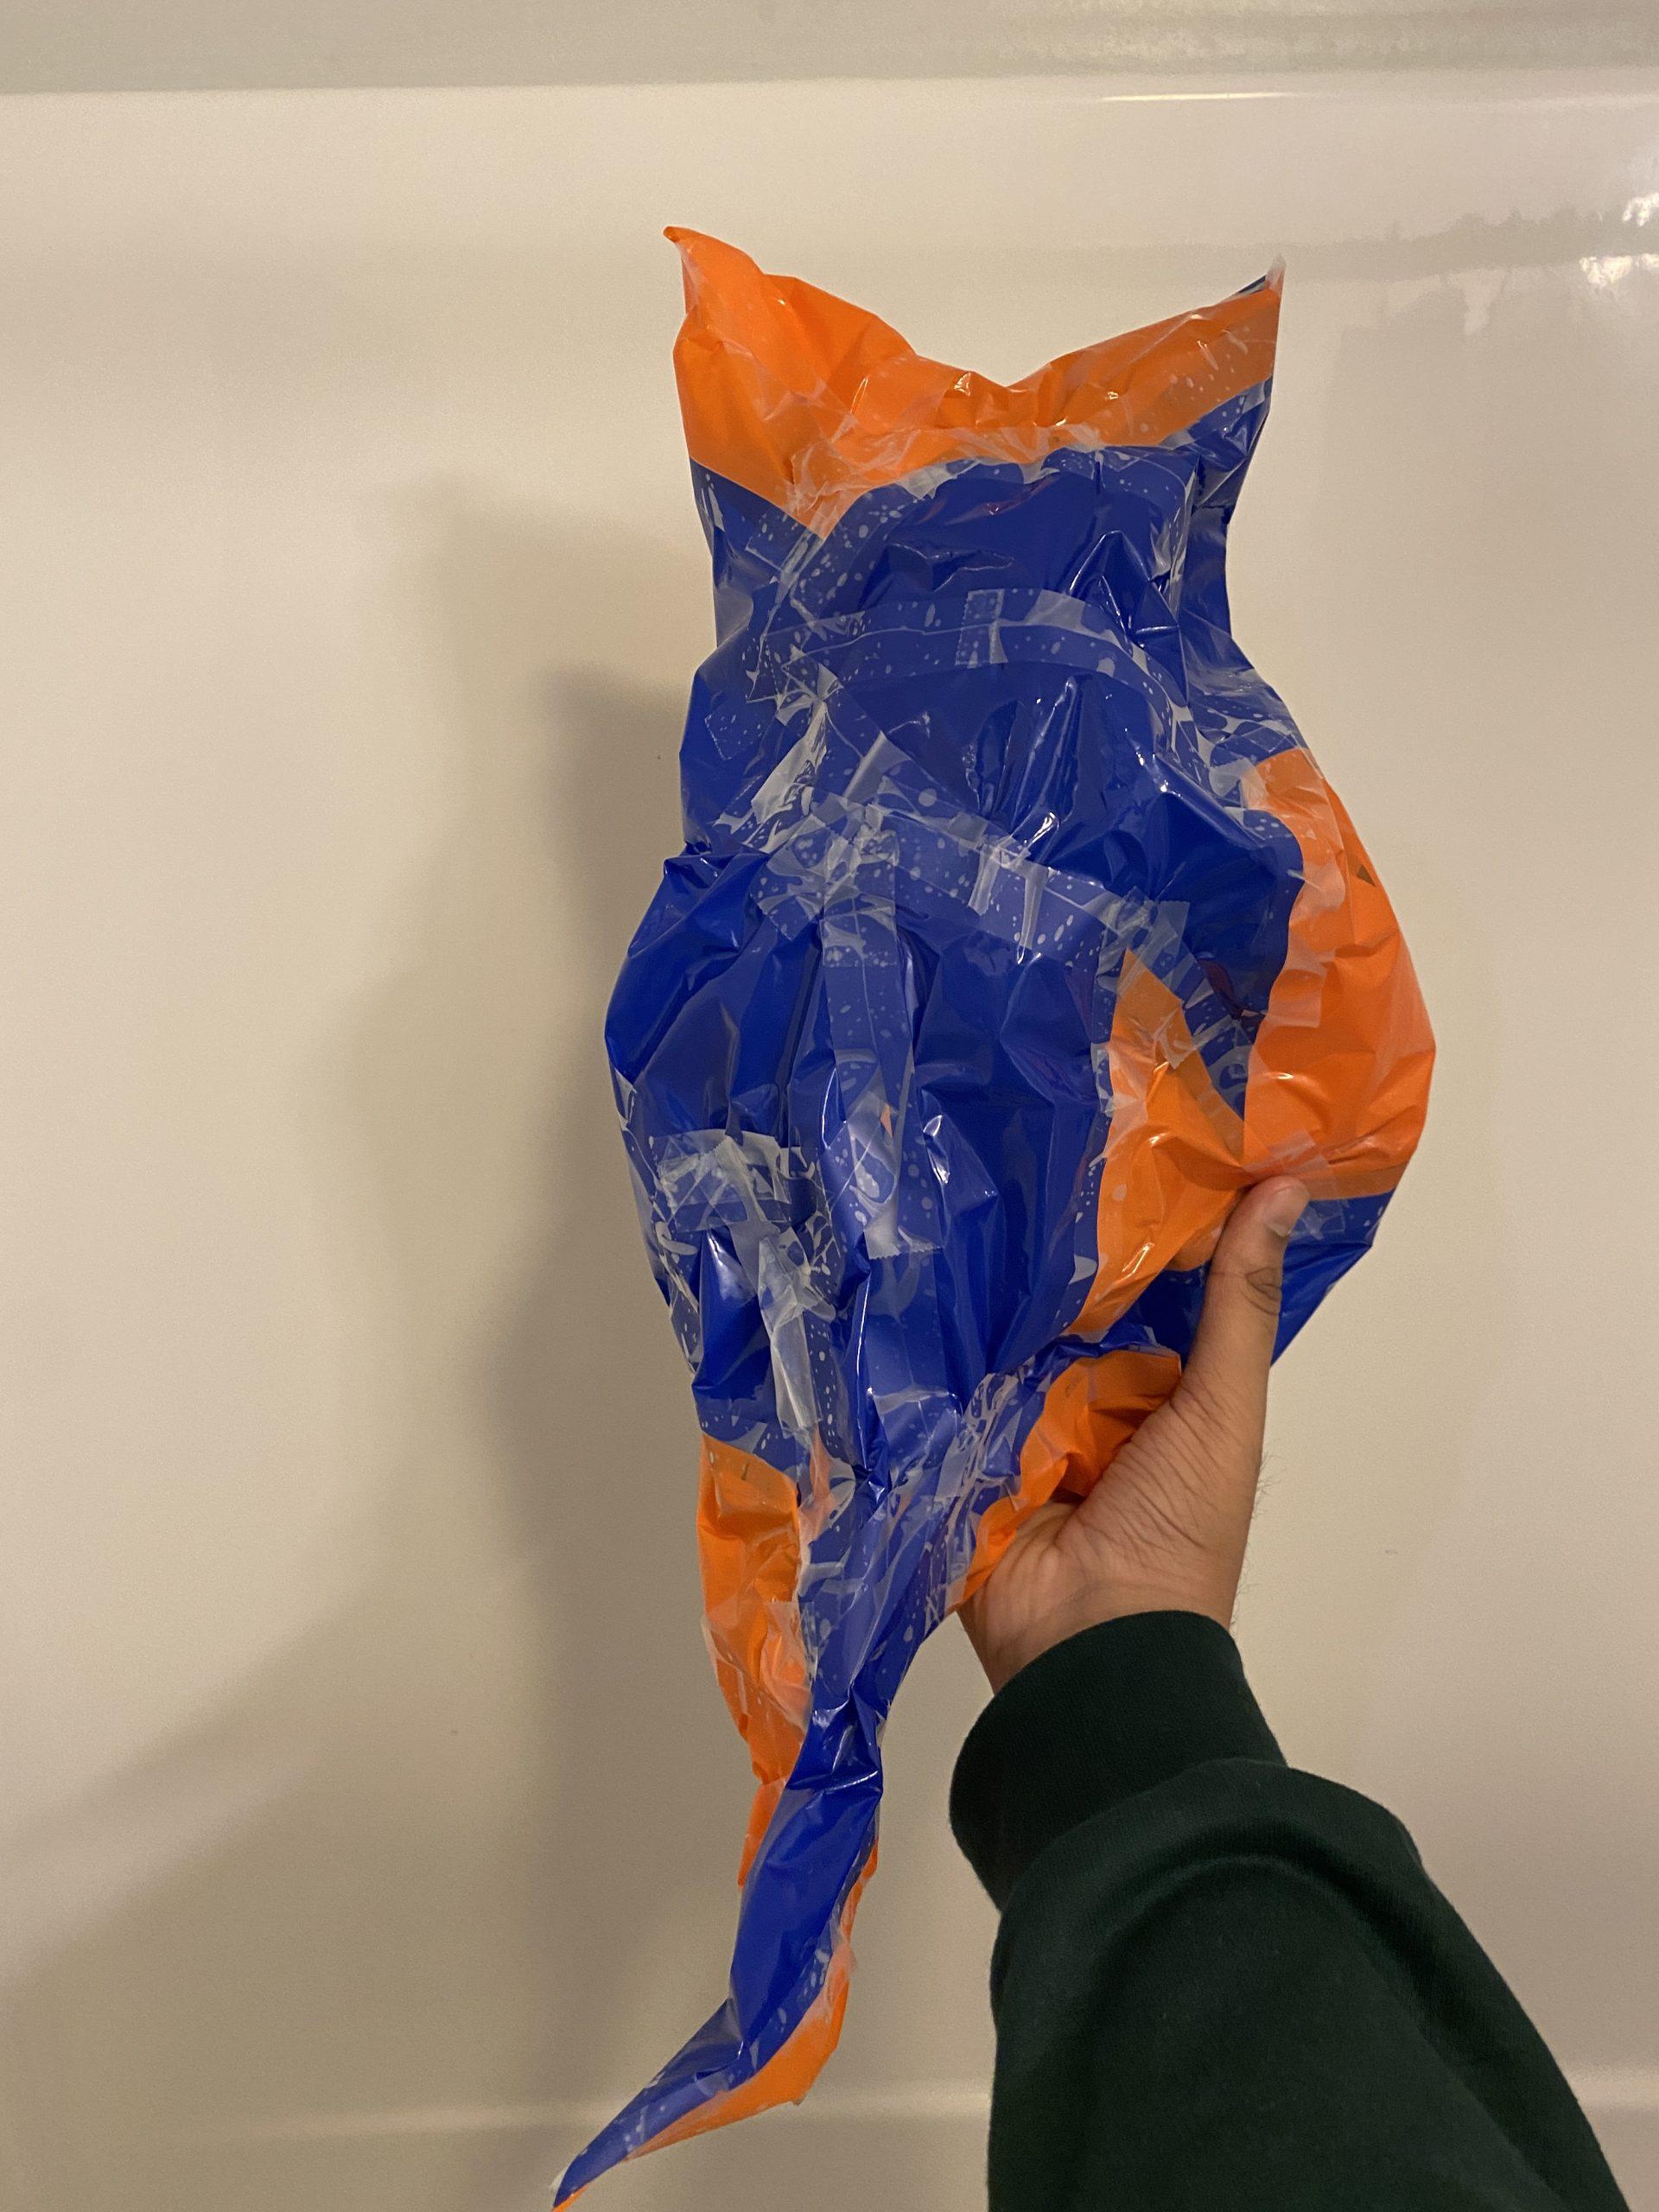
For the second piece, I opted to use a different strategy when putting the pieces together. Rather than the last piece where each piece touched pieces of different colors, I instead put pieces of similar colors together to see how that could create a visual effect of more interesting forms being seen on the inflatable. I also tried to create more pointed edges to the inflatable by pulling the edges of the pieces more tightly to new pieces I taped on.

This inflatable looks like a lot of different things to me. From one angle, it looks like a cat sitting up, with 2 distinct ears and a tail. From another angle it almost looks like a fish swimming through water. I also ran out of the provided tape with the first inflatable so I had to use plain Scotch tape.

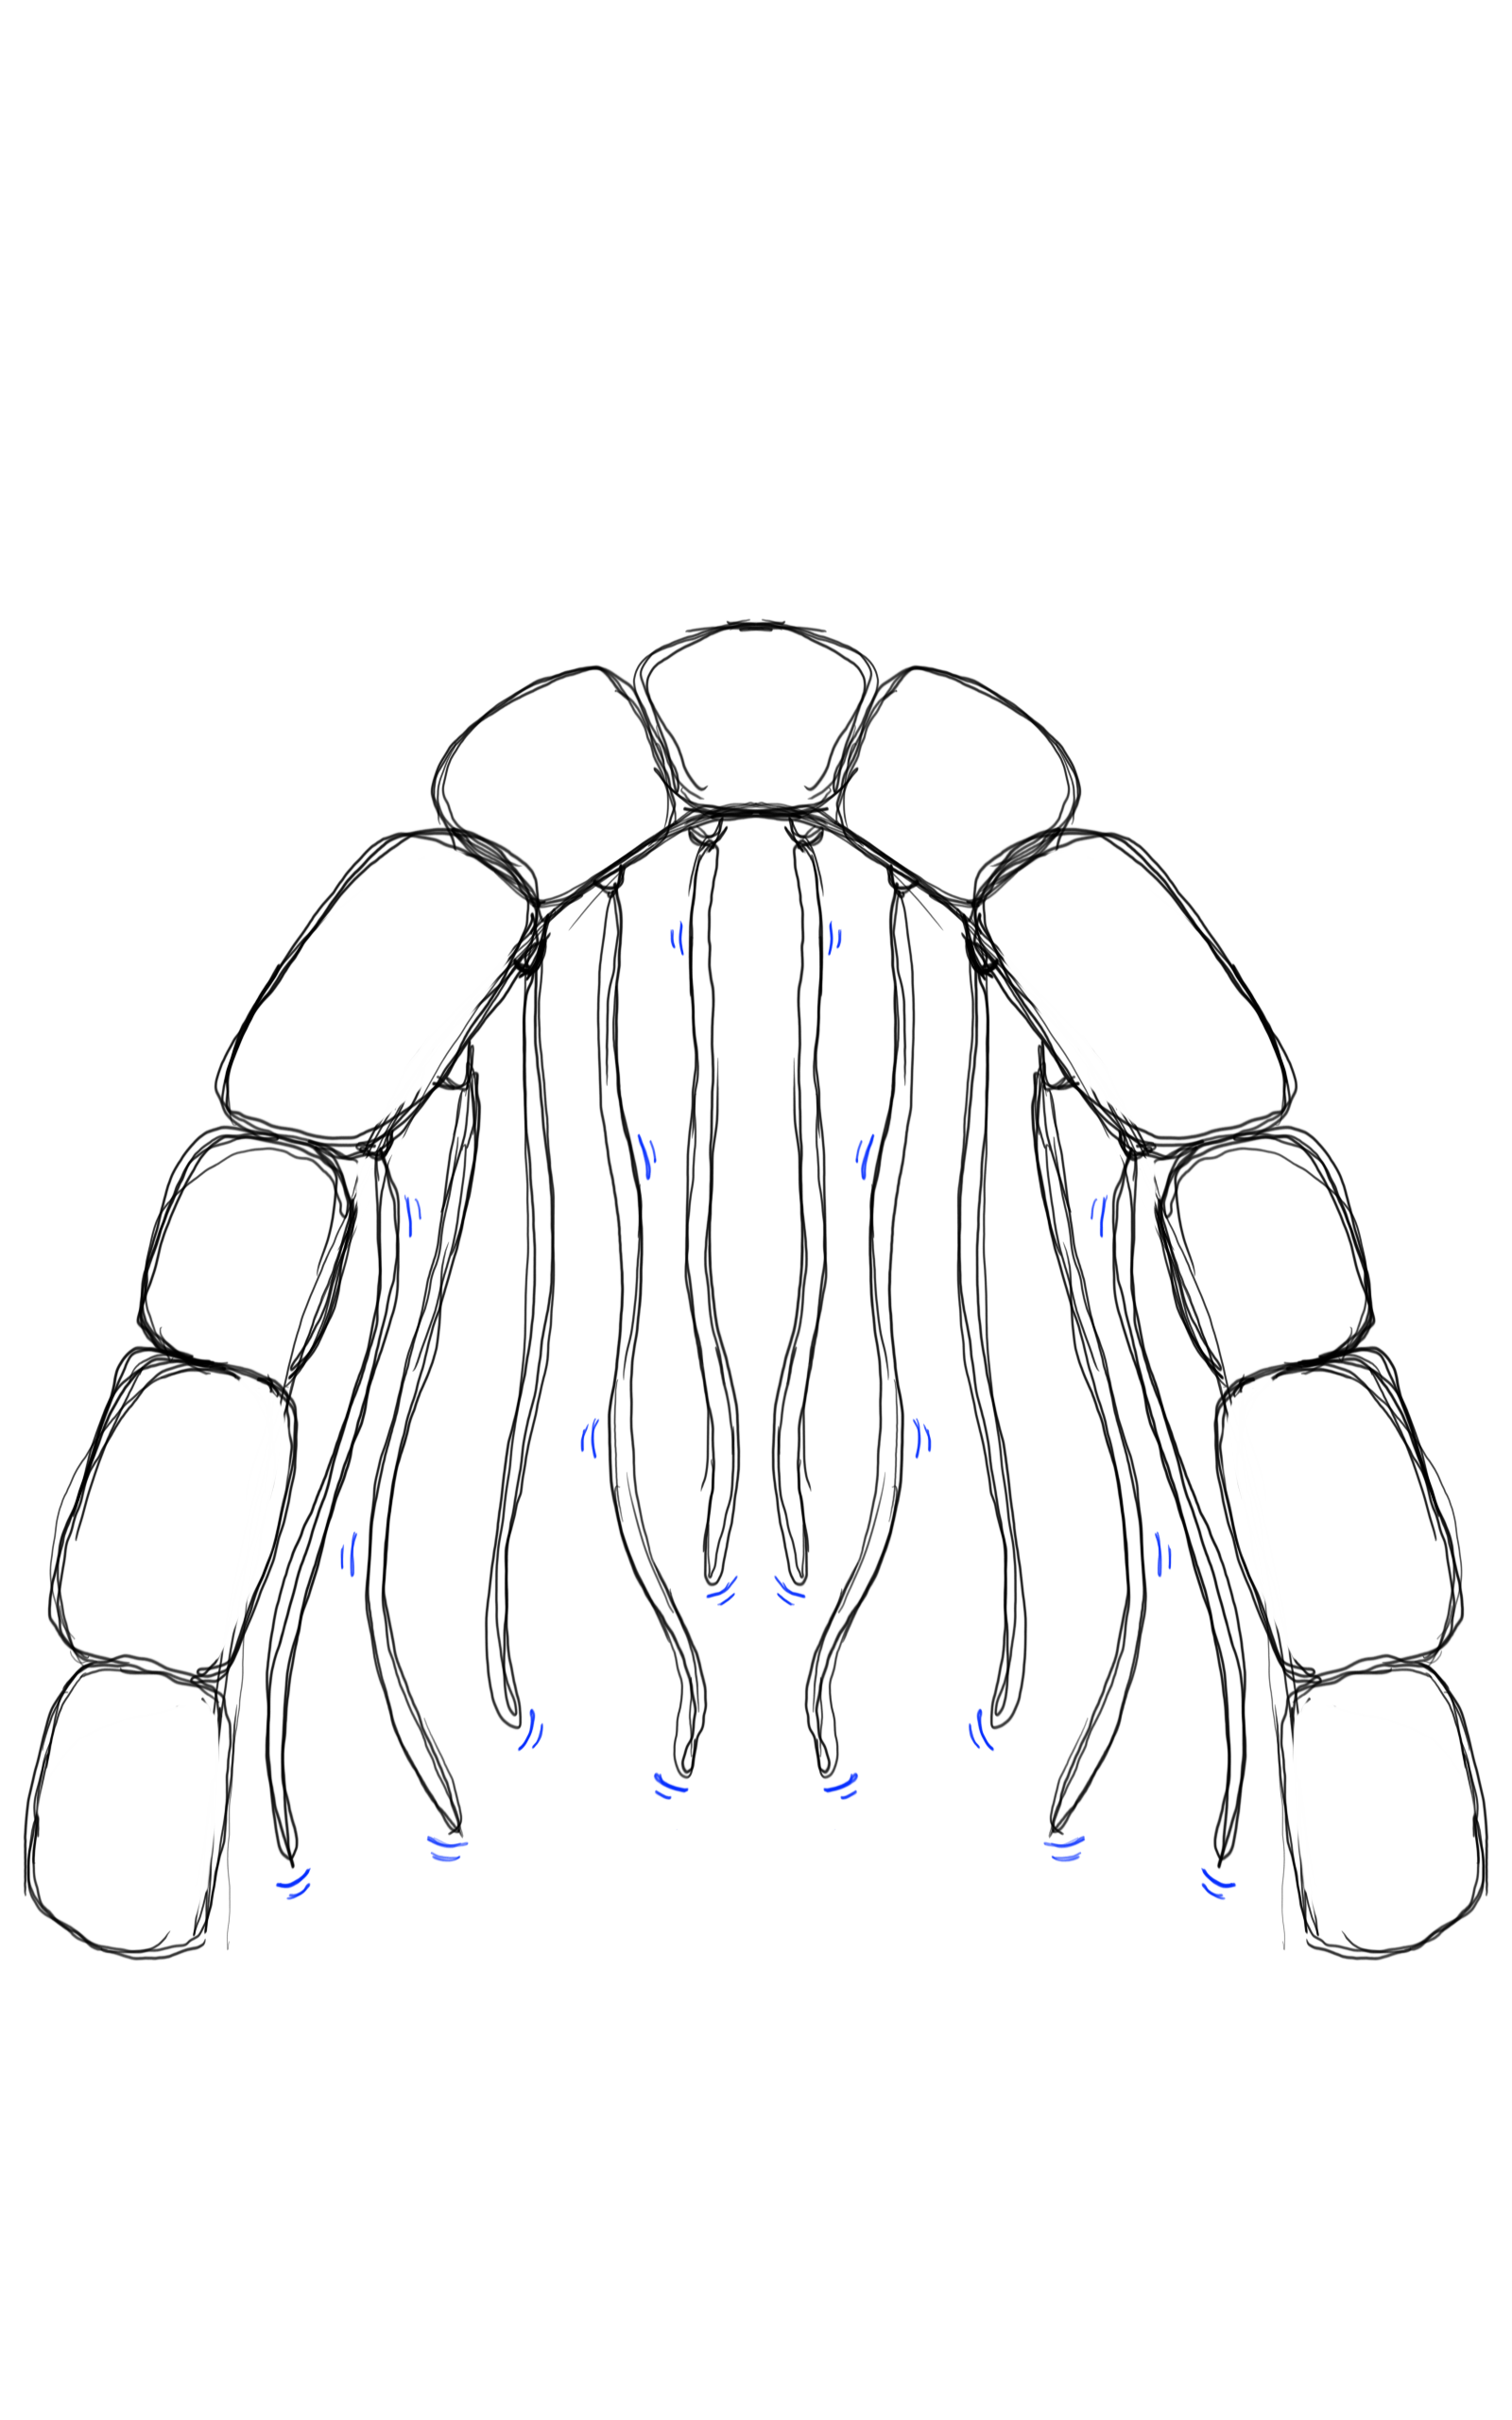
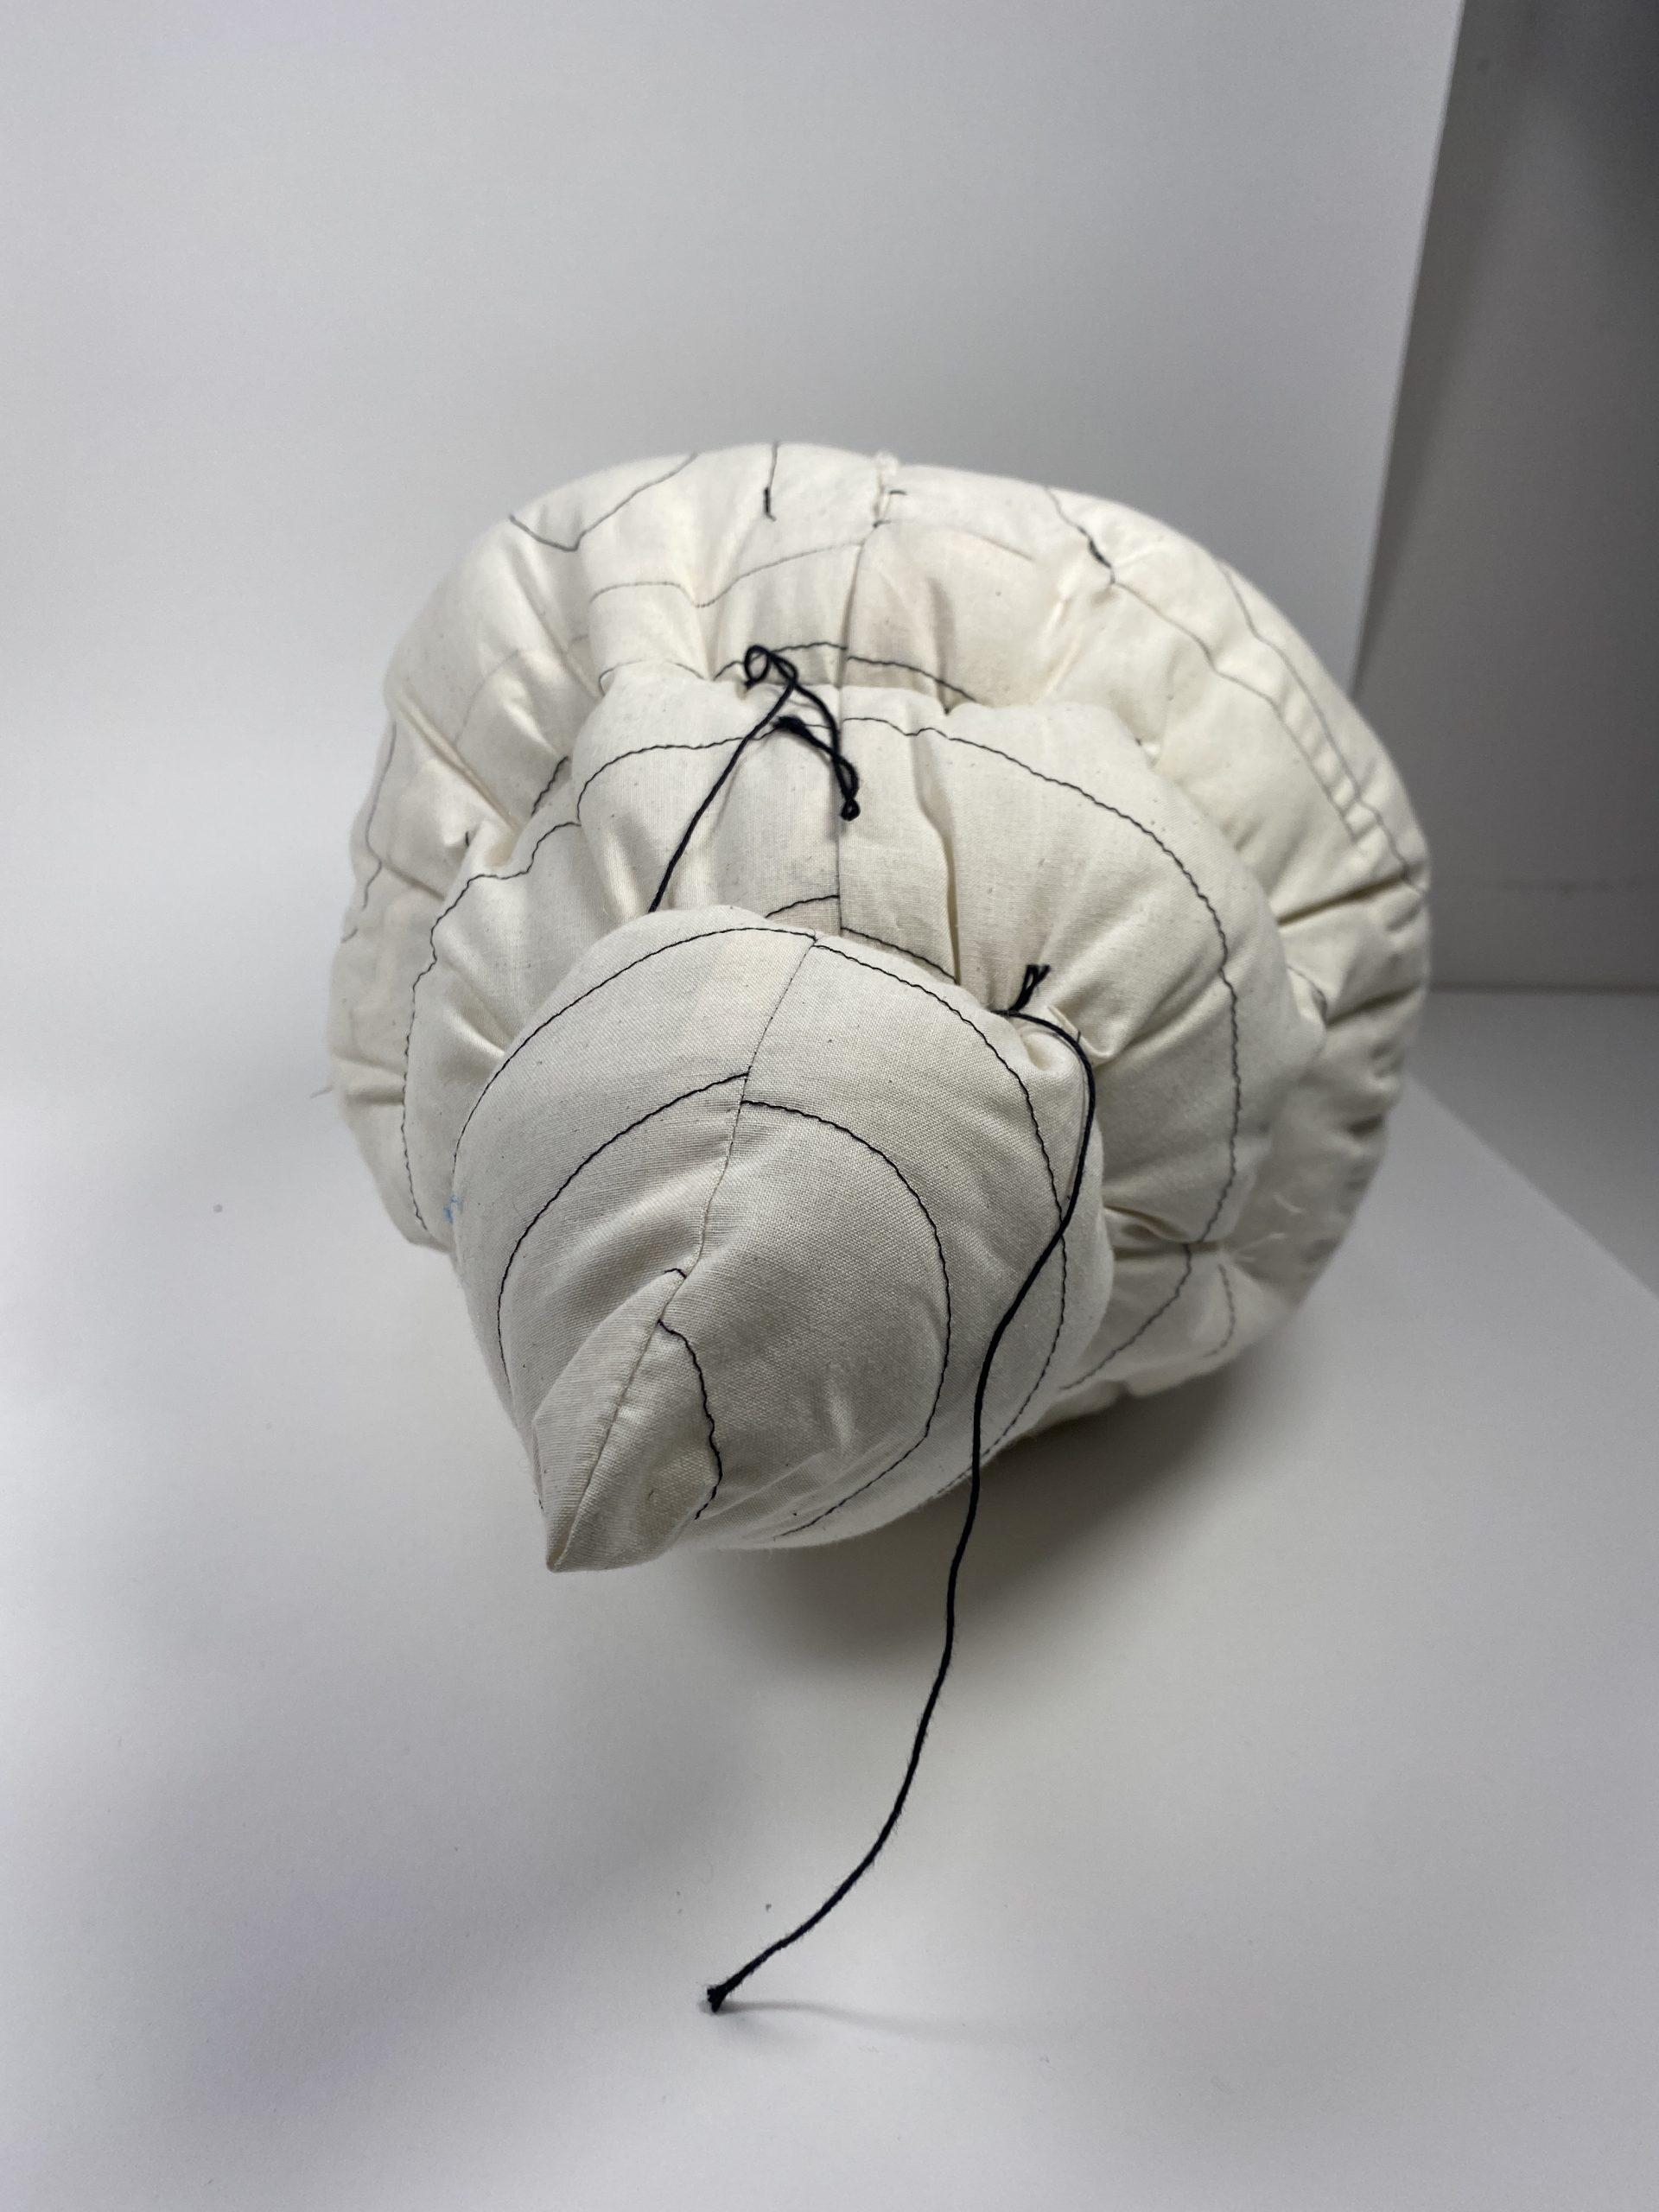
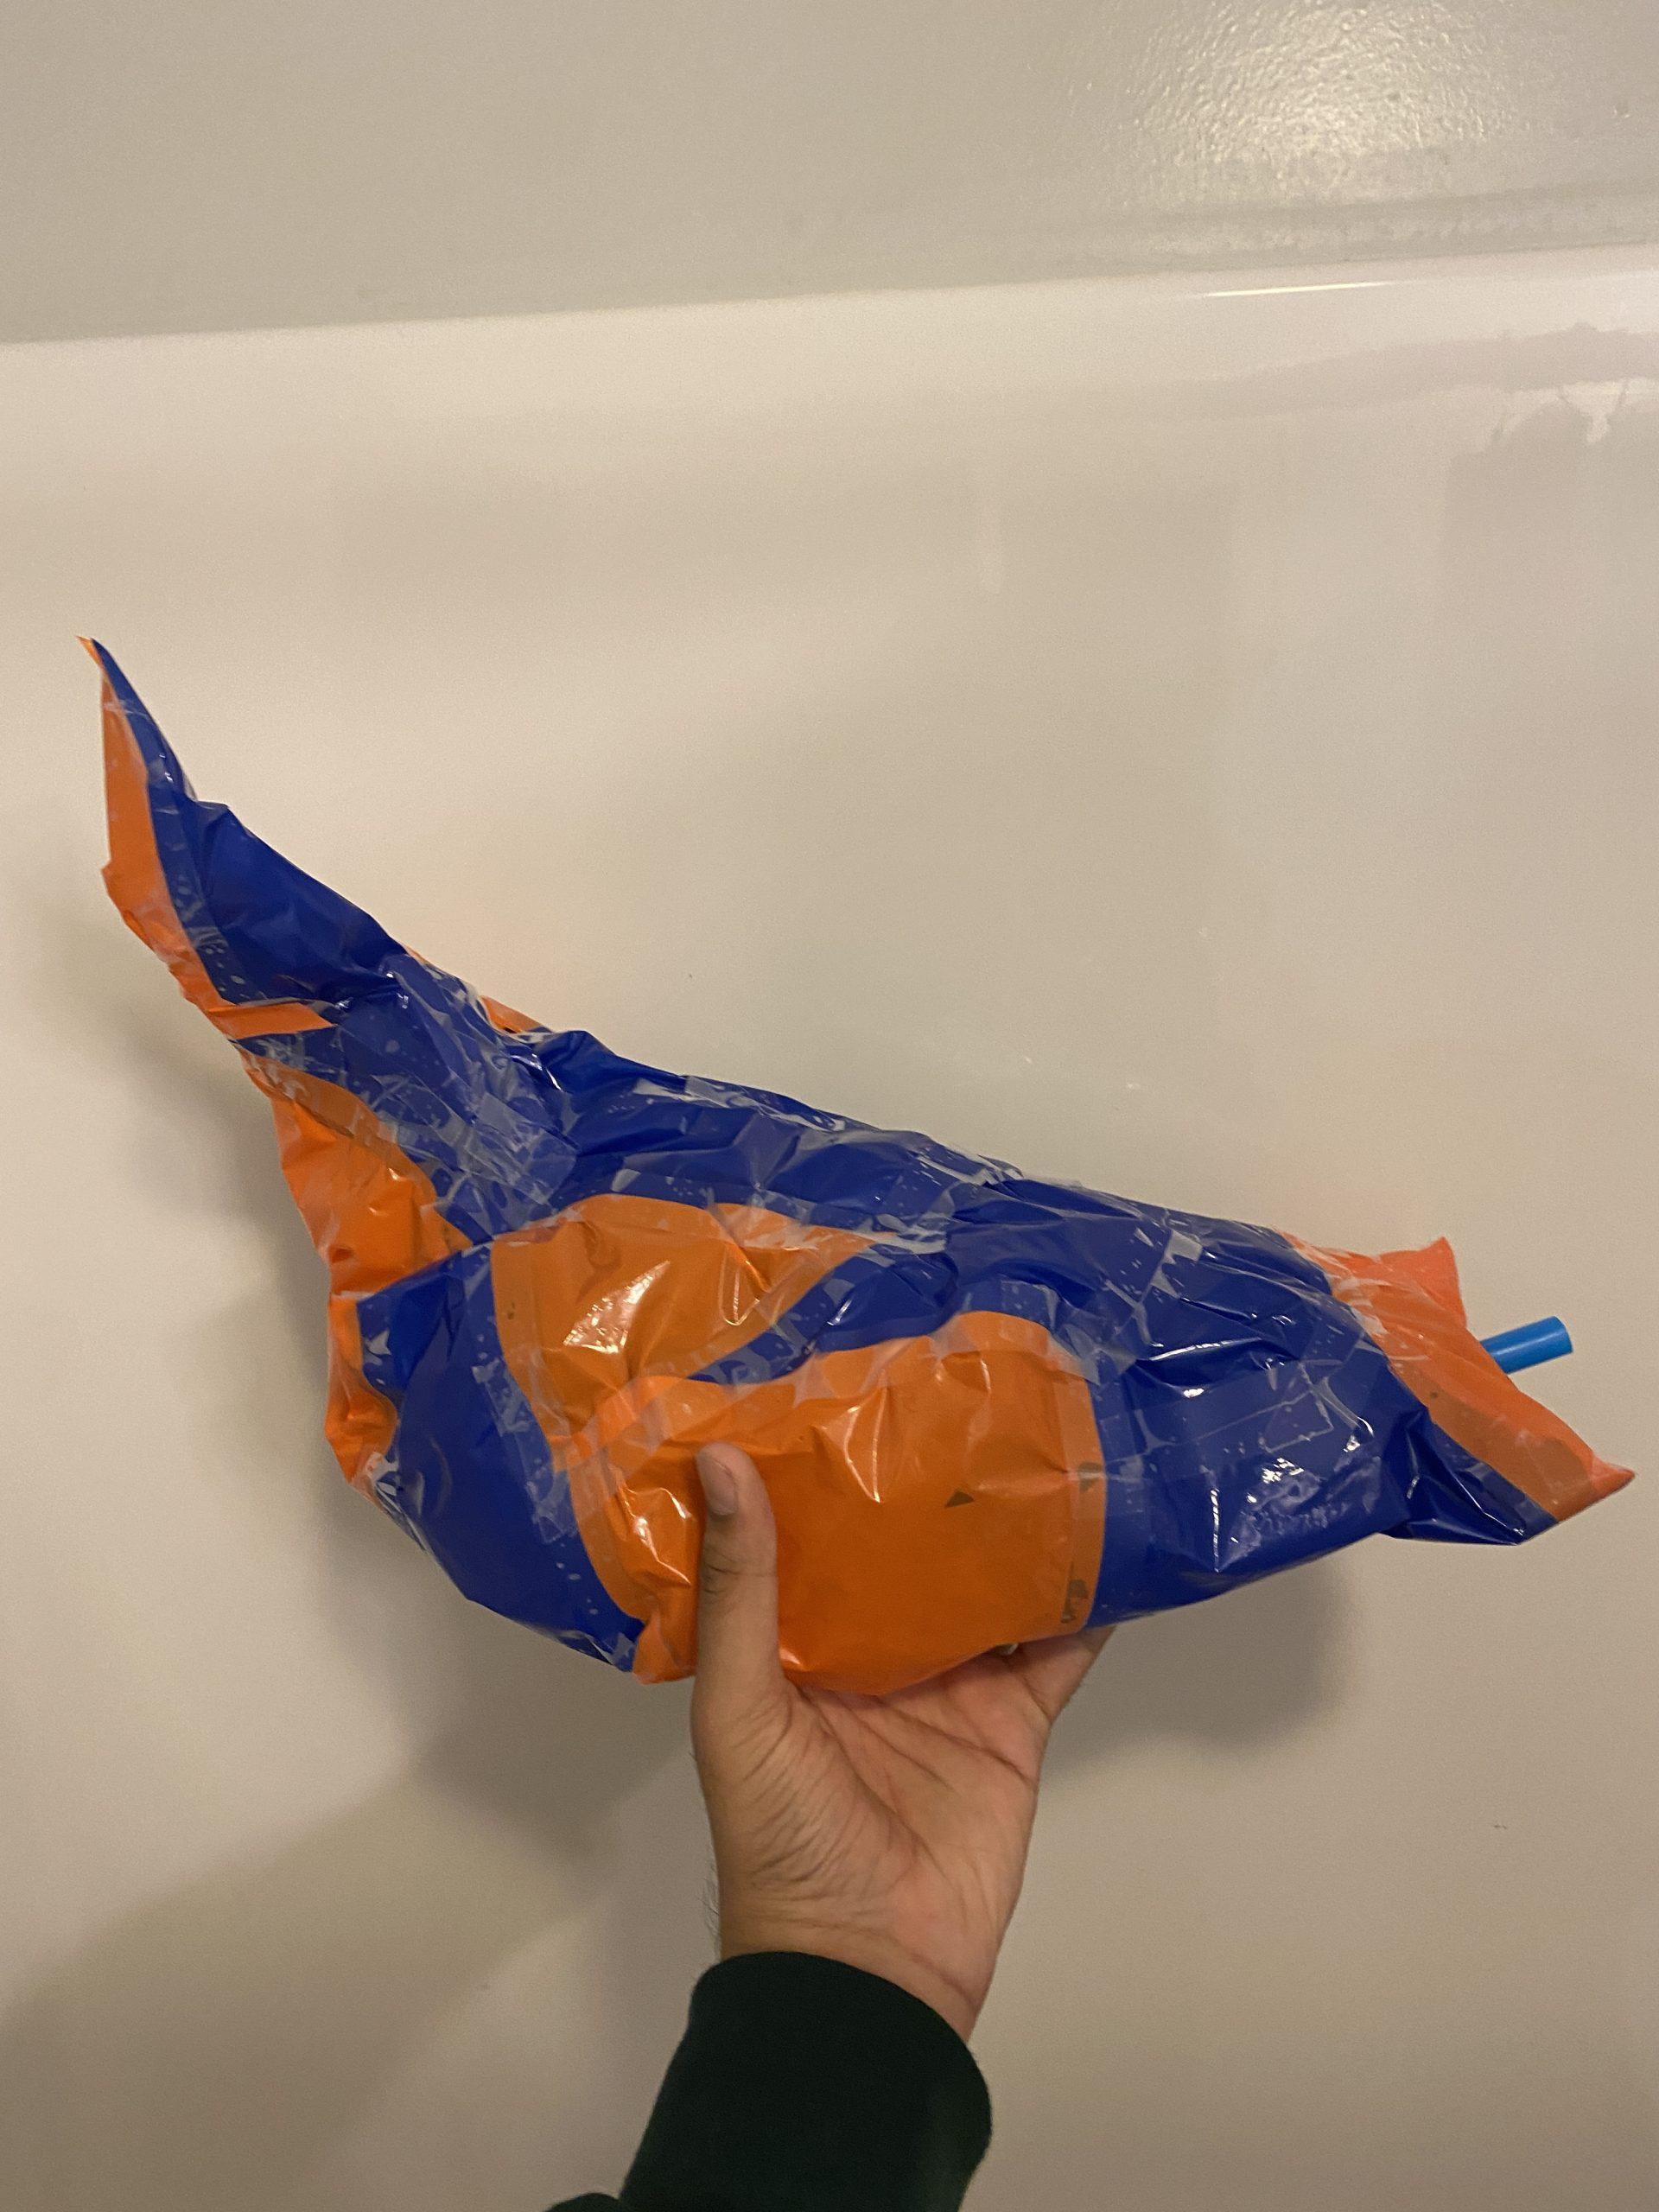
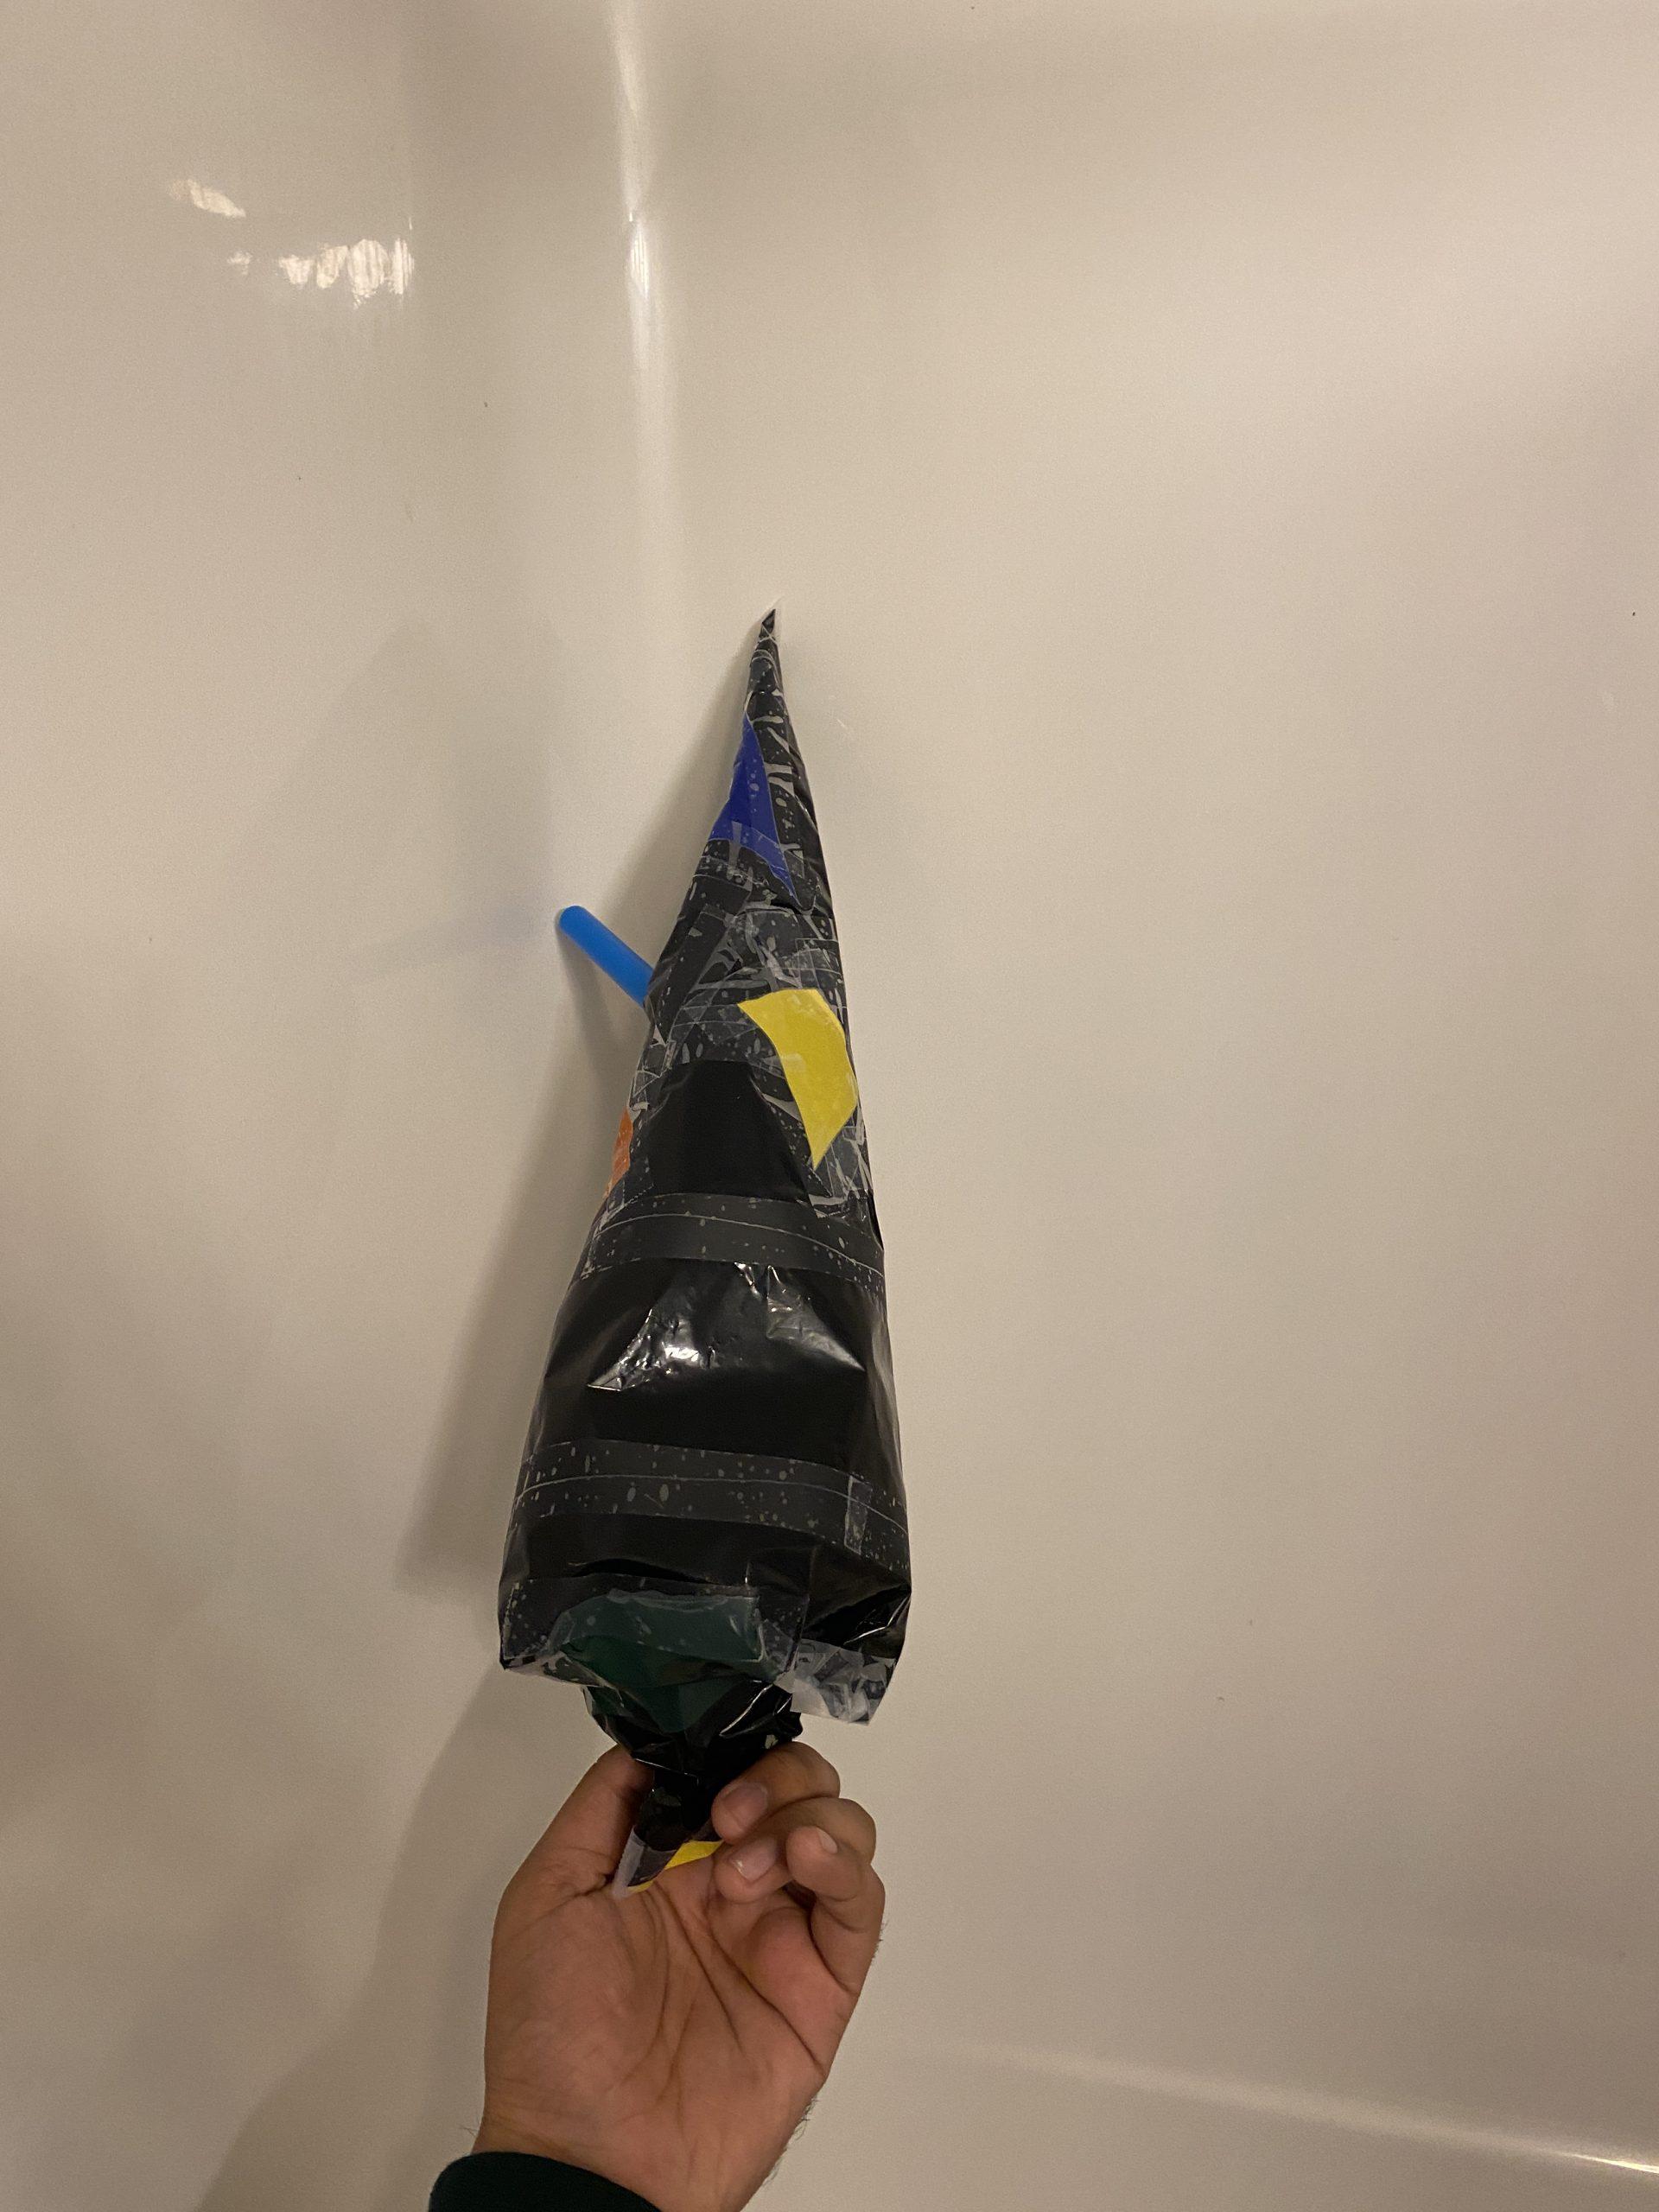
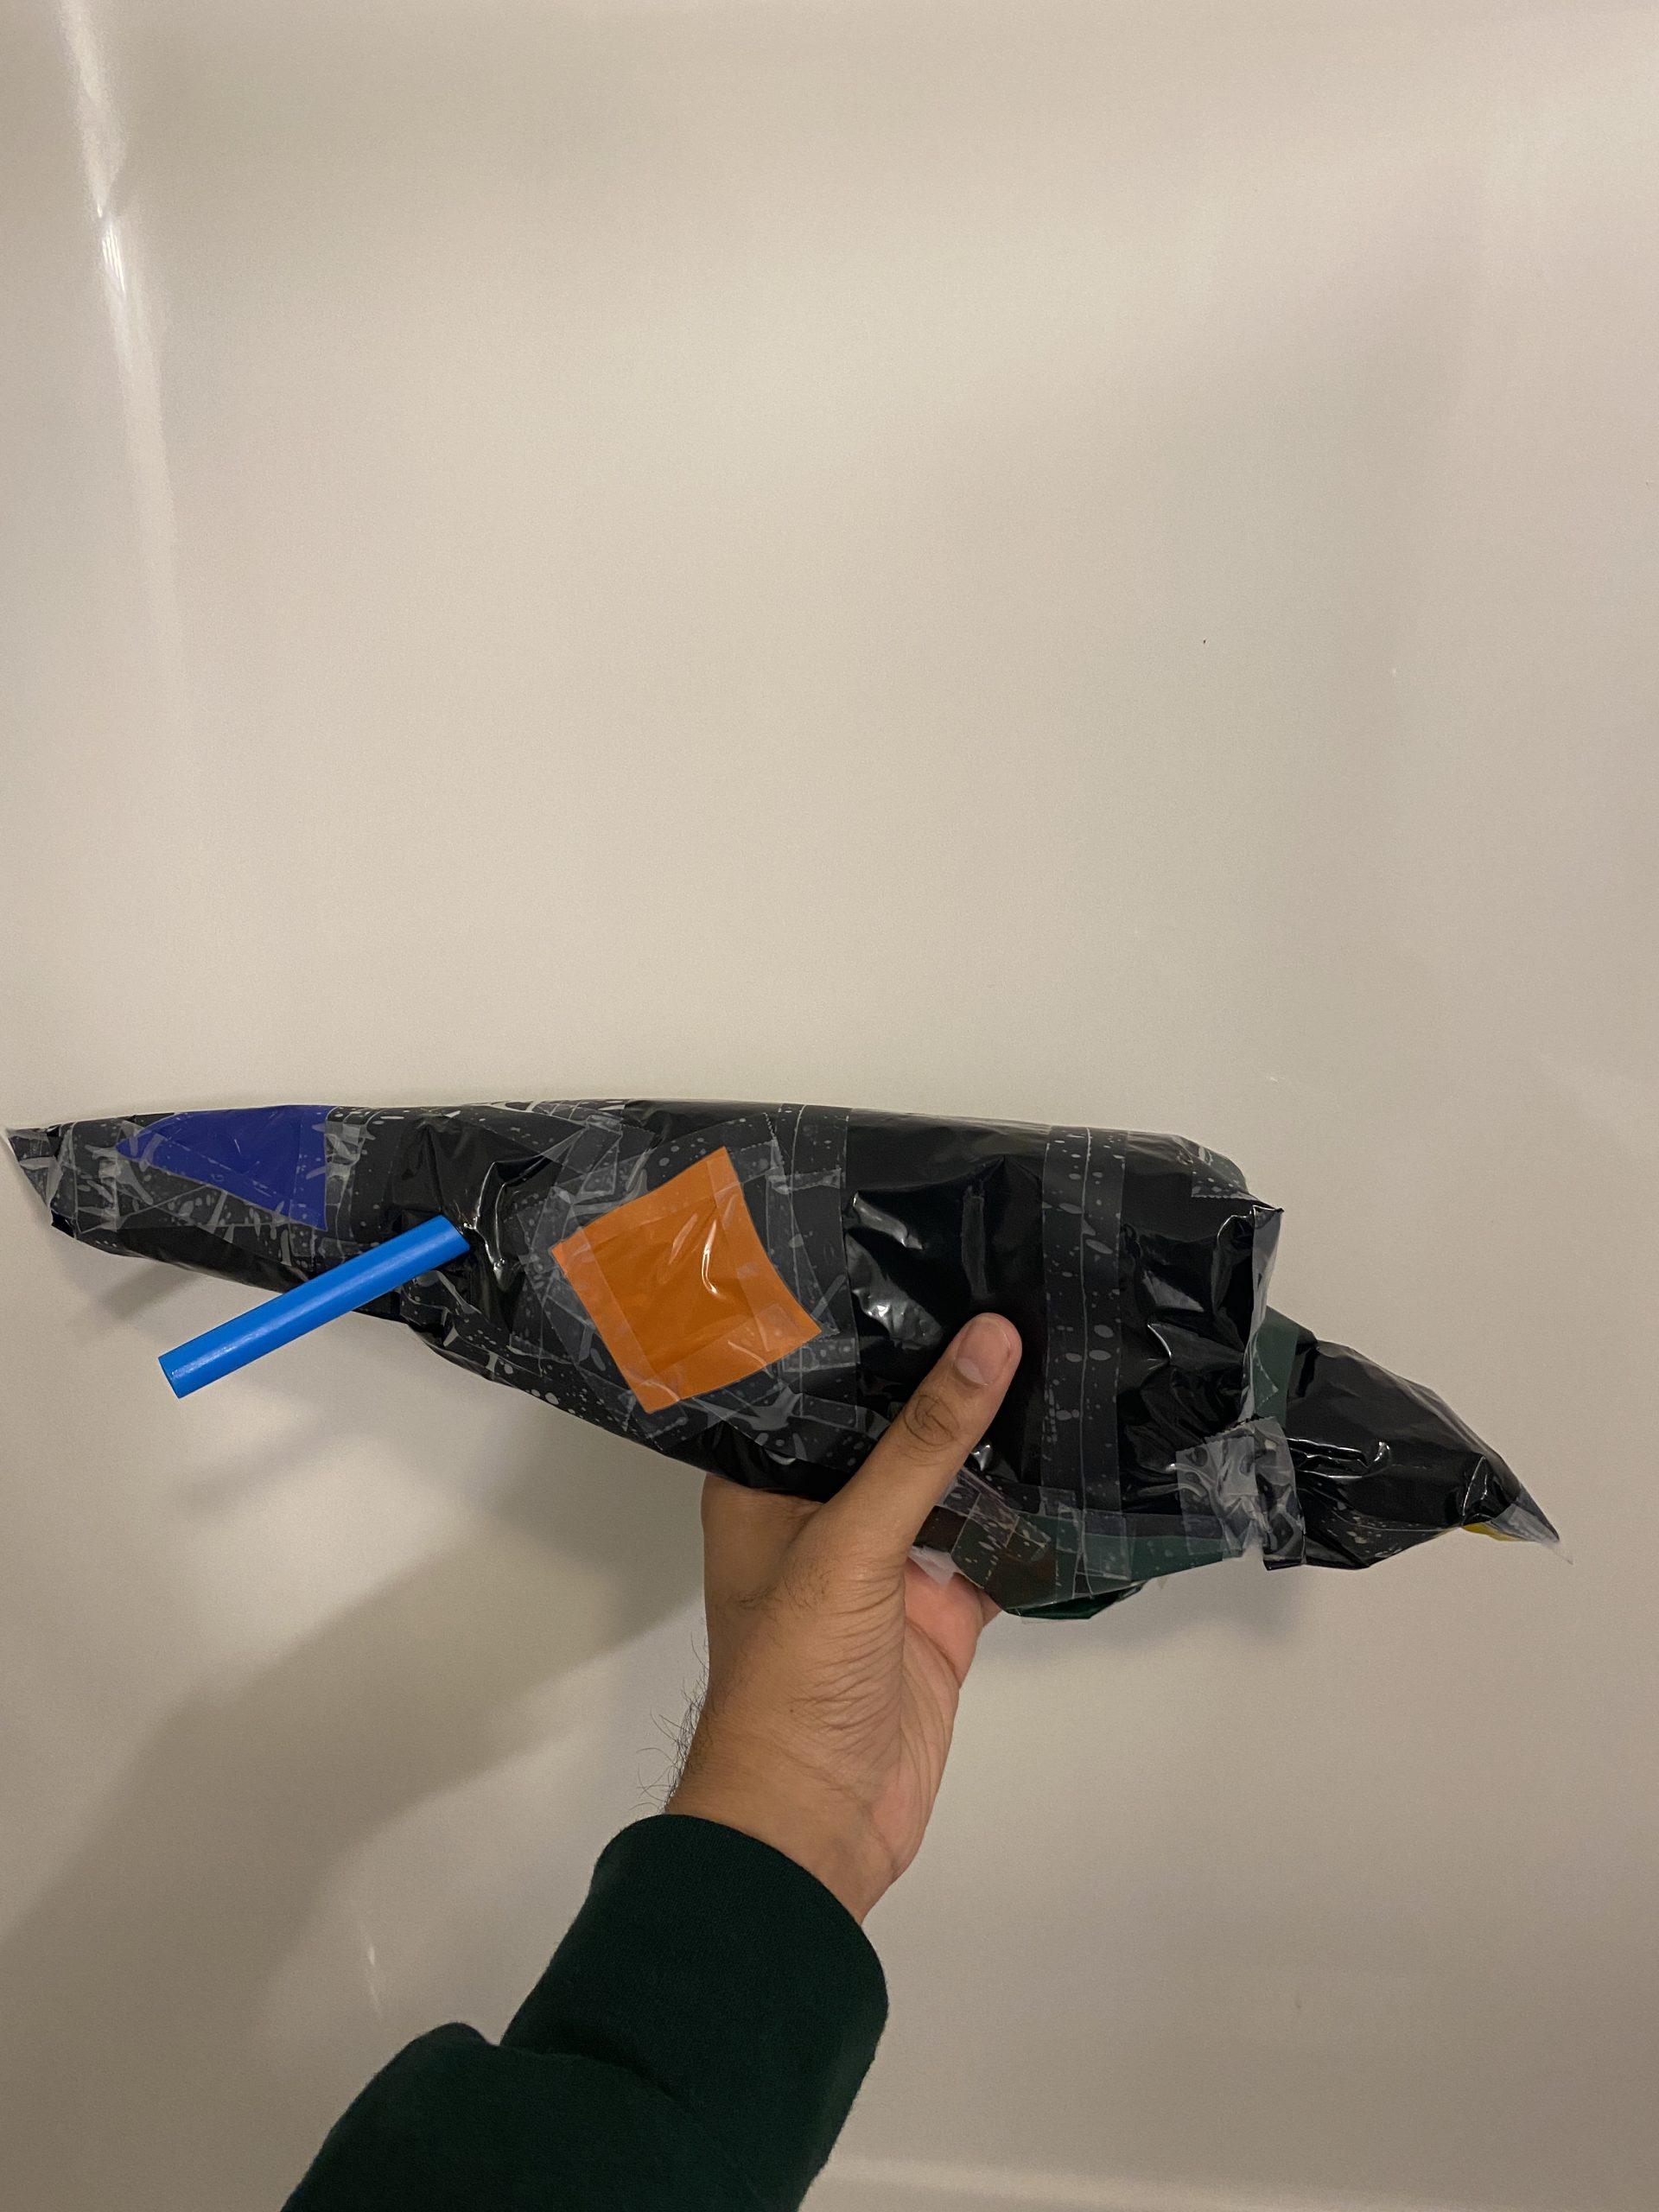
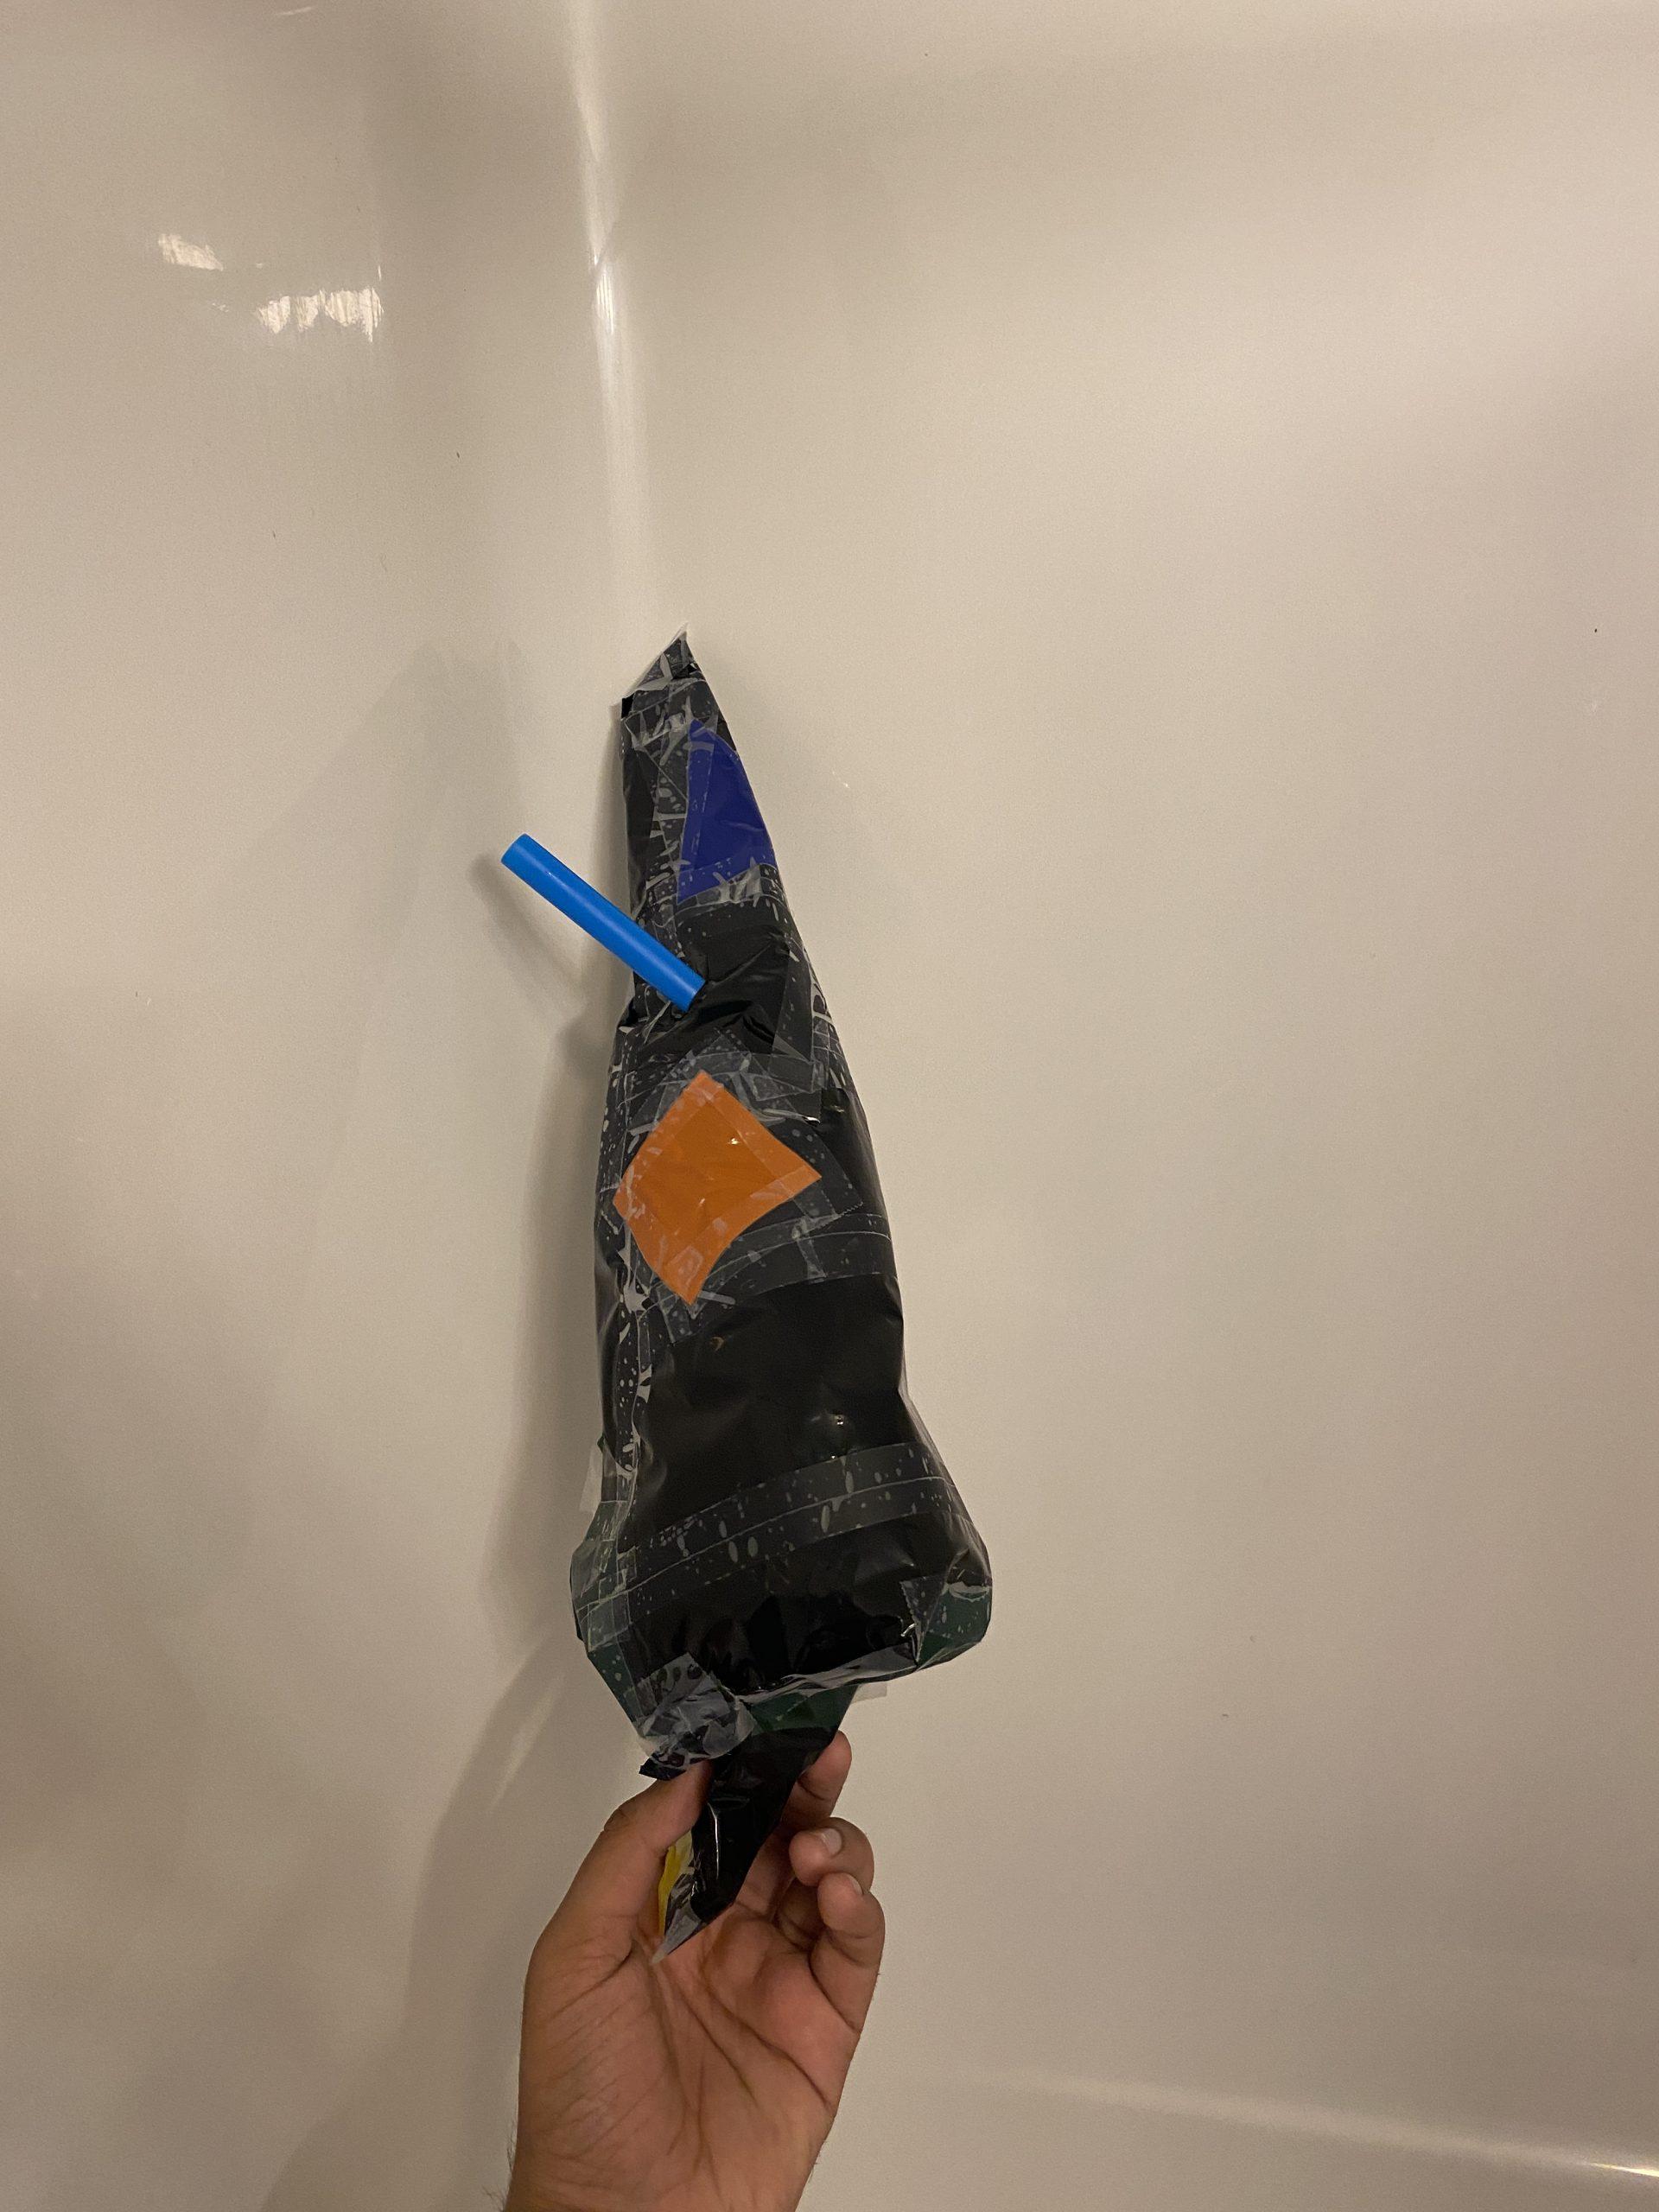
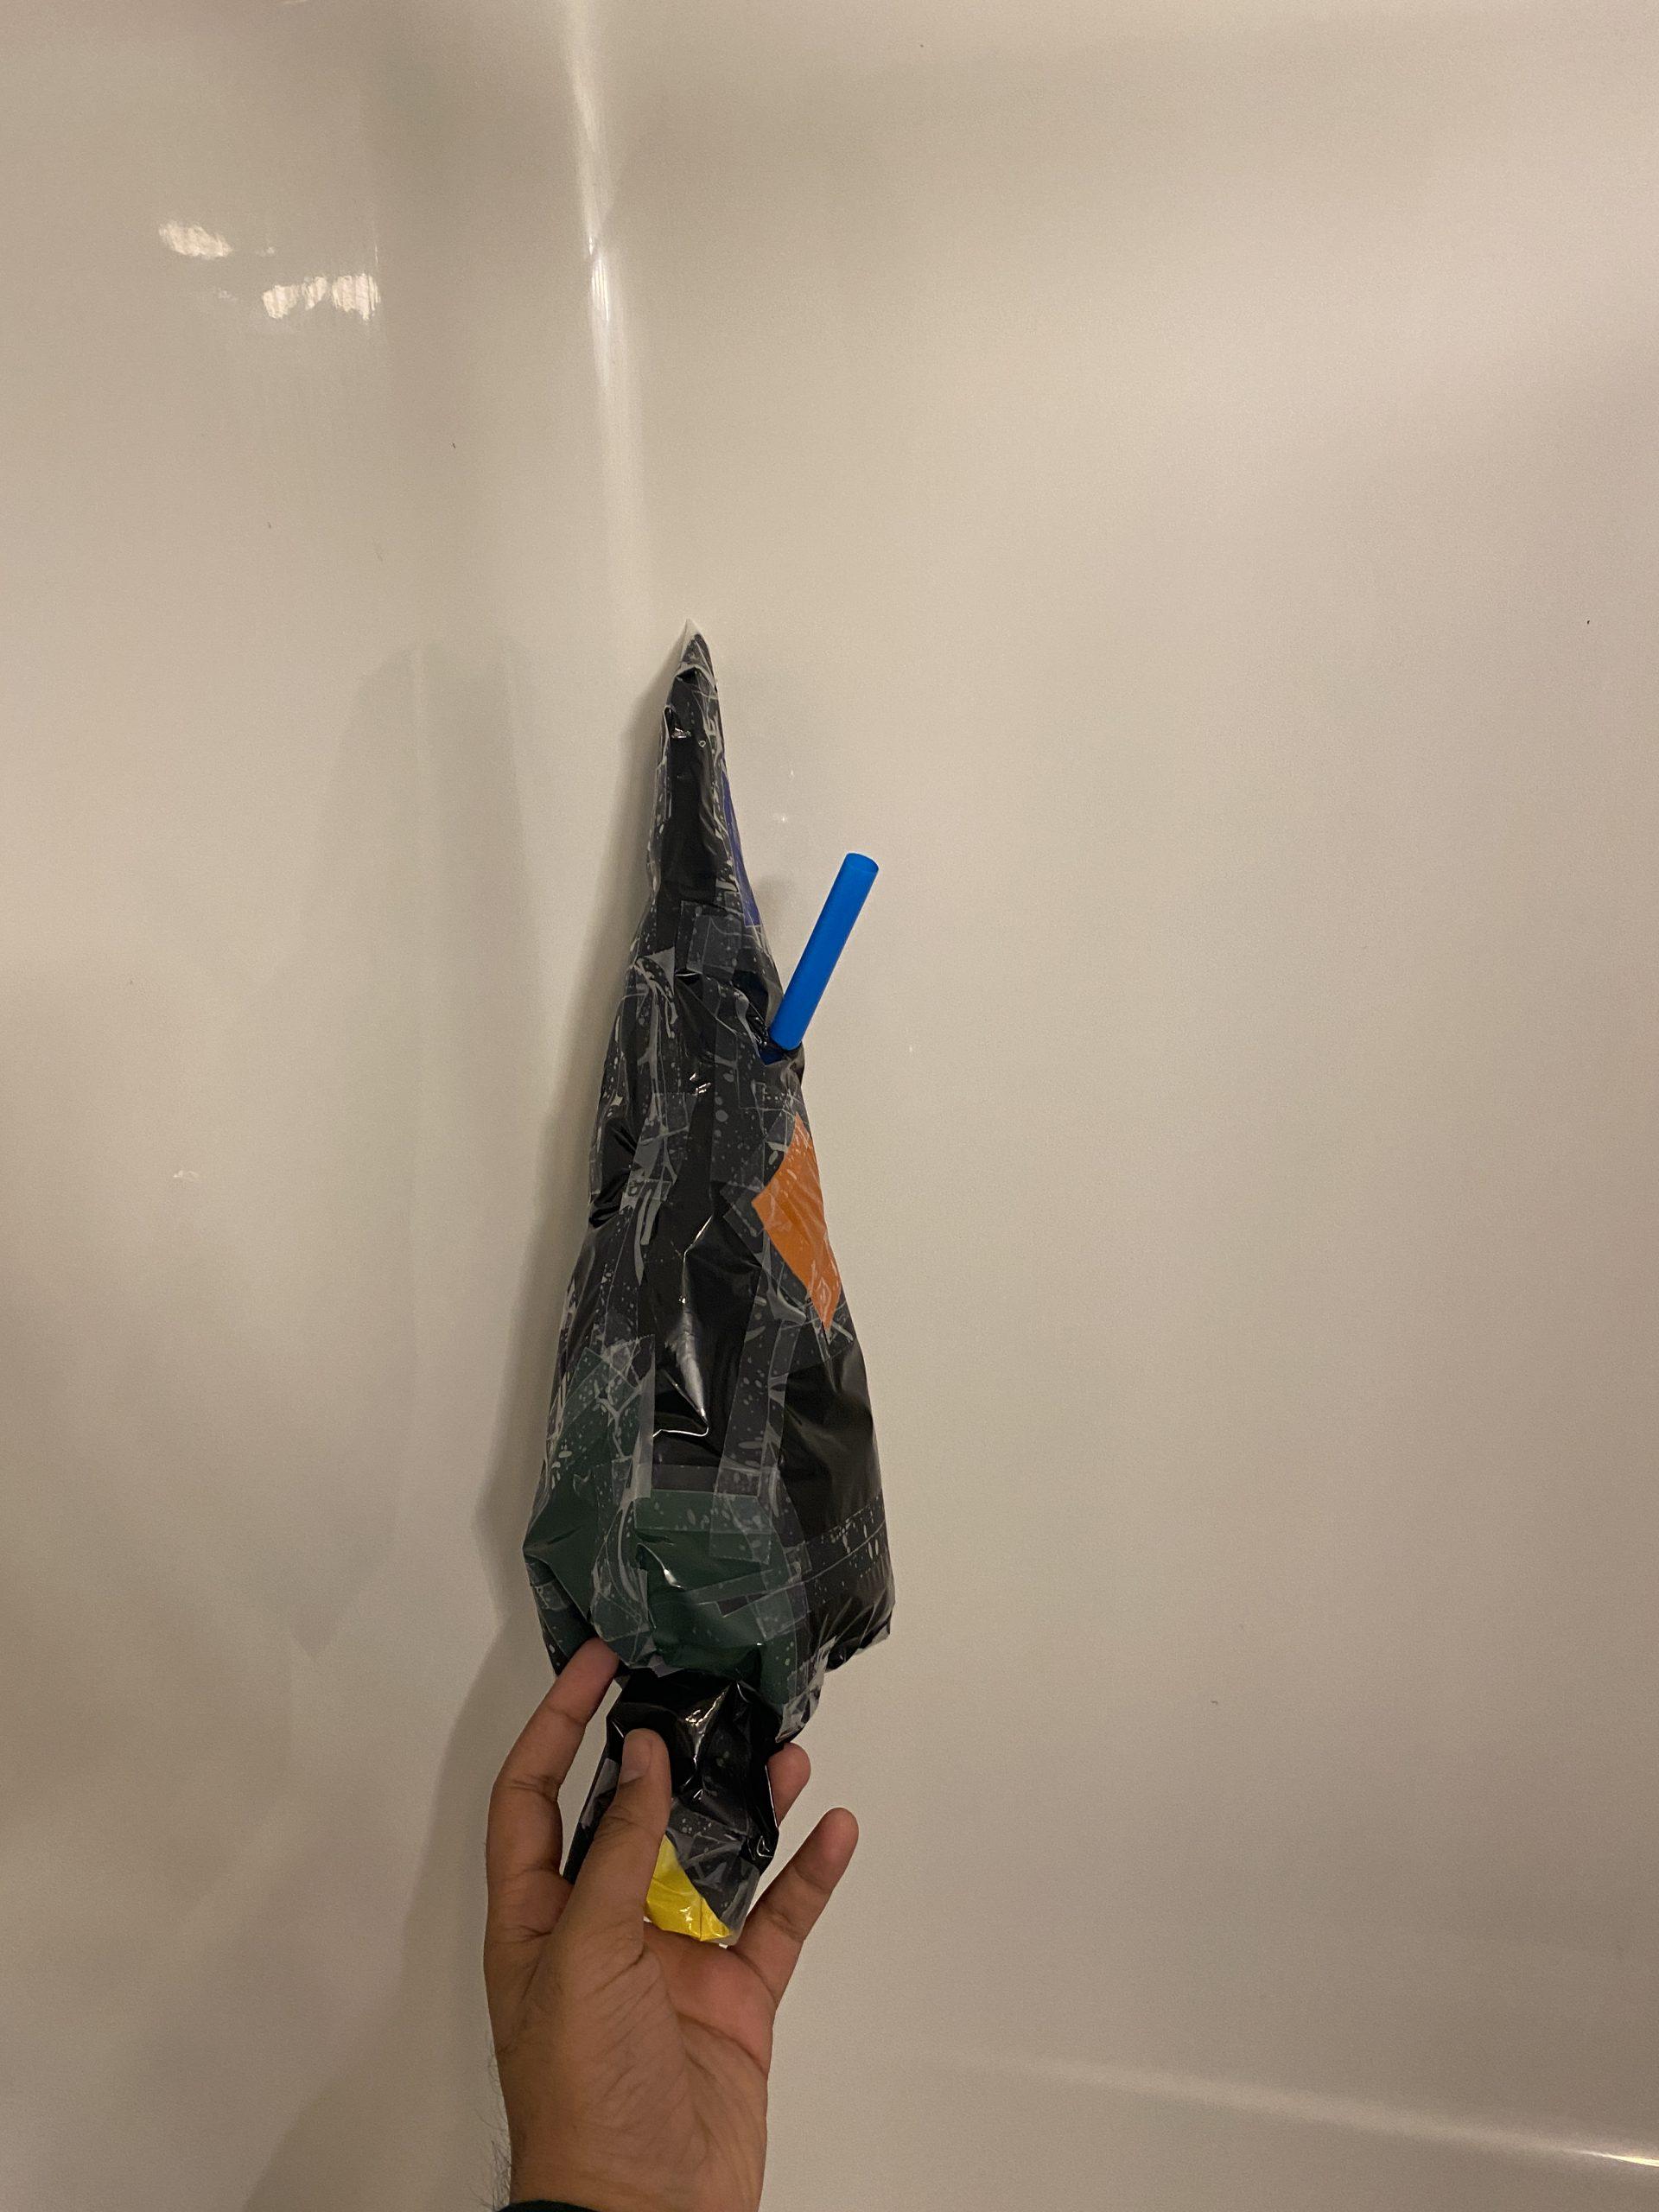
For the last inflatable, I decided to experiment with making a 2D design of the inflatable, and once I was pleased with it, folding and taping it immediately into 3D without adding a single piece.

The 2D design essentially looked like a flat Christmas tree, with a tall triangle and a rounded bottom. As I pulled everything to each other, I experimented with how to connect the edges. I ultimately decided on connecting them as if I folded the design in half vertically. It ultimately created this cone like object which seems to resemble a 3D Christmas tree. Honestly, I was pretty surprised with how this turned out – especially the fact that the 2D and 3D forms were much more similar visually that I thought they would be.