
I thoroughly enjoyed this assignment and had so much fun exploring basic forms and learning different sewing techniques!
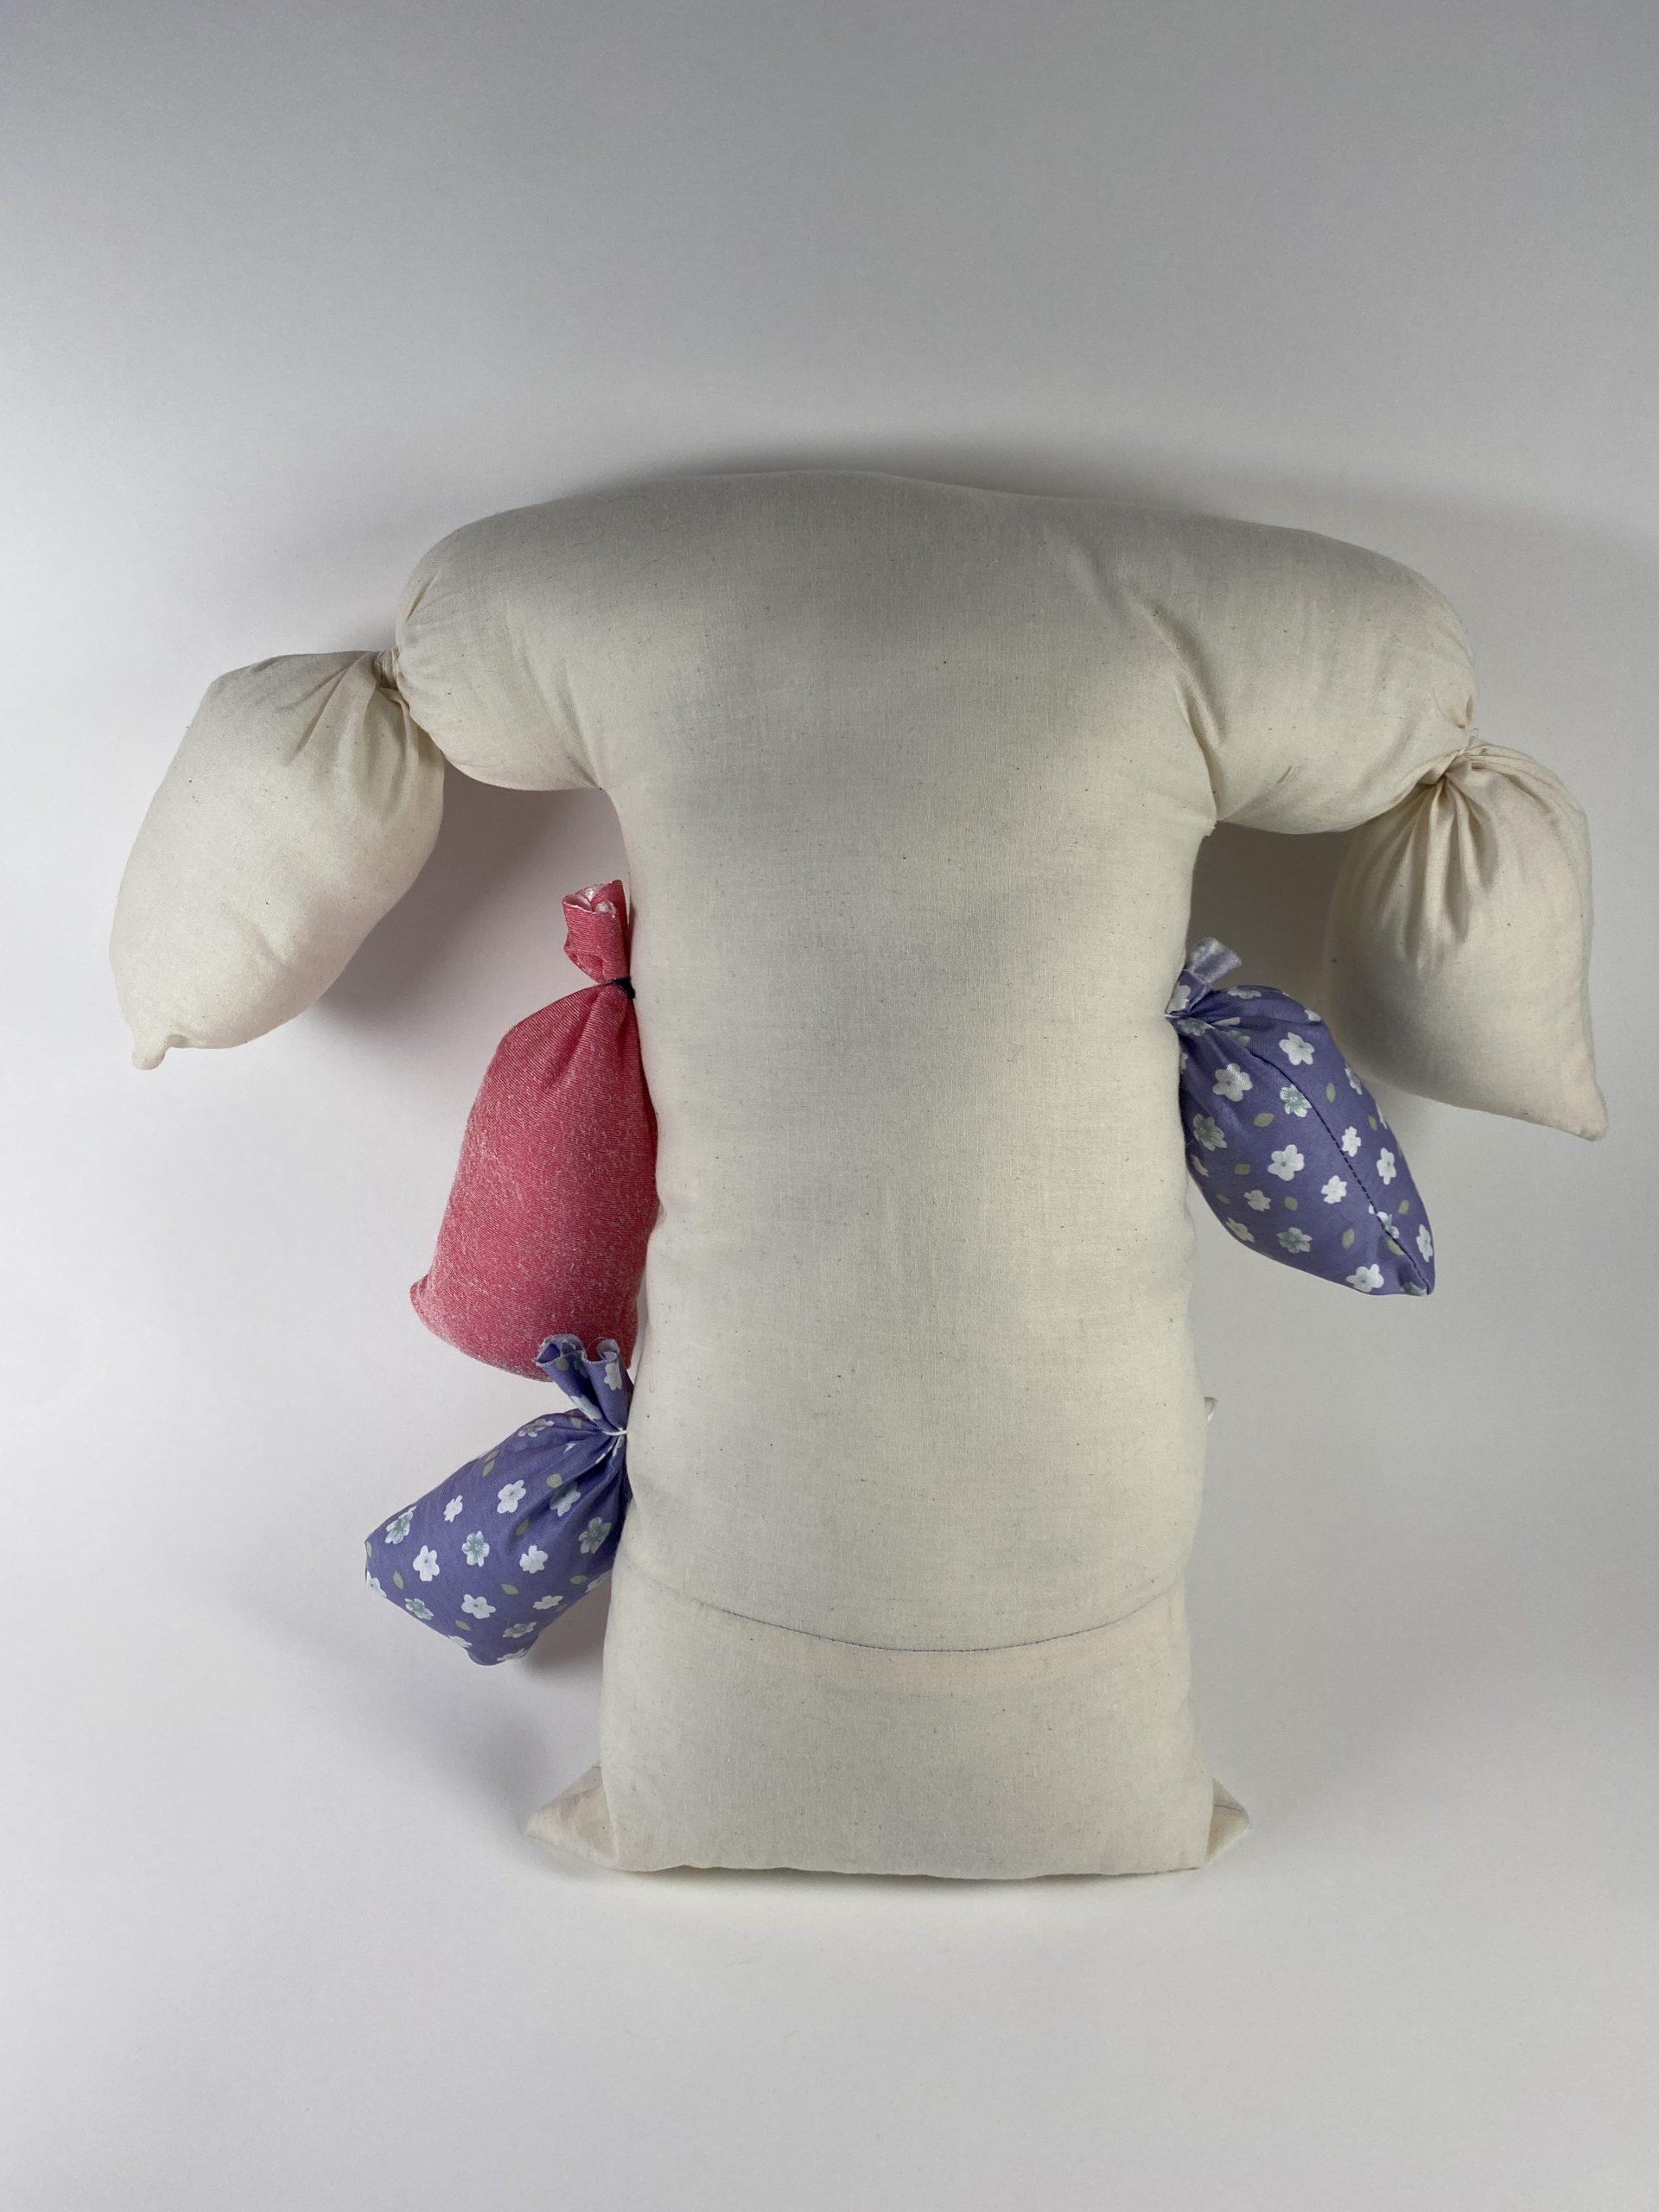
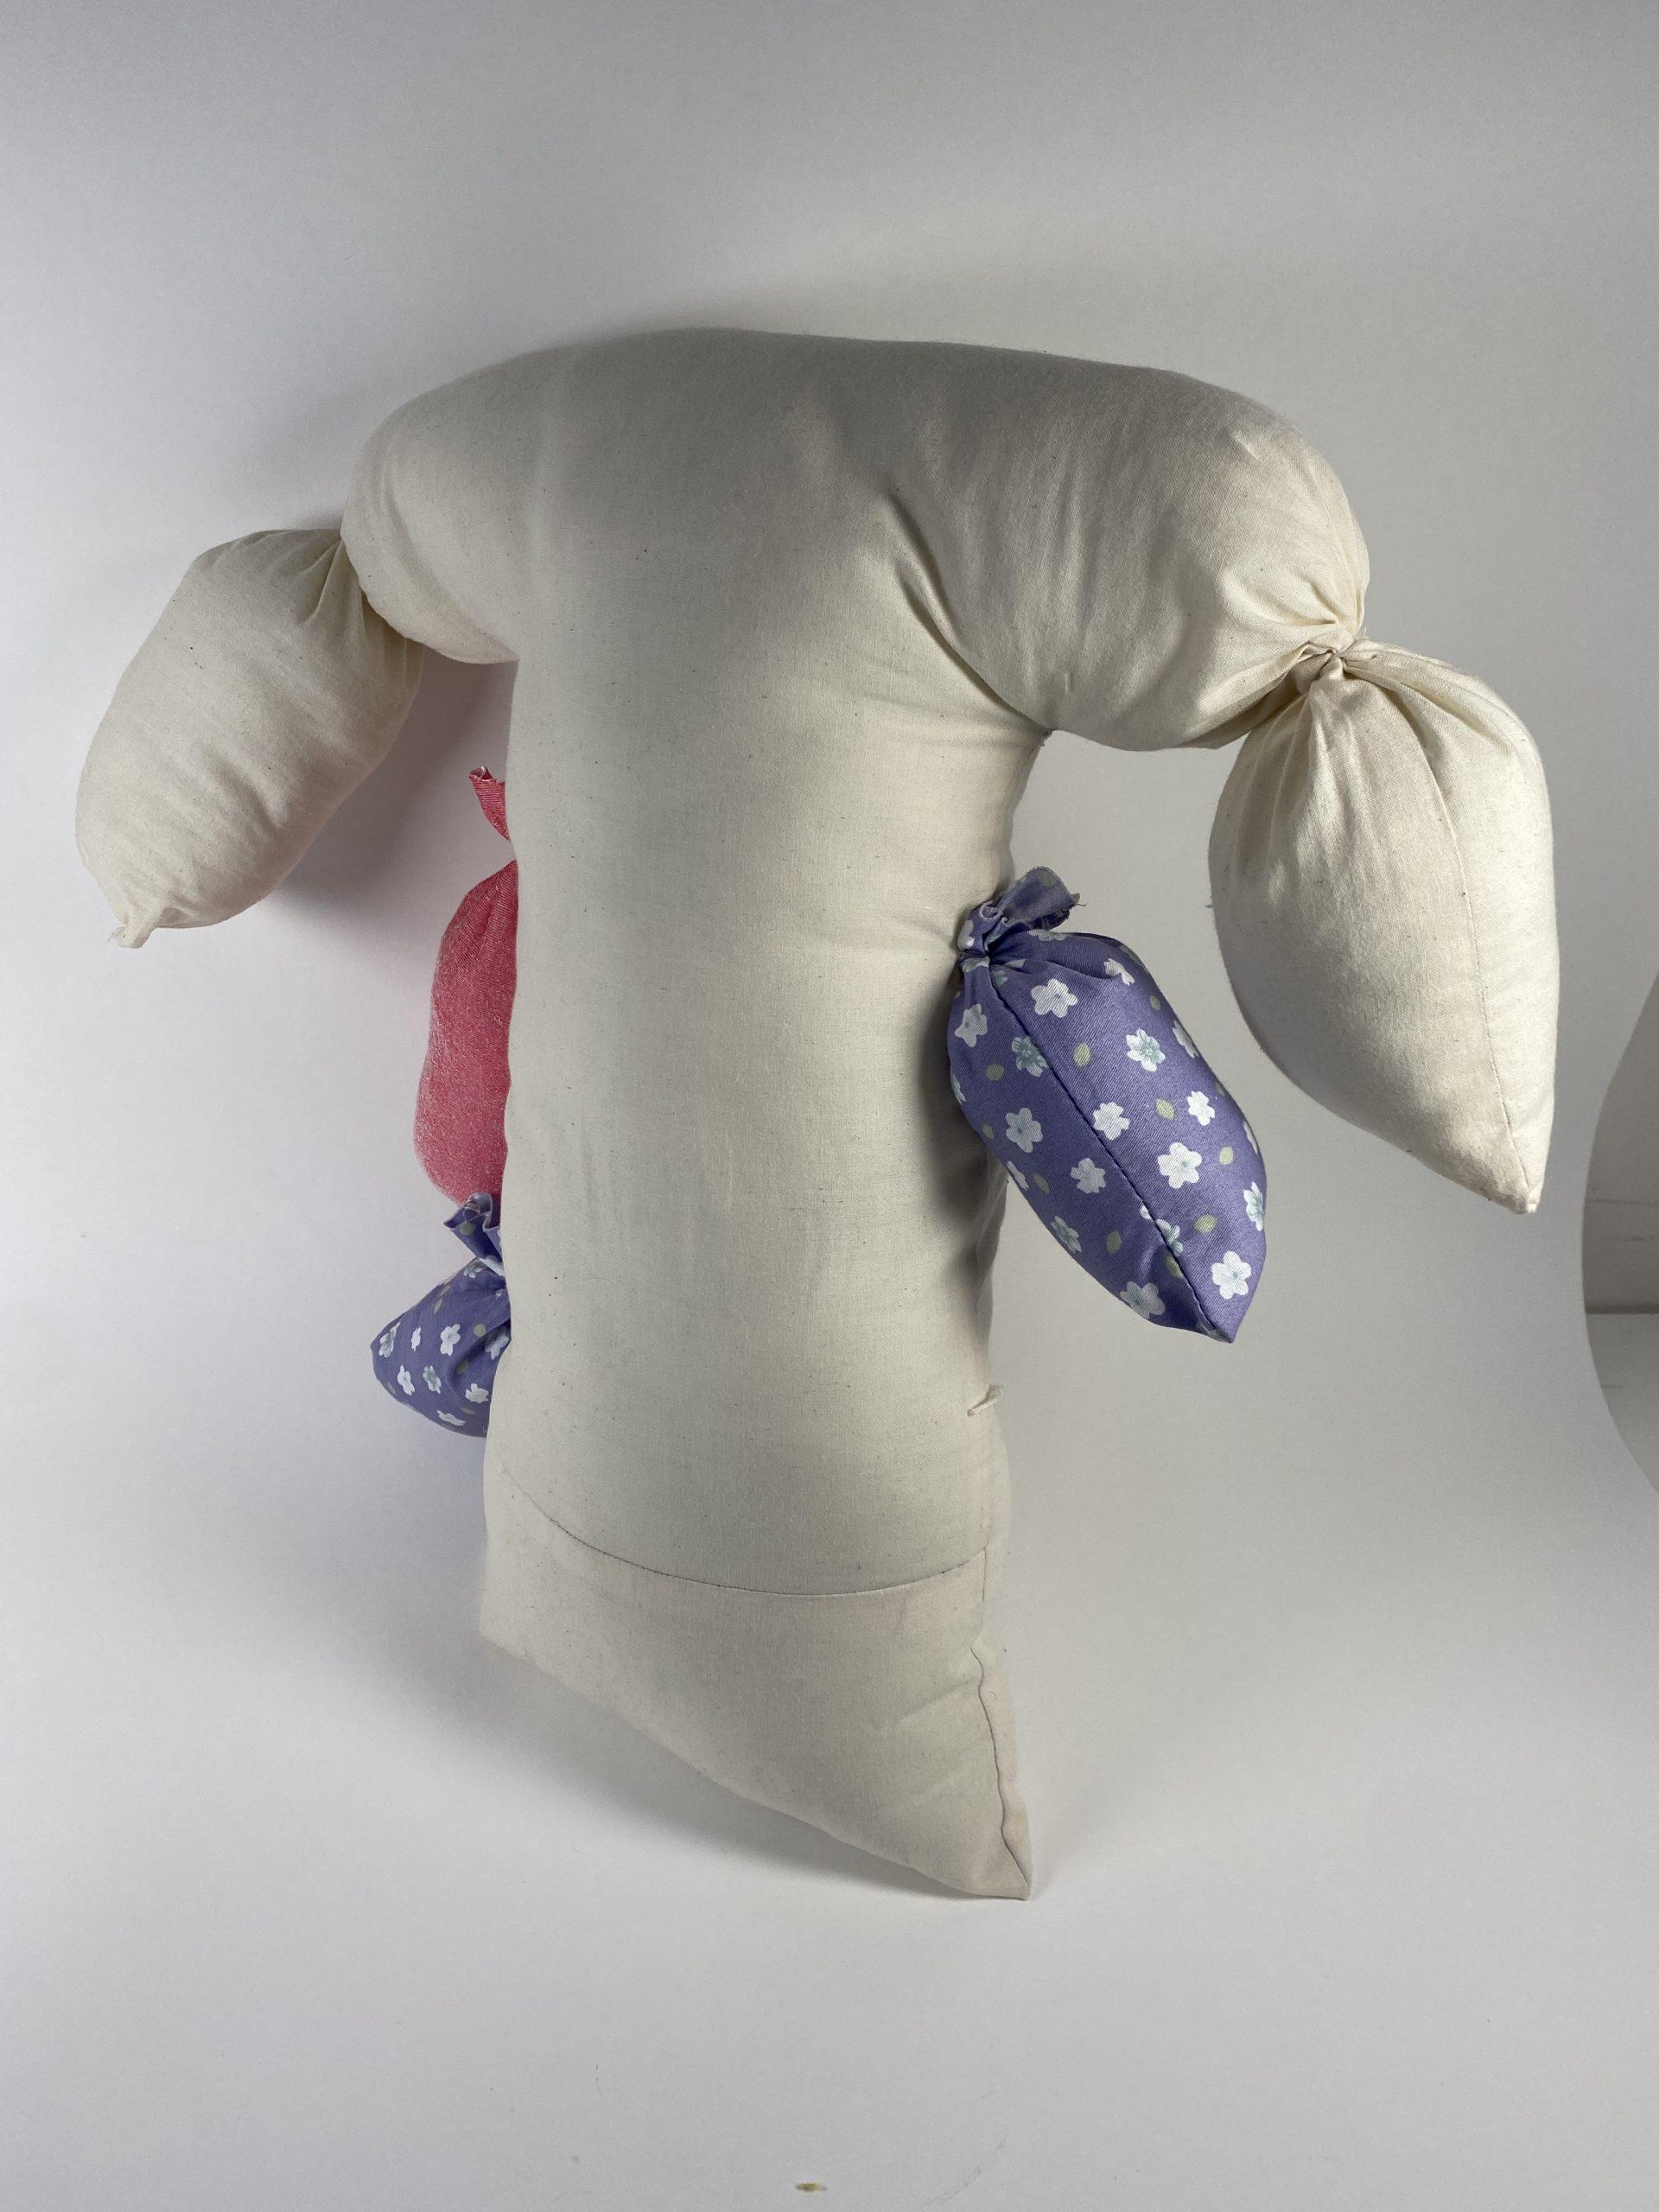

This was the first object that I made. I started by taking a cube pattern but folded it different and then sewed it together. As I was stuffing it, I thought to experiment with twisting the final form to create these pouches that look like dangly bits. I then added more pouches to the form by stitching rectangles and then tying off the top with string that I sewed through the stuffed main form. To me this kind of looks like a mushroom, or a tree with dangling fruits.

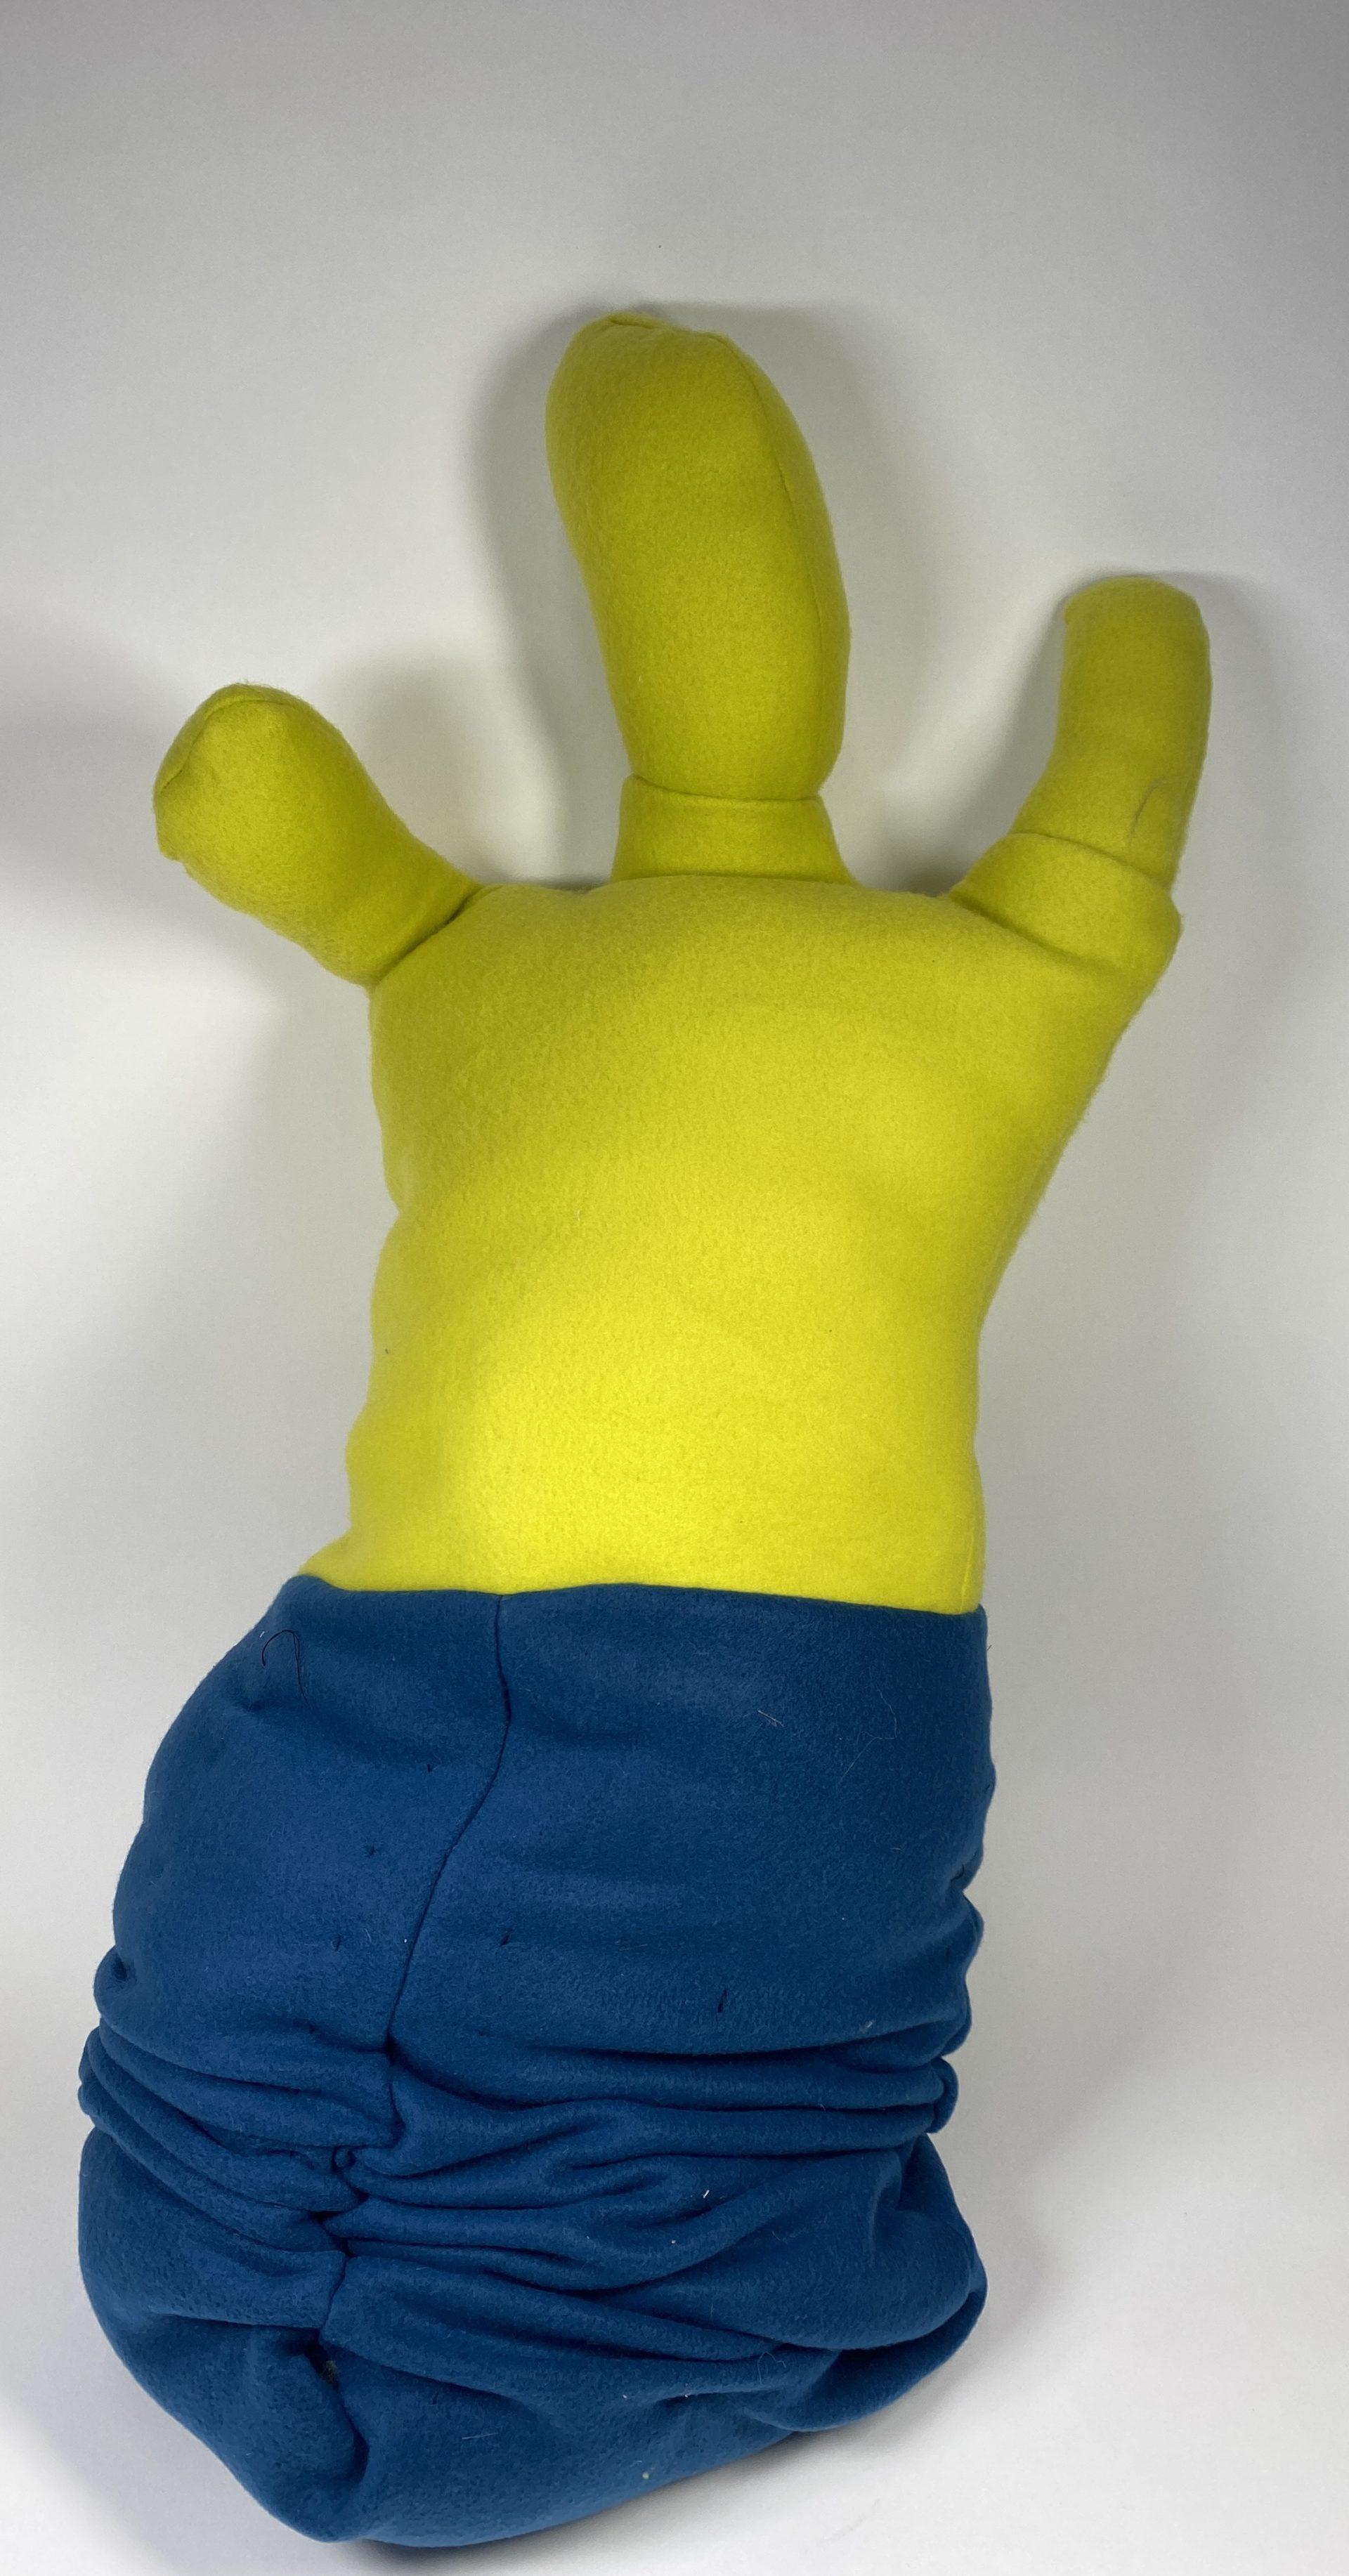
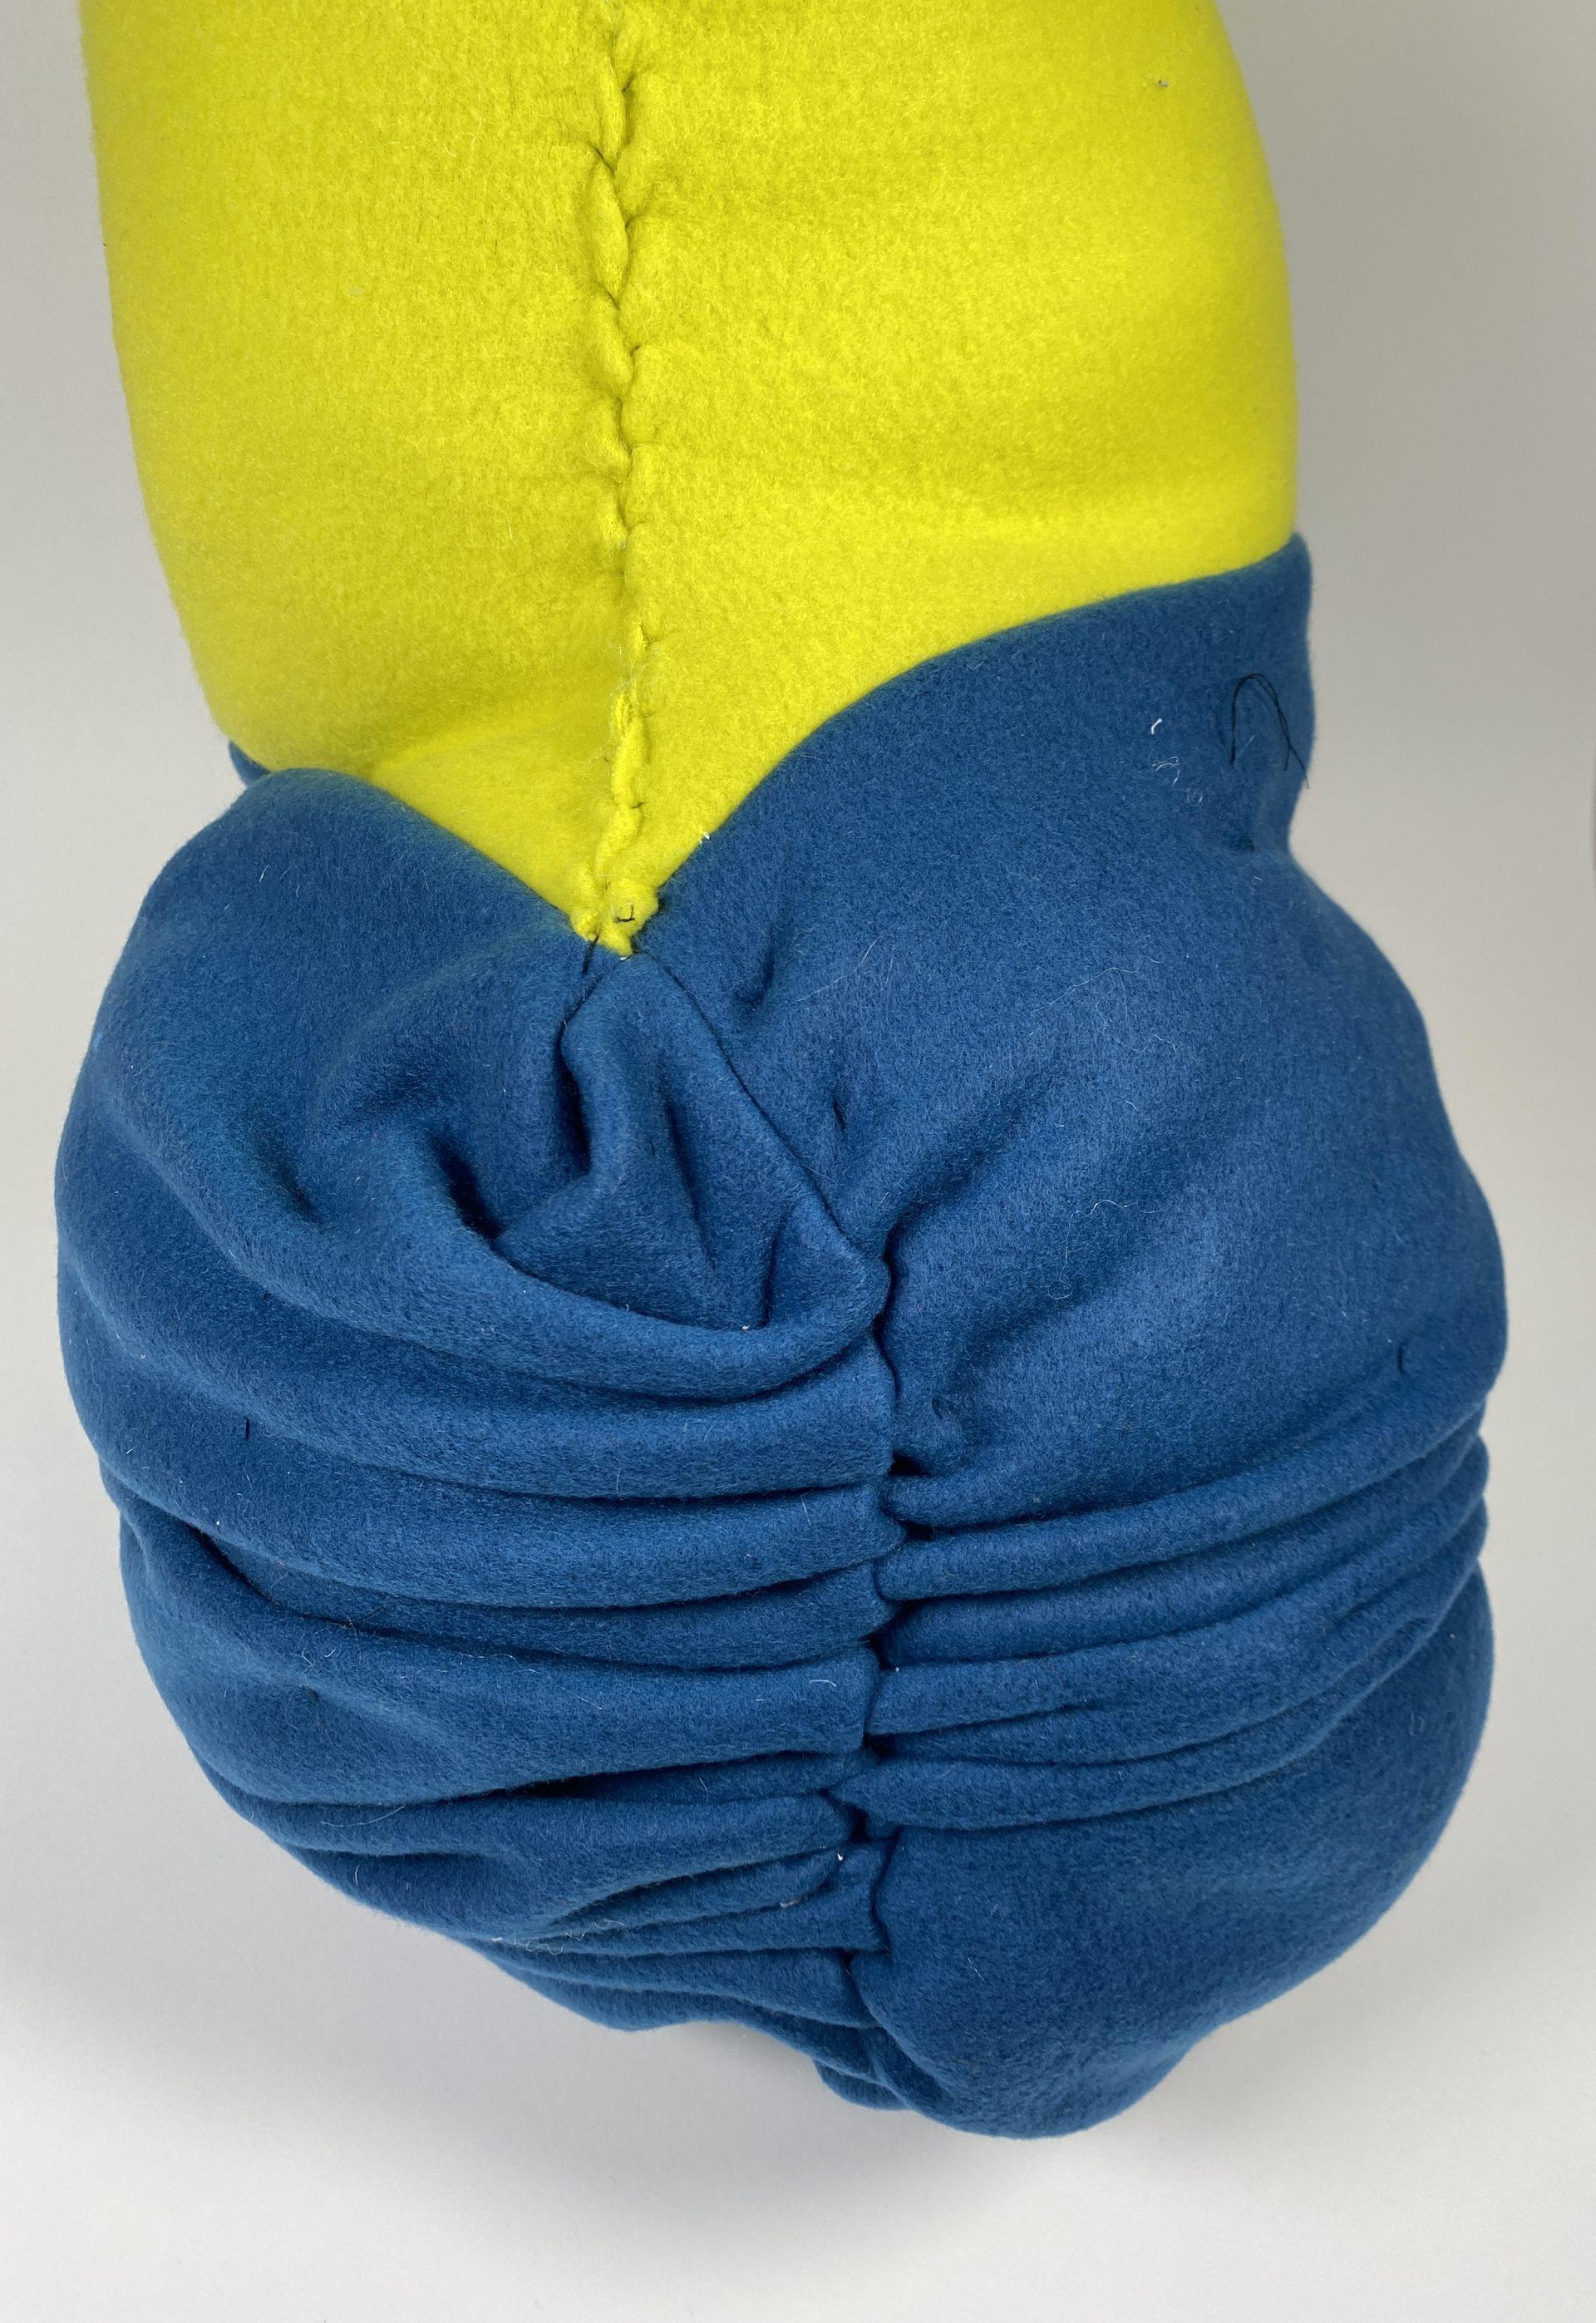
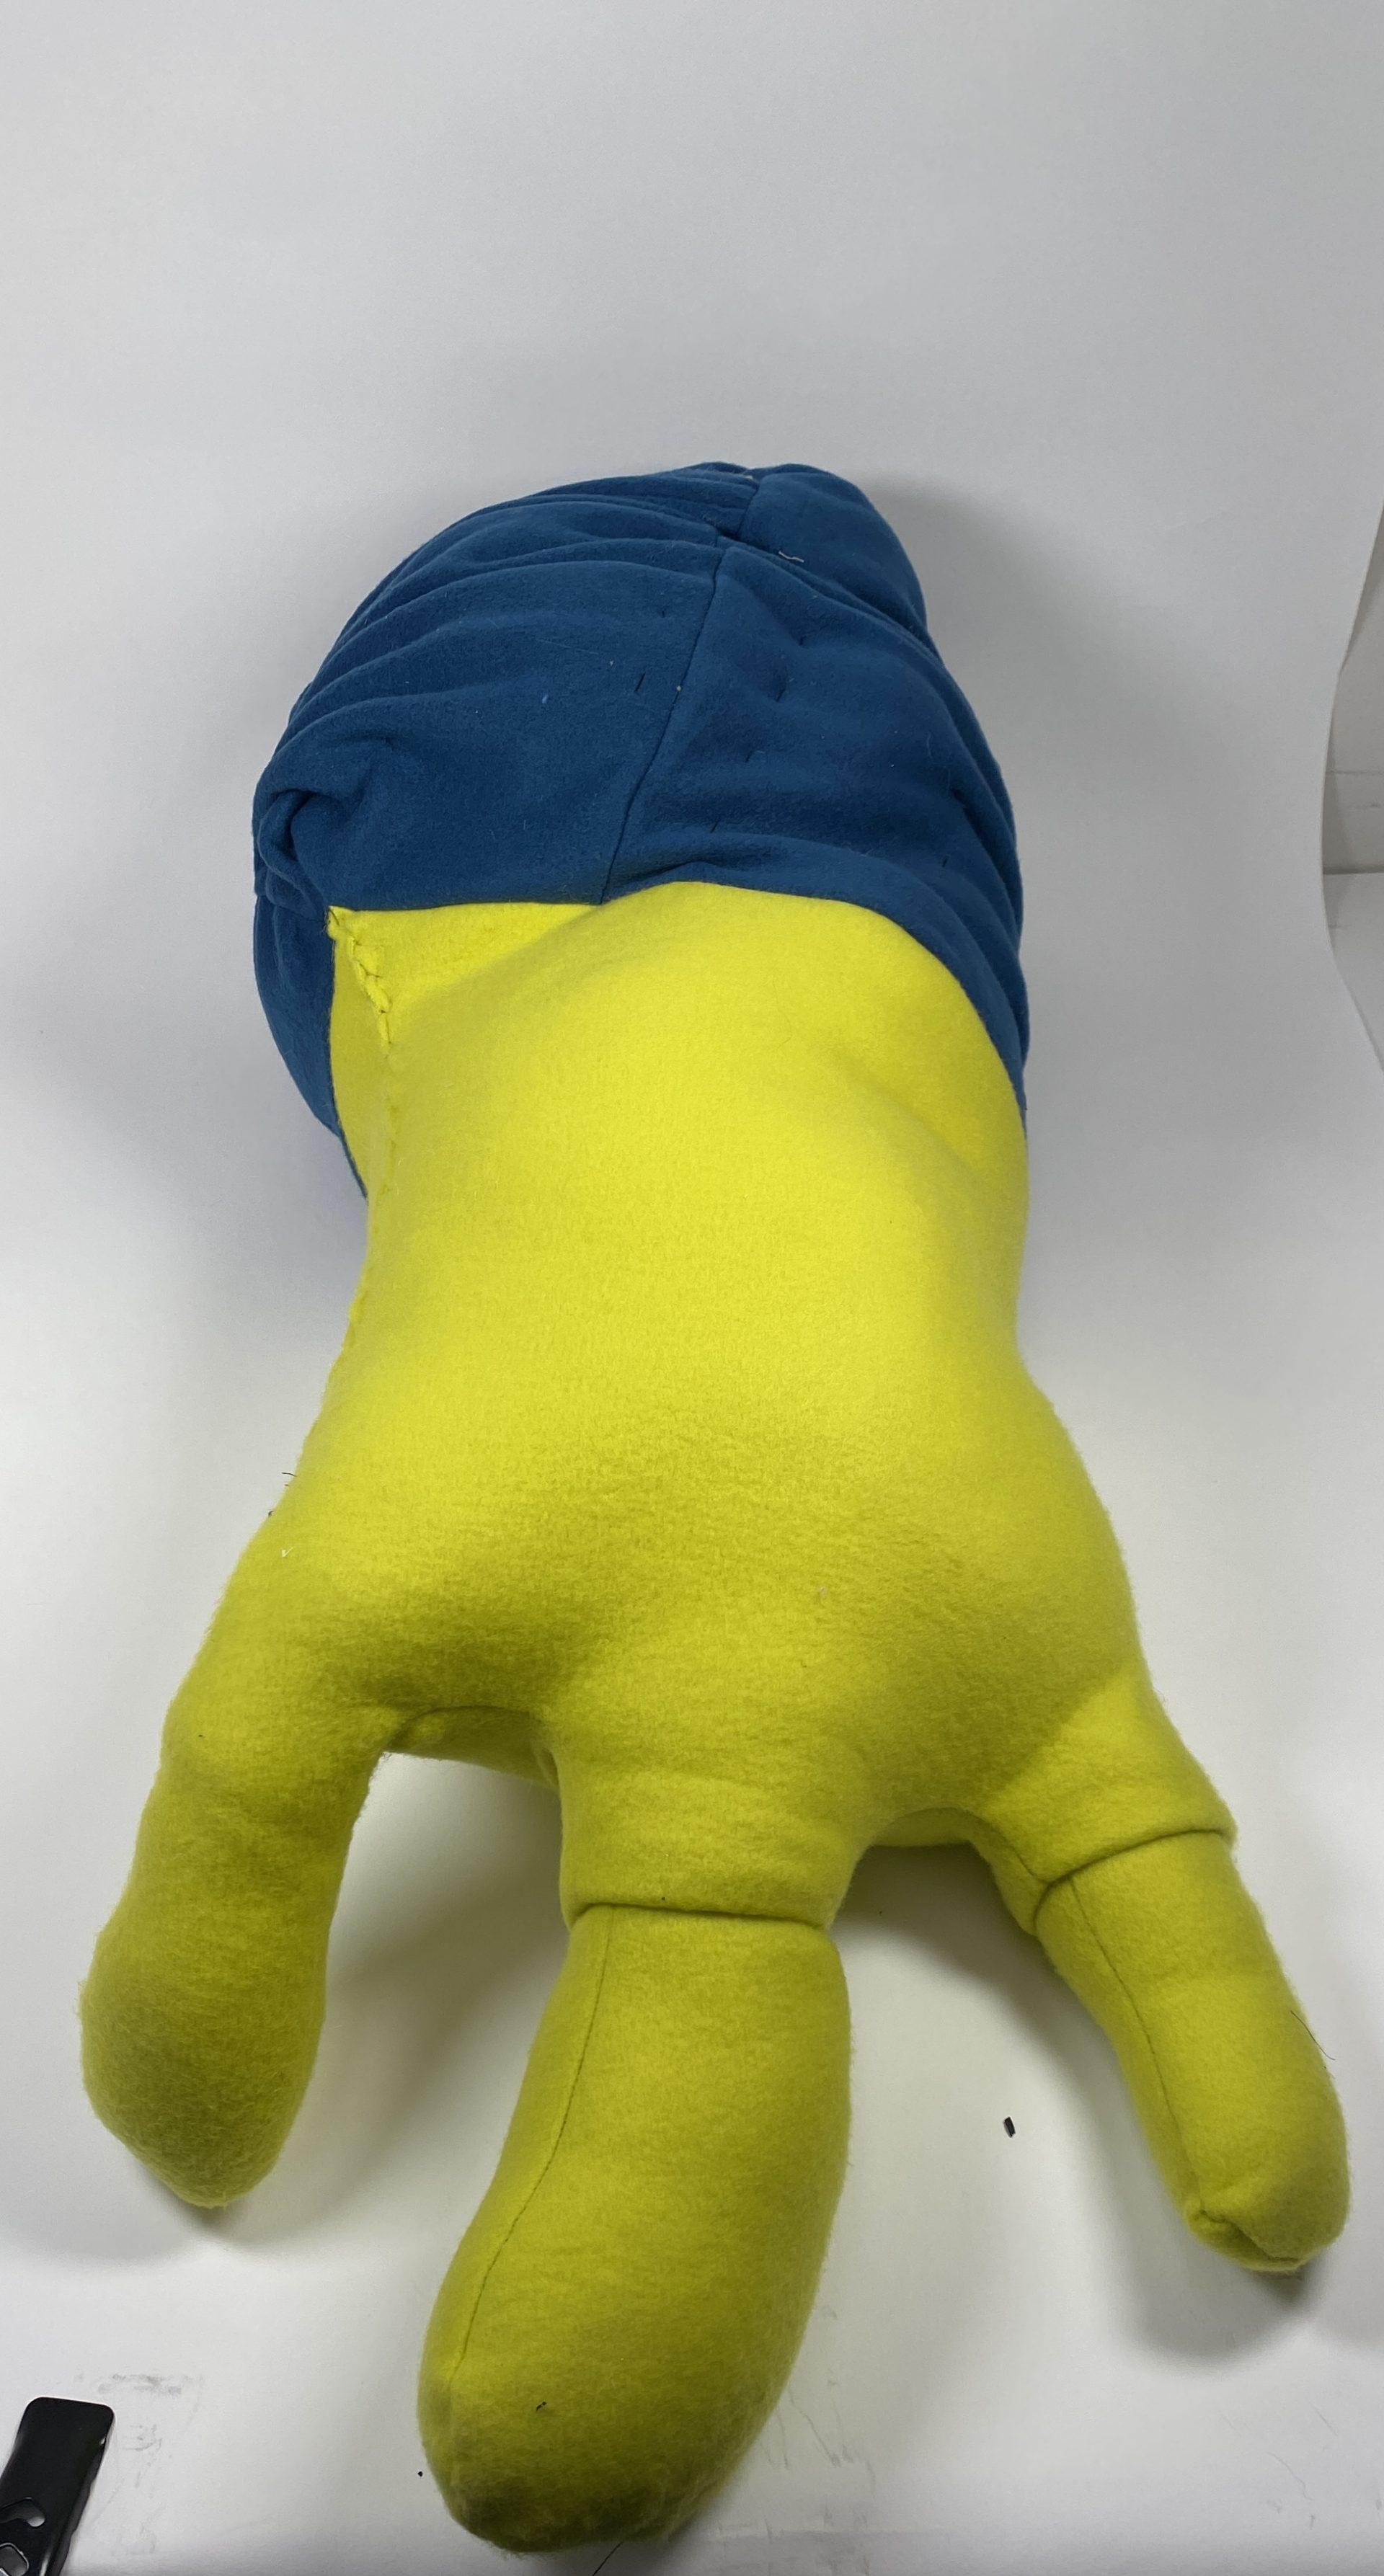
For the next form, I started by shirring a cube form that I slightly altered by making each of the slides double the length of the provided pattern; however, as I was putting it together, it seemed more like a pot so I decided to cut off the top and leave it open to add in a plant of sorts. I was going for a cactus kind of vibe as I created the top part of the form but it looks more like a person with their hands up. I really like how the shirring doesn’t completely shrink the blue fabric, almost implying that the form is growing and expanding.
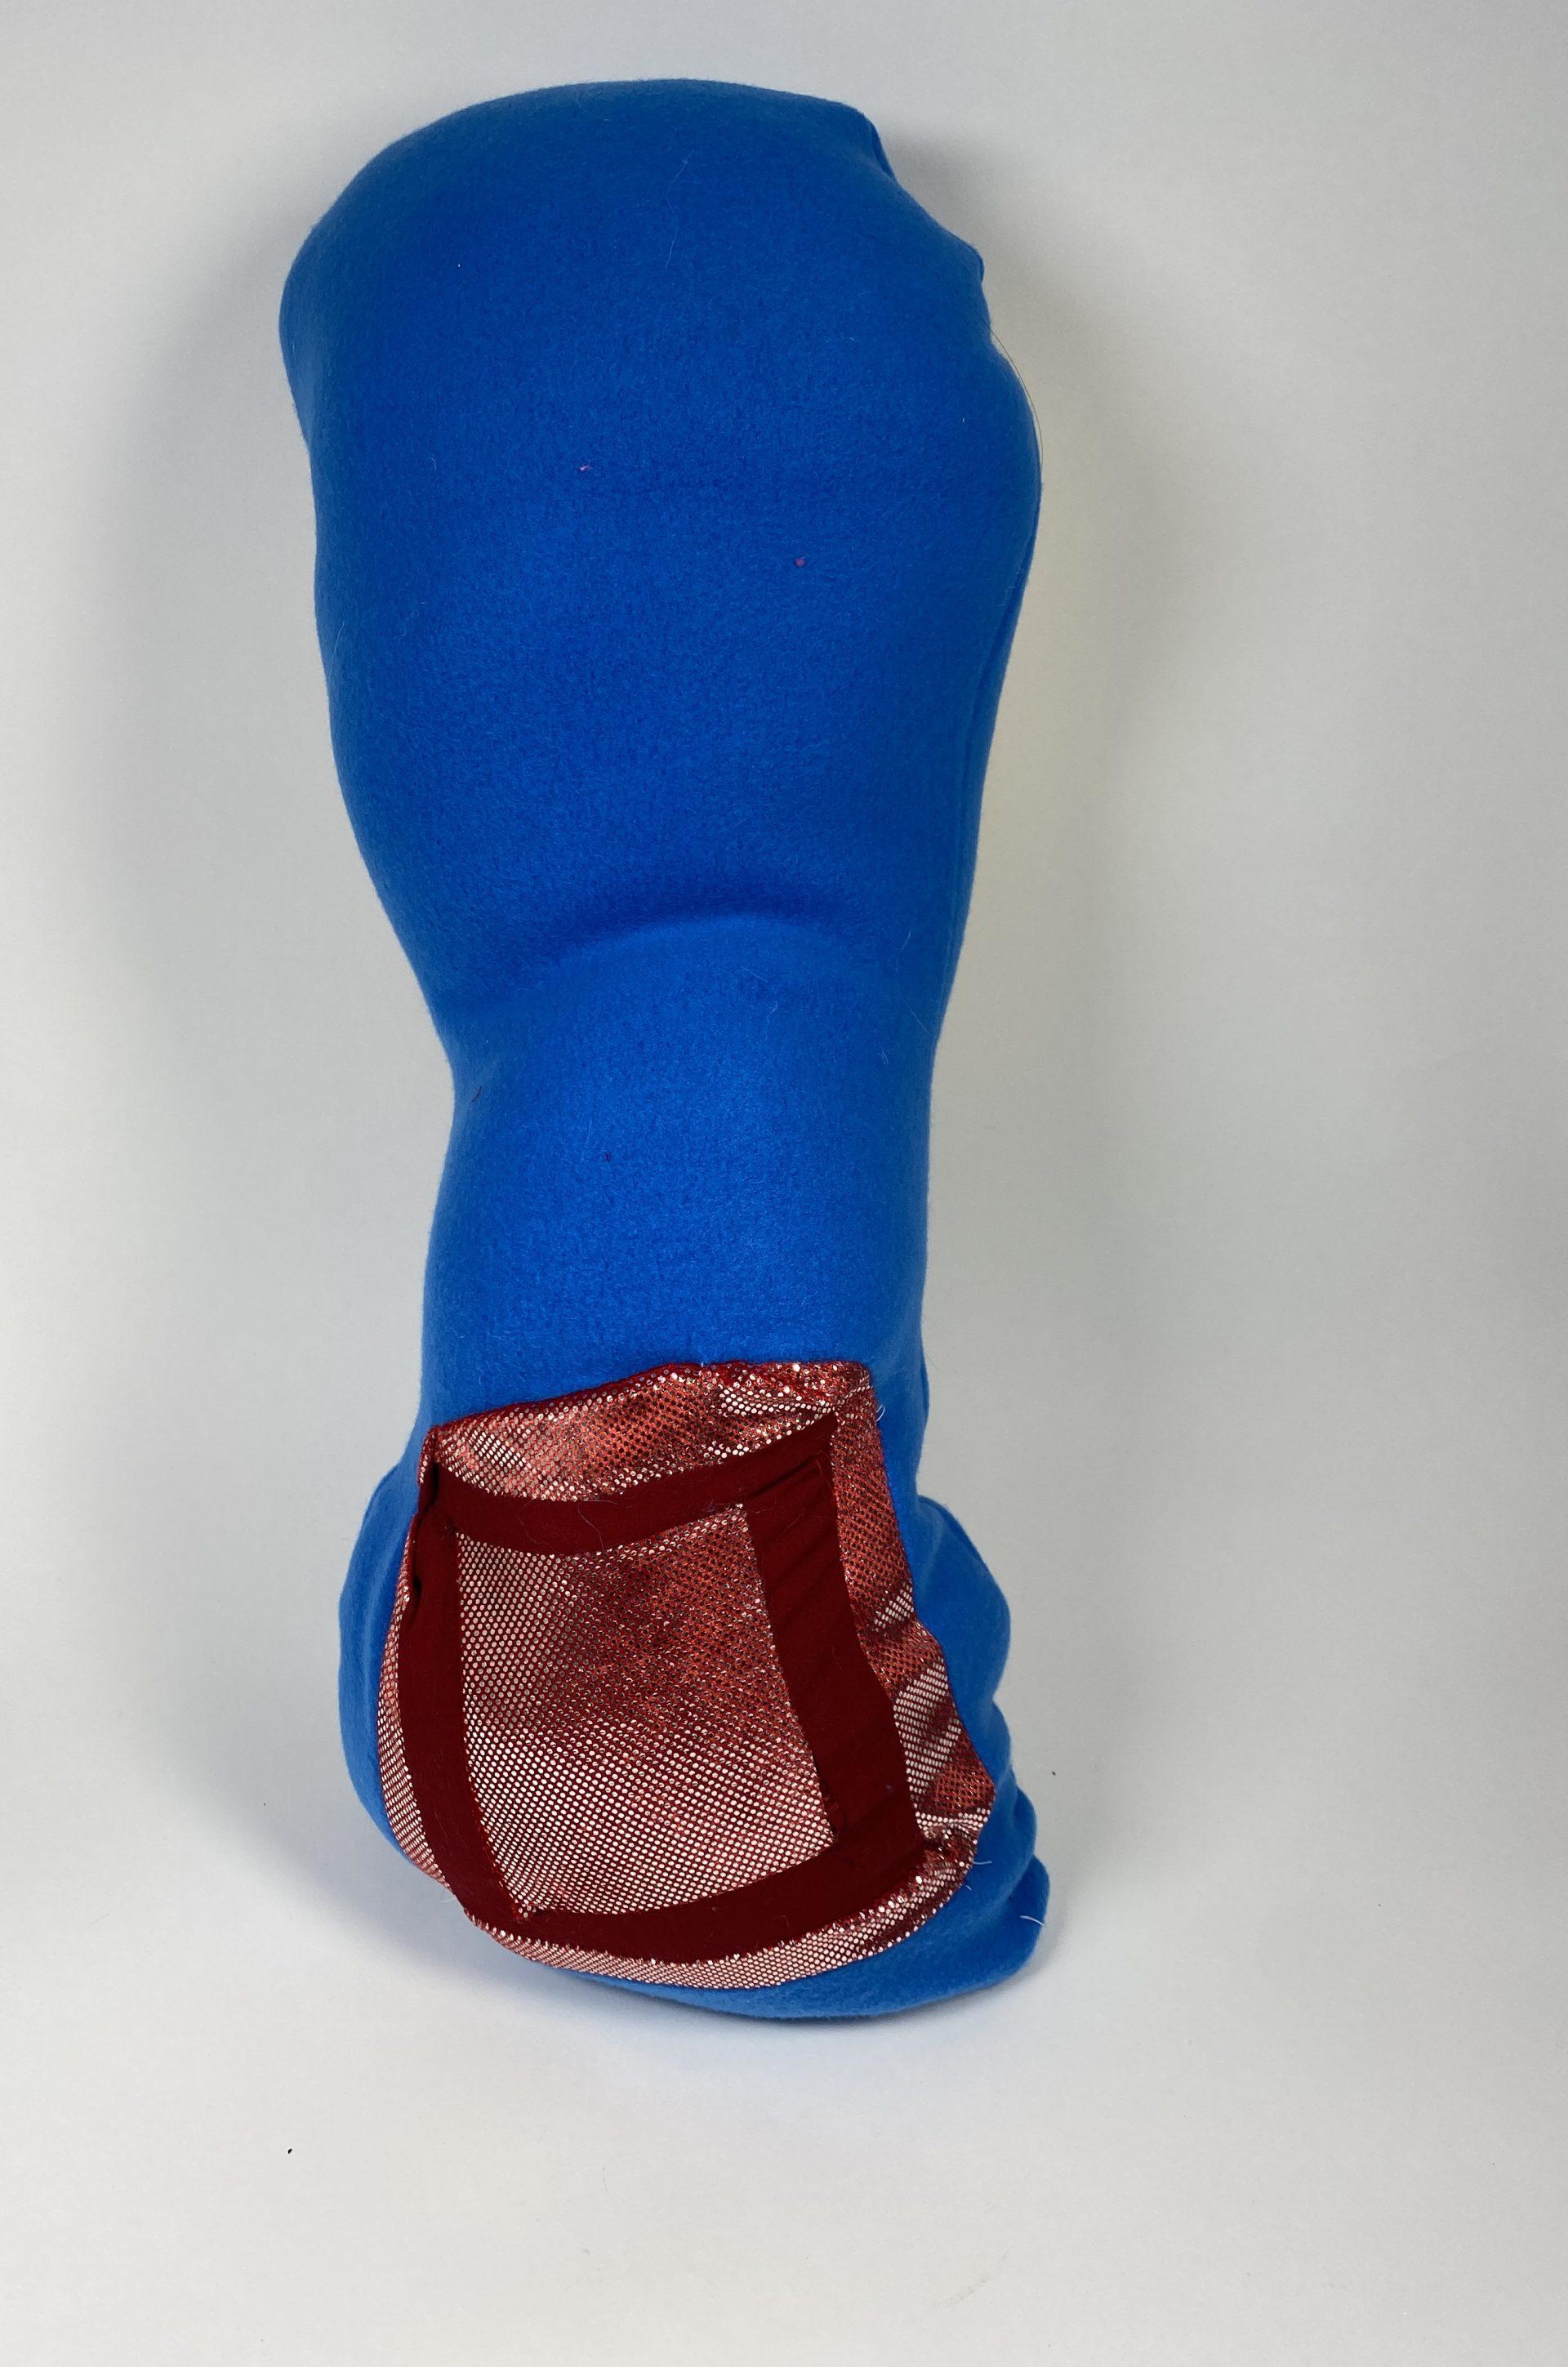
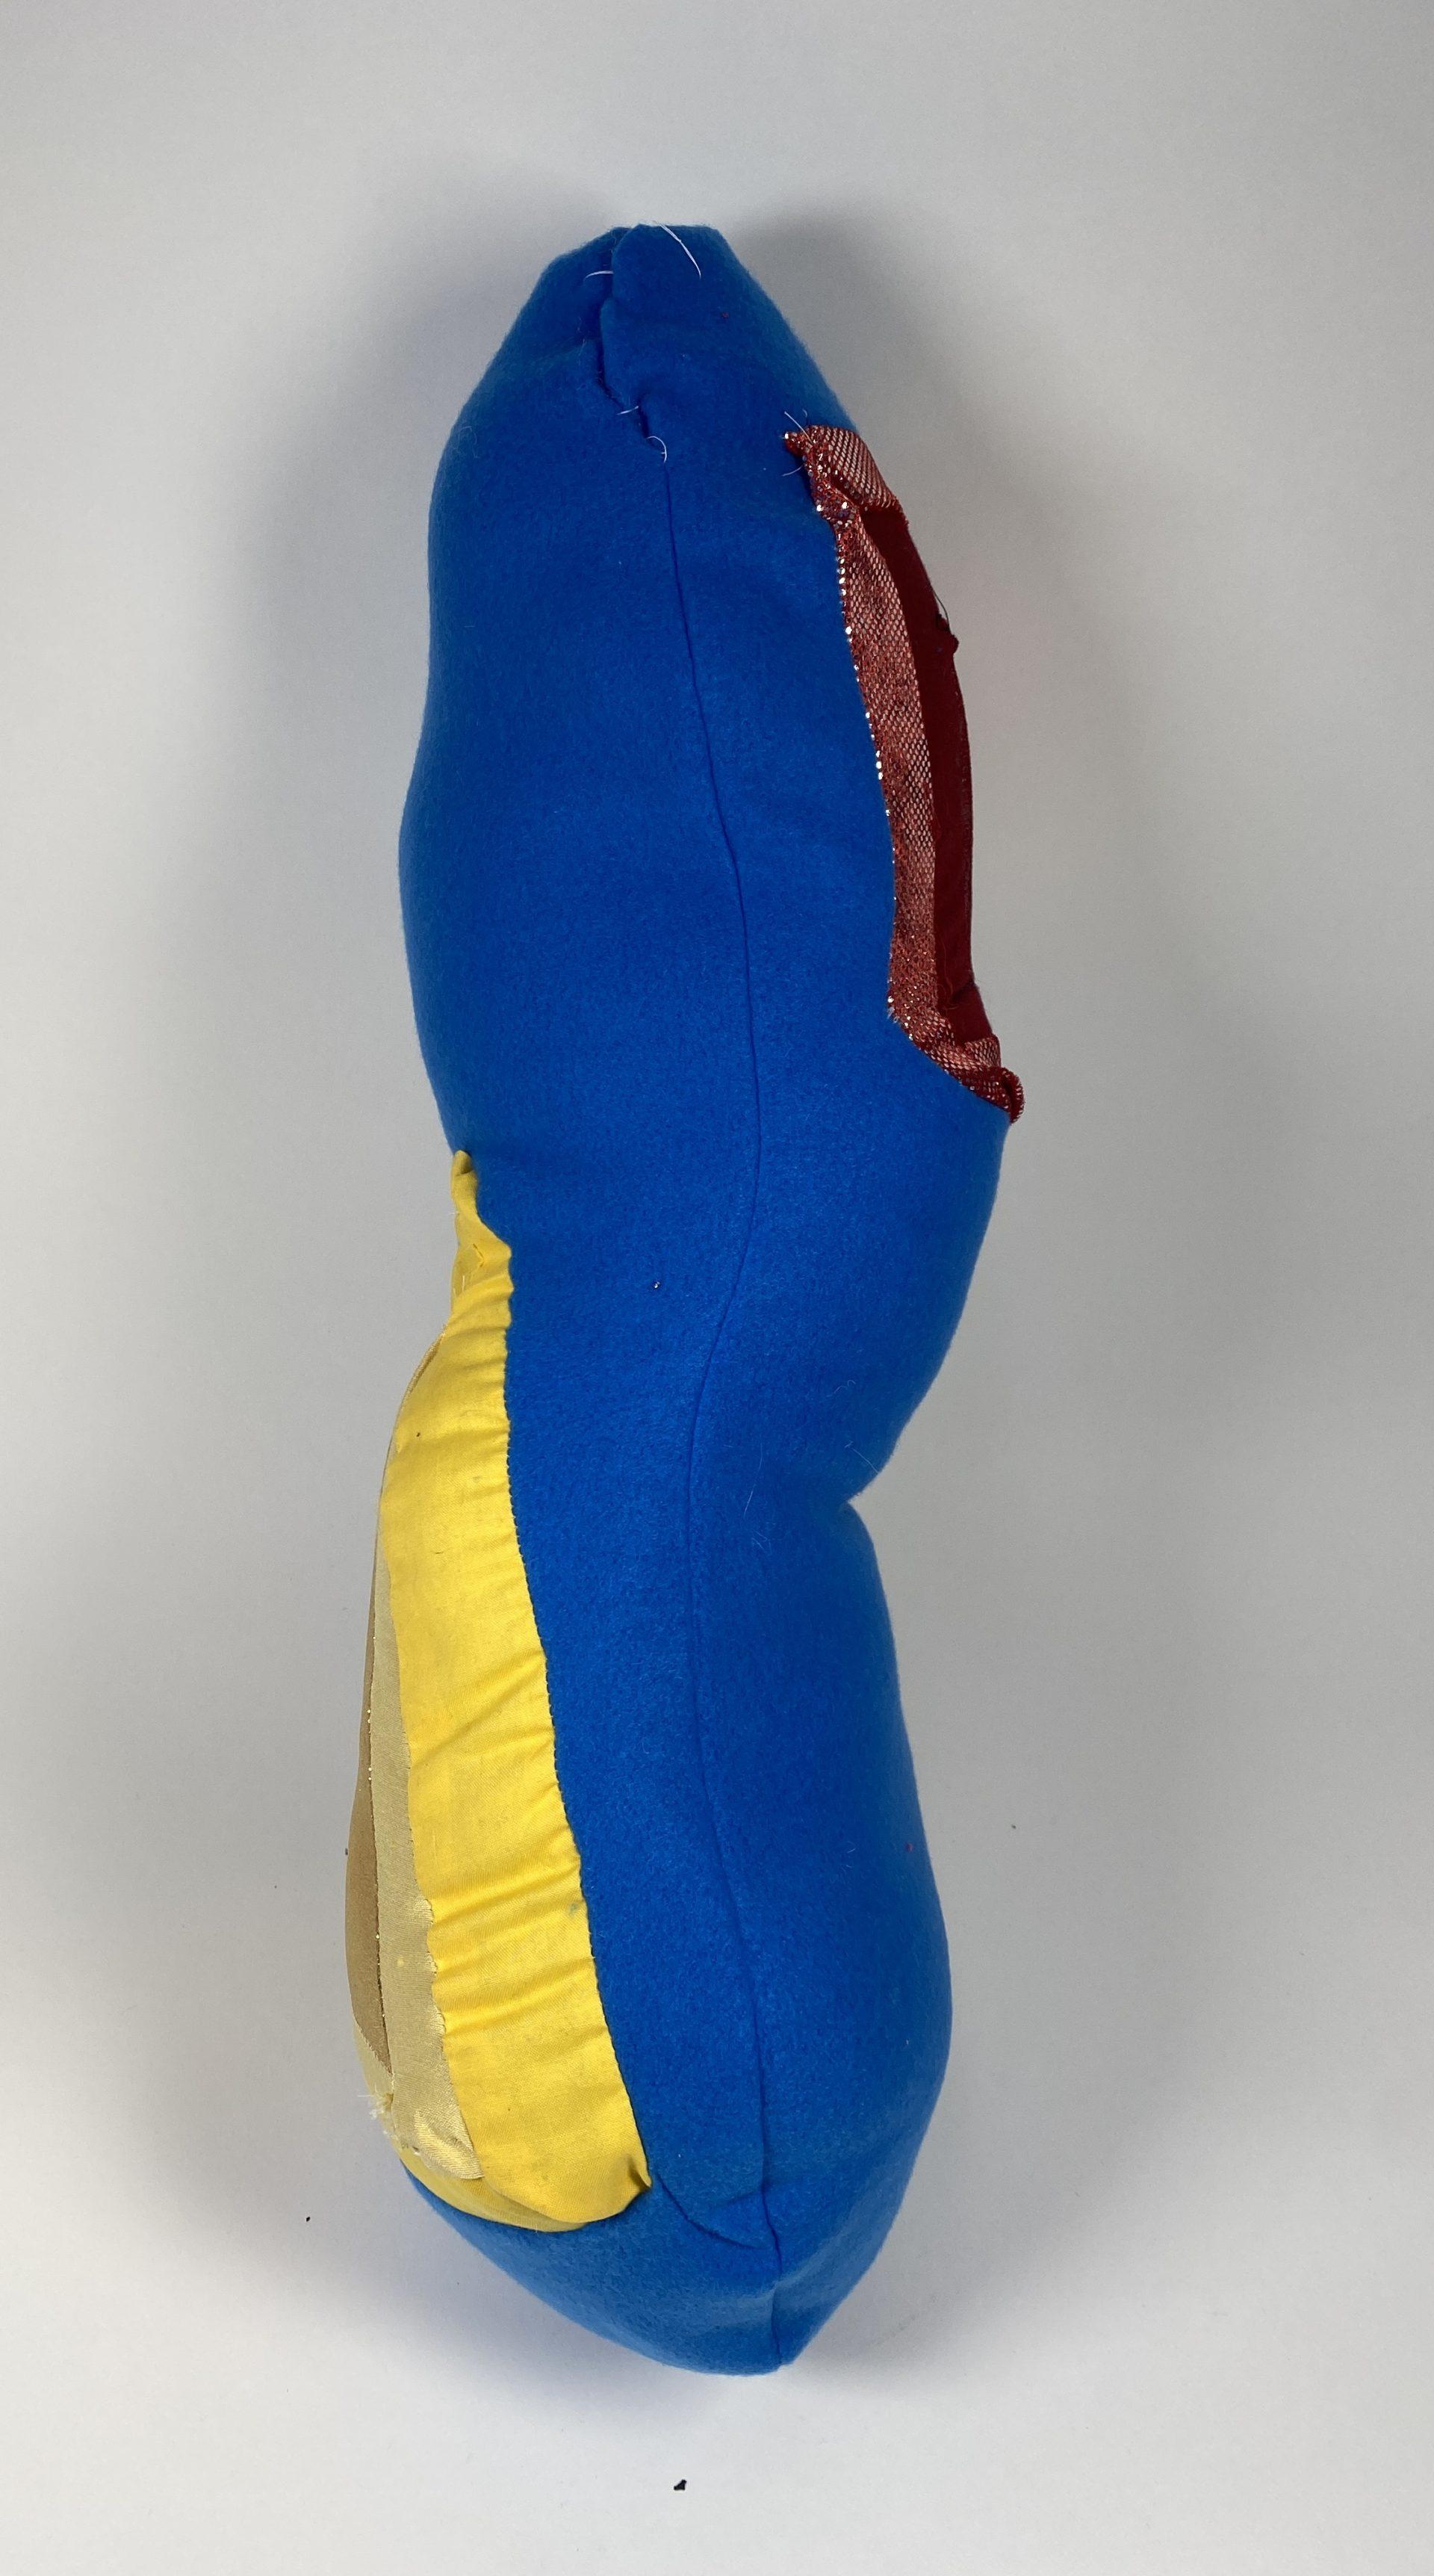
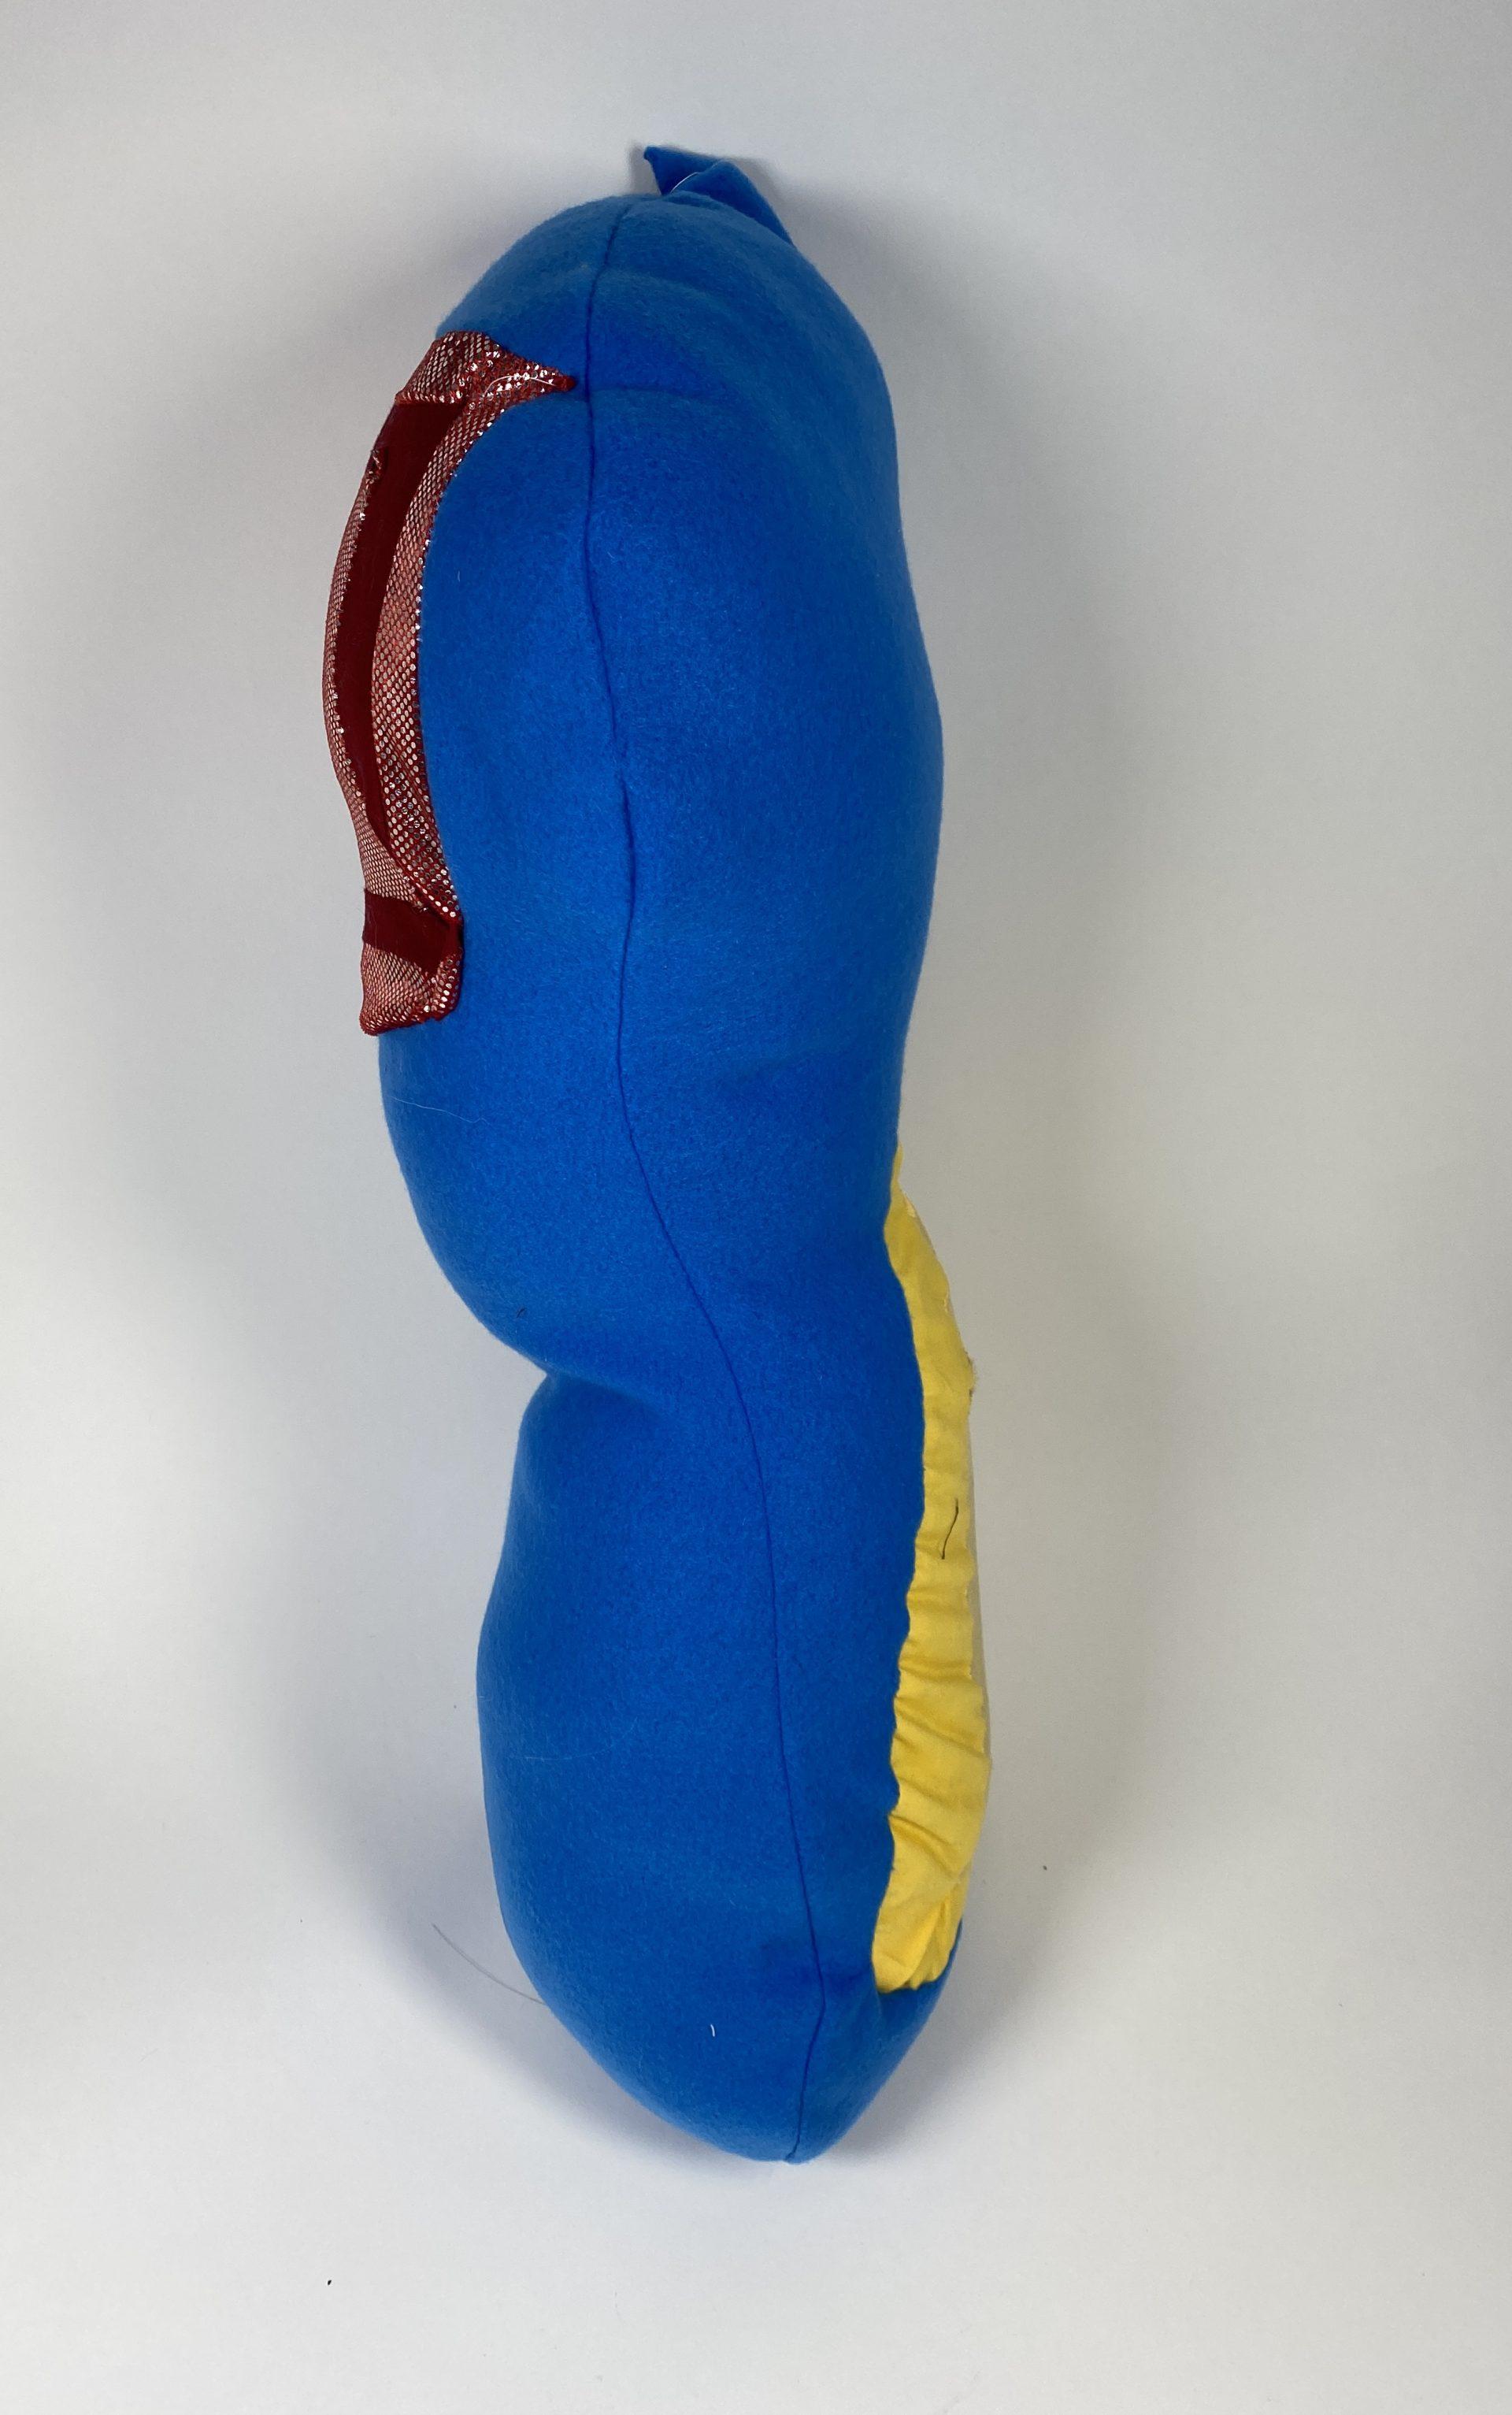
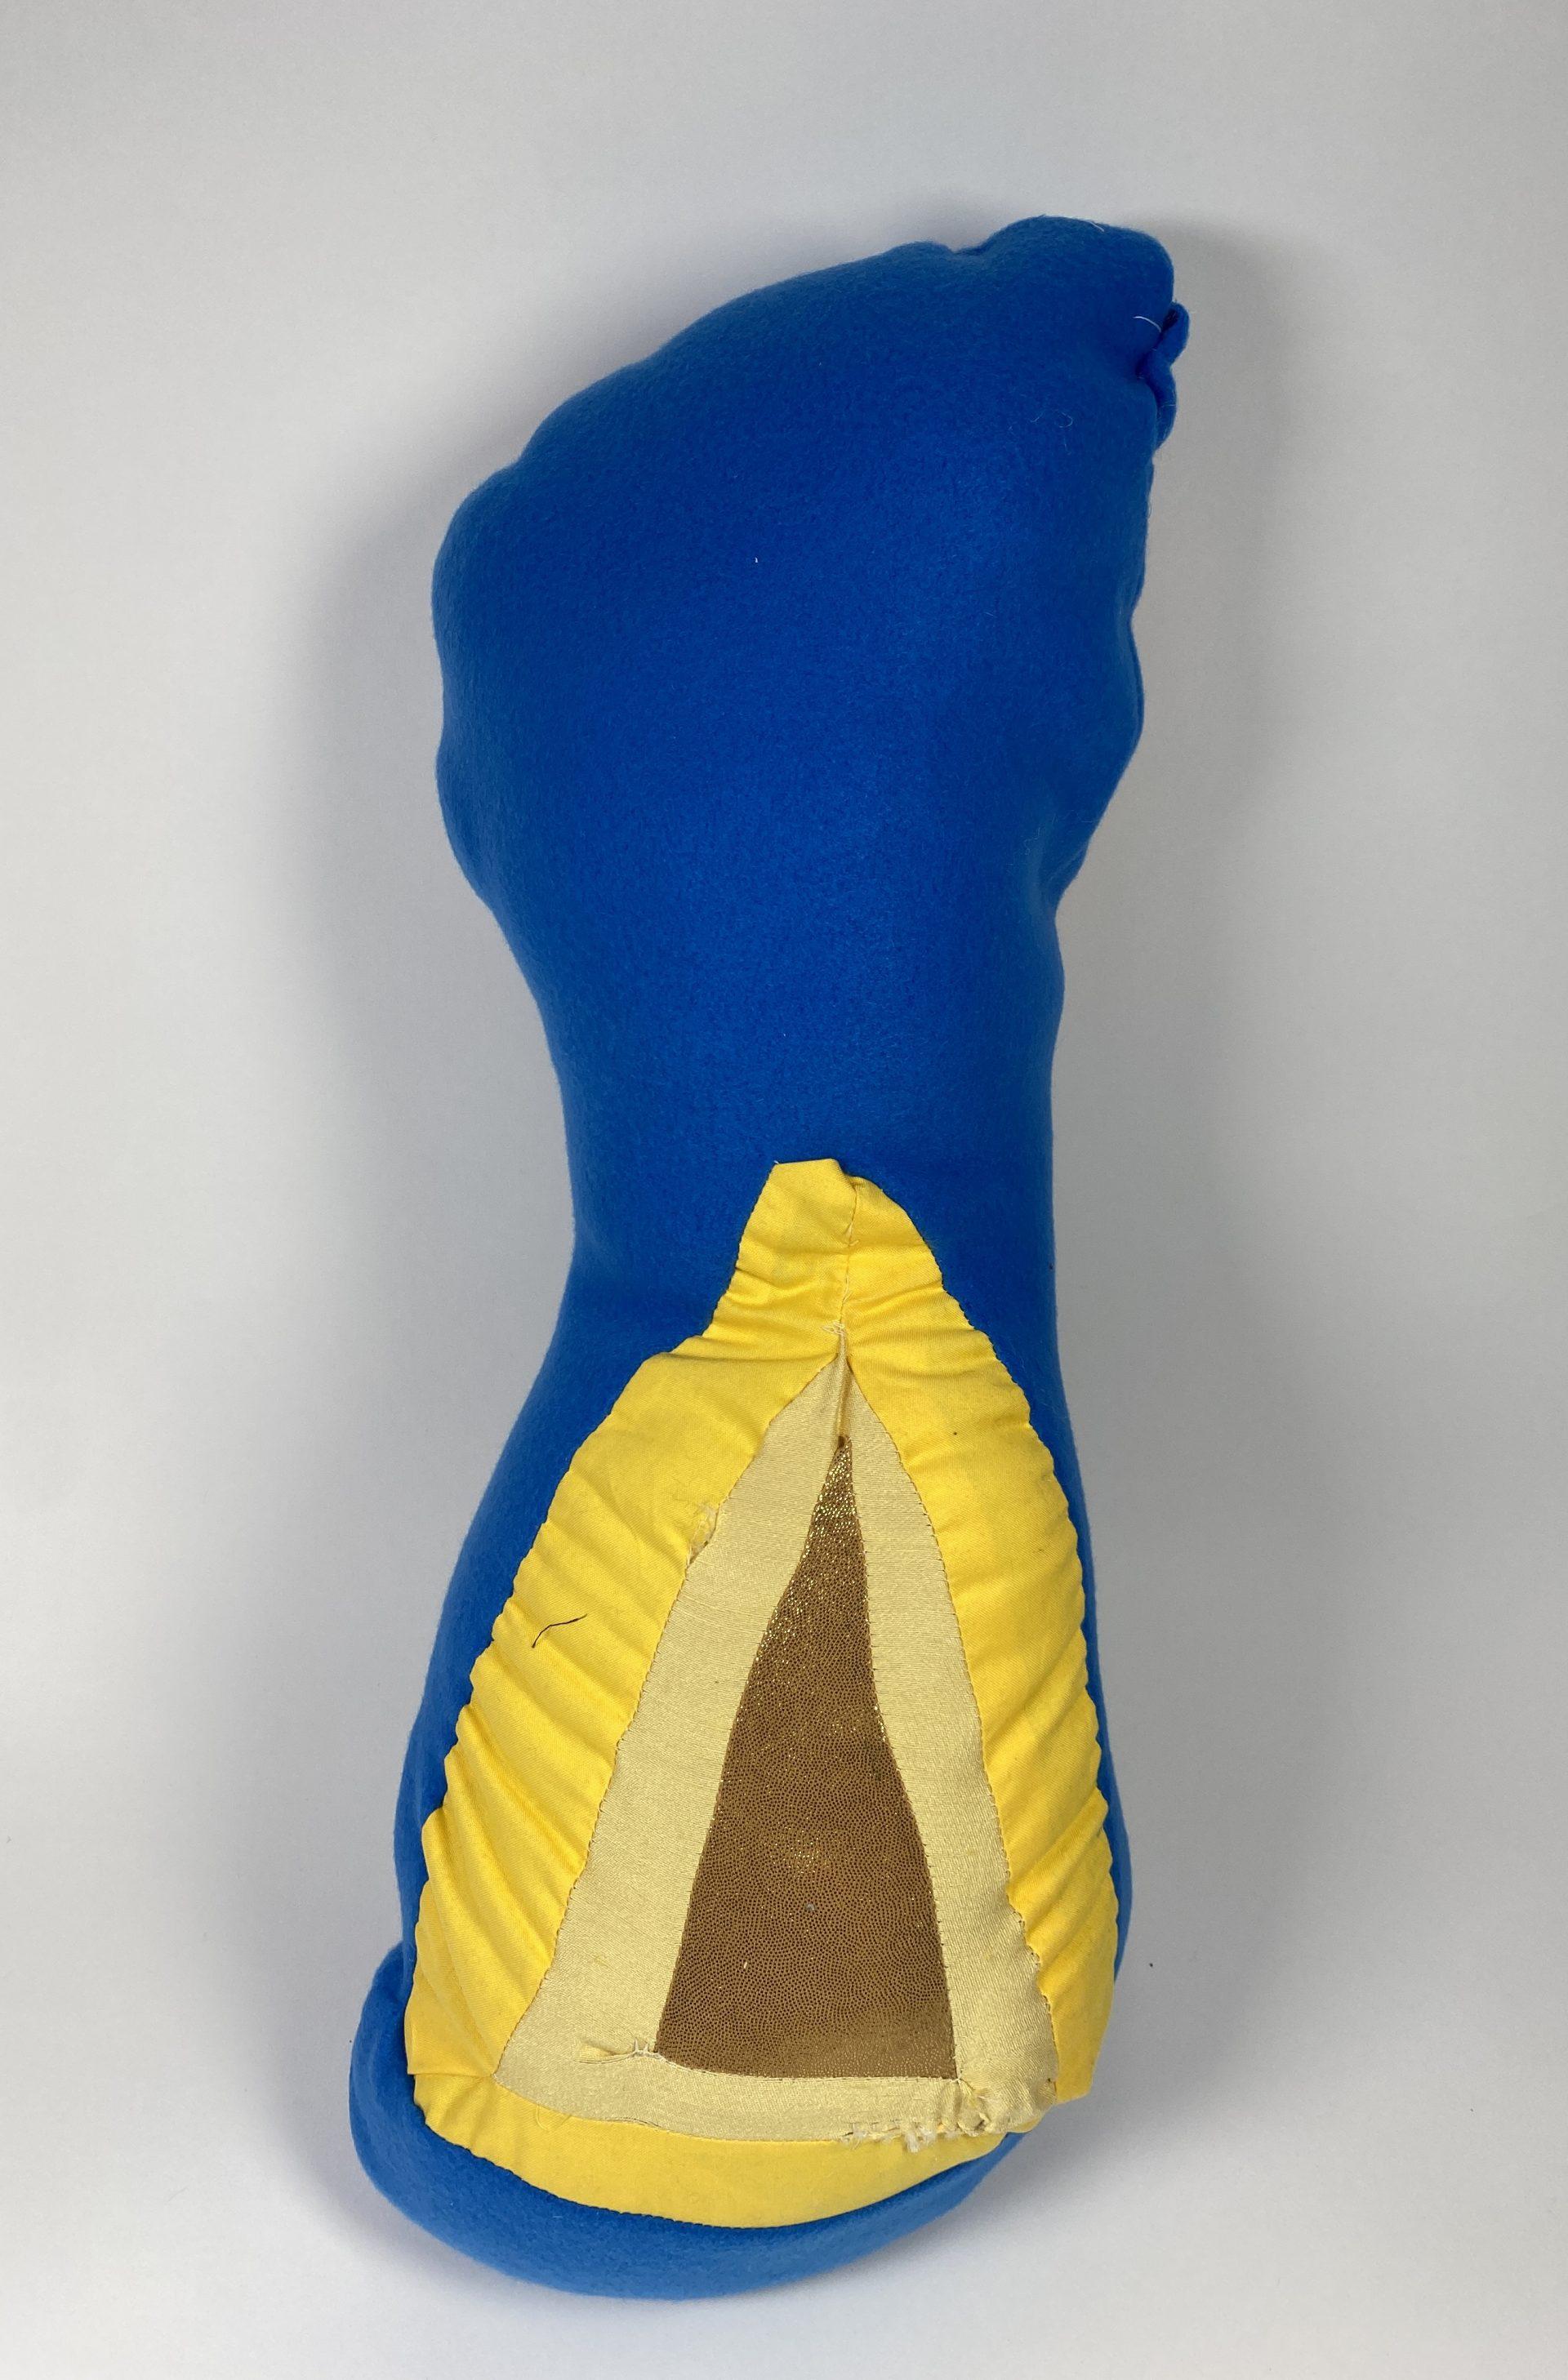
This form was inspired by the squalleye object that Olivia shared with me. I really liked the bulges and the use of color to create a visual effect so I tried to recreate it with this object. I don’t think it was too successful in terms of creating ridges on the object but I do really like the visual effect that is created by using the fabrics that I did. The yellow triangles seem to grow out at the viewer, while the red square appears to almost shrink into the object.
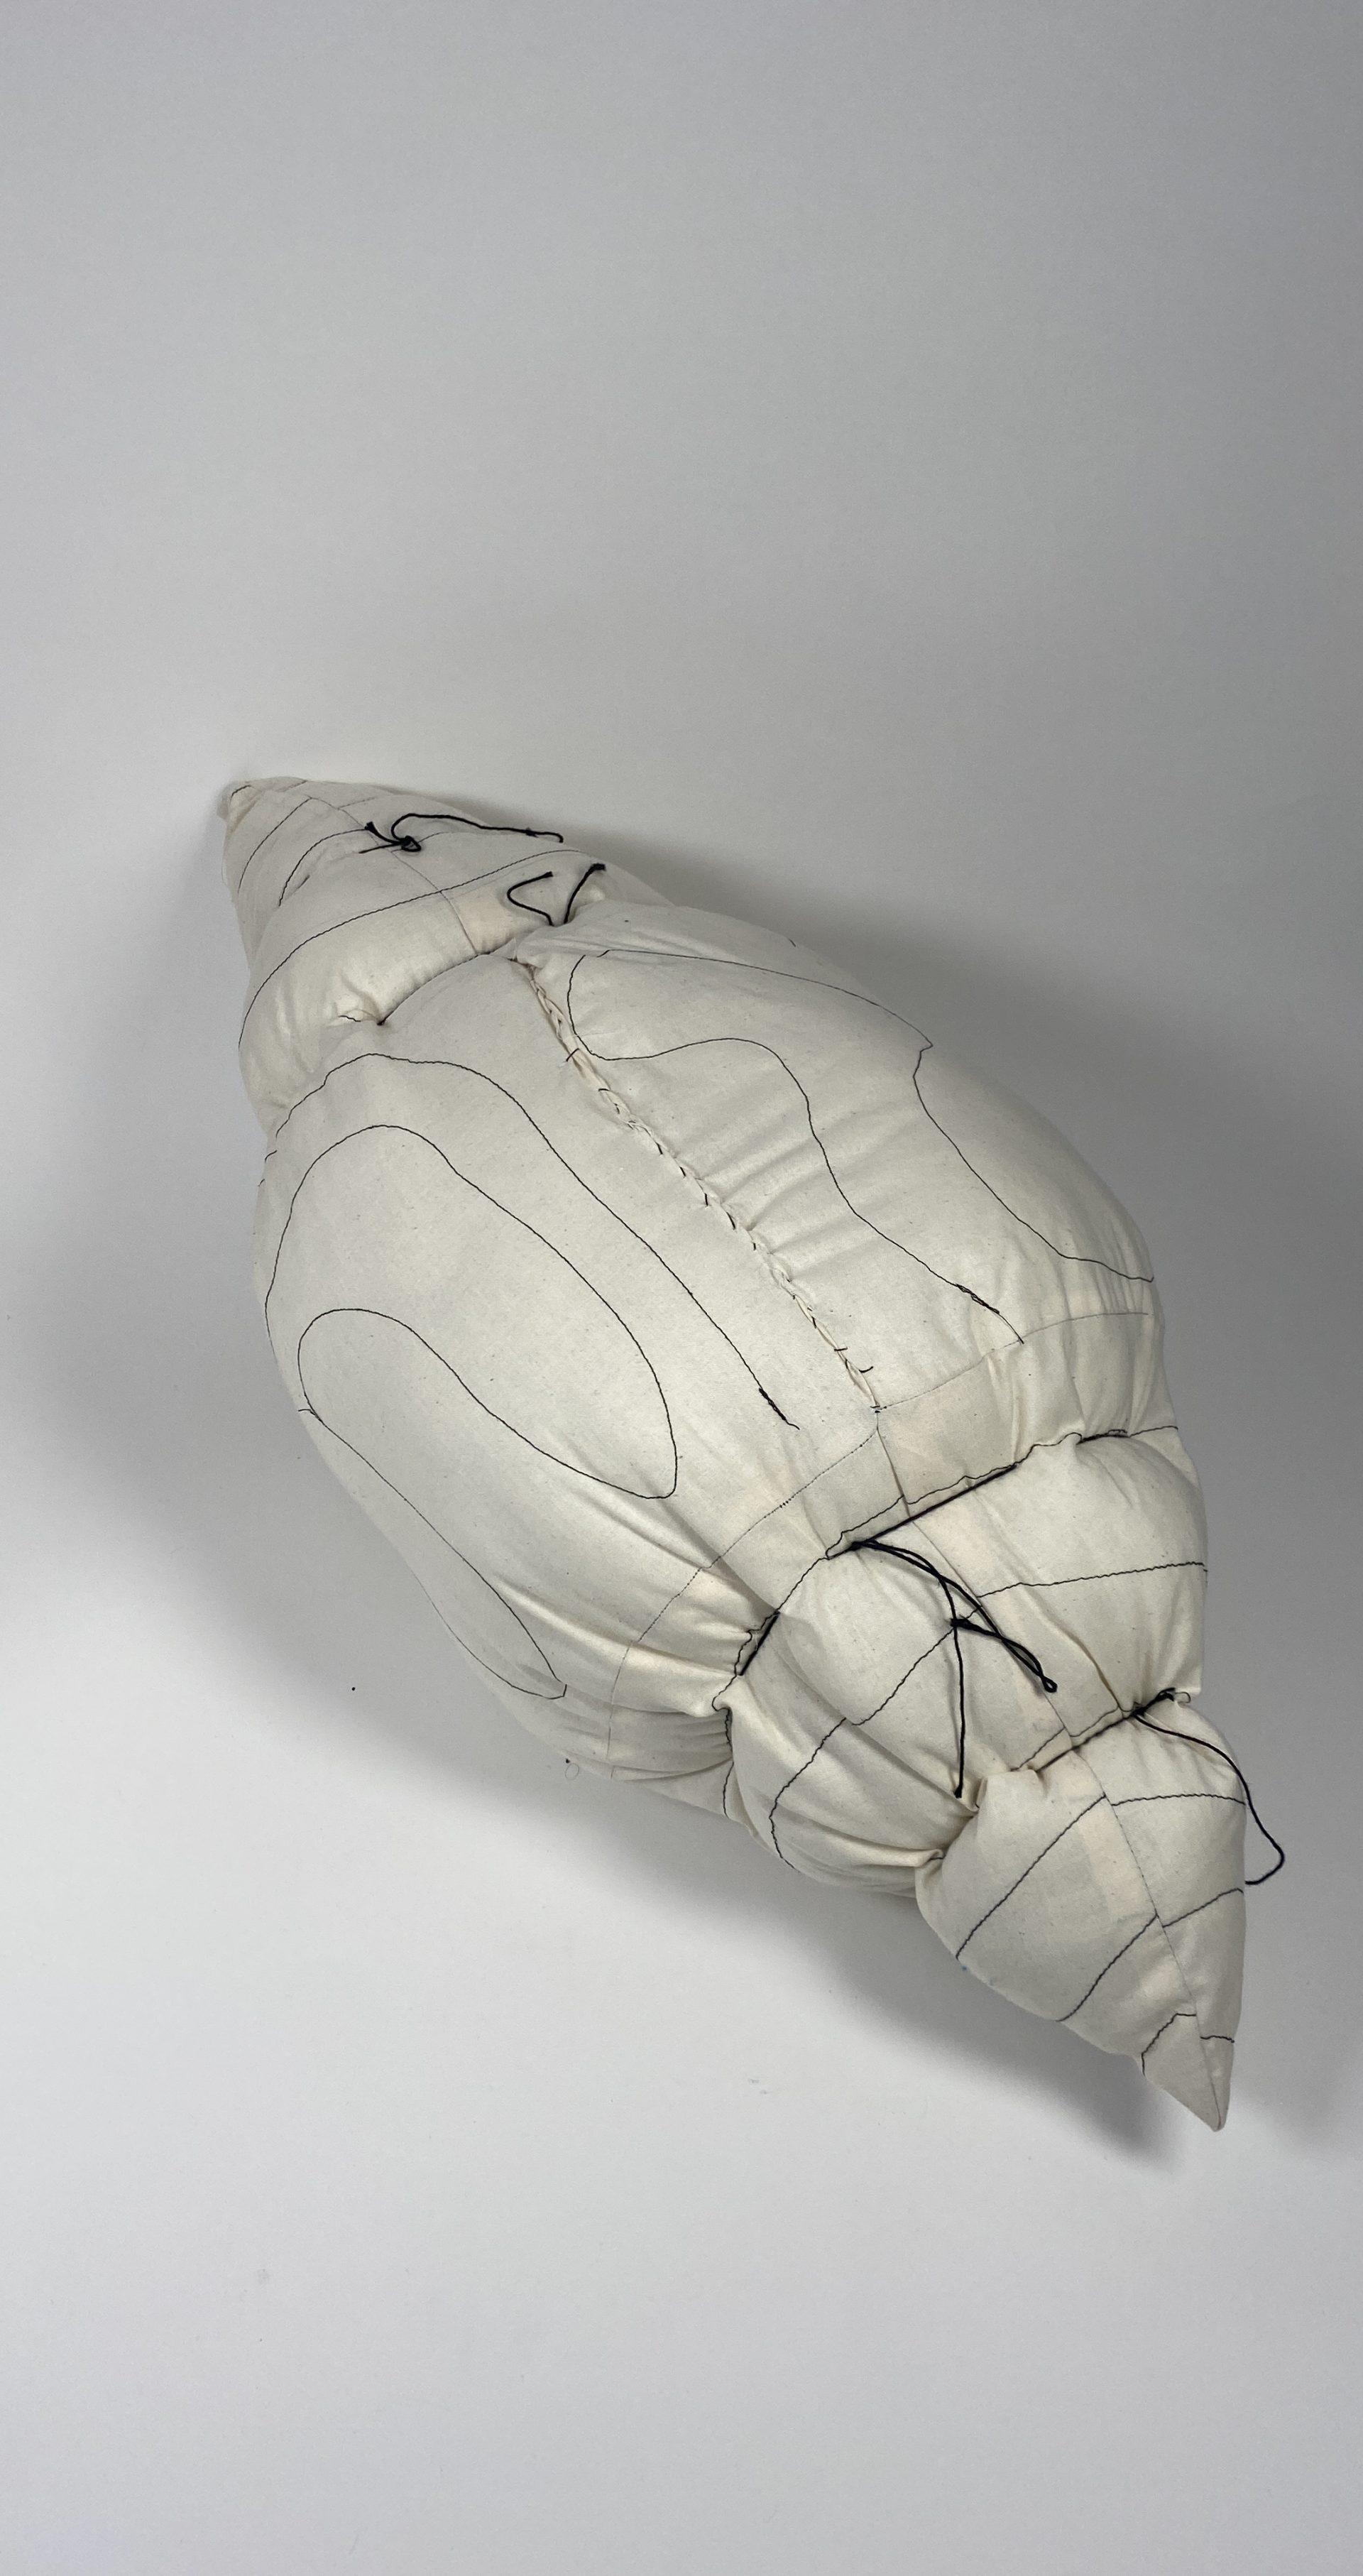

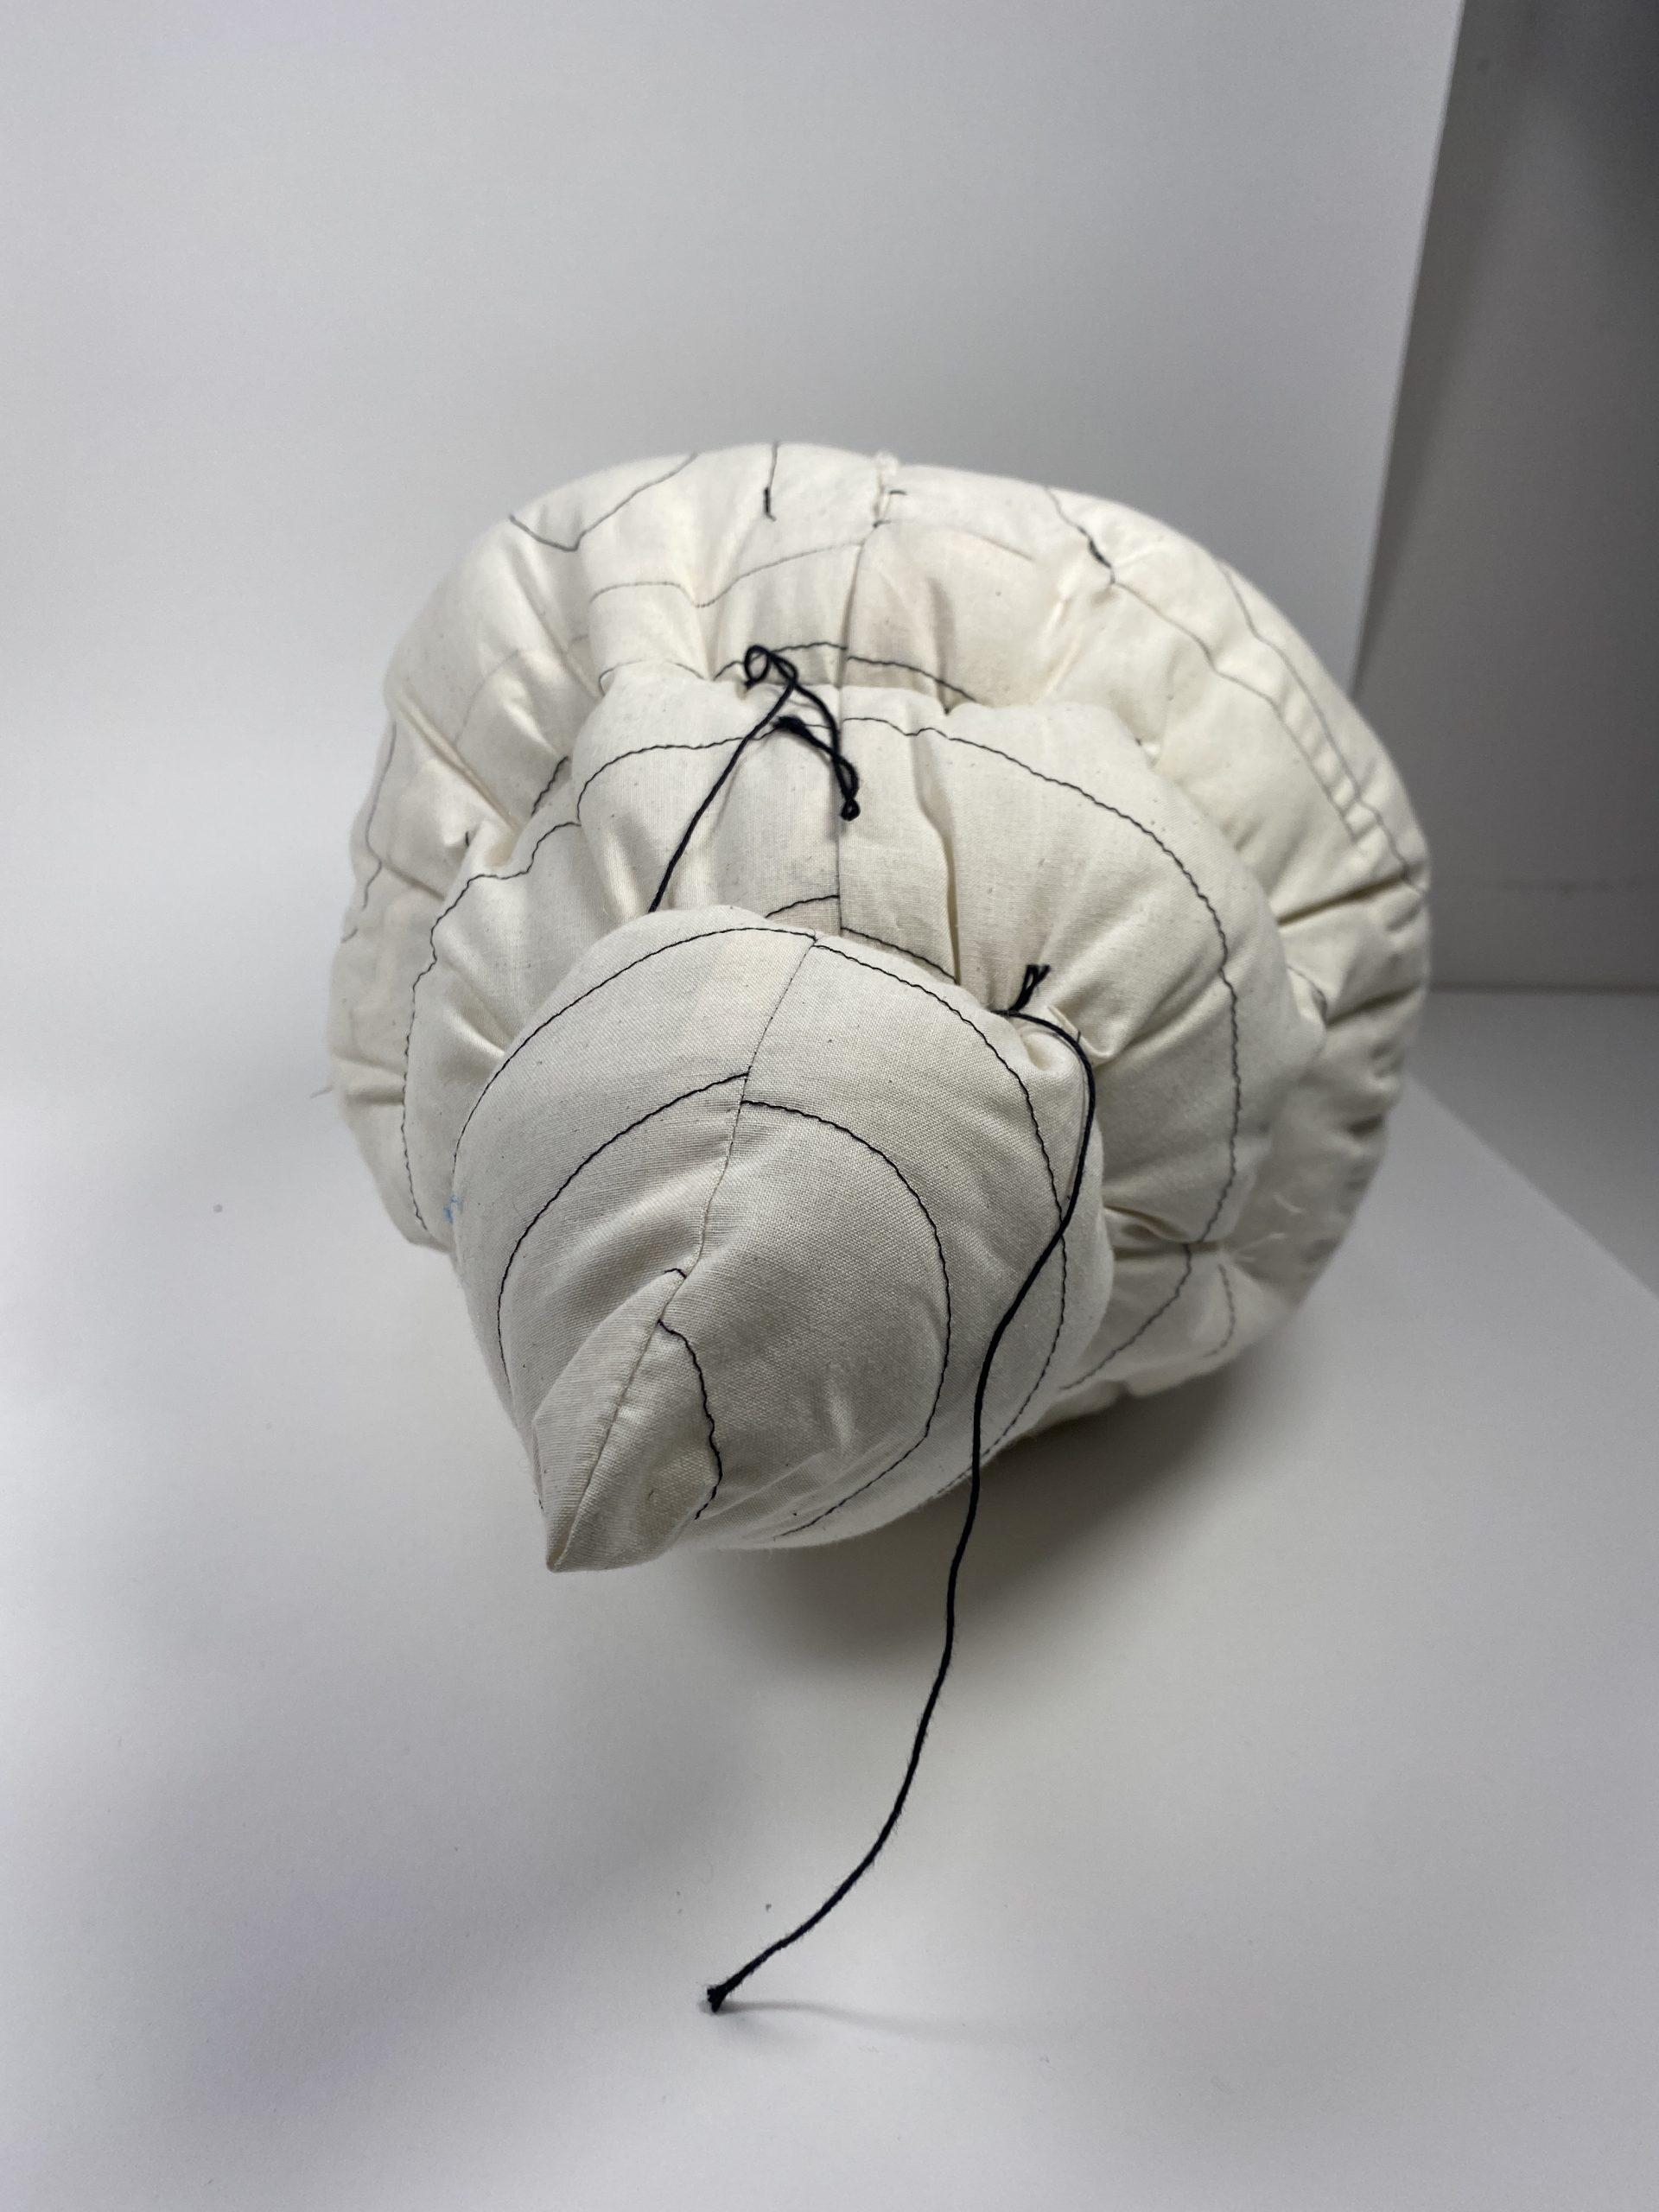

This one was probably my favorite form to make. I started by sewing 2 cones and then connecting them with the cylinder form without the spherical ends. Here I experimented with stitching on the outside of the fabric to create a visual effect – I stitched concentric circles on the cone pattern and free stitched a curvy pattern on the cylinder. After assembling the form, I then sewed in thread into the cones and tied it off using a taut line knot from my Boy Scout days so that you can adjust how tight it is.
In all, this assignment was super fun and I can’t wait for the next part!