Collaborative Spaces Proposal – Sandy, Sophia, Heeyun

Visual Portfolio, Posts & Image Gallery for WordPress

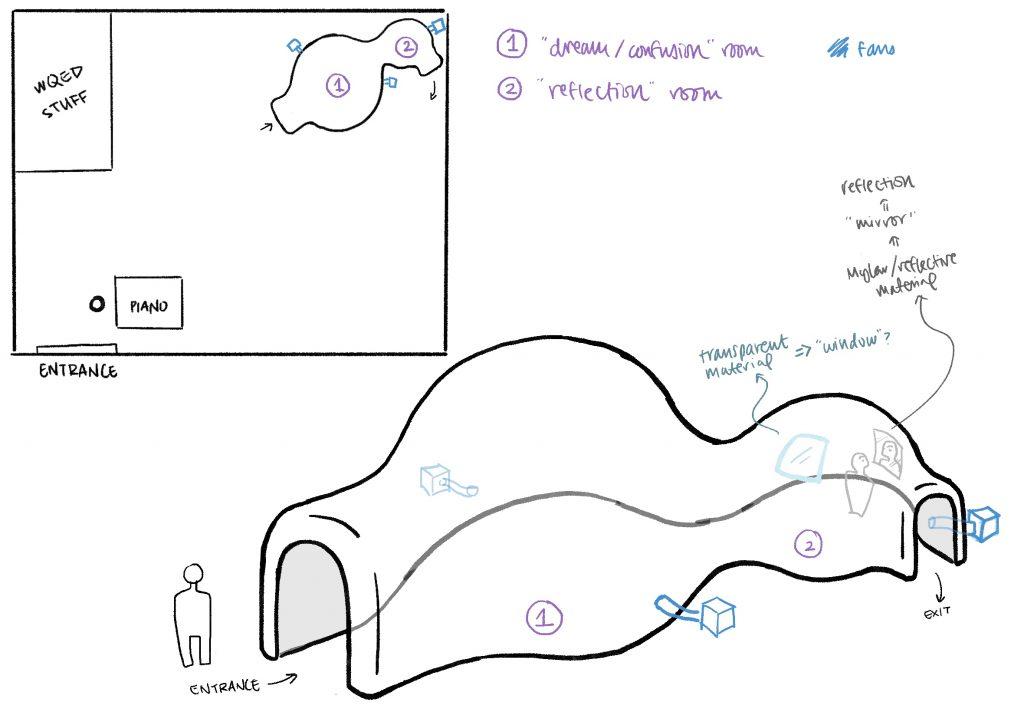
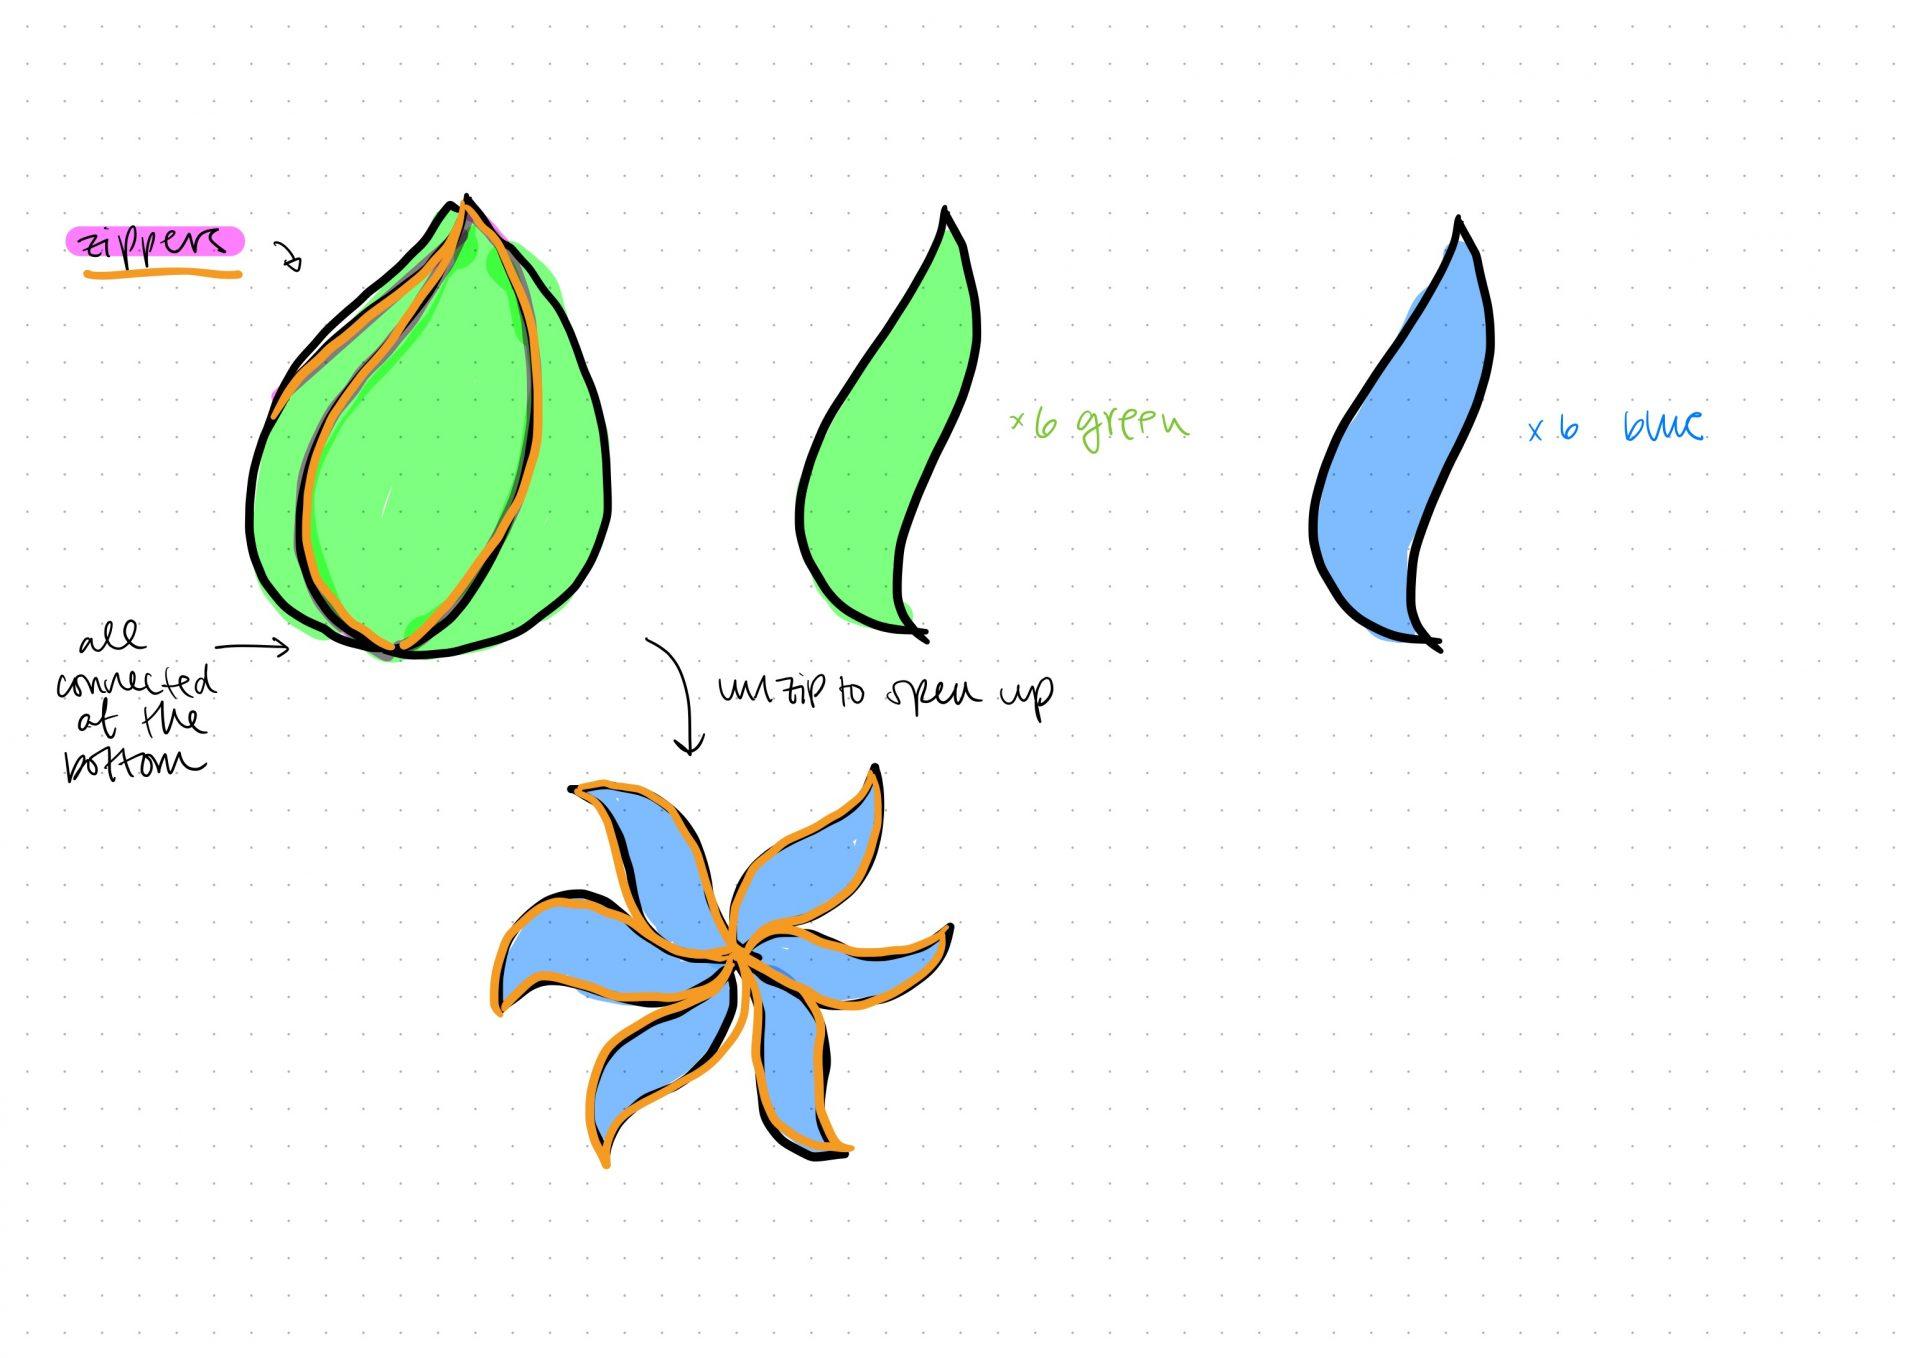
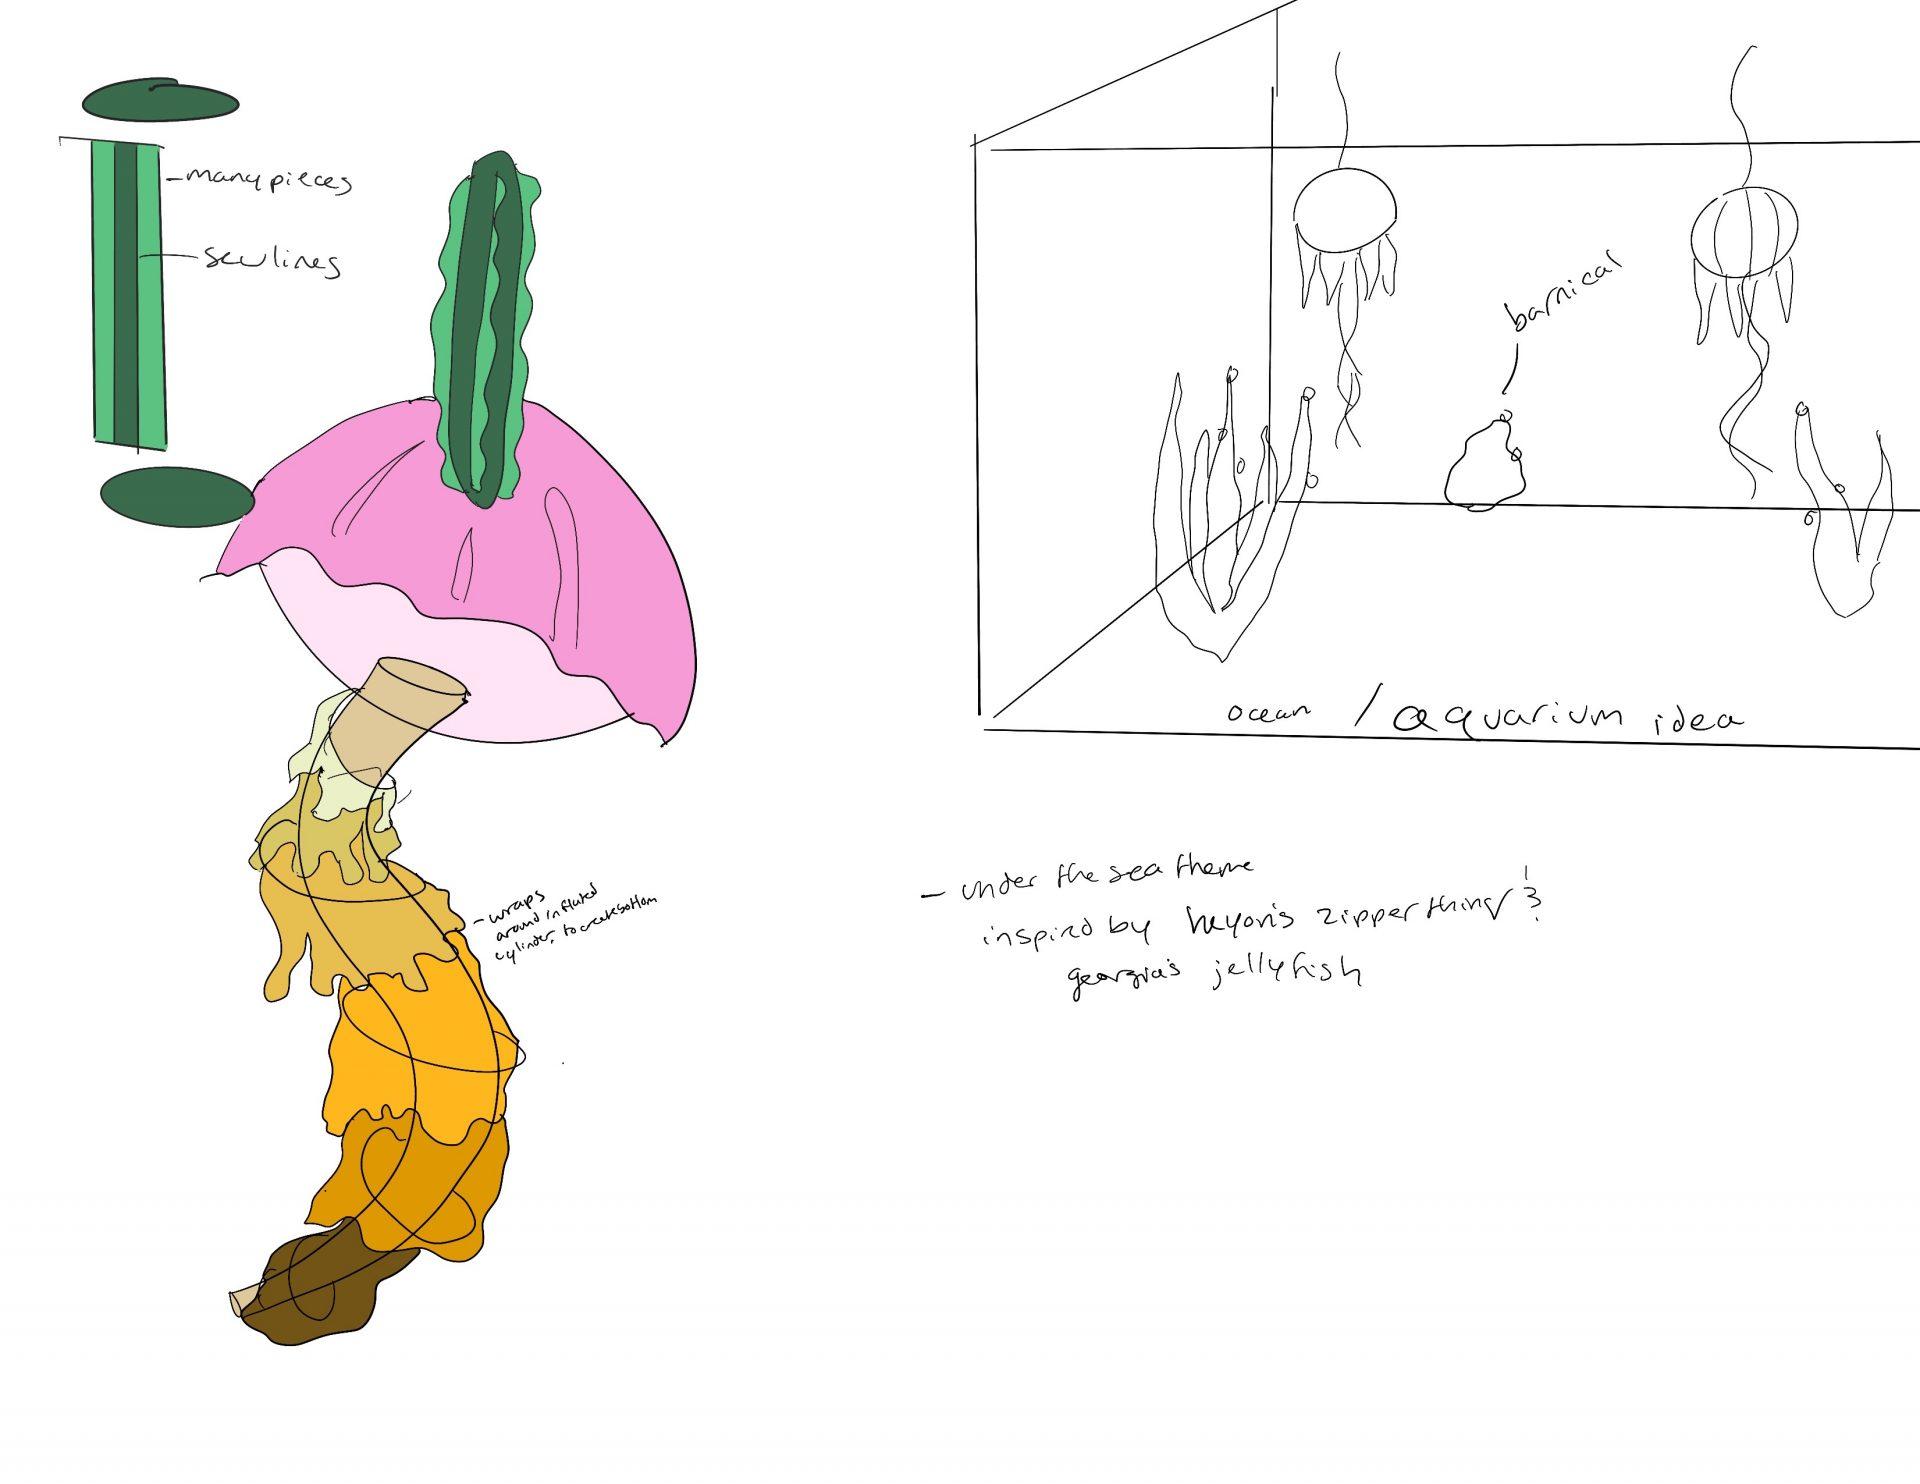
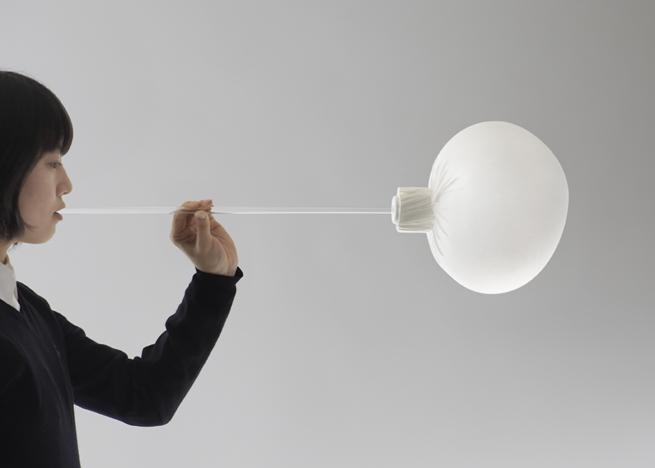
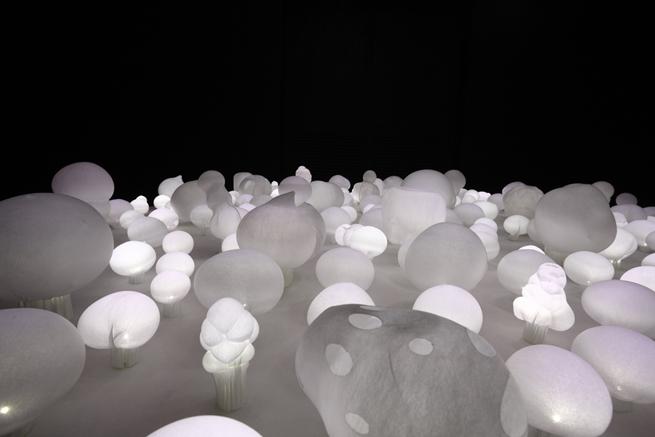
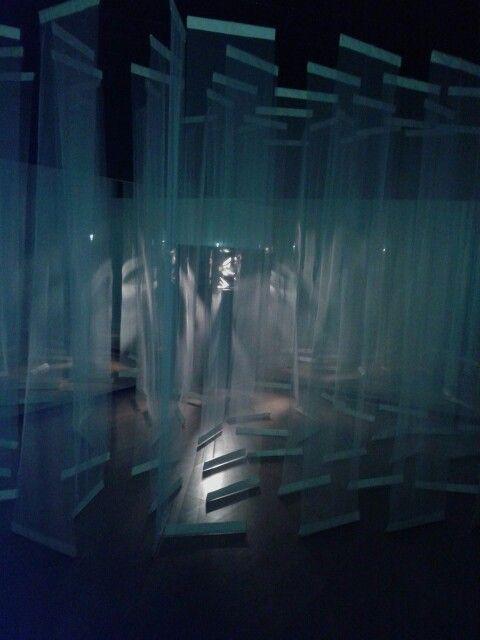
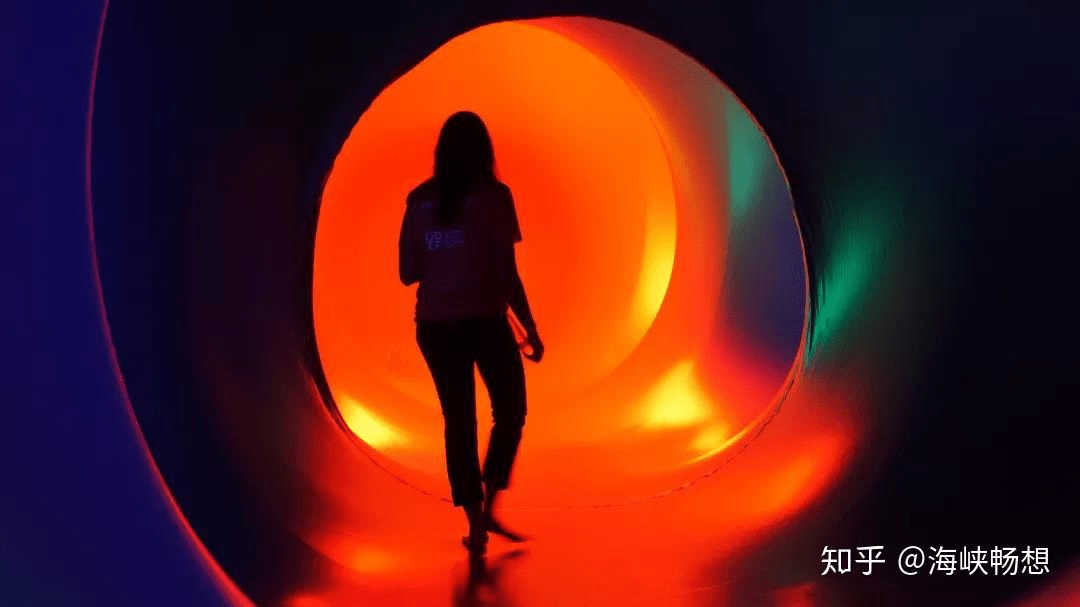
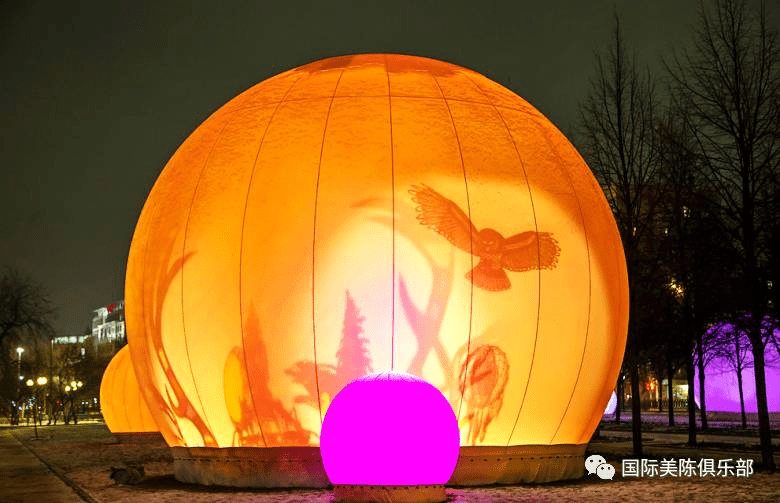
For the final project, we will be creating a dreamy dome-shaped inflatable where people can enter through a tunnel. We want to make a space where people can explore freely on their own. There will be randomly placed curtains within the dome in different colors and designs. We plan to have two domes connected to the tunnel, with one representing the confusion from a dream and one for people to leave their messages if they can reach that dome after the dream dome. Since dreams tend to be chaotic and can have many twists and turns, we think the curtains can replicate that experience by creating unique “paths” that people can walk through. Everyone will have a different experience inside the inflatable because they will choose random curtains to walk through. We anticipate that we can utilize different lighting effects and animations to create different kinds of illusions and dreamy/eerie atmospheres for the audience, which we will definitely discuss with the animators!

link to our Google Drive Folder with all of our documents, files, images, etc.

Materials

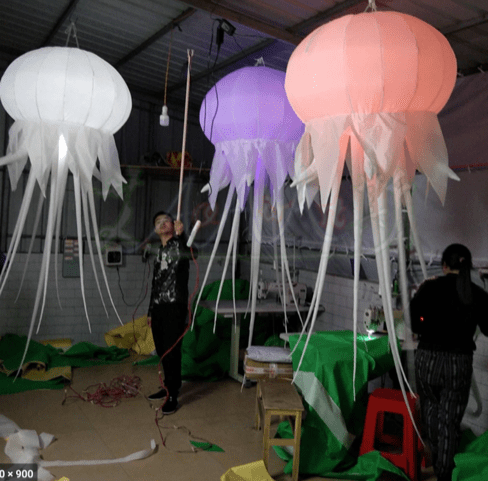
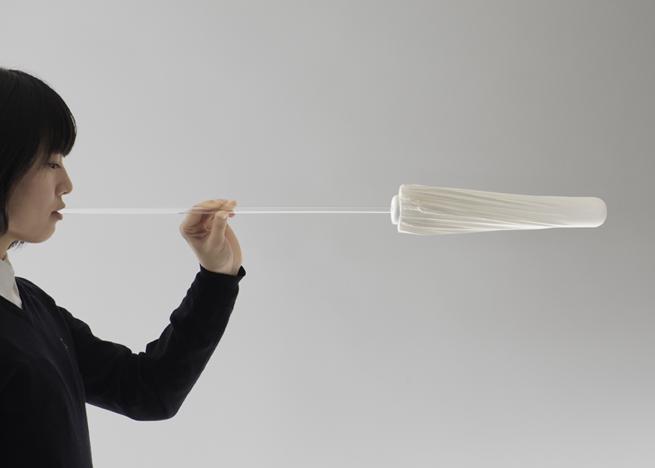
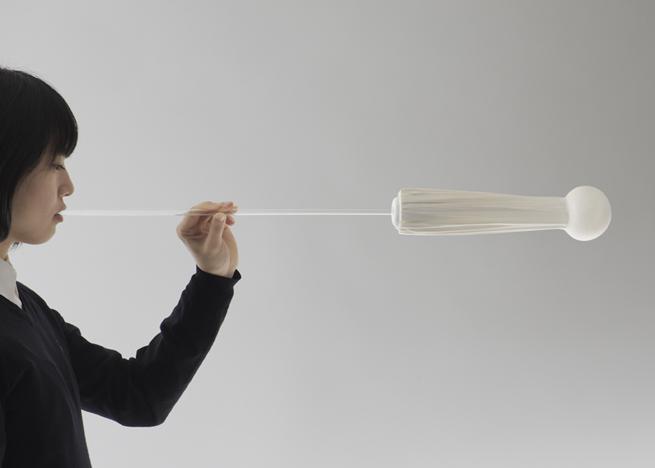
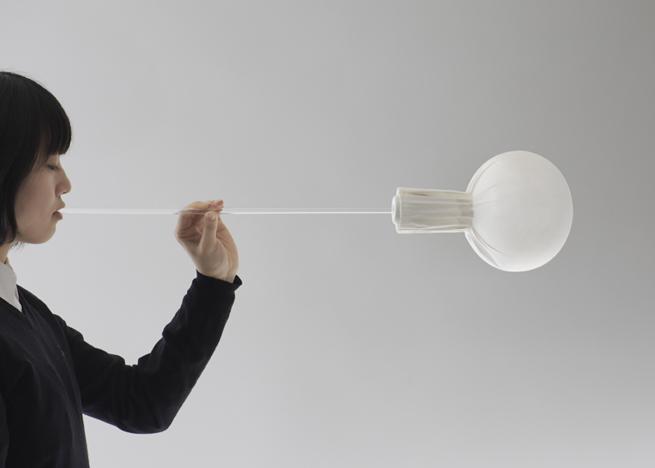
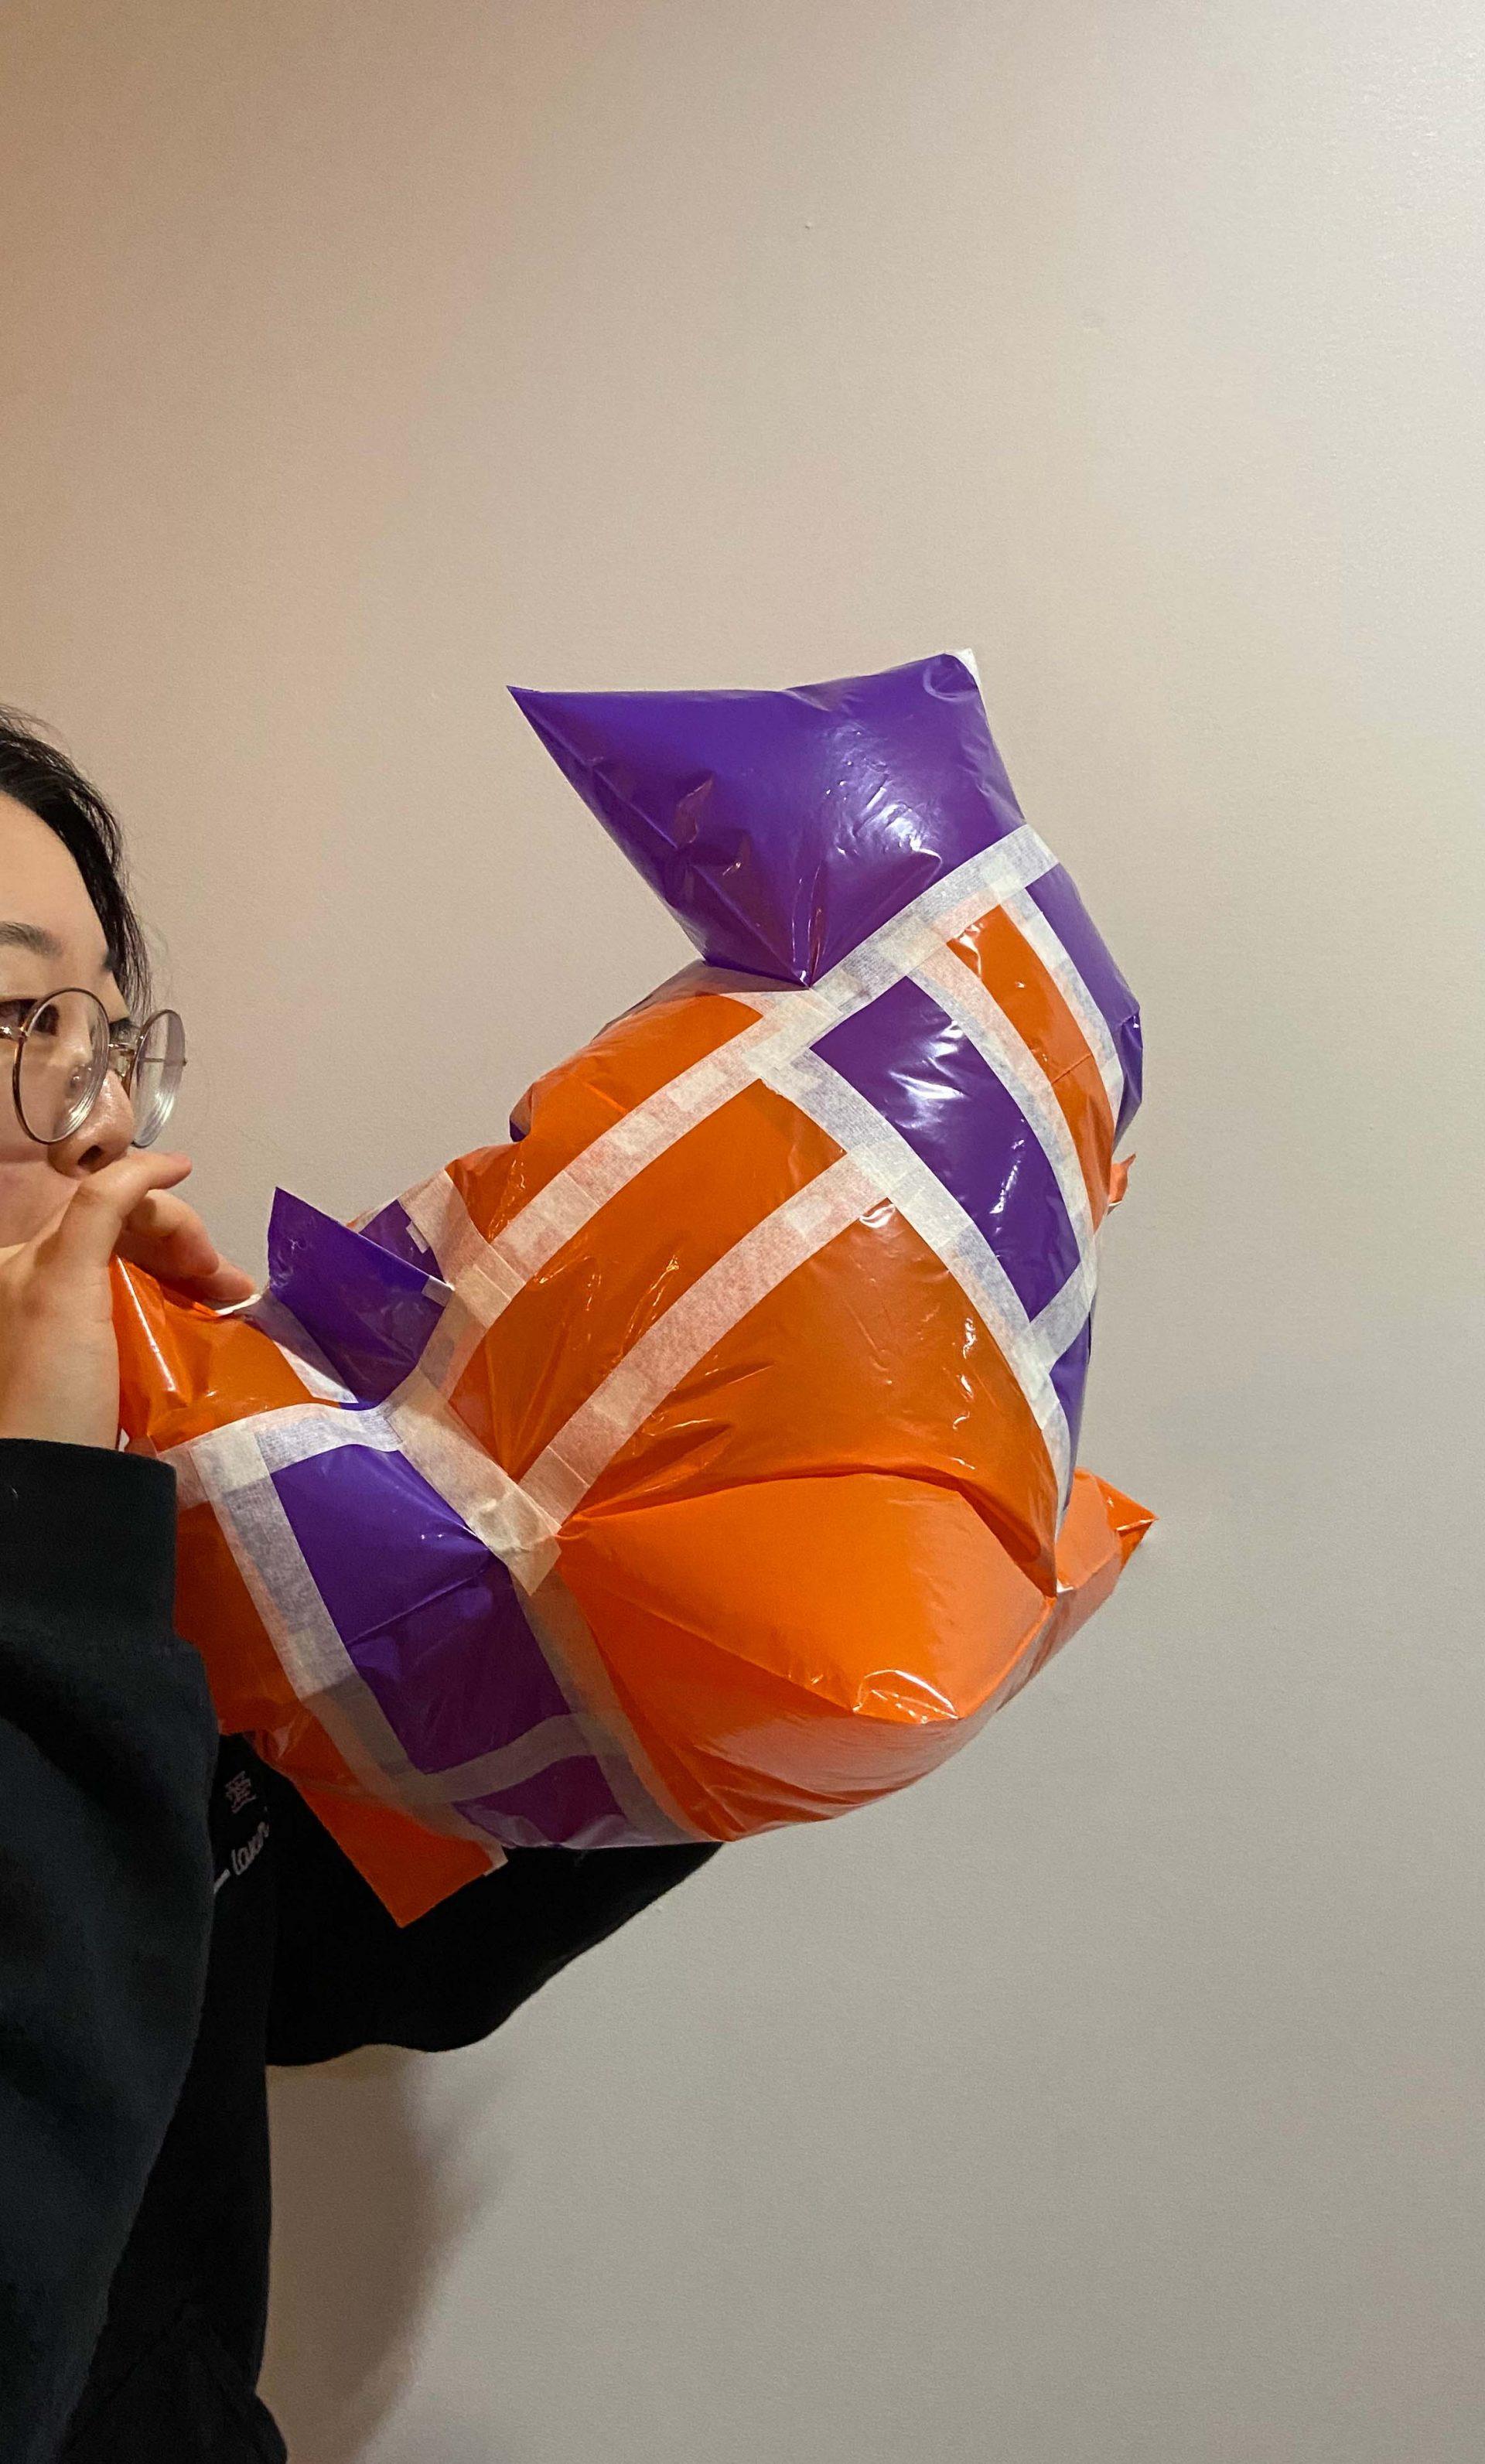
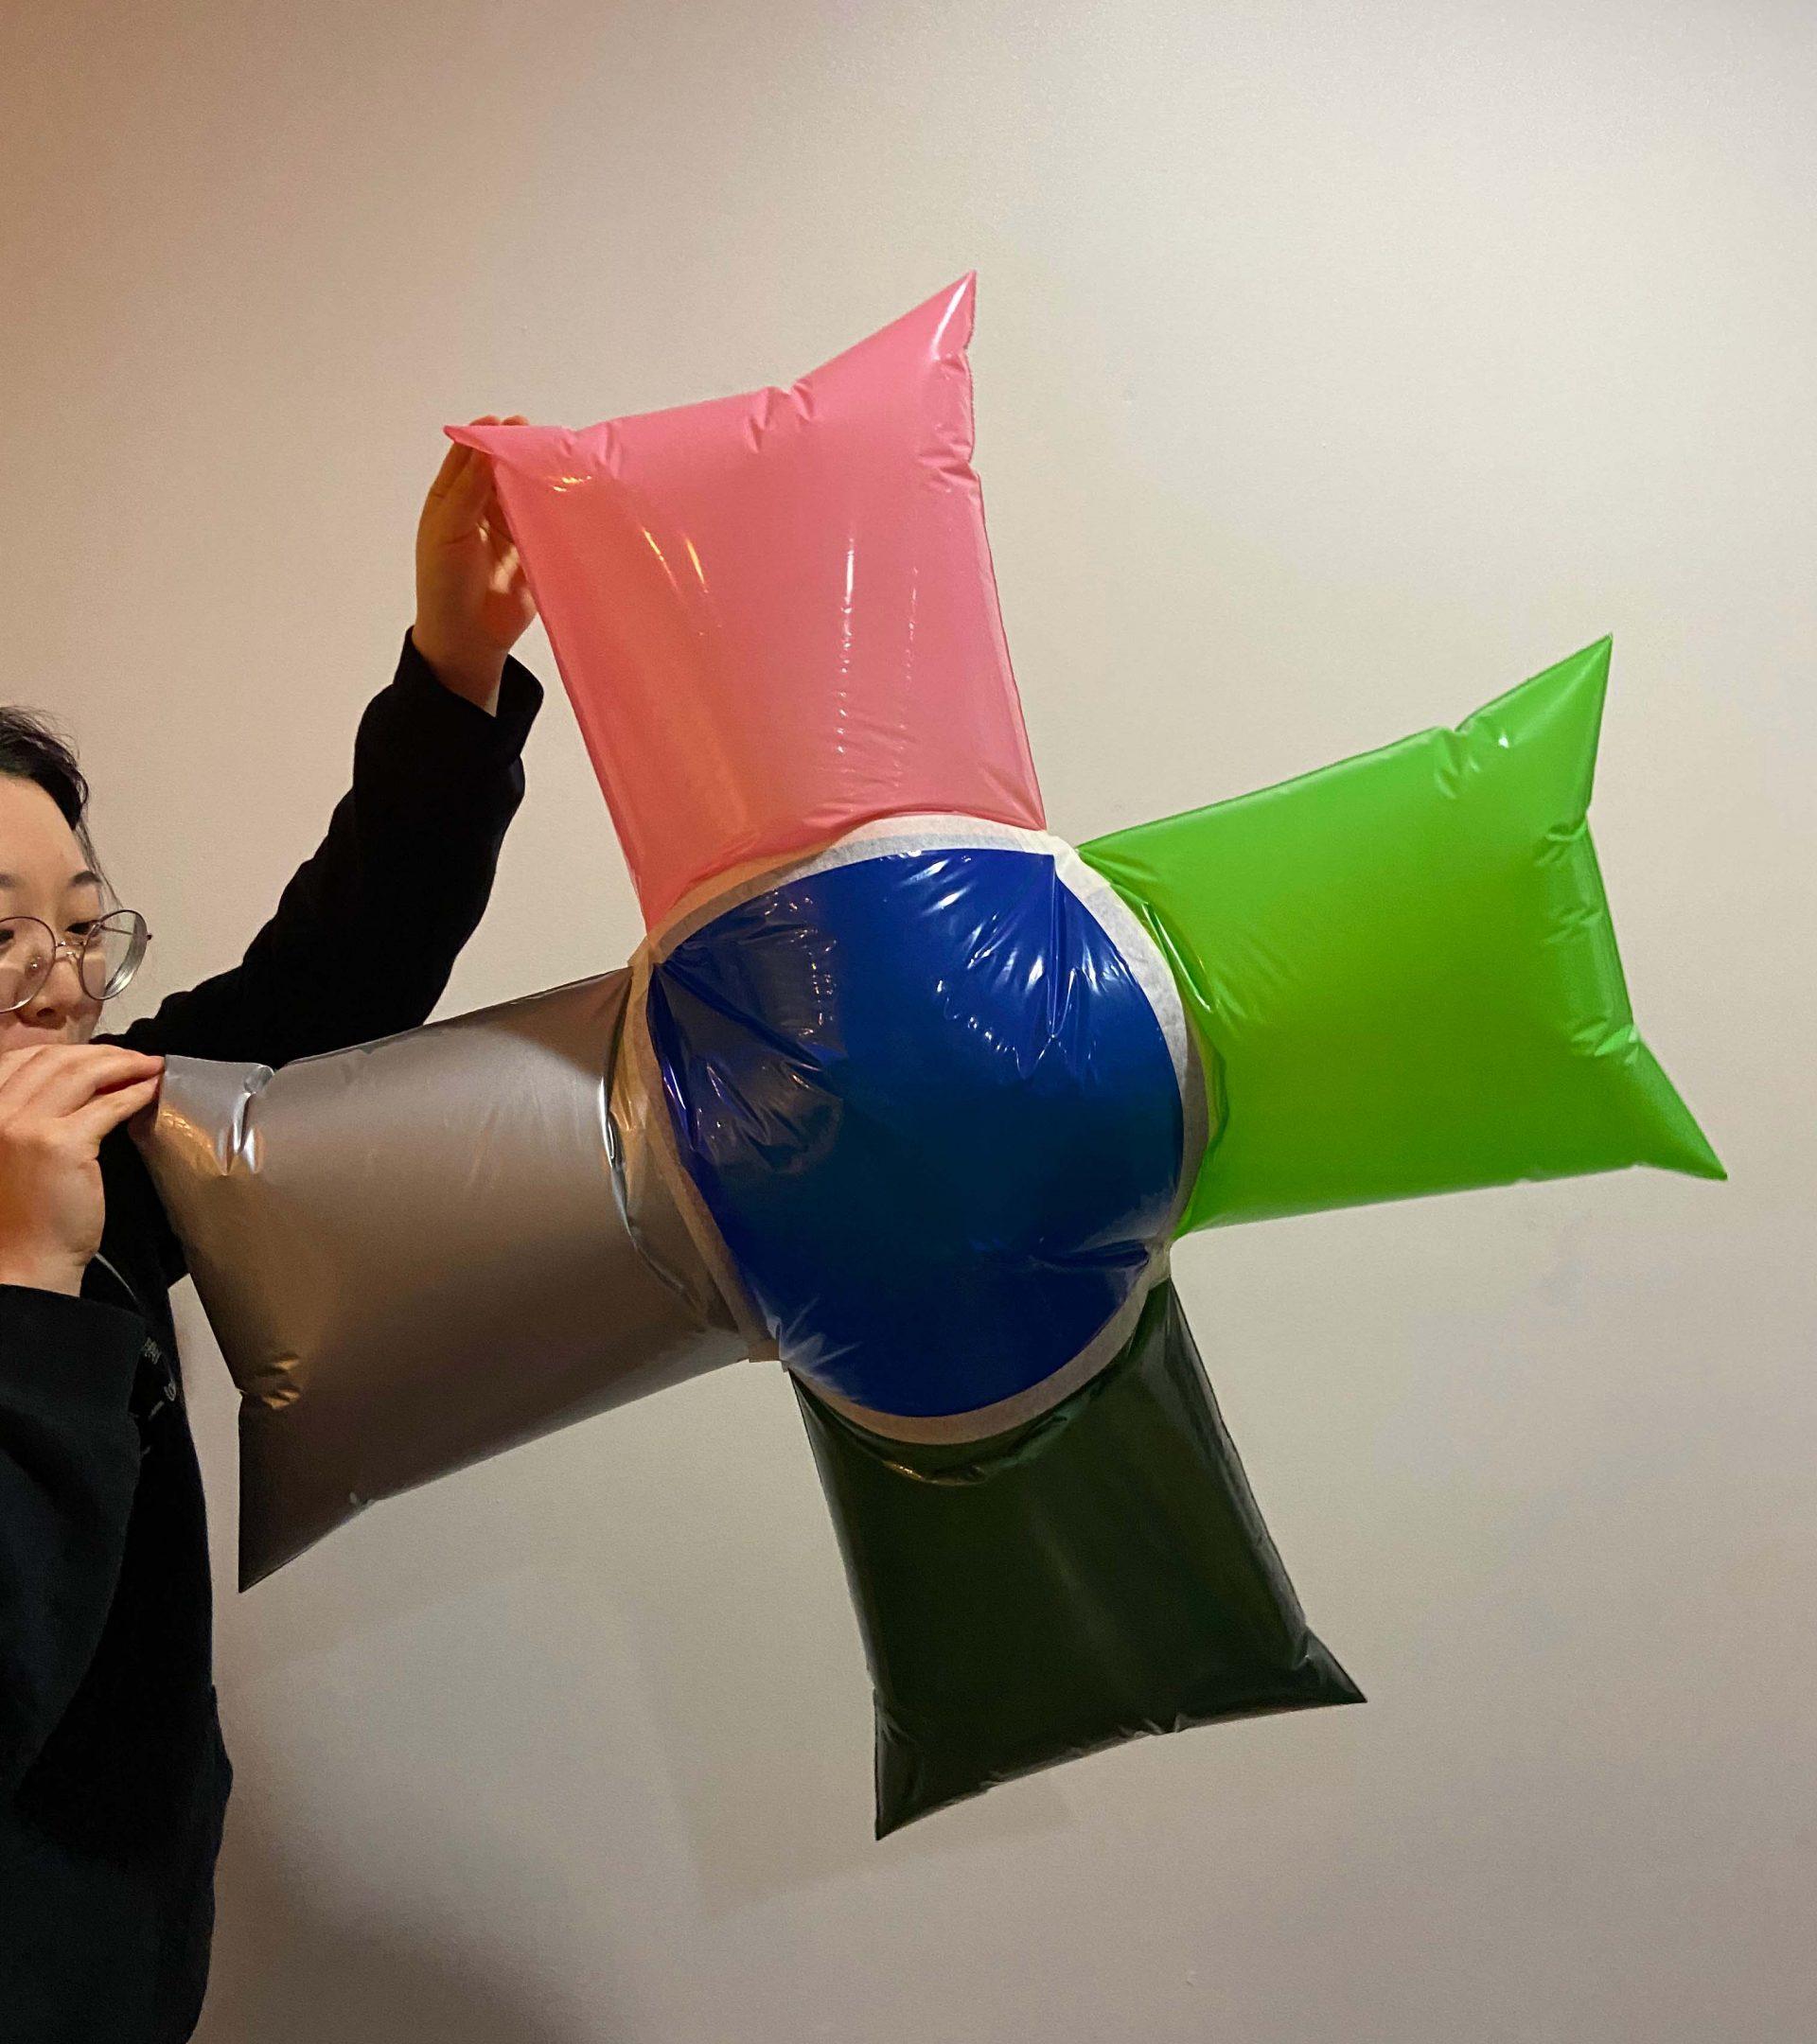
  • We will need a lot of ripstop nylon for our project, enough to make two large spherical shapes. One of the two shapes needs to be big enough to allow 7 people to be comfortably spaced out while standing in the space. The other shape needs to be big enough for at least 2 people to stand in the shape.
  • Velcro – 5 feet long
  • Light sheer-ish fabric- 10 strips of 7 feet by 1.5 feet long
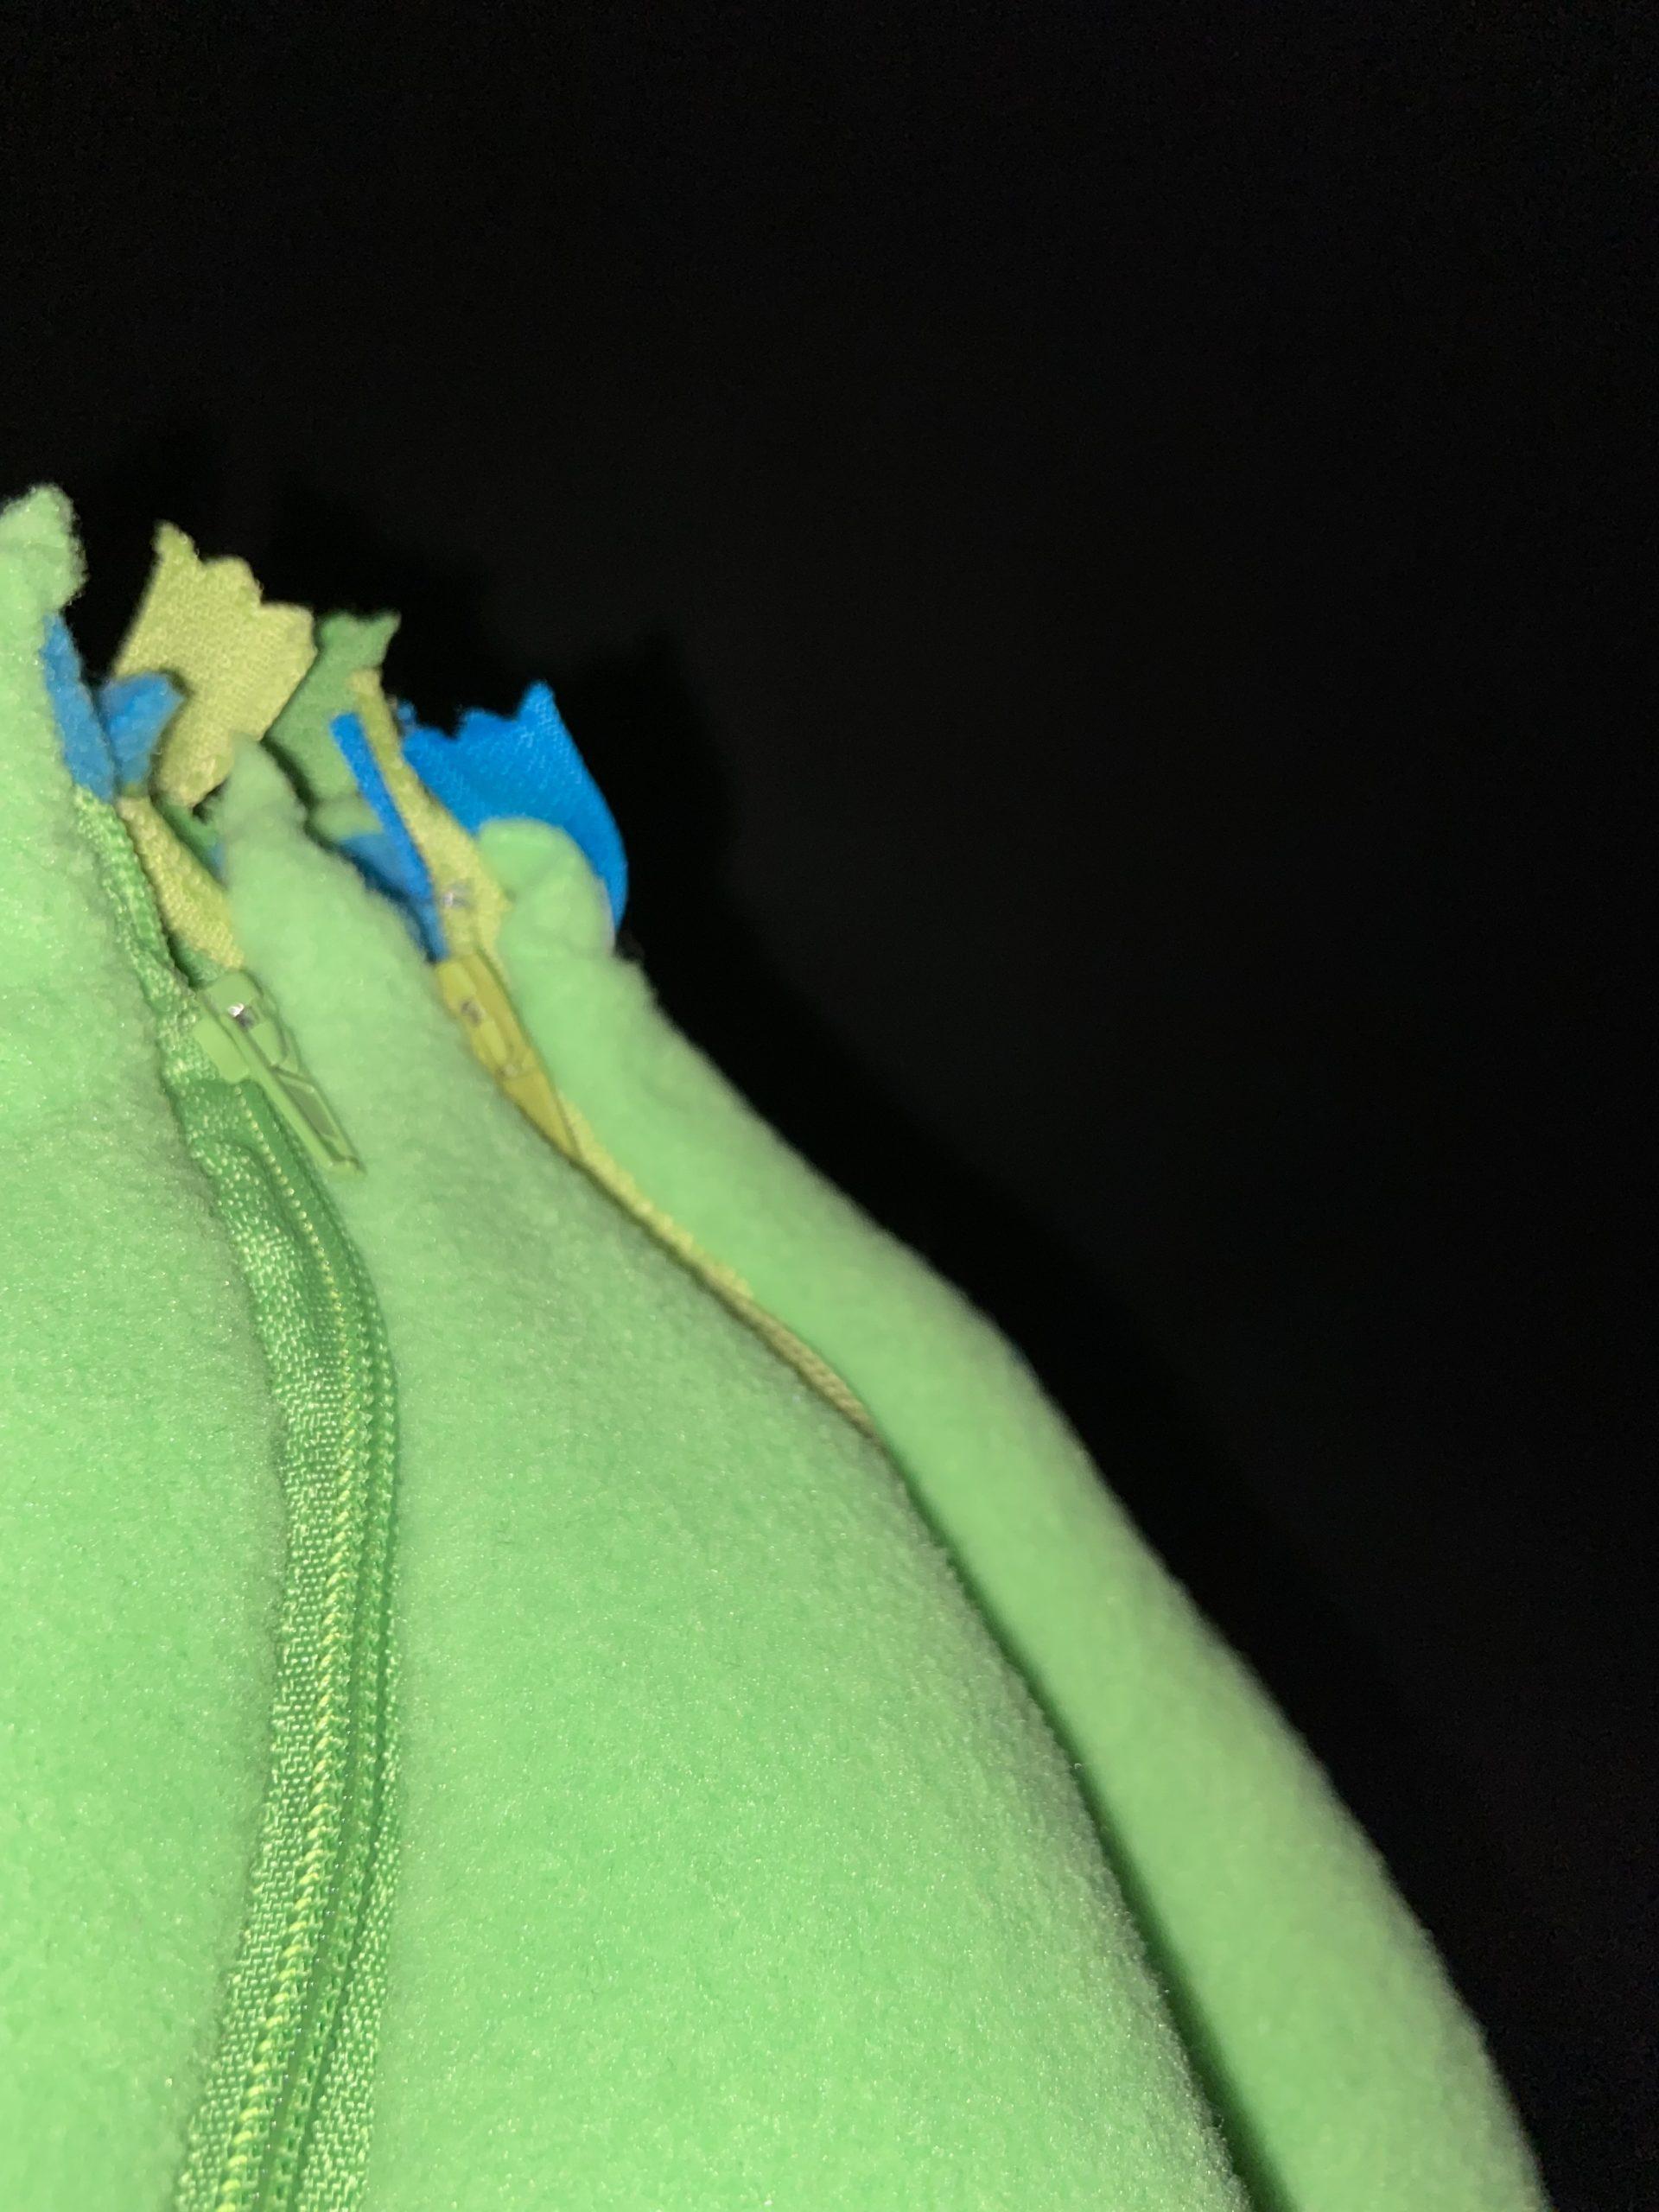
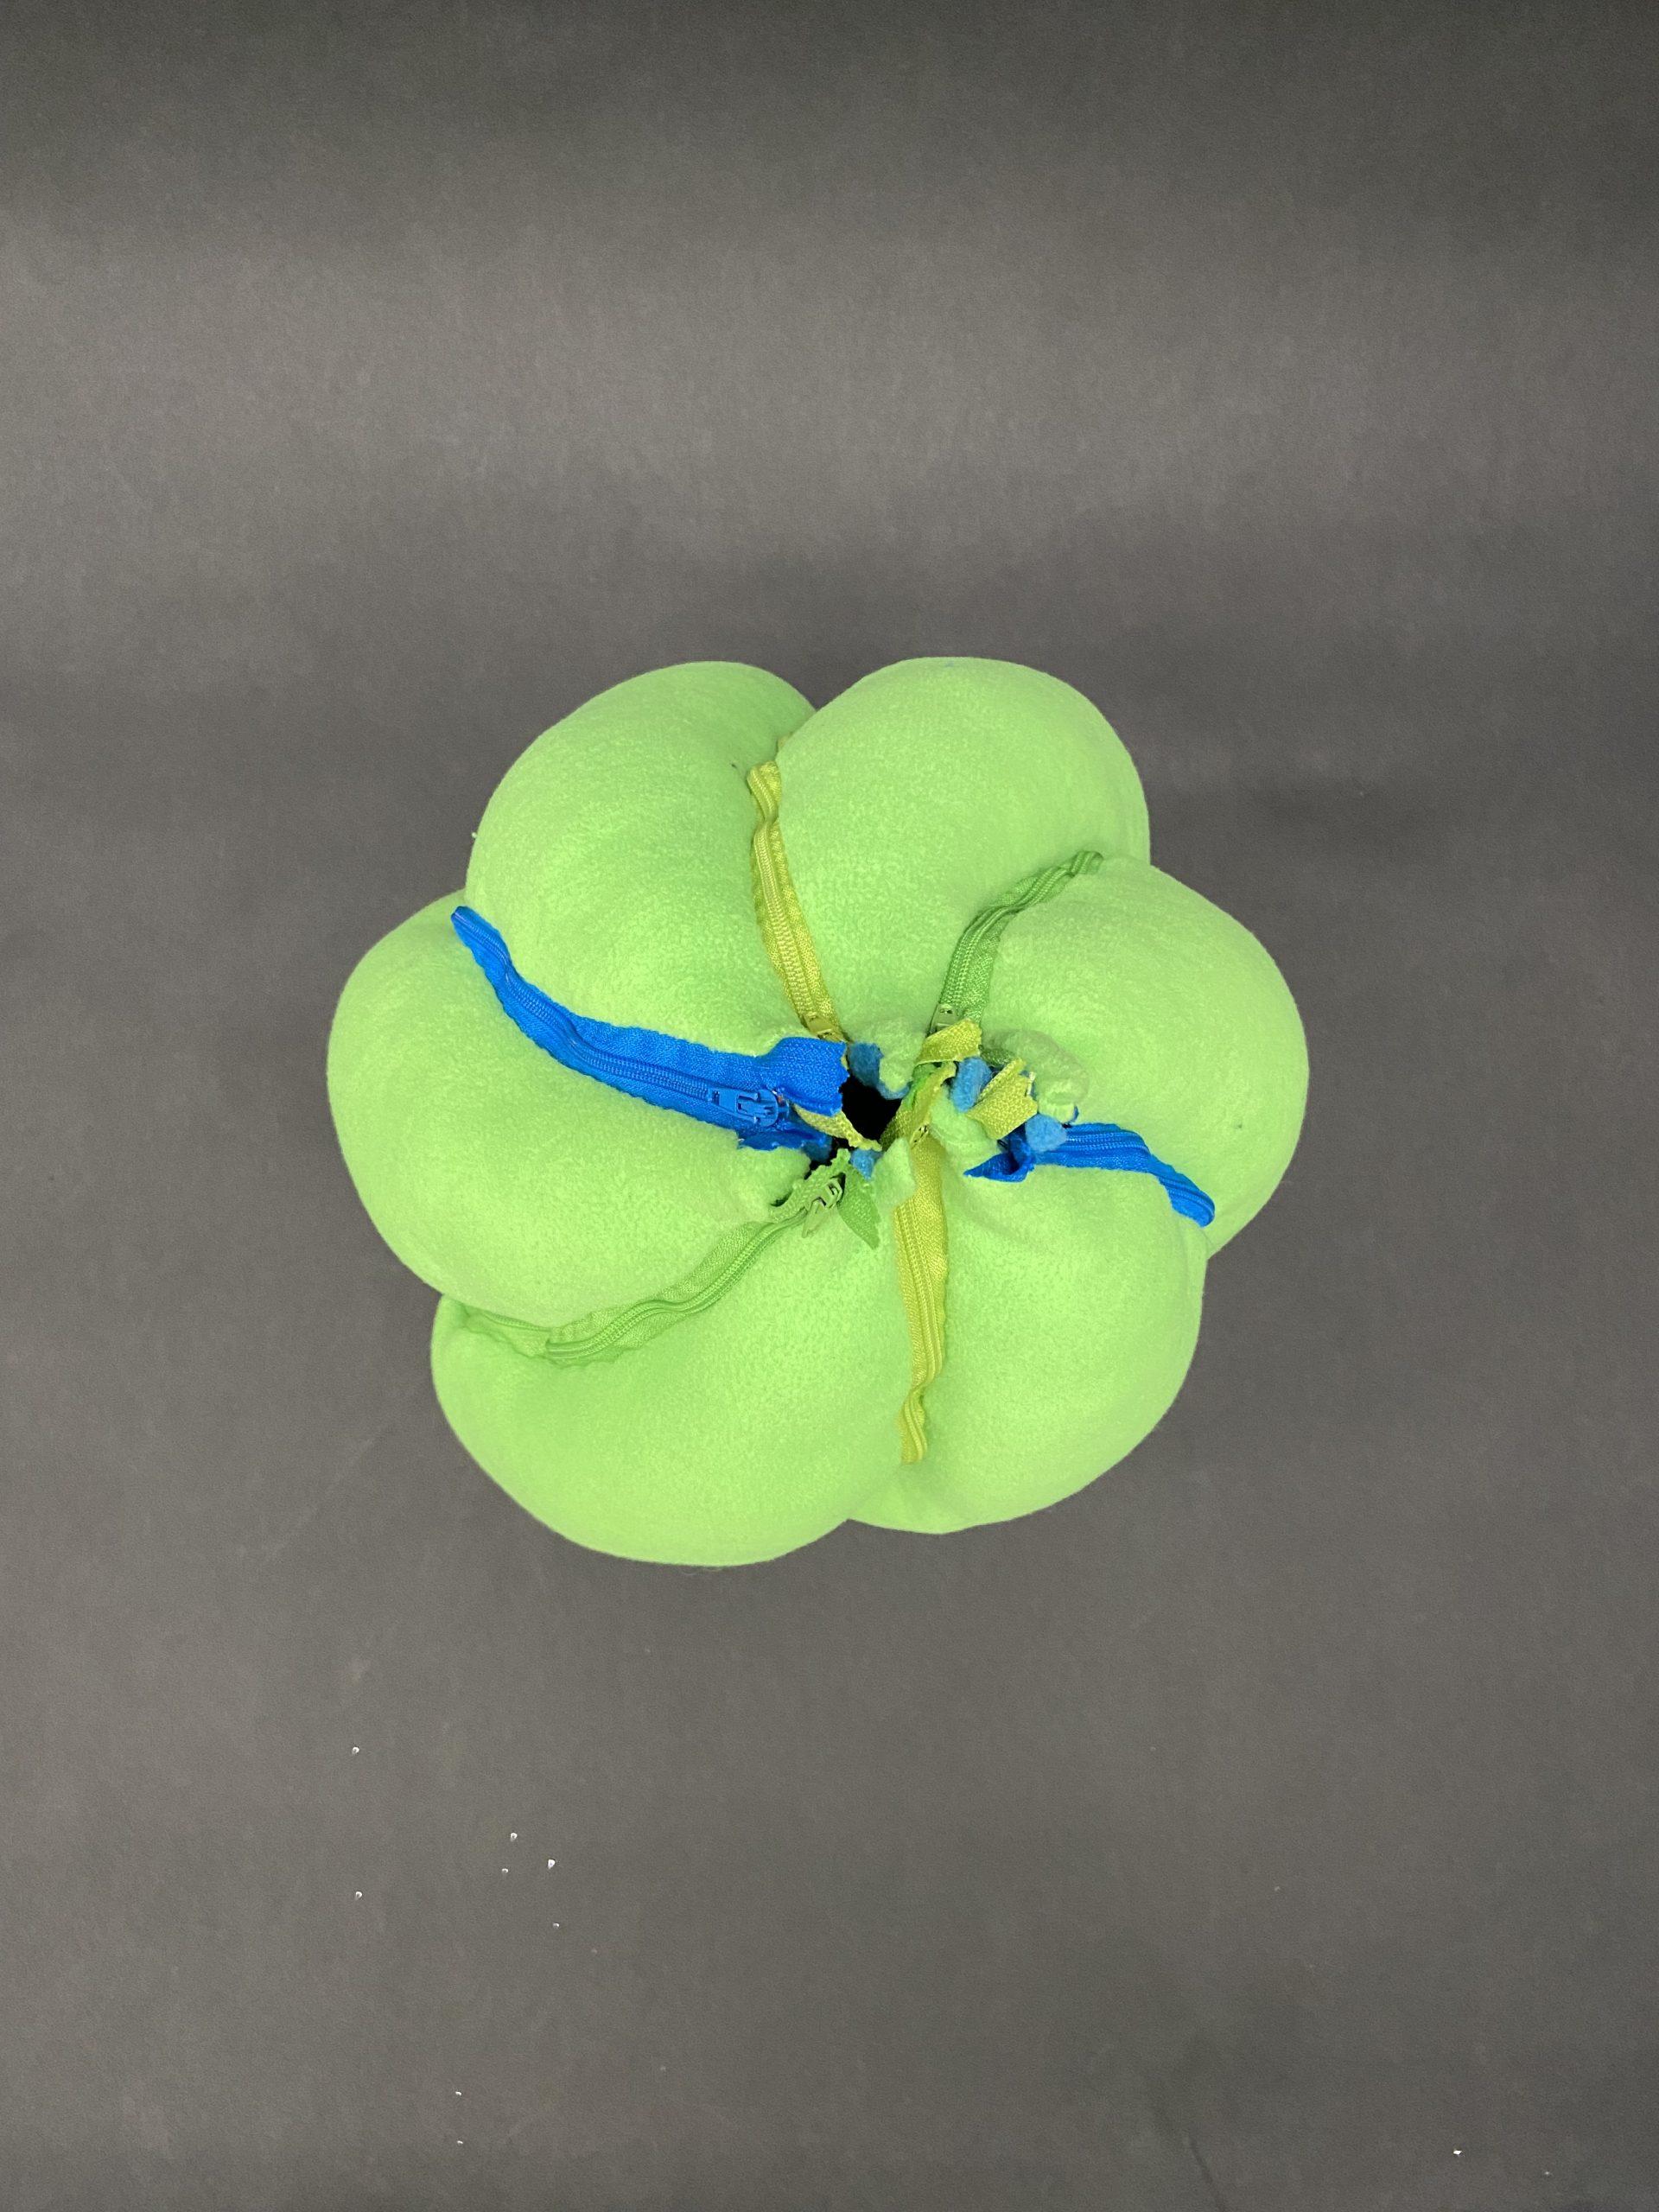
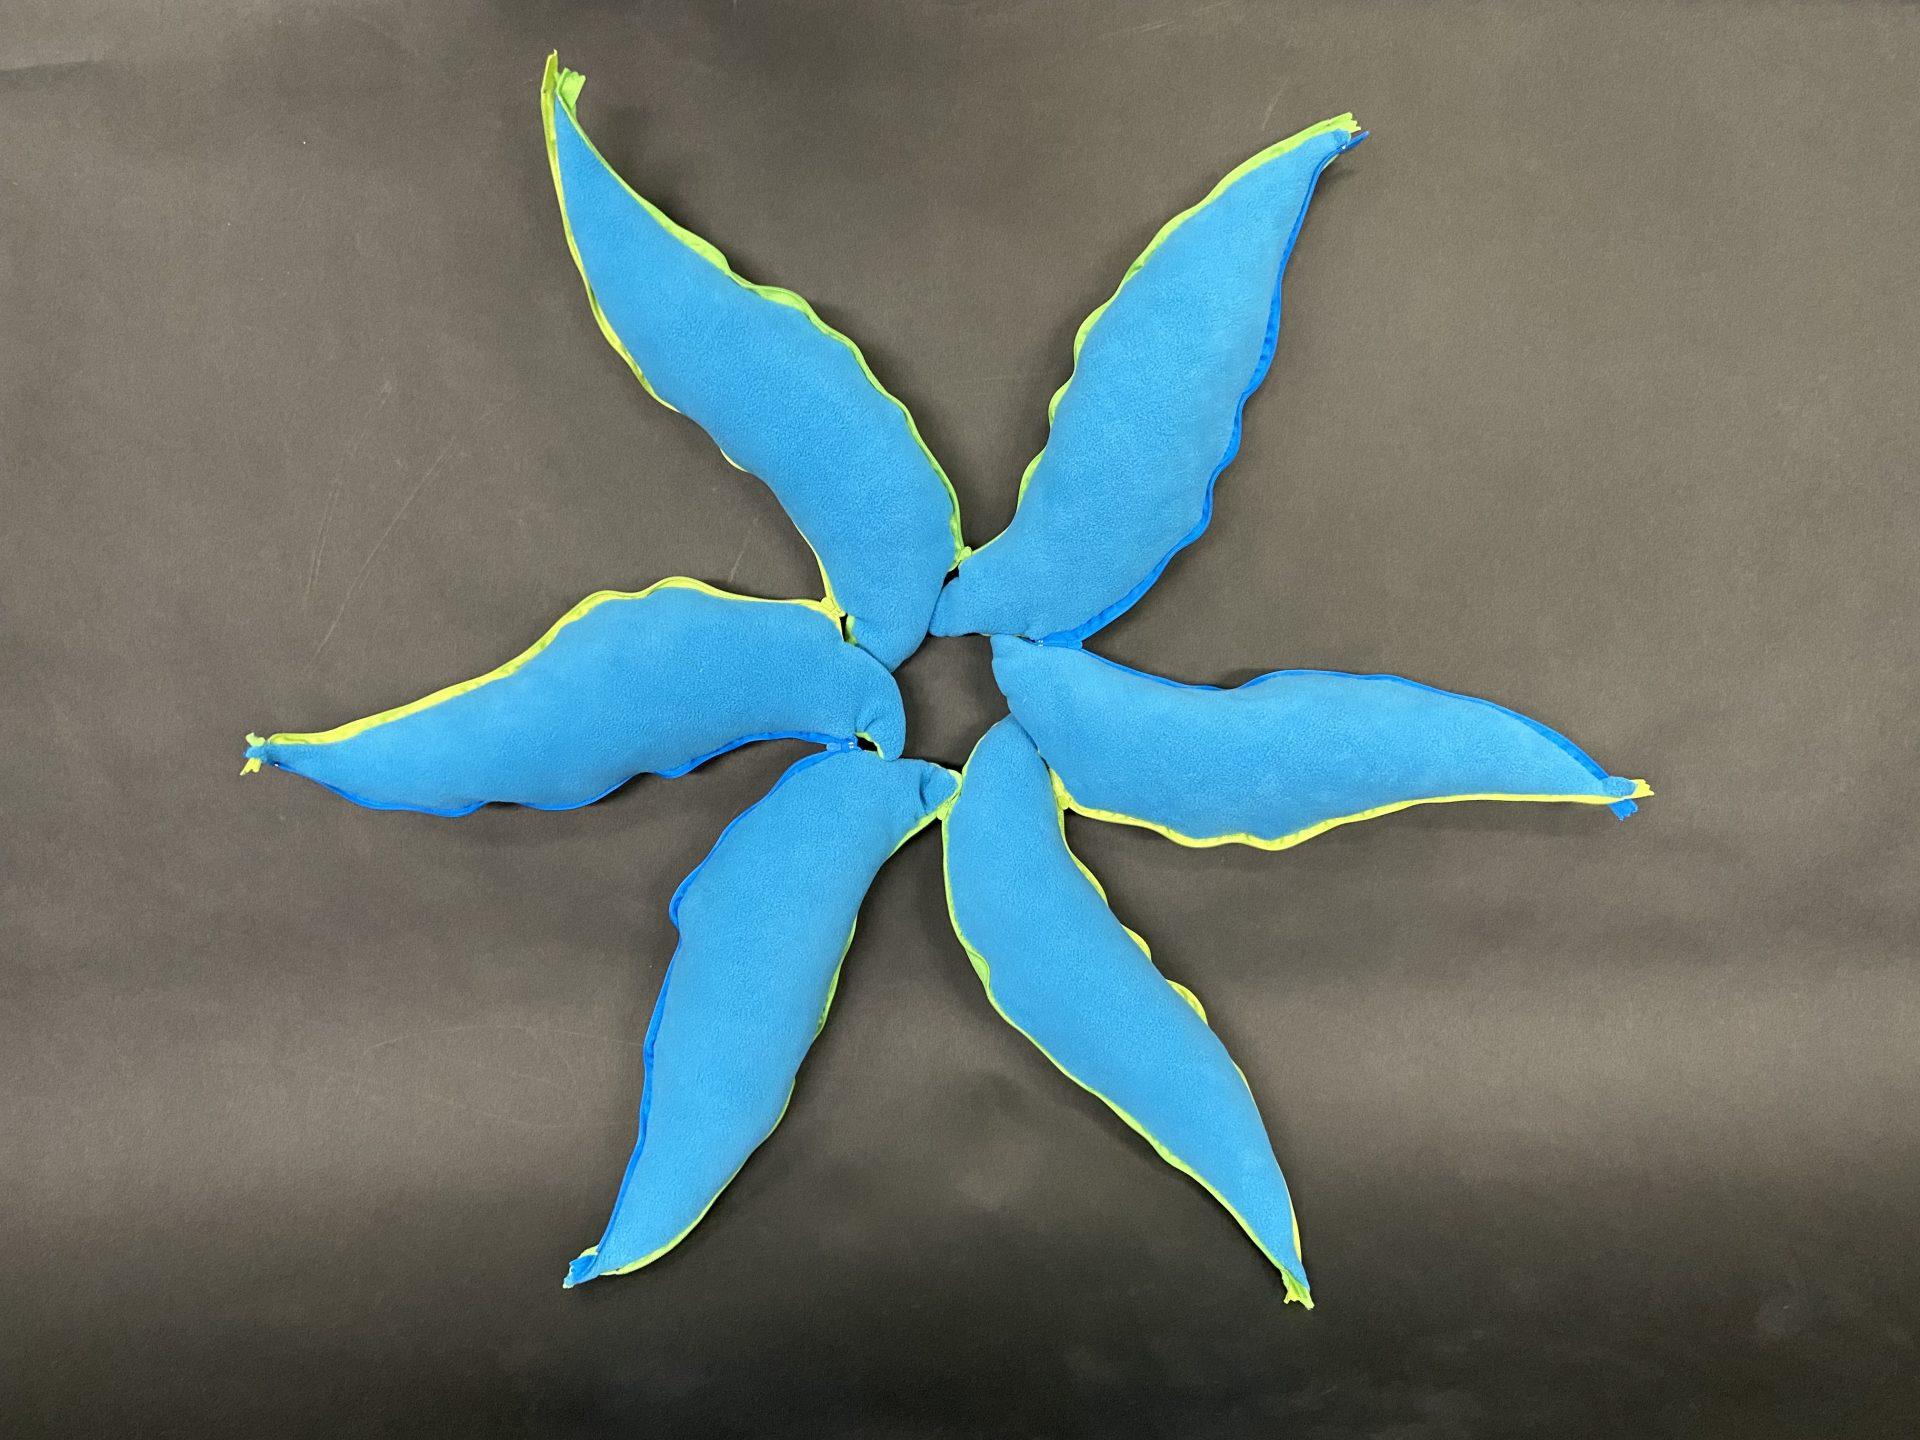
  • Random pieces of different fabric – 5 ft by 5 ft total material
  • 3 sharpies
  • 3 powerful fans

Challenges

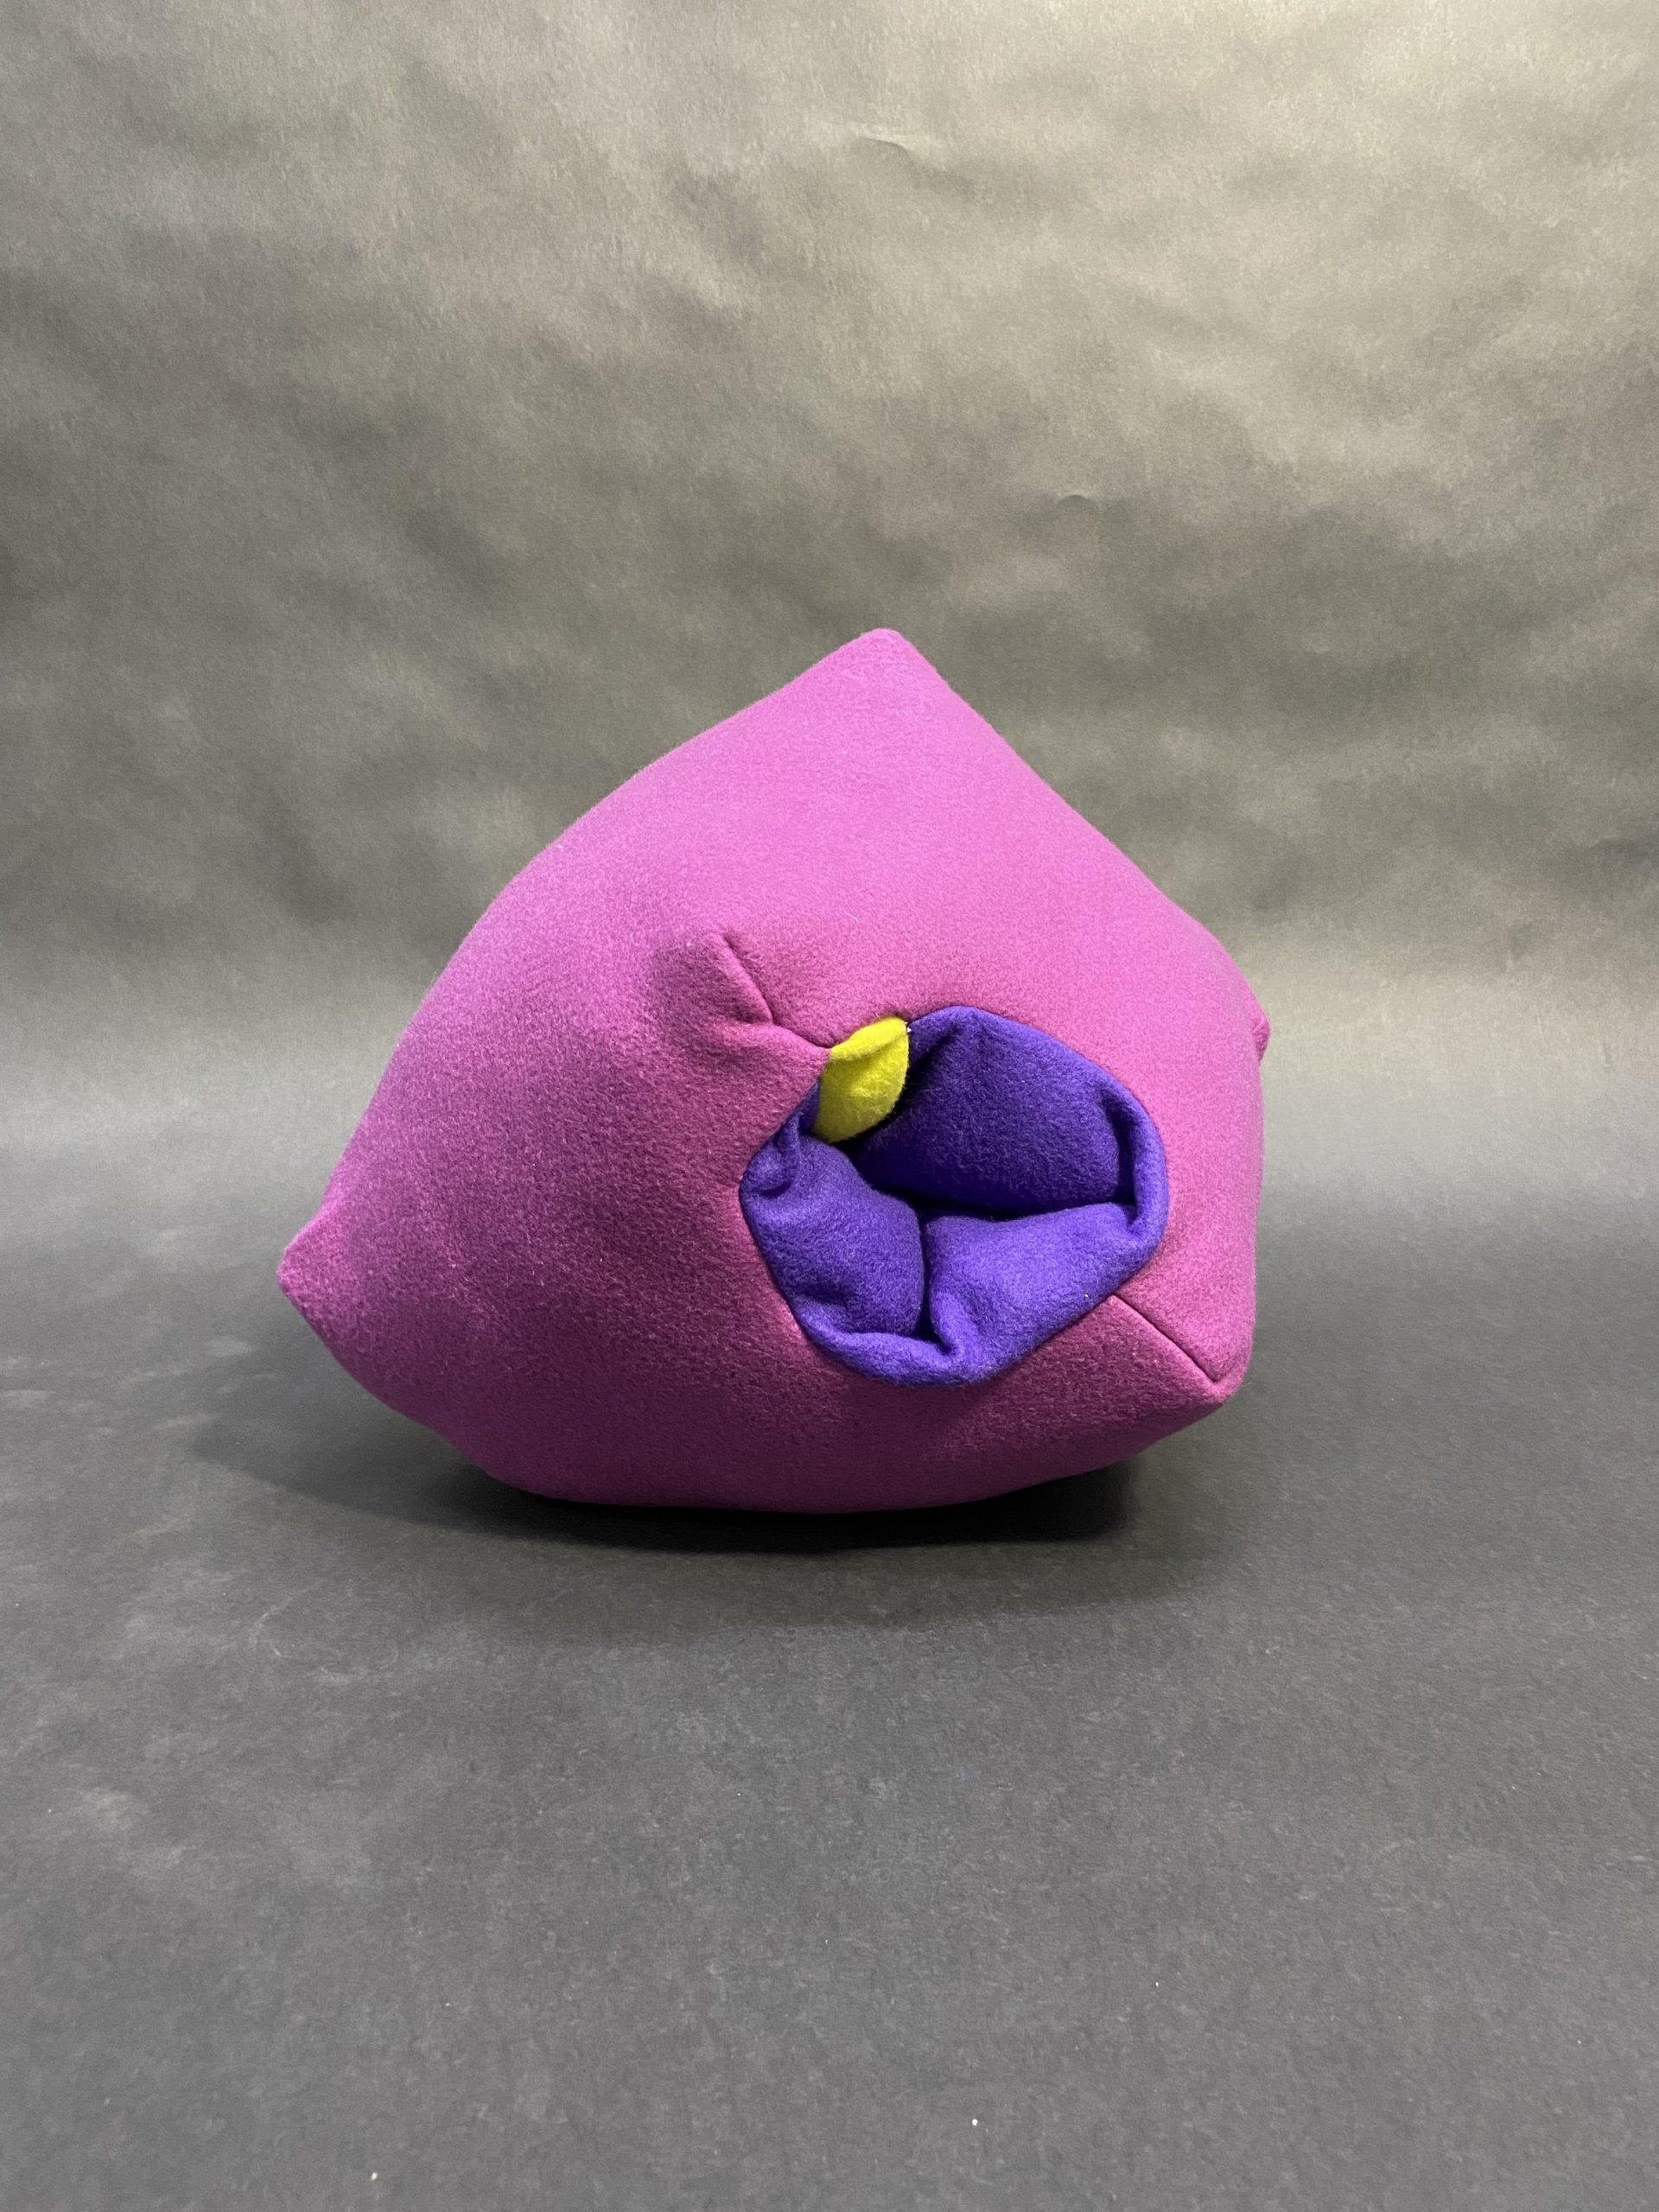
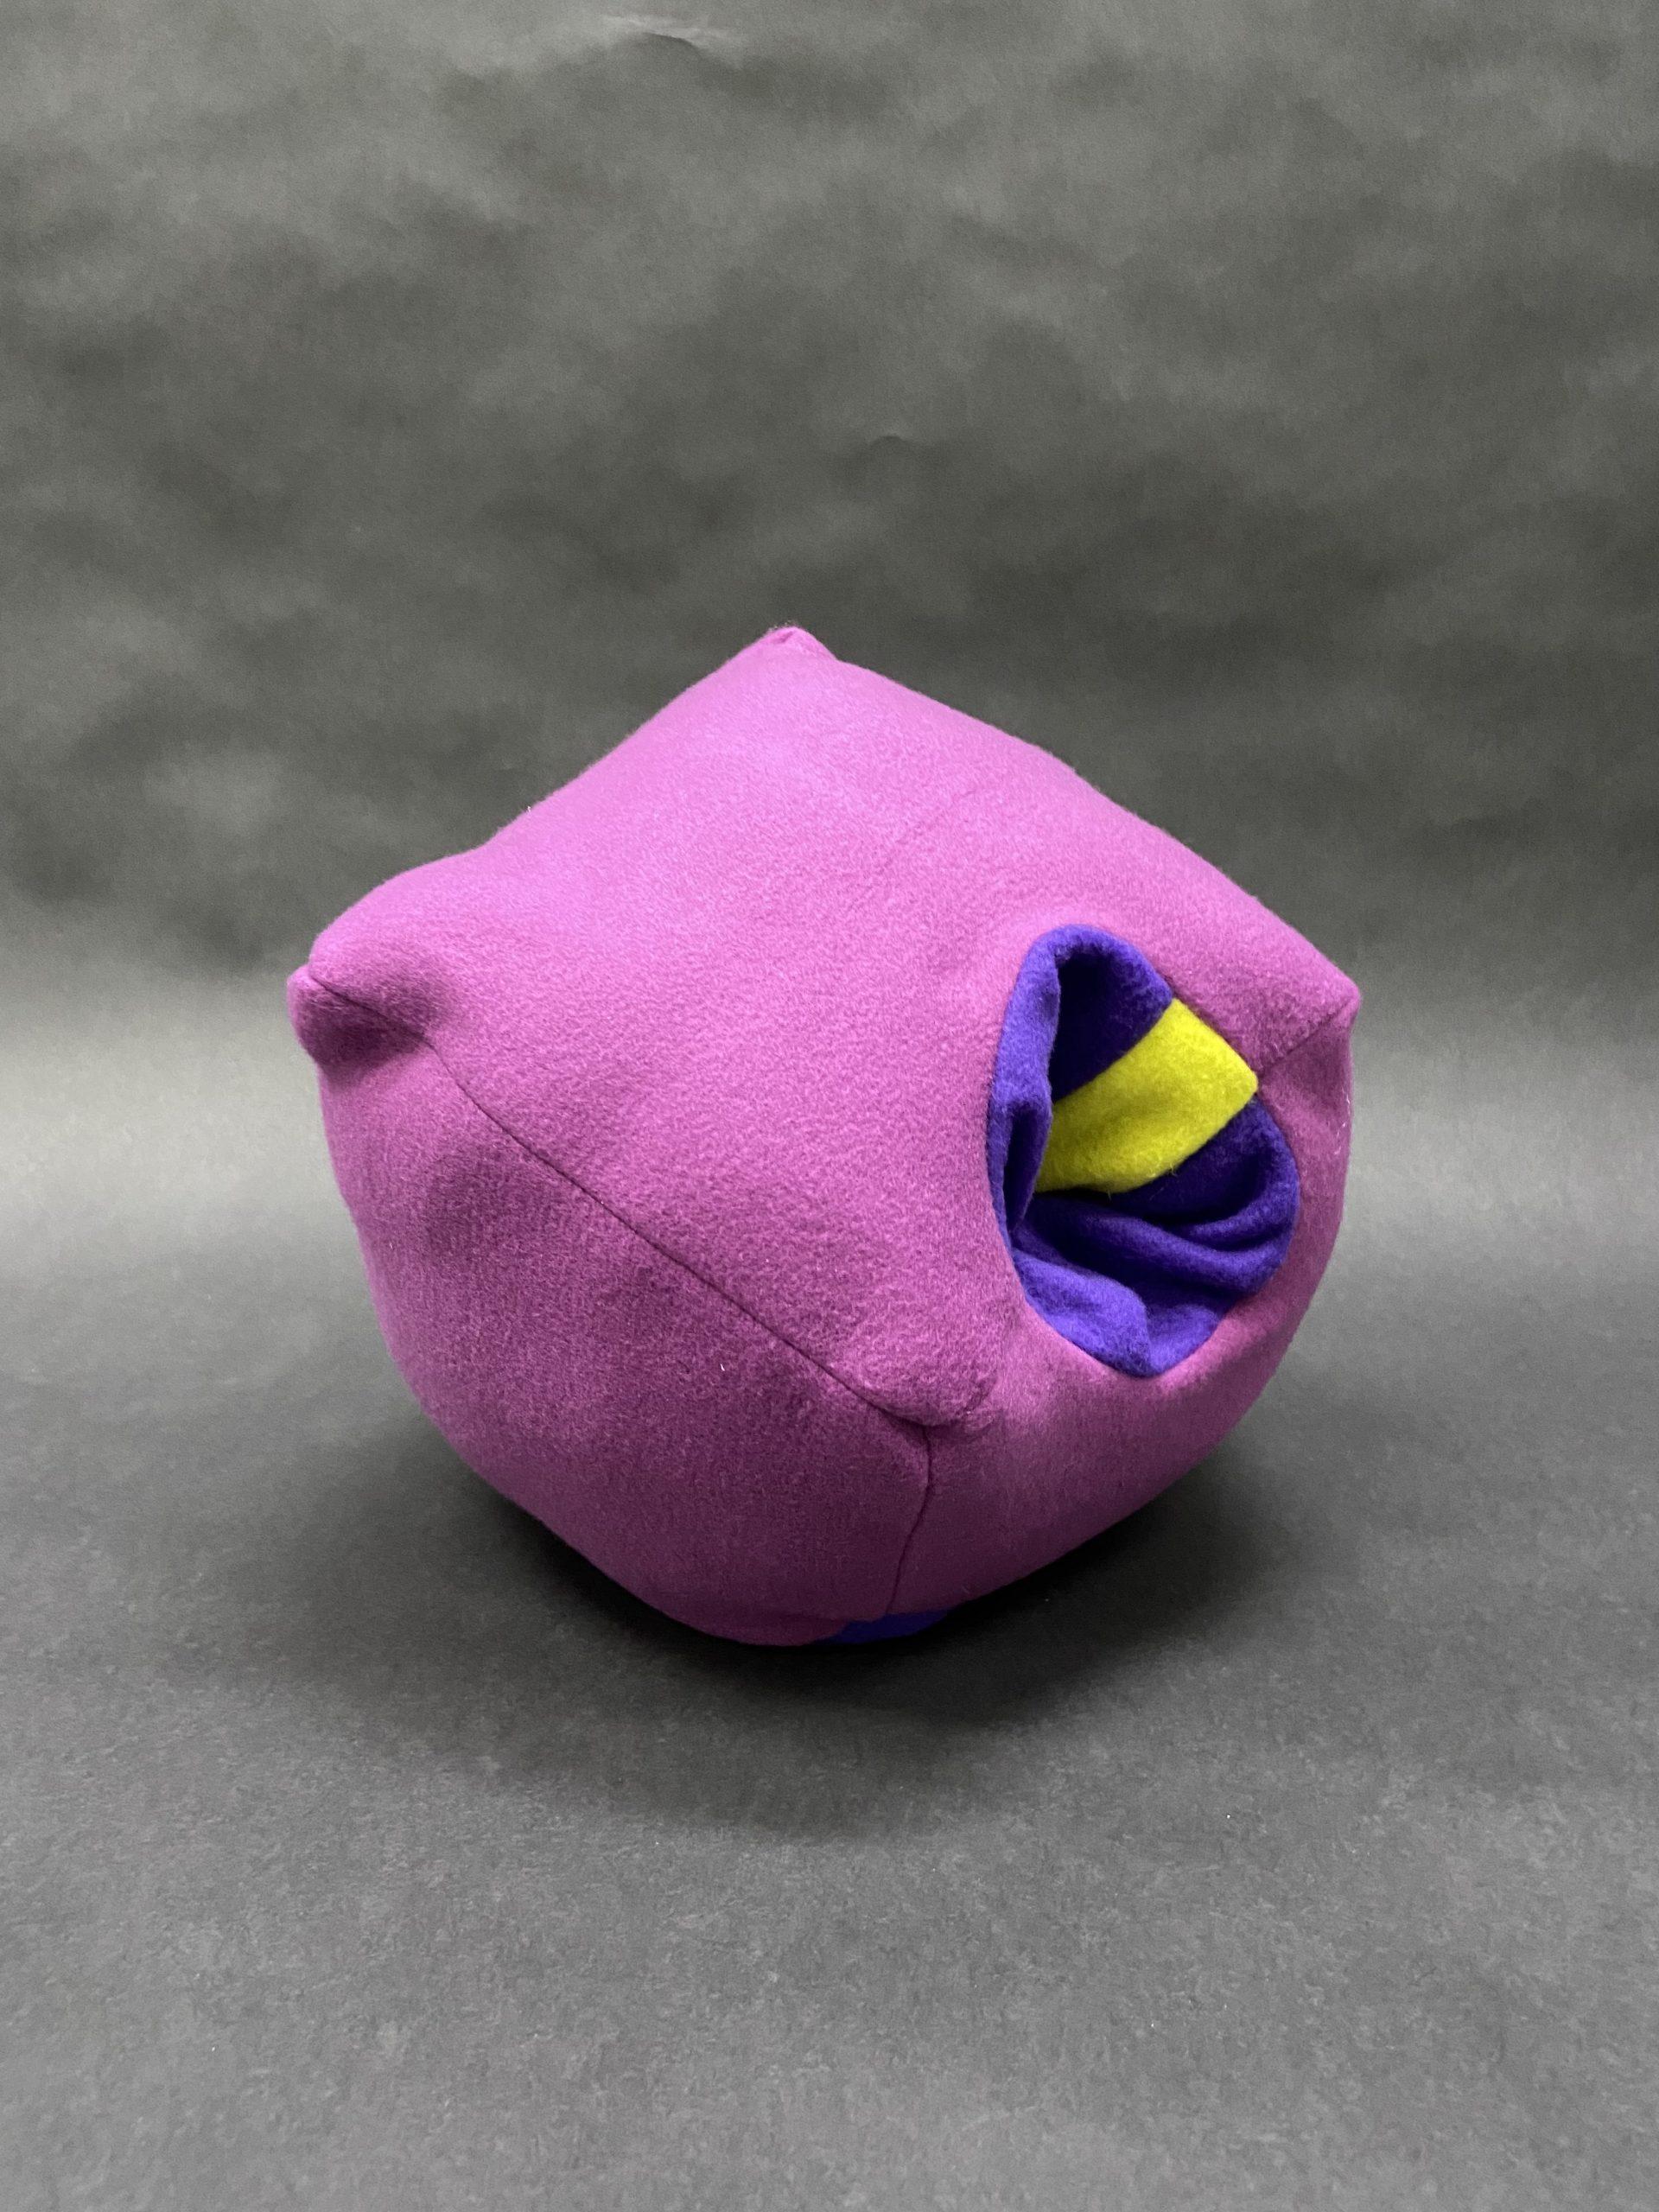
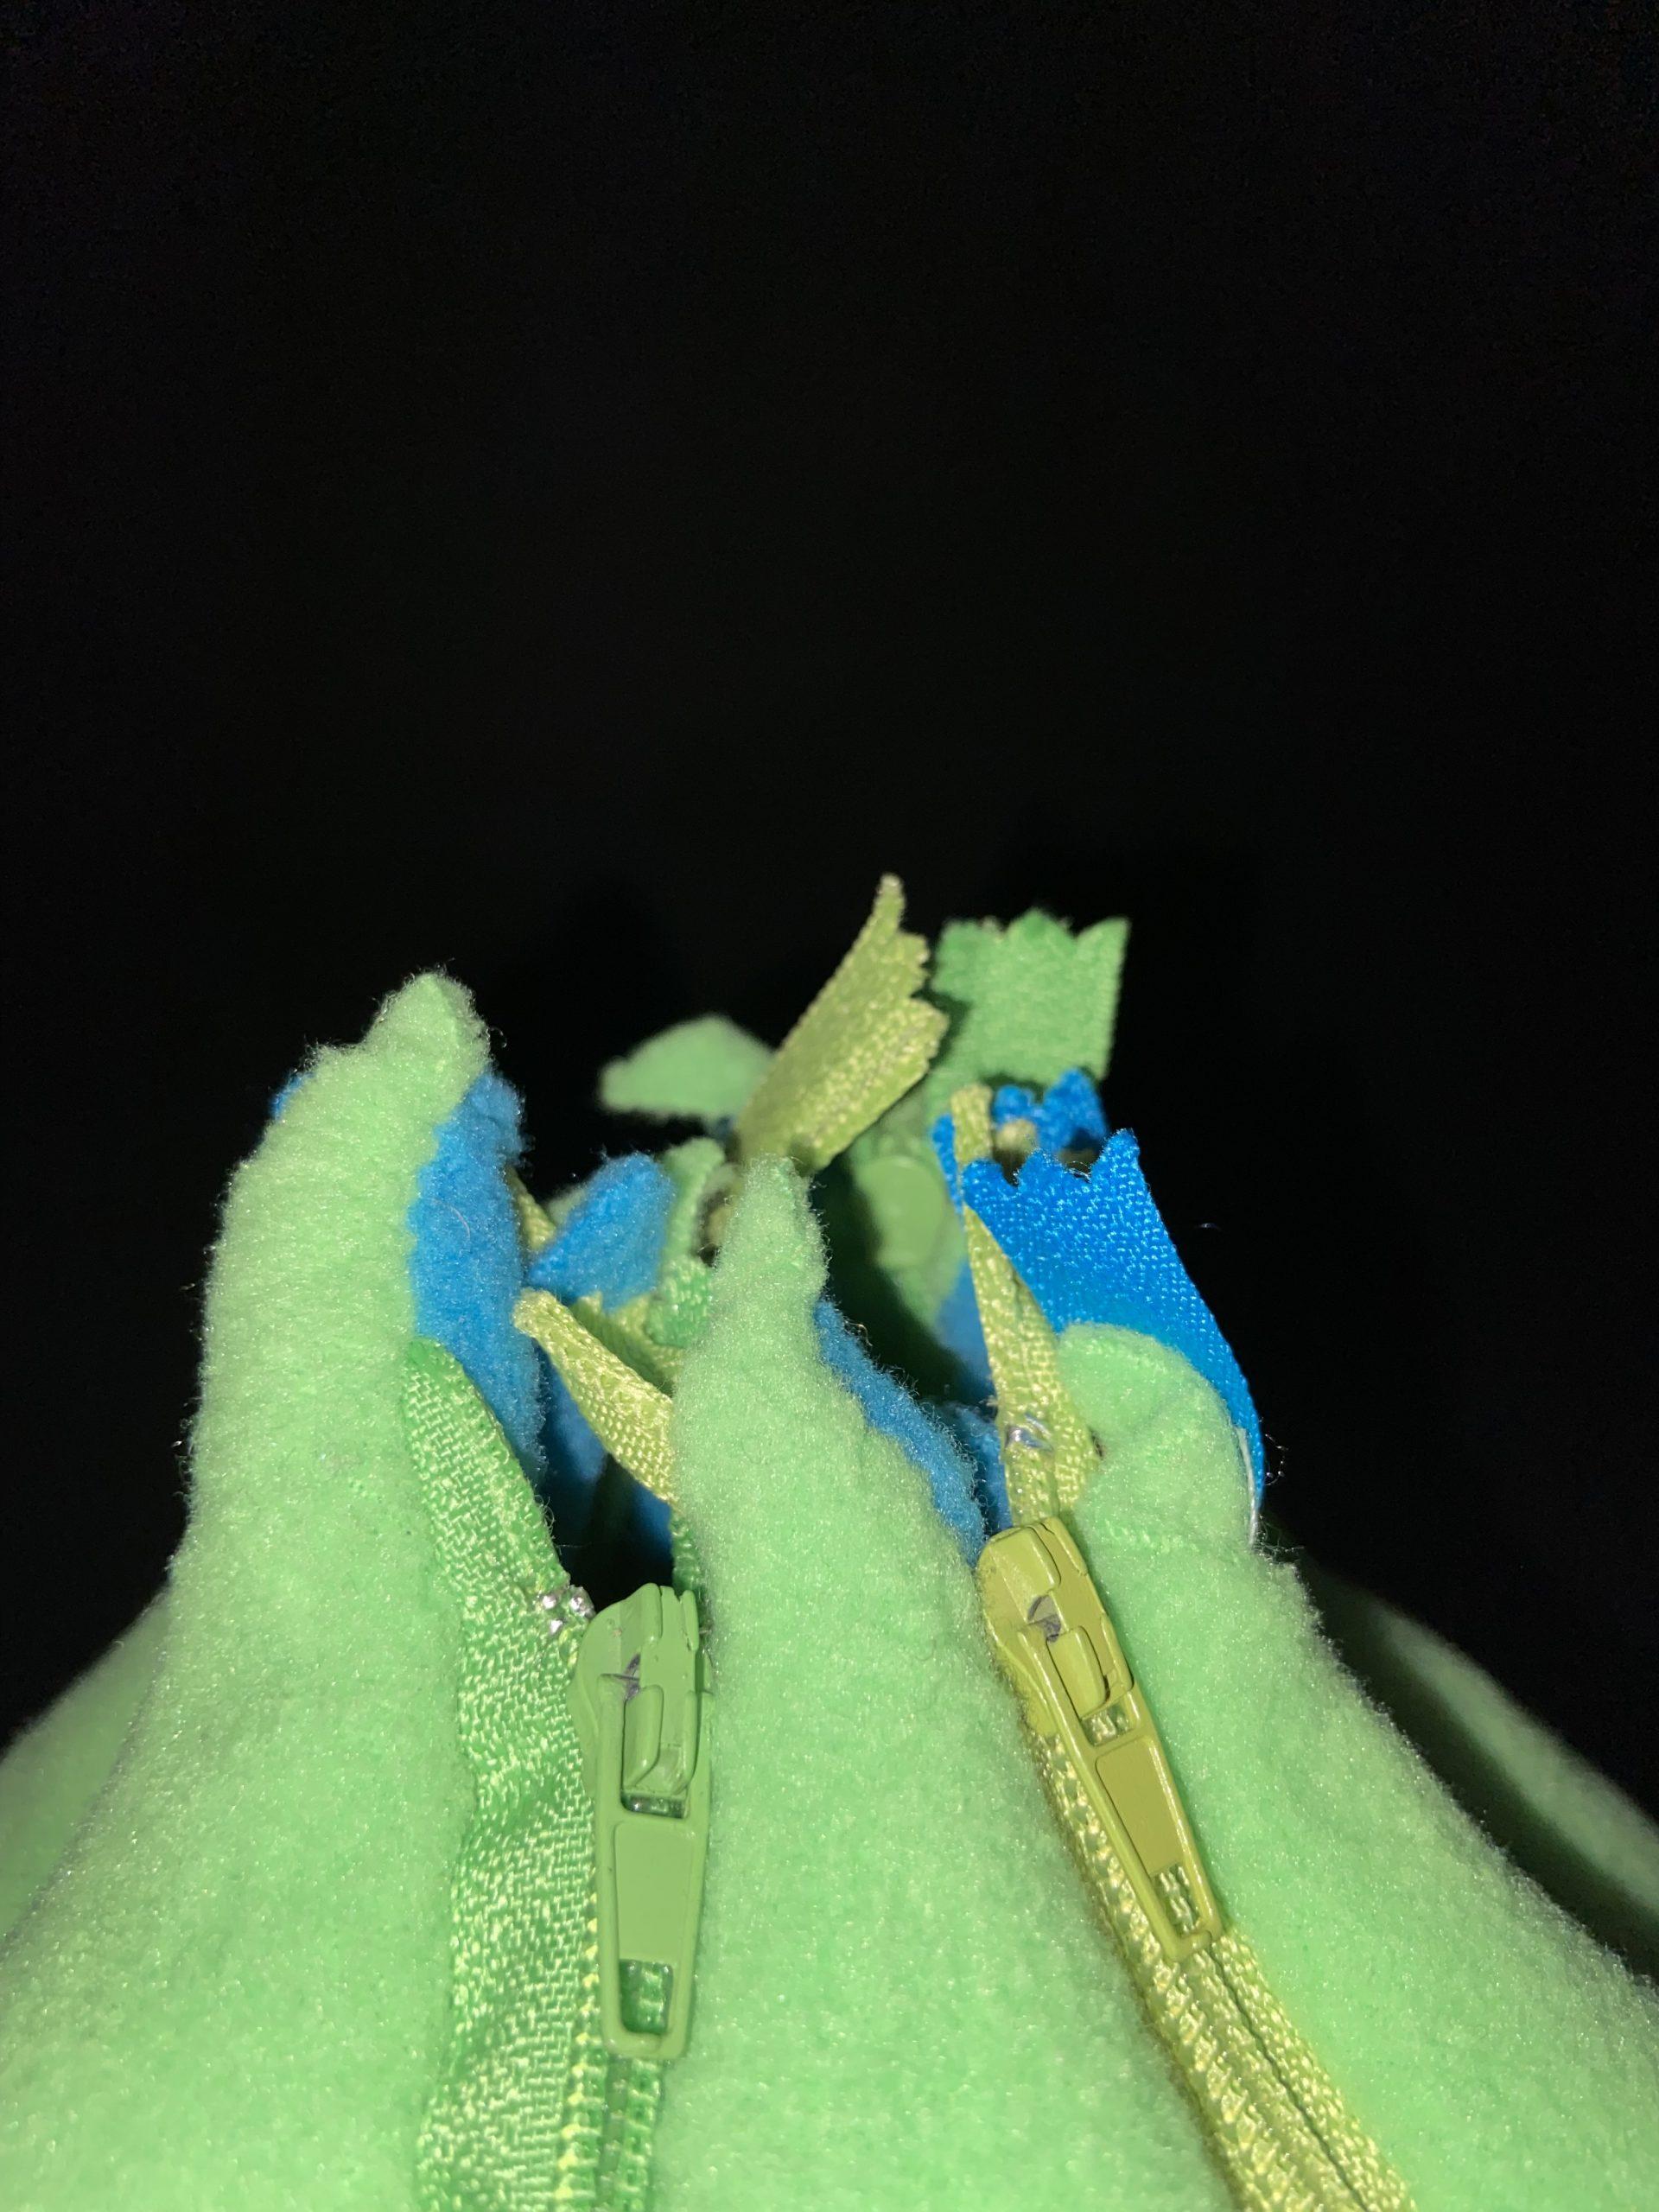
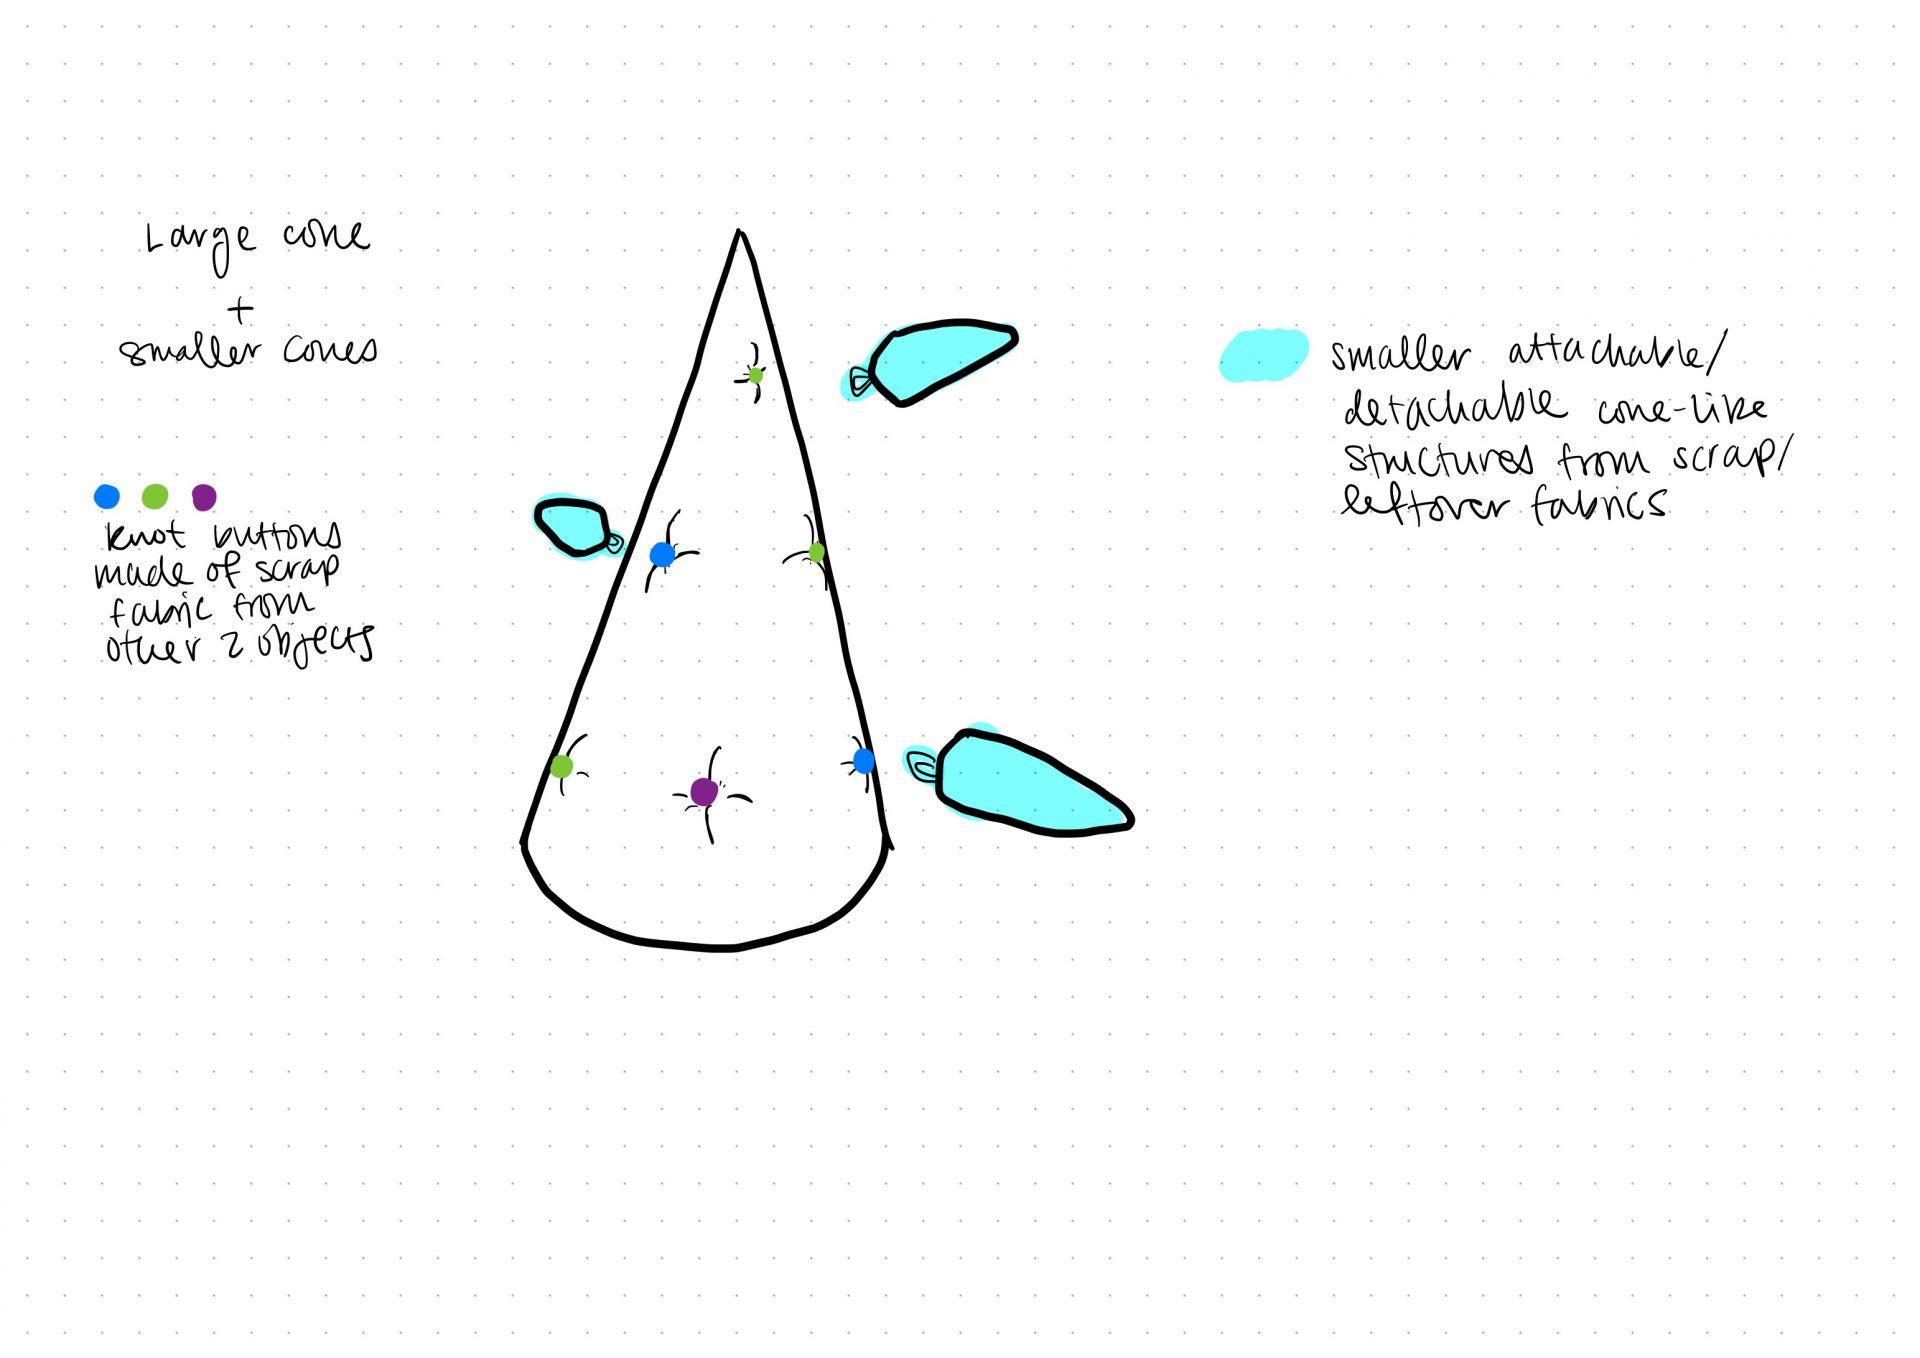
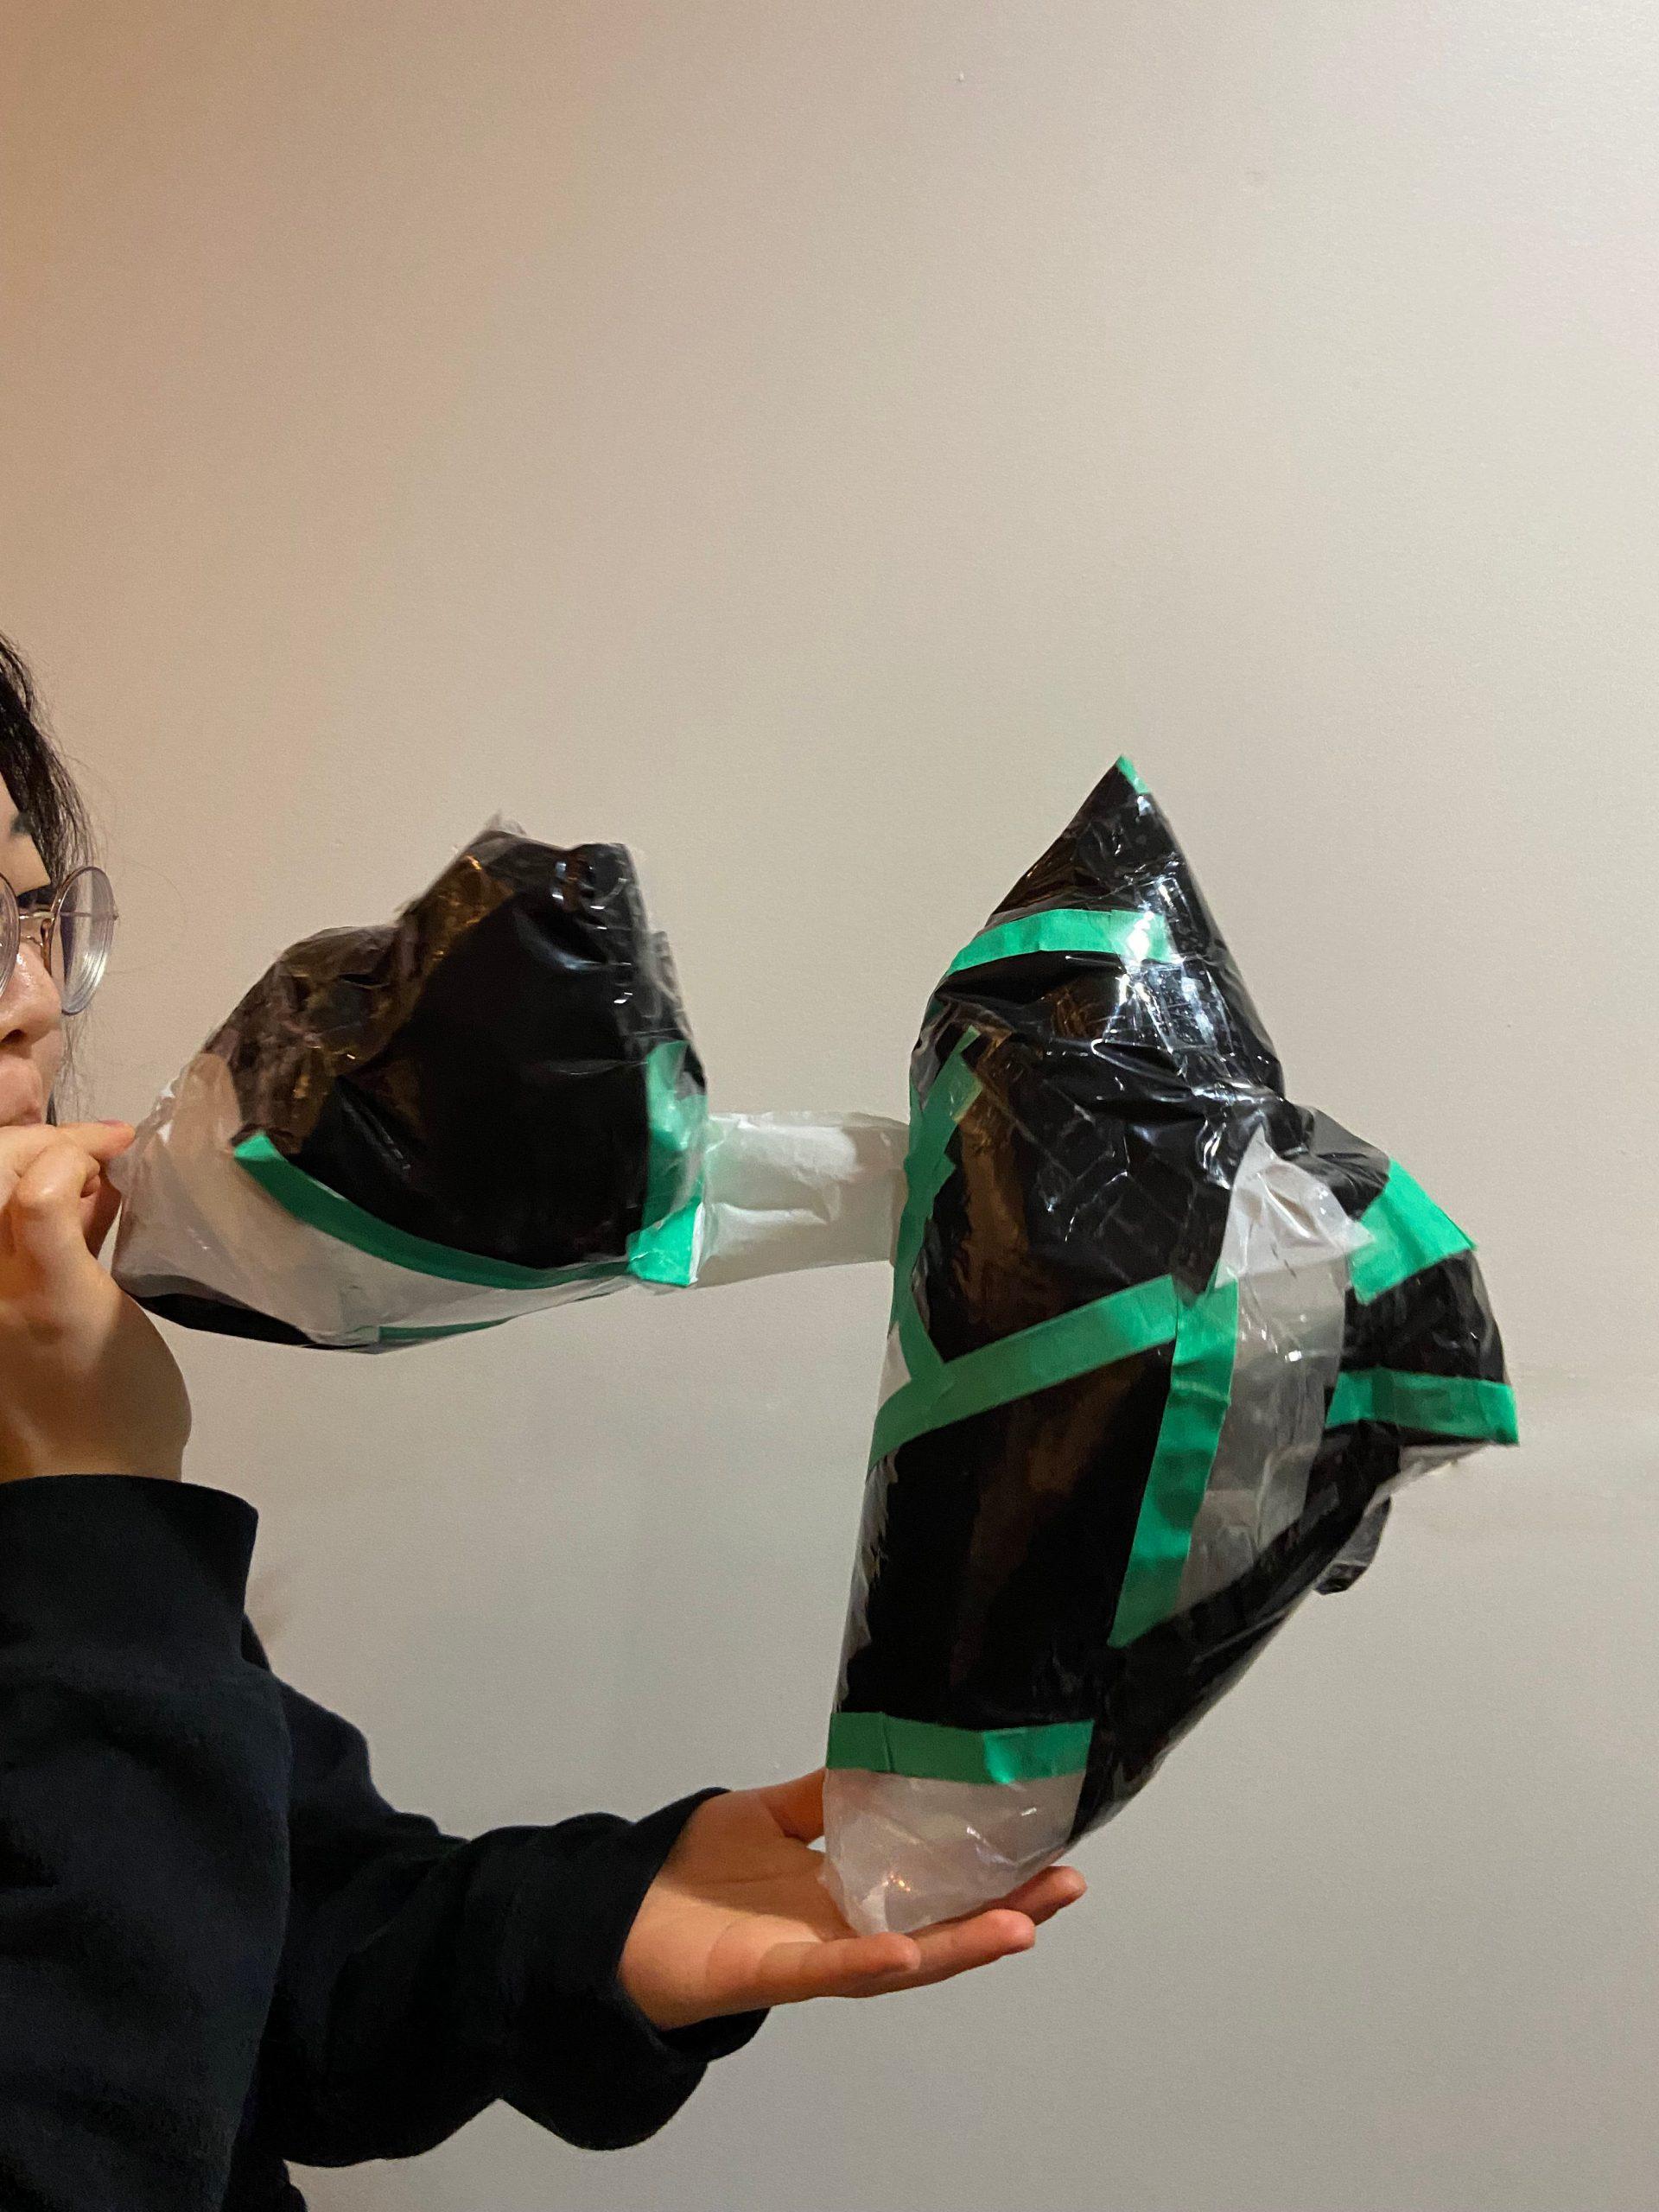
One of the most challenging parts of the project is making the two sphere-like shapes and having them be stable throughout the performance. This is because we want to make it double-walled while keeping it a sphere-like shape and having a large entrance area. We want people to enter this space feeling slightly confused. We want them to “get lost” in the space and explore it themselves. There will also be cloth draping from the top of the inflatable to the floor. This adds to the difficulty because we don’t want people to trip over the cloth or knock over the items that will be holding down the inflatable. To address this, we will strategically place the bean bags so that even if a couple of them get moved around, the shape will not move. We also talked about having strips of cloth at different parts of the inflatable and taping it or tying it to the floor/wall. That way, when the bean bags get moved, there are other things holding the inflatable in place. Another possibility for the weights placement could be that they are placed inside the double-walled structure itself. That way, they would be hidden and out of the way of visitors, further enhancing the aesthetic of the structure and space that makes it look dreamlike and ethereal.

Revisions to Original Proposal

We received a lot of thought-provoking feedback from our peers and Olivia in class. One of the biggest takeaways was the idea of adding an exit to our original inflatable design. This would be to make the space created by the inflatable feel less claustrophobic and be safer, while also providing a better flow for visitors going through our inflatable.

The inflatable’s dimensions were something else that we have to consider more in terms of the proportions of the entrance/exit in relation to the rest of the dome-like structures of the main inflatable body. We currently estimate it to be around a 12 x 15 ft footprint and possibly 12 ft tall, though we will definitely confirm this in person by measuring out these actual dimensions.

We also were given some feedback on the “reflection room.” We are considering placing some transparent fabric cutouts to parts of the wall of this dome to create “windows” and let some external light in, or possibly have projections projected through the window and into the inflatable. Olivia also mentioned using Mylar, or some other reflective fabric, to mimic mirrors so visitors can see their own reflections. We are still considering exploring this material and see how well it could fit with our vision and how well we’d be able to make use of it.

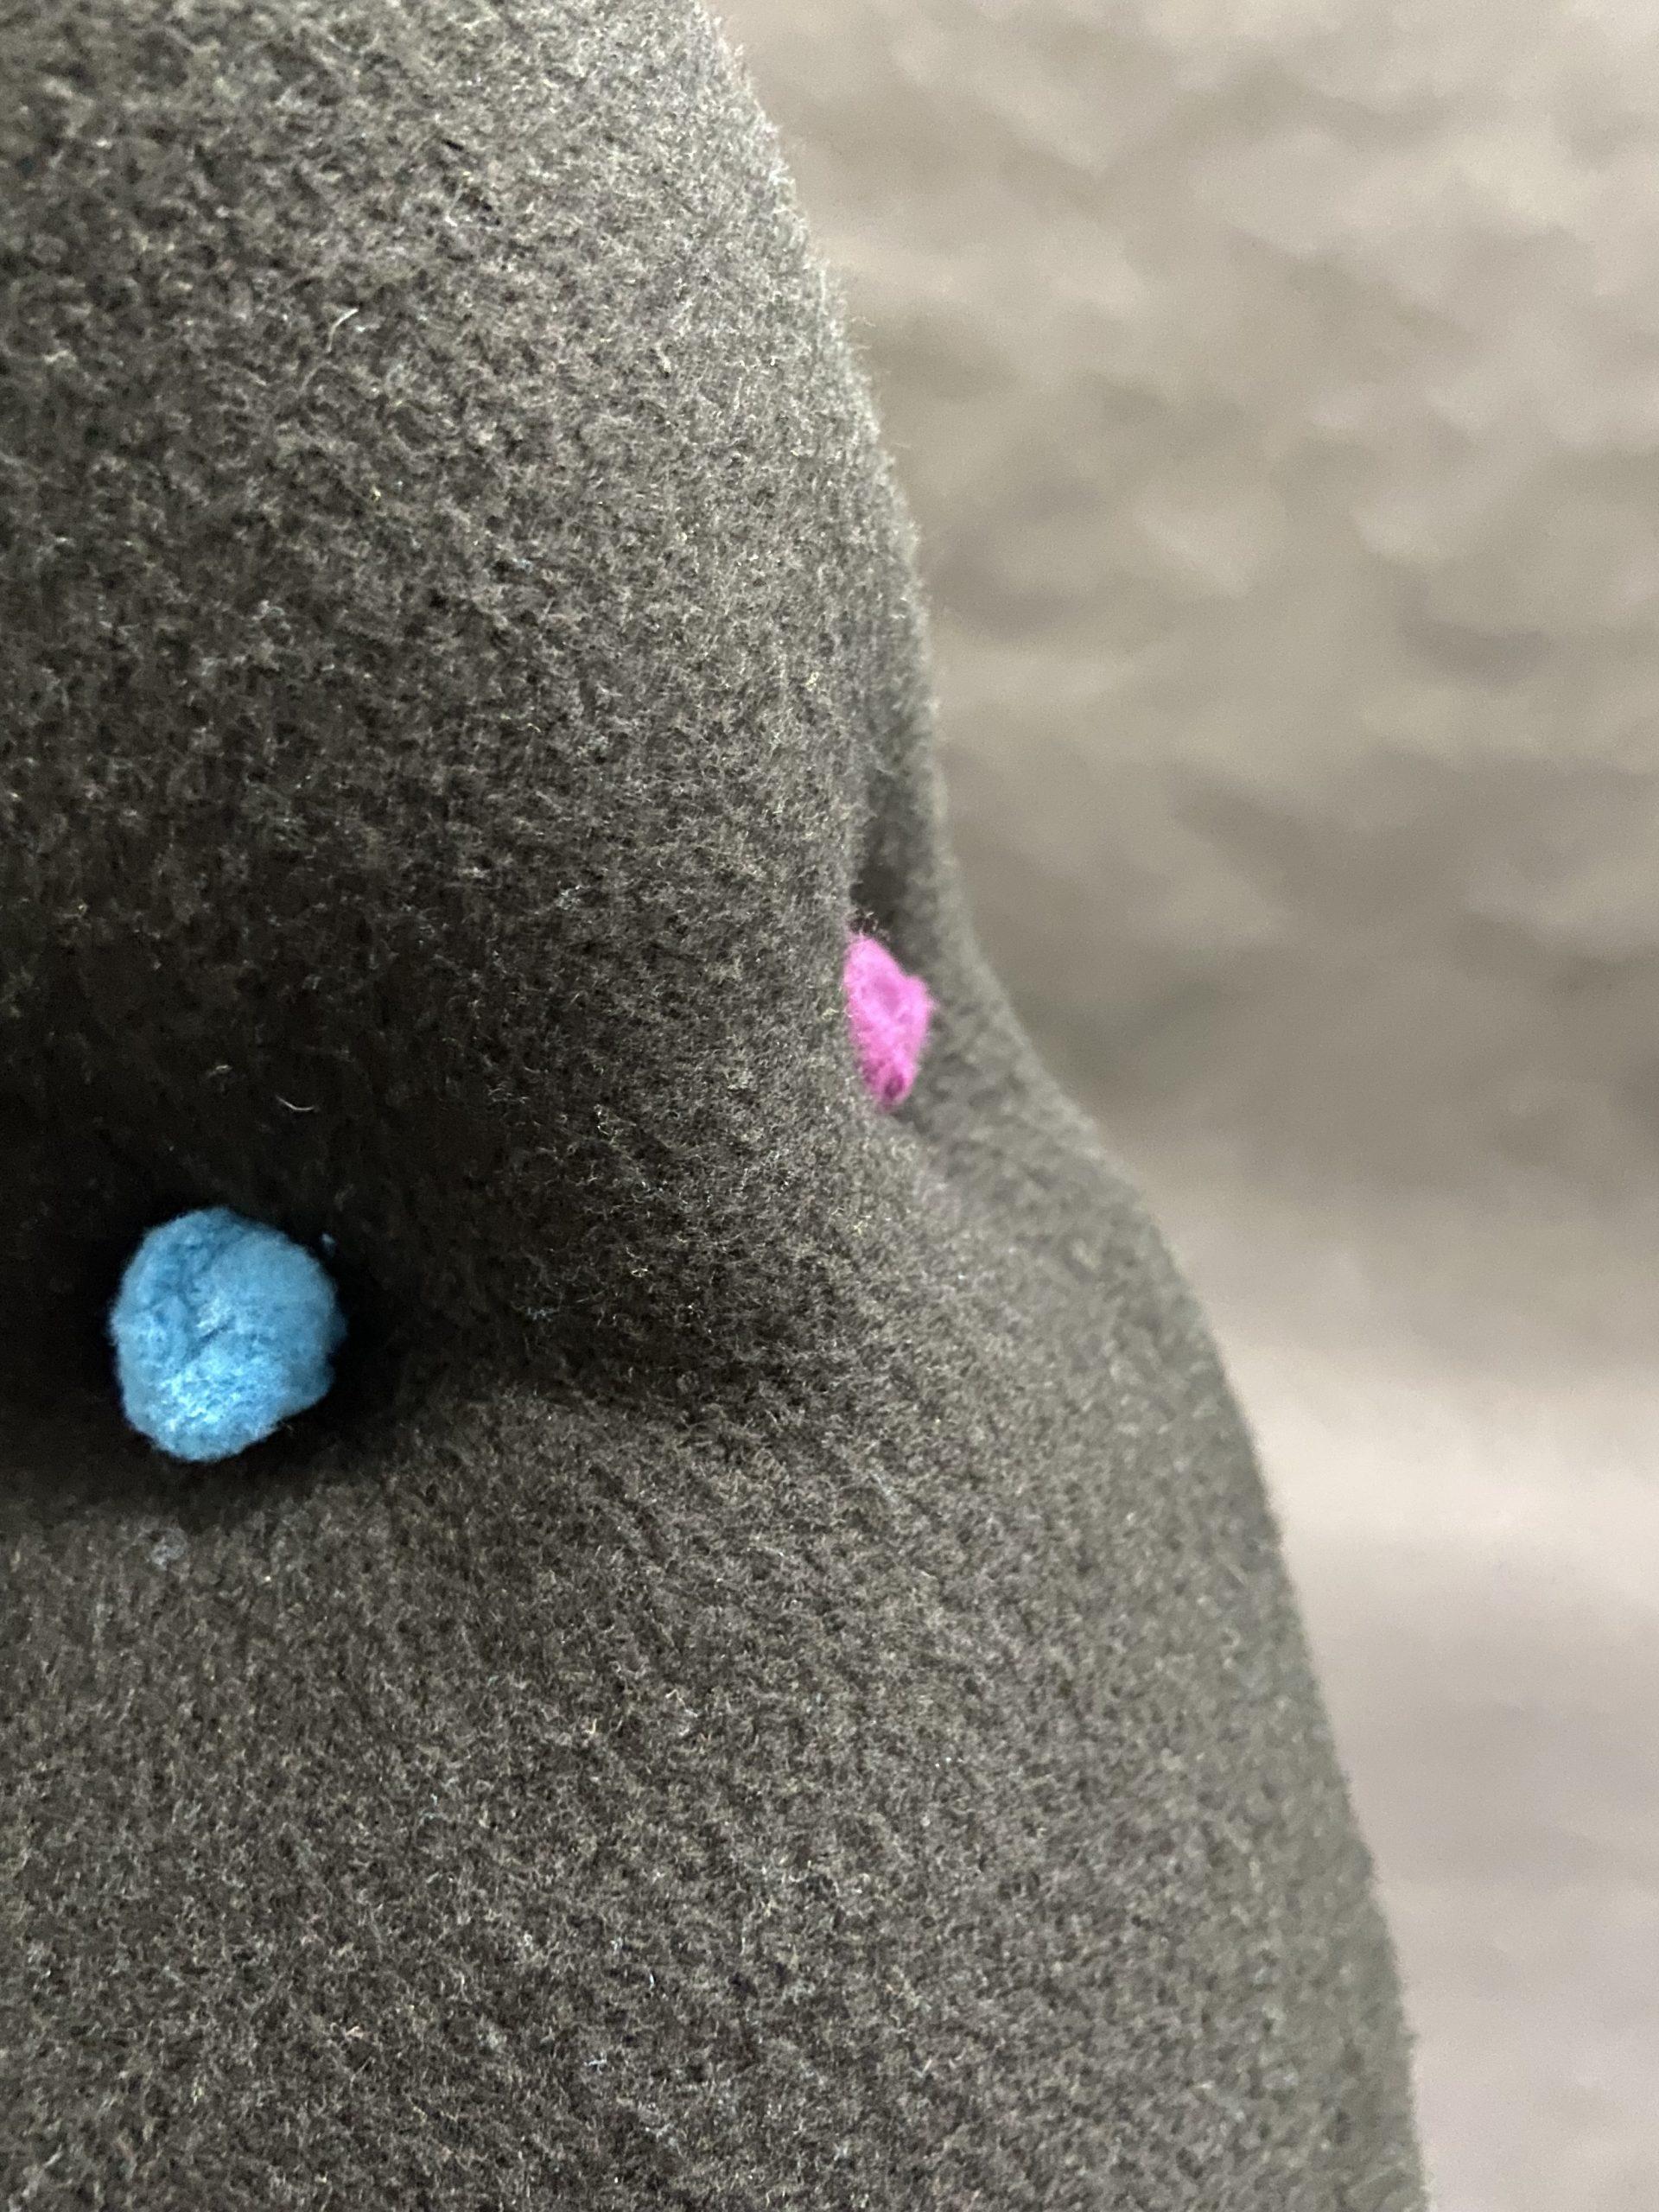
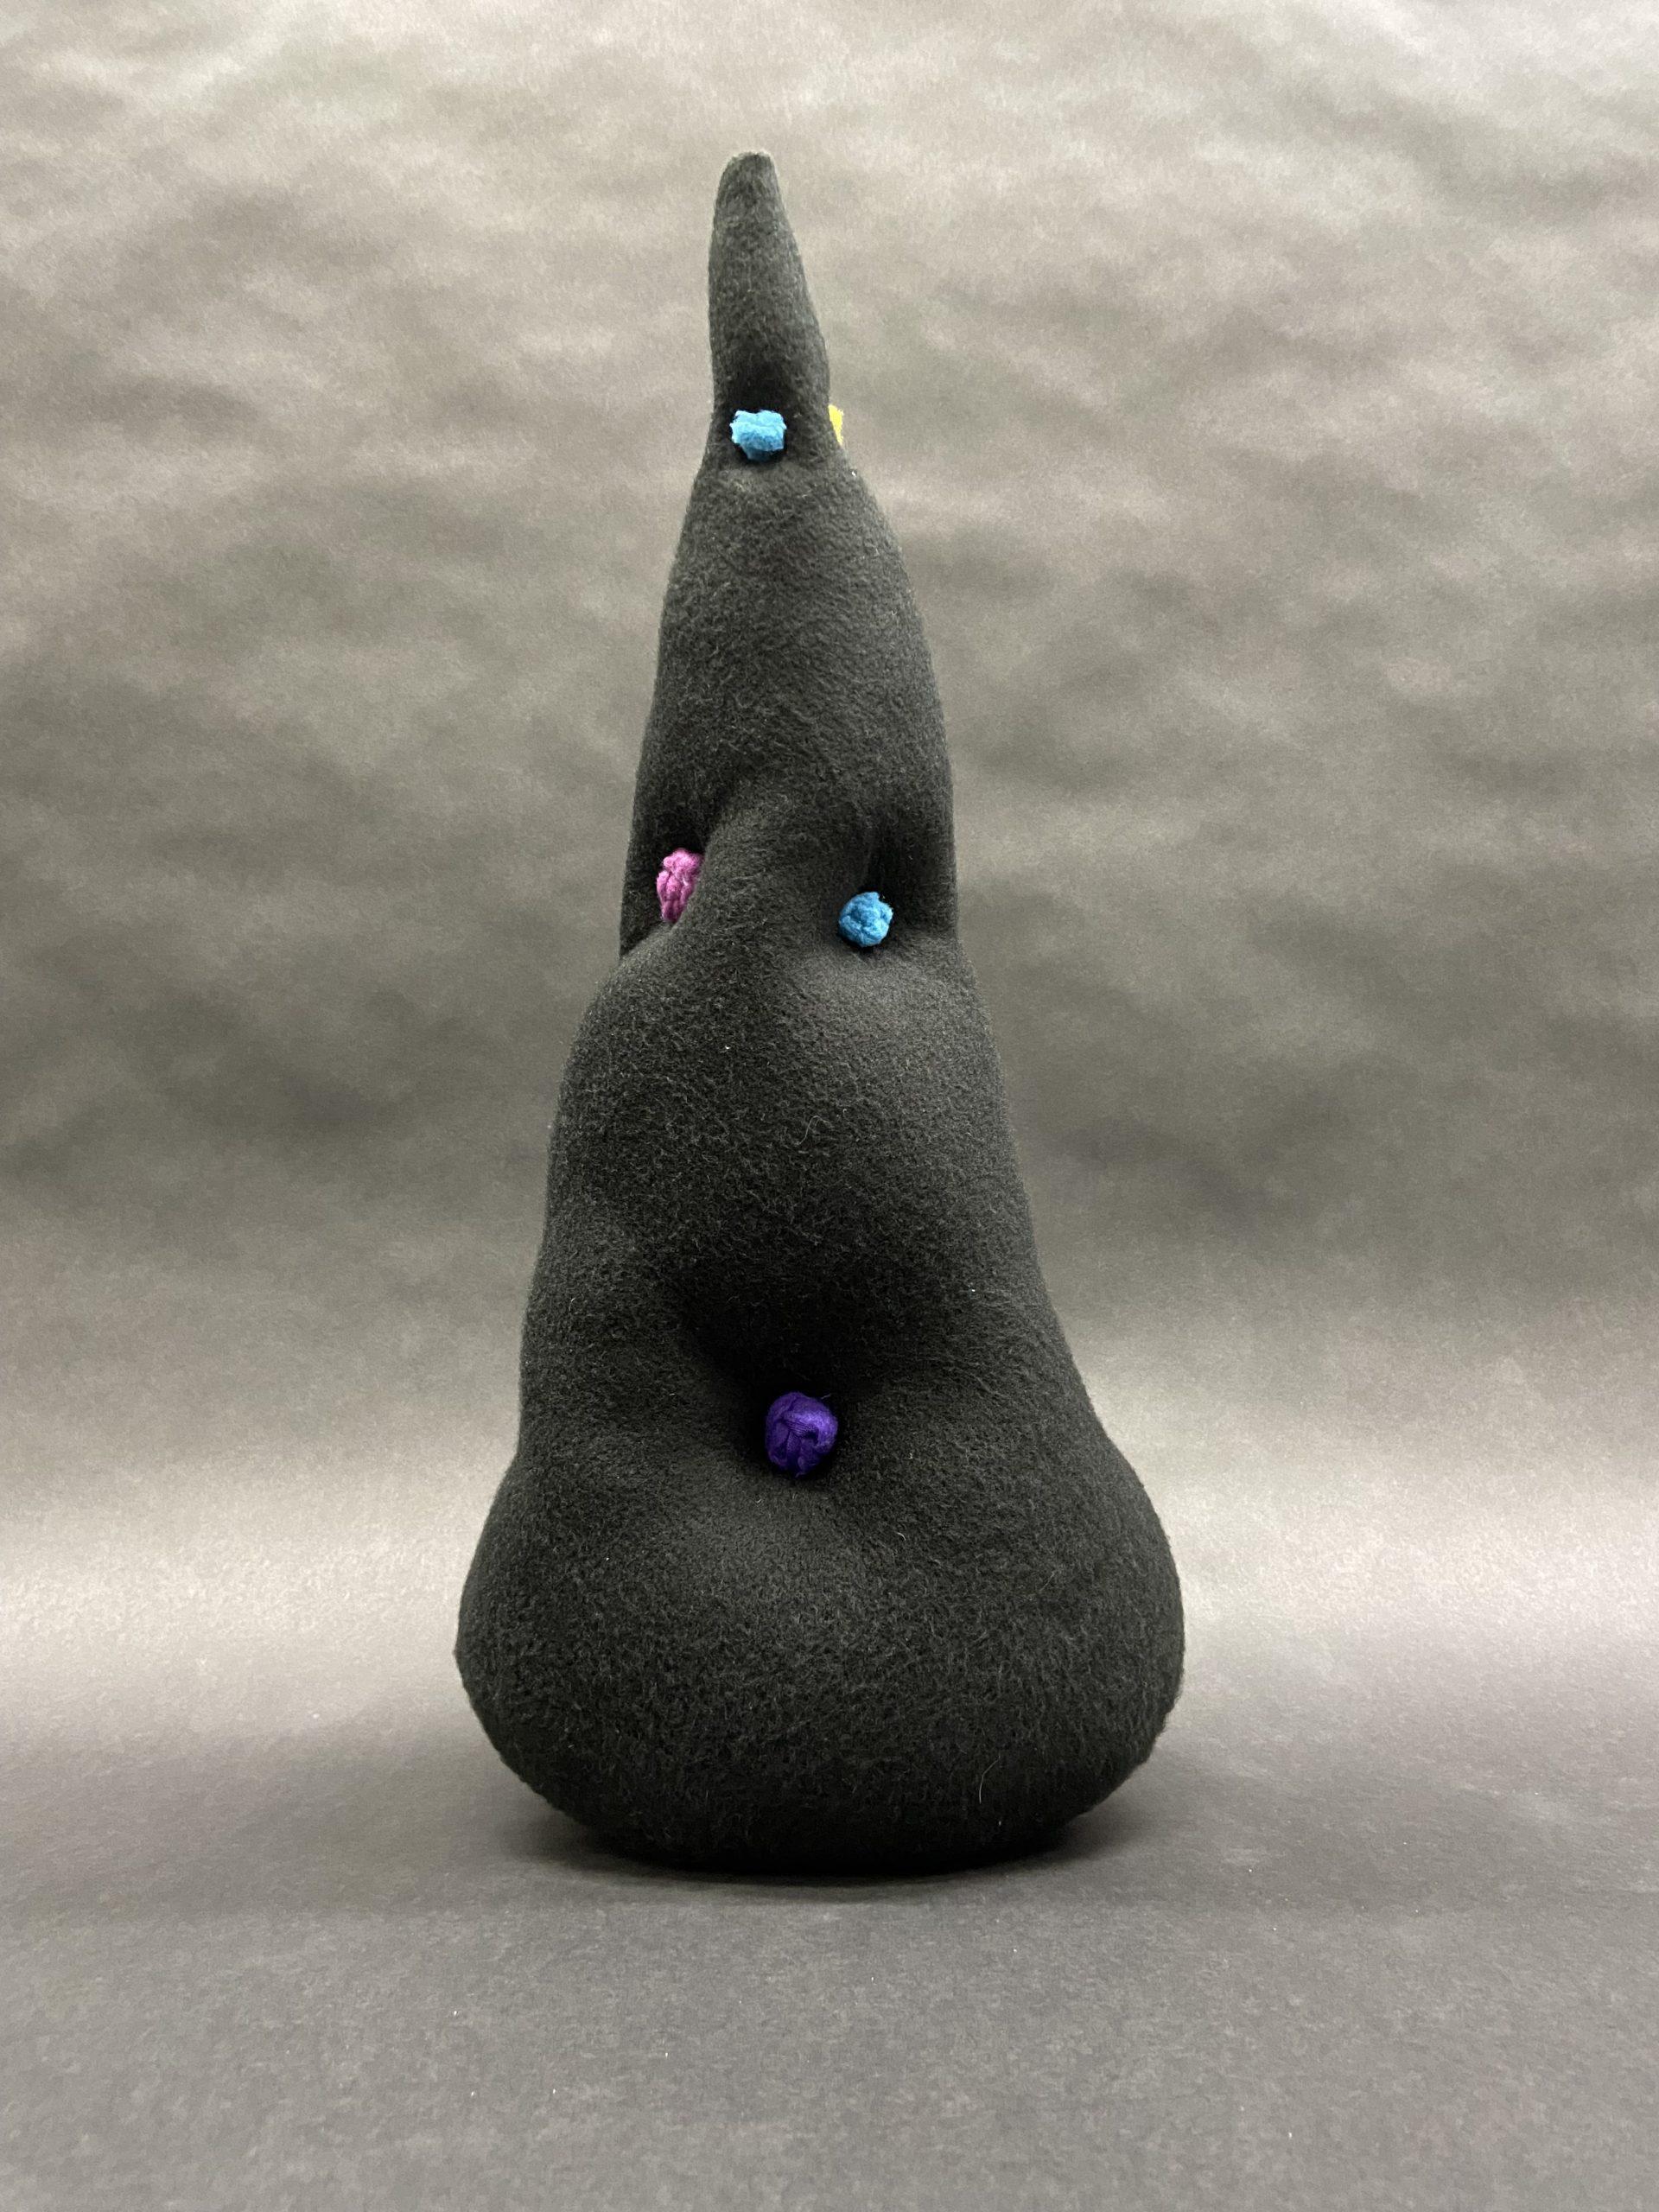
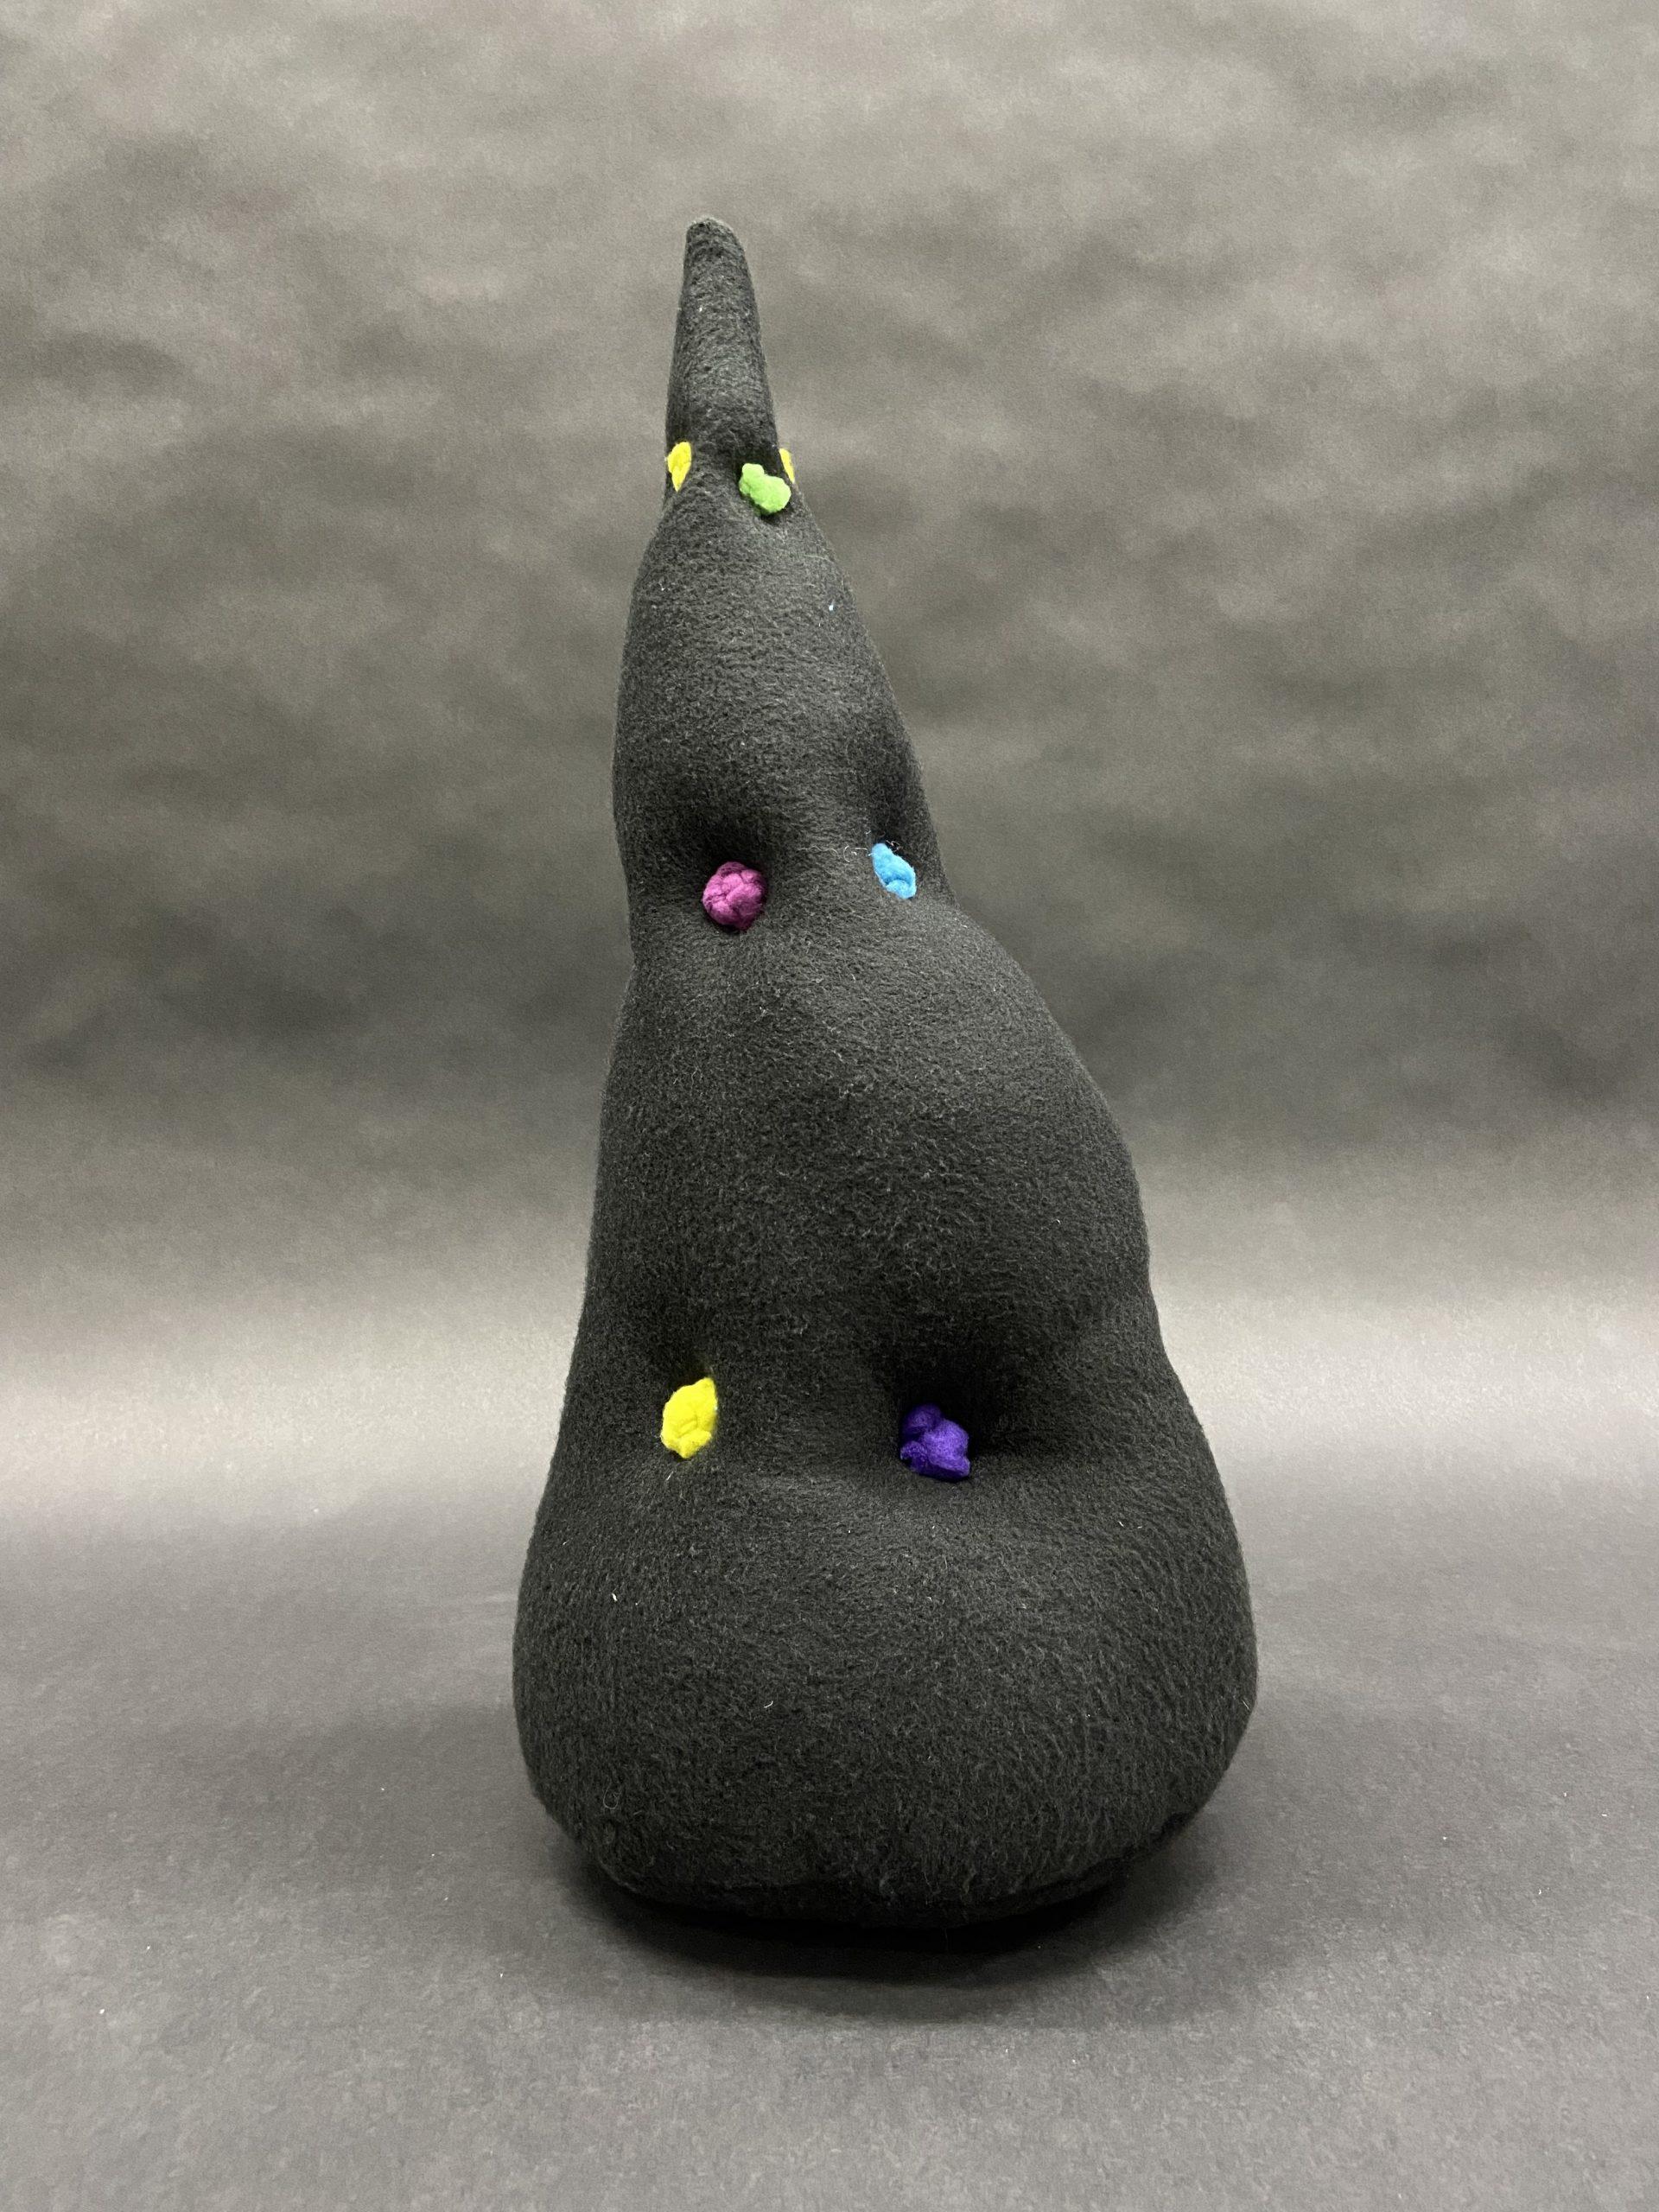
Lastly, we also received feedback for the “dream/confusion room” to make it more confusing to navigate: the inner walls of the structure could be of a similar design to the dazzle ships from WWI, and maybe even include some portruding structures to serve as “obstacles” to visitors’ paths.

revised design of inflatable

Push/Pull Part 1 – Heeyun

For my three push/pull objects, I wanted the common thread to be interactivity. I wanted the forms of the objects to be inviting to touch and explore the different possible ways to play and interact with them.

Object 1: Hand-warming Cube

Visual Portfolio, Posts & Image Gallery for WordPress

The first object I made was the cube with a truncated corner and cylinder-shaped hole going through it. This was my first exploration of taking a basic form, like a cube, and manipulating it. One of my friends has a whale plush with a hole in its mouth that allows one to put one’s hand in it. I have very cold hands, so having my hand get engulfed by the soft, warm plush made me want to create something similar for one of my push/pull objects. I decided to create a “hole” going through the entire cube so that one could stuff both hands inside and comfortably sit with the object on one’s lap or on a table in front. I then also truncated one of the corners so as to indicate that that surface should be placed on the bottom as a stable, flat base. However, because it is a soft plush, there really isn’t much “flatness” to it. 

I noticed that because the template for the cube shape was a single piece of fabric folded and stitched together, rather than six different squares sewn together, the edges where the fabric was continuous were much rounder than the other edges, which were already quite round to begin with. This then distorted the shape of the truncated corner and made it look less like a triangular surface and more like a triangle with rounded edges. I also miscalculated the rectangle piece of fabric I needed to make the cylindrical hole and made it too short, so I added a bright green streak so as to highlight the “mistake” rather than trying to hide it by using another piece of dark purple fabric. Even though I had actually done some calculations to keep some symmetry and plan to make it very clean and as “machine-fabricated” as possible, I still made mistakes and encountered issues I did not think I’d face.

Object 2: Sprout-Flower-like Structure

Visual Portfolio, Posts & Image Gallery for WordPress

The second object I made was the reversible sprout-like structure. I took the basic beach ball template for making a sphere and elongated the ends and twisted the wedges so that the wedges would swirl around. In order to make it reversible, I first thought of just flipping the structure, but this would mean that I wouldn’t be able to stuff it too much with polyfil. This would then mean that the form wouldn’t hold upright very well, though I wanted my object to be able to hold more of its shape. As such, I thought of adding zippers and connecting each wedge with them. This meant I could stuff each wedge with even more polyfil and thus create a structure that would stand up better. I had never sewn with zippers, so I was very confused trying to visualize how to sew the pieces together so that the “good” sides of the fabrics would be out with the zipper sandwiched between them. Sewing these wedges after stuffing them was also very challenging and time consuming, since I had to connect three pieces together simultaneously with the seams tucked inside and with all the stuffed wedges attached together interfering with my hands while sewing. Because of the zippers and the reversibility of the object, I created an object with a much larger number of different forms that it can take.

Object 3: Cone with Many Cones

Visual Portfolio, Posts & Image Gallery for WordPress

Finally, my third object was inspired by pinecones. I planned to make a large cone with buttons going through it, and then smaller cones covering the main body by being attached to it through the buttons. I used the remaining scraps and leftover fabrics from the first two objects to add the knot button details and the smaller cones. Although for the in-class critique, I was unable to prepare the smaller cones, I later made a few to fully realize what I had envisioned for this object. I really had to think about a way to make stable buttons from the scraps I collected, and even more challenging was thinking of how to pinch the structure with thread to add the buttons and cinch it. I eventually realized that I could just partially fill the structure with polyfil so that it wasn’t too thick and therefore impossible to accurately and comfortably get my needle through it. I was able to get the knot buttons through and place them where I wanted, but the smaller cones were not so successful. I didn’t make the straps that wrap around the buttons smaller enough so that the small cones wouldn’t dangle like Christmas tree ornaments; I wanted the small cones to attach as closely as possible to the main body. If I used velcro, for instance, I may have been able to achieve this, but the roughness of this material makes it less inviting (albeit very slightly) to touch and hug the cone.

Push/Pull Part 2 Ideation – Georgia & Heeyun

Visual Portfolio, Posts & Image Gallery for WordPress

Our first idea is to create a small, walkable space filled with underwater creatures, like jellyfish, barnacles, and algae. We envision this space to be an area where library visitors can briefly immerse themselves in an underwater scene and interact with the inflatables. The jellyfish would have long tentacles nearly reaching the floor, with both strands of inflated cylinders and strands of ruffled fabric. The algae would be twisted cones, and the airflow in these could be controlled so that they inflate and deflate slightly such that it would mimic the movement of real algae in the ocean. The barnacles would take on an amorphous but rigid form. We also thought of adding colored lights to make the space feel even more like one is under the ocean.

Our second idea is also ocean-themed and also consists of creating a walkable, interactive area: a giant jellyfish suspended from the ceiling with tons of tentacles of different shapes and lengths through which people can walk and be surrounded. This giant jellyfish would contain tentacles in the form of twisted cones and cylinders, strands of fabric, and more, all of which would create a thick, dense curtain of inflatables that visitors can enter (see image “jellyfish inflatable inspo 4” above).

These inflatables could be placed in the first floor of Hunt Library near the cafe (around where the chairs and low tables are), or possibly by the wall in the hallway across from the 1st floor stairs (where the wooden benches are.

Timeline

March 1: Decided on doing jellyfish. Head is 6×6 feet.

March 2: talk to Olivia about attachment of airflow. Look at spaces in hunt.

March 4: sketch out components. Start rhino for tentacles. Cut out parts for the head. 

March 5-6: cut out tentacle pieces start to attach pieces.

March 5- 2:30 start library closes at 5. Continue to work on rhino.

March 6: 12am talk about adding loose pieces to fill out the jellyfish, add new pieces.

March 14-15: any additional pieces or “decorative components” that are non-inflative.

blown fabric by nendo – Heeyun

Visual Portfolio, Posts & Image Gallery for WordPress

These inflatables are made of a material called “Smash,” which consists of specialized long fibers of non-woven polyester that can be manipulated into different forms using hot press forming technology. The Japanese design studio nendo created lighting fixtures resembling Japanese chochin paper lanterns using this fabric. nendo intended to demonstrate the possibilities of what new materials developed by Japanese synthetic fiber technology could bring, so at the Tokyo Fibre ‘09 Senseware exhibition nendo treated the “Smash” fabric like blown glass by blowing and shaping it into a seamless one-piece lantern. Due to the lack of precise control in this process, no one lighting fixture is identical to another one. 

These blown-fabric lights fascinate me because of how innovatively they were created; it is not very common or intuitive to apply the processing methods of a particular material to one that is wildly different. Because of materials’ inherent differences in molecular structure and mechanical properties, it is hard to treat certain materials in similar ways to others. However, nendo, in their playful approach to design, created lighting fixtures with an unlikely material and an unlikely building process. 

In this class, I would like to approach the work we will do in a similarly playful and thoughtful manner. I’d like to explore ways to use materials in unexpected ways to create unexpected structures that pique people’s curiosities and that are inviting to people for them to interact with the structures.

resource: https://www.nendo.jp/en/works/blown-fabric-2/?

Improvisation Inflatables – Heeyun

Visual Portfolio, Posts & Image Gallery for WordPress

For the first inflatable, I cut out pieces from the given plastic bags and attached them together randomly. I wanted to see where it would take me if I tried to think and plan as little as possible while creating it to truly embrace the idea of improvisation. However, as I progressed the pieces got increasingly harder to tape together neatly because of how they curved. Especially towards the end when I had to close up the inflatable, I no longer had an opening large enough for my hand to fit through and support the inside of the inflatable to better stick the pieces together. I also found it very challenging to work with this inflatable when I decided to add the thin white tube-like structure. It made the inflatable harder to hold and fold around as I built the piece. 

The second inflatable was a bit more planned out than the first one. I wanted to work with only cubic or rectangular pieces and also incorporated the corners of the plastic bags. At first I vaguely imagined that this piece would turn out like a large cube. But as I pieced it together, I realized each part I cut out was very irregular in width and length, so making a perfectly symmetric structure was not going to work out smoothly. Instead, I just tried to embrace the imperfections and continue piecing edges to edges until my inflatable was fully closed. It’s definitely not a cube, or cube-like, but I like how the freedom of improvising allowed me to create this abstract fish-like inflatable. 

My last inflatable turned out to be the simplest looking one because I thought maybe a little too little. Knowing that I had to improvise, I didn’t think too much about my process and what I was doing. However, I still wanted to make a star-like structure using the existing structure of the plastic bags. I let my mind drift away as I cut and taped together the plastic pieces, and before I knew it I had created a “pillow” in the shape of a cross rather than a star-like structure. This was a strange improvisation process where, unlike the first two, my unplanned building process led me to a simpler, easier to handle structure than I had imagined.

Overall, it was challenging trying to get the pieces to tape neatly and have the tape perfectly seal all holes and gaps. I have naturally pretty sweaty hands so some of the tape pieces I placed would unstick, especially while I inflated them. I could fairly easily tape remaining holes up, though, by inflating them and checking for any leaks as I blew.