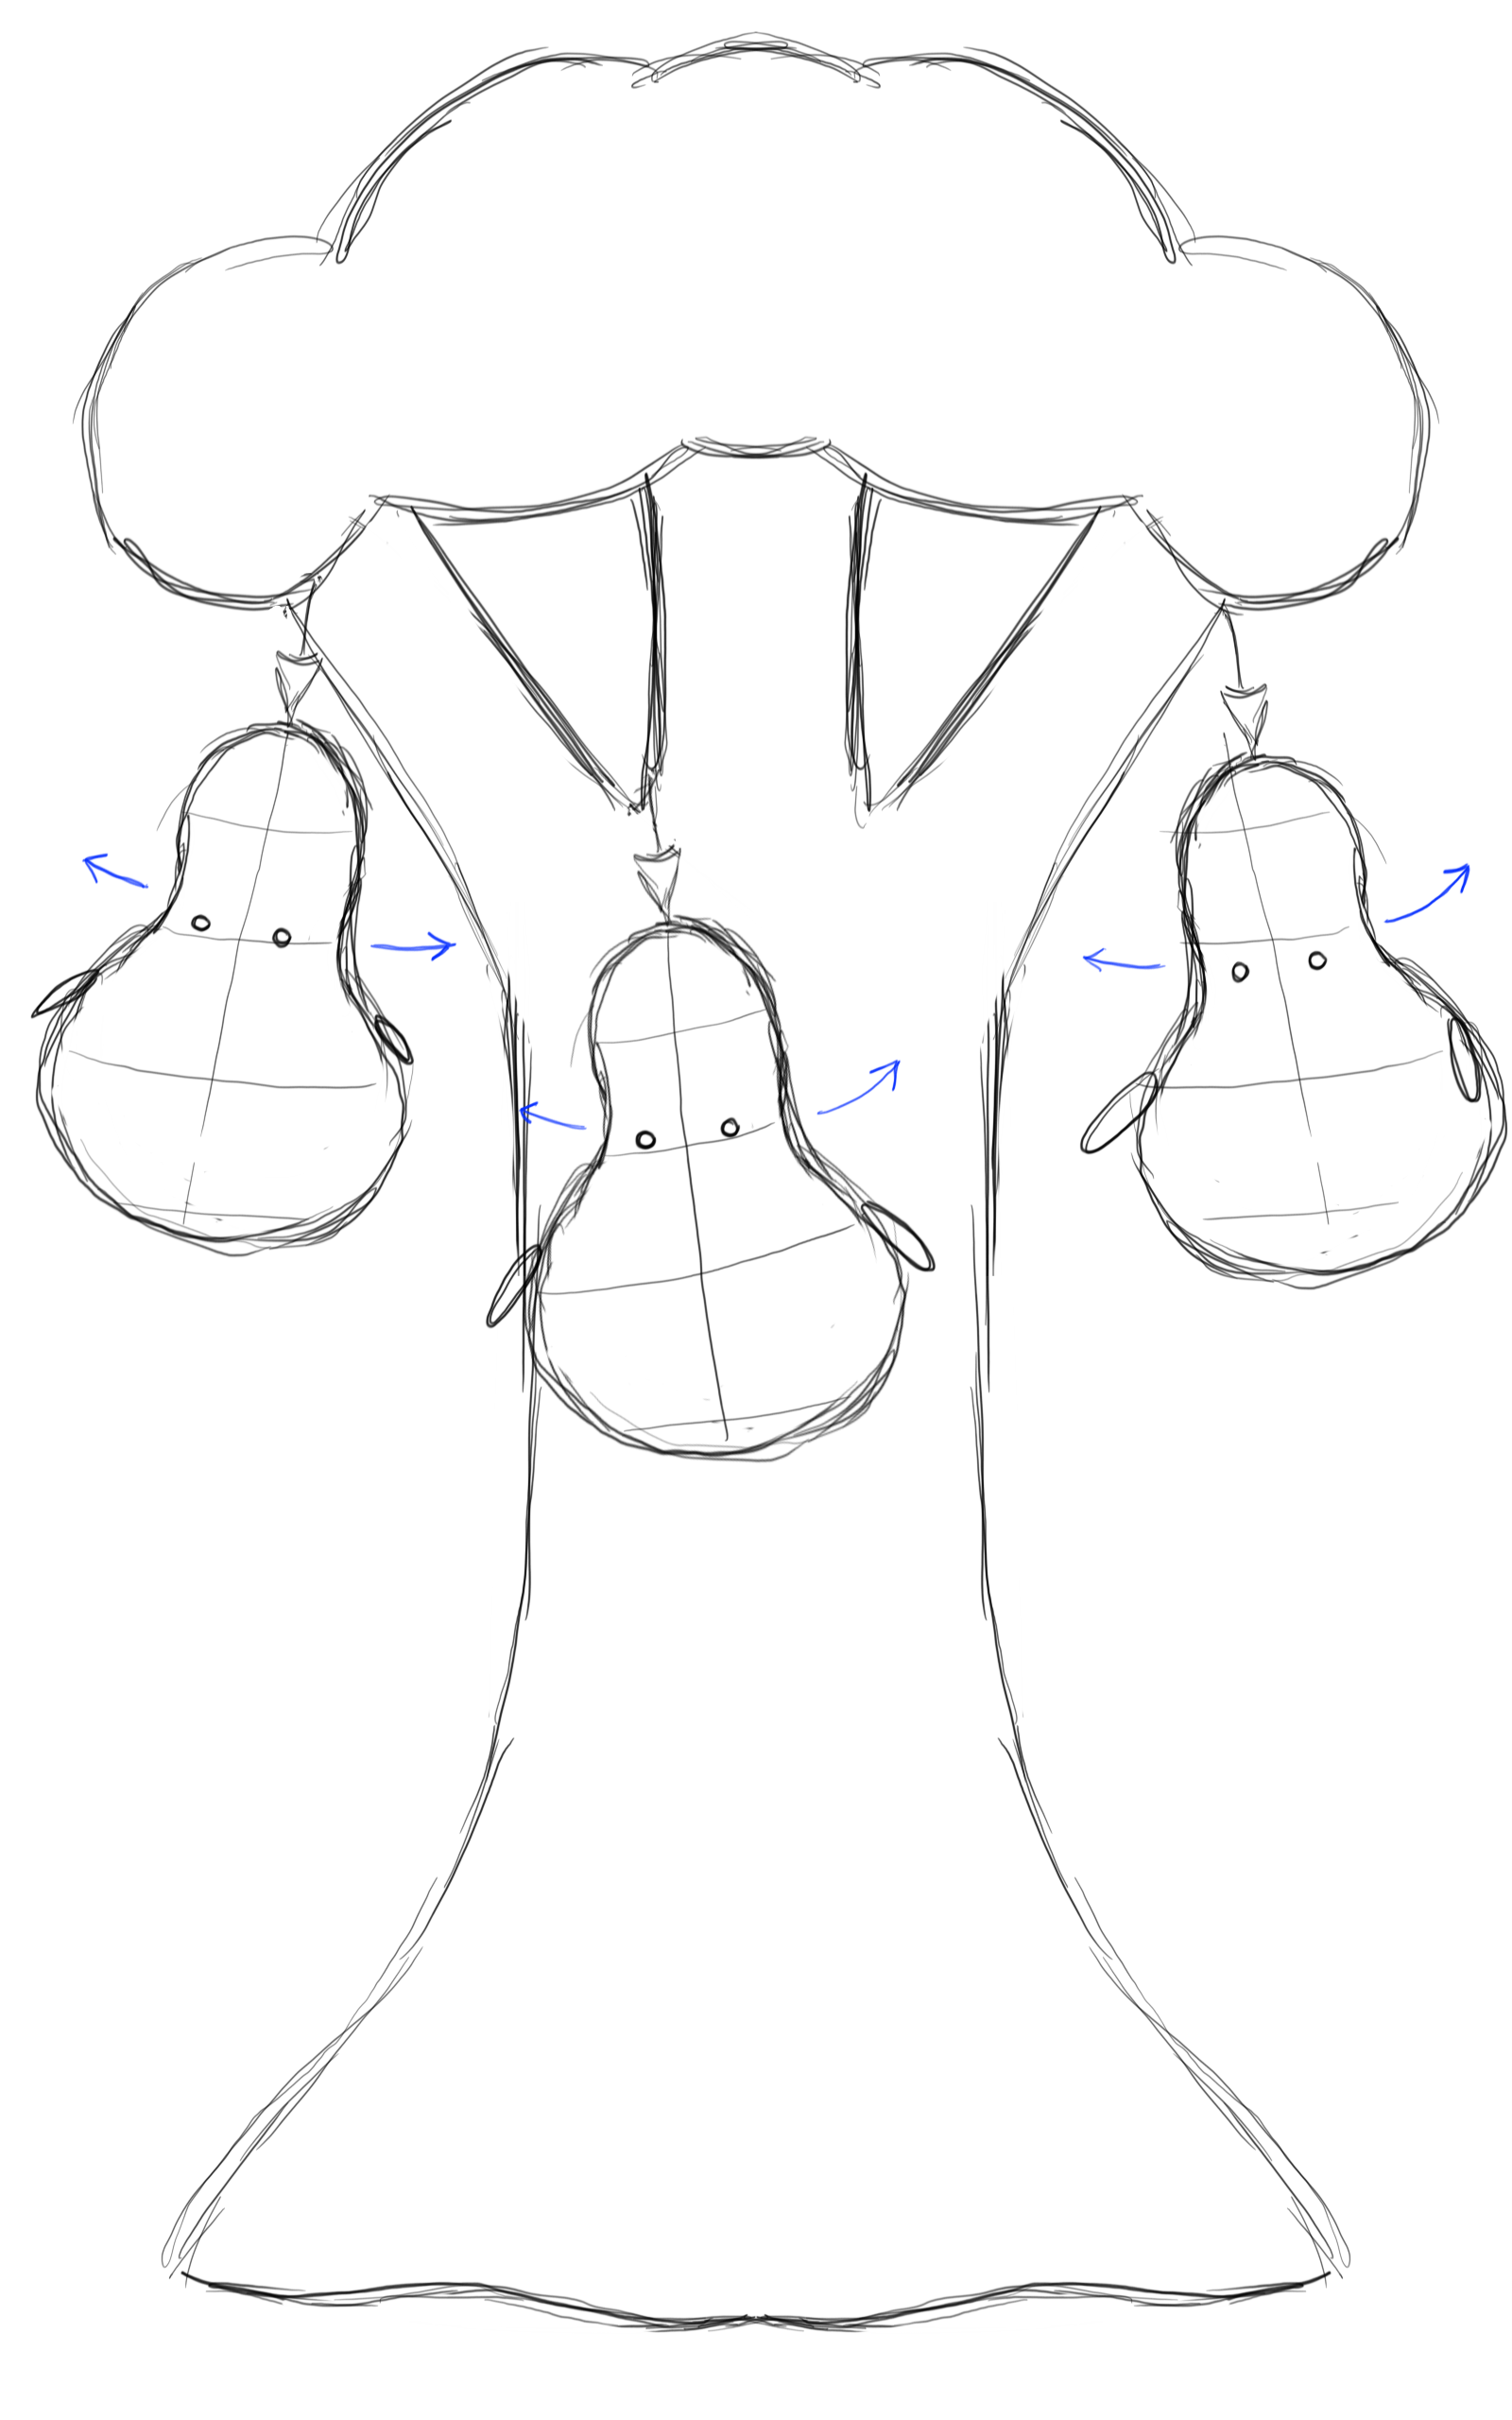
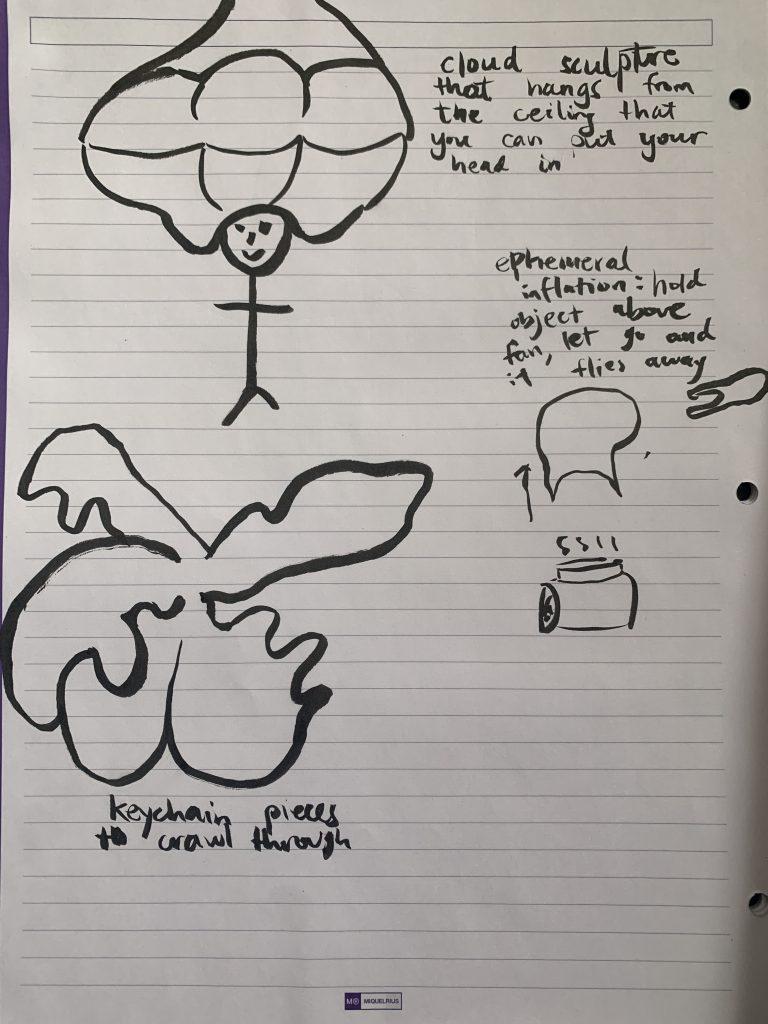
Push/Pull Part 2 Proposals: Jiyeon, Yiyang

1. Clouds

We both like the idea of ‘hanging’ something and the idea of having natural light interact with our objects. So, we are thinking of making a cloud shape inflatable and having it floating by the window on the first floor of Hunt library. Since a tube has to be attached to blow air into the inflatable, we are also thinking of making that tube into a chimney. So the whole object would look like a chimney blowing clouds into the air and, ideally, the natural sunlight would shine through the cloud.

2. Doorway

This ‘doorway’ evolves from an actual door. We are thinking of how to encourage people to communicate and interact with each other more. A door represents the unfamiliarity between people and when you open the door and walk across the door, we get to know each other better. When designing this shape, we consider that a more abstract shape of a door might be more interesting and artistic. So we simplify the shape into a dome with wires or strings attached to it to create some tension.
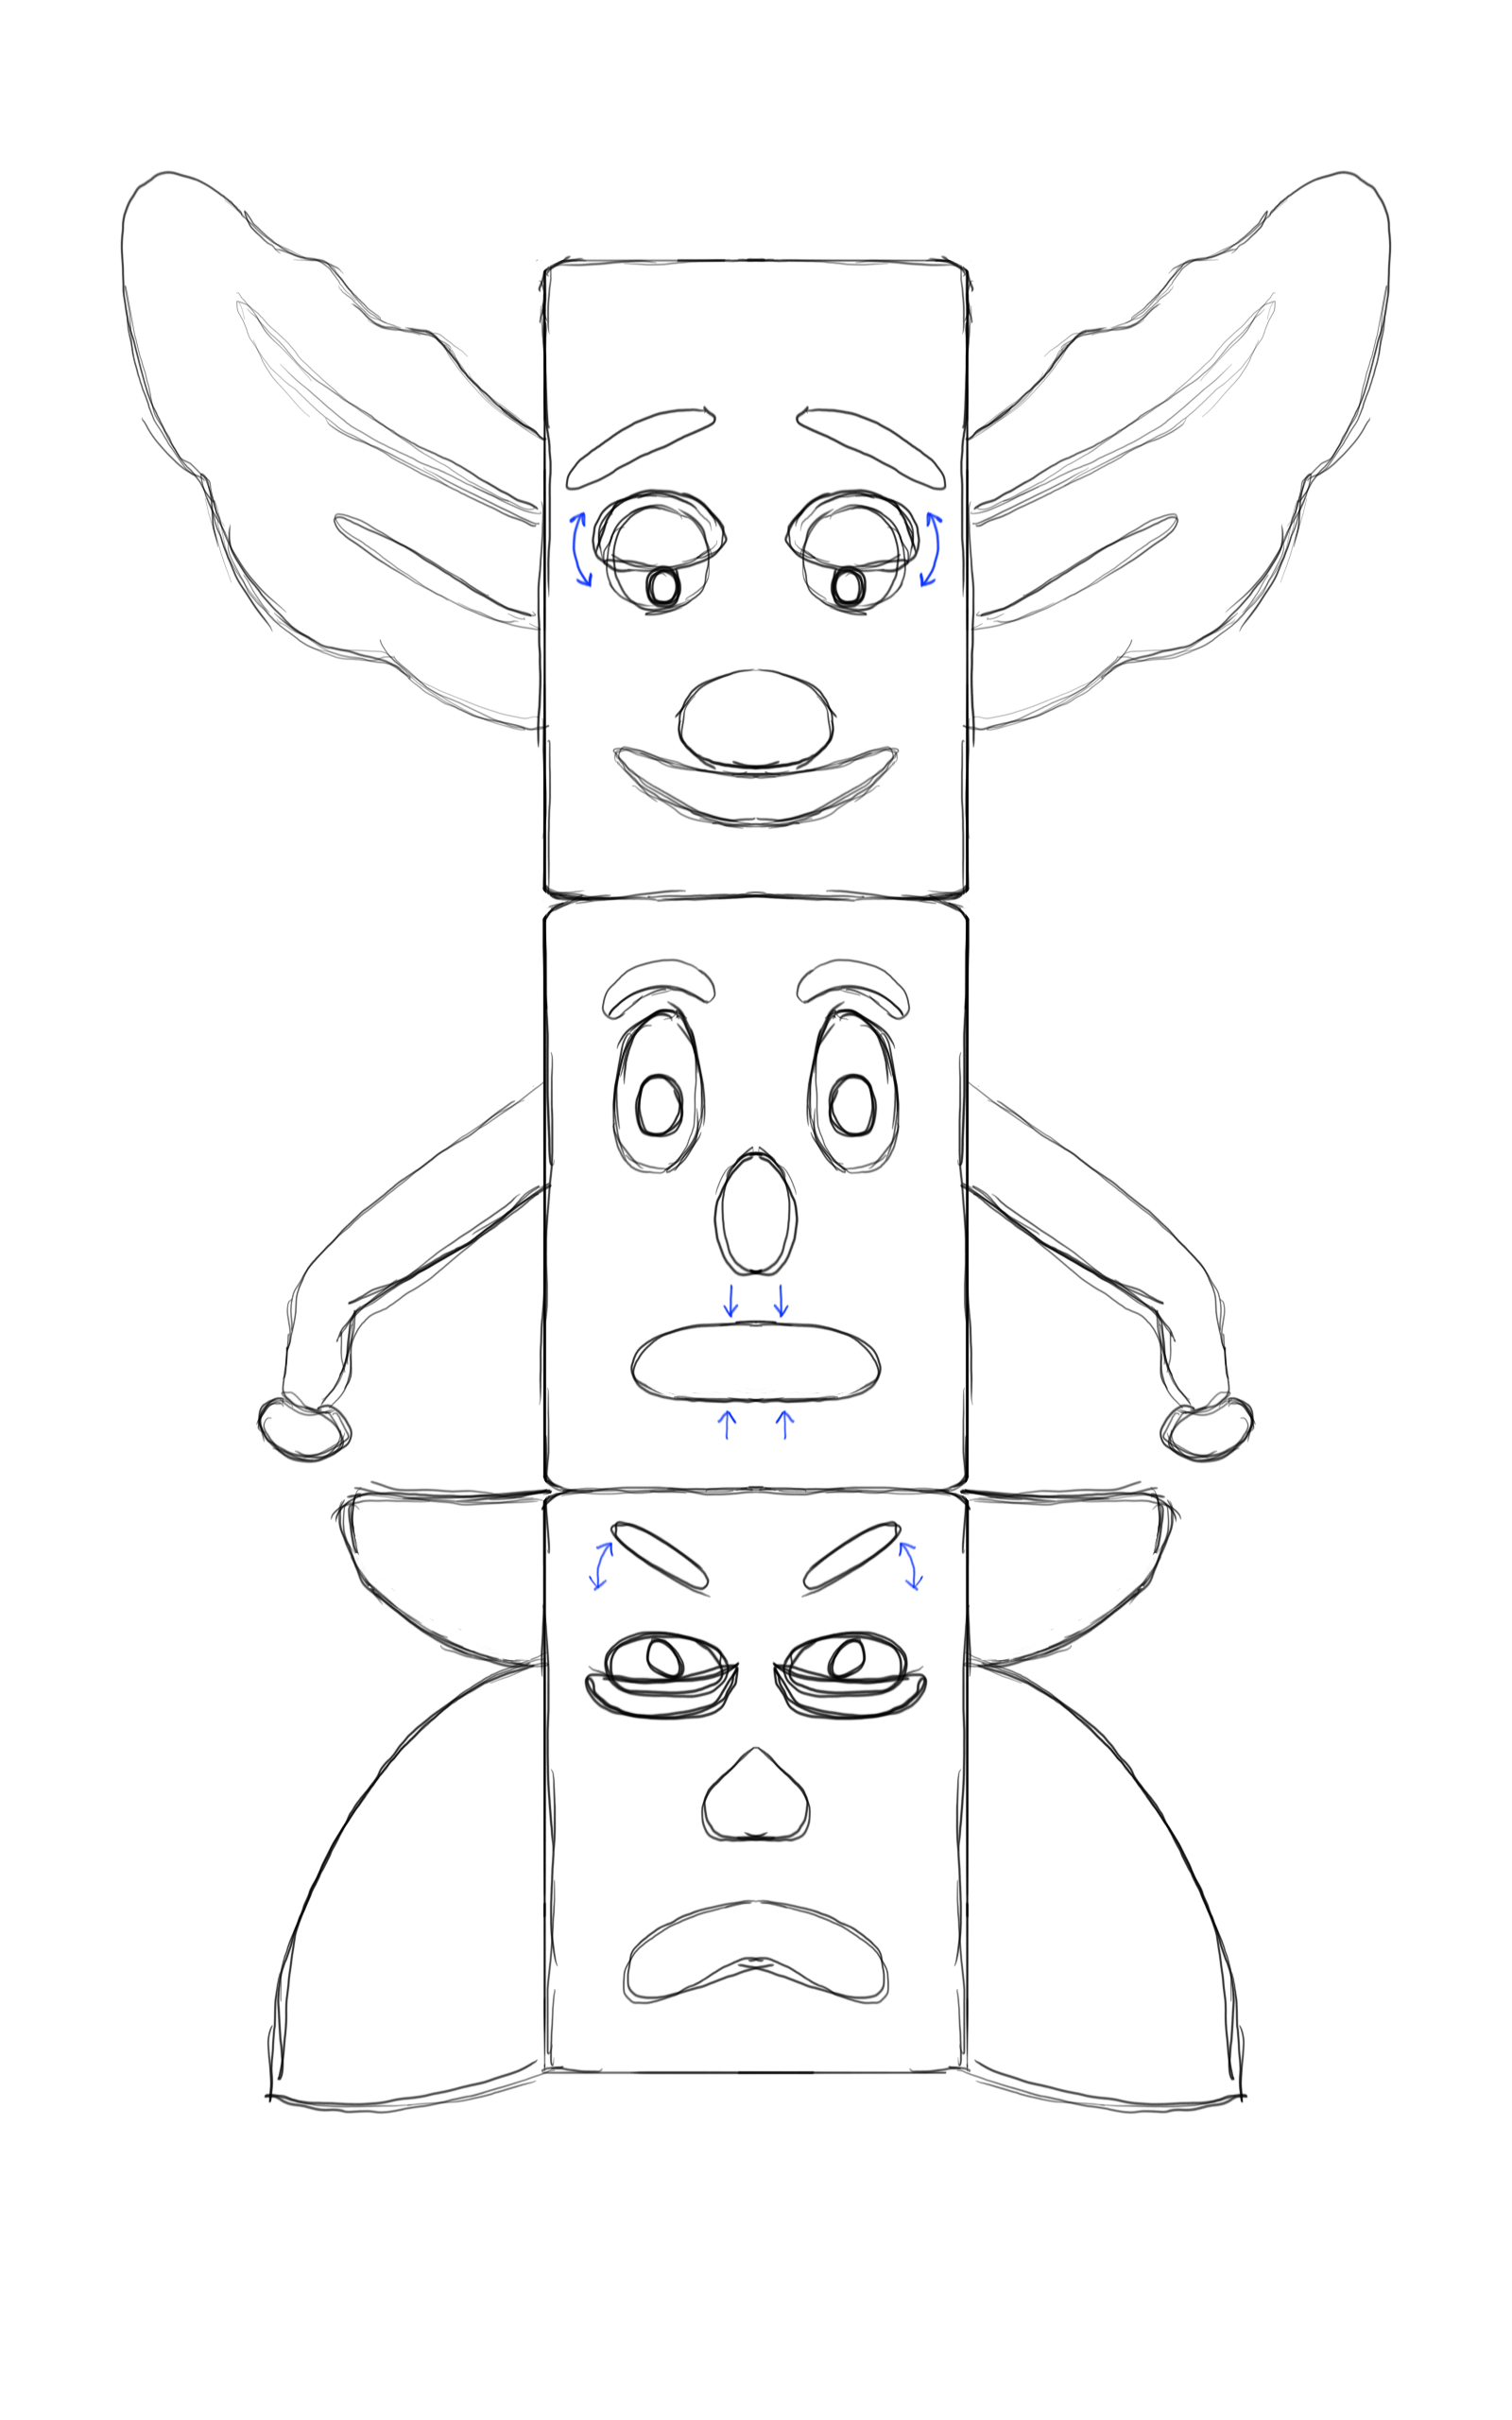
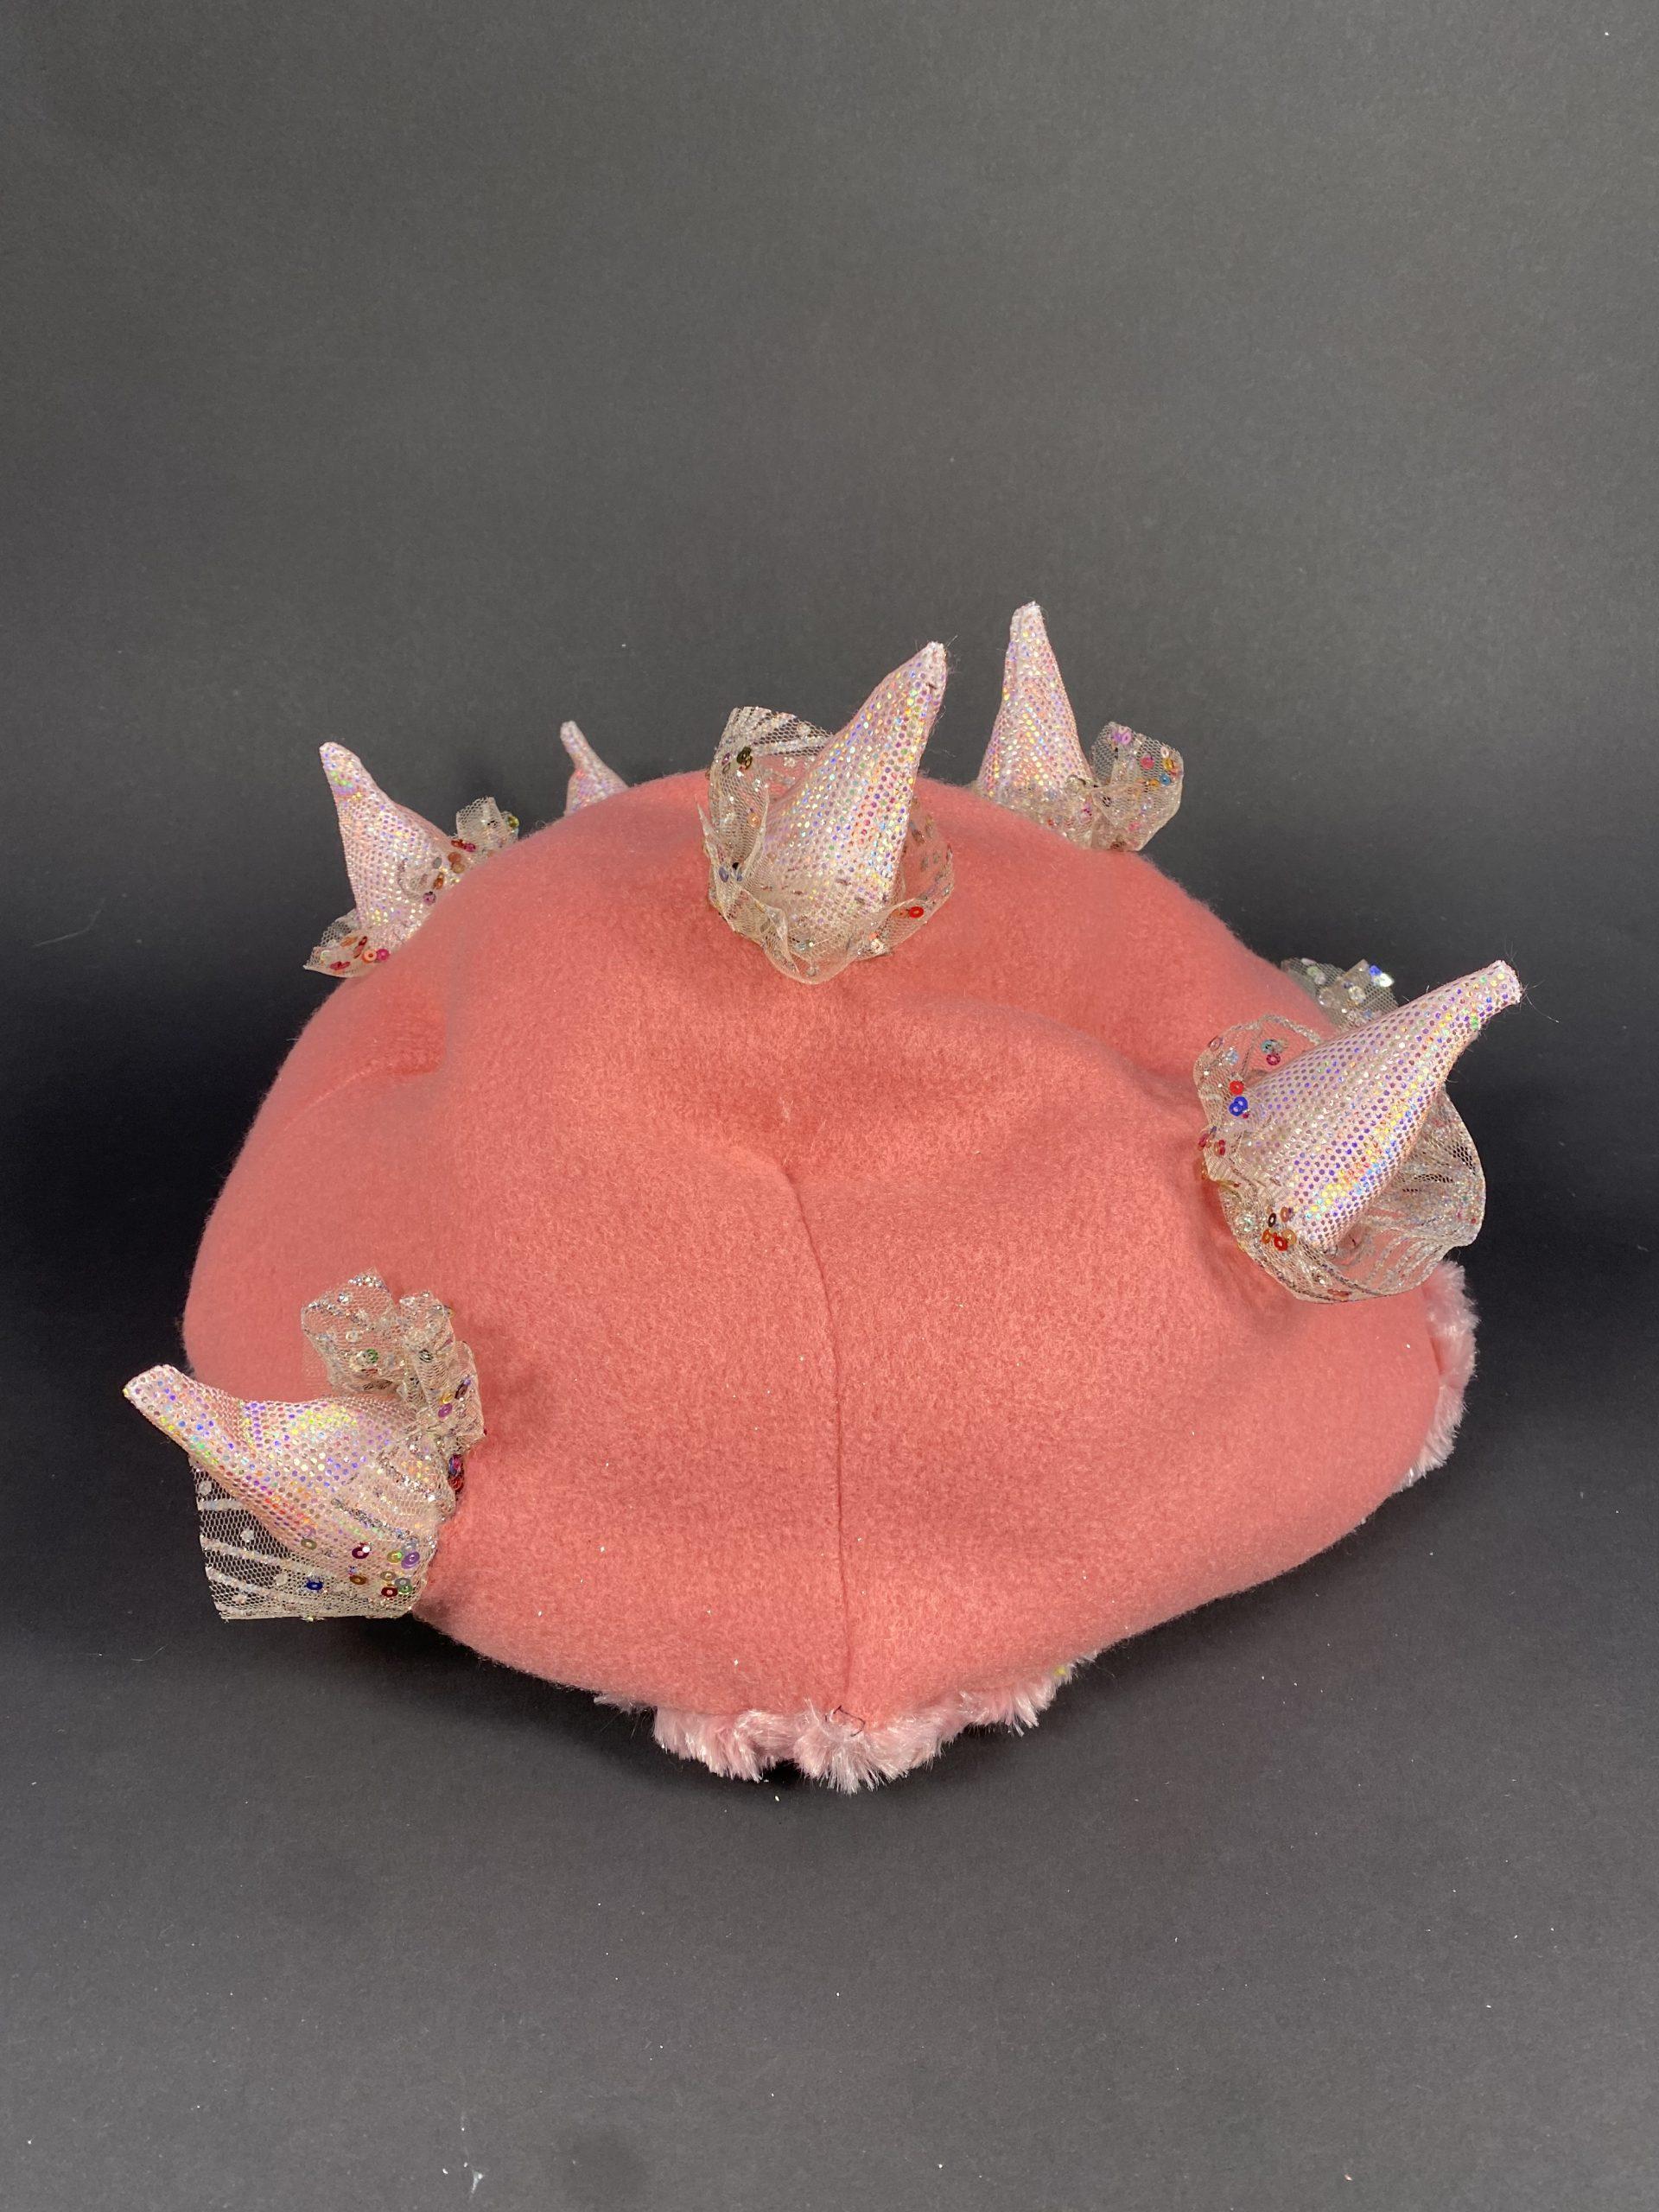
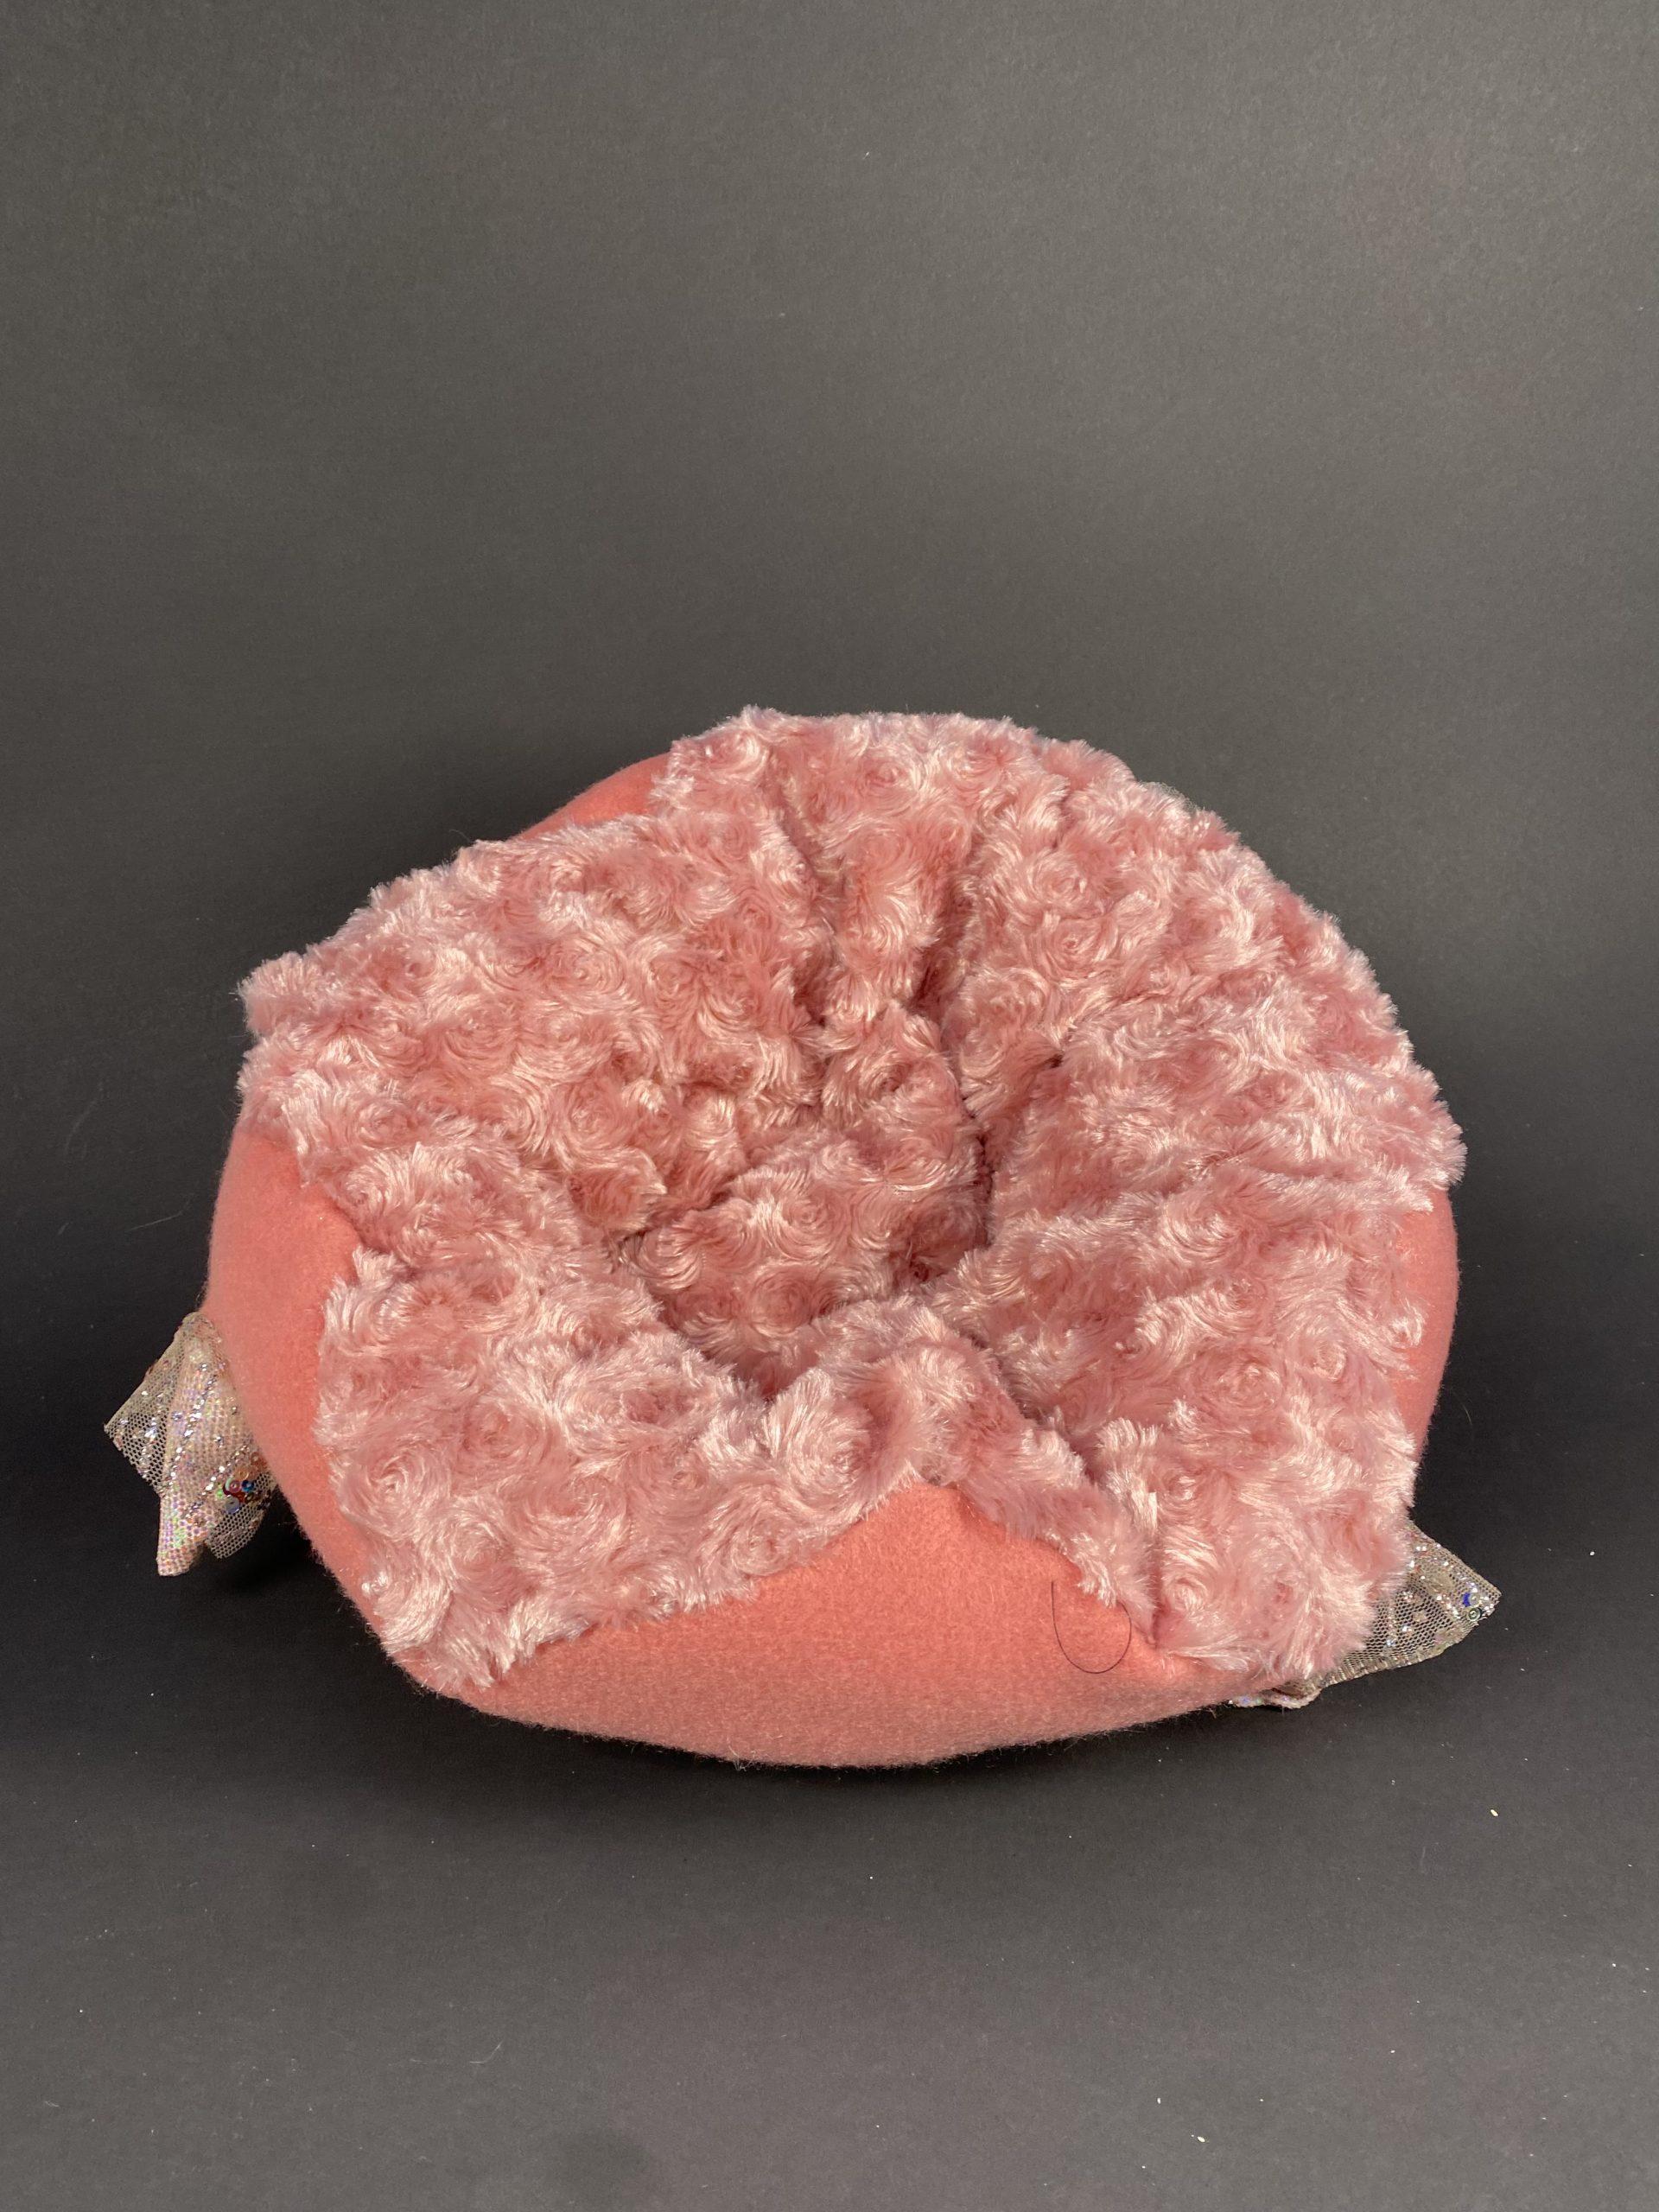
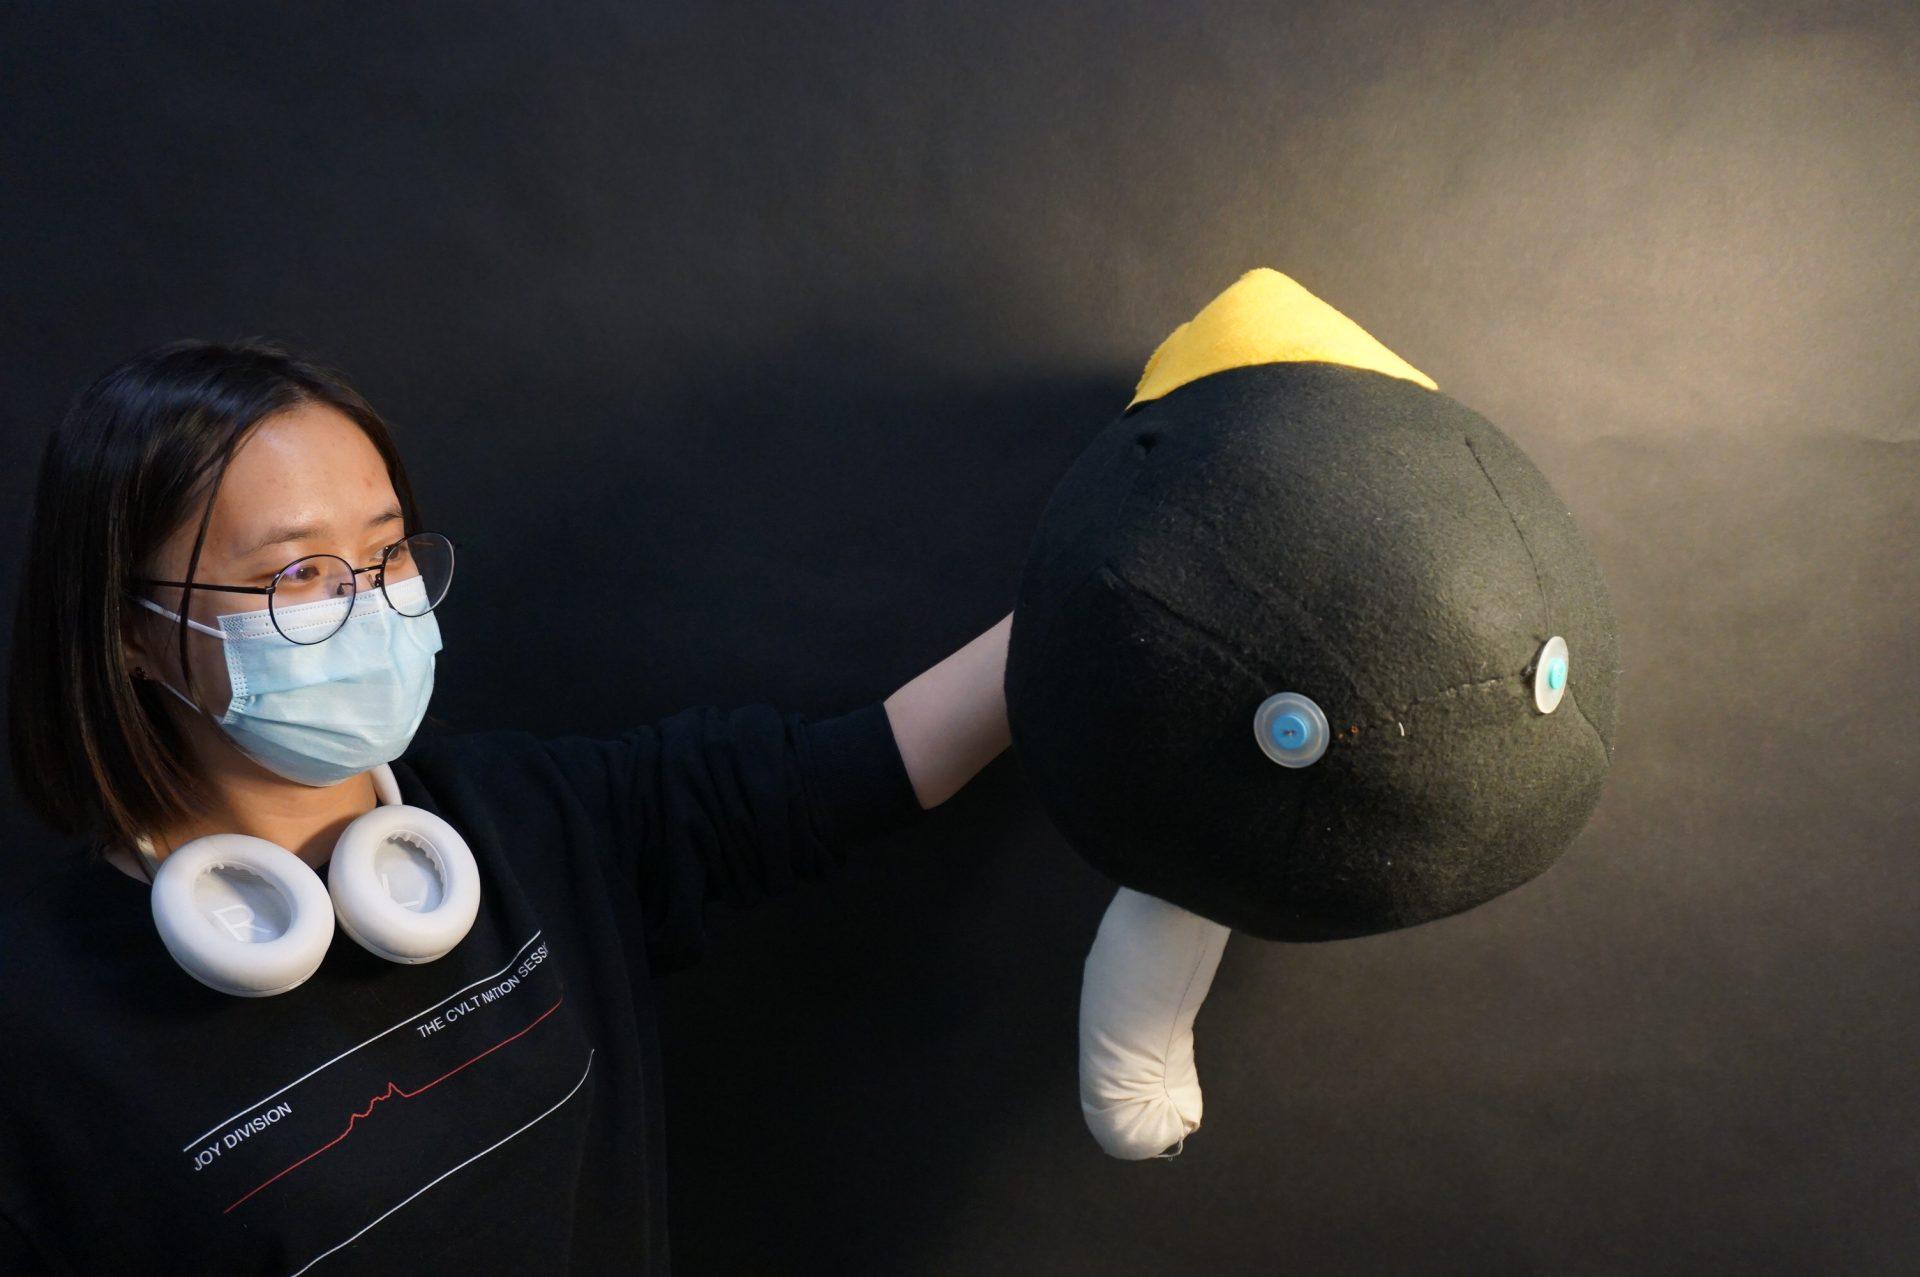
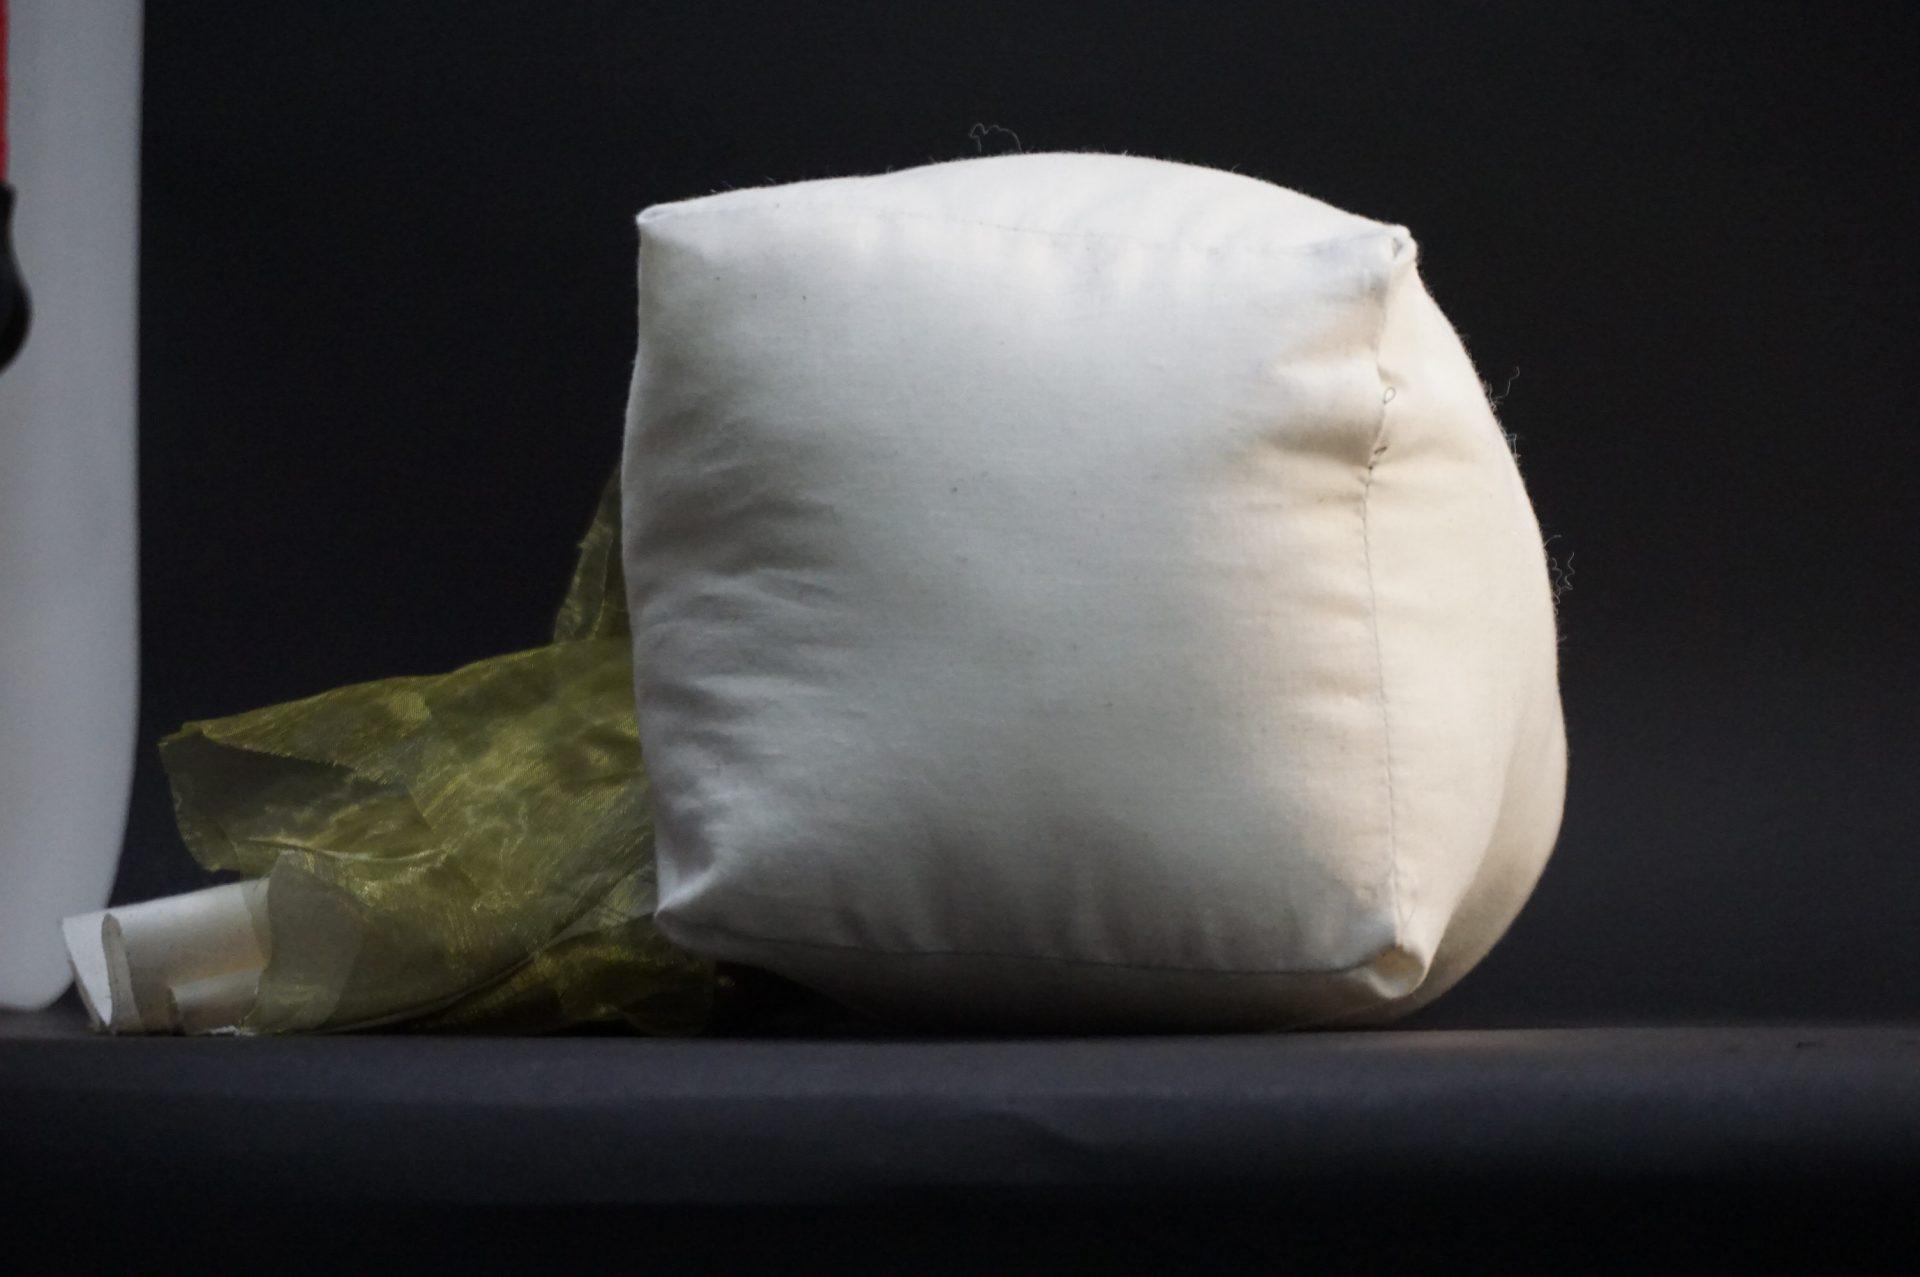
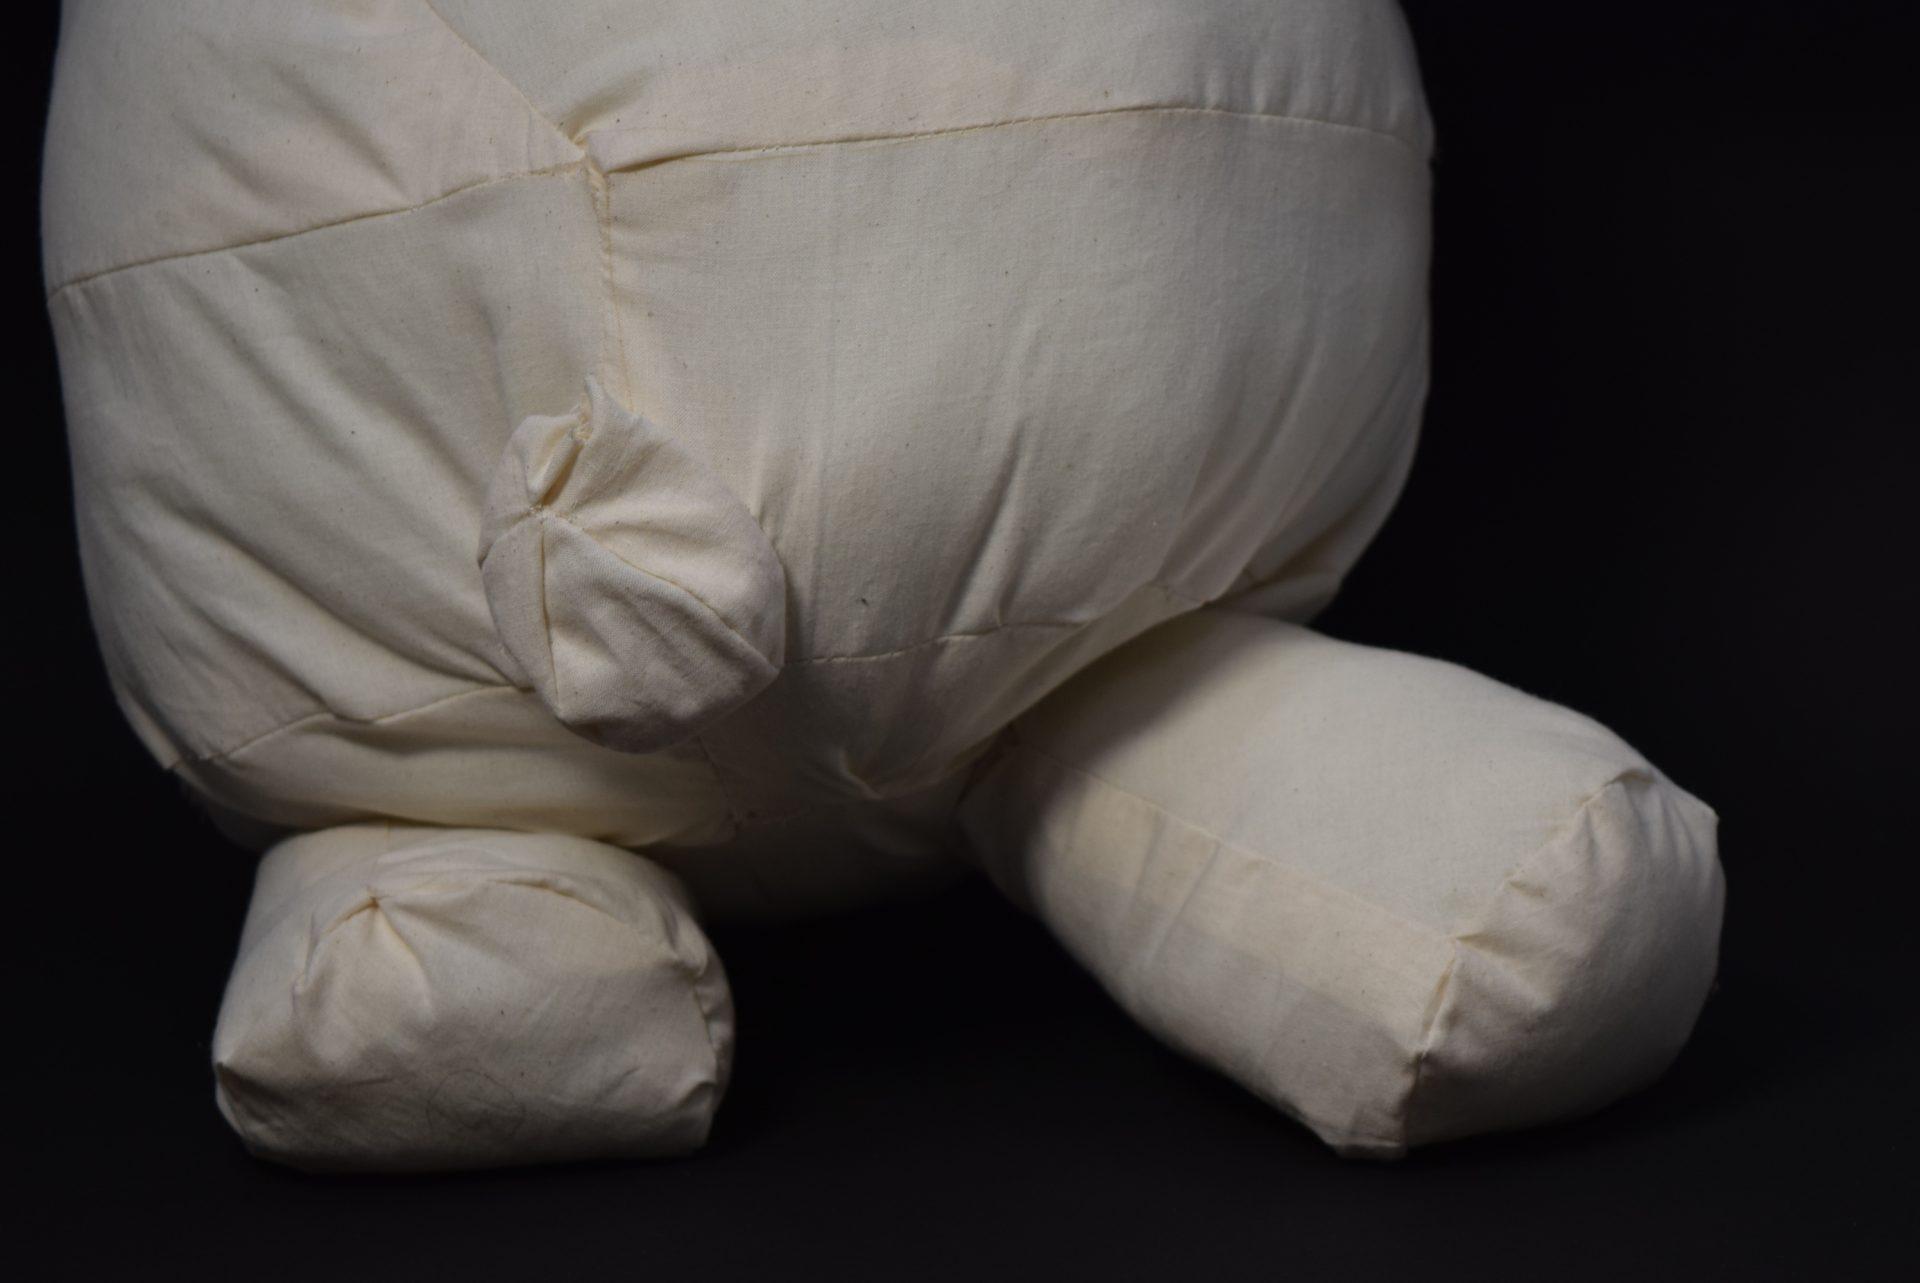
3. Teddy Bear

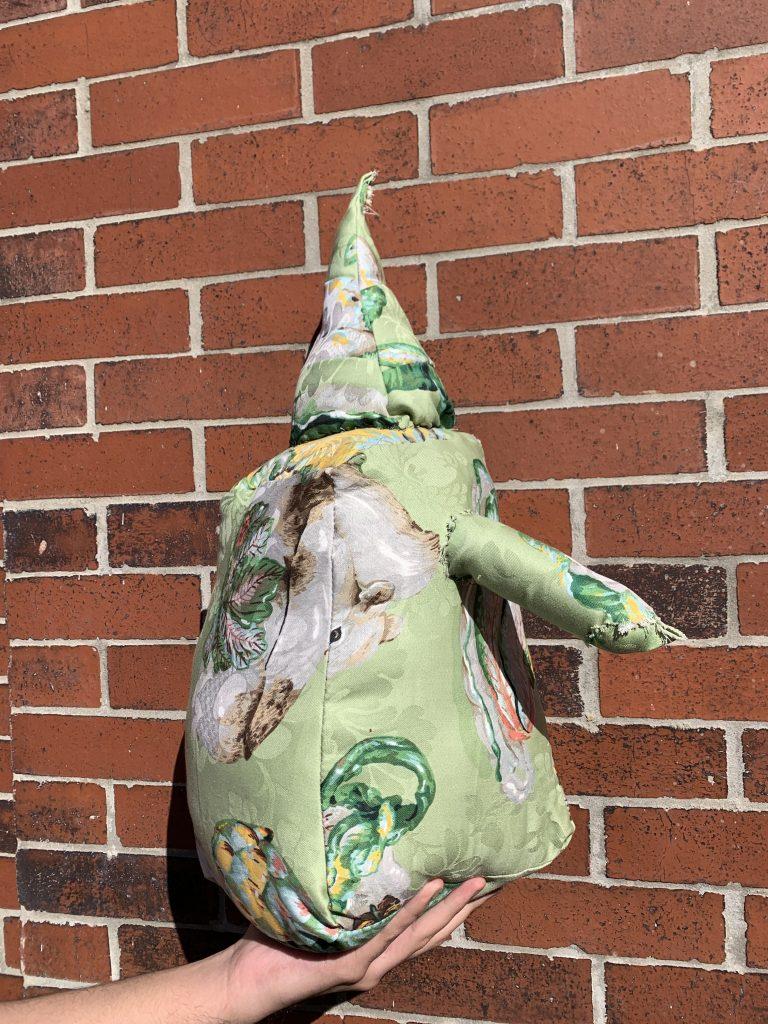
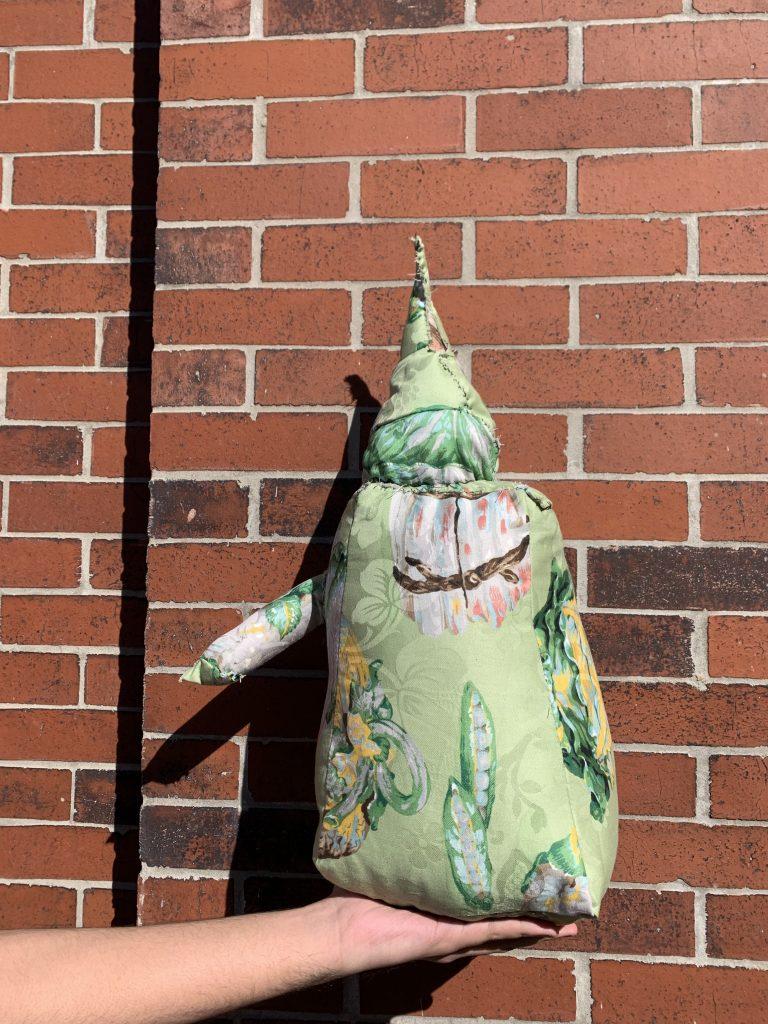
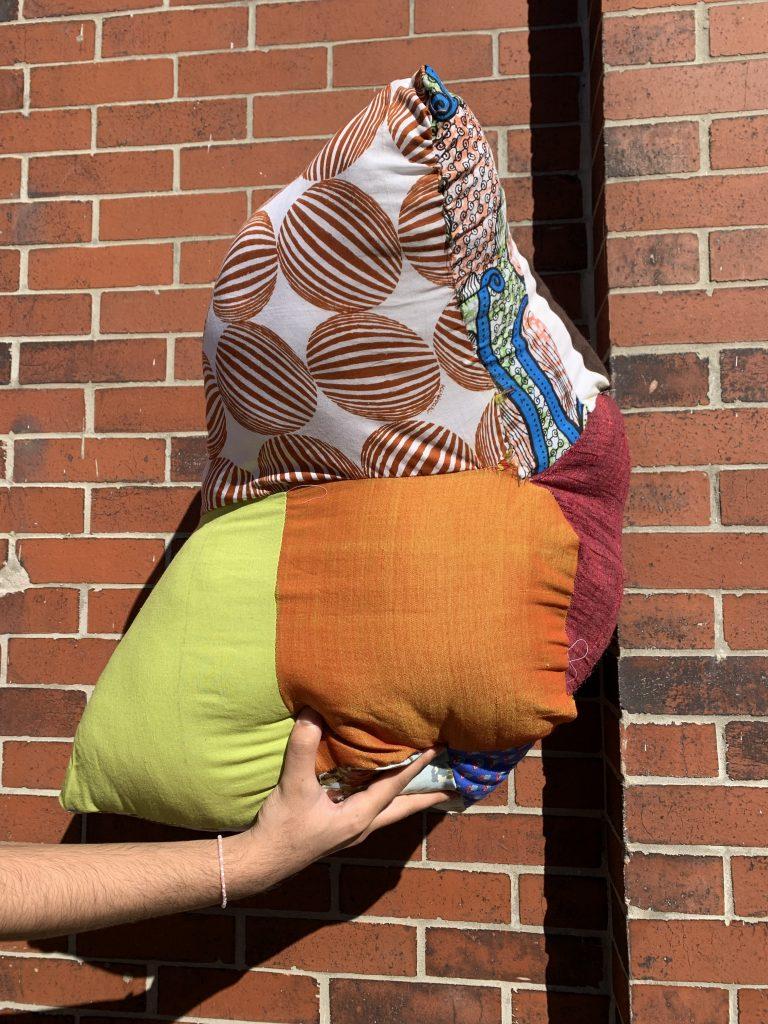
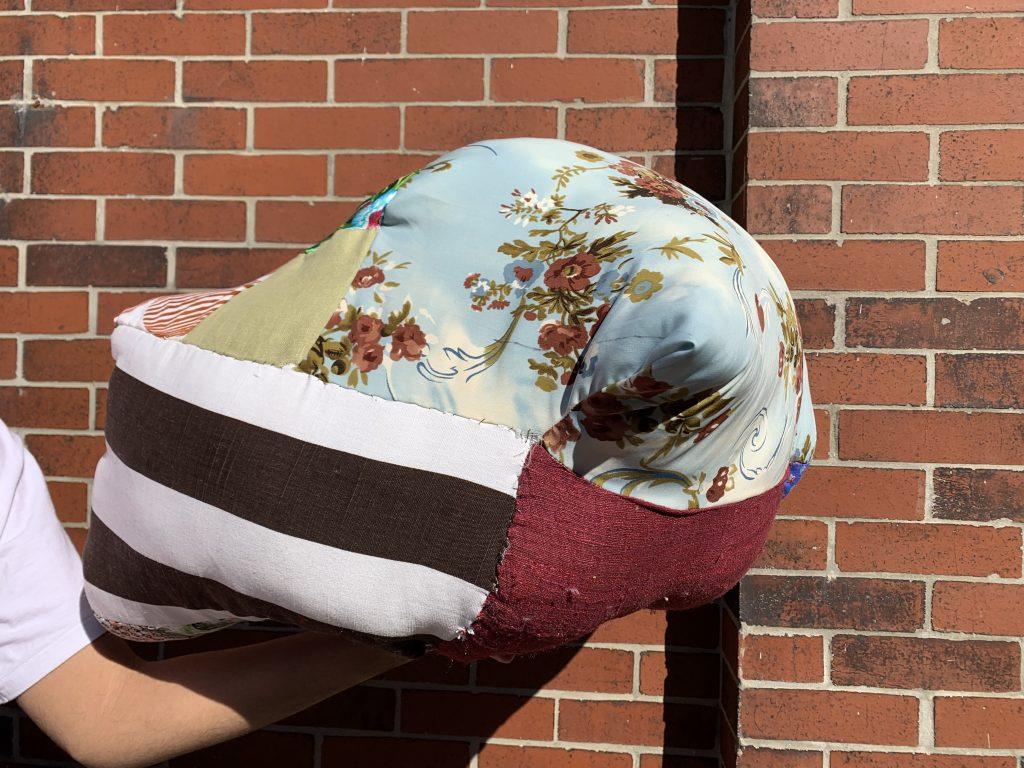
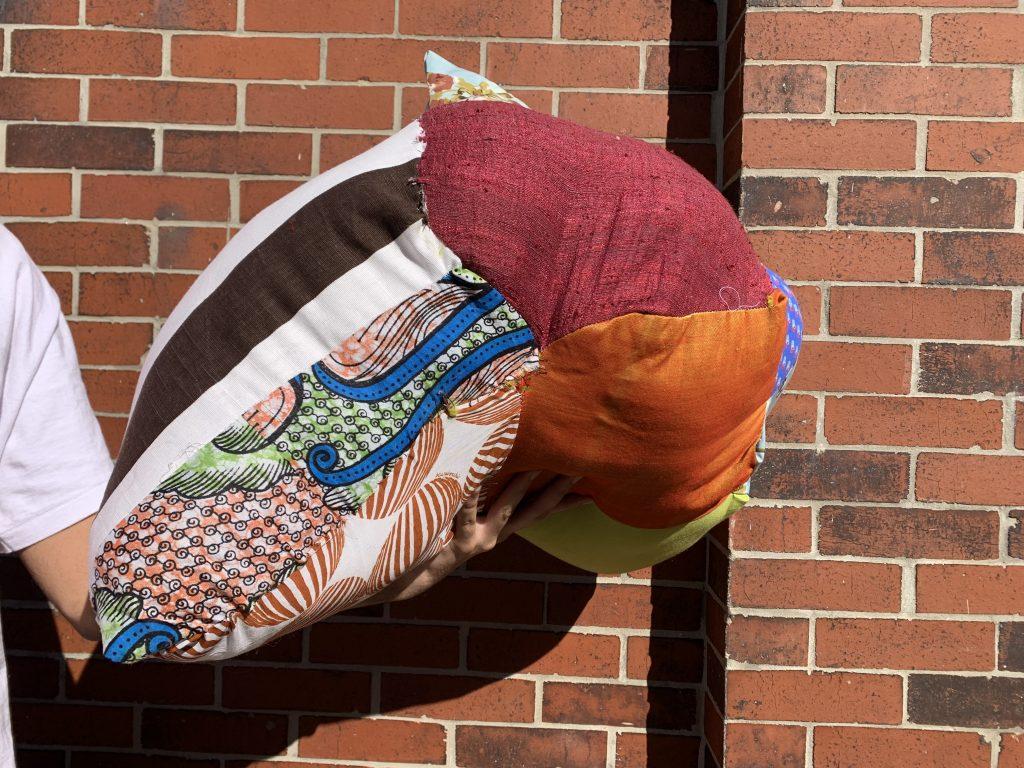
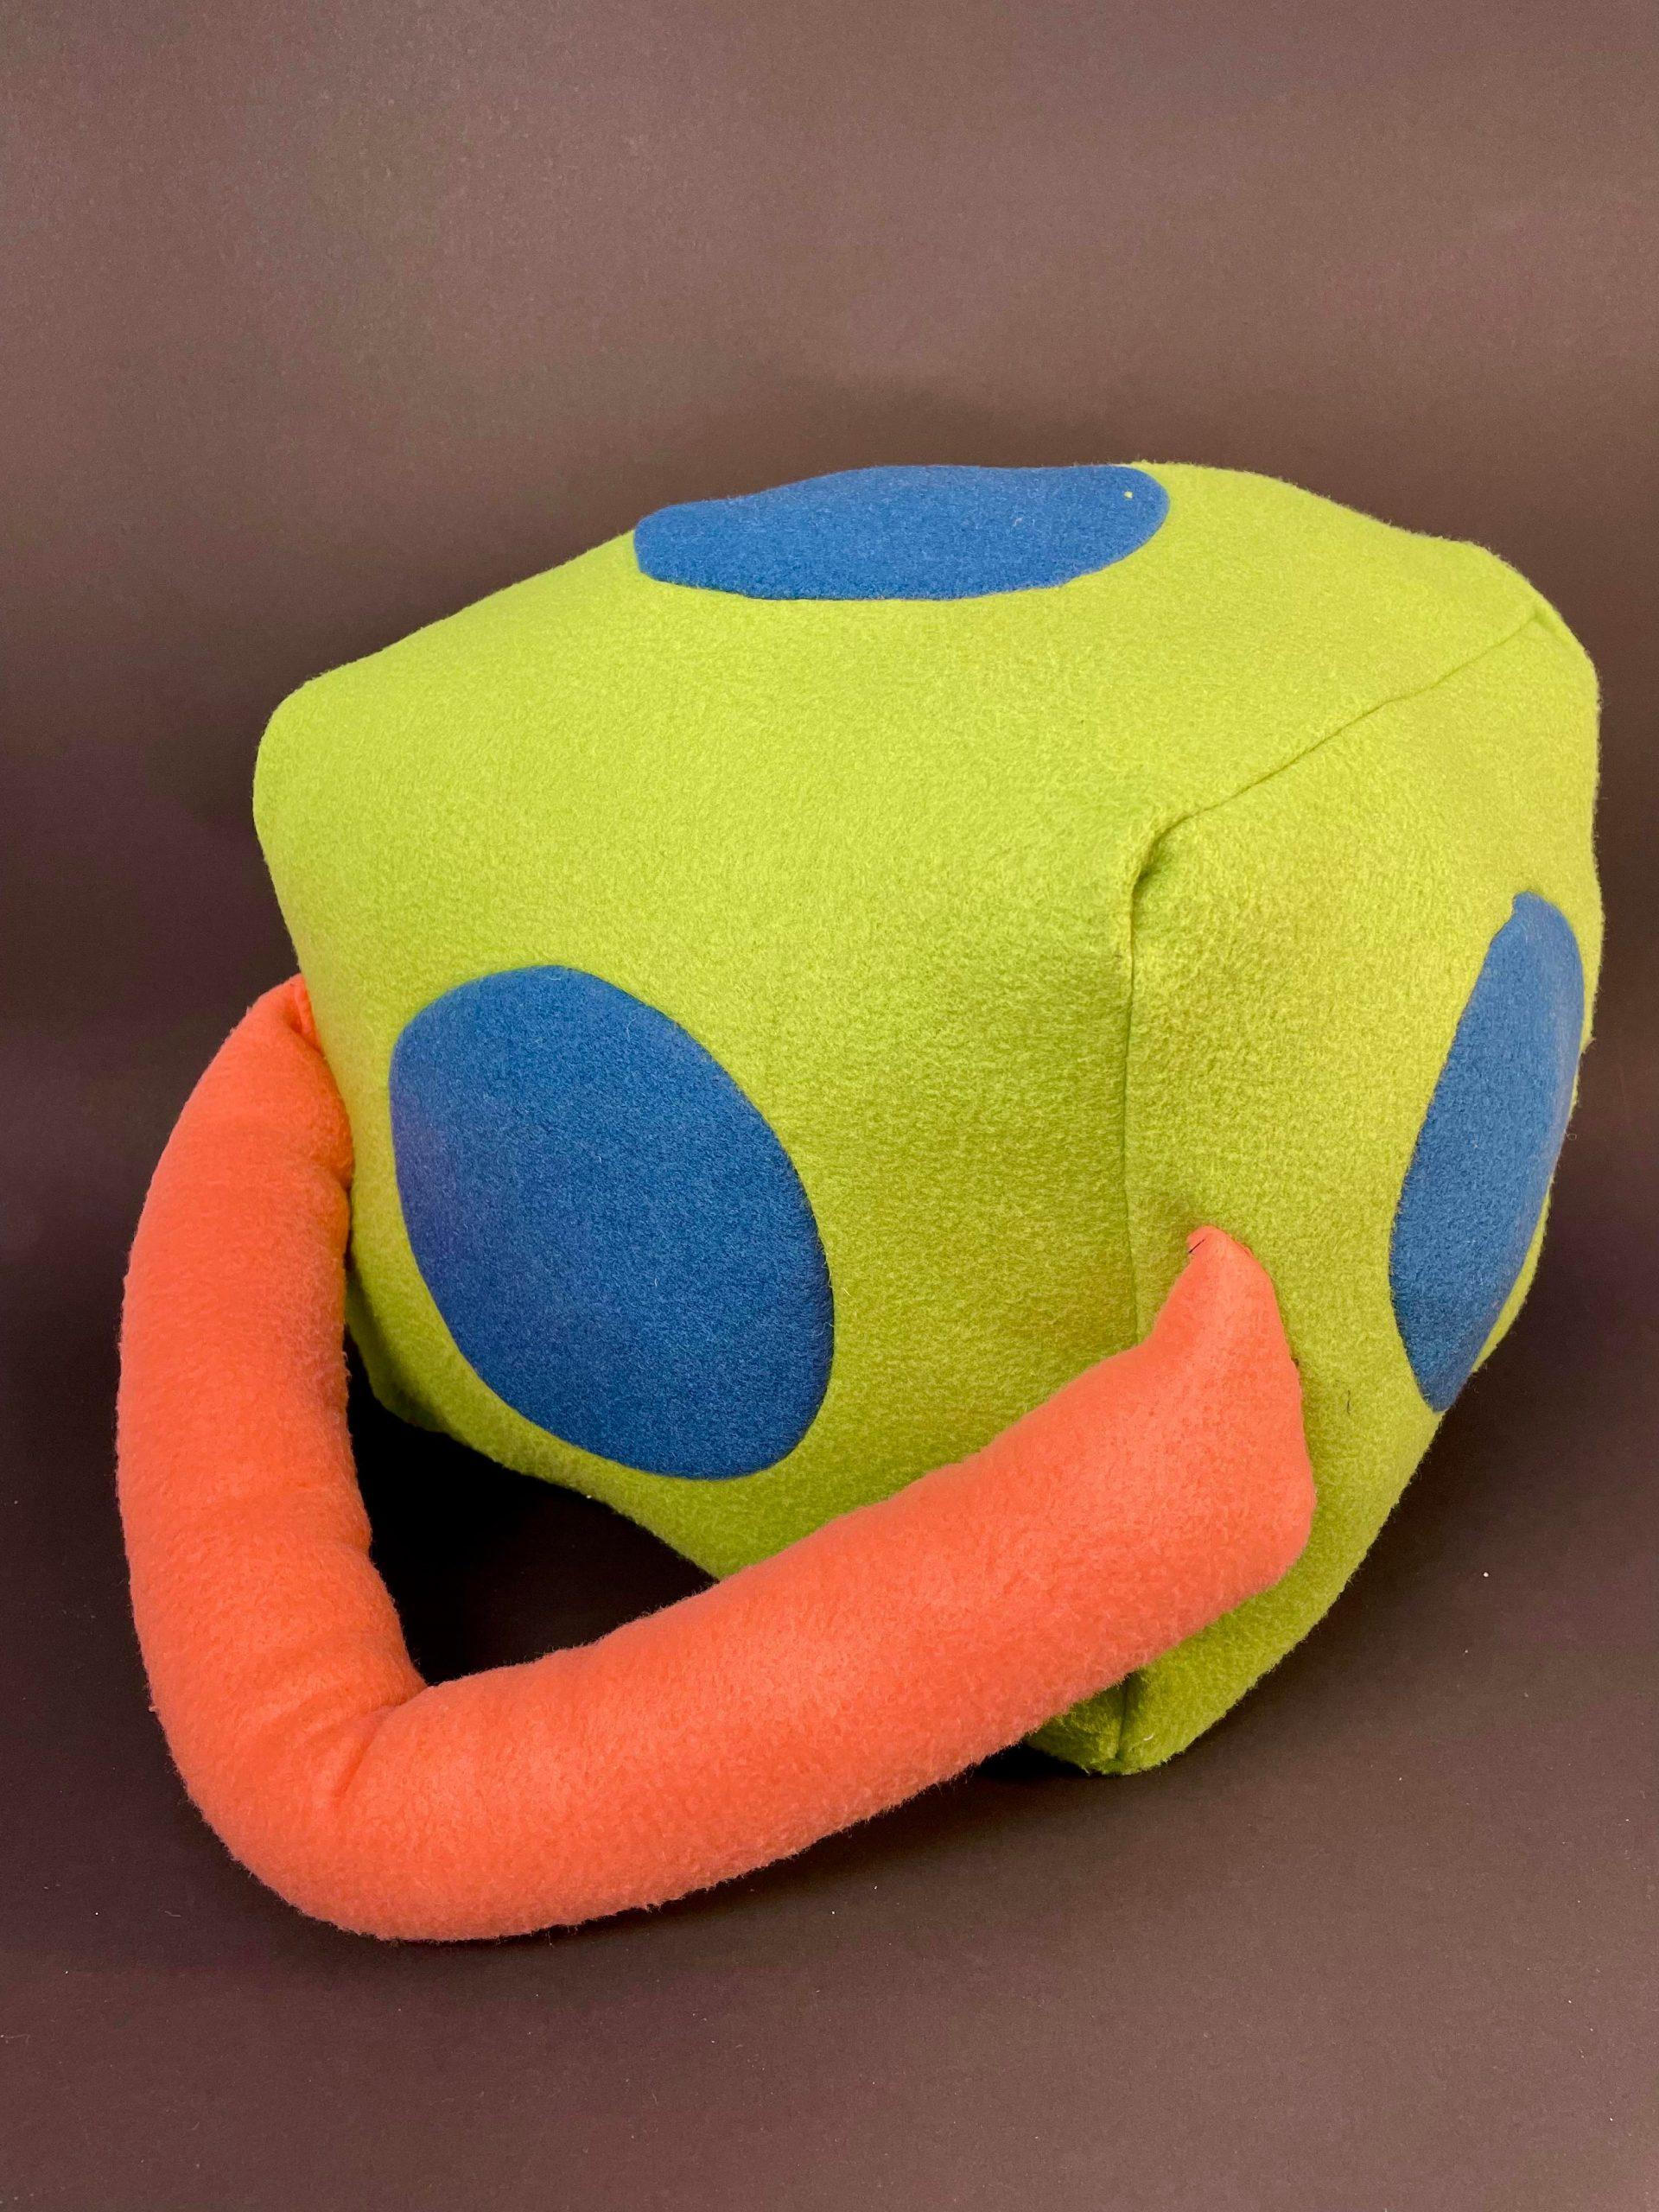
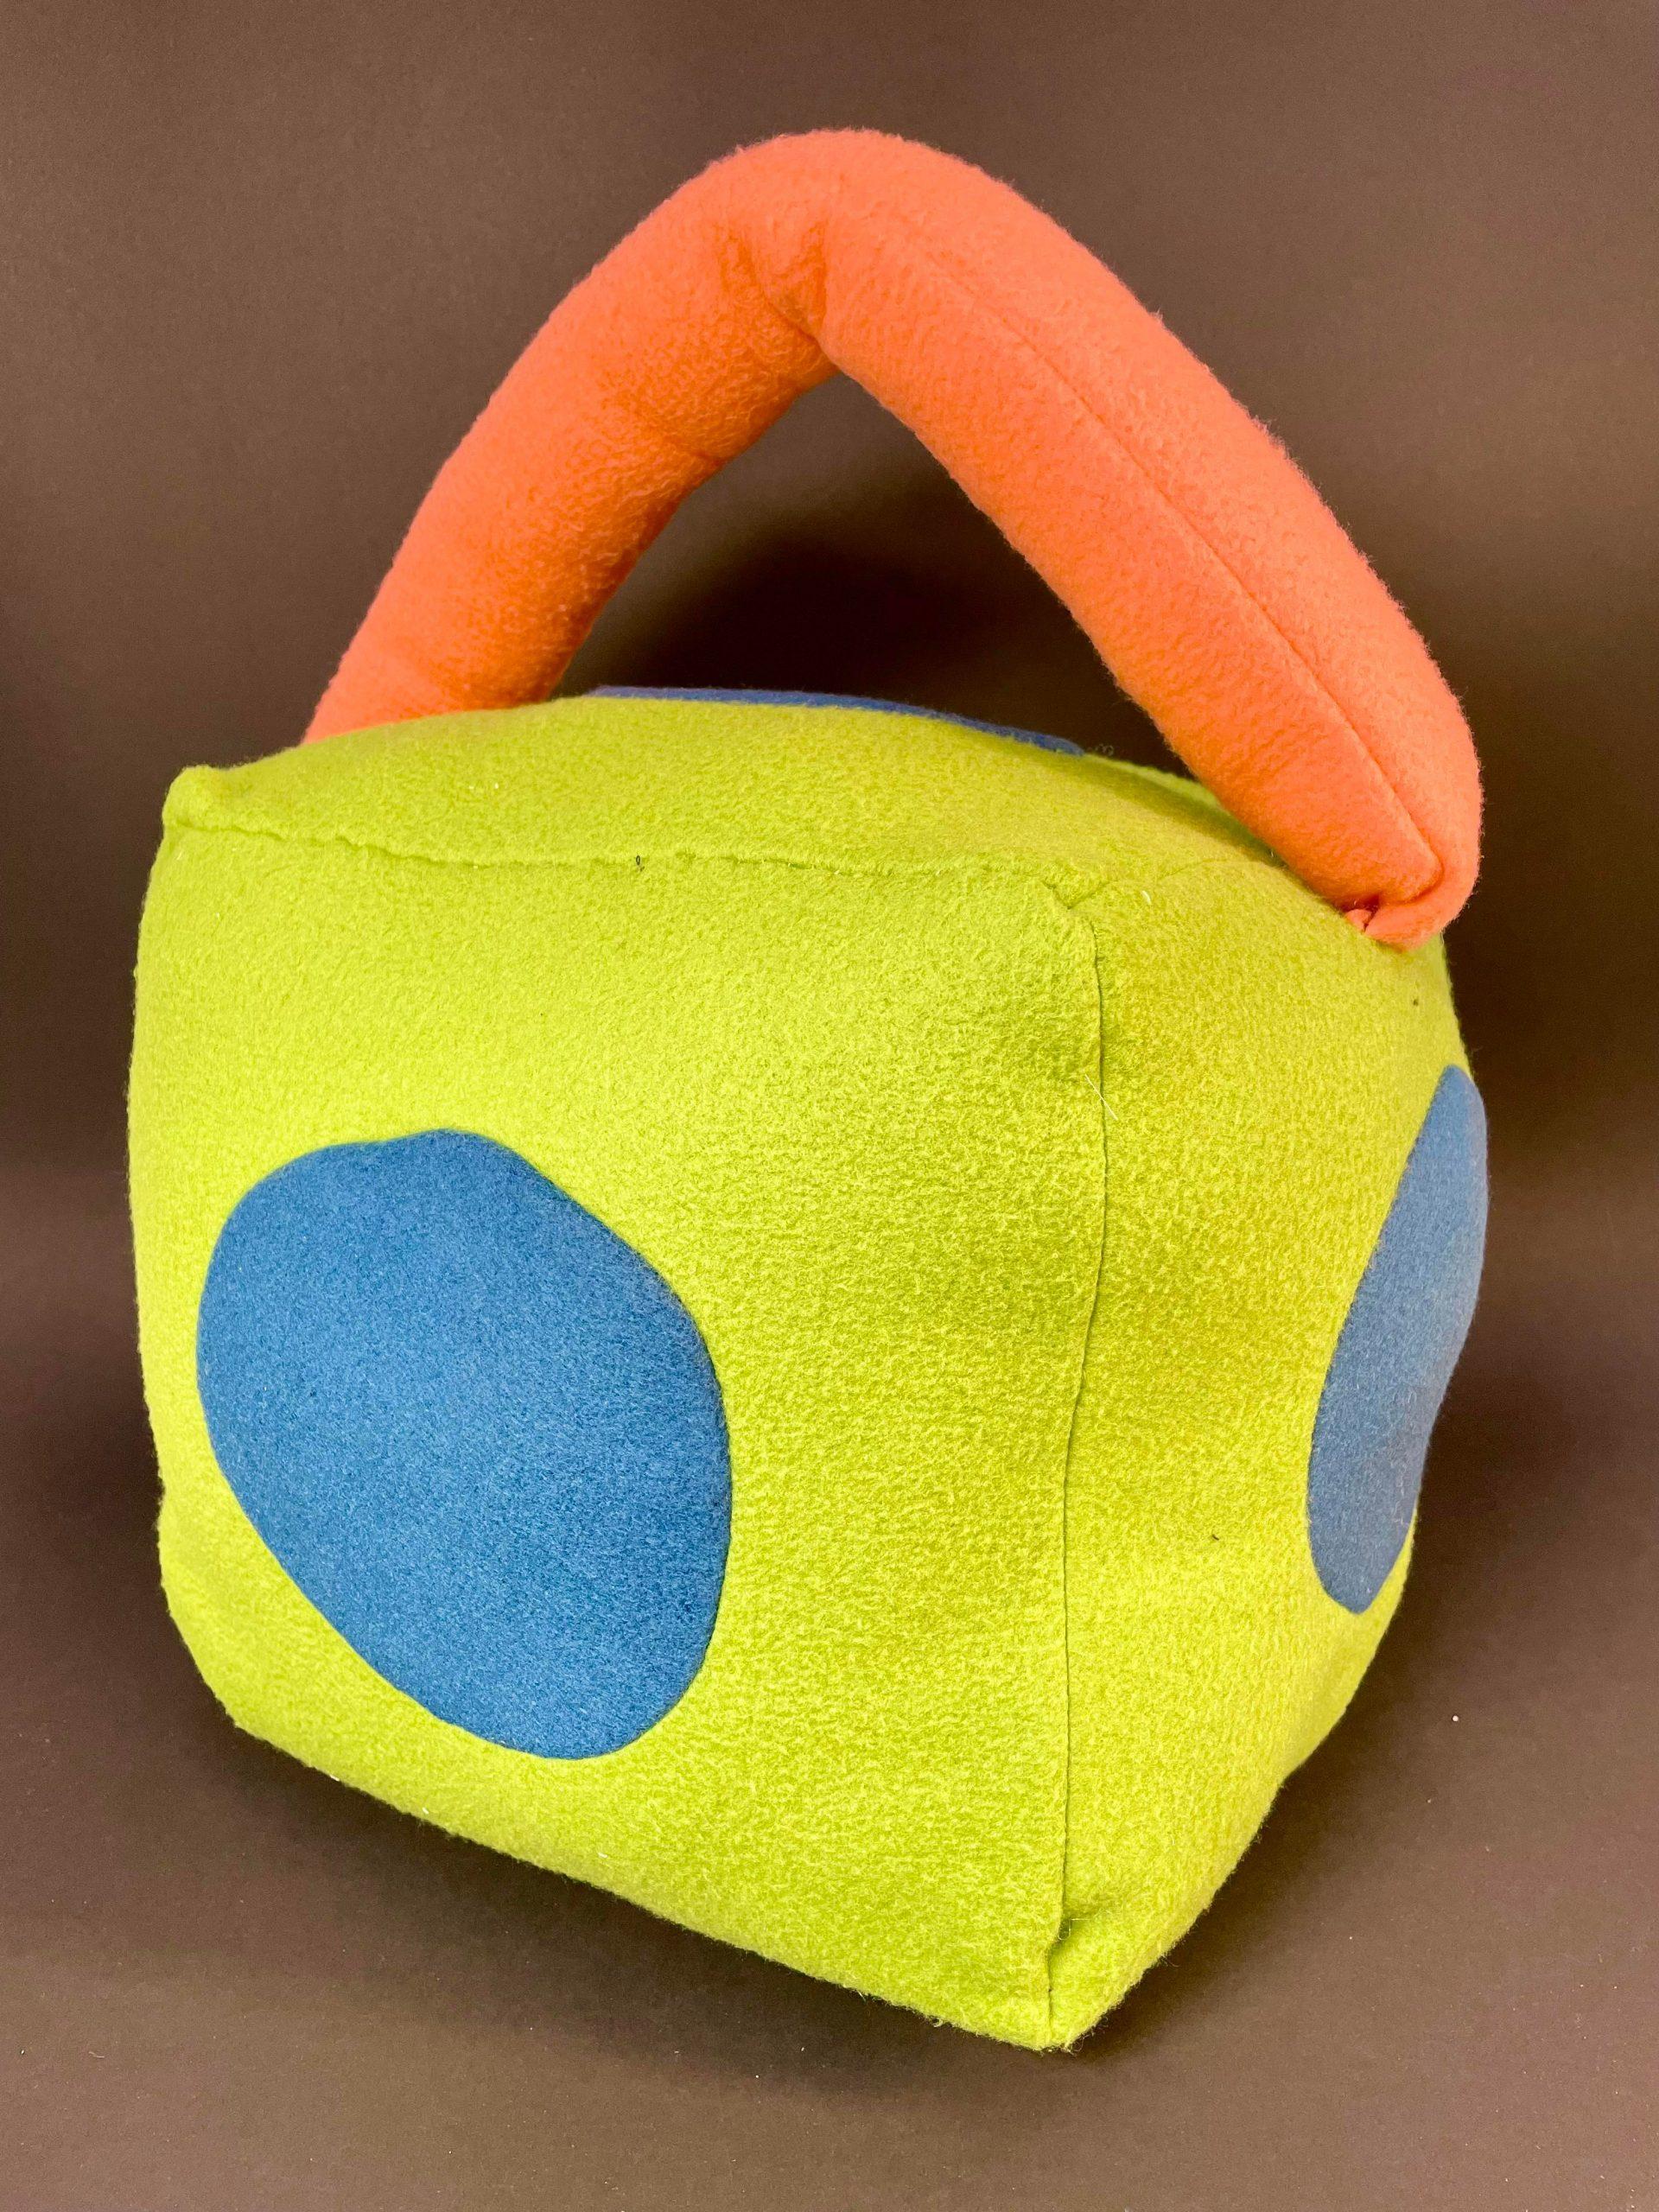
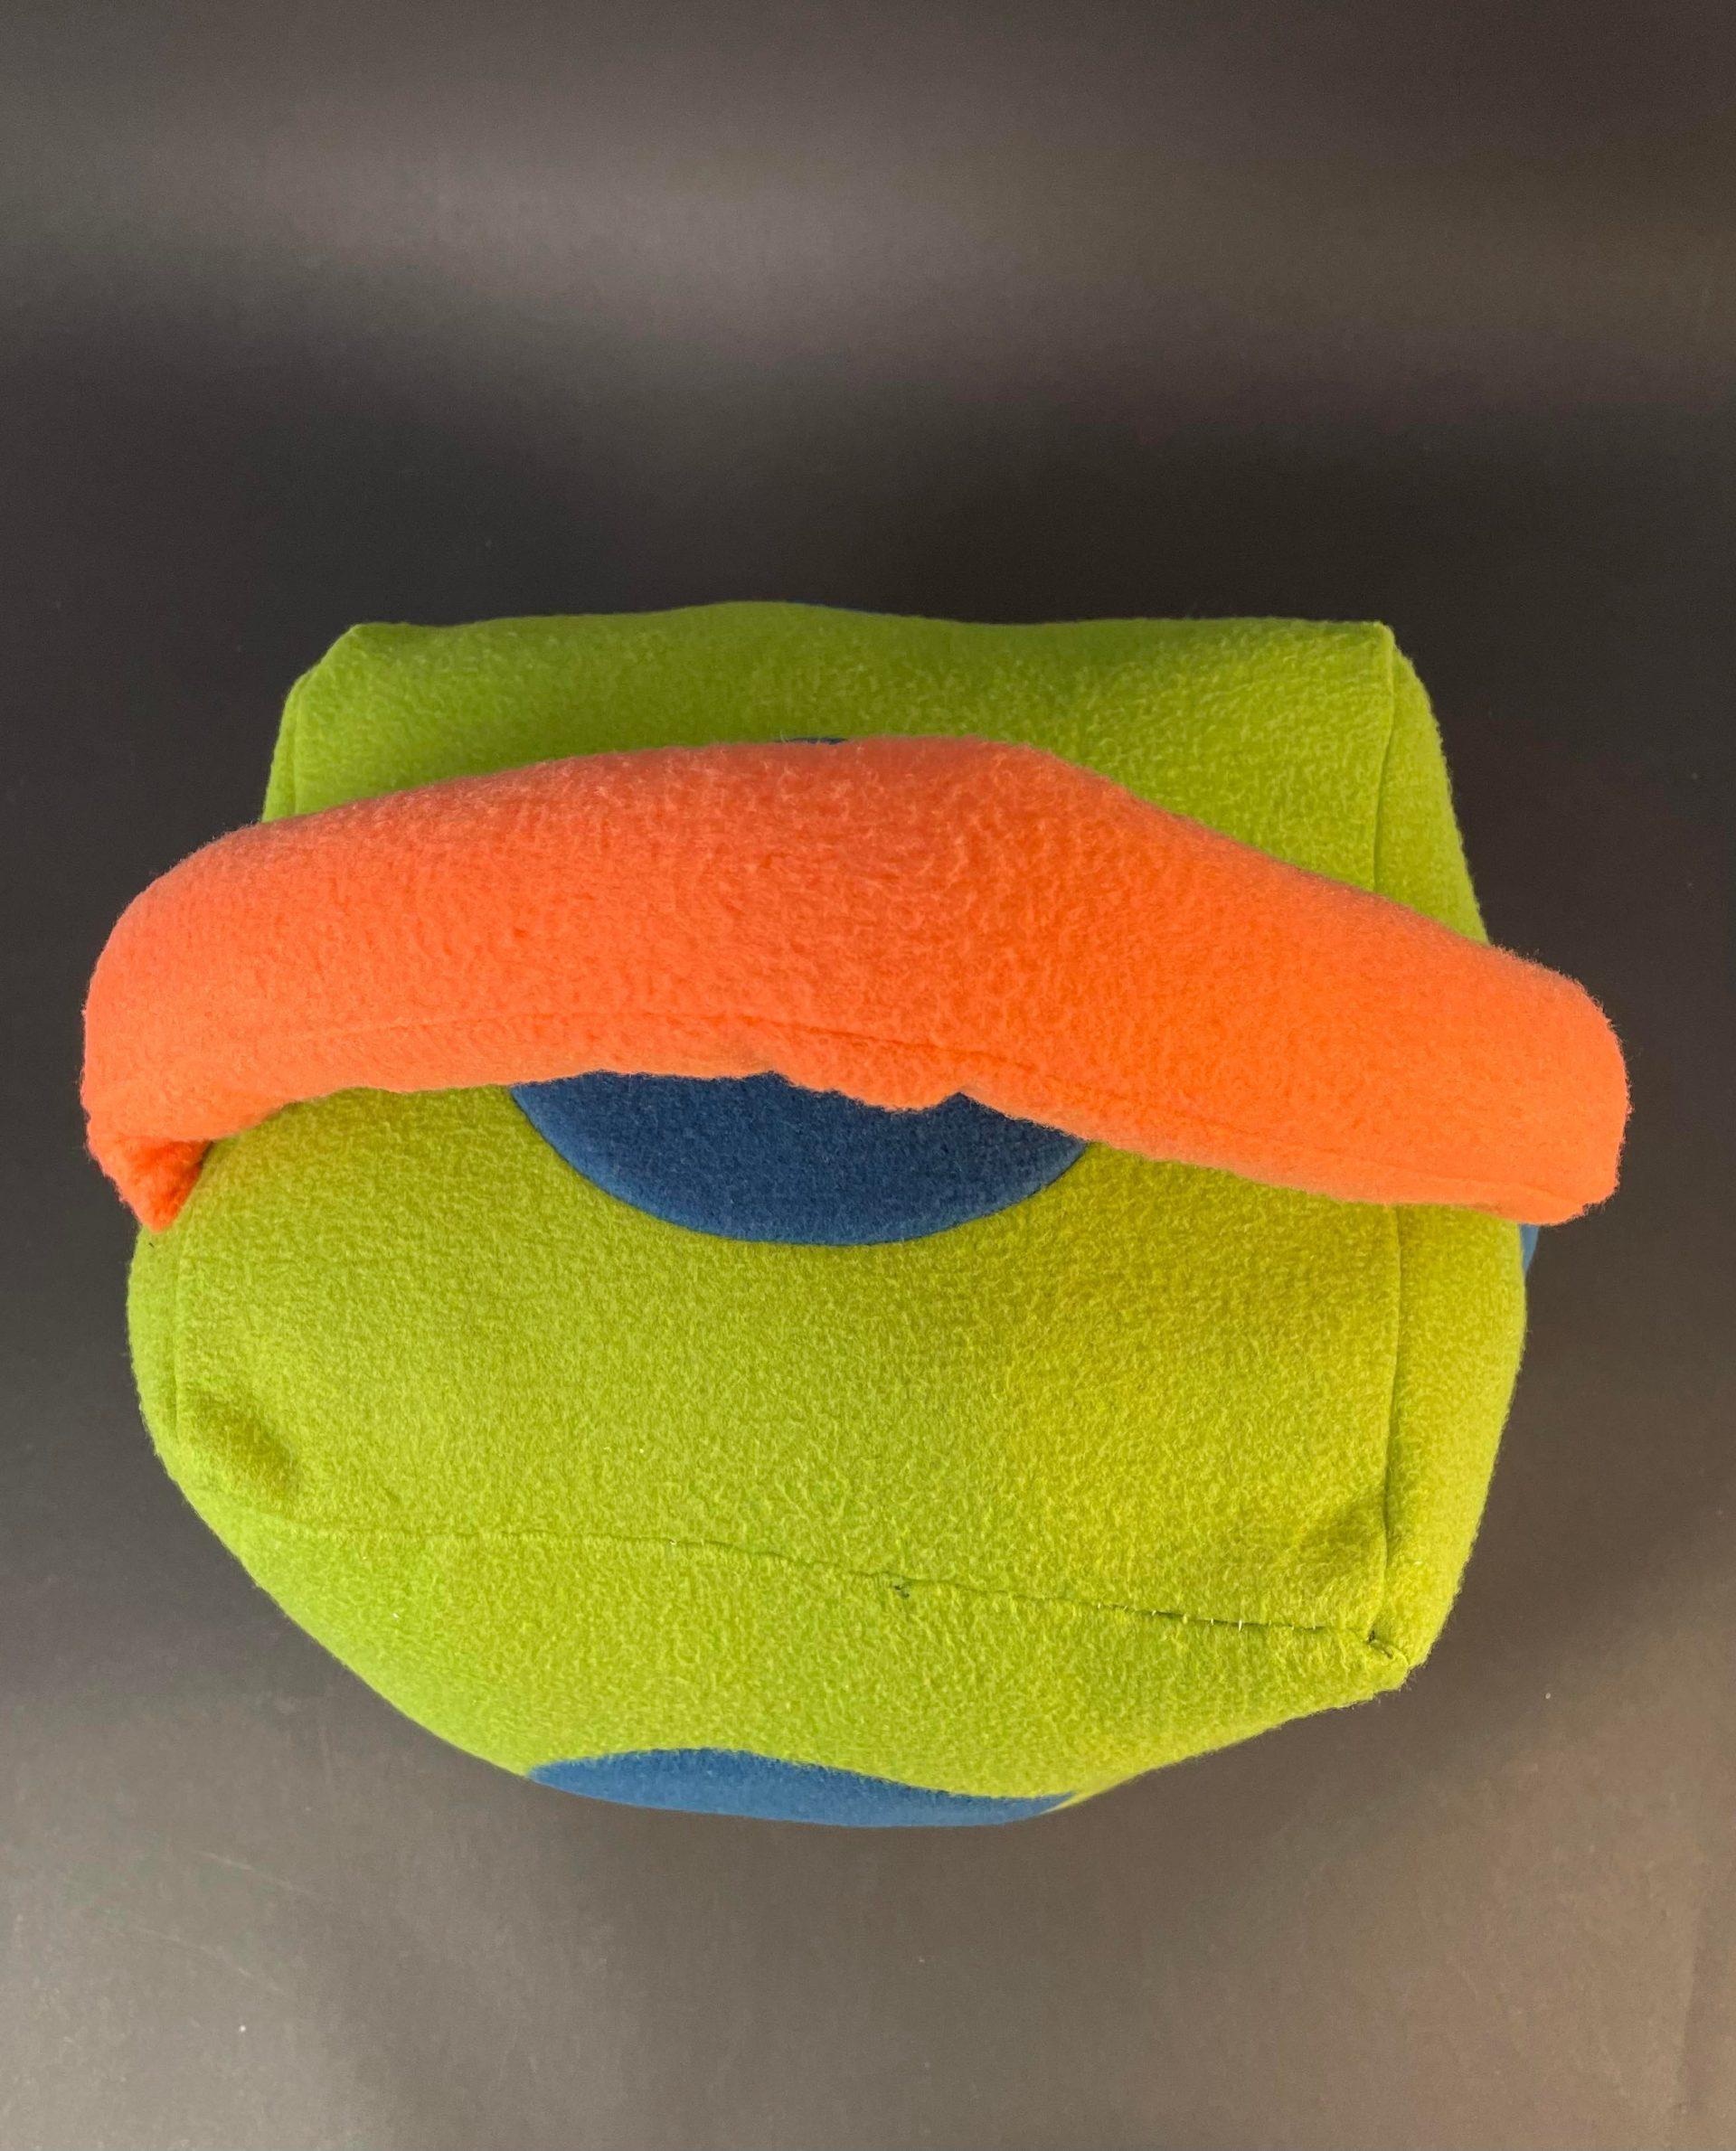
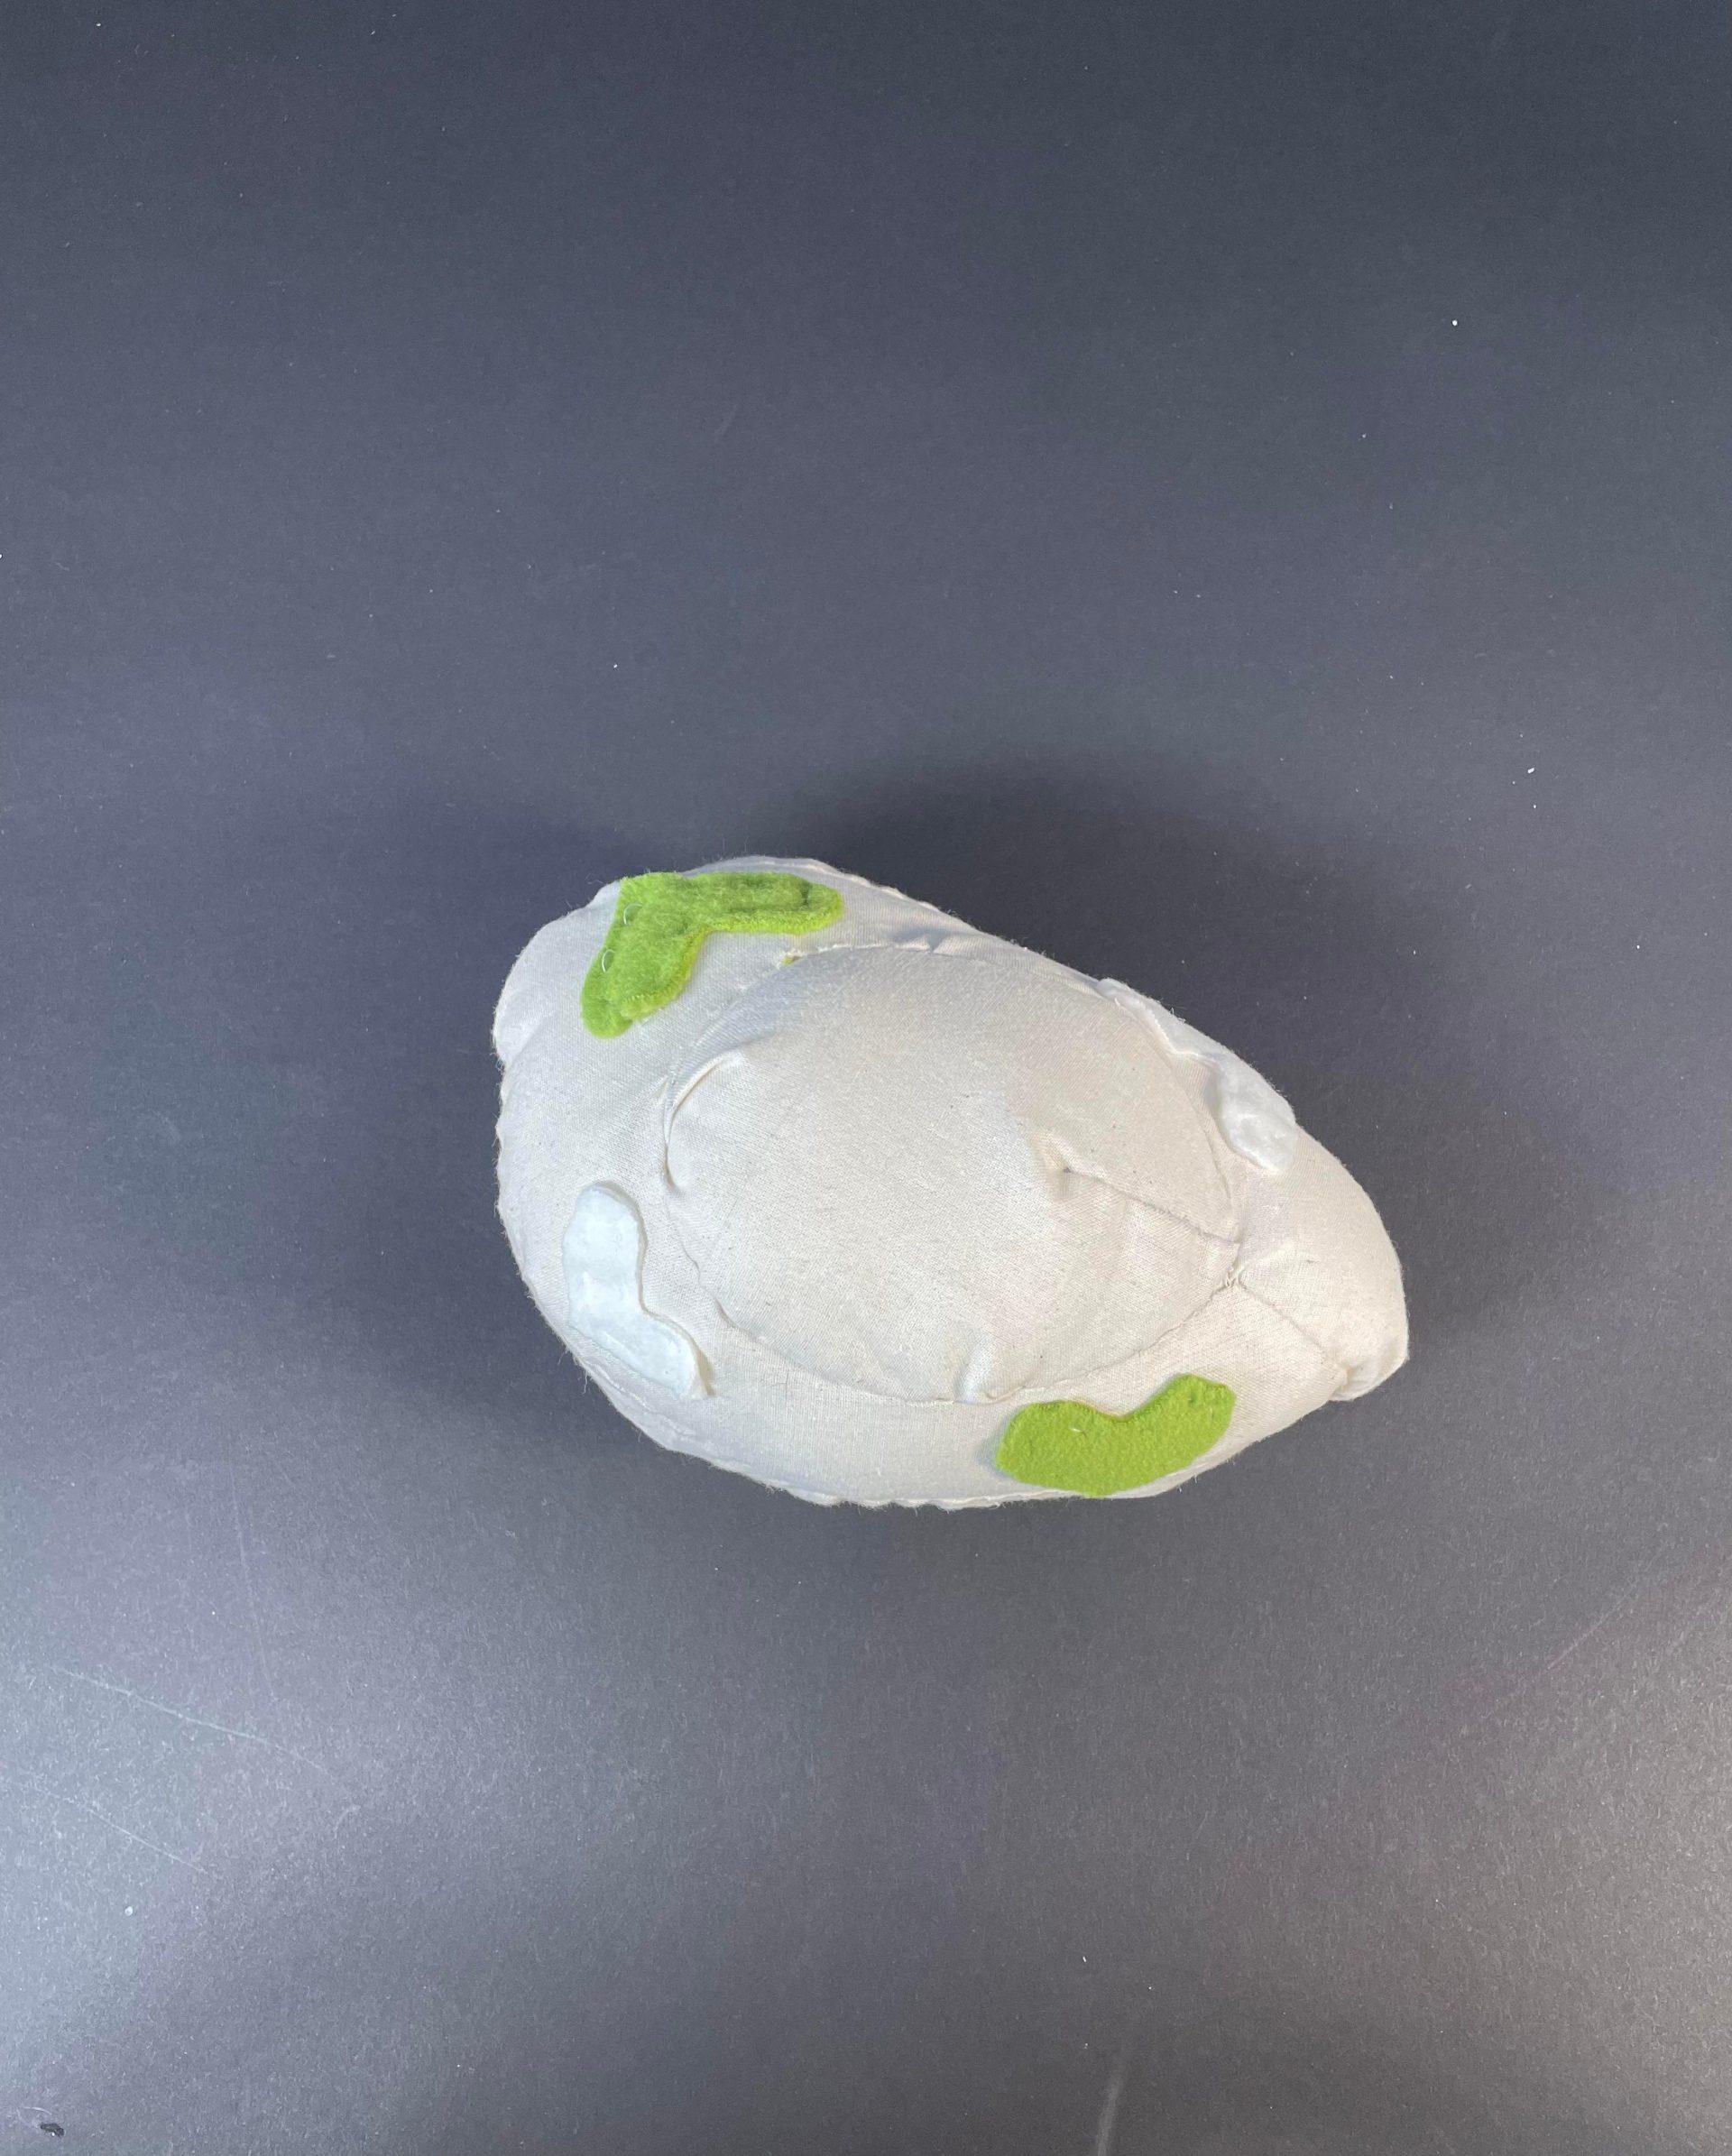
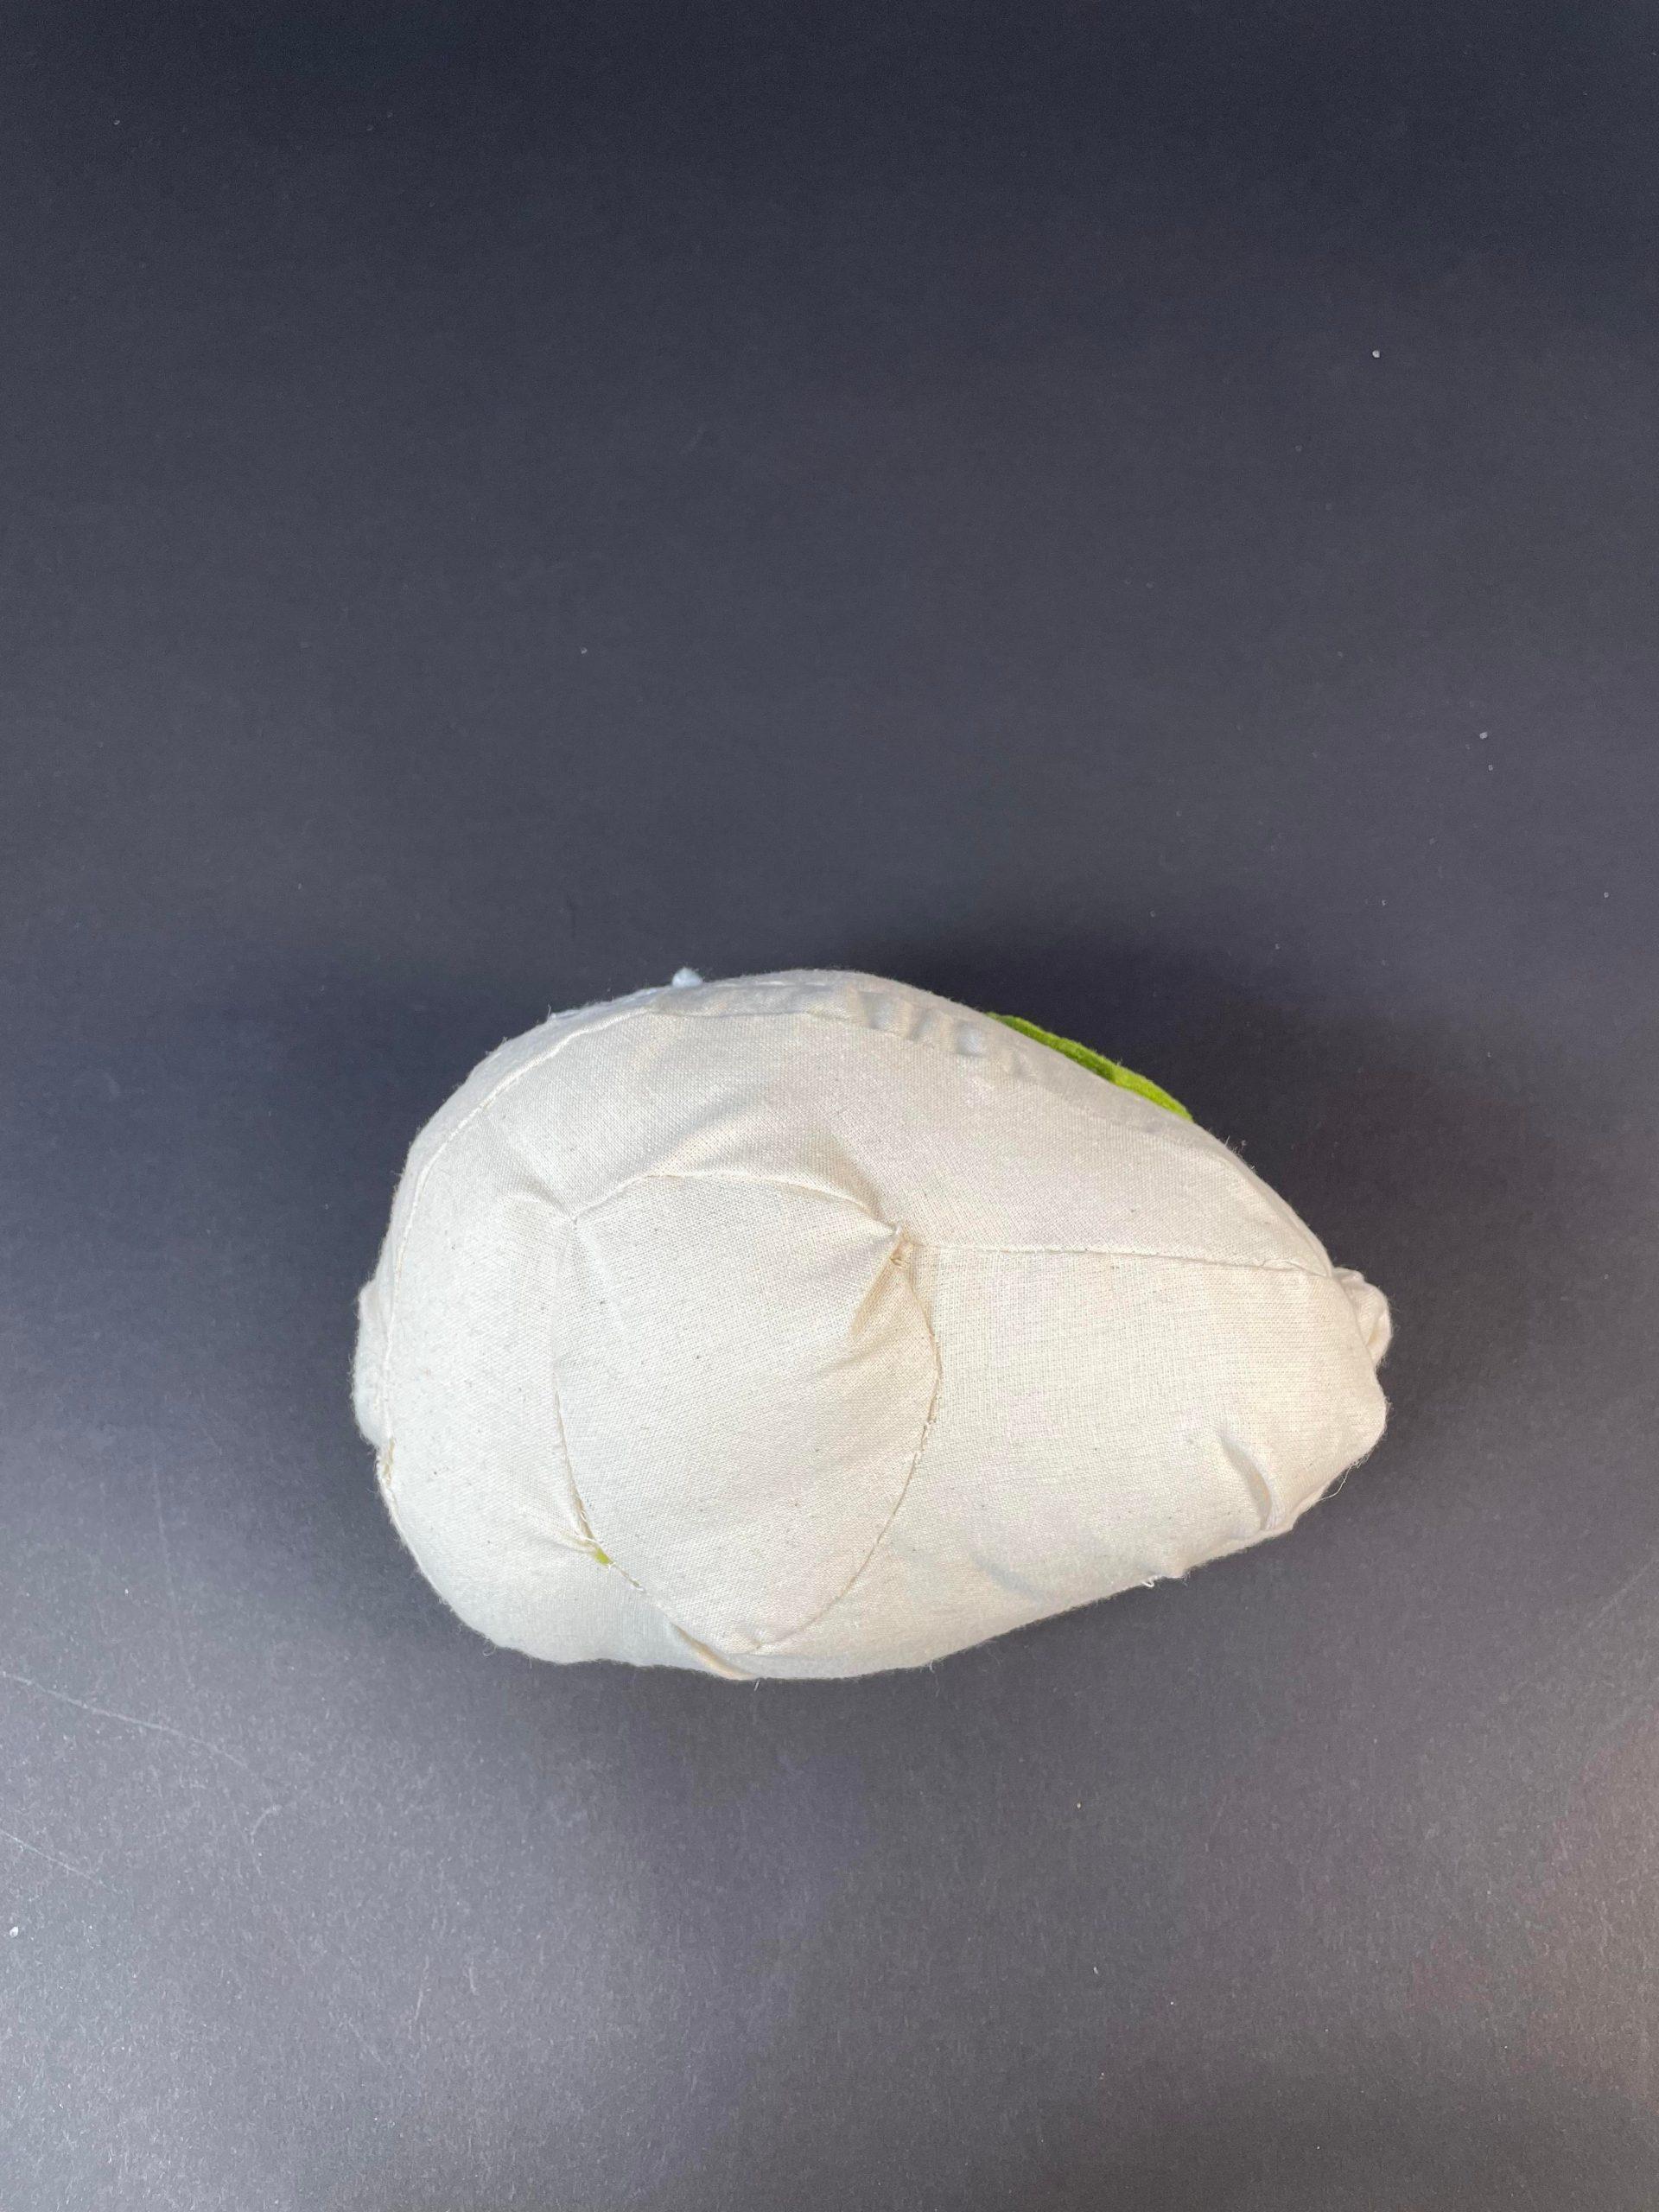
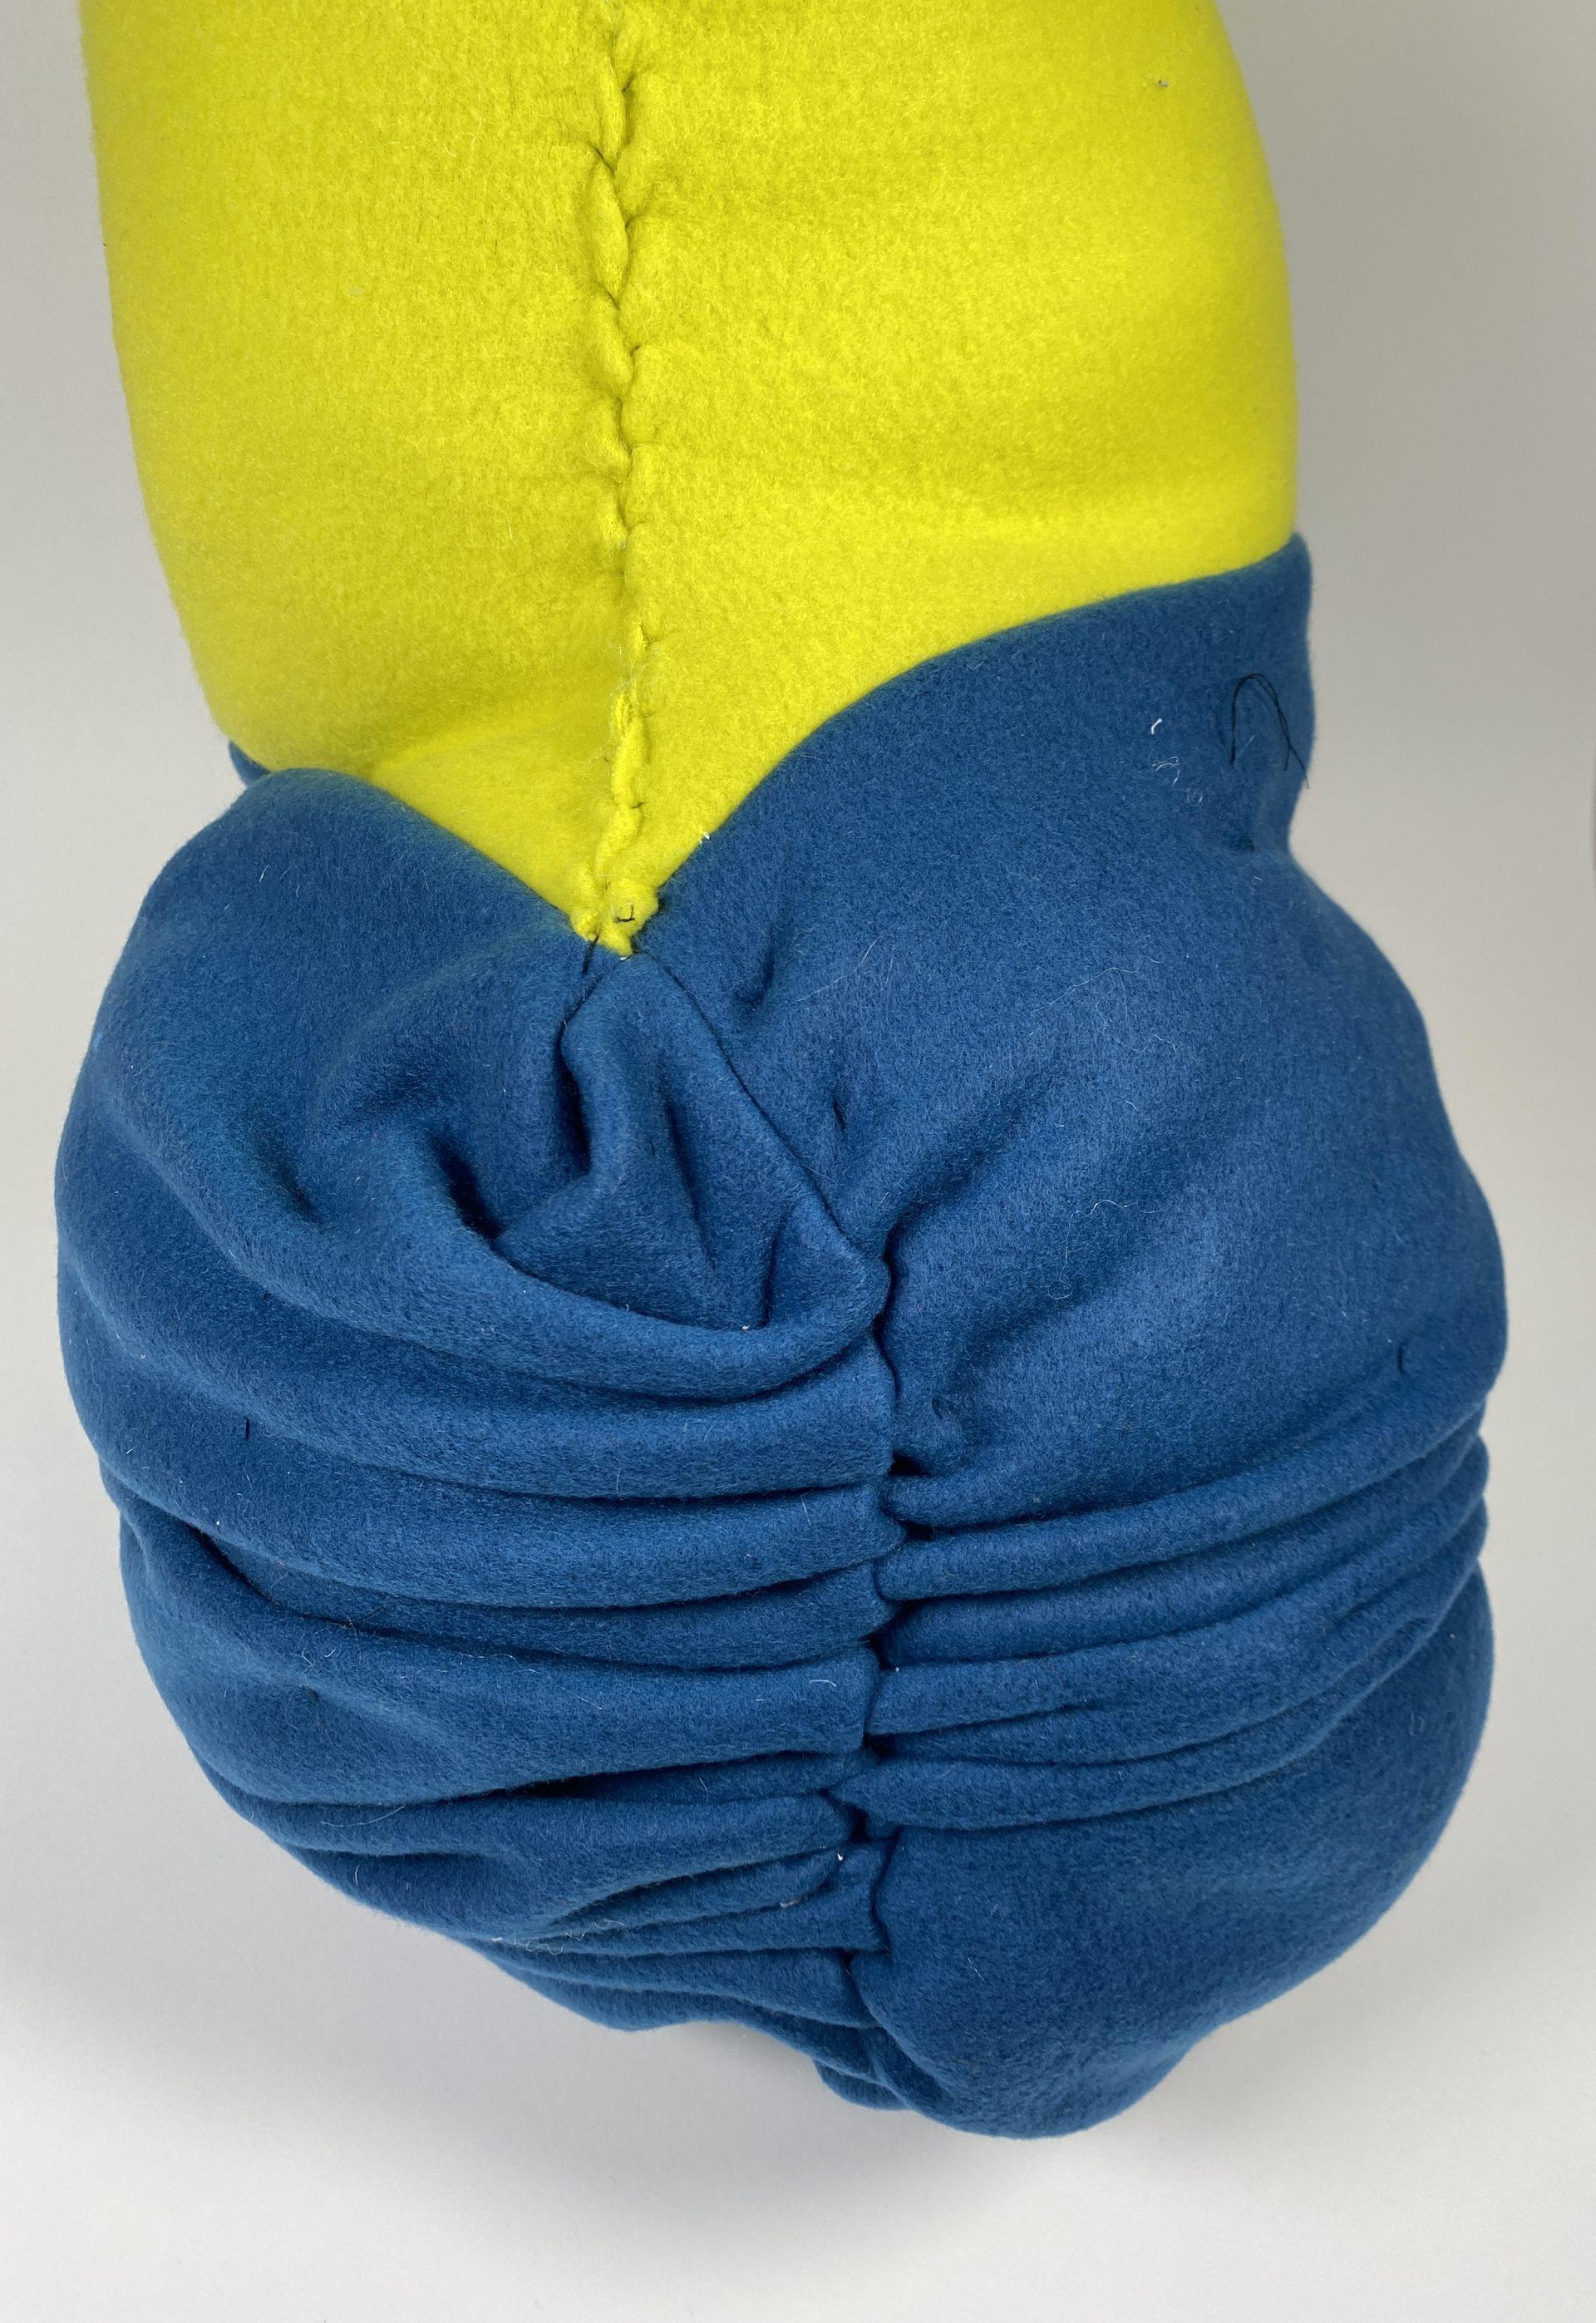
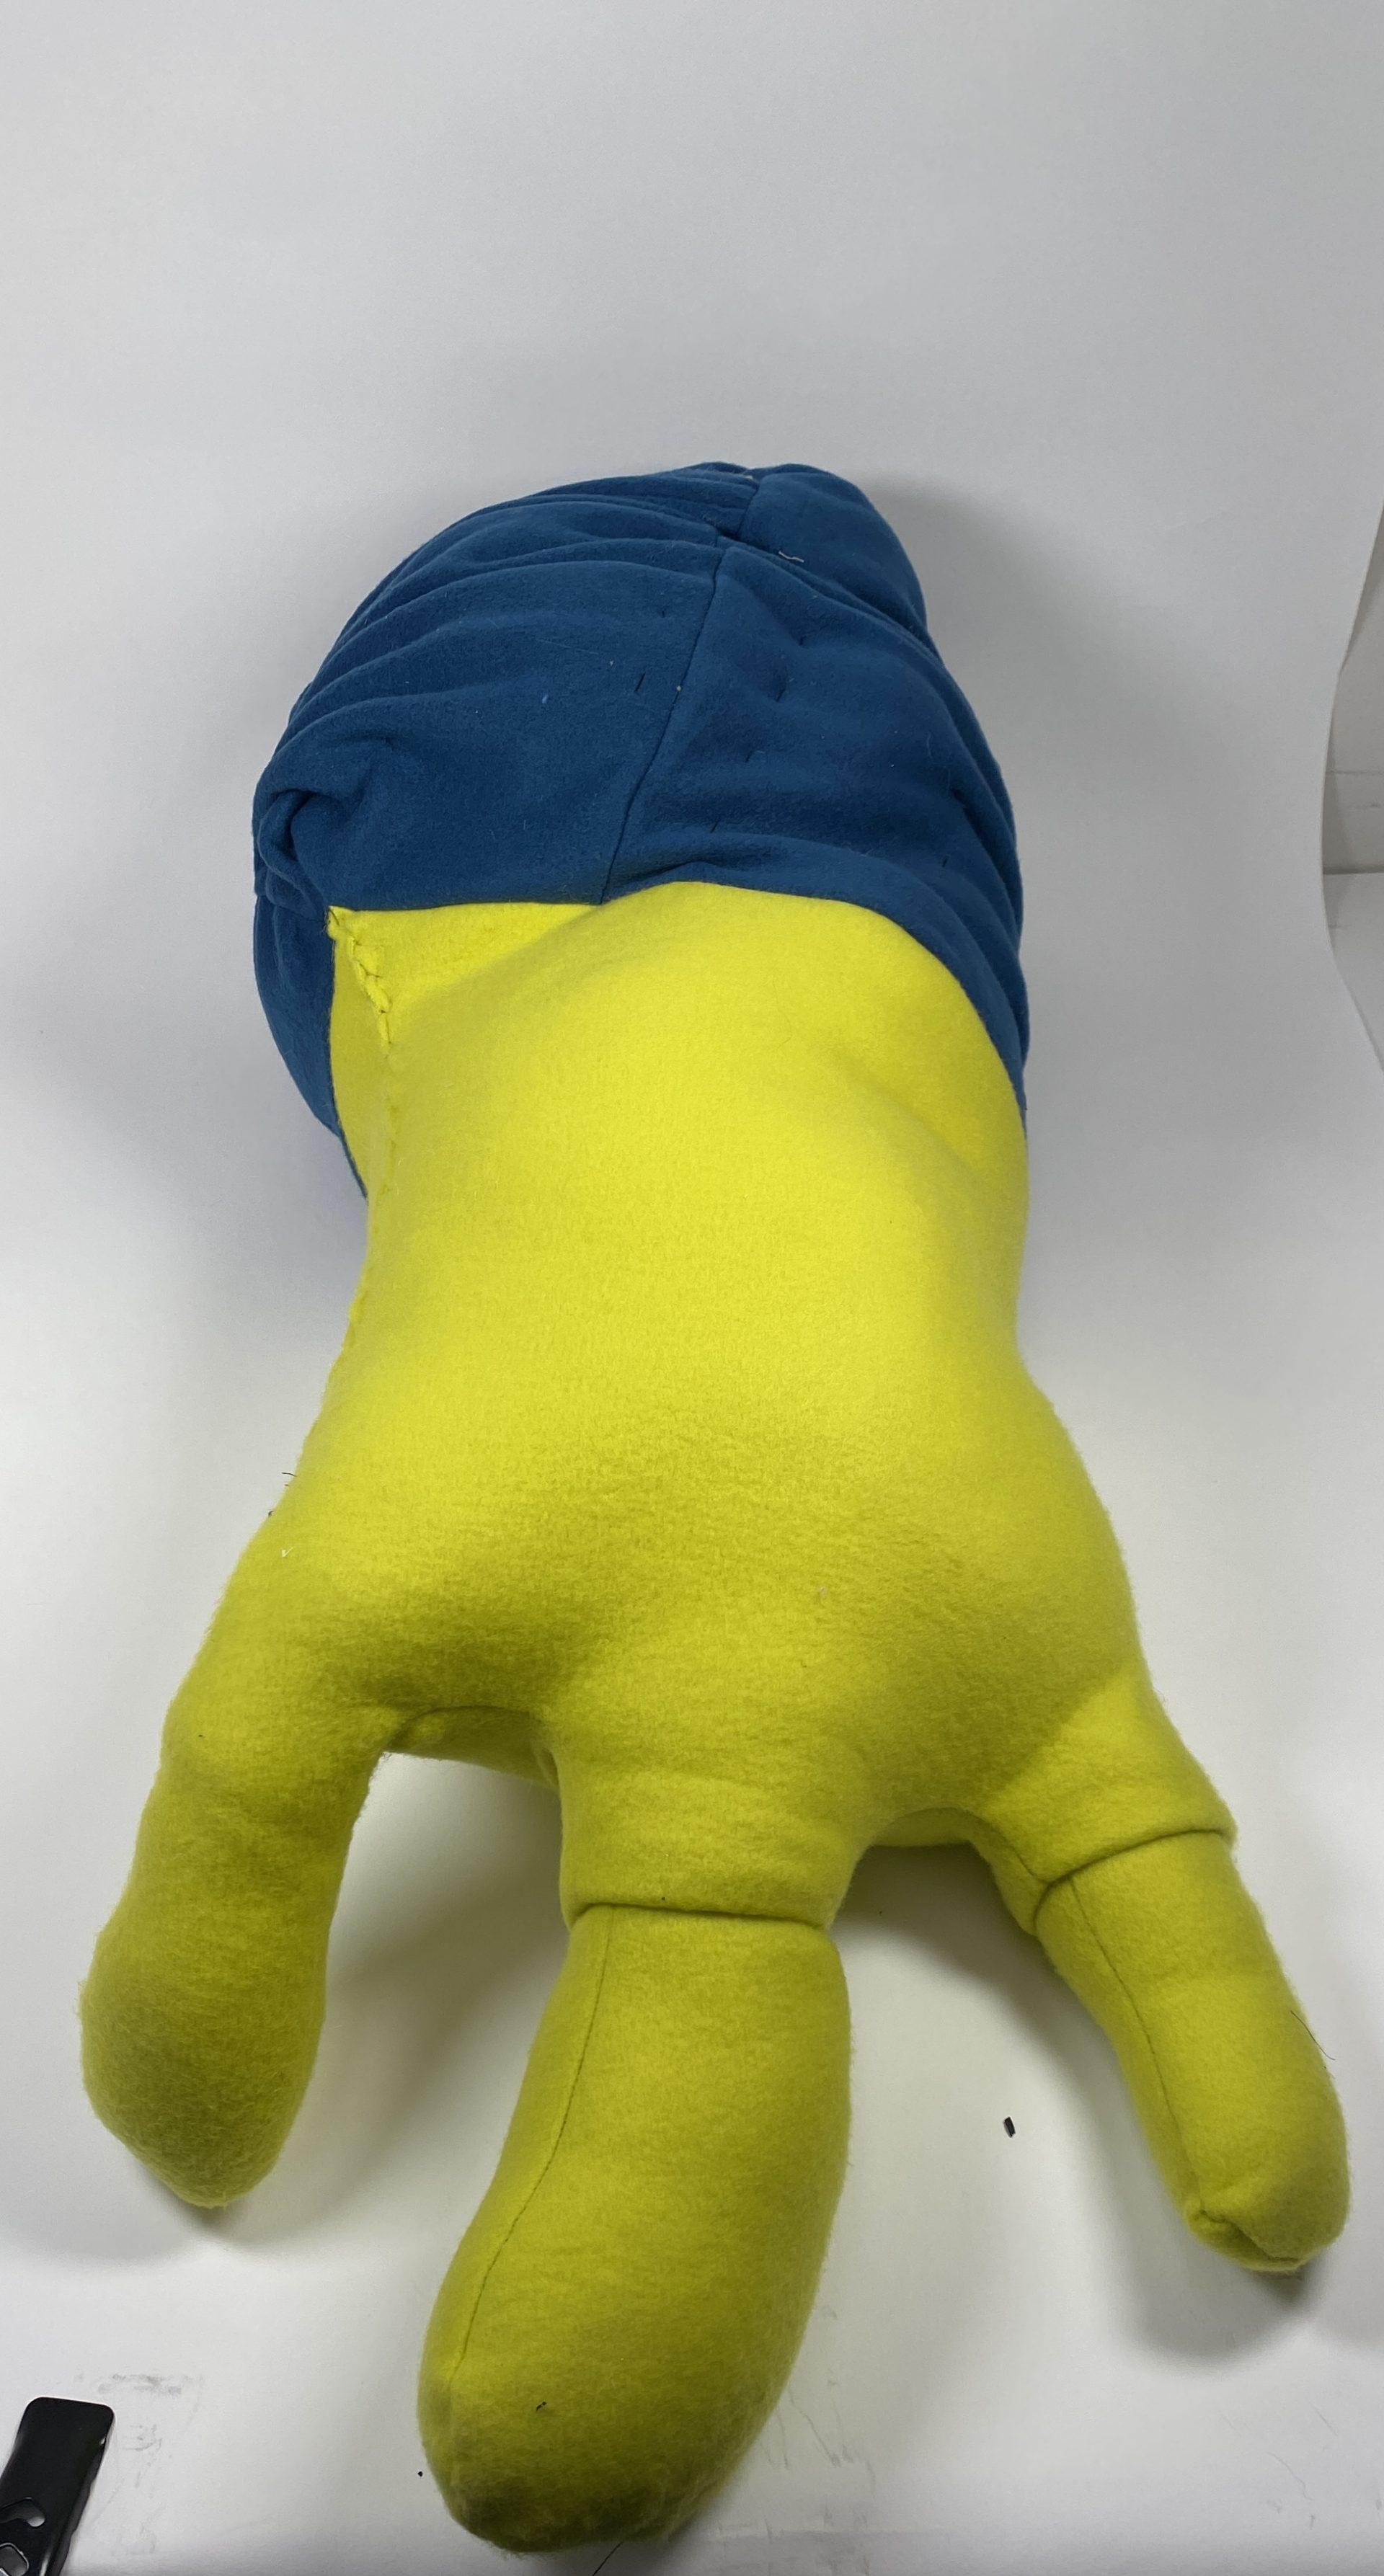
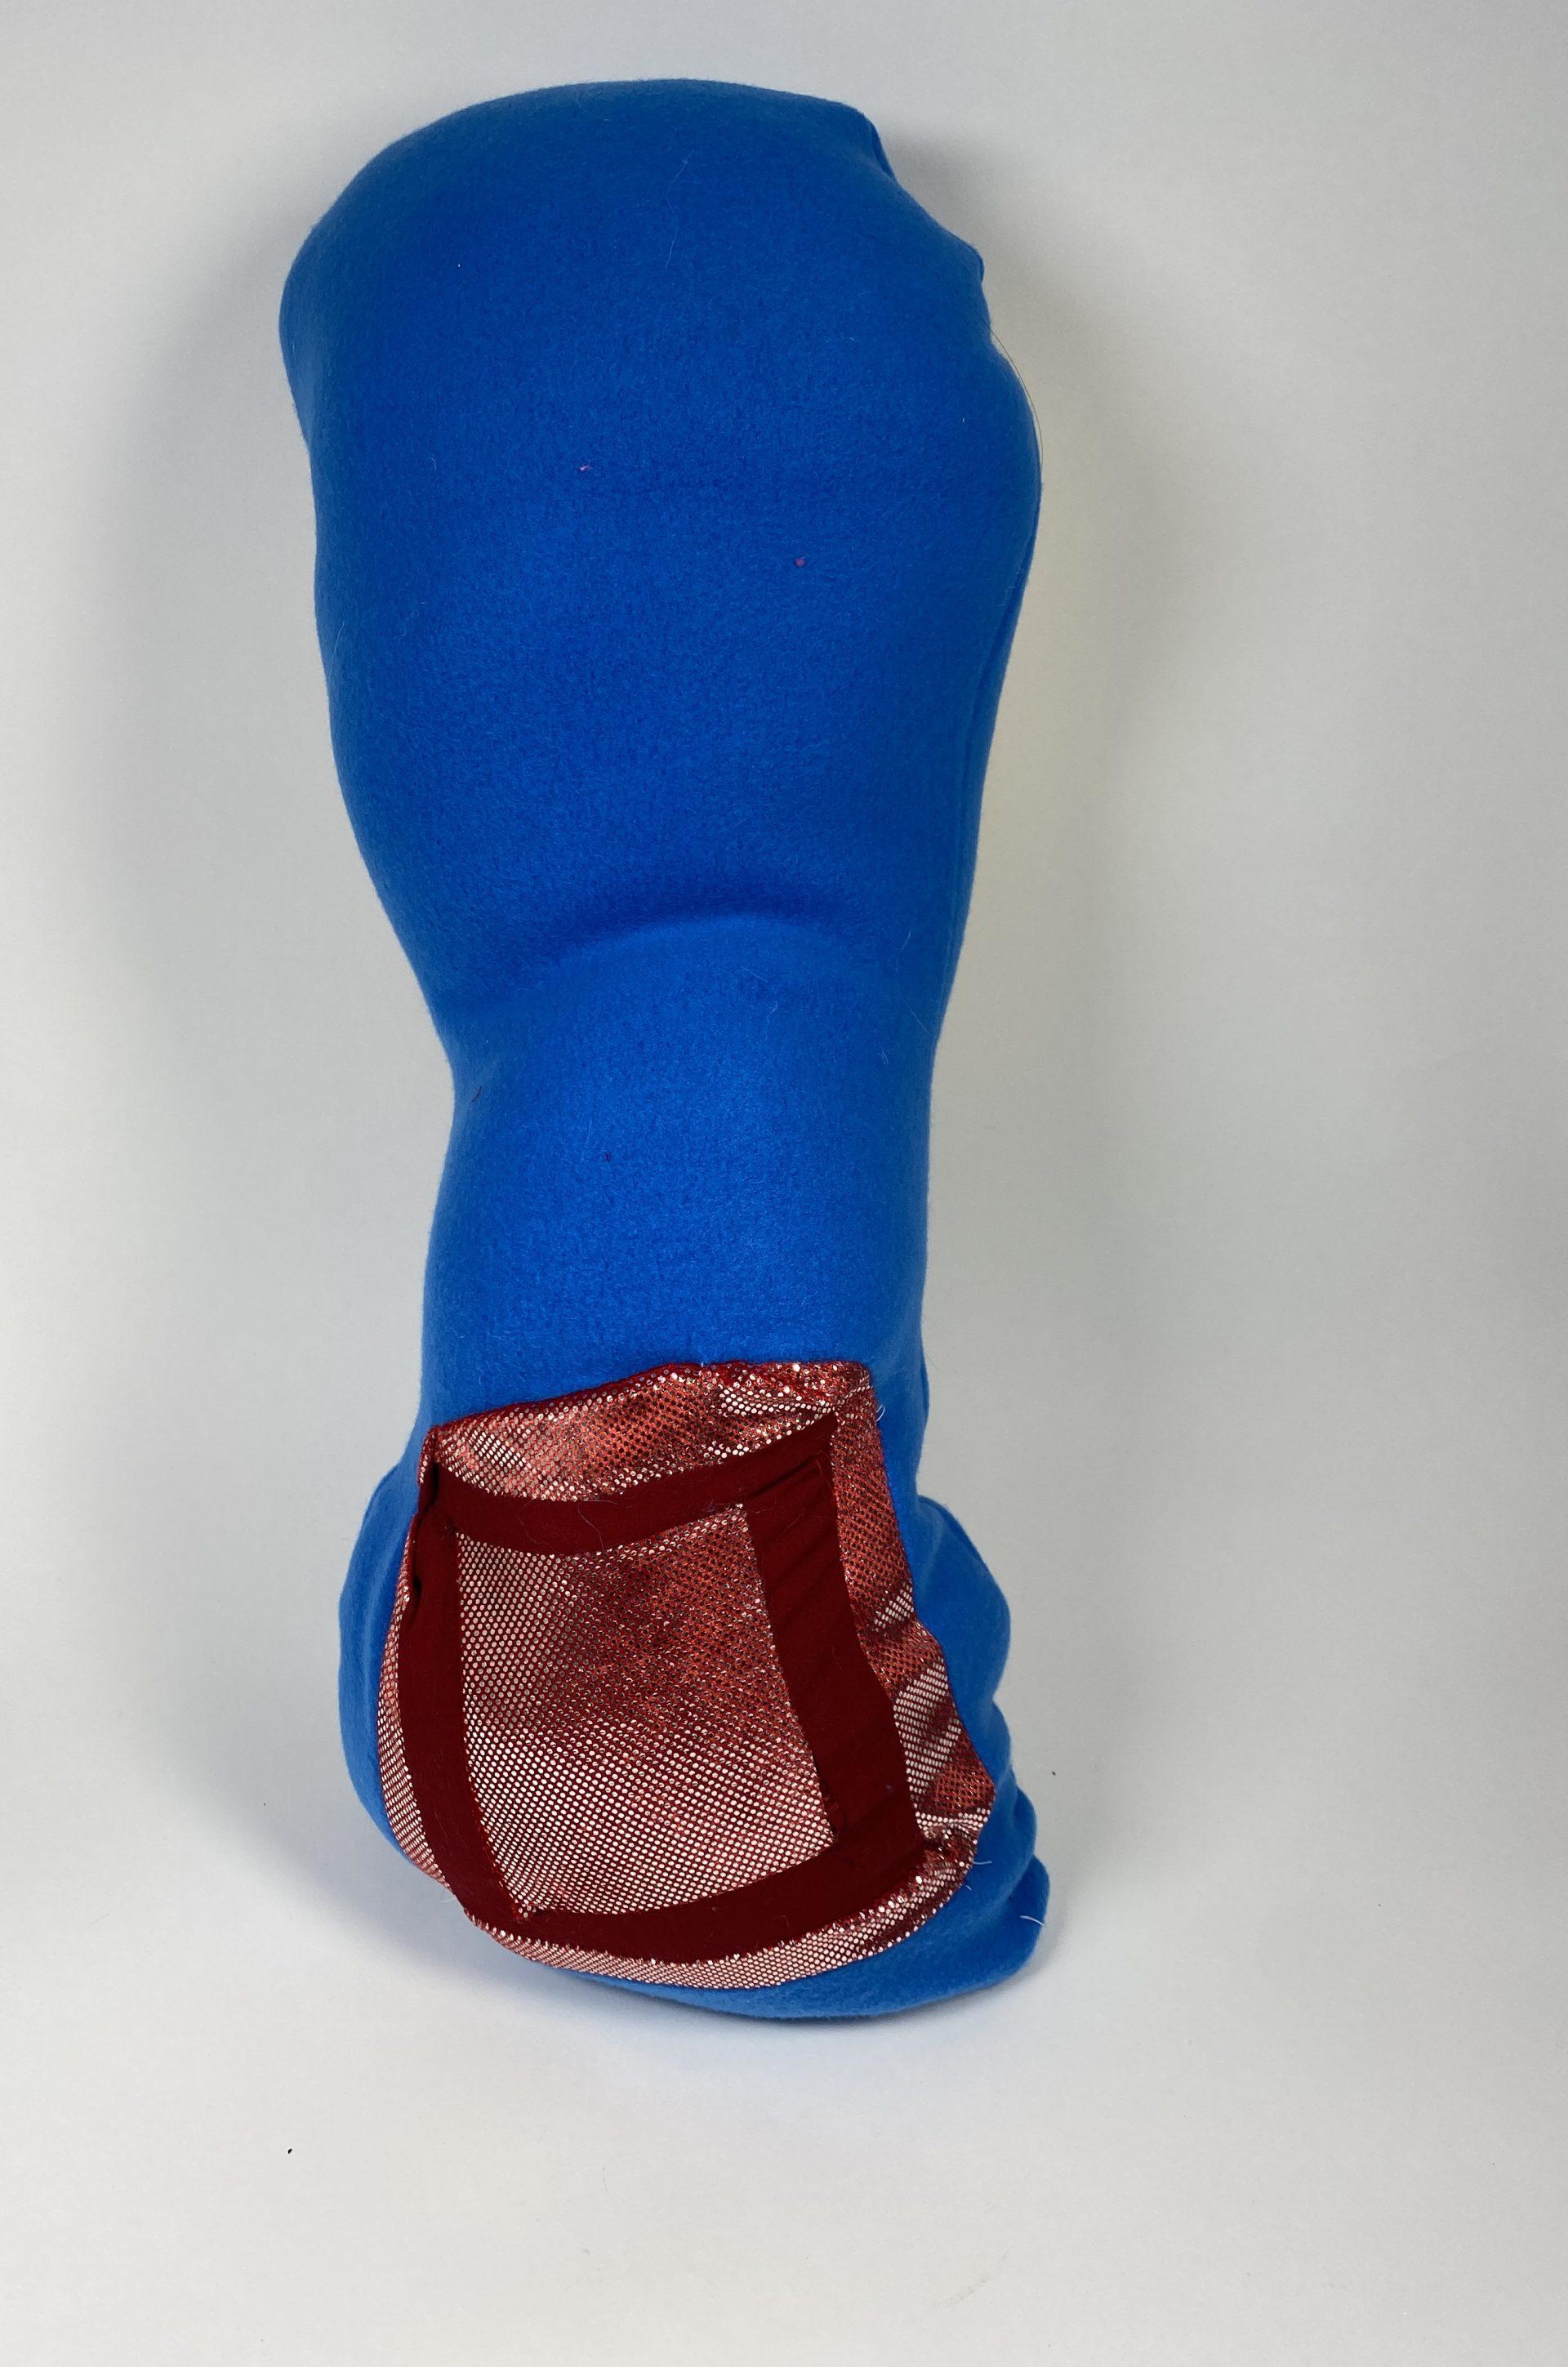
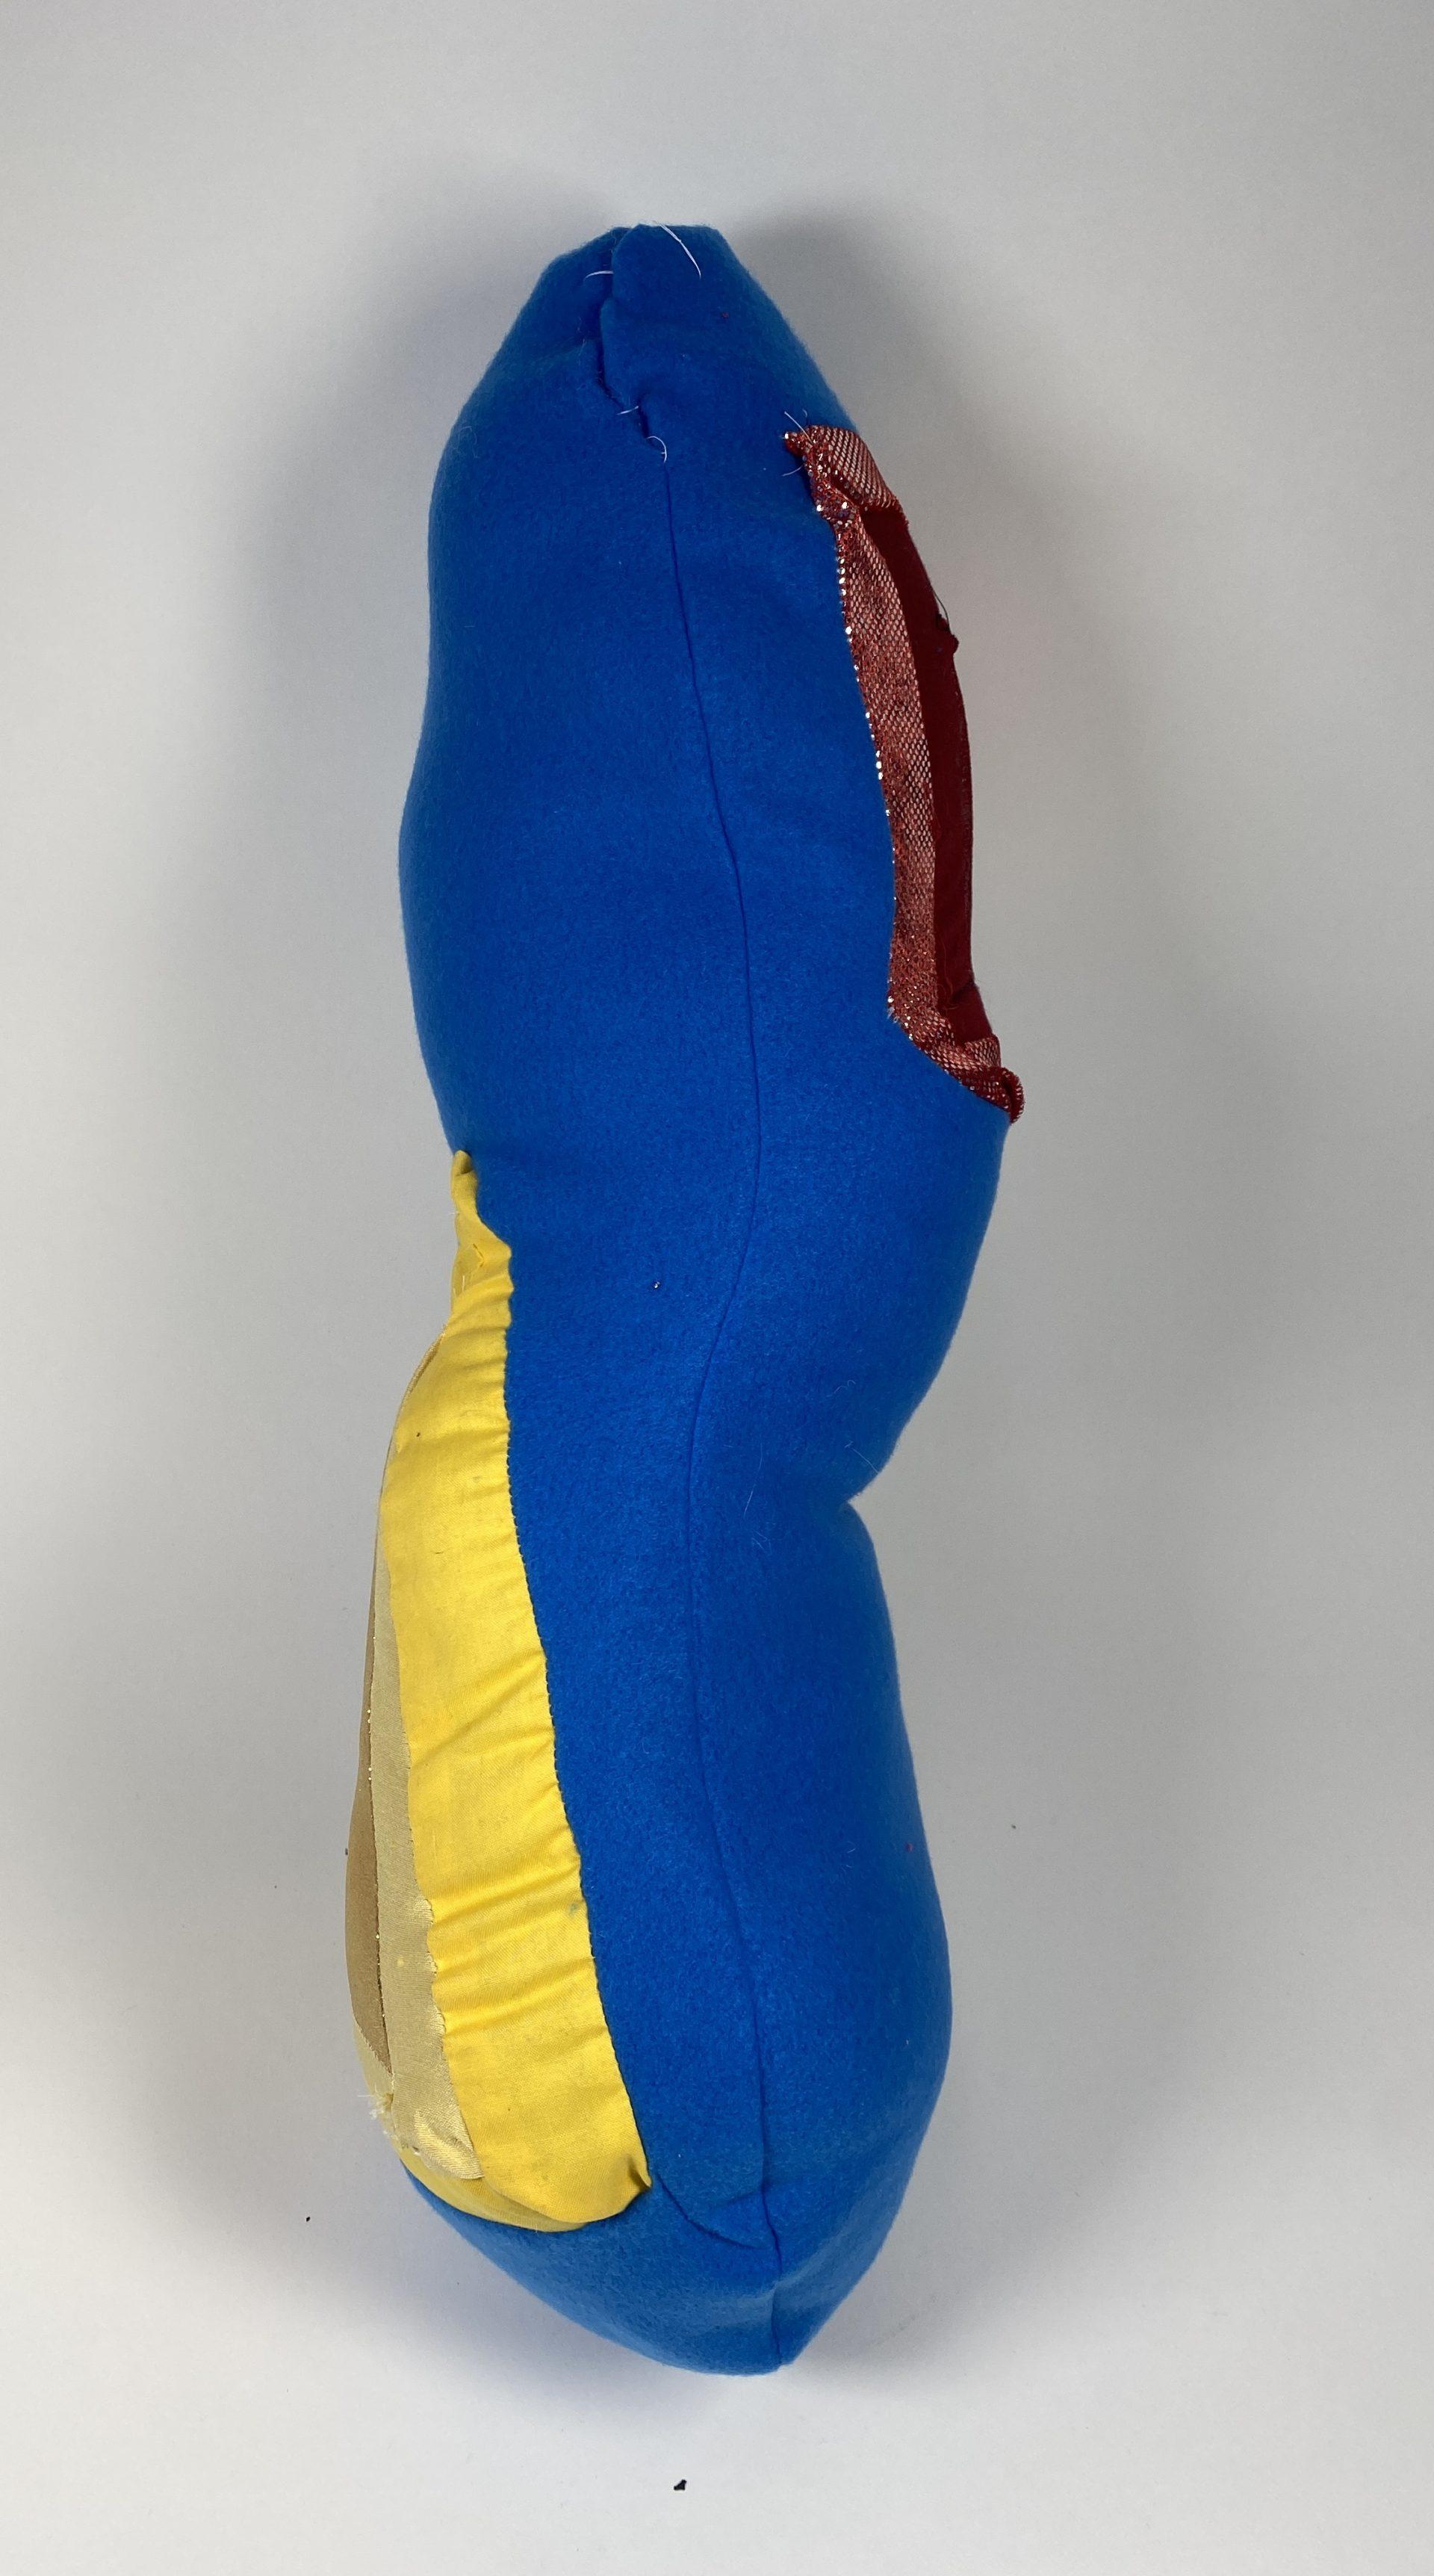
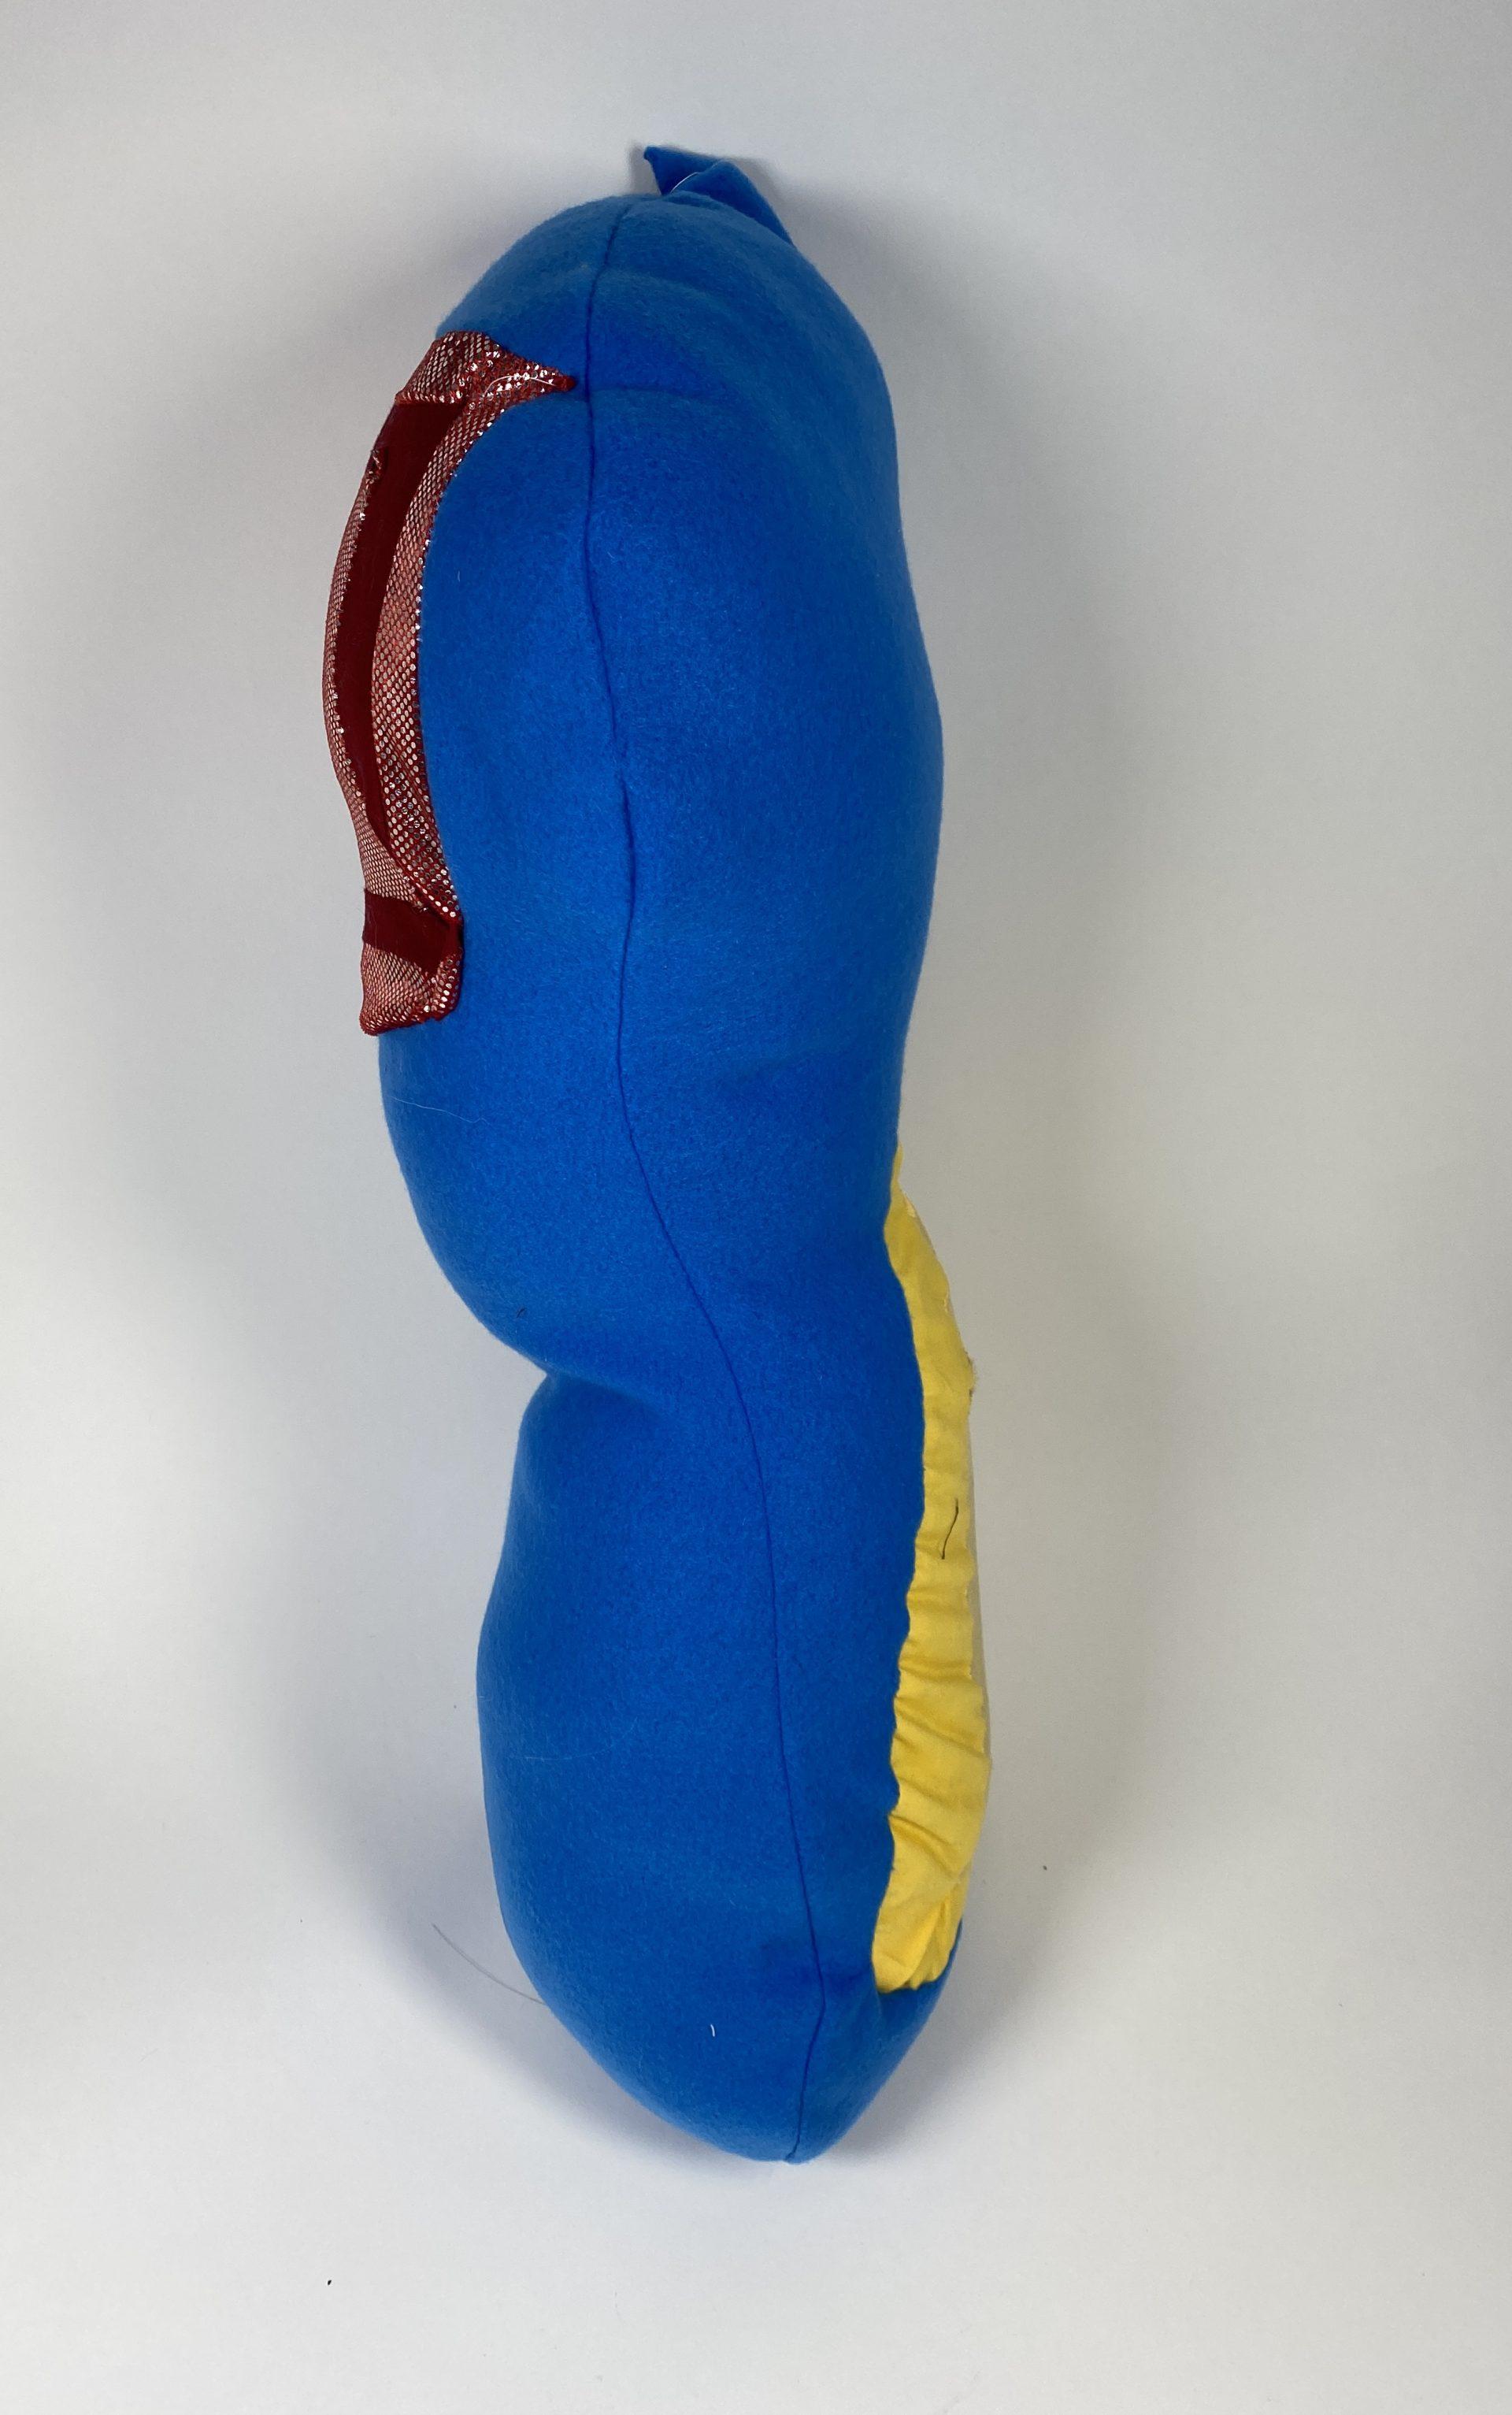
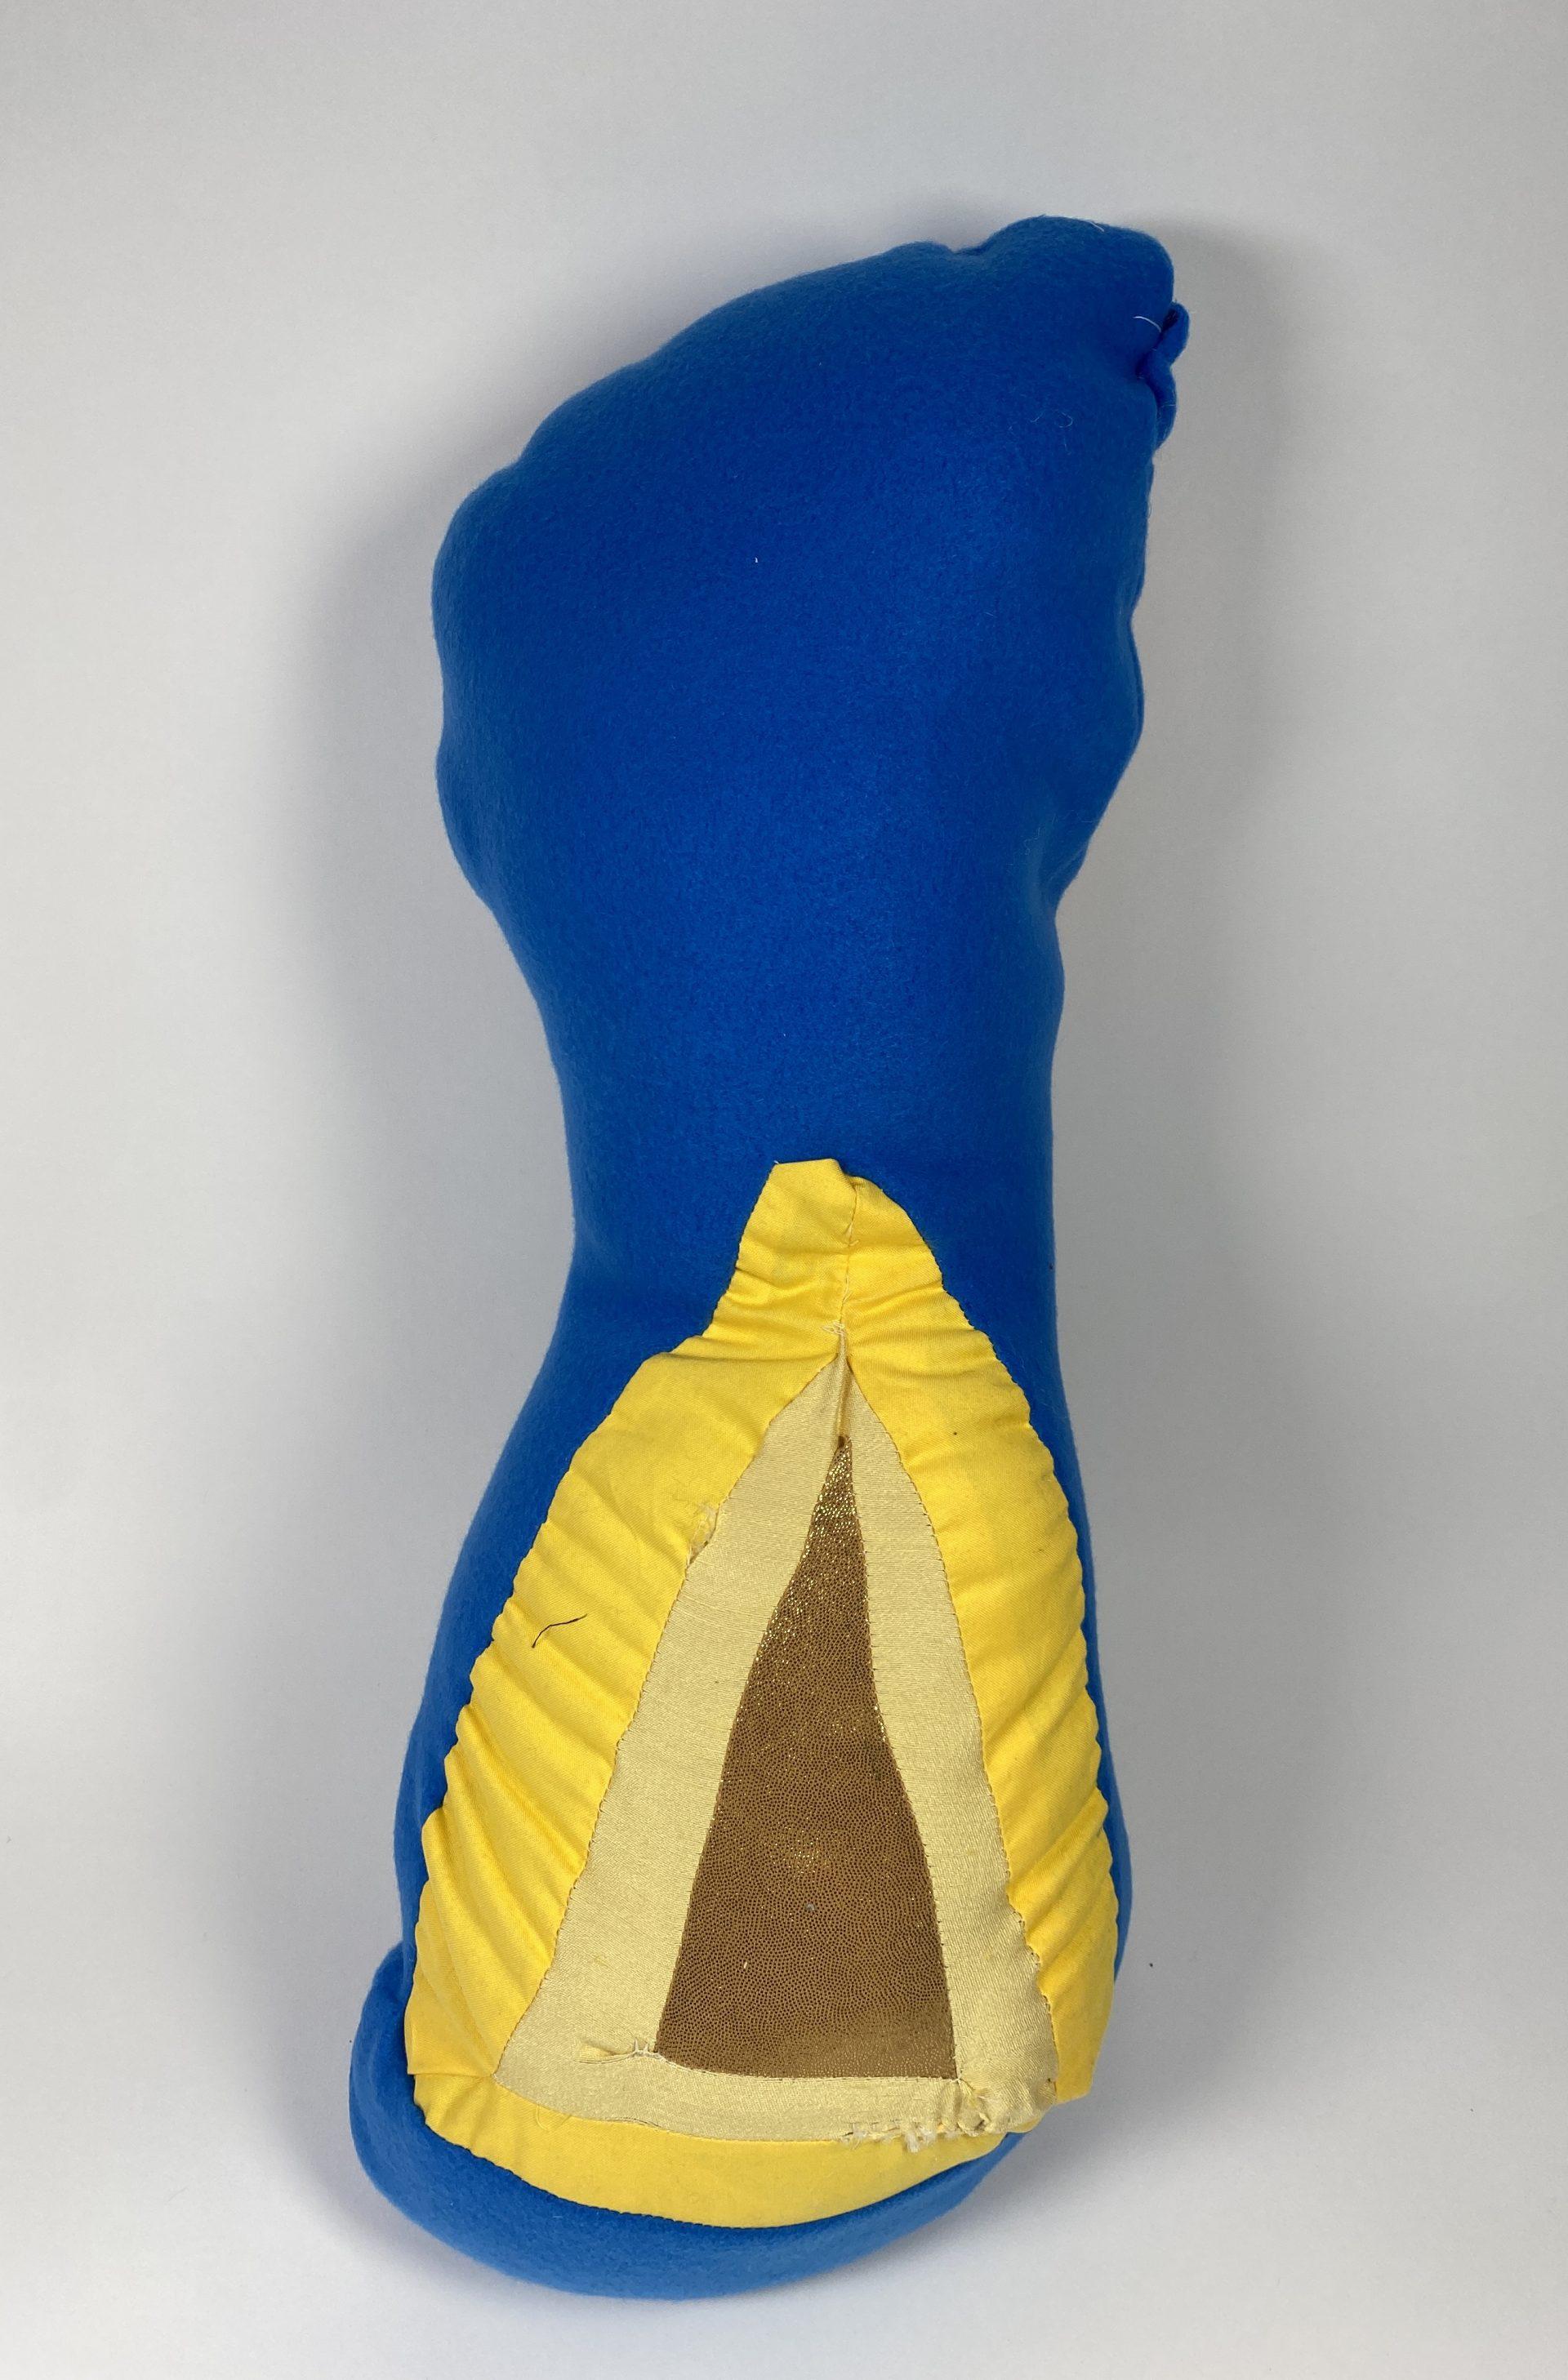
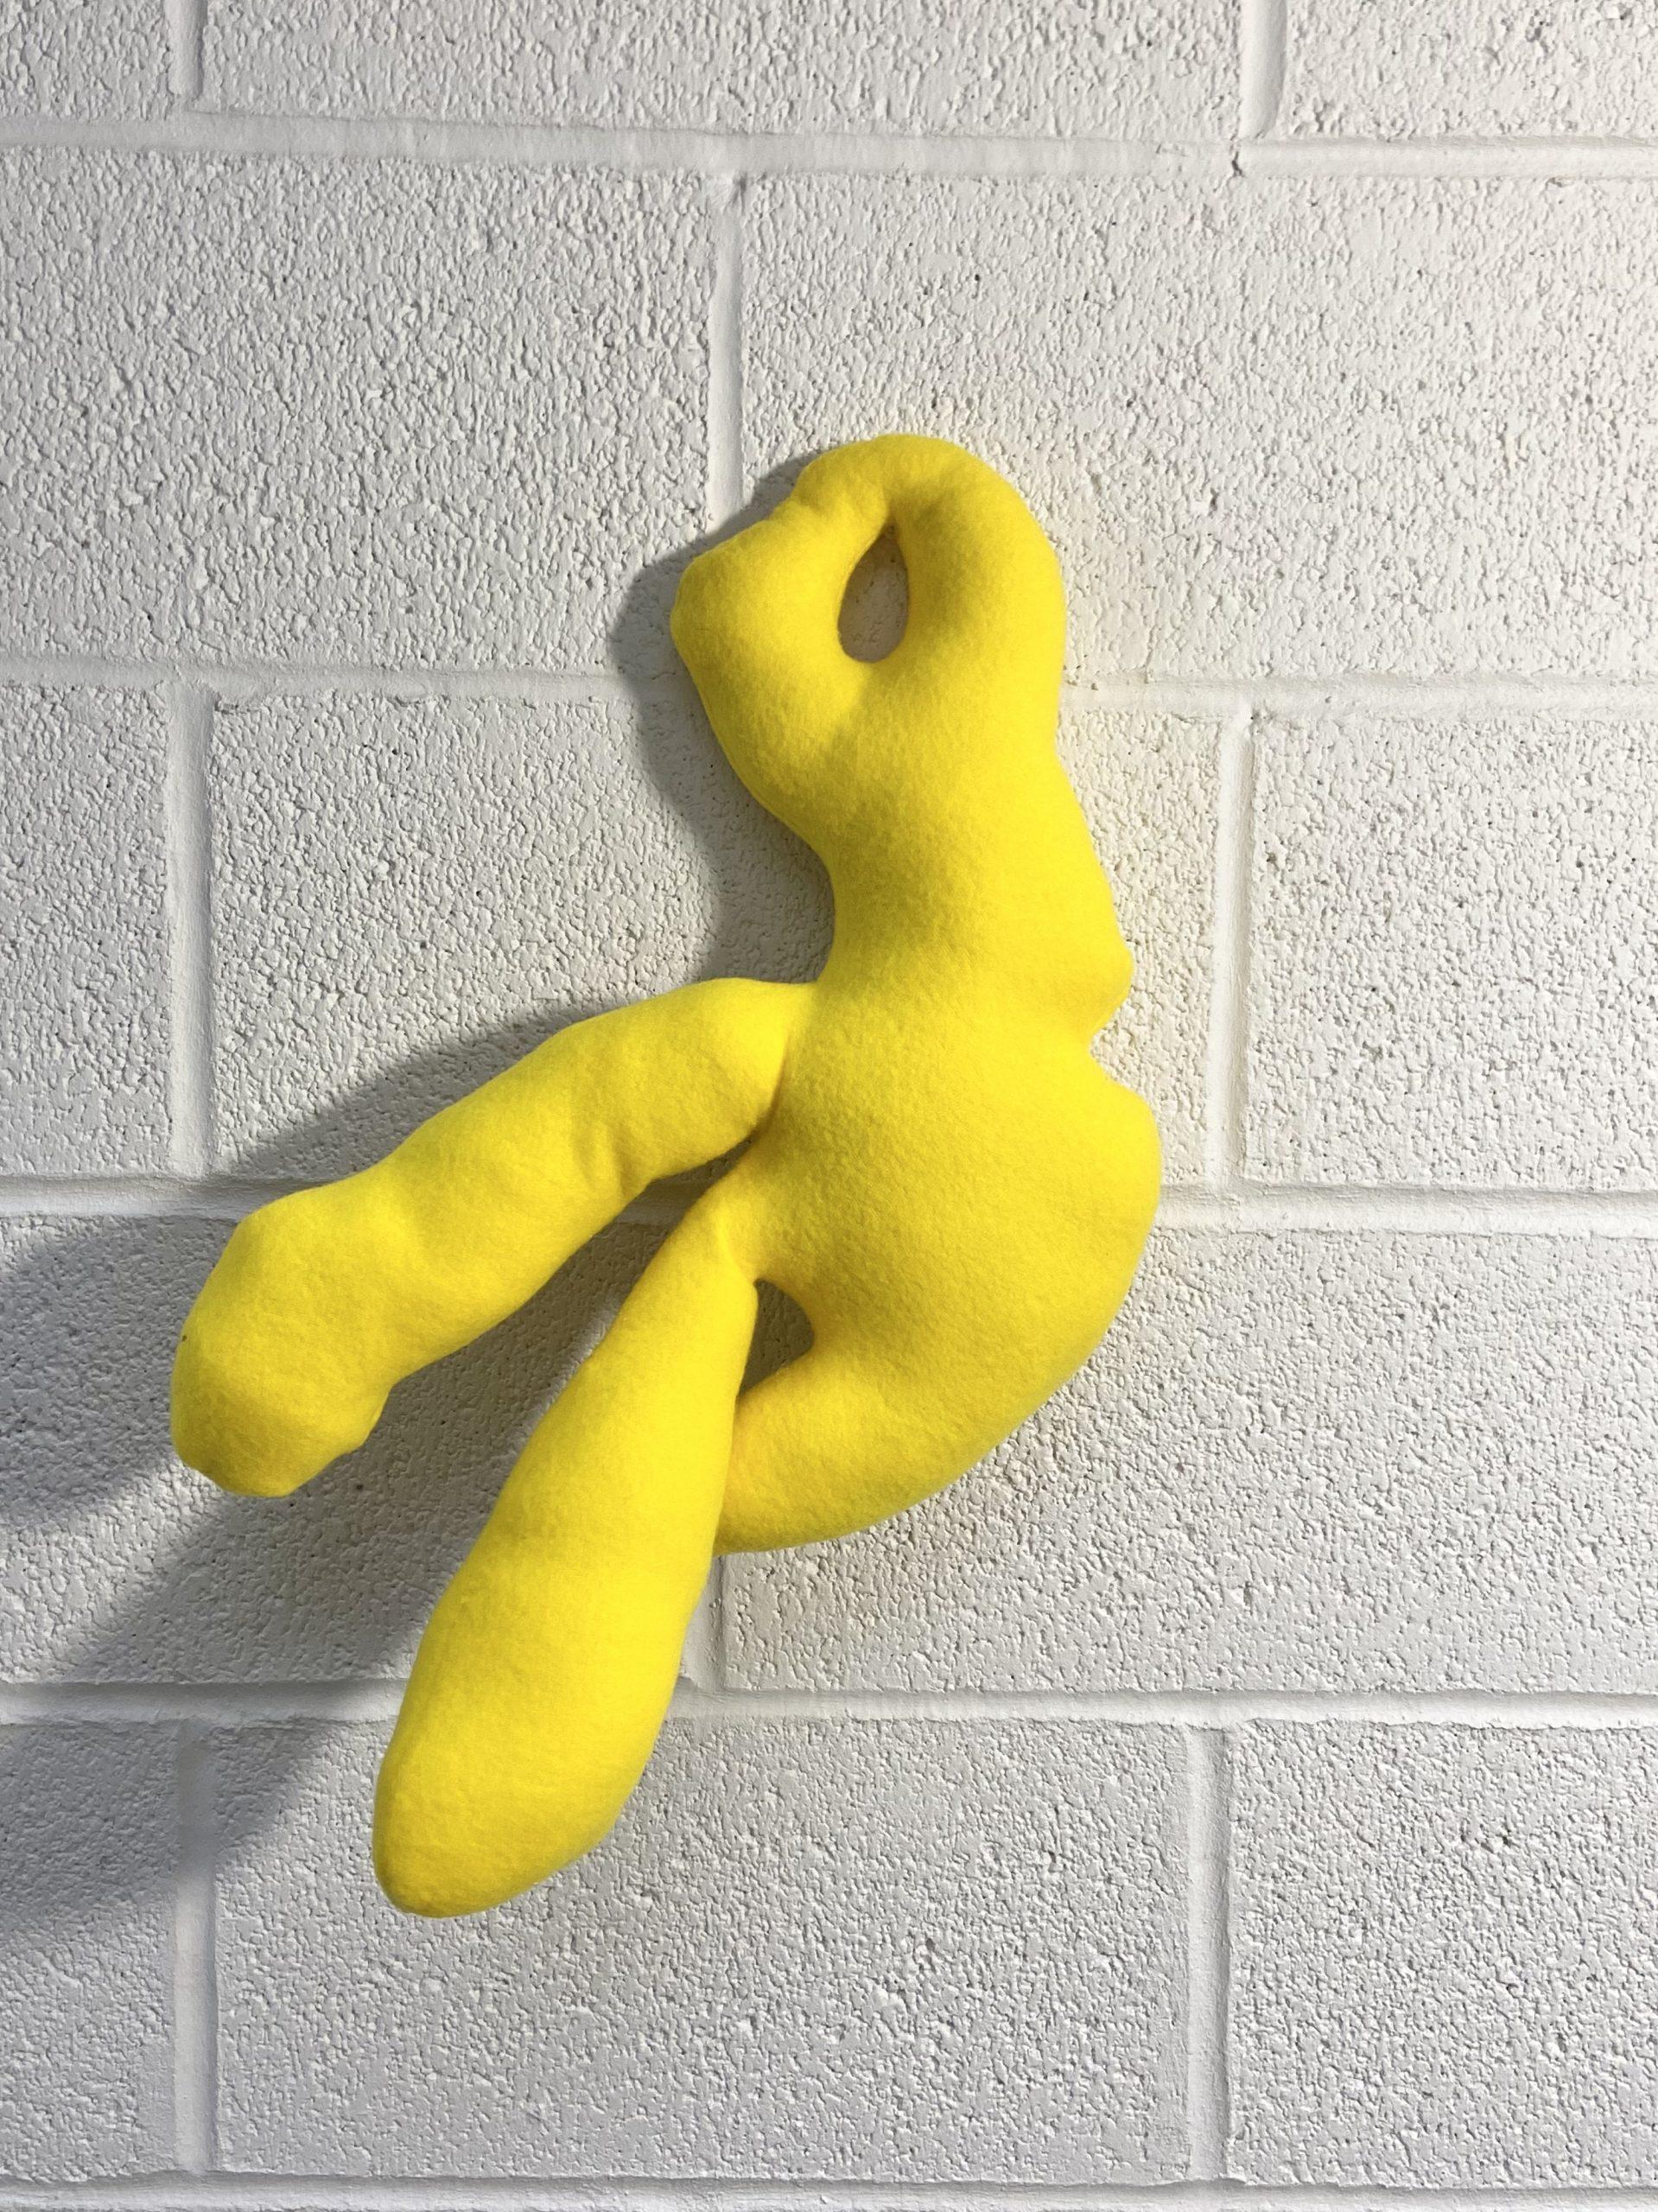
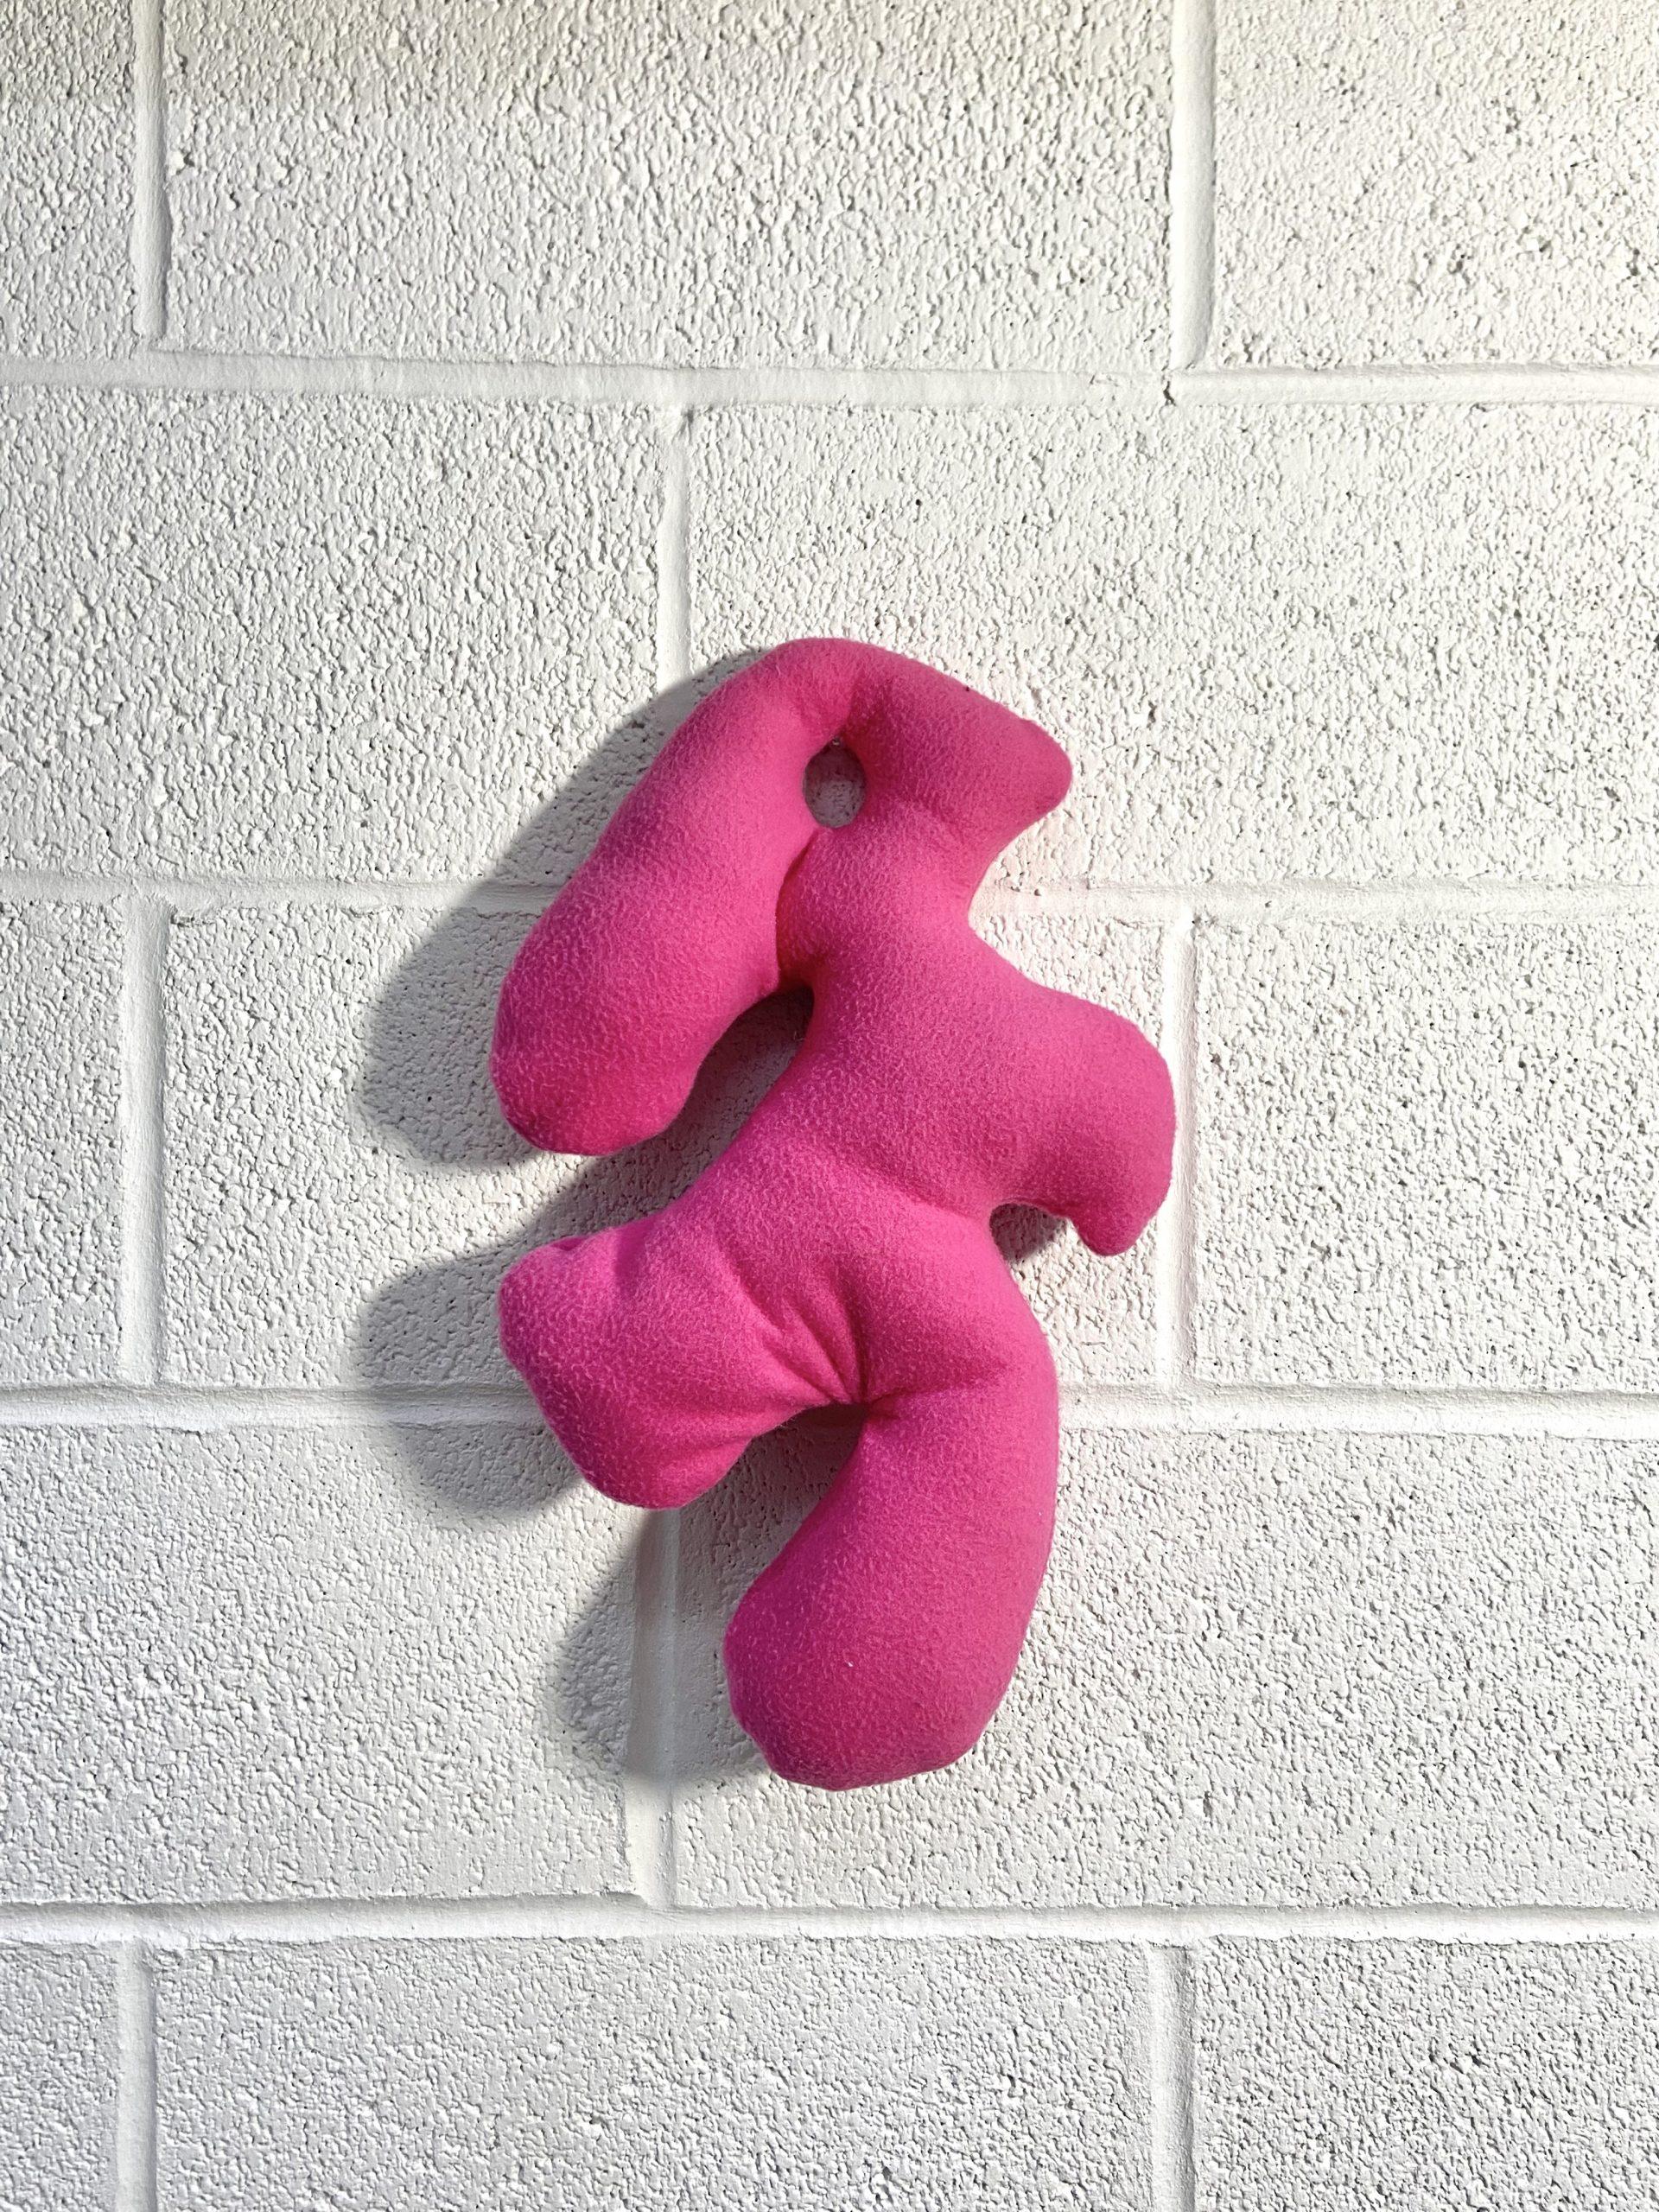
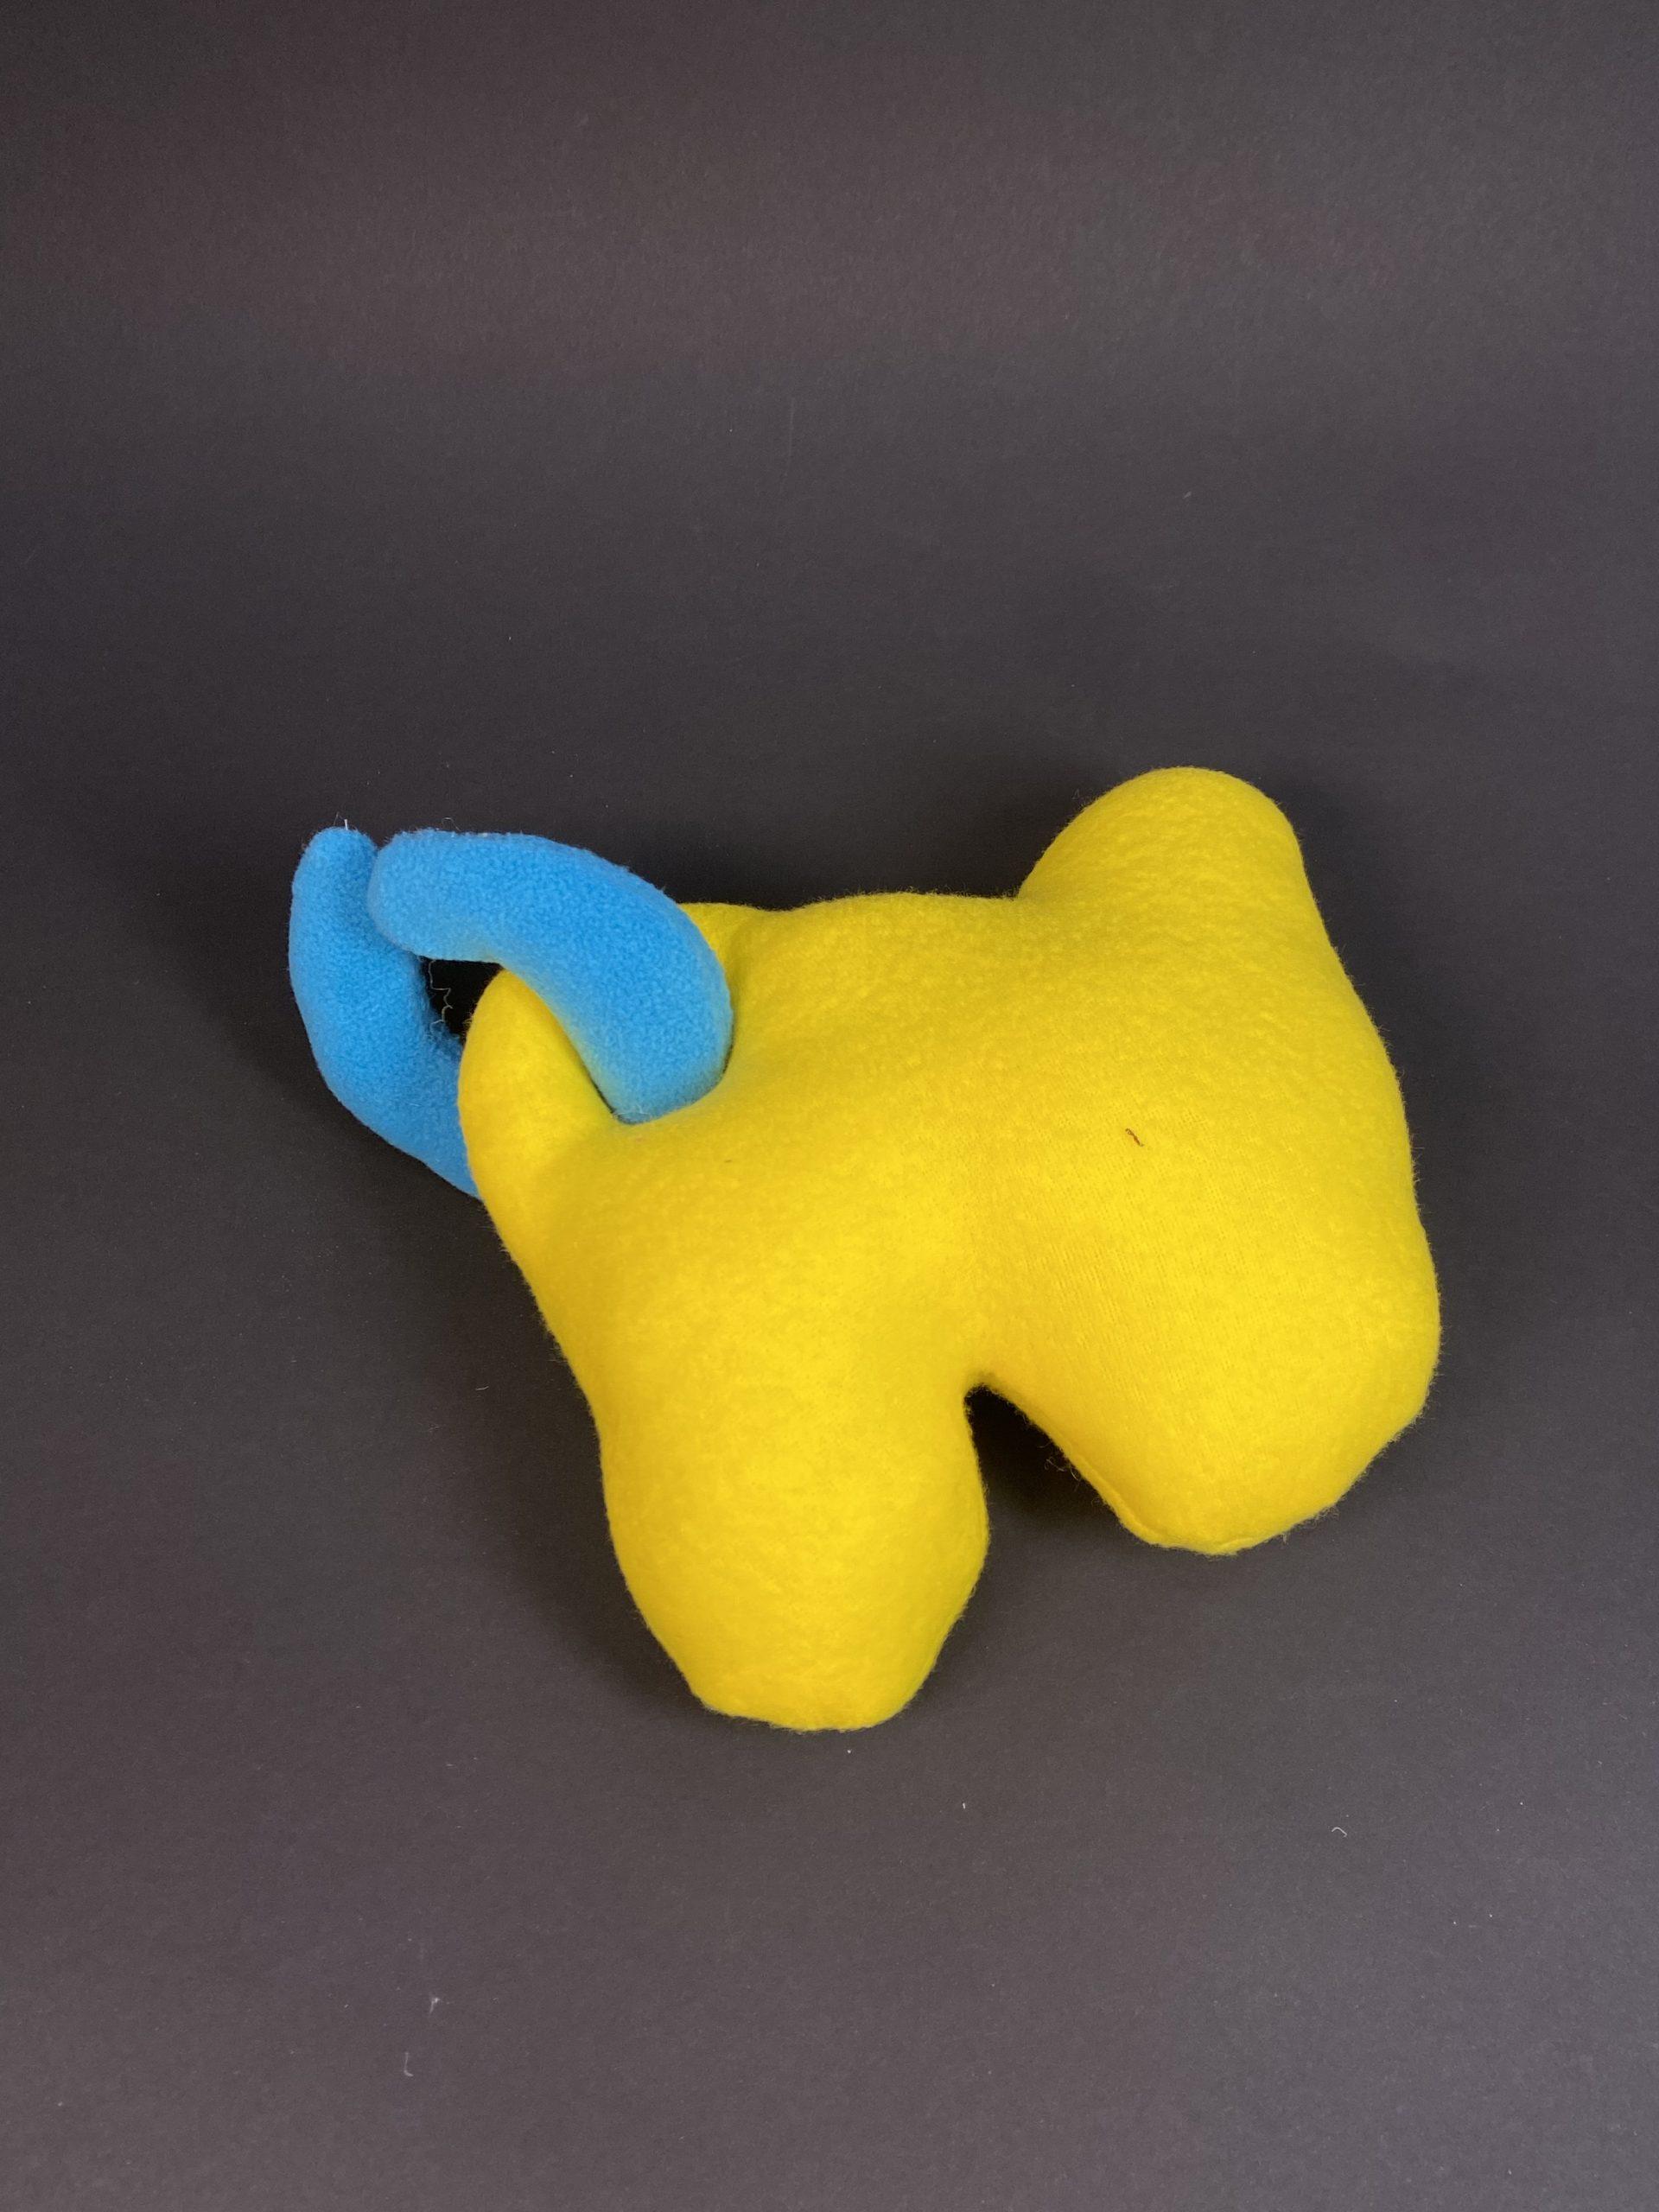
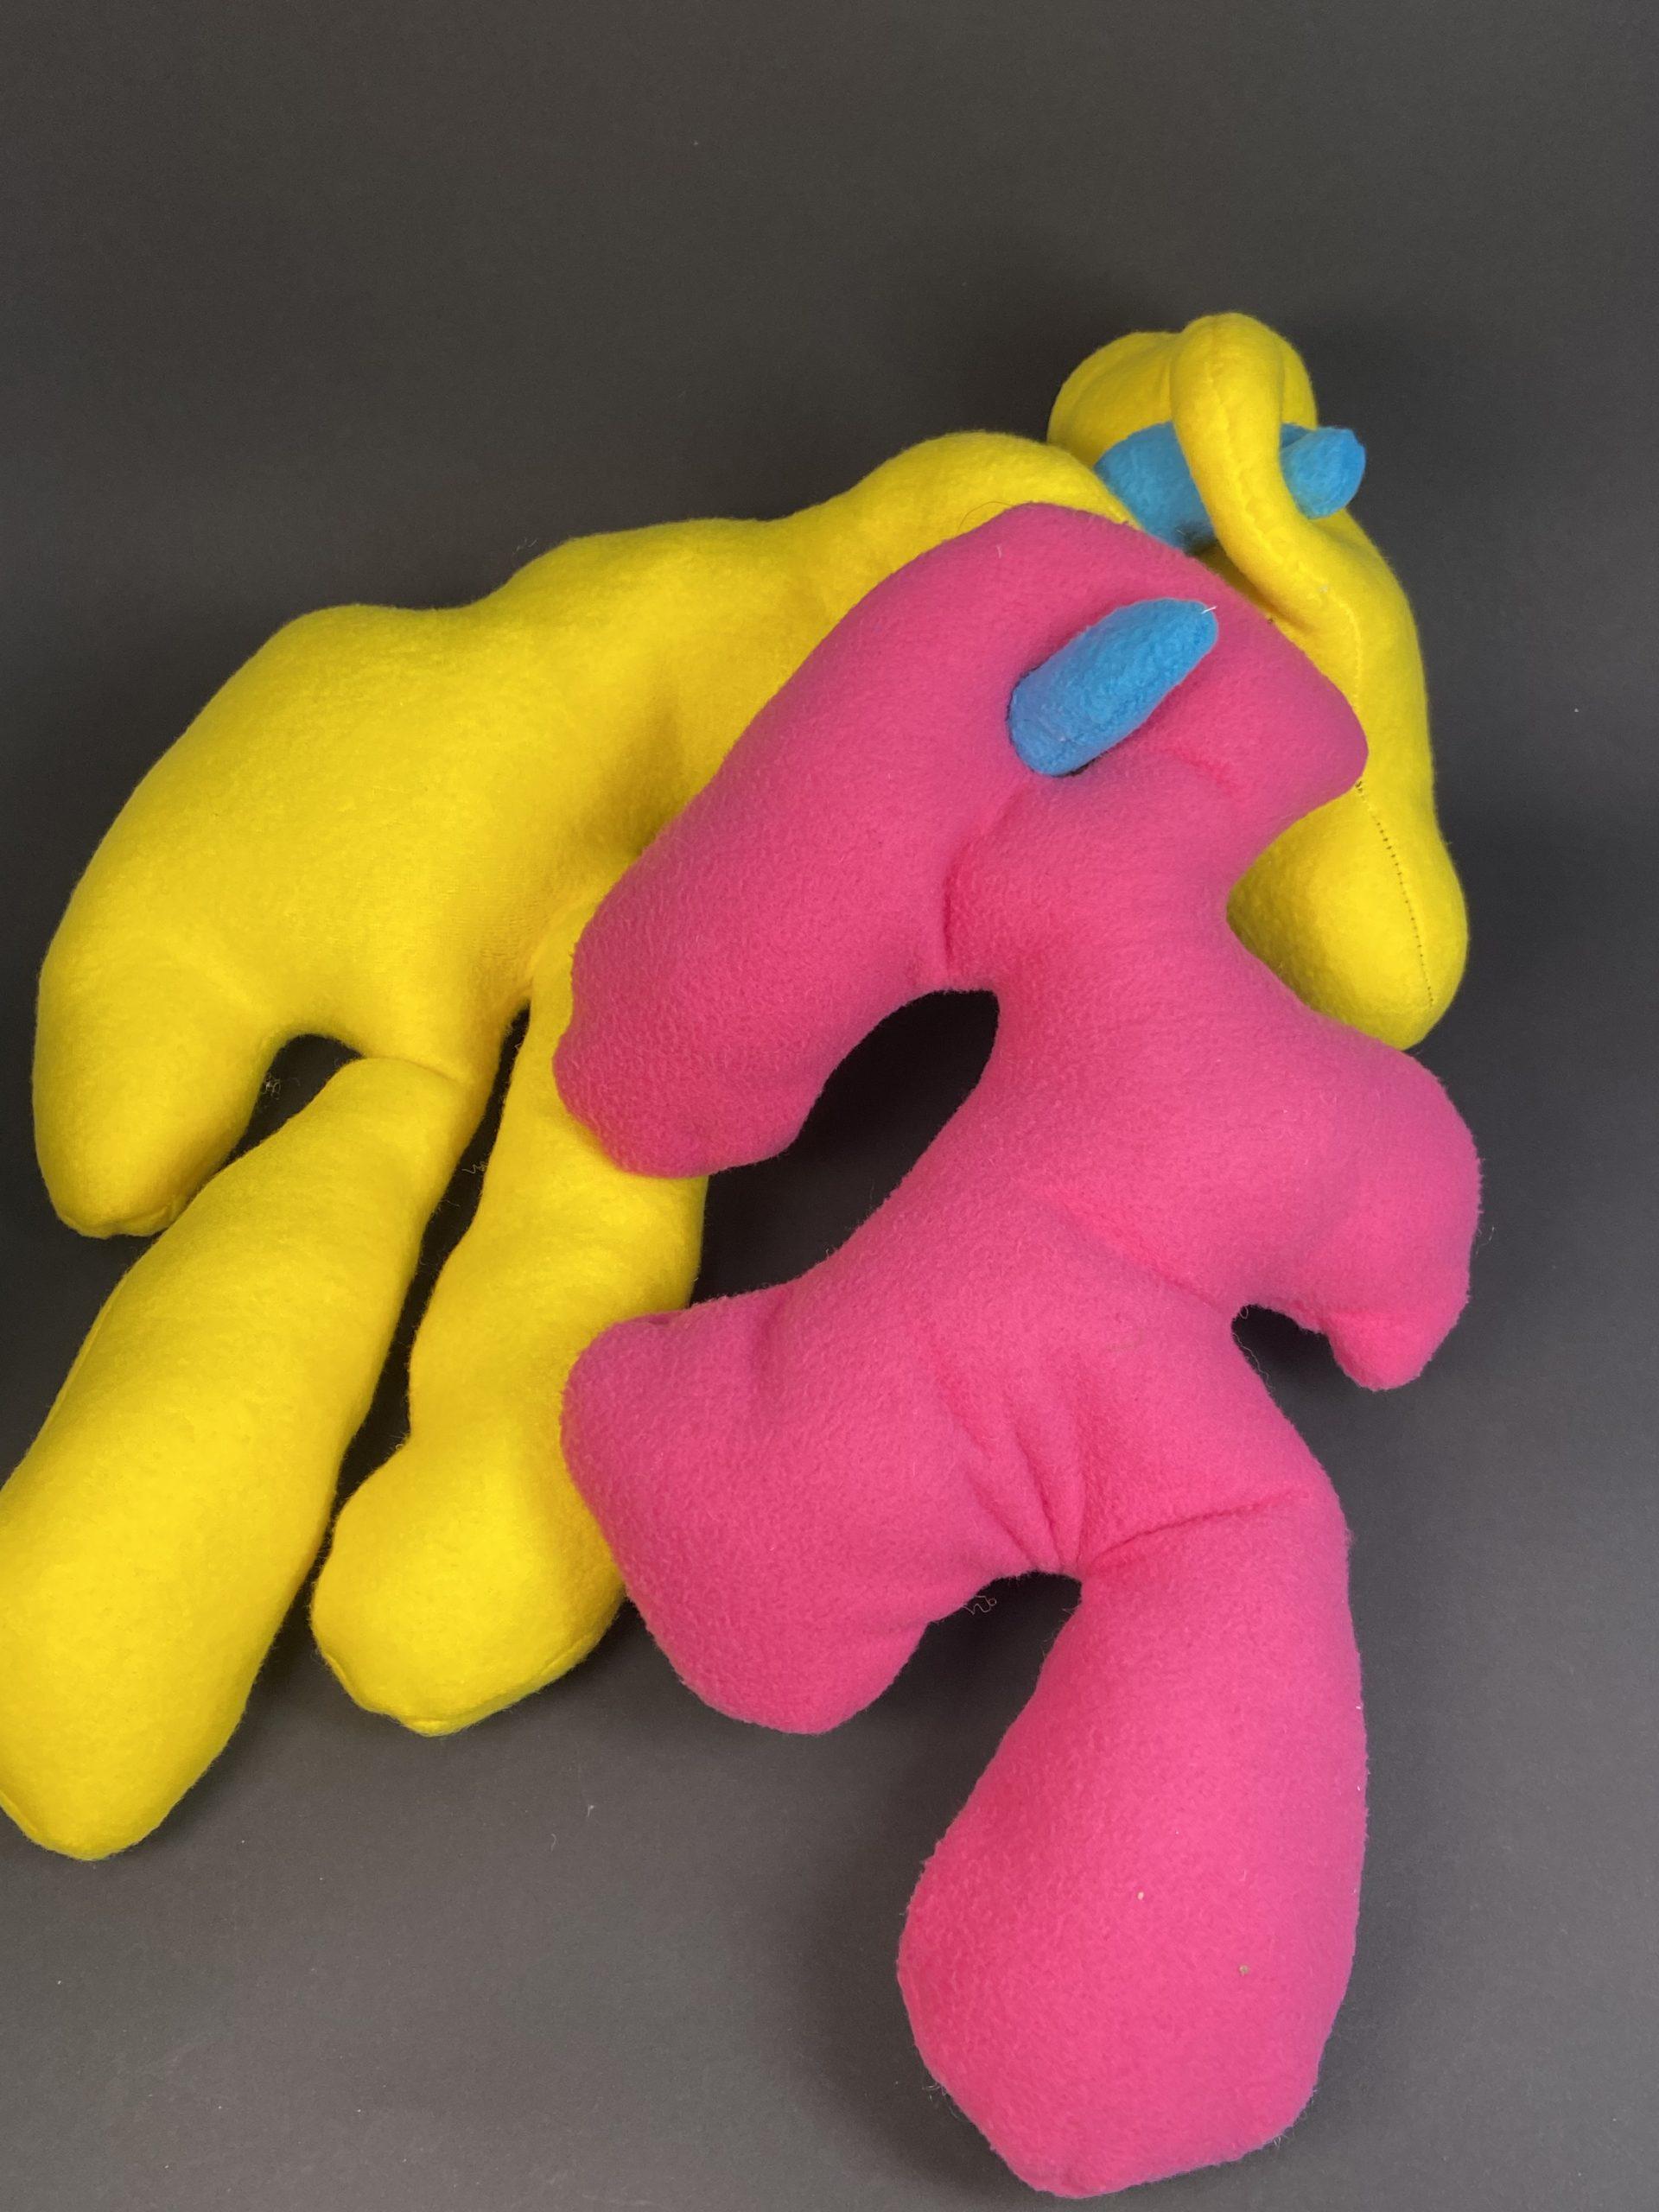
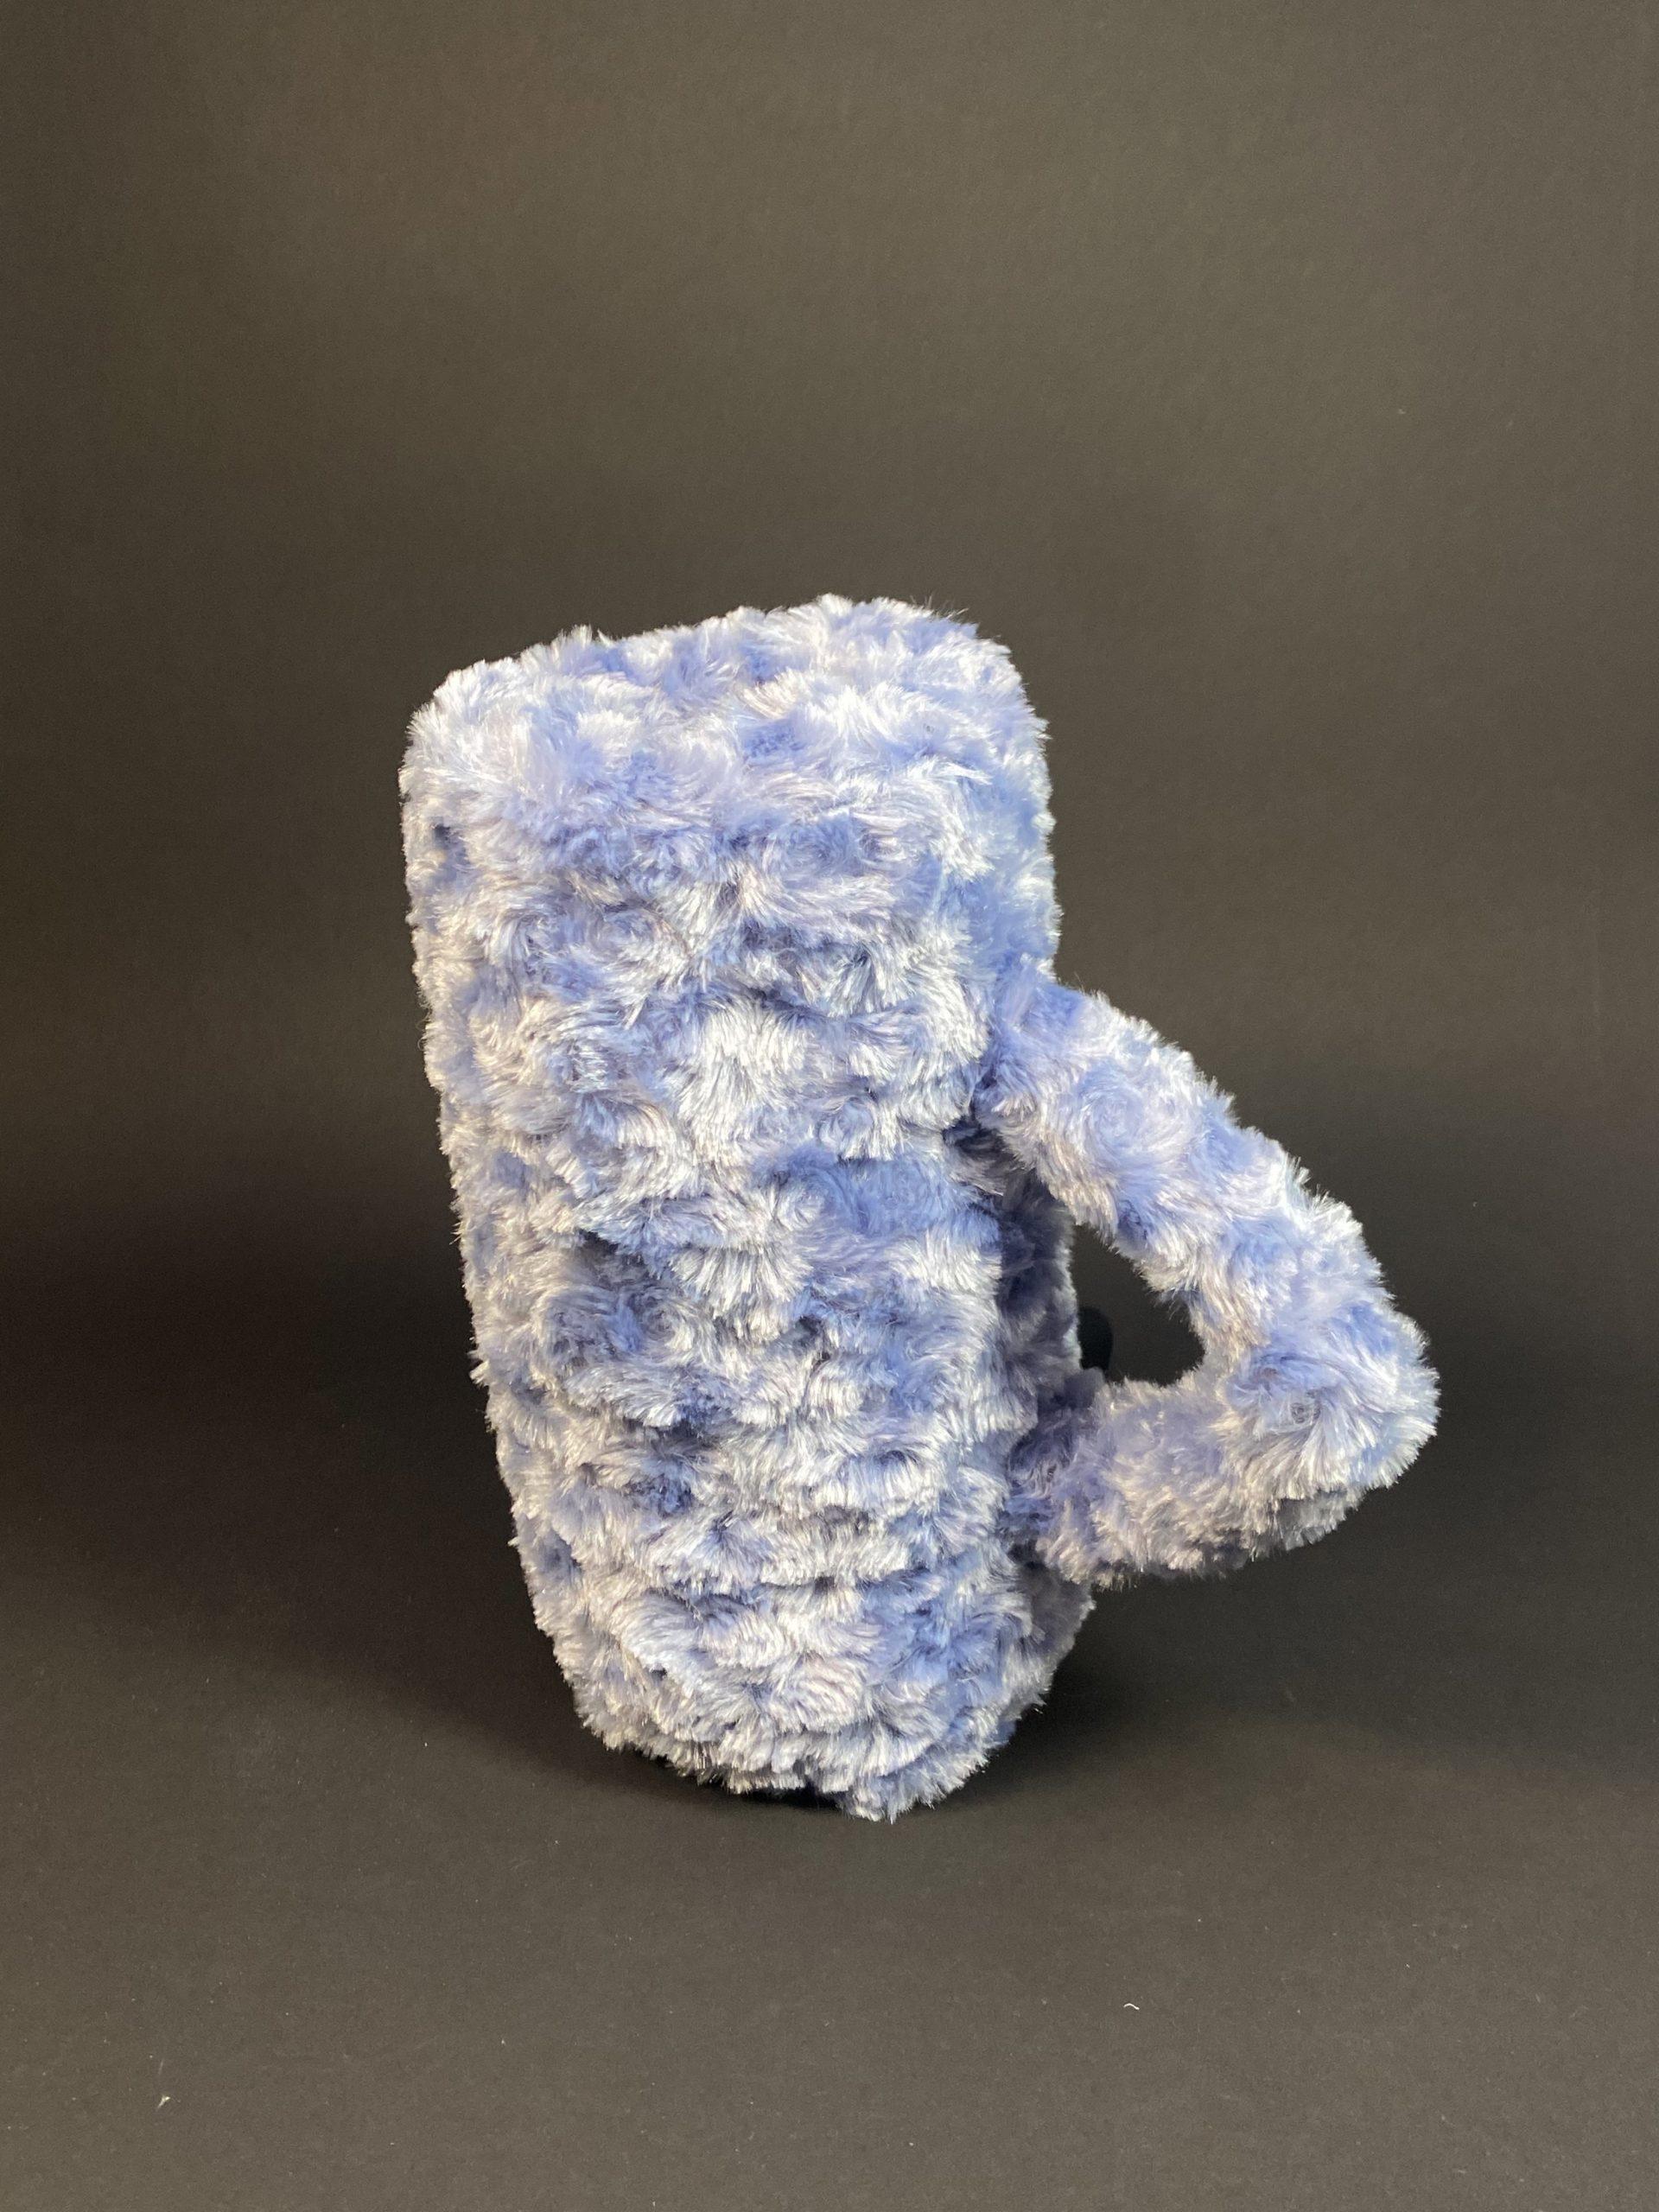
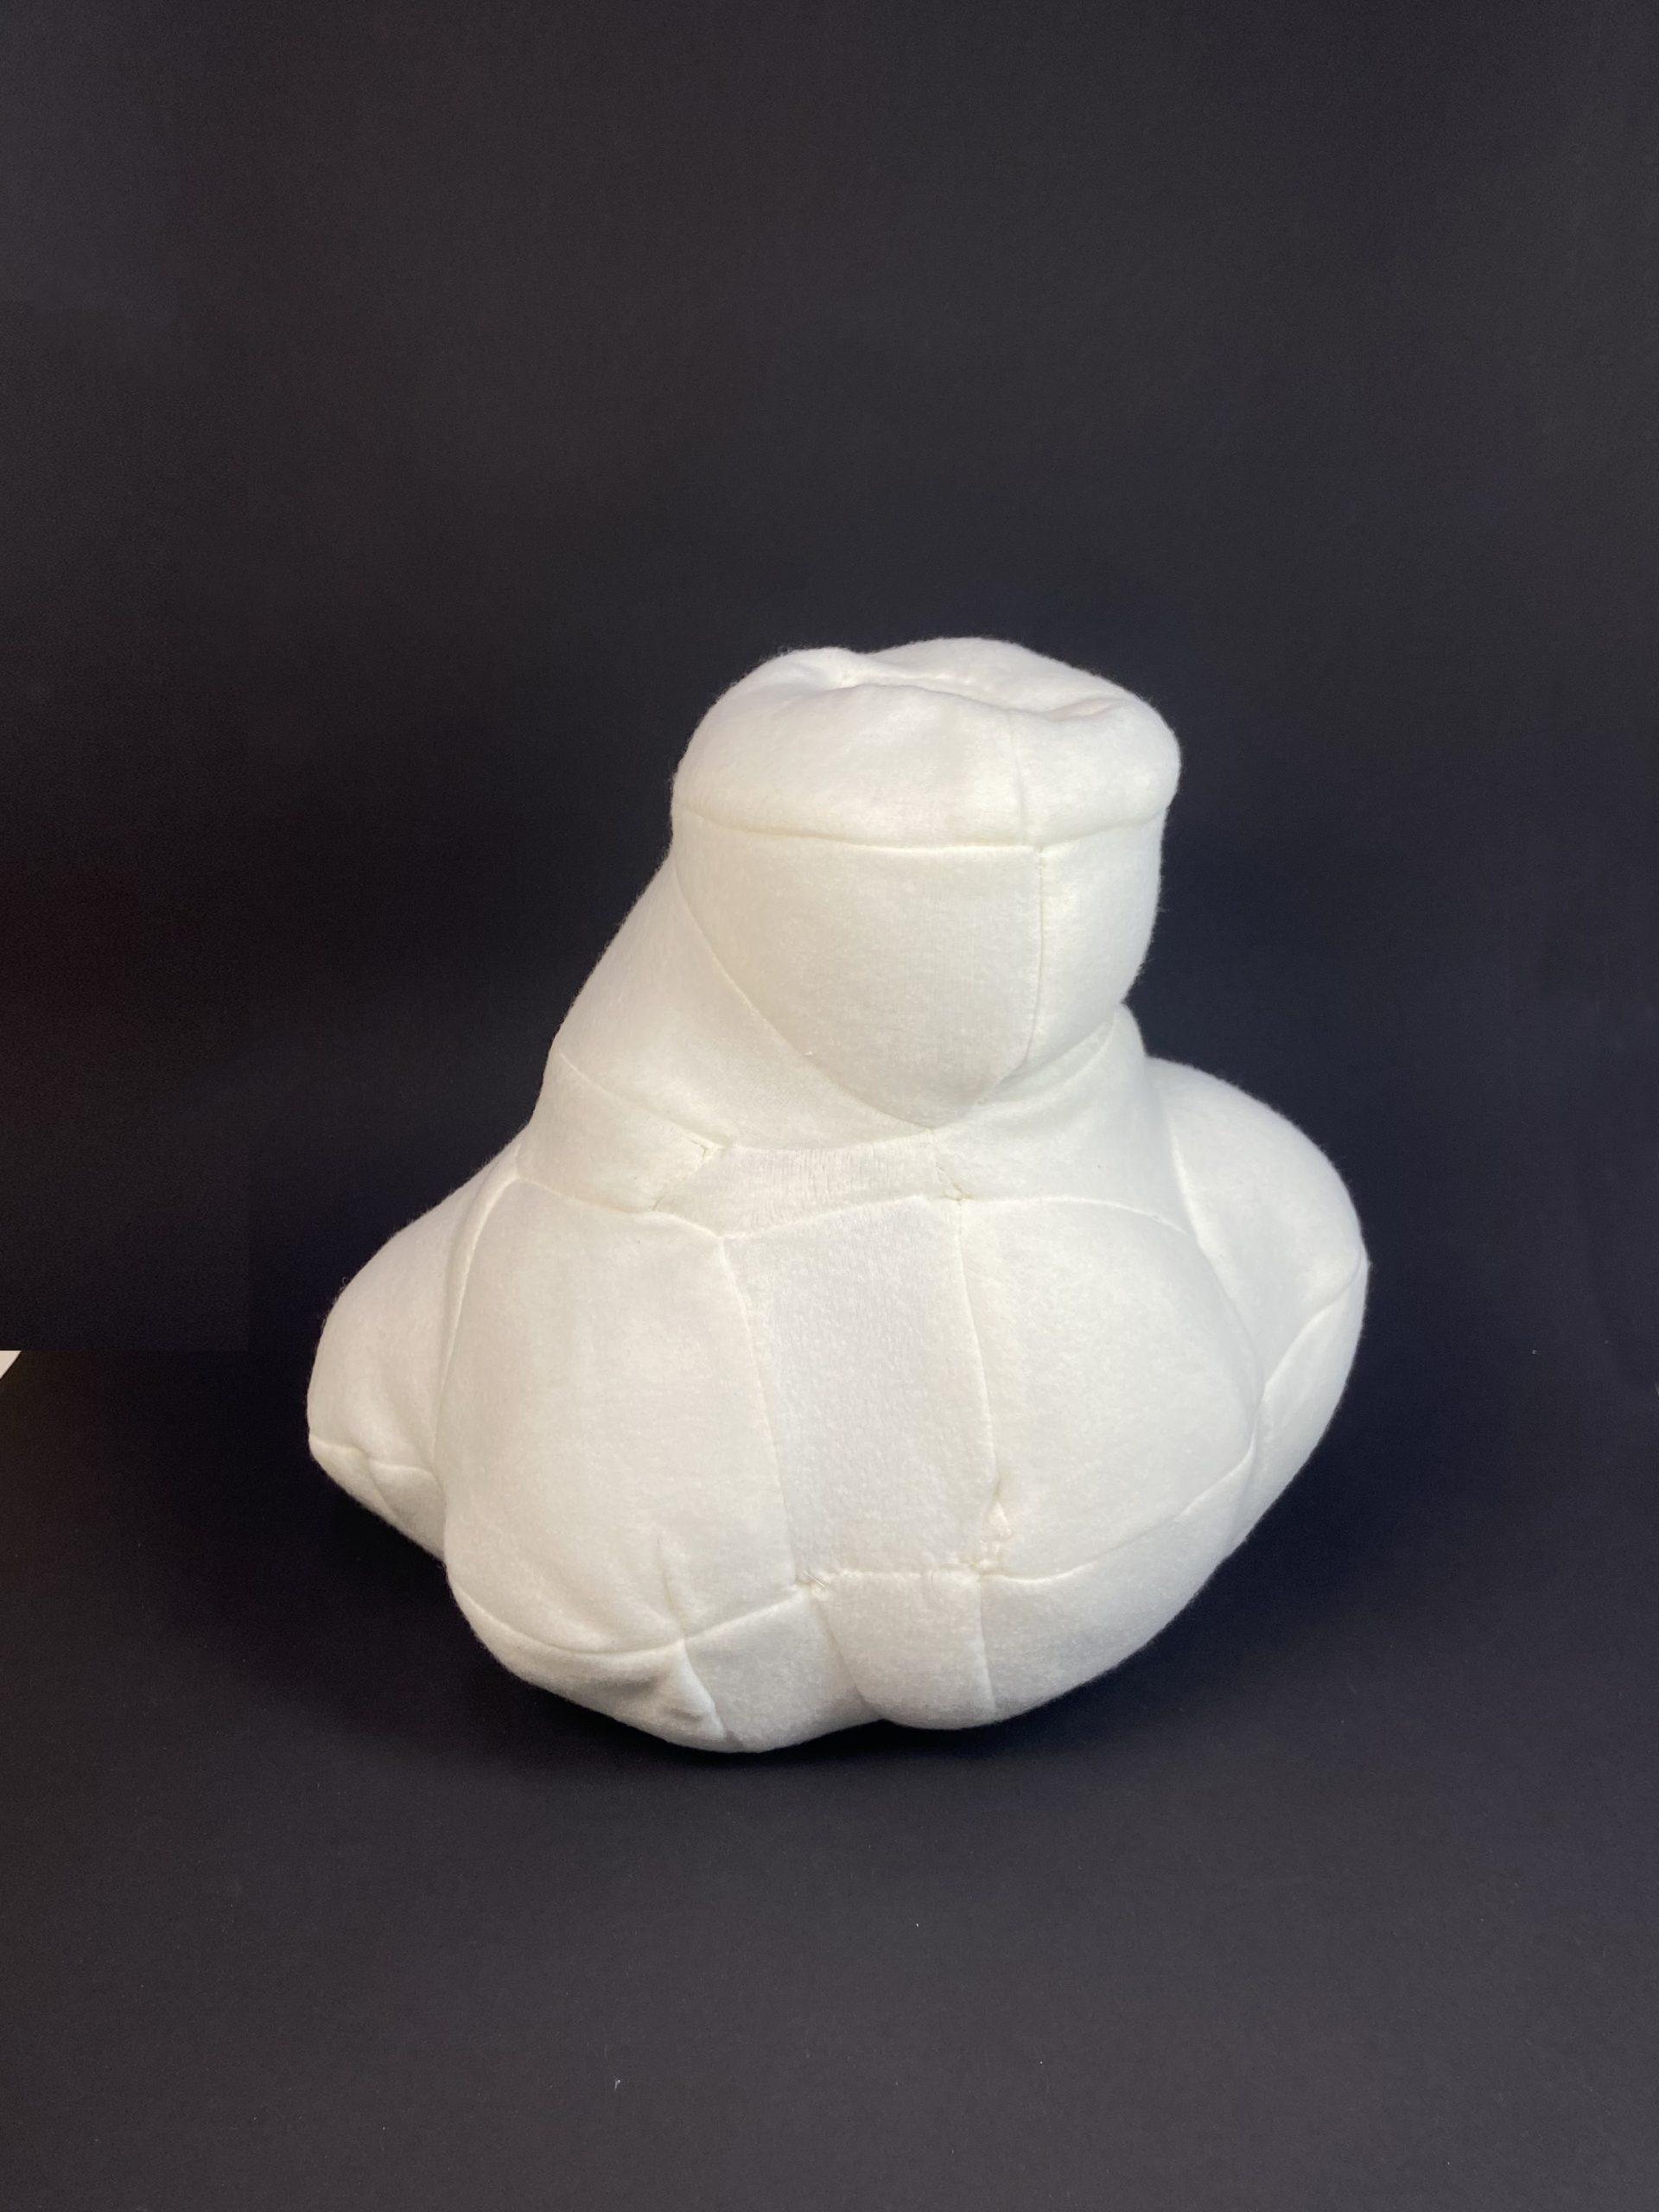
This object is a combination of our push/pull 1. We combine the pear shape and the bear shape together to build a large, teardrop-like bear. This is actually our favorite idea! Imagine having a large, soft teddy bear appear in the library and students get to hug it while tired. And teddy bears used to be our childhood toy. As we grow older, the bear changes its shape. However, it is still there and serves its purpose of comforting us. We now have two thoughts. One is to make it into a tear-drop shape and the other is a square shape. Both shapes are variants from the original teddy bear. 

There is also the option of making a “generic”, very recognizable teddy bear shape. We want to play with the idea of bringing this extremely nostalgic, reminiscent object into the library space. We thought it would be interesting to play with the idea of the line between childhood and adulthood. A childhood toy in a space where students are just crossing those boundaries from childhood into adulthood; perhaps the teddy bear would invoke feelings of relief, comfort, nostalgia, but also perhaps discomfort, melancholy, yearning.

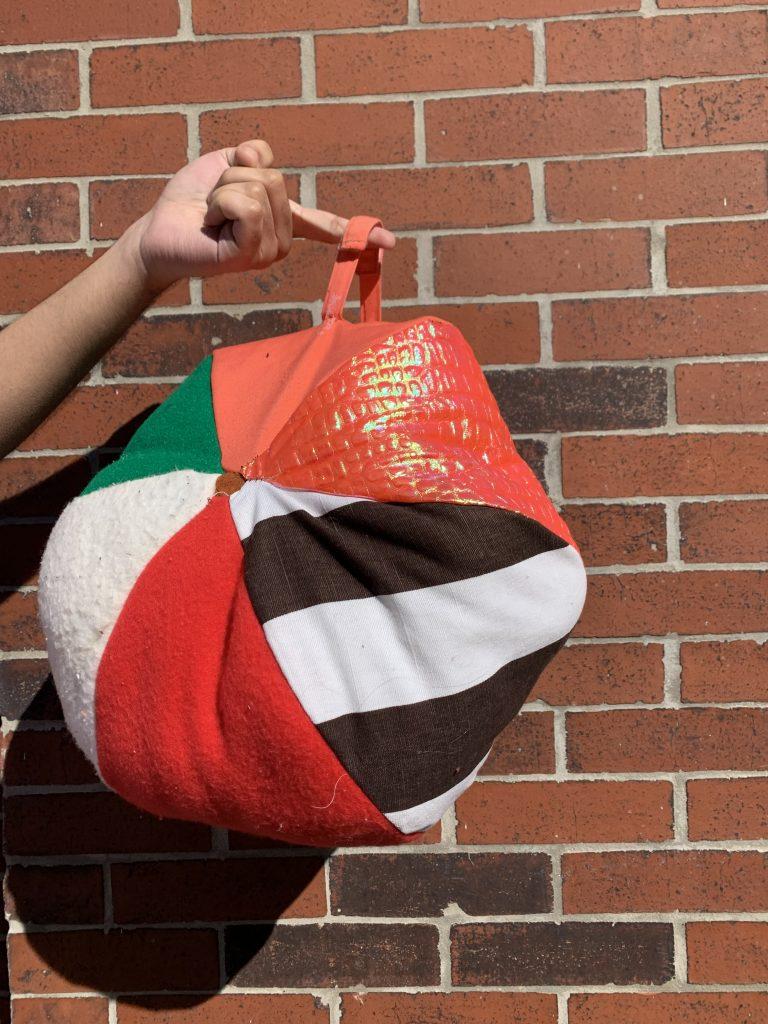
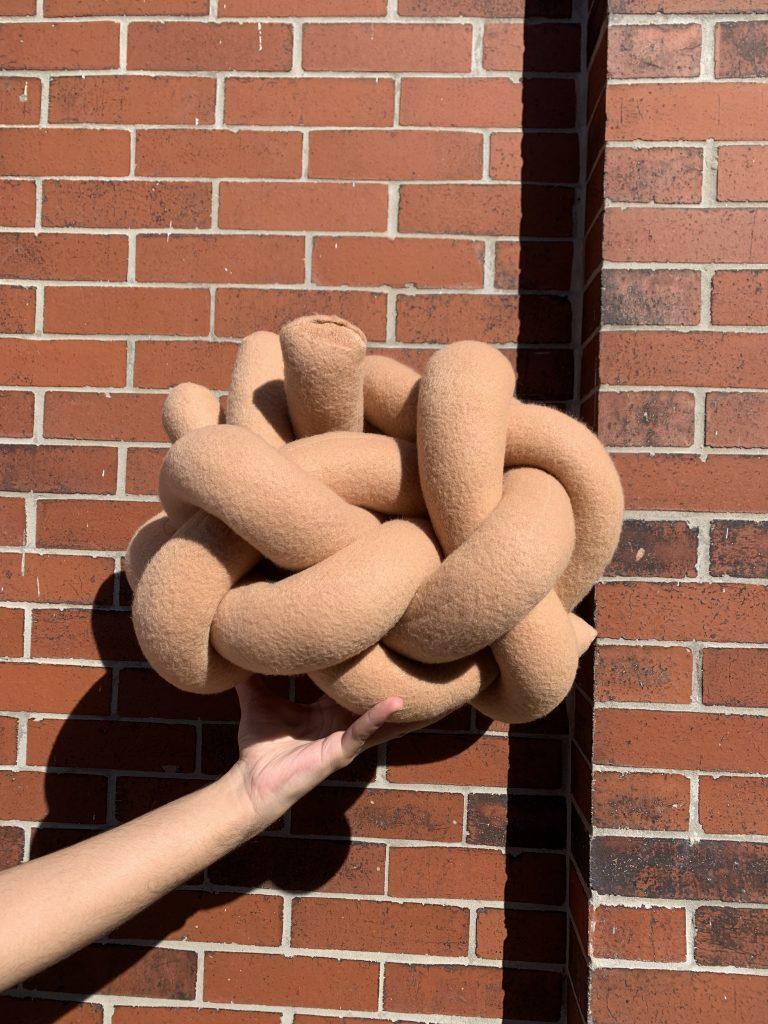
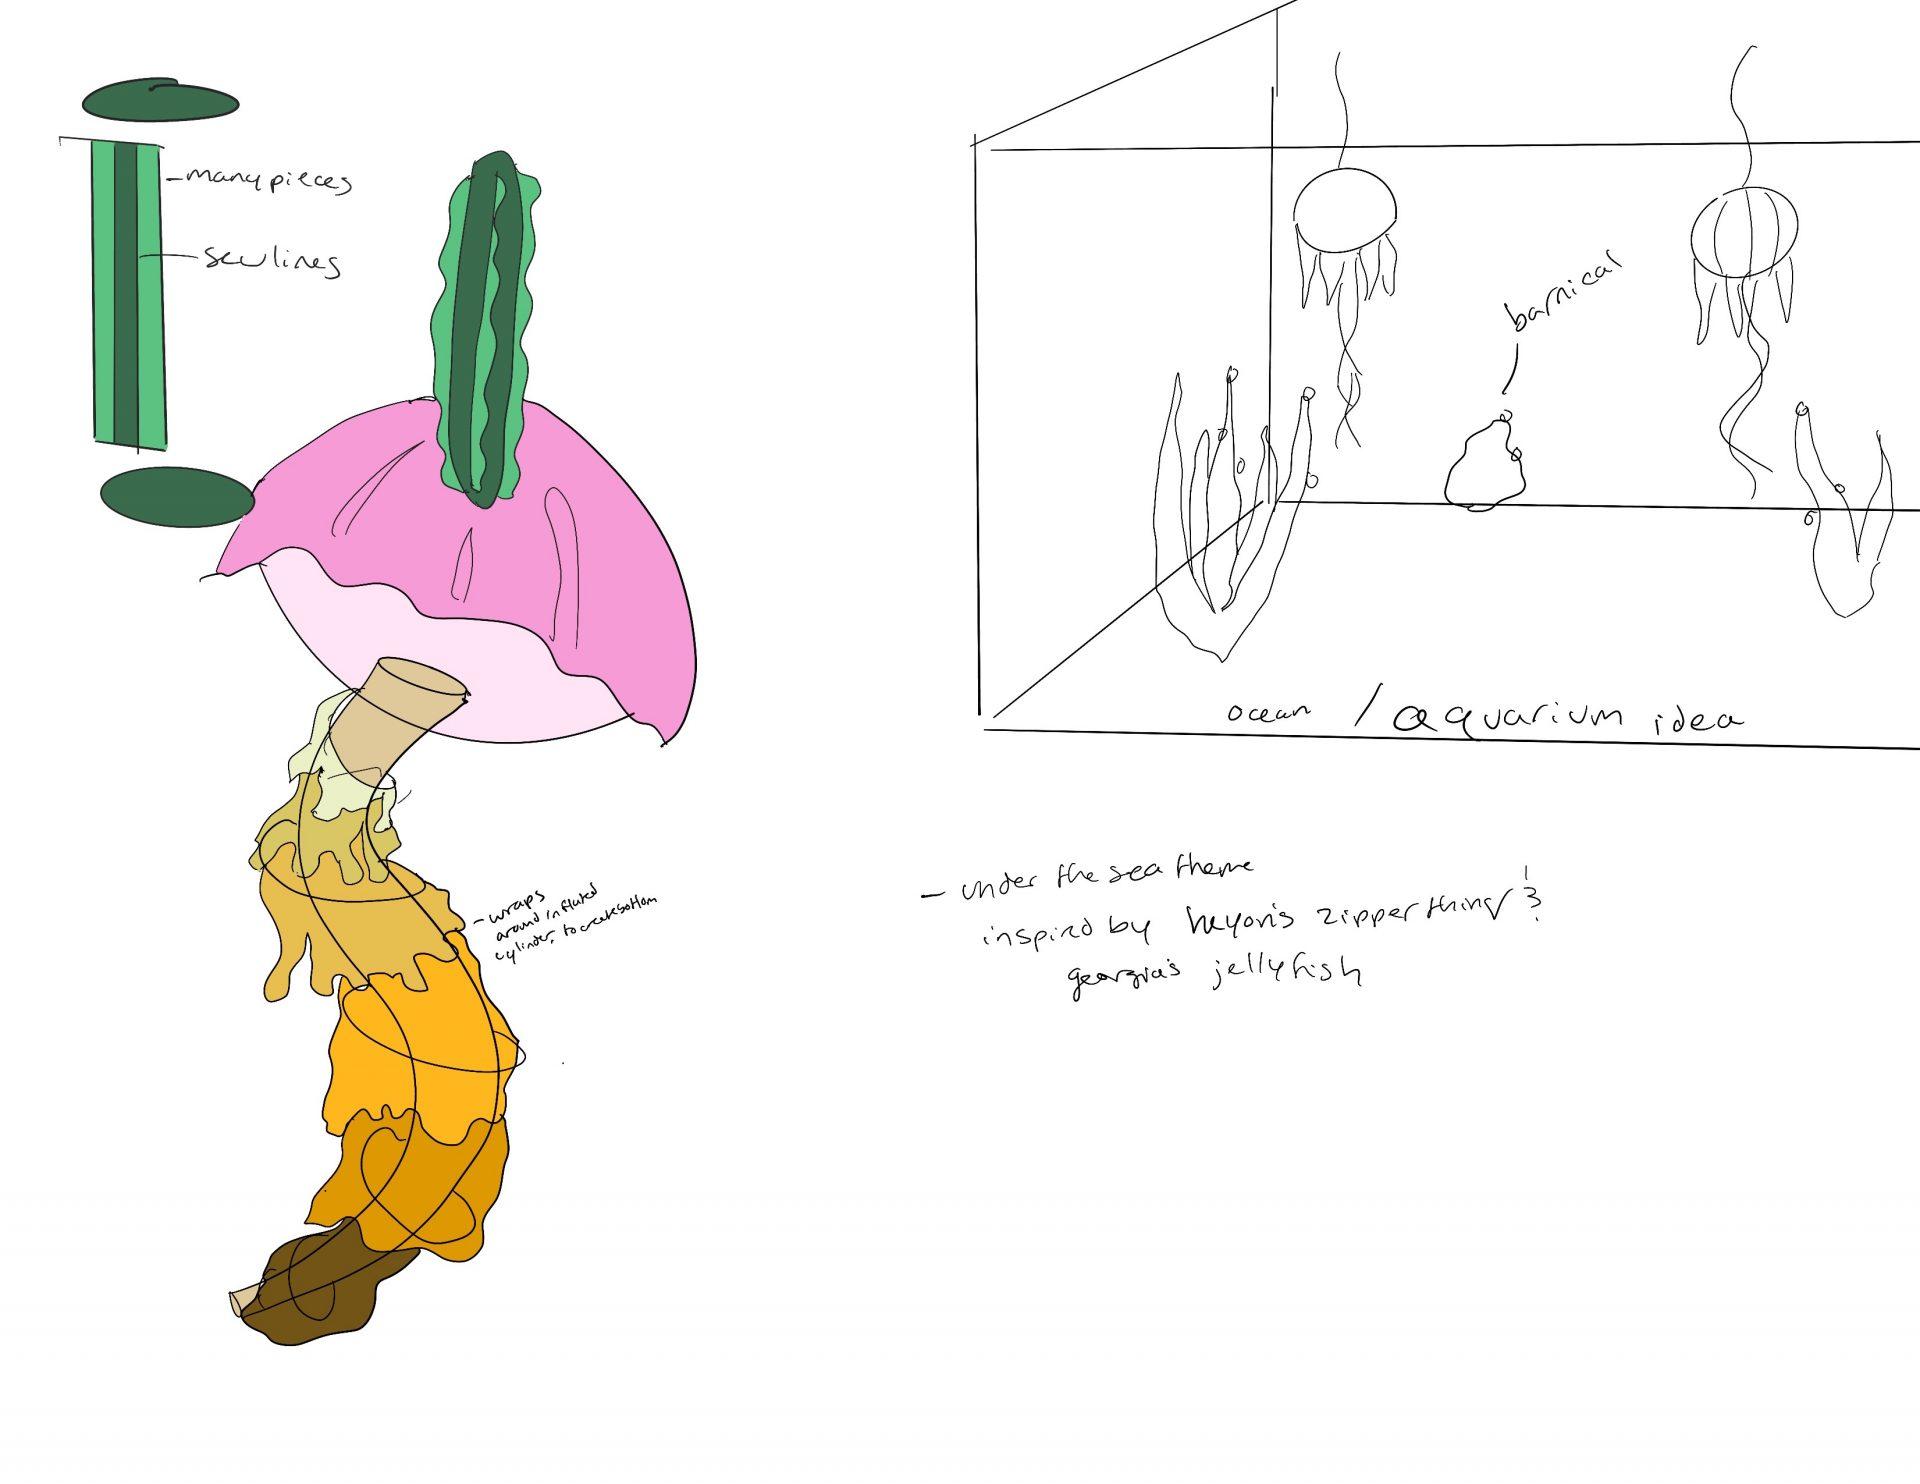
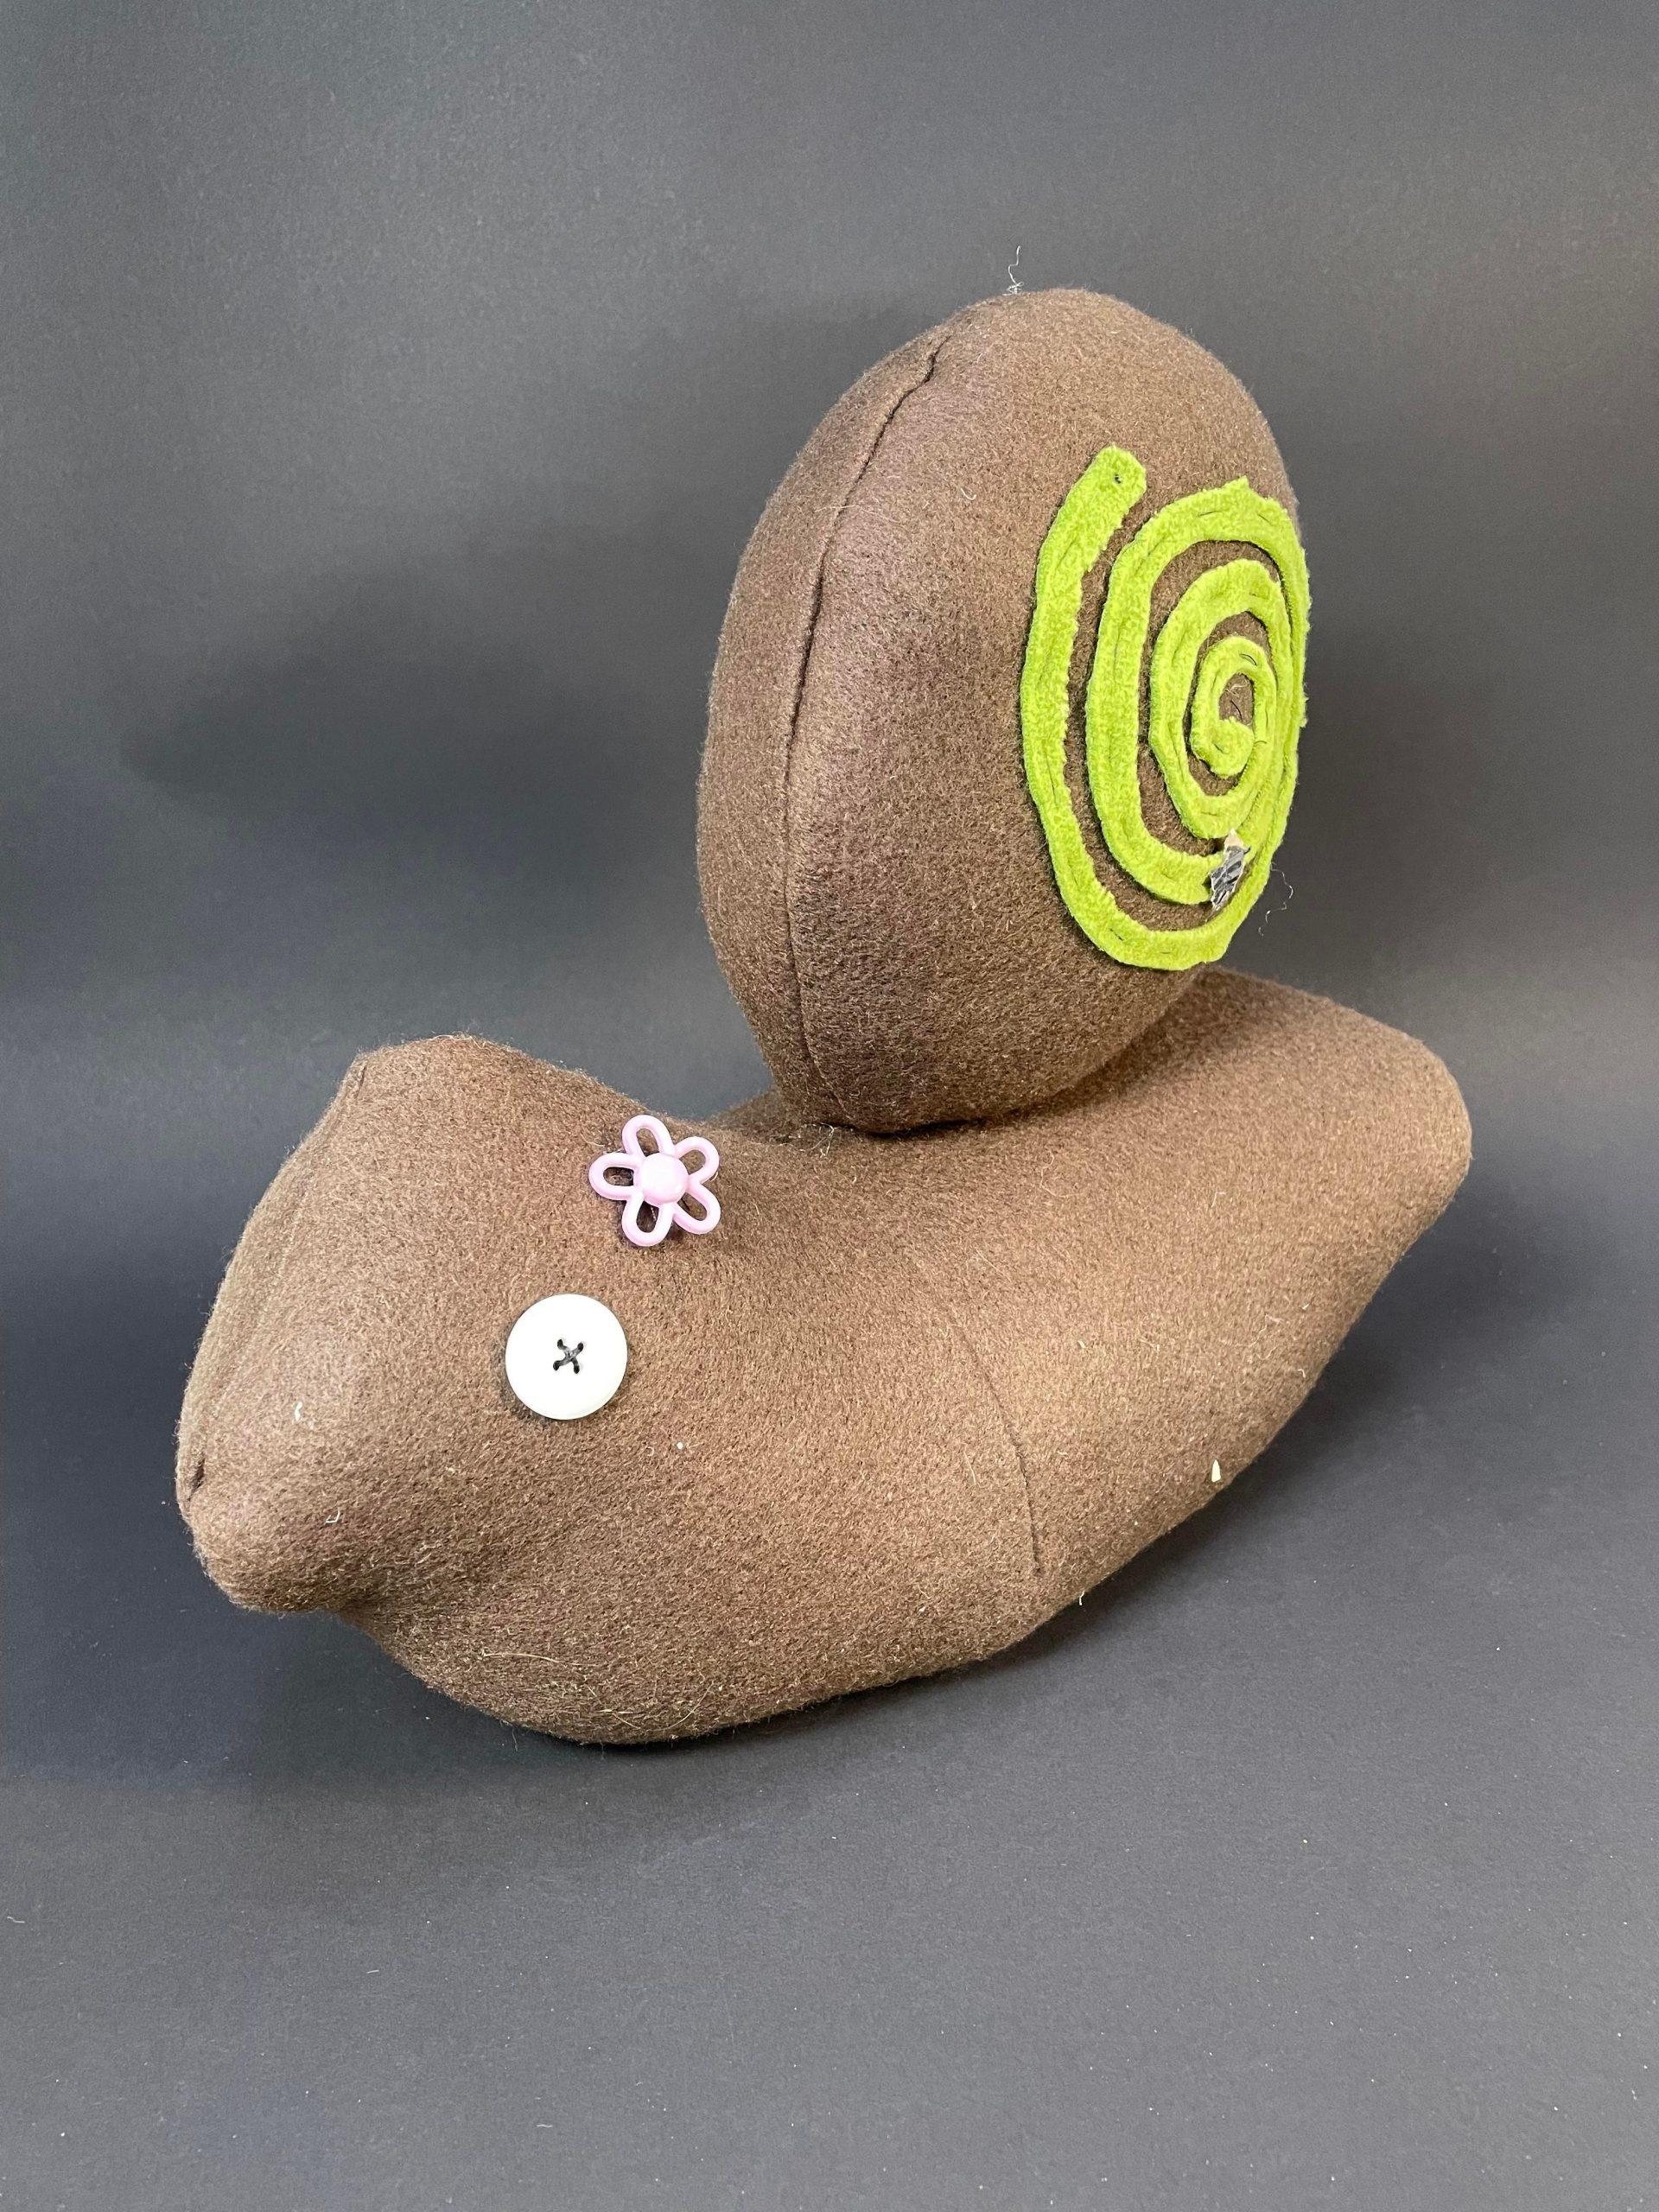
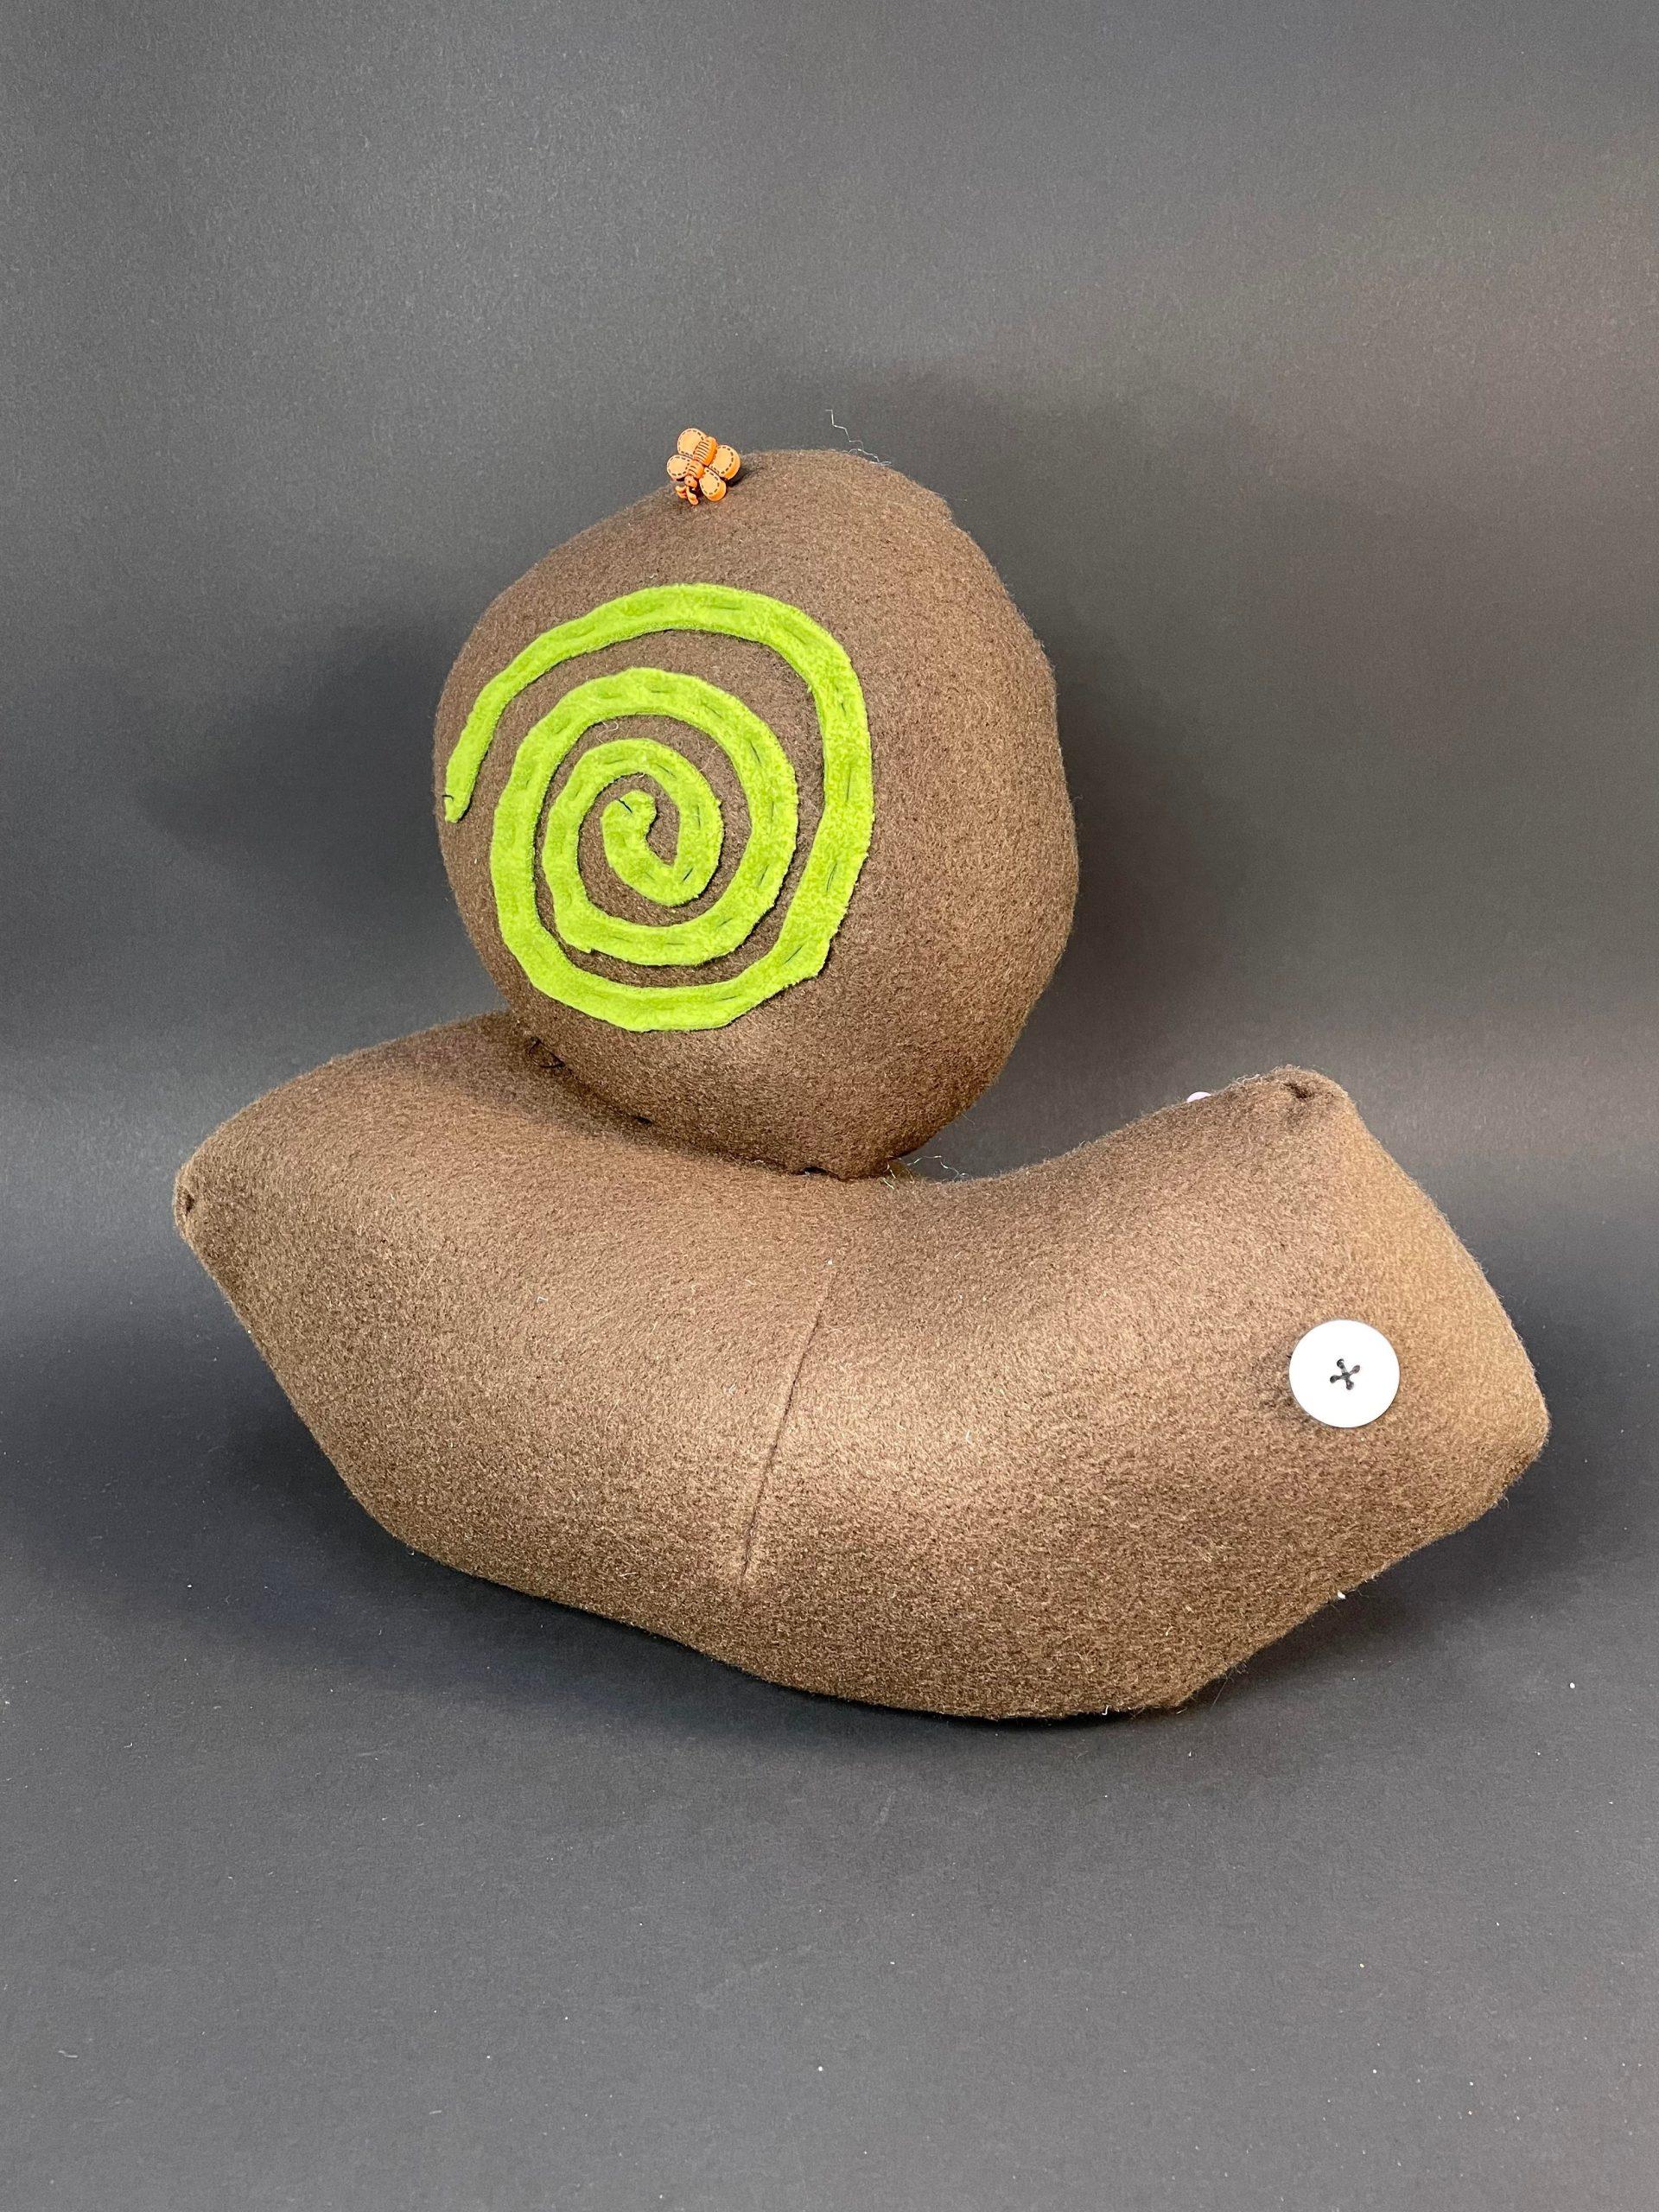
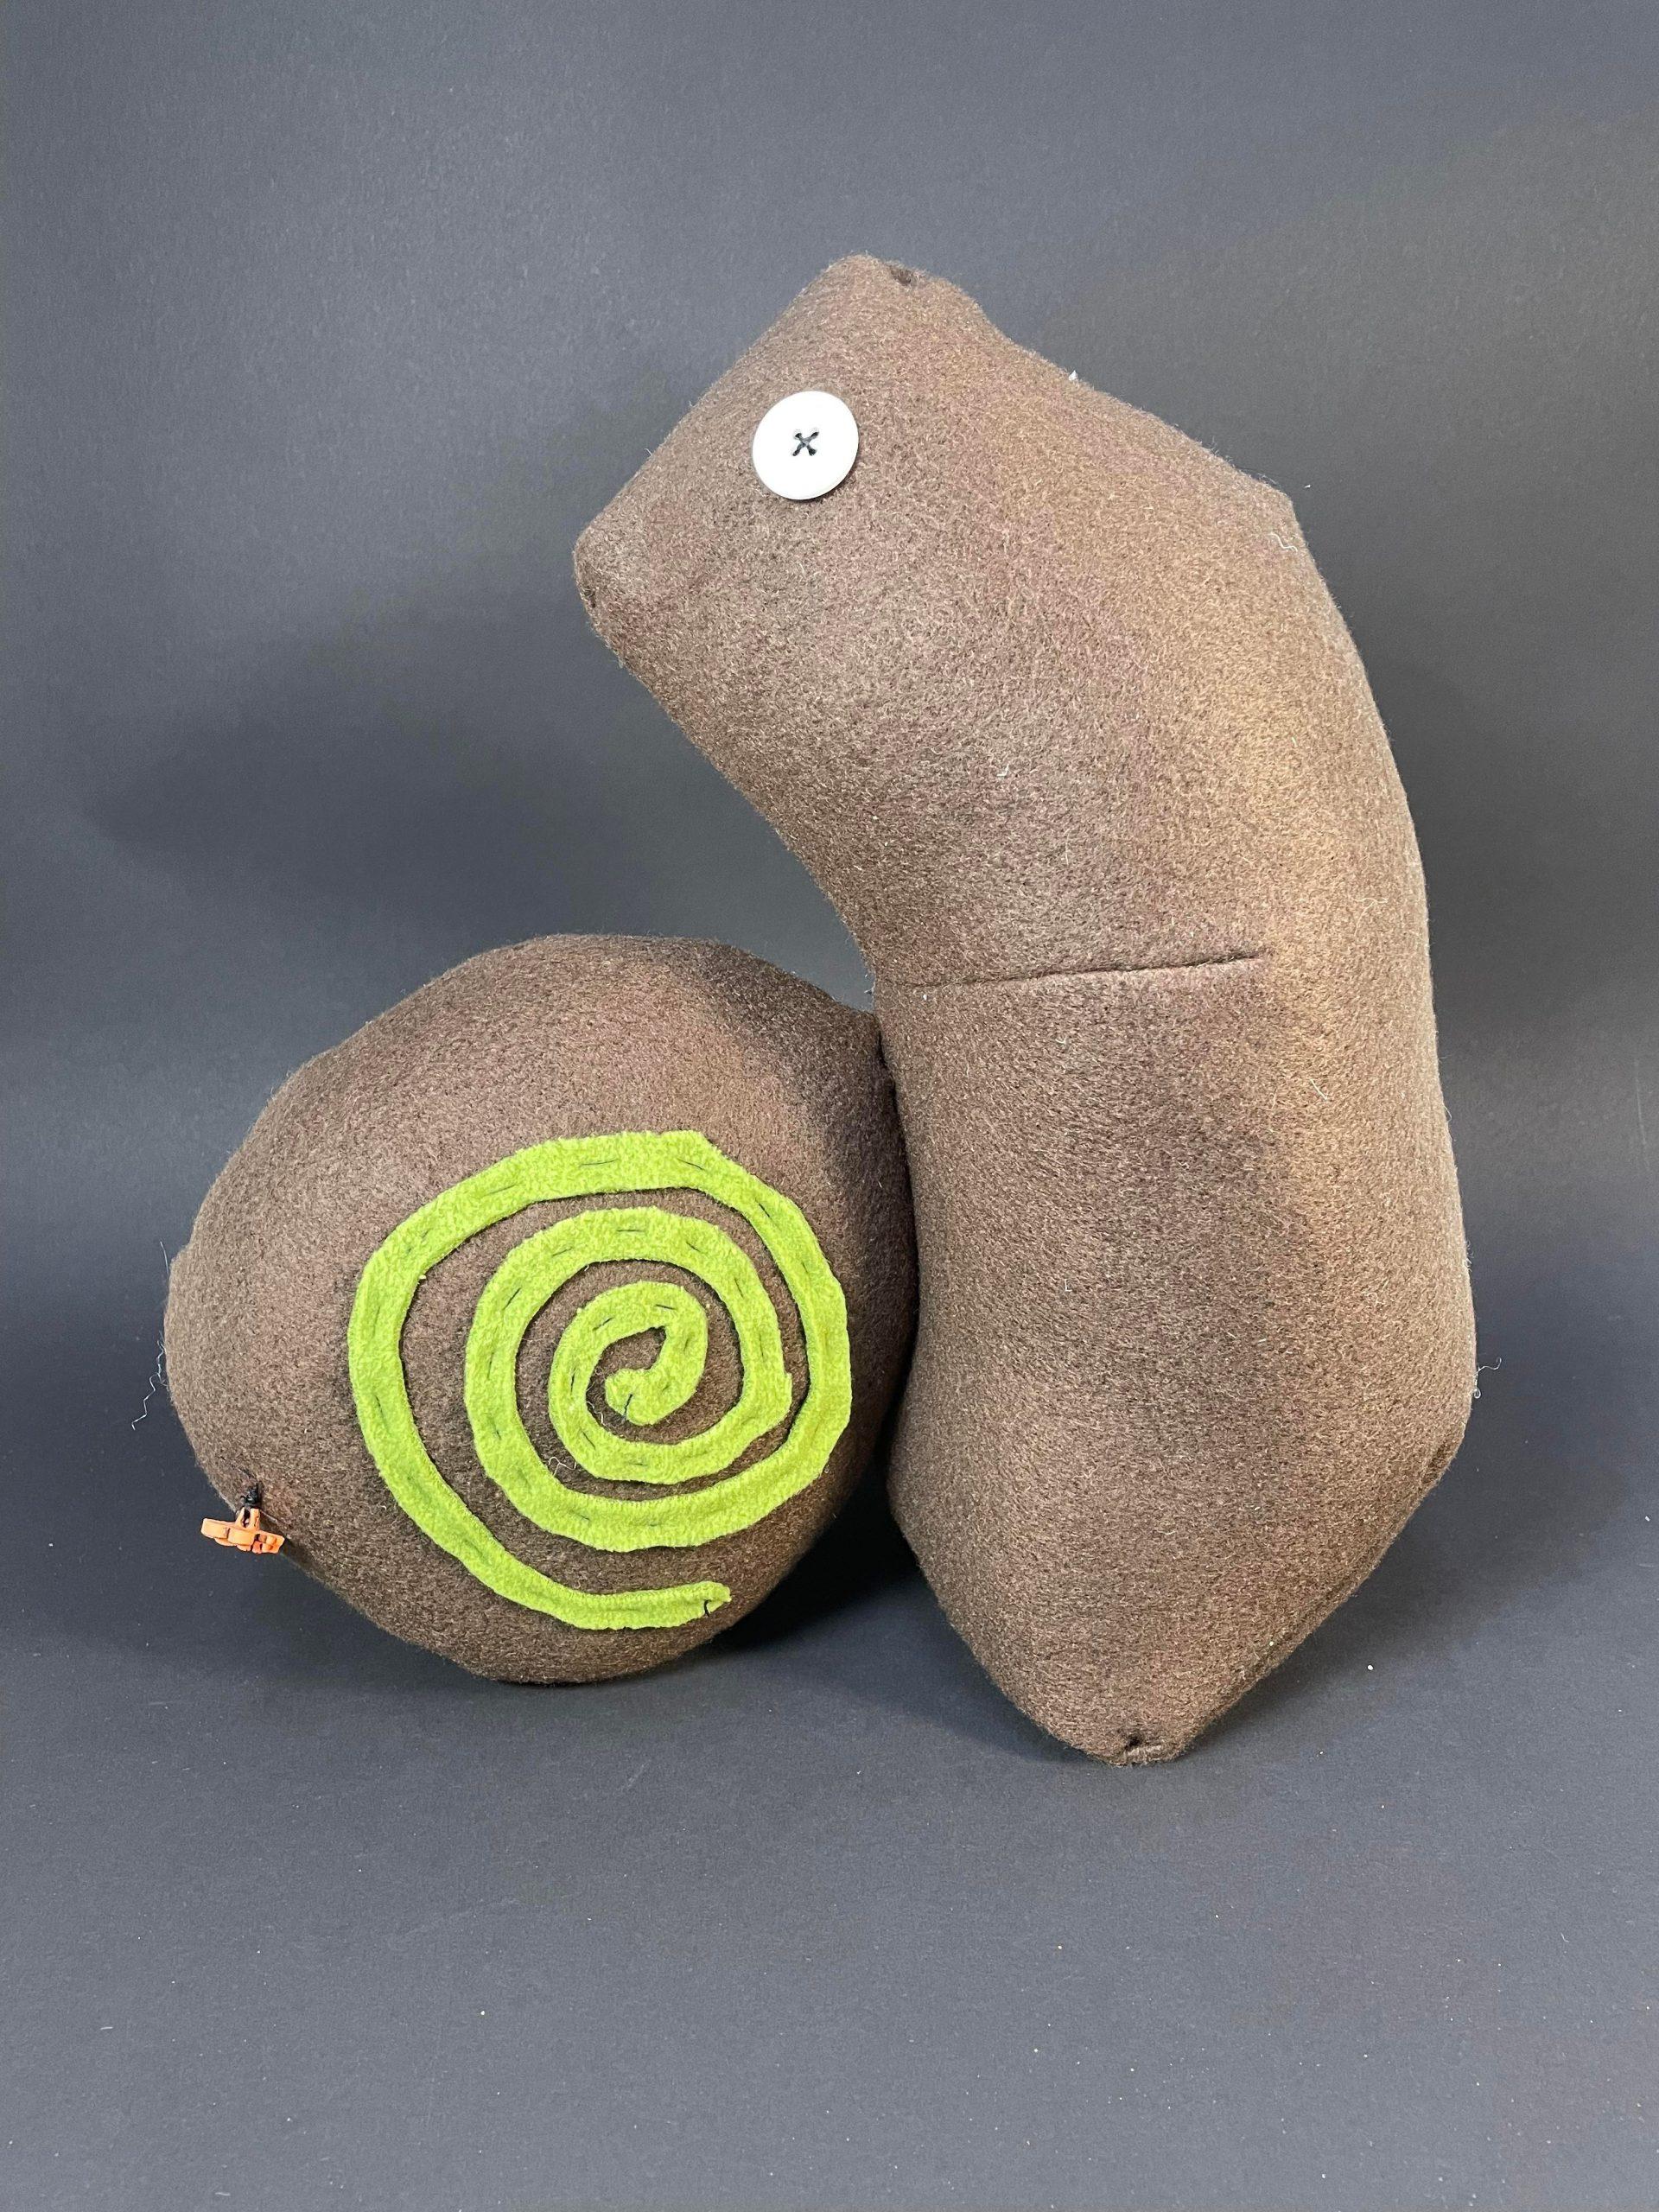
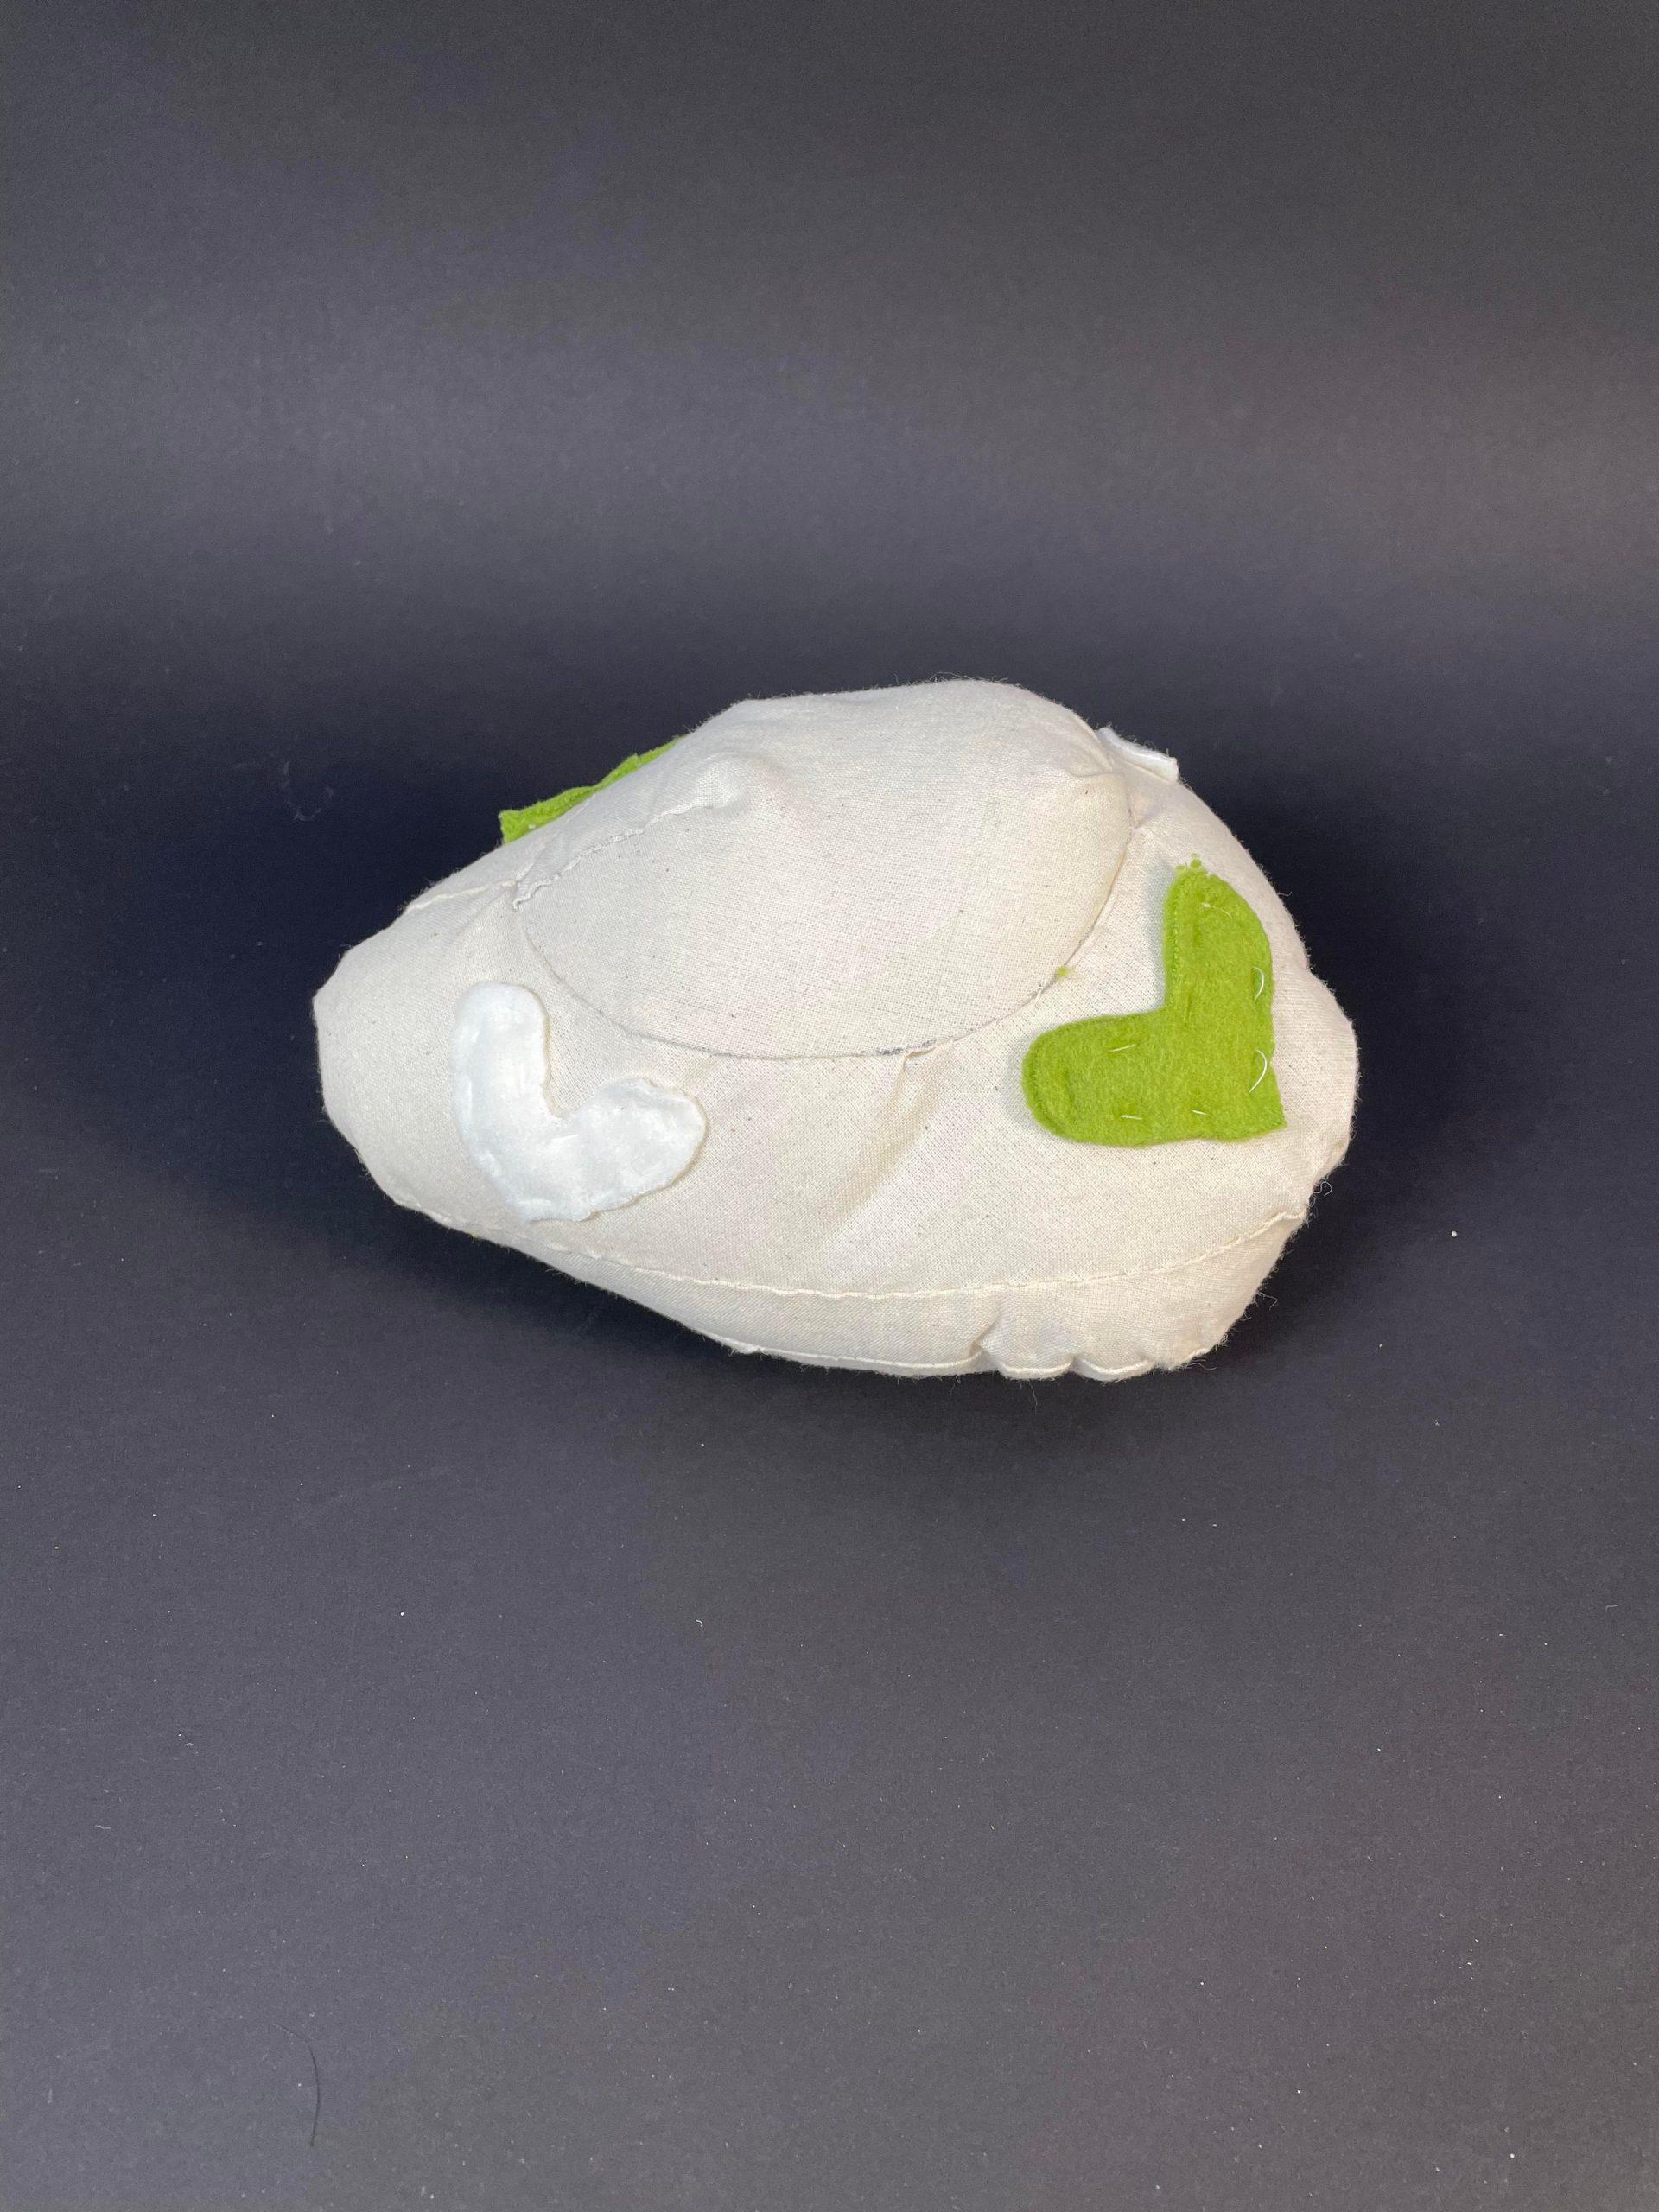
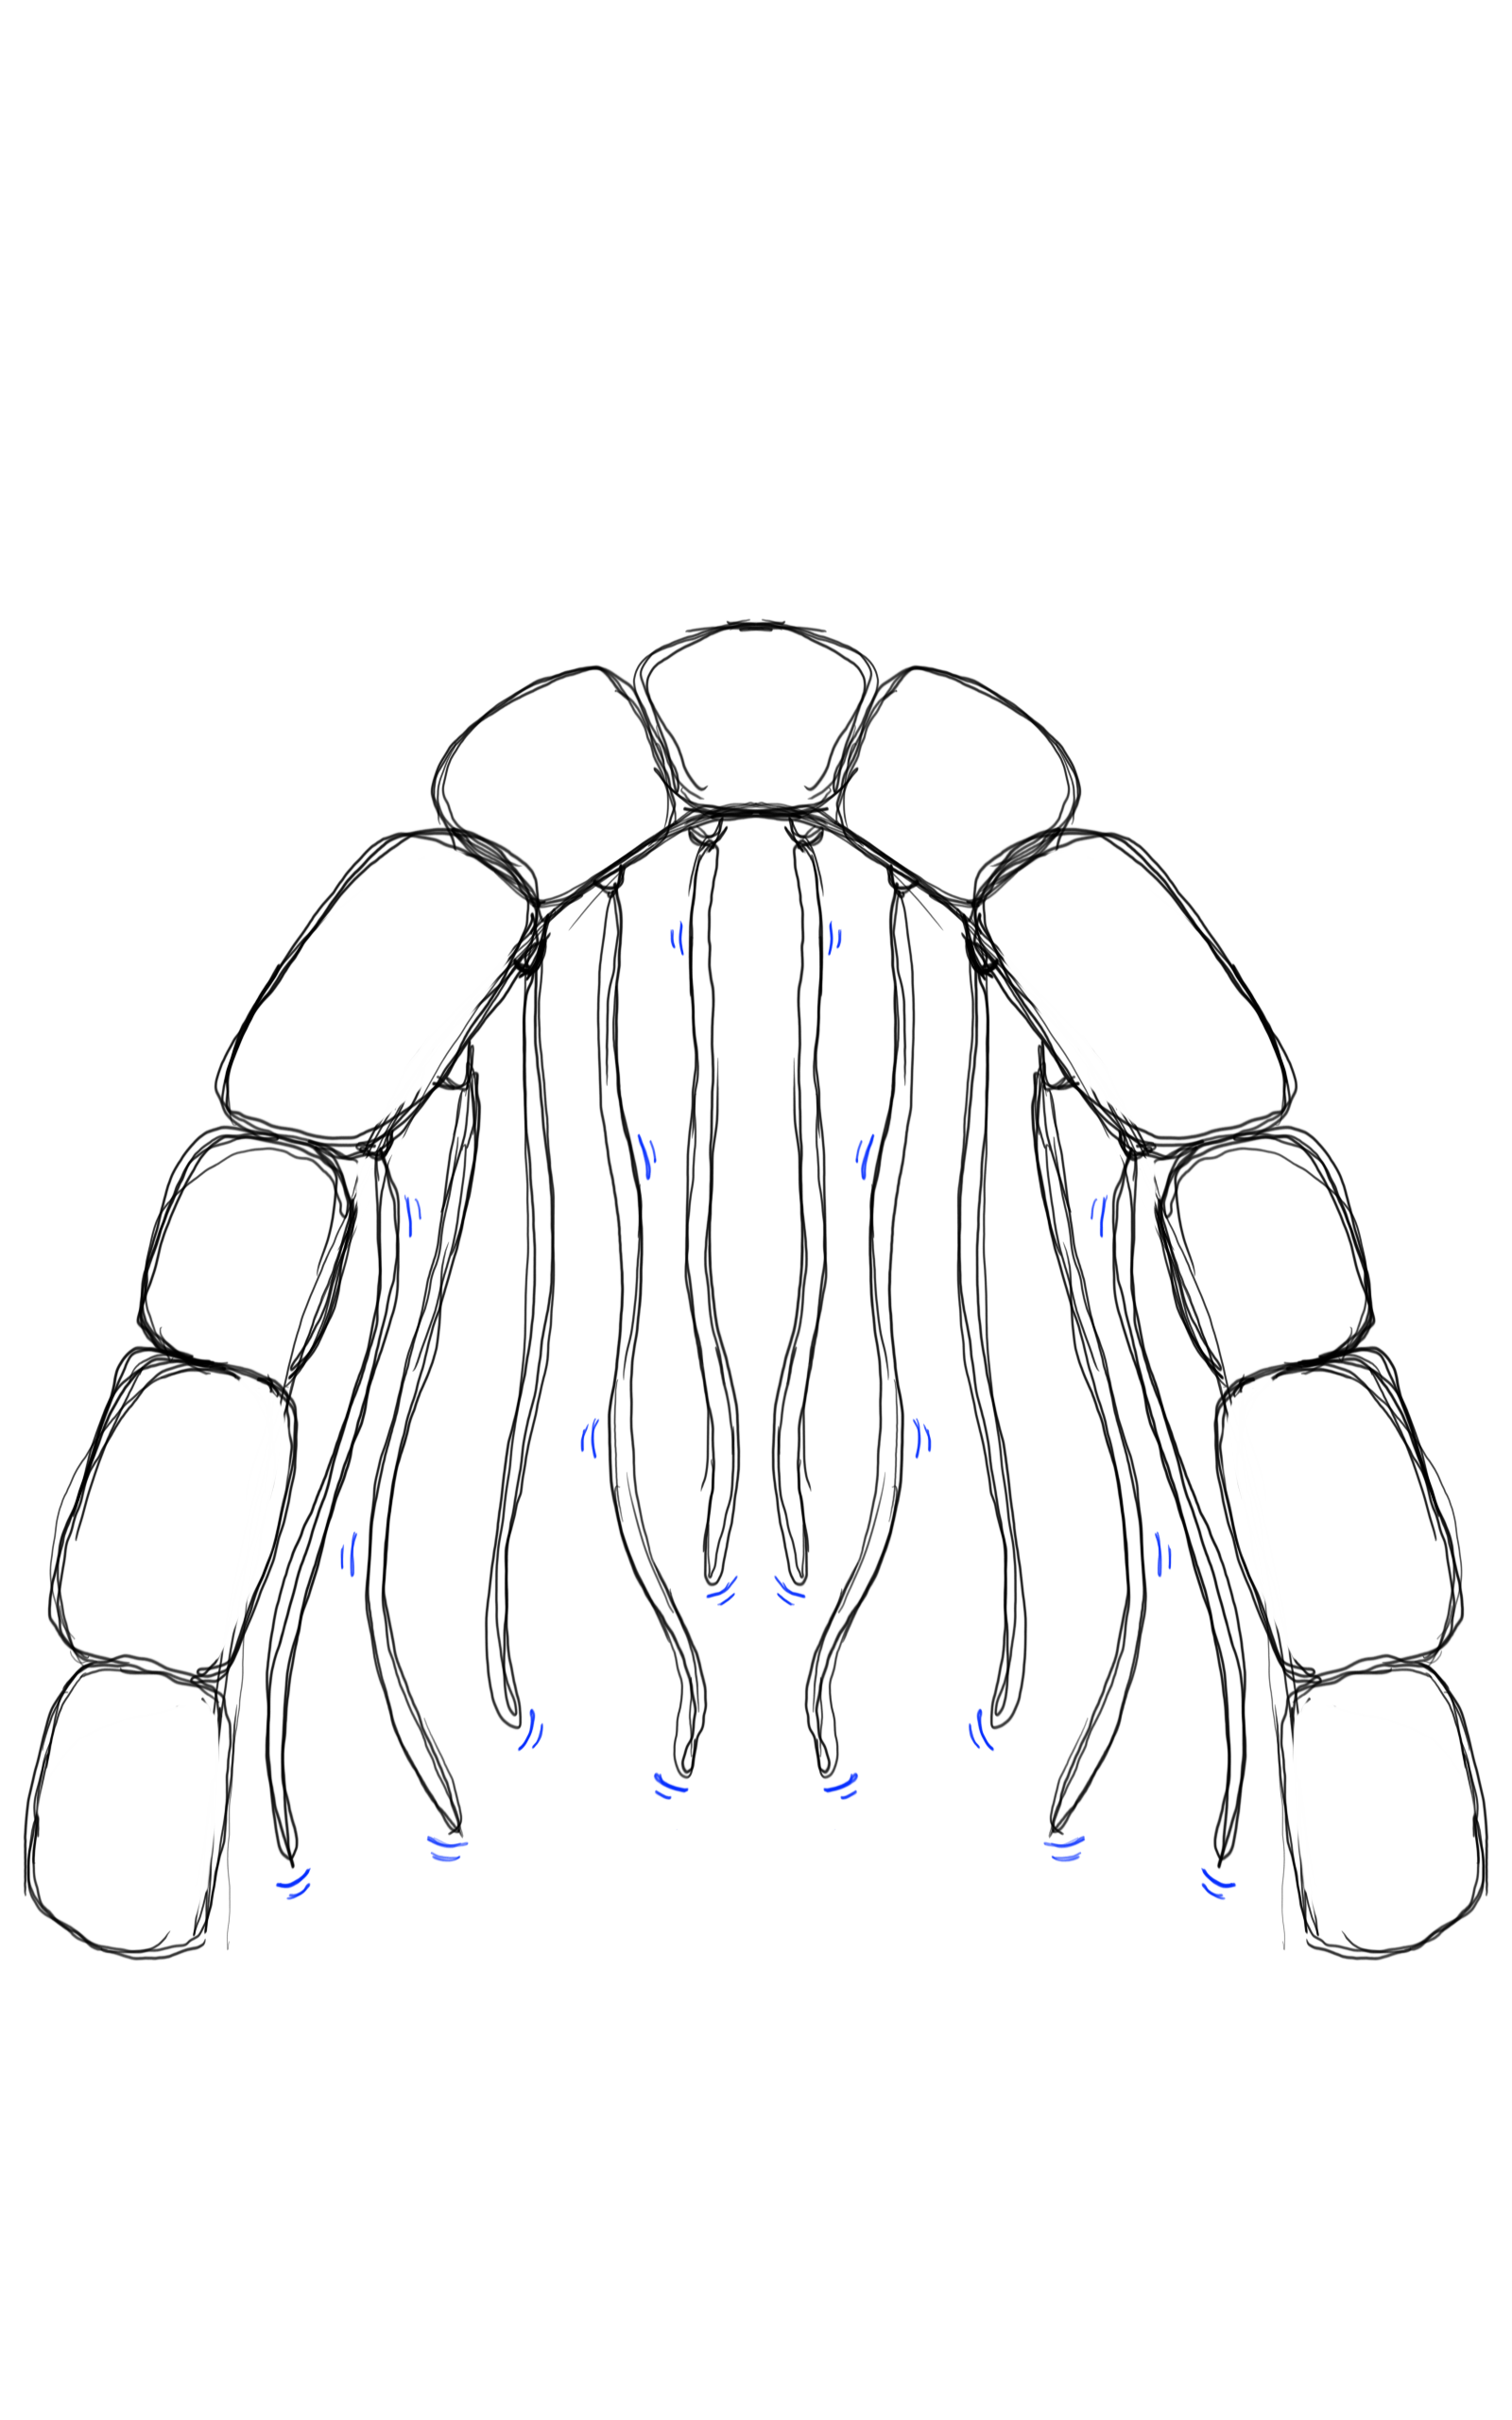
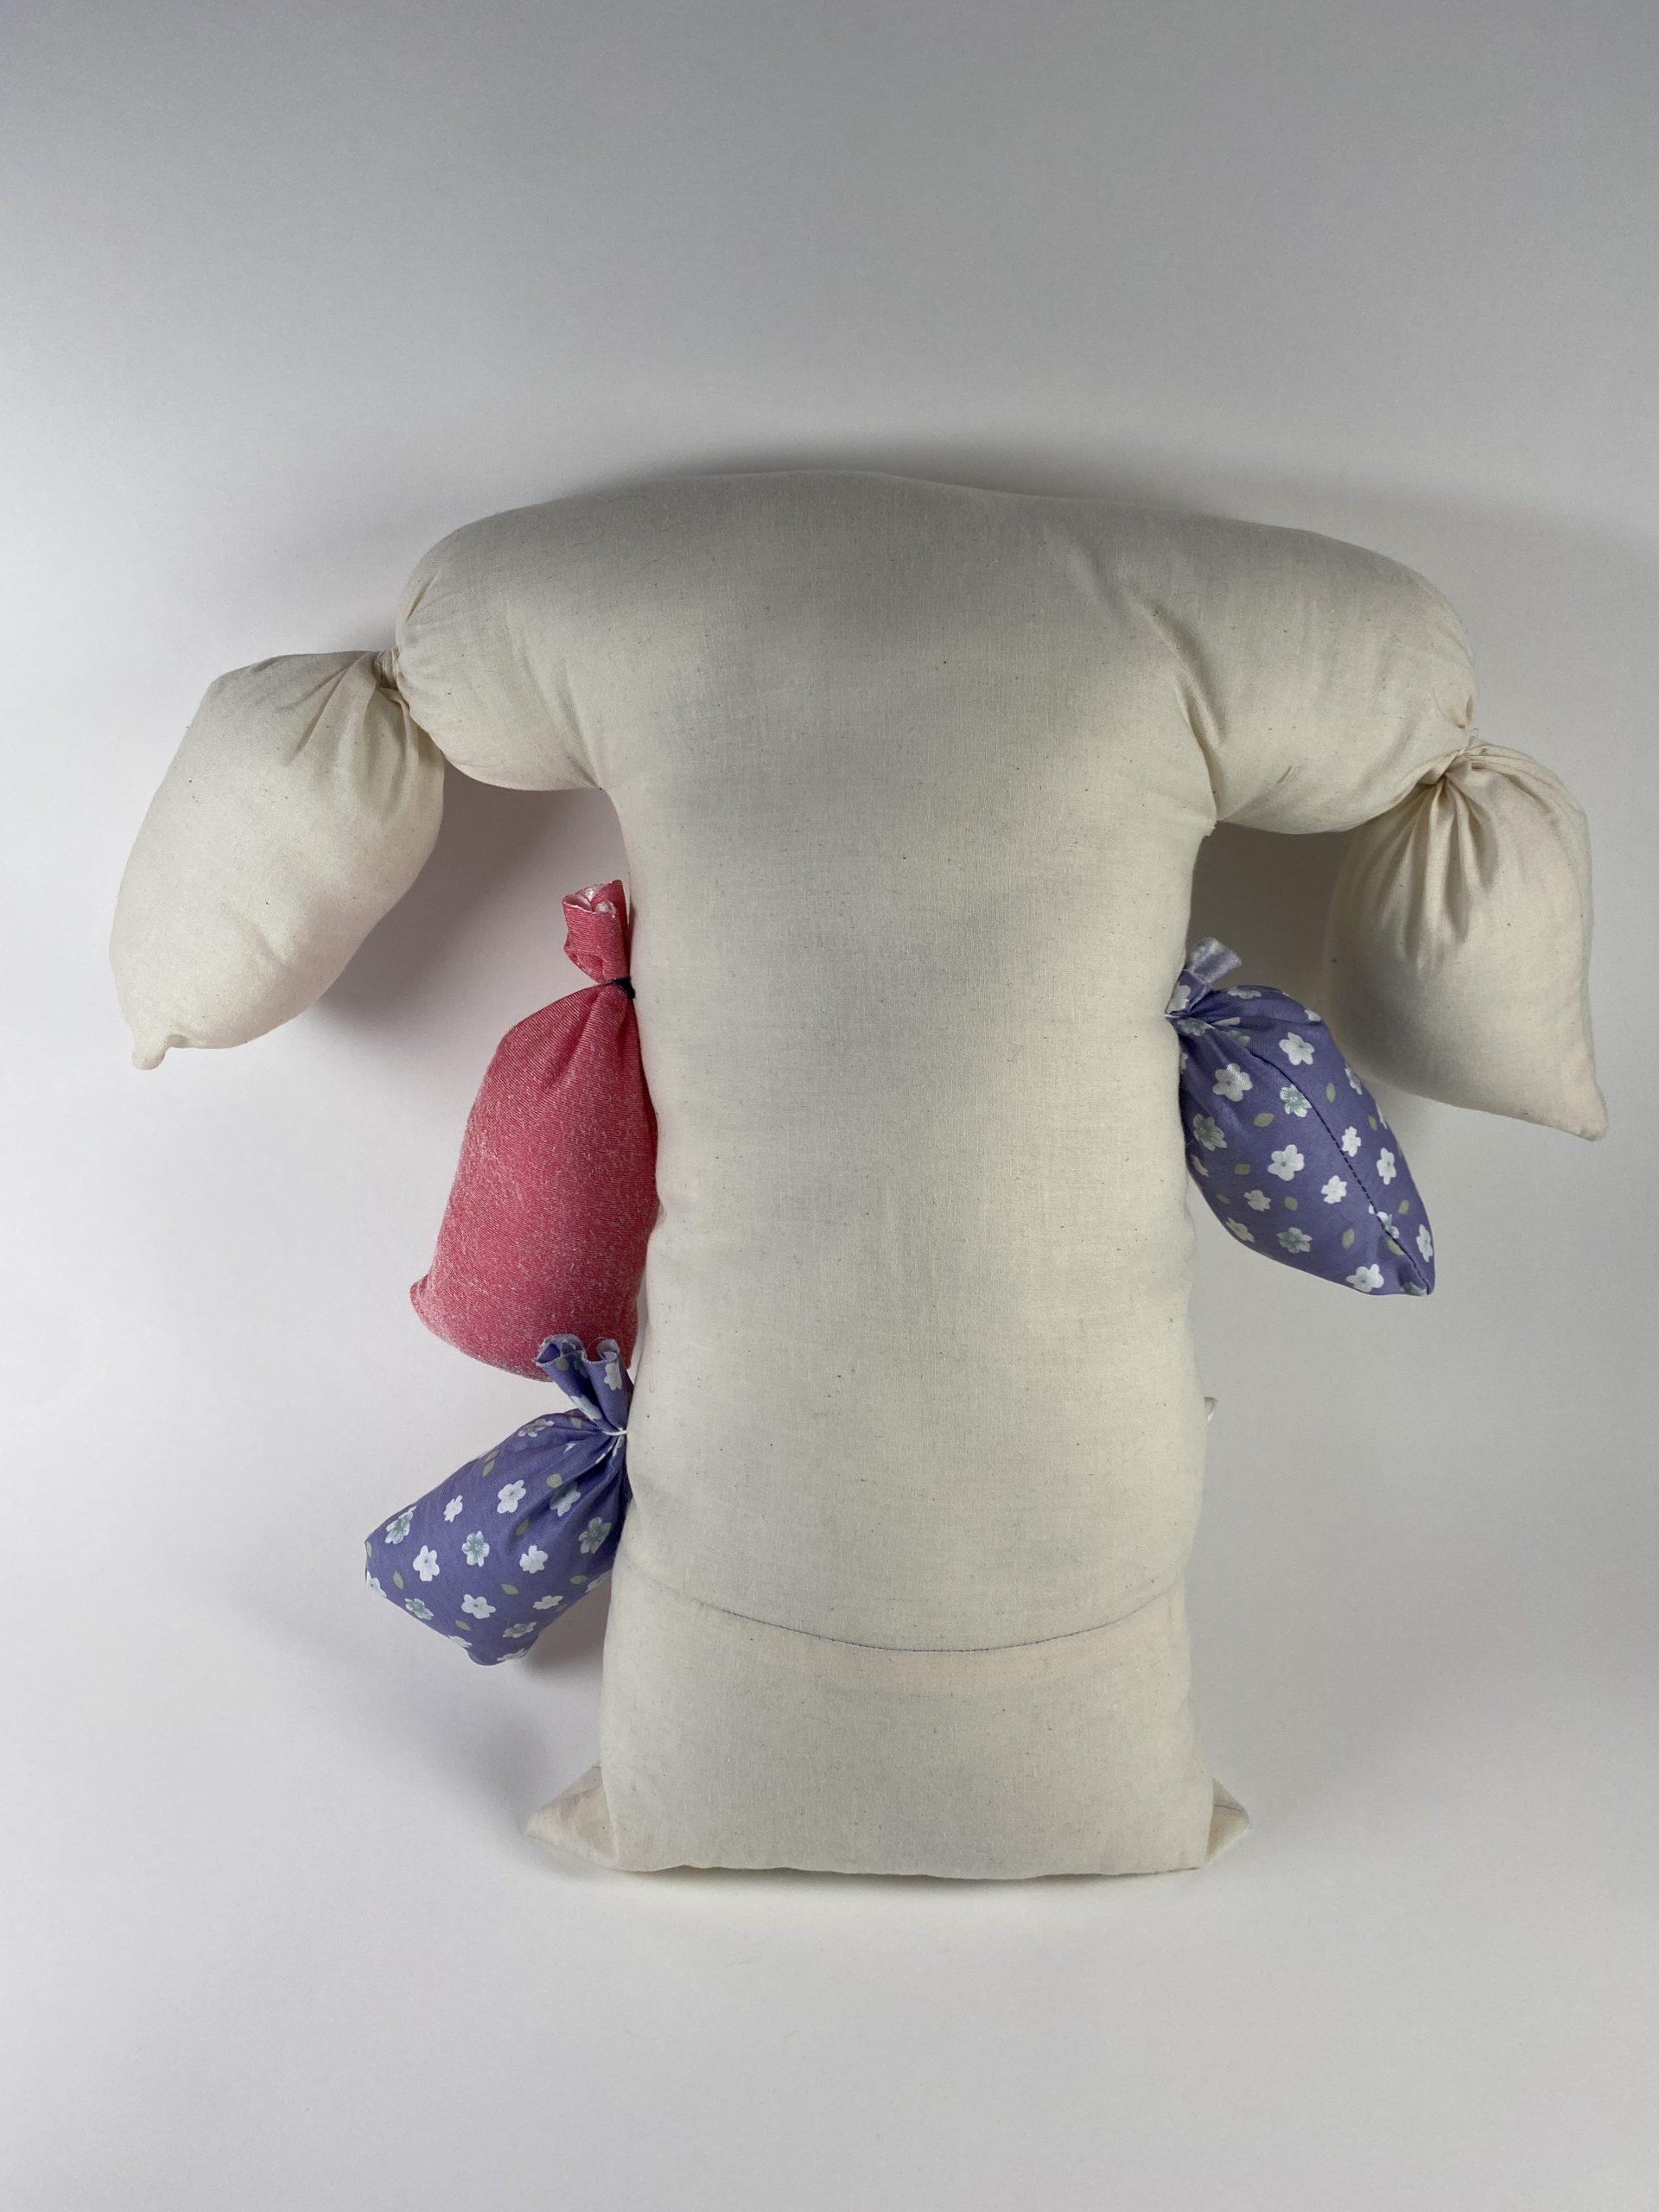
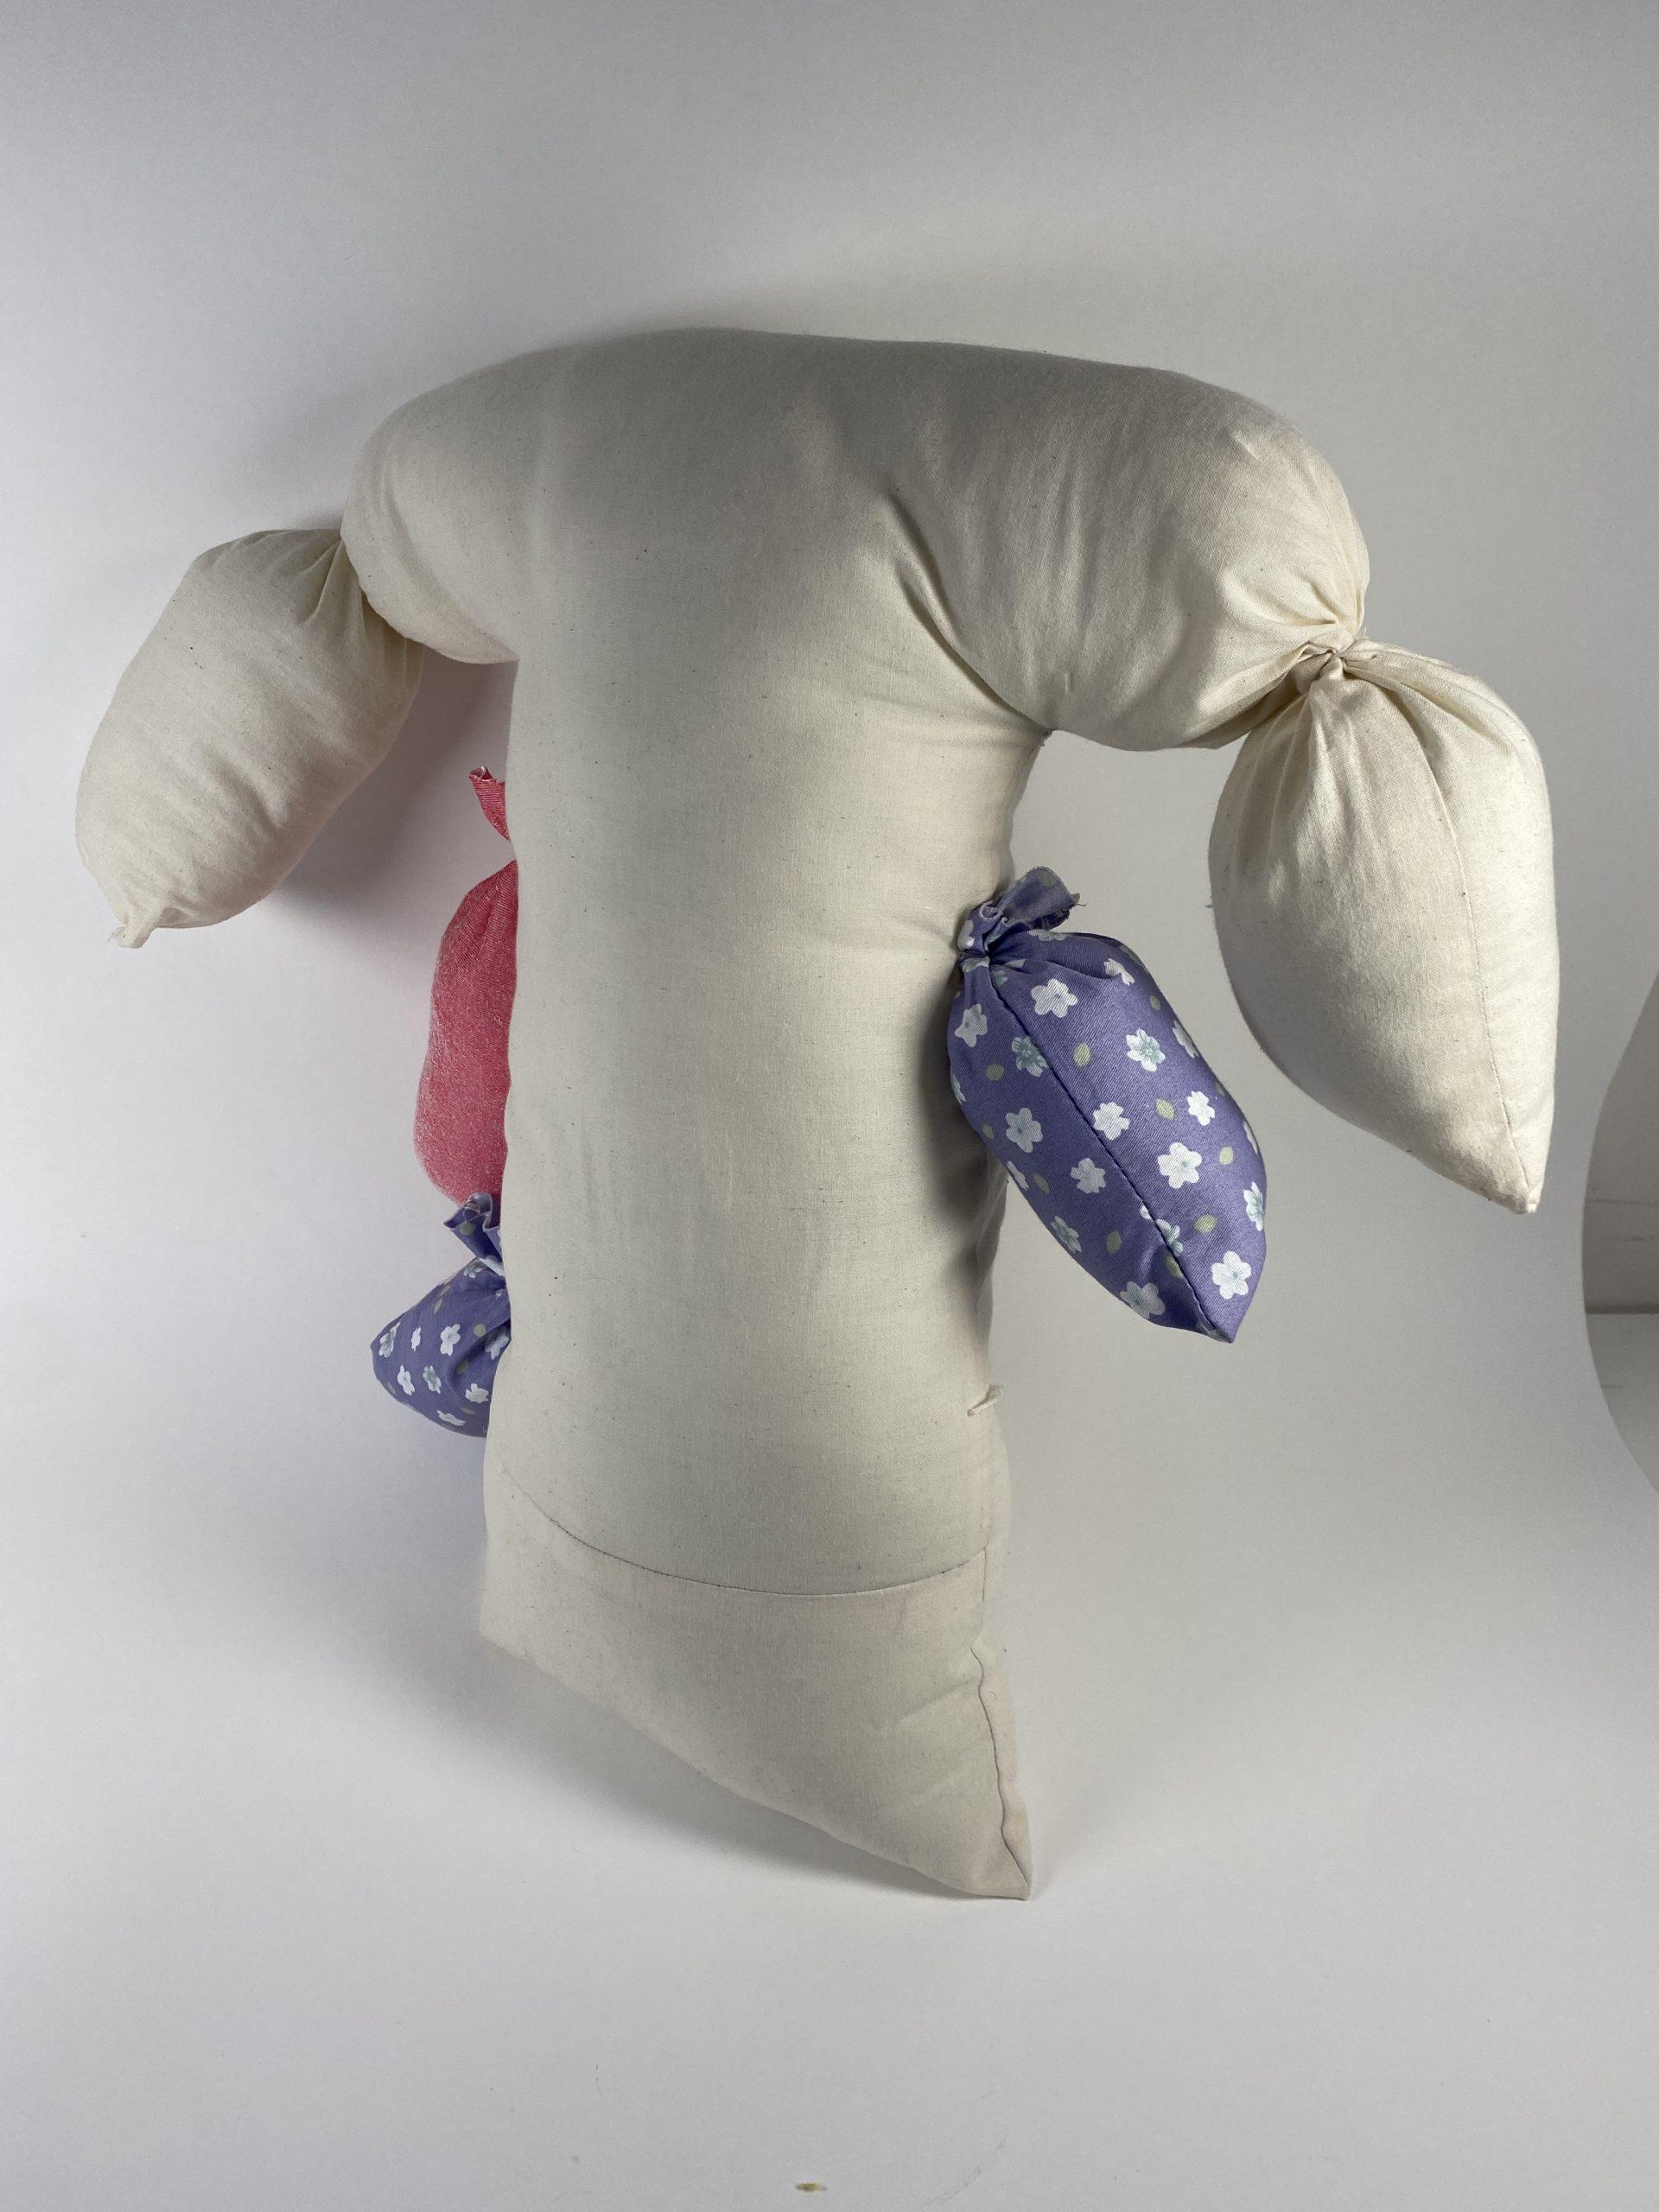
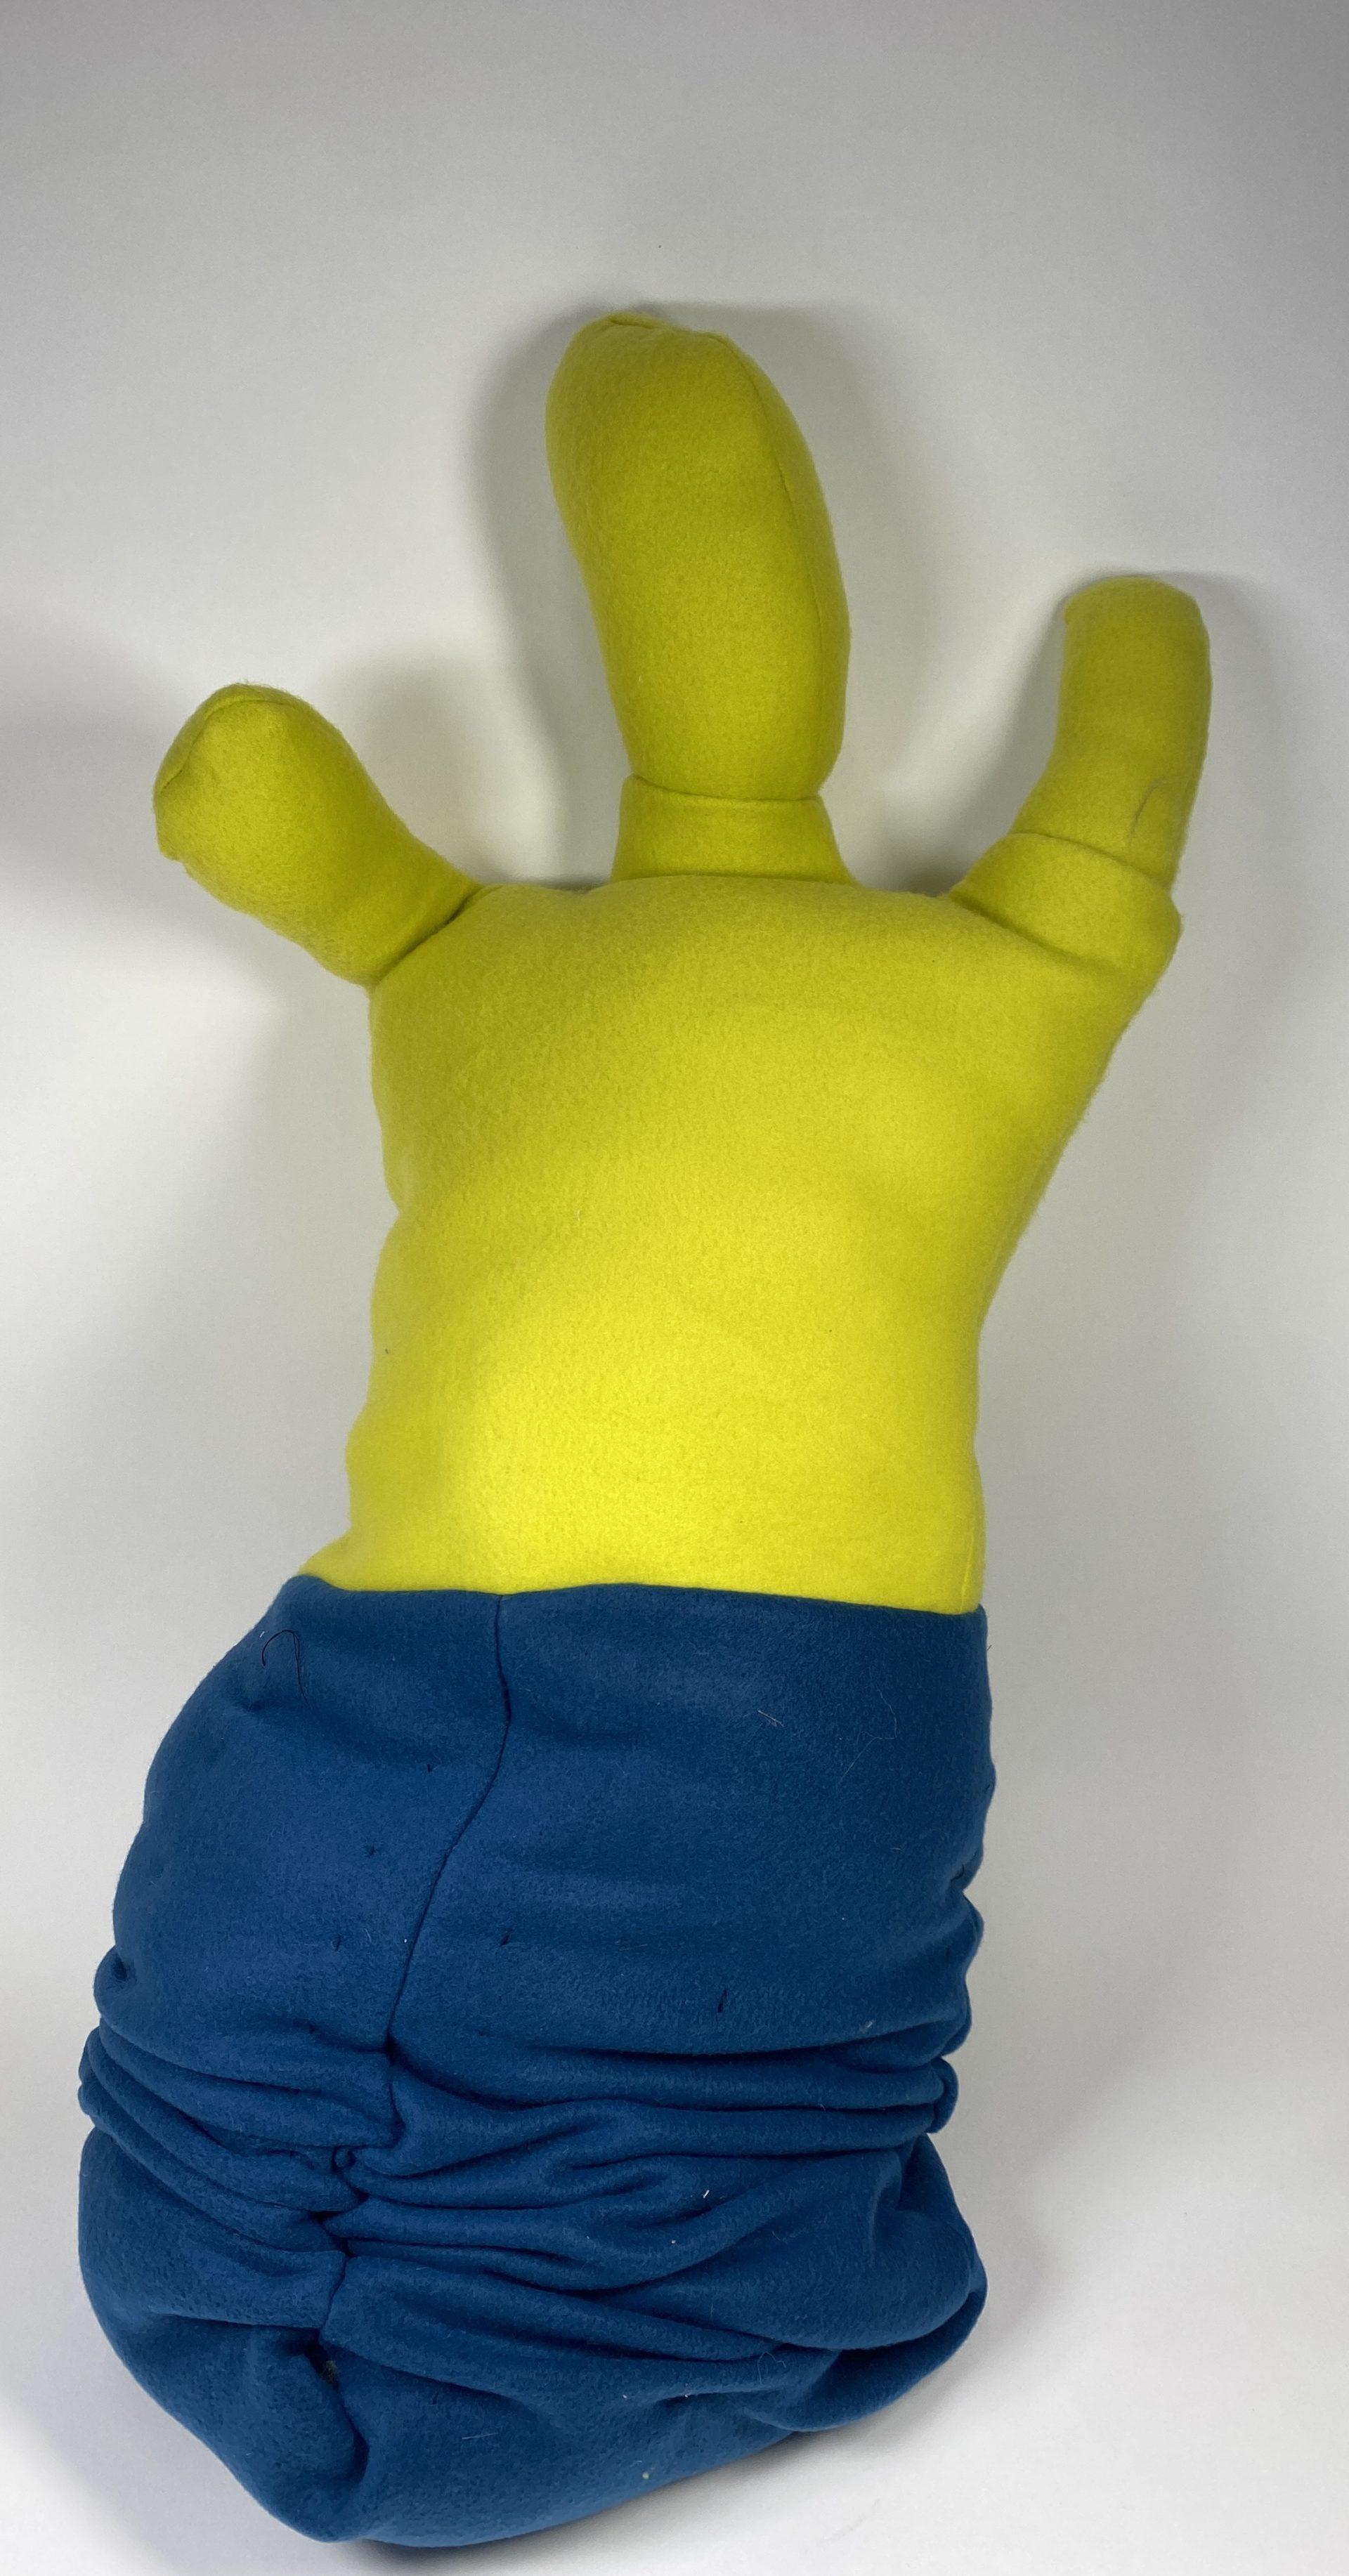
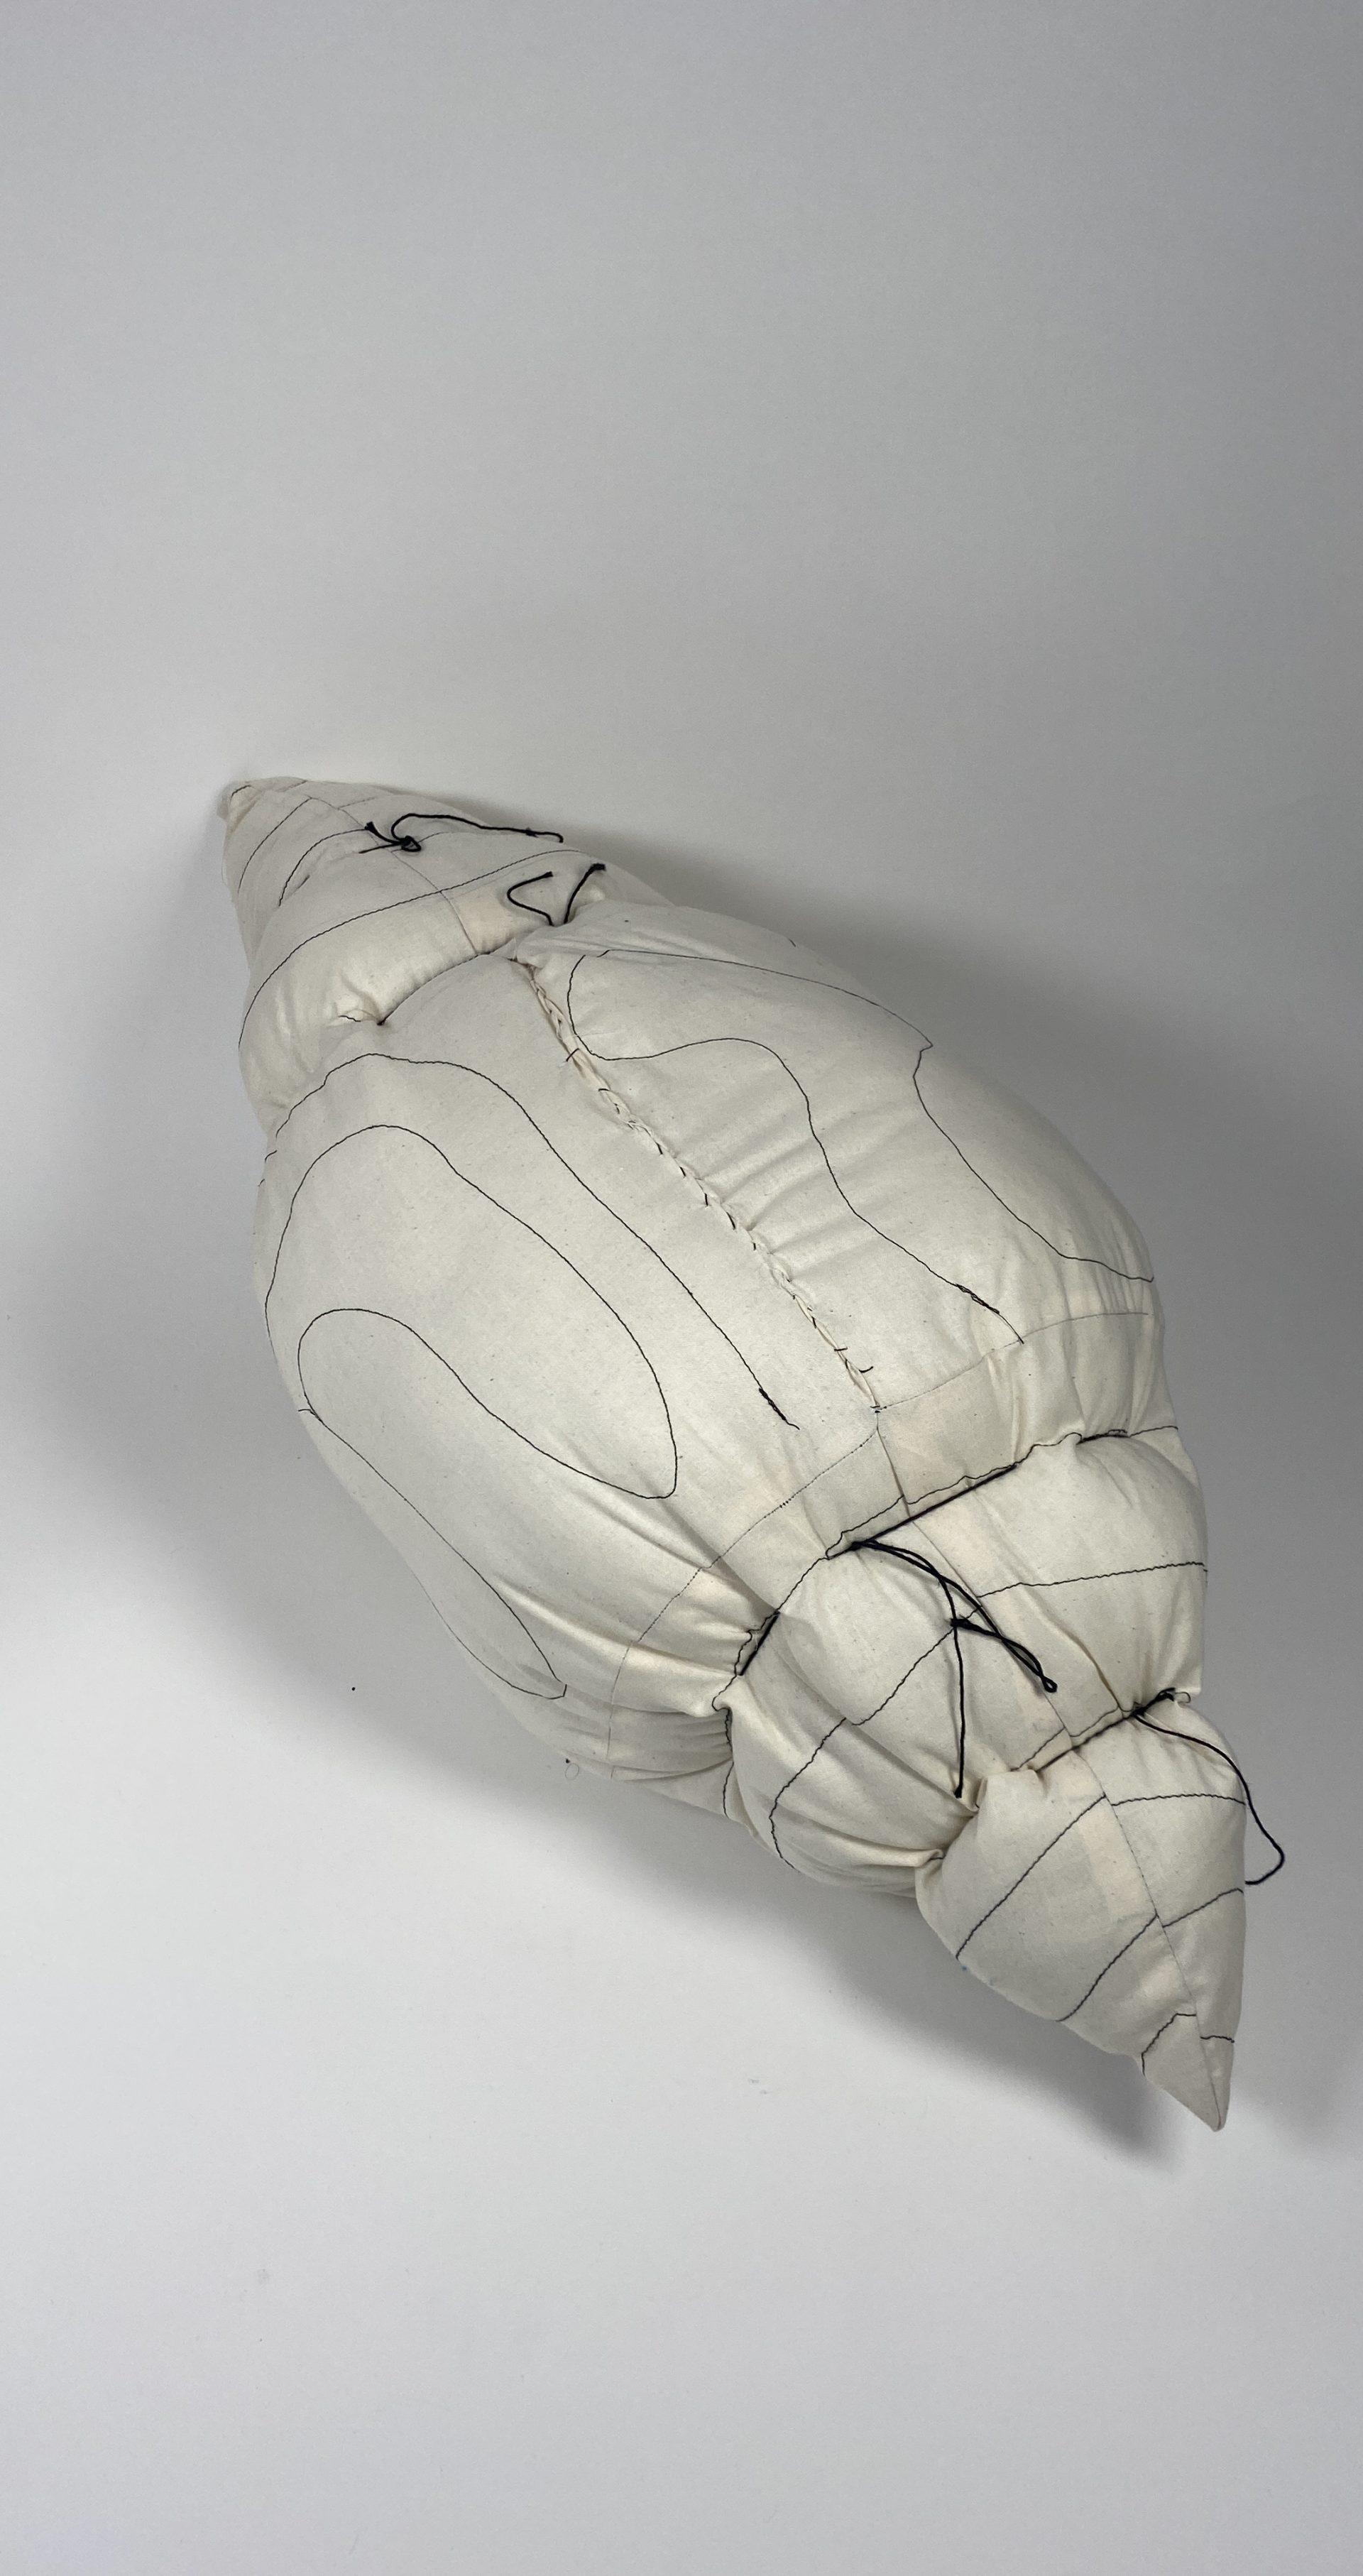
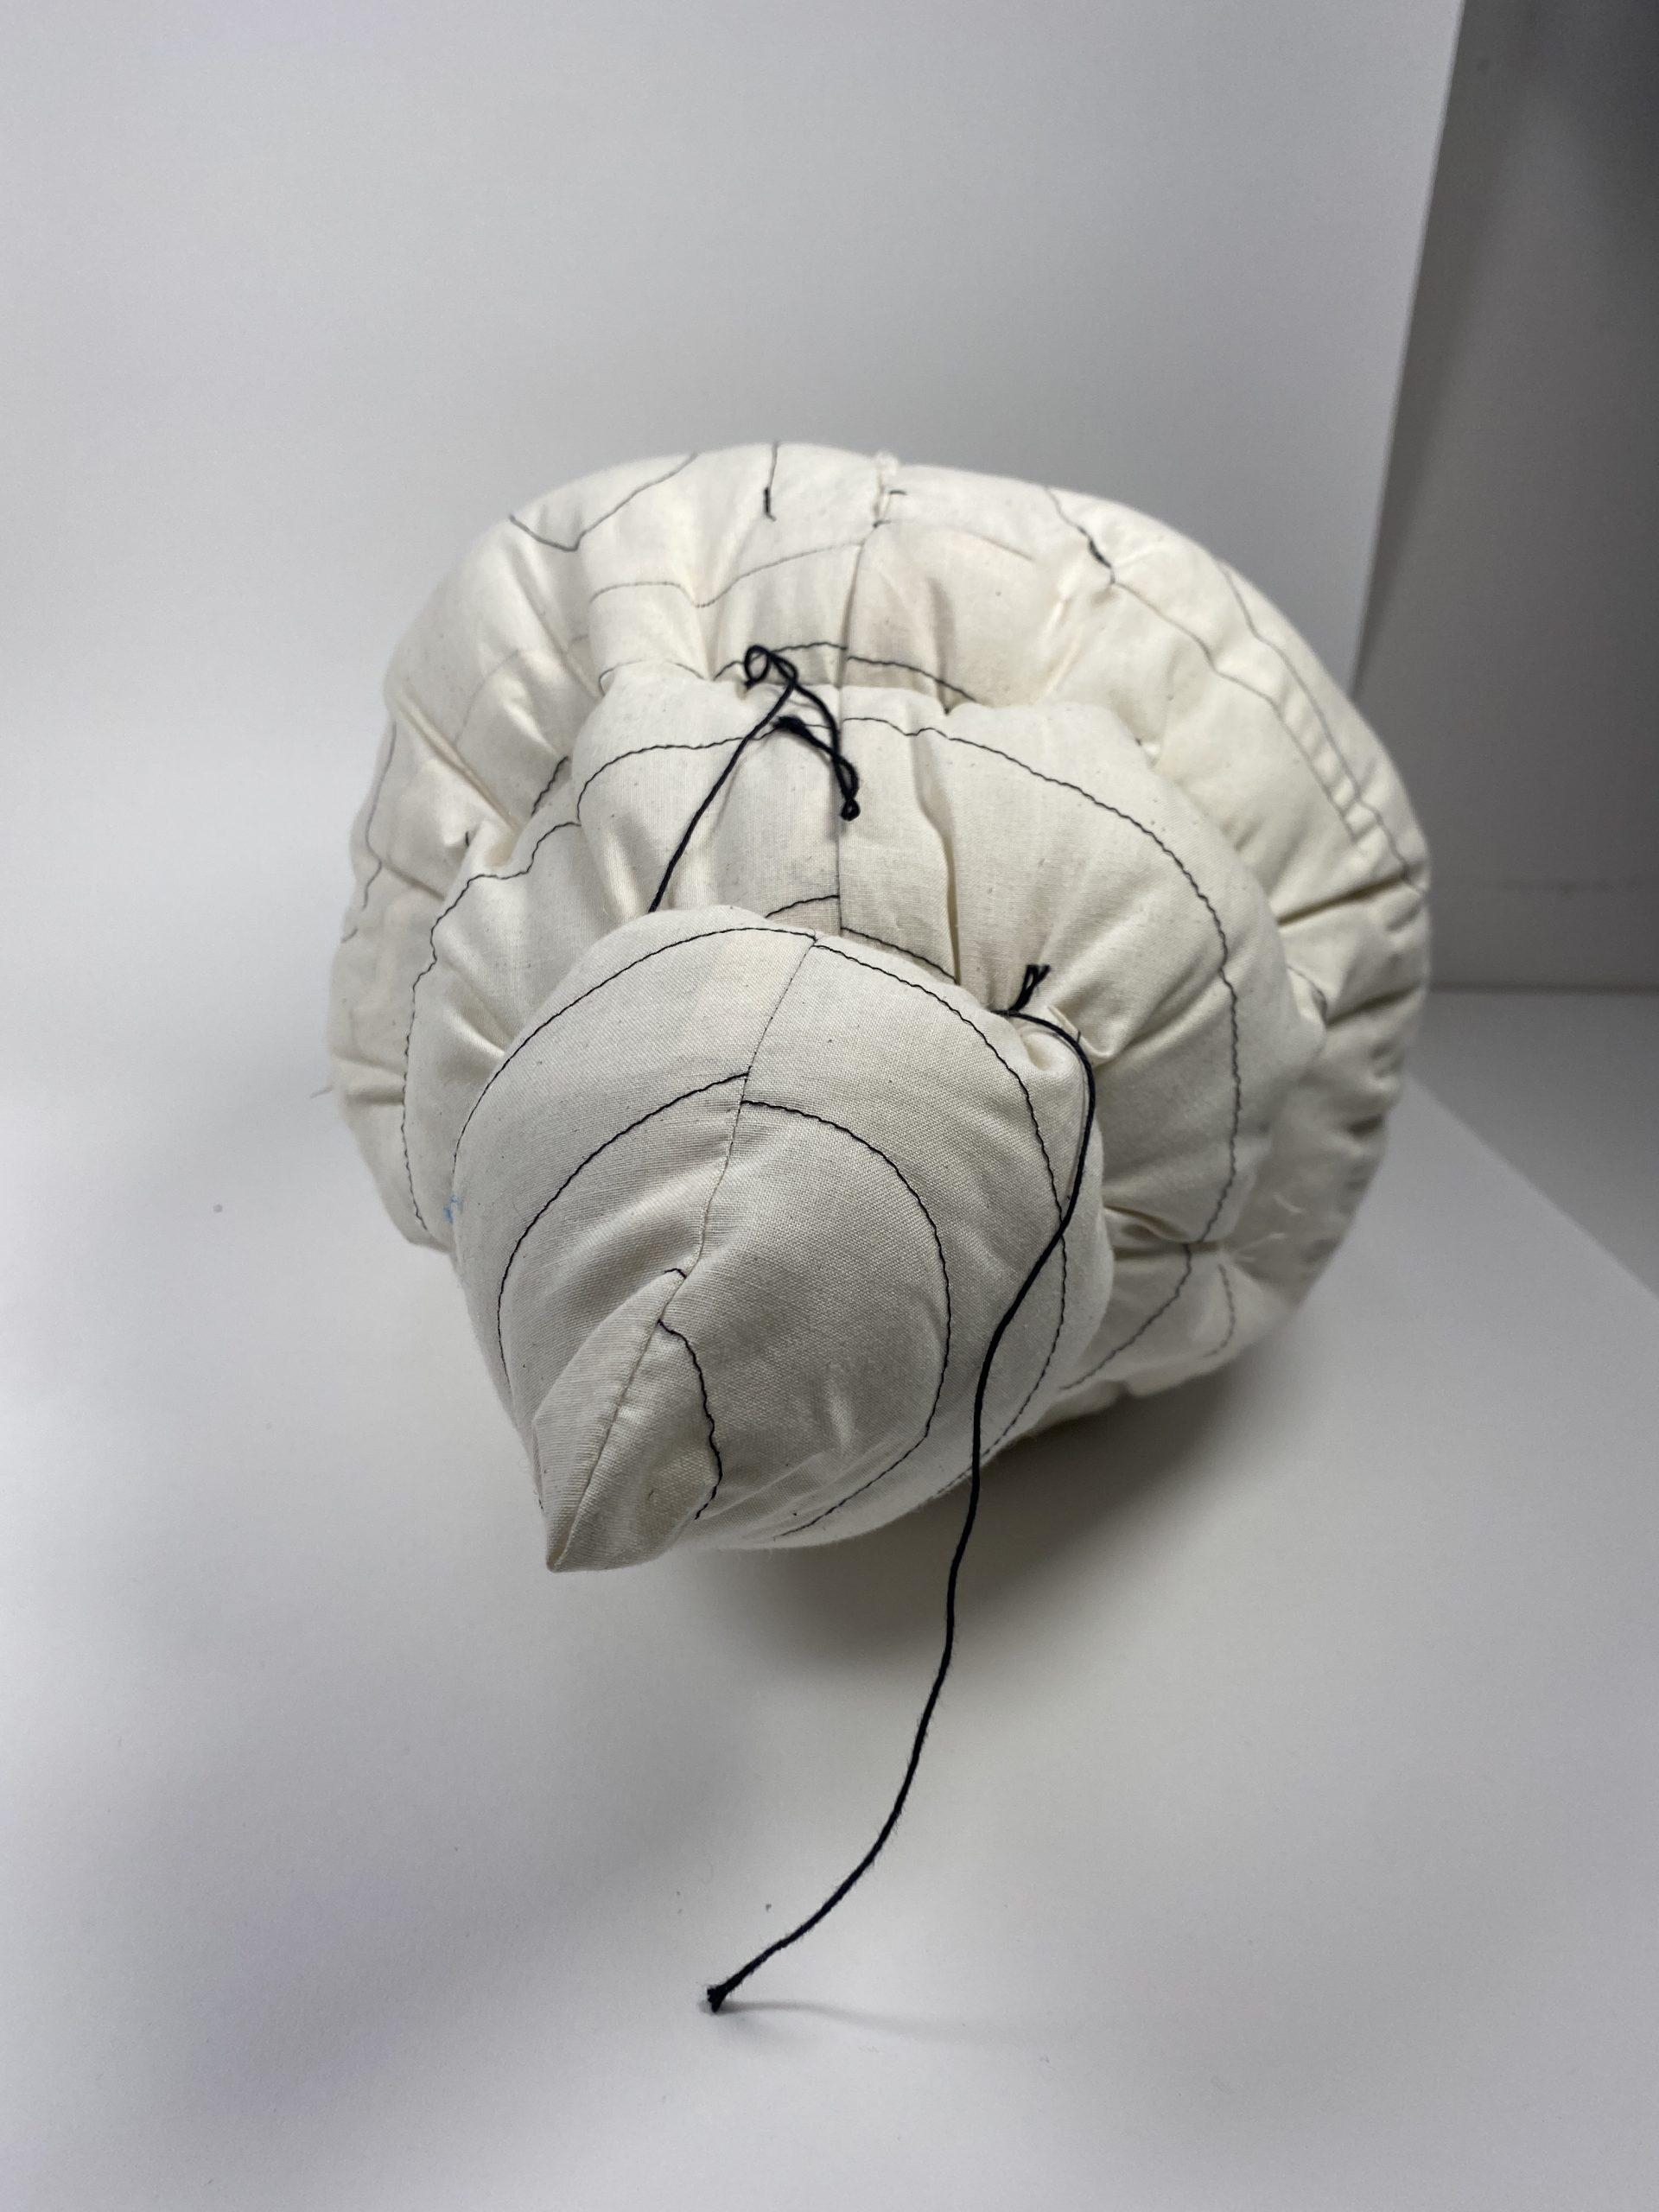
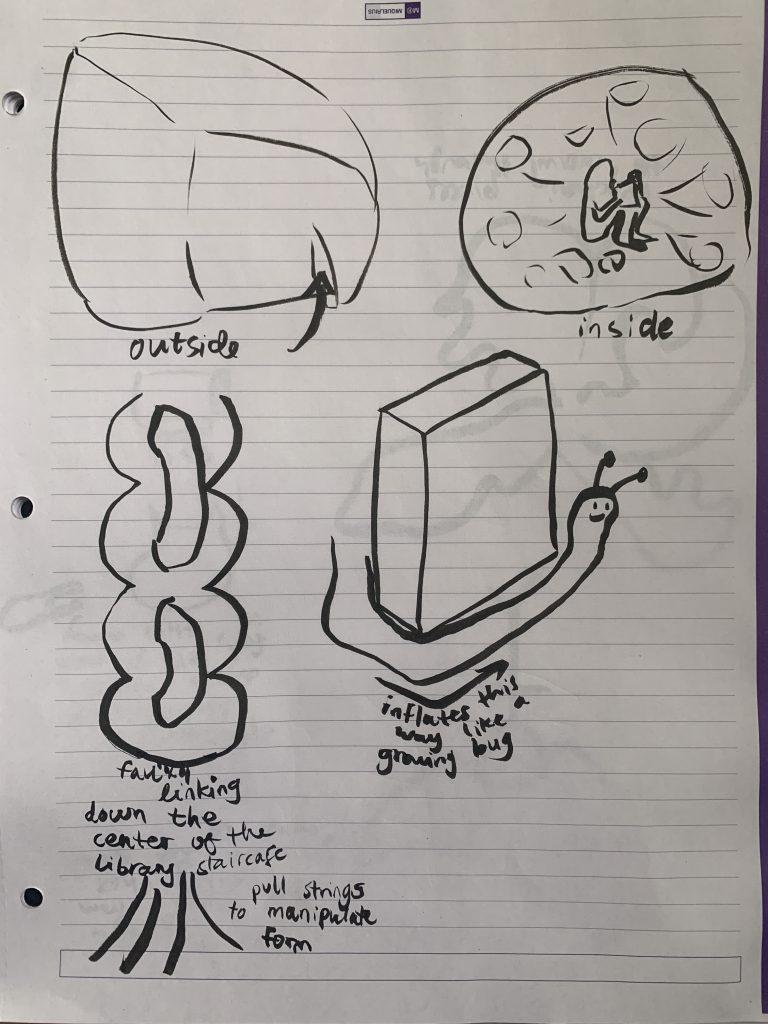
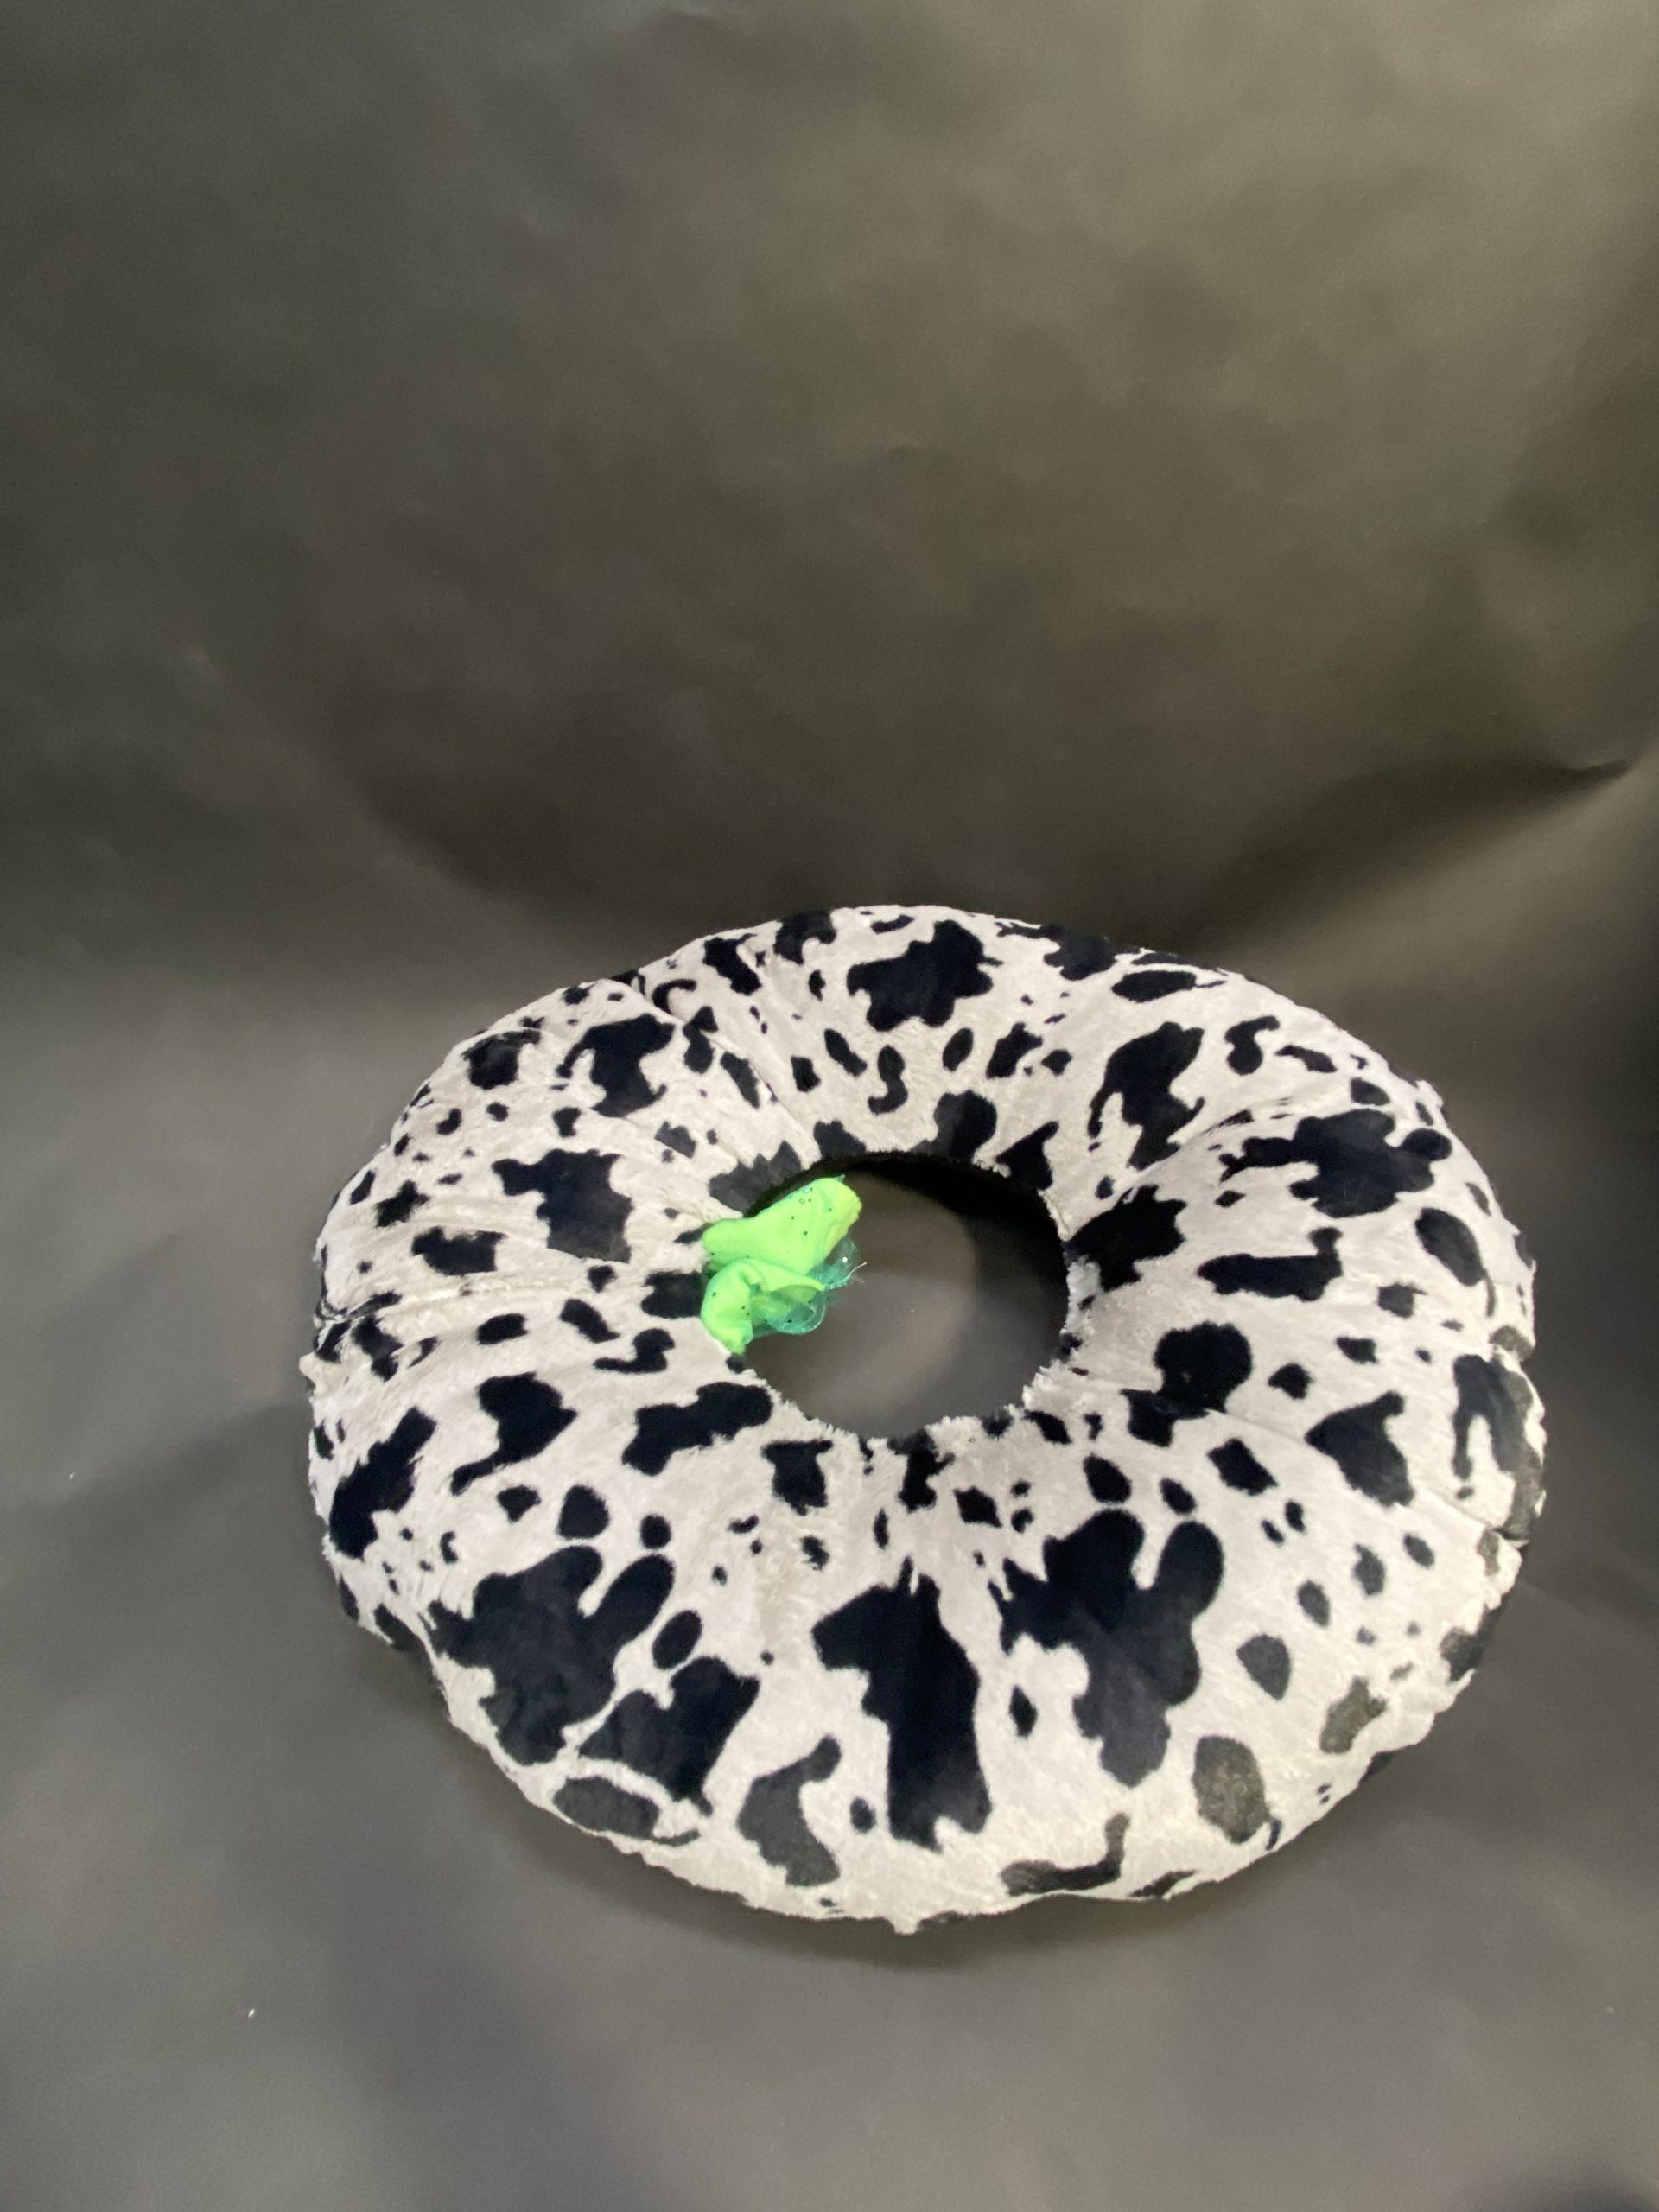
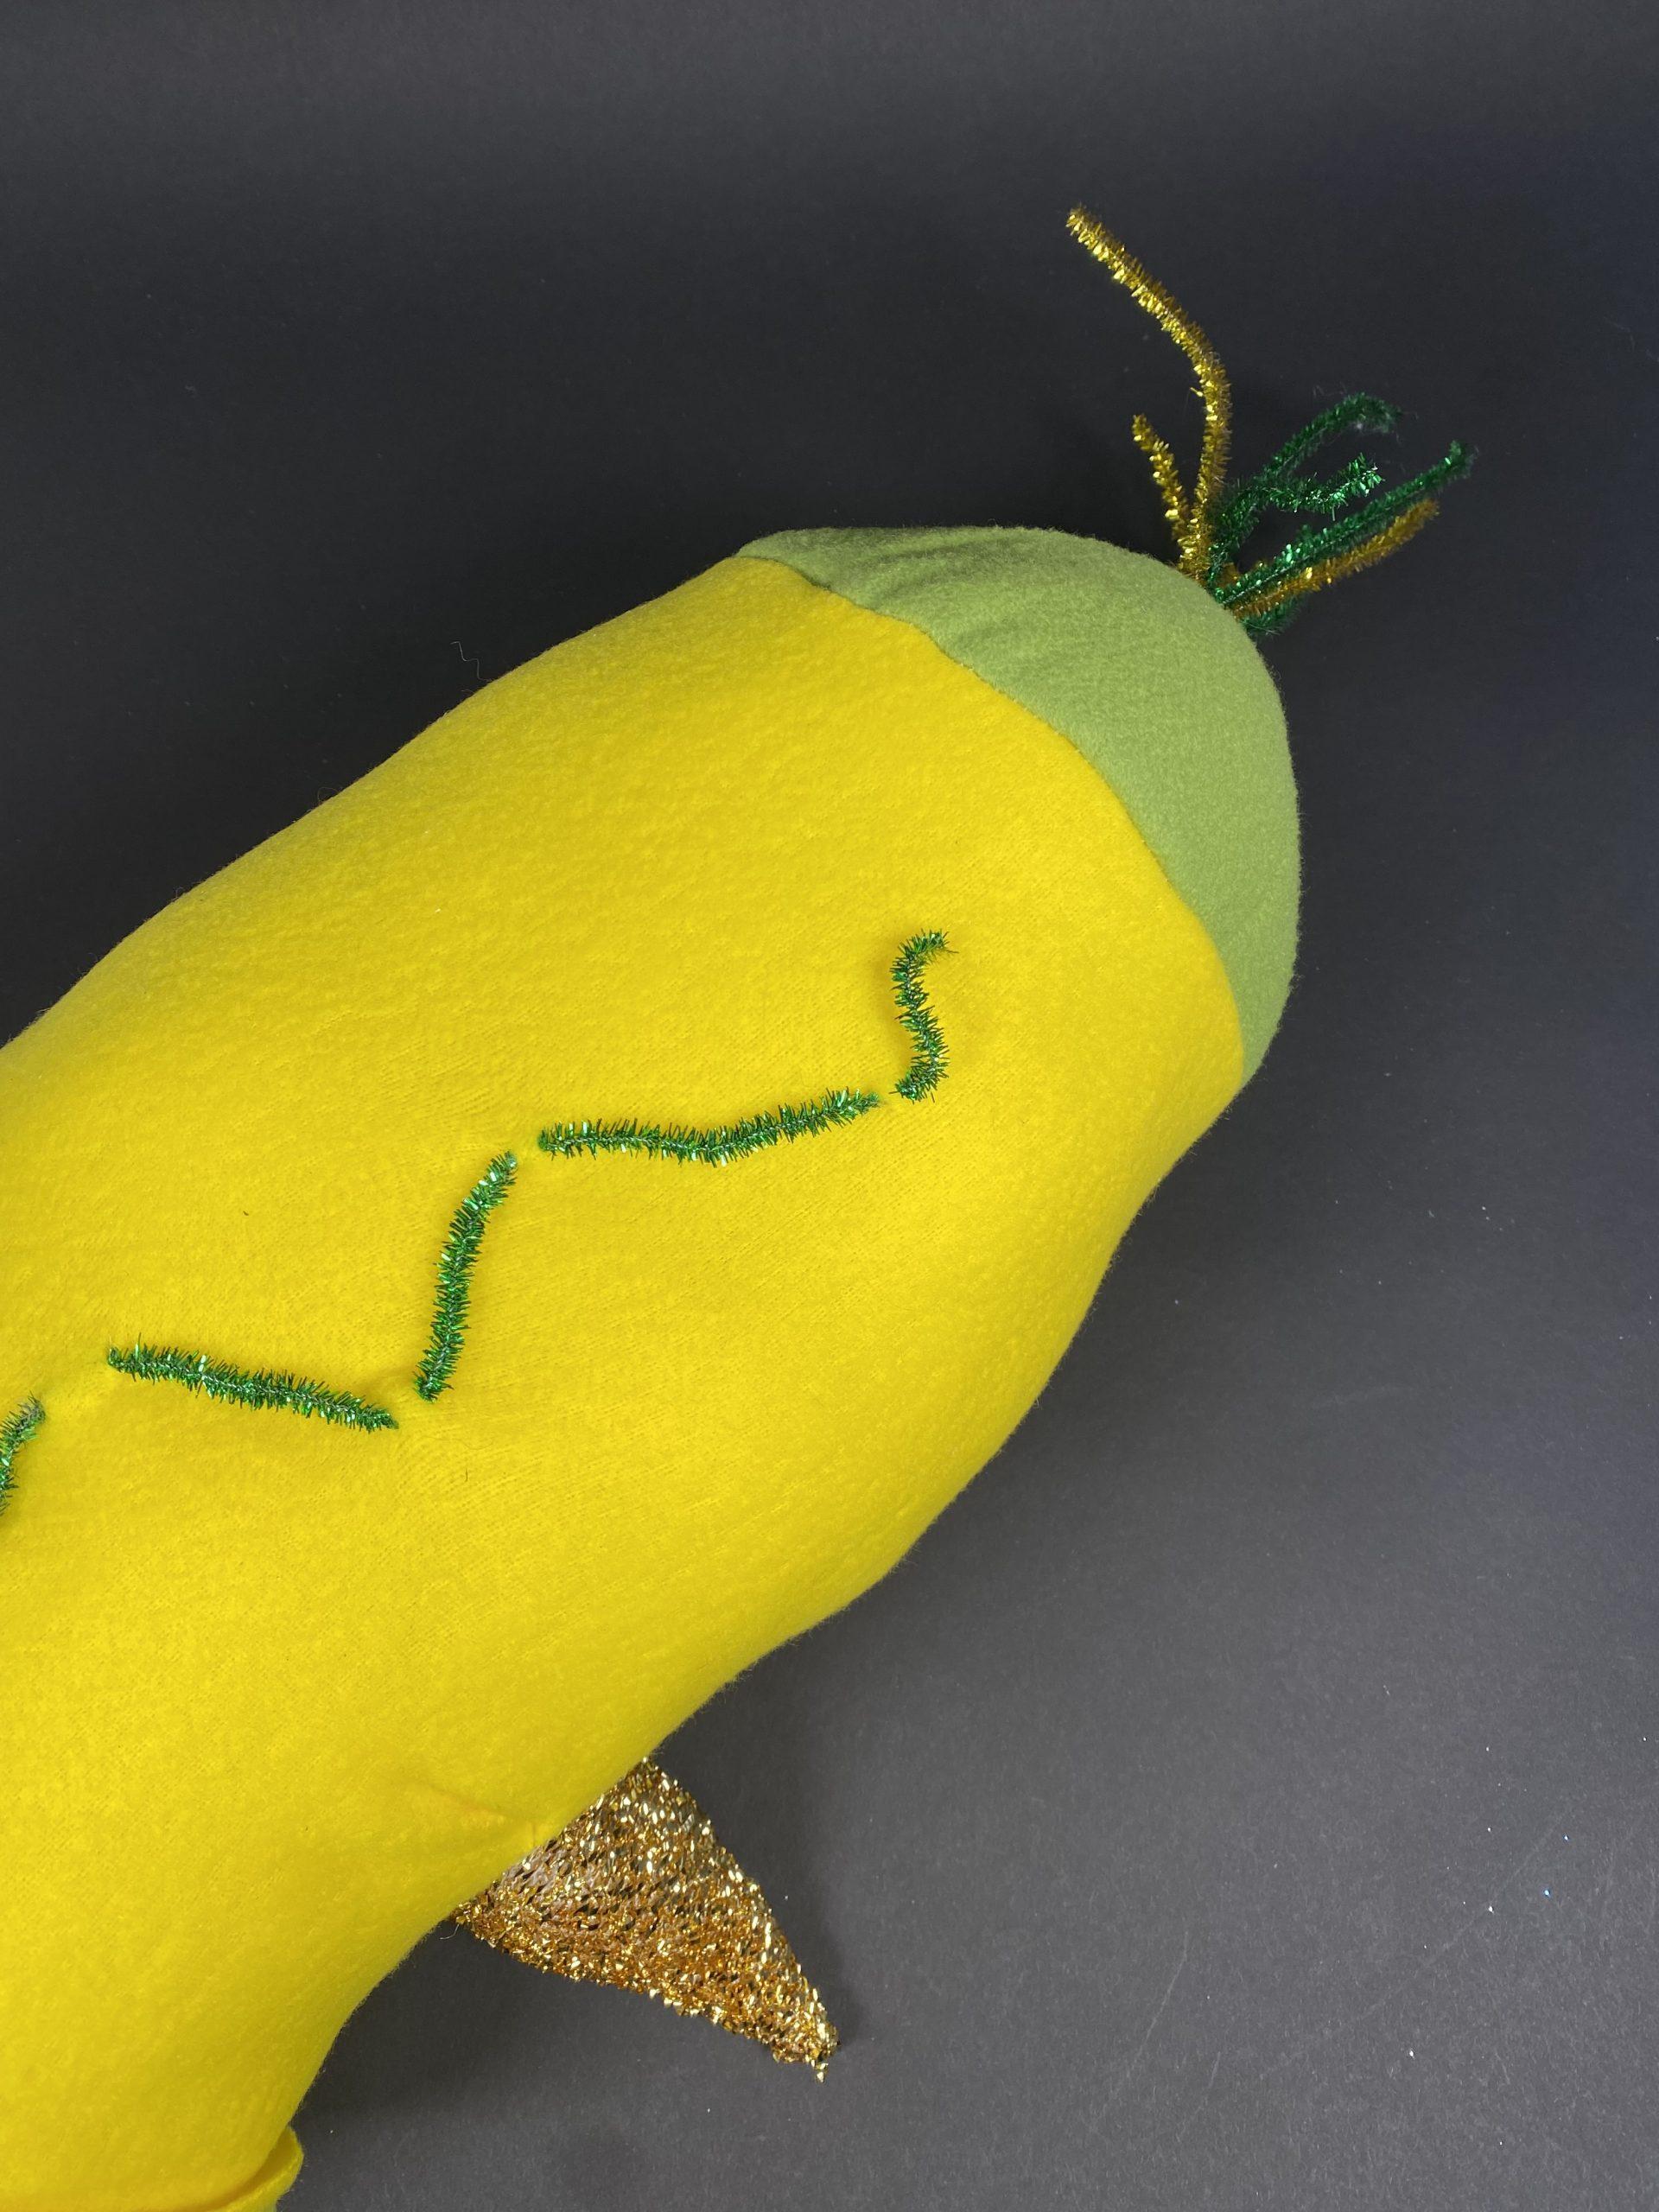
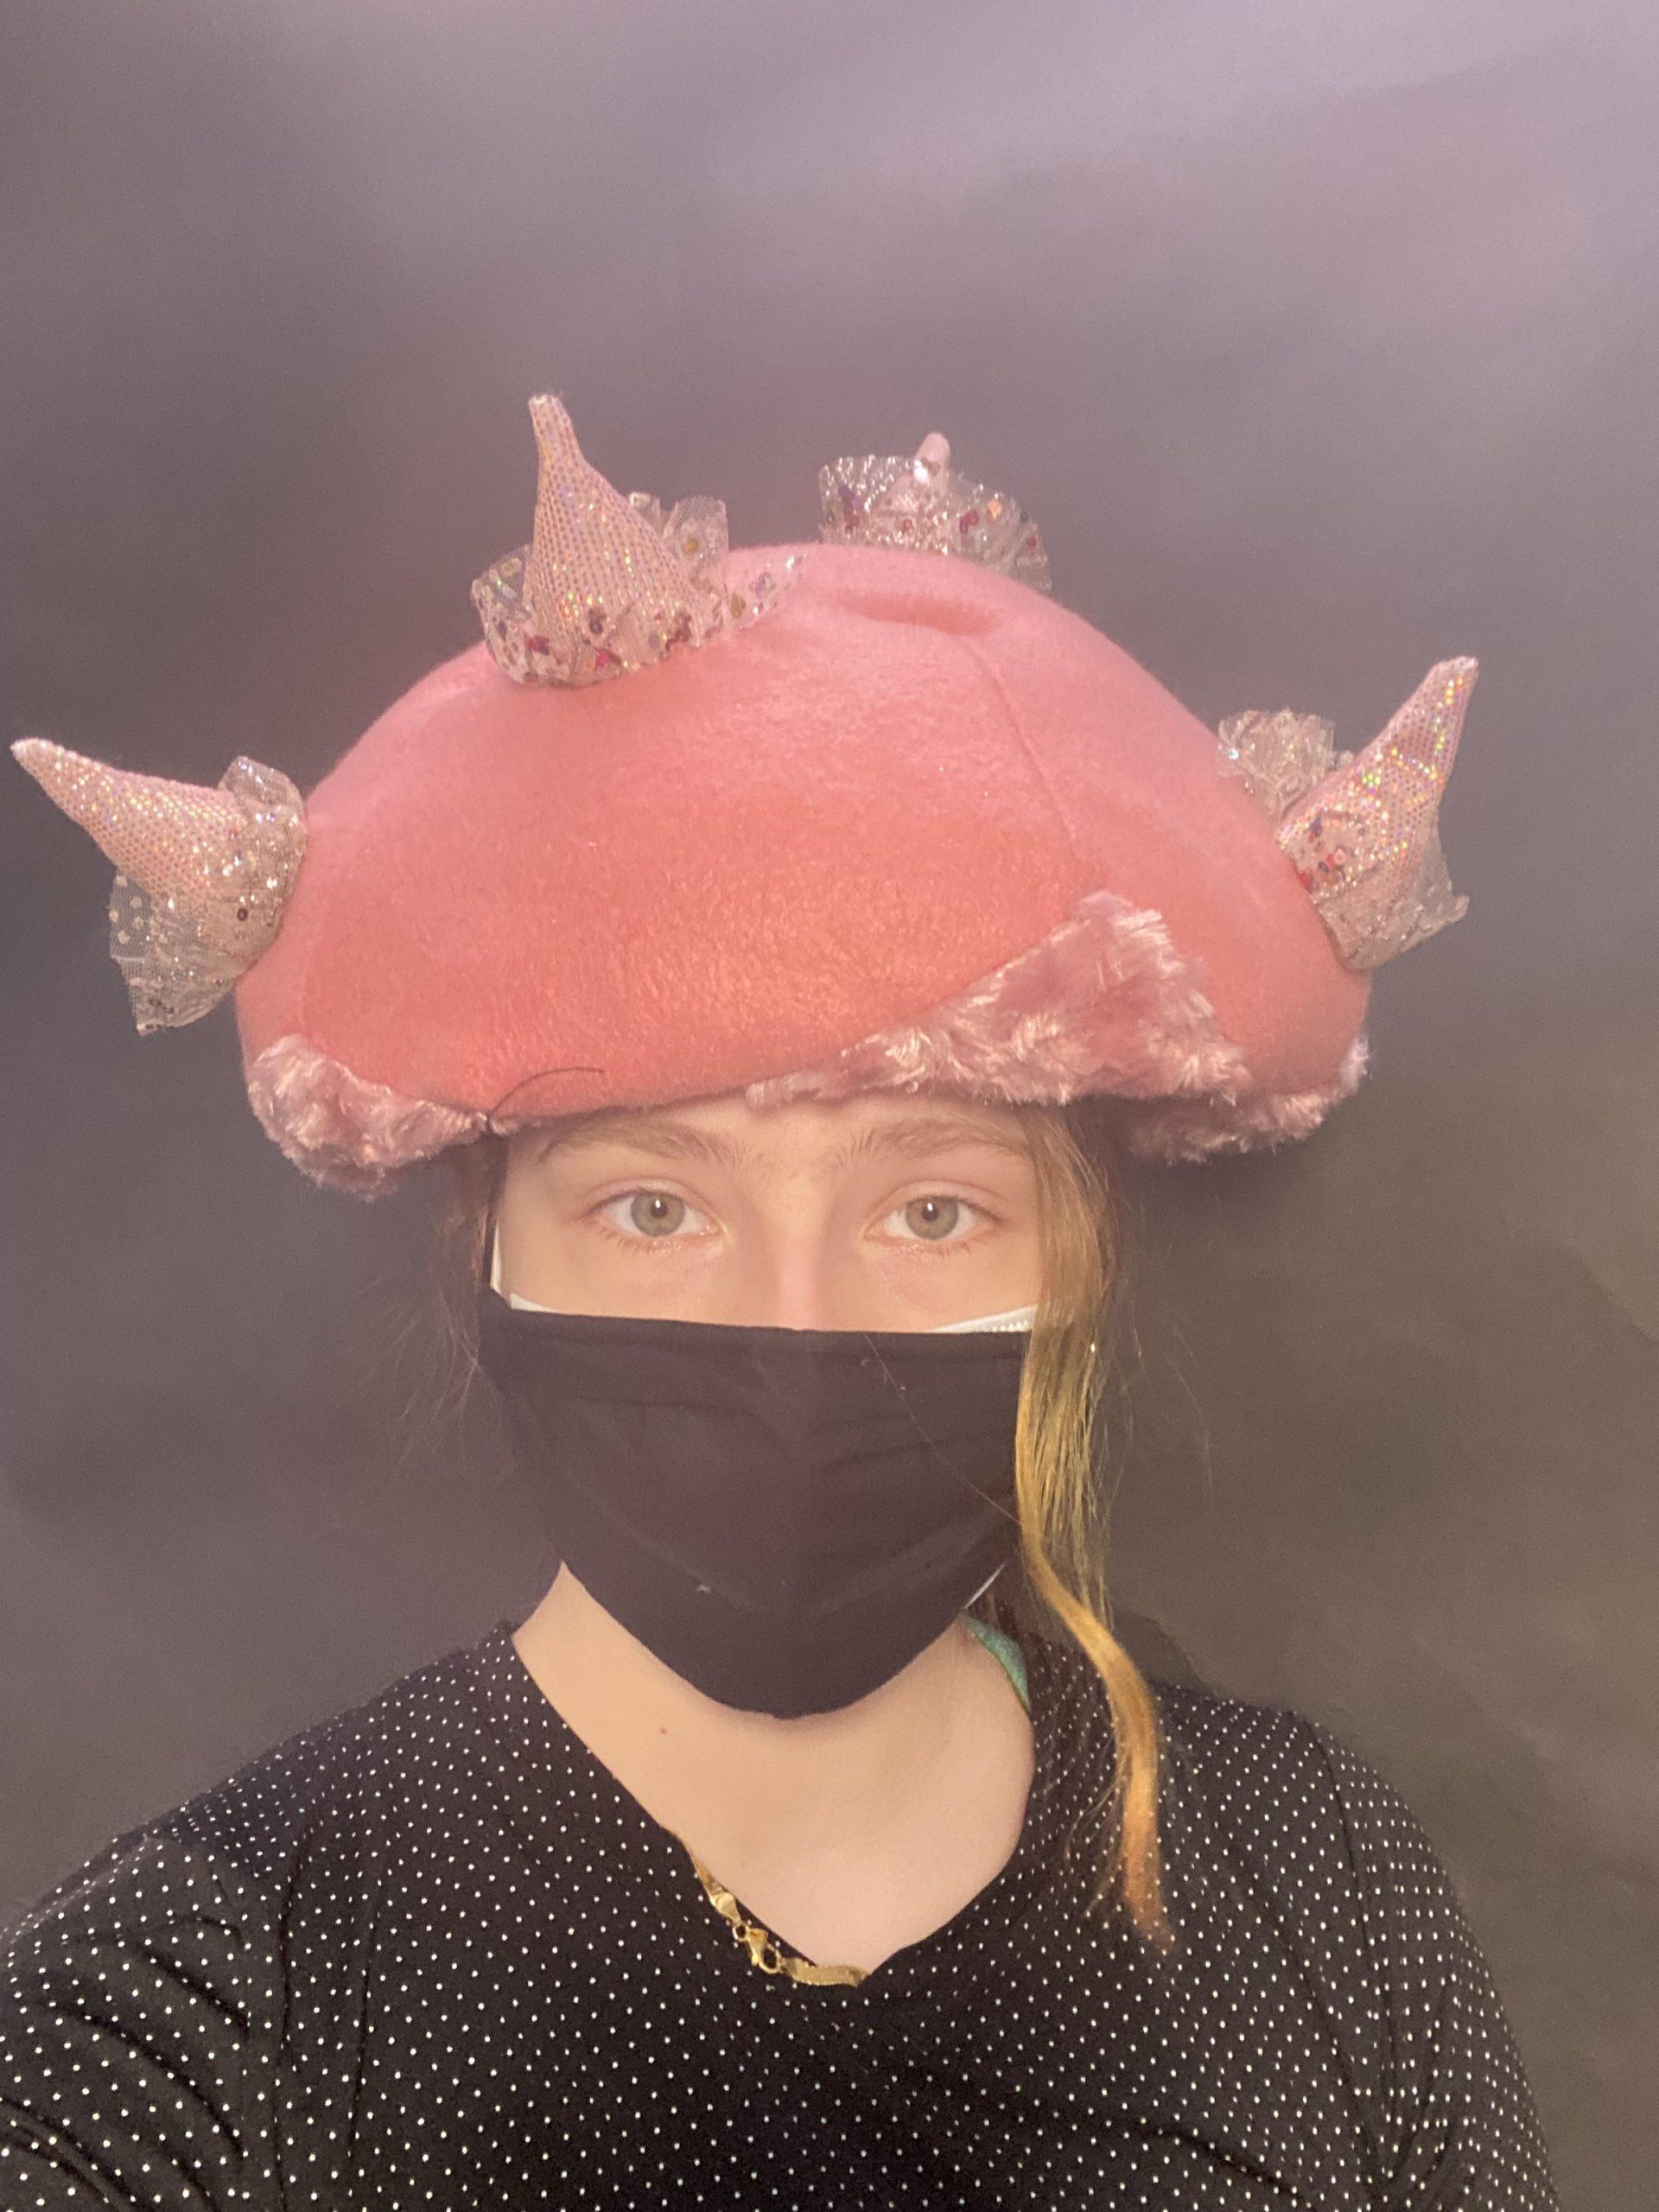
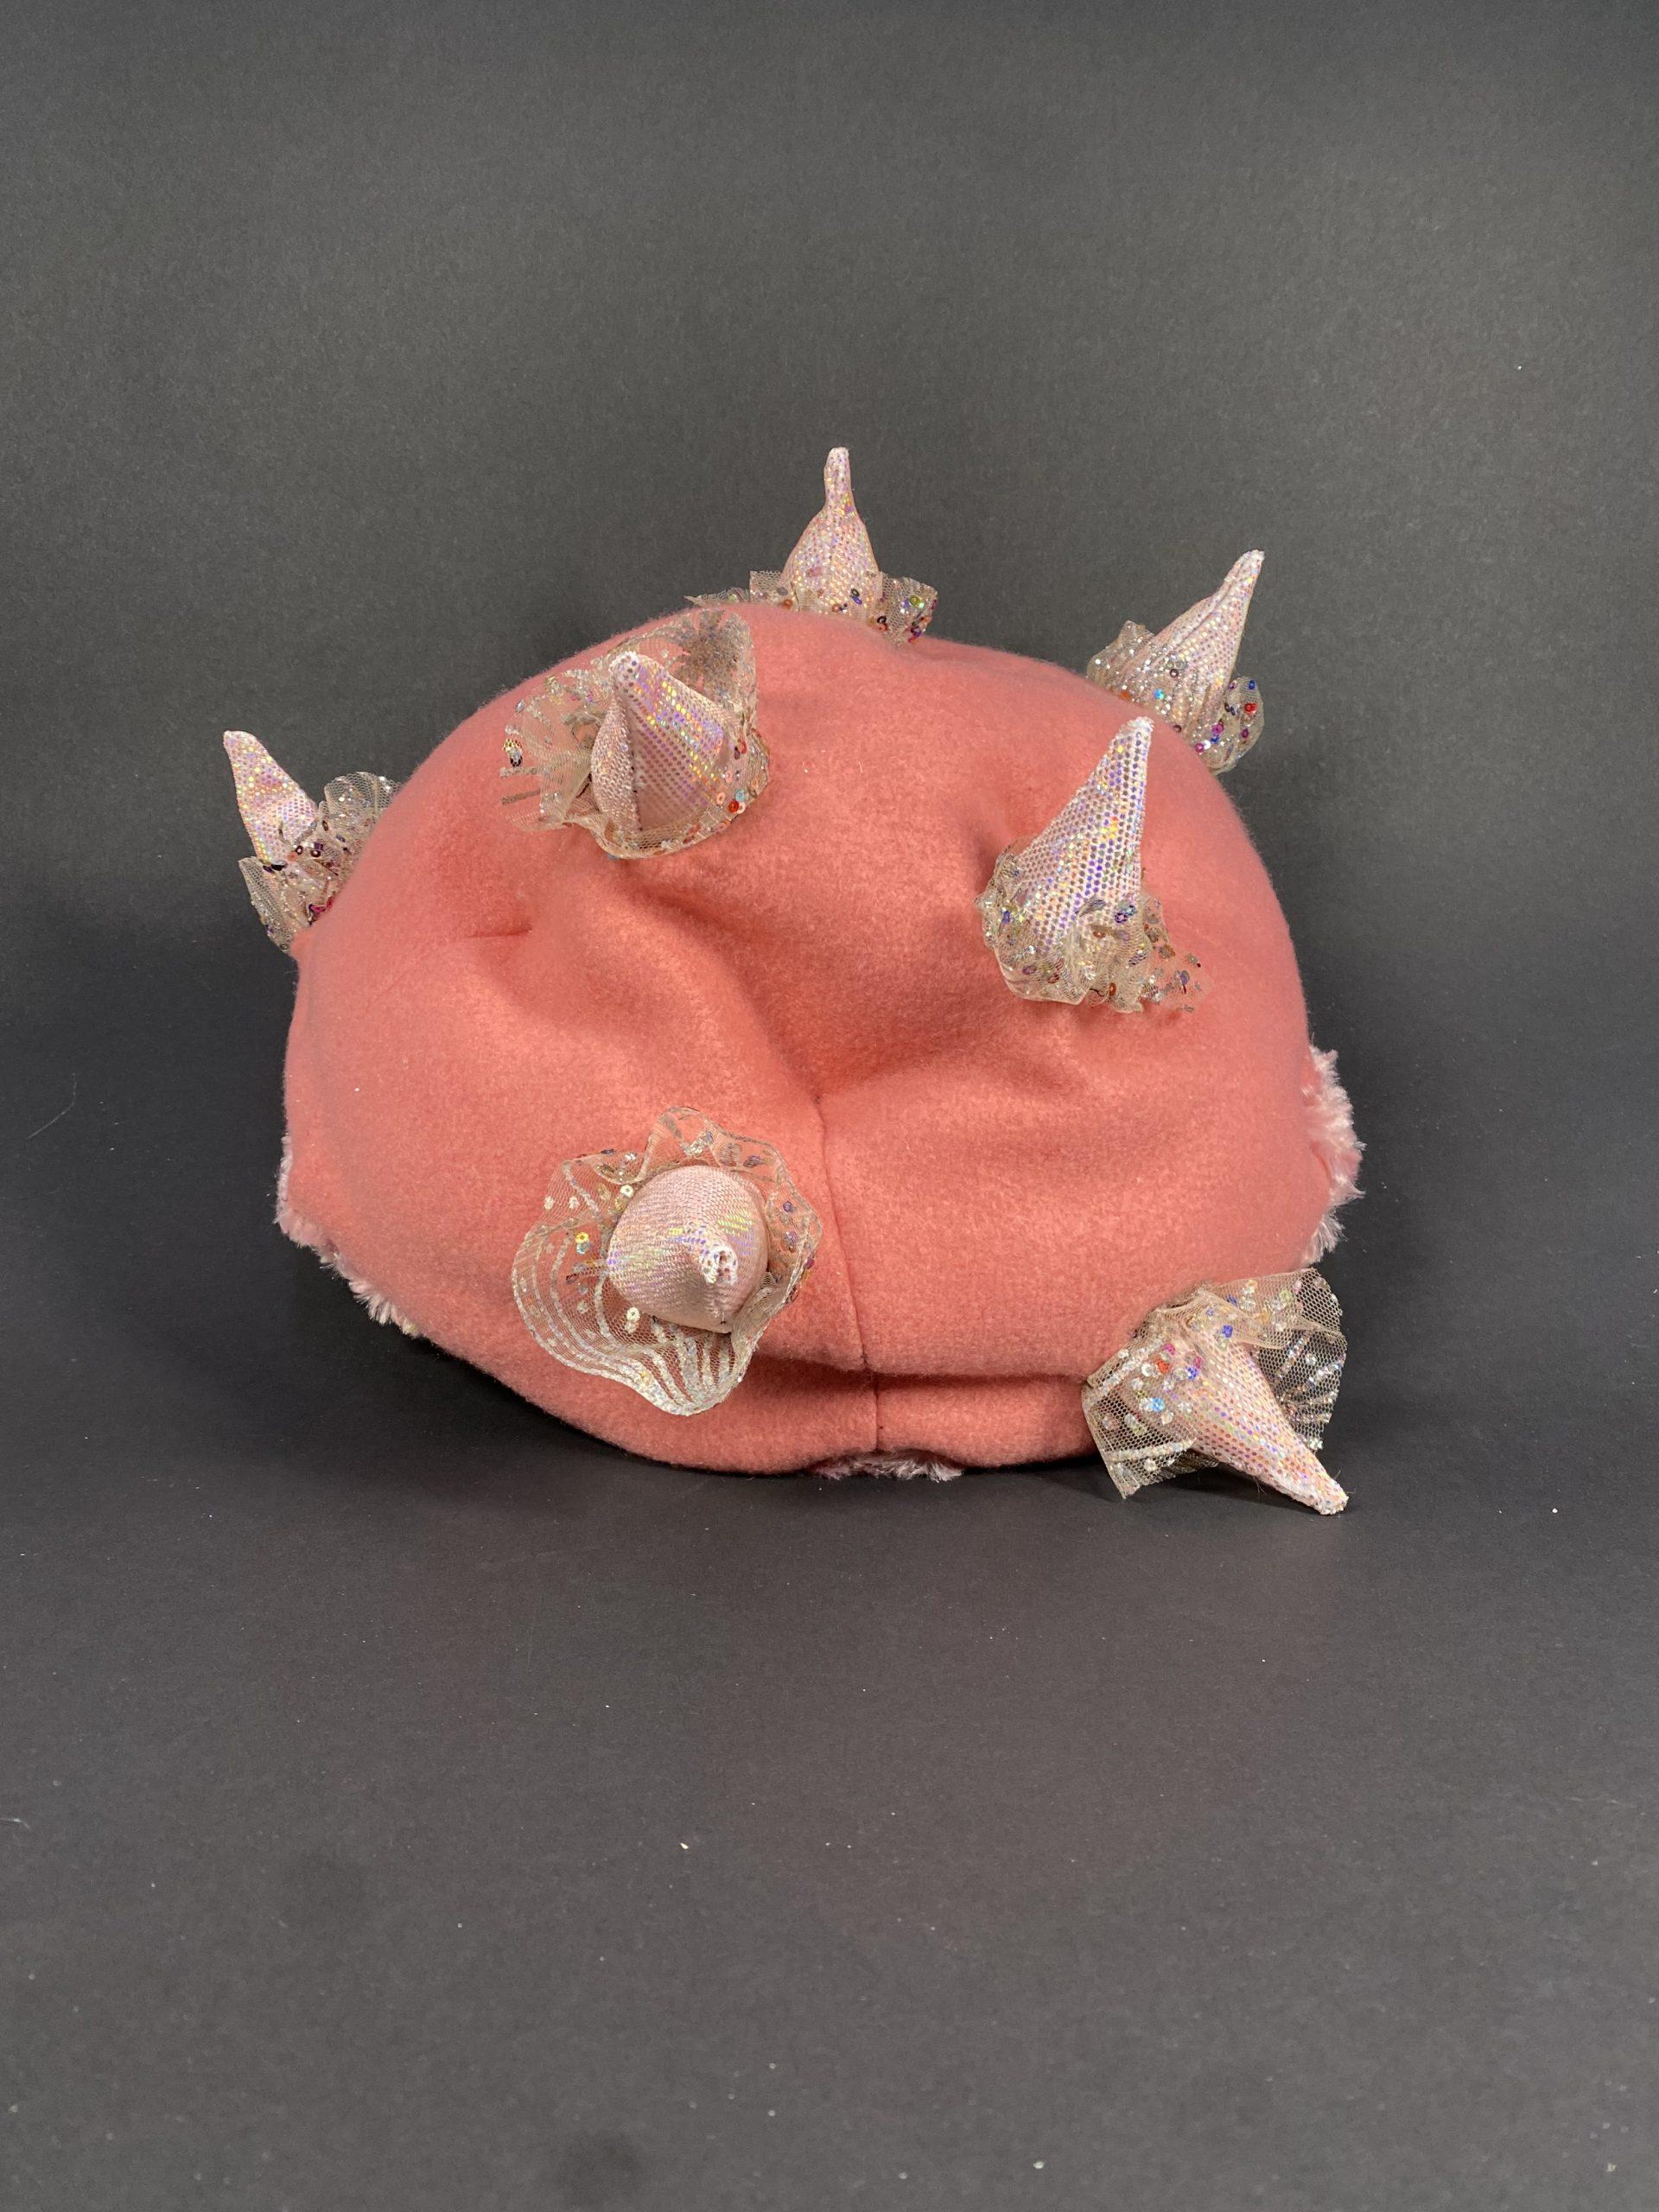
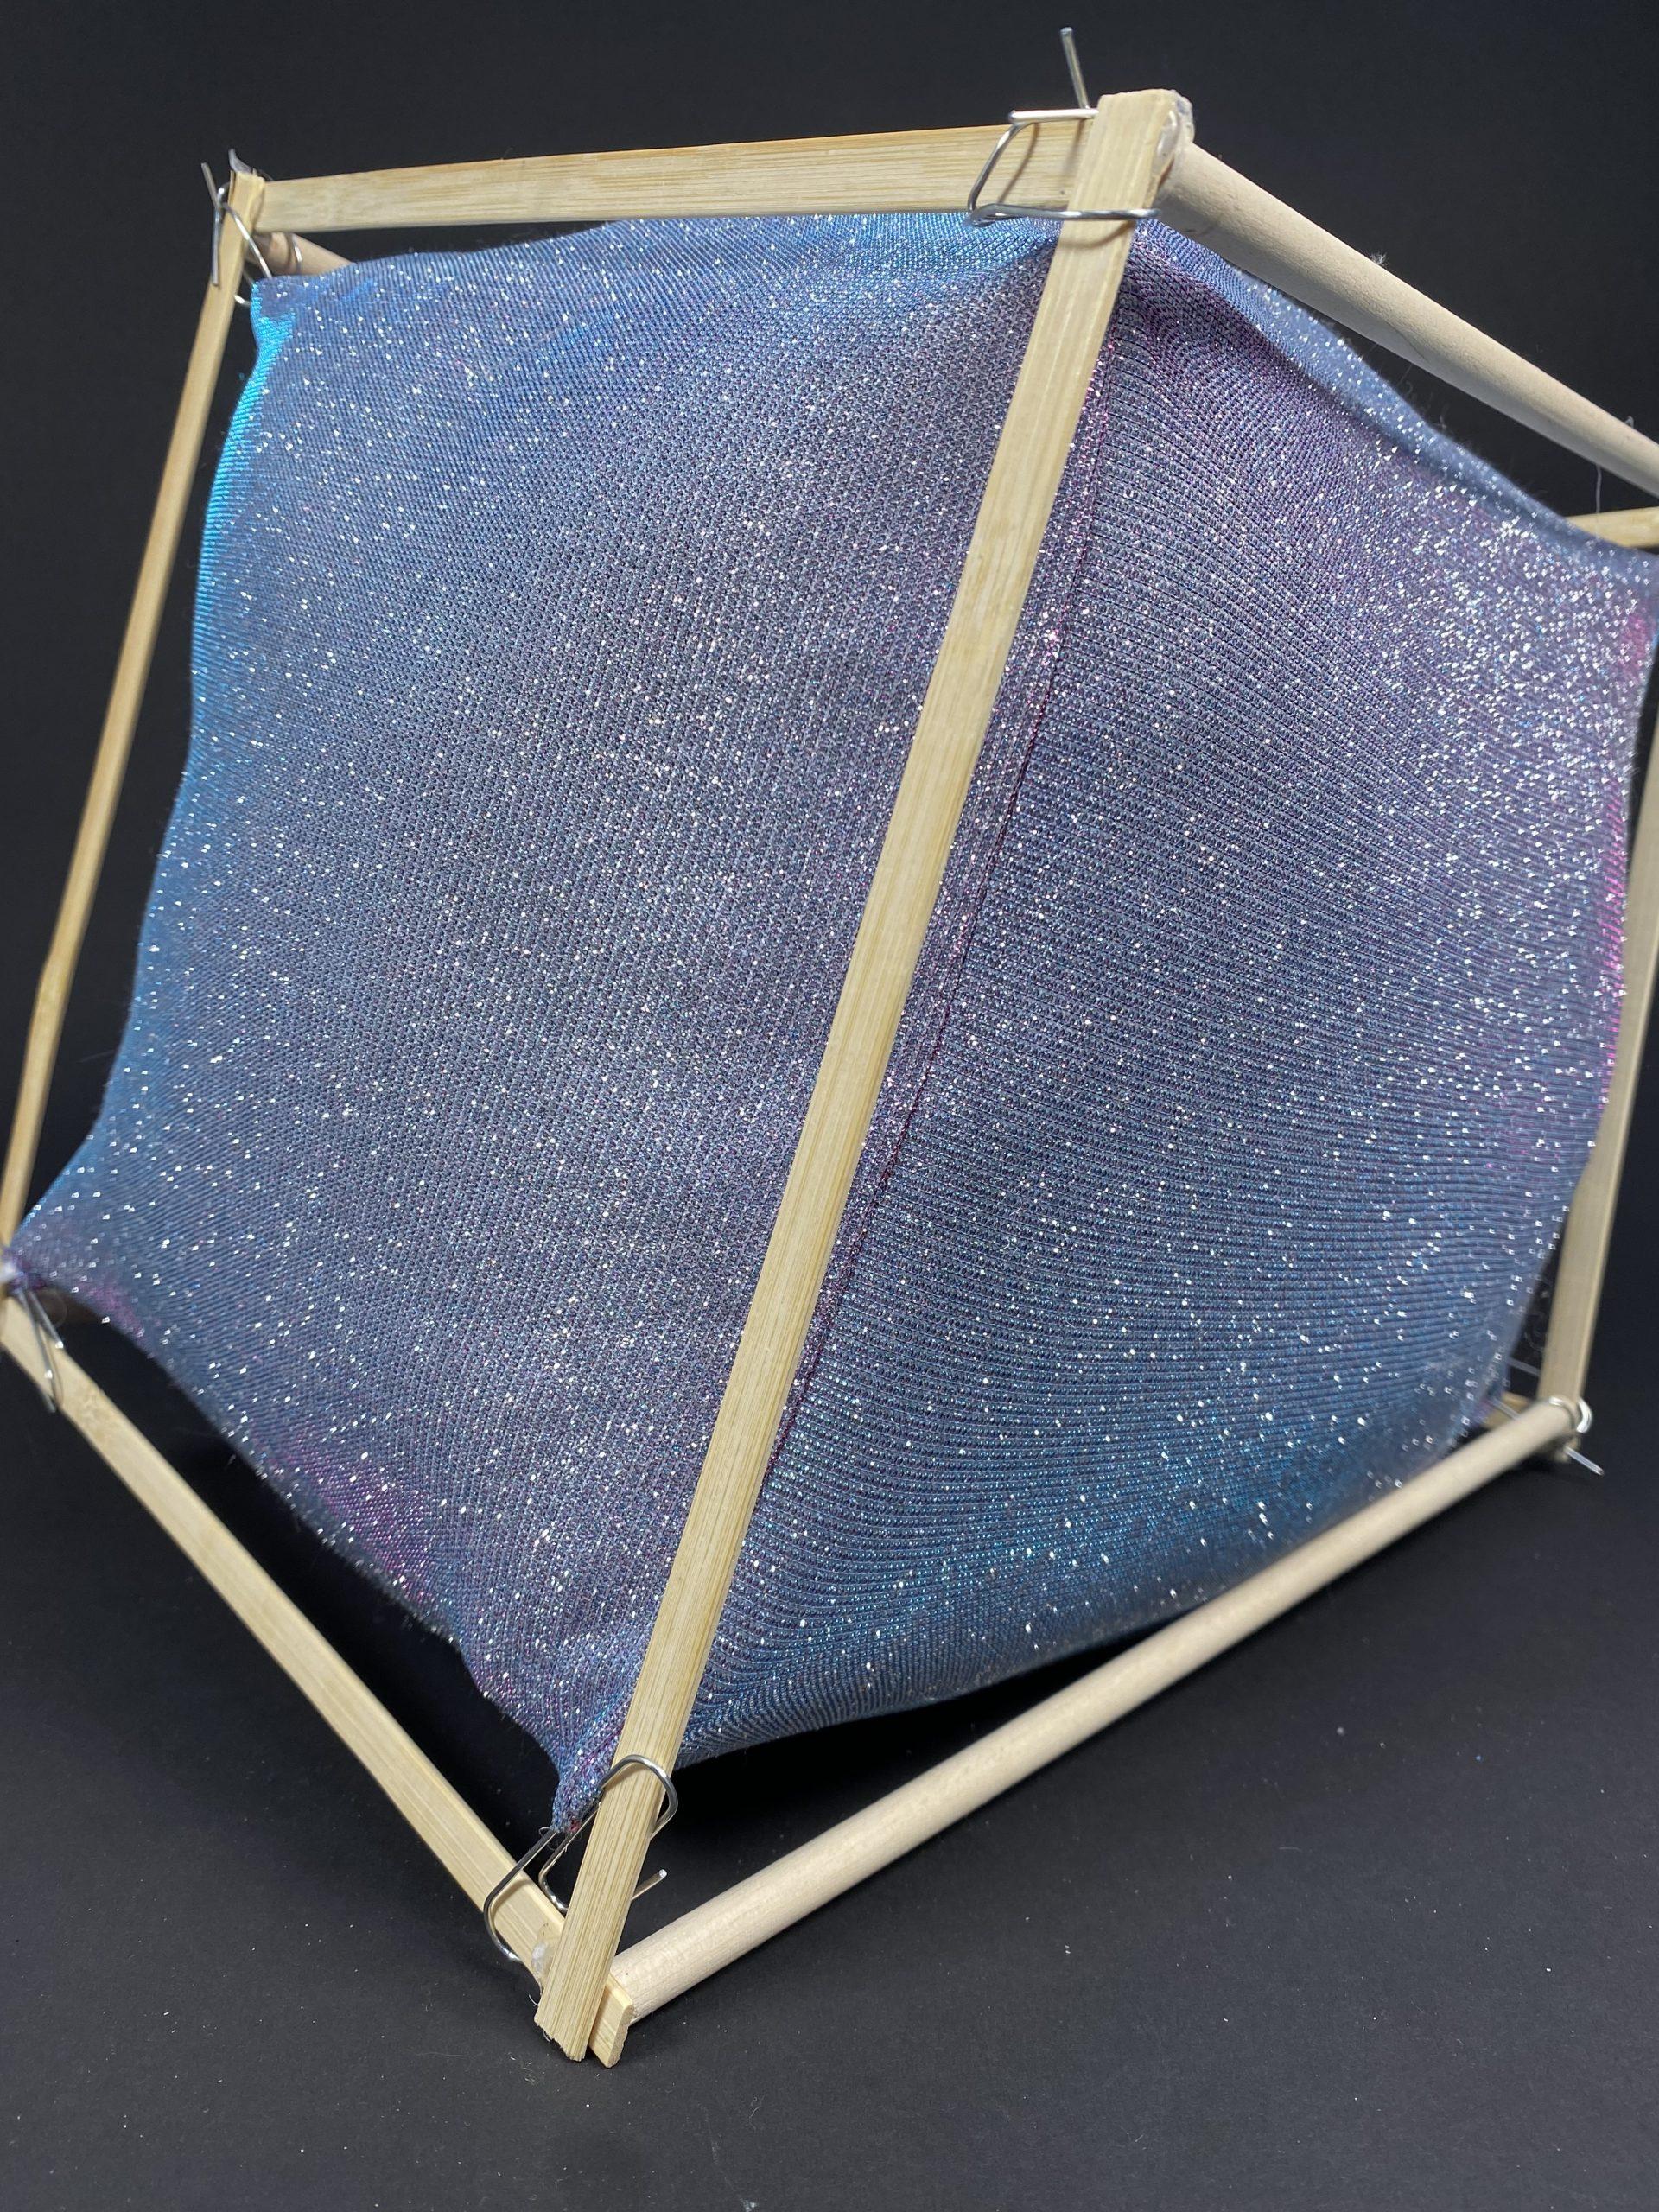
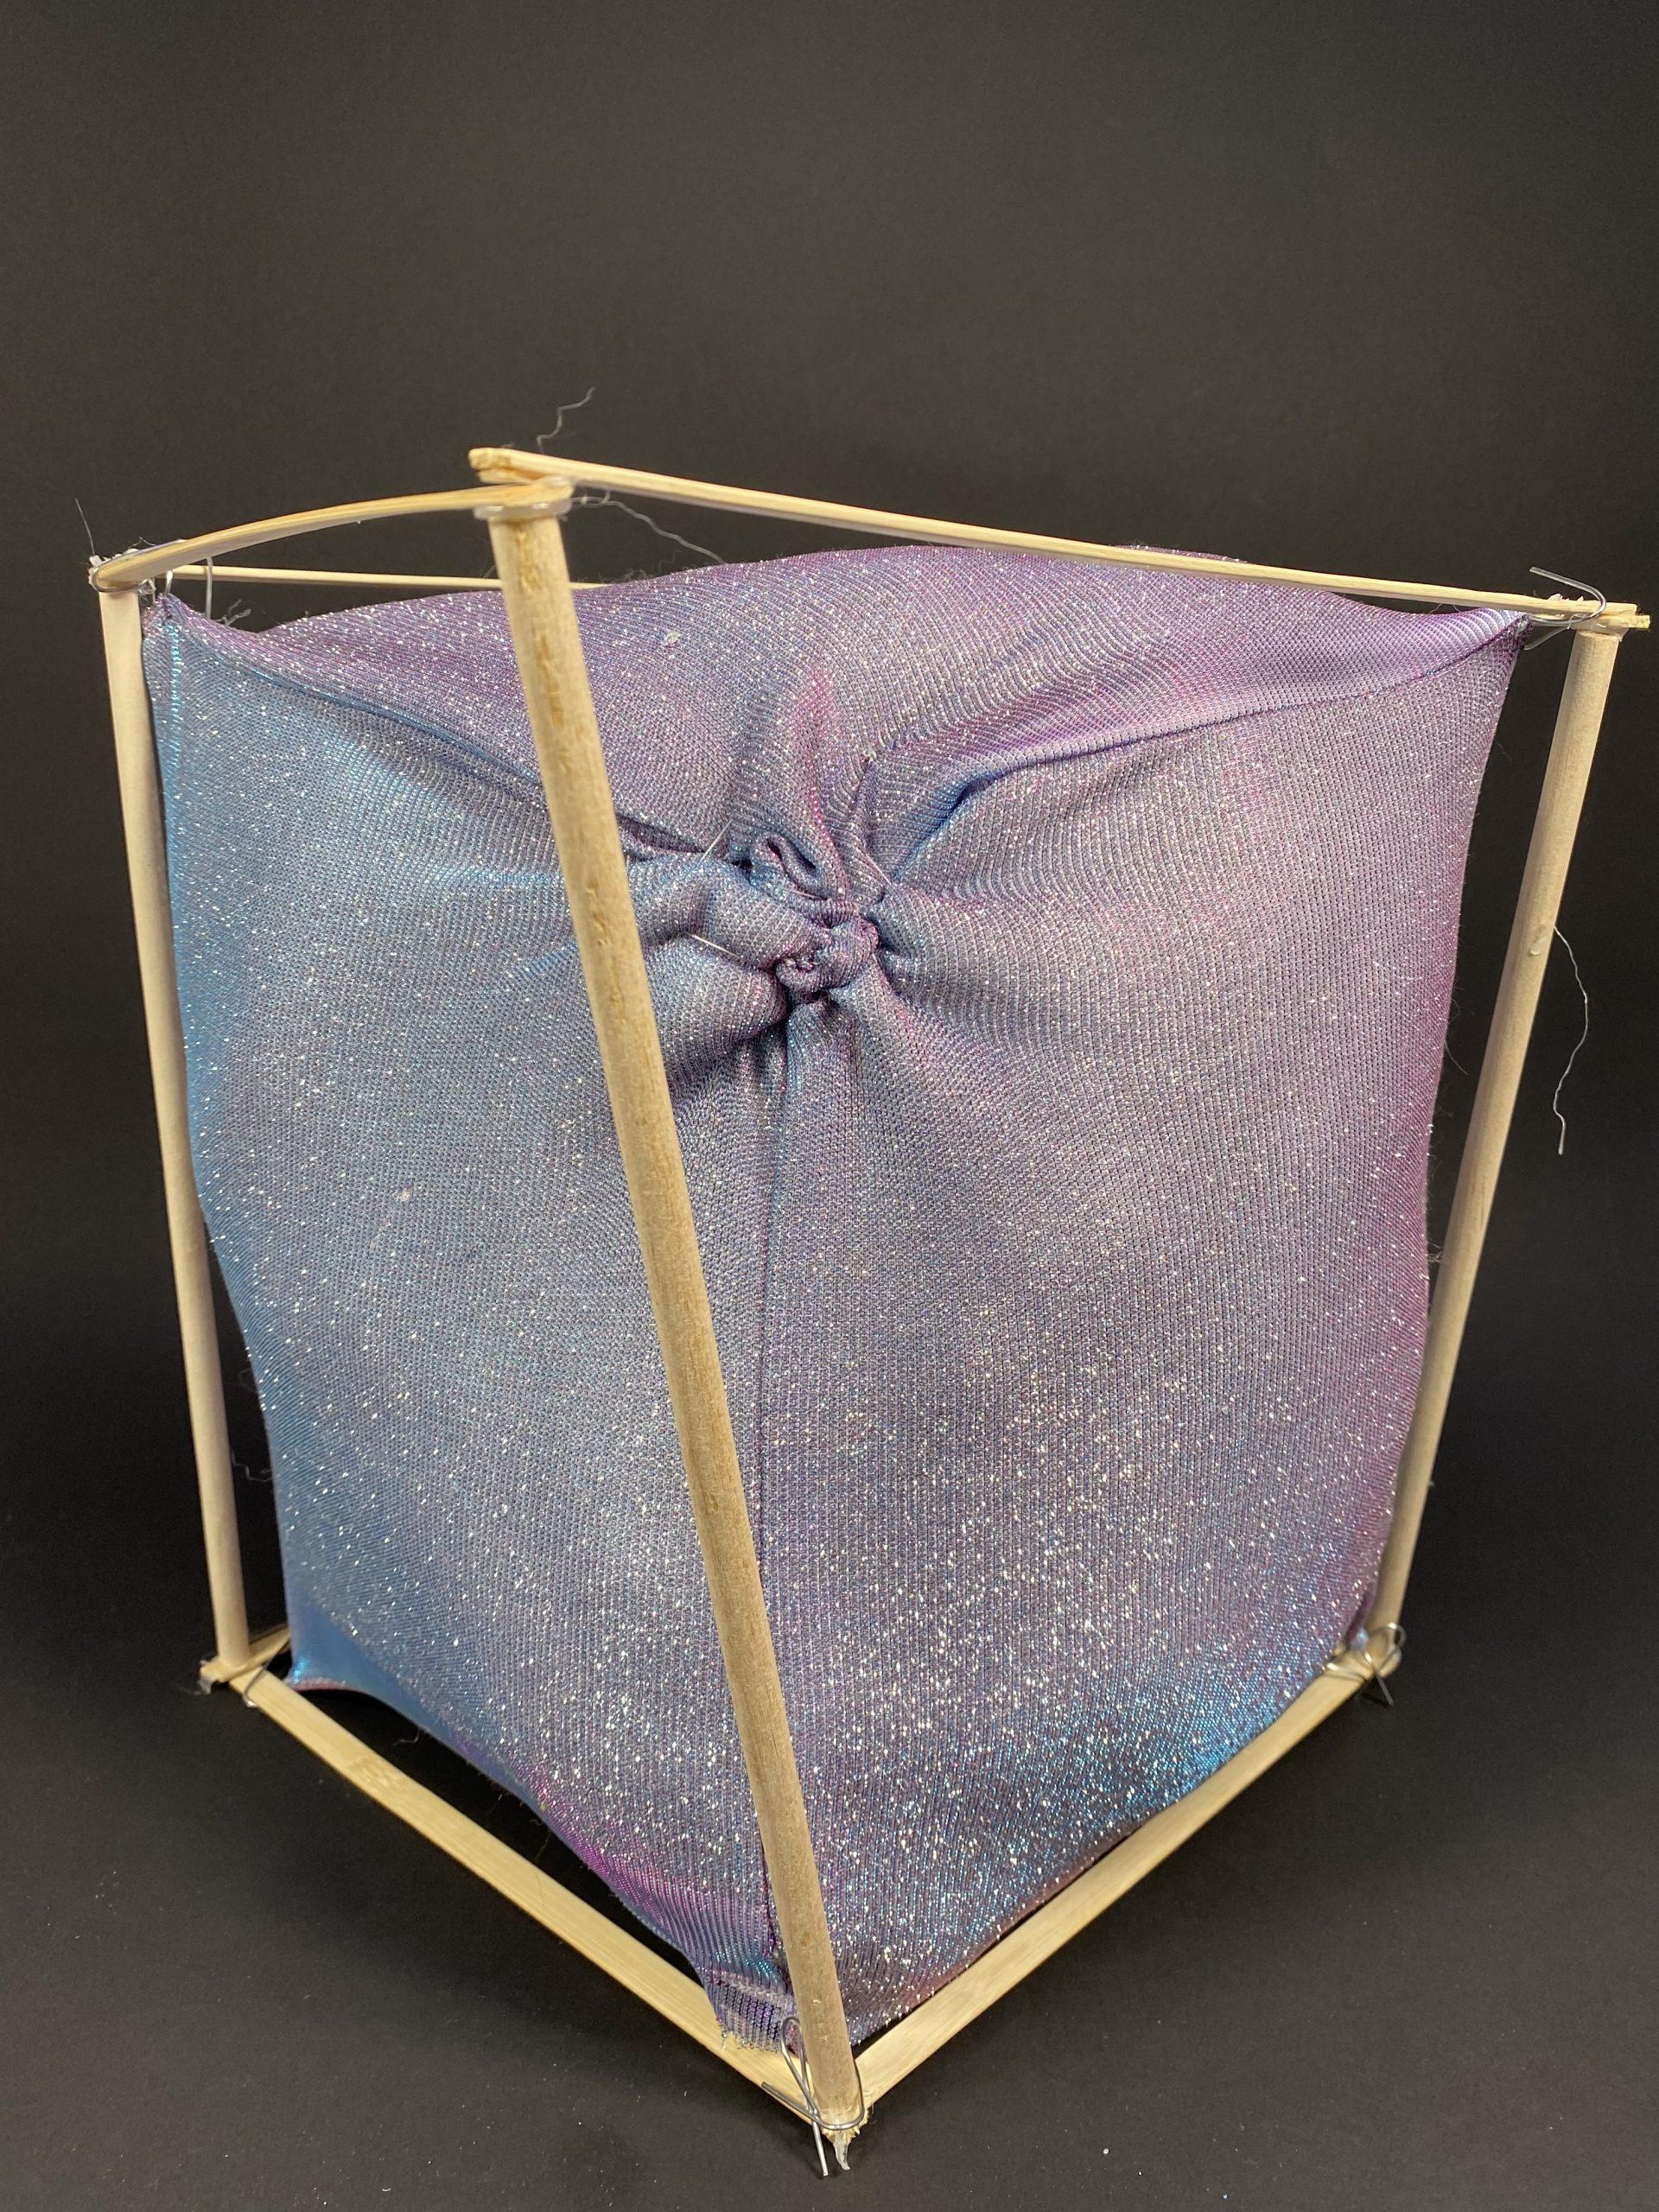
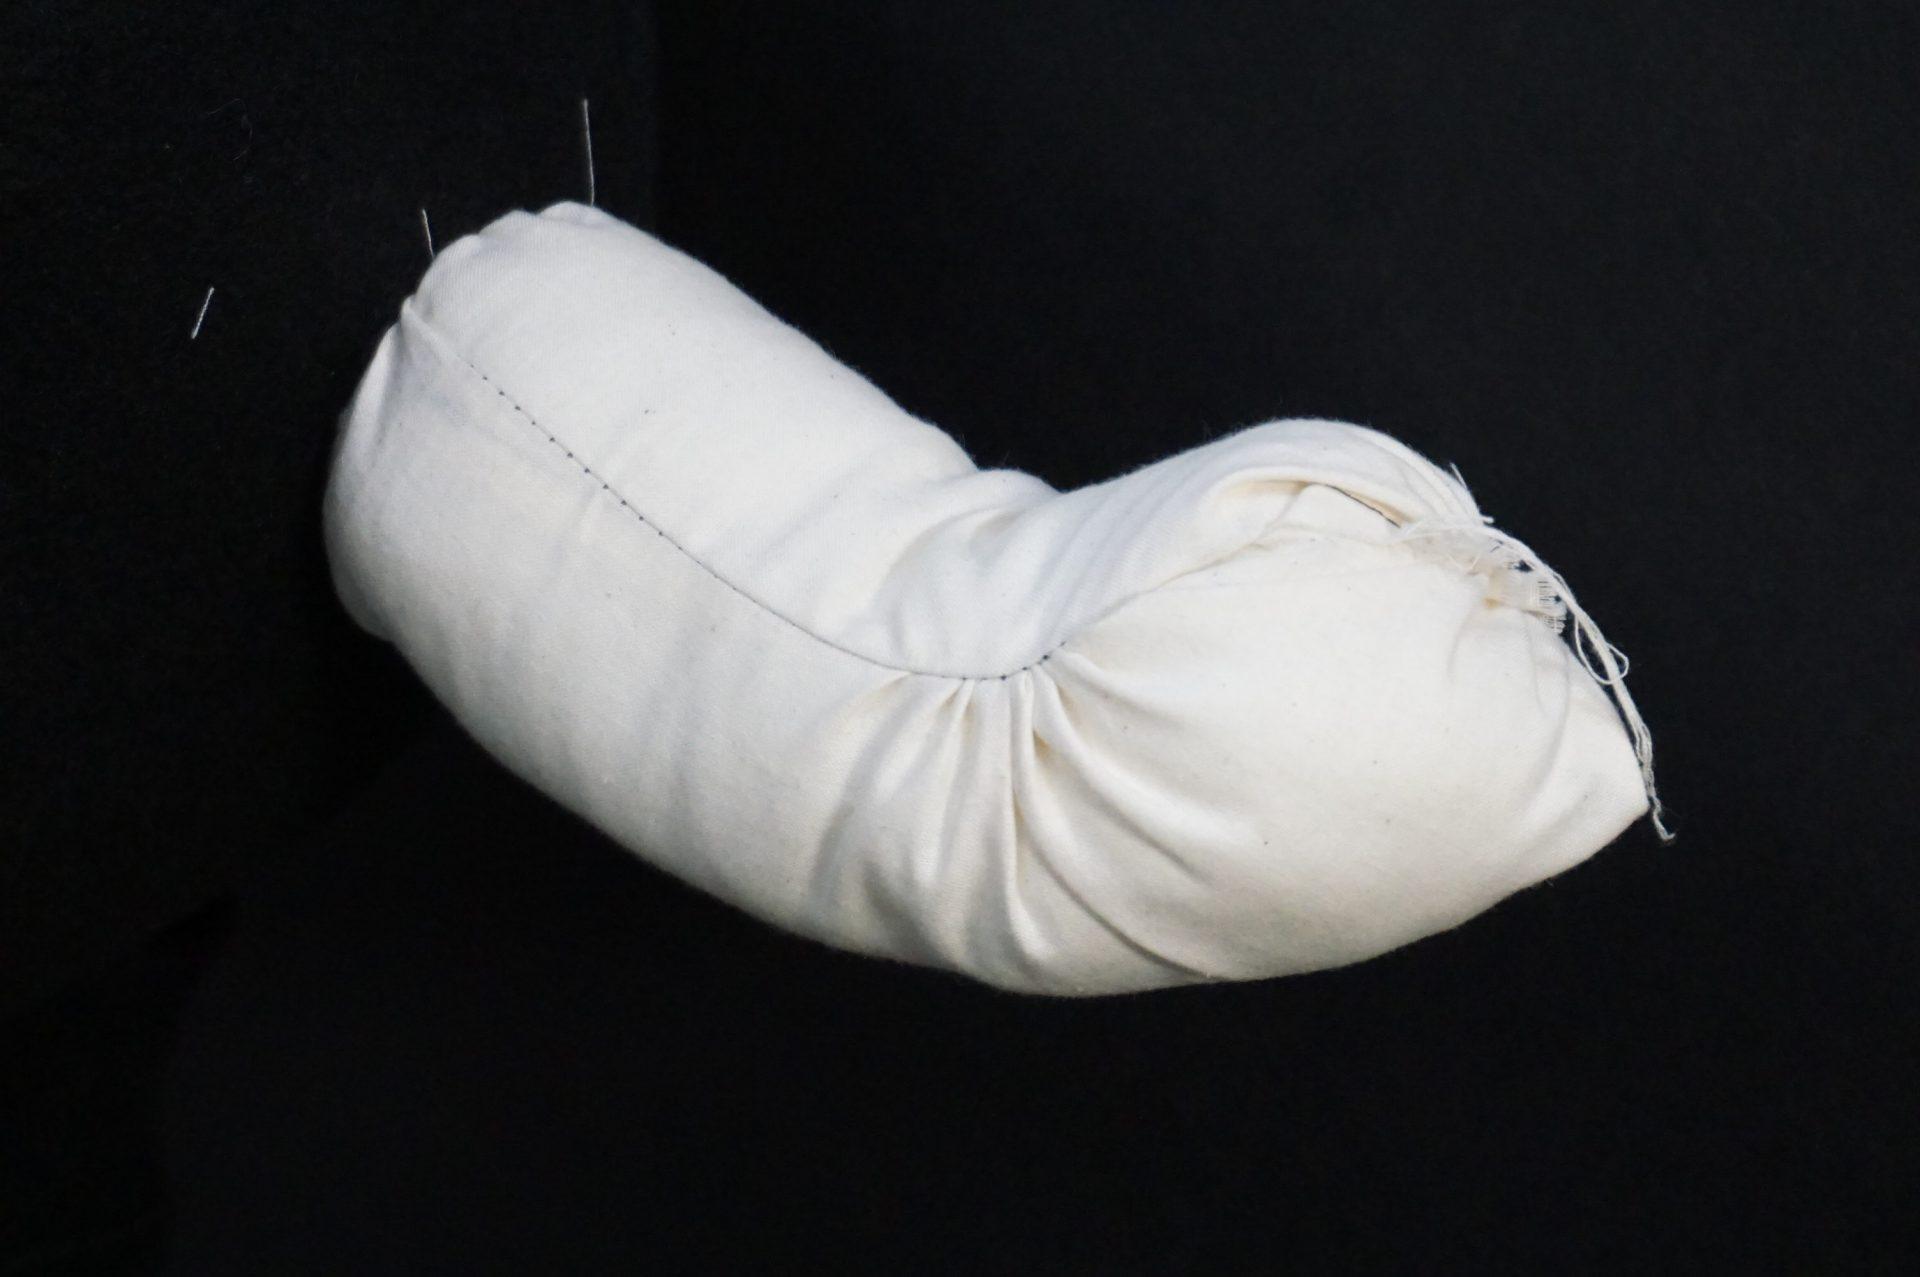
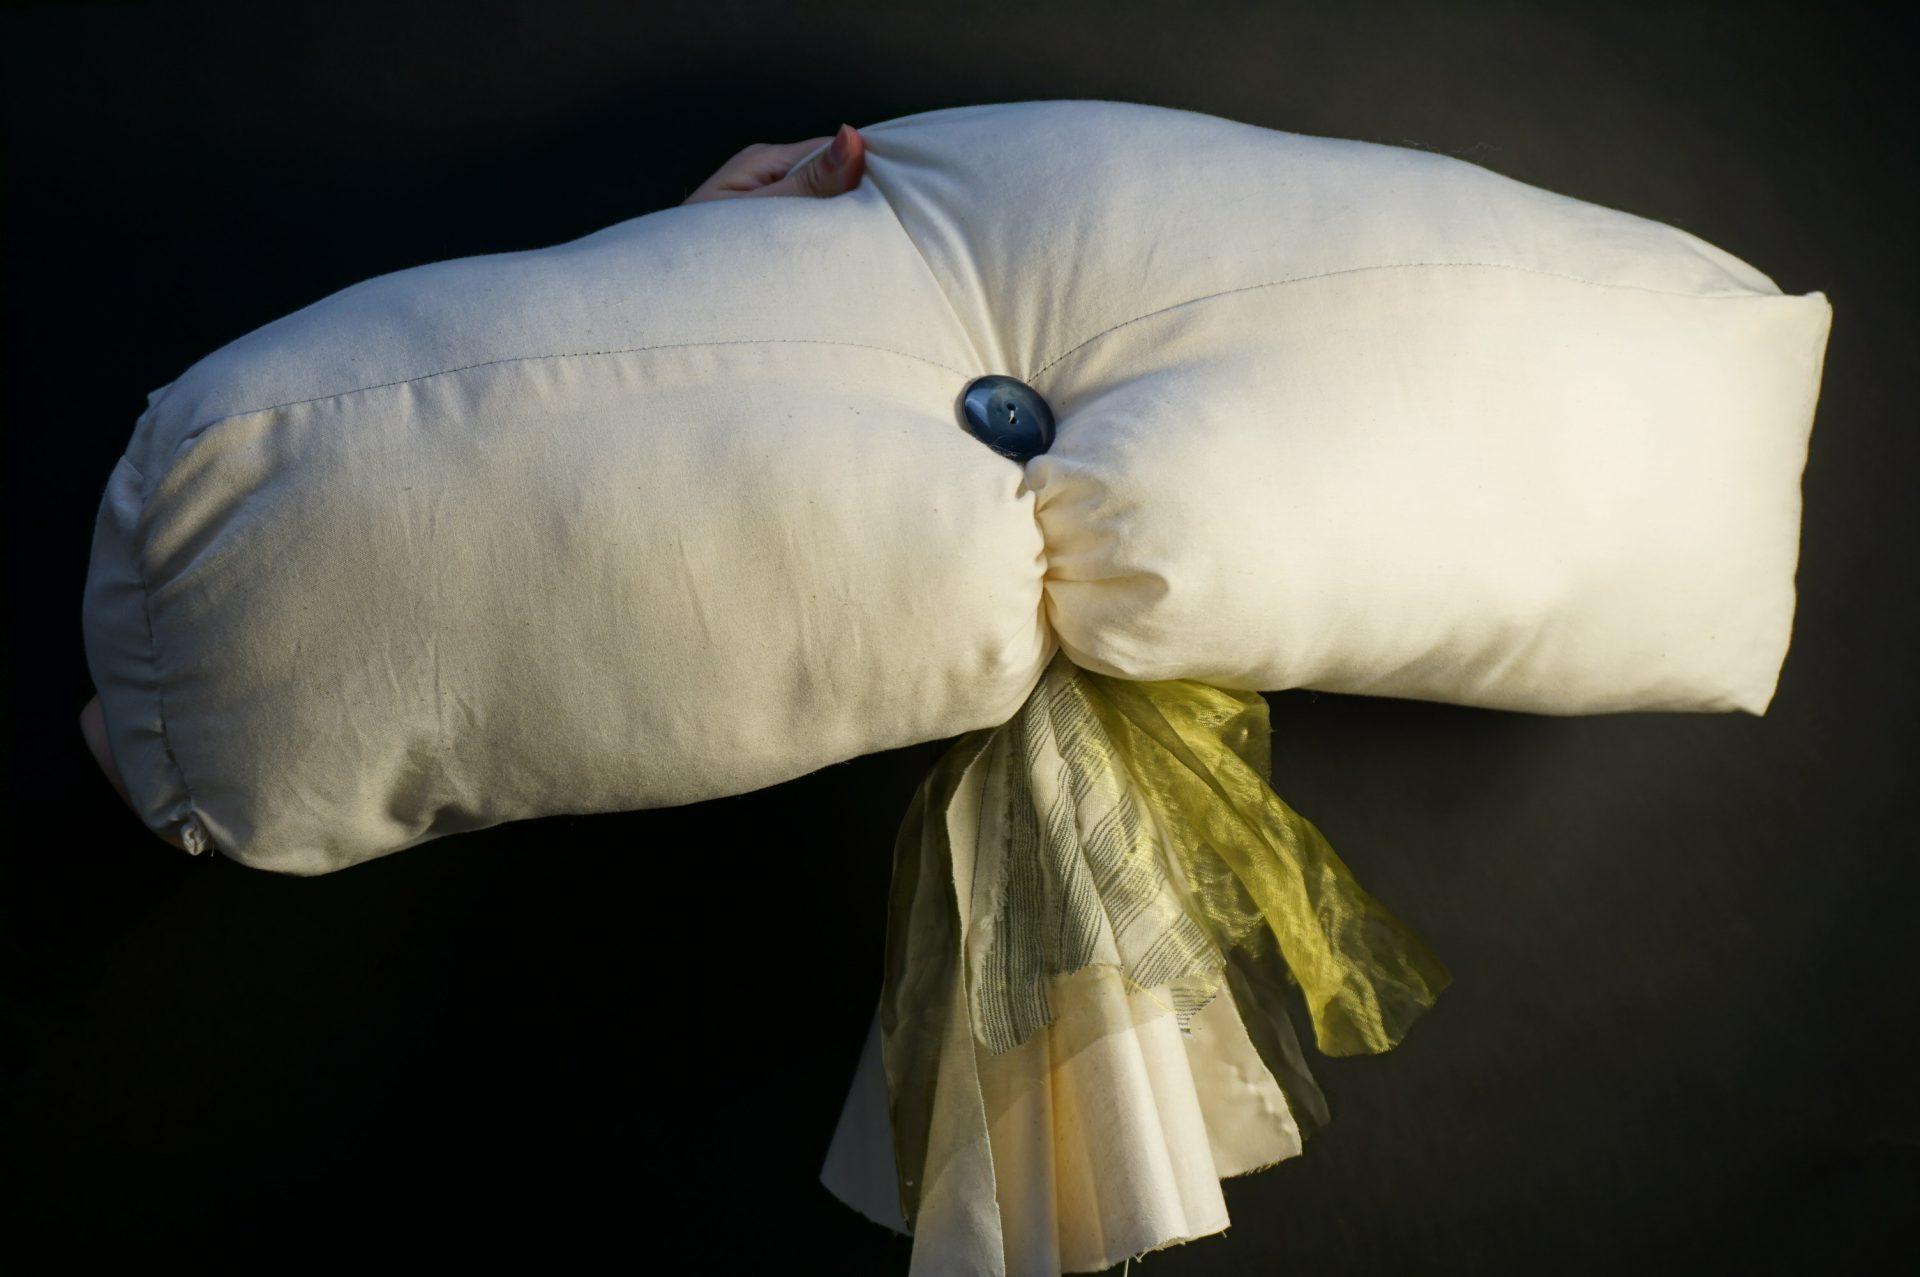
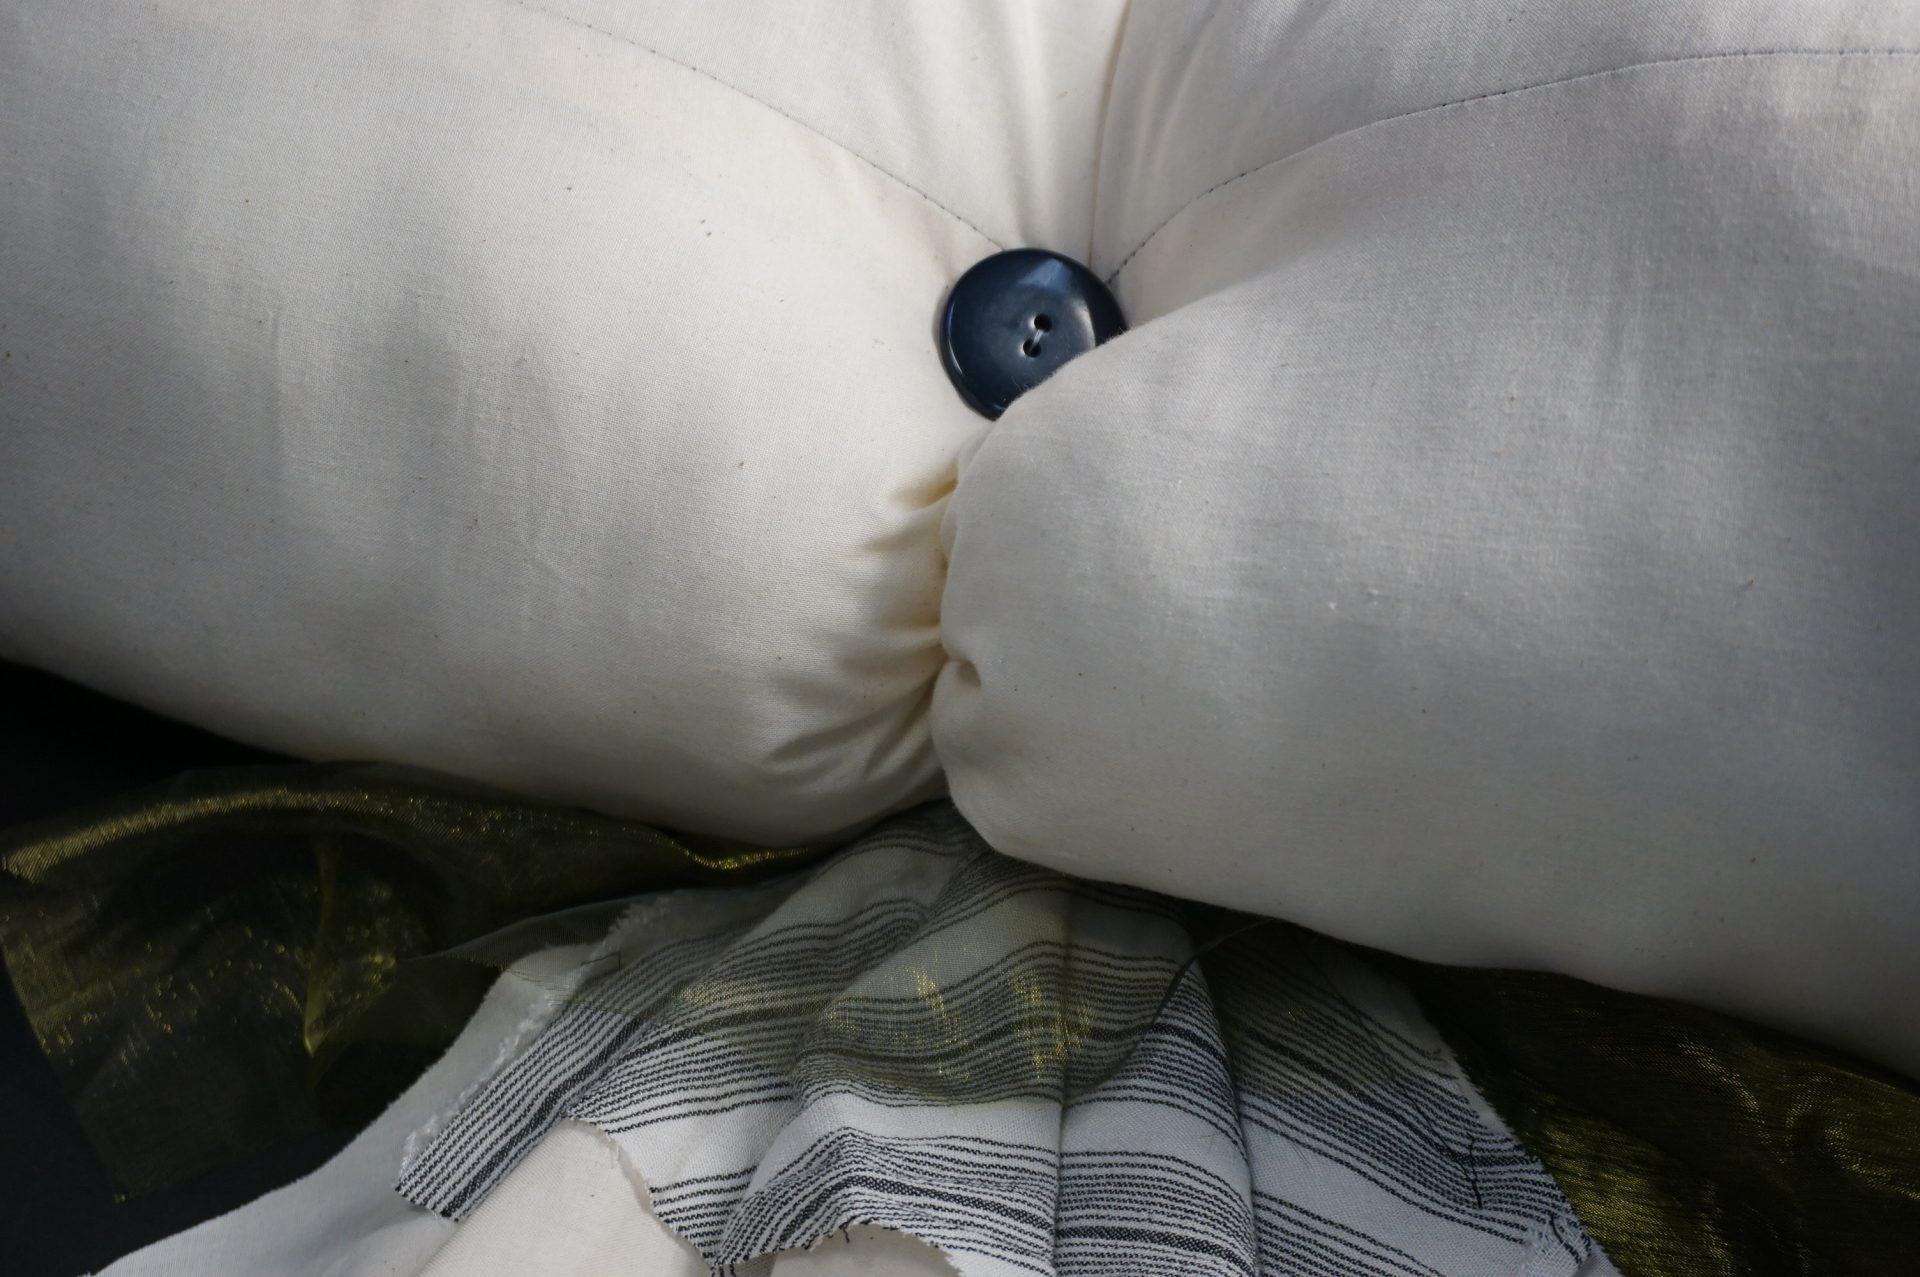
Rough 3D Models of Possible Forms:

Push/Pull Part 1 – Douglas Gearhart

My first object was probably the most fundamental. I made my own beachball sphere pattern and used a unique material for each piece. This was a method that was effective in modifying the primary form of the sphere as each material had different properties of how they would respond to the stitching and filling. For example, the felt looks full and comfortable while the shiny pink fabric has almost become concaved and refuses to bulge with the polyfill. The white material was a poor decision in the end because it doesn’t hold up well to tension and has been ripping up like a cotton ball. The cone on the top was left unfilled for me to see how it would retain its shape, or to see the character it expresses with its freedom.

For my second inflatable, I took inspiration from other students who were showcasing ideas of handles or linking parts on their inflatables. This made me think how I can make an inflatable, and then use that inflatable as a building block material. In this case, I took a very long cylindrical shape and used it to twist and tie up the final form. Inspiration here came from pretzels and proteins in the human body. Challenges with this one were the tension that was created when using the cylinders to tie themselves, they are massive and quite the resistance to being braided. Also, stuffing an extremely long cylinder is difficult because felt cannot easily be pushed down to the bottom as you go, so I had to employ a technique where I only slowly turned the fabric inside out only enough so I could shove some polyfil down the barrel. This took about 15 increments of polyfil-ling per cylinder.

This inflatable was that which I designed in Rhino and laser cut. I decided to create a shape using three modifying primary forms to create a troll like body with a nose and hair. The trapezoidal pyramid body was the easiest to understand after the laser cutting as the edges were pretty square but I had difficulty with the cylindrical nose and the conical hair. The nose was a bit difficult only because of the small size and the need to do a circular stitch on such a small circumference. The hair was extremely difficult because I applied so many modifications on the angles of the cone that the pieces were small and connecting in very irregular ways to create a double twisted (or so it was intended) hairdo.  I enjoy the material I used for this inflatable because it agrees with the woodland create theme that is the troll.

My last inflatable was very fun and I am currently using it as a pillow while writing this blog post. What began as my desire to create my own fabric for an inflatable by quilting together a jumble of scraps turned into this experimental piece. I decided what if I just sew all my fabrics together into a rough rectangular sewing pattern while additions and subtractions here and there. Then I took this pattern and started sewing edges together in an unexpected way. About halfway through the sewing, I took two strips of fabric that after sizing up the inflatable I realized would be much smaller than the final shapes breadth and sewed them to opposing inside walls. This is where the divot and bumpiness come from in this shape, the tension that is created by the inside sewn strands that inhibit the inflatable to be its ideal bursting full, rounded shape.

Push/Pull Part 2 Ideation – Georgia & Heeyun

Visual Portfolio, Posts & Image Gallery for WordPress

Our first idea is to create a small, walkable space filled with underwater creatures, like jellyfish, barnacles, and algae. We envision this space to be an area where library visitors can briefly immerse themselves in an underwater scene and interact with the inflatables. The jellyfish would have long tentacles nearly reaching the floor, with both strands of inflated cylinders and strands of ruffled fabric. The algae would be twisted cones, and the airflow in these could be controlled so that they inflate and deflate slightly such that it would mimic the movement of real algae in the ocean. The barnacles would take on an amorphous but rigid form. We also thought of adding colored lights to make the space feel even more like one is under the ocean.

Our second idea is also ocean-themed and also consists of creating a walkable, interactive area: a giant jellyfish suspended from the ceiling with tons of tentacles of different shapes and lengths through which people can walk and be surrounded. This giant jellyfish would contain tentacles in the form of twisted cones and cylinders, strands of fabric, and more, all of which would create a thick, dense curtain of inflatables that visitors can enter (see image “jellyfish inflatable inspo 4” above).

These inflatables could be placed in the first floor of Hunt Library near the cafe (around where the chairs and low tables are), or possibly by the wall in the hallway across from the 1st floor stairs (where the wooden benches are.

Timeline

March 1: Decided on doing jellyfish. Head is 6×6 feet.

March 2: talk to Olivia about attachment of airflow. Look at spaces in hunt.

March 4: sketch out components. Start rhino for tentacles. Cut out parts for the head. 

March 5-6: cut out tentacle pieces start to attach pieces.

March 5- 2:30 start library closes at 5. Continue to work on rhino.

March 6: 12am talk about adding loose pieces to fill out the jellyfish, add new pieces.

March 14-15: any additional pieces or “decorative components” that are non-inflative.

Push/Pull Part 1 – Sandy Huang

Visual Portfolio, Posts & Image Gallery for WordPress

The first inflatable I made was a cube with a handle. I wanted to start out simple with the primary forms we’ve learned in class. Originally, I planned to have protruding semispheres pop out from every face of the cube, but I had cut the pieces too small, so they ended up fitting perfectly. This made my cube look like a quirky die with one dot on every face. When I was about to sew the object up, I realized that it may be a bit too empty as just a cube shape, so I added a cylindrical handle (without the circular top and bottom faces). This was a good decision because it made this object more interactable and you can hold it on your arms or carry it like a shoulder bag. In general, this first object was a test trial and the hardest part was holding the circular pieces together with a million pins when I was sewing them on the cube.

This snail-like object is the second one that I made. This is the most improvised piece out of the three that I created. At first glance, some people thought it was a squirrel, which I found interesting because I never intended it that way and I never saw it that way. I am content that it created “confusion” and made people curious about what the true form was. In the beginning, I wanted to use this brown fabric to make a teddy bear form. I had a pentagon sphere pattern and two circular cutouts prepared. However, when I was sewing the pentagon sphere pattern together, I wasn’t paying attention to which edges I was working on, so it ended up being a shape like a half-moon. For the two circular shapes, I sewed them together and it formed a flattened sphere. I realized that these two could come together to form the snail shape and that is exactly what I did. Afterward, I used some scrap fabric and buttons to decorate my object. The most difficult part of this object is sewing the two forms together because I hand-sewed that part and was trying to make it so that the object does not tip over.

The last object was created through Rhino. I had a hard time with the software so I didn’t make something too complex. My idea was a seashell shape and I added heart-shaped embroidery on top of the final object to decorate it. The theme I had in mind was “a seashell delivering love.” It turned out that I was unable to make protruding circles in my first object but this one had that protruding feature. This object is fun to hold in my opinion and whenever I have it in my hands, I just want to throw it like a football. That is an unexpected effect that the form has. My object was pretty small so it was really difficult to sew it on the machine. I had to hand sew most/all of it. I found hand sewing a lot easier and more enjoyable because I could see the form come together slowly. And the satisfaction of hand sewing is just different from the sewing machine.

https://drive.google.com/drive/folders/1UbFceLnluVOHH-P4O5LeupZCL8M_76dz?usp=sharing

Push/Pull Part 2 Ideation – Asad & Lori

Here are our 3 ideas:

The first one is a tree. This would be a combination of Asad’s object with the twisted pouches and the twists would instead be Lori’s fruits. Ideally this one would be placed somewhere outside.

Our second idea is a totem pole, where we would combine and iterate on the eye’s from Lori’s fruits and add in the ties from Asad’s object with the cones and rope used to tighten and loosen it. The ties would create different sections and could also be used to open and close the eyes. Ideally this one would also be placed somewhere outside.

Our last idea is to create an archway, where we would combine the twisted pouches from Asad’s objects and the arms of the fruit from Lori’s object. The twisted pouches would be combined into the archway, and the arms of the fruit would drape down from the archway to create a curtain of sorts. This one could be placed either inside or outside.

Timeline

1. Final rhino file – March 7

2. Pattern tracing – March 9

3. Sewing the object together – March 14

4. Testing and inflating – March 15

Push/Pull Part 1 – Asad Sheikh

I thoroughly enjoyed this assignment and had so much fun exploring basic forms and learning different sewing techniques!

Visual Portfolio, Posts & Image Gallery for WordPress

This was the first object that I made. I started by taking a cube pattern but folded it different and then sewed it together. As I was stuffing it, I thought to experiment with twisting the final form to create these pouches that look like dangly bits. I then added more pouches to the form by stitching rectangles and then tying off the top with string that I sewed through the stuffed main form. To me this kind of looks like a mushroom, or a tree with dangling fruits.

For the next form, I started by shirring a cube form that I slightly altered by making each of the slides double the length of the provided pattern; however, as I was putting it together, it seemed more like a pot so I decided to cut off the top and leave it open to add in a plant of sorts. I was going for a cactus kind of vibe as I created the top part of the form but it looks more like a person with their hands up. I really like how the shirring doesn’t completely shrink the blue fabric, almost implying that the form is growing and expanding.

This form was inspired by the squalleye object that Olivia shared with me. I really liked the bulges and the use of color to create a visual effect so I tried to recreate it with this object. I don’t think it was too successful in terms of creating ridges on the object but I do really like the visual effect that is created by using the fabrics that I did. The yellow triangles seem to grow out at the viewer, while the red square appears to almost shrink into the object.

This one was probably my favorite form to make. I started by sewing 2 cones and then connecting them with the cylinder form without the spherical ends. Here I experimented with stitching on the outside of the fabric to create a visual effect – I stitched concentric circles on the cone pattern and free stitched a curvy pattern on the cylinder. After assembling the form, I then sewed in thread into the cones and tied it off using a taut line knot from my Boy Scout days so that you can adjust how tight it is.

In all, this assignment was super fun and I can’t wait for the next part!

Push/Pull Part 2 ideation: Jennifer Charlotte and Sandy

Top: a cloud hanging from the ceiling that you can put your head in.

Right: something that ephemerally inflates, and deflates as it flies away

bottom: a maze to crawl through with interlocking pieces

Top: a little cave to read in

Left: a faux chain link that hangs down the center of the staircase, with strings at the bottom to pull to constrict the chain

Right: an inflatable that snakes around the library as it inflates

Push/Pull- Jennnifer

For this project, I had two different paths of exploring primary forms. First, I wanted to explore ways to connect separate forms into a more unique and complex form.

Inspired by the process of jewelry making, I scaled-up created chains, rings, and charms with a hole in them. The organic forms of charms were inspired by Henri Matisse’s cutouts. My original goal was to create multiples so I can create a mobile that can be hung on the  ceiling. 

In a continuation of scaled-up jewelry making, I made chains by applying  the donut shape into more rectangular shapes. While it wasn’t planned, I found myself interacting with the chains like accessories or body pillow which was extremely fun. 

For the second path, I was inspired to make a vase of some sort. I first started with a simple cylinder within a cylinder shape that resembles a mug. Using fur fabric, I wanted to make the mug-like vase feel surreal with its unusual texture. 

For this final piece, I used rhino to mash 6 spheres to make a cloud-like shape with a cylinder cut out. This one was a further exploration of the “vase” but more abstract and complicated. Then I cut off the form with 3 planes to split them into patterns. 

I enjoyed the process of creating as I go, being inspired by the shapes and the interactions I would have with those objects. Mastering the donut technique was fun and I found myself wanting to make more of those in different scales, patterns, and fabric. I also loved the sensation these stuffed objects created, and it is definitely something that I want to keep exploring and making. My biggest challenge was sewing the rhino file together. Since the 2D patterns were very complicated to begin with, it was a challenge to piece them all together and create a perfect sphere.

Skylar – Push/Pull Part 1

This is the first piece I made and the last one I finished! I had to figure out the best way to turn the donut inside out. I left it as a donut for a couple weeks and when I came back to it to sew it up and make additions I felt really uninspired. I liked the versatility and simplicity of just a donut and each modification I tried just seemed unnecessary or distracting, so I finally decided to see what it would be like to put a tie through the central seam. I really liked how the shape ended up and made this still a comfortable, useful cushion, but with the ability to change shape and be slightly more rigid than the unfurled donut.

This is the second one I made. I spent time trying to make the donut a donut and then didn’t know where to go, so I figured I would go with a more improvisational approach on this one. I started with the cylinder pattern and tried some darts and cone additions which ended up being more difficult than I thought it would be. It was especially hard to make sure the darts were evenly spaced but I also refused to get out a measuring tape or anything so I might try that next time. It was quicker and more fun to just see what it turned into rather than being frustrated when something doesn’t go according to plan.

This is the third one I made. I really wanted to try out some of the fun fabrics so I finally got to here. I modified half of the sphere pattern when making it so that the inside sphere would be smaller than the outside one, which kind of worked but it was hard to keep it symmetrical and to stuff it evenly. I like that it is a soft hat though. I put a lot of thought into how I was going to create this and I was able to follow the process I thought of pretty well, so that was nice, but it also took a longgggg time, especially because the cones were so small.

Visual Portfolio, Posts & Image Gallery for WordPress

This is the last one I made. I also liked the fabric and I wanted to start with a cube this time since I had used a lot of more circular patterns for the other one. I also noticed that the cube was very un cube like after stuffing it, especially because the fabric was so stretchy, so I tried to experiment with putting a skeleton inside, but there was nothing to hold it together. So, I moved it to the outside. I wish the structure I hot glued had held its rectangular shape a bit better, as it kind of twisted, but overall I still had fun exploring the stretching of the soft shape to a more rigid body. I also liked the stitching I did on the outside – it kept breaking so I had to do it several times, but I got to try out different textures. I think it would have been fun to do it to the whole shape.

Overall, I really liked the assignment and would gladly keep doing assignments about sewing small stuffed things if that were what the class was about. 🙂 But I am excited to translate what I learned and practiced to inflatables!

Push/Pull Part I — Yiyang Lai

This first object takes a primary form of a sphere. I added a yellow ‘hat’ at the very top and a white ‘tail’ at the bottom. The white ‘tail’ is supposed to have some curvature in itself to make it look more interesting. I put two pieces of rectangular shape fabric together, with one piece much shorter then the other one. It turns out to have some curvature when the object is set on a table. When lifting in the air, however, the curvature is not as obvious. A possible improvement can be made by putting wires inside the white ‘tail’ part so it stays rigid and the audience could interact with the ‘tail’ by bending it. Two ‘eyes’ are sewed on to the black sphere. That is where I closed the whole object. It is interesting because I was not thinking to have them look like ‘eyes’. Lots of people commented that this object looks like a penguin. I might work towards that direction in the future.

Visual Portfolio, Posts & Image Gallery for WordPress

The second object is my favorite. It takes a rectangular shape as its primary shape. I put three layer of different fabrics together to make two wrinkling pieces. It probably does not turn out well because the wrinkling effect I want to have is not very obvious. For further improvement, I could iron those fabrics first and sew them afterwards. I then attach these two pieces on to the primary shape and pulled it with a strong string. The button was attached later on to the knot where that strong string came through. My favorite part about this object is that two attached pieces. I appreciate how the light shines through the green web-like fabric and how its texture differs from the rest. I also like the detail of this one. The wrinkles near the button (picture 3) and the tension at the side (picture 4) show how the fabric deforms under pushing and pulling.

Visual Portfolio, Posts & Image Gallery for WordPress

The third one is my Rhino piece. I made a mistake when assembled the bear’s head and body together. Lots of people told me that this mistake was actually interesting and had its own artistic value. Probably it’s because I am an engineer, I find it super hard to convince myself this mistake is not just a mistake. I am so used to build or solve problems with steps and try my best to avoid mistakes. And I definitely should try to work with some randomness and enjoy that. I spent around 7 hours on this object since it had so many pieces. I also lost several pieces so I had to laser cut again to make up for that loss. Some possible improvements can be done in the future: better and more patient sewing, colorfulness, take care of my pieces and so on.

Visual Portfolio, Posts & Image Gallery for WordPress