Push/Pull Part 1 – Charlotte Lamm

Object 1: Basic cube
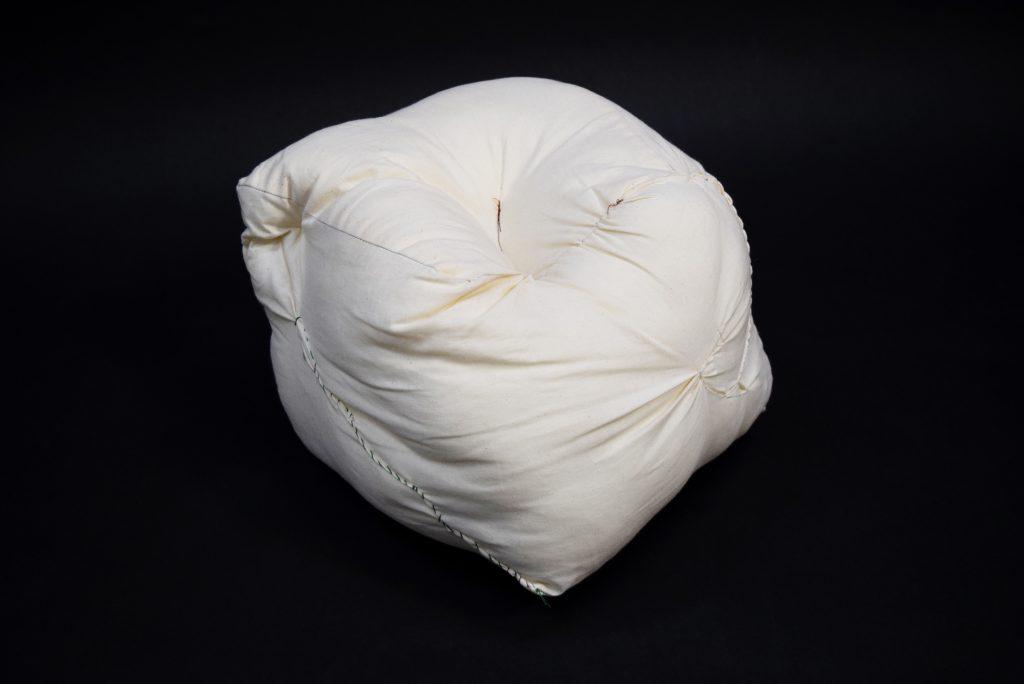
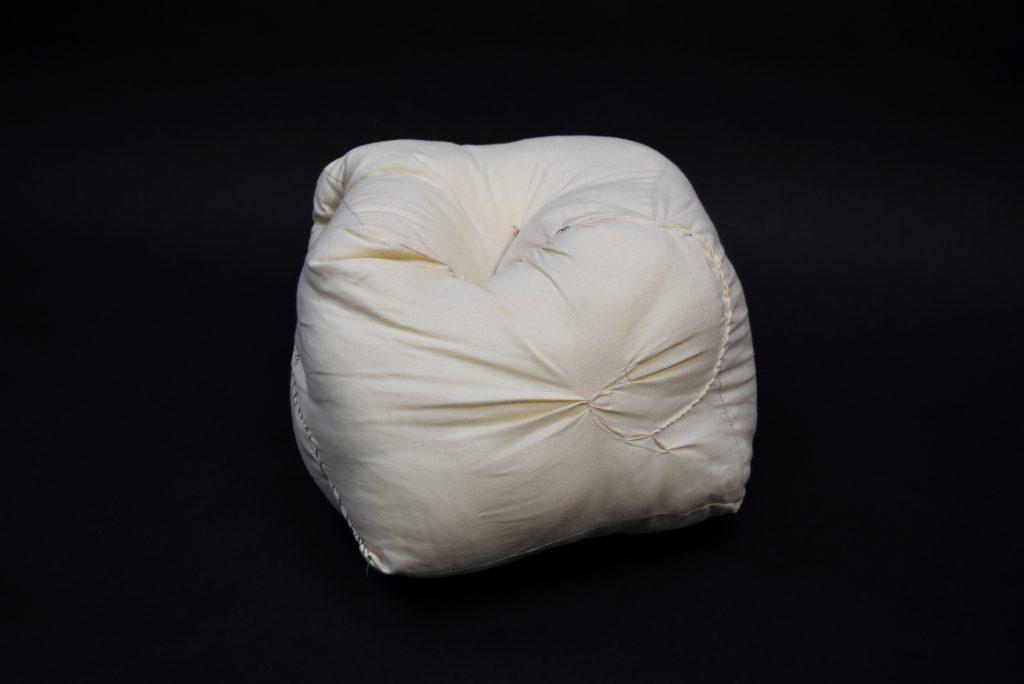
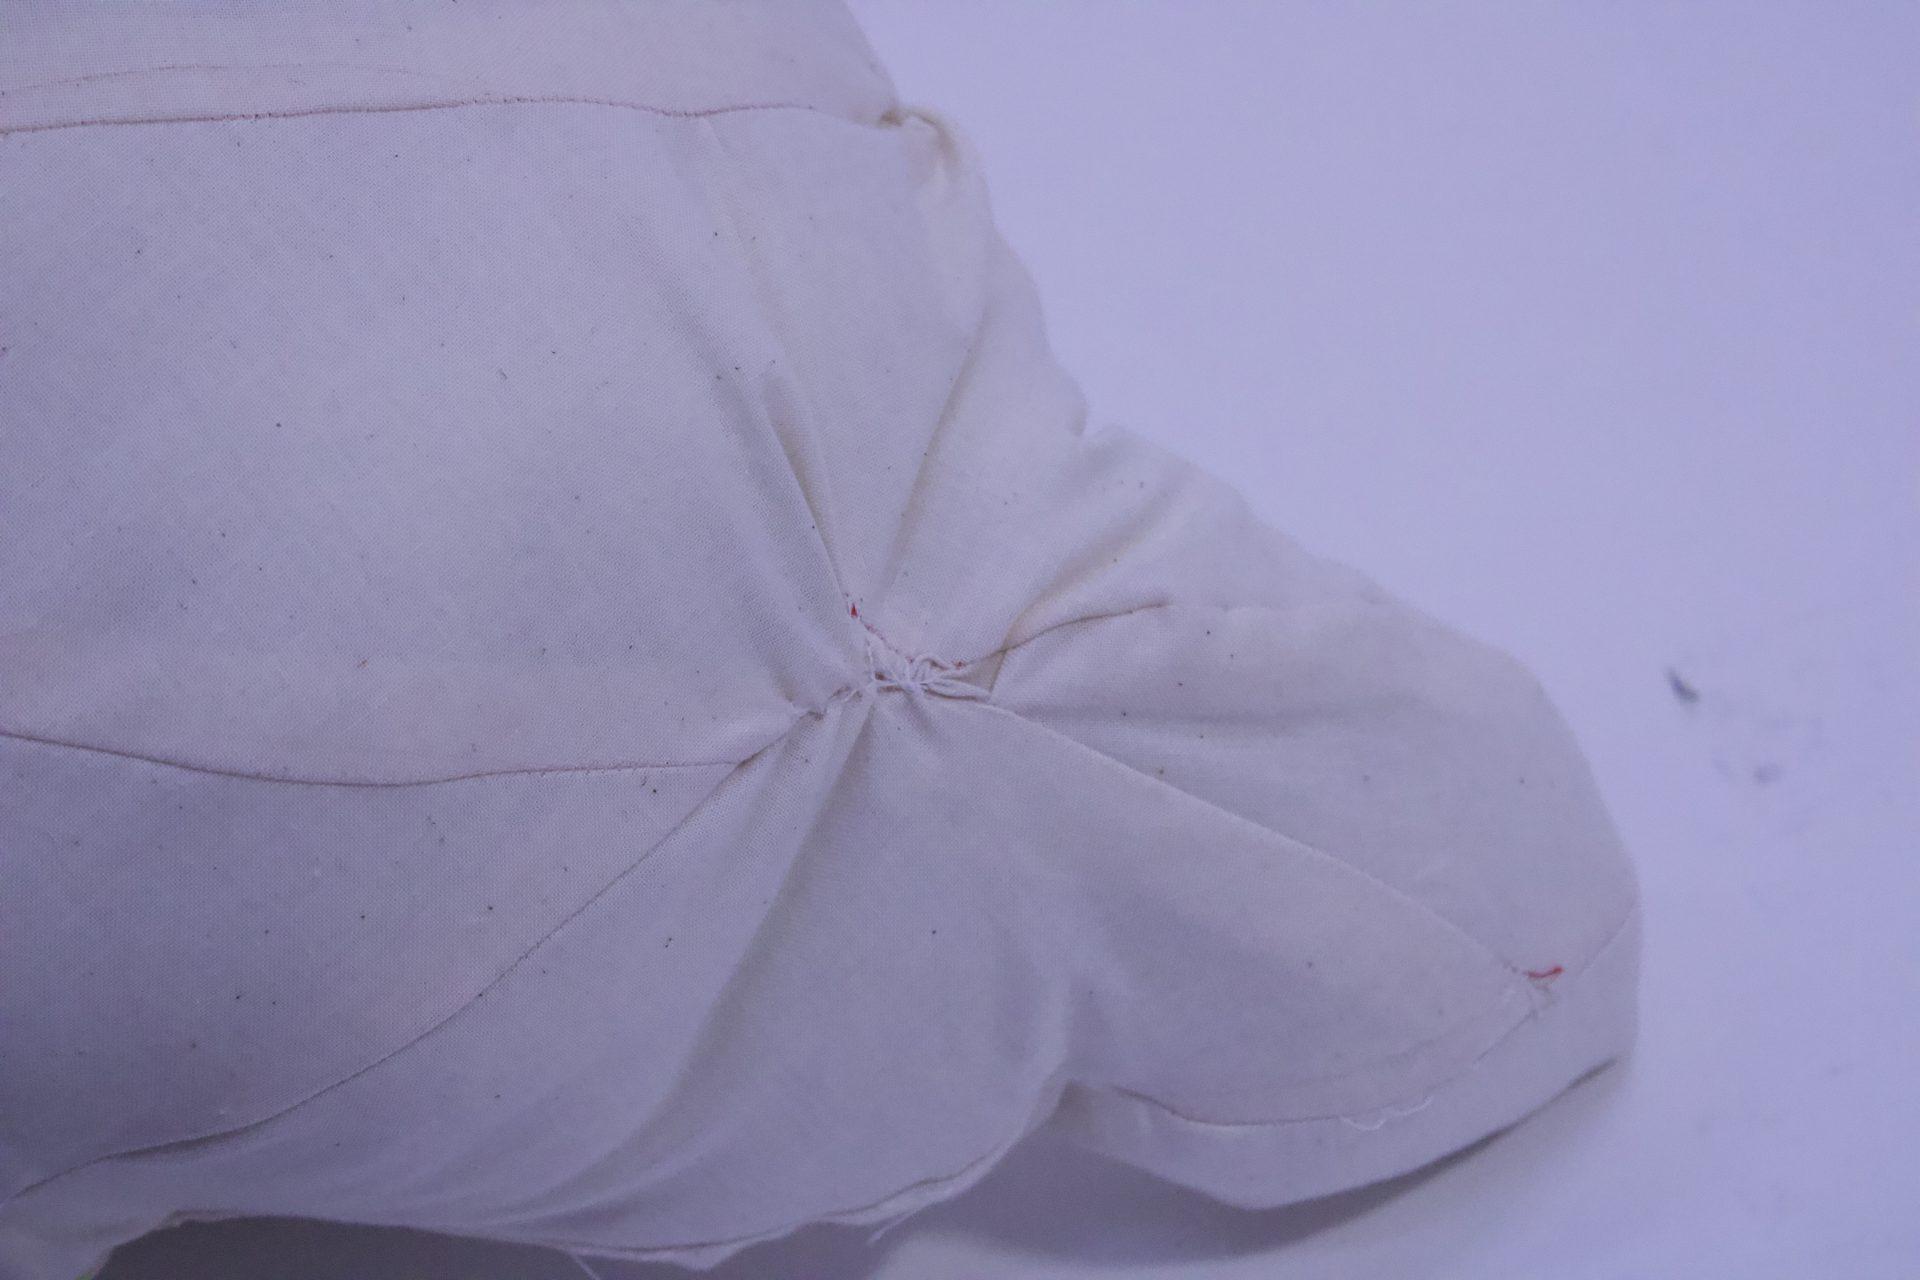
I used my first inflatable as an opportunity to get situated with some of the basic techniques. Object 1 is just a cube with a few added features – baffling using thread once the form was stuffed, a plane of fabric inside the cube also acting as a baffle, and some stitching on the outside to cinch the fabric and add texture. I liked the secrecy of the plane inside the cube, and the thoughtfulness it required when assembling the form.

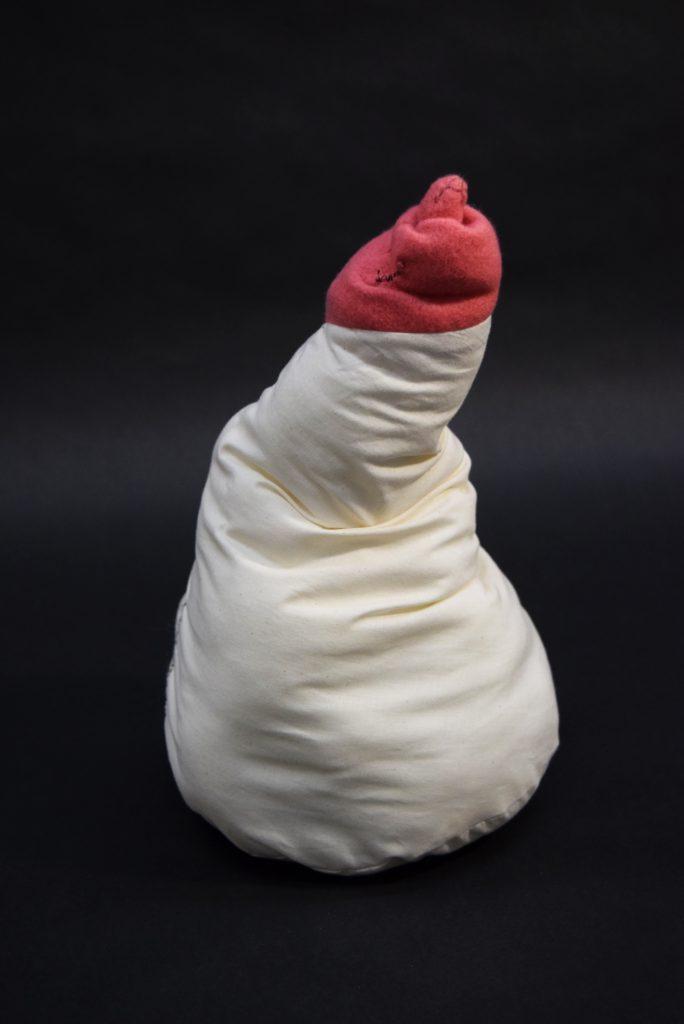
Object 2: Cone Breast
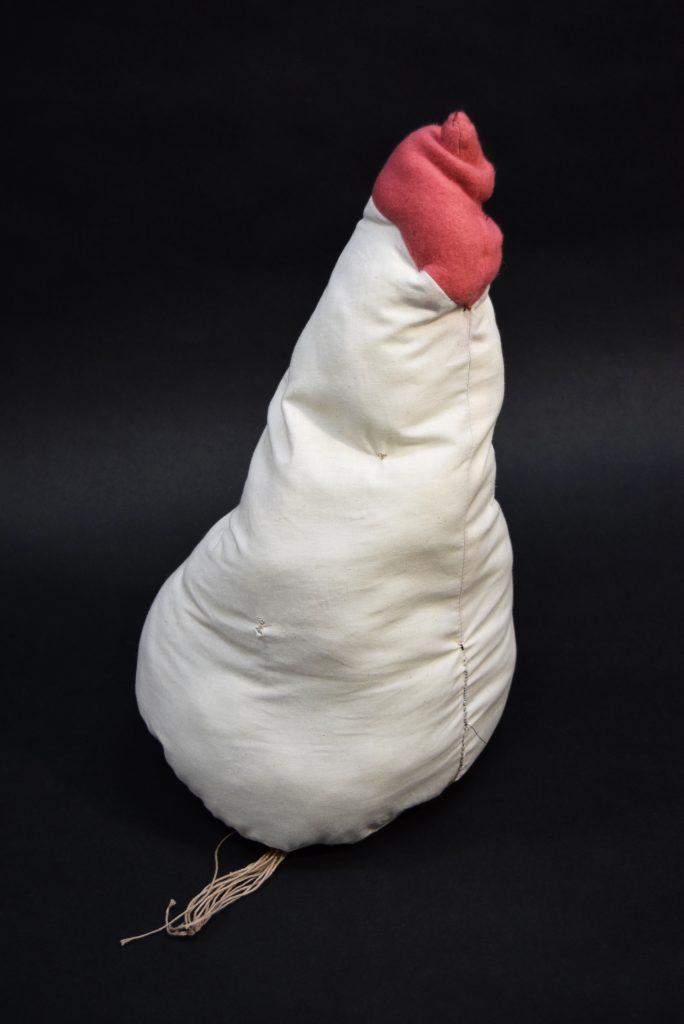
I wanted to construct my second object with a little more intention, so I created a manipulatable cone-shaped breast. My inspiration came from women’s style in the ’50s, when cone-shaped breasts were popular. I was also thinking about how women are constantly manipulating their bodies in order to meet society’s beauty standards. First, I constructed the basic cone shape. Then, I partially filled it, and attached strings to the wall of the cone. I cut holes in the wall so I could tie the string around the fabric (sewing the string in seemed too challenging). Then, I routed the threat out of the inflatable via a hole in the bottom of the cone. When you hold the cone from the bottom and pull on the strings, the cone collapses. Thinking technically about this piece, I enjoyed the interactive feature but also the idea of having elements that are both inside and outside of the object.

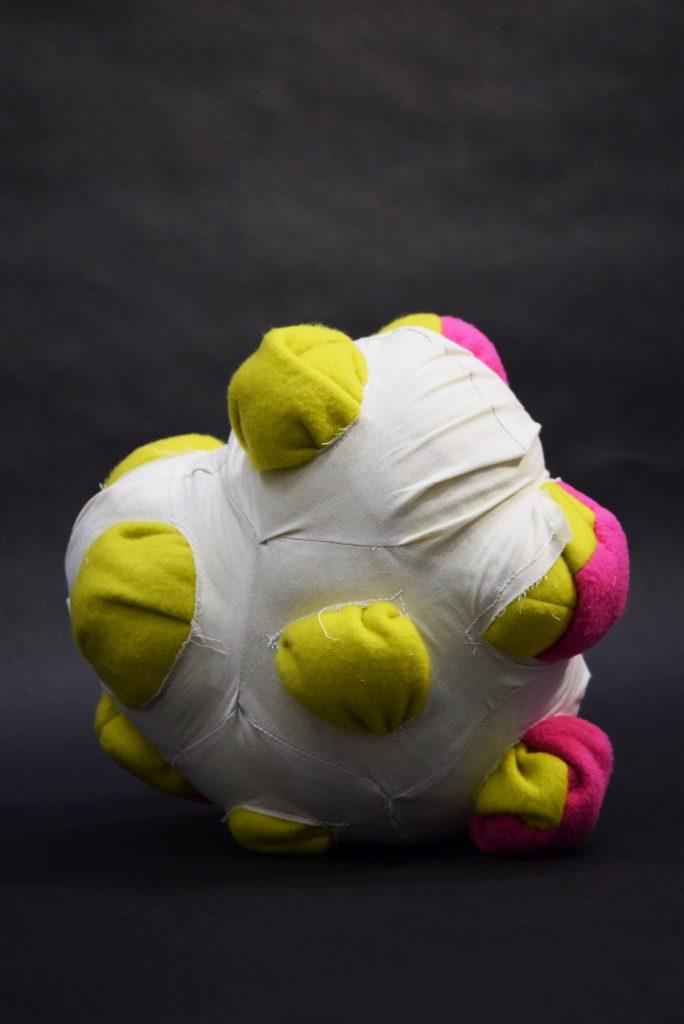
Object 3 – Sphere in a sphere

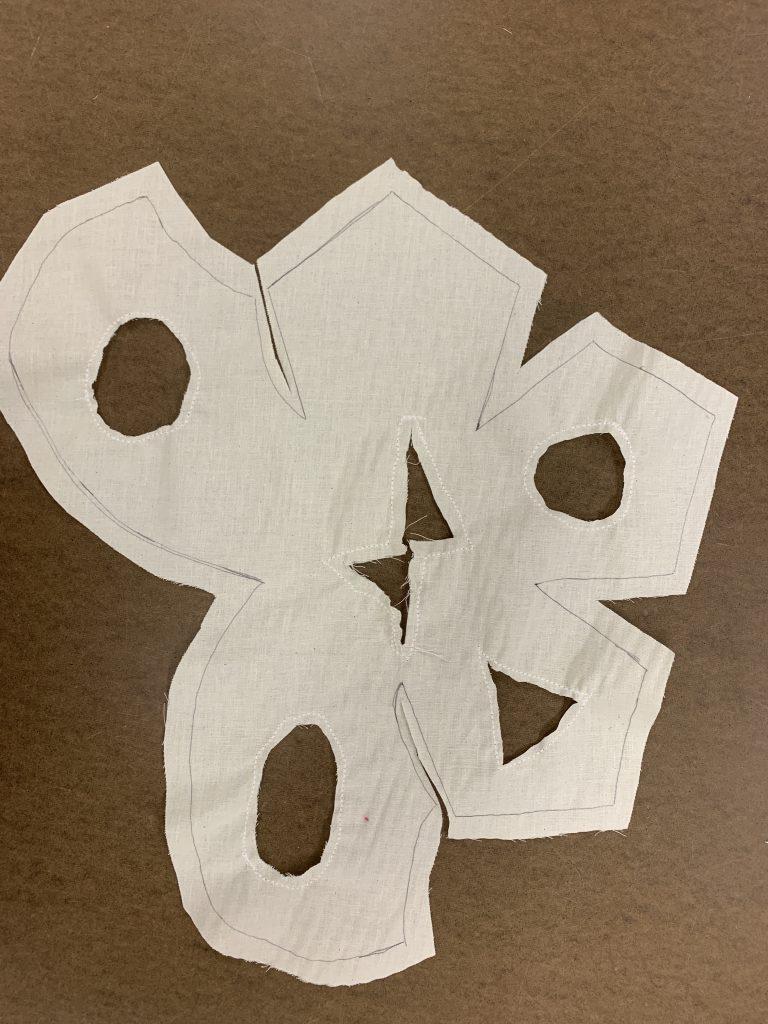
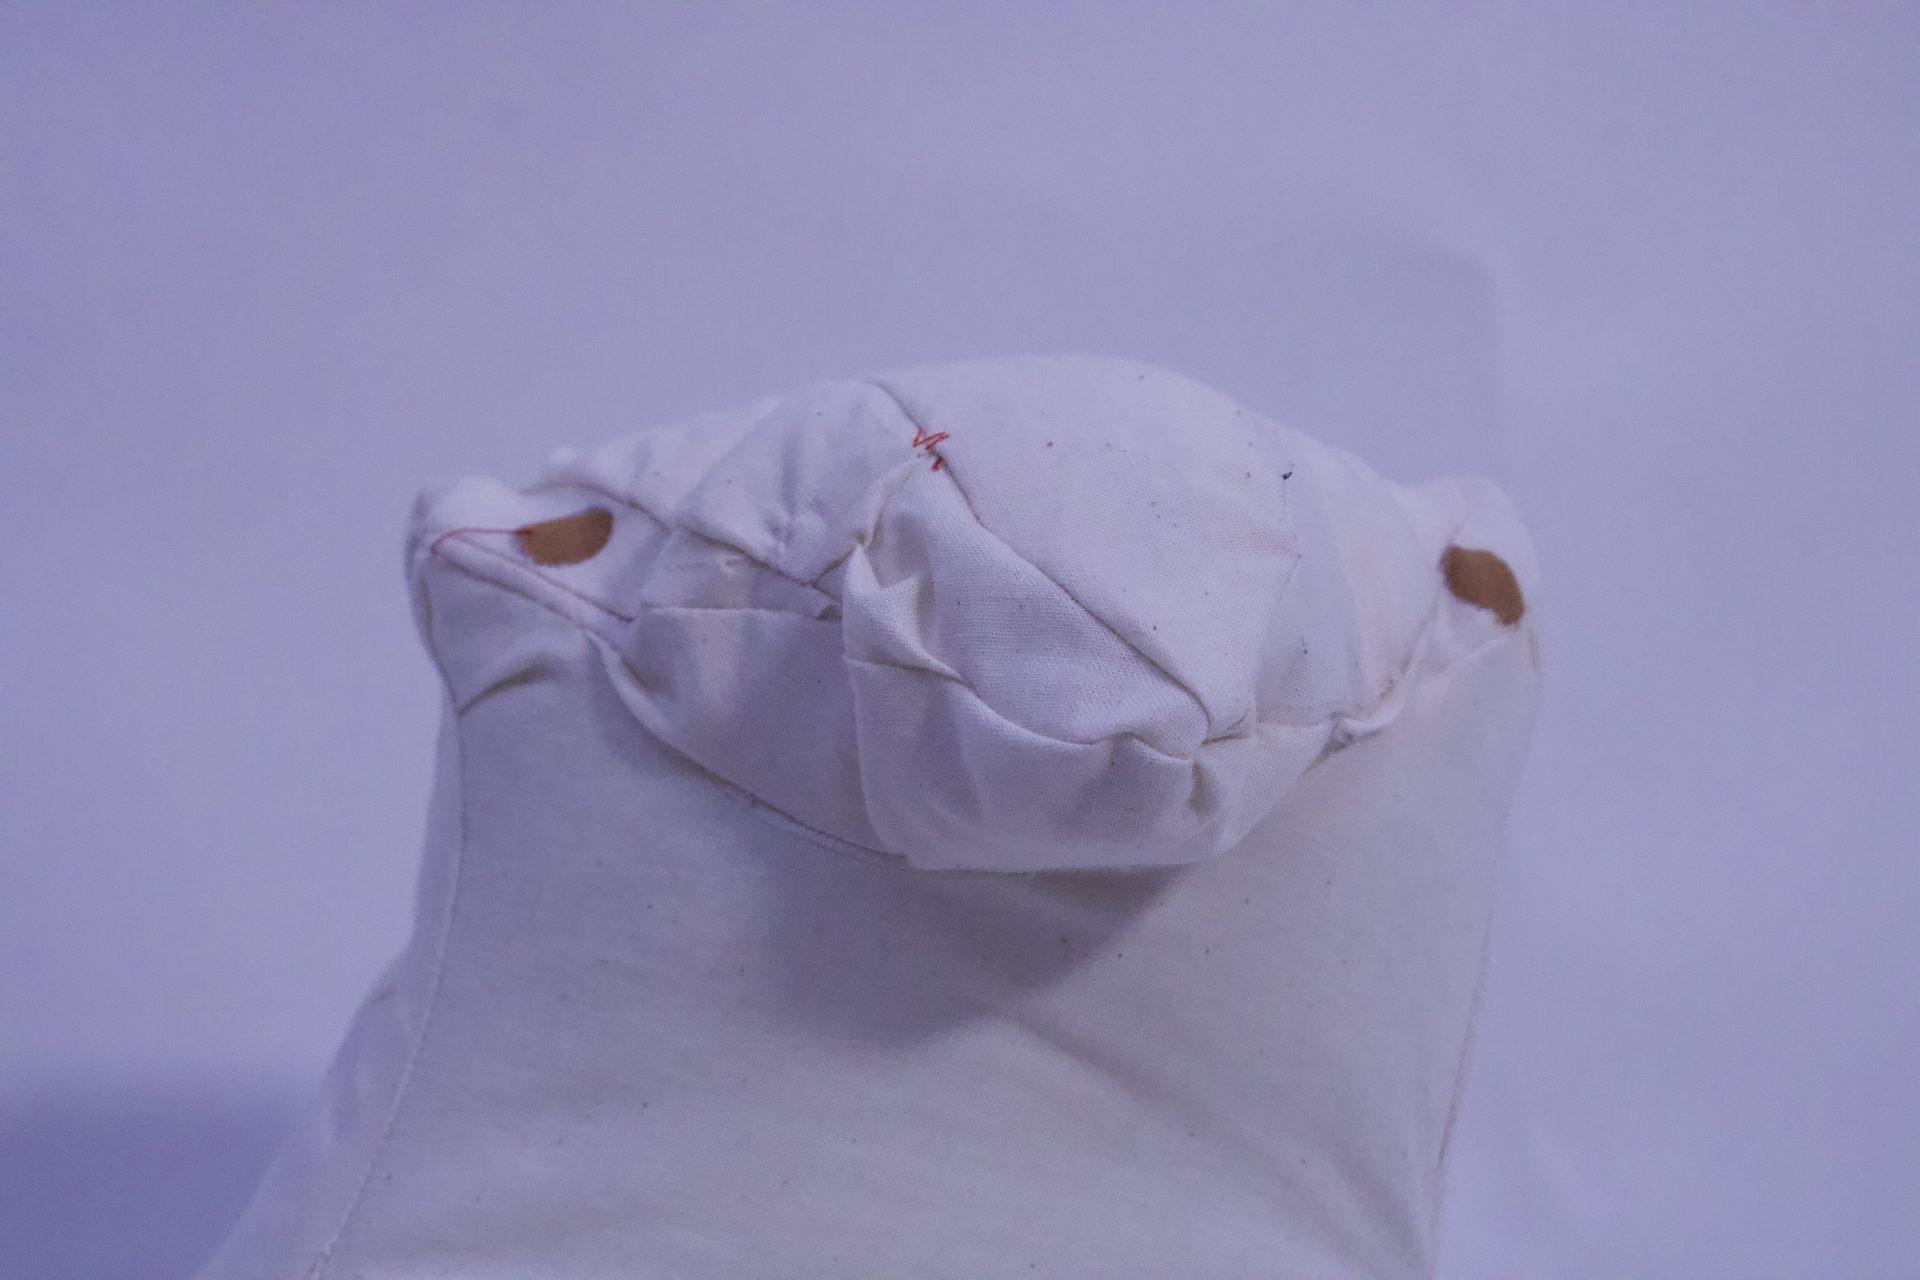
For this object, I wanted to try out the slash and spread technique and also think about how one form can constrict another. I had recently rewatched Vihart’s spherical snowflake video and wanted to expand on the idea. First, I made the pattern for the outer sphere. I made this one out of muslin, because it is a more rigid fabric that I thought would be able to nicely constrict whatever was inside. I then sewed a hole into each of the “pentagons”, and mostly assembled the distorted sphere. Then, I constructed a felt sphere with a larger pattern, stuffed the felt into the muslin sphere, and then stuffed the inner sphere. I chose to use felt for the inner sphere because it would stretch and then bulge out of the holes. I had to do some manual manipulating of the felt and poly-fil to make sure that the inner sphere bulged out of the outer sphere, but once everything was filled and sewn I was happy to observe that the object retained its lumpy shape.

Object 4 – Flower headpiece
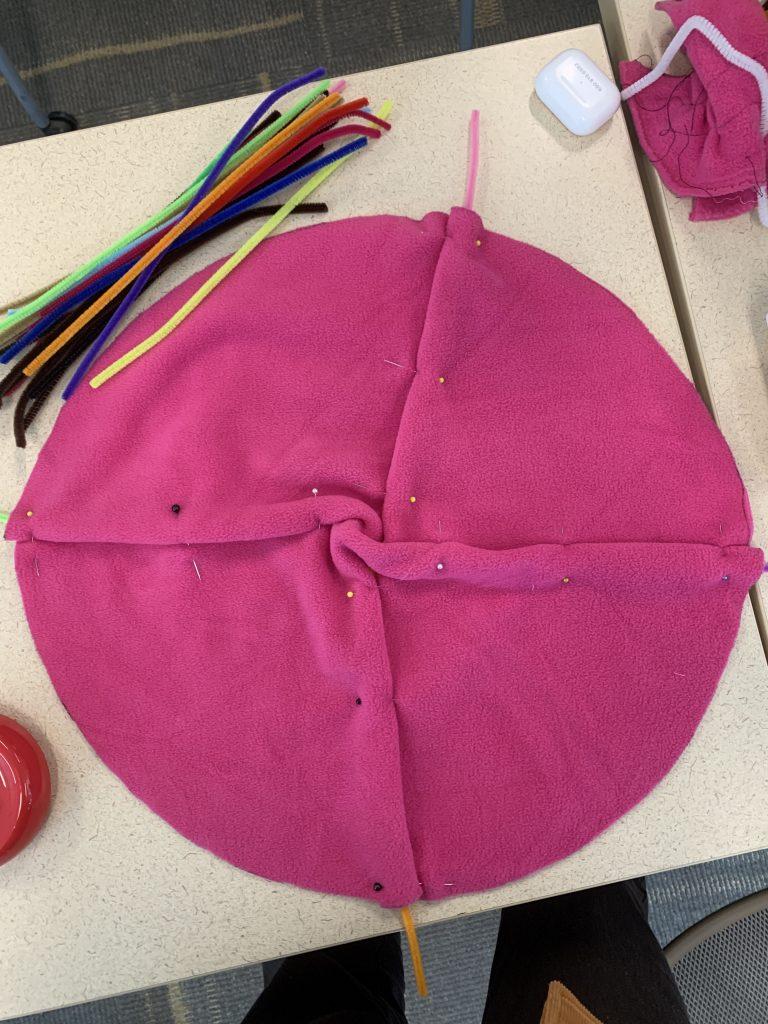
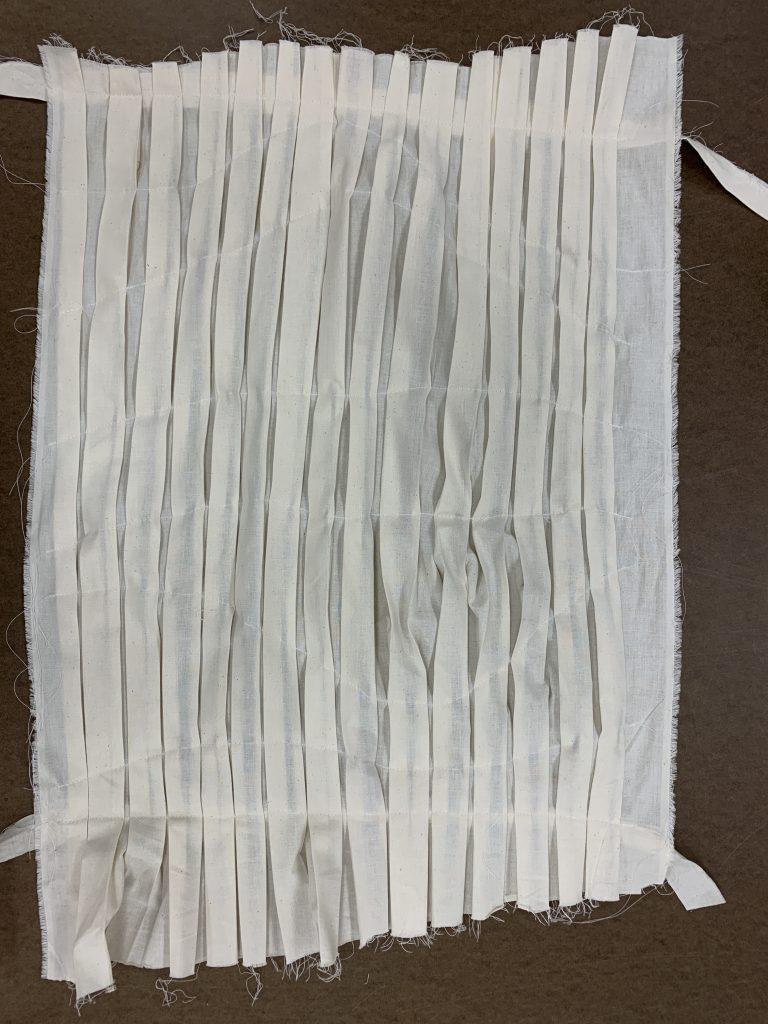
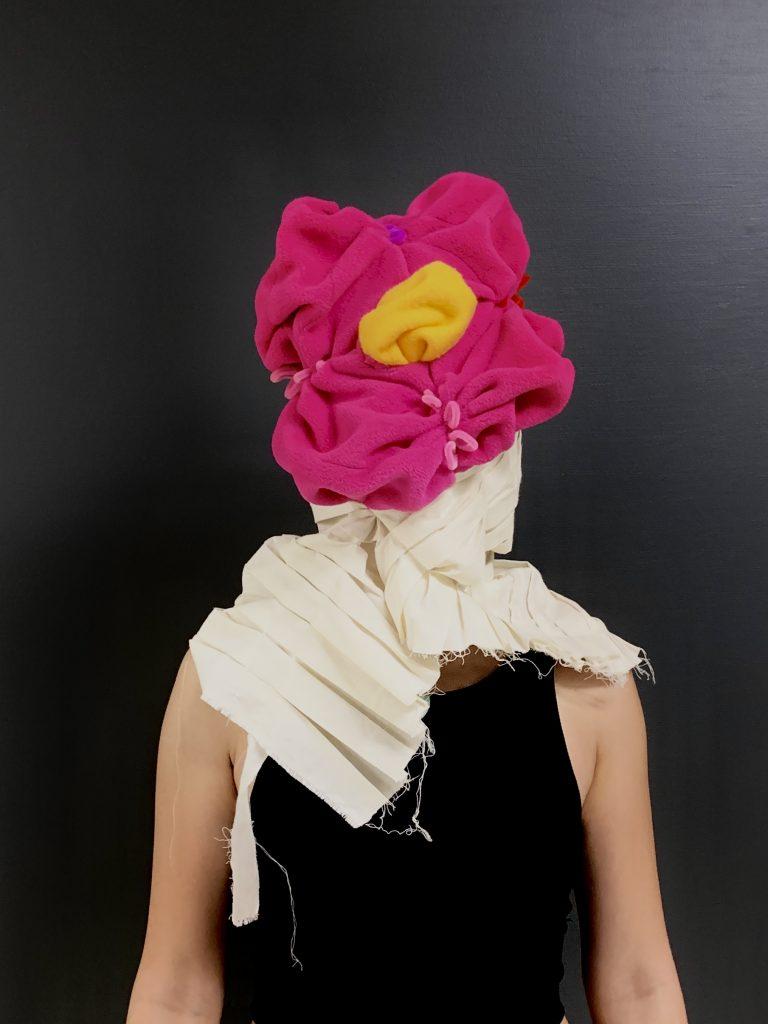
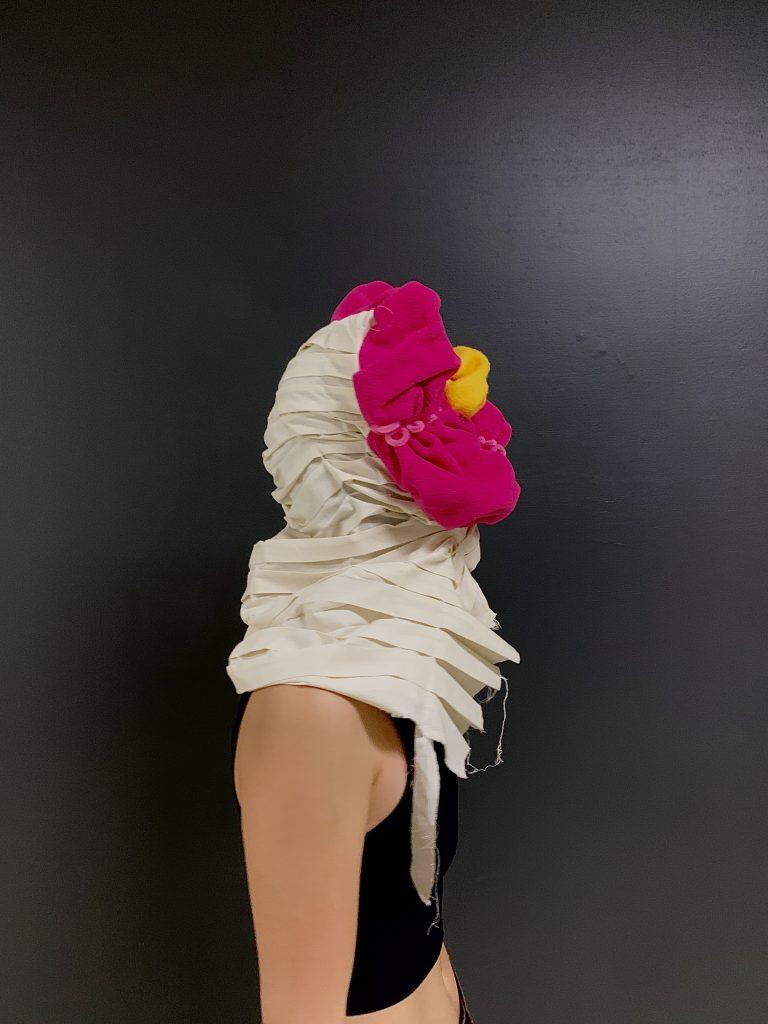
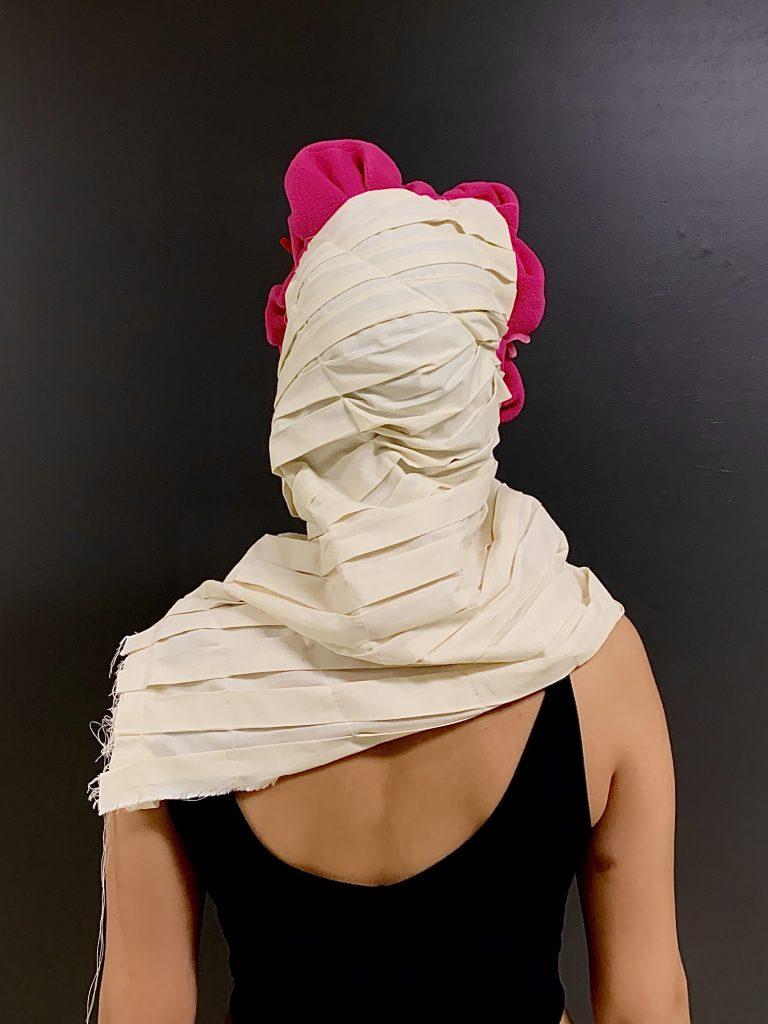
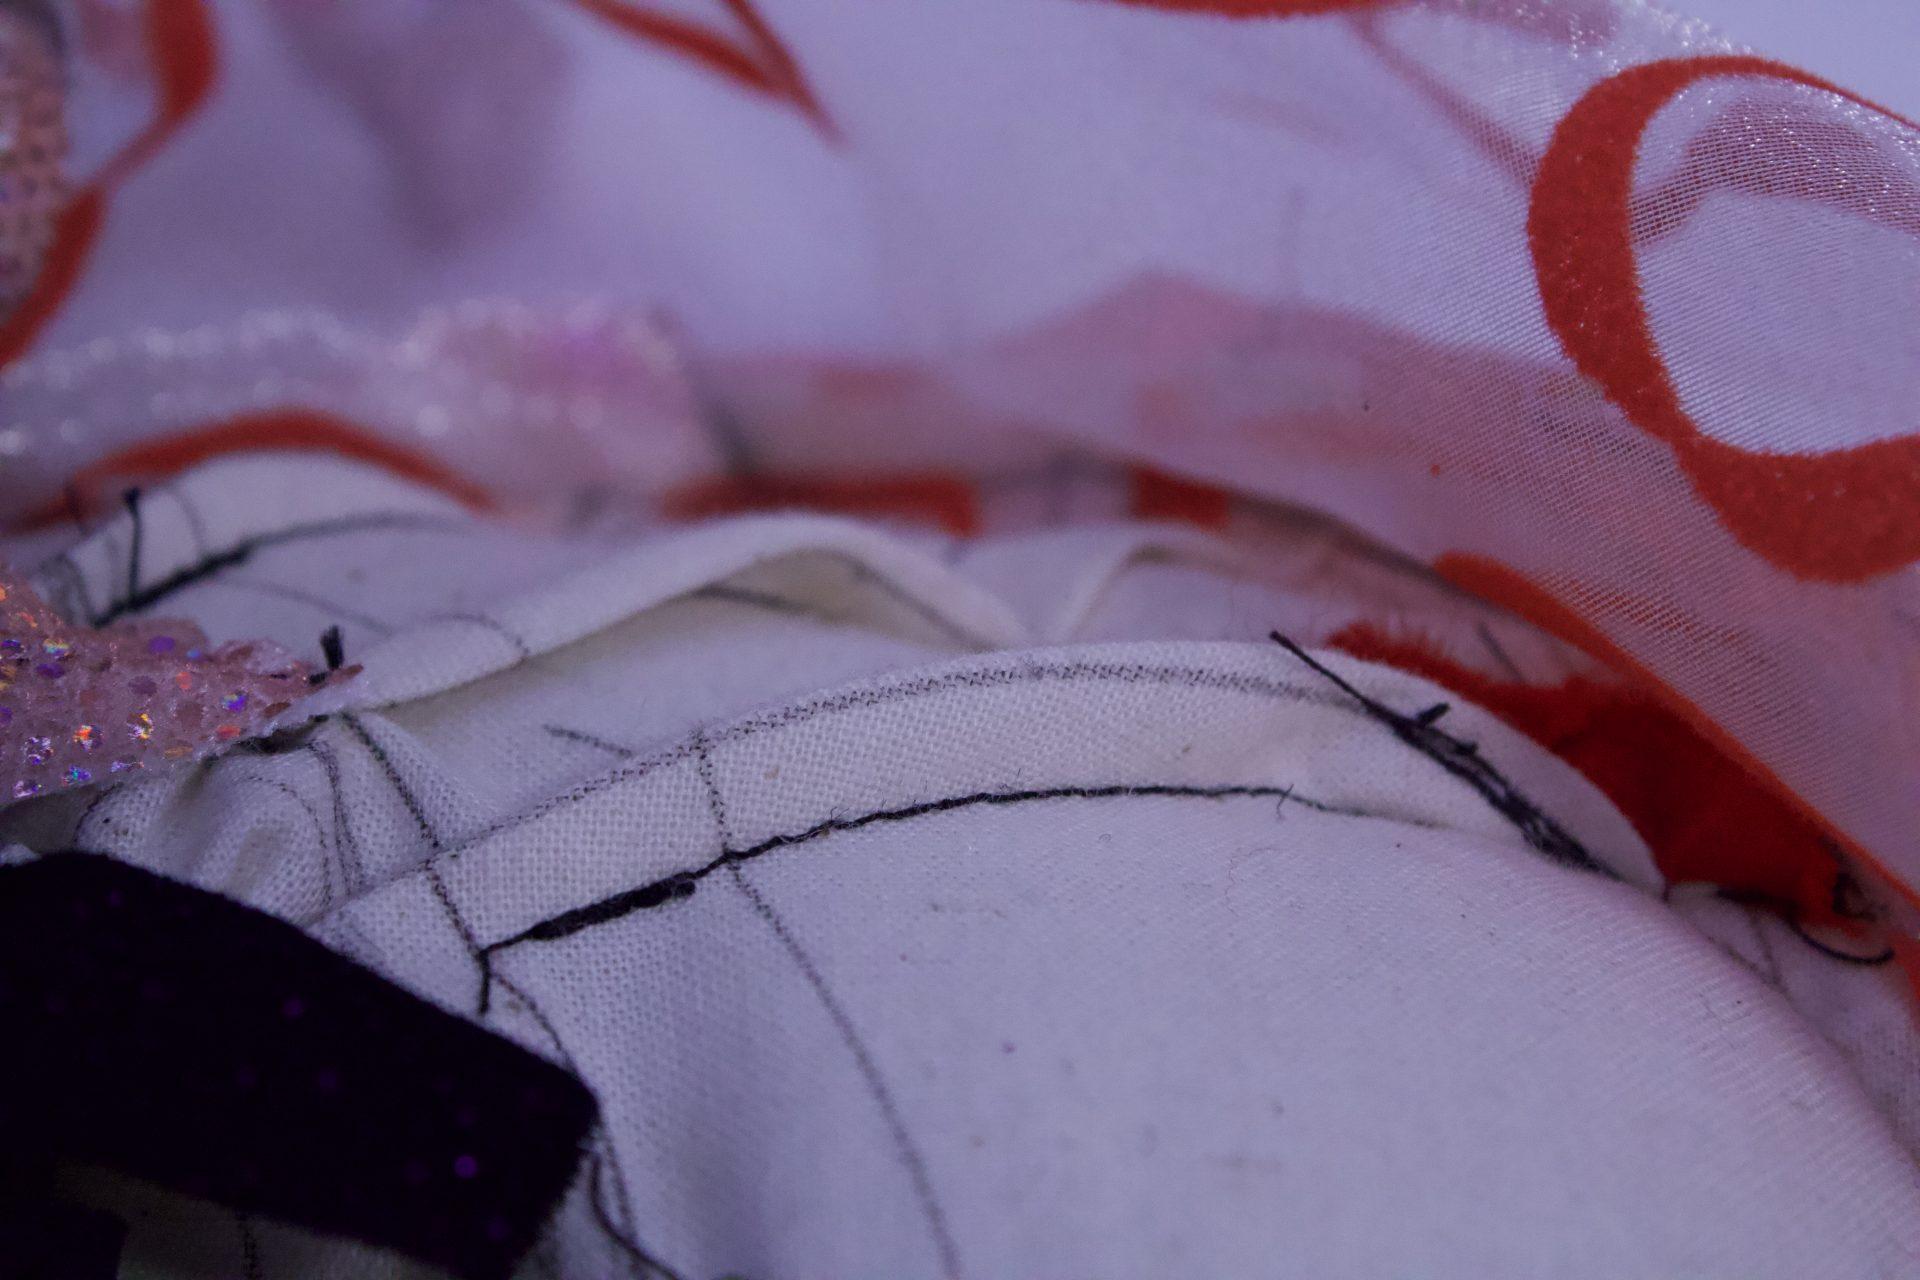
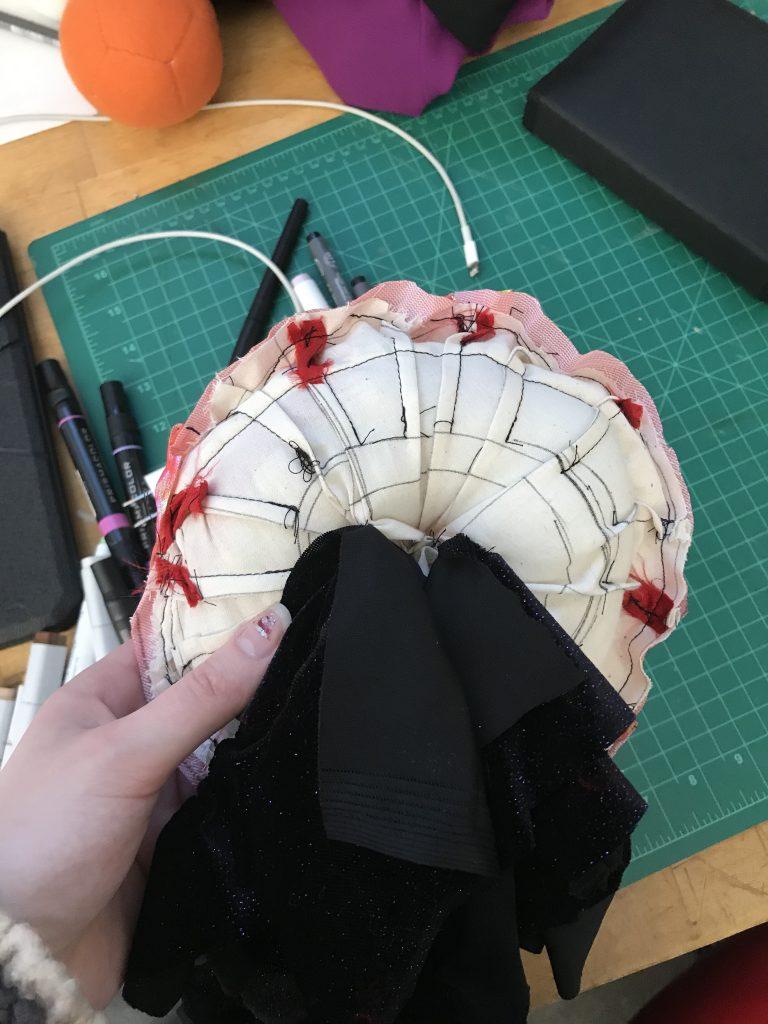
My final object replaced the CAD assignment, so I wanted to create something that reflected my choice not to use CAD. This object was entirely improvisational. I started by sewing pipe cleaners into a felt circle so I could pull the loose parts to cinch the fabric together. When I did so, it looked sort of flower-ish so I added a yellow circle to the center. I knew I wanted to try out box pleating, so I made a sheet of box pleated muslin. I sewed curving lines across the pleats to pin them down in places so the whole sheet wouldn’t just unfold. I found that these curving lines result in the pleats inflating in unusual and unexpected ways – this is something I’d love to explore more in future projects. Once this sheet was completed, I sewed the flower onto the pleated muslin and it just happened to create something that looked like it would fit great on my head. It did fit on my head, so I decided this object would not be stuffed with polyfil. It didn’t much need it anyways – the flower sort of self-inflated because of all the cinching and pleating. I pleated the yellow circle so it would fit in the hole I cut in the pink felt, and I also pleated the pink felt when I sewed it to the muslin. All of this constriction ended up giving the felt some structure. Felt also seems to retain its shape semi-nicely anyways, so that was a nice feature of the fabric that I enjoyed with this project.

Push and Pull Pt. 1 -georgia

Visual Portfolio, Posts & Image Gallery for WordPress

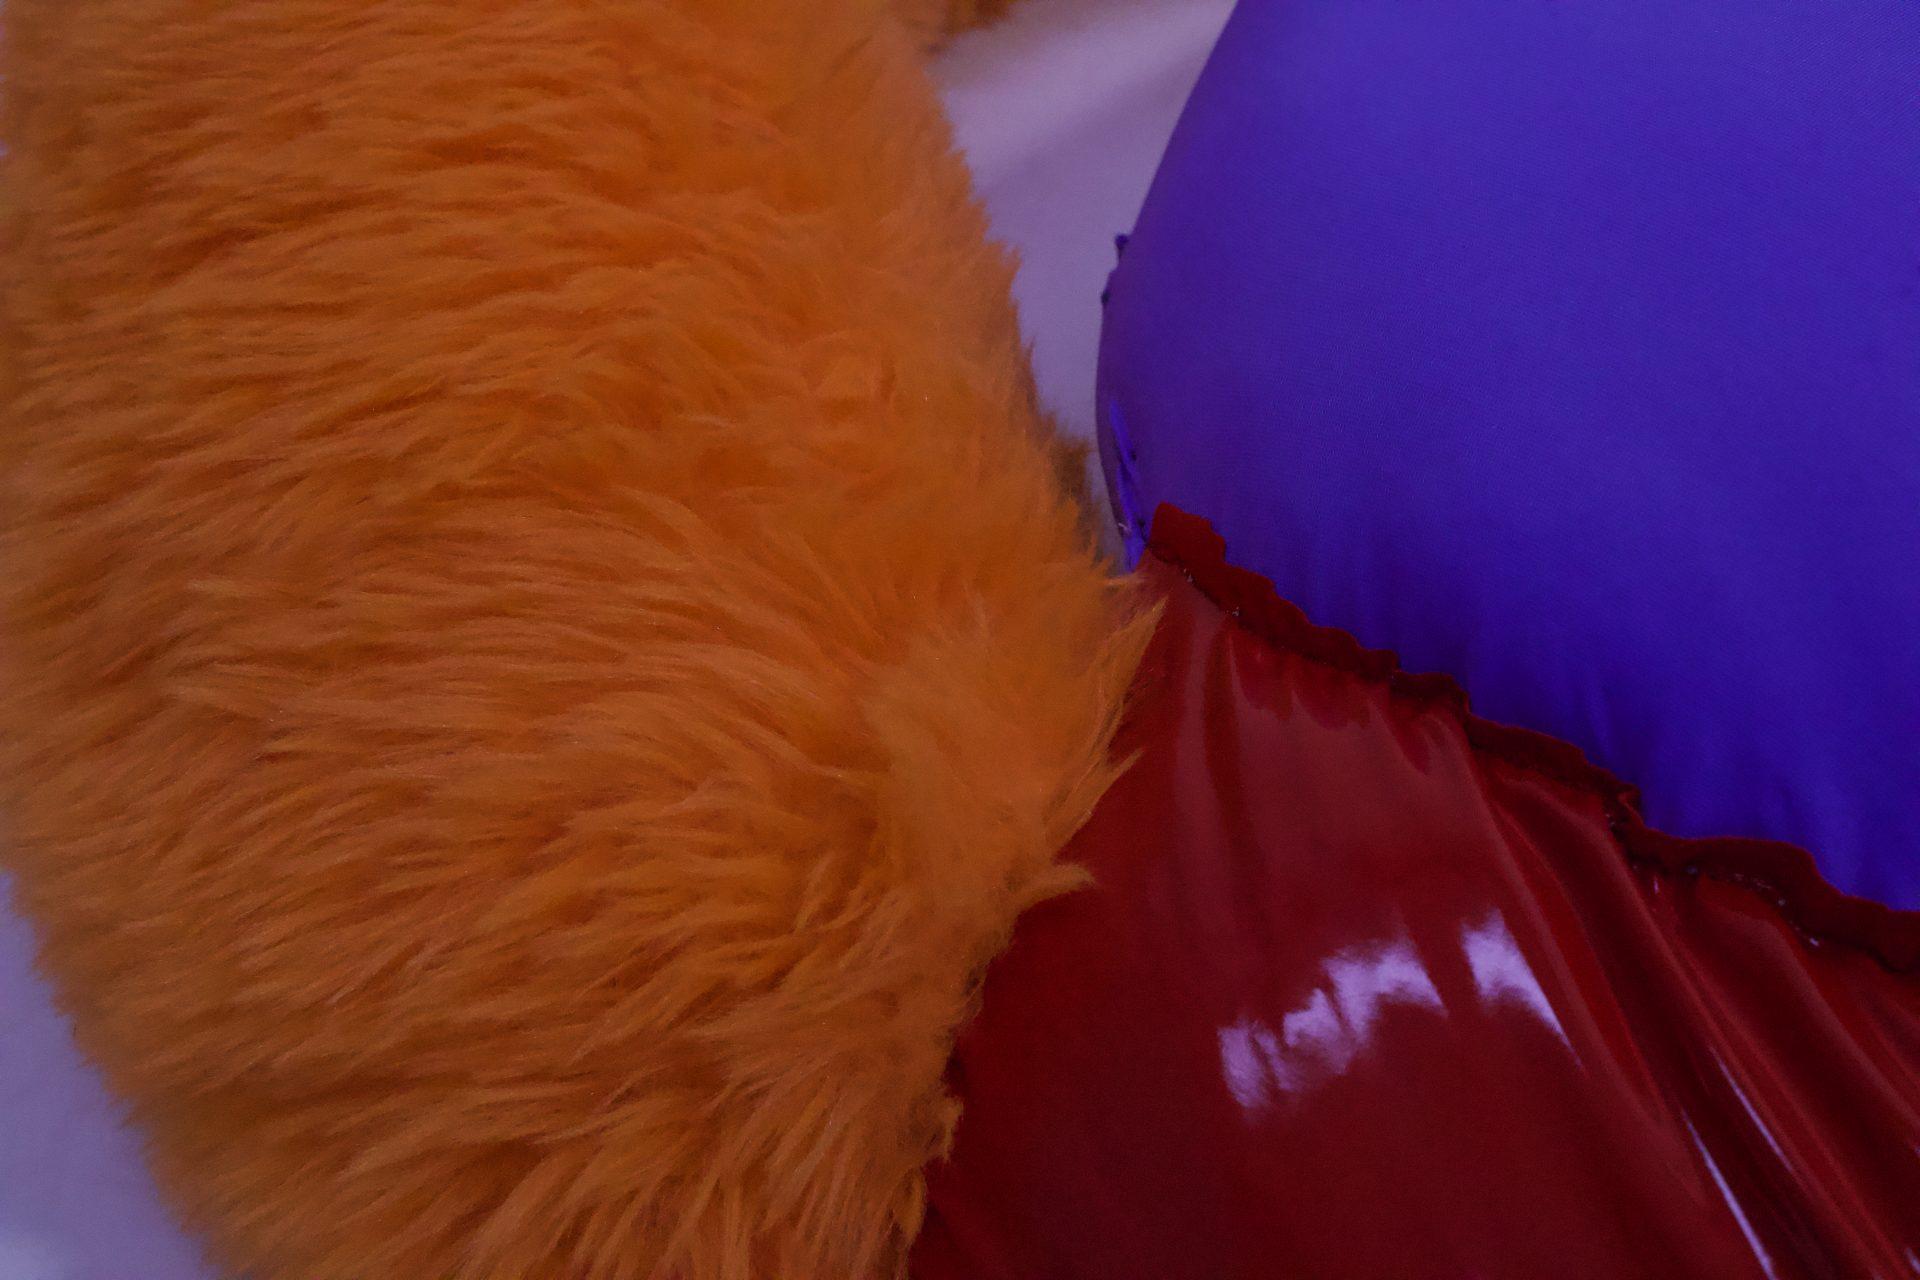
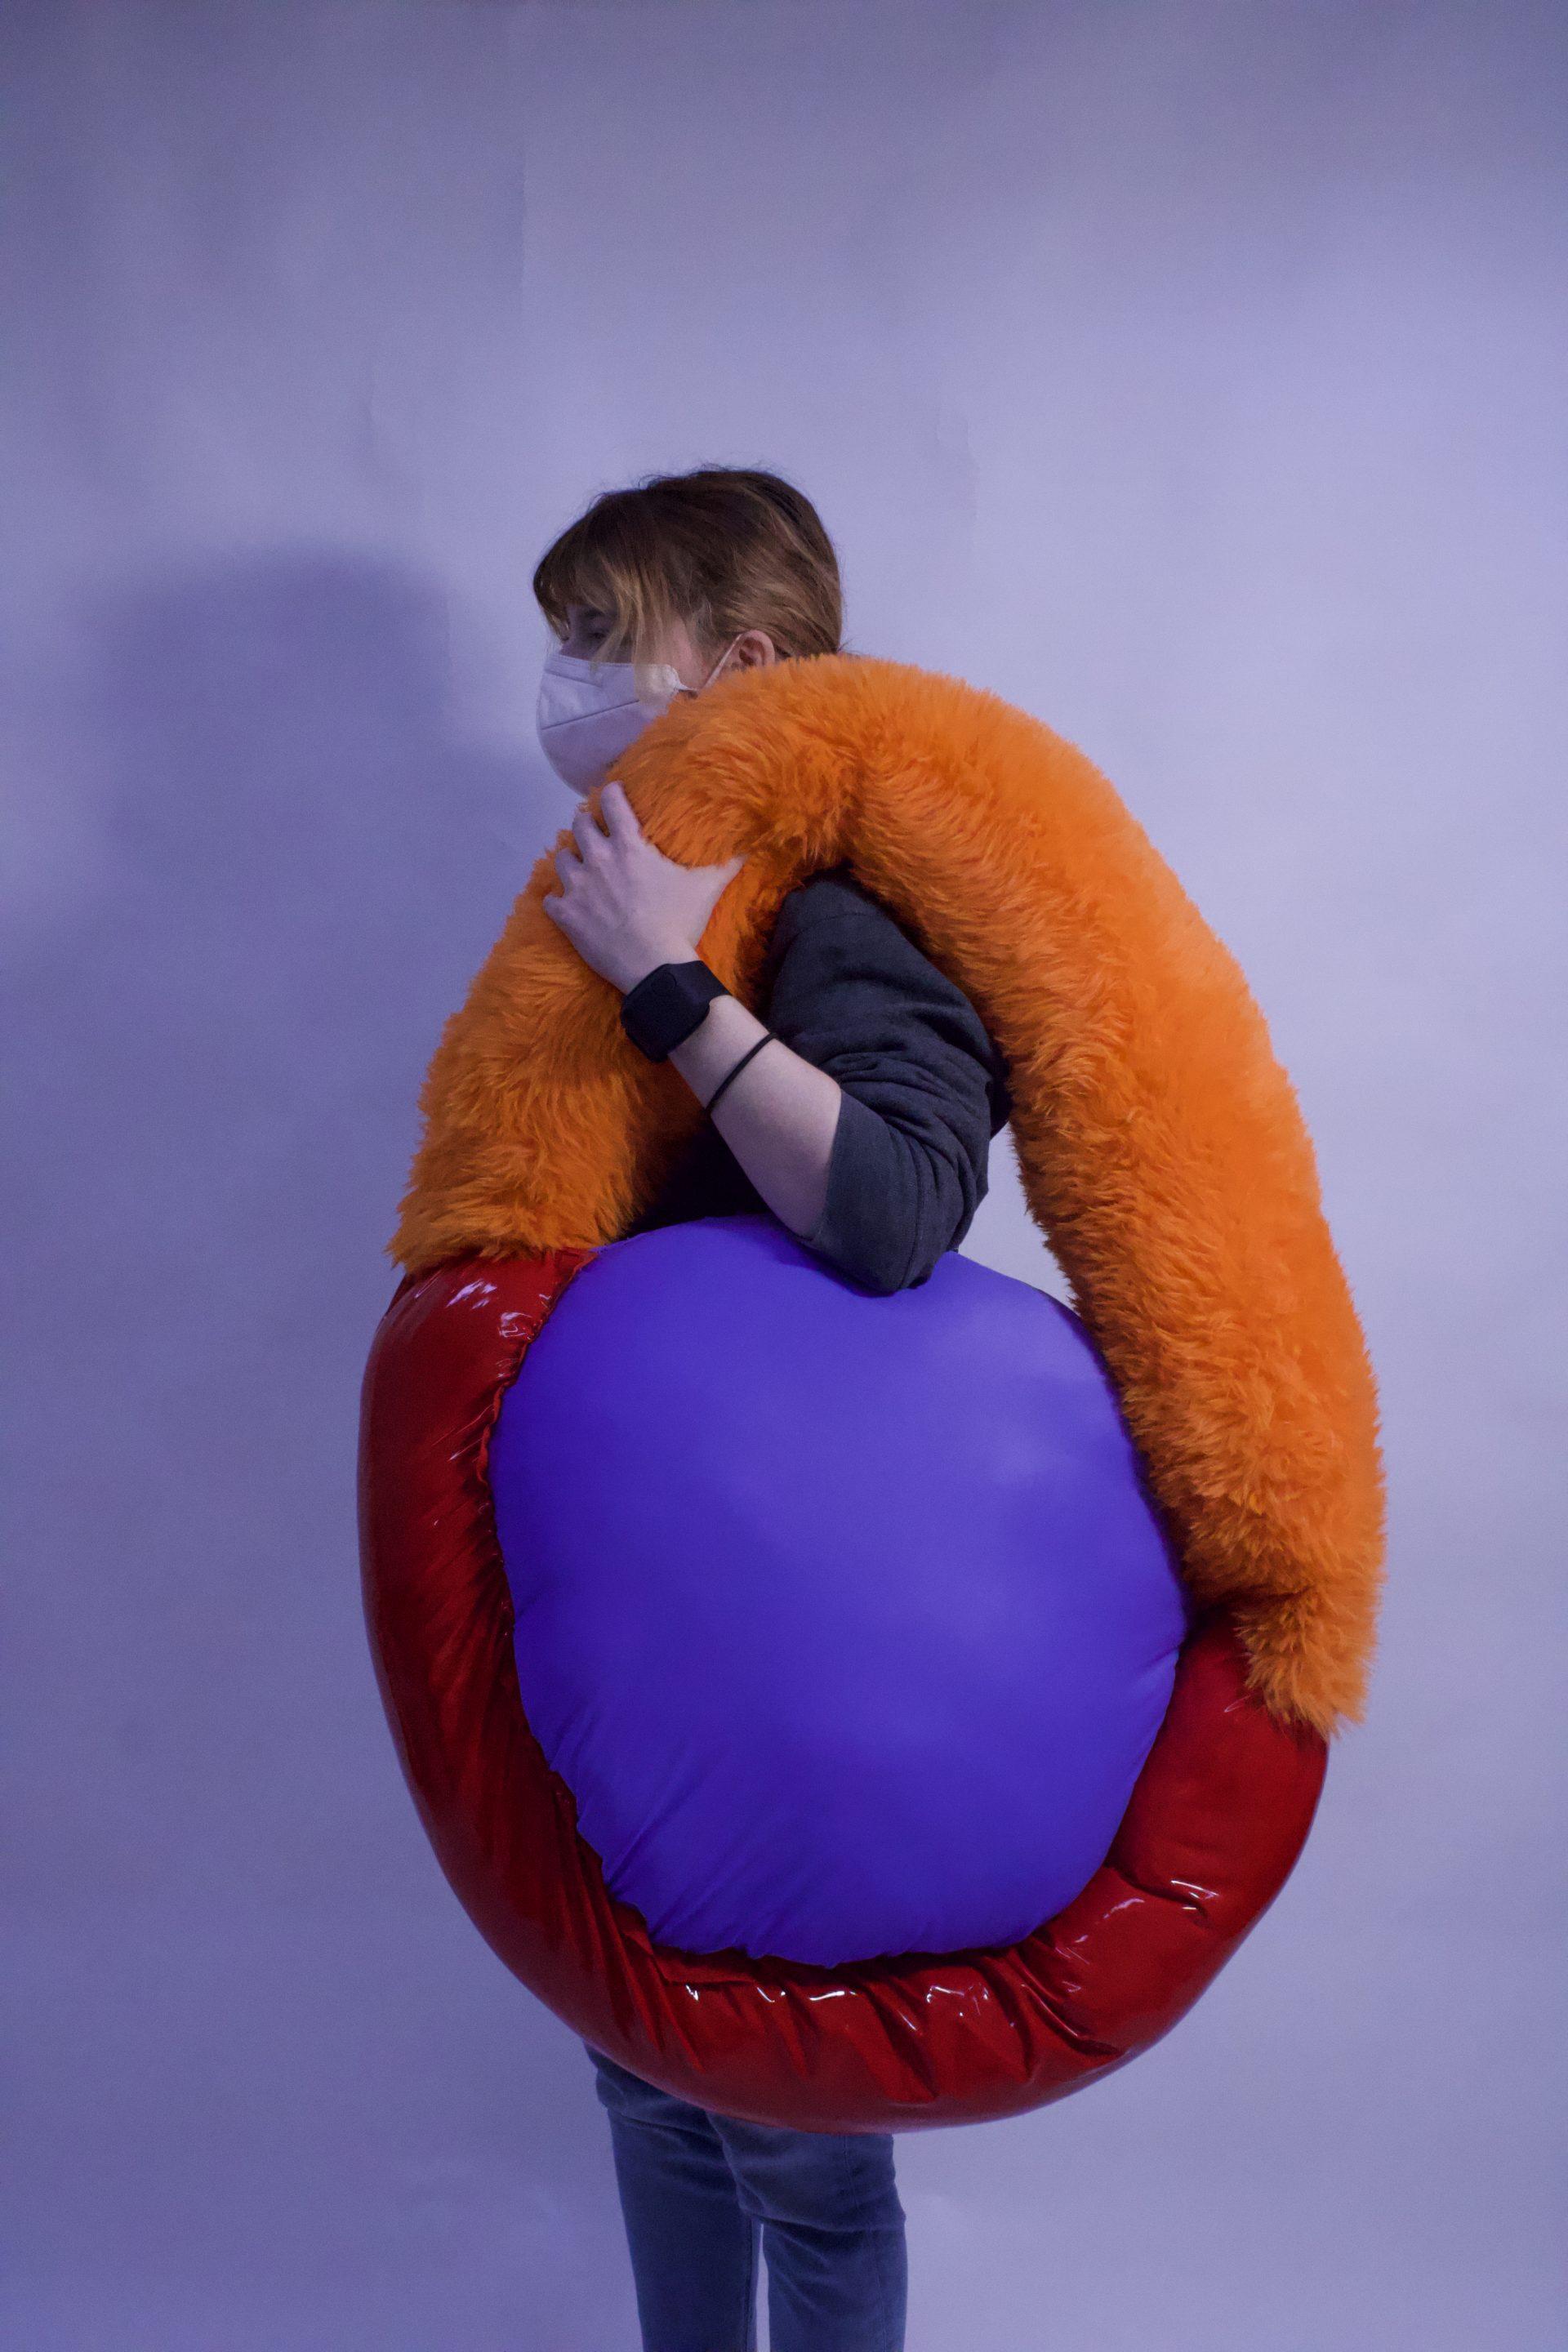
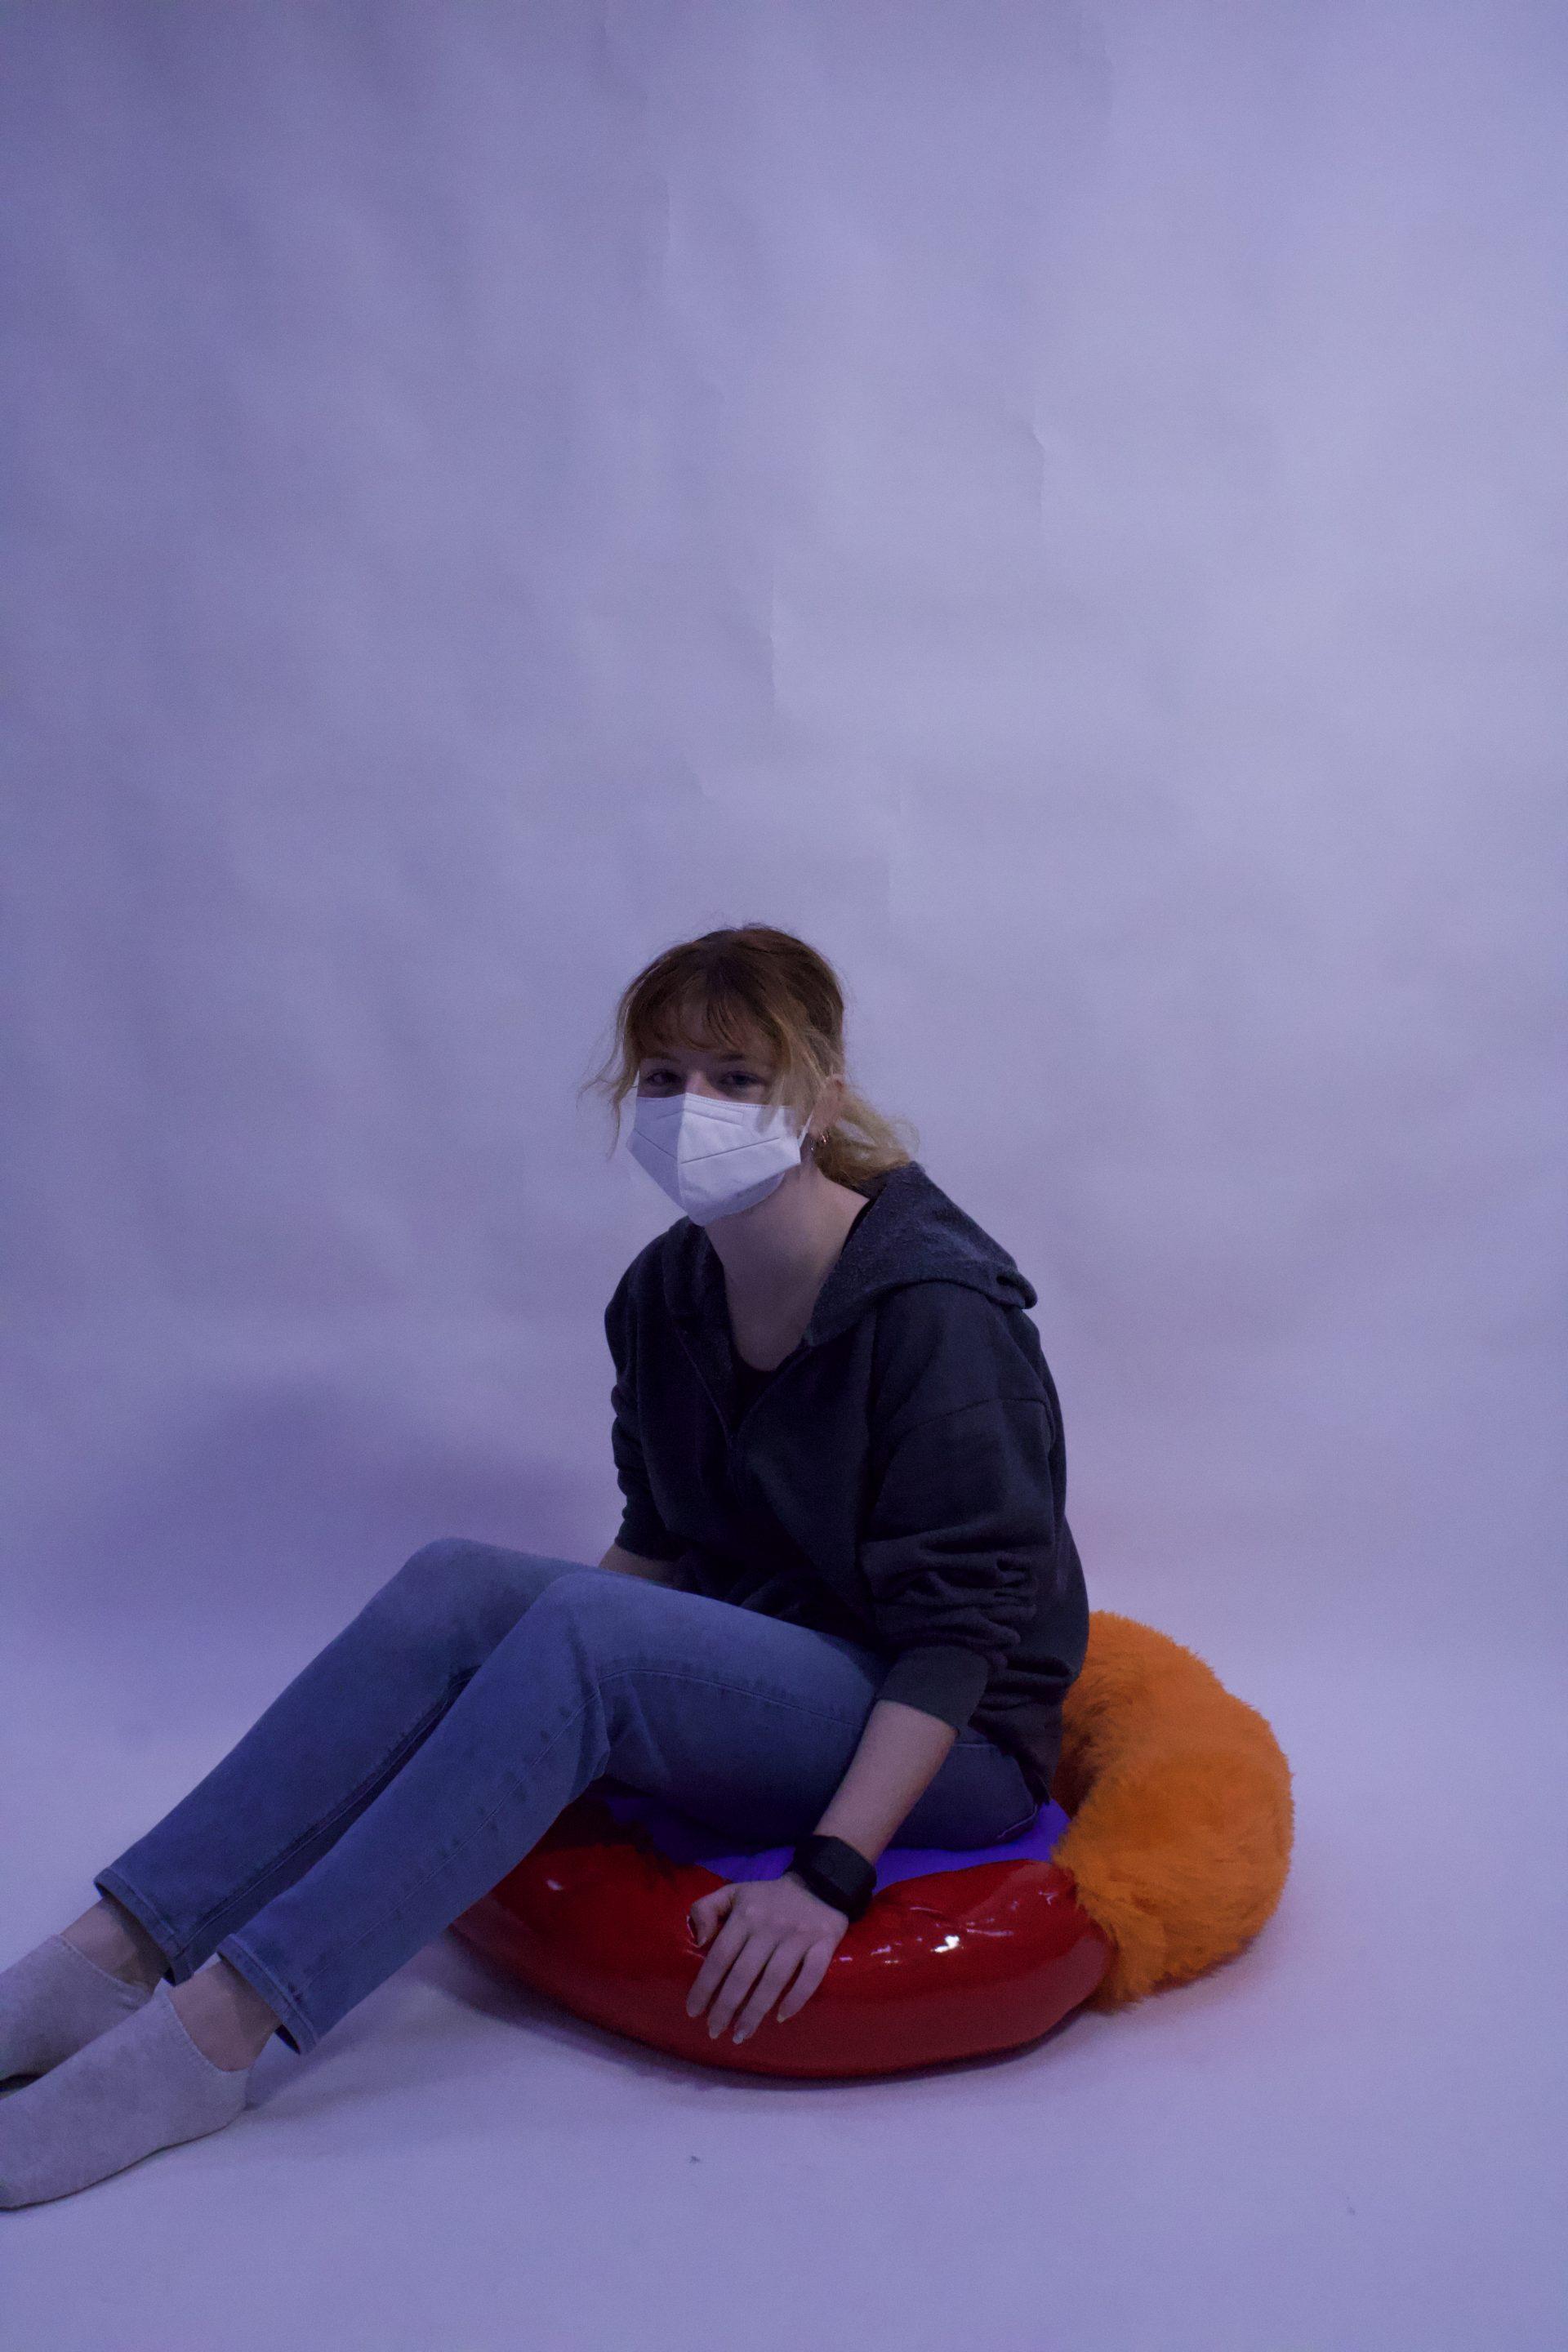
Object one: Purse/ Accidental chair cushion

I had originally had drawn this design out to be more of a connected tube to the big circle in the middle. I put together to circle shapes out of fabric to make the big center circle and then made a very long skinny rectangle of the two other fabrics to make the rest of the shape. I had other things I wanted to add to this piece, but this one took me much more time than I thought it would. I had wanted the model to be colorful and different textures, but with my new sewing knowledge using these materials was a give and take and process so it probably took me much longer to do than it should have.

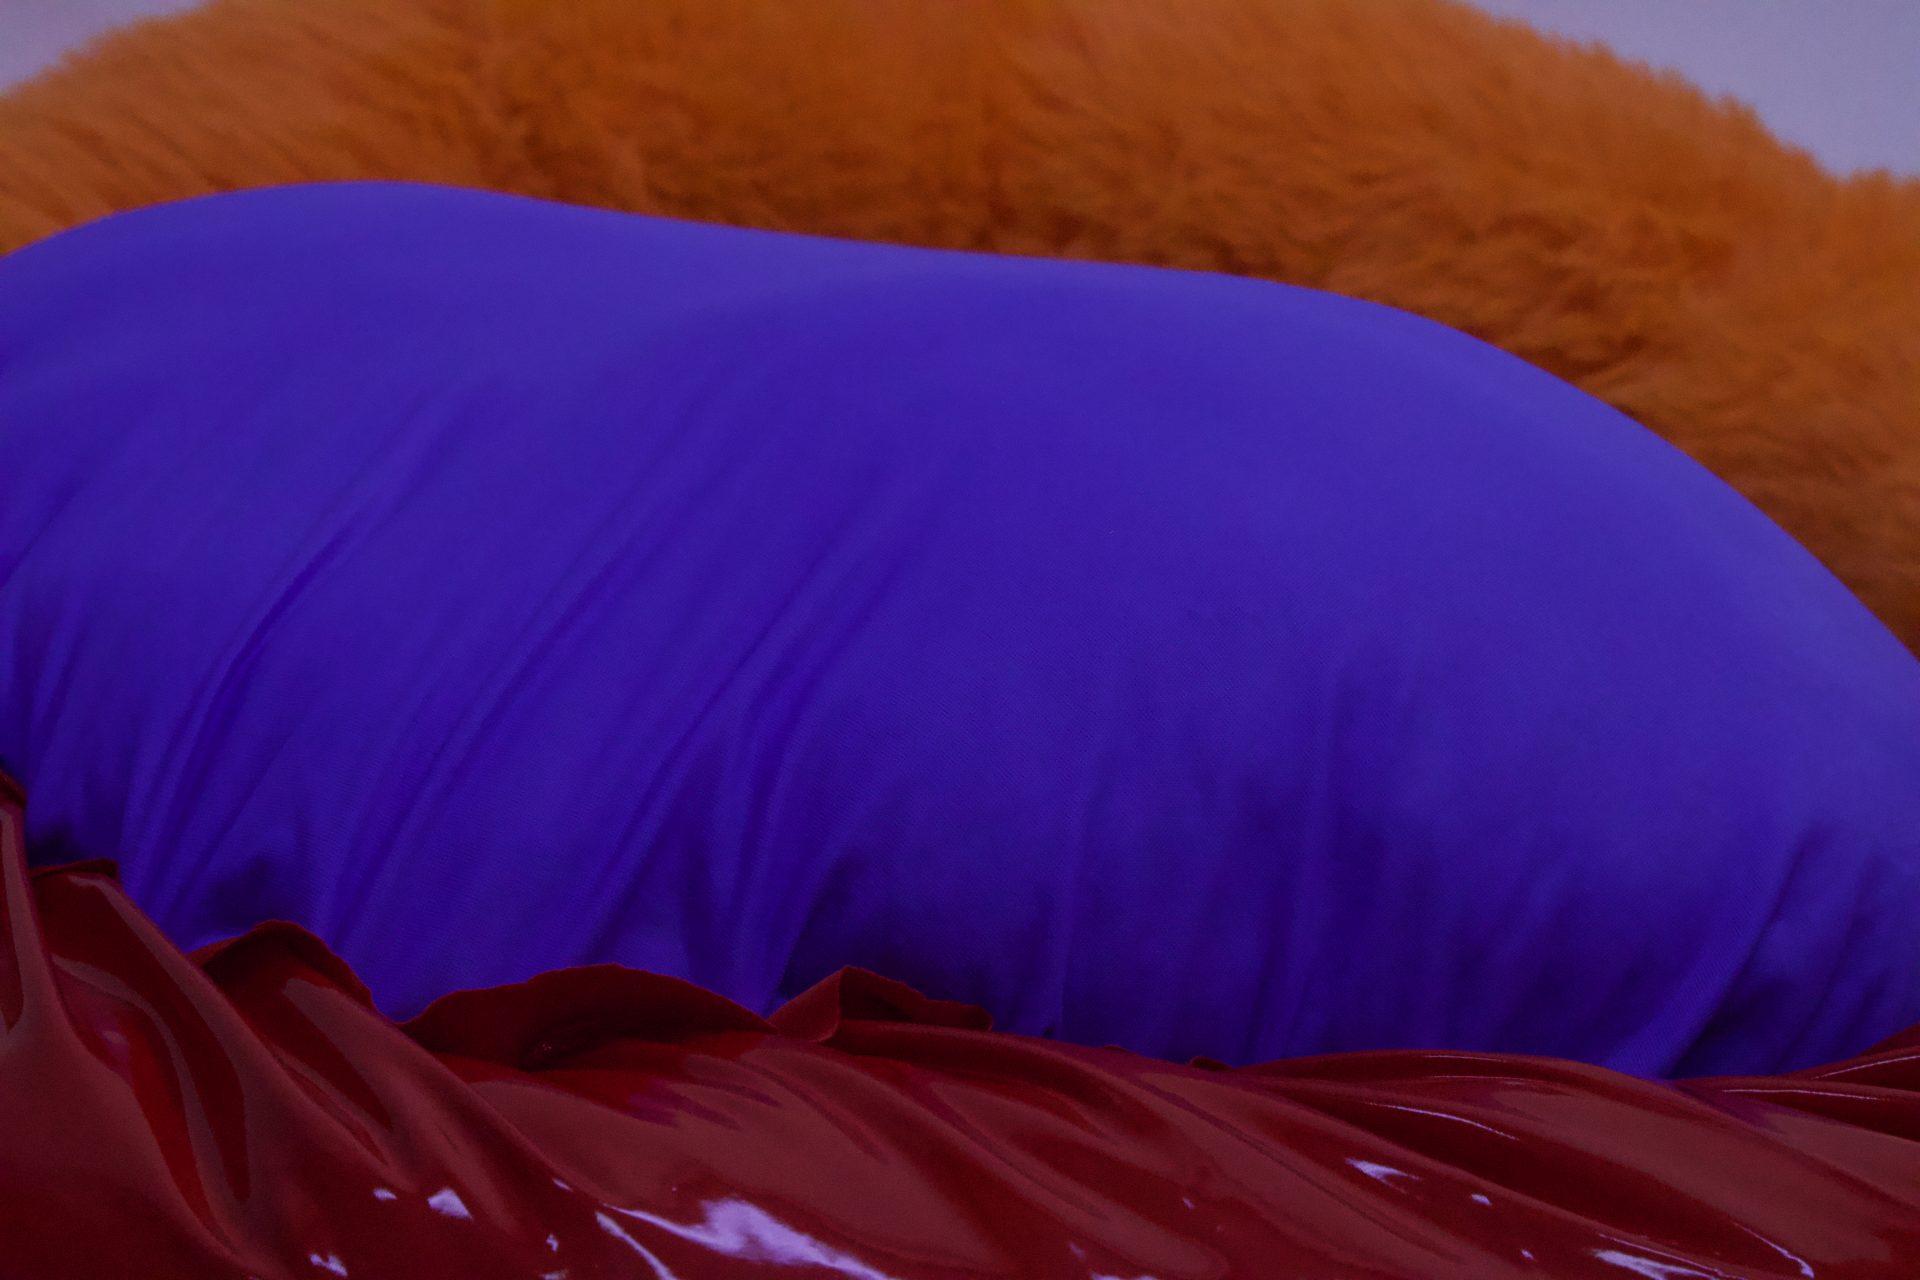
I do really enjoy the relationship between the red and blue fabrics. There is this push and pull dynamic and this stretch of fabric which I find really adds to the form and texture and extenuates the light off the latex red. I tried to learn from this piece and sew better for my next one and develop beyond the basic shapes.

Visual Portfolio, Posts & Image Gallery for WordPress

Object 2: JellyFish

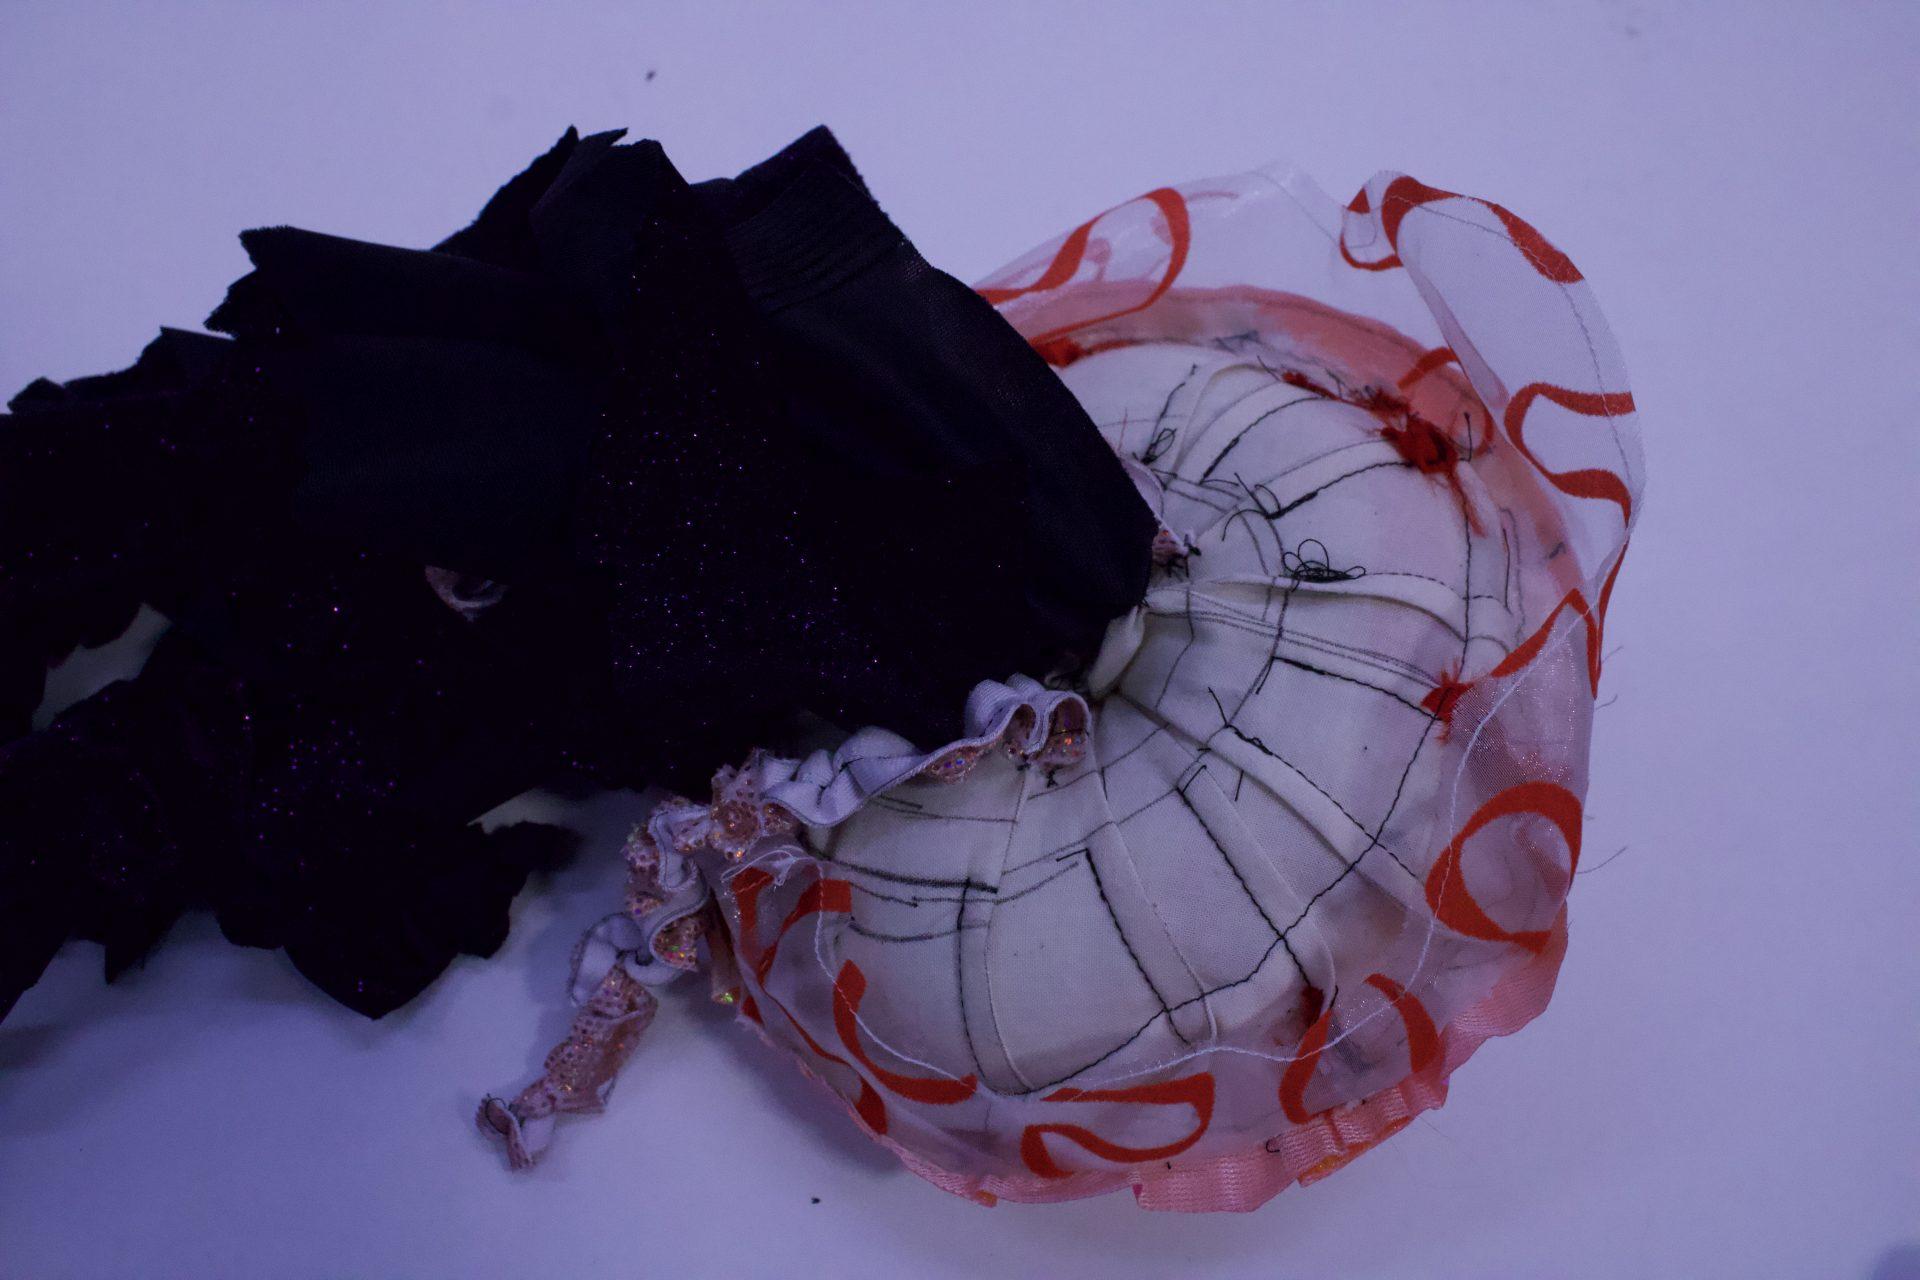
Once again I continued to try to use different materials. I ended up making more mistakes in this and ended up ripping a lot of material off either because it was too fragile with the thin strips or just did not look right. For this one I tried to go in a different direction and try different methods of sewing. I made pleats on the circle to try to bring in the shape and I ended up leaving it exposed. The top where it is the pink material I actually have 3 fabrics below it. What happened was when I was doing the pleats on the same fabric as the lower one it ended up looking really weird. I tried to add a sheer piece that I had sewen on tip to help but it still was not right so I sewed the pink on top and attached it and stuffed the circular shape. I think my fix worked well, but it was definitely a learning experience for me to figure out what worked best.

I had cut some thin red fabric pieces next and hung them from the outside. I cut them very thin and when cutting them I realized I should have used a felt fabric because they were falling apart in my hands. I attached them anyways hoping that the problem would go away, but when I looked at the strips after it was not working so I removed them after I spent a ton of time individually hand sewing them on.

You can see here where I ripped off the red strips.

Next I went on to make the black and pink pieces that come from the bottom of the jellyfish. I sewed the middle of some cut rectangular strips on the sewing machine not closing them and then pulled the string to make the fabric bunch together. There was also a learning curve on this because sometimes I would pull too hard and the string would snap. All these pieces had to be sewen on I think I sewed on 7 total. After I had done this, it still looked incomplete. So this is where I grabbed the mesh piece and cut it in this wavy pattern to put on the top. I learned from my messed up red strips to sew the fabric at the end of my cut so that it would not fall apart. I am really happy that I did this and I think following my curvy cut helped me be more precise with sewing on the sewing machine. At this point in time I also realized that I had been sewing with my lines being quite separated and making them closer really helped me when I moved on to attaching all my laser cut pieces.

Visual Portfolio, Posts & Image Gallery for WordPress

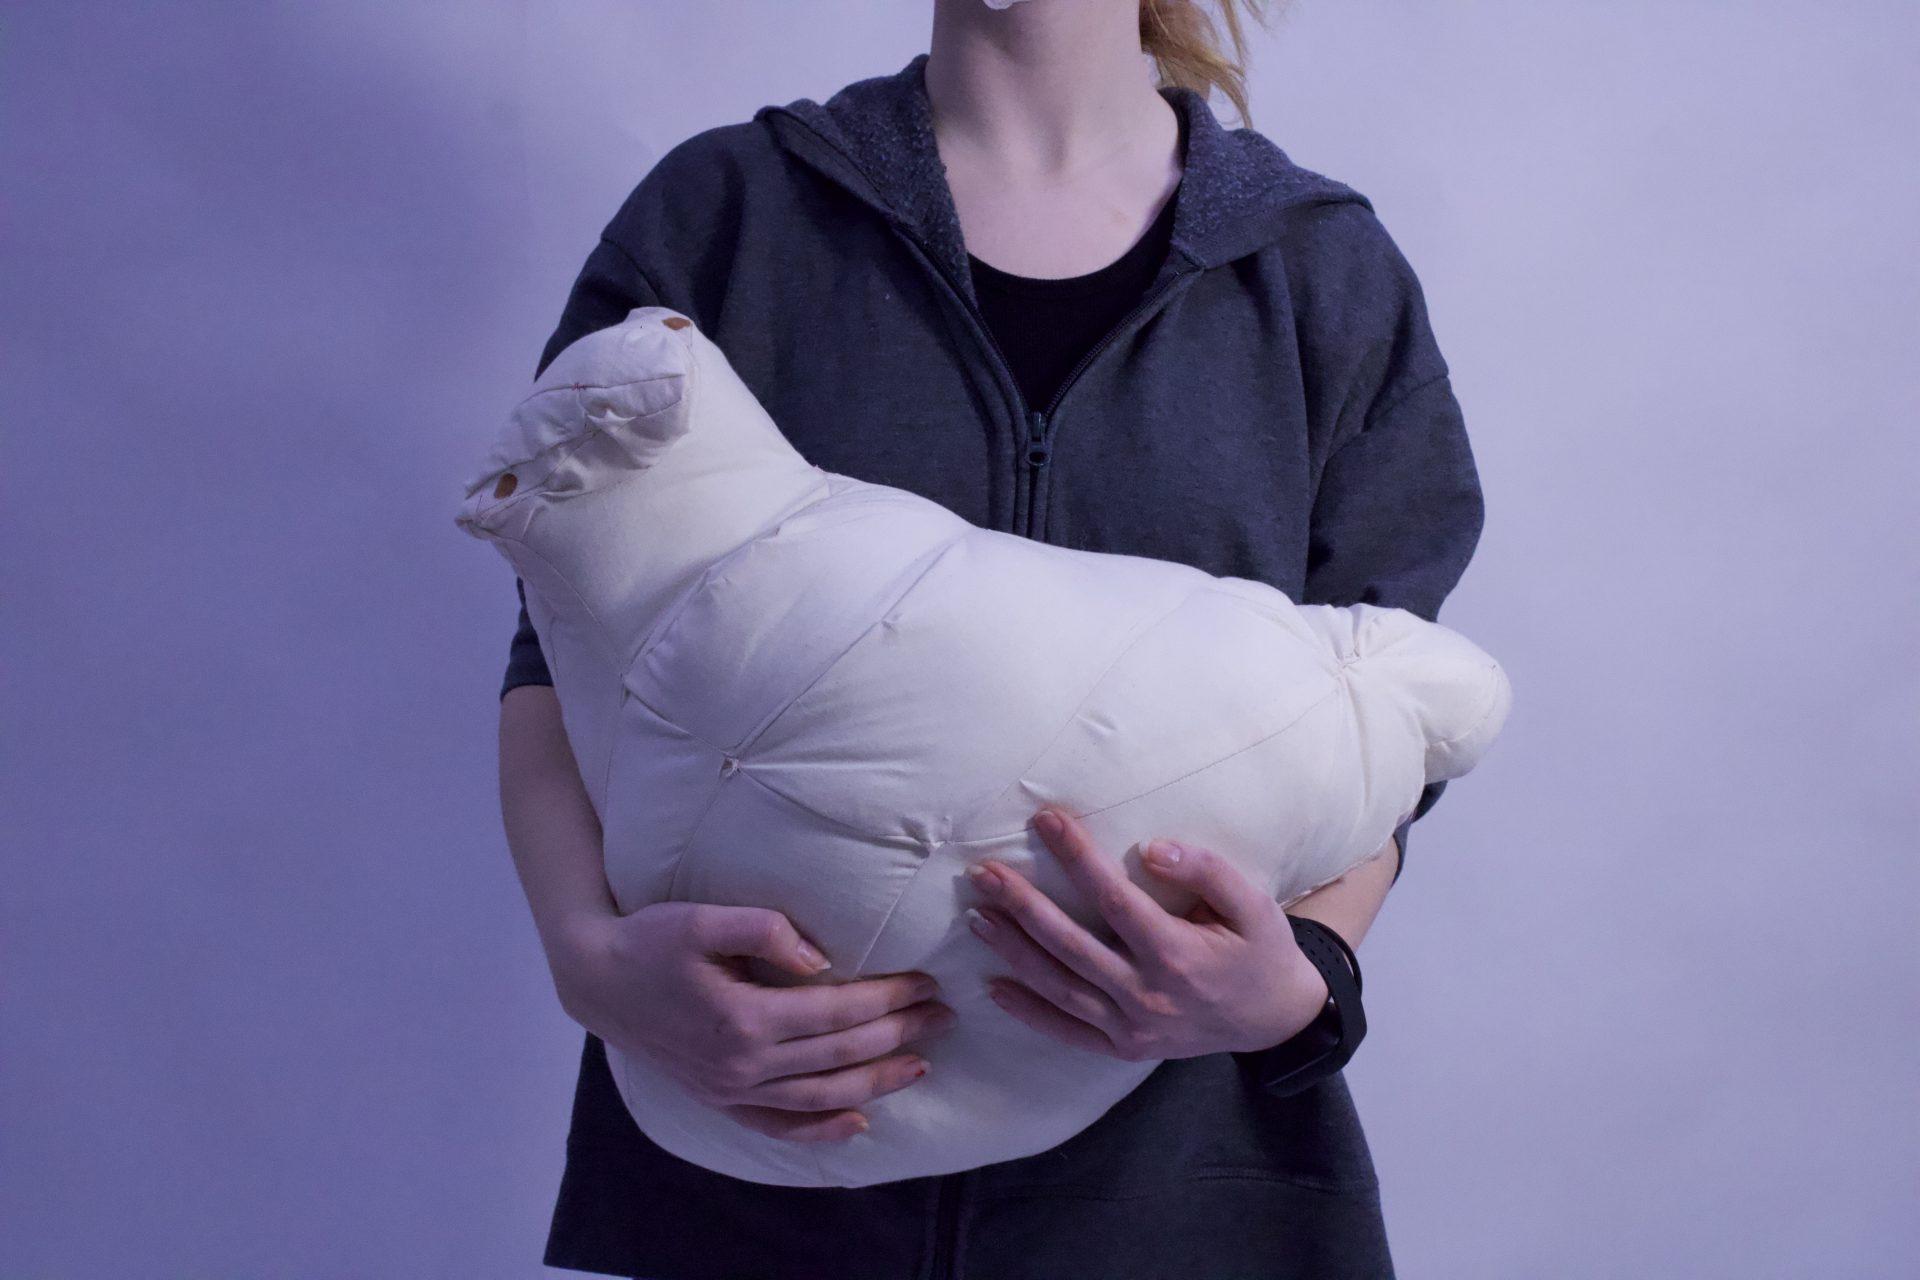
Object 3: an accidental seal?

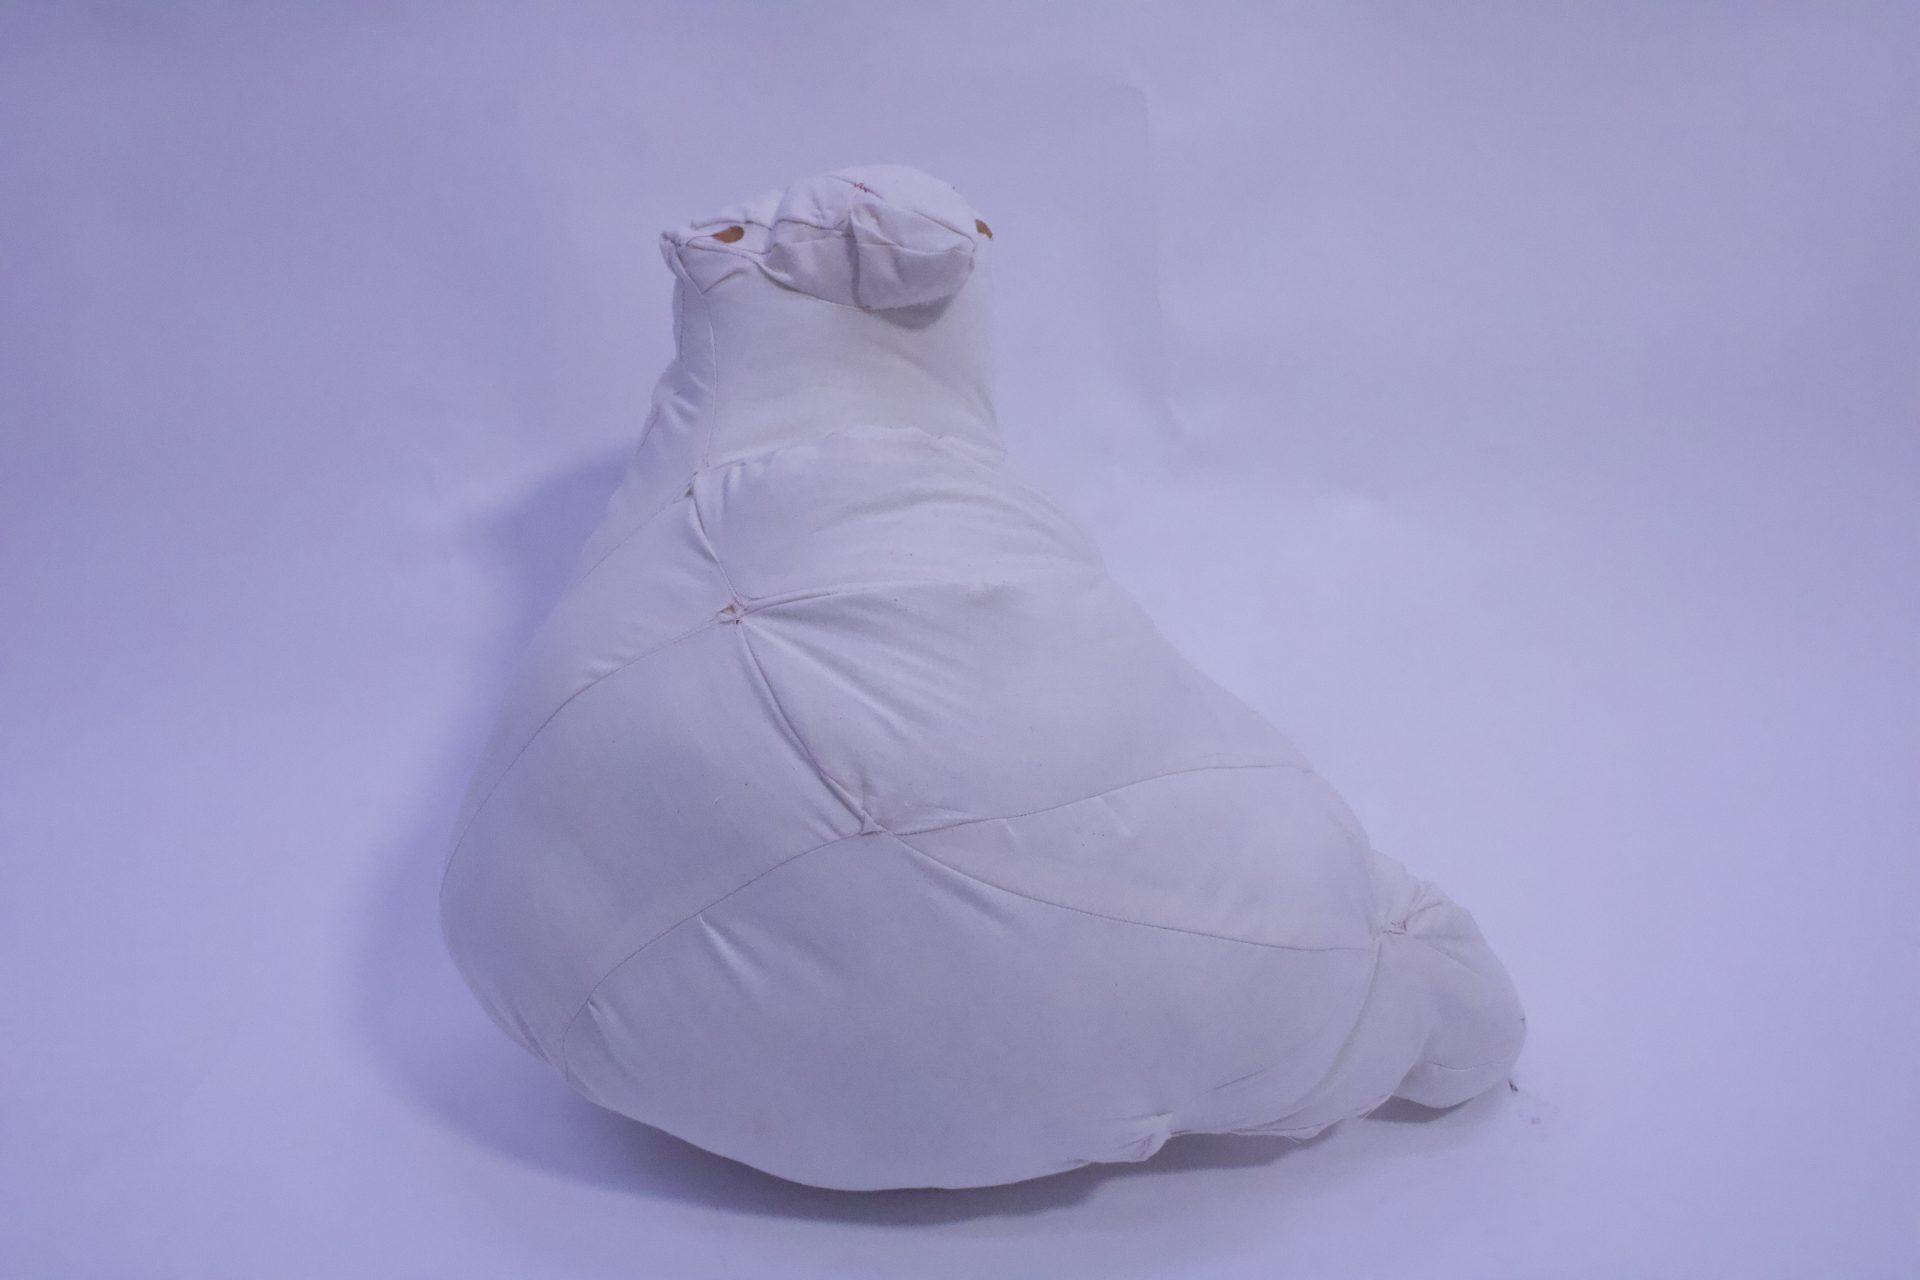
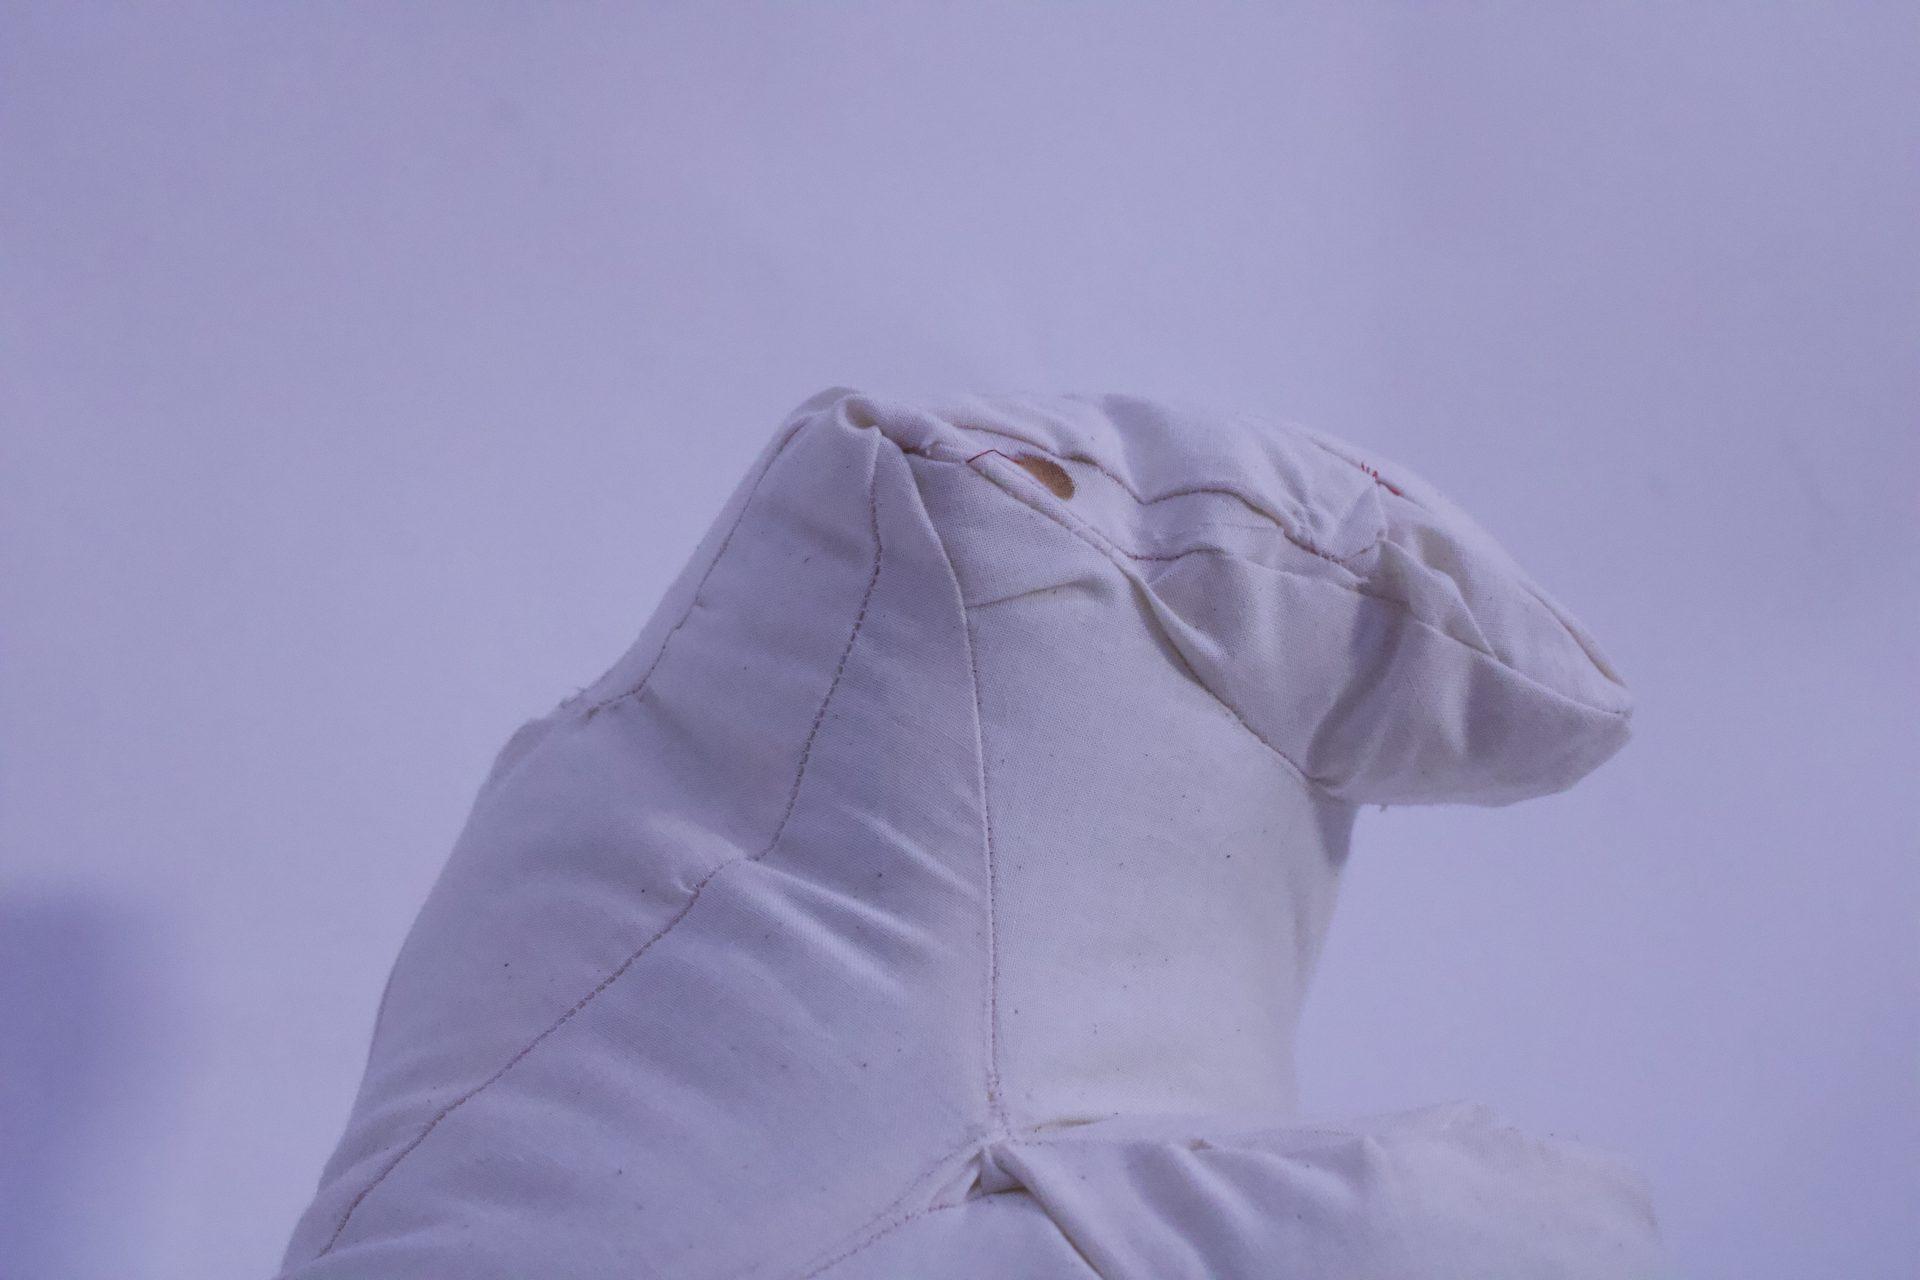
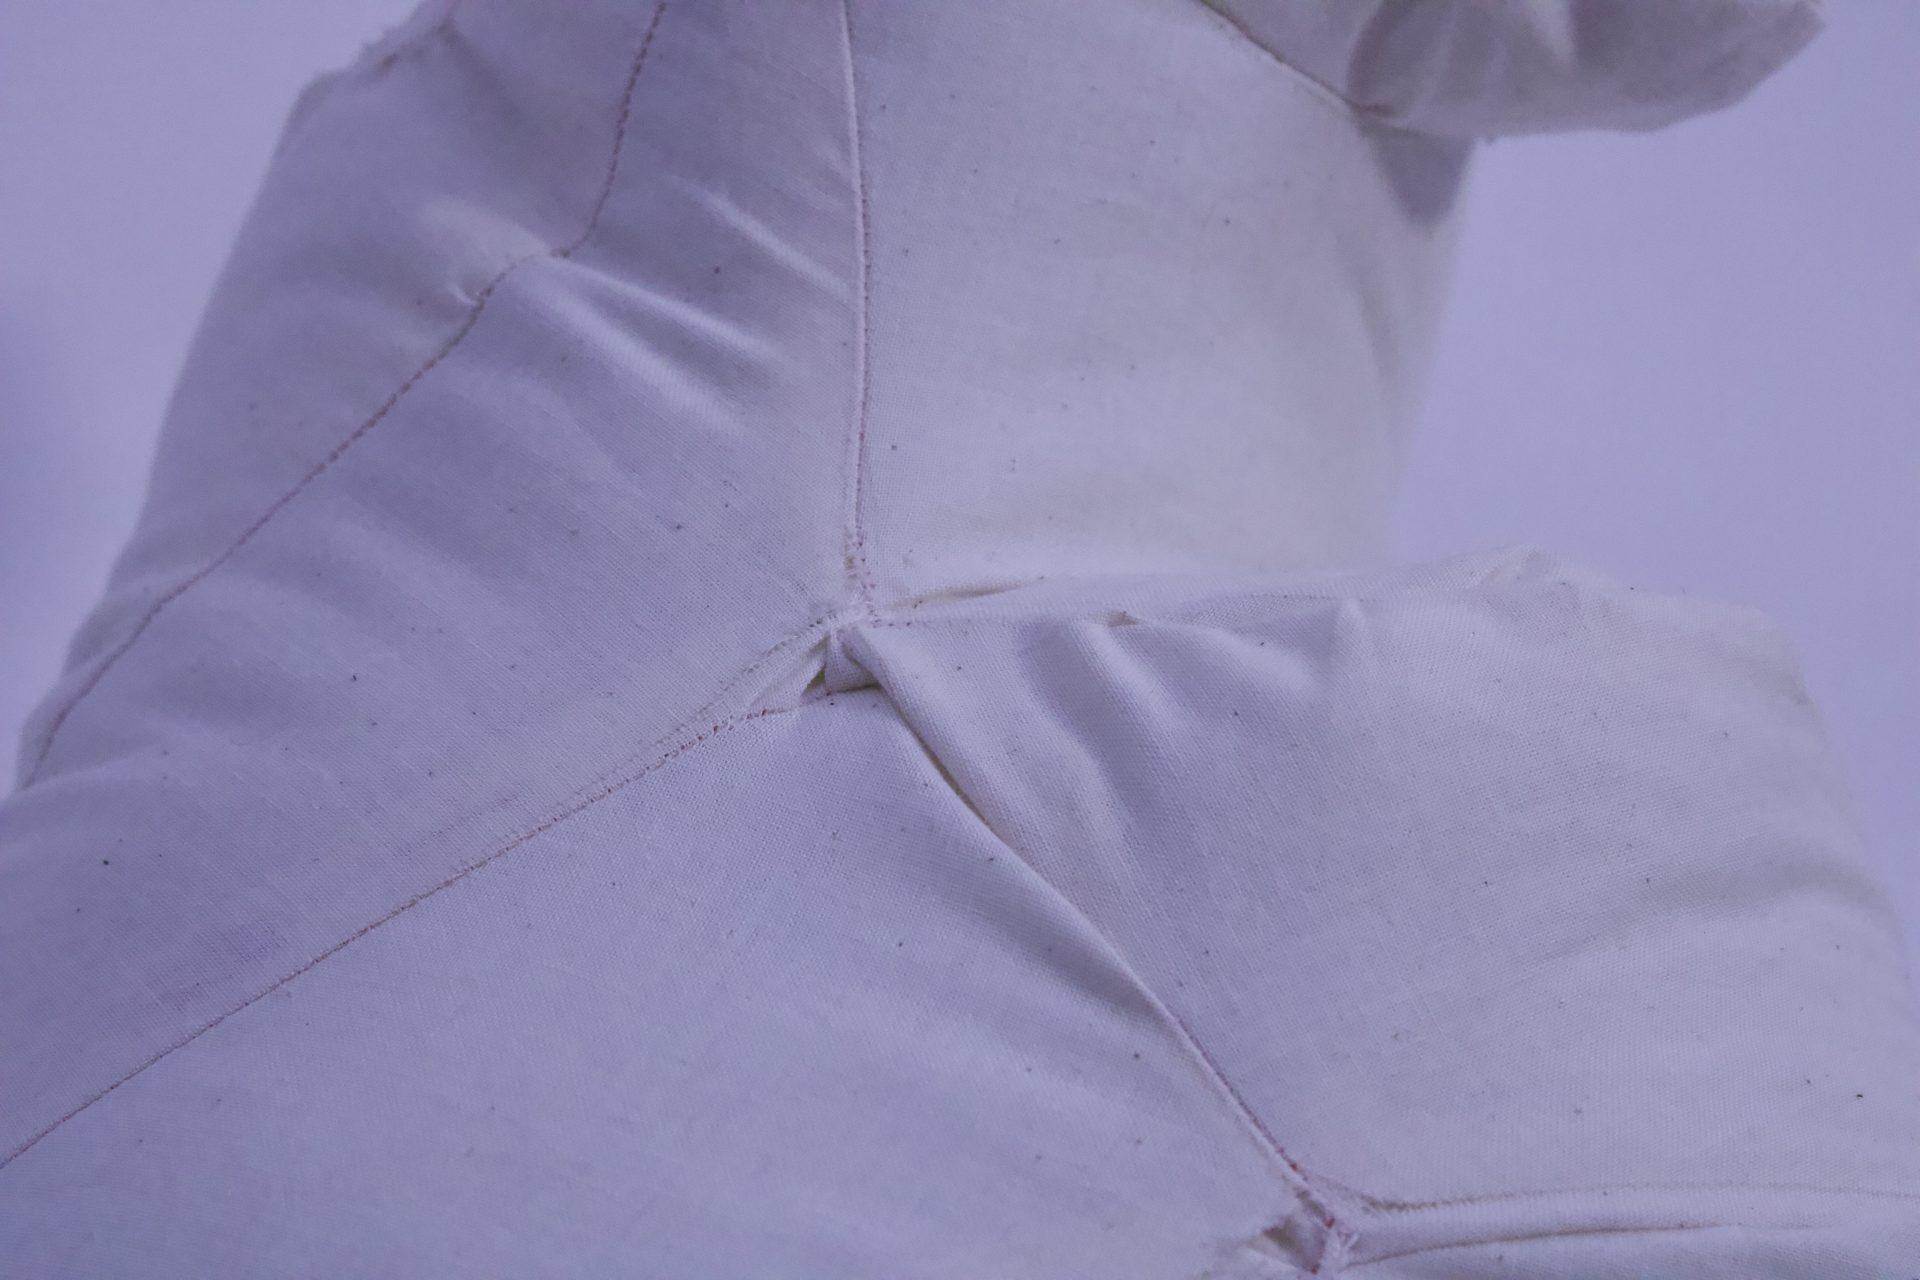
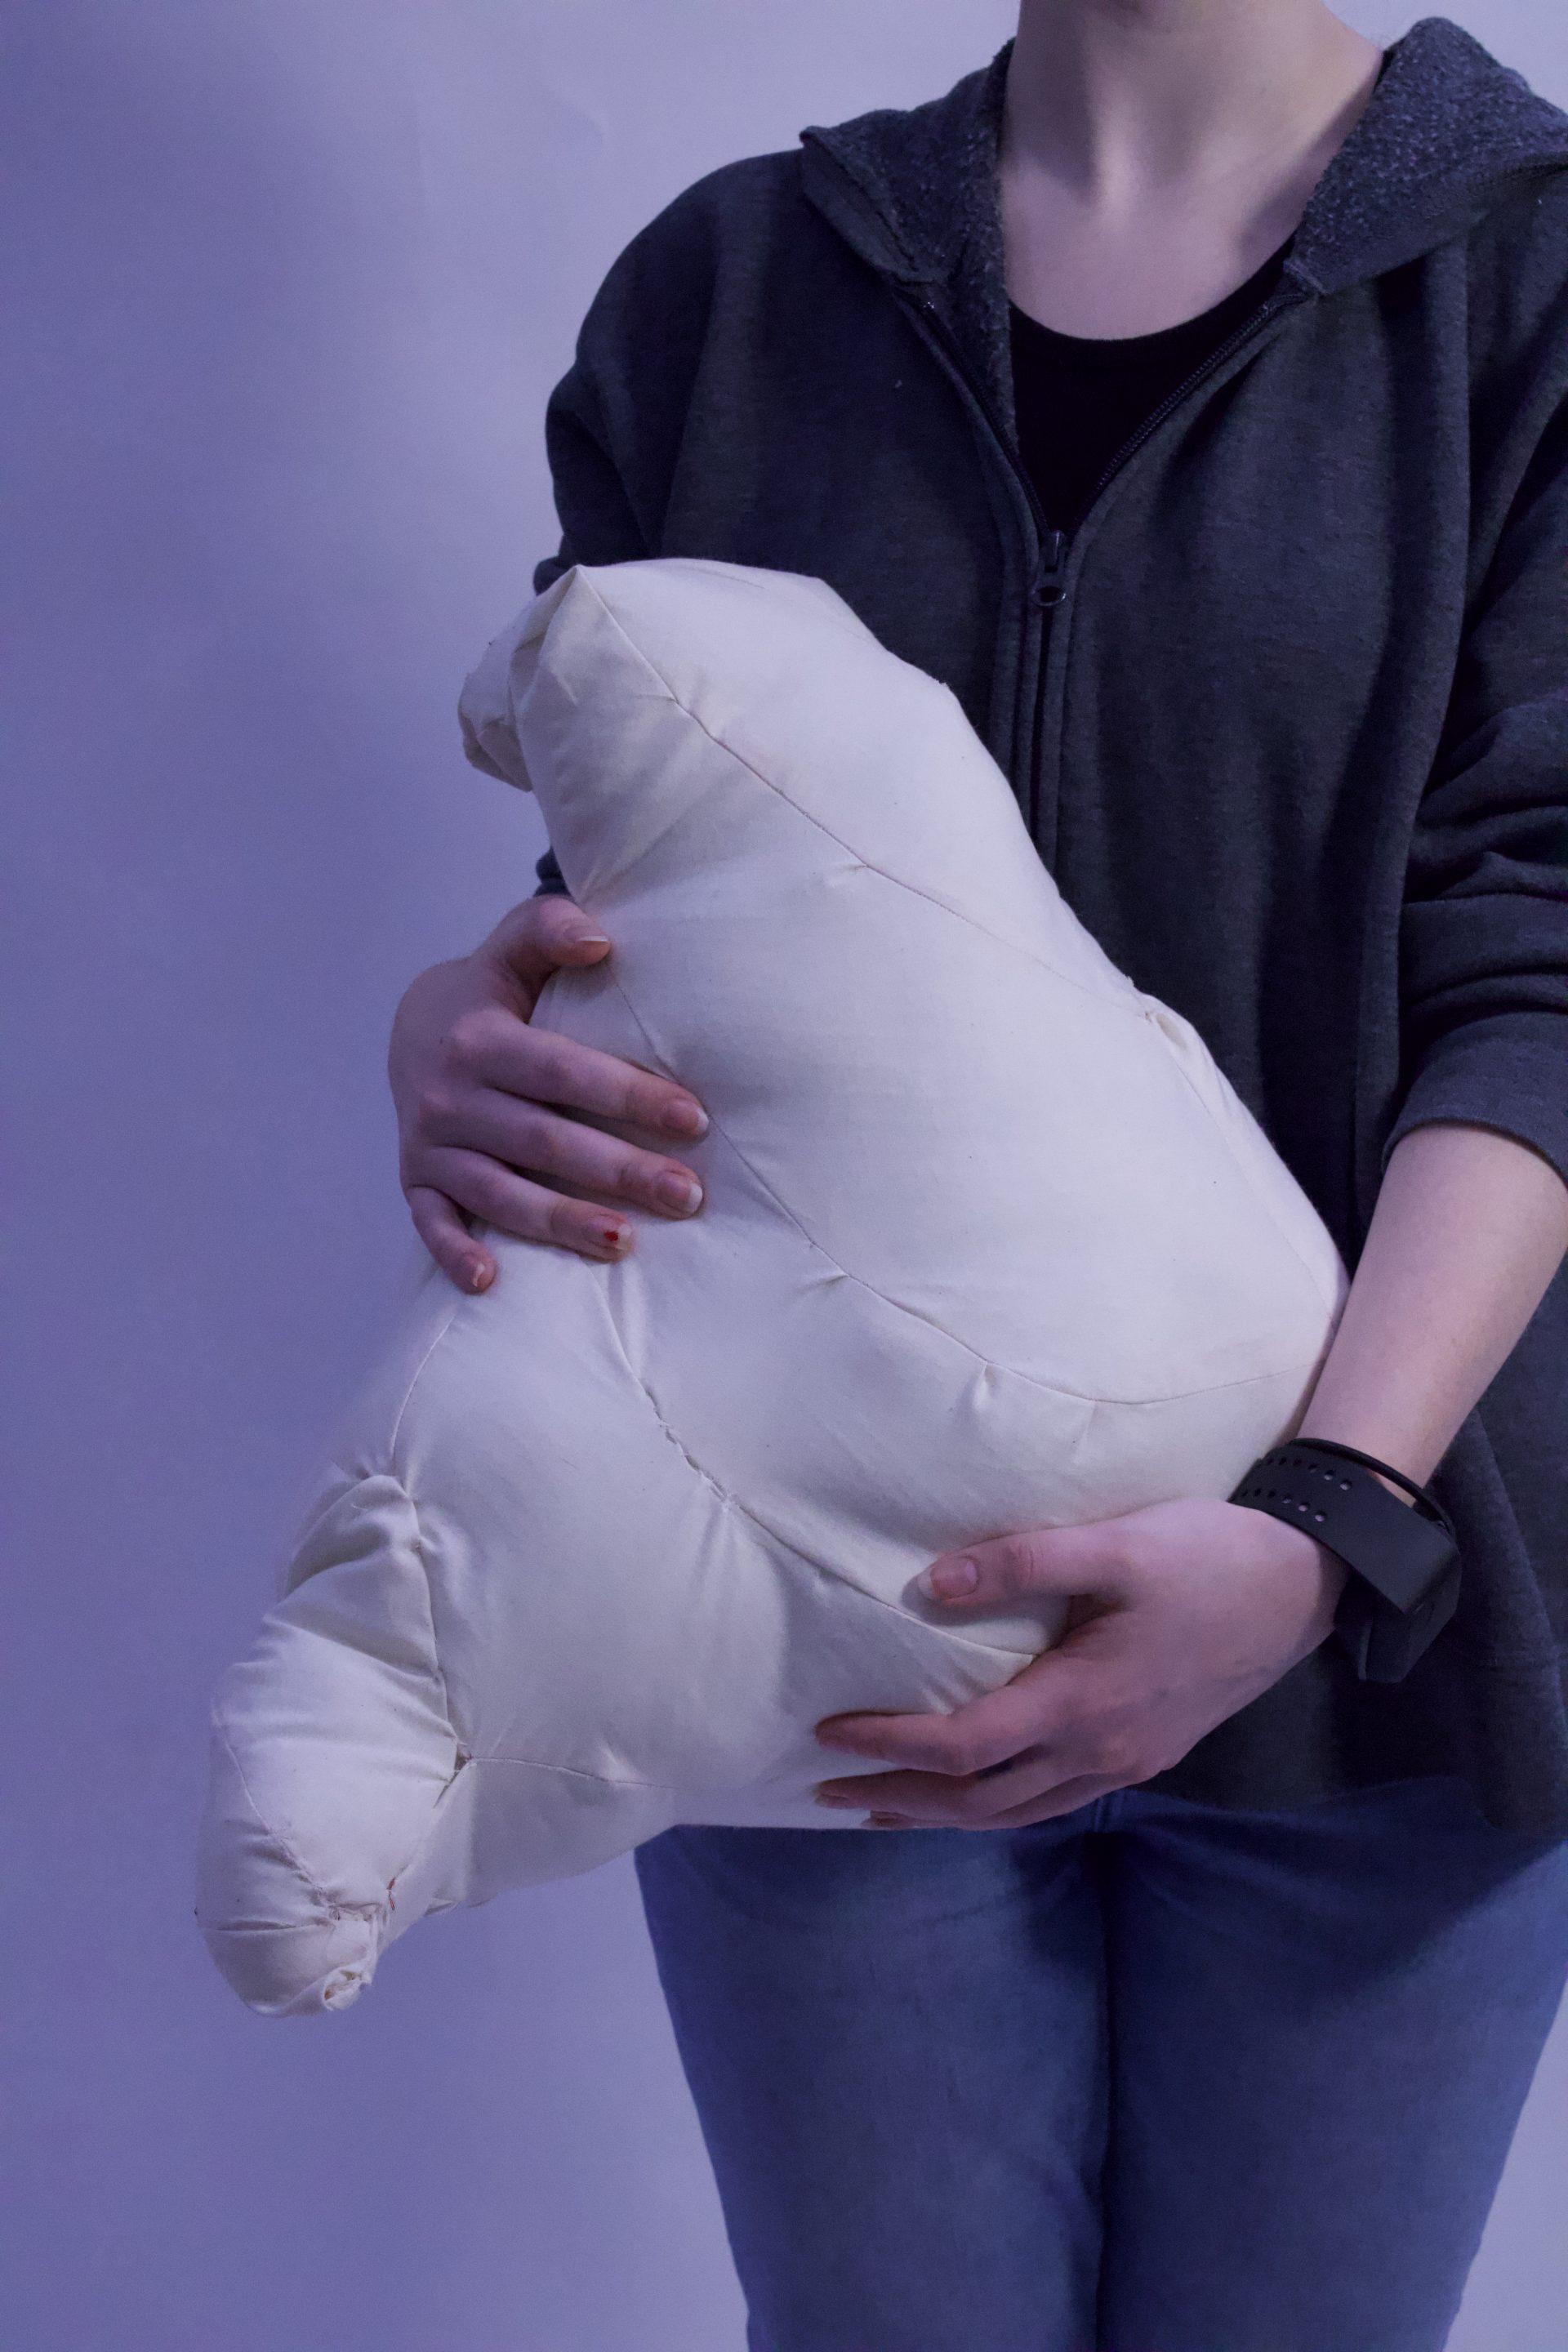
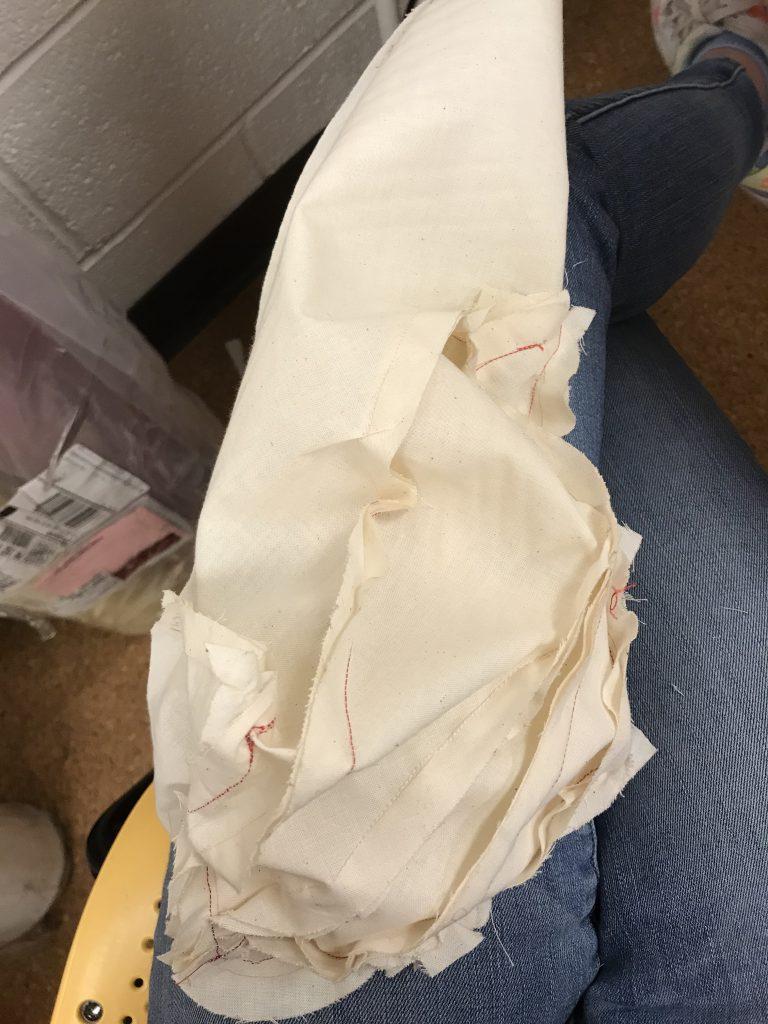
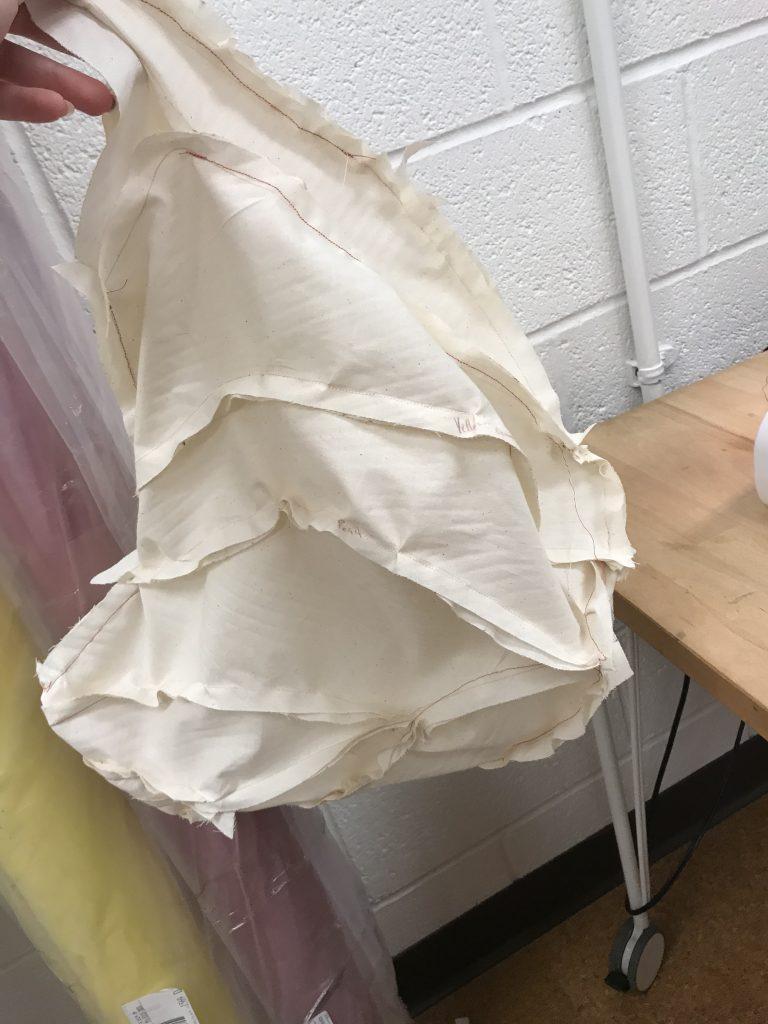
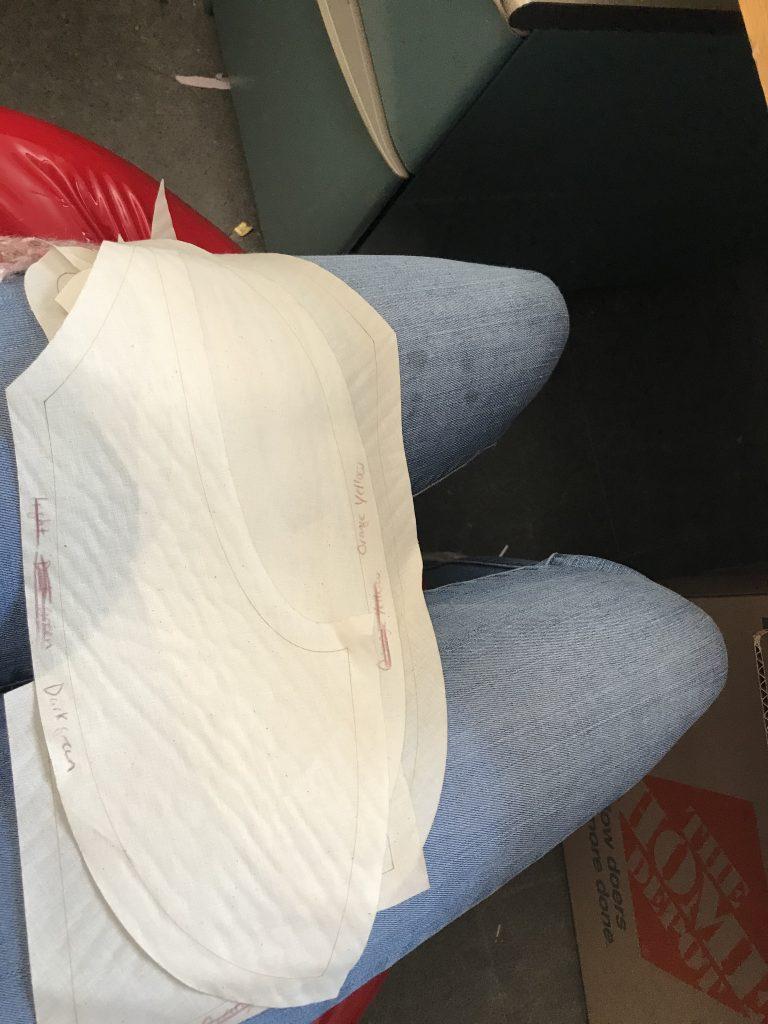
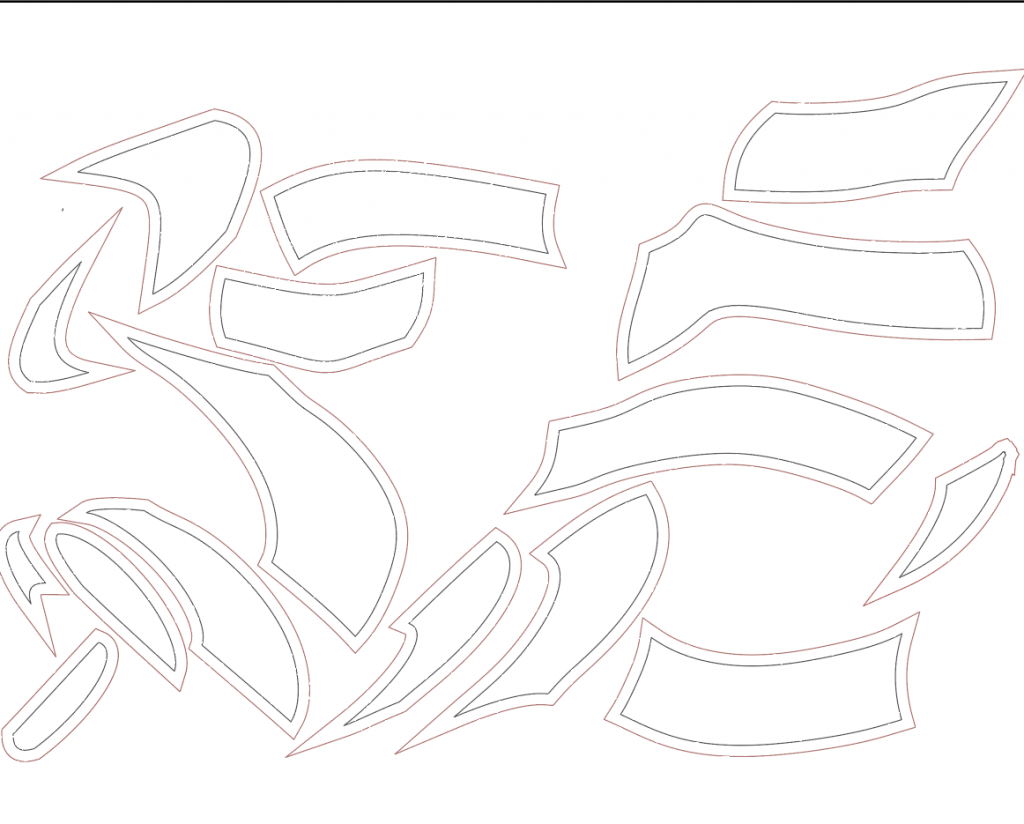
This was the piece I did on Rhino. I had probably around 30 cut pieces of the laser cutter. What I first started with was matching my pieces up to the colors I gave them in rhino and marking that on the fabric so I would know what went where. I then started to put them together and sew them piece by piece. I think this is where I made my mistake sewing. The shape ended up getting weird in a few spots and I think I can contribute it to me sewing it on piece by piece instead of sewing the pieces that went linearly down my shape together and then piece strips of them together to mack the complete shape. I think my other mistake was in choosing this material instead of felt. This material is much more movable, and when laser cutting my guide lines for sewing the corners got burnt out so I ended up sewing rips up everywhere. I think in the future I would be interested in trying this again with a new sewing idea with attaching pieces differently and using felt.

I think rhino will also be more helpful with pieces a bit more simplistic than what I did. My piece was a weird shape so to scrunch it down in rhino I had to make so many separate pieces and I think that was unrealistic of me to have so many components. I did enjoy taking the time to better my sewing with this piece, but I definitely want to try to do something in rhino again. I would much rather take hours pinning together laser cut pieces rather than cutting out the shapes by fabric and maybe not knowing what the outcome will be even if you want something specific.

Rhino Pieces

Synthetic Cells

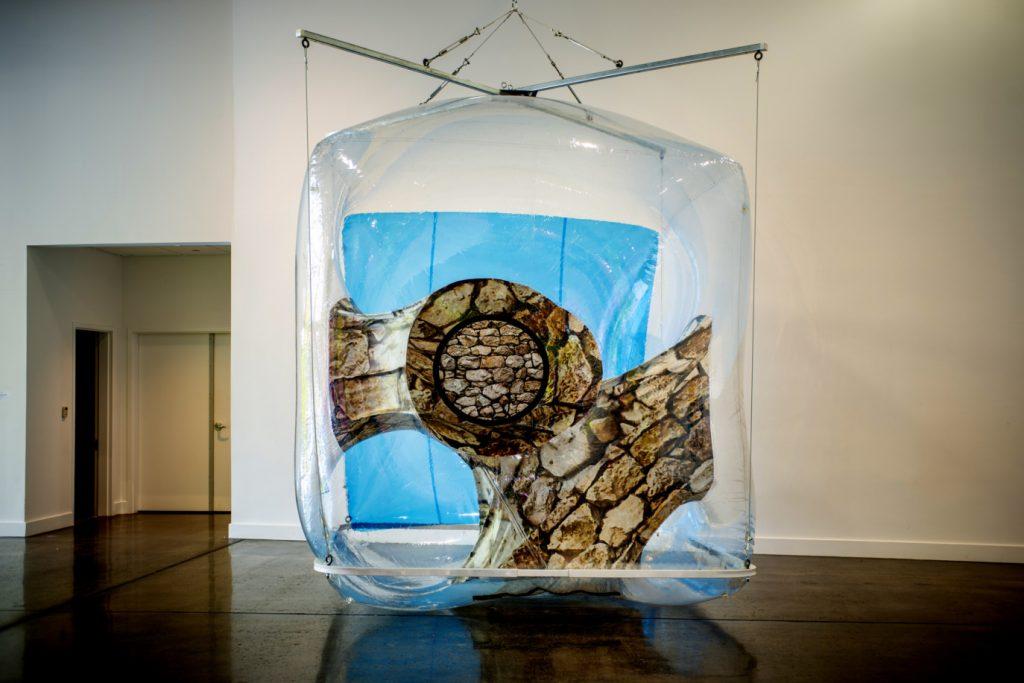
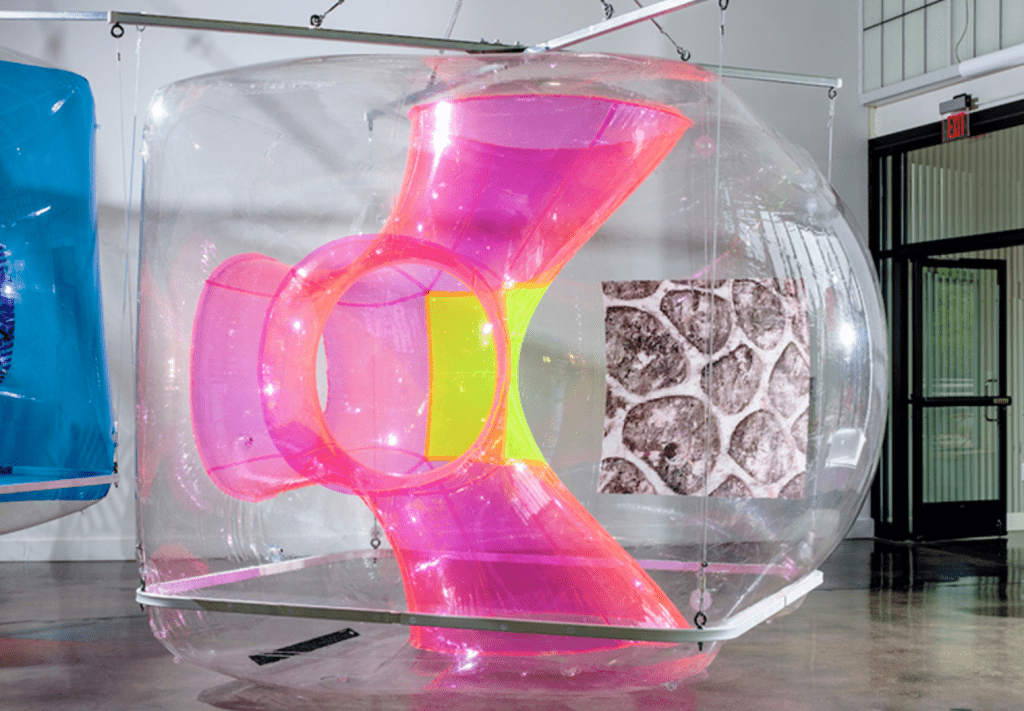
Michael Rees: Synthetic Cells is an inflatable installation artwork intended to question the boundaries of object, perception, and reality. Michael Rees is an American artist who is recognized as one of the pioneers of digital media art. Rees constantly pushes the traditional methods of creating sculptural art by questioning the interaction between art and the audience. 

‘Synthetic Cells’ was an exploration of the semiotic relationality of various materials and technology. The artist created seven 10-foot cube sculptures made out of vinyl plastic which was inflated into plumpy shapes. Then, on certain parts of the vinyl, projections were installed to depict augmented reality. 

This project was eye-catching both visually and conceptually. The colorful hues and interesting shapes were visually captivating. At the same time, the augmented reality projections were a thoughtful push for the audience to reflect on the multilayer complexities of our cognitive understanding. 

In the World – Sandy Huang

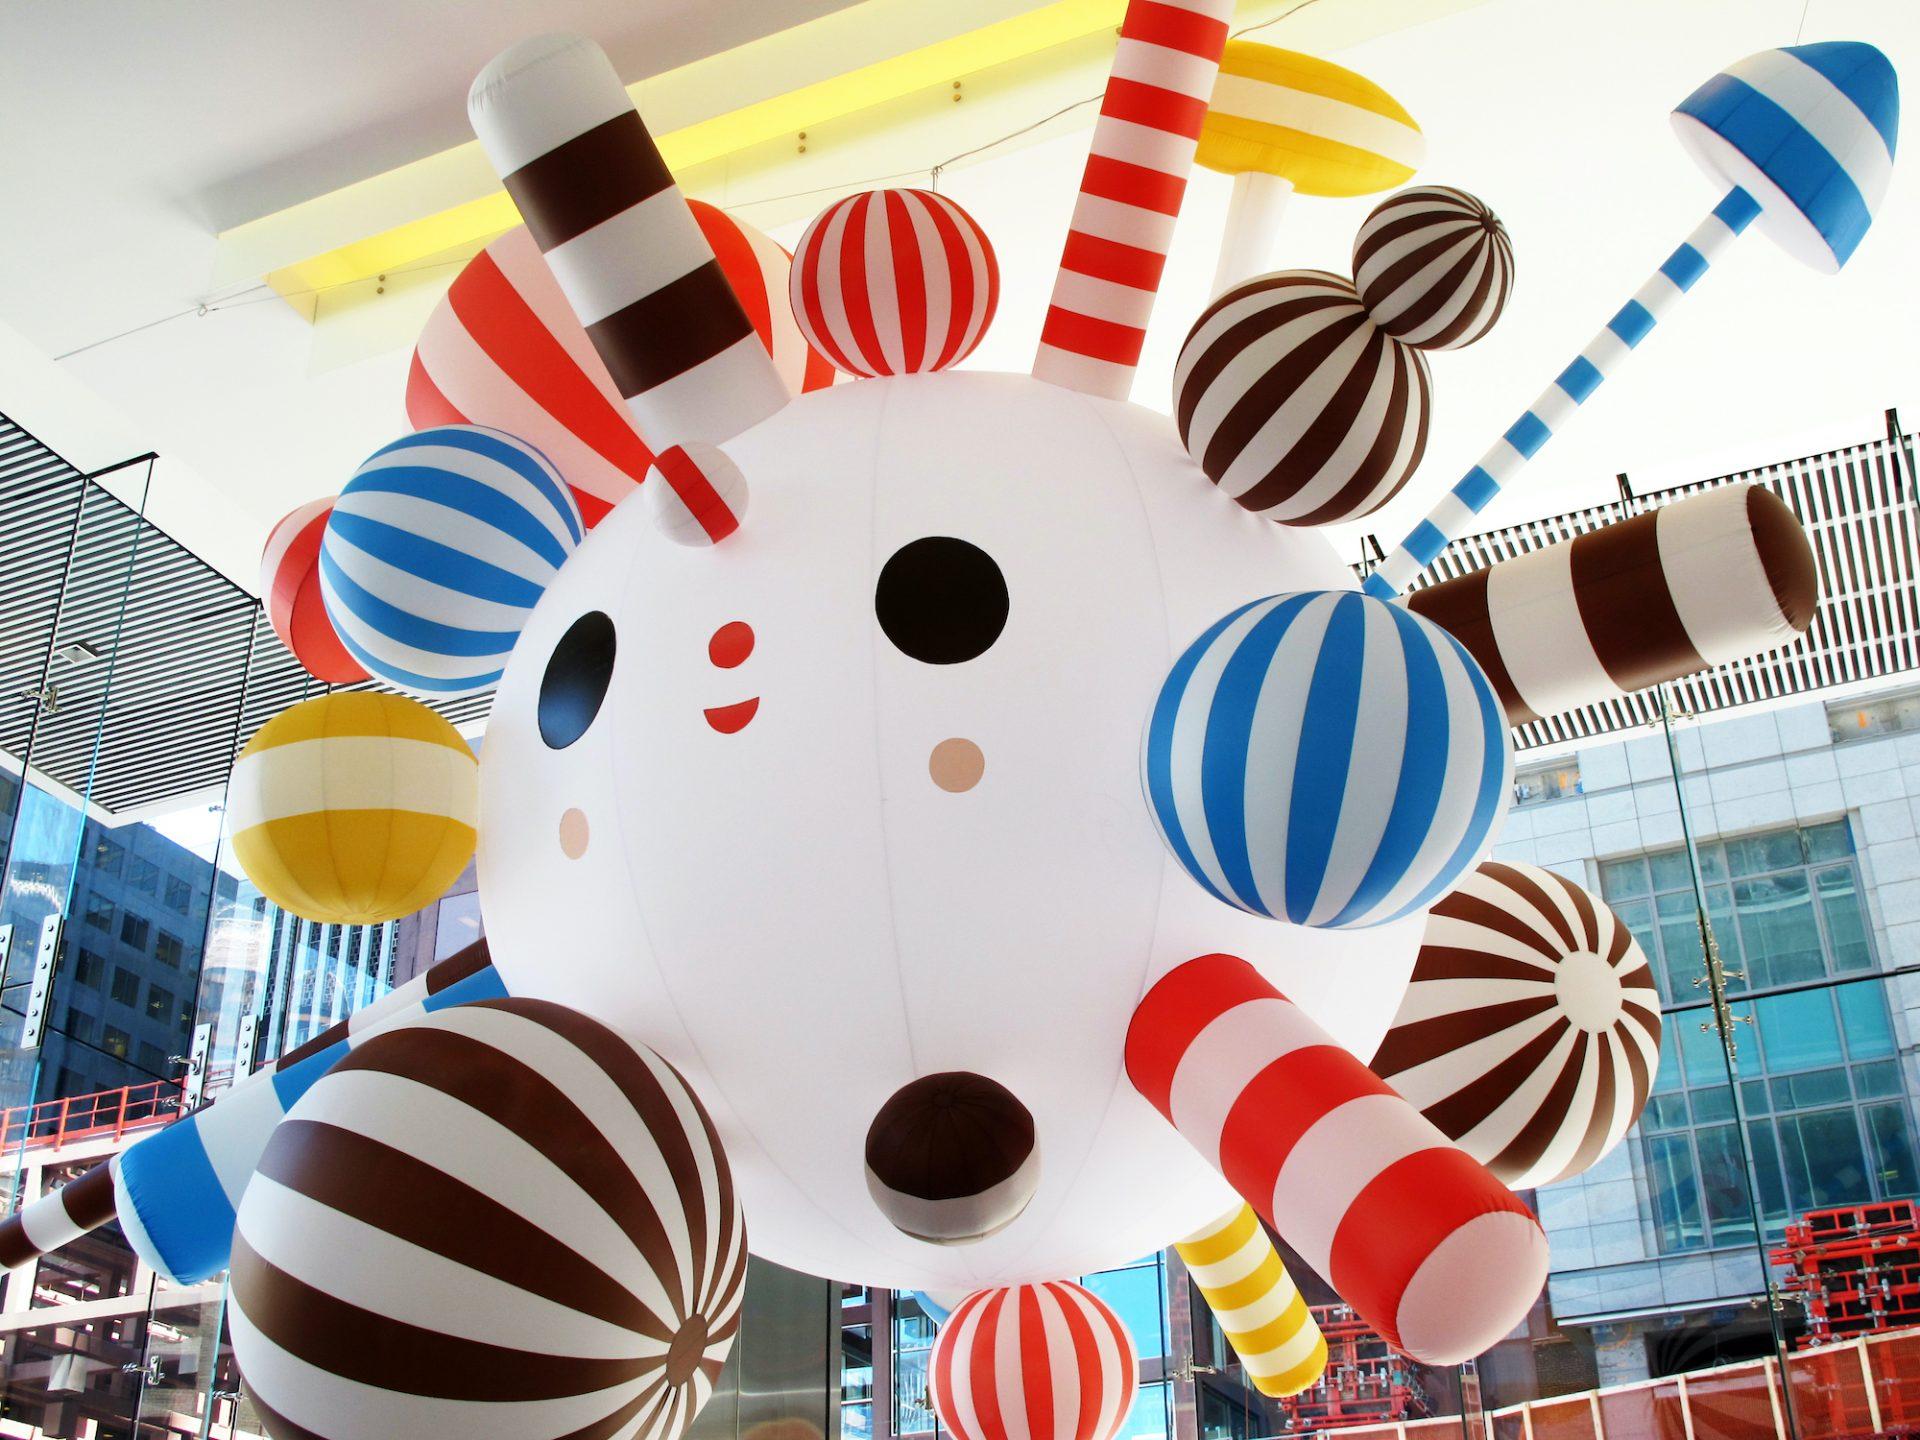
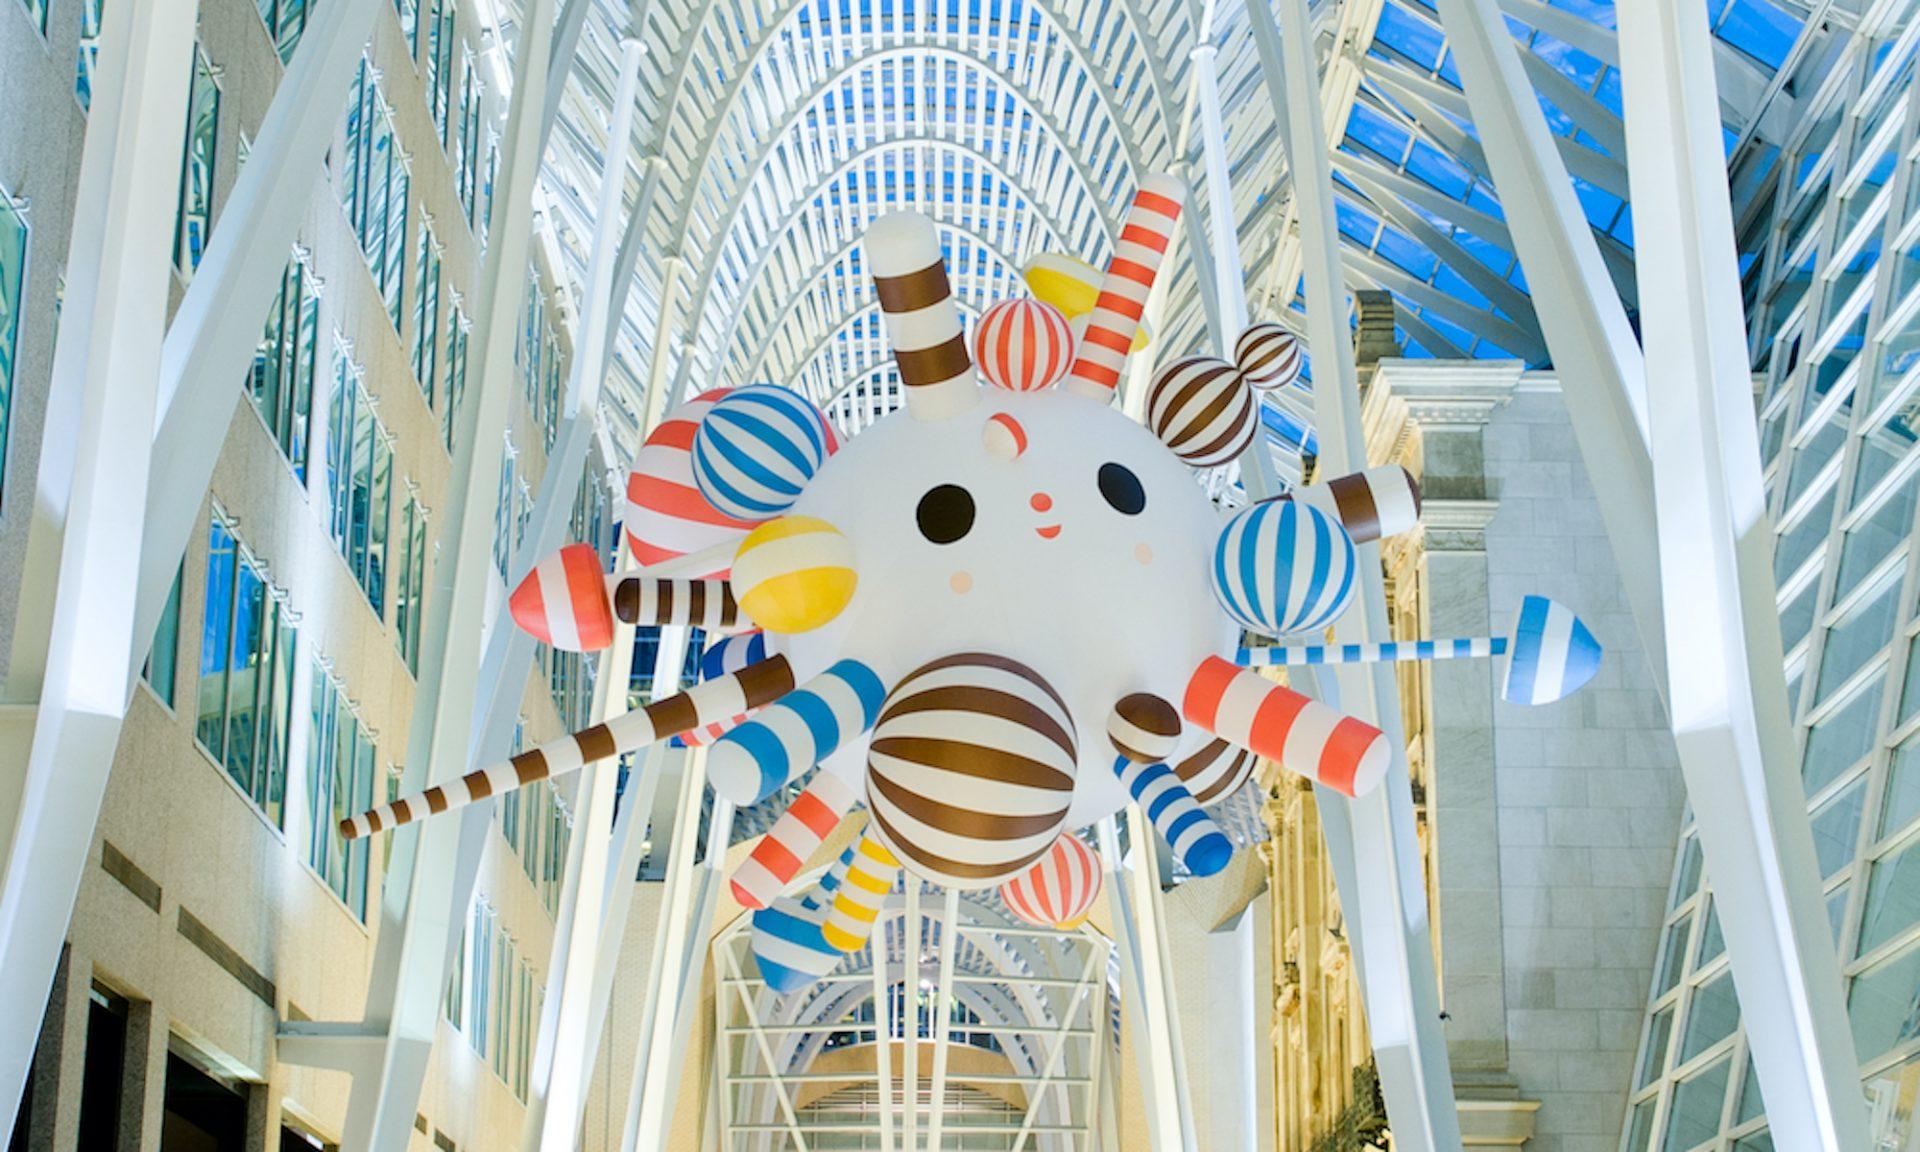
This is the Starburst Sculpture part of FriendsWithYou, which is an art collaborative based in Los Angeles, California. It is made from lightweight breathable nylon, measuring 300 inches in diameter. It has a colorful palette and a dorky face that makes me smile. The sculpture was first shown in the Luminato Toronto Festival of Arts and Creativity in 2010 and later in other exhibitions as well. According to the article, Starburst has the message that “Through our emotions and ideas we are constantly changing, exploding and being reborn as each day dies. This is a figurative expression of all the daily emotions and the constant movement and flow of our feelings.” I think it suits the inflatable really well and you can truly see the “burst” of emotions, especially with the colors because people often associate colors with emotions (e.g. red with anger). In addition, the spheres and cylinders in the inflatable stand out a lot, taking away a lot of the rigidness of the inflatable.

Link to learn more: https://friendswithyou.com/project/starburst-unique-inflatable-sculpture-2010/

In the World – Sophia Huang

Visual Portfolio, Posts & Image Gallery for WordPress

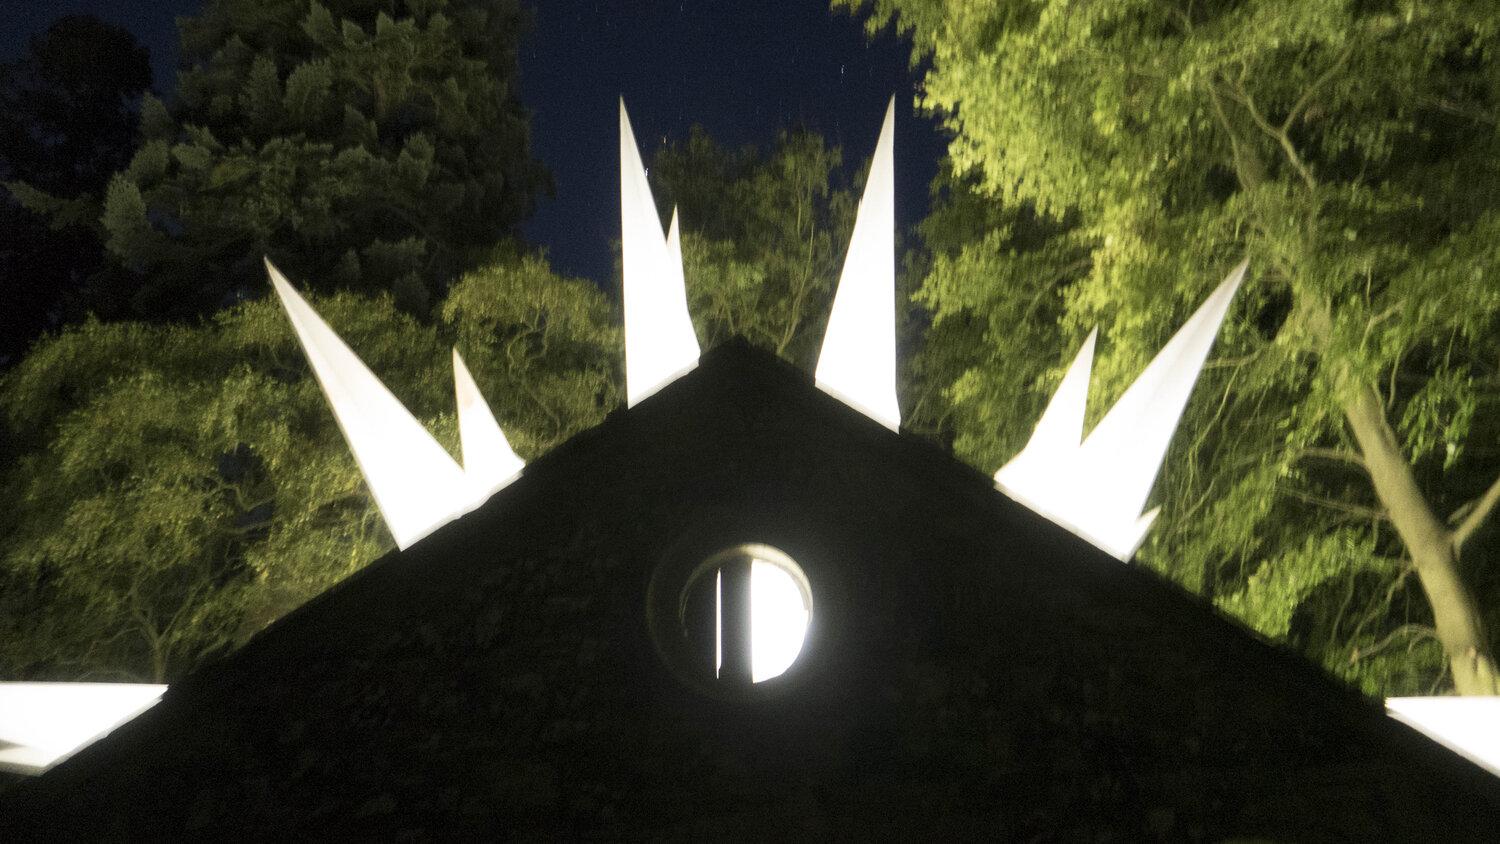
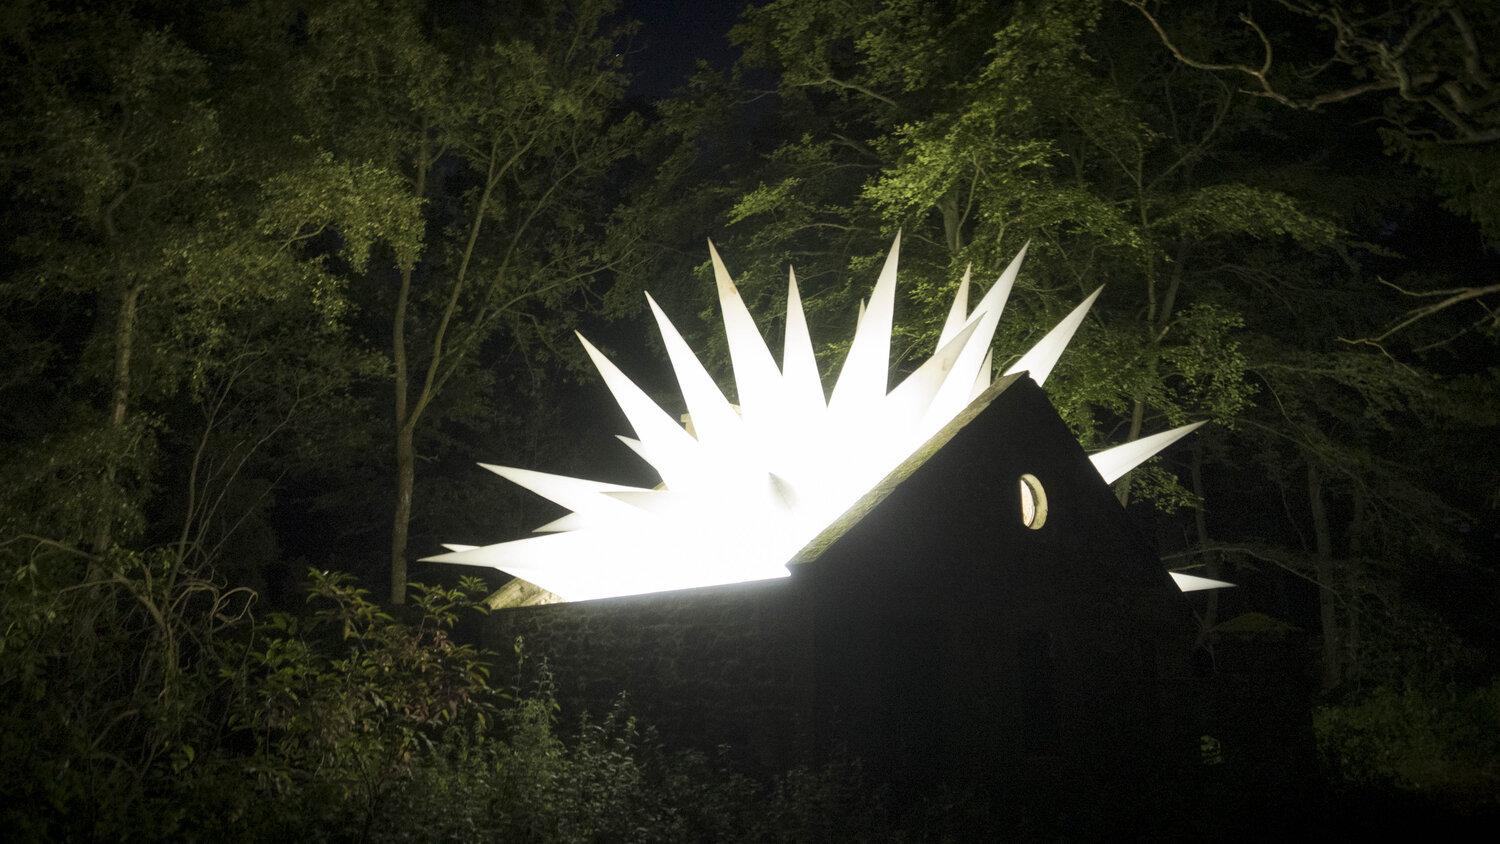
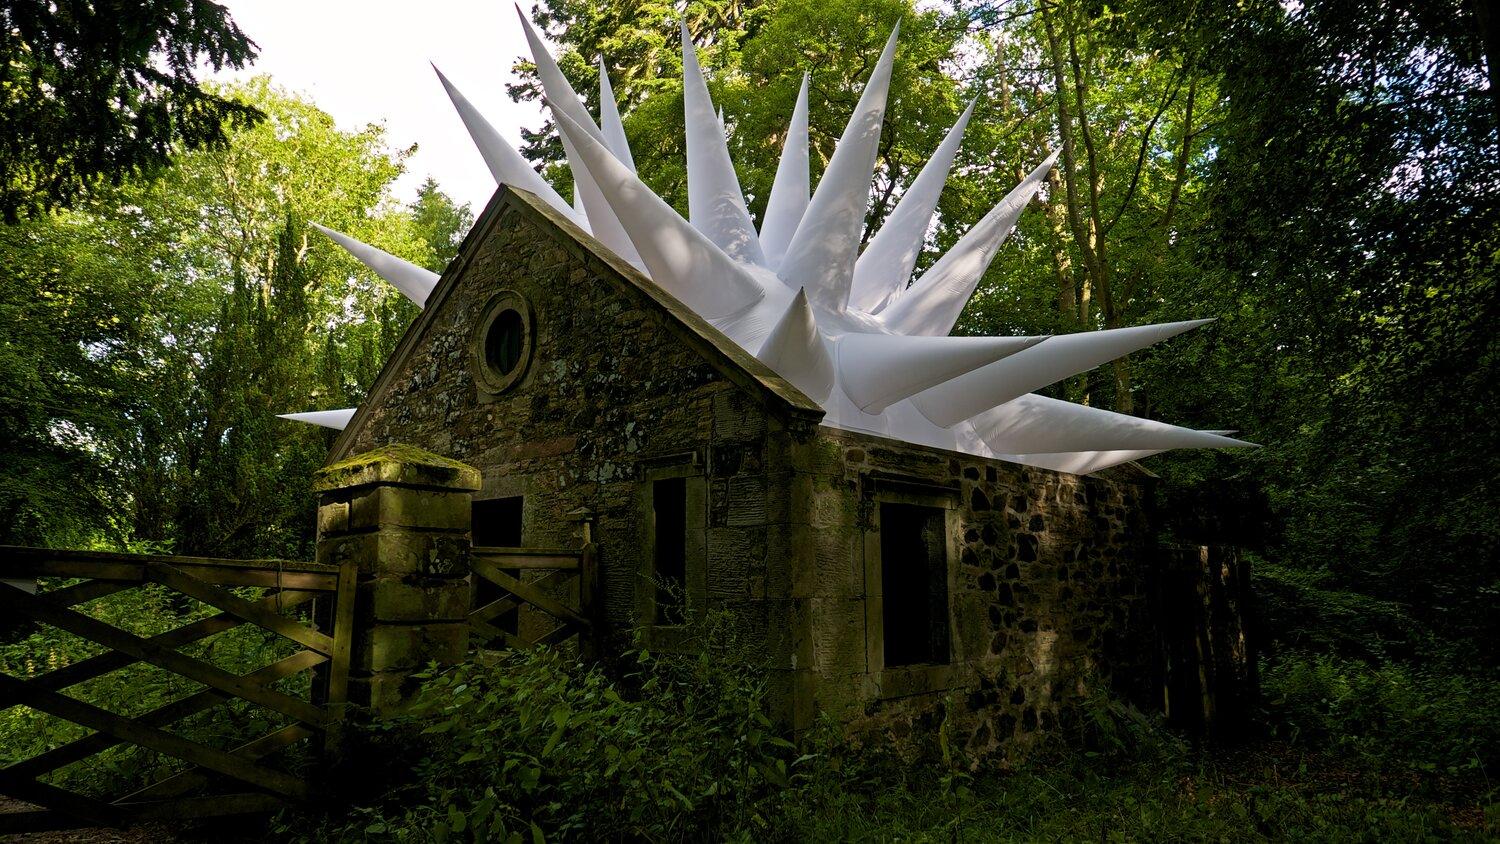
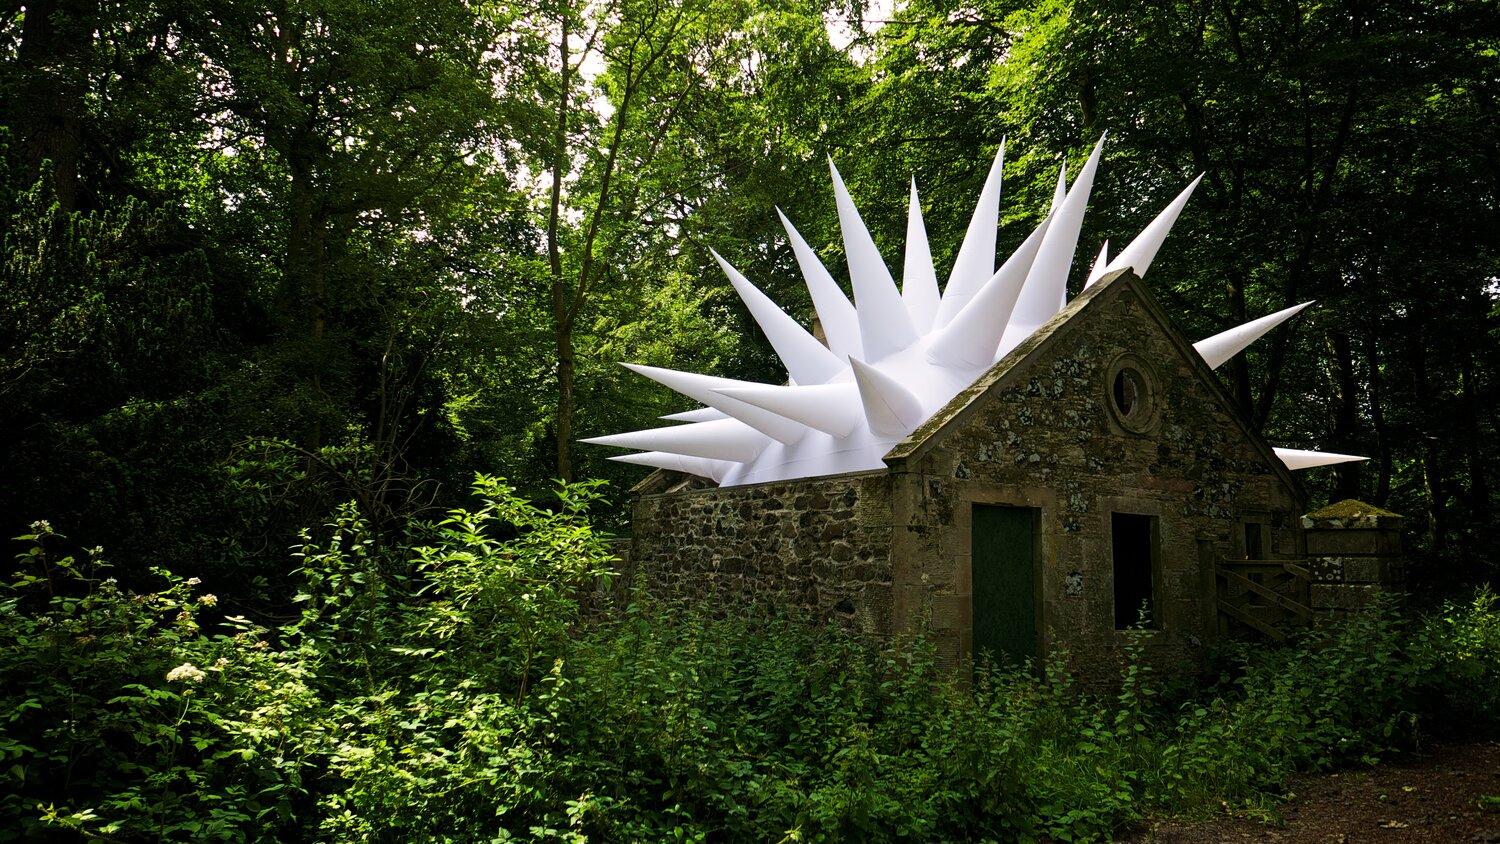
I really enjoyed learning about this inflatable. This is called Pointed by Steve Messam. As can be seen in the picture, the inflatable is attached to the roof of the house and glows at night. I find this combination of the inflatable and the rooftop really interesting. When I think of an inflatable, I often think of something soft or “weak” (can easily break). I also think of something huggable. However, this inflatable looks like spikes. It is sharp and definitely not something I would hug or squish. Also, when I think of a rooftop, I would always think of something flat and not that noticeable.

I think this is great to look at when thinking about the projects we will work on for class. This project is simple (mainly one shape and one color) but yet it is so interesting and eye-catching. It also has a different effect during the day and at night.

https://www.stevemessam.co.uk/pointed

Kavya – Improvisation Inflatables

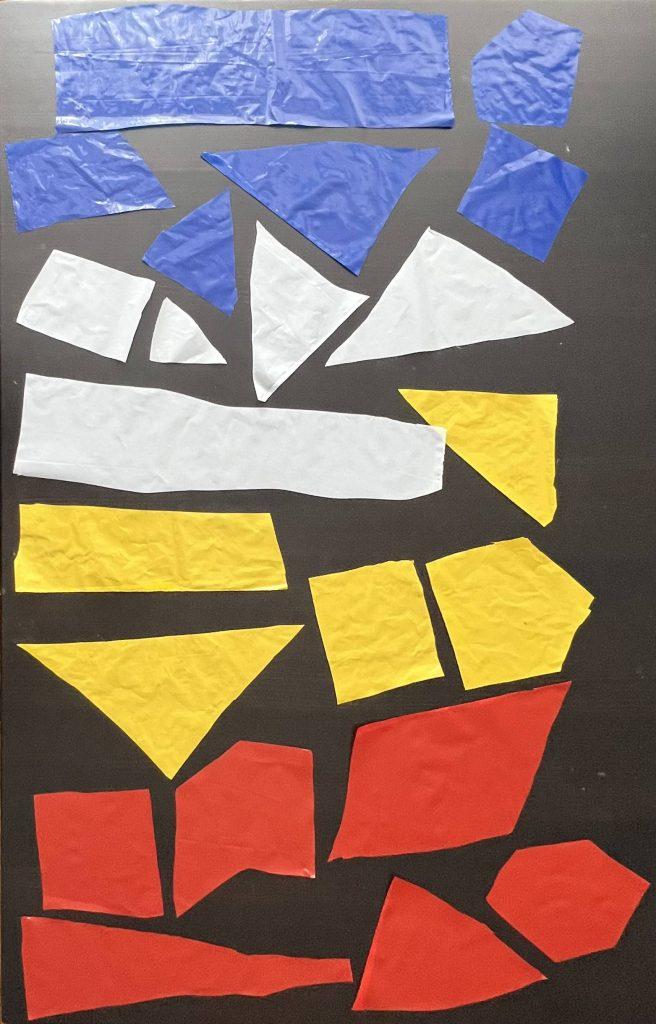
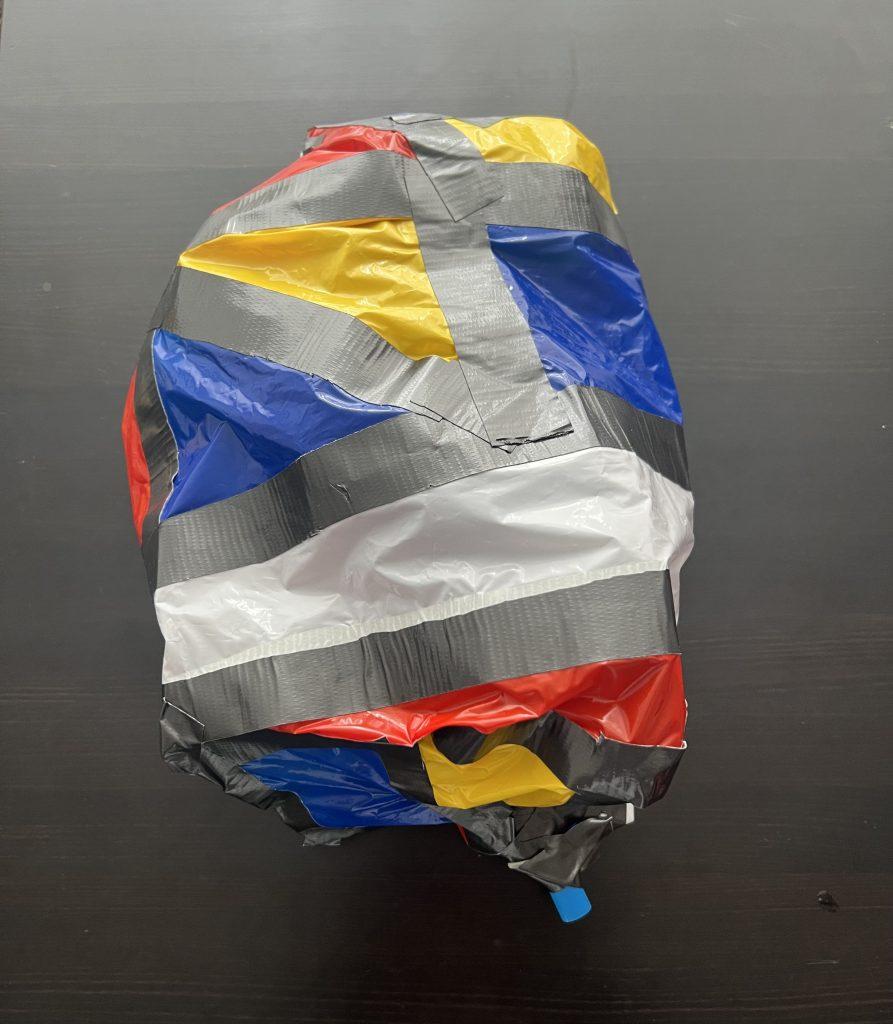
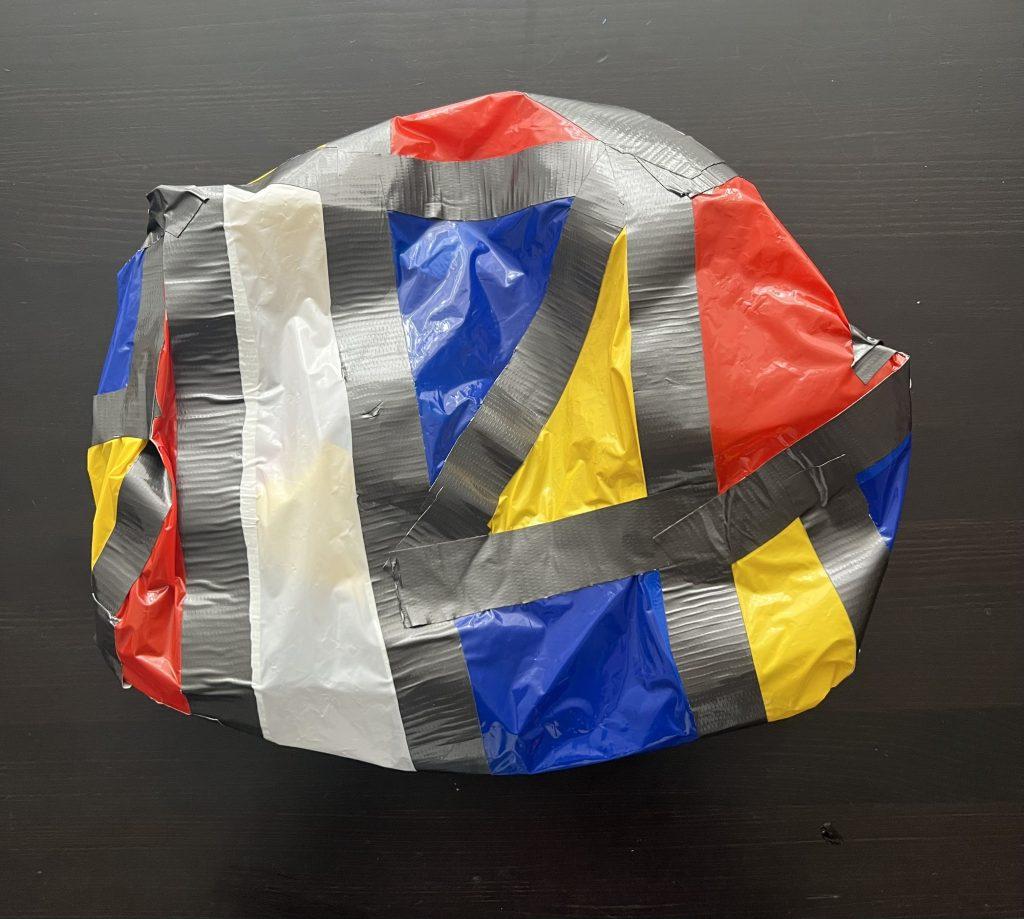
For my first inflatable, I had no idea how to start as I had never worked simply with plastic bags and tape before, nor did I know much about inflatables, so I just wanted to try random things and see where it went and critique and improve on the second and third pieces. What I did was start by picking a few colored bags that I thought went well together, and then cut arbitrarily sized and shaped pieces out of these bags. Then came the hard part: actually trying to tape these pieces together to create a full inflatable. I decided to use black duck tape to keep with the color scheme, which I learned quickly was tiring to cut to workable pieces. The taping was much more challenging than I expected, and one obvious lesson I took away from this was bigger is better. Trying to tape 20 small pieces together was not only hard with my clammy fingers as I got stressed, but also resulted in a super small inflatable that didn’t feel correctly sized for the time and effort endured. However, I really liked the final result and the process of experimentation I used in the first piece.

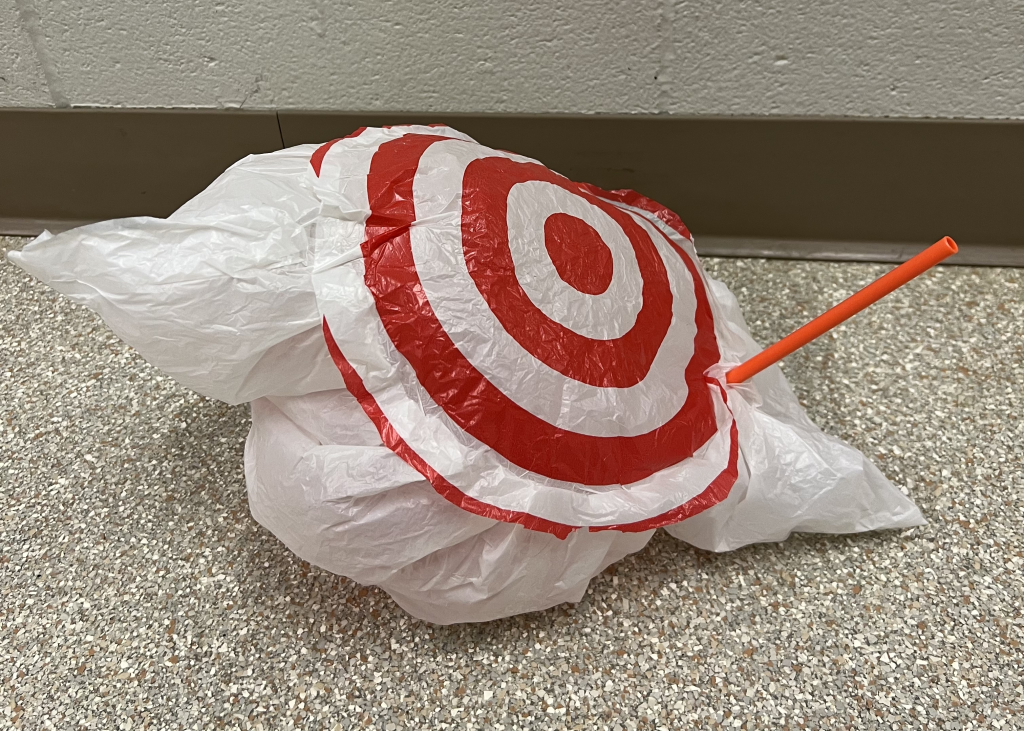
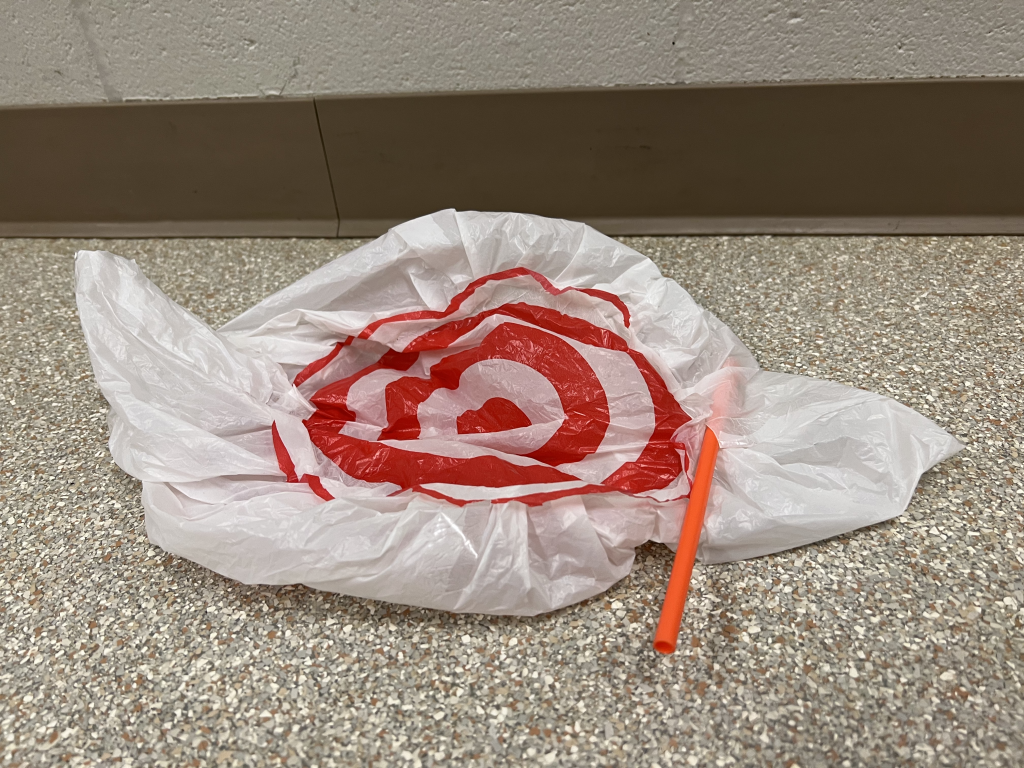
Ready to start the next piece, I now knew planning is key. I was not ready to sit there for hours figuring out what piece fit well with which as I did the first time, so before I started I planned out what I wanted to make, what pieces were needed, and which pieces would tape to which. I wanted to try out different types of materials, so my next challenge was working with target bags and scotch tape. I really wanted to use the target circles so I cut two of those out, and decided I would make a symmetric connector between these two targets which would be what was inflated. This took 4 white rectangles of the target bags taped together into one long strip. I was unsure how well the scotch tape would perform at first, but it held on to the target bags well. I also was uncertain about the quality of the target bags as they kept getting small holes in them, so I was very gentle with the plastic and recut pieces when necessary. I also experimented with a pleating technique which I thought looked pretty during the taping process, but it wasn’t really visible when inflated so I wasn’t sure it was worth the extra effort. What I liked about this piece was how easily it inflated despite the flimsy plastic and being able to experiment with new taping techniques.

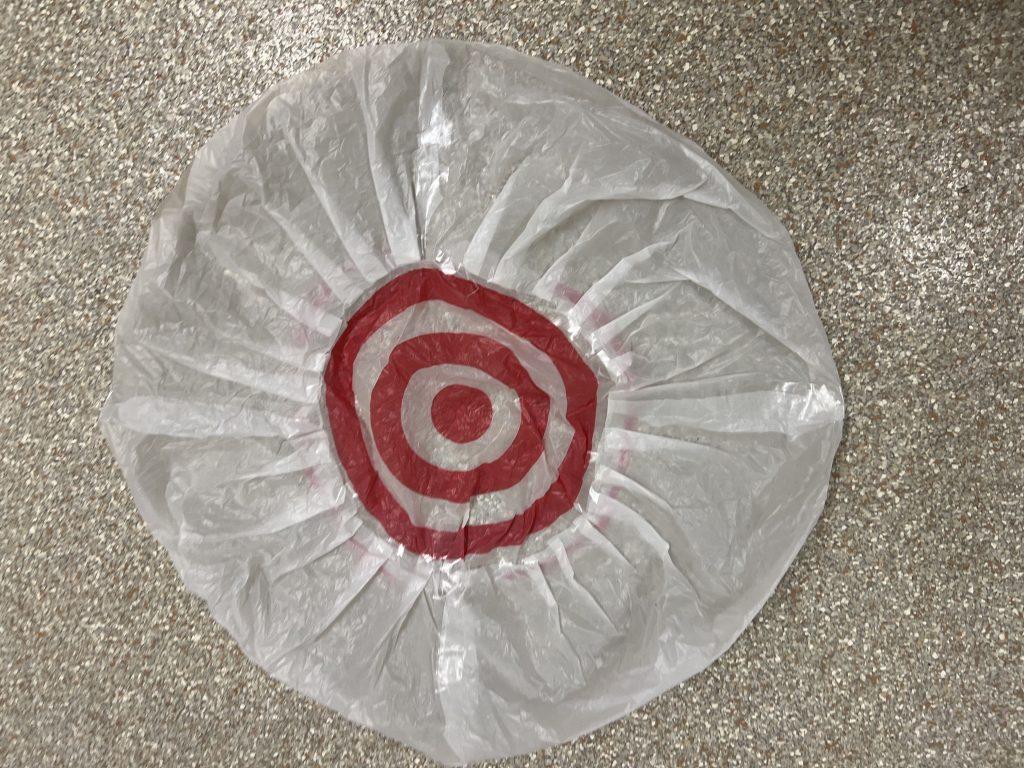
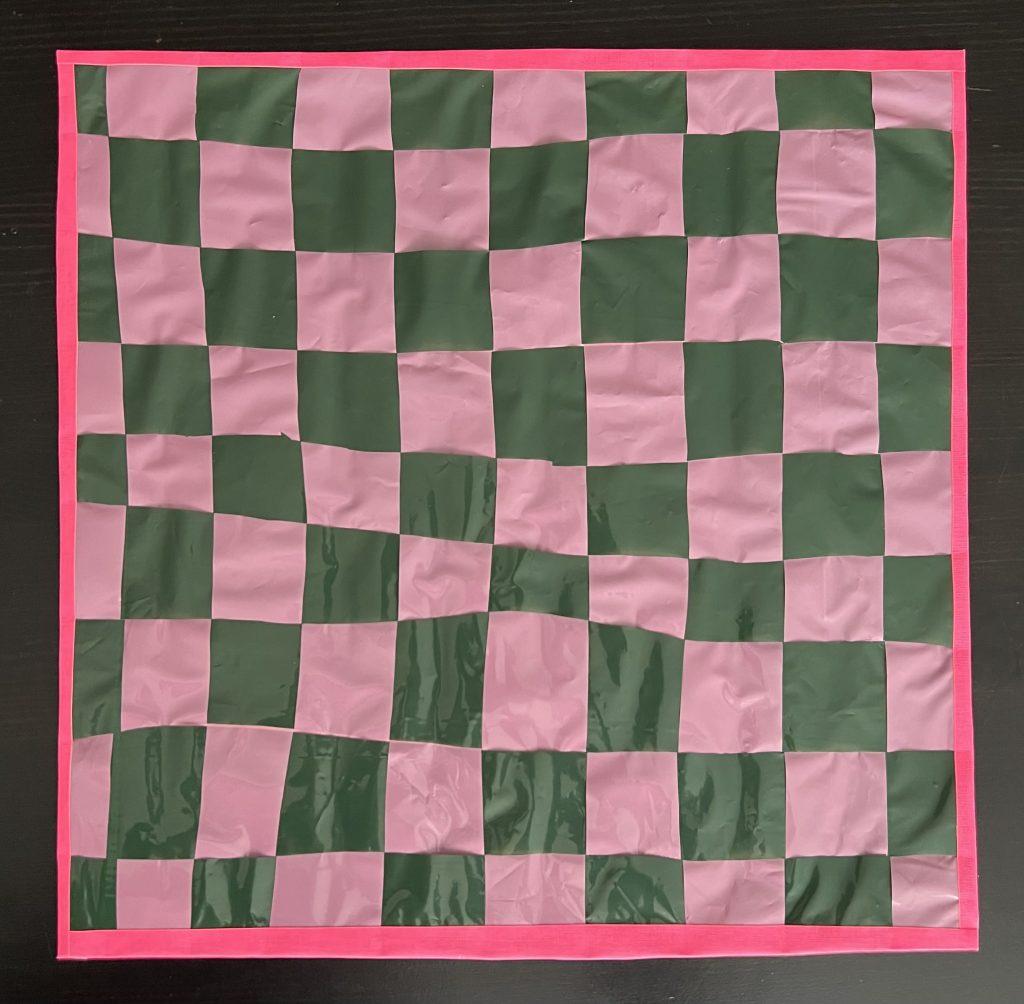
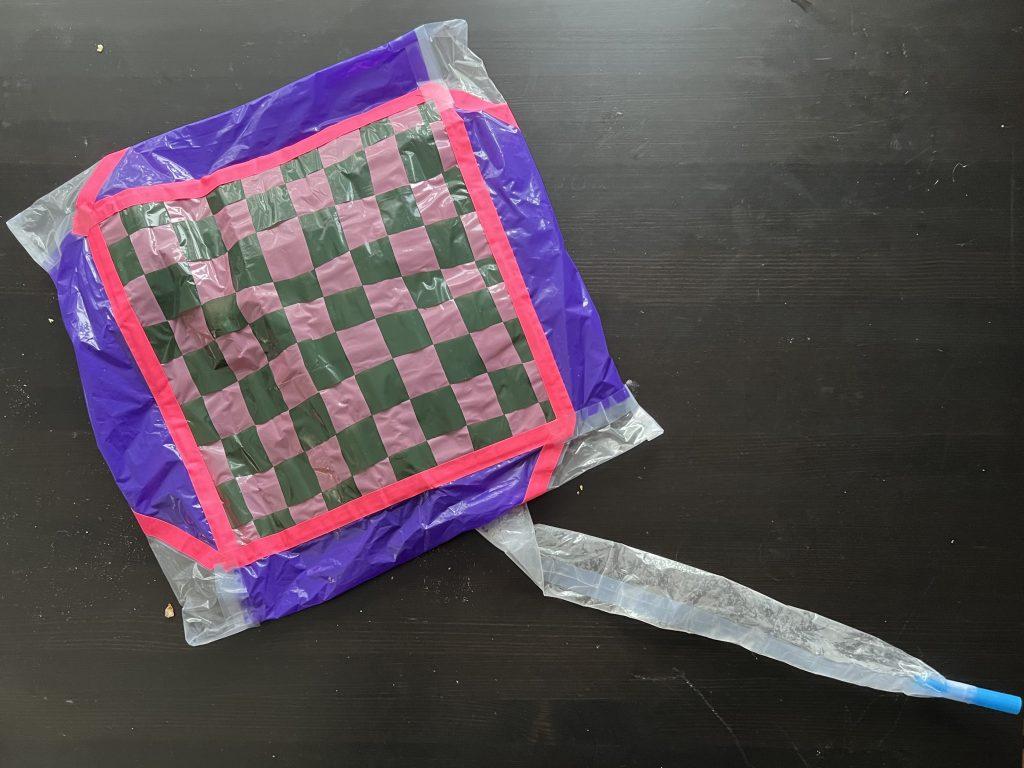
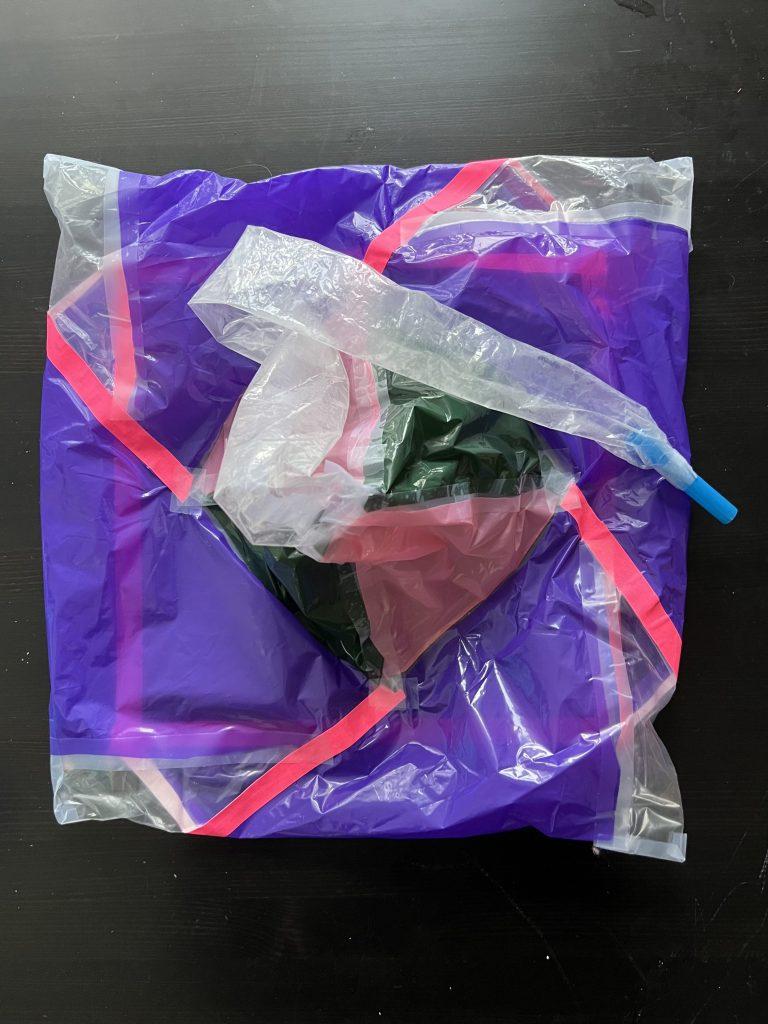
Going into my third inflatable, I wanted to continue experimenting with different sizes, shapes. and patterns. As a person who loves patterns and symmetry, I wanted to create a checkerboard design with the plastic and make it sort of like a hot air balloon or parachute for the inflatable. What I did not realize was how much tape would be required to secure the design, and this ended up being a flop as the checkerboard square had a lot of weight to it by the end and it could no longer be the top of my design. I then thought about how I could change my design to extend horizontally instead of vertically. I created elongated pieces from the plastic in layers, connecting the large square to a small radius tube that would connect to the straw. Some problems I ran into were reducing the radius which I achieved with some pleating techniques to bunch the wider fabric into a smaller size. I also ran out of the pink tape pretty quickly, so had to work with different styles of tape and their different thicknesses and stickinesses. Overall, I liked how this inflatable turned out despite learning tape is heavy and can impact the inflatable-ness of the plastic. I was glad I got to try a variety of techniques and work with many different materials during this process and going forward. I will take all the lessons I learned from this assignment when we start to make larger inflatables.

Kavya – In The World

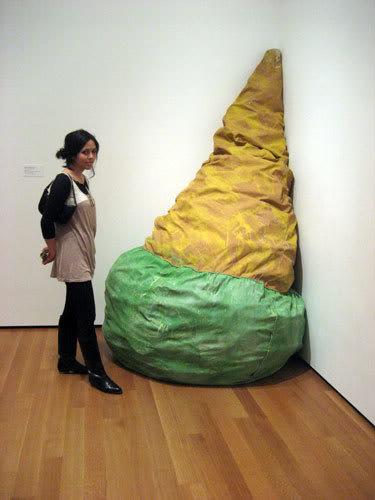
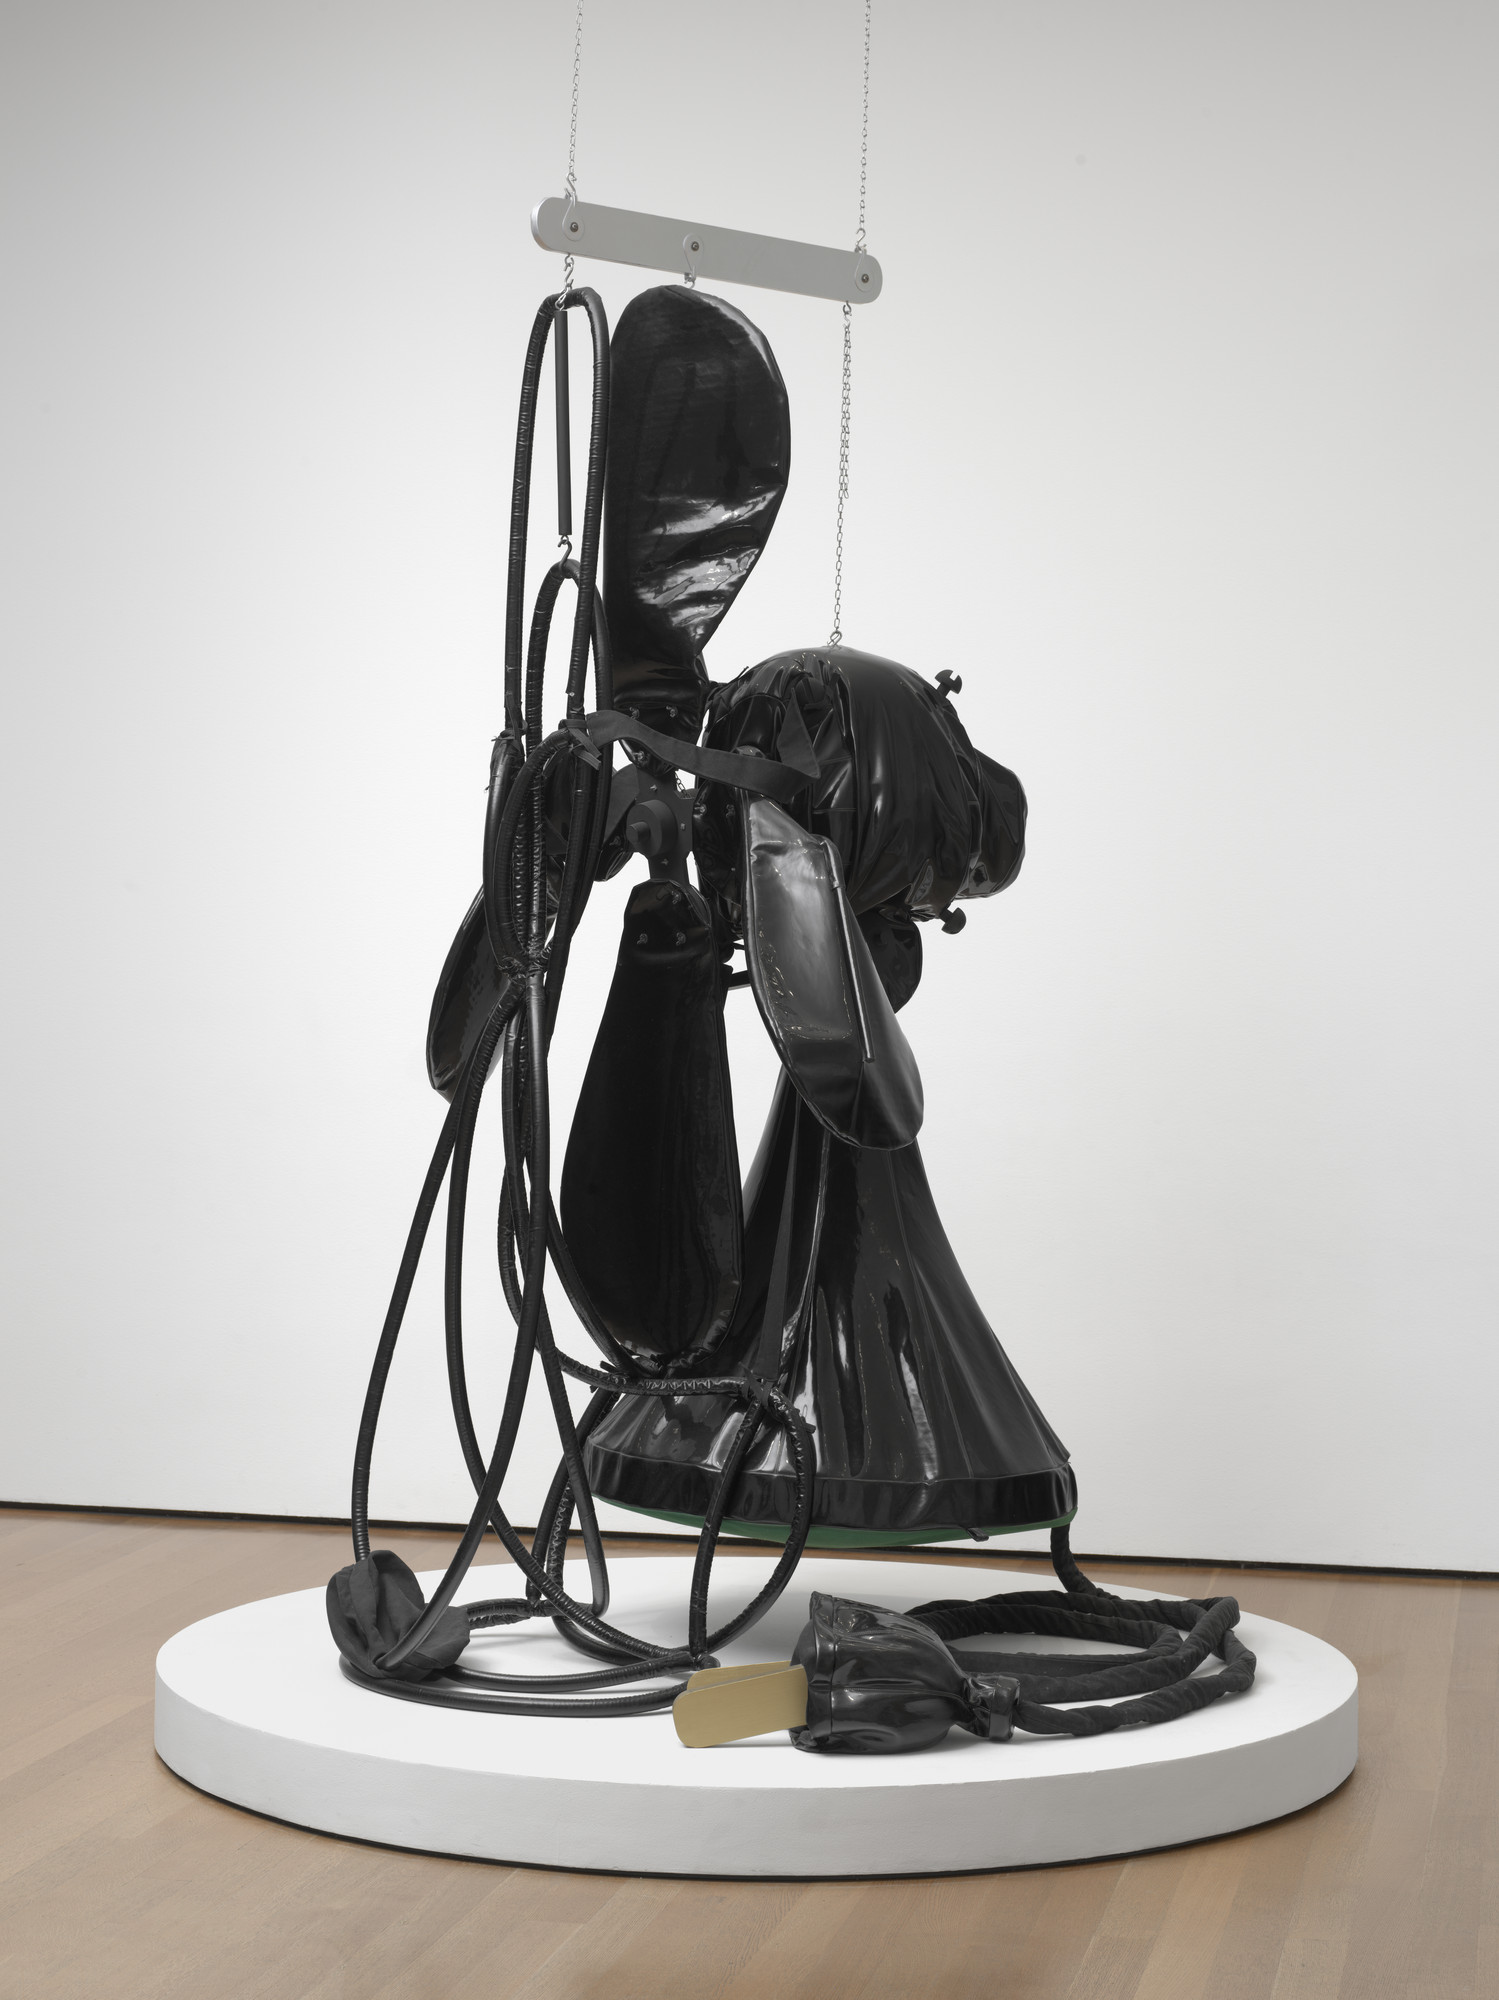
When looking around for soft sculptures in the world, I came across Claes Oldenburg’s works. He takes objects we see in our everyday lives such as food and appliances and creates enlarged soft sculpture representations of them.  What I found most interesting about Oldenburg’s works is how he takes simple objects that we all recognize but lets gravity and size portray them in a new, unique perspective.  I also liked how versatile these objects were, such as the floor cone that can be placed in multiple orientations to show different aspects of the work. This pertains to the work we are doing in class because our next assignment Push/Pull-Part 1: Objects works more with the techniques Oldenburg used because we are stuffing rather than inflating our objects, so without a constant flow of air holding certain parts up, the size, weight, and orientation will become important factors we must consider with our own objects.

Link to works: https://www.wikiart.org/en/claes-oldenburg

In the World — Catherine

Arthur Analts, a london-based artist and designer, made a series of moving and inflatable sculptures using balloons in a constrained frame. I find the idea of inflating in a confined space very interesting. The tension between expansion and constraints create compelling effects.

‘The oppressed’ was created in response to black lives matter: the ongoing struggle of the international civil rights movement.

Below are a few more pieces in the same series of works.

Jules Yang – In the World

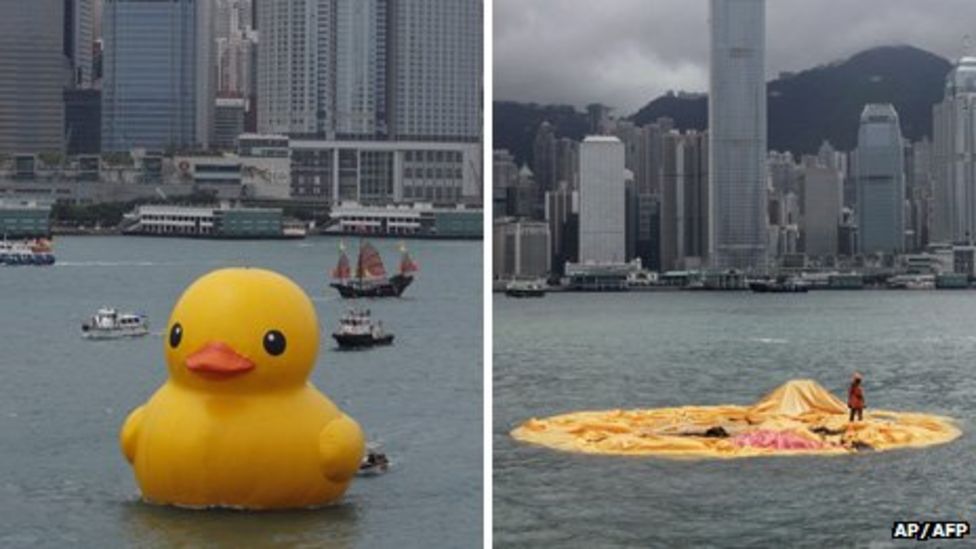
One of the rubber ducks floating in the Allegheny River.

For this assignment, I choose Florentijn Hofman’s giant inflatable duck sculpture series Rubber Duck. These ducks have the classic “bathtub rubber ducky” look, down to the bubbly shape and bright yellow body. These ducks have floated in various bodies of water around the world. His first display of the rubber duck was in France, but one aspect that I thought was particularly interesting was that the first appearance in the United States was actually in Pittsburgh in 2013! I had previously read in the news about this duck being installed in cities around the world so I thought it was especially fitting for this assignment because of how global this sculpture series is. Hofman said that this series is supposed to represent togetherness in global waters. I find these rubber ducks really amusing because they’re such a universal icon. To many, the rubber duck is a symbolism of playfulness and youth which I think draws in a big crowd.

Duck deflated in Hong Kong.

I was really interested in learning more about the construction of the ducks. They are made of PVC that are sewn together with sewing machines. The duck is kept inflated with a fan inside of its body. It seems to be fairly in line with how you construct a normal inflatable except that it is of course, extremely large scale, robust, and very waterproof, including the electric wiring that has to power the fan. I think it is super fascinating that the rubber duck series is kind of a simple idea, but it remarkably brings a lot of entertainment to people everywhere and is remembered over time.

https://en.wikipedia.org/wiki/Rubber_Duck_(sculpture)#Design

In The World – Douglas Gearhart

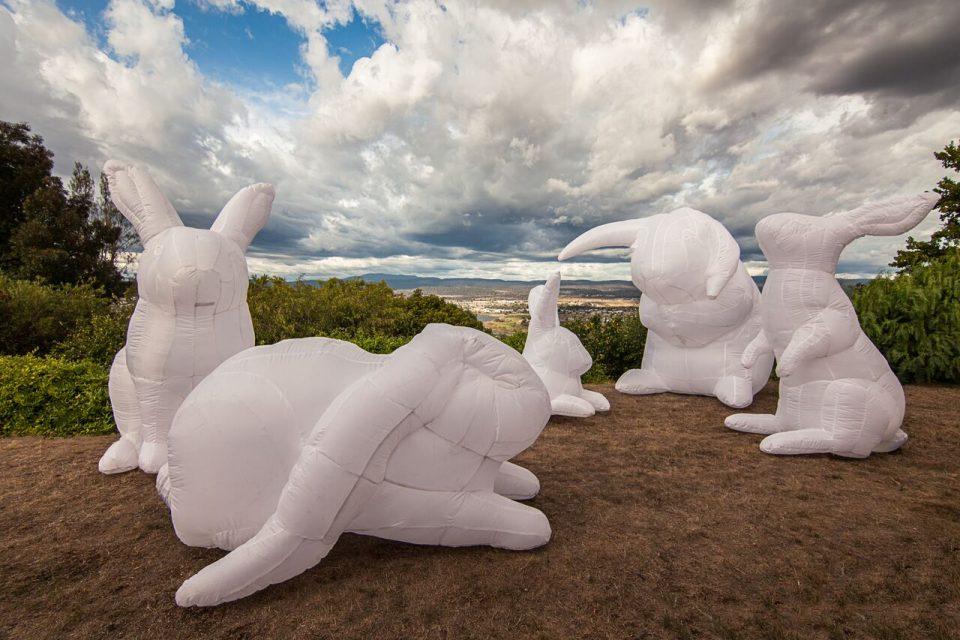
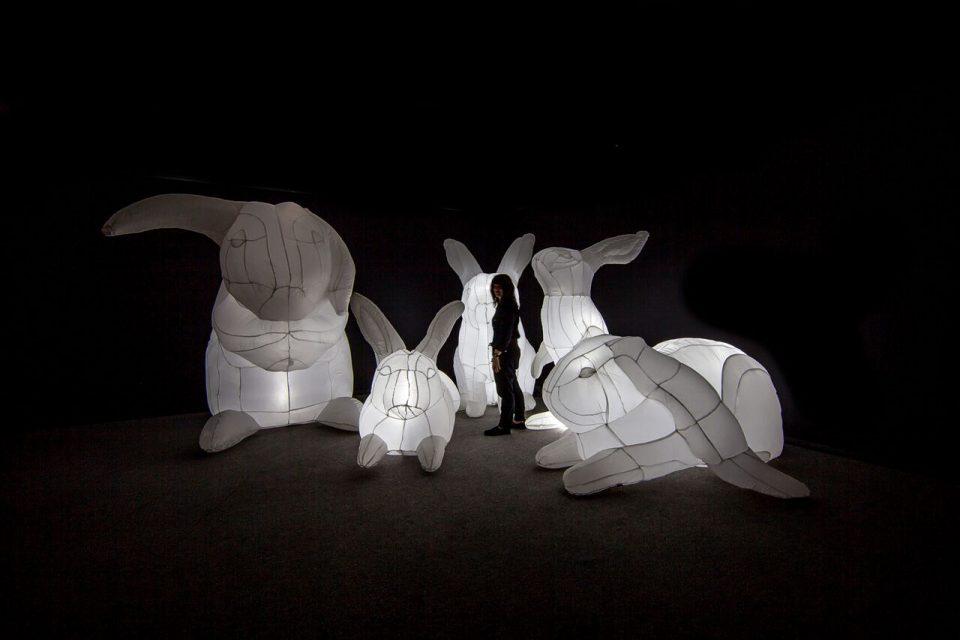
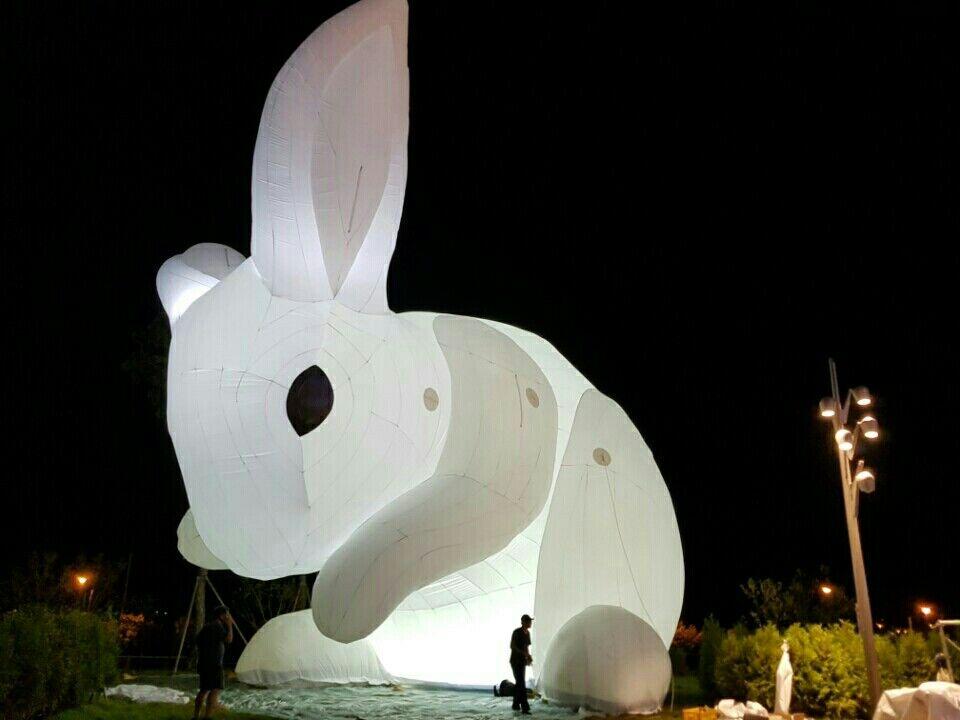
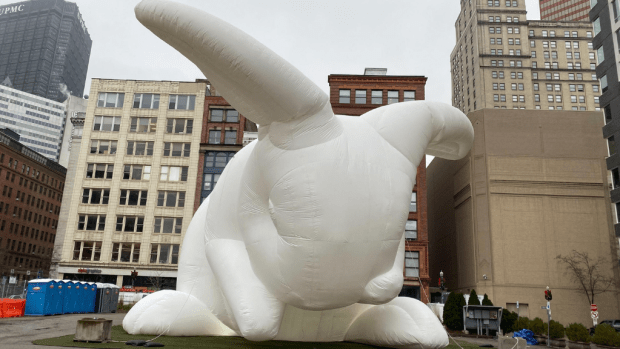
This work is part of a line of pieces called Intrude, created by the Australian artist Amanda Tarer. One thing I enjoy about these pieces as Amanda mentions, is the “huggability” of the work. Despite the medium of an inflated plastic (I think), it somehow maintains the soft and fluffy look that we attribute to bunnies. I also love how I can see the connection between the pieces of the rabbit because it offers insight on how the variety of body language expressions were created. One of my interests going forward in the class is to made animals and this is a valuable reference for me to understand how simple shapes can be to still create extremely recognizable if not realistic forms.

Interestingly enough, this exhibit was displayed here in Pittsburgh for the previous week in the cultural district. The message explored is how the “elephant in the room” can be so easily disregarded. These are bunnies – cute fairytale creatures and despite the sheer magnitude (some being around 50ft tall) the audience still passes by without a sense of threat. This can represent the greatest challenges we face such as our environmental impact, similar to how in Australia, rabbits are a non-native species that has severely damaged the ecological landscape.
Work can be explored here and here.

Visual Portfolio, Posts & Image Gallery for WordPress