In today’s class, we finished our discussion on common Rhino Commands. We also introduced Laser Processing & Equipment (Slides 1-14). Lastly, we discussed File Preparation & Geometry requirements for Laser Scoring, Cutting, and Engraving. The final 30 minutes of class was dedicated to ‘playing’ in Rhino. We also introduced Project 1.
Introduction
Contact
Need Help? Here are (4) Solutions in order from ‘most-preferred‘ -to- ‘please-just-help-me-I’m-freaking-out‘:
OPTION 1
1. Figure it out yourself:
FIRST, make an overly-cautious determination on your troubleshooting process.
STOP, if troubleshooting on your own involves increased potential/exposure to equipment or facility hazards. For the sake of the community, the equipment and your own personal safety- seek help via options 2, 3, or 4.
OTHERWISE, if you’re having trouble with ANY process, try figuring out the problem on your own. Are you sure your file is in the right format? Are all switches in their correct position? Is your USB Drive plugged in? This is the most valuable method to learn and retain knowledge.
BONUS POINTS given to those who inform me of their experience, and how they ‘figured it out on their own‘.
OPTION 2
2. CONSULT YOUR COMMUNITY:
FIND a friend or a colleague that is familiar and experienced with the process. Ask for their help!
NO FRIENDS? Your in college, it’s time you start meeting new people and establishing new relationships. Look around the room, introduce yourself and ask politely.
STILL having trouble finding someone? Go to IDeATe Lending (A29) and ask if they know the answer. Try and find an IDeATe Tech Advisor, they are the ones in blue shirts that say: “TECH ADVISOR”
BONUS POINTS given to those who inform me of their experience, and provide the FIRST & LAST Name of their new friend.
OPTION 3
3. schedule an appointment:
OPEN-HOURS ASSISTANCE is offered by our IDeATe Tech Advisors, Monday thru Friday from 4:30pm – 5:30pm; because your apart of the IDeATe Community, you can also ask for their help between 5:30pm – 7:30pm!
SCHEDULE an appointment with me. I’m more than happy to help you- however, casual-office-drop-in’s are difficult to accomodate. It’s best if you contact me via email, and schedule an appointment. Email: pzali@cmu.edu
BONUS POINTS given to those who schedule appointments for assistance. Must inform me of app’ts with Tech Advisors.
OPTION 4
4. ASK OUR ADMINISTRATIVE TEAM:
CONTACT our IDeATe Administrative Team if your issue fits one of the following criteria:
- Equipment malfunctions, break-downs, problems
- Card Access issues
- Material/Equipment Requests or Suggestions
- Spatial/Facility problems
- Lending/Borrowing Issues
- Material Charges, Late Fees, or IDeATe related Student HUB billing details
Email: HELP@ideate.cmu.edu
… and a member of our team will follow-up quickly!
BONUS POINTS given to those who provide valuable & constructive criticisms or feedback on how to improve the IDeATe Facilities, Equipment or Community experience.
CheatSheet
These are the commands that we reviewed during our first (2) meeting times.
| Text Command | Drop Down Menu | What? |
| Line | Curve > Line > Single Line | Single Segment Lines |
| Length | Analyze > Length | Length Measurments |
| Extend | Curve > Extend Curve > Extend Curve | Extend Curve |
| Polyline | Curve > Polyline > Polyline | Polylines |
| Hide/Show | Edit > Visibility > | Hide/Show |
| Rectangle | Curve > Rectangle > Corner to Corner | Rectangles and Squares |
| Lock/Unlock | Edit > Visibility > | Locking |
| Polygon | Curve > Polygon > Center, Radius | Polygons |
| Circle | Curve > Circle | Circle |
| Ellipse | Curve > Ellipse | Ellipse |
| Offset | Curve > Offset > Offset Curves | Offset |
| Distance | Analyze > Distance | Measuring Distances |
| Fillet | Curve > Fillet Curves | Fillet |
| FilletCorners | Curve > Fillet Corners | Fillet Corners |
| Chamfer | Curve > Chamfer Curves | Chamfer Curves |
| Explode | Edit > Explode | Explode |
| PointsOn/PointsOff | Edit > Control Points > | Control Points on/off |
| Move | Transform > Move | Move |
| Sel(variable) | None > None | Selection |
| Group/Ungroup | Edit > Groups > | Grouping |
| What | Geometry Definition | |
| Join | Edit > Join | Join |
| CloseCrv | Curve > Curve Edit Tools > Close Curve | Close Curve |
| Trim | Edit > Trim | Trim |
| Split | Edit > Split | Split |
| Scale | Transform > Scale > Scale 3-D | scale |
| Copy | Transform > Copy | Copy |
| Mirror | Transform > Mirror | mirror |
| Curve | Curve > Freeform > Control Points | Control Point Curve |
| InterpCrv | Curve > Freeform > Interpolate Points | Interpolate Curve |
| Arc | Curve > Arc | Arcs |
| Rotate | Transform > Rotate | Rotate |
| Point/Points | Curve > Point Object | Points |
| Text | Dimension > Text Block | Text |
| Dim | Dimension > Linear Dimension | dimension |
| Hatch | Dimension > Hatch | Hatch |
03, Wednesday
In today’s class, we continued our discussion on the most common Editing, Analysis, and 2D Modeling Commands. It’s helpful for you to begin understanding decimal conversions for Standard and Metric measurements. As an additional resource, here are the commands that we went over during class.
02, Monday
In today’s class, we provided instructions on how to log into the Macbook Laptops. We continued by introducing the Rhinoceros 3D Modeling Interface, and ended by introducing the most common Editing, Analysis, and 2D Modeling Commands. It’s helpful for you to begin understanding decimal conversions for Standard and Metric measurements.
01, Wednesday
In today’s class, we reviewed the Syllabus and introduced the IDeATe Facilities & Resources. If you missed class, you should schedule a 30 minute meeting with me to review.
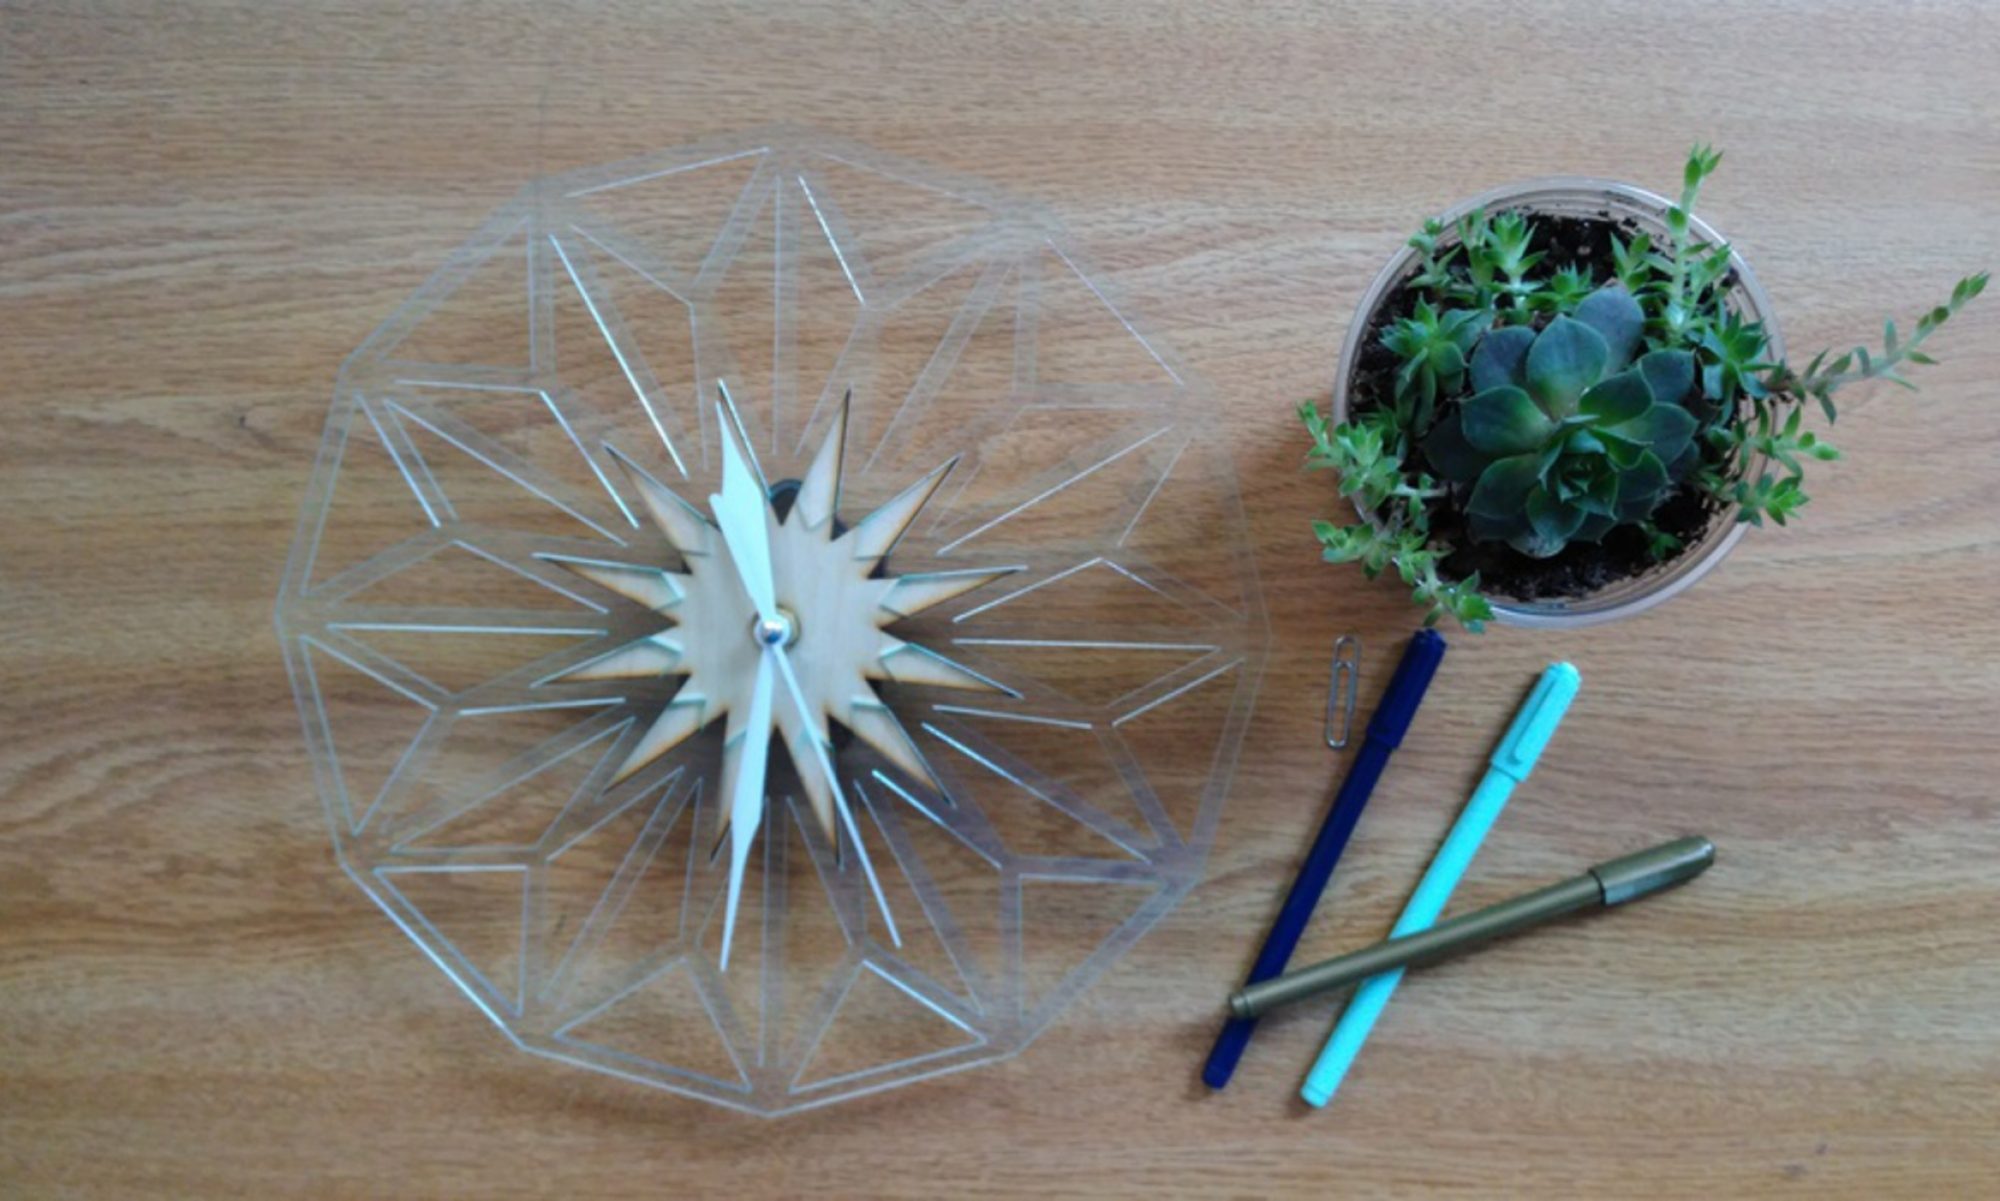
Project2
OBJECTIVE
Provide a physical item that demonstrates your ability to 3D Model, prepare the model in a secondary 3D printing application, and 3D Print.
CRITERIA
- Prepare a 3D File in Rhinoceros 3D
- Geometry should be Closed, Solid Polysurface
- 3D print should be no less than (33) cubic cm (2 cu. in.)
- Successfully export 3D Model as a valid-mesh, stereo-lithography file [.stl]
- Successfully prepare 3D Print in NVBot Cloud -or- Zortrax Z-Suite
- Submit documentation of your work (Rhino File; [.stl]; & images)
SUGGESTED PROJECT
*READ ME* The following is a suggested project. You are NOT required to follow these guidelines. You may create your own original project if you prefer:
Using Rhinoceros 3D, create a 3D Model that exhibits porous qualities (i.e. sponge, moonrock, mesh, see Google image results). Successfully export geometry as [.stl] file-type and prepare in NVBot Cloud Interface or Zortrax Z-Suite. Send to printer.
TOOLS
- *Zortrax M200 3D Printer & Z-Suite
- *NVBot 3D Printer & NVBot Cloud Interface
- Virtual Cluster Macbooks [optional]
- Rhinoceros 3D
* You have the option of using the Zortrax M200 -or- the NVBot for 3D Printing your models. You do NOT have to use both.
AVAILABLE MATERIALS
- Zortrax M200: ABS Plastic, spool
- NVBot: PLA Plastic, spool
RESOURCES
Syllabus
Course Information
Course: Digital Tooling [DigiTool]
Course #: 62-478
Course Time: 12:30pm – 1:50pm
Days: Monday, Wednesday
Instructor: P. Zach Ali
Contact: pzali@cmu.edu
Location: IDeATe@Hunt Library, Fabrication Lab [A5]
Objectives
Provide an applied overview on various methods of Fabrication within the Digital Realm. Create a fundamental understanding of available fabrication technologies and techniques. Expand on safety and efficiency of relative workflows.
Students enrolled in this course will:
1. Utilize Computer Aided Drafting & Design (CAD) Software Environments (Rhinoceros3D) to develop 2D and 3D Geometry
2. Successfully prepare CAD Files for Computer Aided Machining (CAM) Application Environments
3. Develop advanced understanding of safe and efficient work methods
Topics covered in class:
1. [CADD Environment] Fundamental Commands + Operation, Technique, 2D Curve + Line Geometry, 3D Surface + Solid Geometry
2. [Laser Processing] File Preparation/Development for Laser Cutting and Engraving; Safe and Efficient Work Methods for CO2 Laser Equipment
3. [3D Printing] File Preparation/Development for 3D Printing, successful production, and various work methods on varying 3D Printing Technologies (FDM, SLA)
4. [CNC Routing/Milling] File Preparation/Development for Computer Numeric Controlled (CNC) Milling Equipment; Safe and Efficient Work Methods for 3-Axis Equipment; Post Processing Techniques
Work Method
The Course begins by introducing all Users to the Facility and various work-flows.
Digital Fabrication relies on Digital Development- within the second week, students begin to work in a CAD Environment. From this stage, we transition into development of 2D Geometry, and use this information to prepare files for Laser Cutting /Engraving.
Moving forward, we introduce 3D Geometry creation, development & editing. This information not only influences proper modeling techniques, but also applies to 3D Printing. 3D Printing processing environments are discussed, and Users will 3D Print various forms using (3) different 3D Printers.
With continued 3D Modeling Experience within a CAD Environment, we begin to cover Computer Aided Machining Environments. Specifically, File Preparation Techniques for successful Processing on a 3-Axis CNC Router.
Equipment training will cover Policy, Procedure, and Safety. All Users will be expected to exhibit proper Equipment Utilization under Supervision before they are approved for continued access.
Instruction
Course Instruction follows a specific outline to maximize Student progress. All topics are Introduced, Discussed, Assigned, Assisted, then Reviewed. During Introduction Phases, specific and similar processes and technologies are introduced. Discussion begins to elaborate on the specific process and technology relative to the IDeATe Facilities and capabilities. Discussion includes Policy, Procedure, and Safety Instructions. After Discussion, a small Project is Assigned. Between the Assignment Date and Checkpoint Date, the Student may schedule one-on-one Assistance with the Instructor, on an as needed basis. We end our training with the Review Phase, during which, the Instructor reviews the Project in entirety, and offers solutions, comments, or advice to improve technique for future use.
Operation/Methods/Procedure
[Attendance] Attendance and on-time arrival is critical, and also accounts for 28.5% of your Grade.
[Distractions] User of Cell Phones, pagers, and all other communication devices is prohibited during class time.
[Assignments] All assignments are due by the end of the course. Assignments are not solely graded on successful, final products. Instead, they are graded on your ability to process and incorporate class-time instruction. Your ‘Understanding’ of Course Content is essential for success within any Field.
[Holidays/Sickness/Emergencies] Please notify me as soon as possible, if you are going to miss a class due to Religious Holiday, Sickness, or Emergency. I require a Doctor’s Excuse for Sick Days. I will provide assistance with missed instruction dates to any Student whom has notified me in timely manner. I do not recognize Field Trips as acceptable excuses.
[Disabilities] Students with disabilities should contact me immediately to privately discuss academic accommodations. Please be prepared to provide the University Accommodation Letter.
[Expenses] Previously, IDeATe Courses charged a Course Fee. The Course Fee Policy/Structure, has been eliminated. Students will not be charged for taking this course. There are, however, Consumable Charges that are affiliated with Course Projects. This course, involves (2) Projects, and the estimated costs for these projects will range between $34.00-$48.00.
[Policy] The Equipment within the IDeATe Facilities features unique Policy per specific Process. It is important that all Users follow Equipment specific Policy and Procedure at ALL TIMES. Encouraging this culture is essential within this environment.
Evaluation & Grading
30% [Attendance & Participation] : Attendance to Class Sessions, and Open Lab Days. Demonstrates a will to learn the process.
47% [Laser Processing] : Demonstrate a full understanding of the Process, from Concept to Operation.
i. File Preparation : 2D Lines & Curves, Common Commands, File Setup in Rhinoceros 3D.
ii. Understanding : File Transfer, Preparation, and Submission through LaserCut.
iii. Operation : Equipment Operation, Policy, Safety, and Procedural Requirements.
iv. Documentation : Documenting the Success or Failure of the Project.
**Your second project may utilize the 3D Printer or the CNC Router. Both are NOT required! **
23% [3D Printing] :Demonstrate a full understanding of 3D Printing Processes.
i. File Preparation : Working with Curves to create Surfaces, Surfaces to Create Solids, and Mesh Verification in Rhinoceros 3D.
ii. Understanding : File Transfer, Processing in secondary application, Printing.
iii. Documentation : Documenting the Success or Failure of the Project.
23% [CNC Routing] : *Optional – Class time attendance is not required. Project is not required. Participation in training will accrue bonus points.
i. File Preparation : Creating/Using correct geometry for CNC Routing purposes.
ii. Understanding : When to use 2-Axis vs. 3-Axis Operations, Programming Machining Operations, Post Processing, Tool Libraries, Operation of Equipment.
iii. Documentation : Documenting the success or failure of the project.
Submission
Please follow these instruction to submit your projects:
*Bonus Points for IDeATe Gallery Submissions!
BOX
SHARE YOUR FILES VIA BOX:
1. Gather & relabel any relevant files.
i. Submit these files:
a. Project 1
a.i. Drawing Exchange File [.dxf]
a.ii. (5) Semi-Professional Photographs of your project
b. Project 2
b.i. Stereo-lithography File [.stl]
b.ii. (5) Semi-Professional Photographs of your project
ii. File names should be labeled as: andrewID-equipment-xx
a. andrewID = Your Andrew ID
b. equipment = Equipment used to complete the project (e.g. laser; 3Dprinter; cncrouter)
c. xx = Wildcard, use for photos. (e.g. 01, 02, 03, 04, 05 etc.)
2. Place your files in a folder. The folder title should be your Andrew ID.
3. Login to your CMU Box Account
4. From the Box web interface, upload your FOLDER (not your files)
i. Select the UPLOAD drop-down button near the top-right
ii. Select the FOLDER option
iii. Browse to your folder location and upload to BOX
5. Share your folder with me
i. While hovering over your folder, select the SHARE button, then INVITE COLLABORATORS
ii. From the Invitation window, input my email address in the INVITE field
a. Email: PZALI@ANDREW.CMU.EDU
iii. The PERMISSIONS & MESSAGE field are irrelevant. Adjust as you please.
iv. Select the SEND INVITES button
6. That’s all!
DRIVE
SHARE YOUR FILES VIA Google drive:
1. Gather & relabel any relevant files.
i. Submit these files:
a. Project 1
a.i. Drawing Exchange File [.dxf]
a.ii. (5) Semi-Professional Photographs of your project
b. Project 2
b.i. Stereo-lithography File [.stl]
b.ii. (5) Semi-Professional Photographs of your project
ii. File names should be labeled as: andrewID-equipment-xx
a. andrewID = Your Andrew ID
b. equipment = Equipment used to complete the project (e.g. laser; 3Dprinter; cncrouter)
c. xx = Wildcard, use for photos. (e.g. 01, 02, 03, 04, 05 etc.)
2. Place your files in a folder. The folder title should be your Andrew ID.
3. Login to your Google Drive Account
4. From the My Drive dropdown menu, upload your FOLDER (not your files)
i. Select UPLOAD FOLDER option from the MY DRIVE dropdown menu
5. Share your folder with me
i. Right-click on the folder you’d like to share, select the SHARE option
ii. From the Invitation window, input my email address in the People field
a. Email: PZALI@ANDREW.CMU.EDU
iii. The PERMISSIONS & MESSAGE field are irrelevant. Adjust as you please.
iv. Select the DONE button
6. That’s all!
GALLERY
UPLOAD YOUR FILES TO the ideate gallery:
1. Prepare your files for upload:
i. Submit these files:
a. Project 1
a.i. Drawing Exchange File [.dxf]
a.ii. (5) Semi-Professional Photographs of your project
b. Project 2
b.i. Stereo-lithography File [.stl]
b.ii. (5) Semi-Professional Photographs of your project
ii. File names should be labeled as: andrewID-equipment-xx
a. andrewID = Your Andrew ID
b. equipment = Equipment used to complete the project (e.g. laser; 3Dprinter; cncrouter)
c. xx = Wildcard, use for photos. (e.g. 01, 02, 03, 04, 05 etc.)
2. Browse to the IDeATe Gallery & sign up for an account:
i. Find the ‘Sign In’ button, near the top right of your Screen.
a. Select the ‘Sign Up’ button near the bottom of the web form.
b. Provide your Information on the following screens. Be sure to use your Andrew ID as your Username, so I can find your work.
c. Complete the sign-up process by activating your account via email.
3. Log in to the Gallery and Create a New Project.
i. Follow the steps to create a new project, filling out any information you can.
a. Initially, you will only be able to upload images for the project.
ii. After completing the steps to create the project, you will be directed to the Project Home screen. Find and select the ‘EDIT/UPDATE DOCUMENTATION’ Button.
a. Upload any remaining relevant files (.jpeg, .dxf, .3dm, .eps)
Your done!