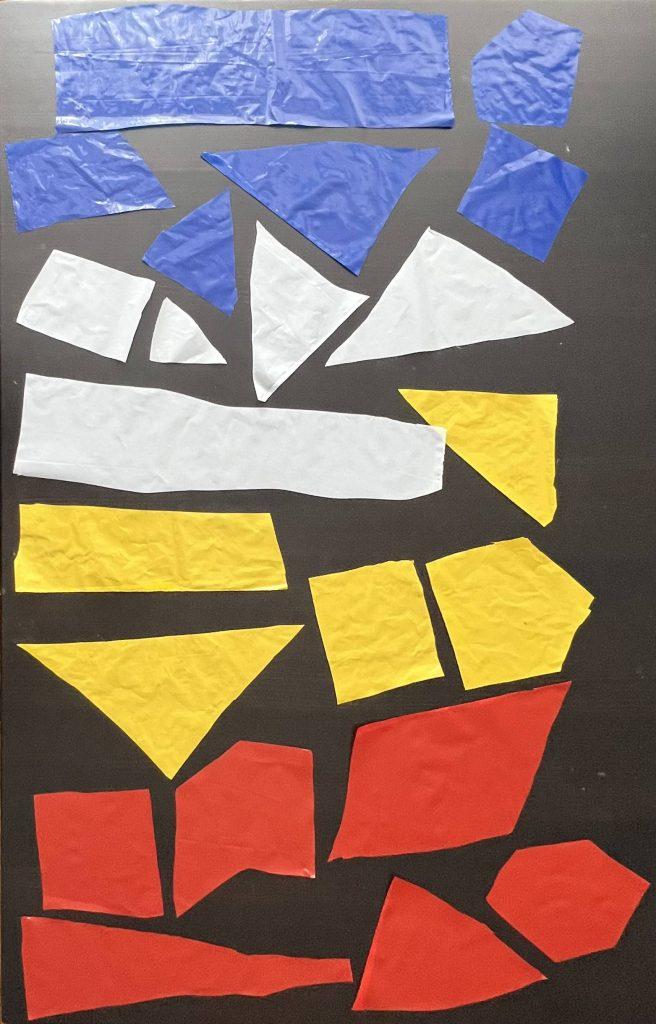
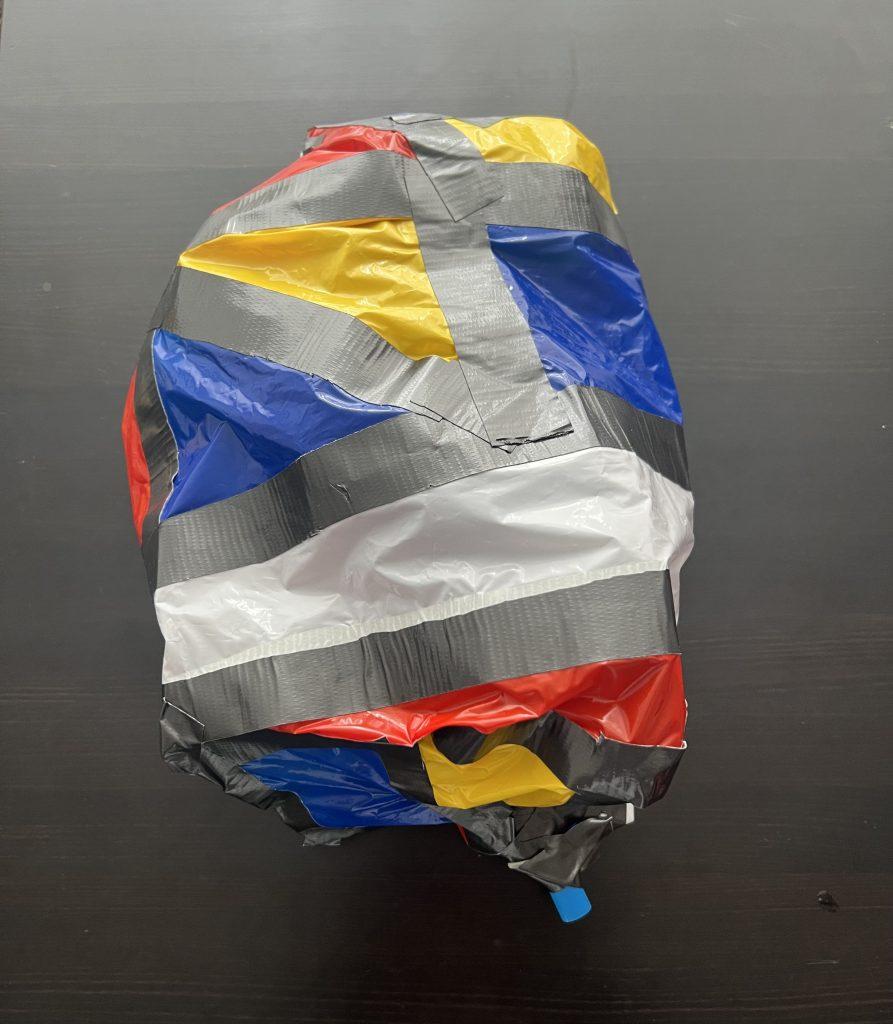
For my first inflatable, I had no idea how to start as I had never worked simply with plastic bags and tape before, nor did I know much about inflatables, so I just wanted to try random things and see where it went and critique and improve on the second and third pieces. What I did was start by picking a few colored bags that I thought went well together, and then cut arbitrarily sized and shaped pieces out of these bags. Then came the hard part: actually trying to tape these pieces together to create a full inflatable. I decided to use black duck tape to keep with the color scheme, which I learned quickly was tiring to cut to workable pieces. The taping was much more challenging than I expected, and one obvious lesson I took away from this was bigger is better. Trying to tape 20 small pieces together was not only hard with my clammy fingers as I got stressed, but also resulted in a super small inflatable that didn’t feel correctly sized for the time and effort endured. However, I really liked the final result and the process of experimentation I used in the first piece.

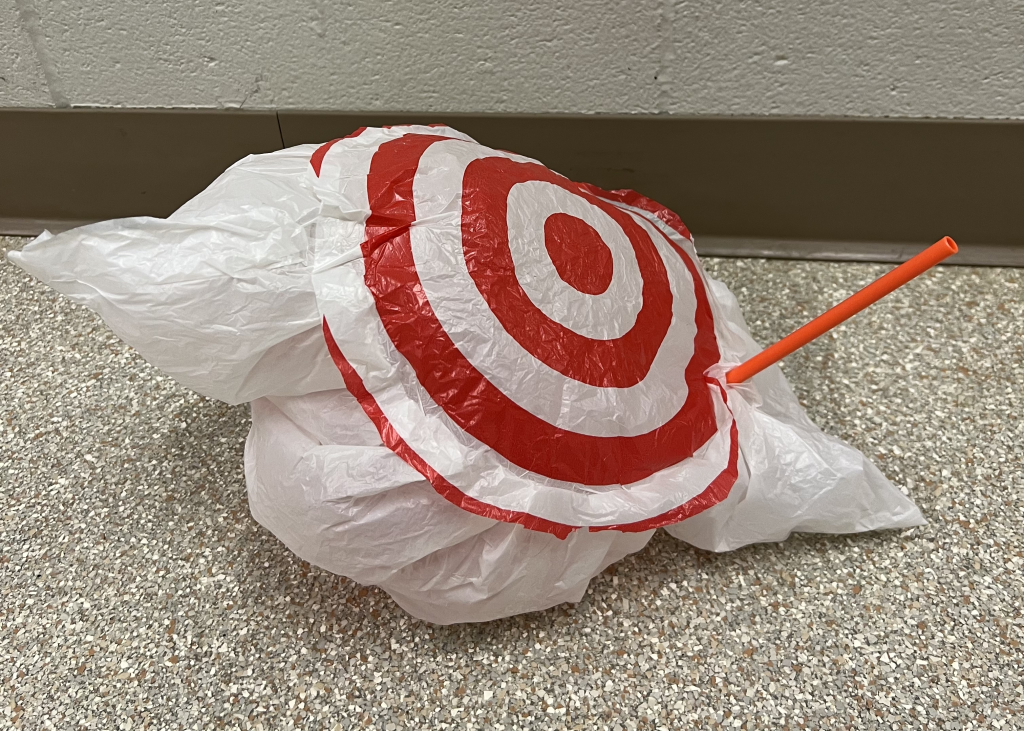
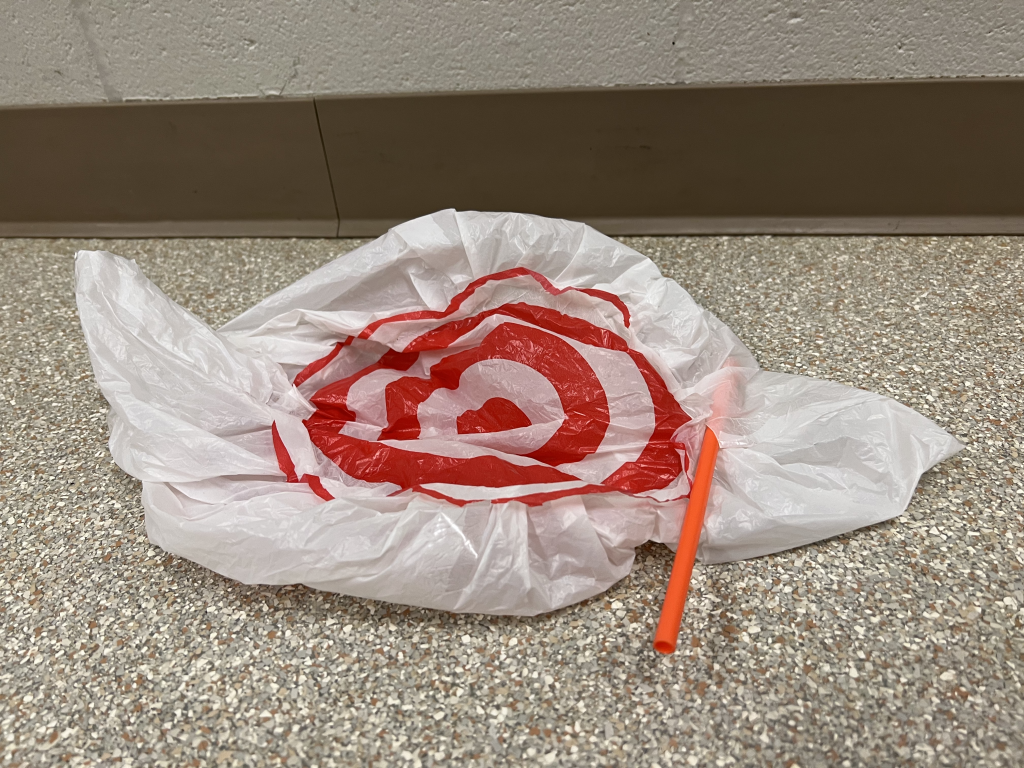
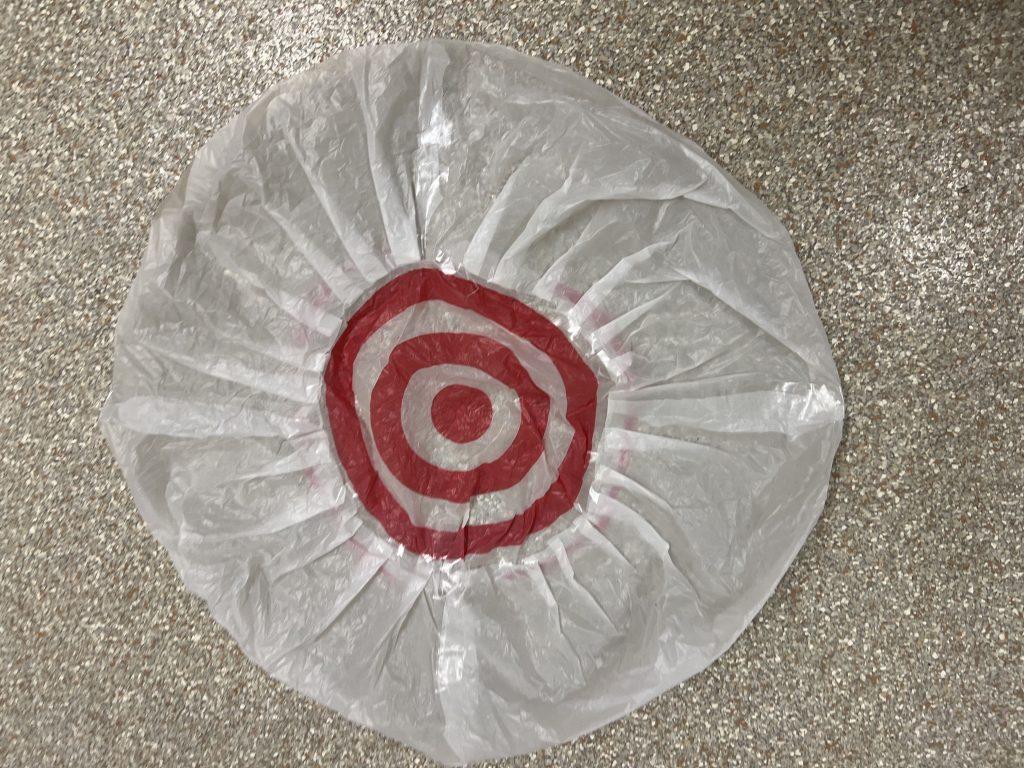
Ready to start the next piece, I now knew planning is key. I was not ready to sit there for hours figuring out what piece fit well with which as I did the first time, so before I started I planned out what I wanted to make, what pieces were needed, and which pieces would tape to which. I wanted to try out different types of materials, so my next challenge was working with target bags and scotch tape. I really wanted to use the target circles so I cut two of those out, and decided I would make a symmetric connector between these two targets which would be what was inflated. This took 4 white rectangles of the target bags taped together into one long strip. I was unsure how well the scotch tape would perform at first, but it held on to the target bags well. I also was uncertain about the quality of the target bags as they kept getting small holes in them, so I was very gentle with the plastic and recut pieces when necessary. I also experimented with a pleating technique which I thought looked pretty during the taping process, but it wasn’t really visible when inflated so I wasn’t sure it was worth the extra effort. What I liked about this piece was how easily it inflated despite the flimsy plastic and being able to experiment with new taping techniques.
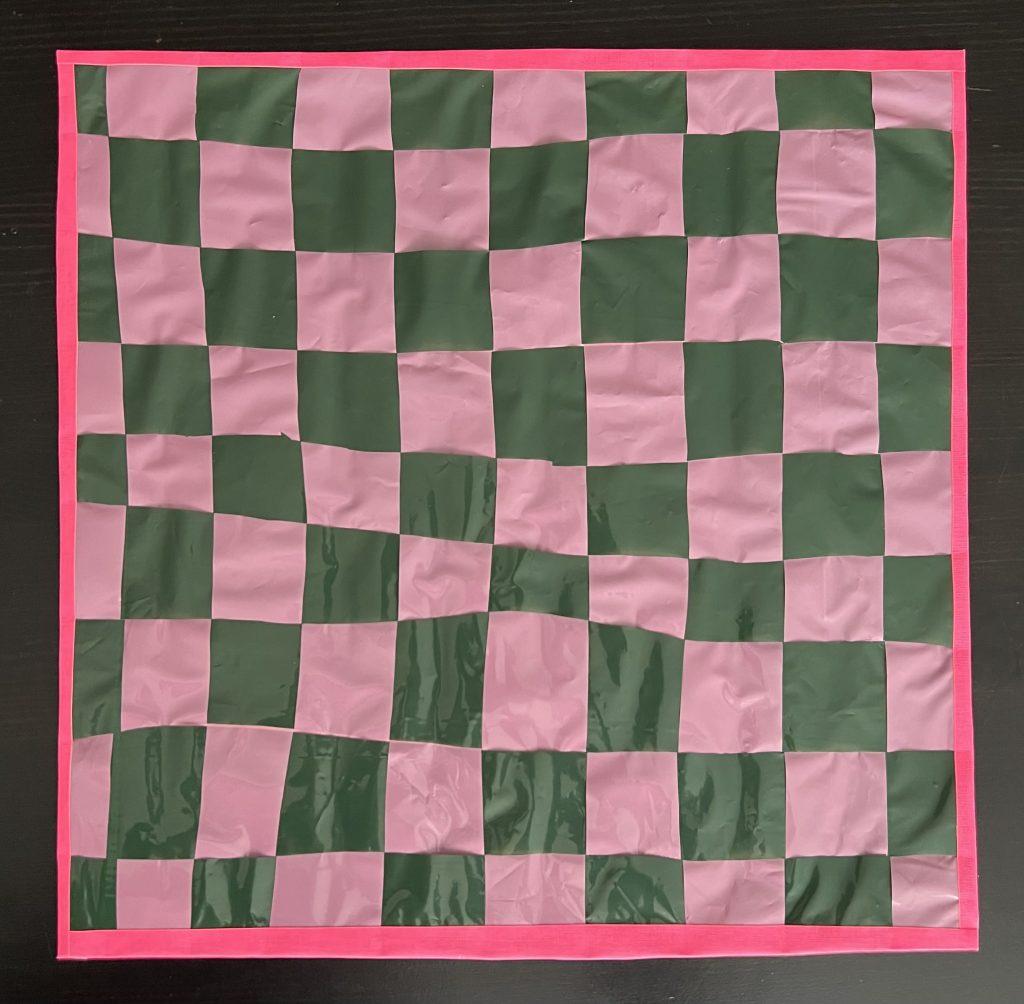
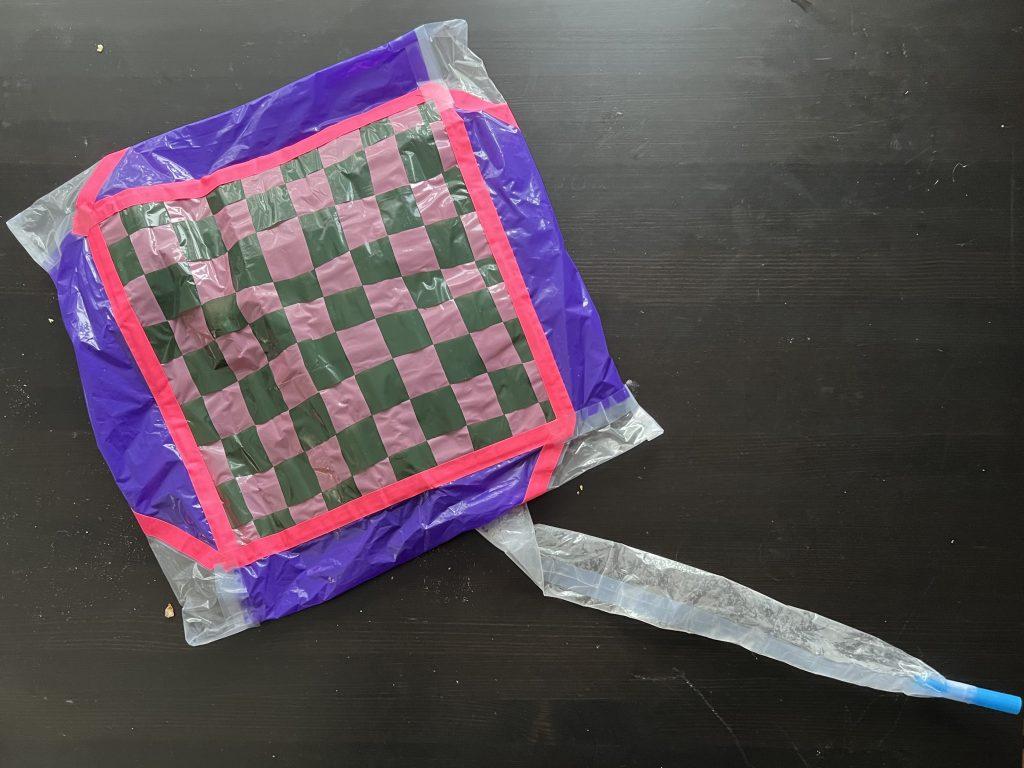
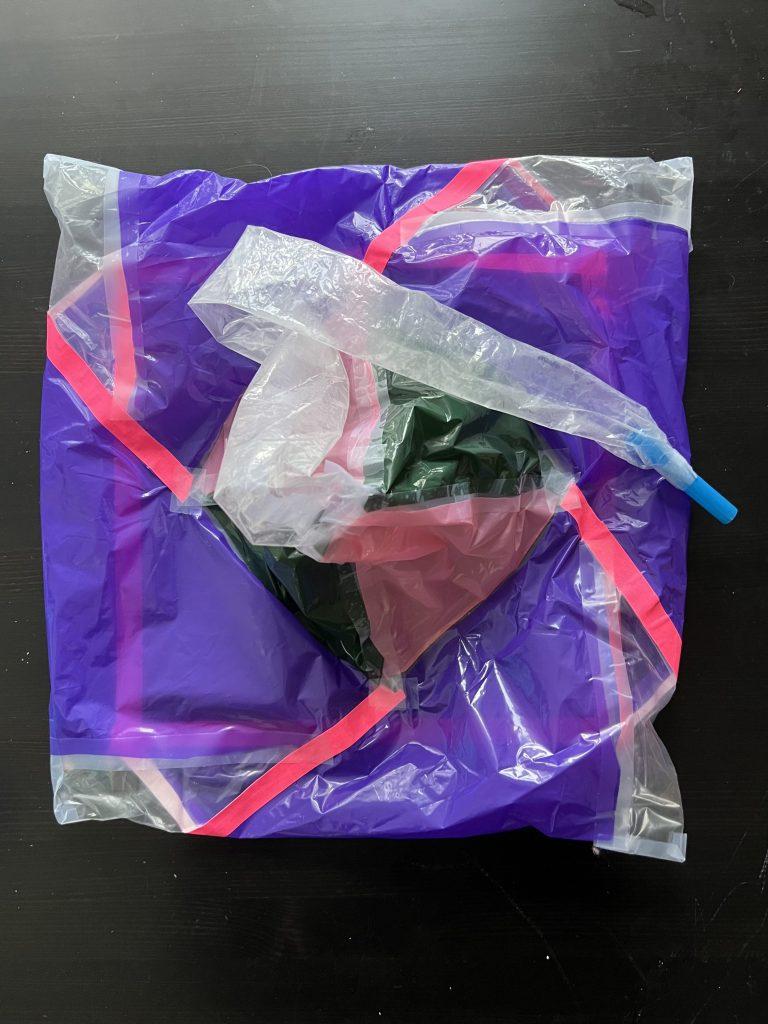
Going into my third inflatable, I wanted to continue experimenting with different sizes, shapes. and patterns. As a person who loves patterns and symmetry, I wanted to create a checkerboard design with the plastic and make it sort of like a hot air balloon or parachute for the inflatable. What I did not realize was how much tape would be required to secure the design, and this ended up being a flop as the checkerboard square had a lot of weight to it by the end and it could no longer be the top of my design. I then thought about how I could change my design to extend horizontally instead of vertically. I created elongated pieces from the plastic in layers, connecting the large square to a small radius tube that would connect to the straw. Some problems I ran into were reducing the radius which I achieved with some pleating techniques to bunch the wider fabric into a smaller size. I also ran out of the pink tape pretty quickly, so had to work with different styles of tape and their different thicknesses and stickinesses. Overall, I liked how this inflatable turned out despite learning tape is heavy and can impact the inflatable-ness of the plastic. I was glad I got to try a variety of techniques and work with many different materials during this process and going forward. I will take all the lessons I learned from this assignment when we start to make larger inflatables.