Bryt 2.5 – Final Rough Crit

I’m still currently in the stages of figuring out a good beat detection system for the Arduino. Most of the algorithms I have come up with or have found online are either much, much too complicated (designed for a ras. pi.) or extremely insufficient for a good final project.  On the other hand, controlling the LEDs as well as utilizing the microphone to analyze inputs is is currently under control.

For the final, I only really seems to have to either find a beat detection algorithm or create my own. Obviously, I would also have to make the infinity mirror as well. Below is the link to what is accomplished so far.

https://drive.google.com/drive/folders/0BxAGrufmmWthLTFmMWlpQzFKRkU?usp=sharing

Heartbeat Pup

Heartbeat Pup is a soft good built for overly anxious children. It takes in the pulse of its human companion and creates a mirror heartbeat effect through a physical simulation inside the stuffed animal. So, the bear mirrors the heartbeat of its companion child. If the heartbeat is detected to be over a resting heart rate, the animal’s own heartbeat will gradually lower until itself and the child’s heart rate is resting.

The bear becomes a grounding mechanism used to manage anxiety by creating a movement or feeling to anchor its companions awareness back to the environment.

How it works:

The child’s pulse is sensed through the pulse sensor in the Pup’s nose. Based on the readings, the Pup’s heartbeat (created through the movement of a  speaker’s cone as electricity runs through it) will either operate at a gradually lowering rate, or will mirror the child’s heartbeat.

Reflection:

This was a project I’d been thinking about quite a few months. Overall, I’m very happy with the execution, and craft of both the program (coming from a beginner level) and the design. The biggest issue I faced was how to clean and process the values from the sensor to get what I wanted. I was luckily able to find well-documented resources at https://pulsesensor.com/ that worked through the signal processing in an interrupt file that I needed (linked in the program as well).

all files, documentation, and process:

https://cmu.box.com/s/shsr8rlt0hj0uhea9fjsoifbz157zg50


Final Project – Sarika Bajaj

For my final project, I made a responsive worm that normally wiggles around on the ground, but when a person comes too close then will look up at the person.

The main challenges for this project was trying to keep the form factor I wanted it – I really wanted the worm to be lasercut wood but getting the wood to bend at the appropriate angle took a fair amount of testing. I found a solution by using two servos that pull the the wood back and keep it in place. Finally, the aesthetics took a good deal of time to try to cover up the circuitry and motors to make it just look like a worm in a tank.

The circuitry and code in itself was quite simple – an analog IR sensor and two servos that pull at string that actuates the worm. However, I think this was a good strategy because of how many iterations the worm movement took to look somewhat good.

A video of the system working (pre aesthetics):

A fritz of the system:

Code: Worm

Videos of Complete Project:

Final Crit Cathy Fang: Millennialism

Millennialism


As a millennial myself, I feel like our generation is very vulnerable to our obsession and addiction to things. As the world evolves at an exponential rate, our generation tries its hardest to keep up with the changes. But sometimes we lose track of what we really want, which makes us want to hold onto certain things in our lives or follow certain ritual/routine that we believe without which our lives would fall apart.

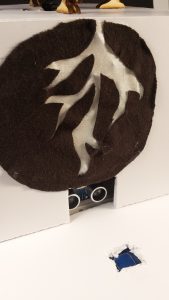
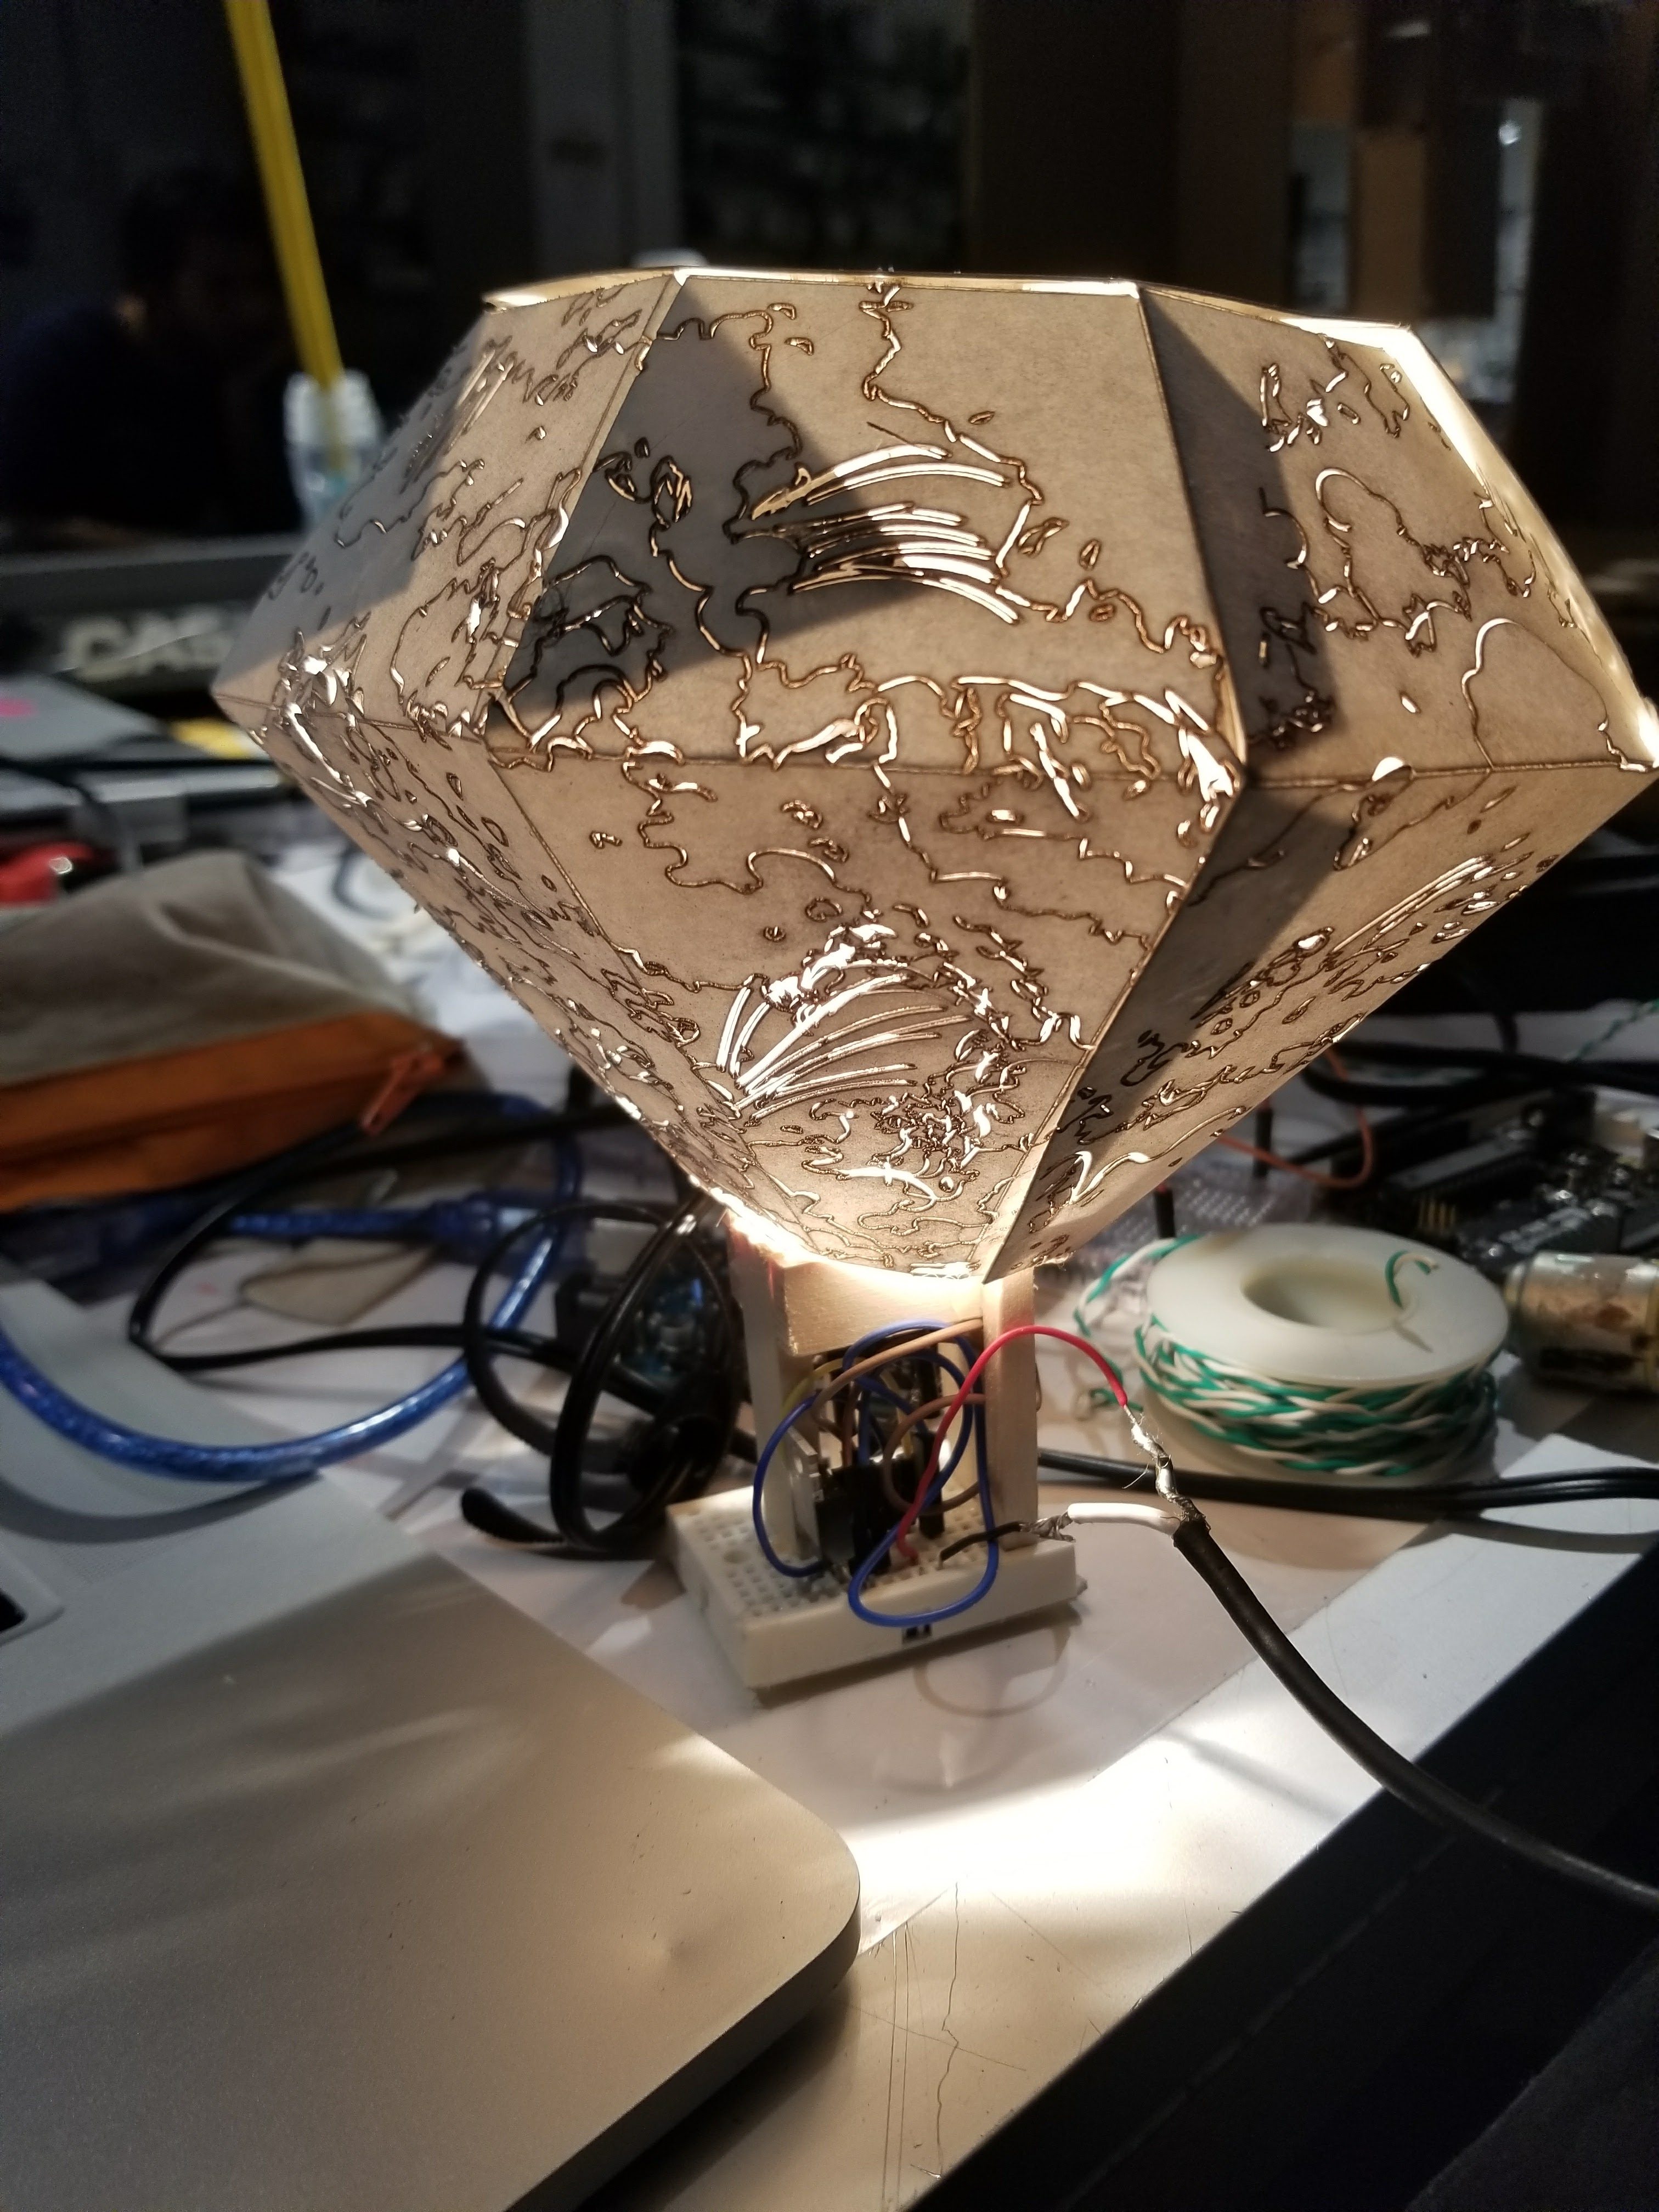
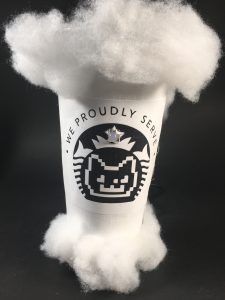
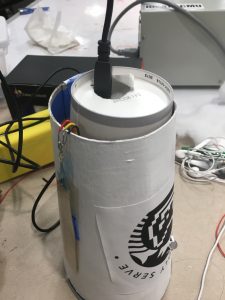
This piece explores the millennial lifestyle with a focus on coffee, cats, and cat cafes. The enlarged coffee cup is a symbol of the amount of stimulant ,like caffeine, that millennials need to start off a day. The logo is a combination of starbucks logo and the internet-famous nyan cat, a product of the meme culture. The user has to “pet” the cup so that it can change color. This interaction symbolizes how the millennials are enslaved to their obsessions. The cup also looks like floating in the air, which is a symbol of this generation that dreams and always has their minds in the air.

Key Features:

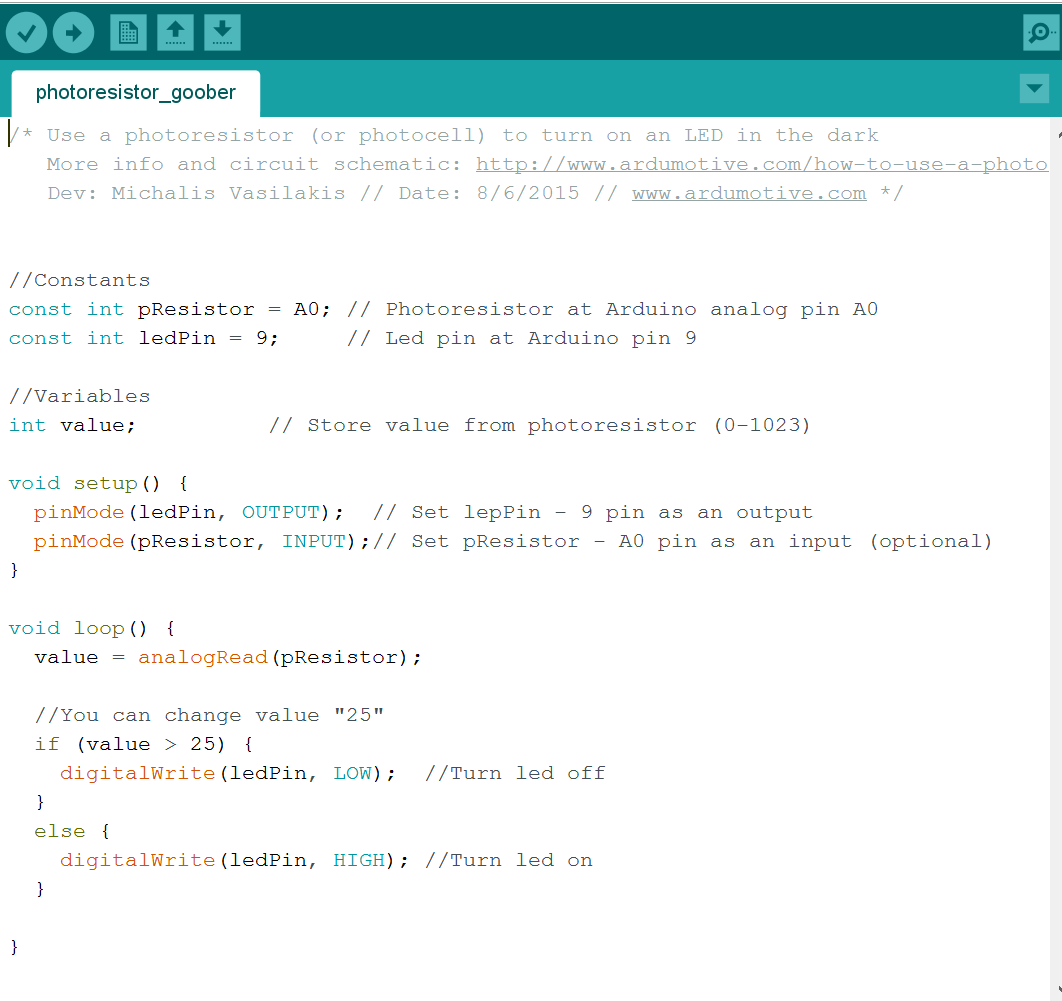
  1. Activate with hot water/beverage
  2. While activated, touch the cup to make the Cat happy (LED changes color)

3. When beverage in the cup is being consumed/leaving the cup, the cup animates

Full Video:

https://drive.google.com/file/d/1Z7xNZy0JsYe7m7_NSSXNuARZIdpRJpfC/view?usp=sharing

Process:
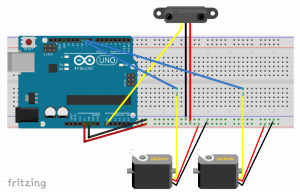
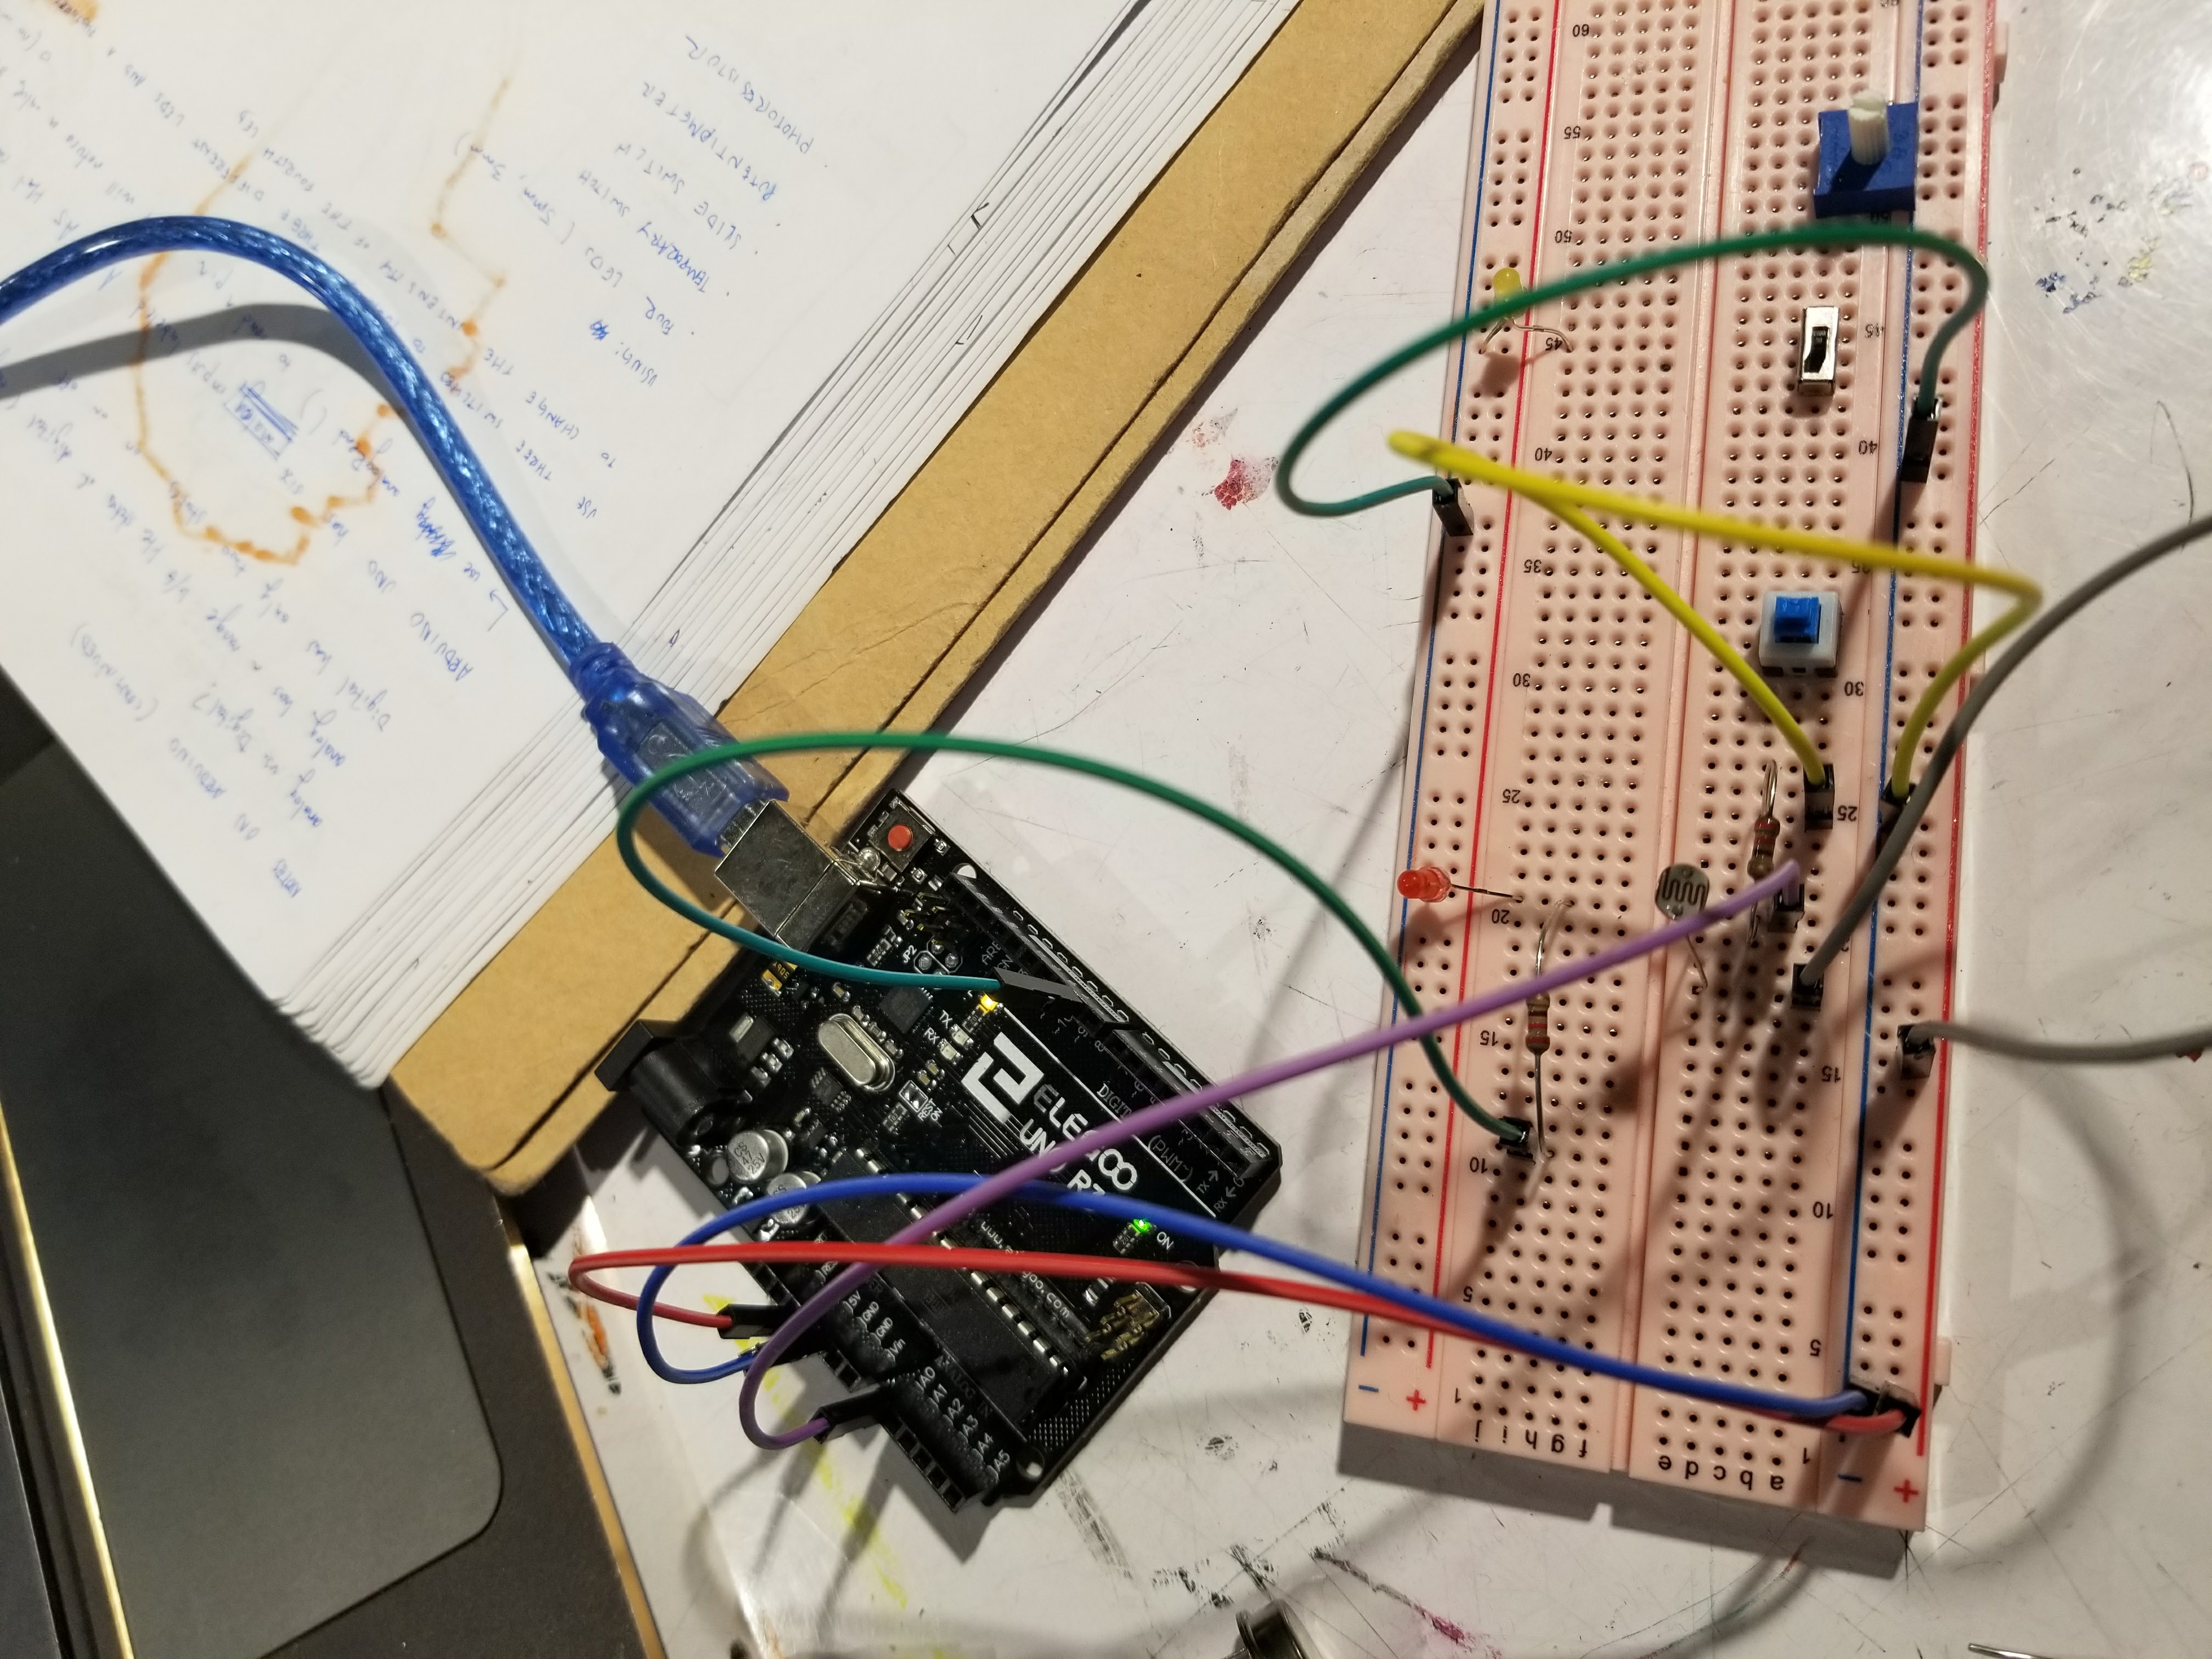
Following my previous post (Assignment 7 rough crit: smart cup), I added the temperature sensor. And instead of trying to use a teensyduino, I decided to make a bigger paper cup that can hold my hardware.

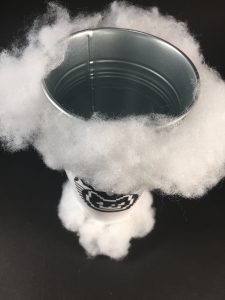
By chance, I found a flower pot from ikea that I could use as the top part of the cup. It was an ideal choice because it can hold liquid and is sensitive to temperature change.

Shoving everything into the cup:

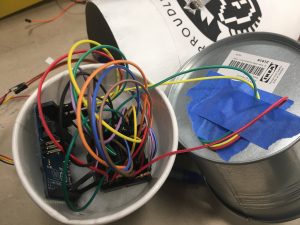
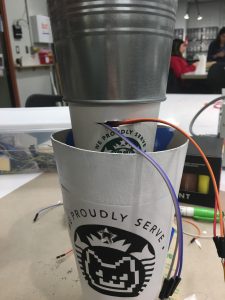
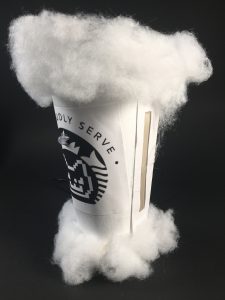
In addition, instead of a traditional potentiometer with a rod, I decided to use a soft potentiometer that I can tape to the side of the cup to change the color of my neopixel. This not only solve the problem of limited space, but also made the user experience more interesting (petting the cup to please the cat).

Lessons learned:

  1. Instead of trying to fit everything into a constrained space, I can change the form to make the hardware fit more naturally and securely.
  2. Before, I have never spent that much time on the form of the project. This time, I took my time to make the paper cup and design the logo using Illustrator, which made the project looked a lot nicer and secure.
  3. If I had more time, I would add sound to enhance the user experience. Right now, all the user feedback relies on the change in color of the neopixel, which is quite limiting. I would also add a proximity sensor to make cups interact with each other to furthermore show the social interaction among millennials.


Go to your Fields: An Interactive Mechanical Flower

video: https://youtu.be/xAO66SjFdWg

My final project is a play on a flower. With this project I wanted to present the idea that living things need human connection just as much as the usual basic essentials for survival. So light and water are replaced by physical closeness and touch: when you come closer or further away, the petals open and close, and “water” travels up the roots when you touch the base. The first part of the title comes from a quote from The Prophet by Kahlil Gibran, which describes how a bee and a flower depend on each other through their interaction.

Components: The open/close motion is controlled by a servo motor attached to each petal by wire. The petals and hinges are laser-cut basswood, the base is foamcore, and the root outline is cotton fabric. The LEDs are controlled by a standalone momentary capacitive touch sensor, and the servo motor is controlled by an ultrasonic distance sensor.

The biggest changes I made from my initial prototype were the petals, the base box, and replacing the linear actuator with lighting of the roots. I chose to replace the upward motion because I thought it wasn’t very graceful, and I felt that representing water with lights would be more effective for my purpose. I had some trouble wiring up NeoPixels, so decided to use regular small LEDs instead. I also had some trouble converting my petal drawing into dxf, but it eventually worked with some help from the Soft Fabrication class.

fritzing and sketch: final_project_NinaPrakash

Final Project: Temperate Tree

[cc]My original idea was inspired by the ever-changing and unpredictable weather of Pittsburgh. I wanted to create a visually appealing piece that would be able to portray this weather regardless of the season or time of year. My first sketch relied heavily on servos and moving parts, however, in my final project I decided to streamline my design.

This final product is hooked up to a live feed HTML website that I wrote to retrieve the weather forecast. The Arduino then interprets the data and converts the information into a visual display of the different type of season that the current weather might reflect.


There are four seasons that the tree can portray, Summer, Fall, Winter, and Spring. The tree rotates and displays different colored leaves depending on what season we would traditionally associate with the current weather regardless of the actual time of year.

My concept is to be able to have this display in my room and act as a visual representation of the weather so that I can get ready in the morning with an accurate idea of the weather in Pittsburgh regardless of its often deceptive appearance.

Code and Website:

file:///Users/nikishort/Desktop/PhysCompWeather.html

https://drive.google.com/file/d/1kybLQCh_BMQnzs26ymnutCCxoPYYRVnh/view?usp=sharing

Final Crit: Interactive Shadow Lamp

So at this point, I have all the individual components working separately.

Components:

  • Arduino Uno
  • Solderless Breadboard
  • 12V Lightbulb
  • Analog Photoresistor
  • HC_Sro4 distance sensor
  • servo motor
  • H-bridge
  • Lasercut Lampshade and chassis


So I’ve now tried to connect the 12V power source with the bulb, hoping to dim it with an H-bridge. After trying to alter a circuit I had with a DC motor for a bulb to no avail, I tried again with a MOSFET.

I tried to just get the bulb working with the MOSFET,  but I reached an issue with that as well!

continuing on

Assignment 1: Lights!

I connected three LEDs  on the breadboard to a three pole switch, a photoresistor, and a 10K ohm resistor.

I found this difficult at first because I didn’t realize that red and white LEDs needed different current run through them. I tried with and without the resistor and adjusted brightness afterwards.

Once I got the simple circuit working, I attached the buttons into the circuit.

This was difficult because I got the photo resistor working independently, but not with the other components.

here are some content!

https://photos.app.goo.gl/Ll0533ktgbJvBoFA3

Assignment 7: Rough Crit of Interactive Shadow Lamp

Hi hello, so for my final project, I wanted to create a multi-person interactive experience so I decided to attach both photoresistors and distance sensors to my lamp.

The experience involves two users, one equipped with their smartphone flashlight and the other controlling the Y-height depending on distance.

To begin, I decided to give myself small goals that I should  check off by the time of the rough crit.

  • get servo working
  • get light bulb working
  • lasercut shade, and chassis
  • get the light bulb communicating with the photoresistor

As of now these individual components are working, but naturally the hardest part is getting them to communicate with each other.


Open Show for Introduction to Physical Computing, Friday, 1pm, SCI

The students of IDeATe’s Introduction to Physical Computing (60-223) will have a class show, open to the public, this Friday, 8 December, from 1 to 4pm.  We are being hosted by the Studio for Creative Inquiry in the College of Fine Arts (this studio is ADA friendly).

The students will be showing their final physical computing and art projects for the class and discussing what they’ve learned this semester.