Existing Example:
For this sample, I wanted to recreate the cube example from MIT’s aeroMorph. It can be found using this link: https://www.youtube.com/watch?v=K5NWgy4aTPU
I used the impulse sealer for the outline of the cube. I then used a soldering iron for all the triangles/diamonds on the inside of the outline.
Adjusted Example:
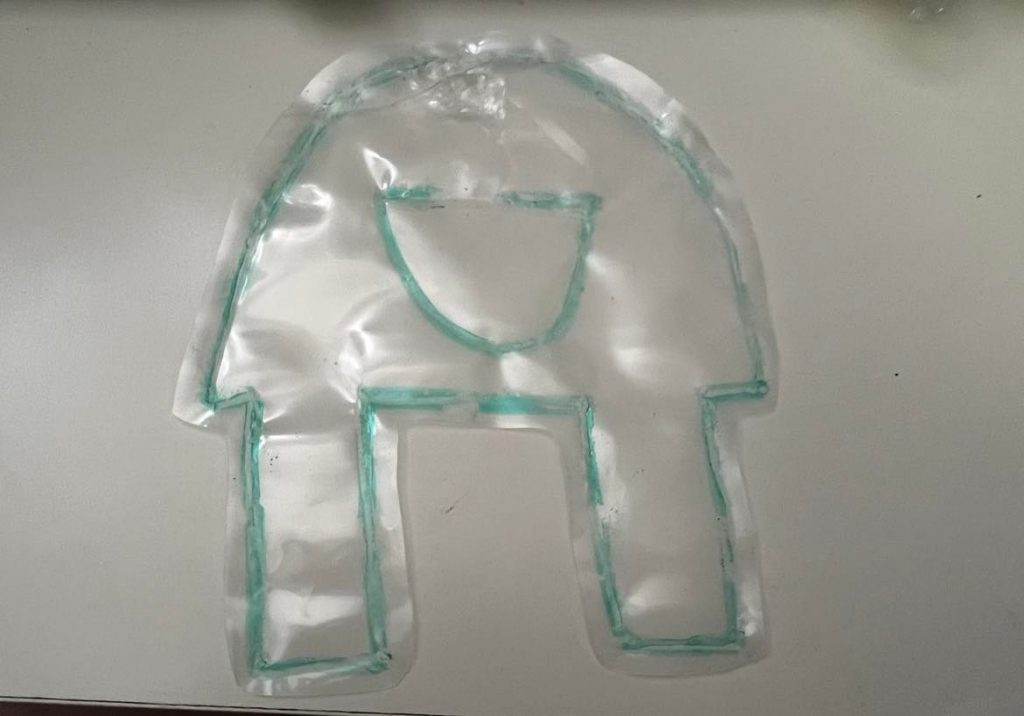
I wanted to do something similar to the aeroMorph pyramid actuator. It can be found in this video: https://www.youtube.com/watch?v=b1vrvDUr1Ds.
I used the impulse sealer for this sample. Instead of the sides being triangles, I decided to change them into smaller rectangles and tried to see how that would impact the movement. Because the rectangles are smaller than the body, they move upwards when inflated. However, because I did not close any space between the triangle body and the rectangles, the rectangles failed to completely fold inwards.
My own samples:
I originally thought we needed to make 3 of our own samples. While making them, I had more ideas and I ended up making a bunch of random but similar samples. My favorite one is the bracelet-like form that could also be flipped inside out.
Bracelet Example:
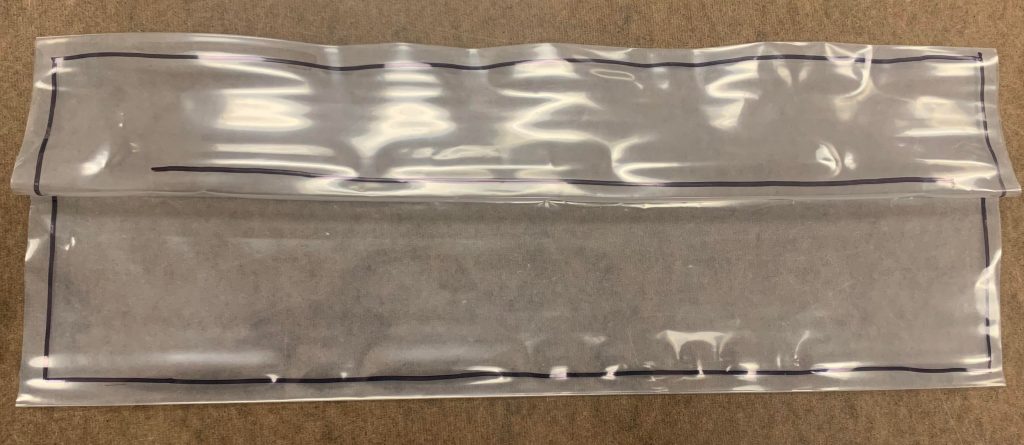
For this sample, I first cut out a long piece of plastic material (around 14 inches). I then drew a rectangle leaving only 1 cm from the outer edge of the cut plastic piece. Next, I made two folds. First down the center and another 1.5 cm away from the first fold (in another direction). See the below image:
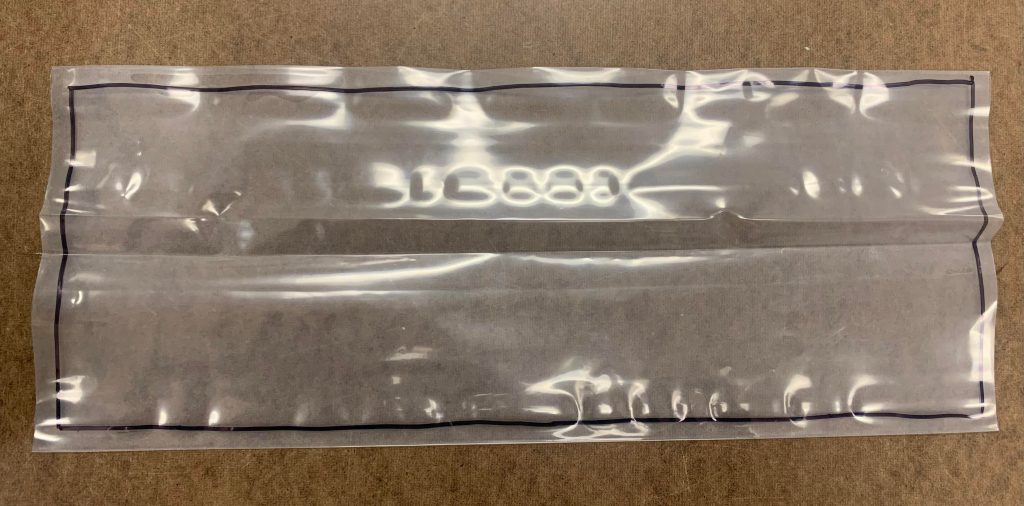
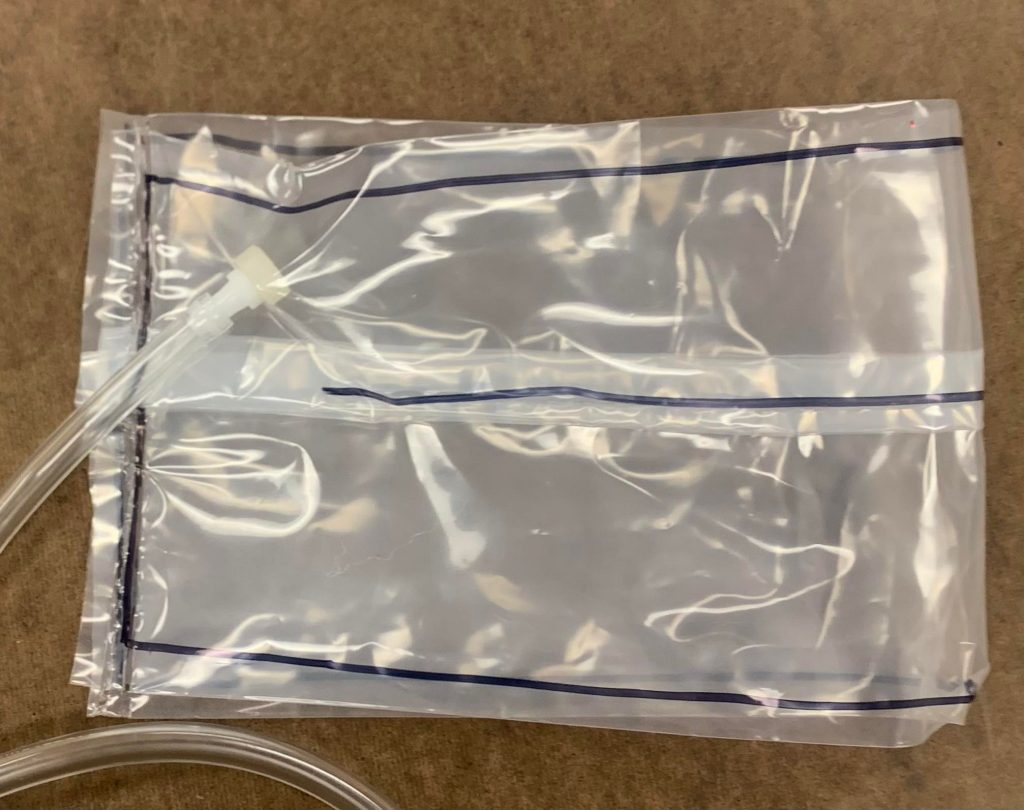
Now that I have the folds, I drew a straight line on the fold (leaving around 4 cm between the line on one side of the rectangle and 2 cm between the other end of the line and the other side of the rectangle). I then cut a small hole in the top of the sample (the side with the marked lines) and inserted the plastic pieces that allowed air to go into the sample. After that, I used the large impulse sealer to seal the marked line at the center of the sample. Because I did not want to seal the entire center, I taped a piece of cardboard paper to the bottom of the plastic between the center line and the edges of the rectangle.
I then folded the sample in half and sealed the two long ends of the sample together with the impulse sealer. Now the sample is complete.
Other samples I made:
I did not have a marker/sharpie when I made this sample. It is a little hard to see but I tried folding the sample in half along the diagonal then using the impulse sealer to seal the line (without going all the way on either end). There are also triangles on both sides of the diagonal.
The sample was a little hard to inflate so I decided to make some changes to get the below sample.
I thought the triangle from the previous sample was really interesting and I made a separate sample of just triangles.
The triangle sample had many holes and I decided to make a square sample instead
I realized there are too many squares in the above sample and decided to make another one with fewer squares.
The square sample made me think about making a circular sample instead. However, I made a hole when sealing it.
Leave a Reply
You must be logged in to post a comment.